Assistive Technology for Speech Difficulties Using MakeyMakey W/ Scratch
by MarinetteP1 in Circuits > Assistive Tech
577 Views, 3 Favorites, 0 Comments
Assistive Technology for Speech Difficulties Using MakeyMakey W/ Scratch
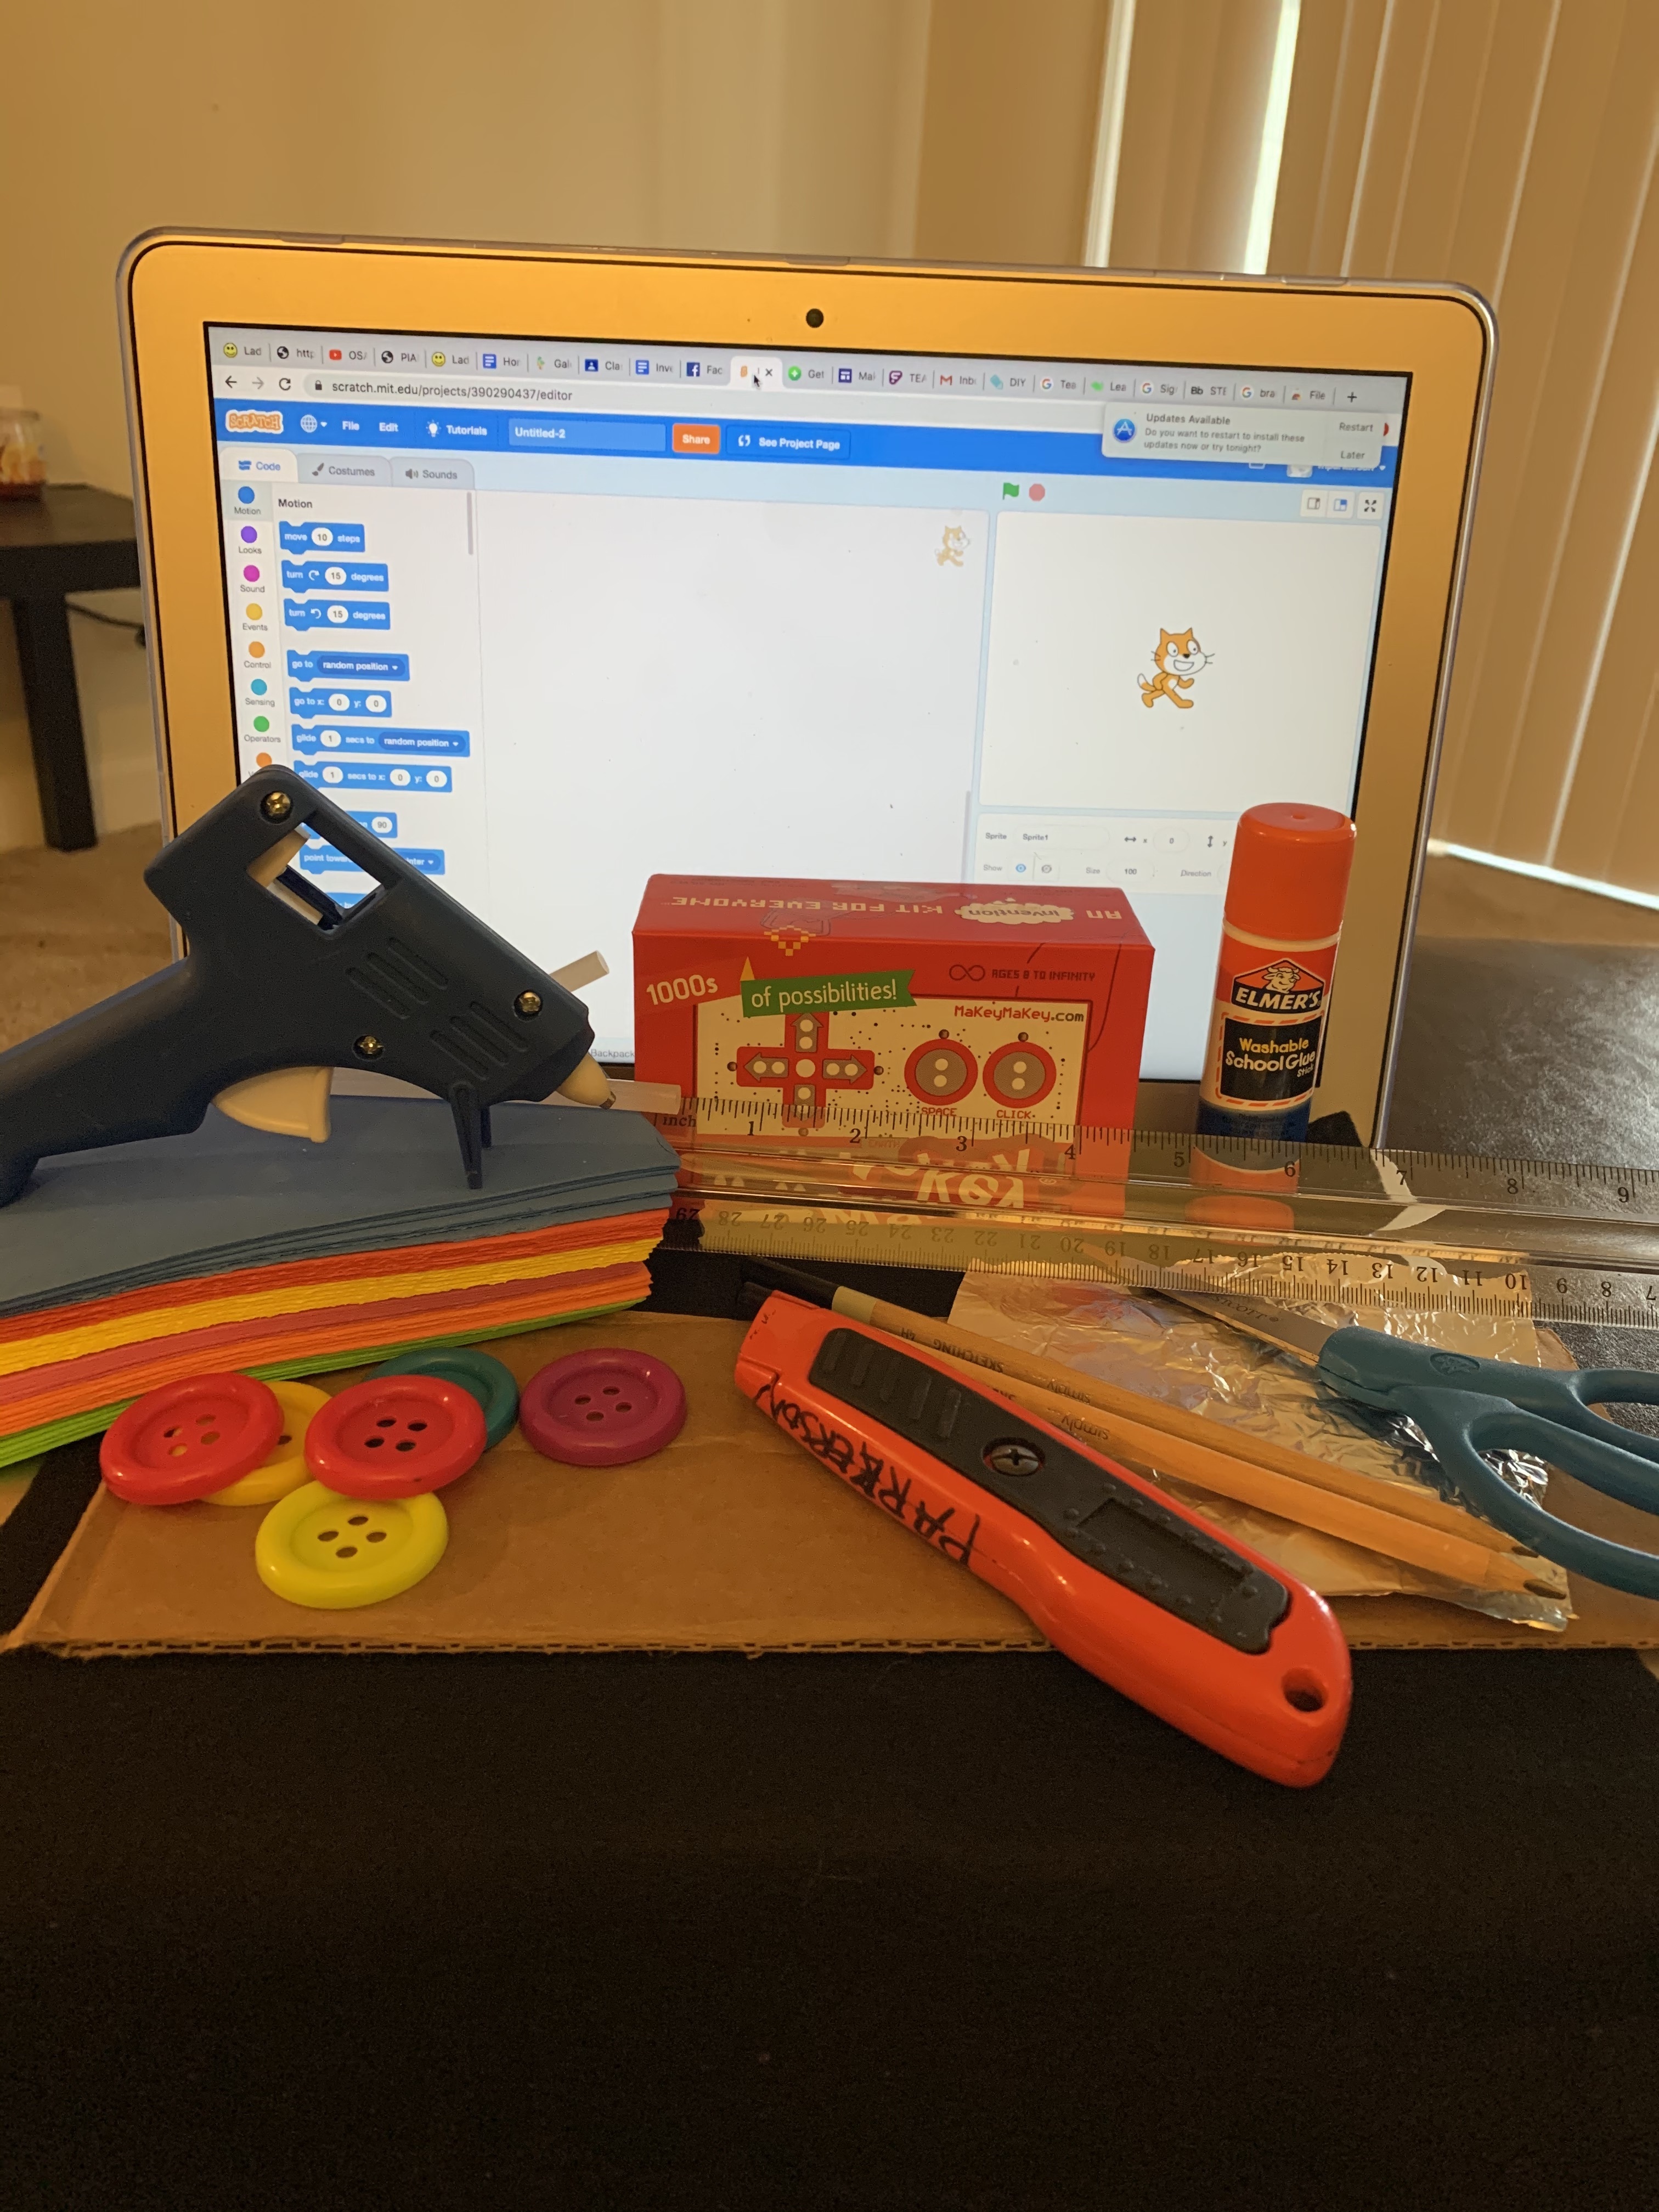
My assistive technology device is used to help with speech disabilities and or limited speech. It is. meant to aid in the learning process.
Supplies
Makey Makey
Large Buttons
Felt
Hot Glue Gun
Hot. Glue Sticks
Elmer's Glue Stick
Foil
Card Board
Laptop
Software-Scratch
Ruler
Utility Knife
Pencil
Thin Foam
Scoring the Cardboard
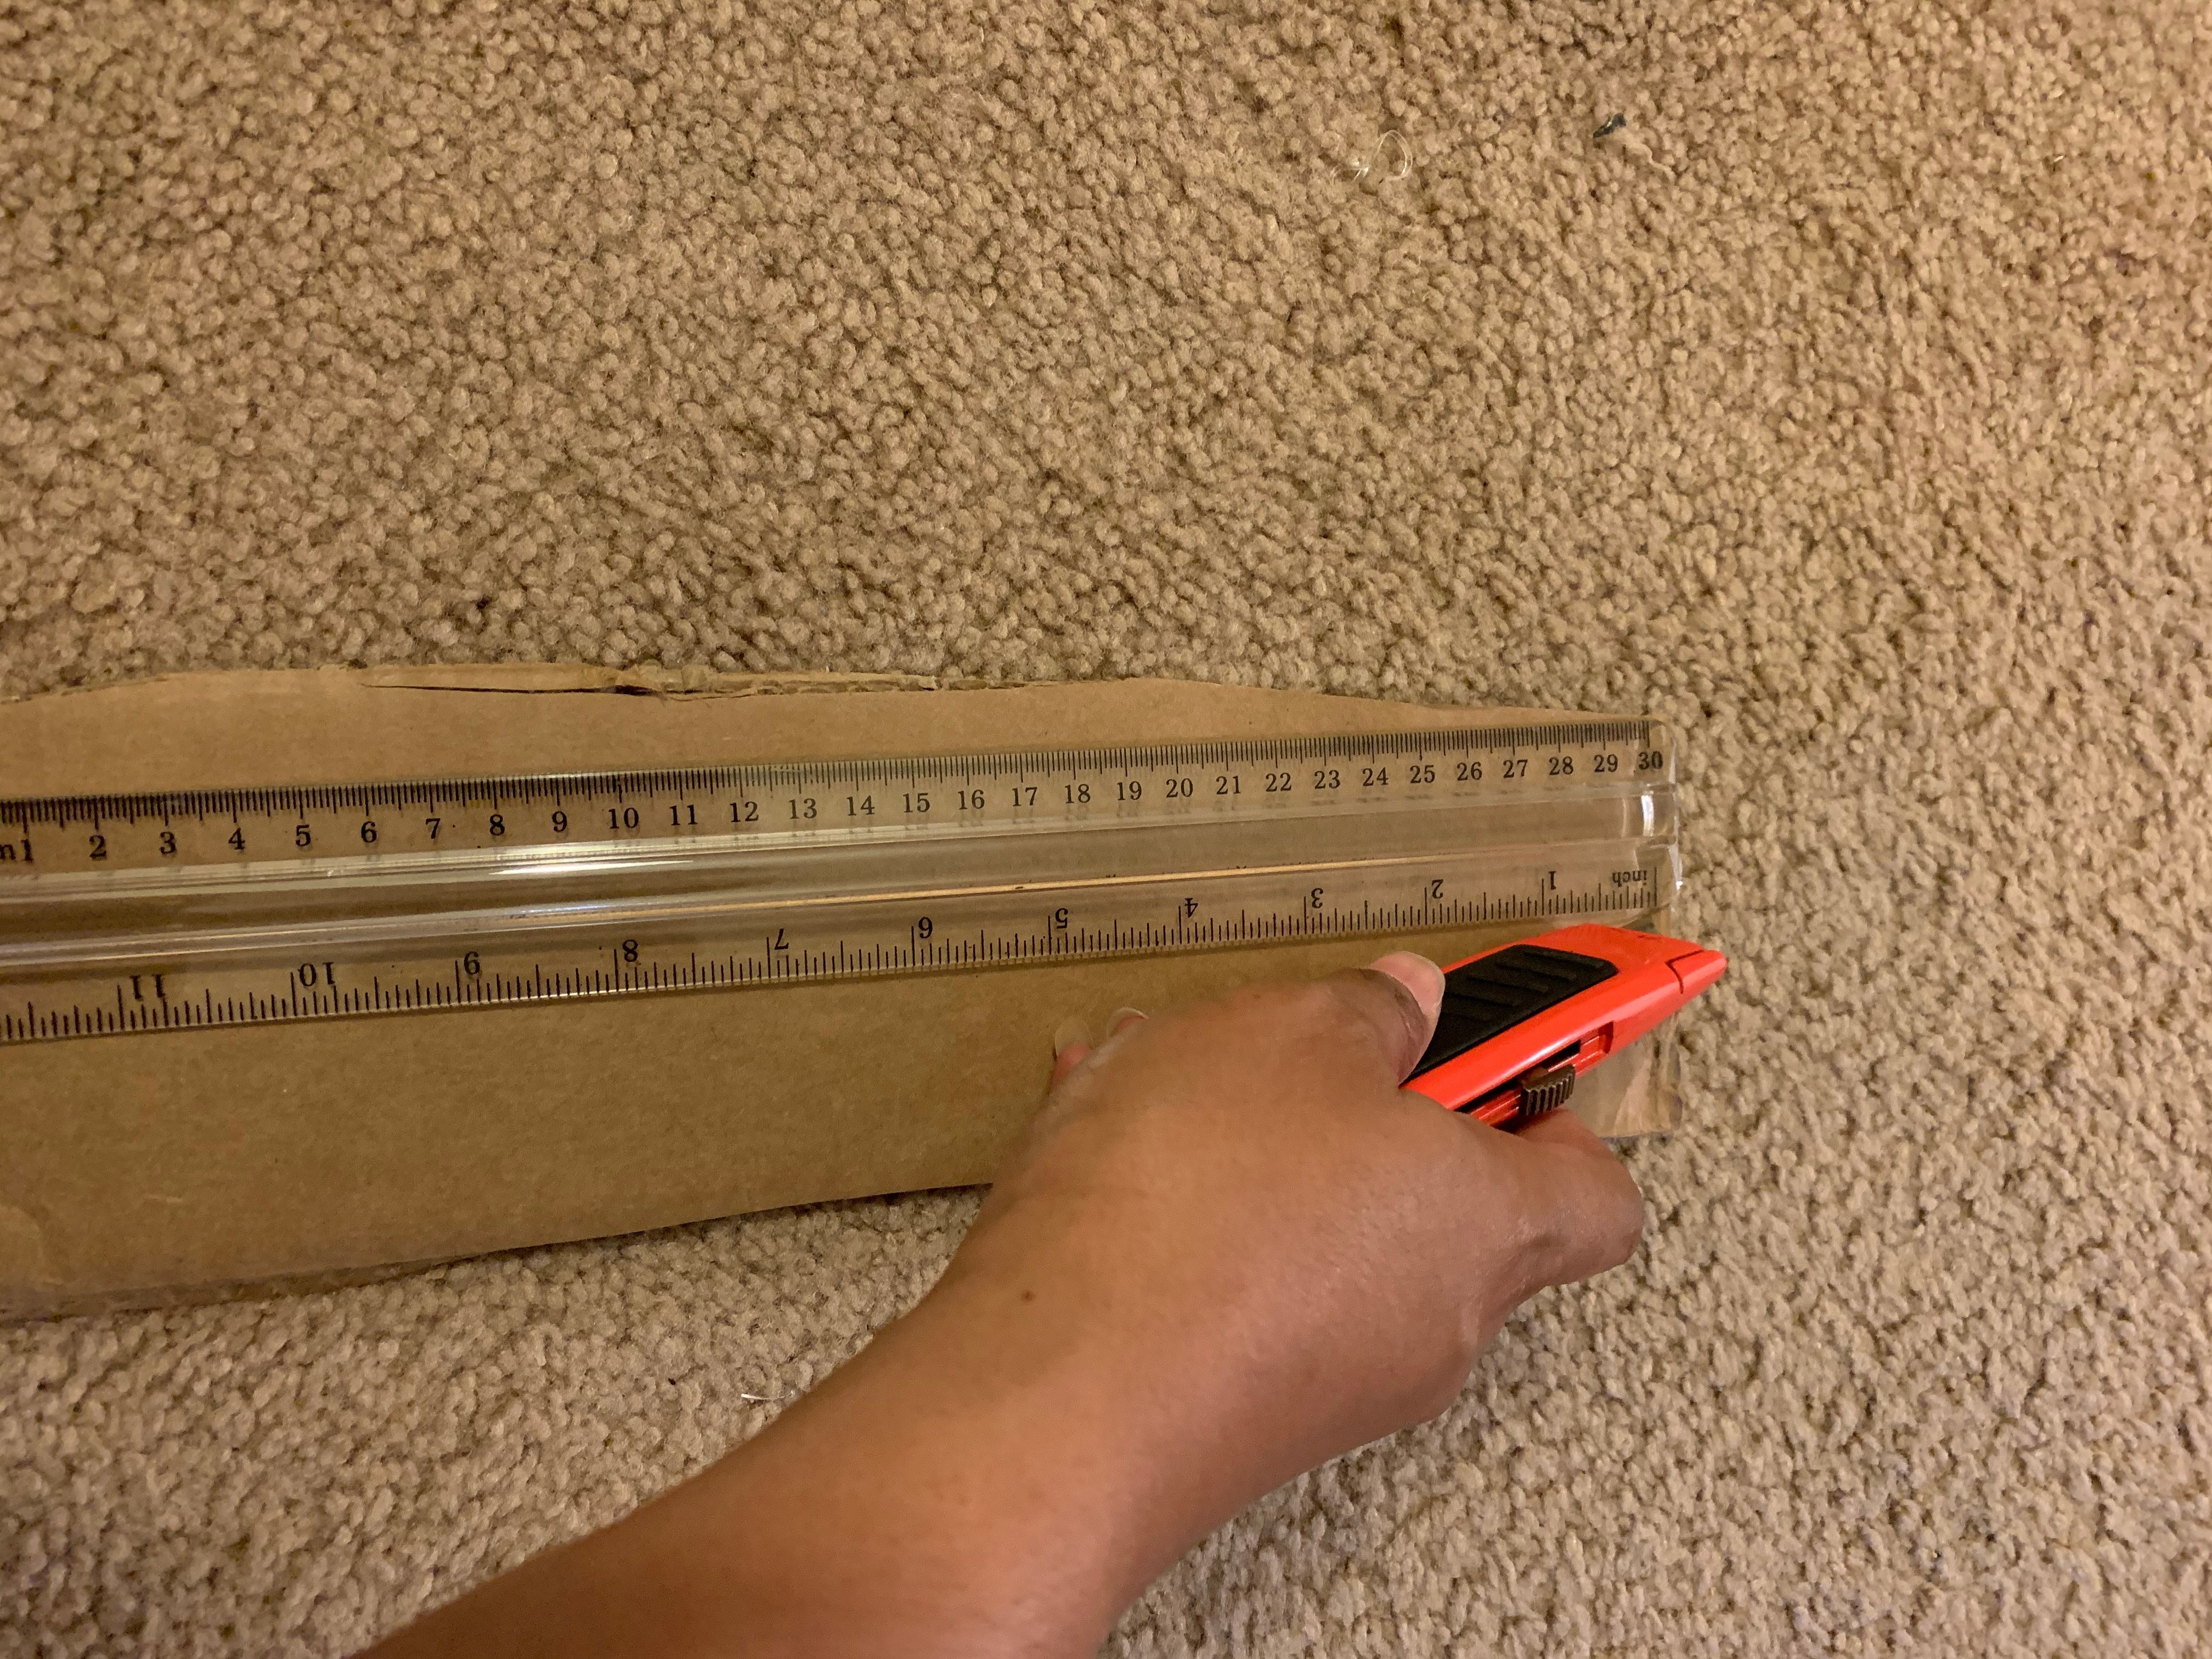
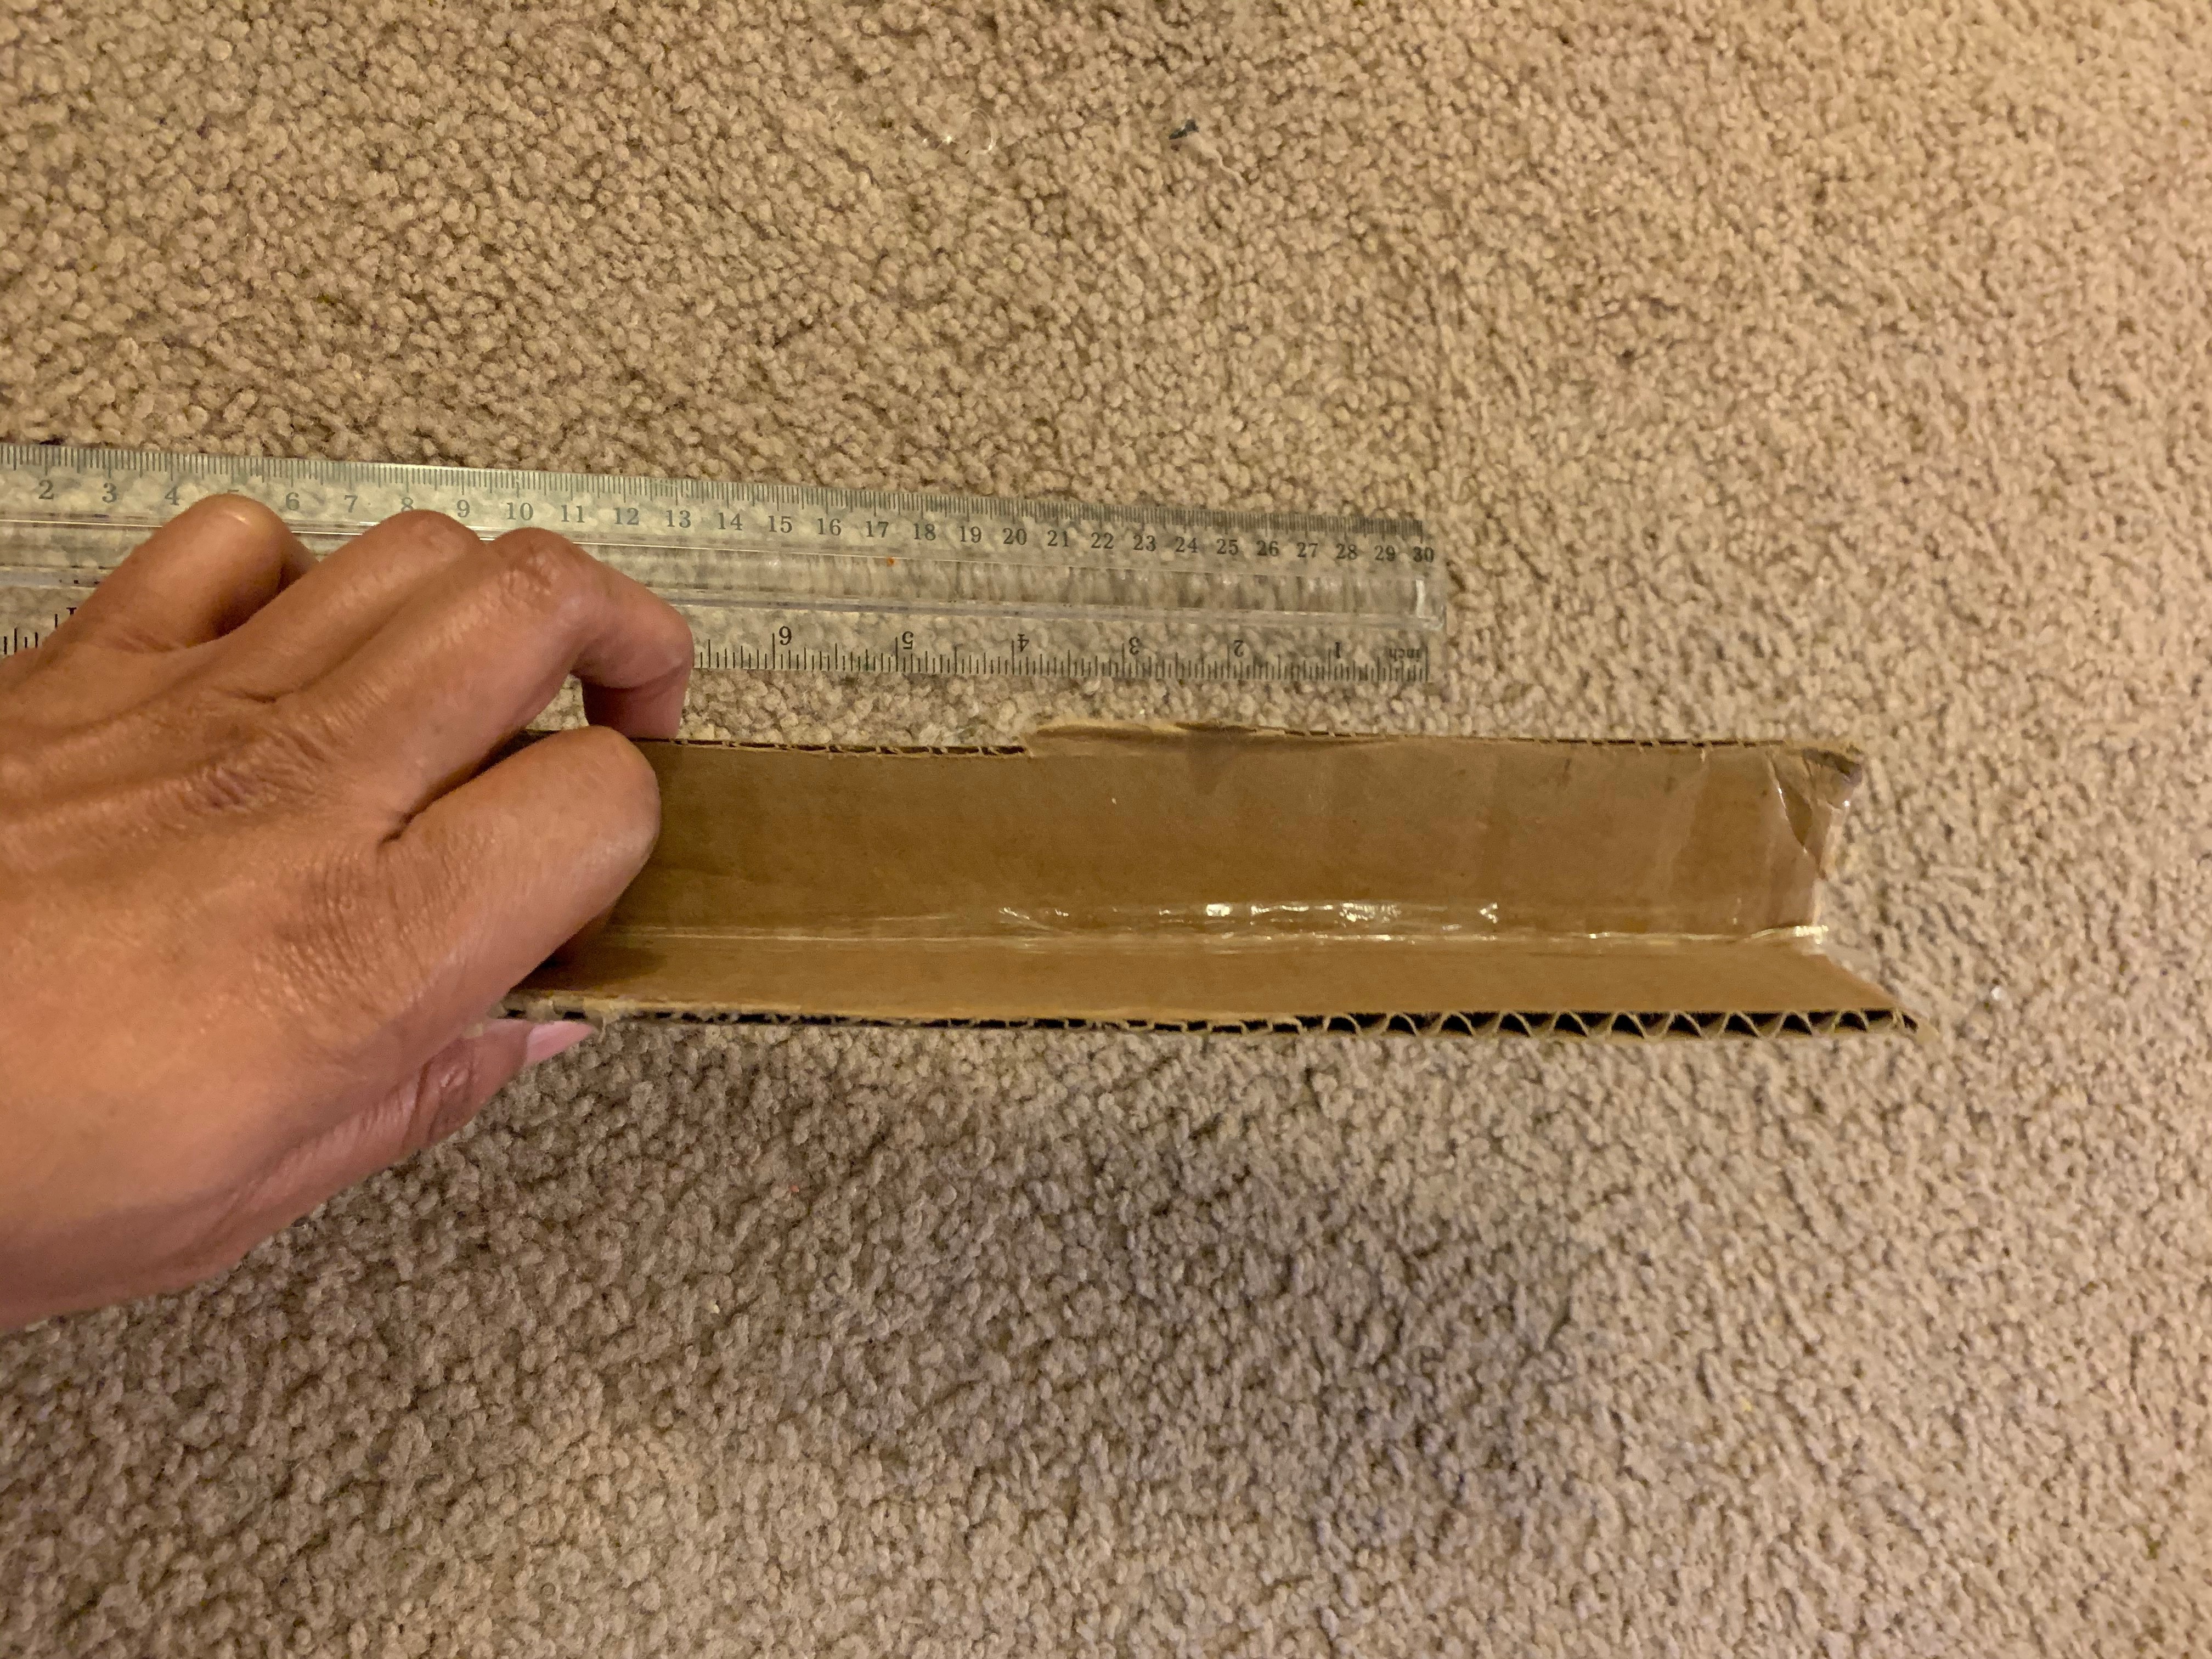
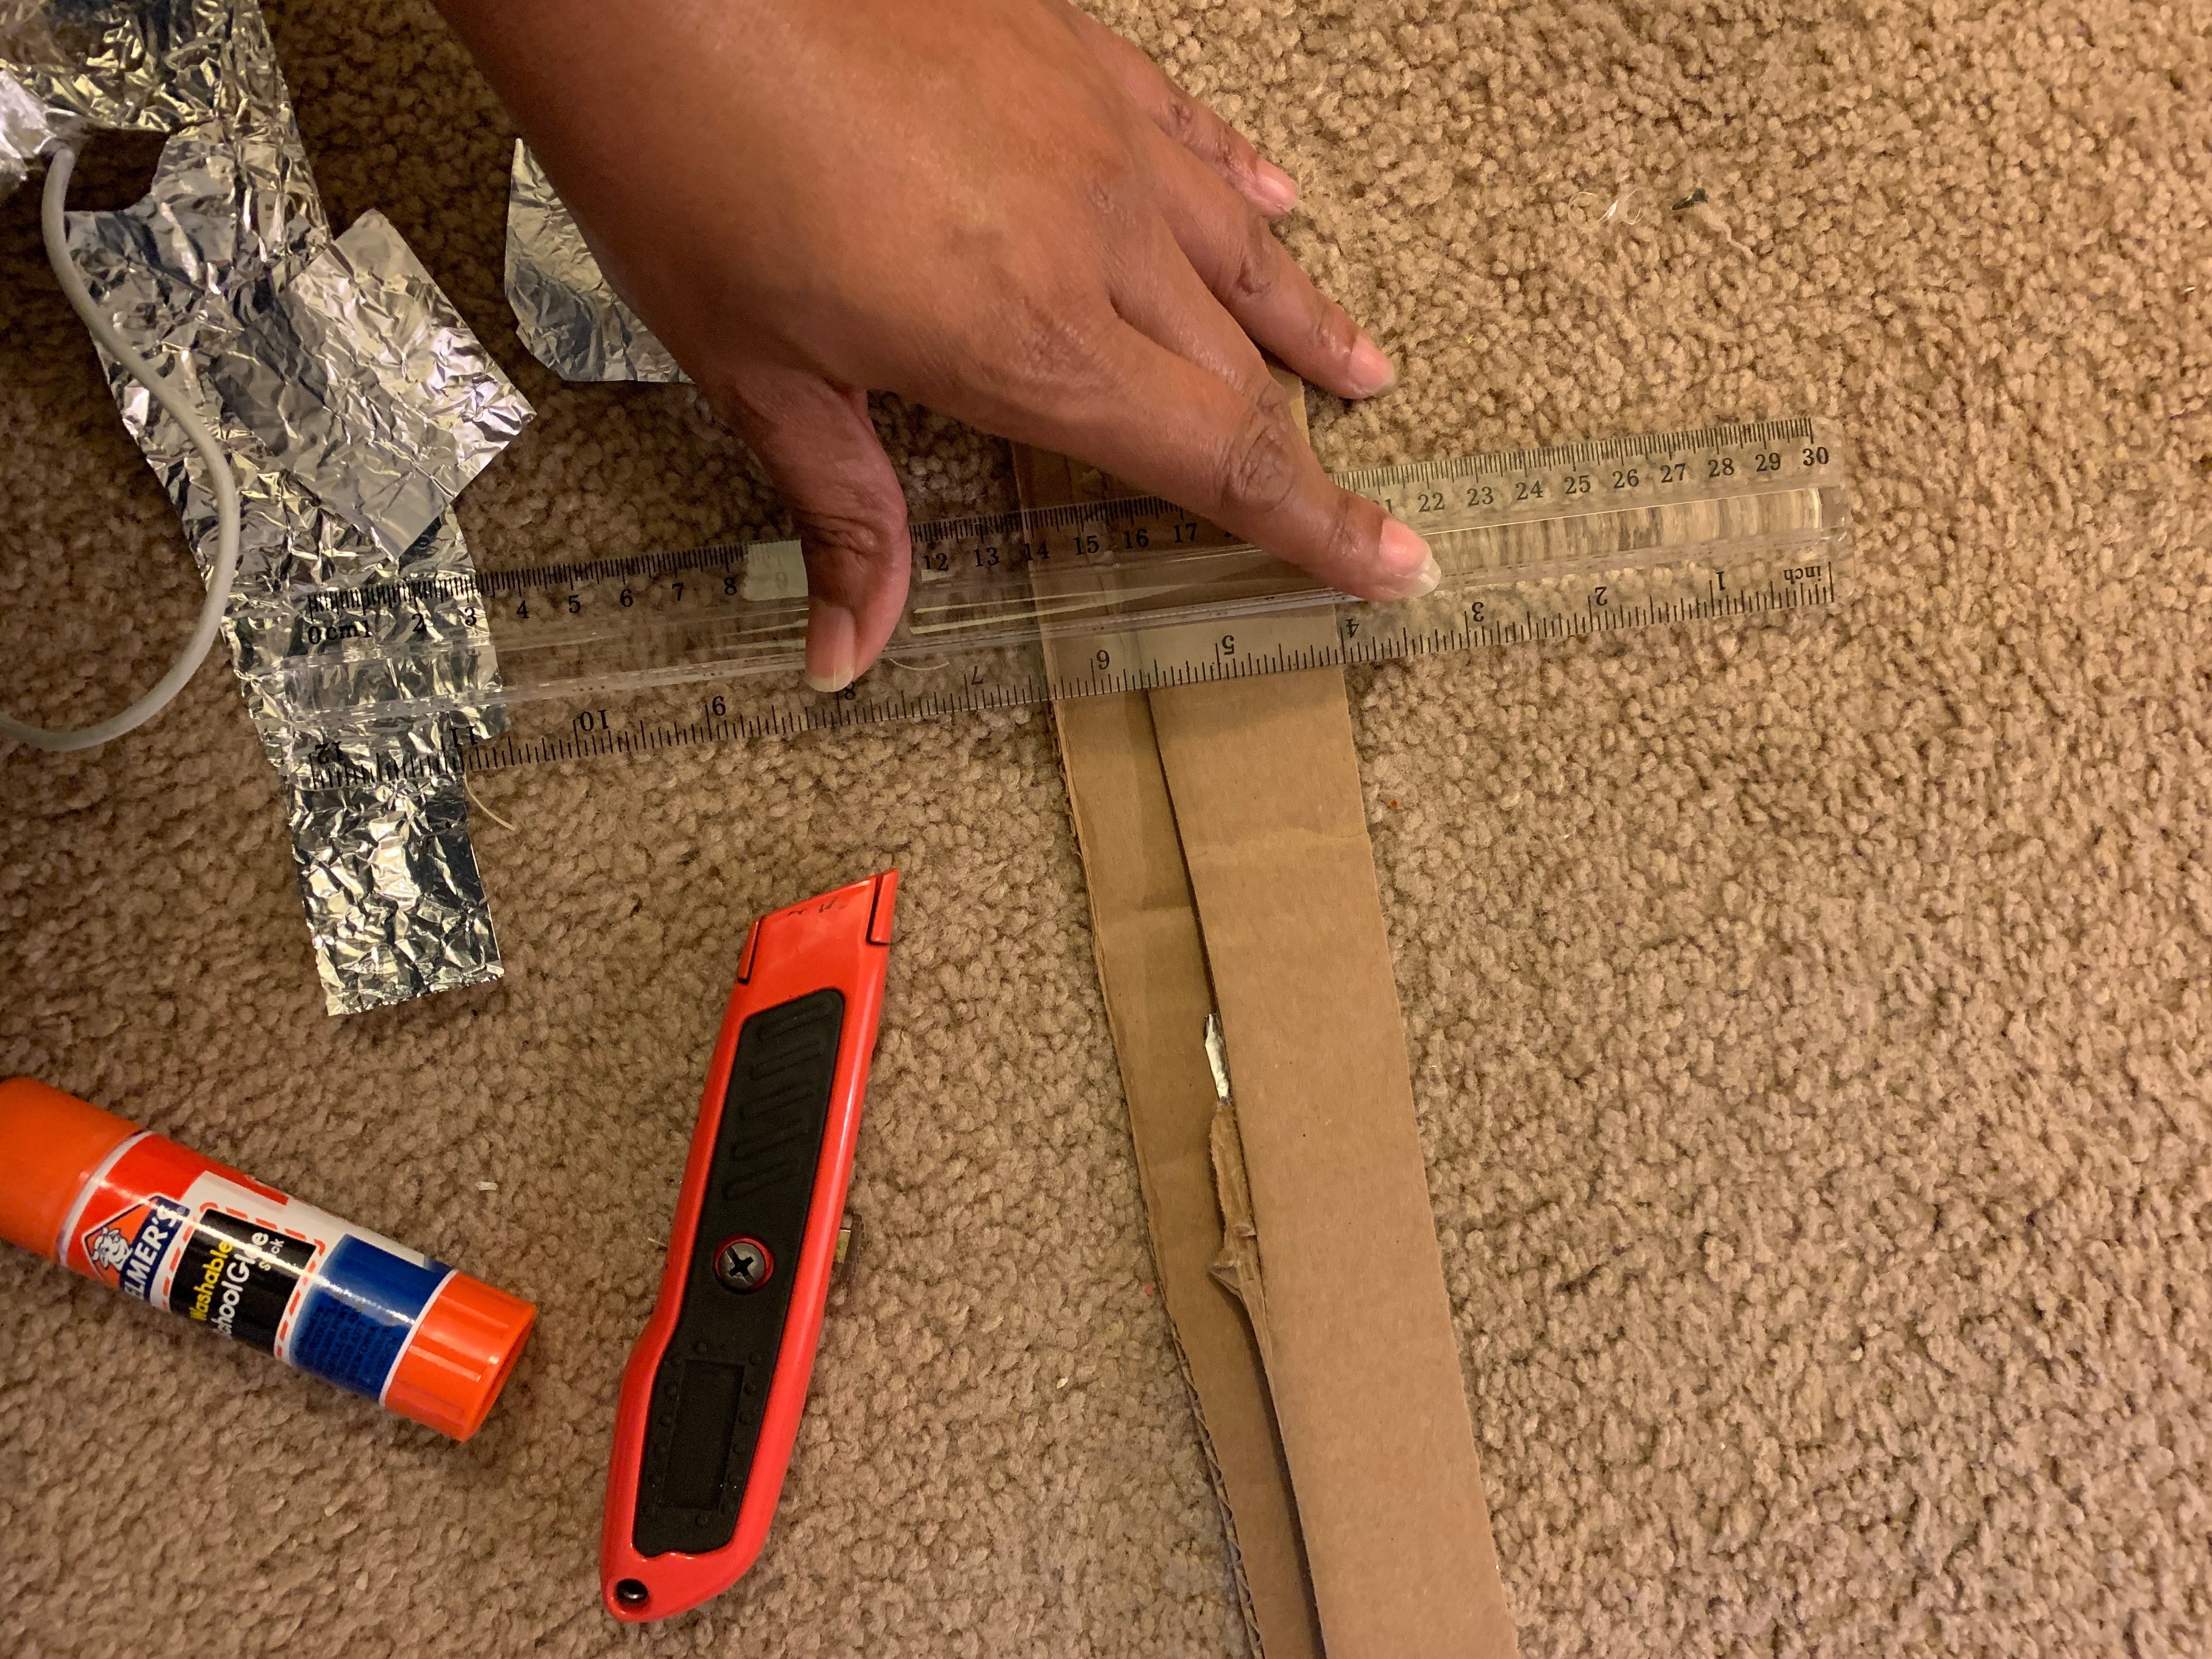

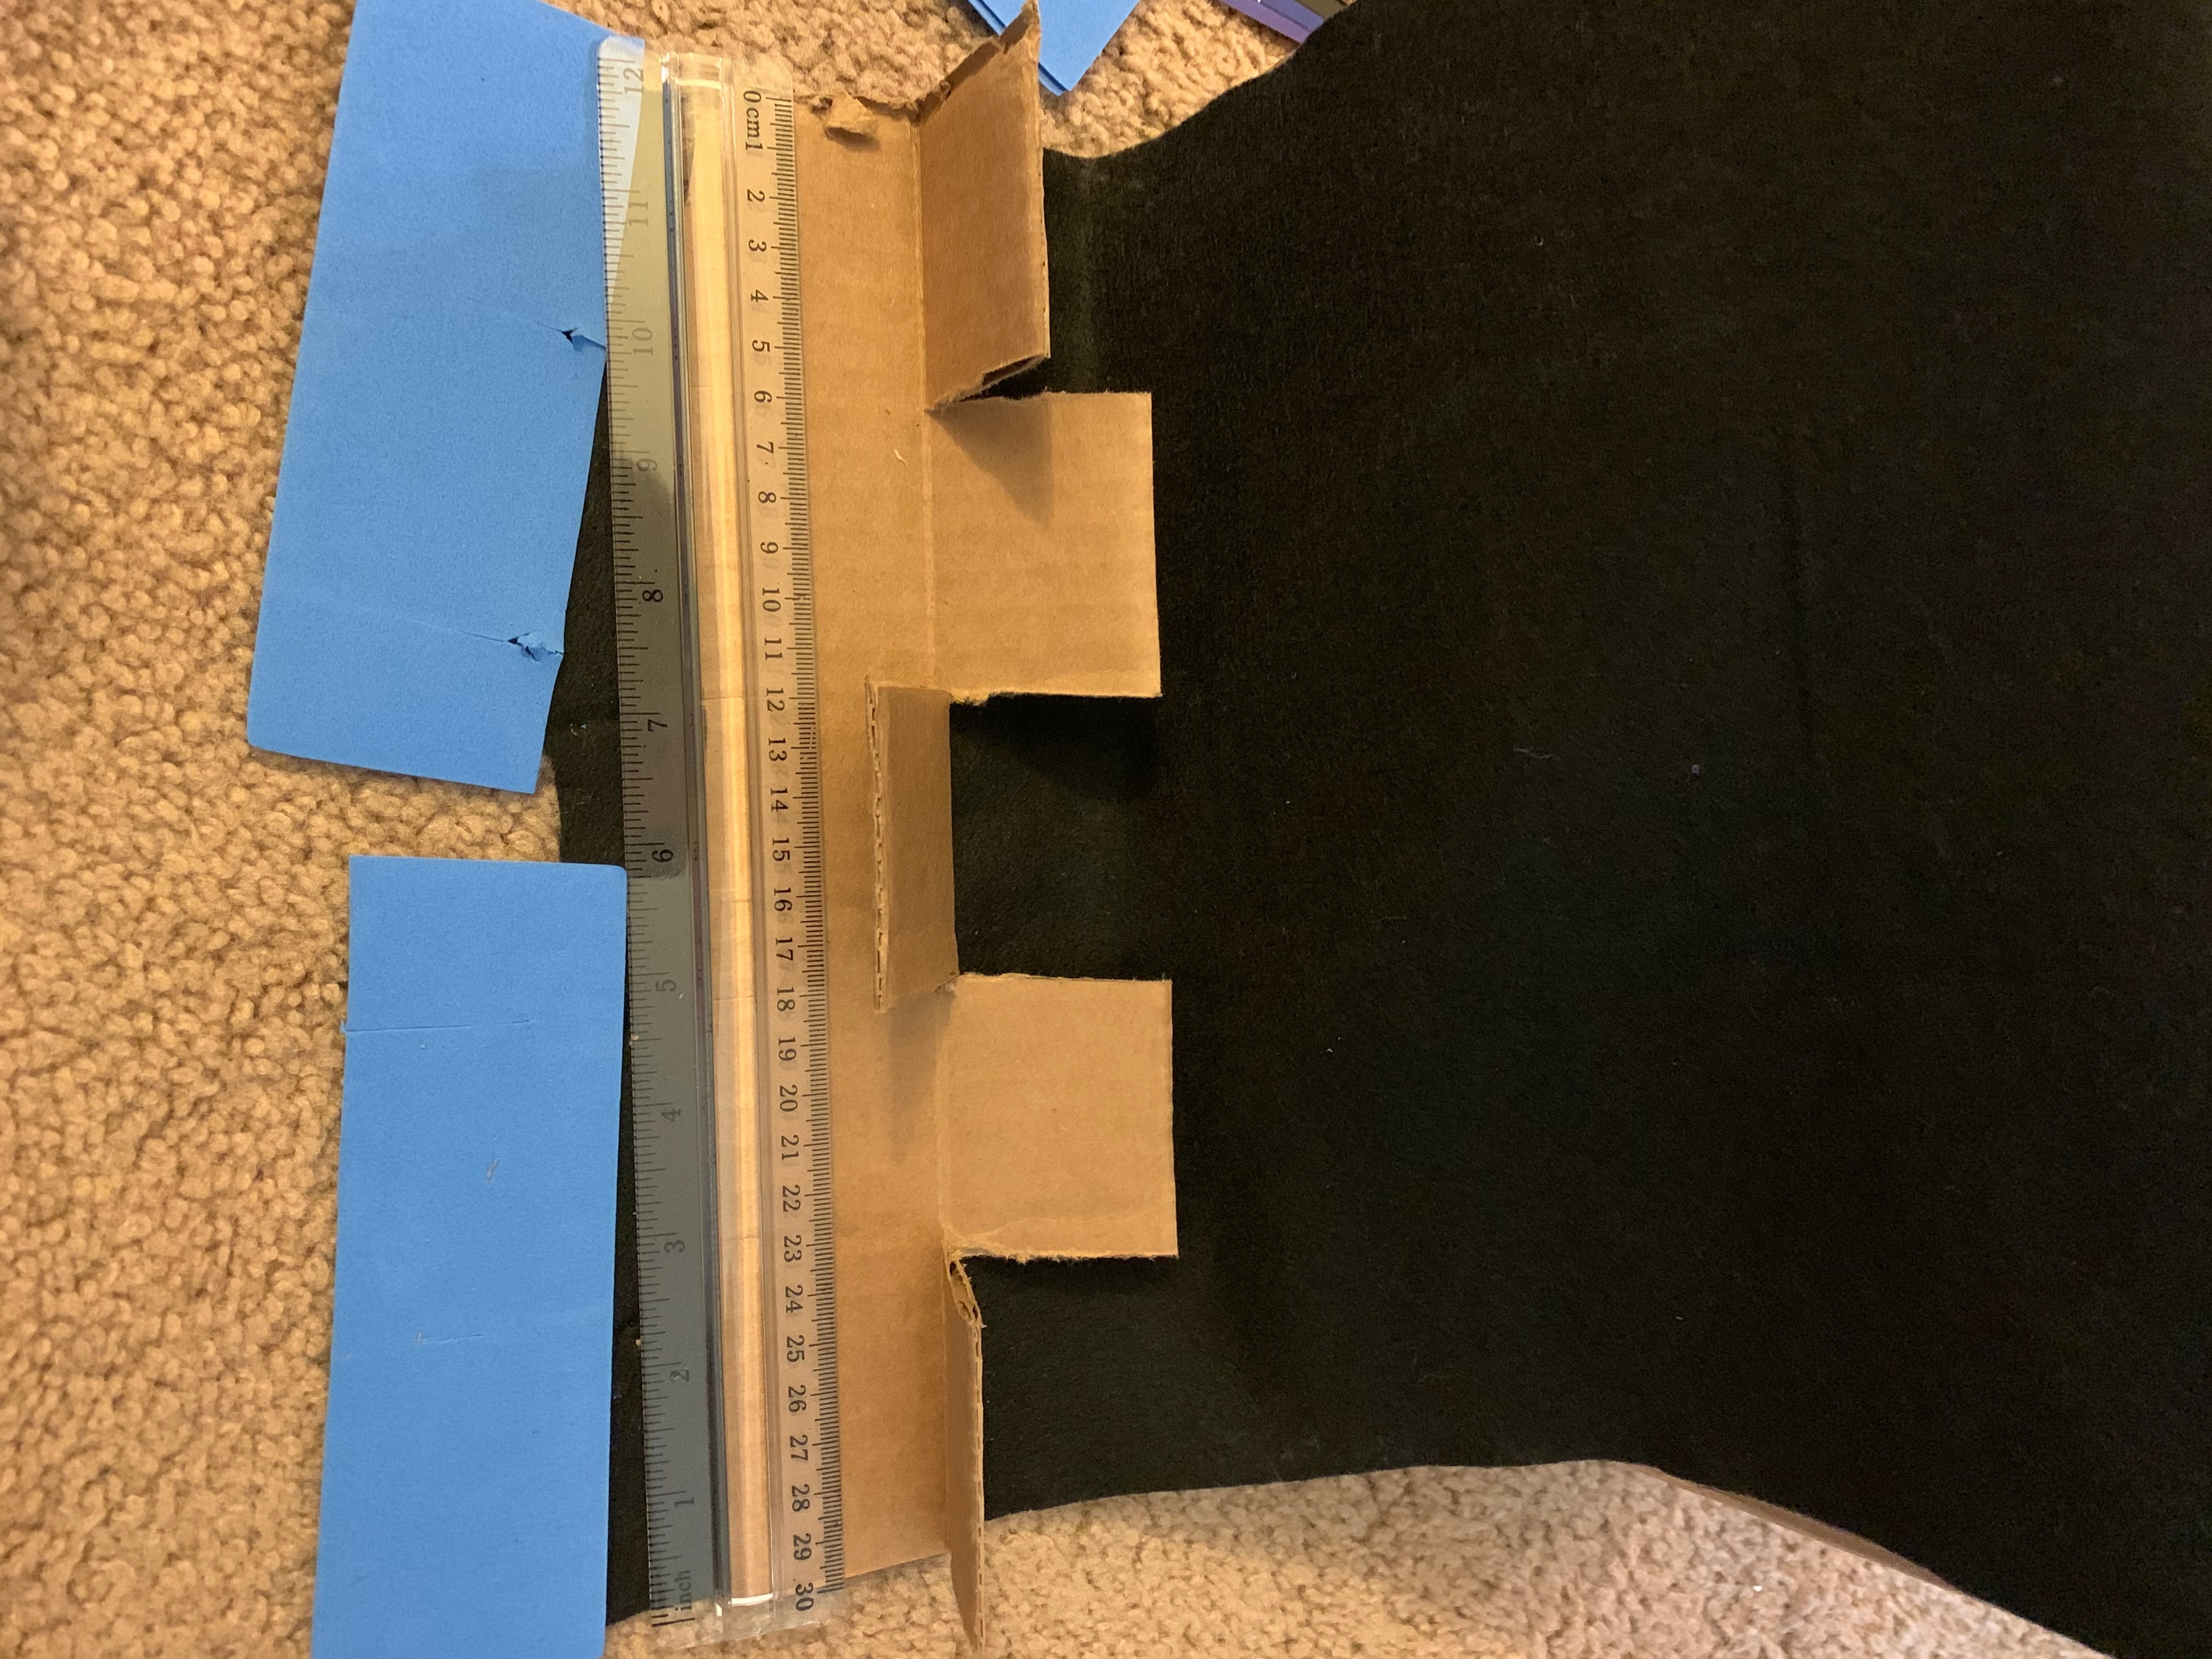
Use a 12x31/2 inch piece of cardboard. Score the cardboard down the middle and then fold it in half. Once folded in half you will score another half into multiple sections and separate.
Laying Earth and Conductive Wires
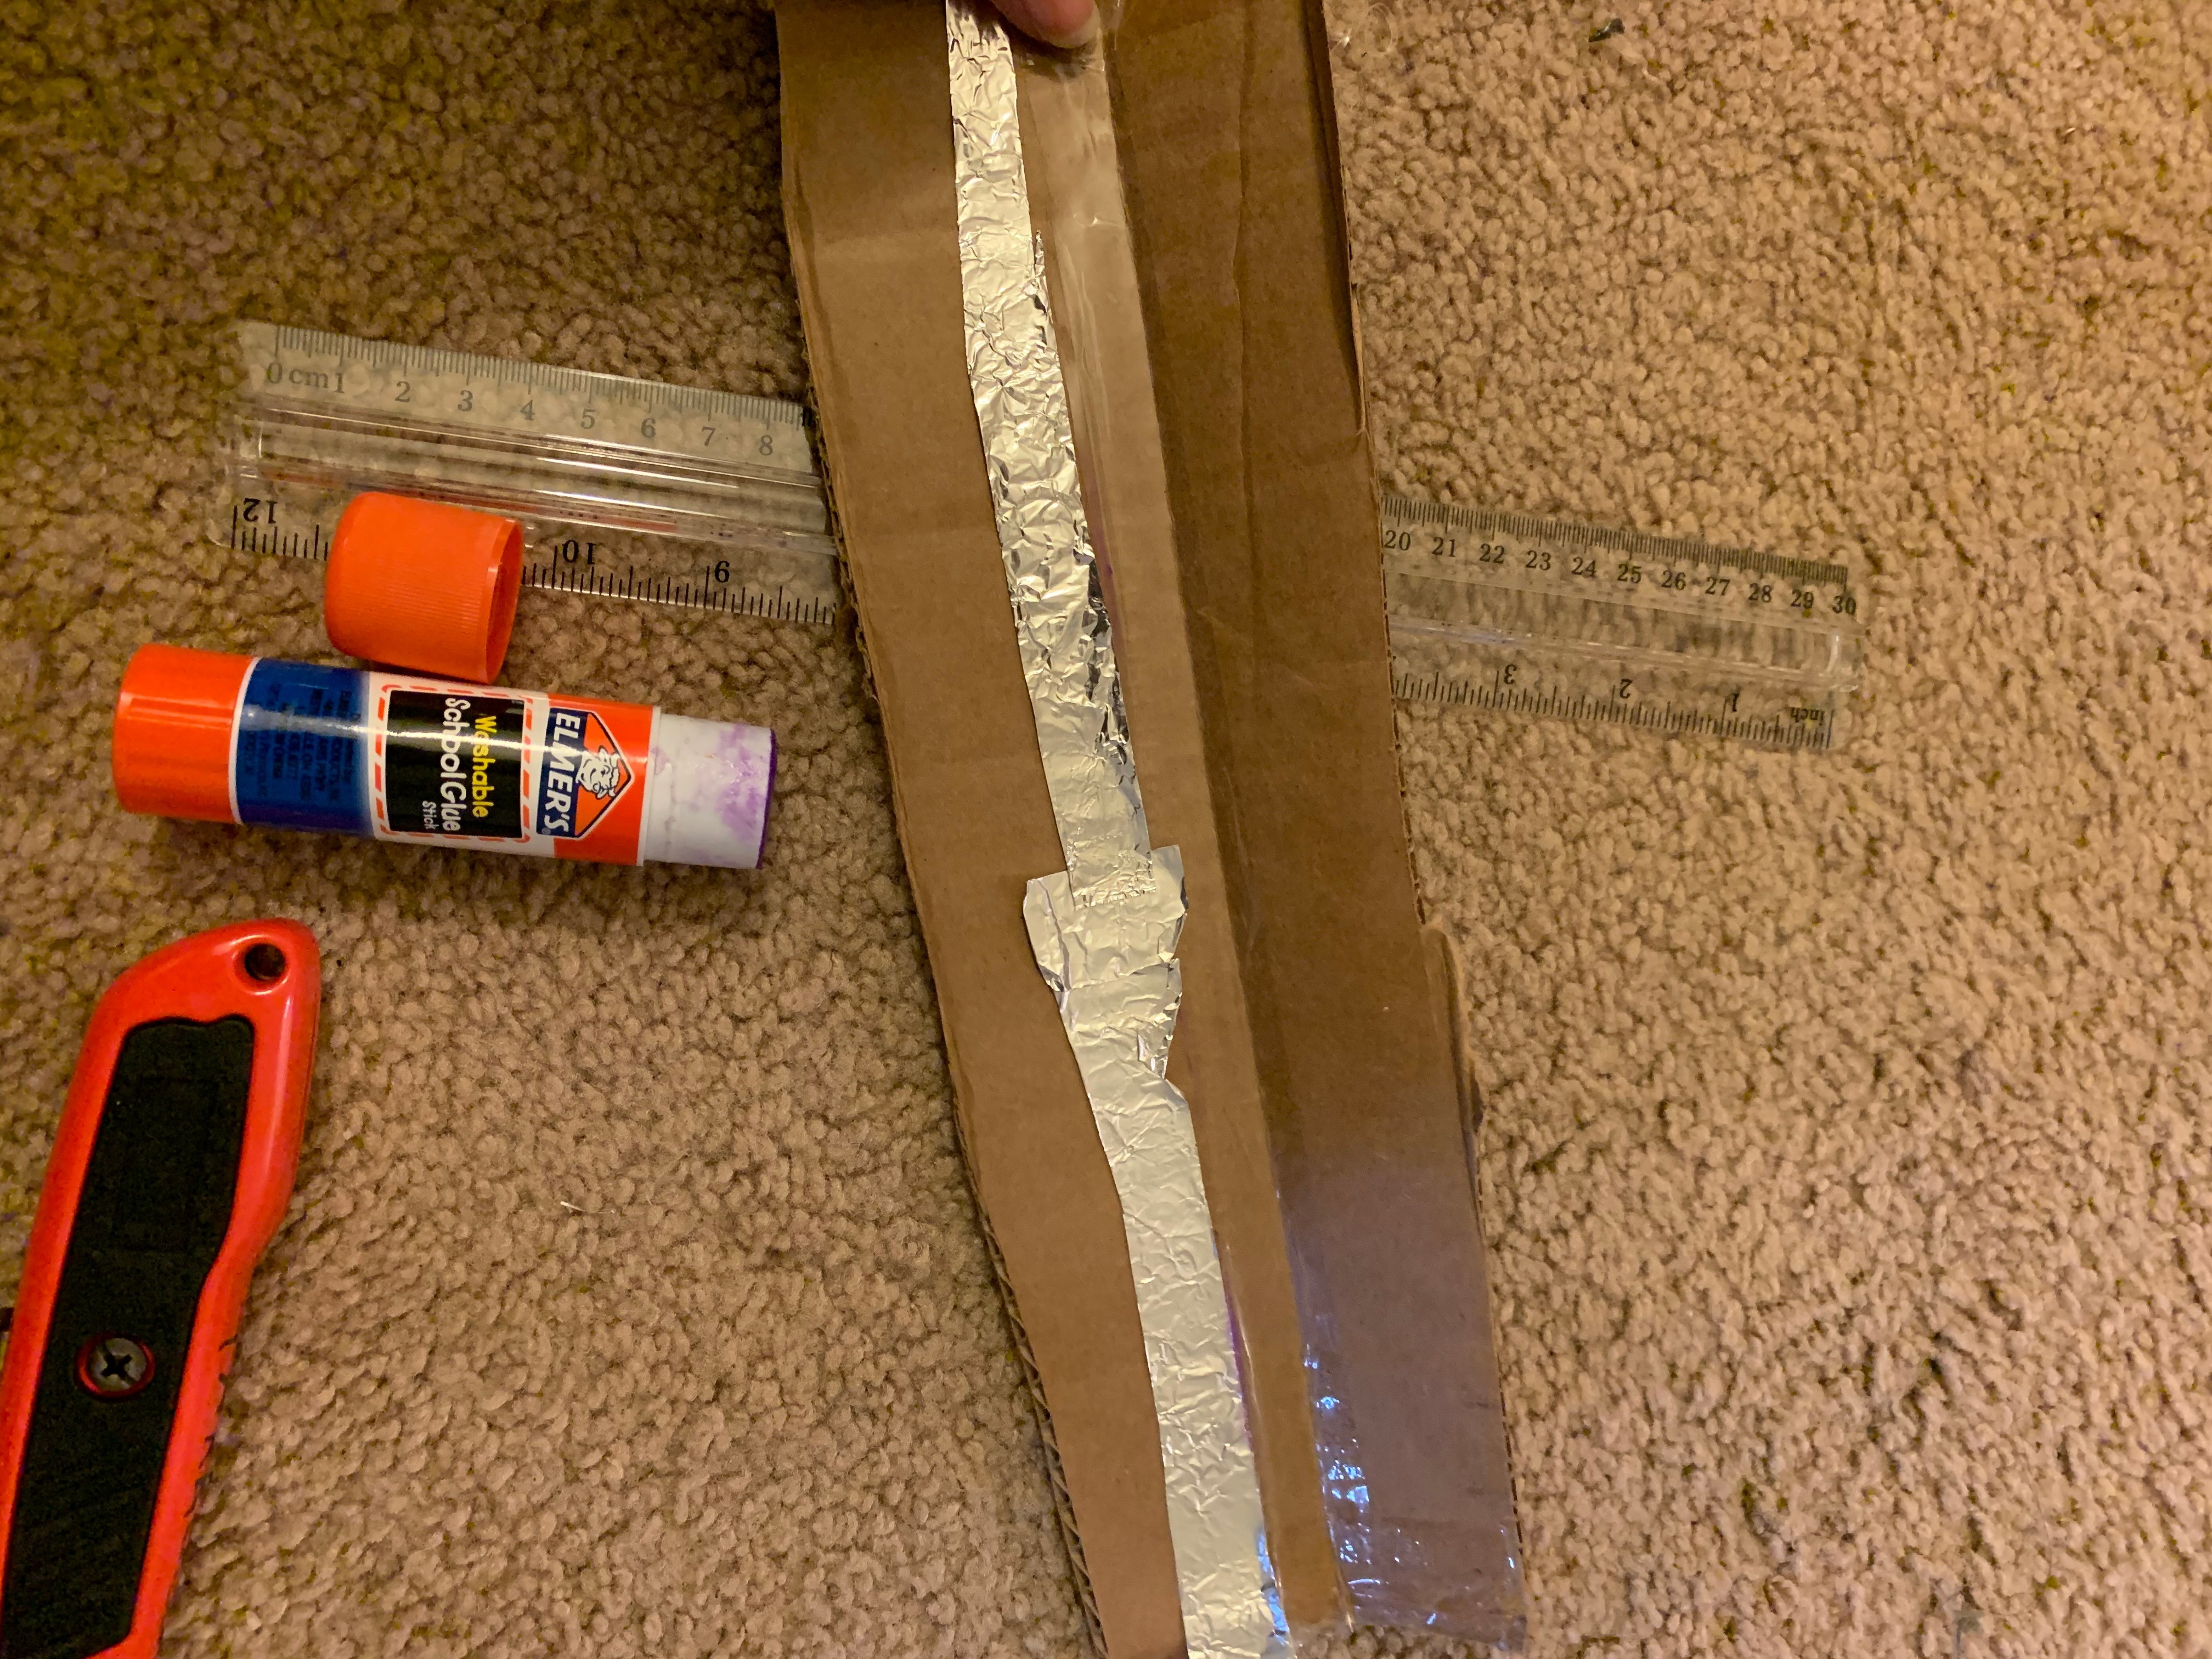
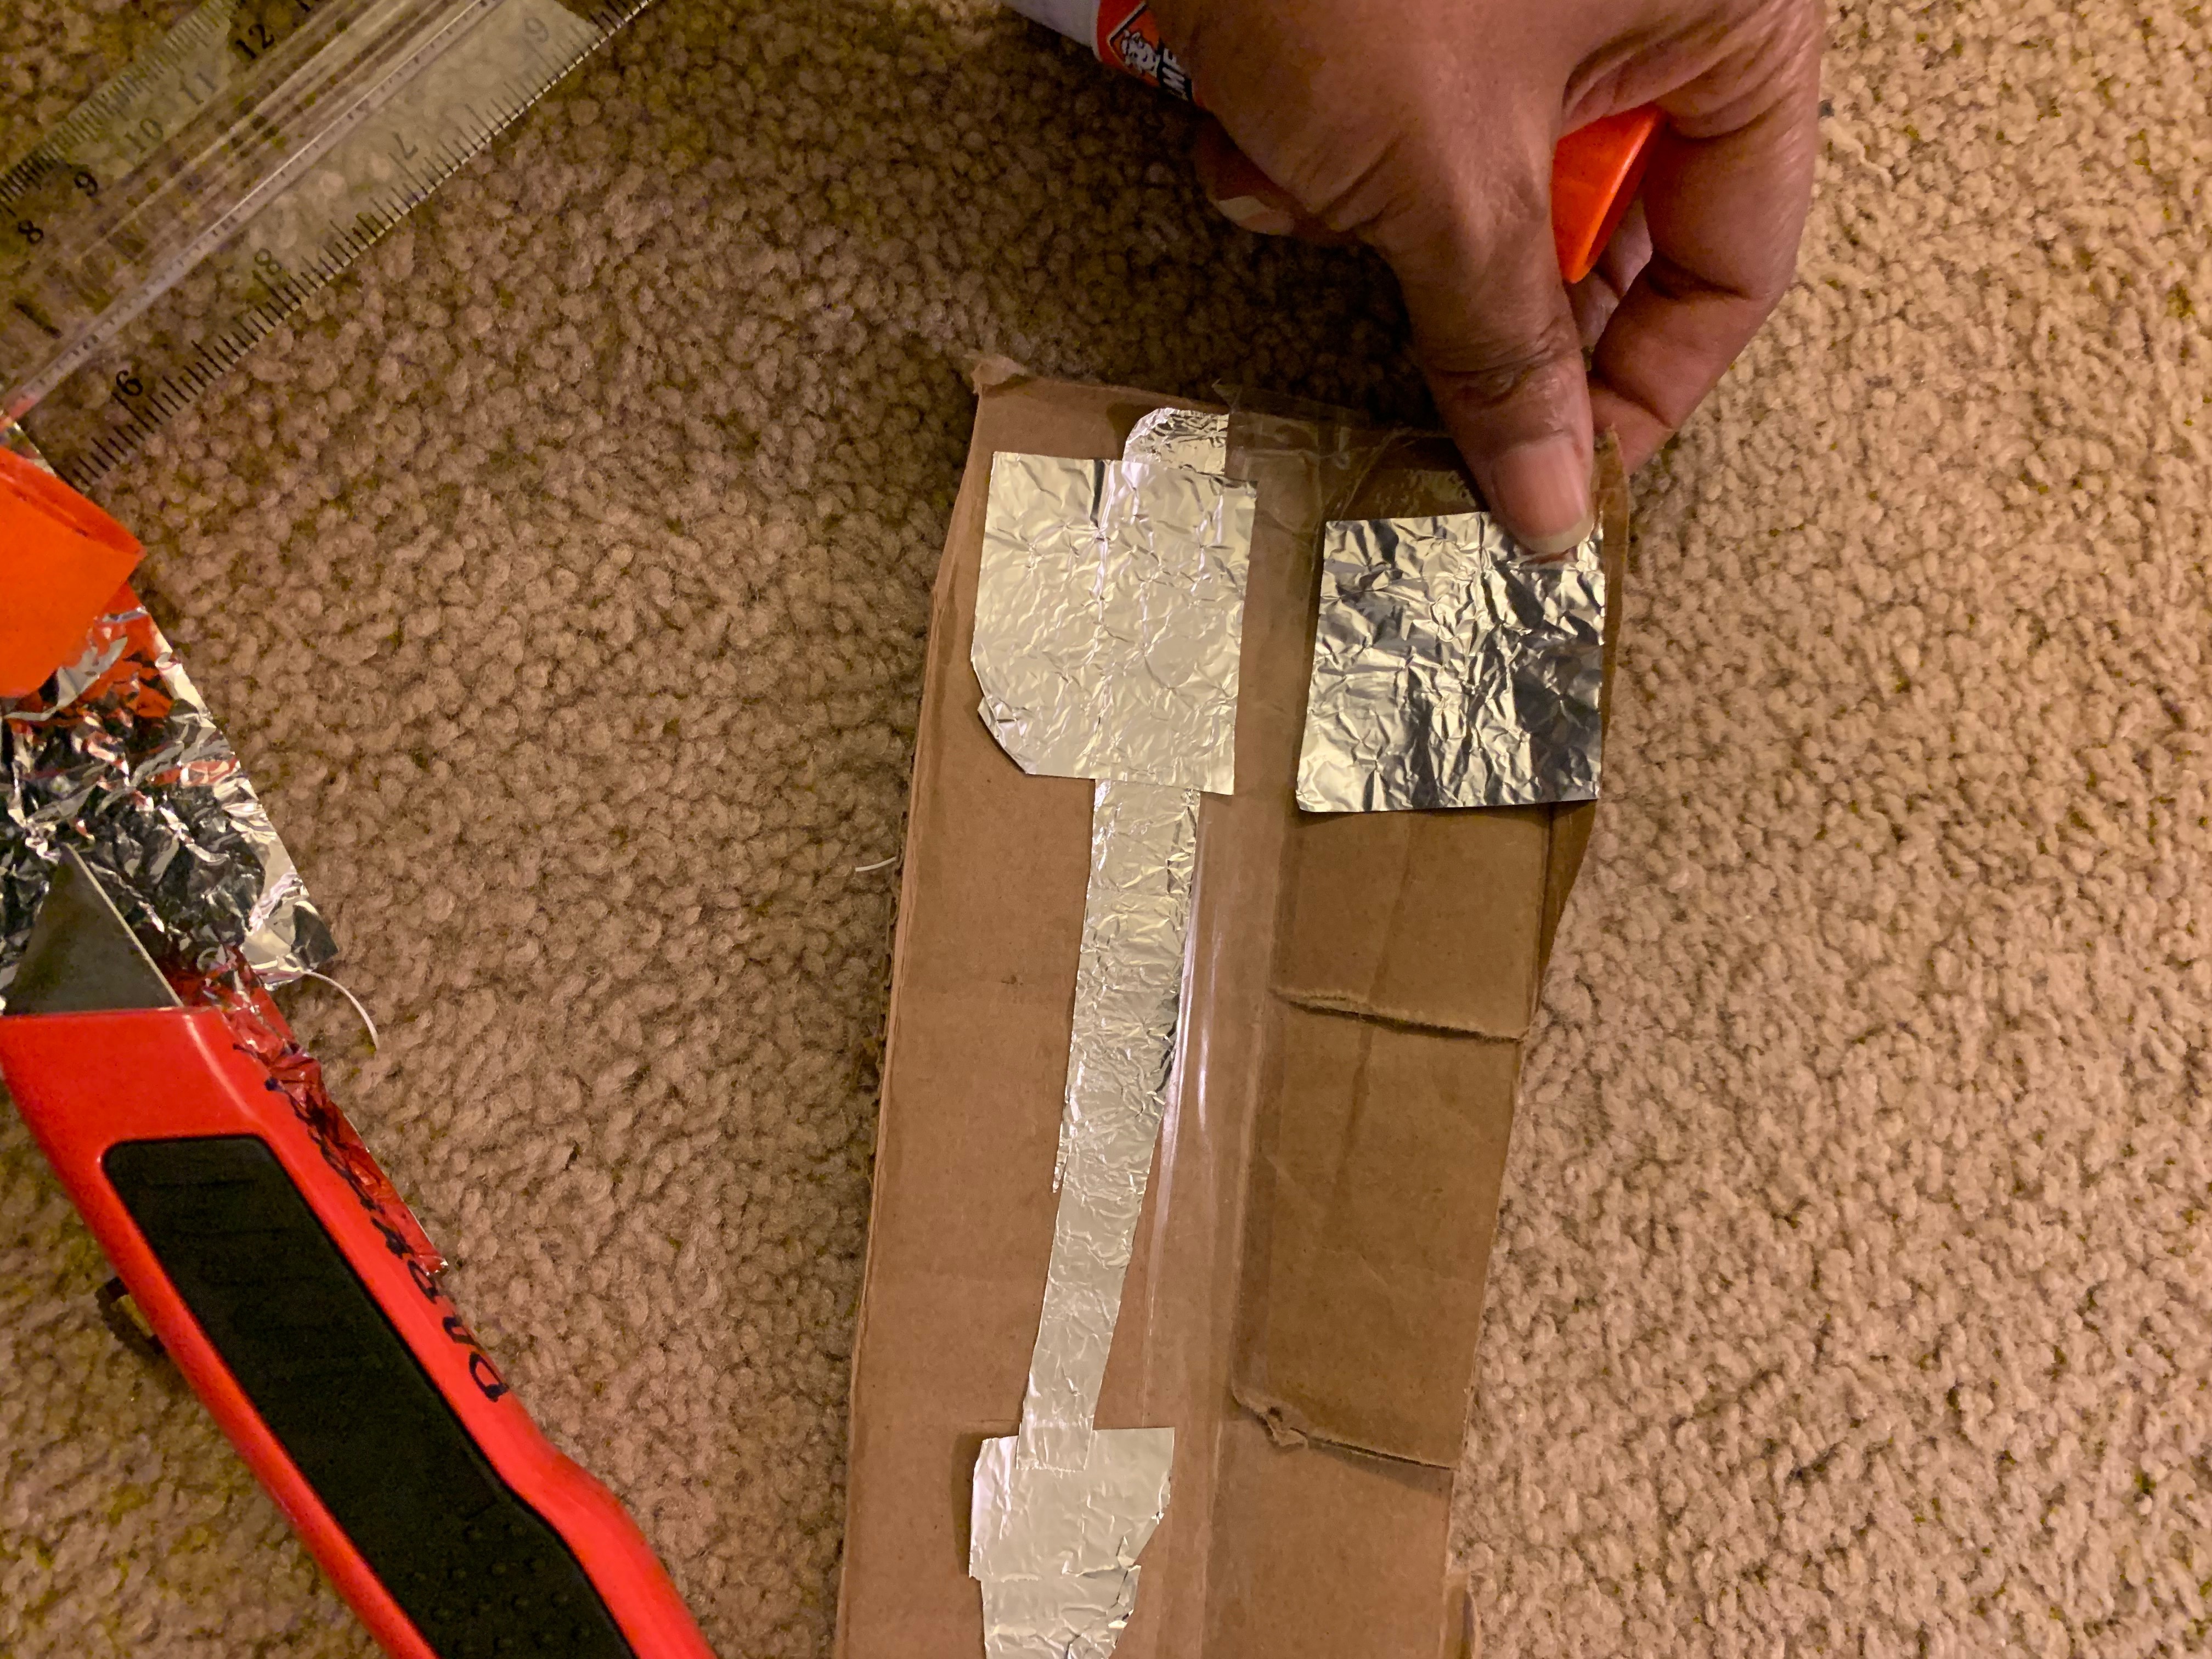
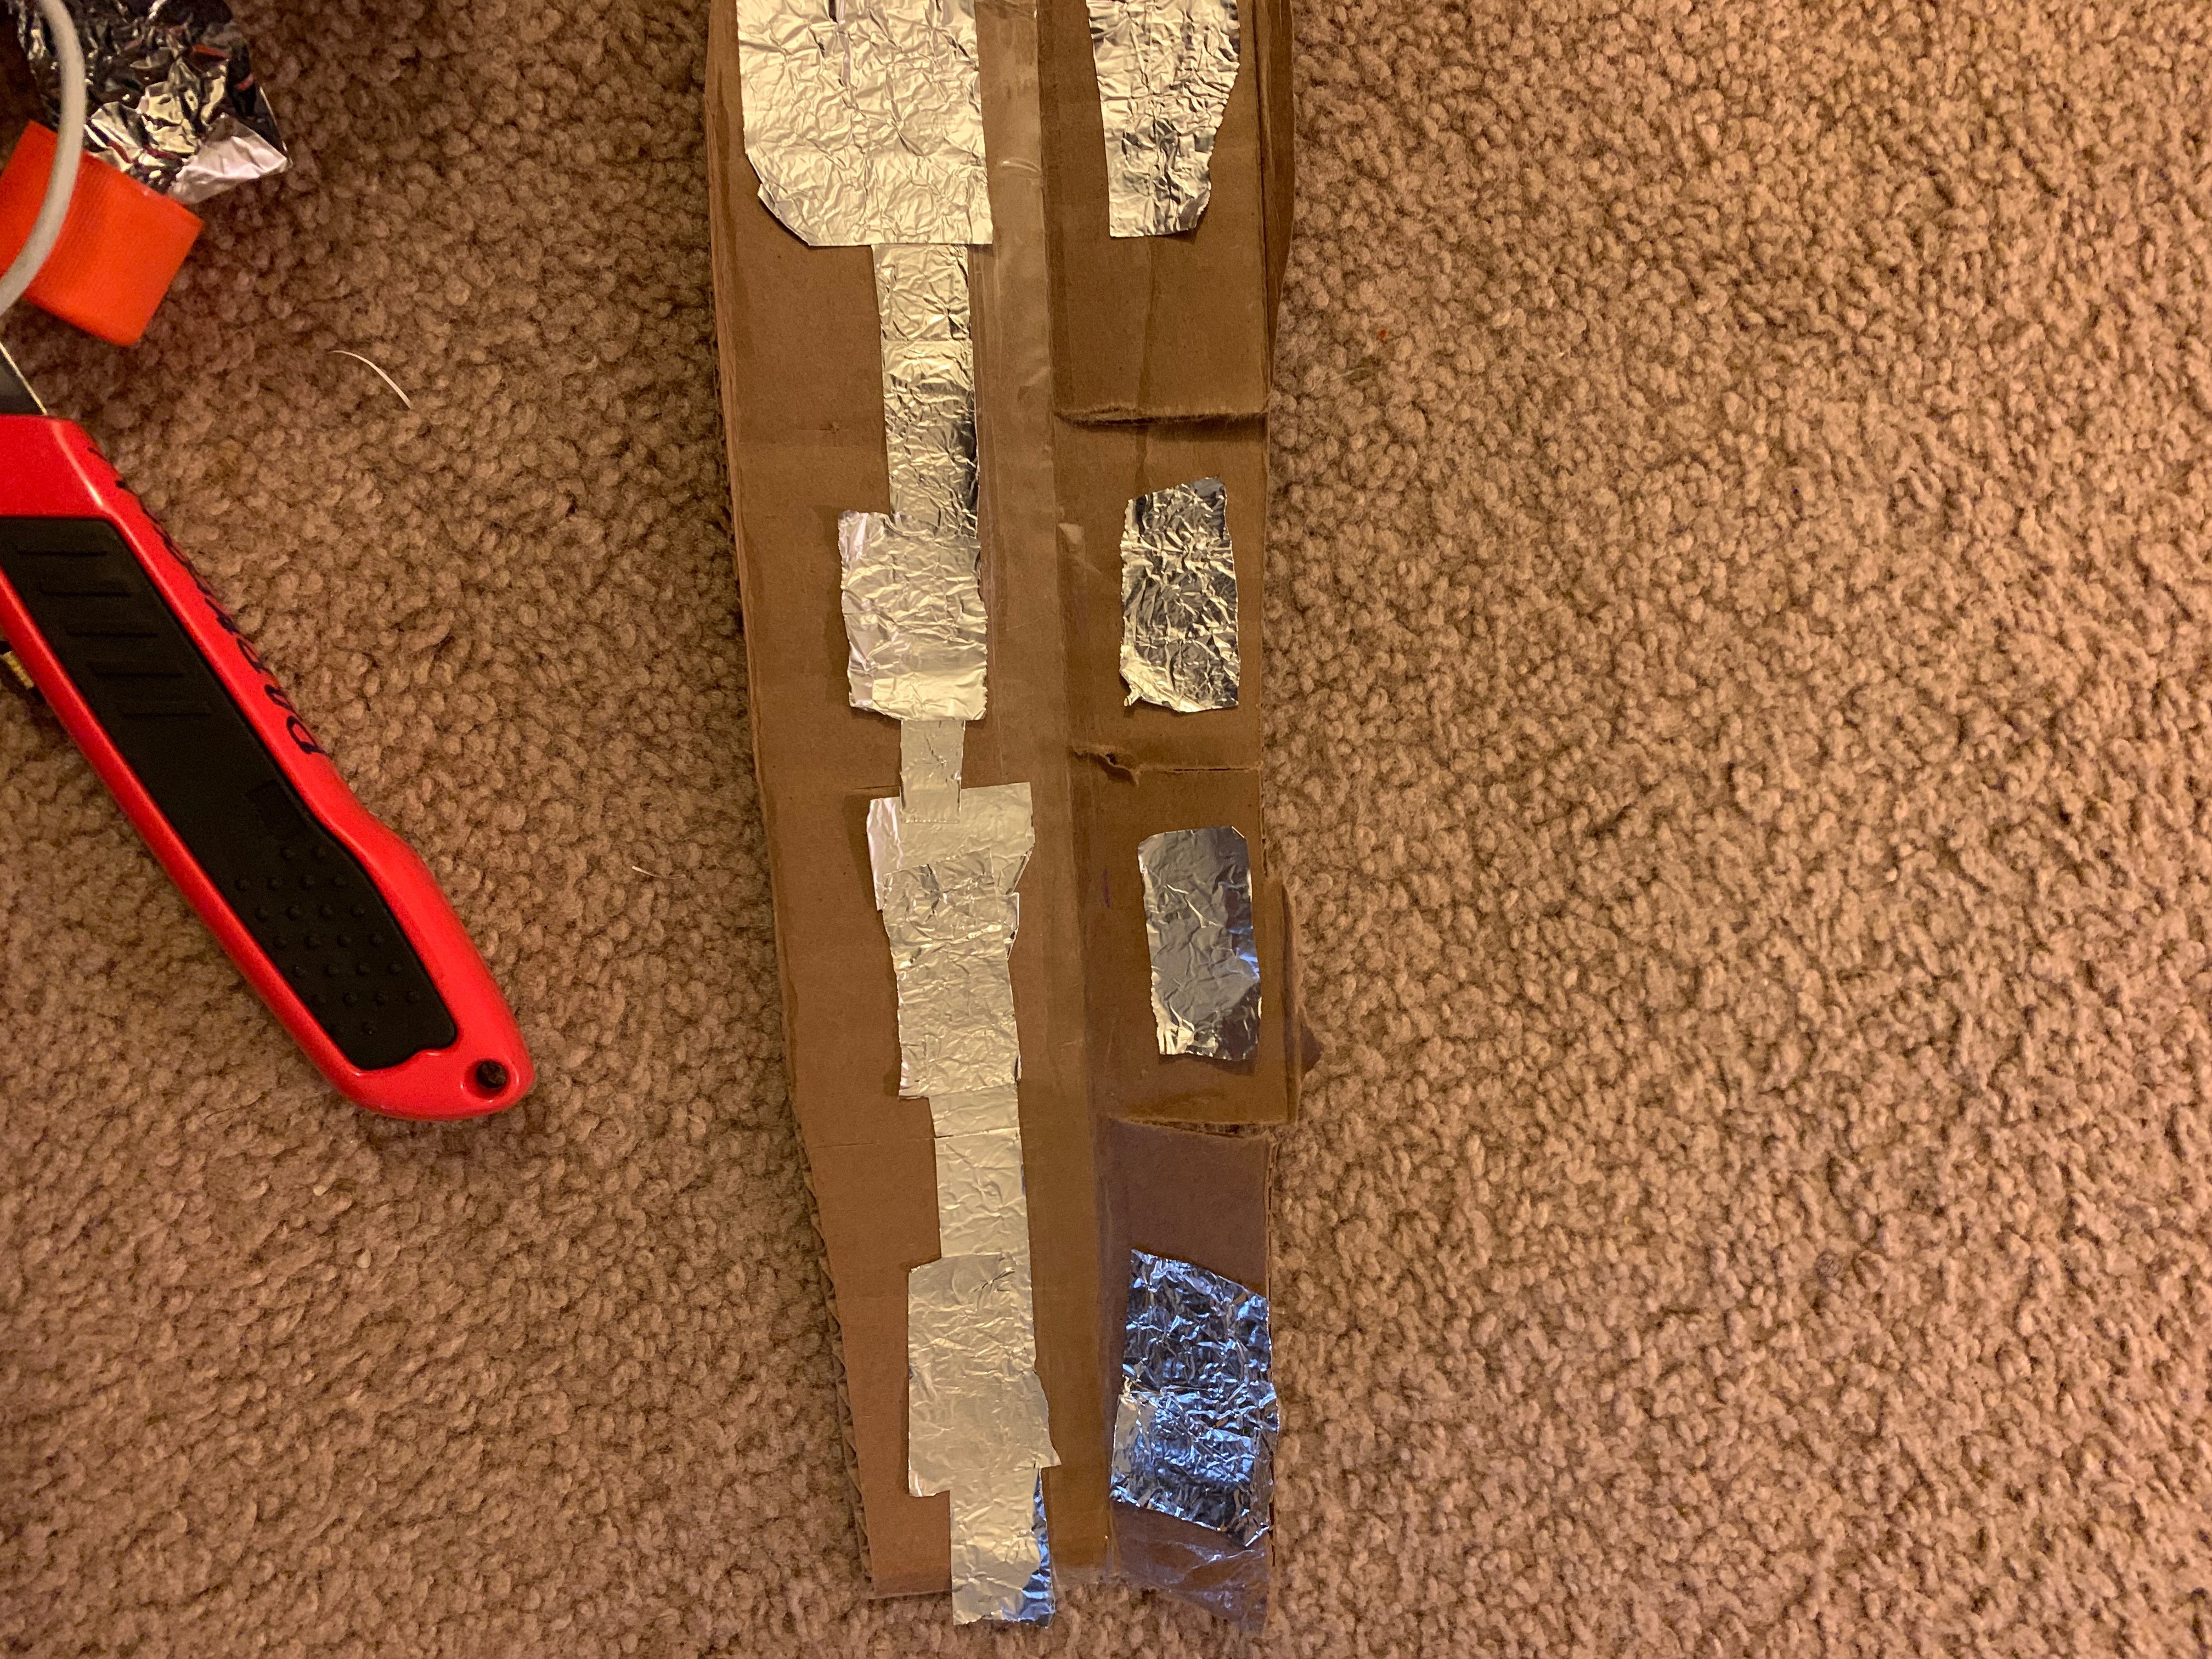
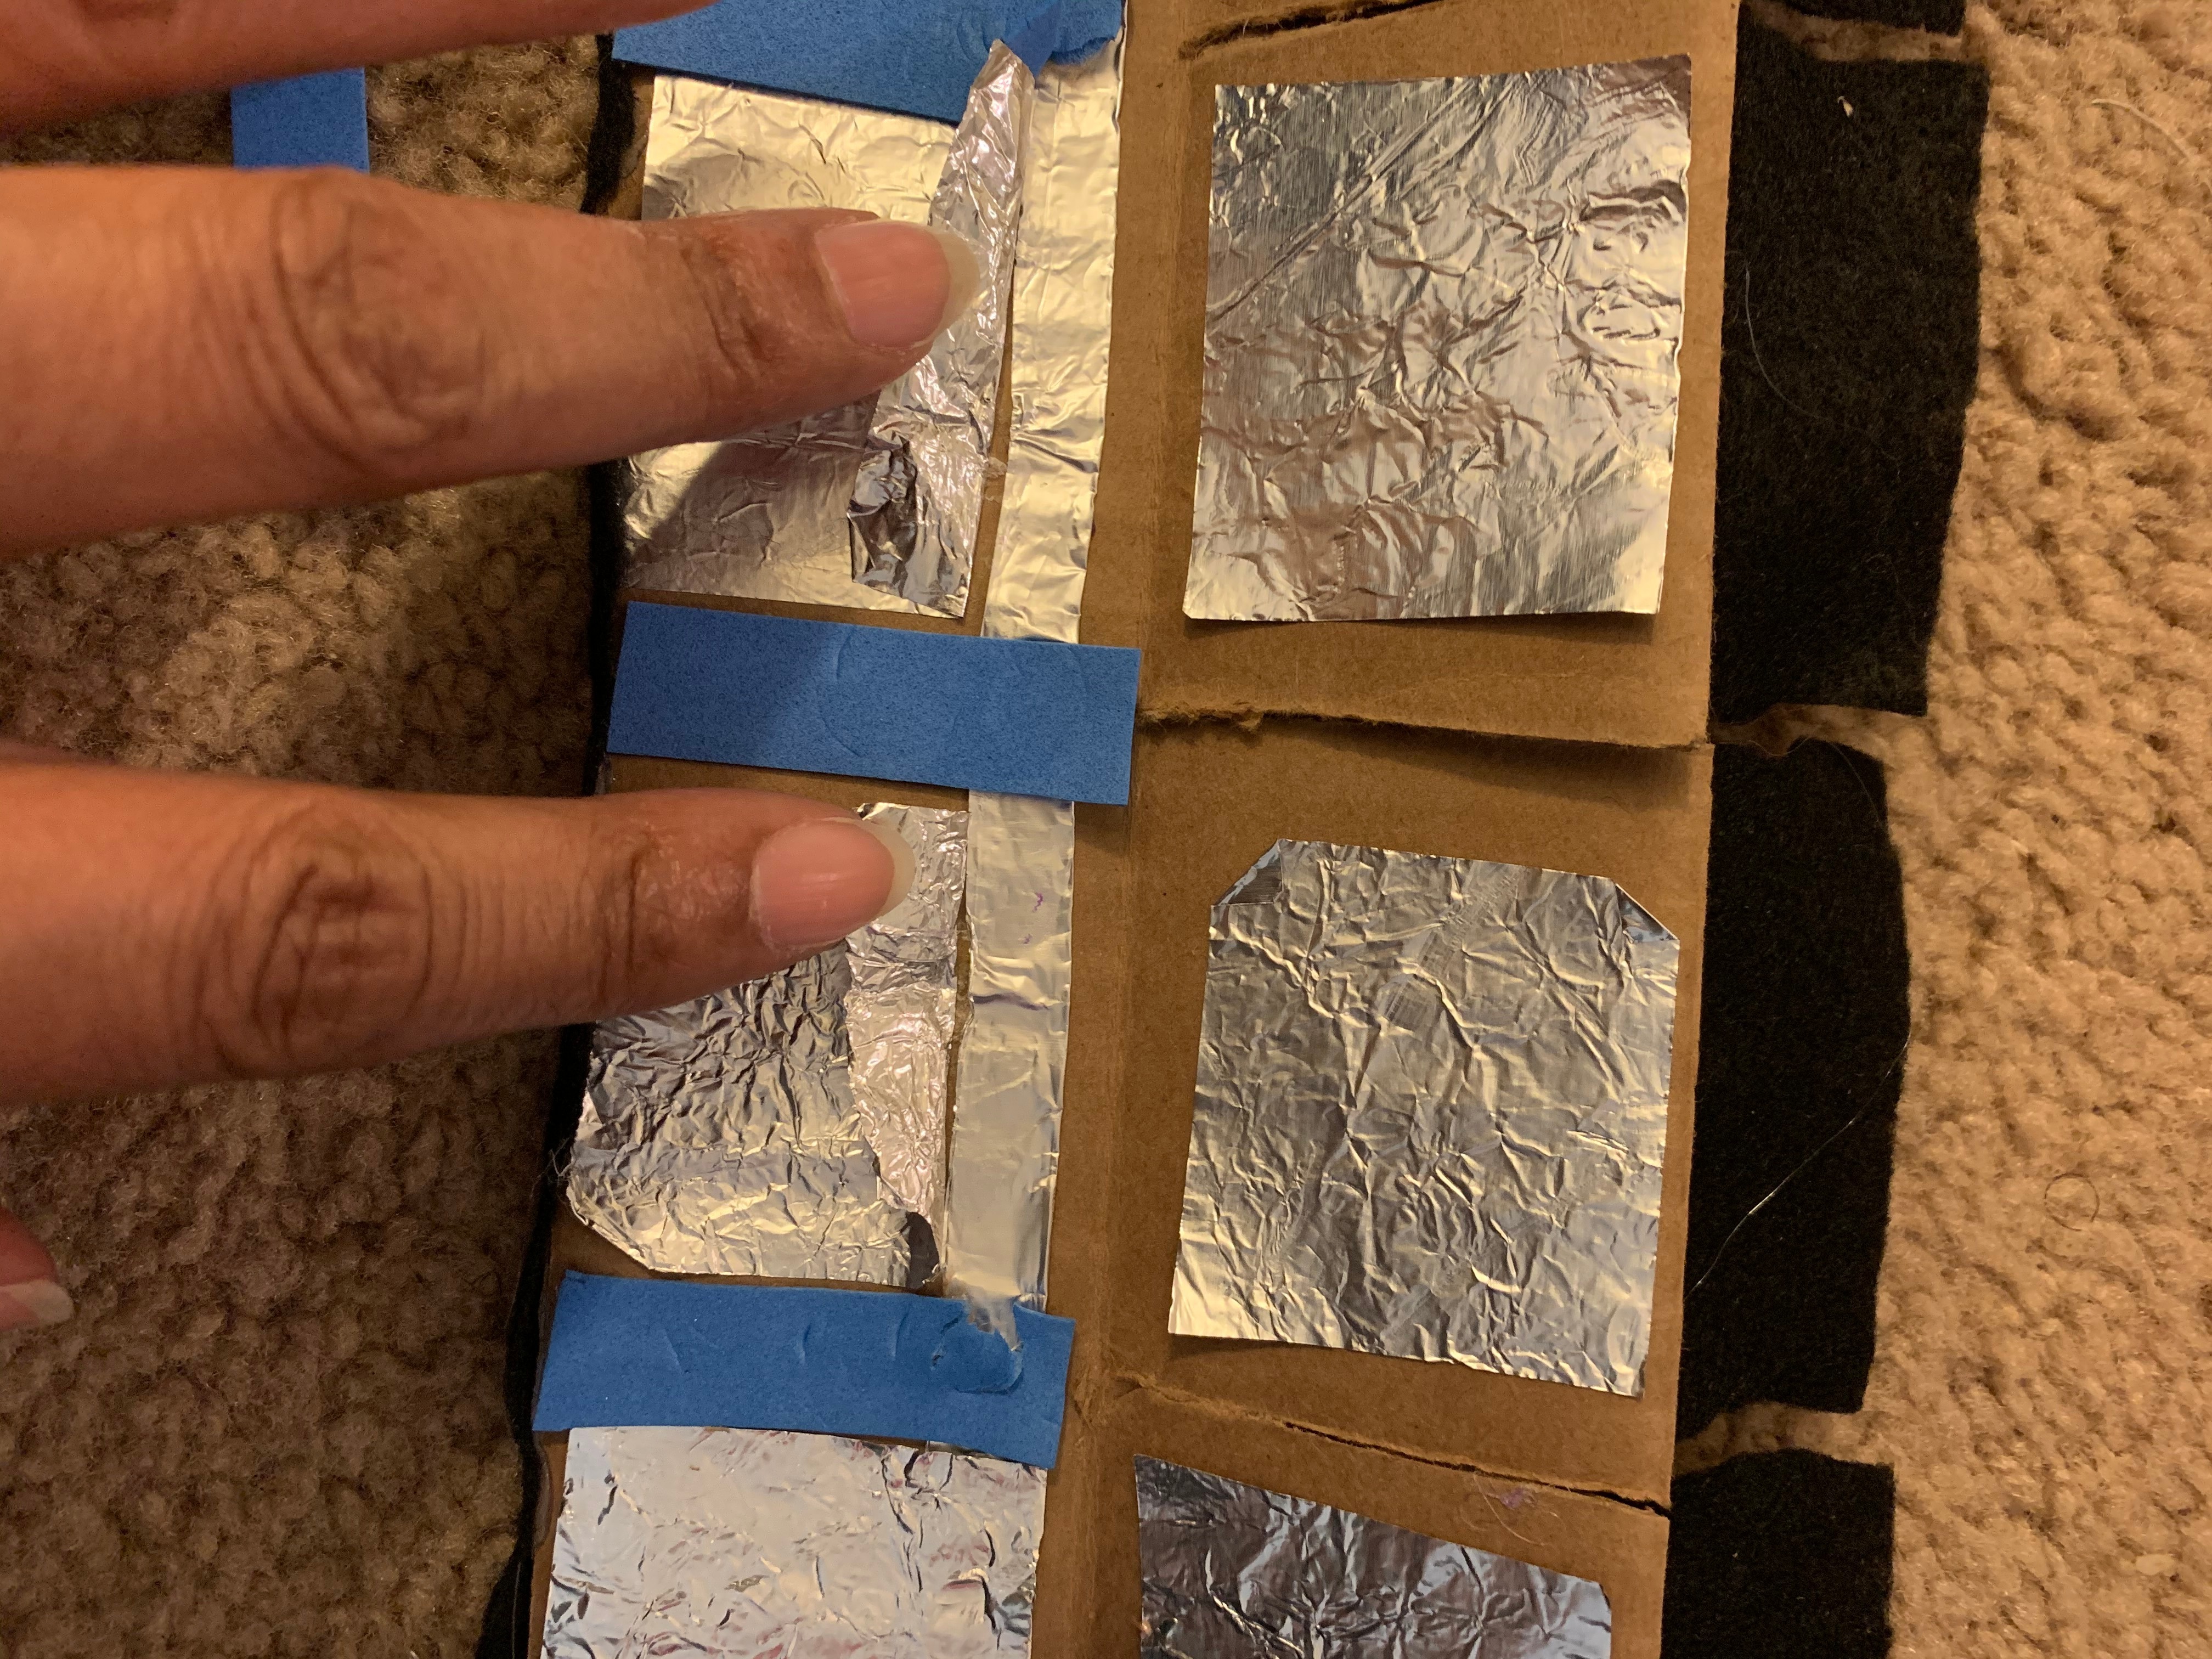
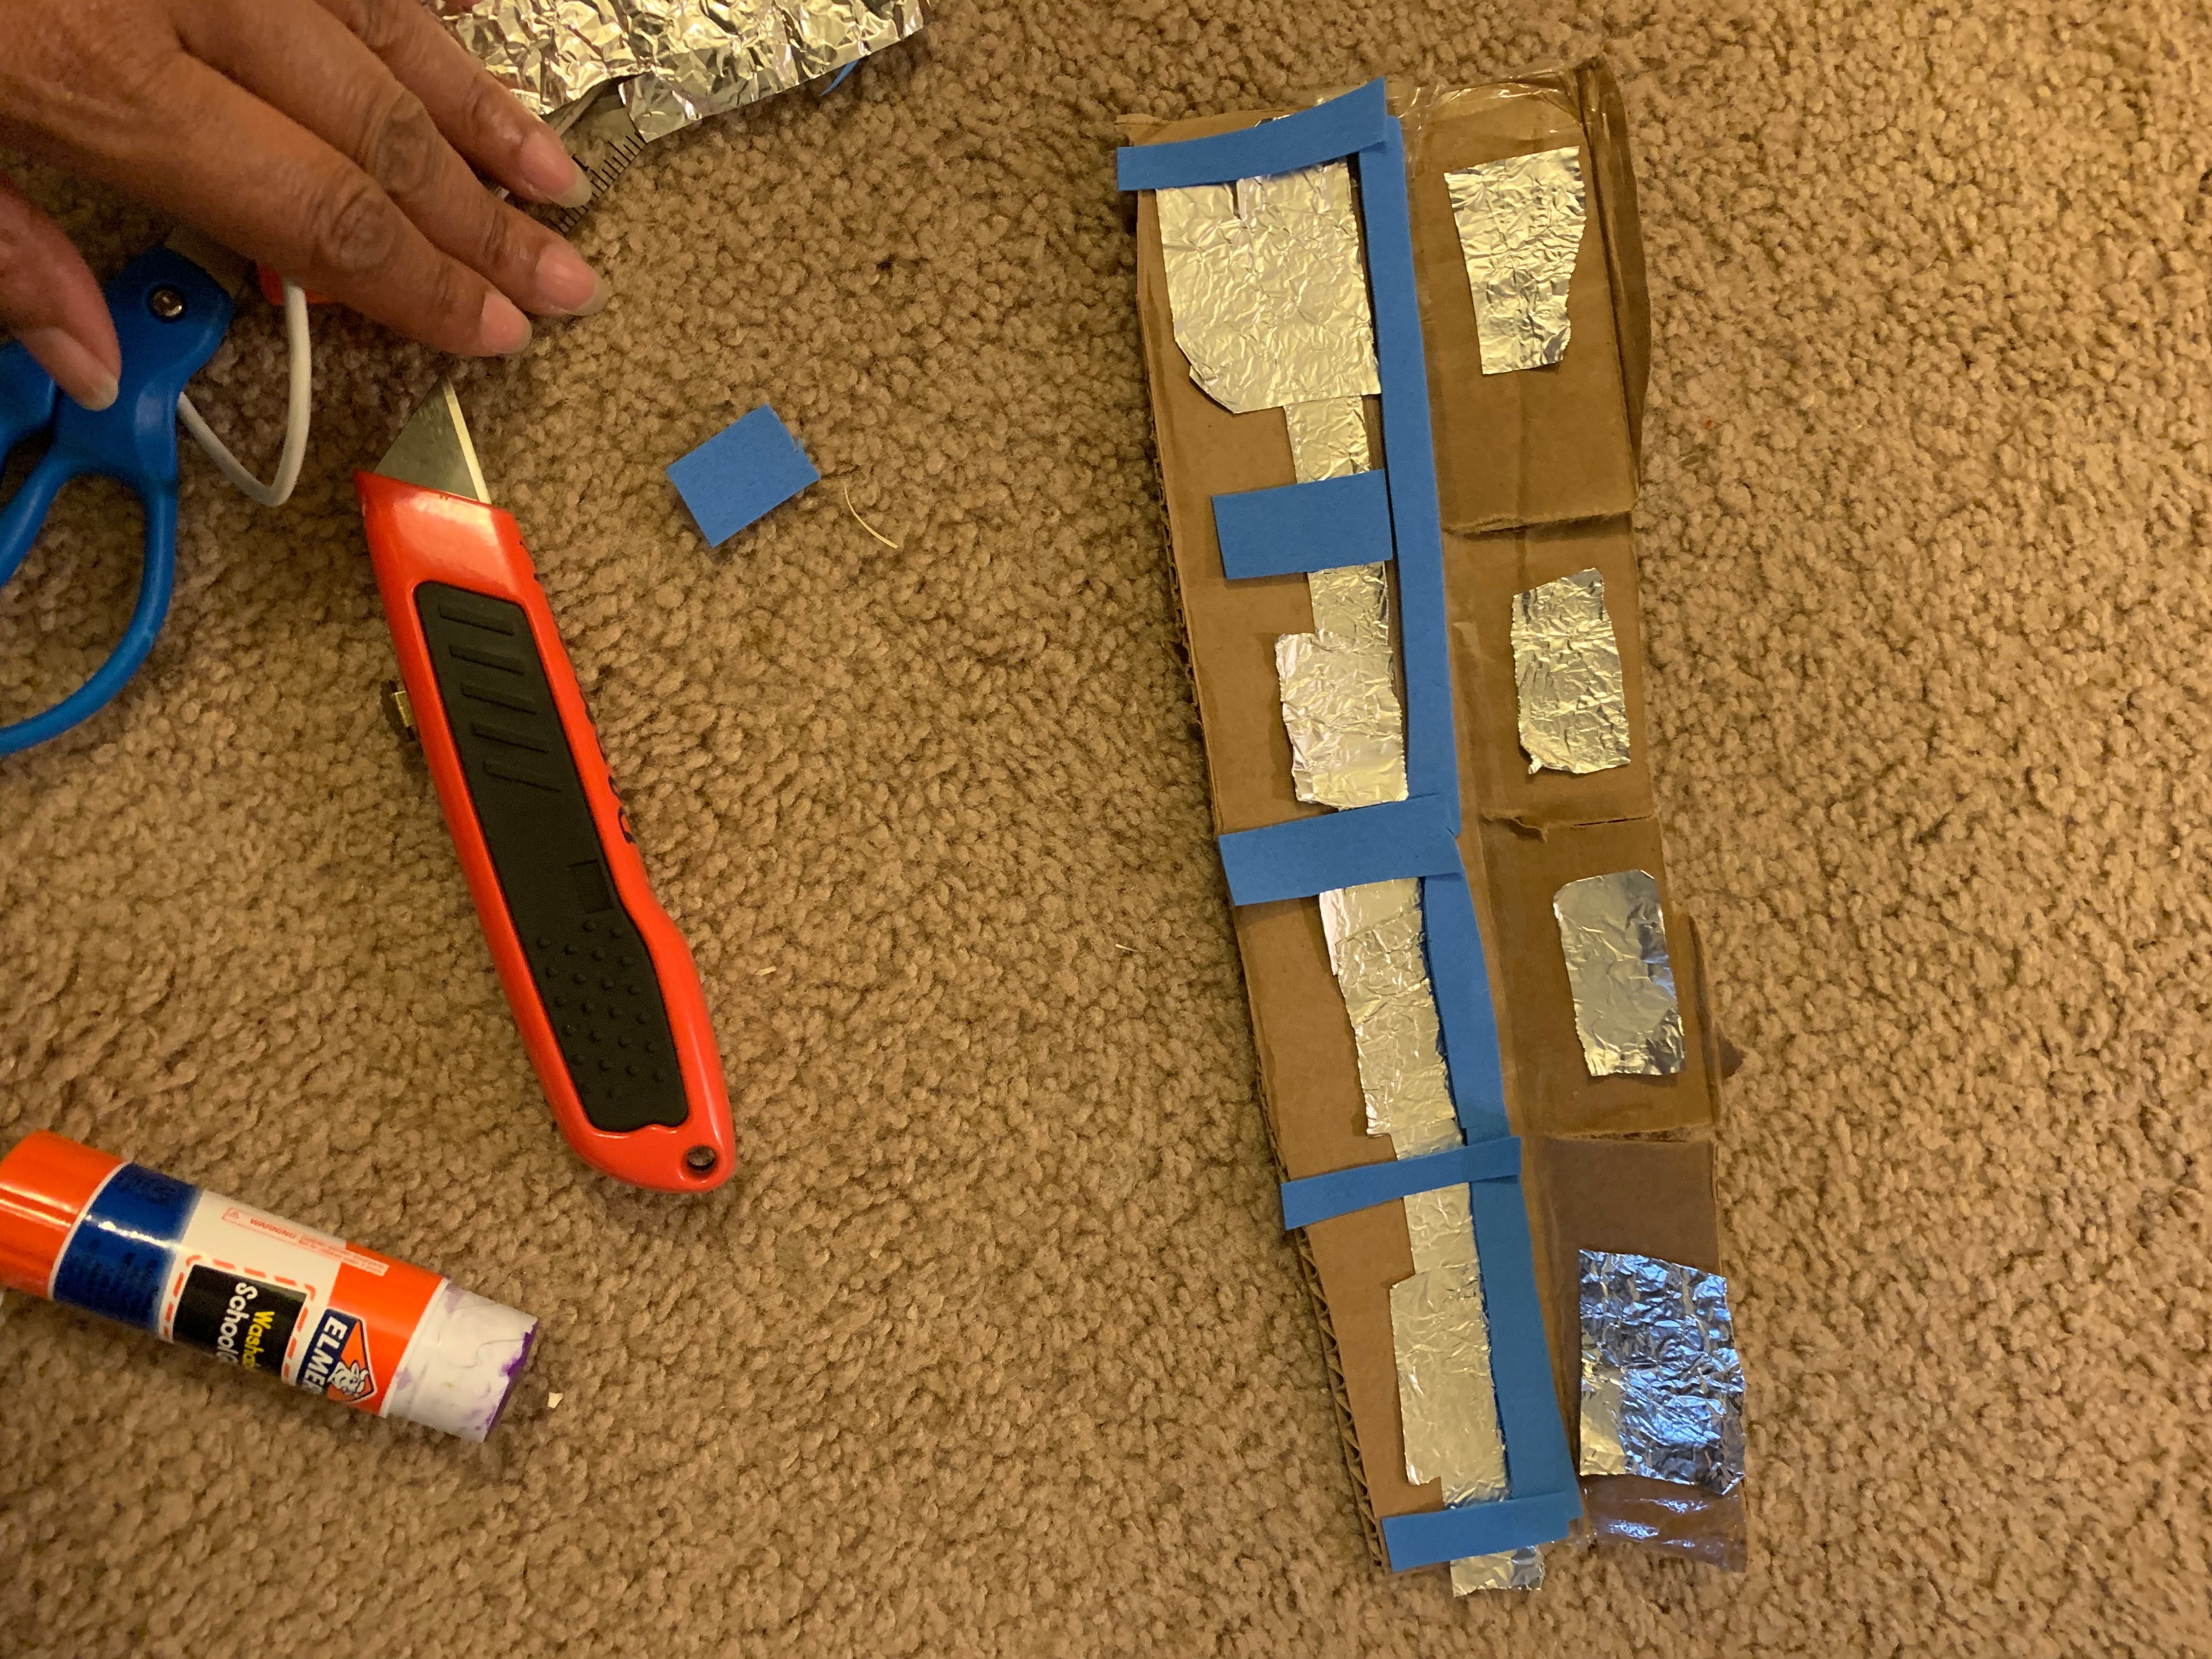
Open the cardboard and cut a strip of foil 12x3/16 inches long. Use Elmer's glue to glue the foil paper down the half of the cardboard that was not scored into pieces (make sure it does not touch the other side of the cardboard that was scored. Cut out 10 pieces of foil the size of 1 1/2 inches and glue them down on the inside of cardboard in sections 5 on the top and 5 on the bottom over the earth wire. During this process leave a piece of the earth wire exposed on the end to connect to the earth wire on the MakeyMakey.
Once the individual foil squares are glued down cut some thin foam and section off the foil squares you just glued down. Make sure to butt against the crease of the top section of the invention (protect earth wire from touch top section).
Felt and Buttons
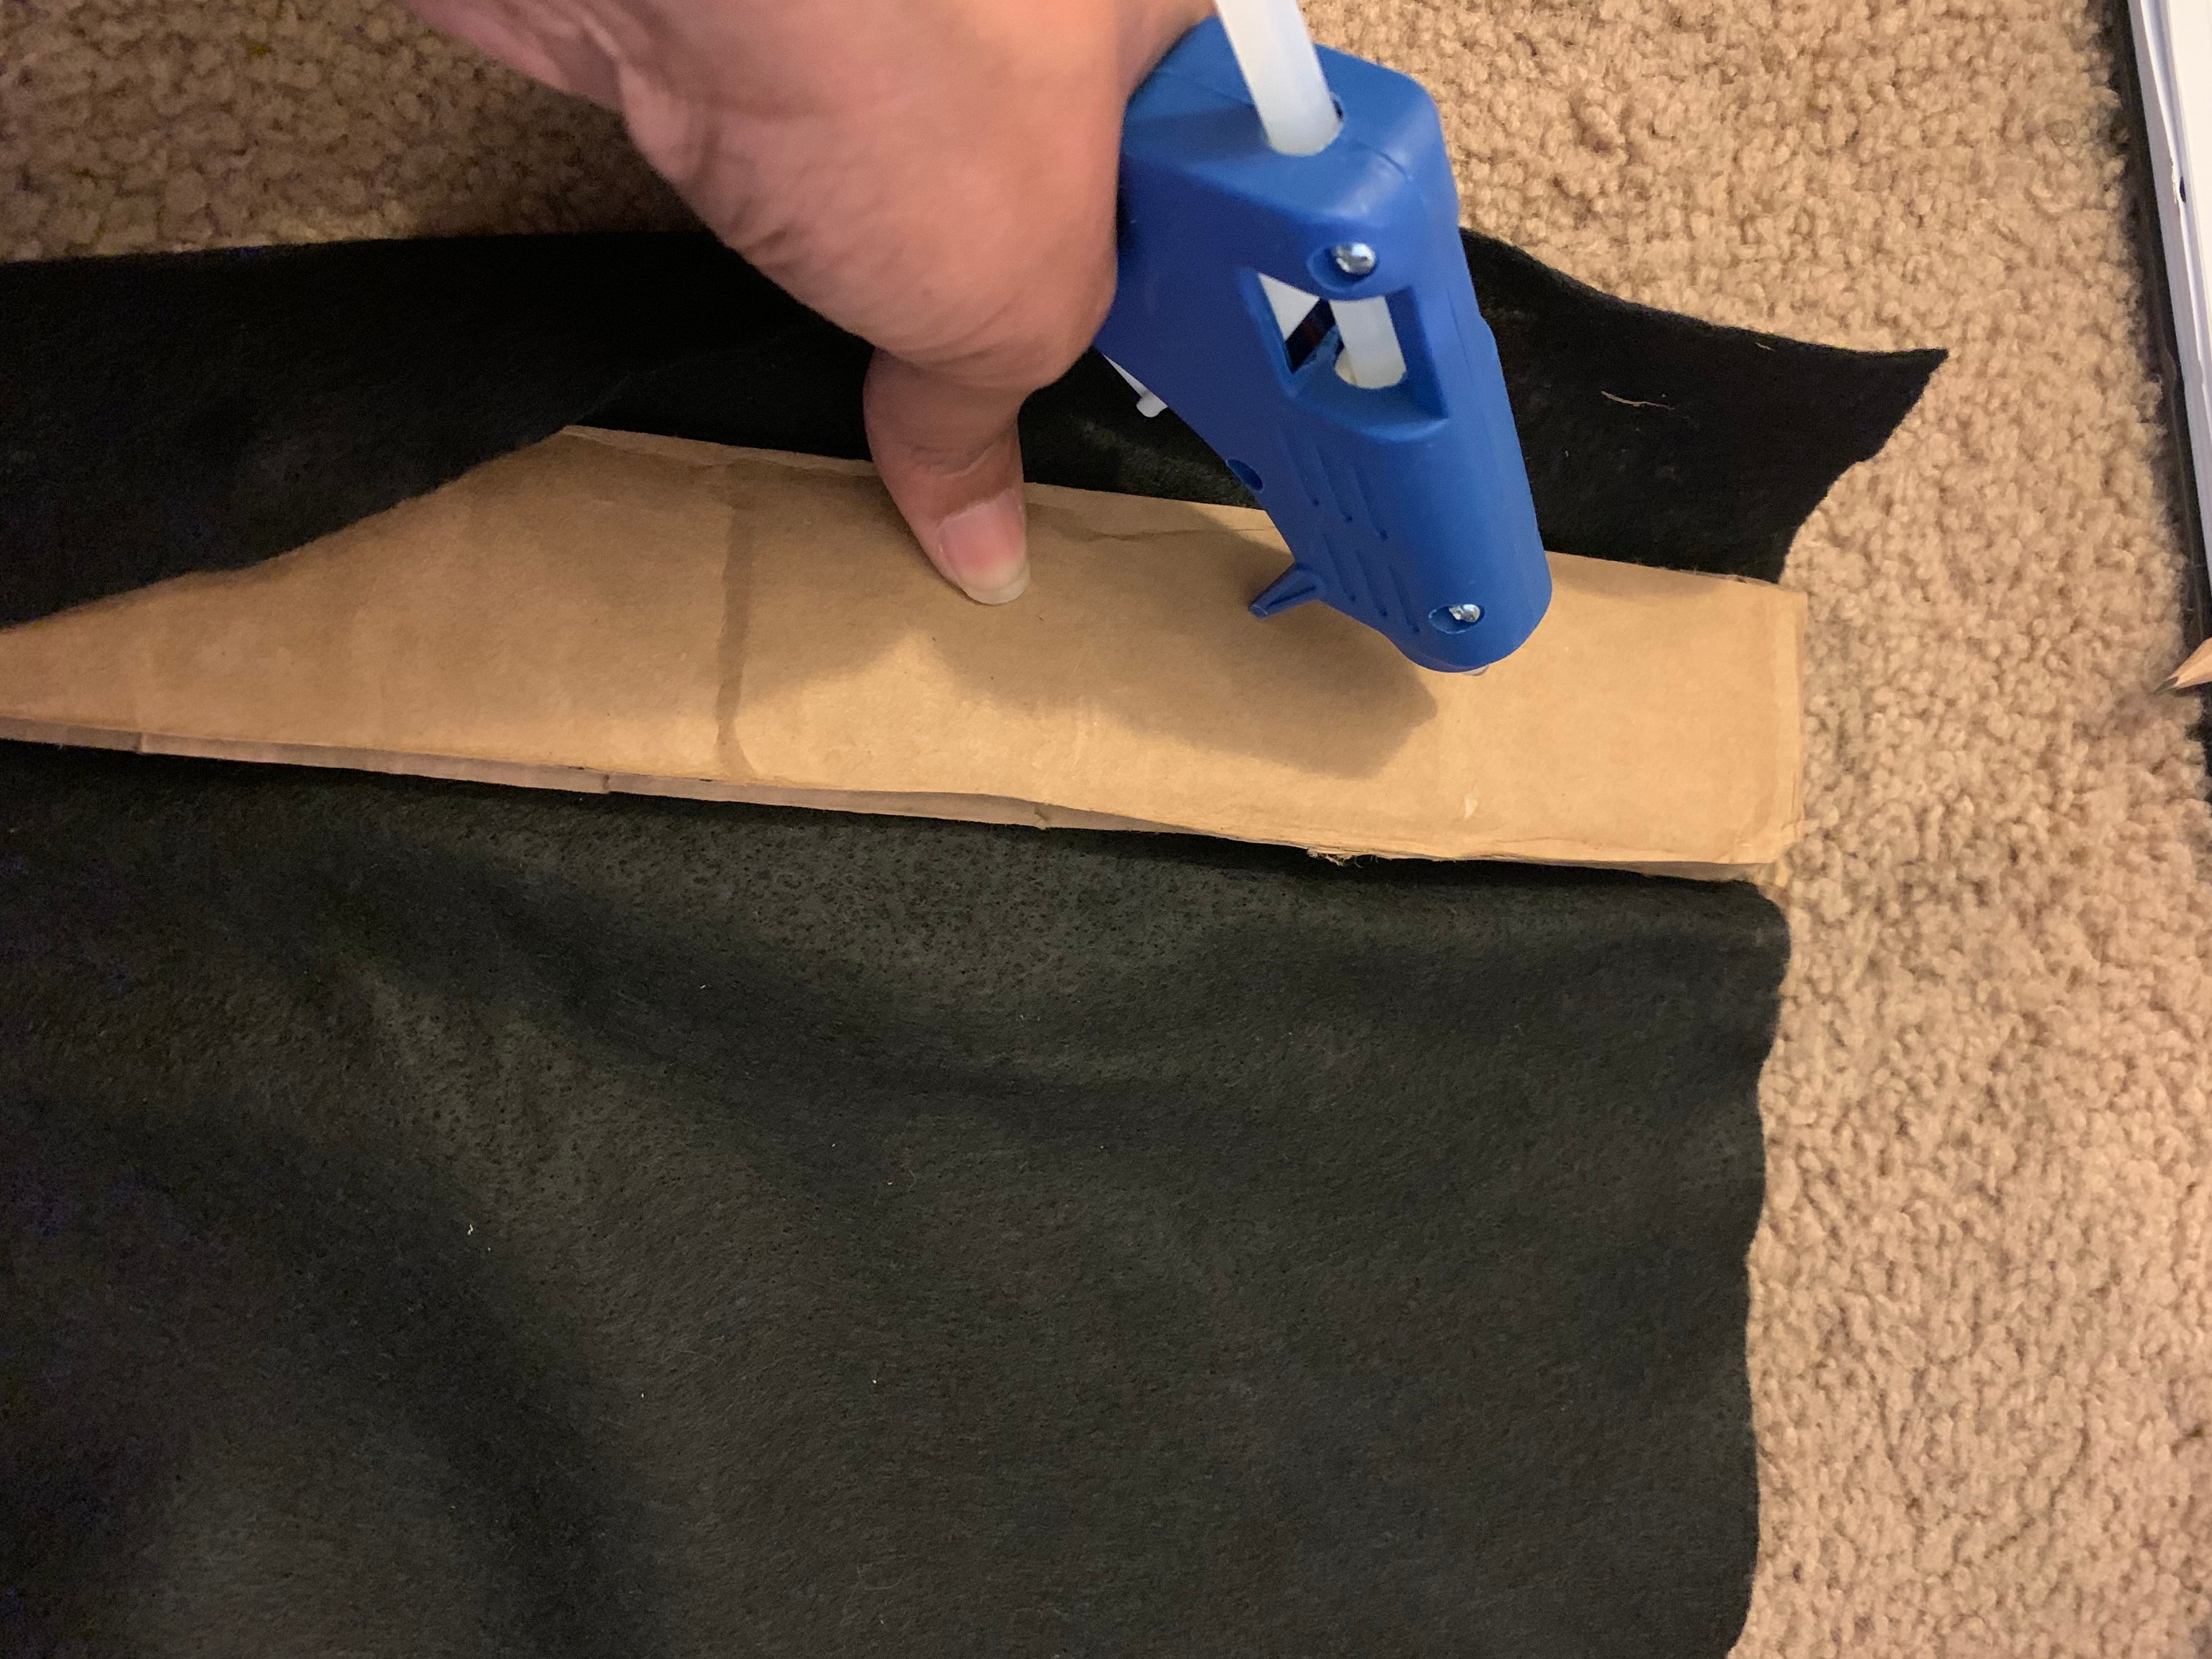
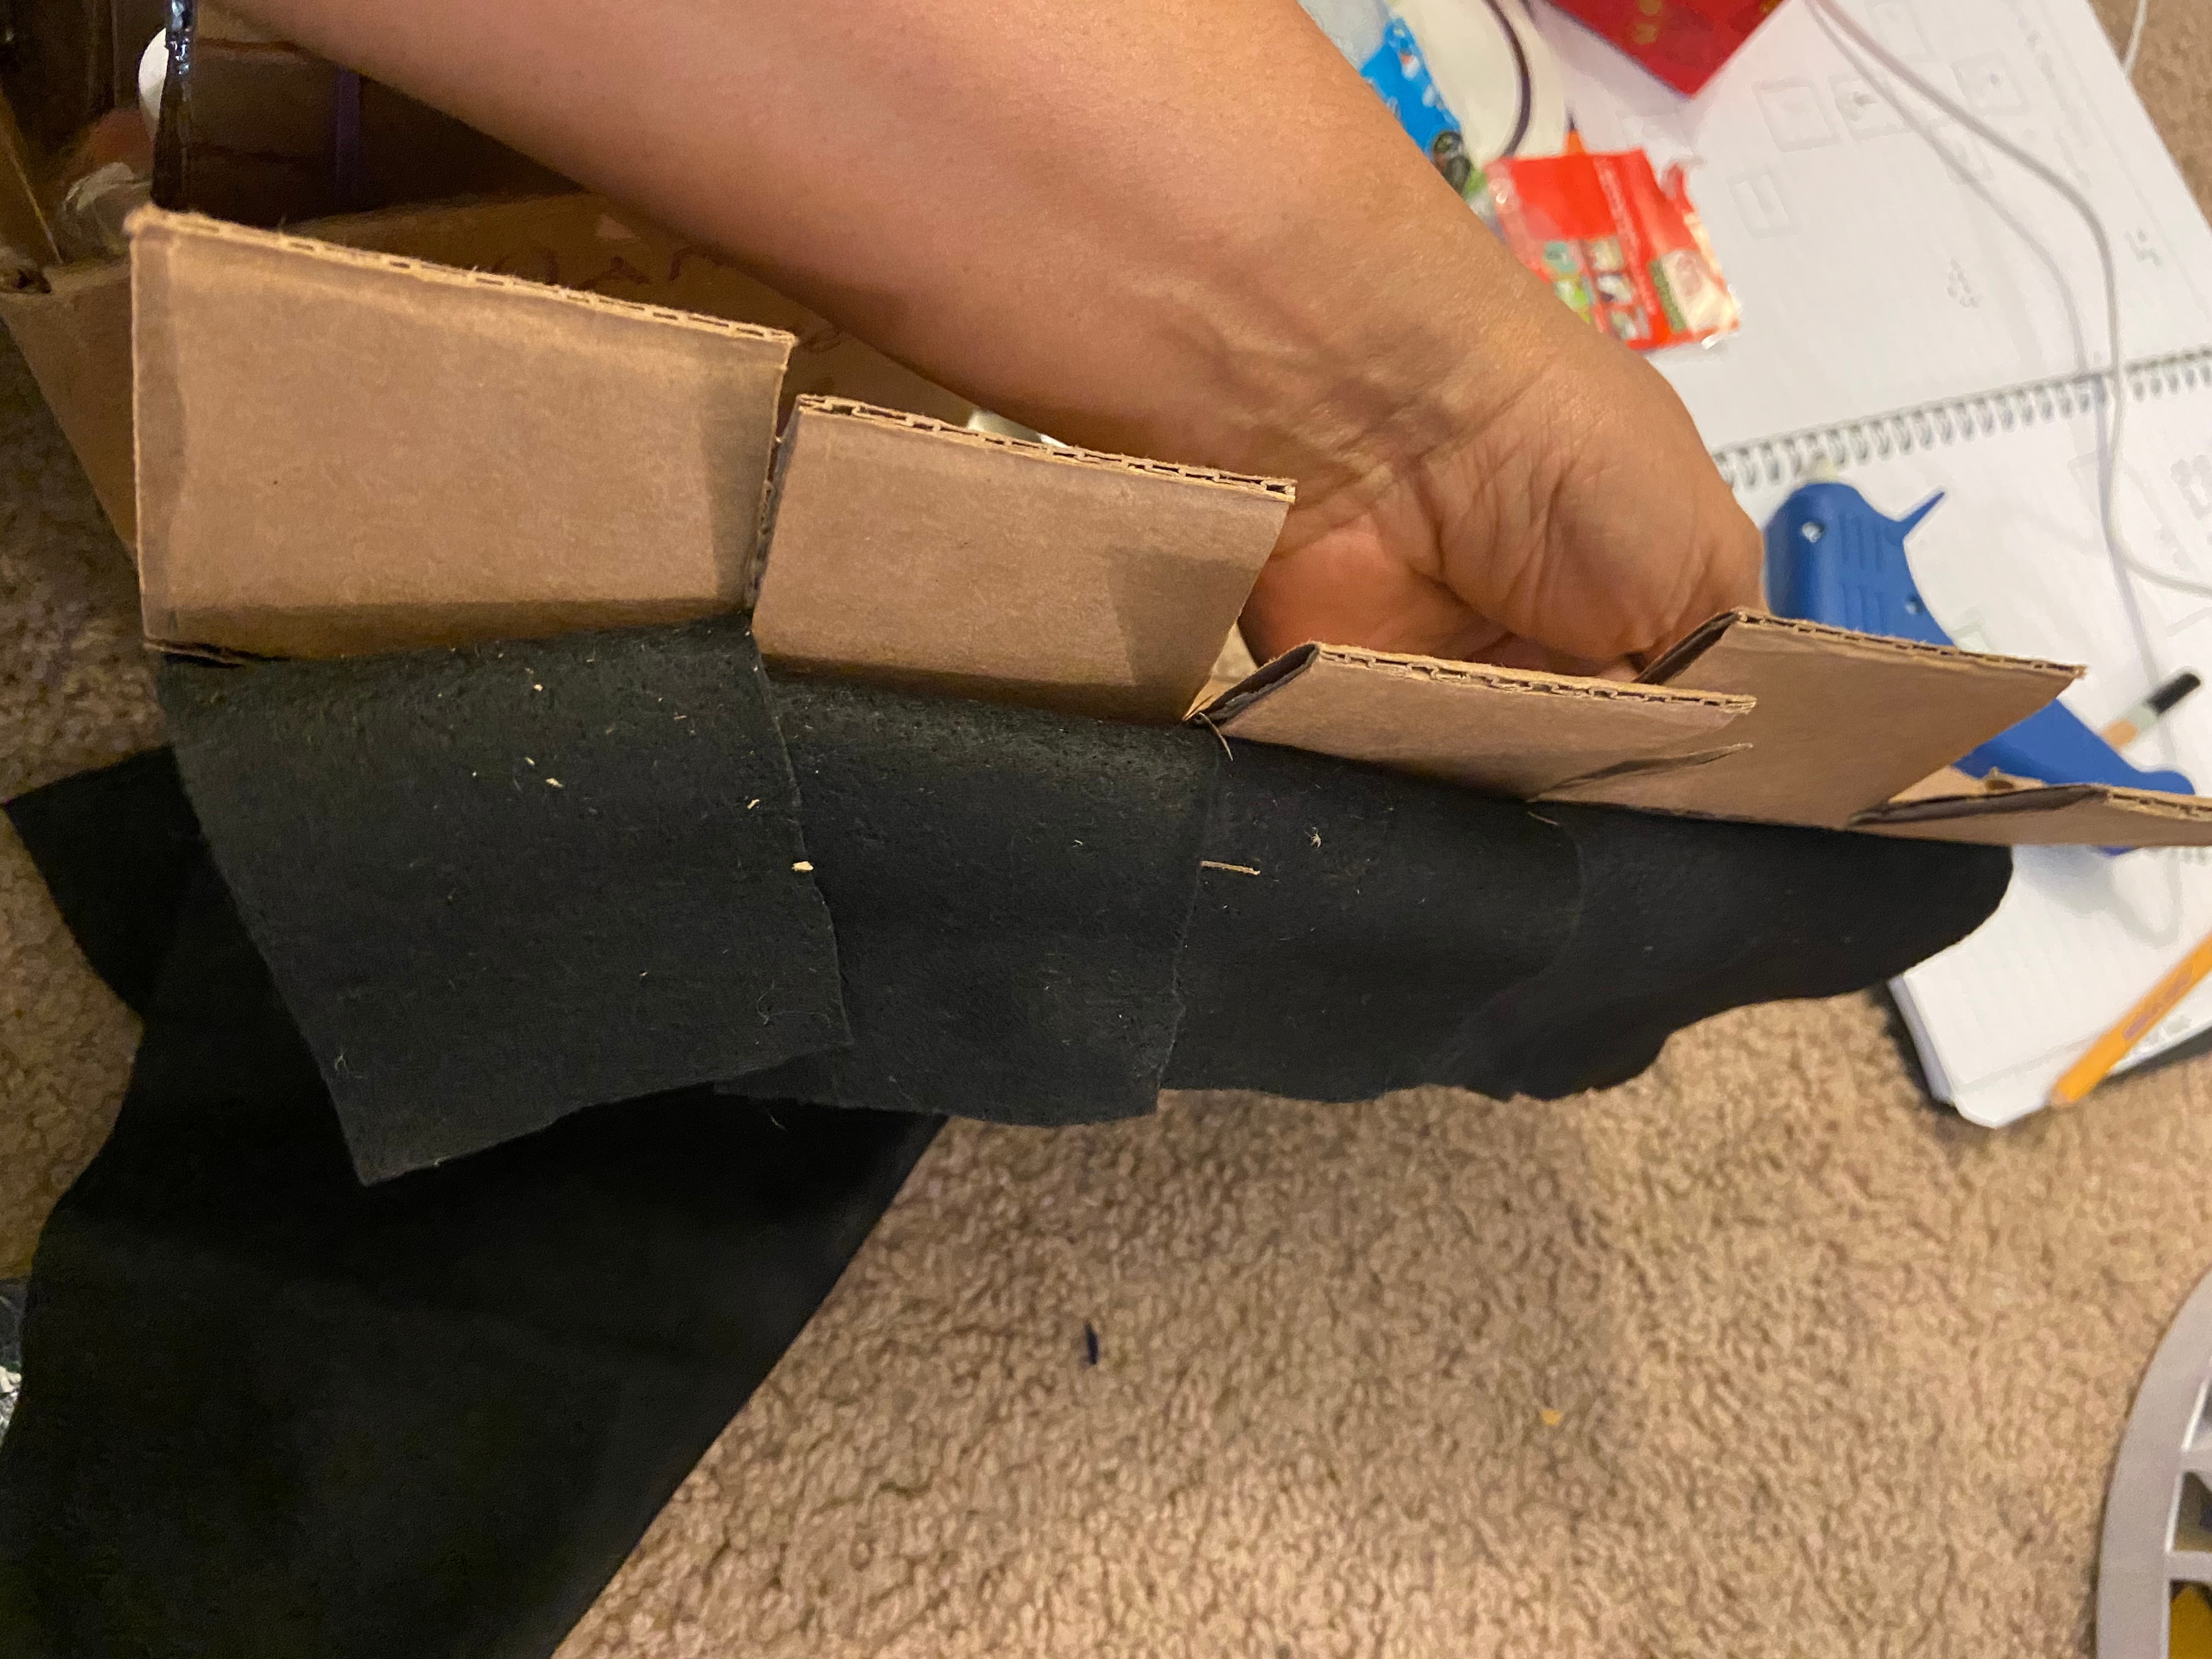
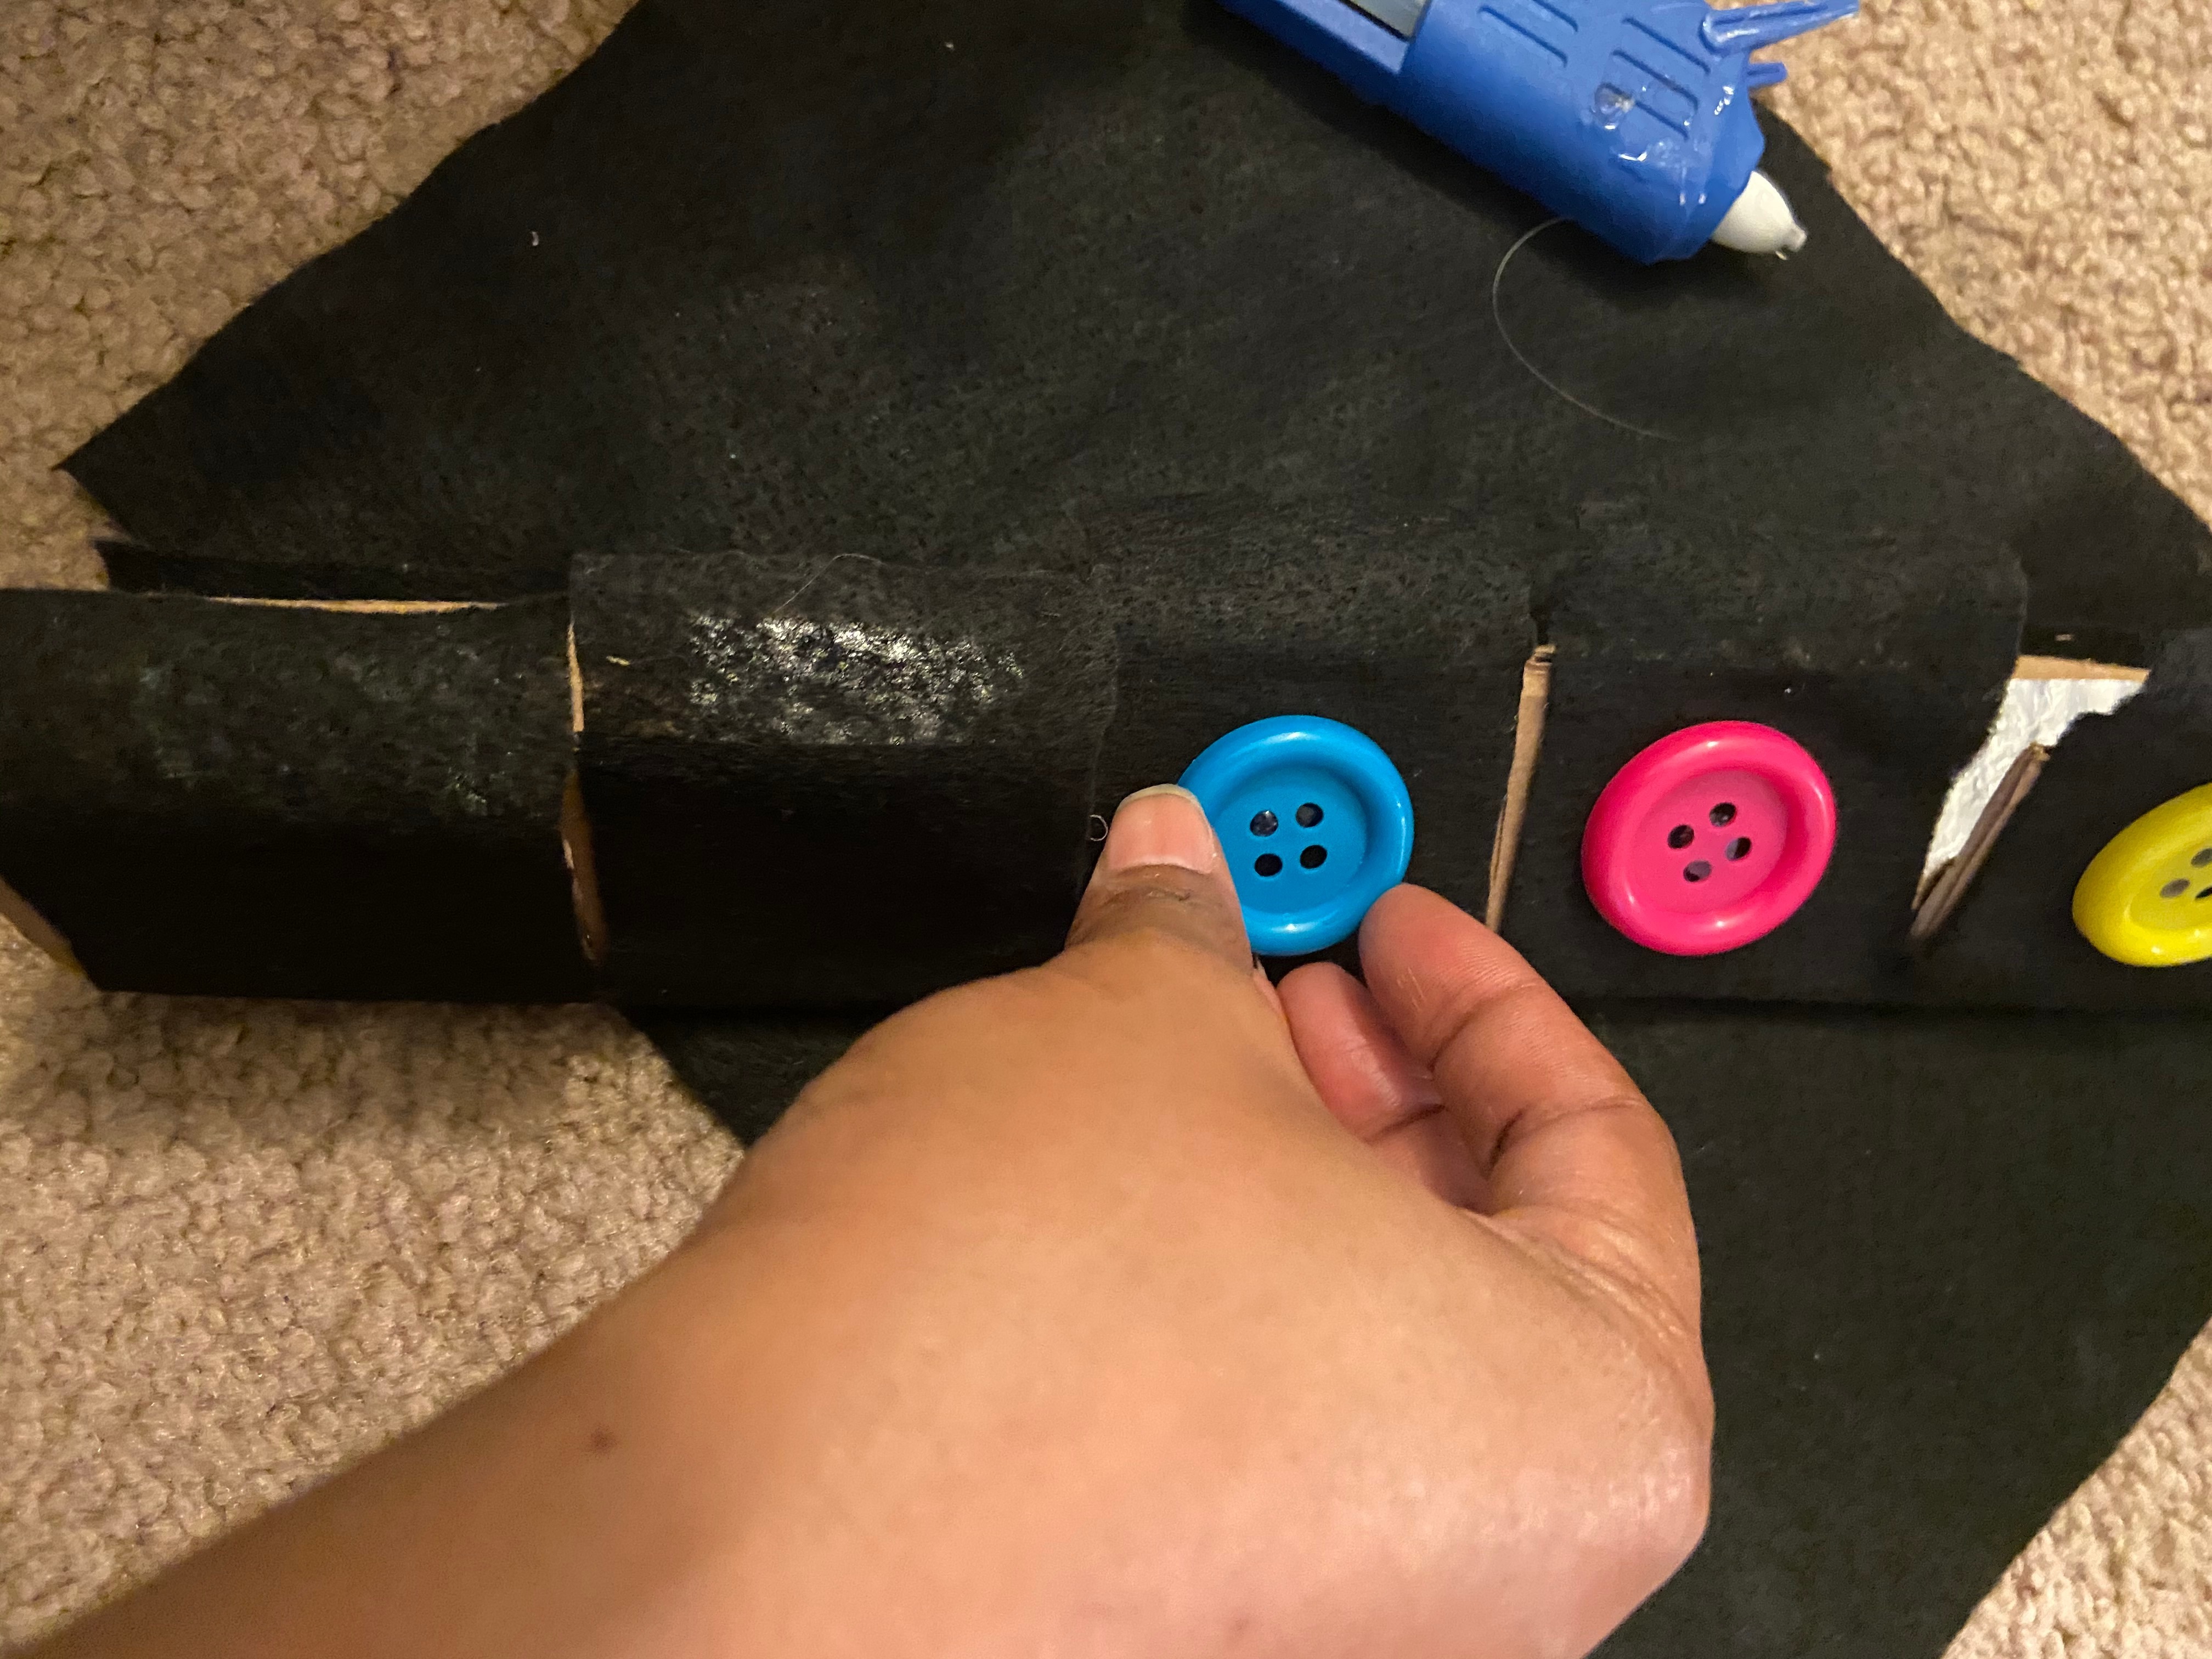
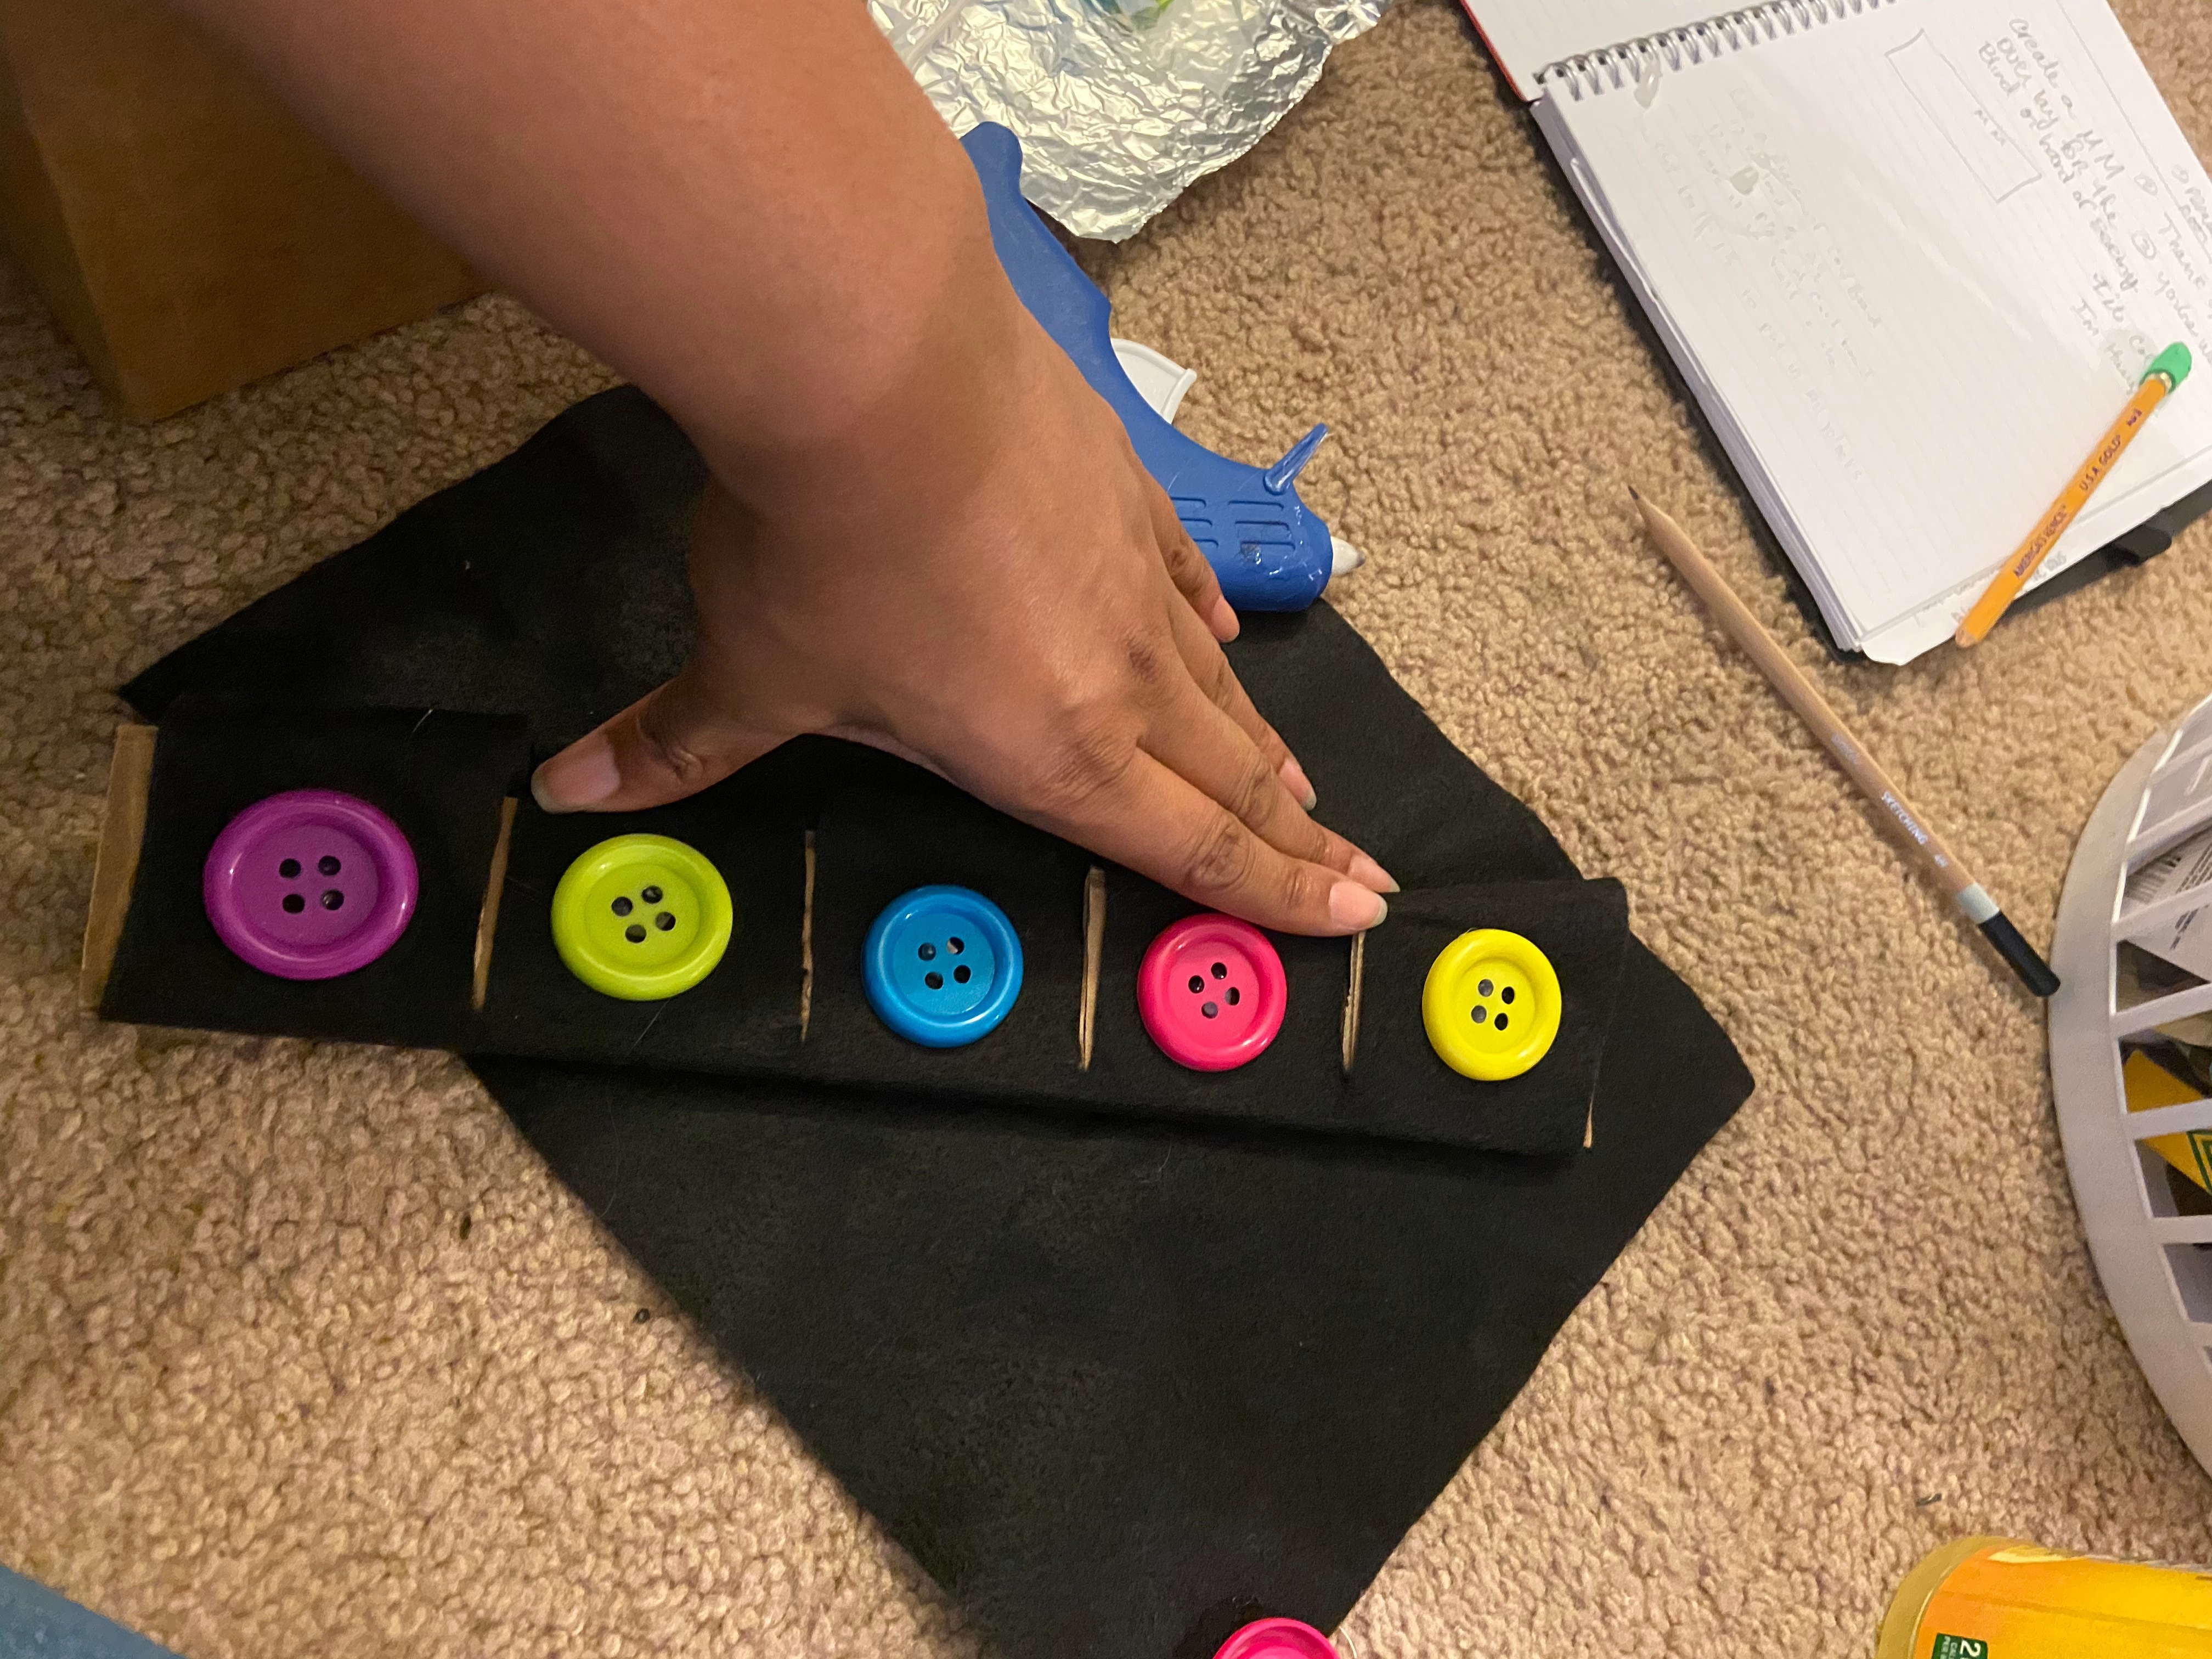

Now cover the device in felt to protect it and cover wires from MakeyMakey. Hot glue the felt to secure it to the cardboard. Cut the felt to match the sections of the cardboard with the cut sections and then glue down to secure it in place.
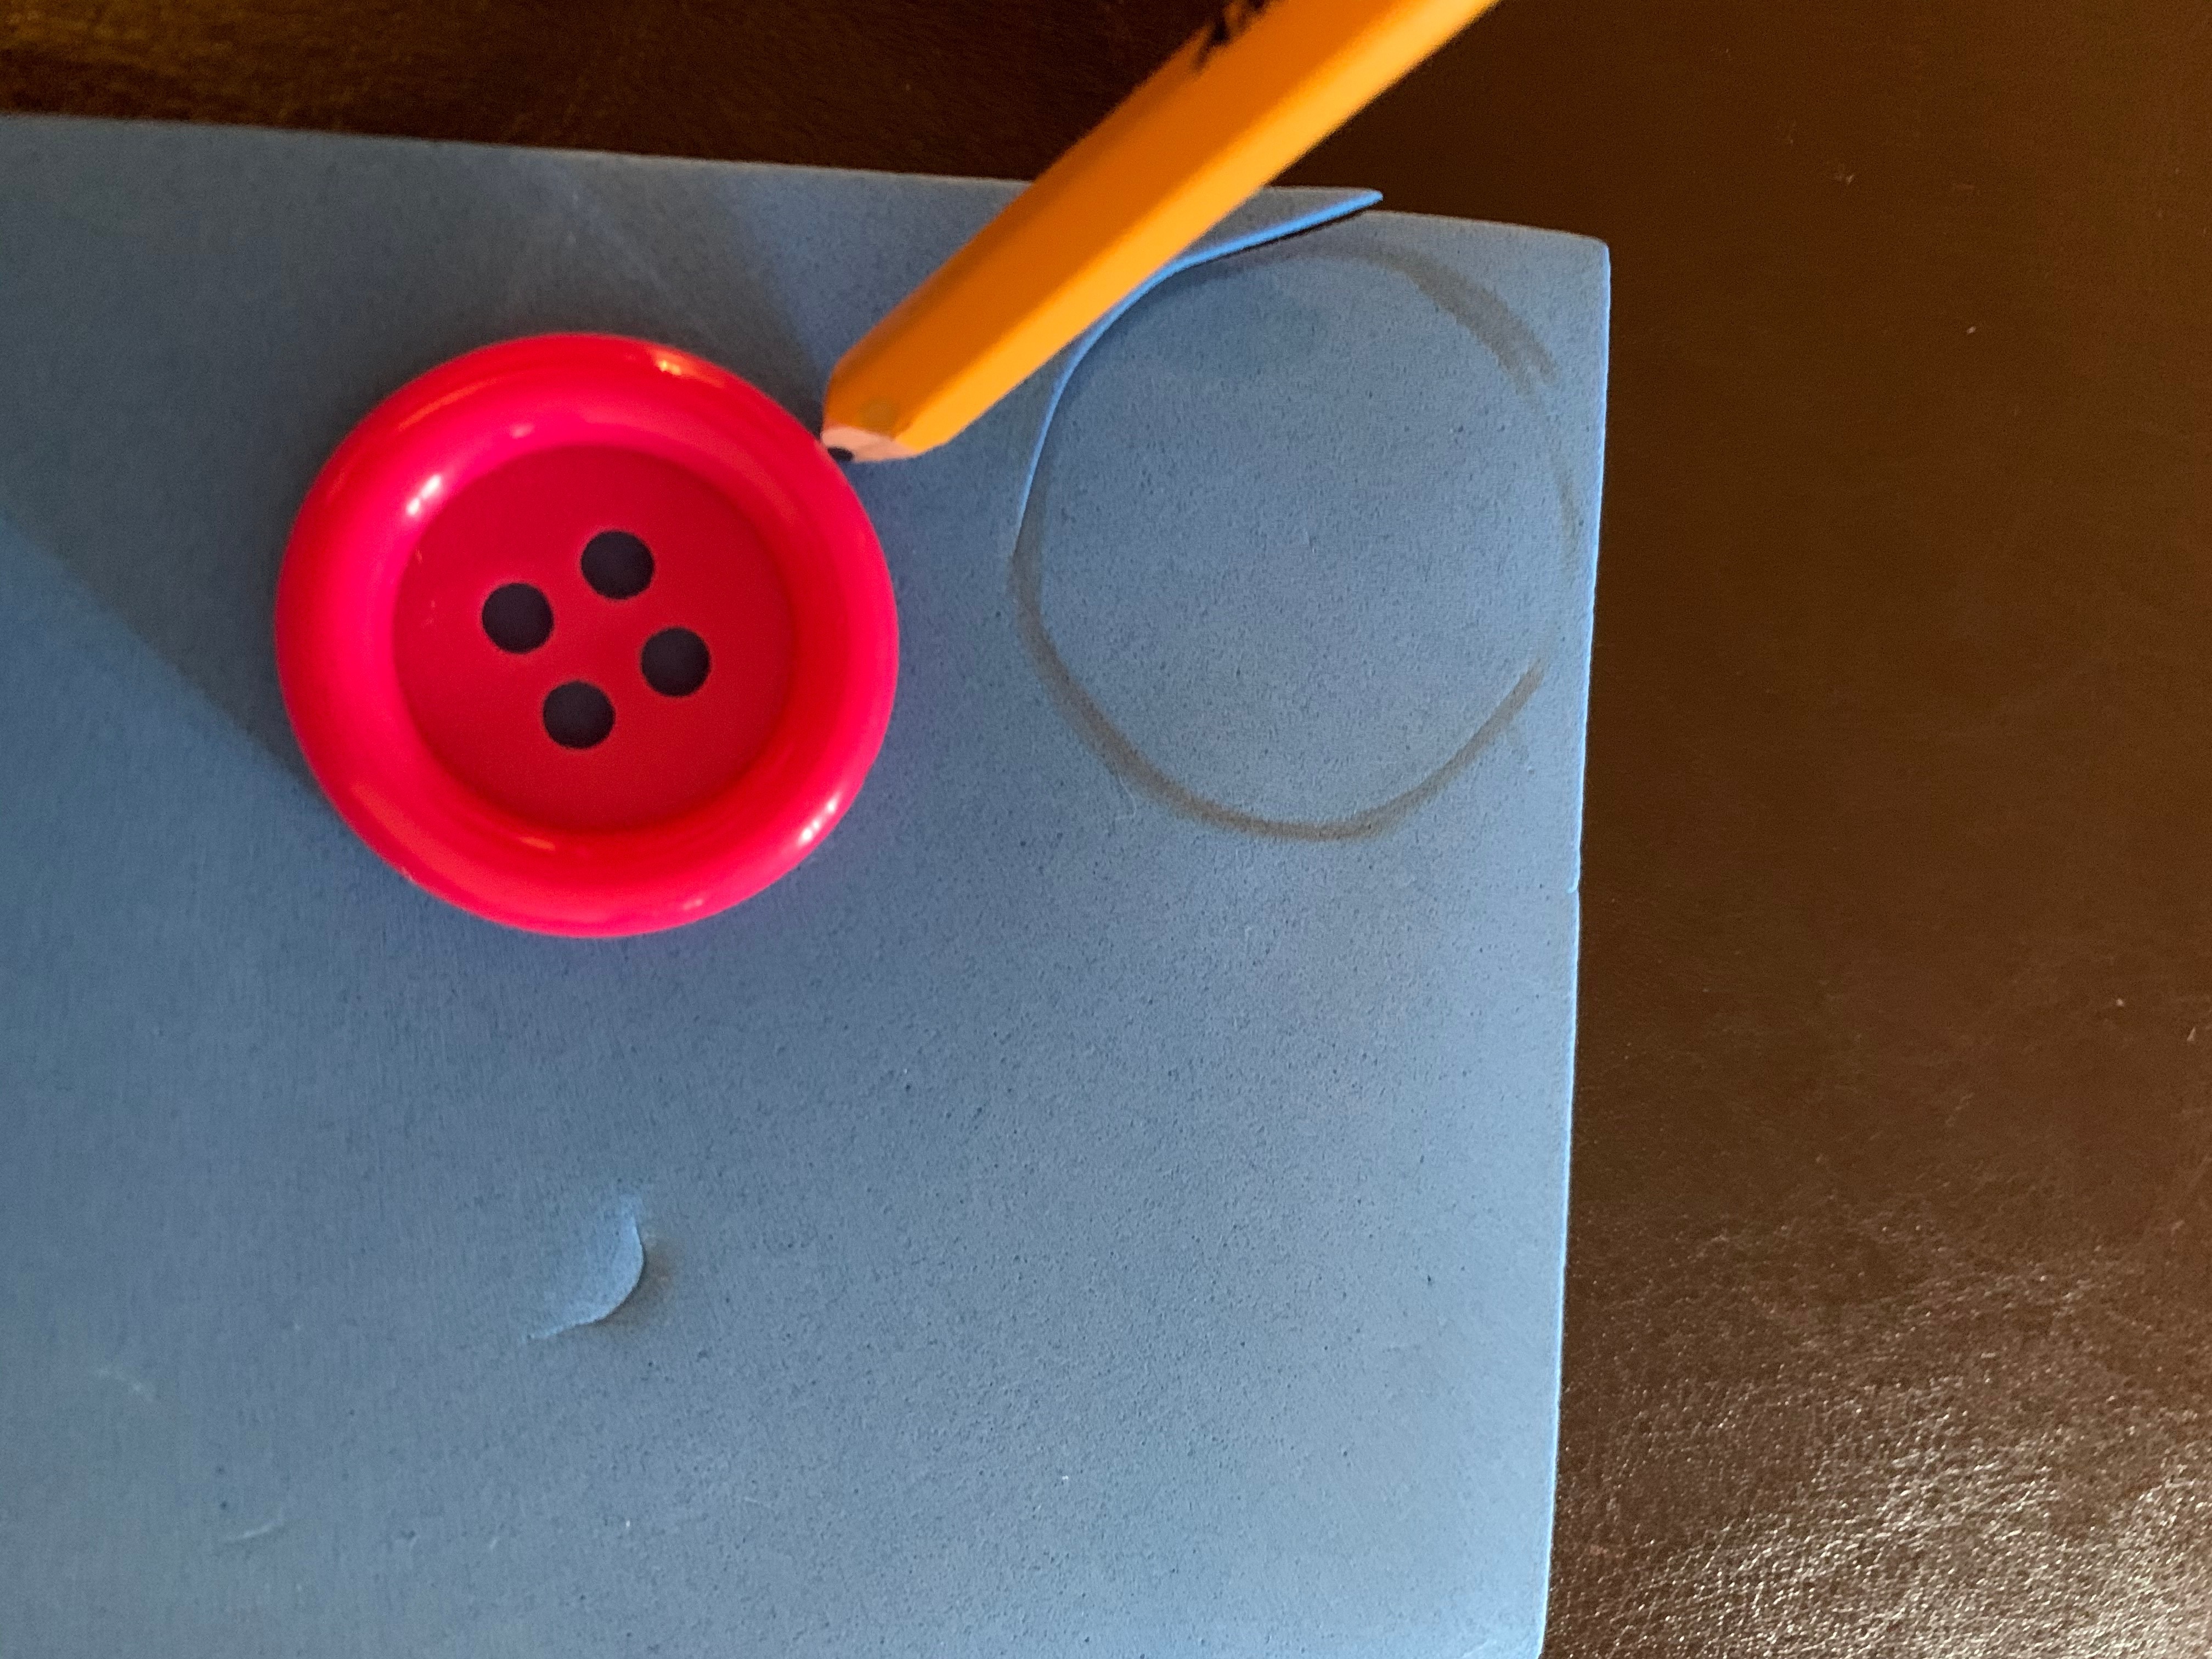
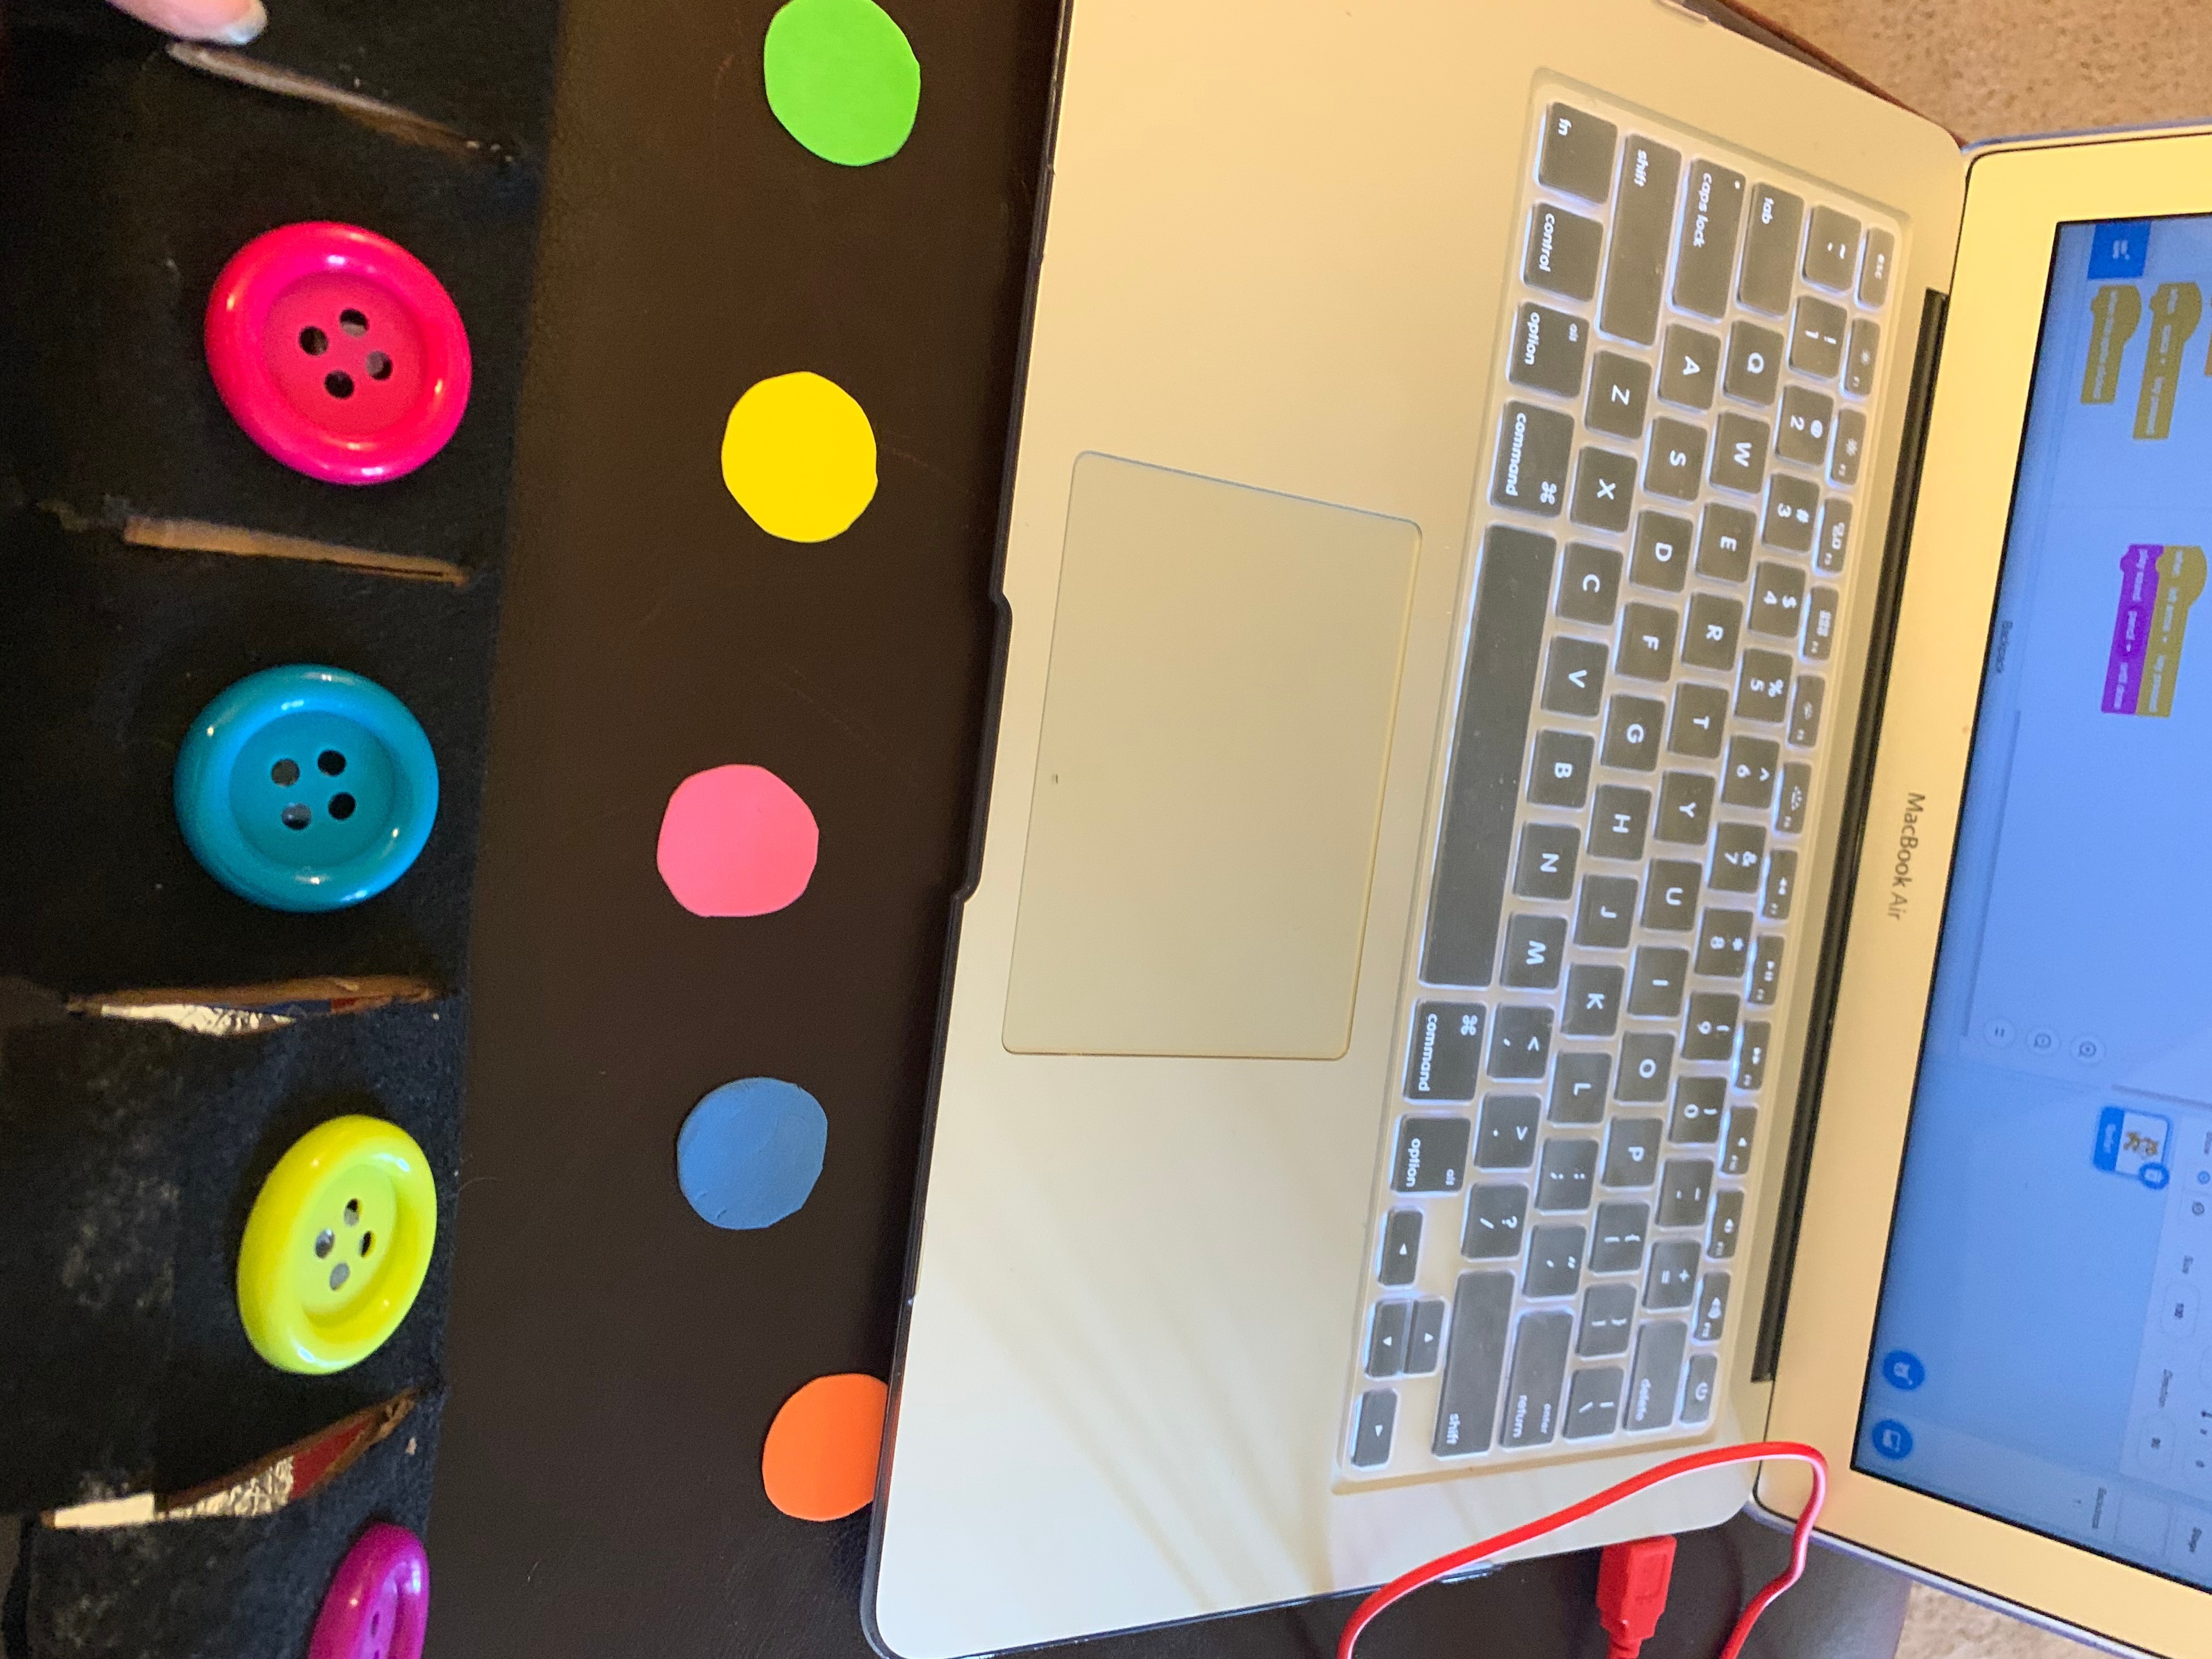
Once the felt has been secured add the buttons and secure with hot glue. Make sure there is a button on each section that has been cut. Once the buttons is is place trace an extra button to make the insert of the button. The insert will contain a word or picture associated with each saying to help the student articulate. Once you have wrote the word or drew the picture cut out the insert and hot glue it to the button.
Final Step: Scratch Code
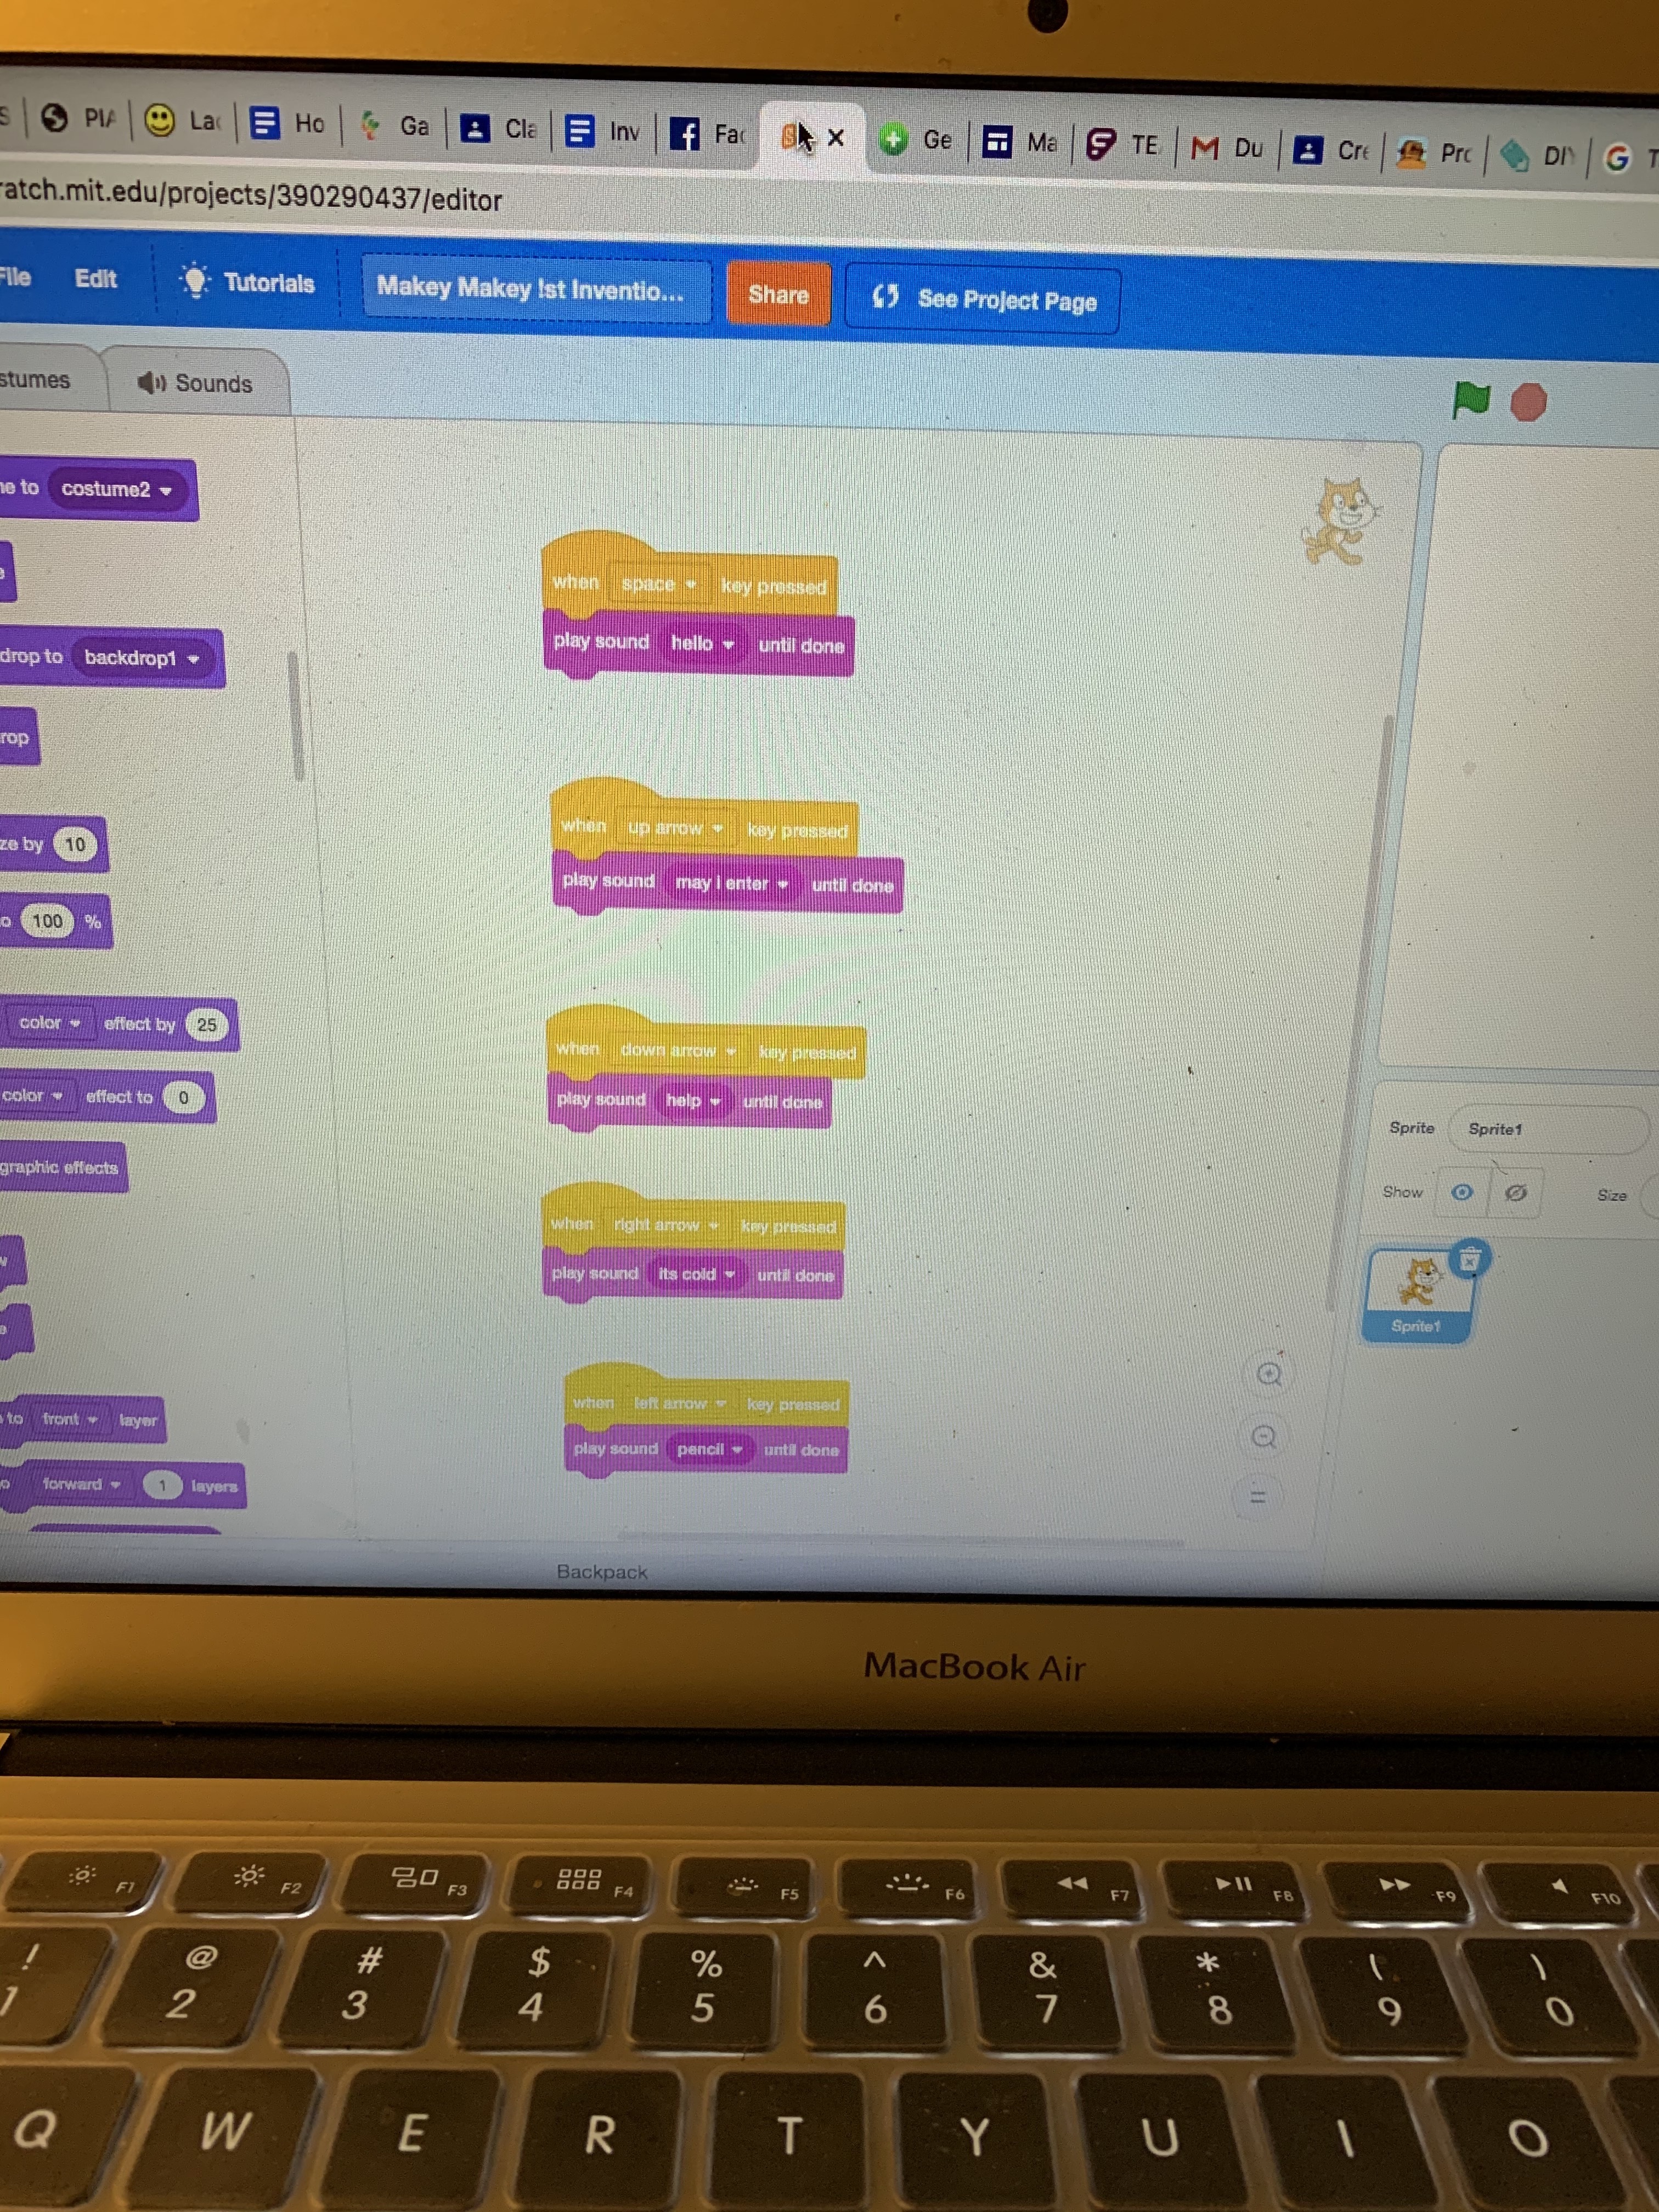
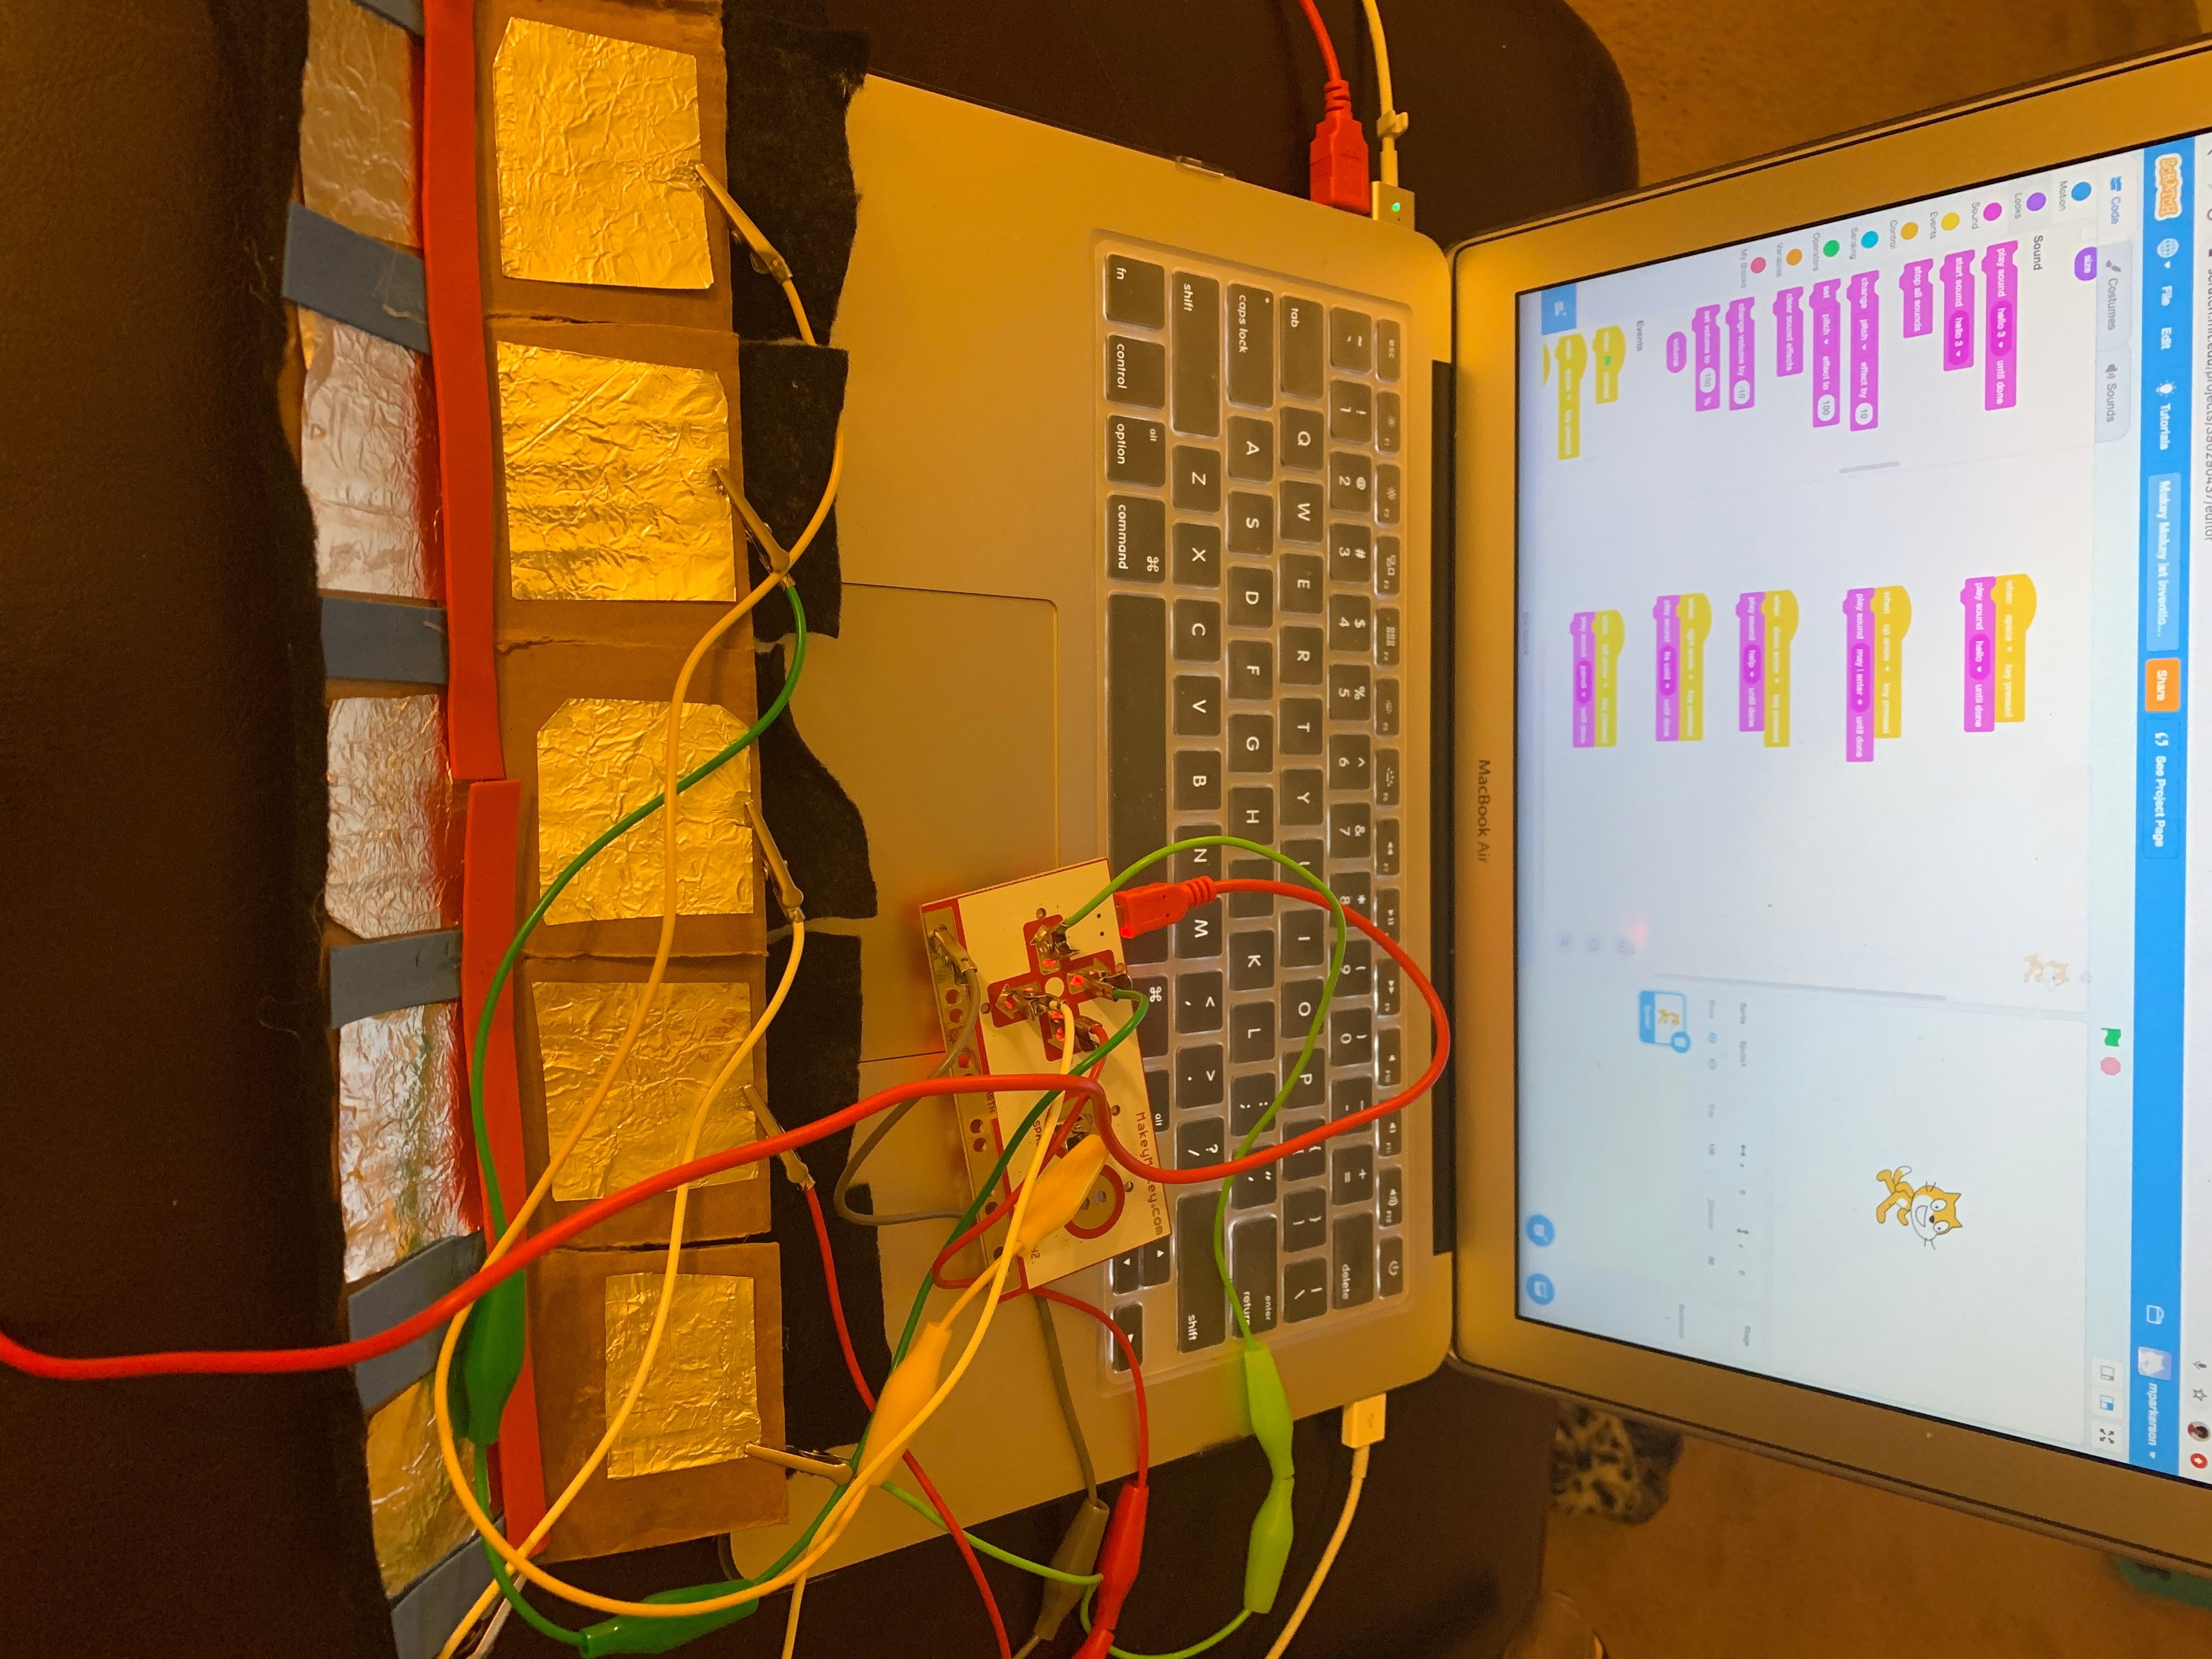
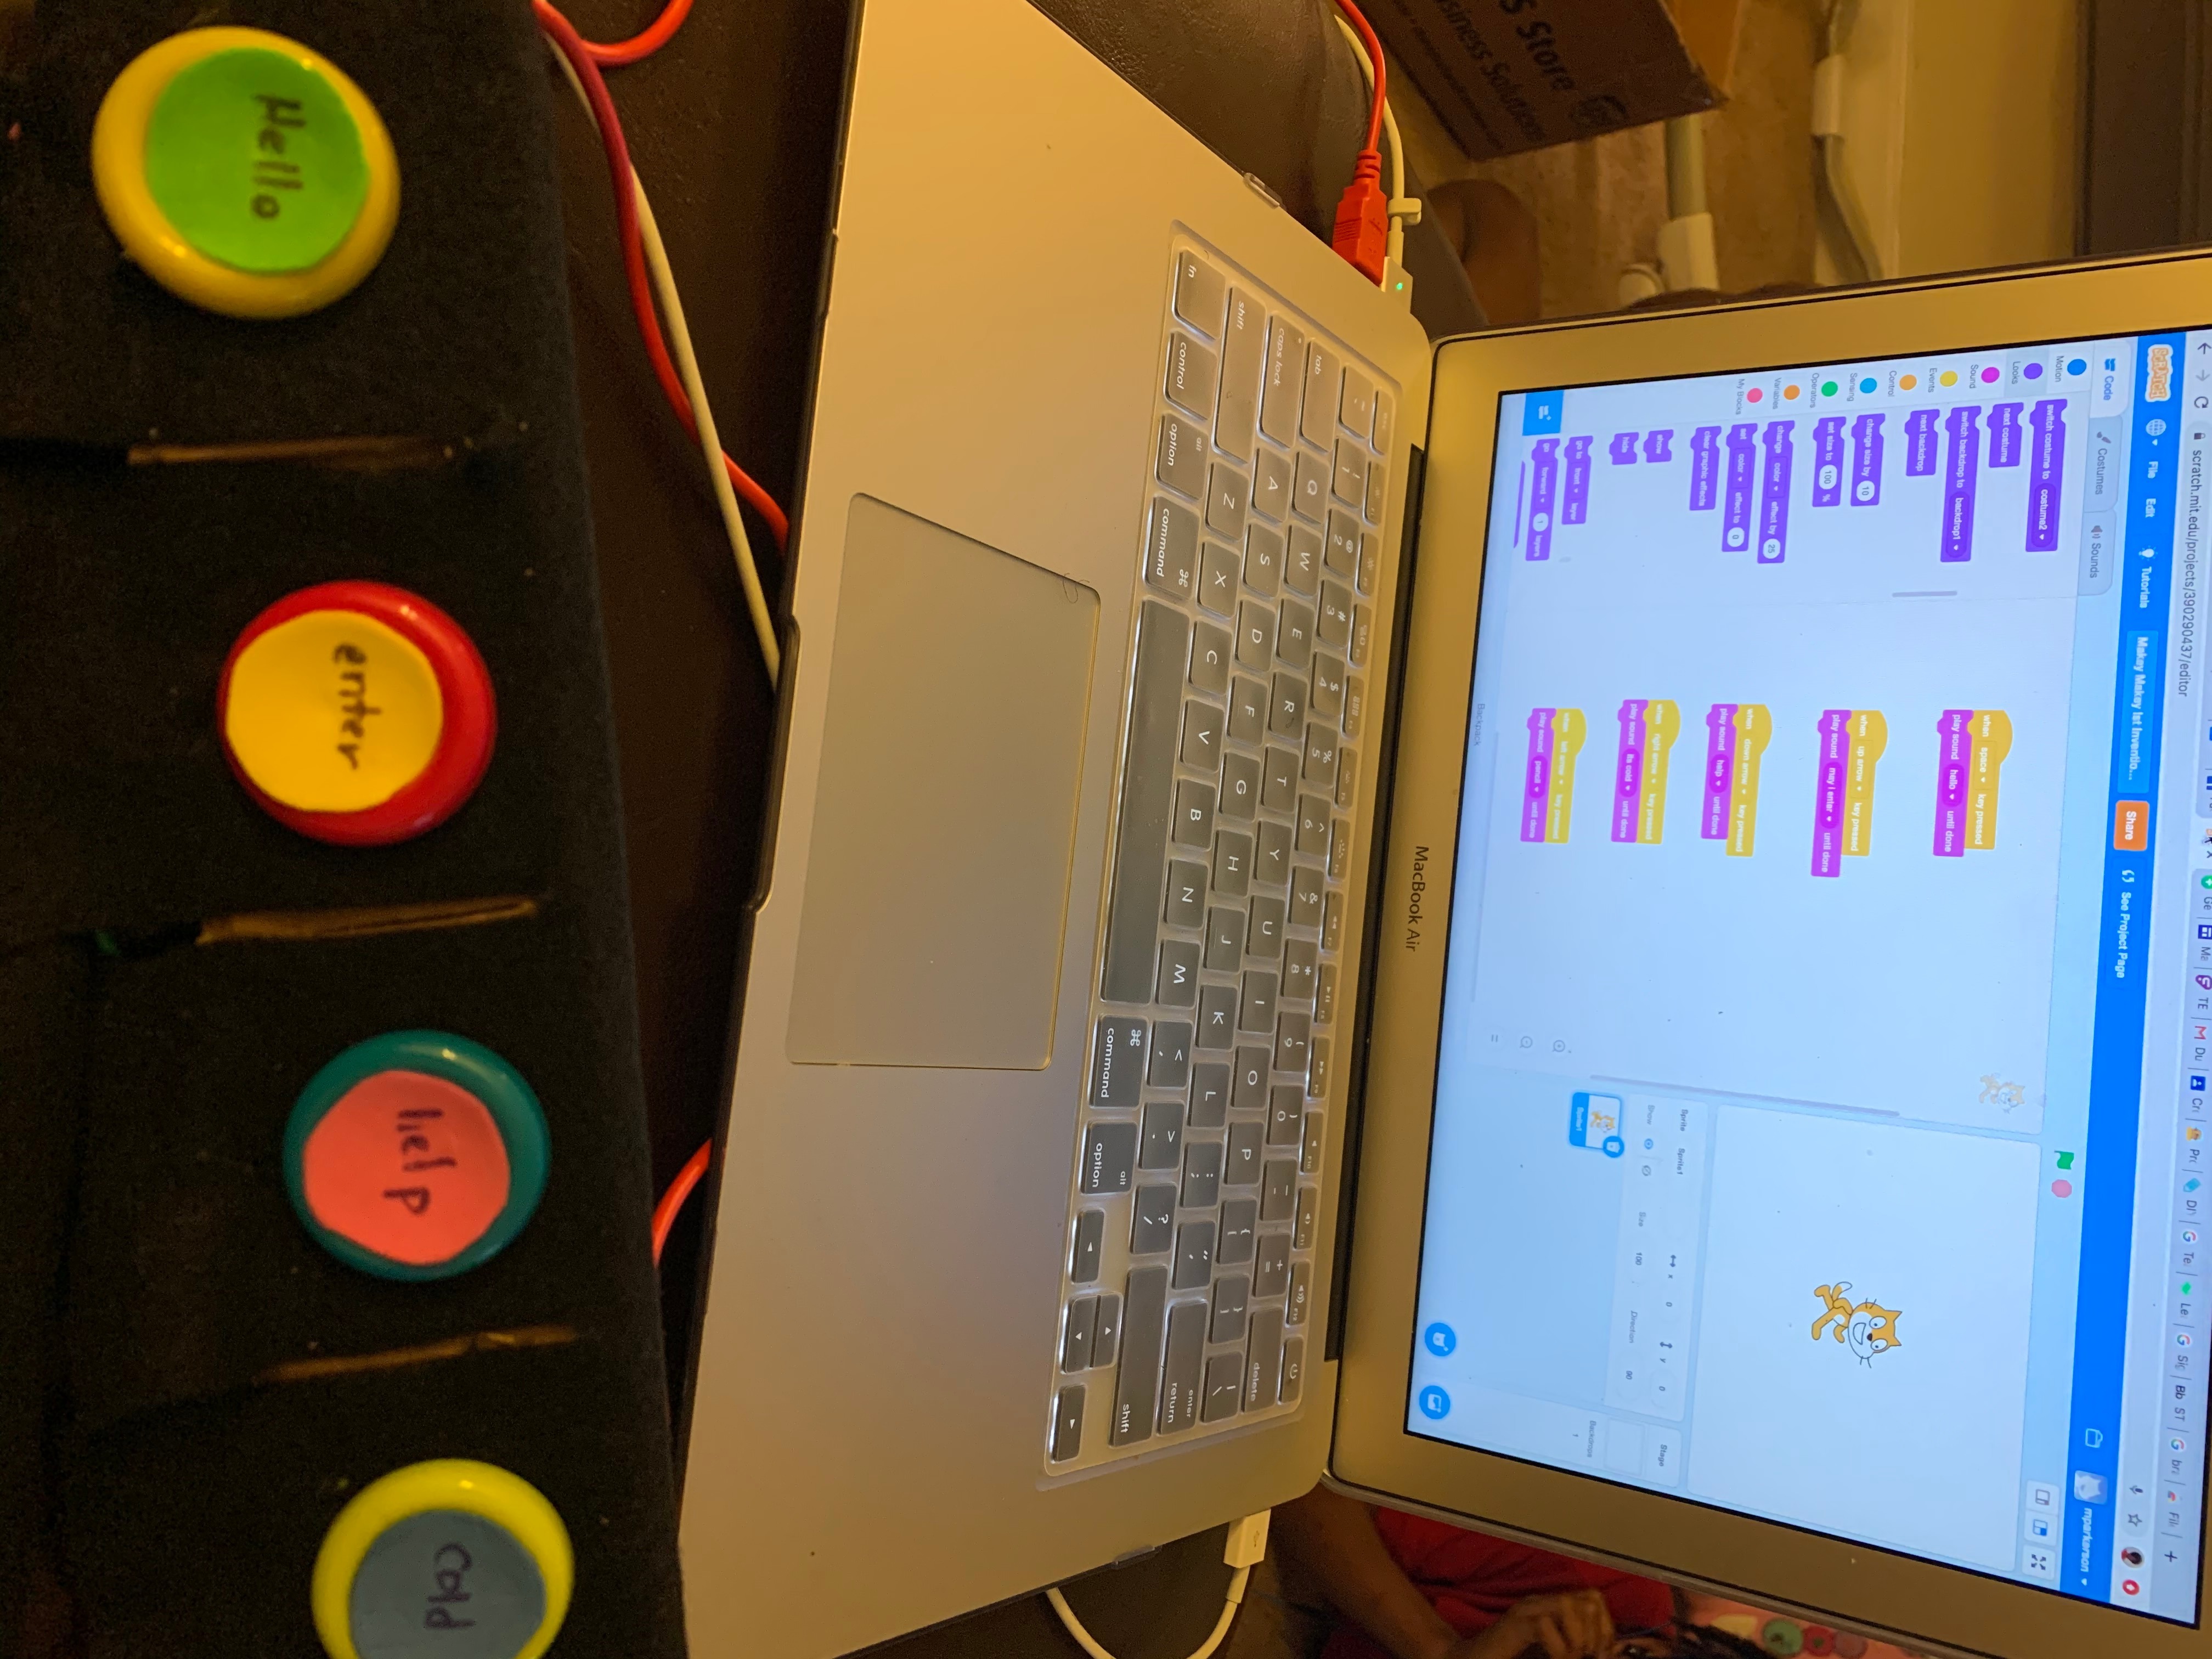
For each button there will be a code associated with it to make the MakeyMakey and code work in sync. In the Scratch software create the code for the first button and so on. Select the events and sound block in Scratch. The events block to select is "When --- key pressed" as many times as you need it. For each time you will select that events block change the key to be pressed in association with the MakeyMakey. For example select the space, up, down, left and right keys to me pressed for each individual code block.
Next select the sound block. The sound block to select is "play sound--until done". This block has a drop down arrow that will be selected to produce a customized recording. Record the voice or sound you want, save it and go back to code. Once back in code select the drop down arrow on the code being worked on and select the new recording. Continue until all blocks are completed.
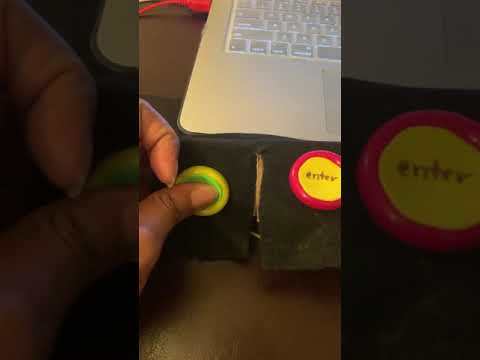
Once the code is complete connect the MakeyMakey. Remember that each sound is associated with a key, hook the alligator clips to the appropriate button/conductive foil. Each sound should play individually.