Asset Ticker and Economic Indicator IoT Display
by rodrialk in Circuits > Microcontrollers
237 Views, 1 Favorites, 0 Comments
Asset Ticker and Economic Indicator IoT Display
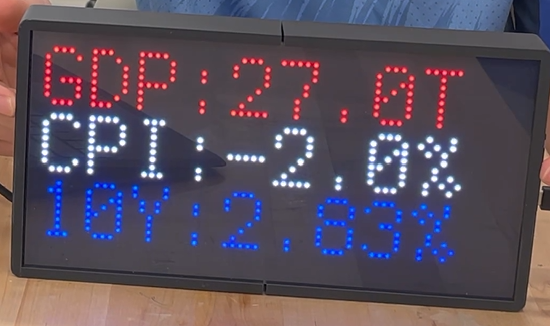
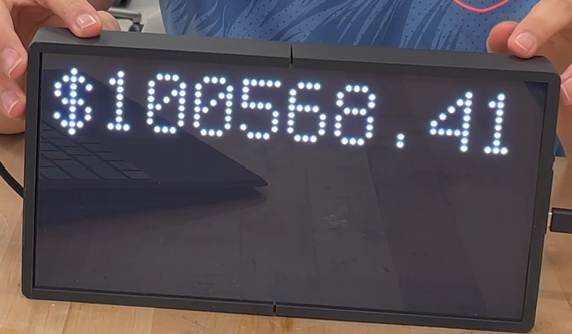
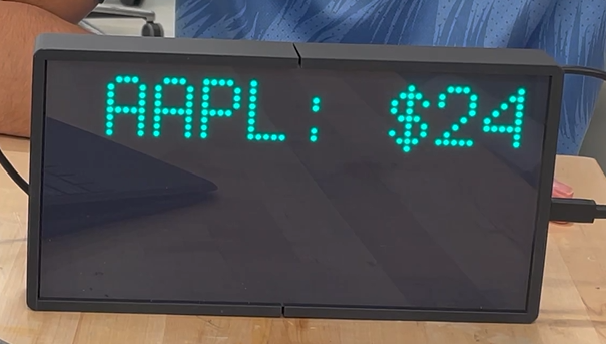
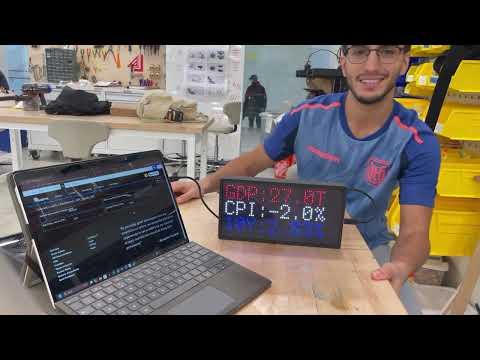
Transform your financial monitoring with this real-time market display powered by the Matrix Portal S3 and a 64x32 LED matrix. Designed for retail traders, this project delivers instant access to customizable stock, ETF, and cryptocurrency data, along with key economic indicators. Through integration with AlphaVantage's API and Adafruit IO, users can easily track their chosen assets via a custom dashboard, eliminating the need for constant app refreshing. The display features color-coded performance indicators and scrolling updates for comprehensive market awareness at a glance.
Supplies
Required Hardware
- Adafruit Matrix Portal S3
- 64x32 RGB LED Matrix Panel
- Additional Components:
- USB-C cable for programming
- 5V 4A (minimum) power supply
- Optional: Case or mounting hardware
Required Accounts/API Keys
- Alpha Vantage API Key: Free tier available at www.alphavantage.co
- Adafruit IO Account: Free account at io.adafruit.com
Set Up S3 Board
Here is a video showing how to set up the Matrix portal.
You'll need to download this version of circuit python, and drop it into your BOOTLOADER mode of the Matrix Portal. To enter boot loader mode, double click the reset button and it will be available in your PC file explorer.
Finally you'll need to download the libraries we use in the program. In order to do this, use the bash command "circup install -a" in the console before the program begins running. In case this doesn't work with a particular library, here is a list of the ones you'll need.
- adafruit_matrixportal
- adafruit_displayio_layout
- adafruit_display_text
- adafruit_requests
- adafruit_io
- neopixel.mpy
Configuring for API Calls and Data Input
In order to (1) Make API calls and (2) Communicate with our board via AdafruitIO, we need to set up our settings.toml file. Before we get further into the build, this would be a good time to create and AdafruitIO account and Alphavantage account if you have not already. Once you have create your accounts, find your API key and adafruitIO username and password (specifically for the dashboard).
- For the adafruit IO dashboard, you simply need three feeds "stock-input", "etf-input", "crypto-input". These feed names must be exactly as written n the code and utilize the text feed. Here's some documentation and video to assist.
- For Alphavantage, as long as you have you're API key, you are all set.
- This sets us up for our settings.toml file. Here's how to configure it.
Create Adafruit Dashboard
To create a dashboard, log in to io.adafruit.com and click on "IO" at the top of the page. Once you are here, you can click "New Dashboard," call the dash board whatever you like, and open it when you are ready. Once in the dashboard click the golden key icon to retrieve your username and password, this will go into the settings.toml file as explained in the previous step. Now:
- Click the gear button
- Click "Create New Block"
- Choose "Text" option
- Name the feed "stock-input"
- Customize the appearance of the block
- Repeat steps 1-4 for two more feeds "etf-input" and "crypto-input"
Your dashboard should look similar to this:
Note: It is very important the feeds are named exactly as described, otherwise the code won't receive input from the dashboard, as it will not detect the feed.
Load the Code
Once you have set up the board, create your accounts, configured your settings.toml file, and set up your dashboard, the code will be plug and play. Simply load it onto your code.py and test it out. I'll try to explain some of the most important bits here.
Initializing Display:
This code snippet will initialize the neopixel matrix display, allowing us to individually address each pixe.
WiFi and Service Connection:
With this function we can connect to WiFi using our SSID and password we configured in the settings. We also create a socket pool for network communications. Also, we set up a connection to AdafruitIO to make requests with SSL support.
Retrieving Adafruit IO Feed Data:
This function takes a feed name, one of the names we have created, and retrieves the most recent text input from the feed.
Display Mode Selection and Button Handling:
This function implements debounced button handling. With this we can use the UP button to cycle through our display of choice (ie. stocks, ETFs, crypto, or indicators). With the DOWN button, we can refresh the API data and text input from adafruit IO.
Data Display Methods:
This function formats the financial API data for display. We also set a color based on the positive or negative %change. Also, we make this text display scroll.
This method also formats our API data, except for three economic indicators. Since Alphavantage provides real GDP in 2012 dollars we do some math to make it more user friendly (ie. in 2024 dollars). The function will also create multiple text areas and position them at three vertical levels. Each indicator will get a different color, red, white and blue, because America! While not shown here due to length, the full function will do the same for our other two indicators, quarterly CPI change and interest rates for 10 year federal bonds.
Scrolling Text Implementation:
This function will implement a smooth scrolling animation to our financial data. It also handles text padding, positioning, timing and resets.
The main loop:
This function will first initialize our display and data handler. It will then start a loop that is continuously check for button presses. When buttons are pressed, the loop will handle display animation changes, either to our financial data or economic indicator.
Downloads
Here Is How It Is Supposed to Work
