Assembling and Cutting in Adobe Premier Pro
by lewishooper in Design > Video Editing
224 Views, 0 Favorites, 0 Comments
Assembling and Cutting in Adobe Premier Pro
Here is a quick guide that explains how to import videos to Premier Pro, add those videos to your timeline and cut them down to a better length.
Import Media
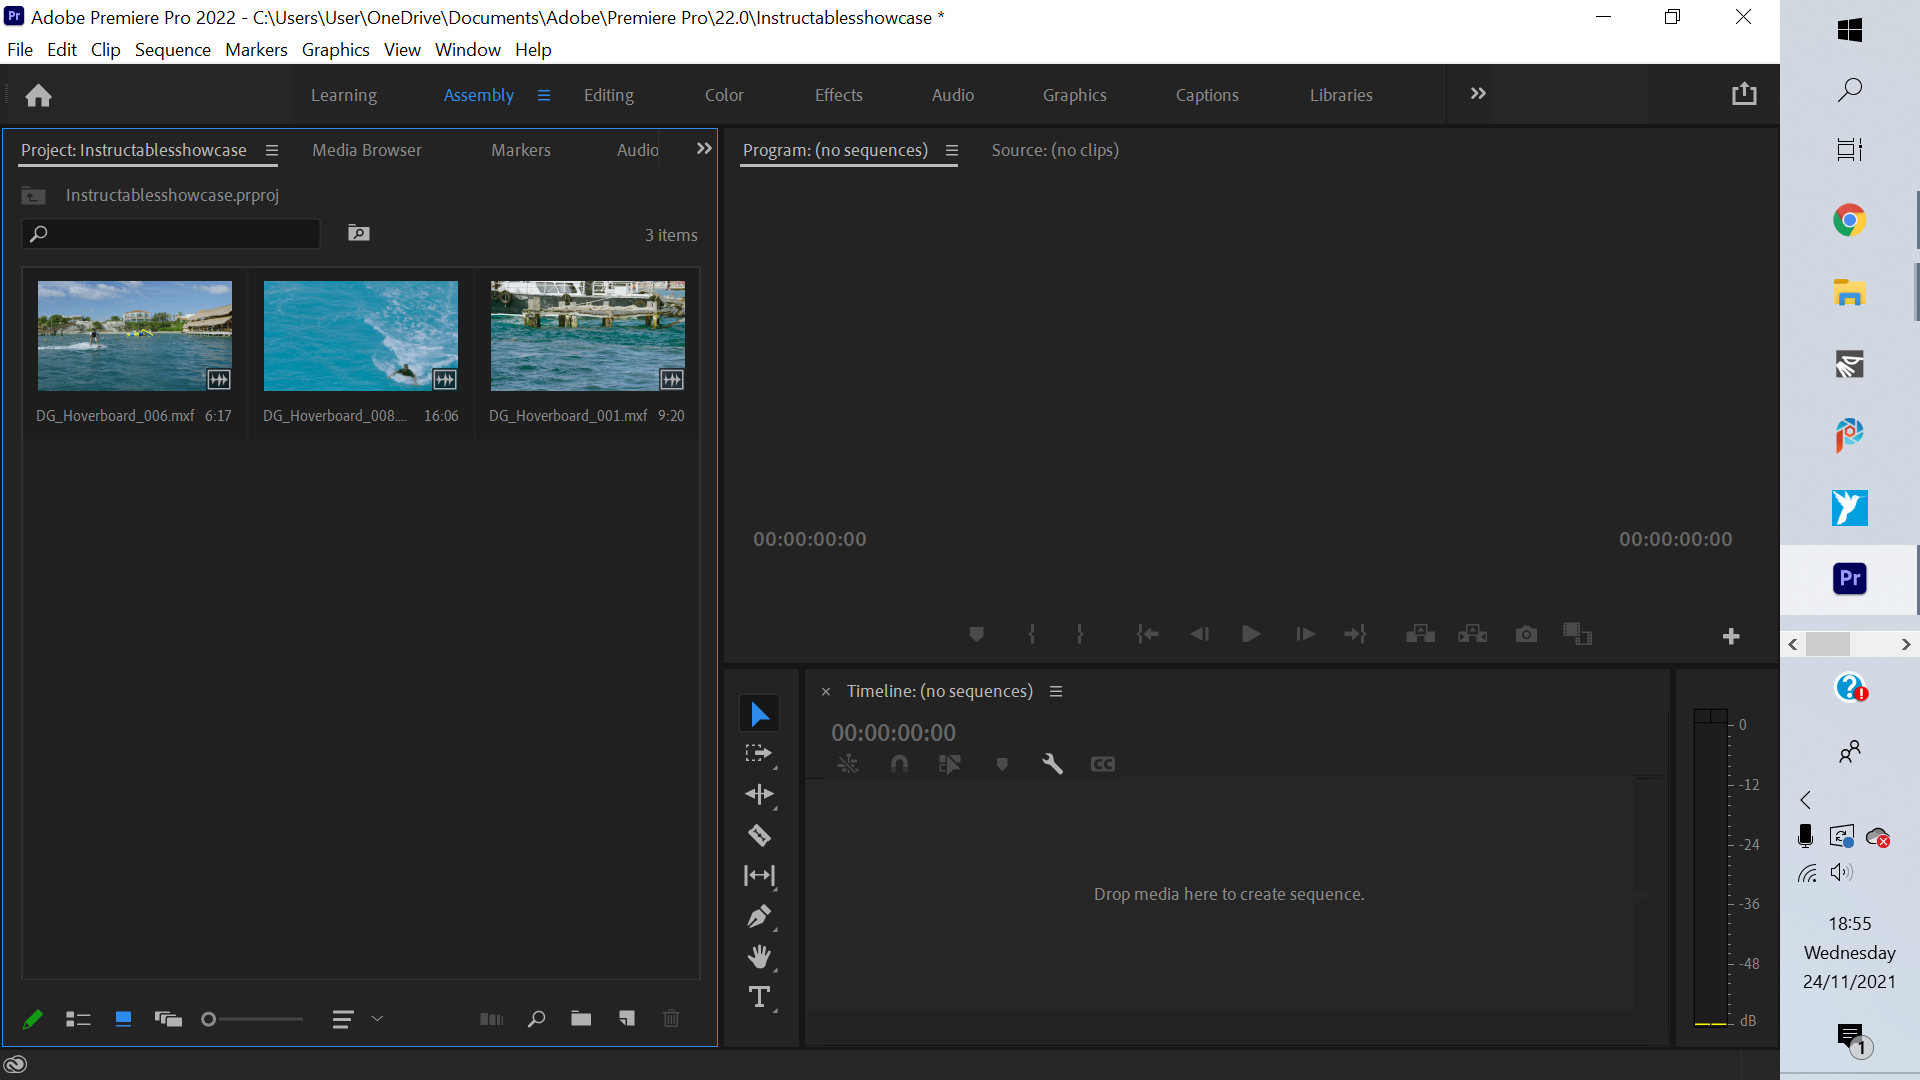
Under the "File" menu of the top bar, you will find a section called "Import". Use this to browse through the files on your device and select the files you wish to use. These files will then appear on the left of Premier Pro's assembly screen, ready to use.
Add Media to the Timeline
.png)
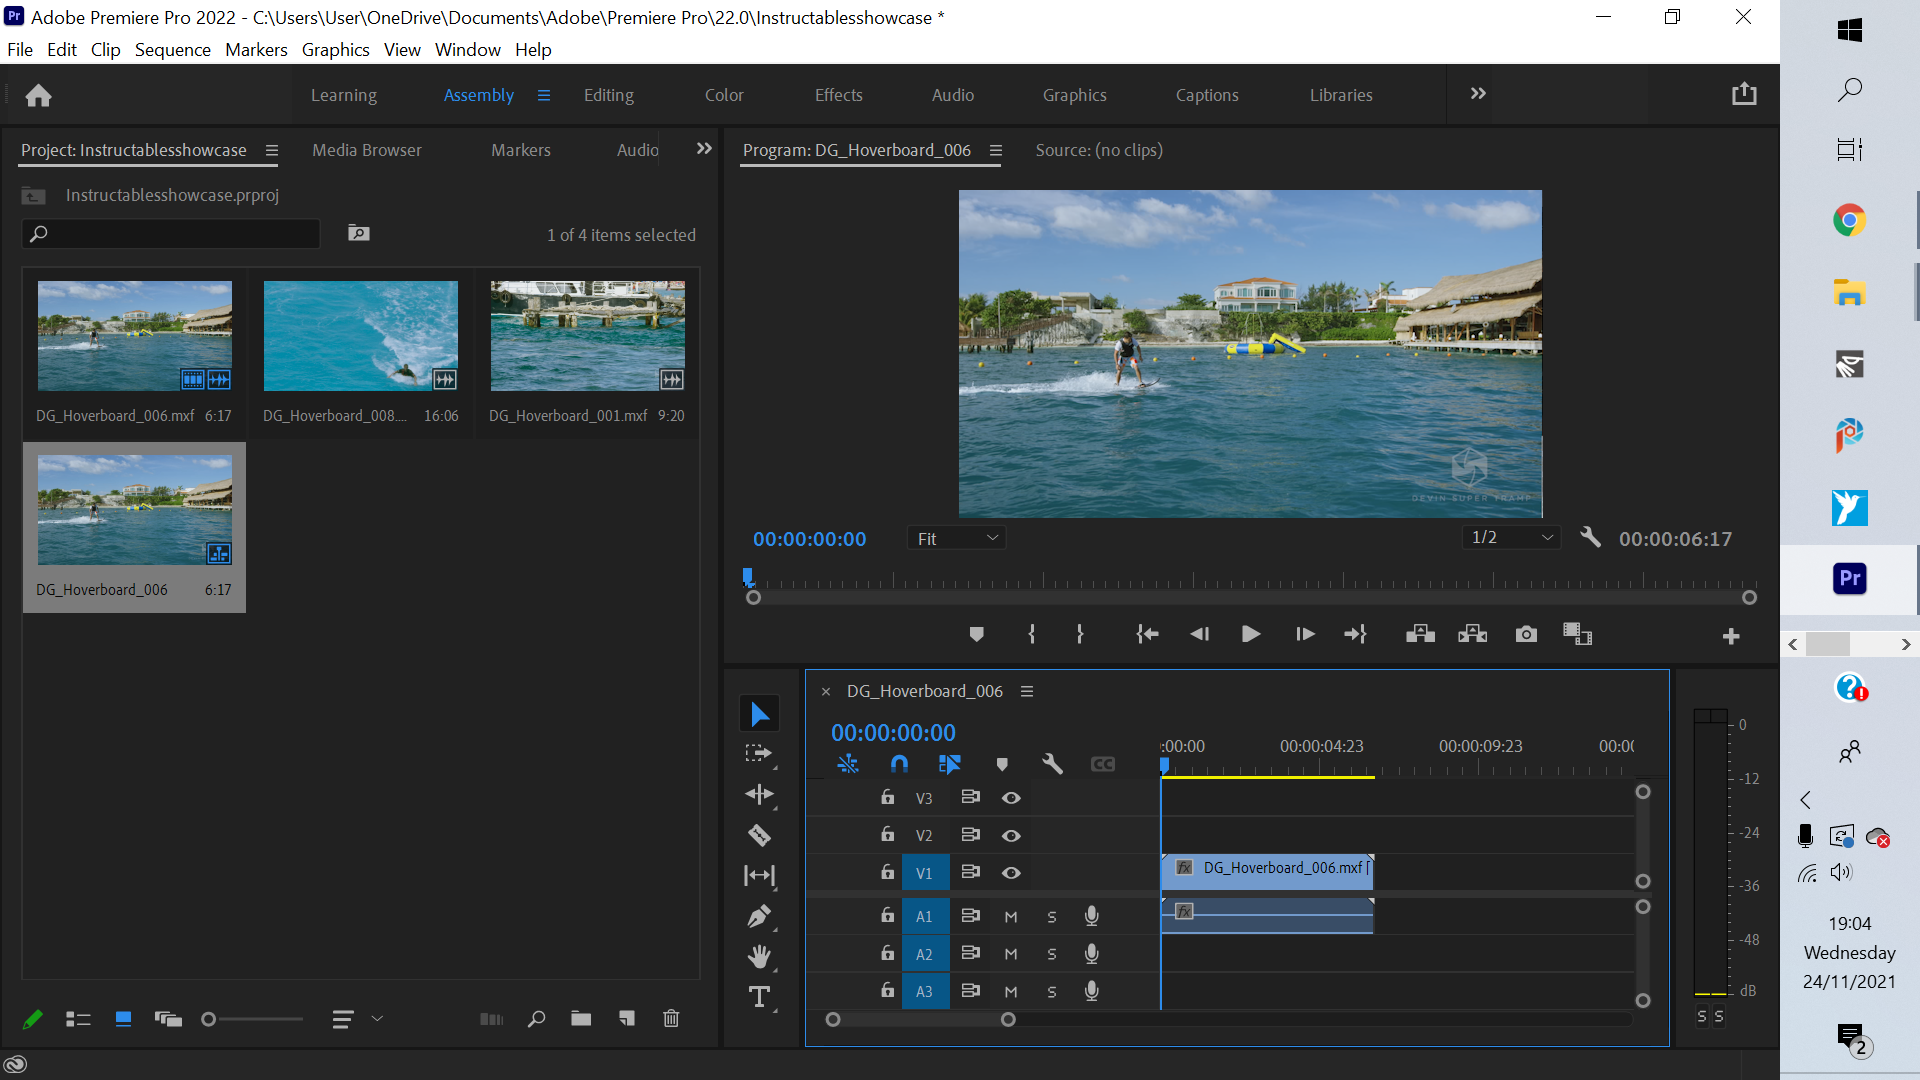
Select a clip you wish to use and drag it down to the timeline on the bottom right of the assembly screen, adding it to your video.
Select Where You Want to Cut
.png)
.png)
.png)
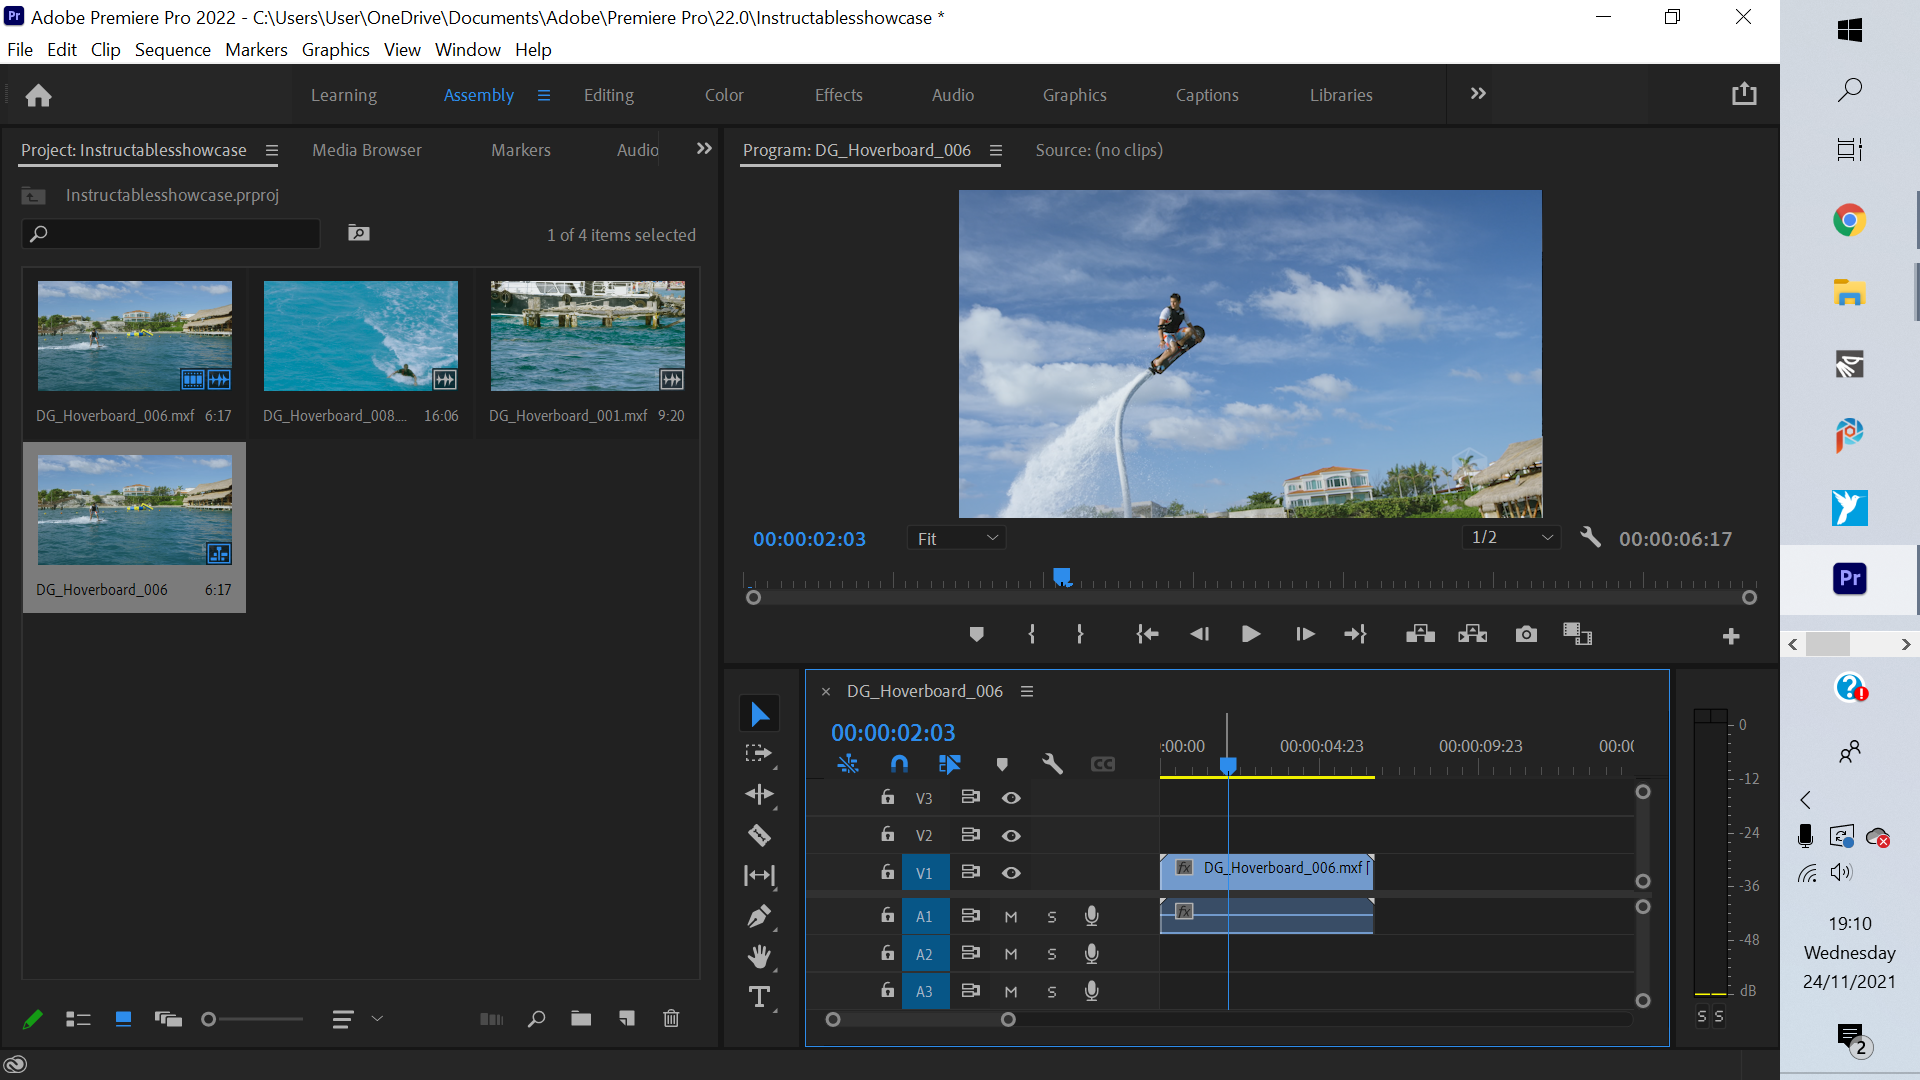
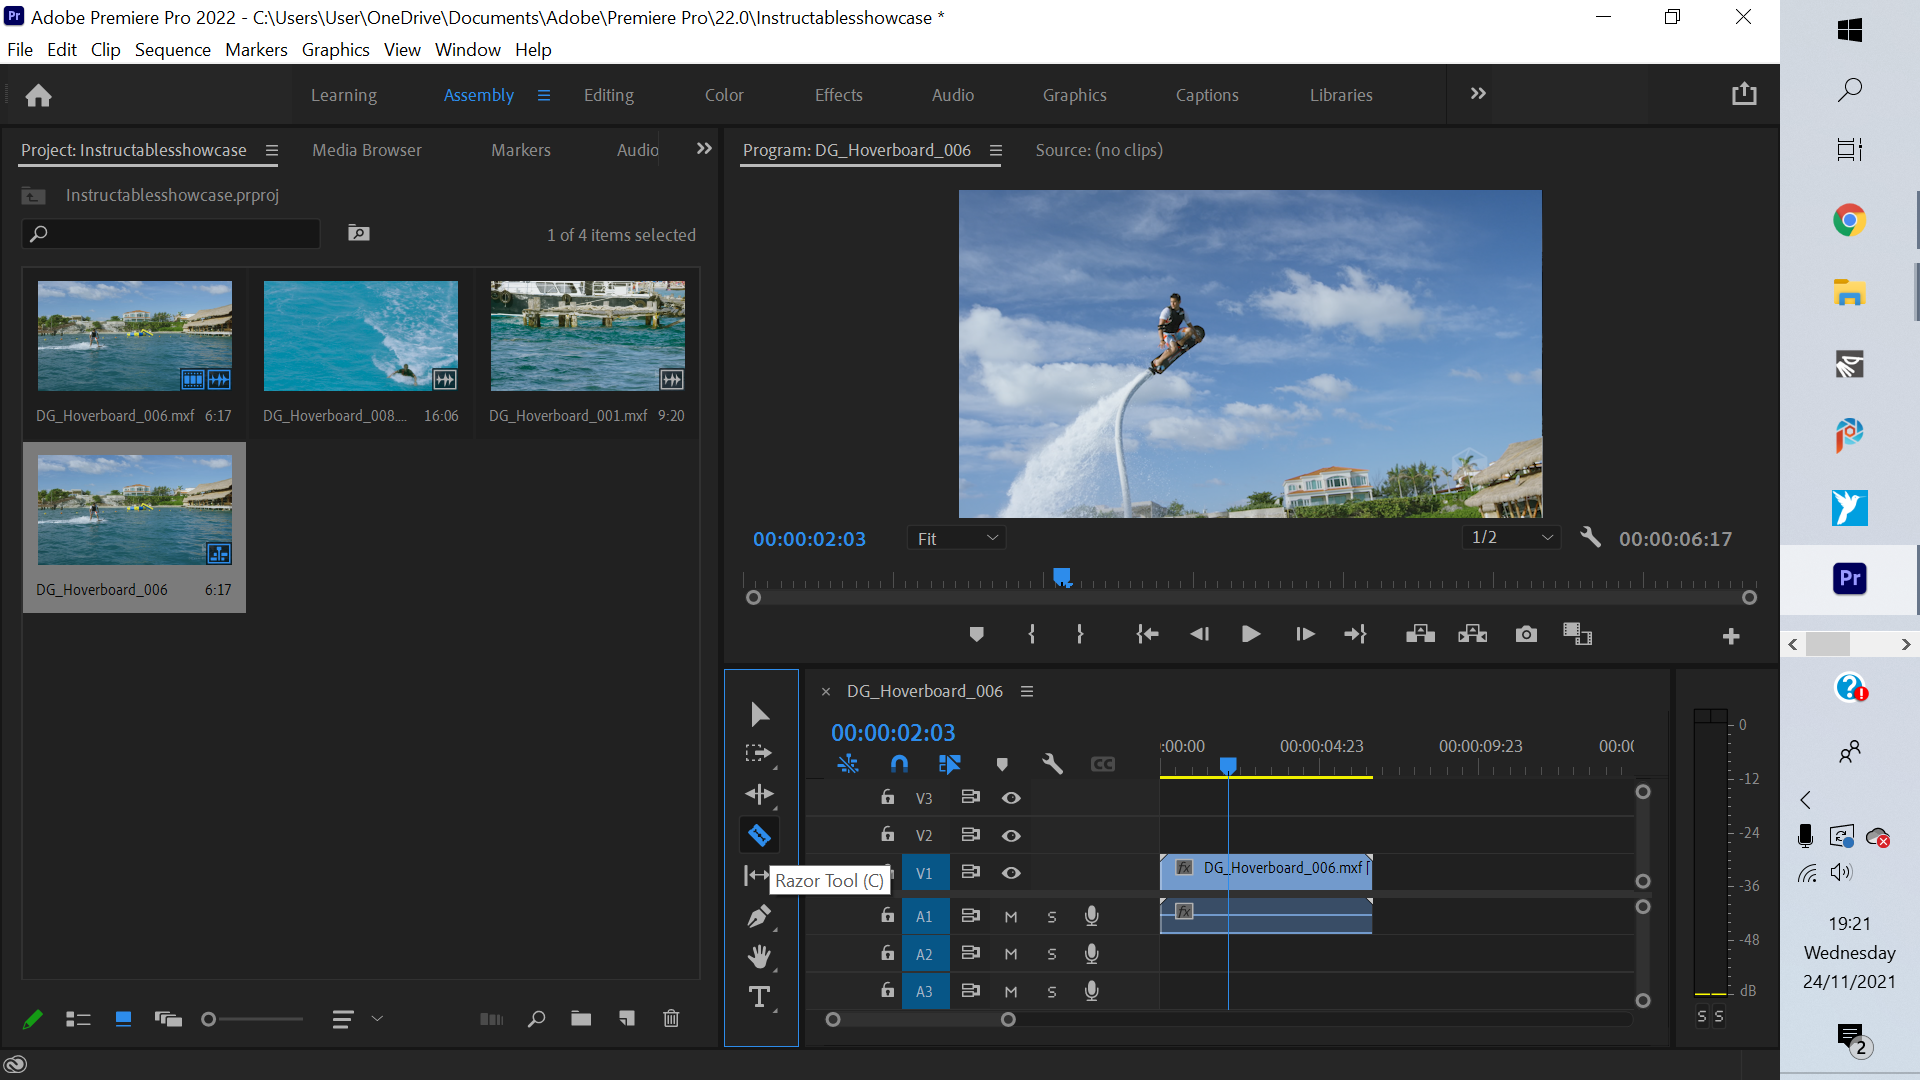
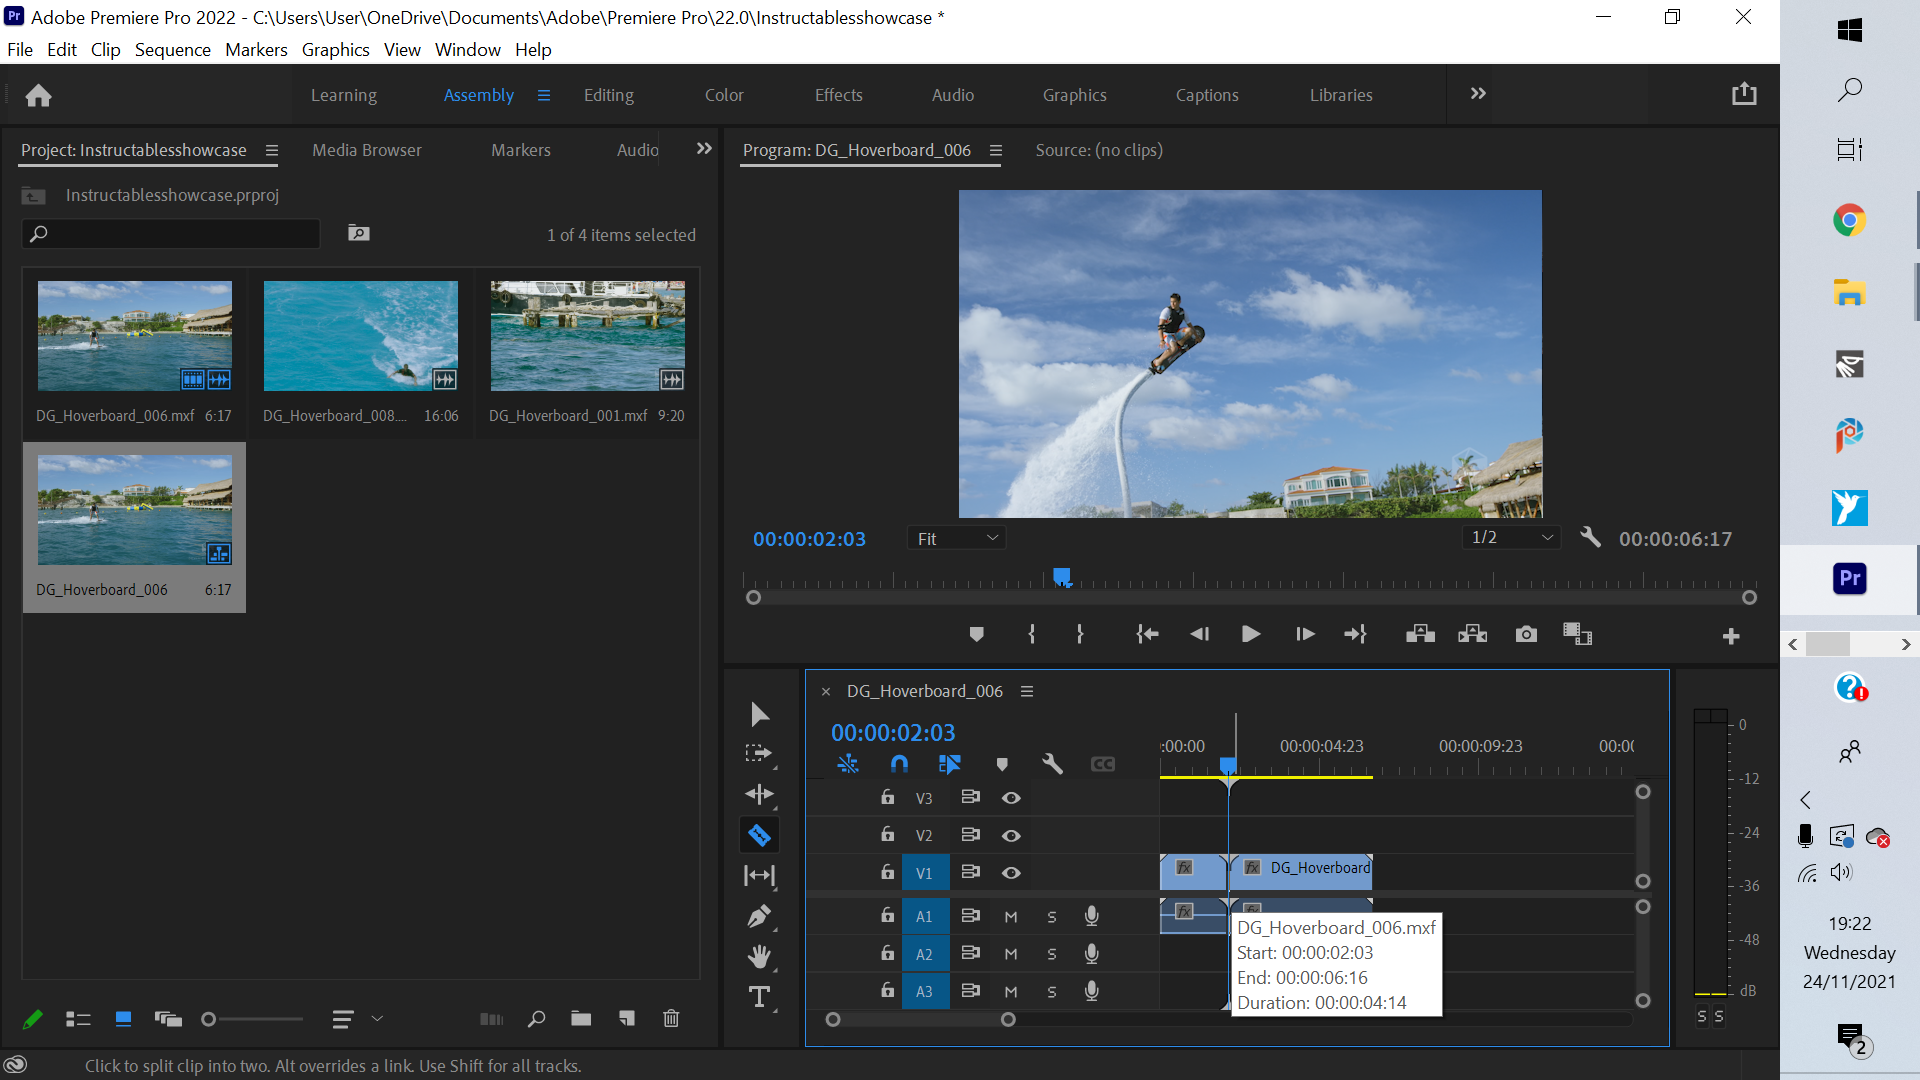
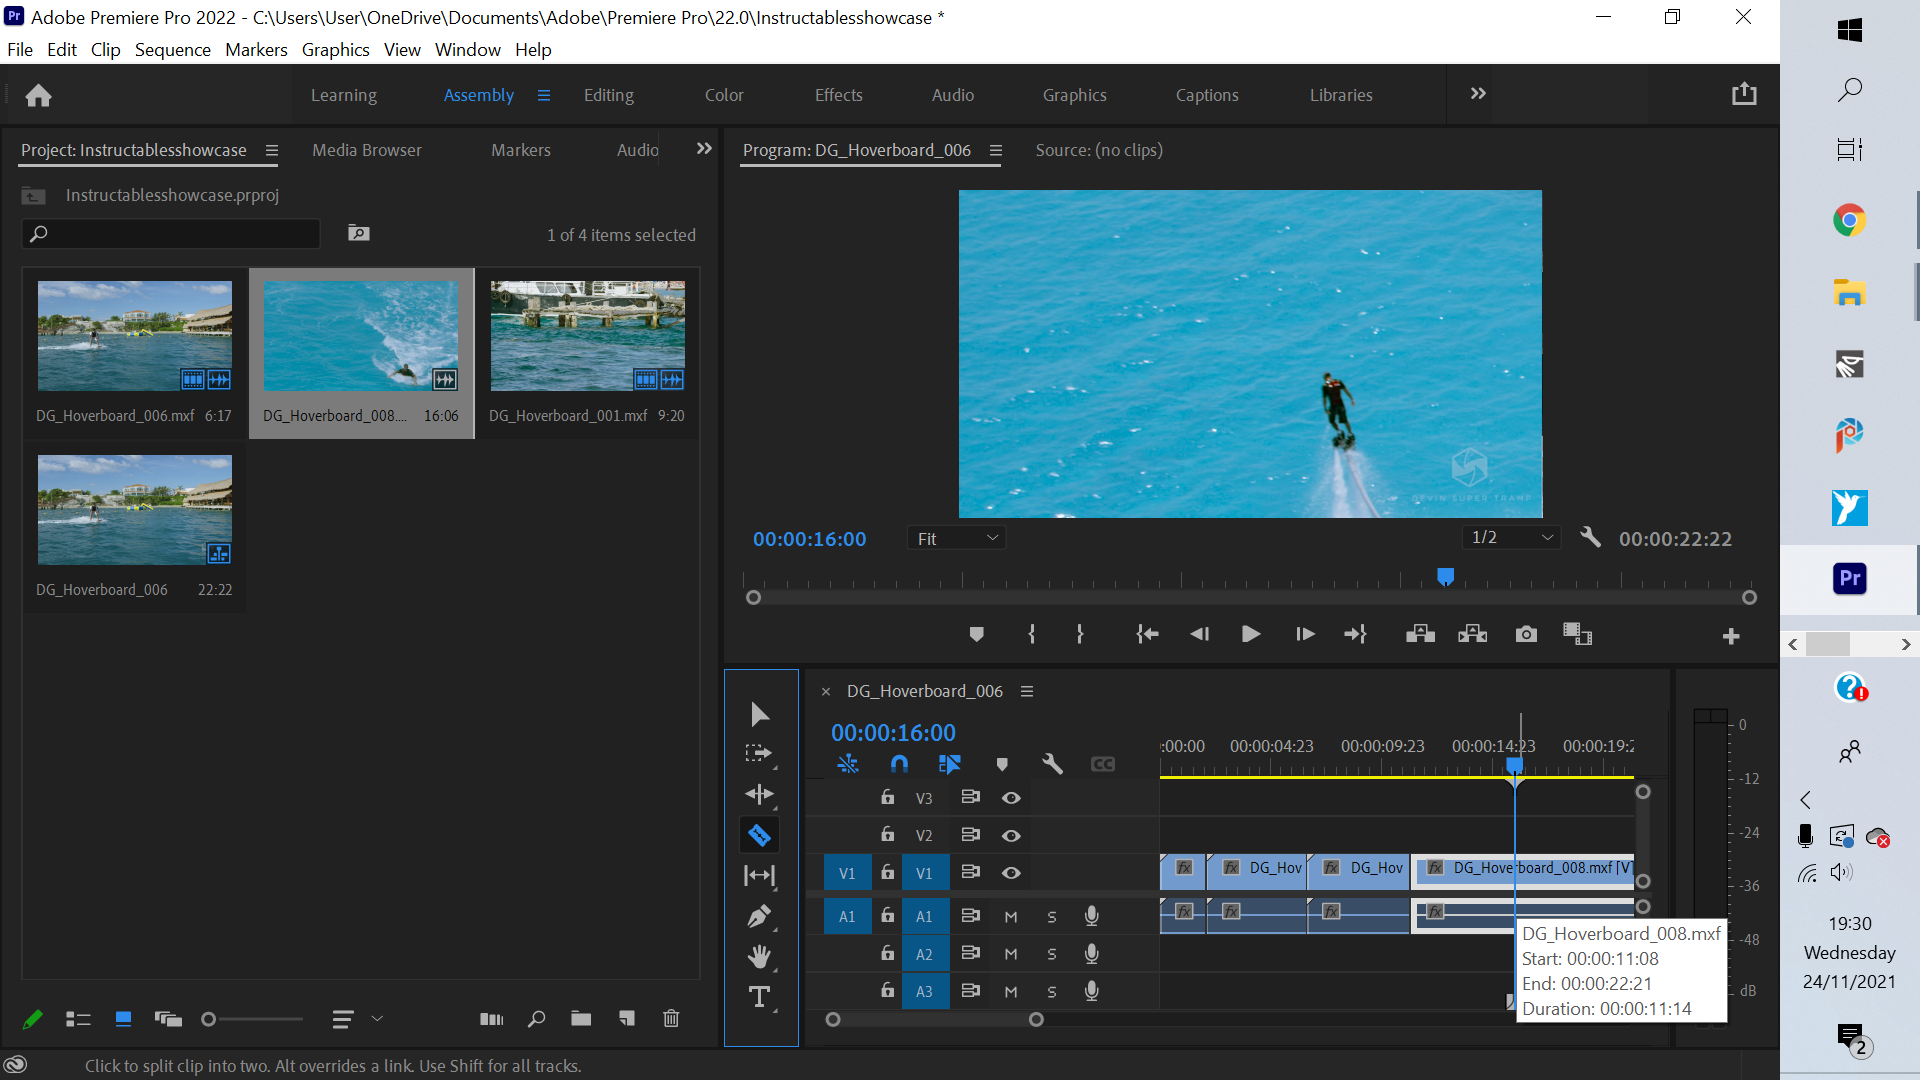
If you wish to cut up the added clip then use the blue bar on the timeline to select where you want to cut. Then select the "Razor Tool" shown in the image and click on where you have the blue bar to slice there.
Deleting Part of a Clip
.png)
.png)
.png)
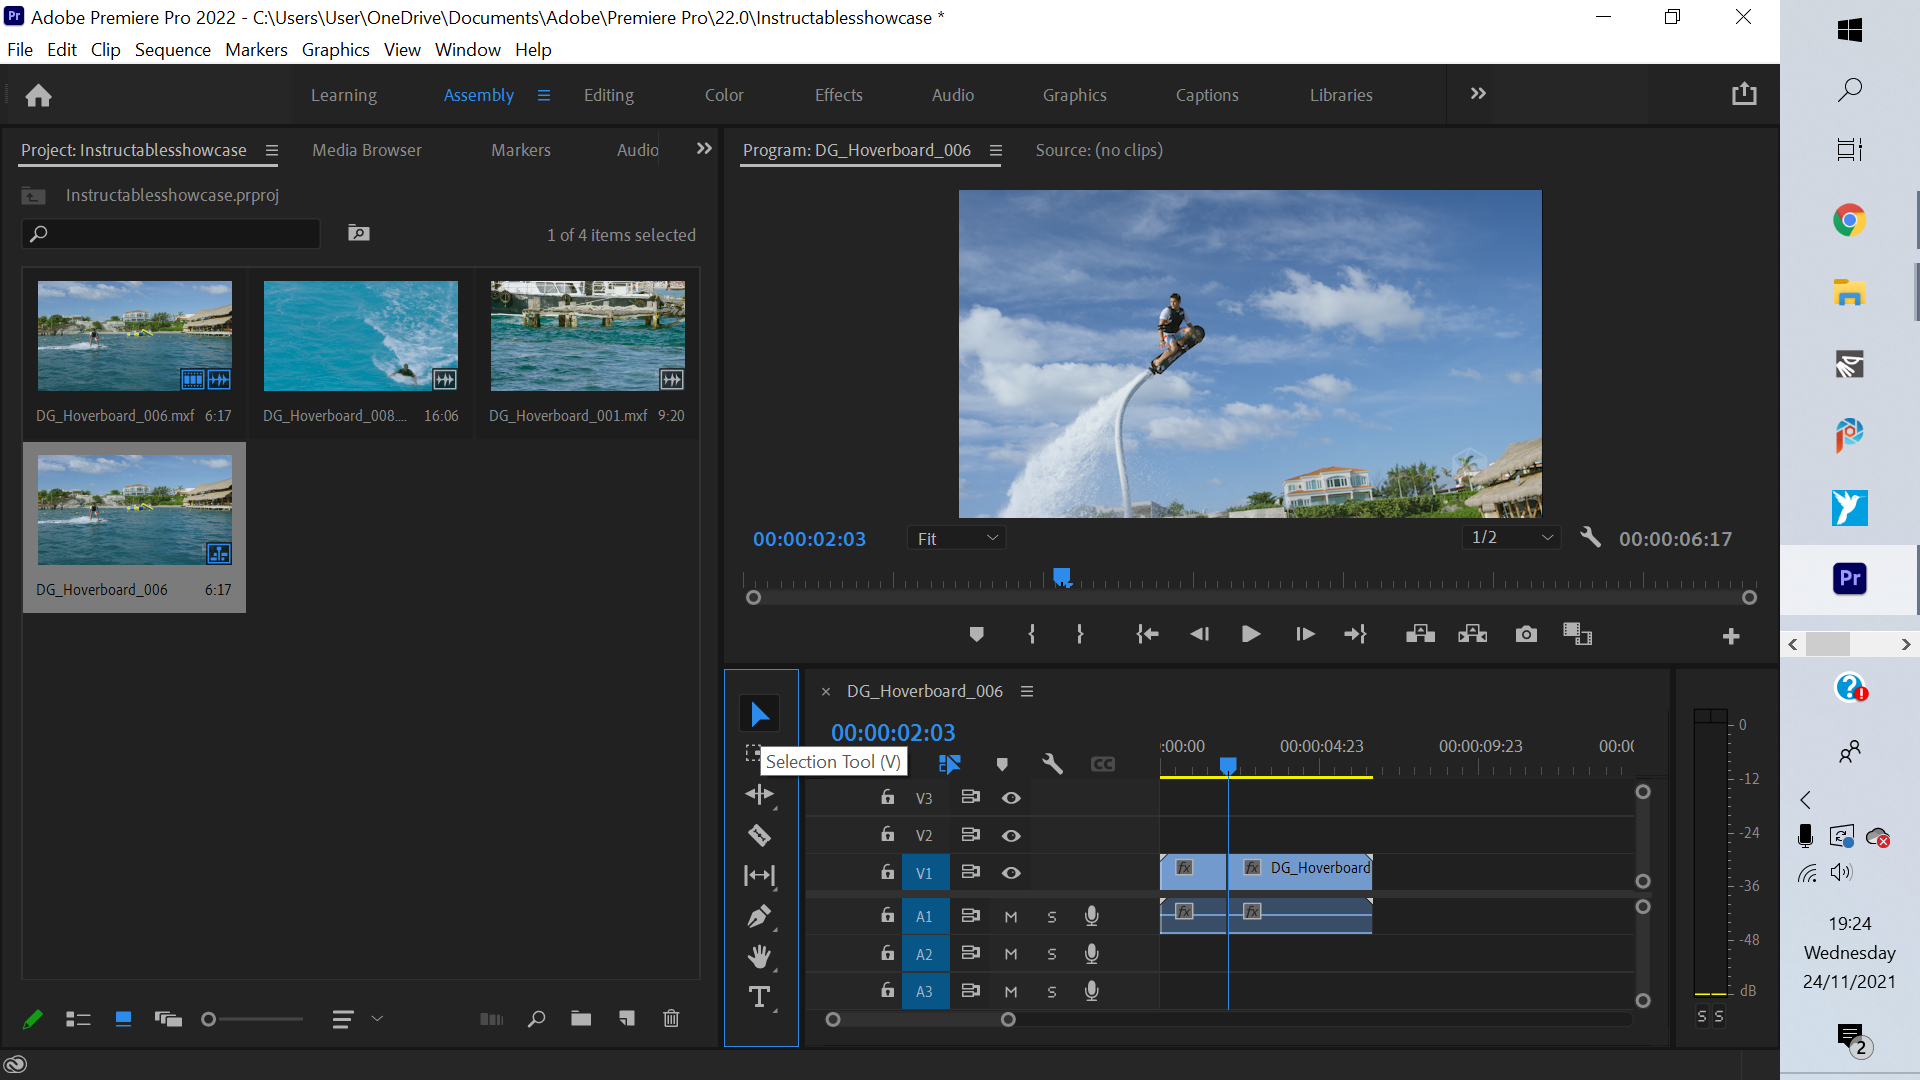
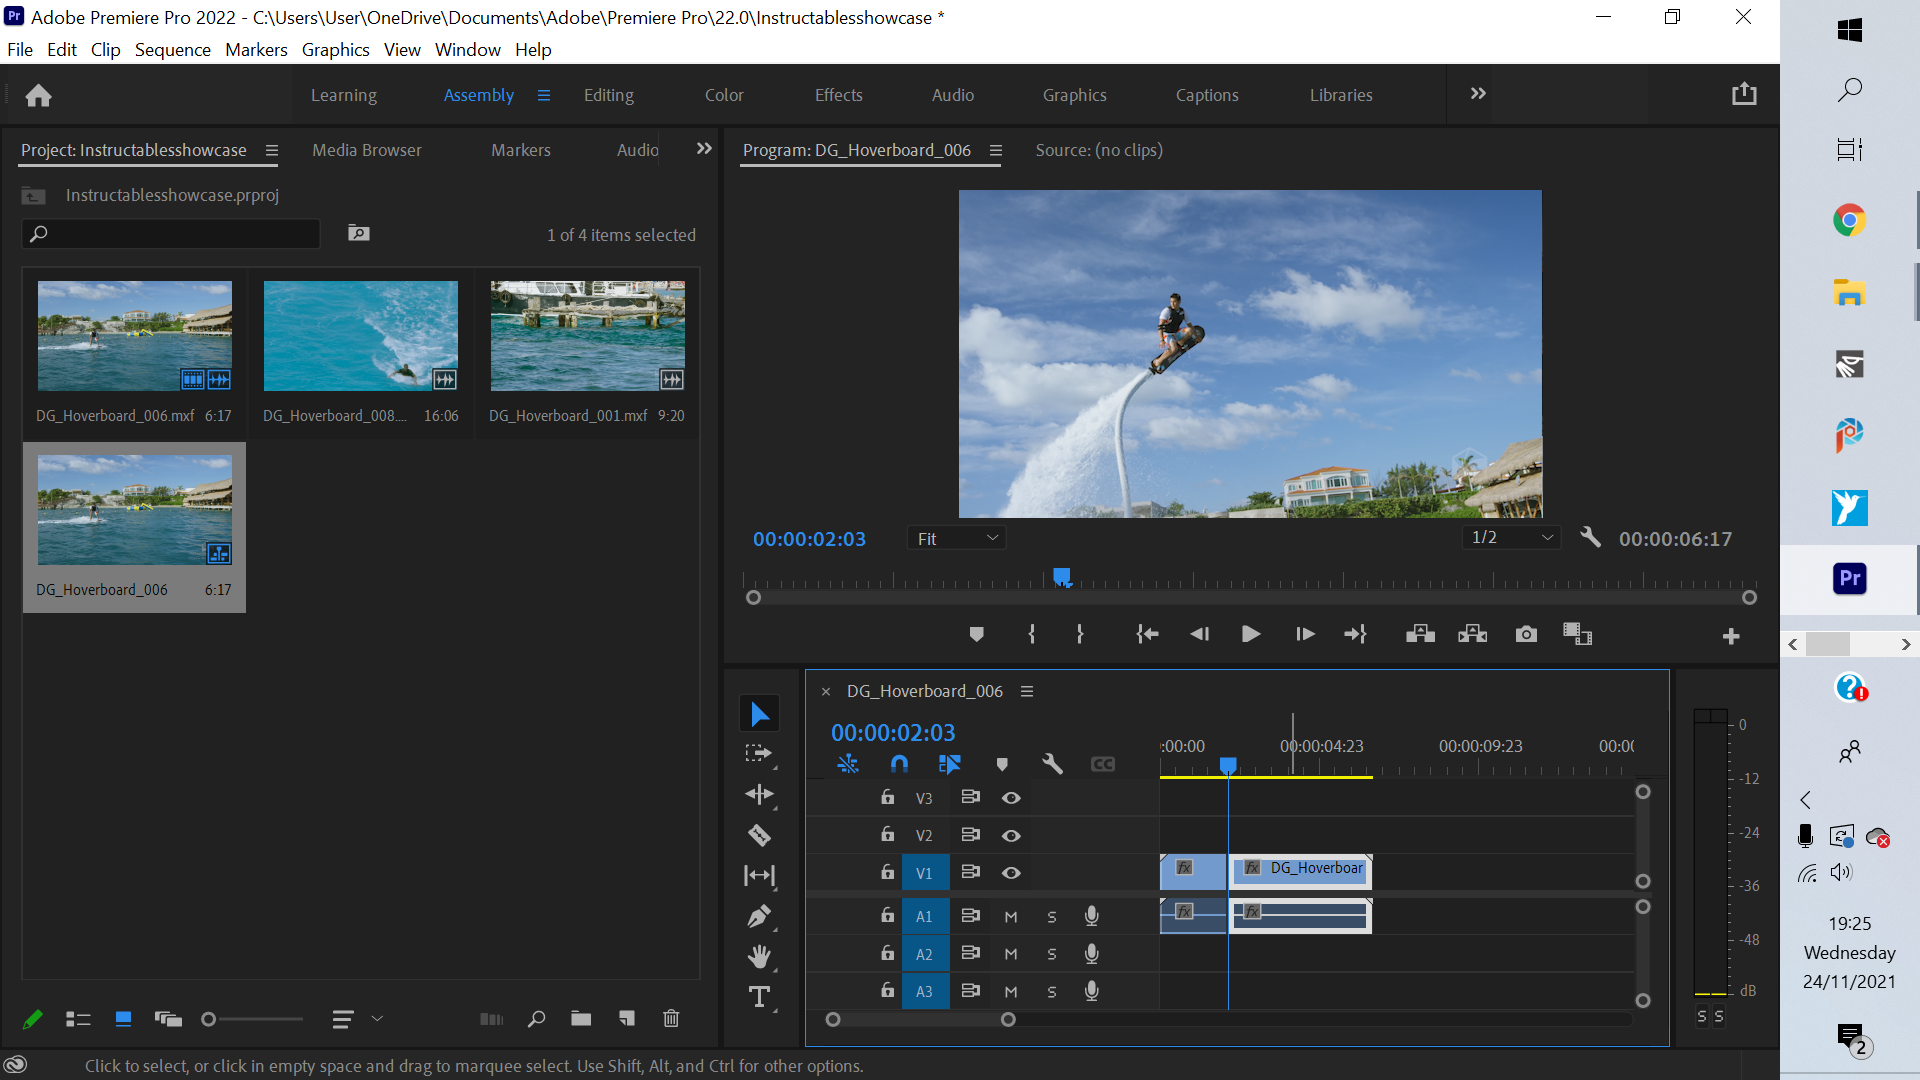
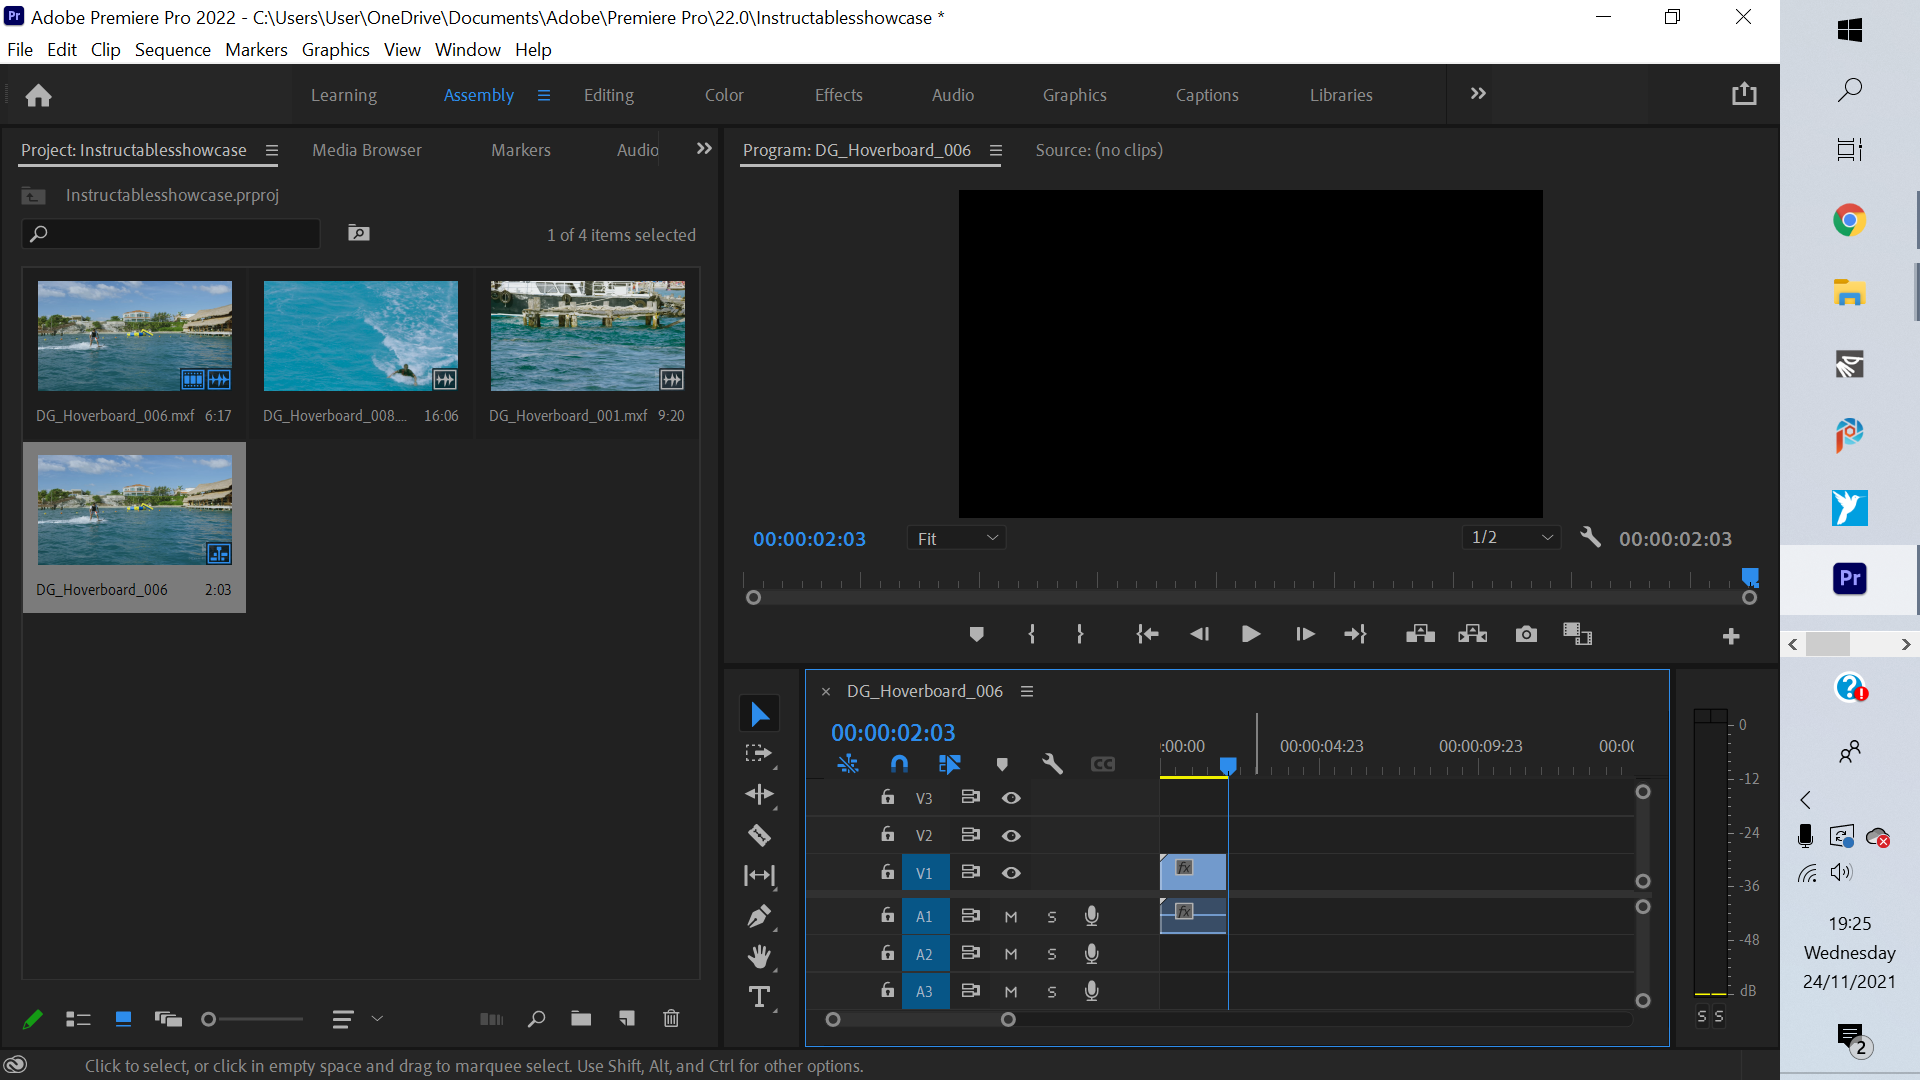
Select the "Selection Tool" as shown in the first image. Then click on whatever item on your timeline you wish to delete and press backspace.
Repeat
.png)
Repeat these steps for any clips you want to add and shorten. When all your edited clips are put together on the timeline you should get a cohesive video with clips cut exactly how you want.