Assemble Elegoo Smart Car Robot Kit V1.0
by BoianM in Circuits > Robots
30152 Views, 56 Favorites, 0 Comments
Assemble Elegoo Smart Car Robot Kit V1.0
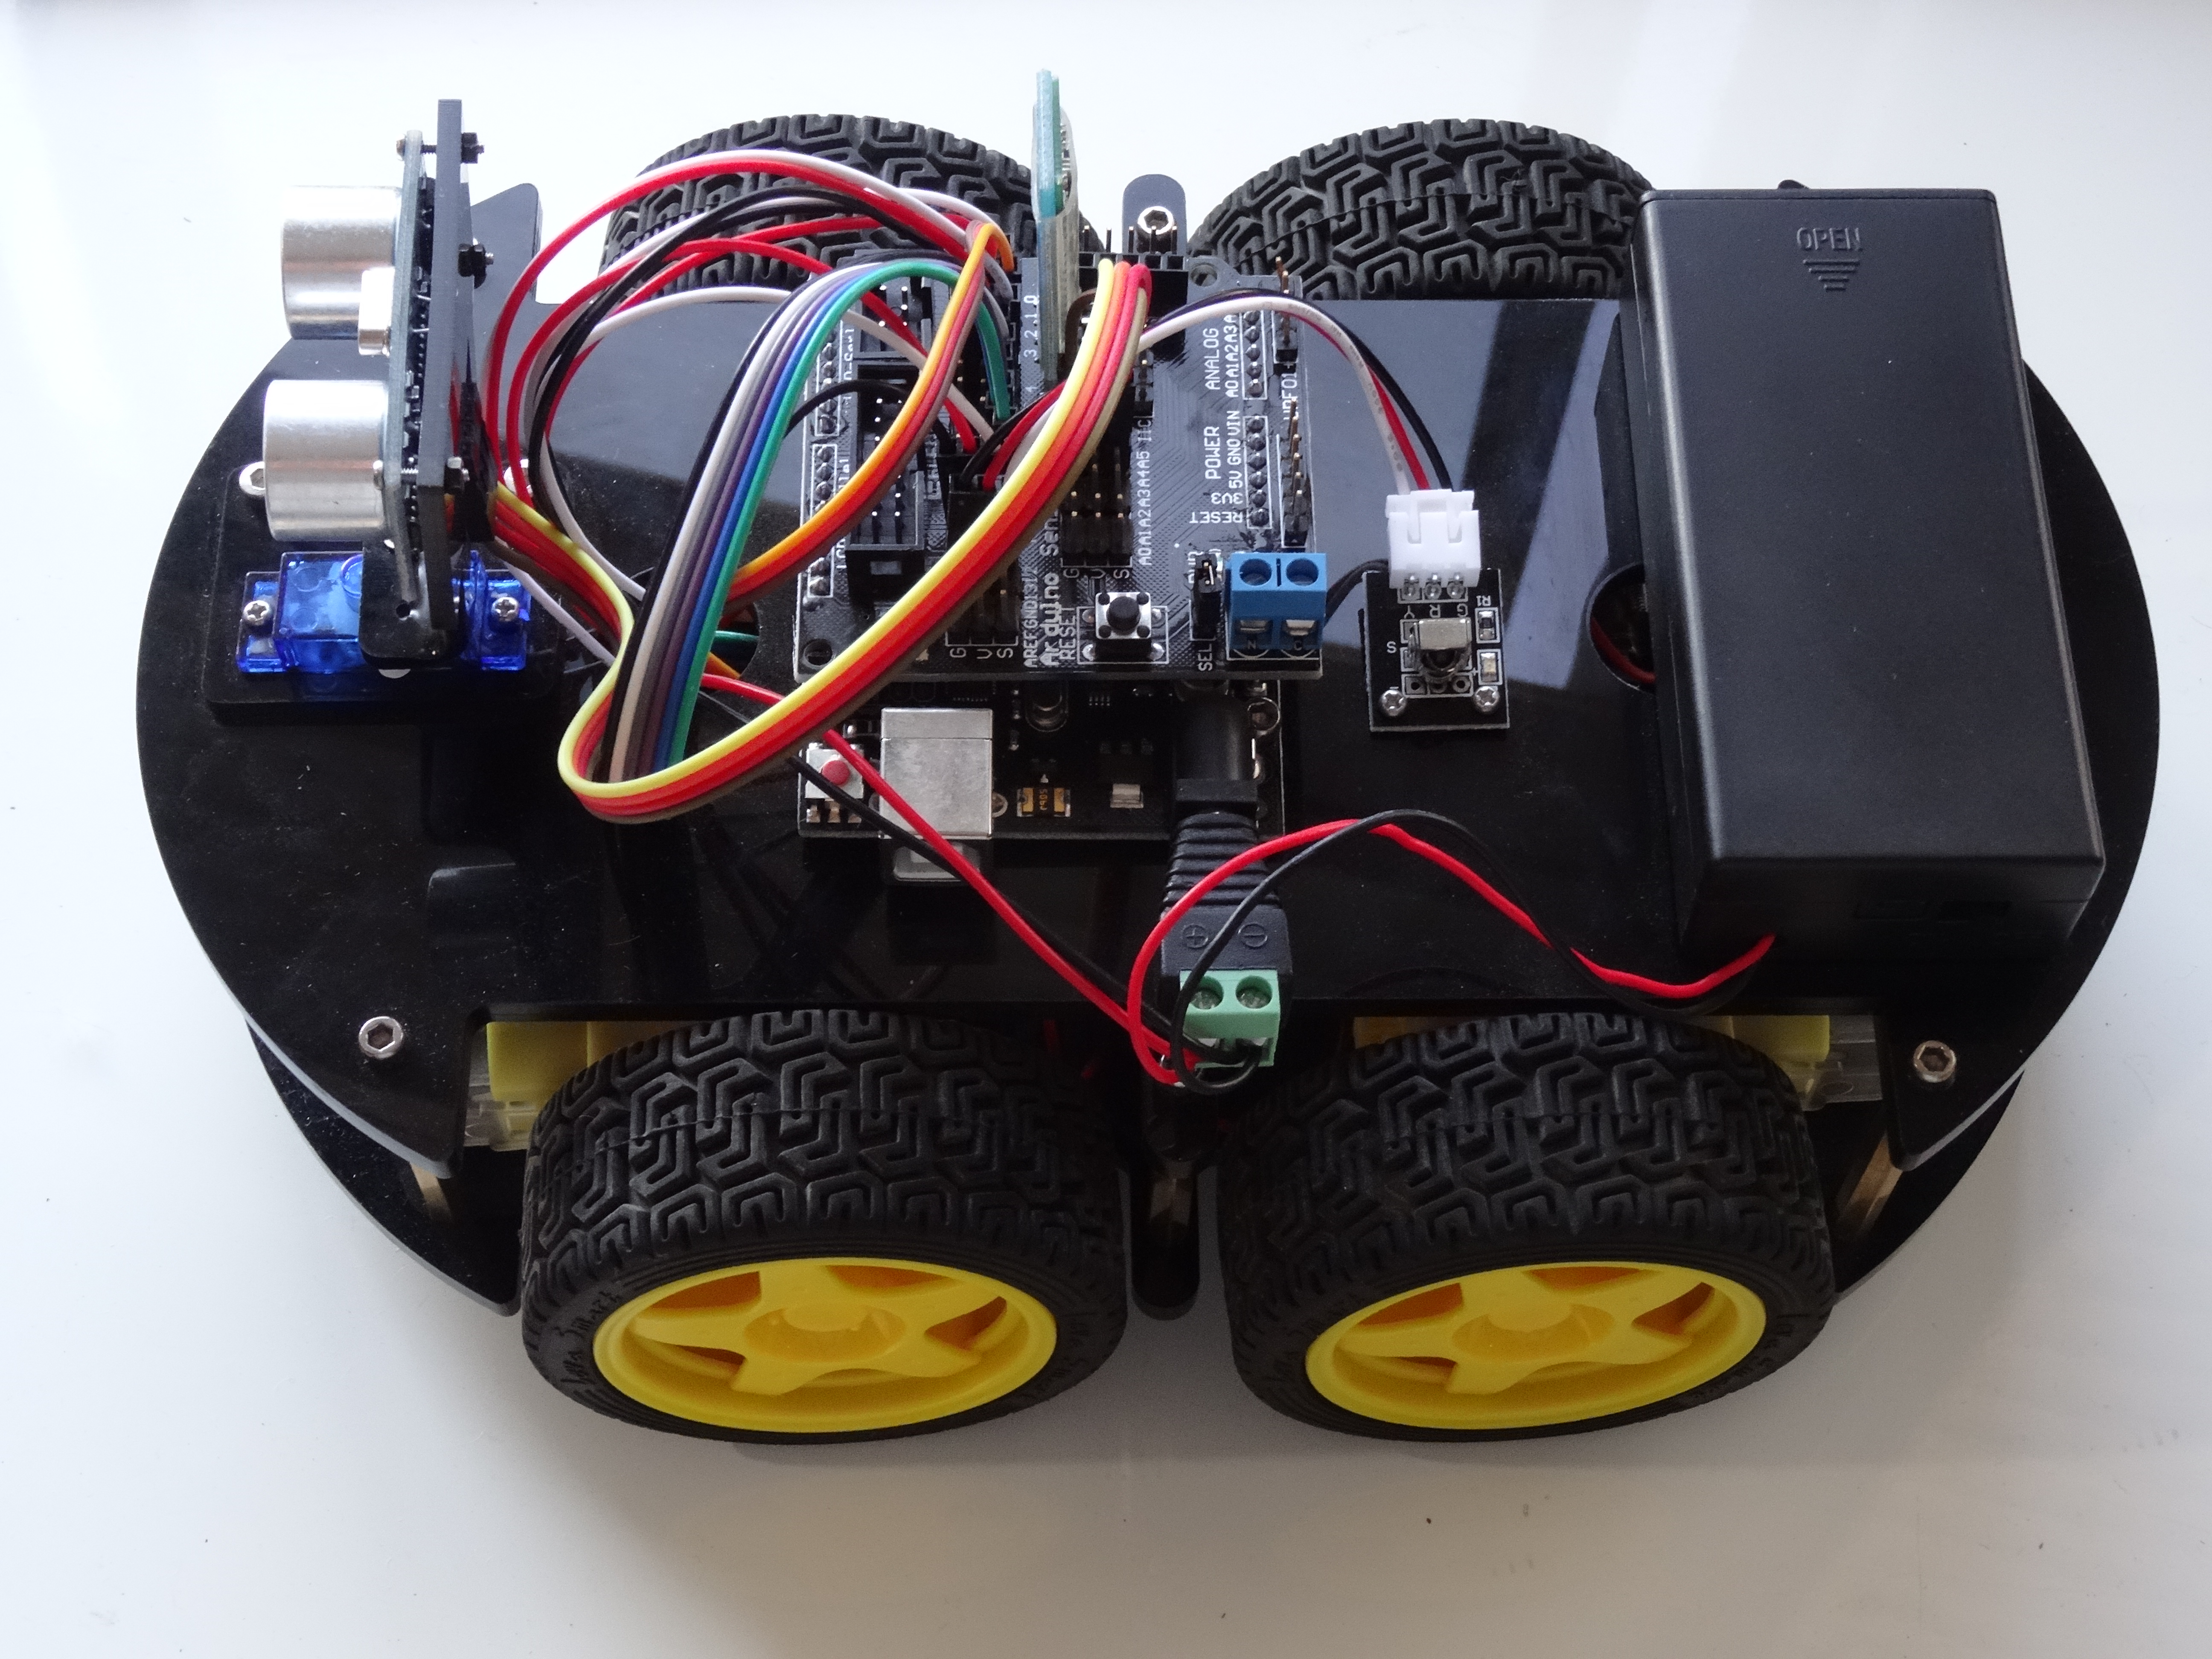
Recently I received a Smart Car Robot Kit donated by Elegoo for the Visuino development. I already had another kit that I have used in few Tutorials, but I must admit, the Elegoo kit really impressed me, and immediately became my primary platform for robotic experiments with Visuino!
The kit is by far the most affordable robot kit that I have seen for the features that it includes, and I would wholeheartedly recommend it to you. As you can see from the pictures that I have taken during the assembly, the quality is also very good.
Before I post some Visuino Tutorials with it, I decided to post Assembly Instructions, and made this tutorial.
Opening the Box
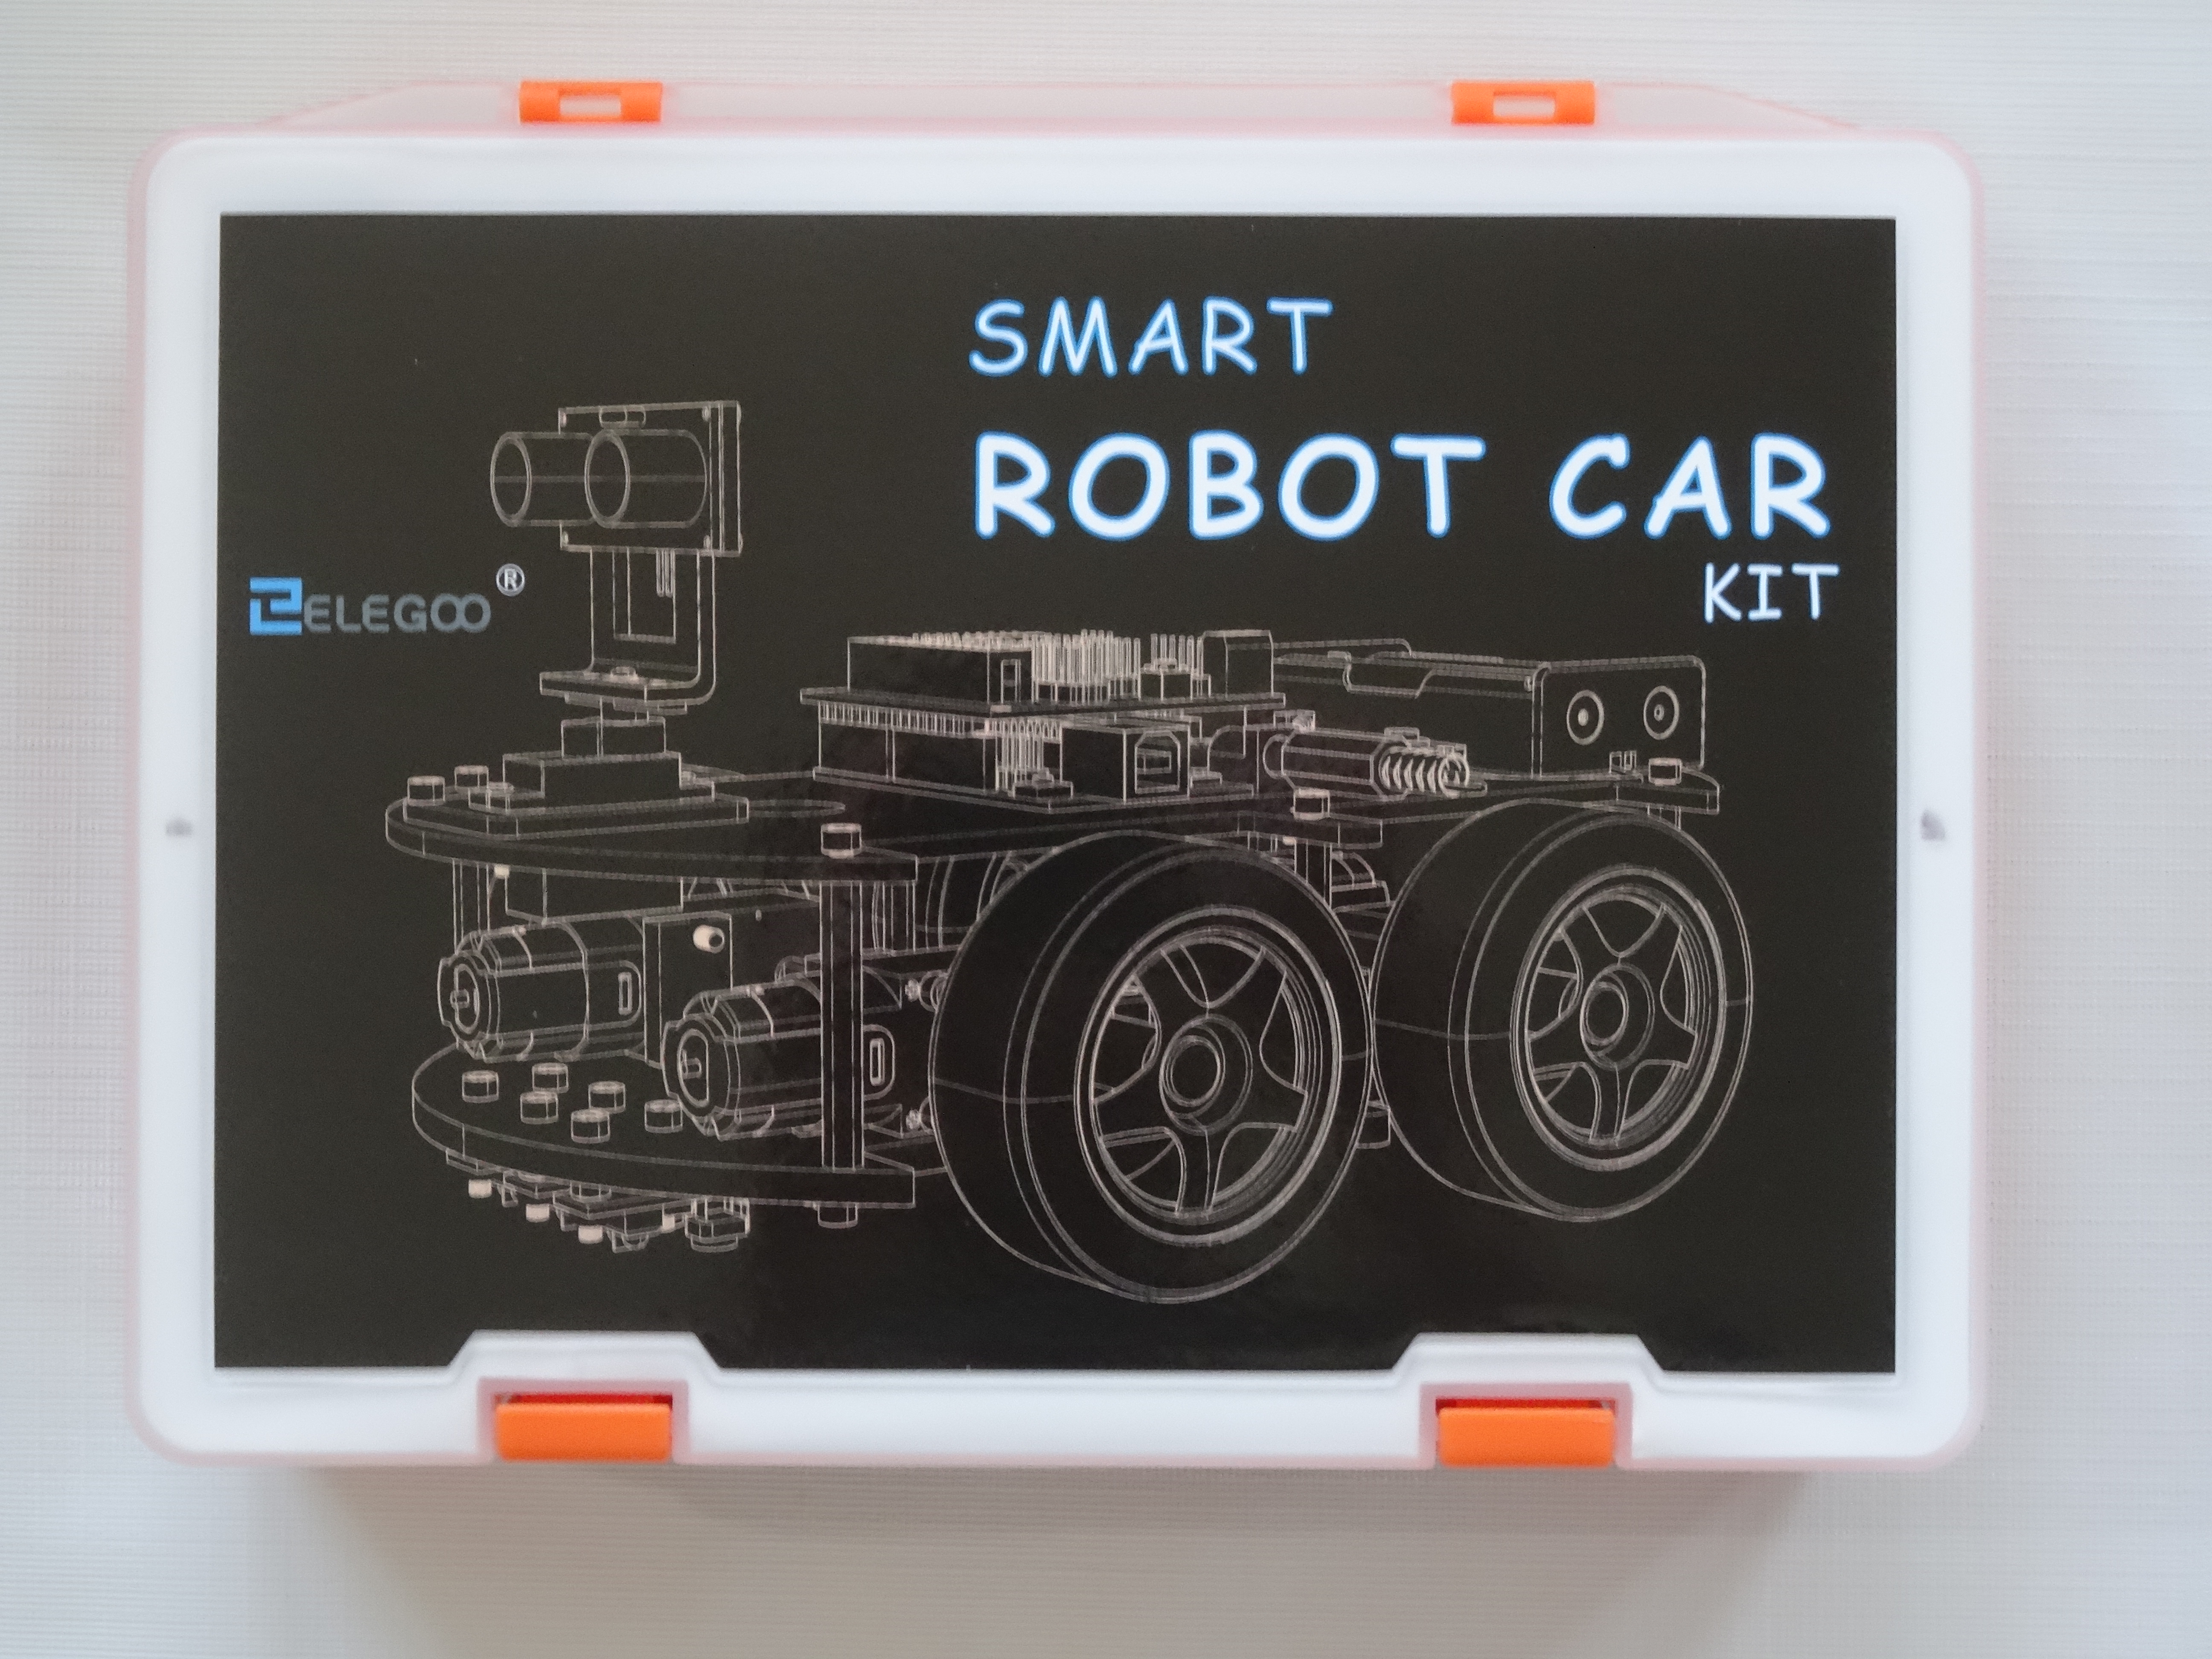
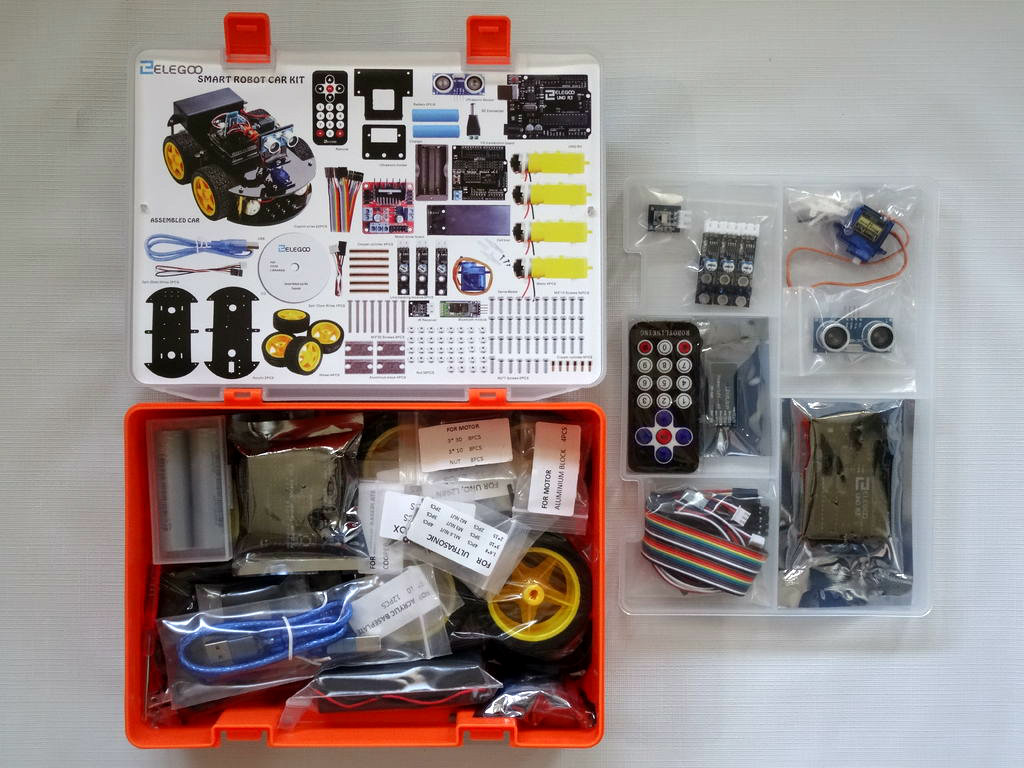
The Smart Robot Car kit comes in a nice plastic box with top layer organizer (Pictures 1, and 2), and includes DVD with assembly instructions, tutorials, and demo projects.
Preparing the Motors to Be Installed
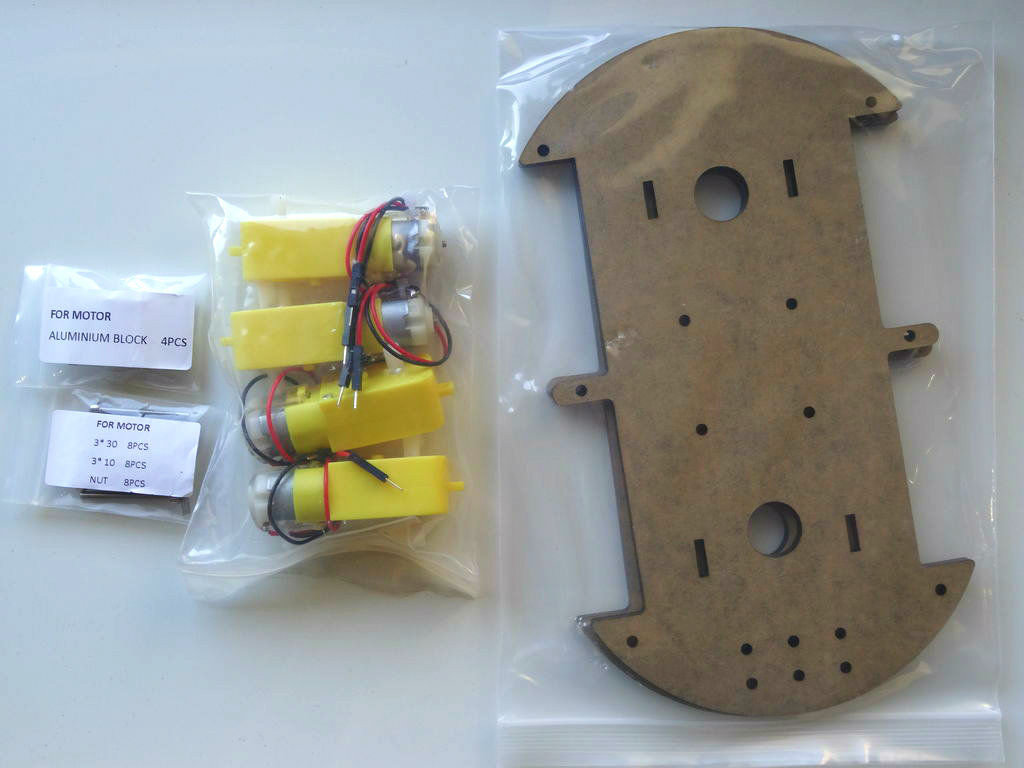
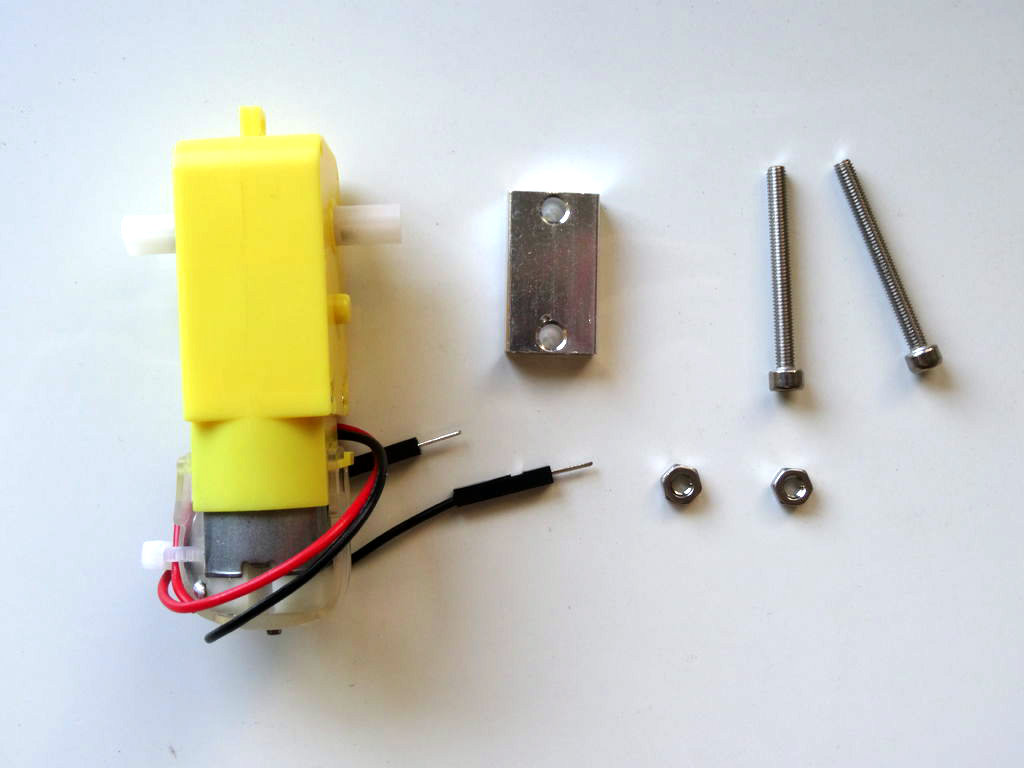
- Take out from the box, the Motors, the 2 plastic bags with components labeled "FOR MOTOR", and the layers(levels) of chassis (Picture 1)
- Take out the Motors, the Aluminium Blocks, the bolts and the nuts from the plastic bags (Picture 2)
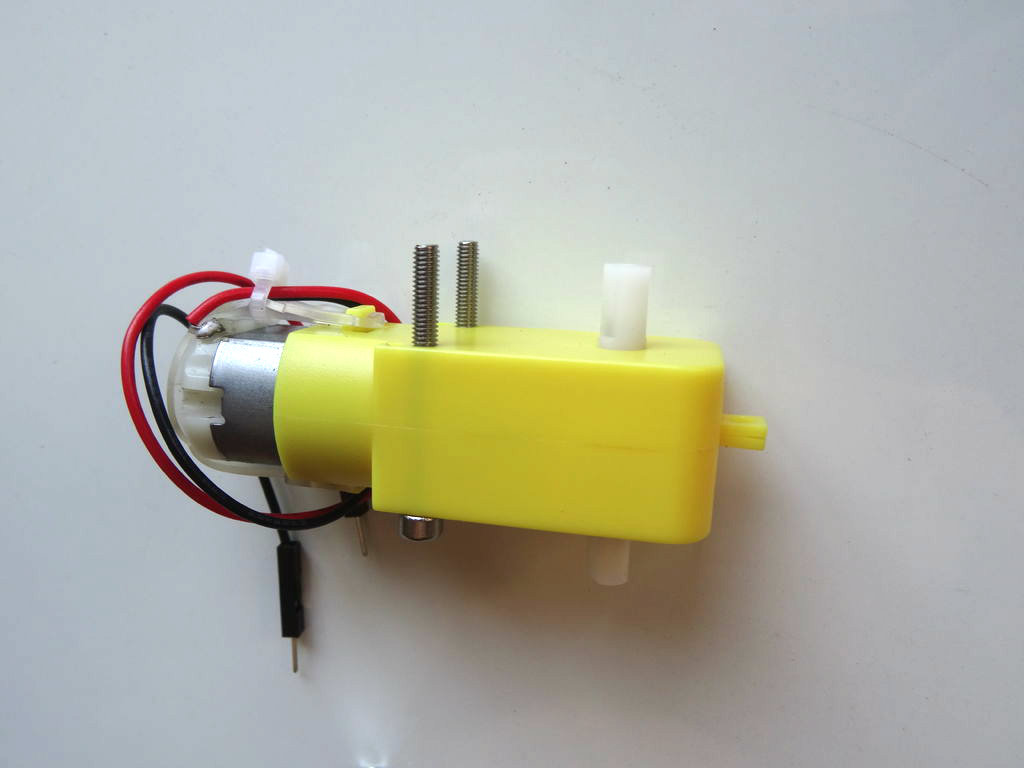
- For each motor insert the long screws through the holes from the side with the small sticking out yellow pin to the flat side (Picture 3)
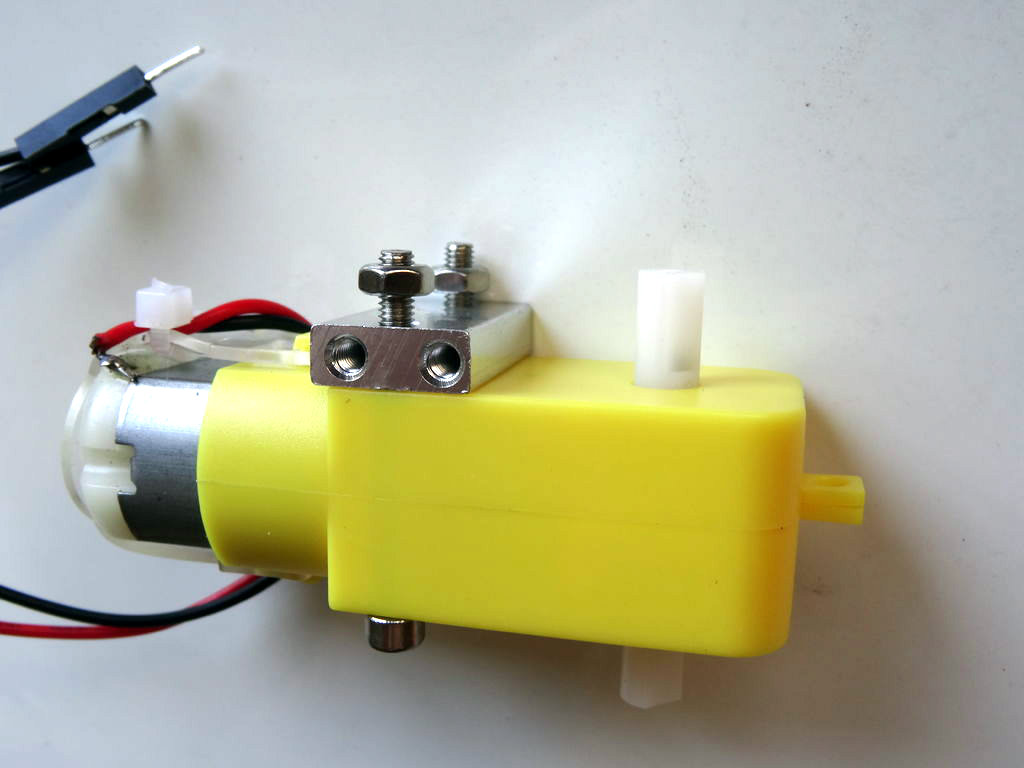
- Place the Aluminium Block so the screws will go through the holes on its big flat side (Picture 4)
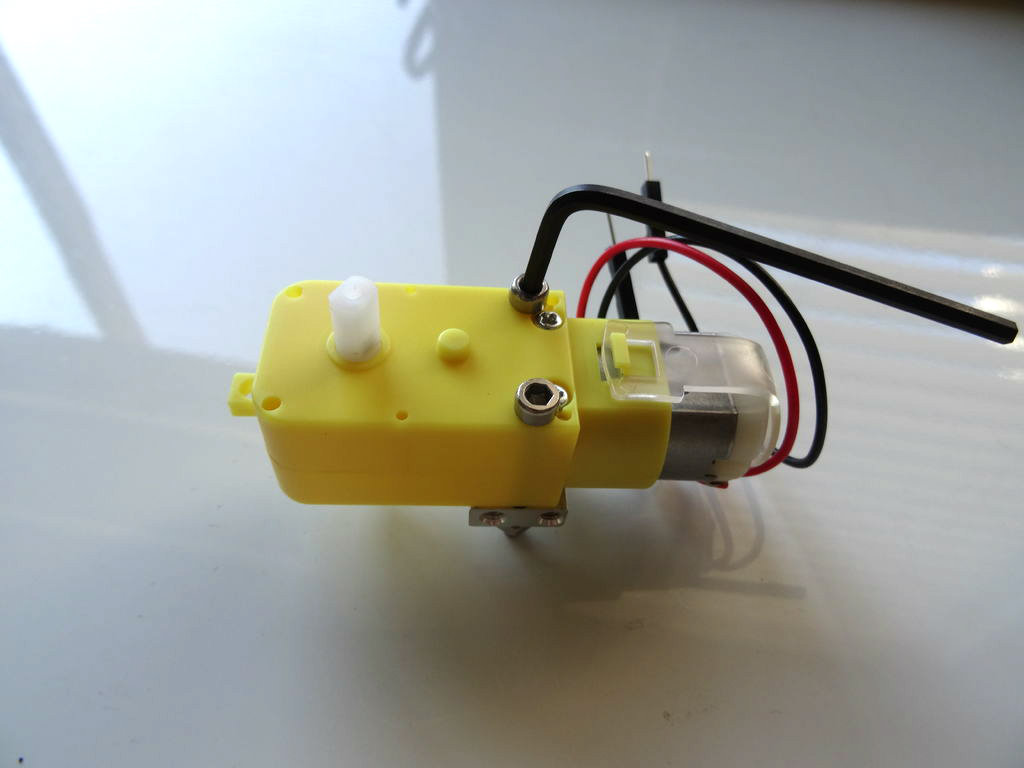
- Screw the nuts on the bolts (Picture 4) and tighten them with the hexagon tool (Picture 5)
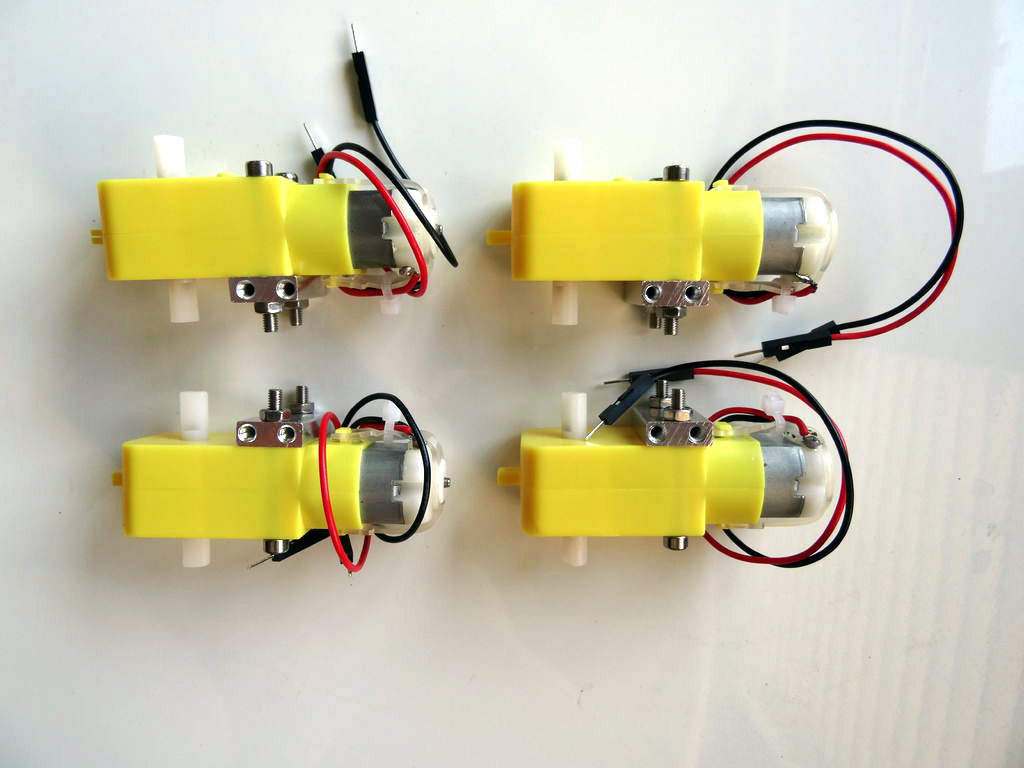
- Do the same for the 4 motors (Picture 6)
Installing the Motors on the Chassis
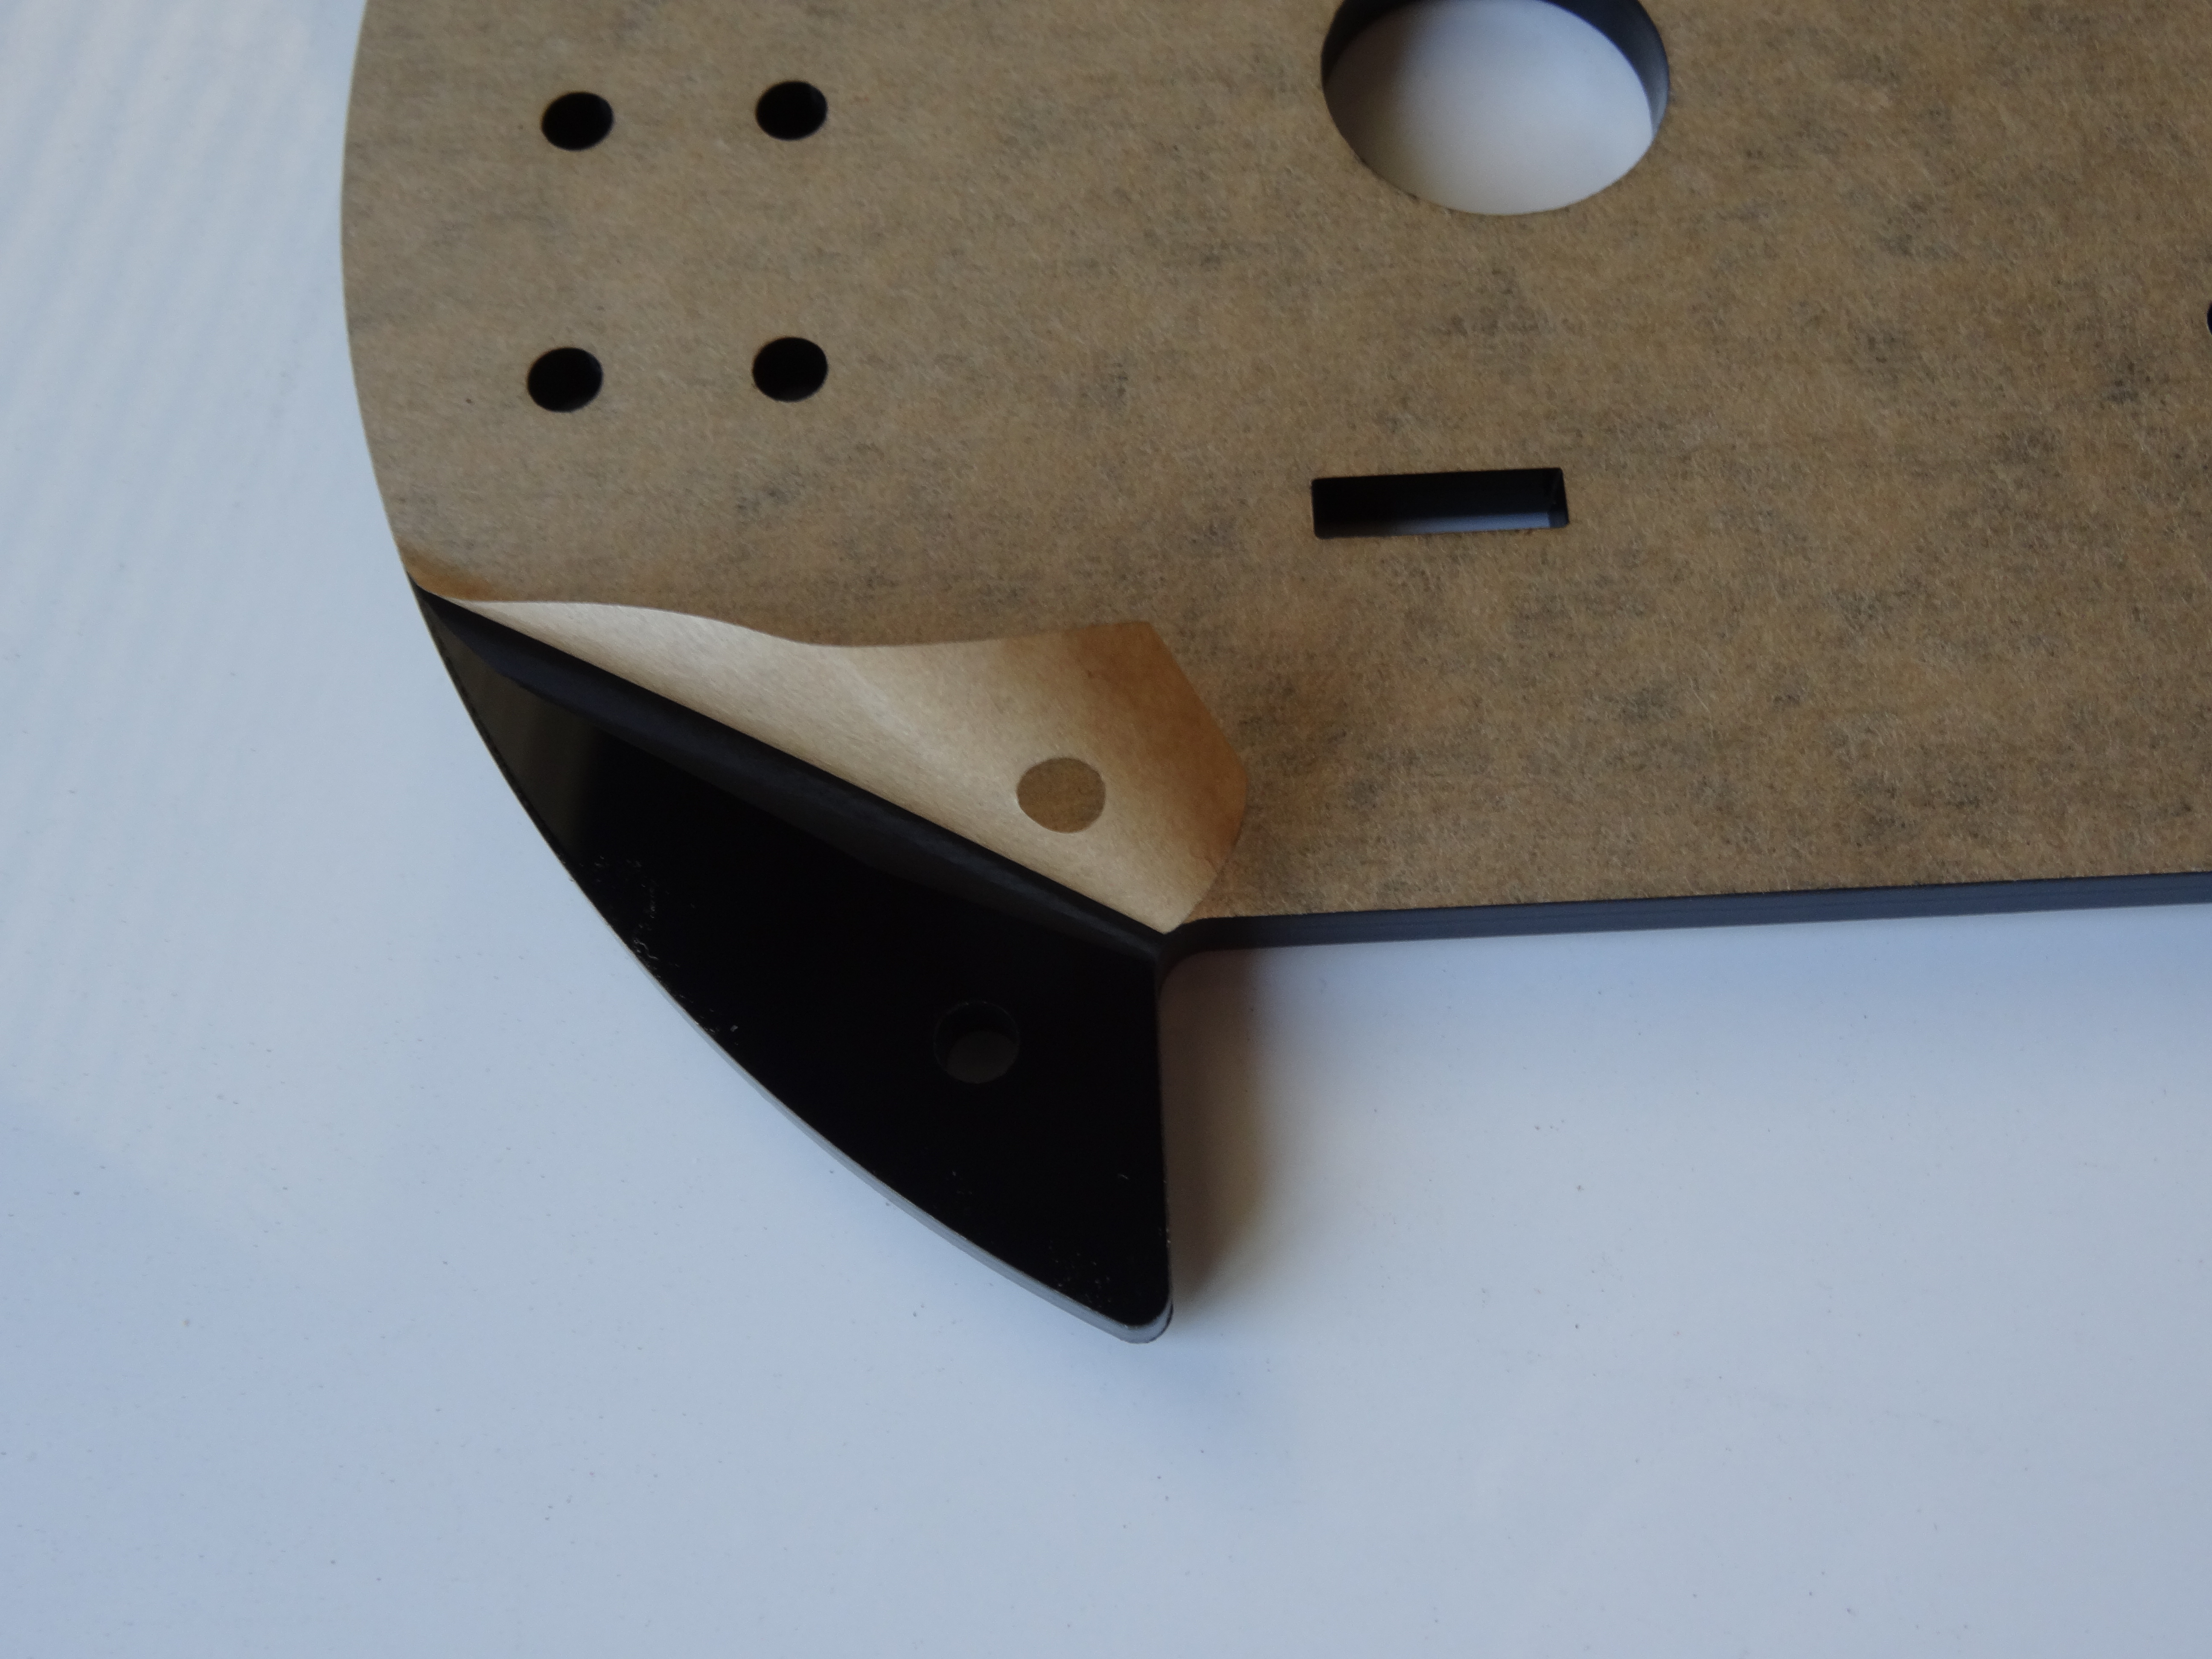
- Peel the protective cover from the bottom layer of the chassis (Picture 1)
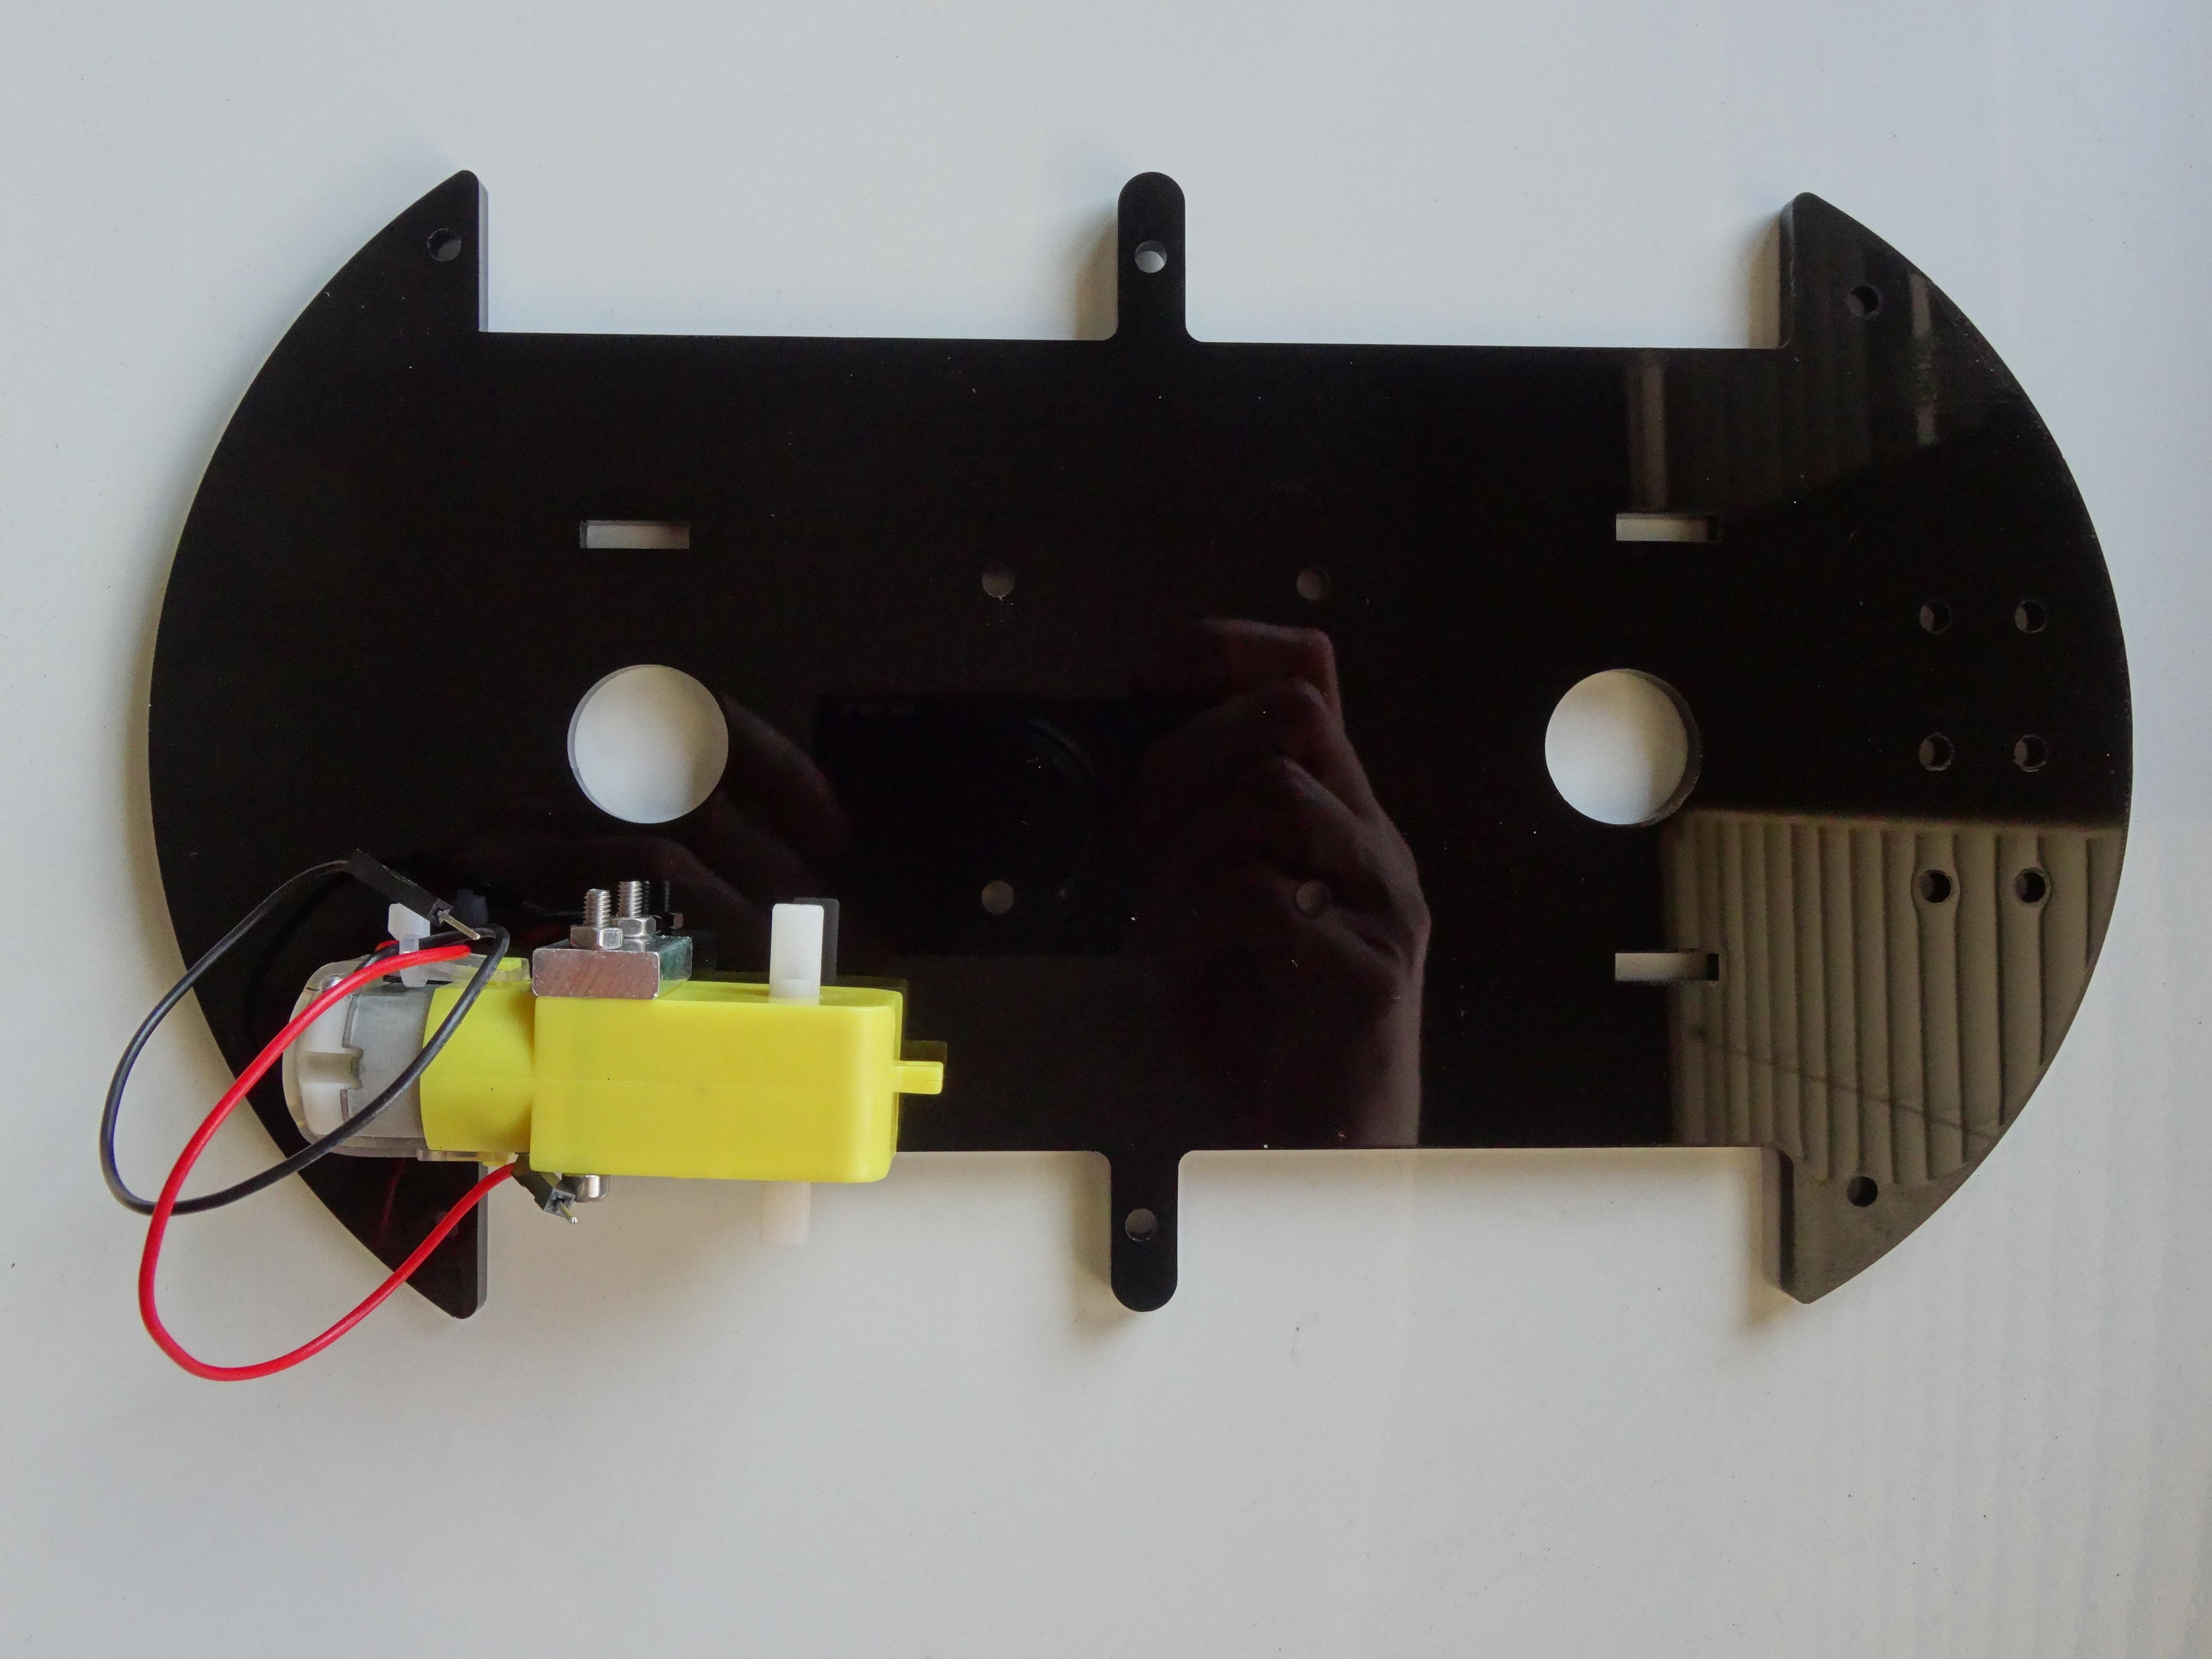
- Place one of the the motors on the Chassis (Picture 2) with the threaded holes of the aluminium blocks facing down
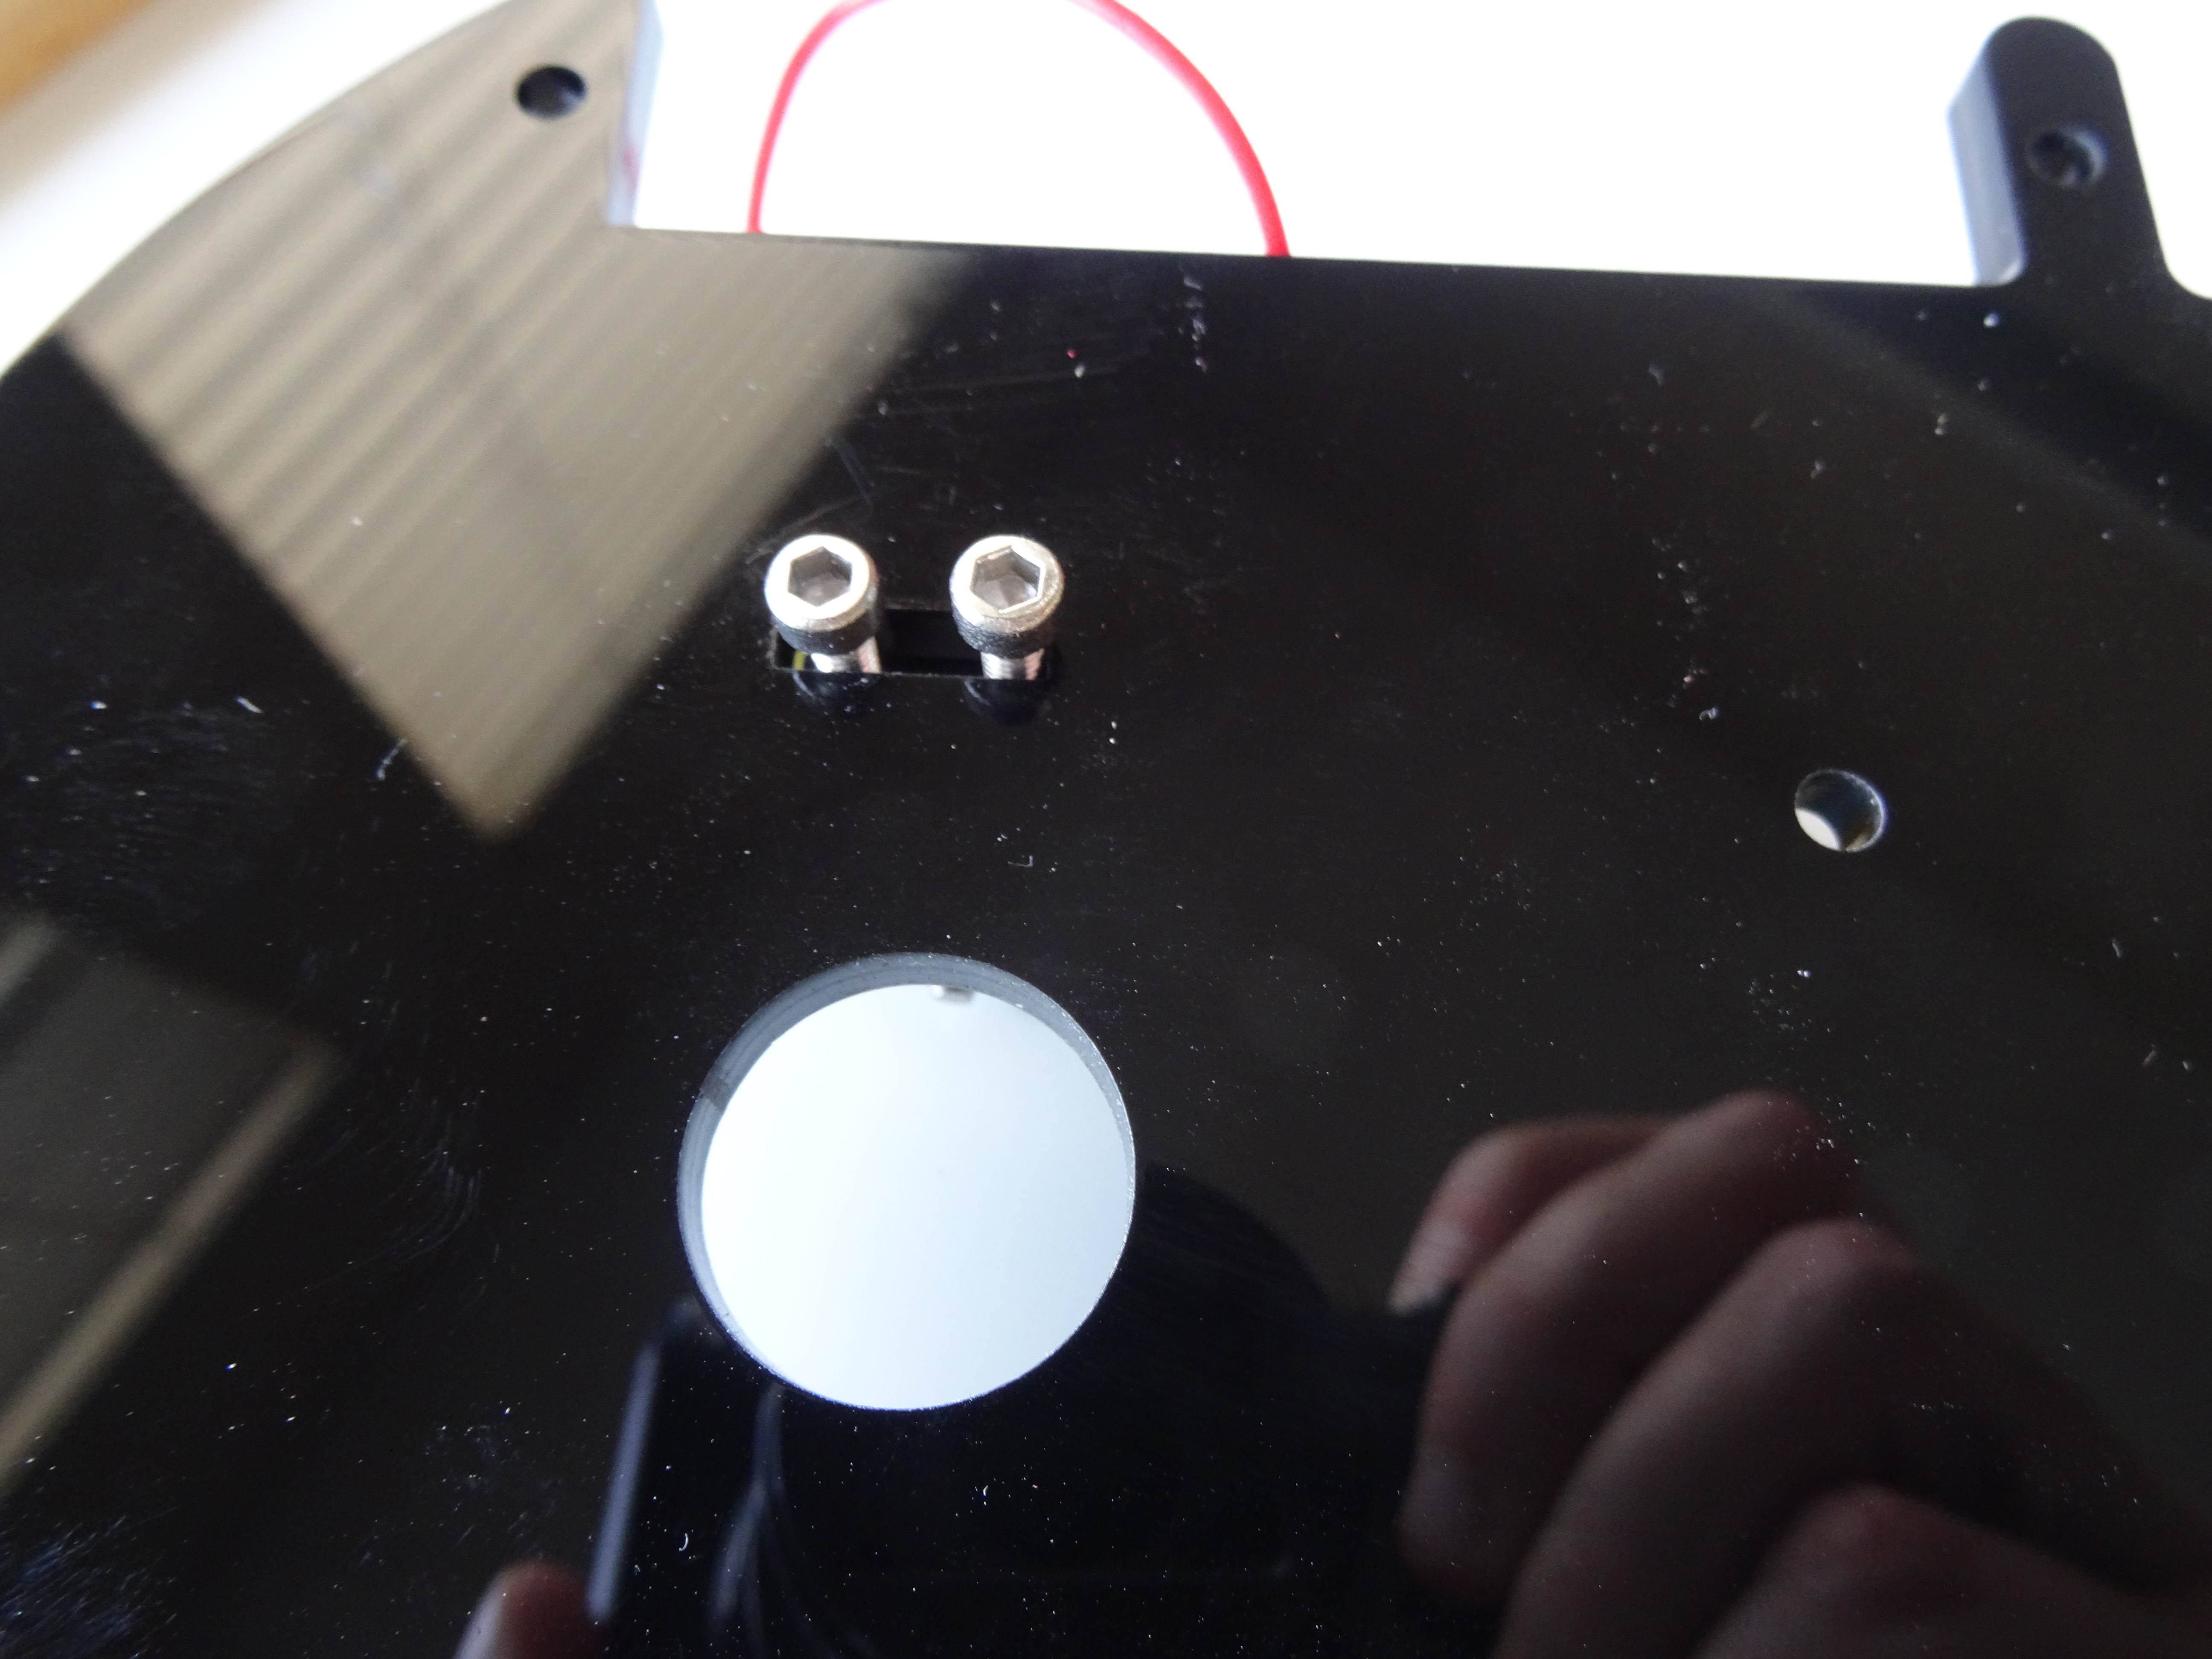
- The Chassis has straight slots where the motors need to be mounted. Push 2 short screws through the slot, and insert them in the 2 threaded holes of the Aluminium Blocks attached to the motor (Picture 3)
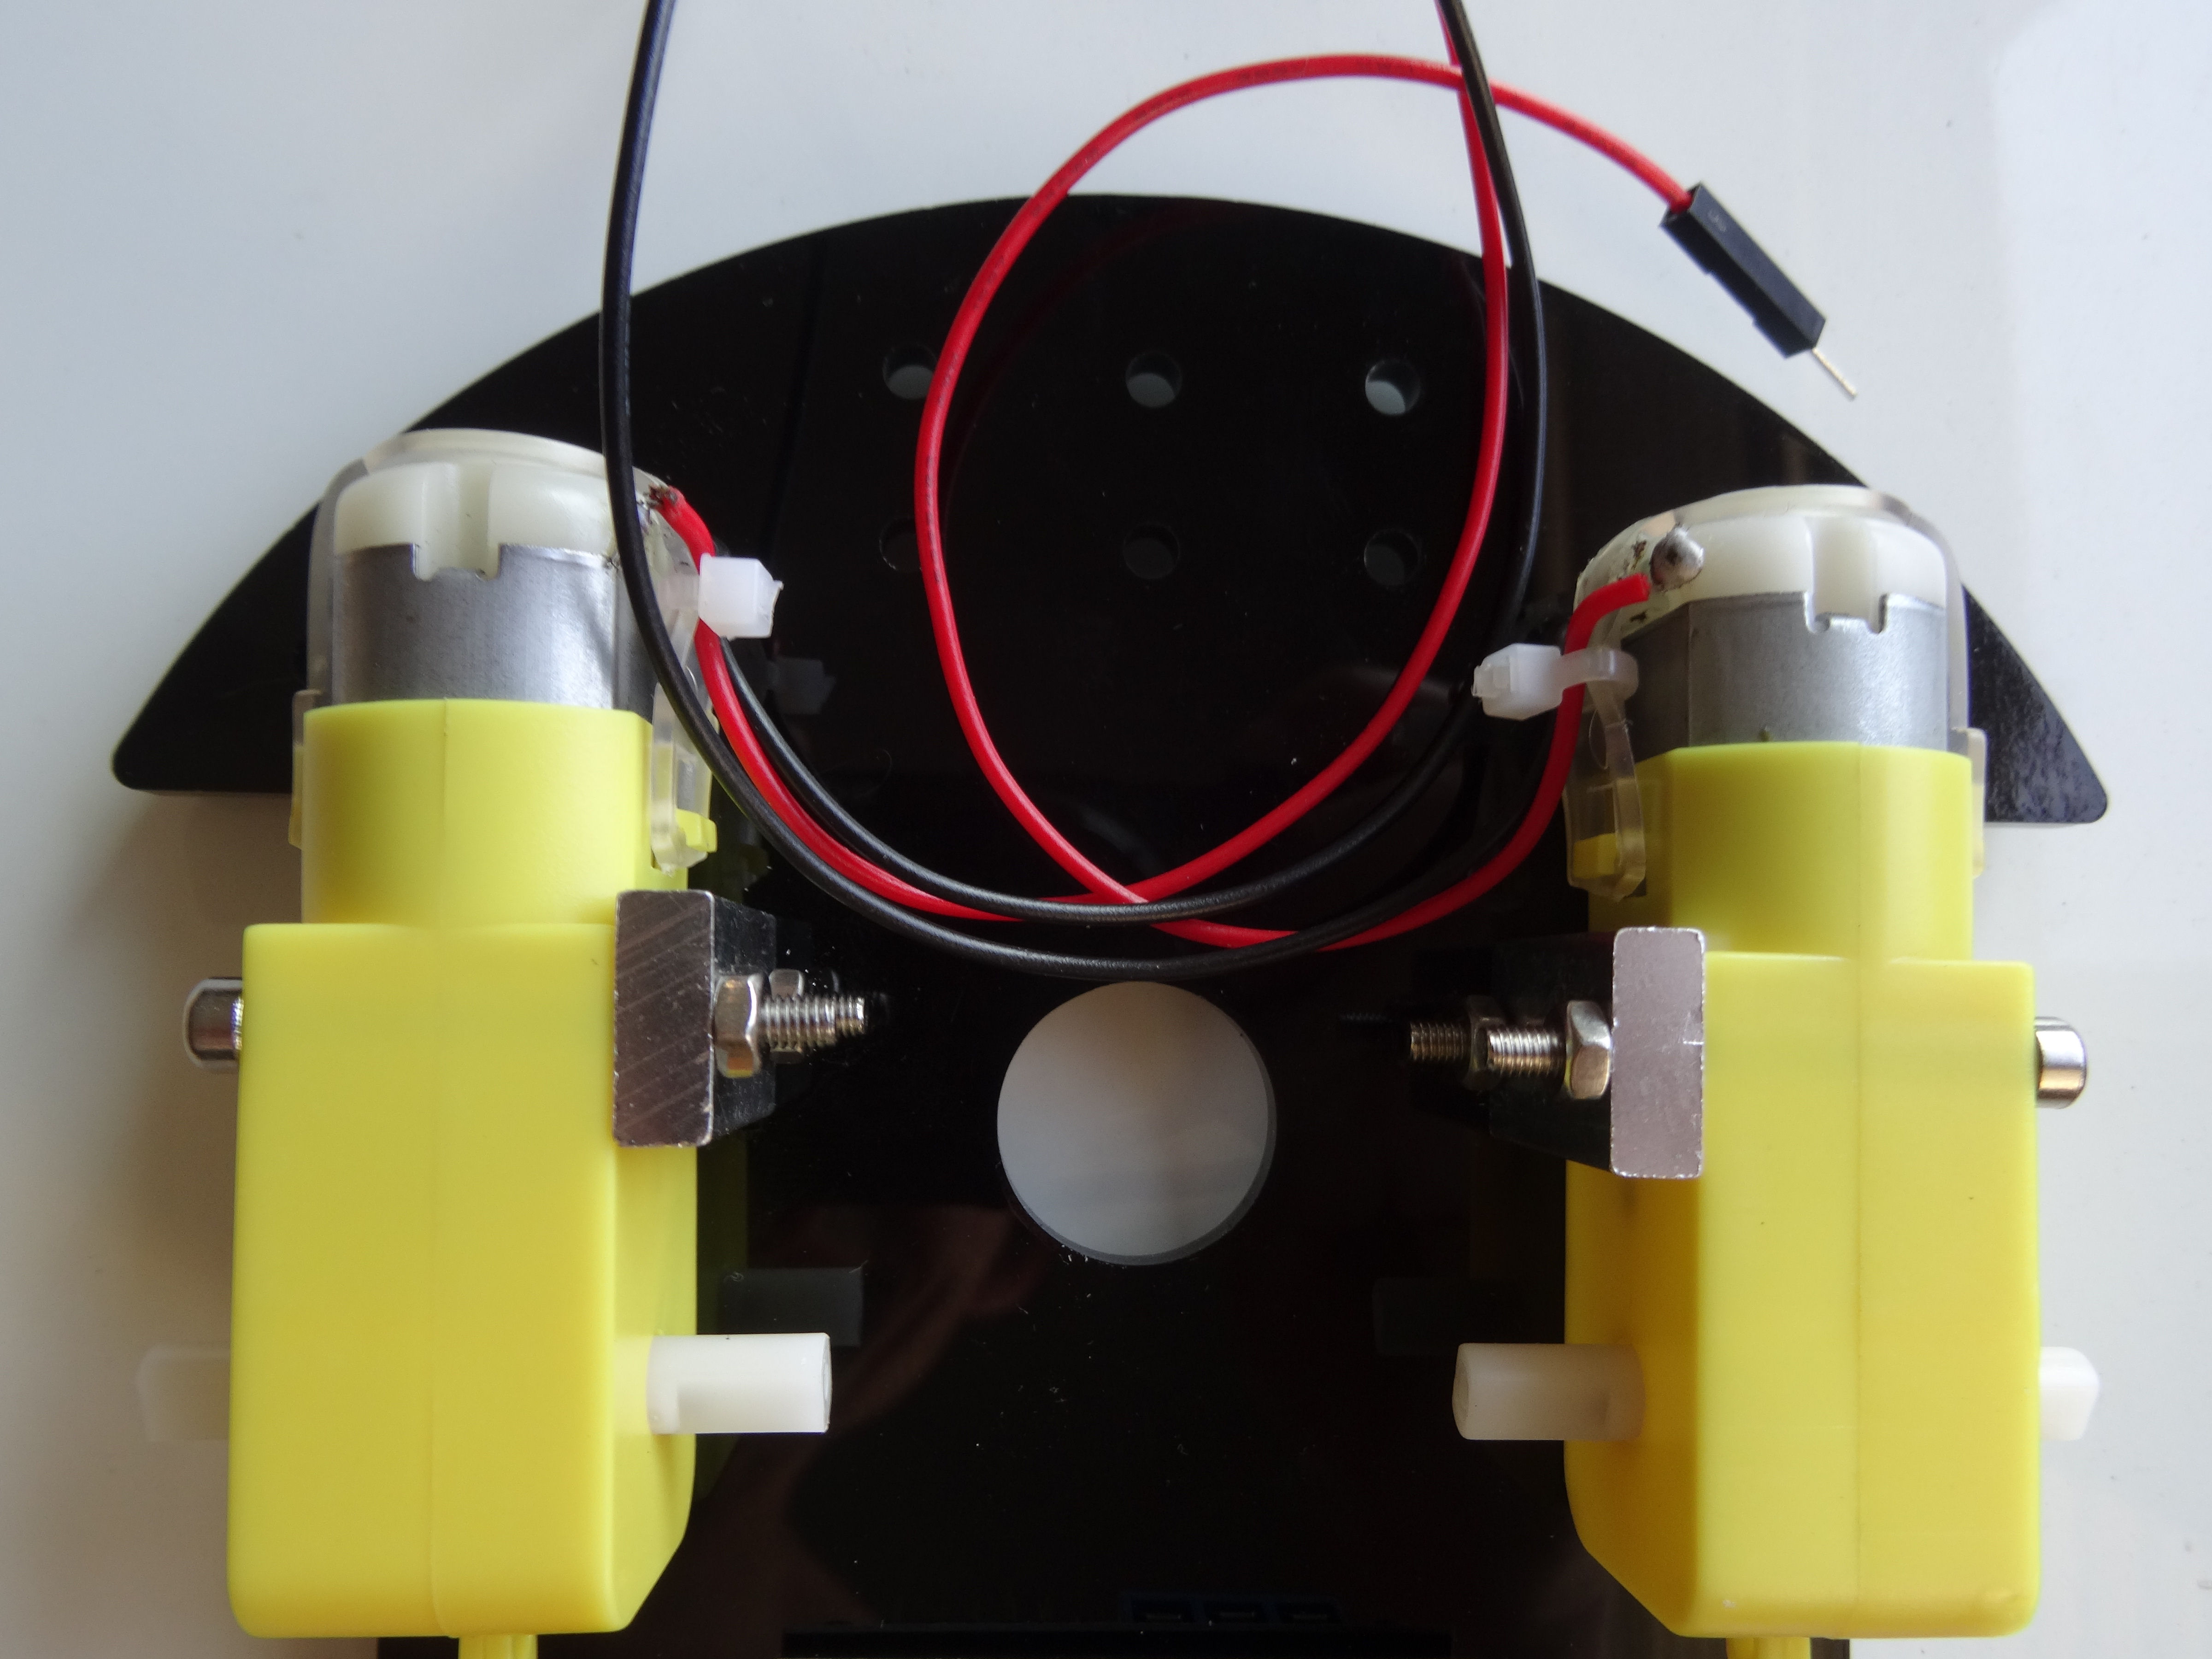
- Do this for the motors on the front of the Chassis, making sure that the 2 motors have the Red Cables on the top (Picture 4) . If necessary you may need to rearrange the way the aluminum blocks are mounted.
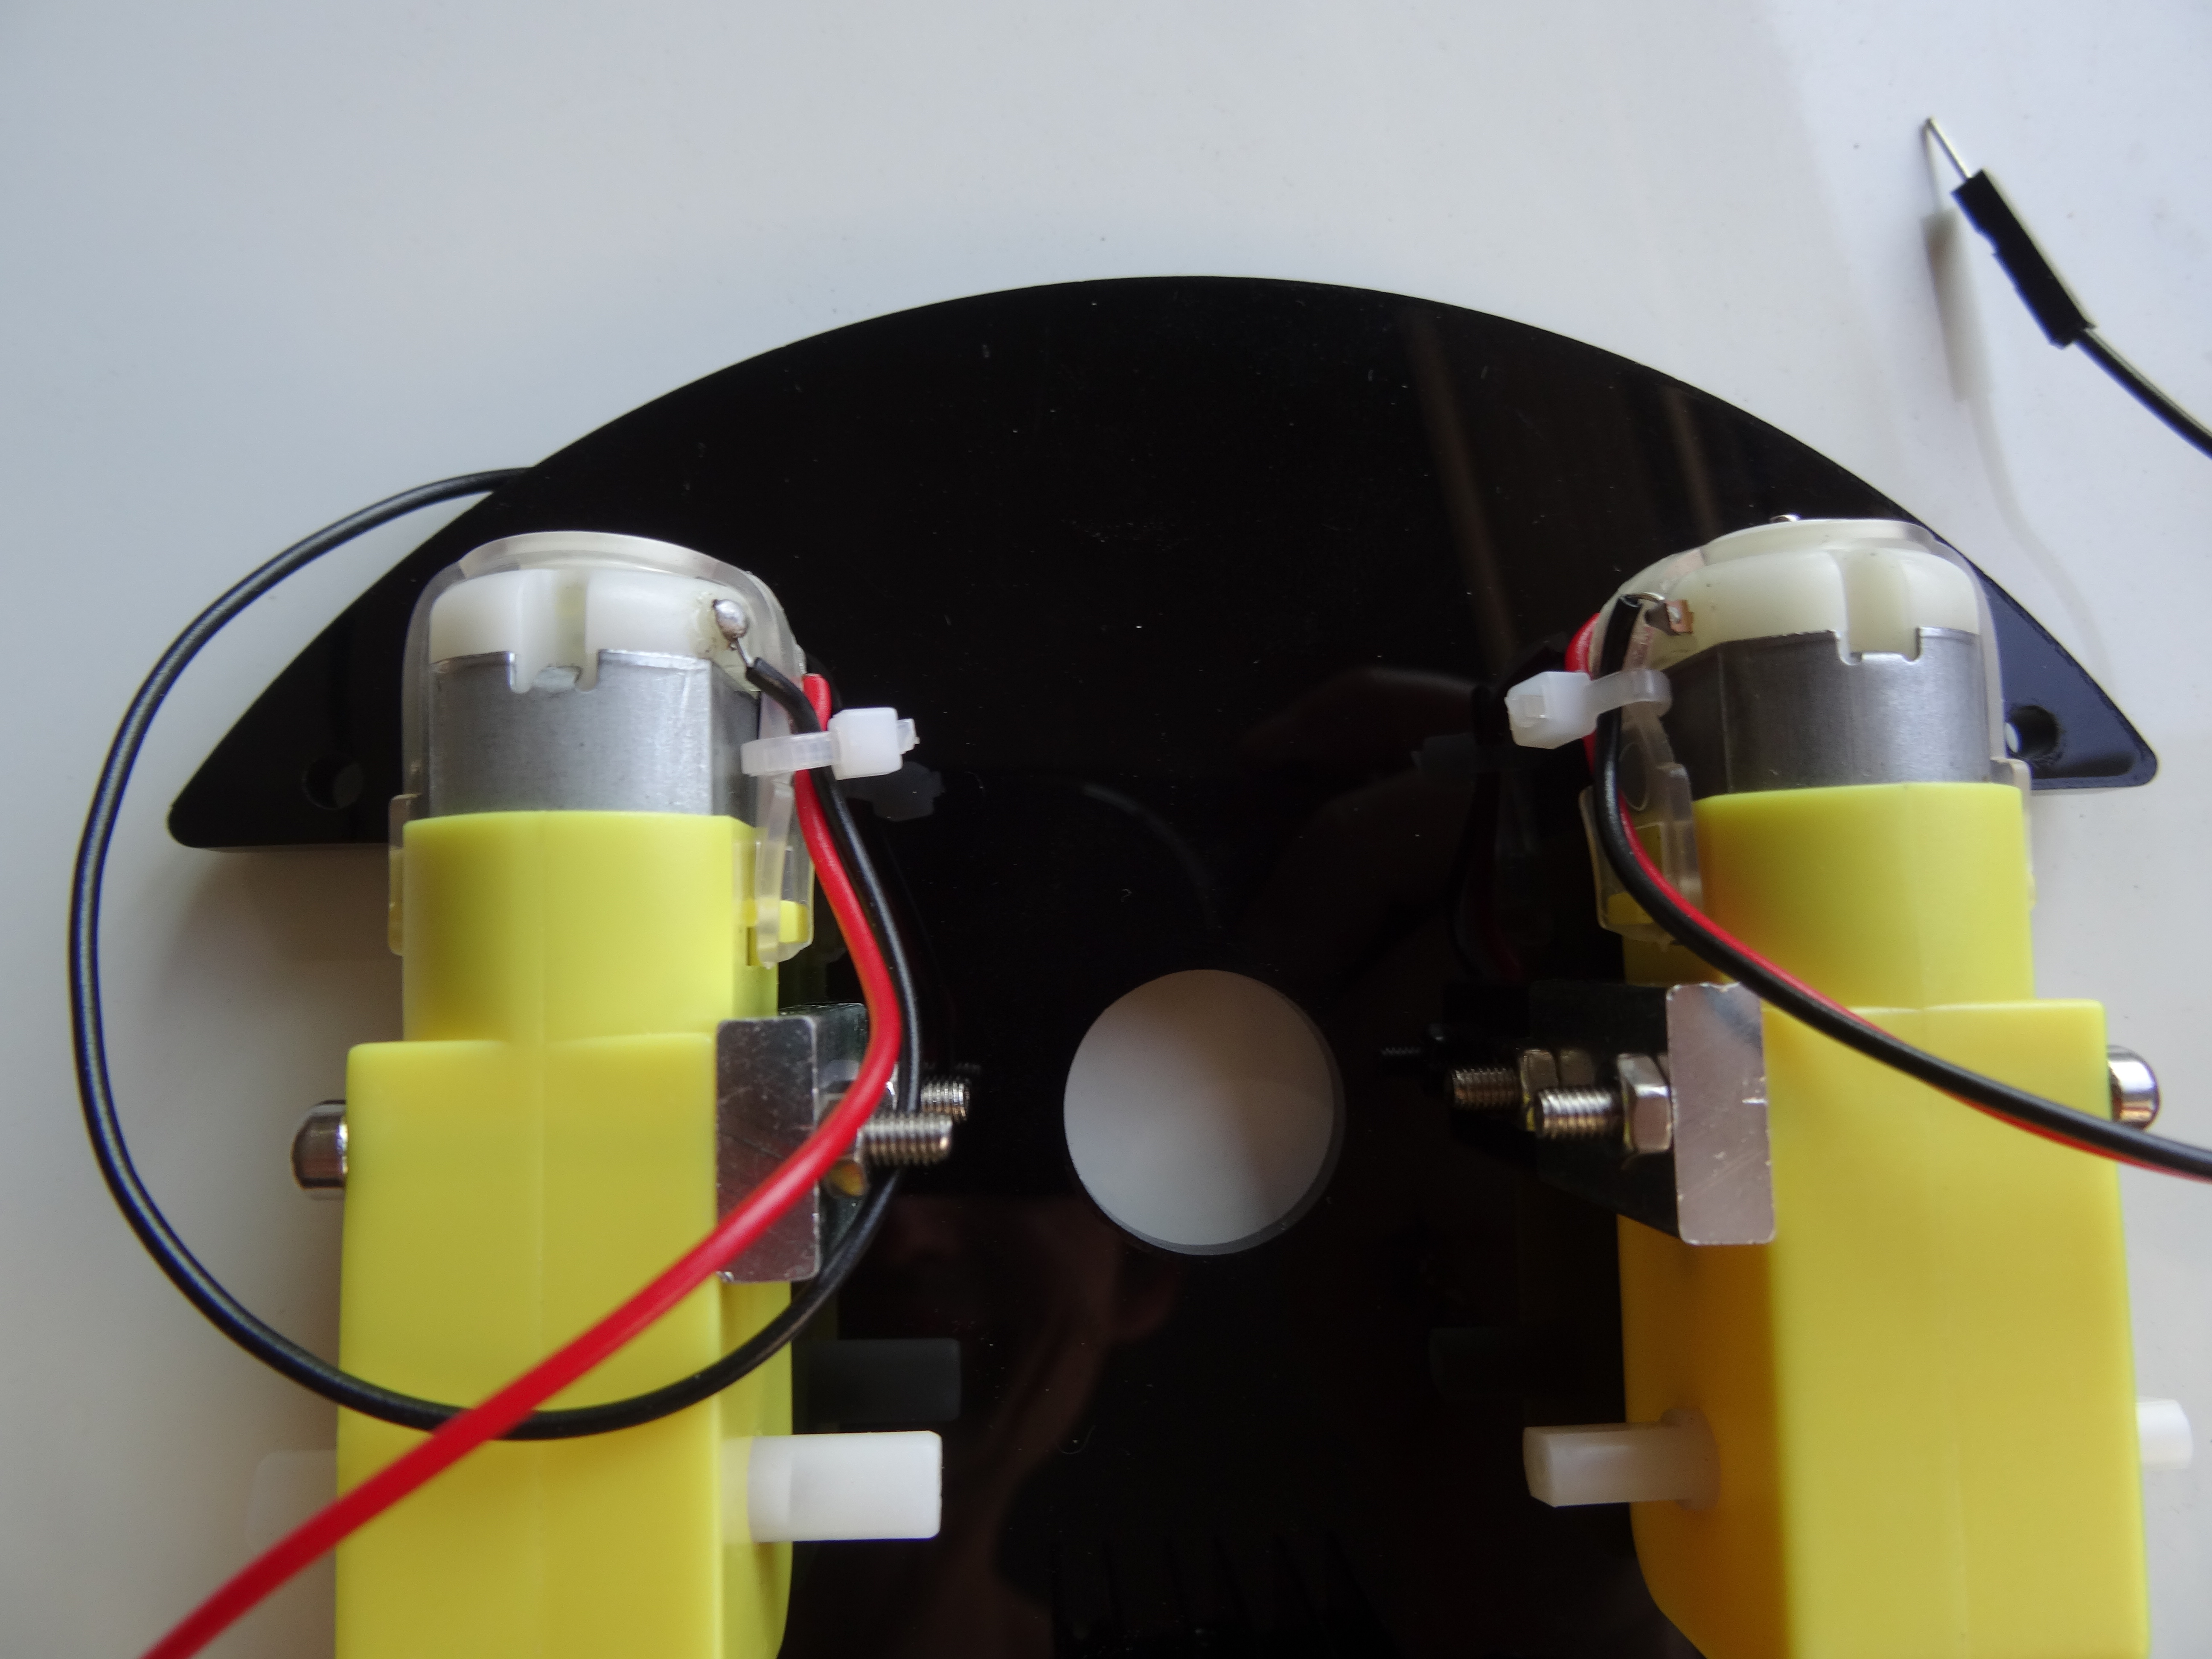
- Do this for the motors on the front of the Chassis, making sure that the 2 motors have the Black Cables on the top (Picture 5) . If necessary you may need to rearrange the way the aluminum blocks are mounted.
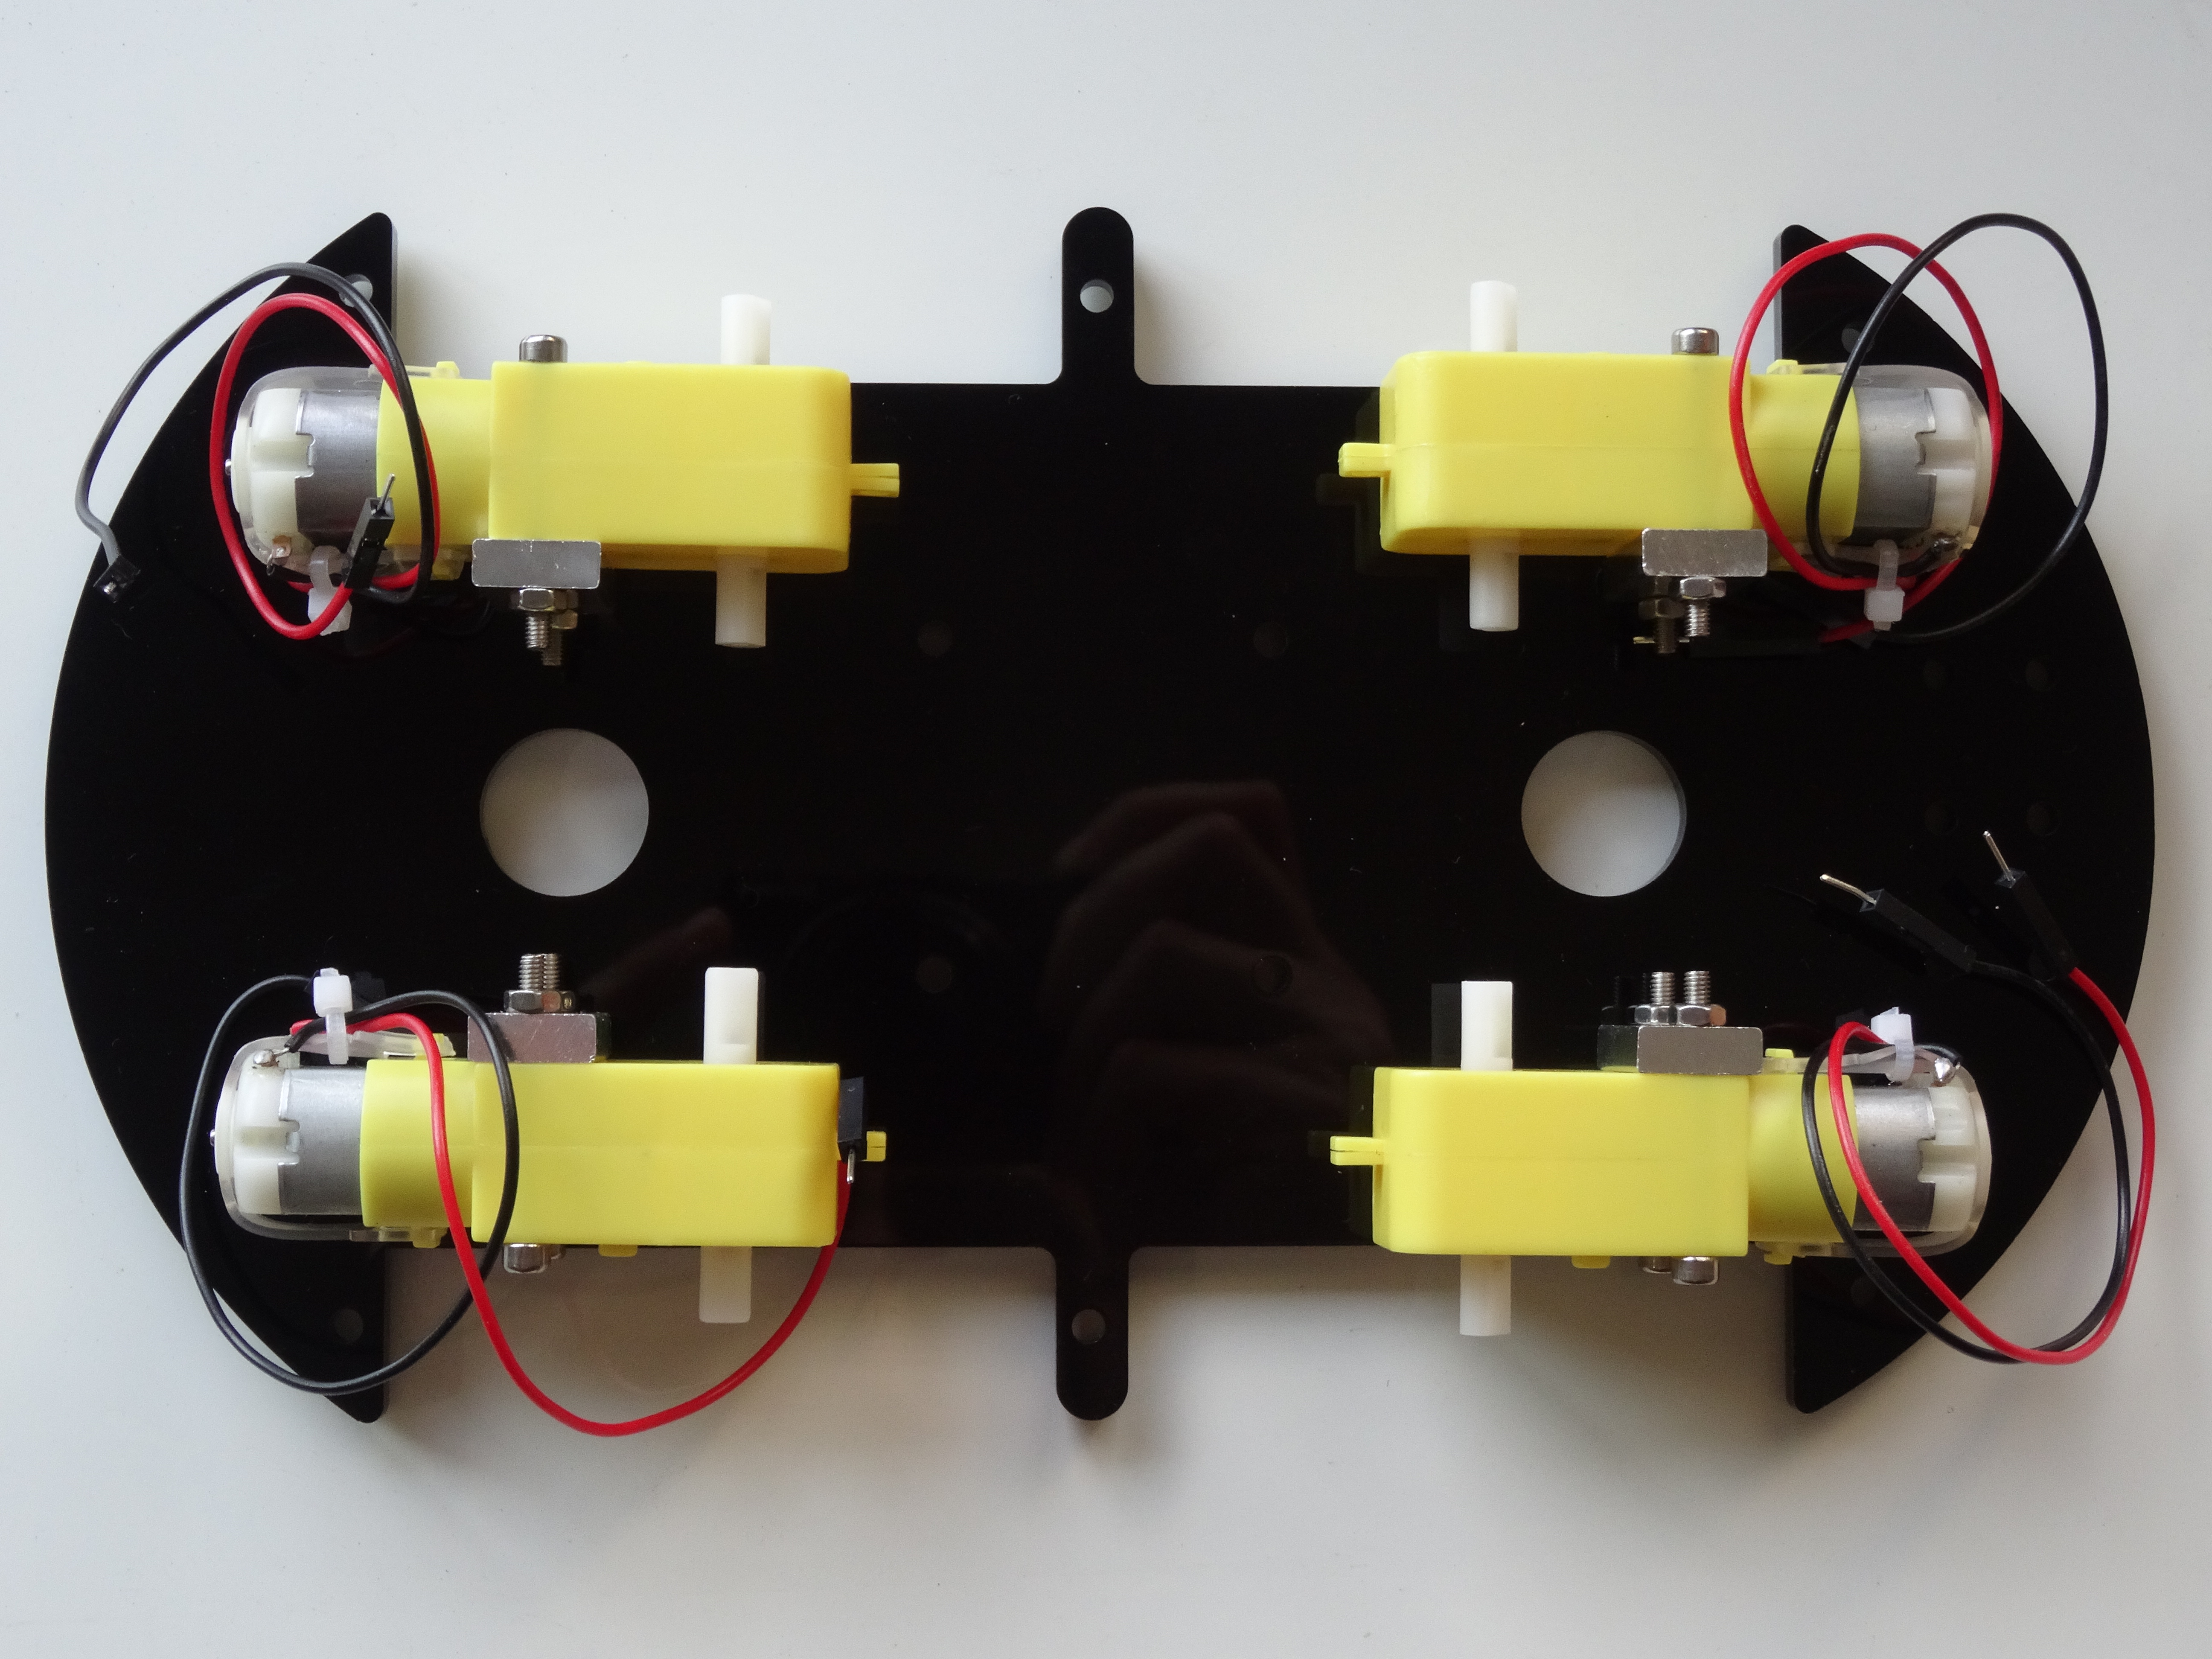
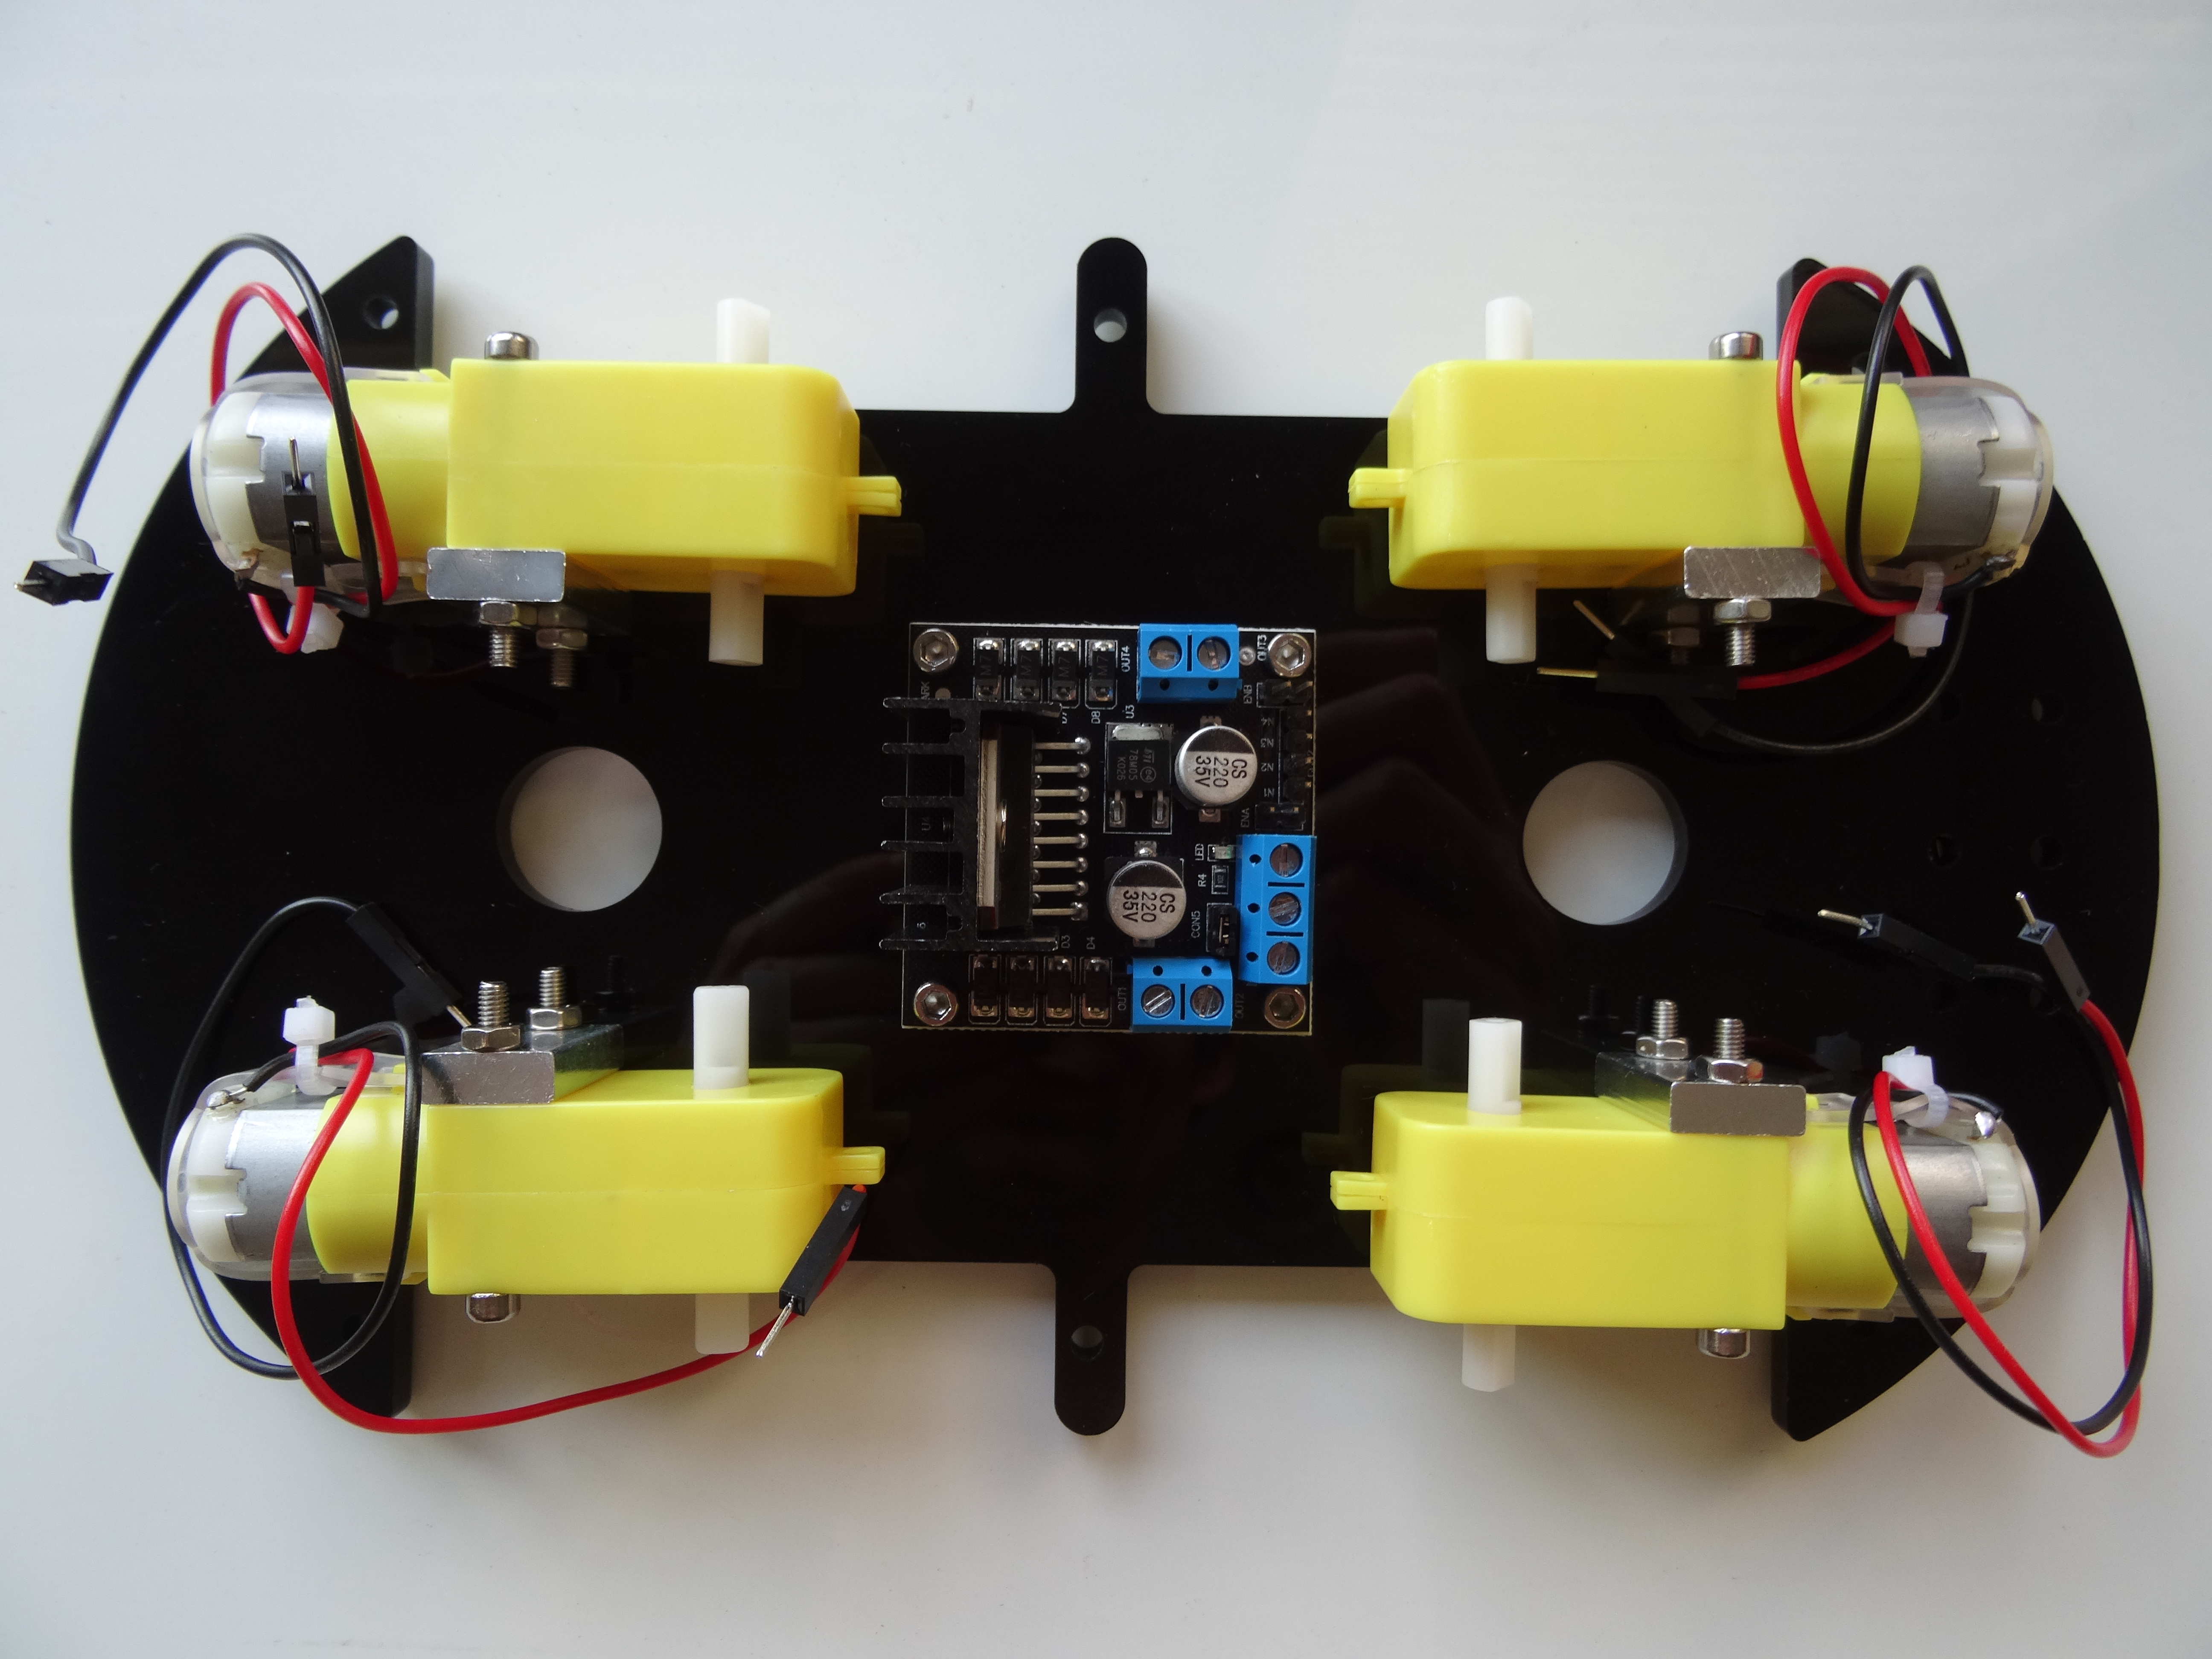
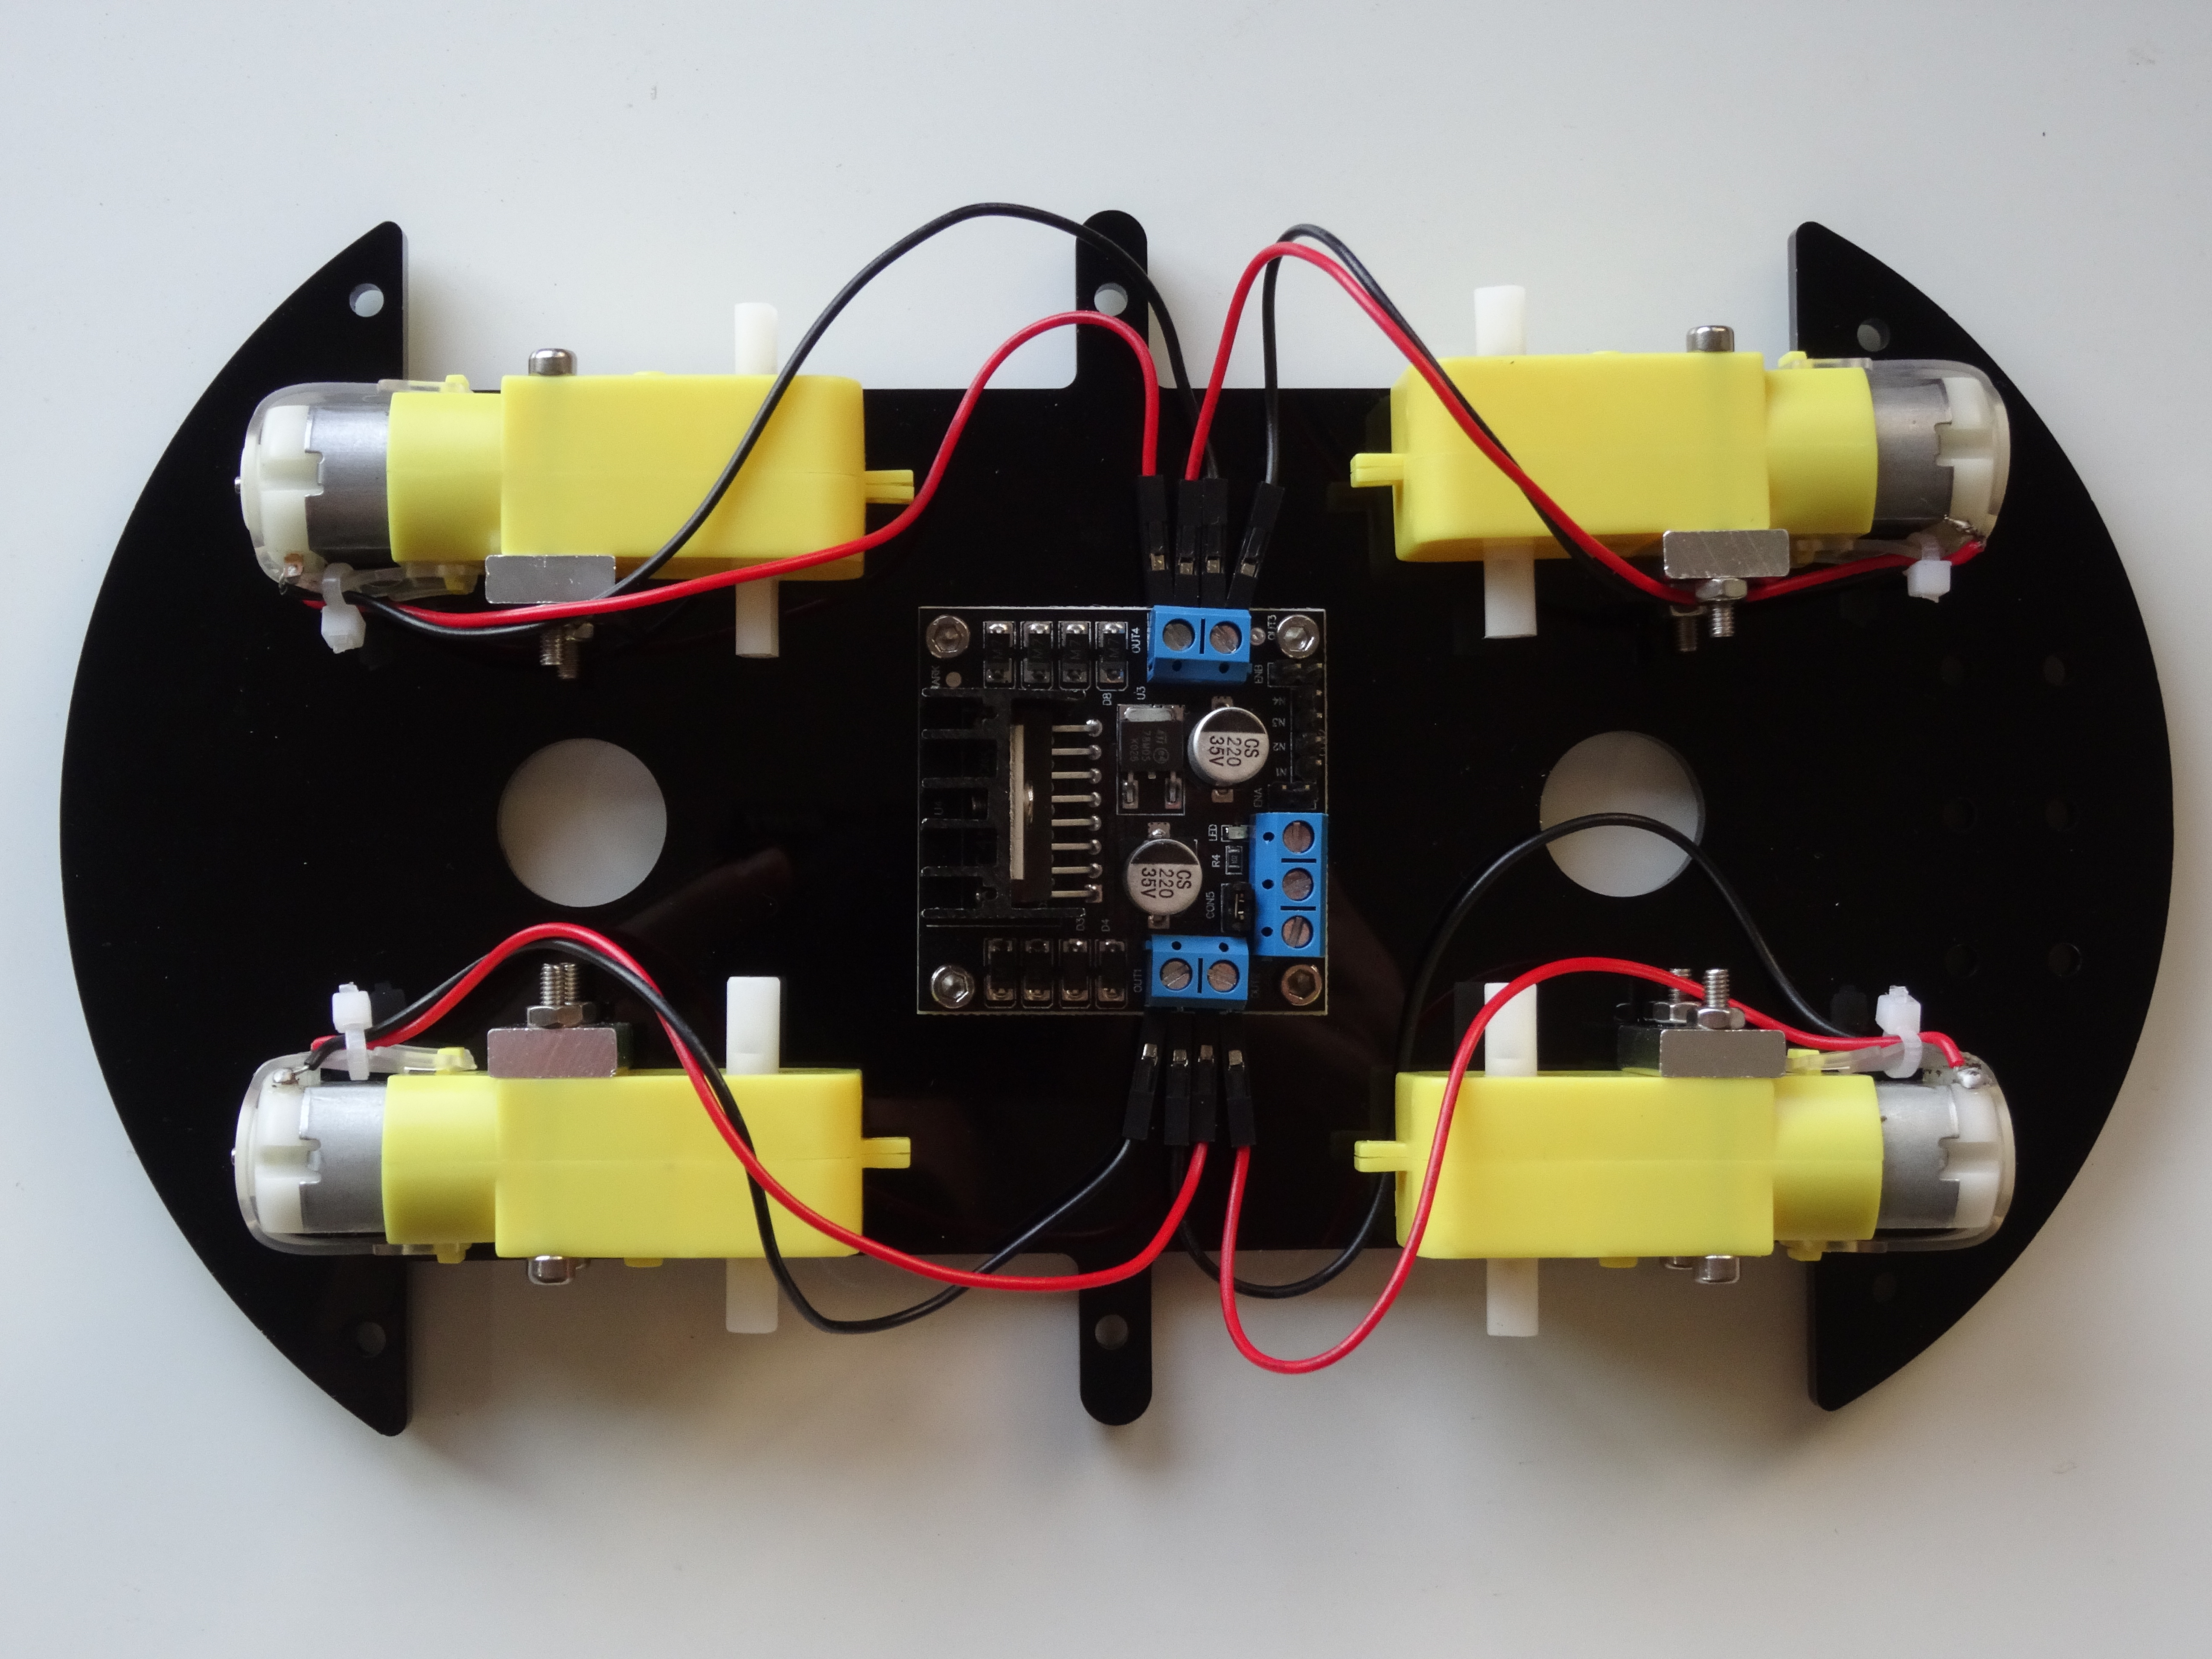
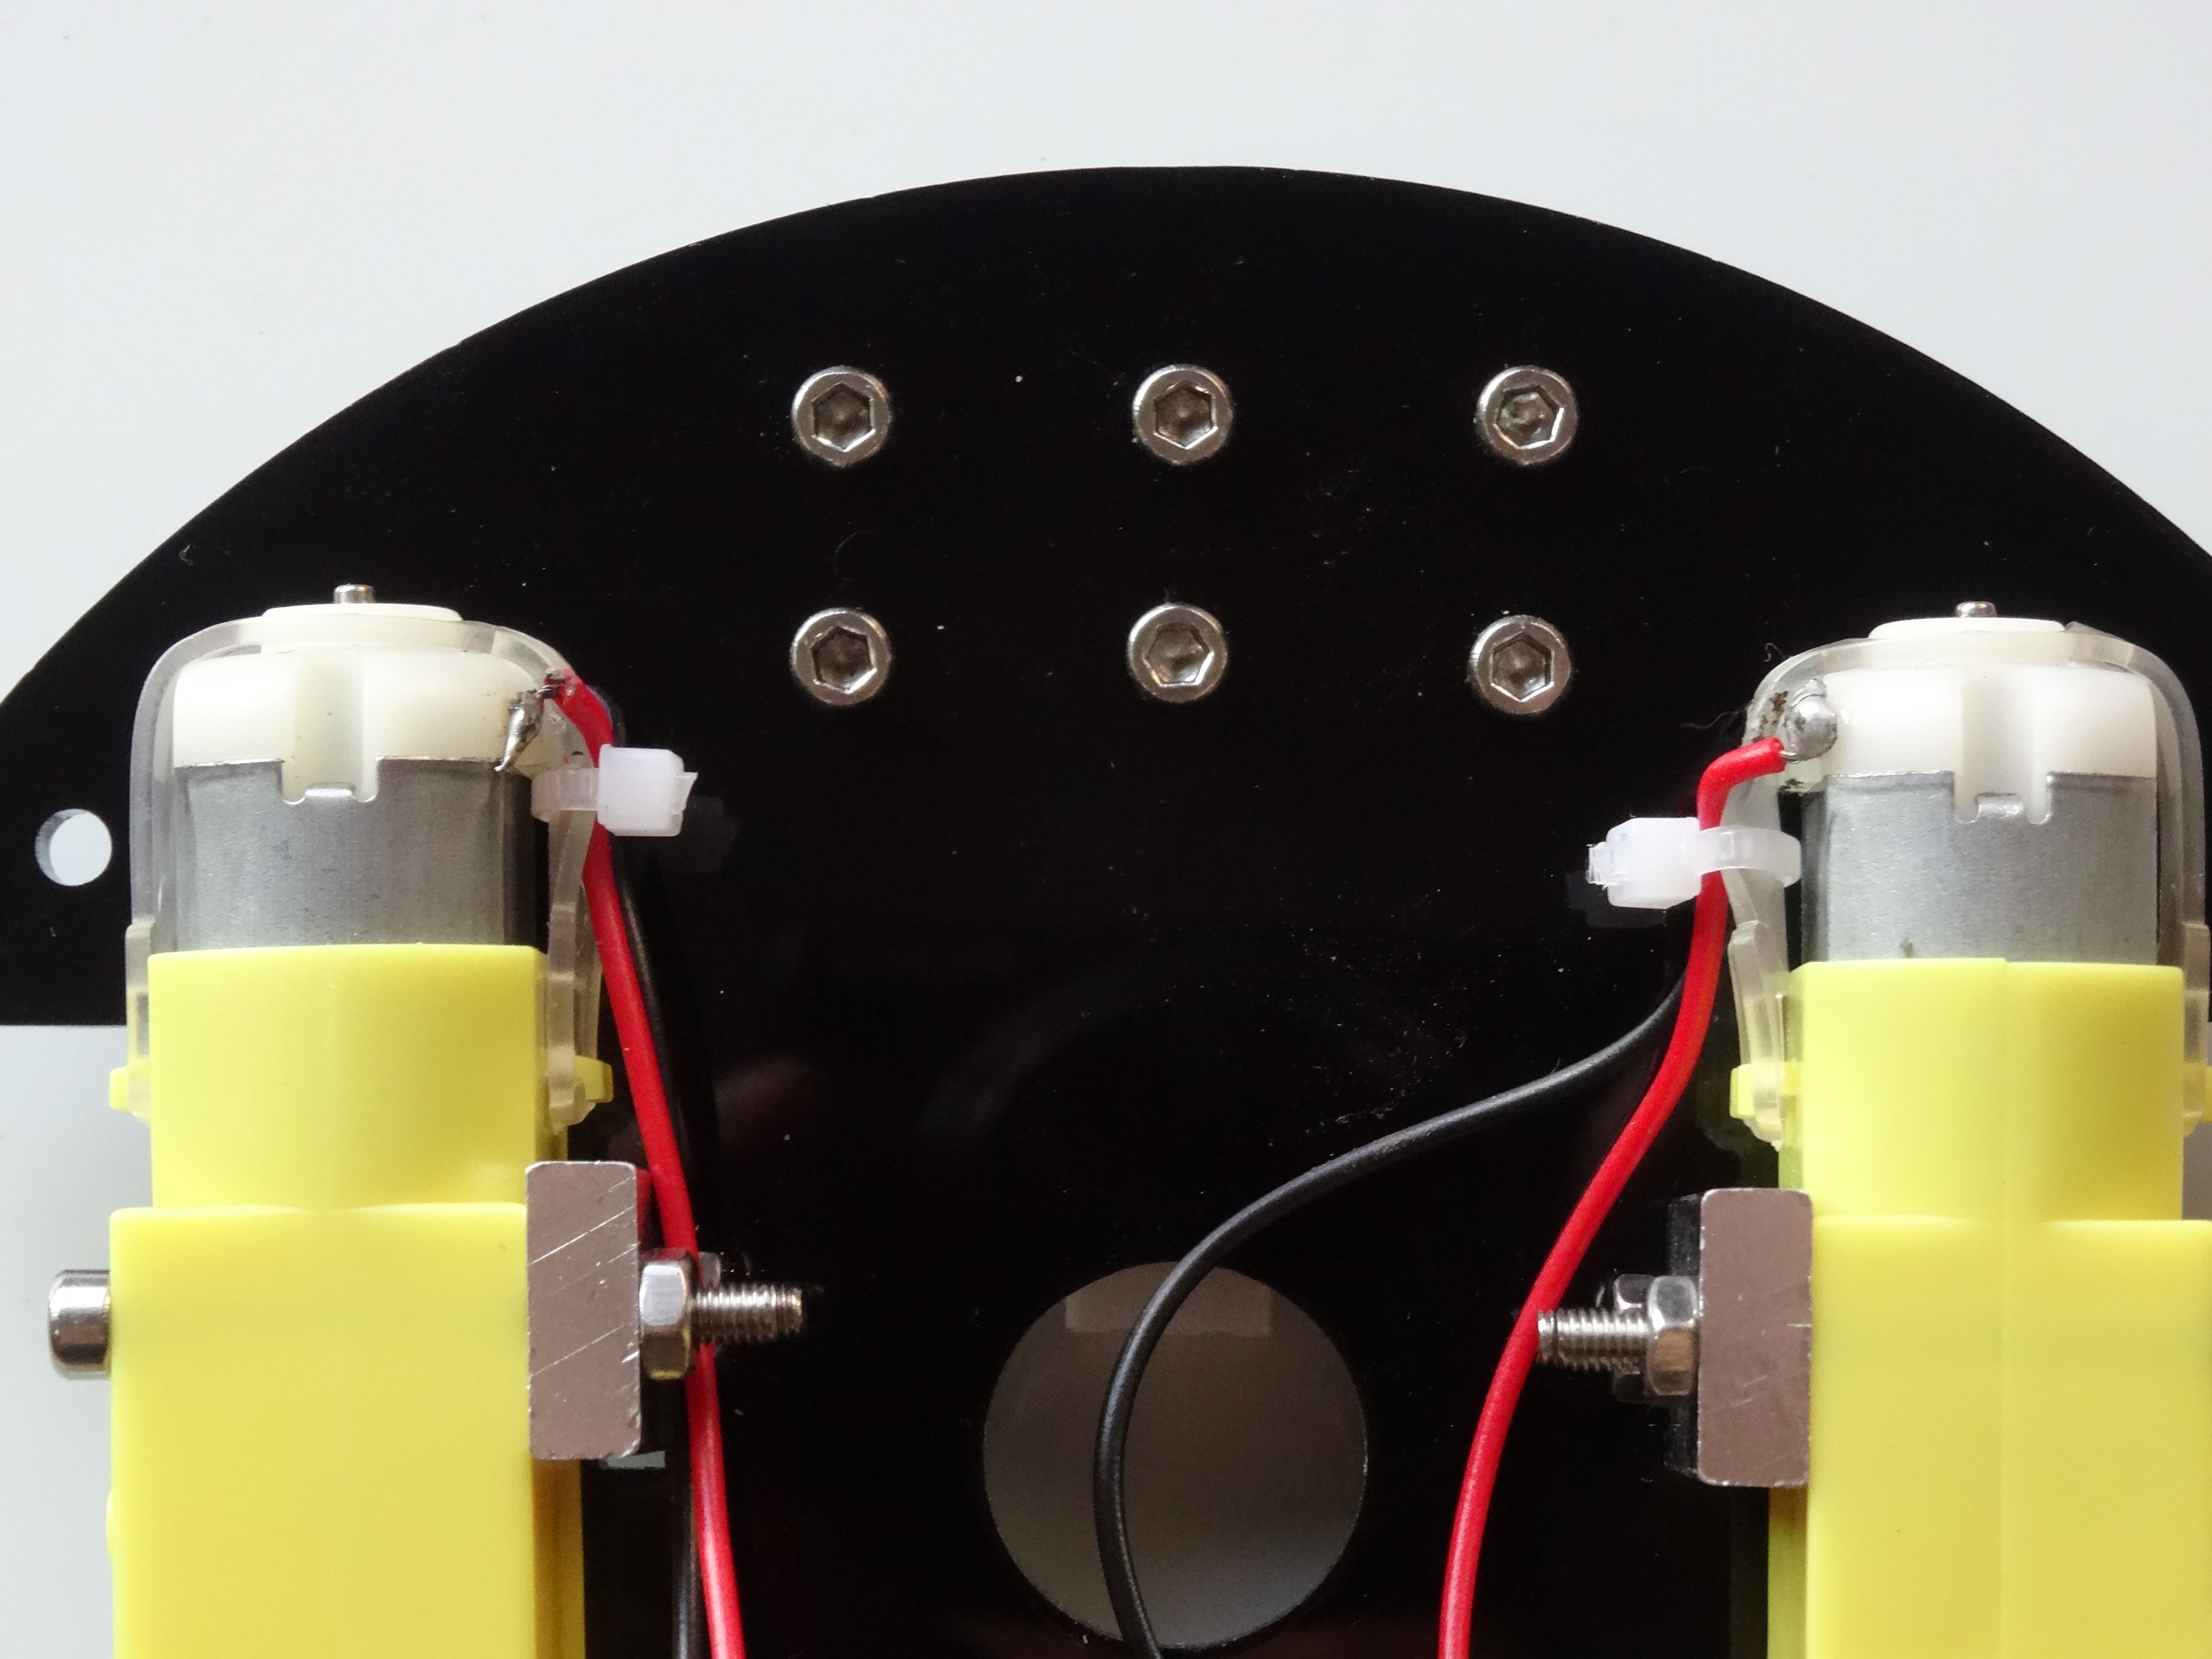
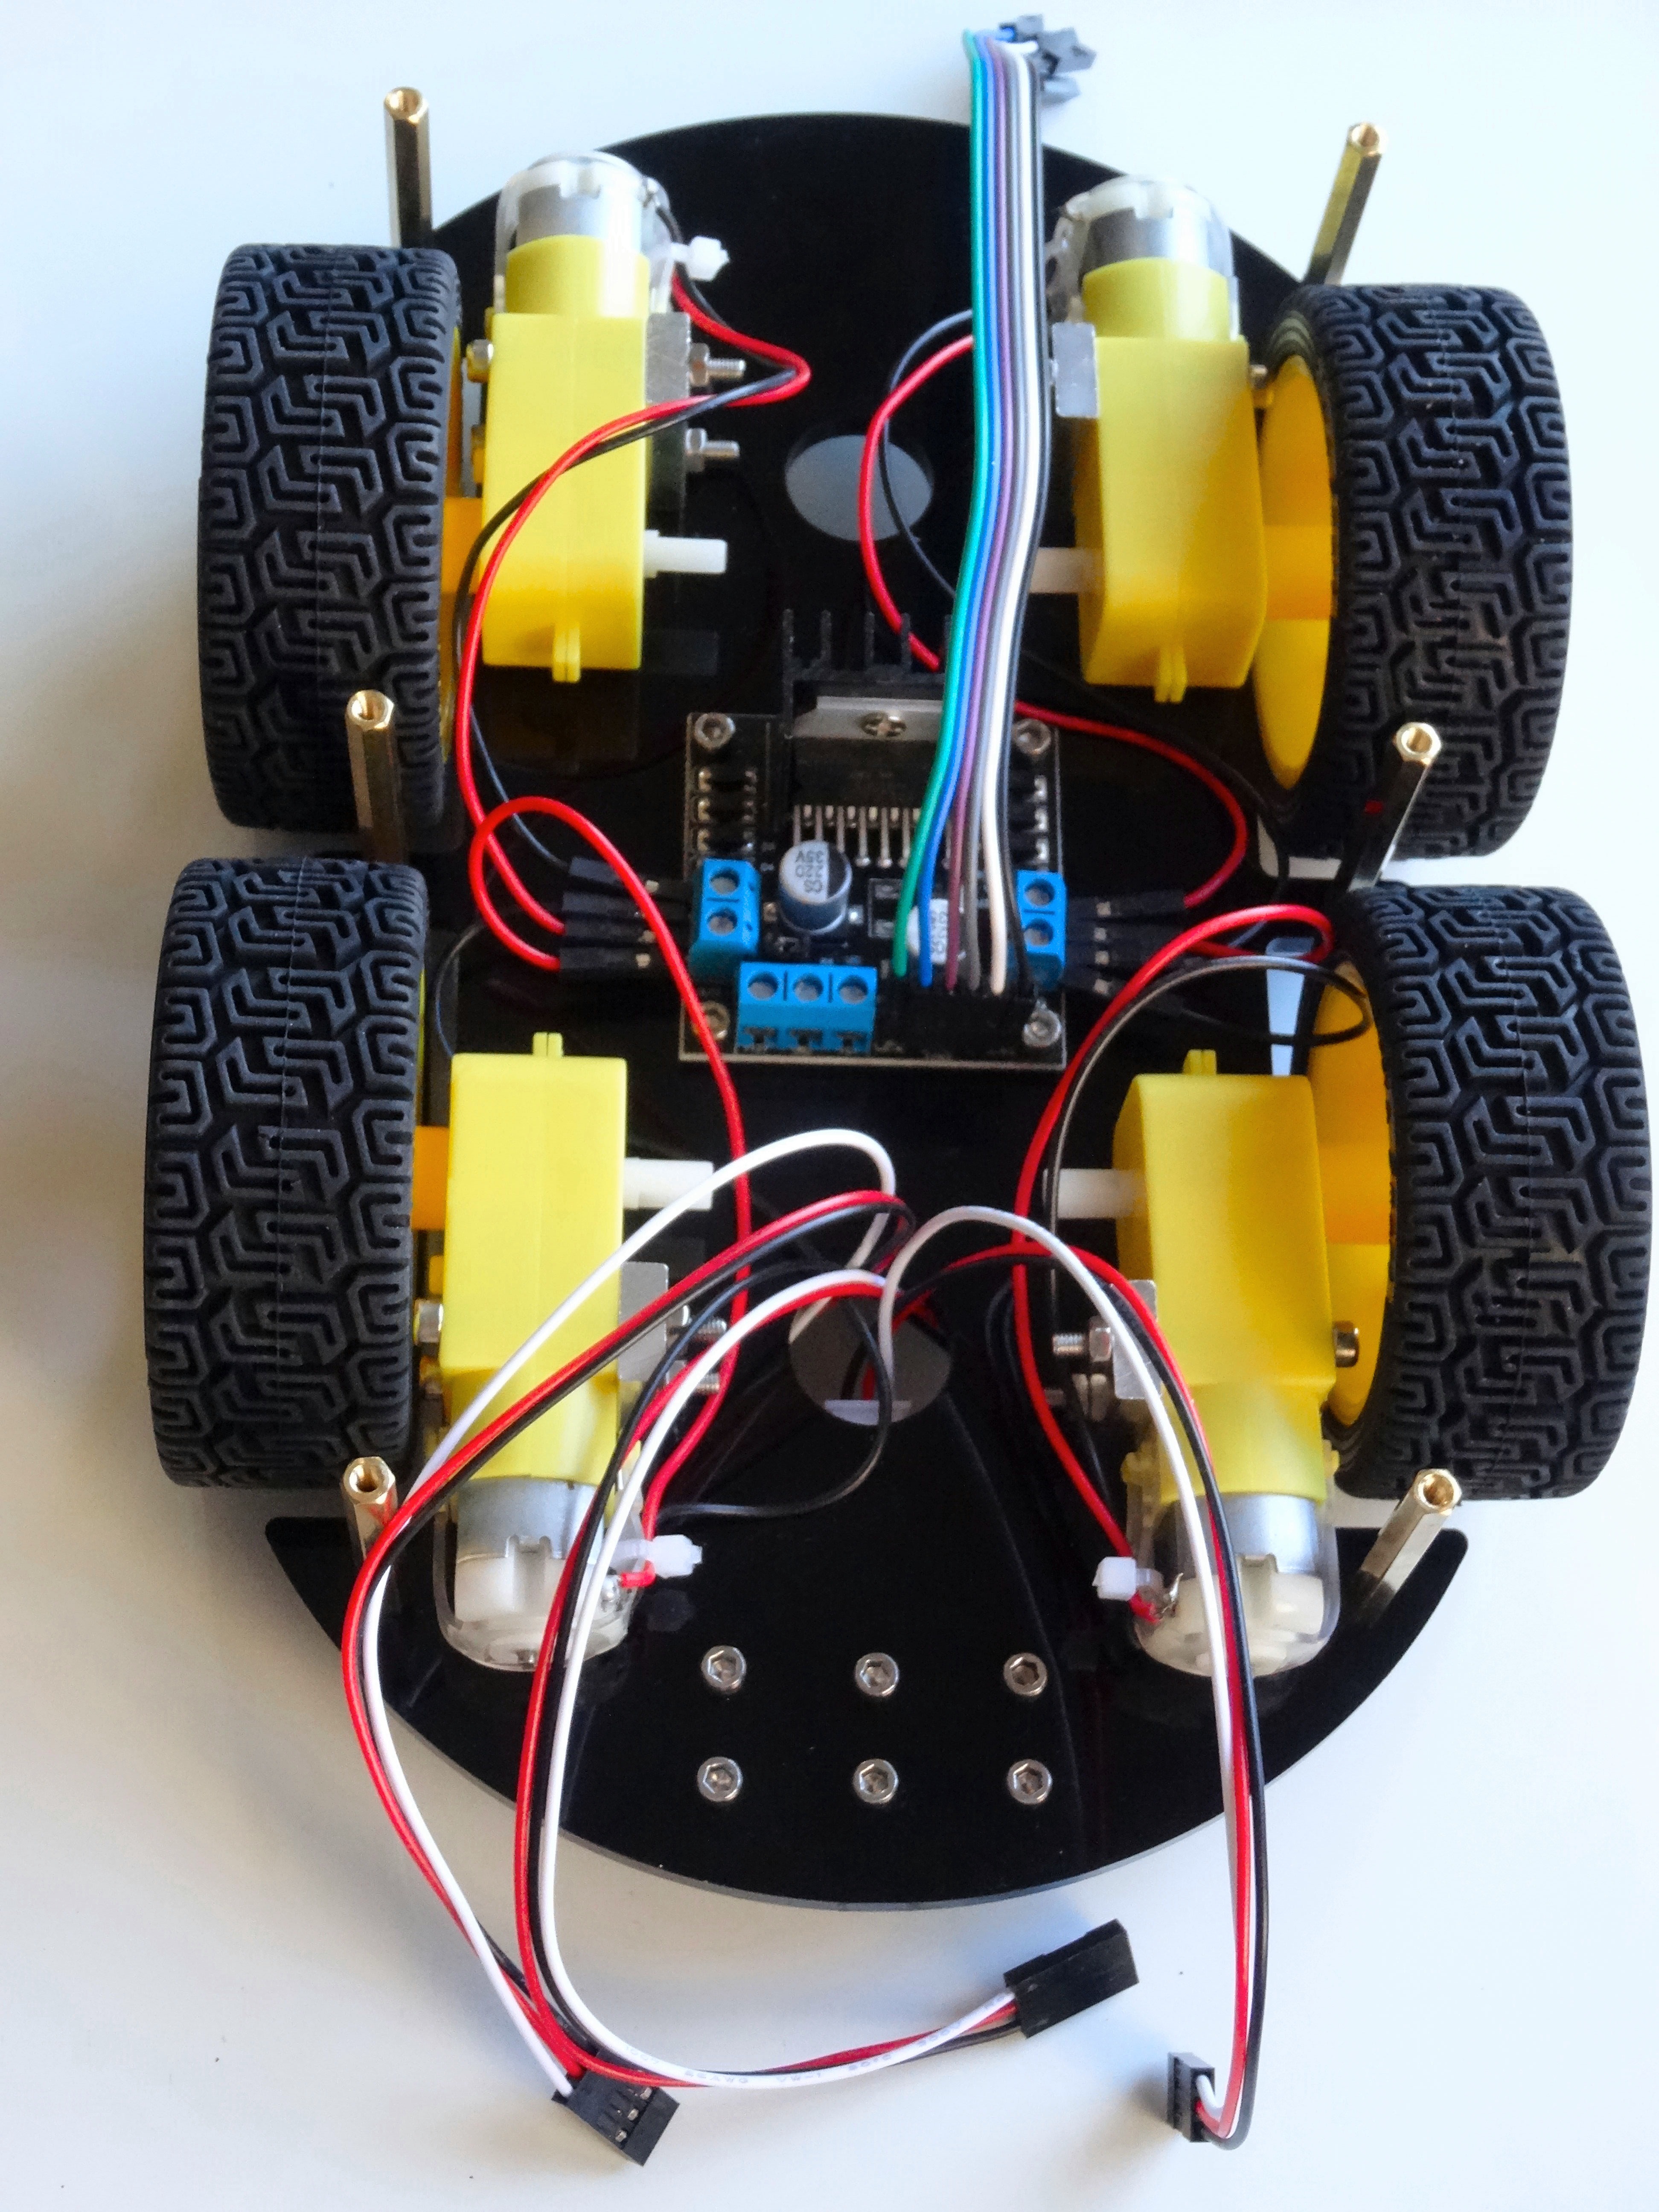
- Picture 6 shows, how the 4 motors should look like once installed
Installing the L298N Motor Driver on the Chassis, and Connecting the Motors
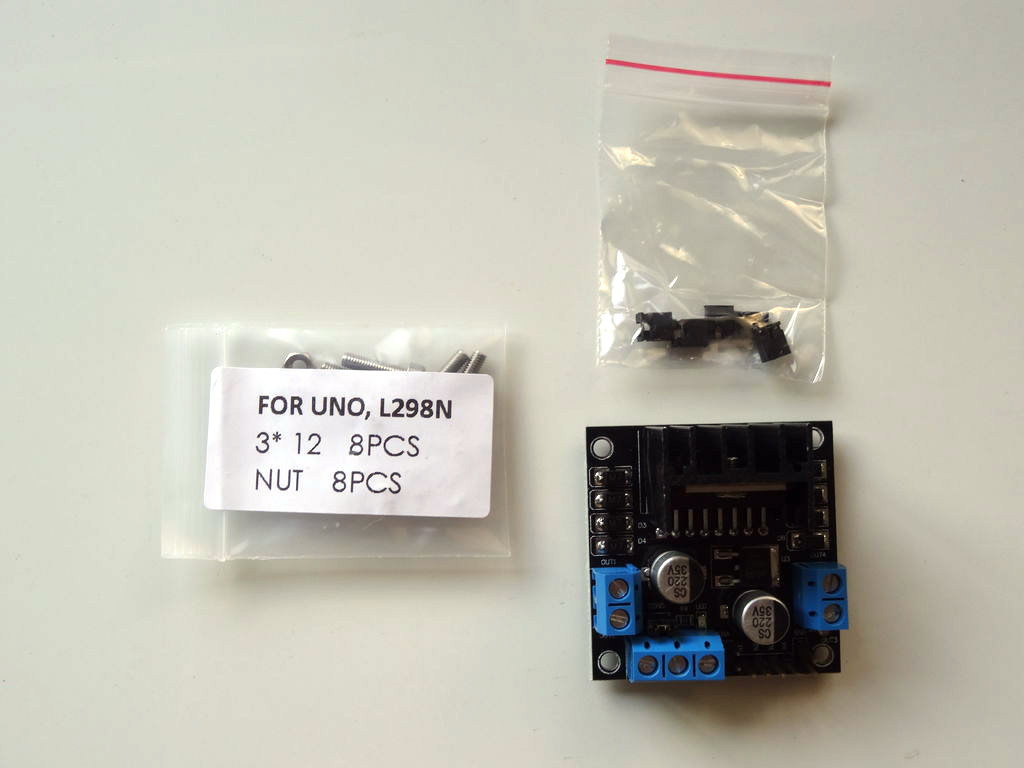
- Take out from the box, the L298N Motor Driver Module and its jumpers, and the plastic bag with screws and nuts labeled "FOR UNO, L298N" (Picture 1)
- Place the L298N Motor Driver Module in the center of the Chassis as shown on the picture, and insert 4 screws through the 4 holes (Picture 2)
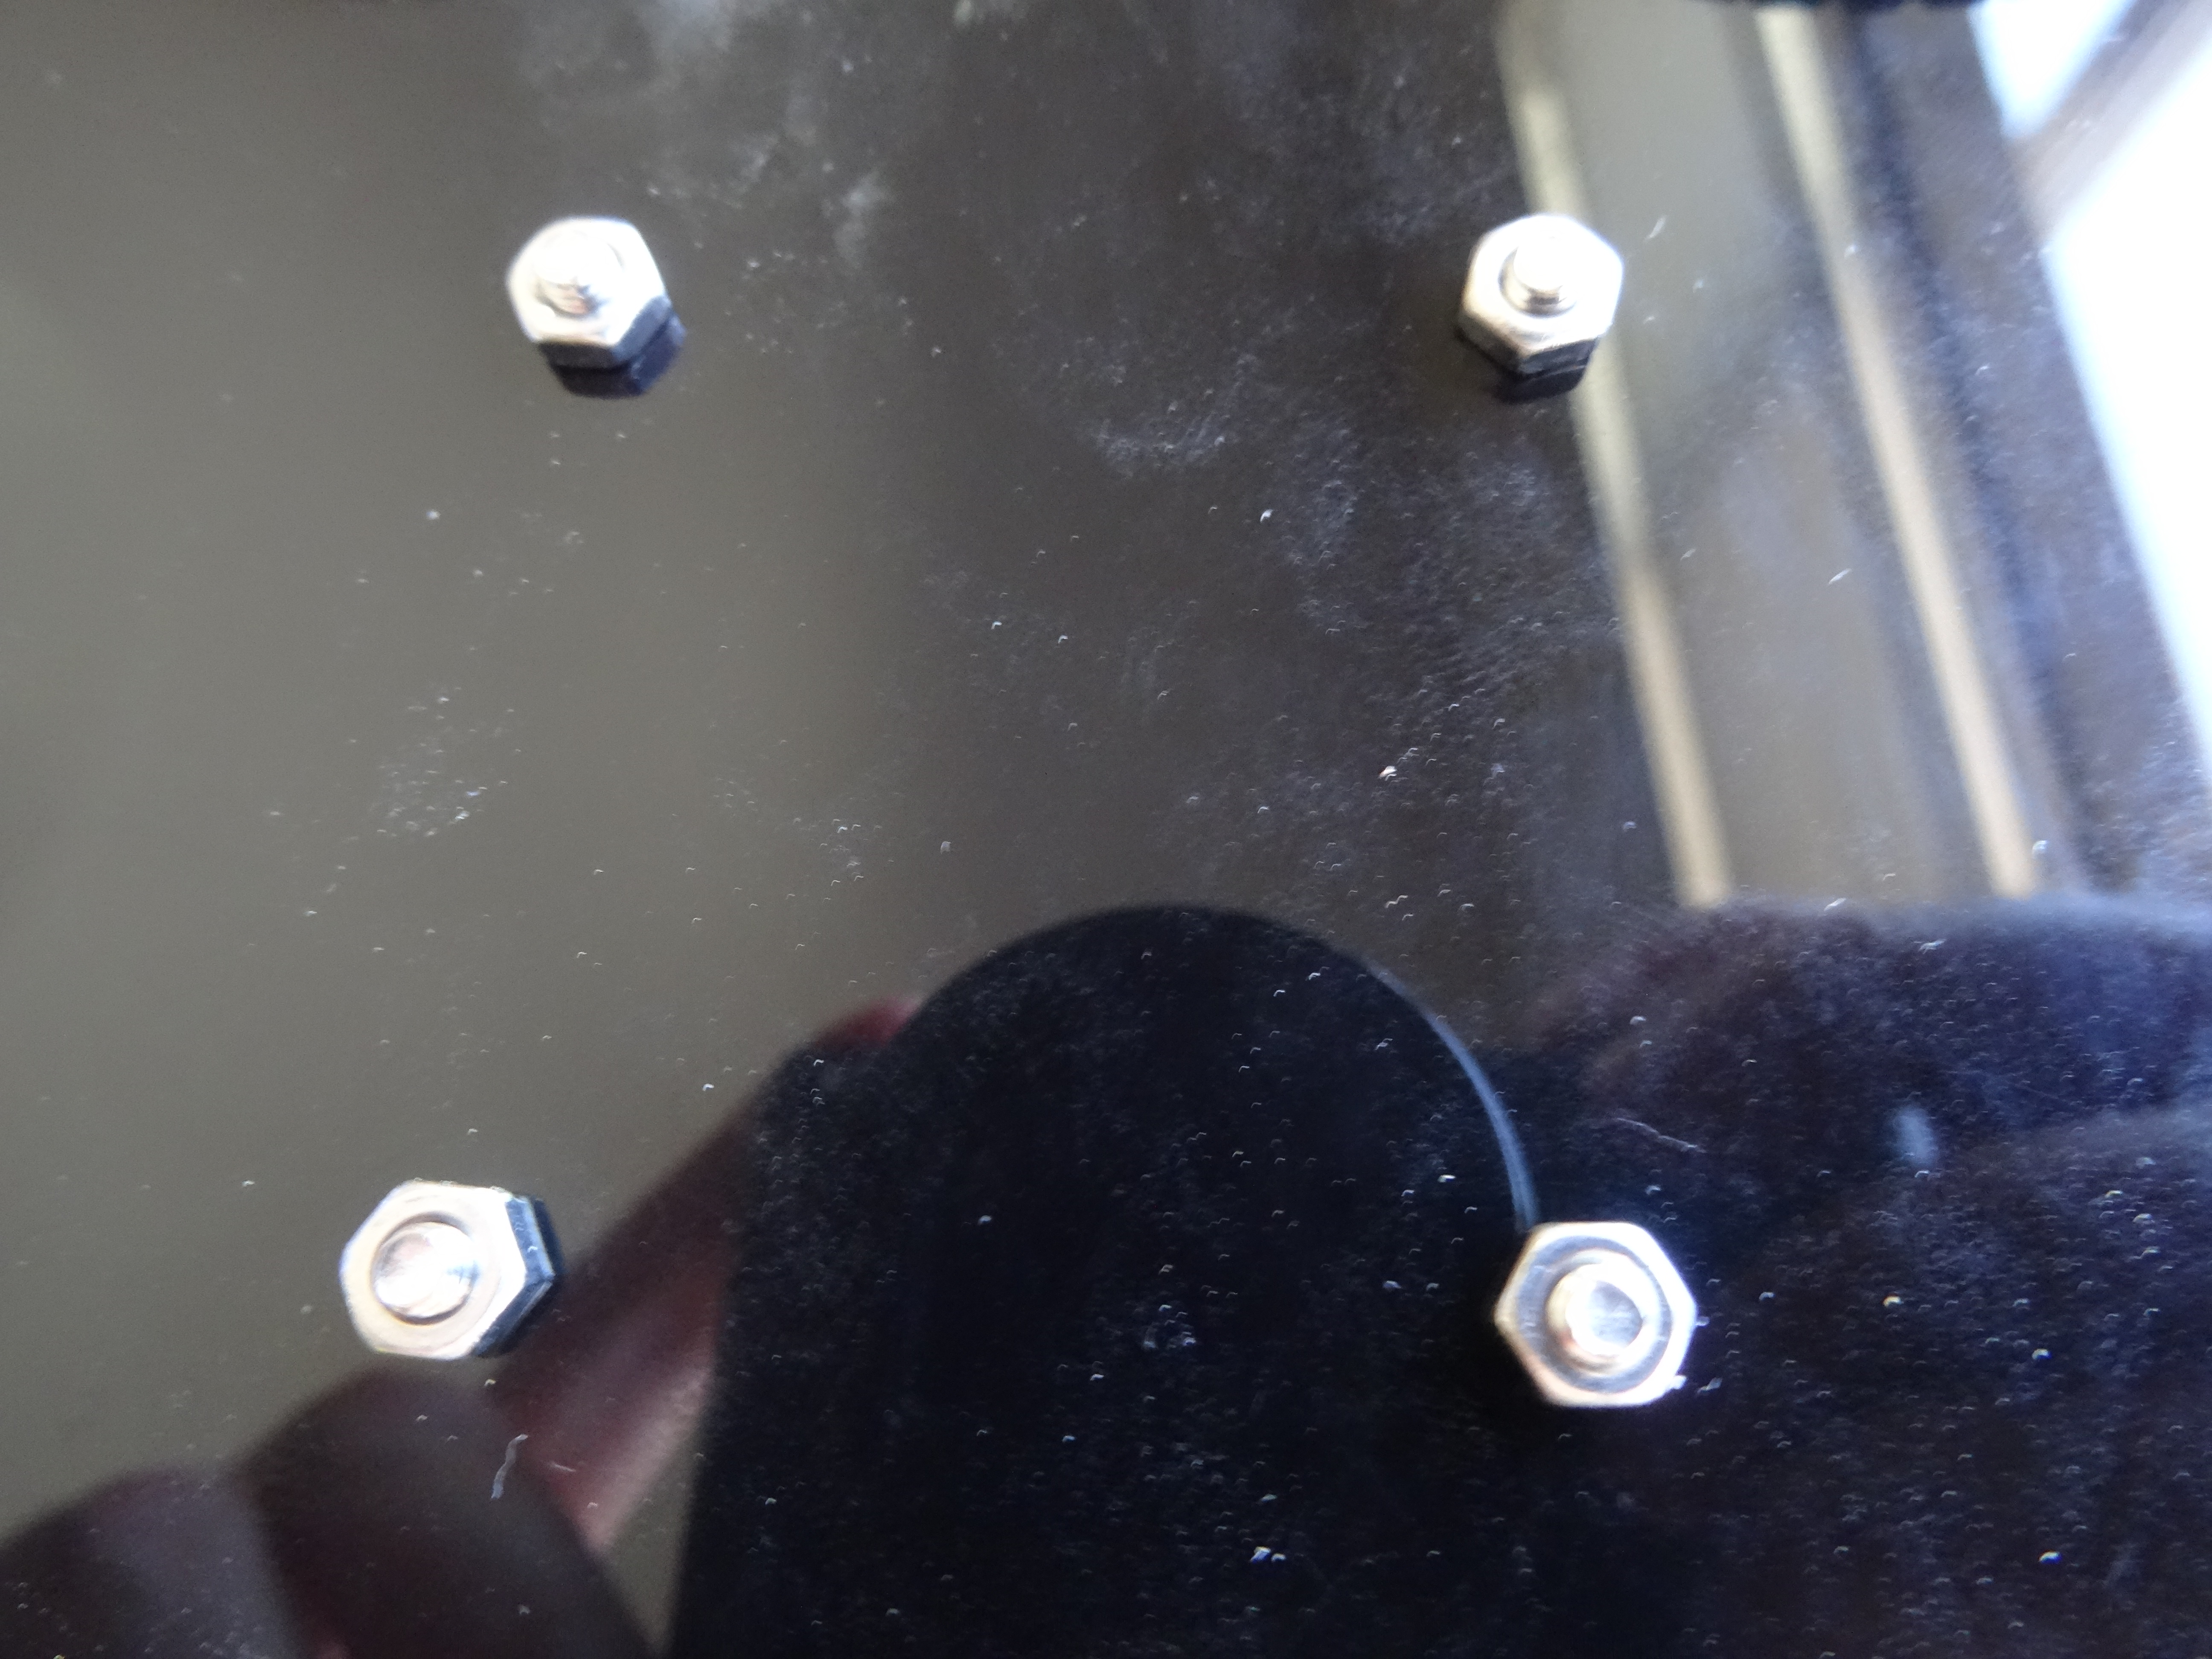
- Screw nuts to the 4 screws on the bottom of the Chassis (Picture 3)
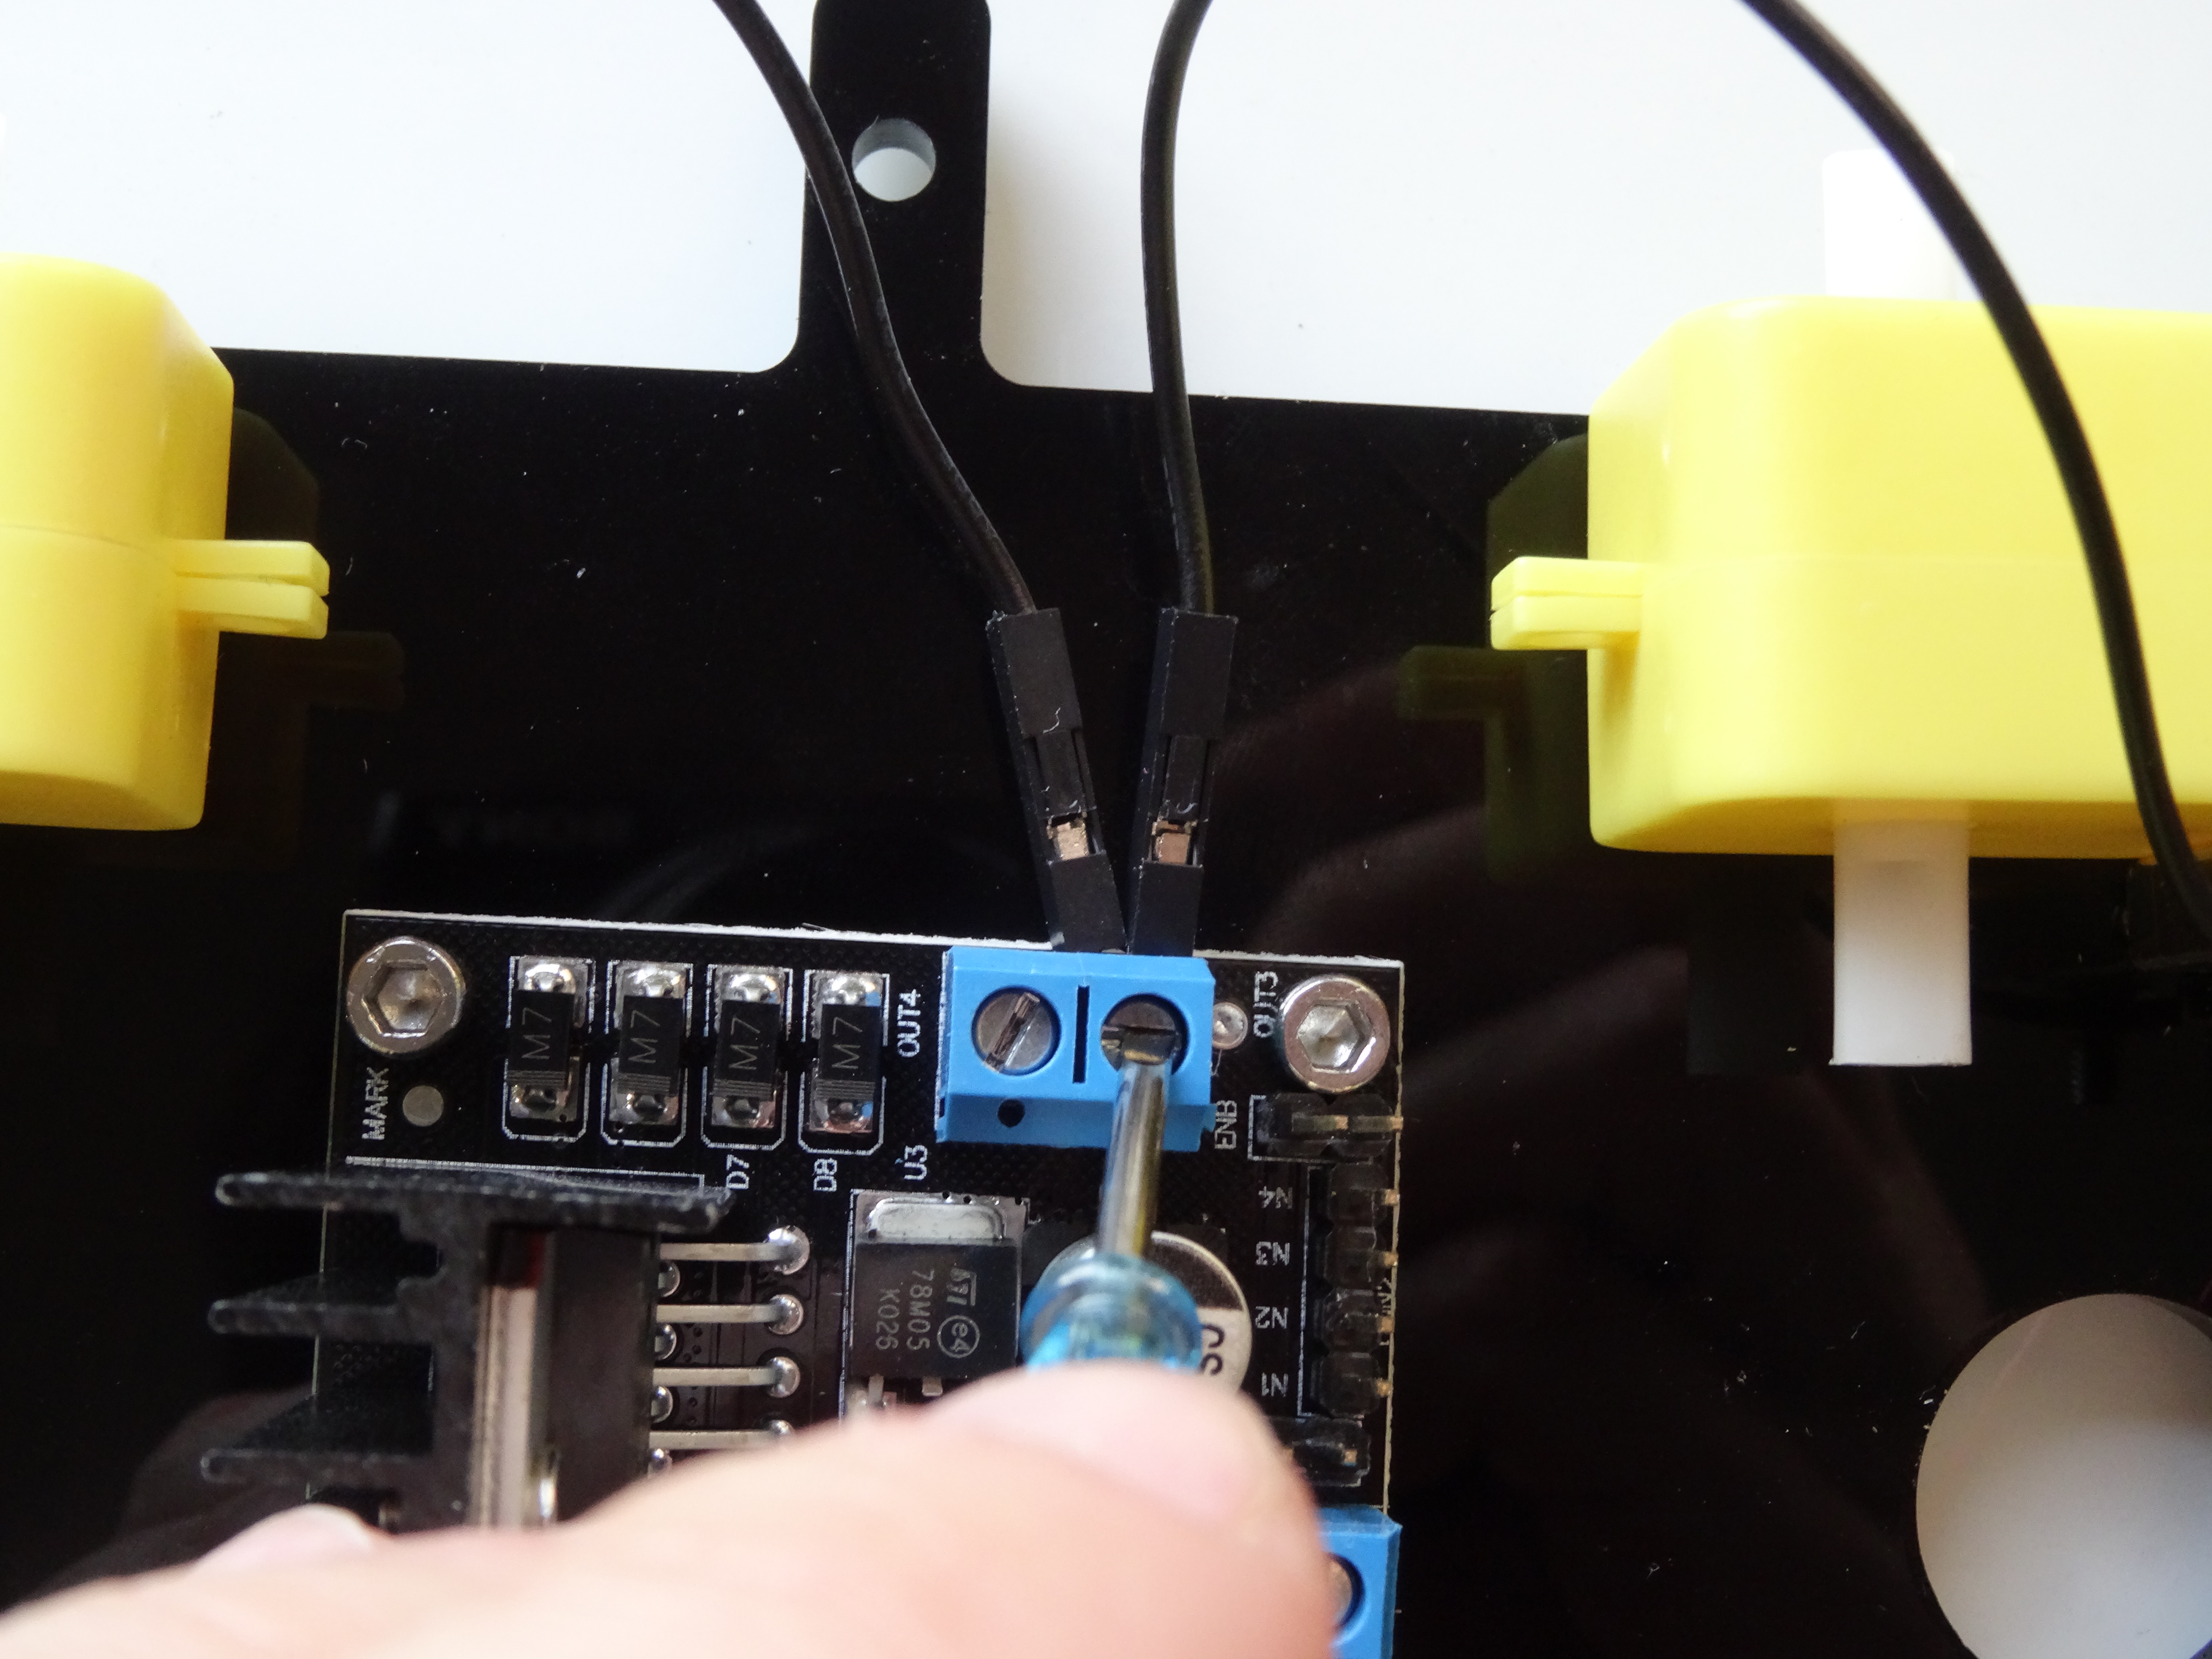
- Lose the motor connectors on the left and right side of the L298N Motor Driver Module with a screwdriver (Picture 4)
- Connect together the Black wires from the 2 motors of the Left side (looking at the cart from the back) to the Front Connection Point of the left motor connector of the L298N Motor Driver Module (Picture 4)
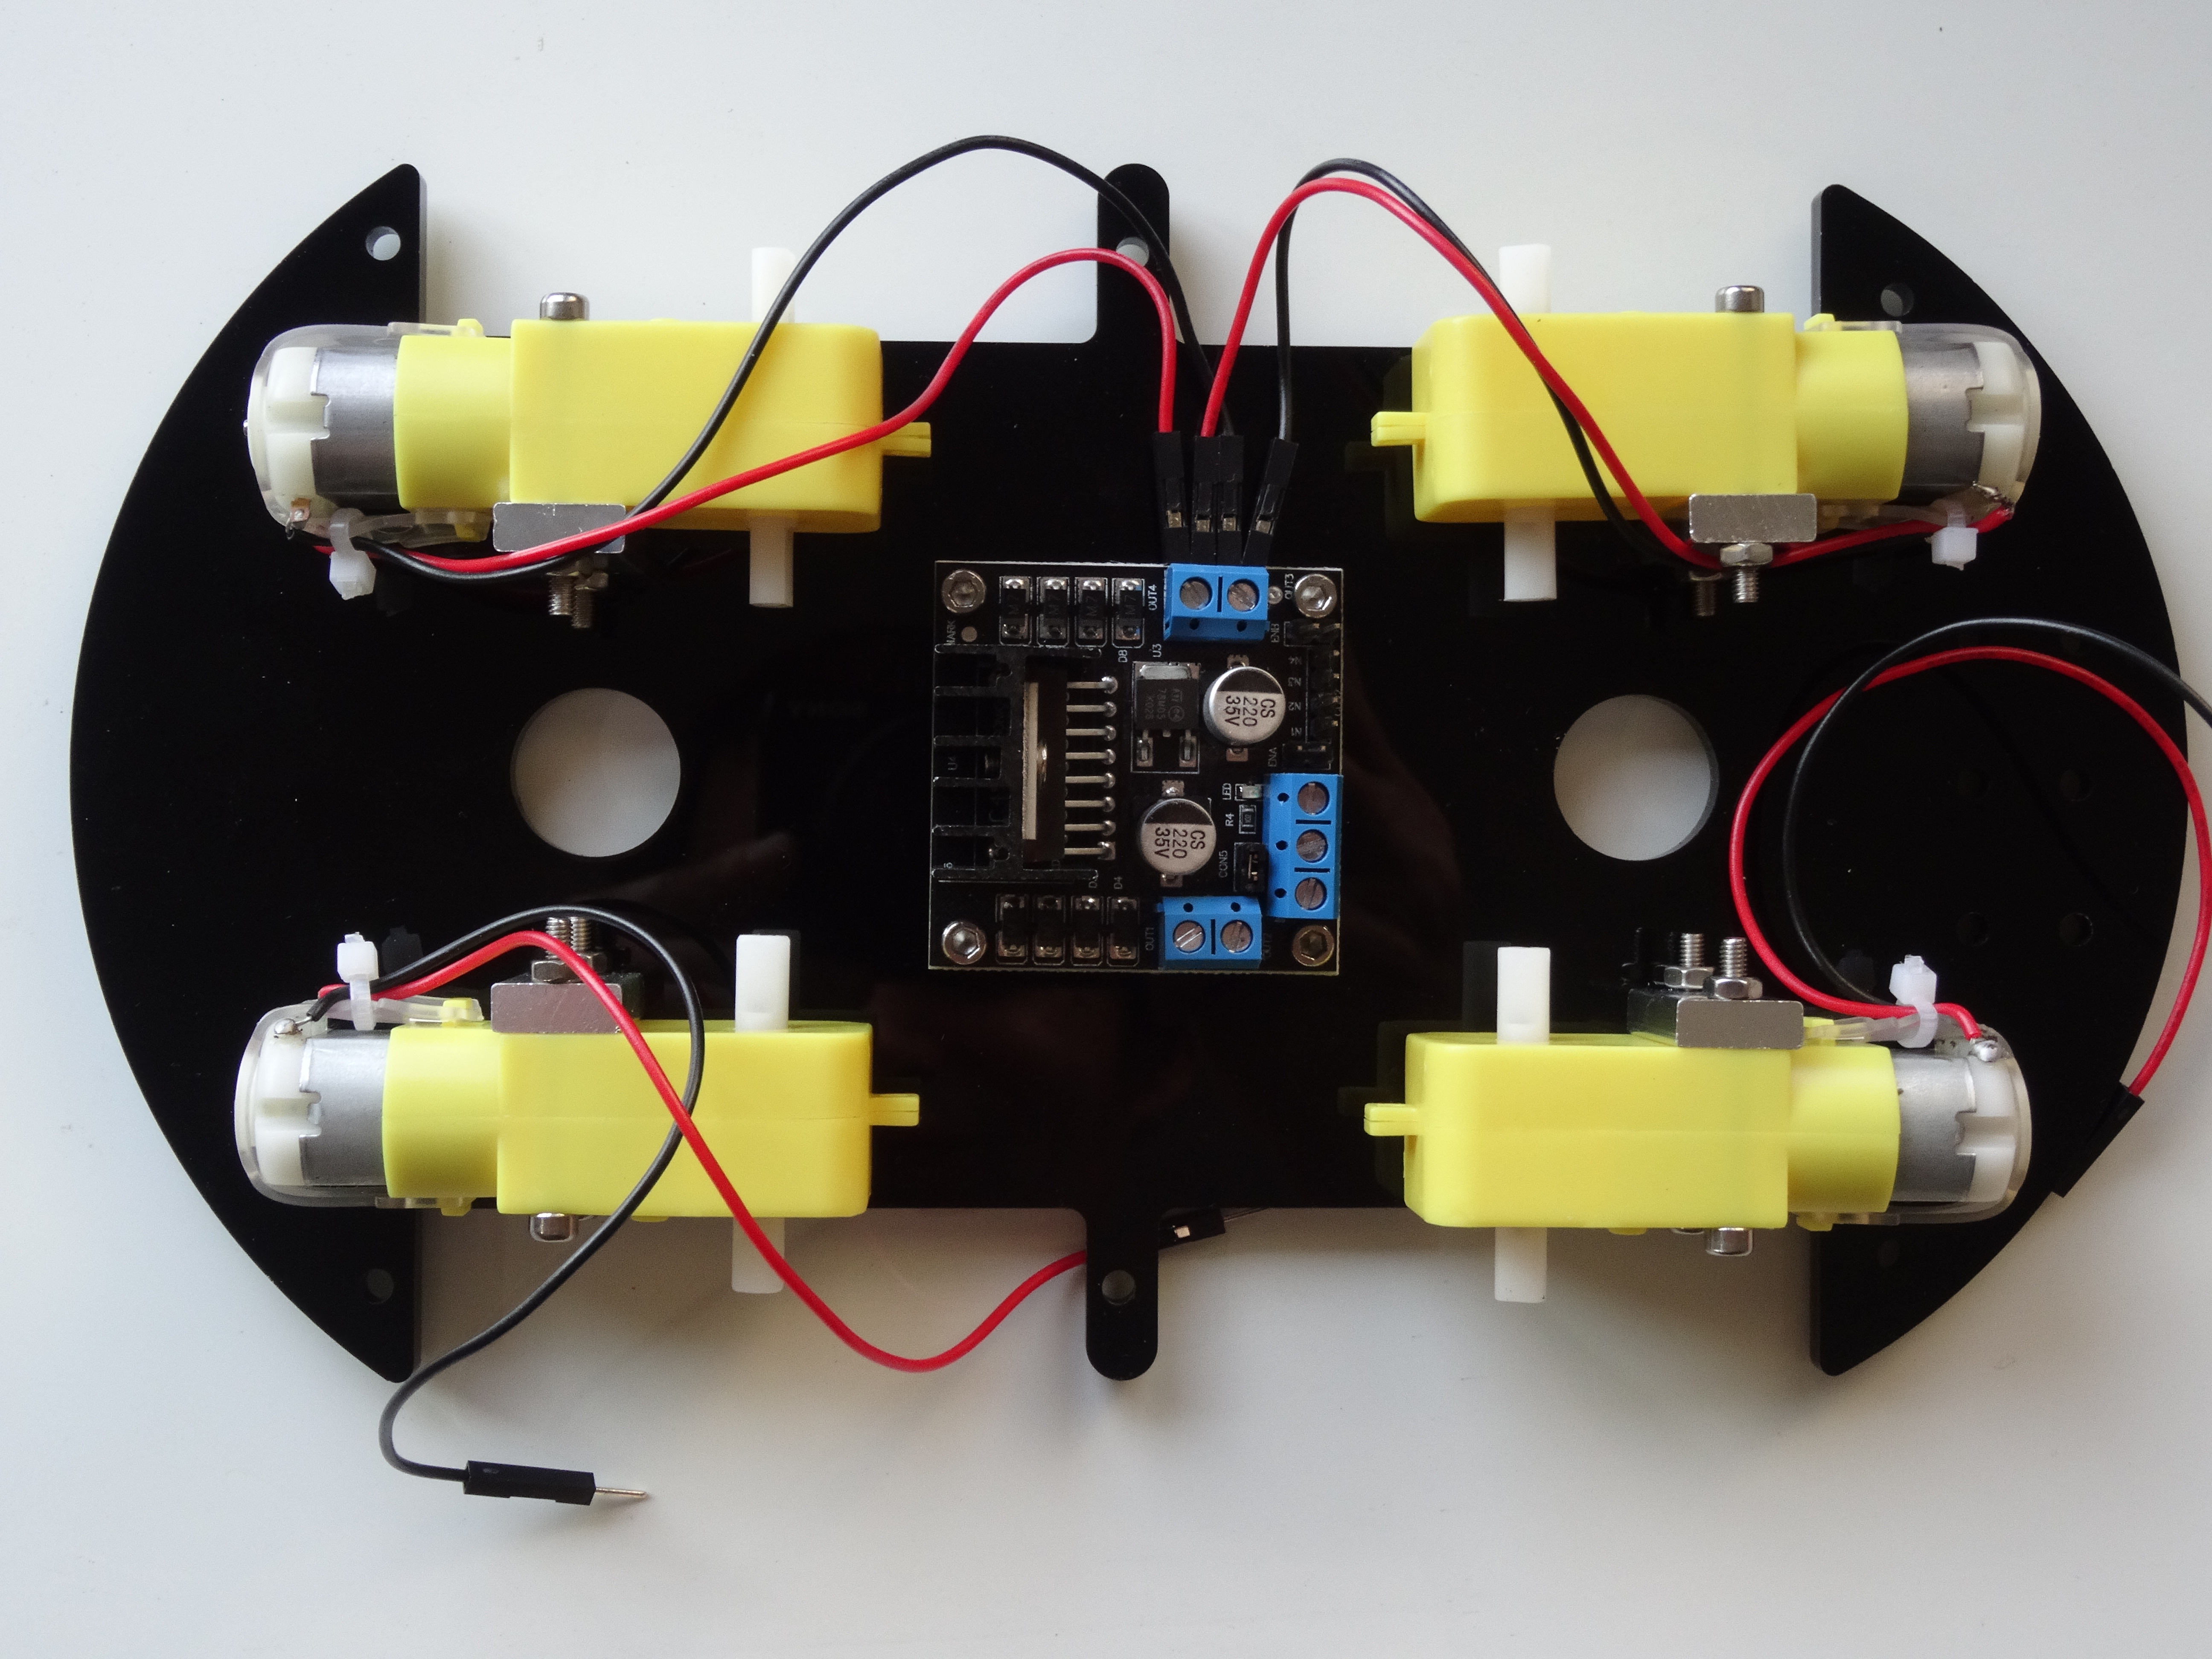
- Connect together the Red wires from the 2 motors of the Left side (looking at the cart from the back) to the Back Connection Point of the left motor connector of the L298N Motor Driver Module, and tighten it with a screwdriver (Picture 5)
- Connect together the Black wires from the 2 motors of the Right side (looking at the cart from the back) to the Back Connection Point of the left motor connector of the L298N Motor Driver Module, and tighten it with a screwdriver (Picture 6)
- Connect together the Red wires from the 2 motors of the Right side (looking at the cart from the back) to the Front Connection Point of the left motor connector of the L298N Motor Driver Module, and tighten it with a screwdriver (Picture 6)
Install the Line Tracking Modules
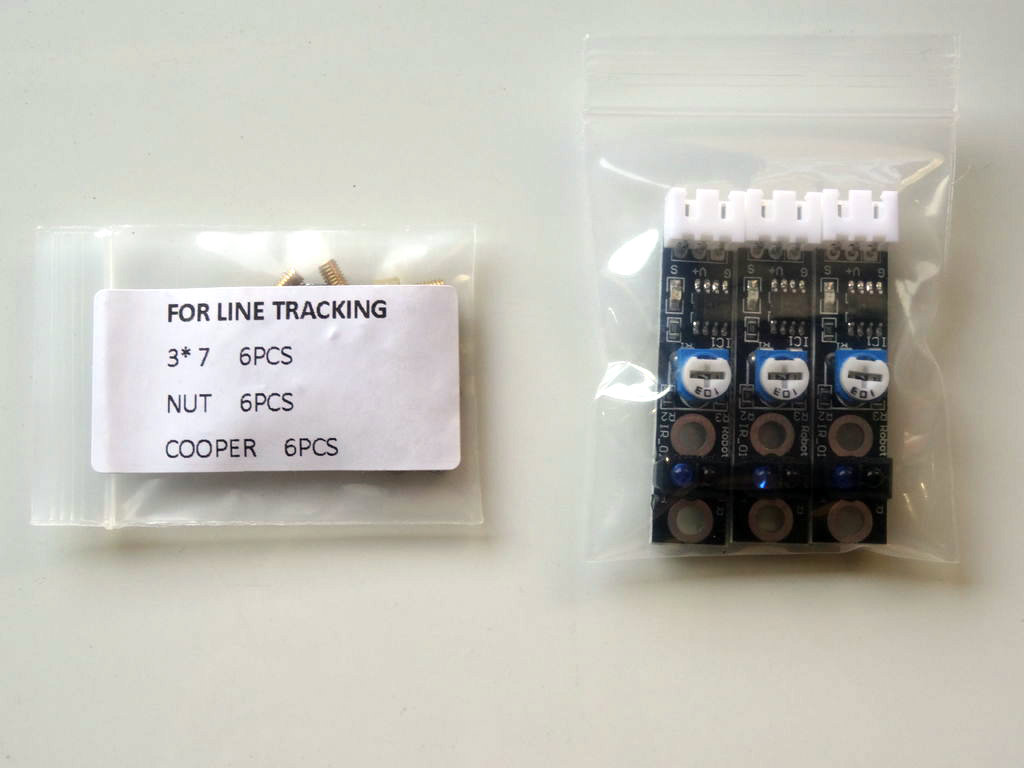
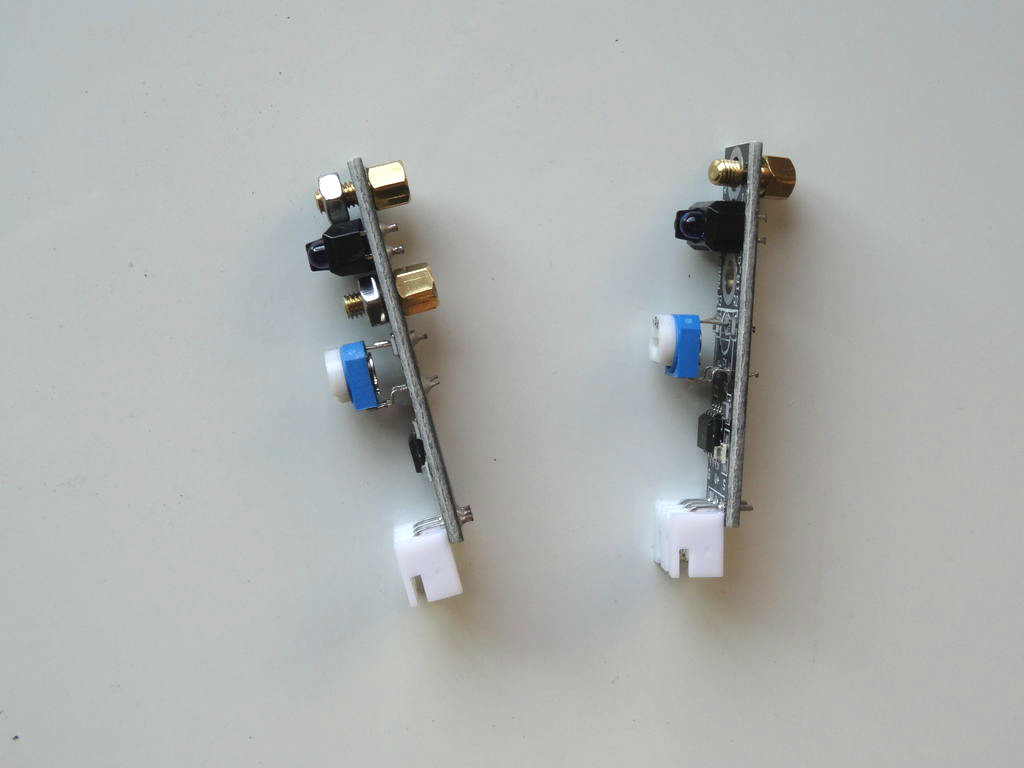
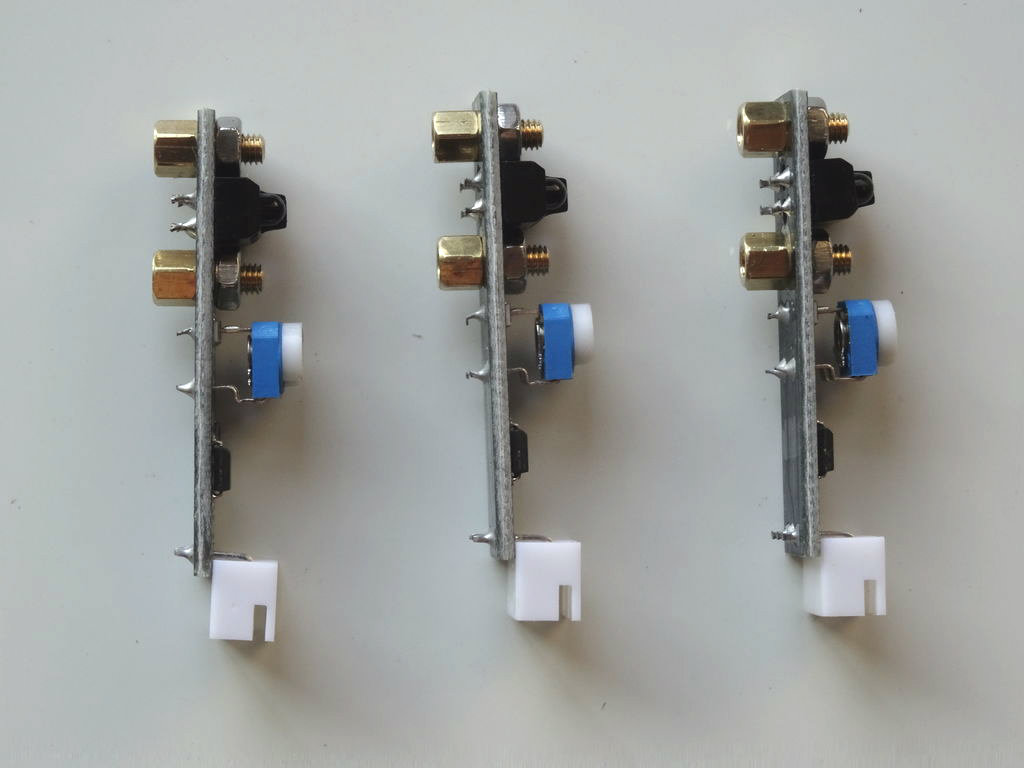
- Take out from the box, the Infrared Line Tracking Modules, and the plastic bag with Hex Spacers, Screws and Nuts labeled "FOR LINE TRACKING" (Picture 1)
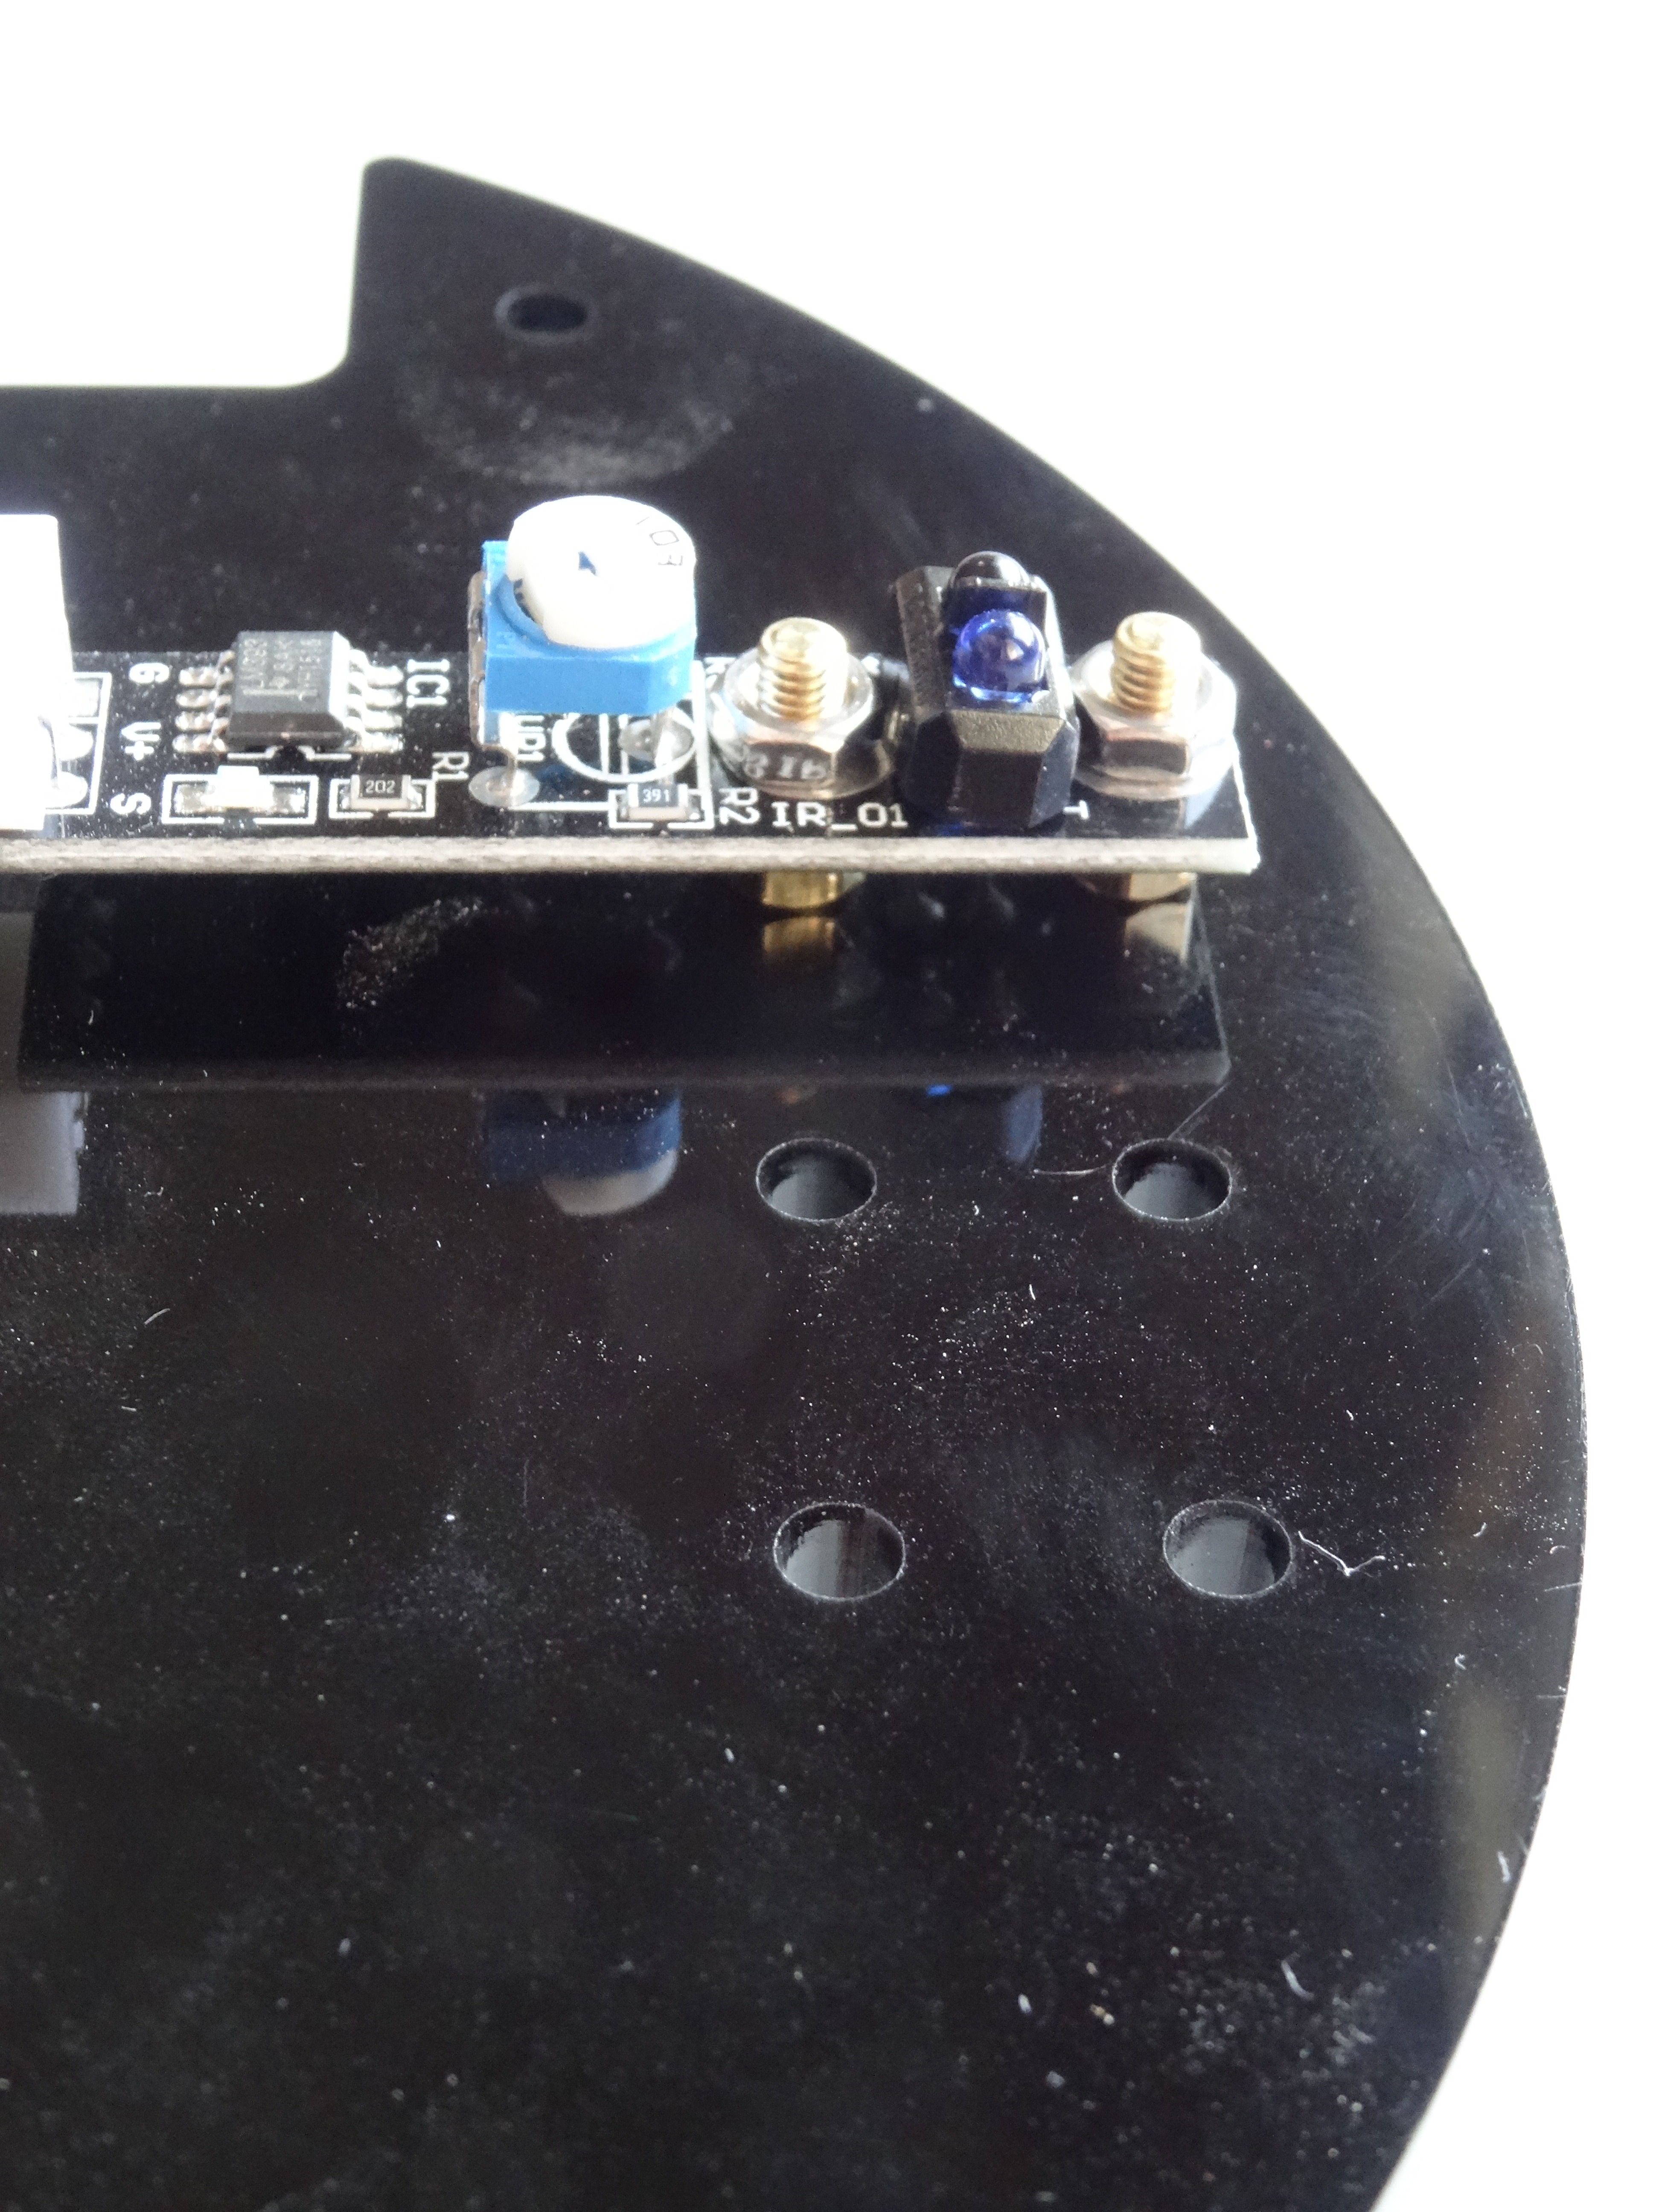
- Insert the screw threaded side of the spacers into the sensors from the soldering side, and screw the nuts on the component side (Picture 2 and 3)
- Place the first sensor on the bottom of the Chassis, over the holes at the front of the Chassis with the connector pointing toward the back of the Chassis (Picture 4)
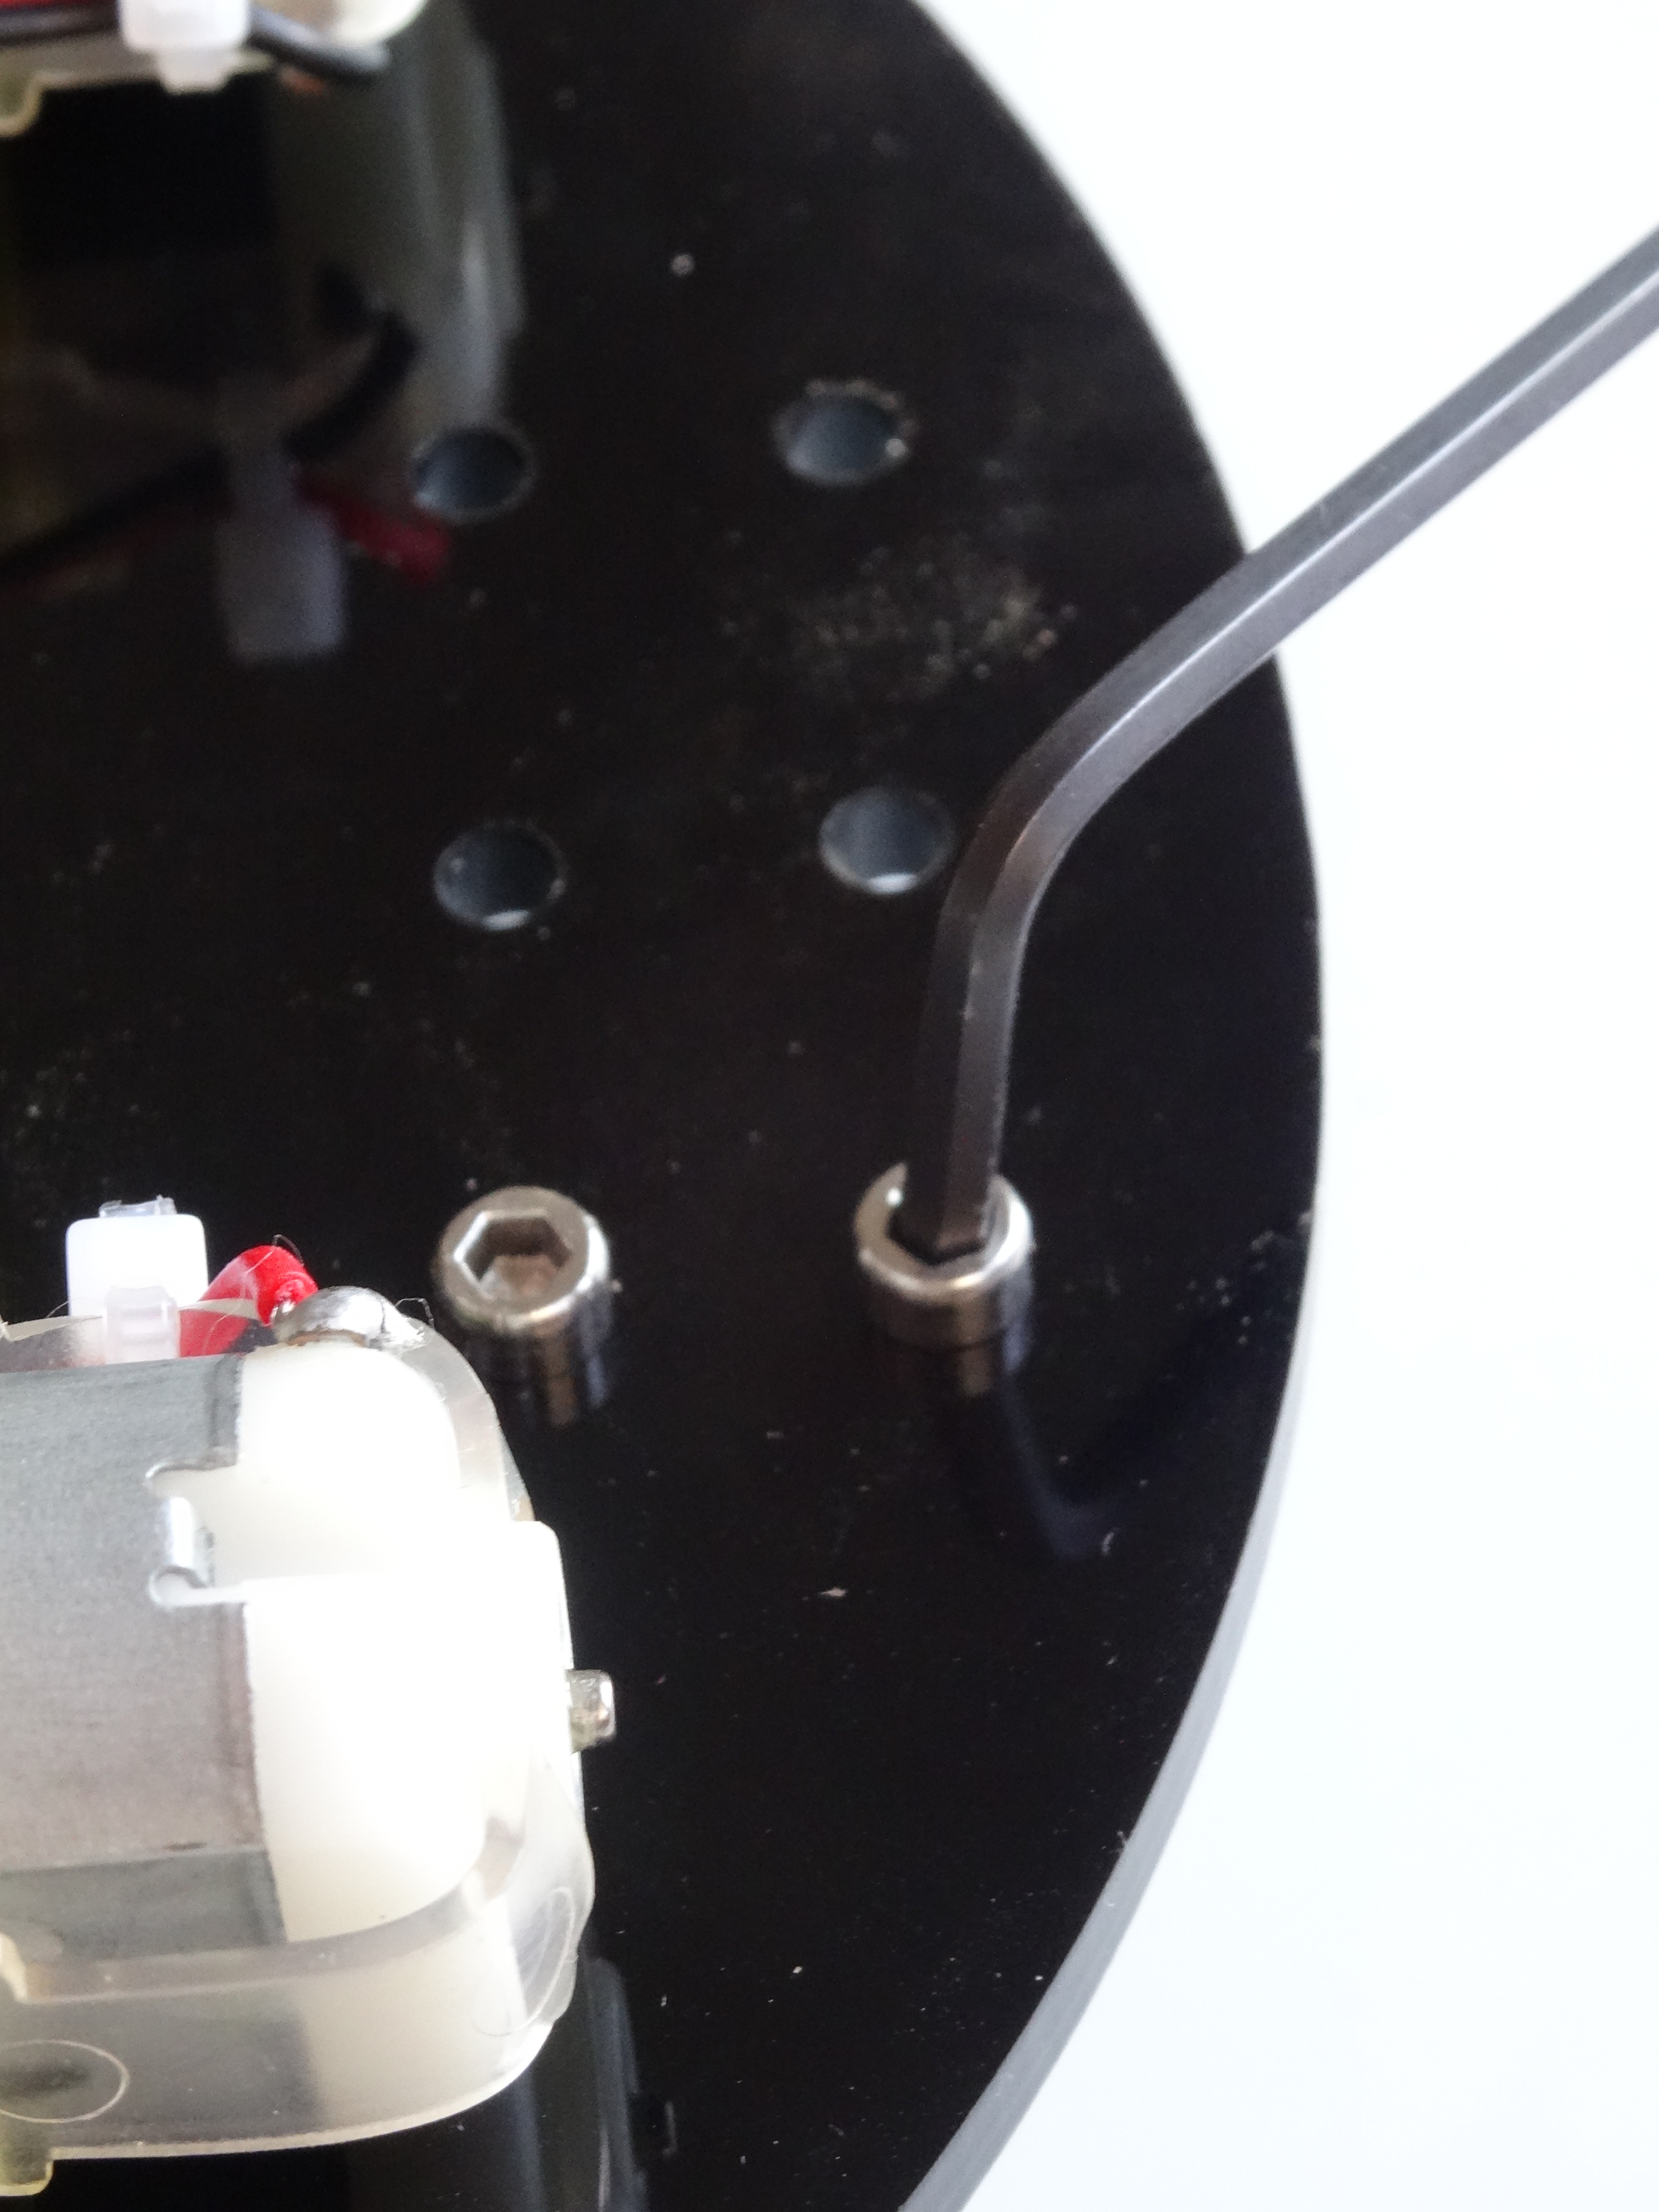
- Insert the screws from the top and use the Hexagon tool to tighten them to the spacers on the bottom (Picture 5)
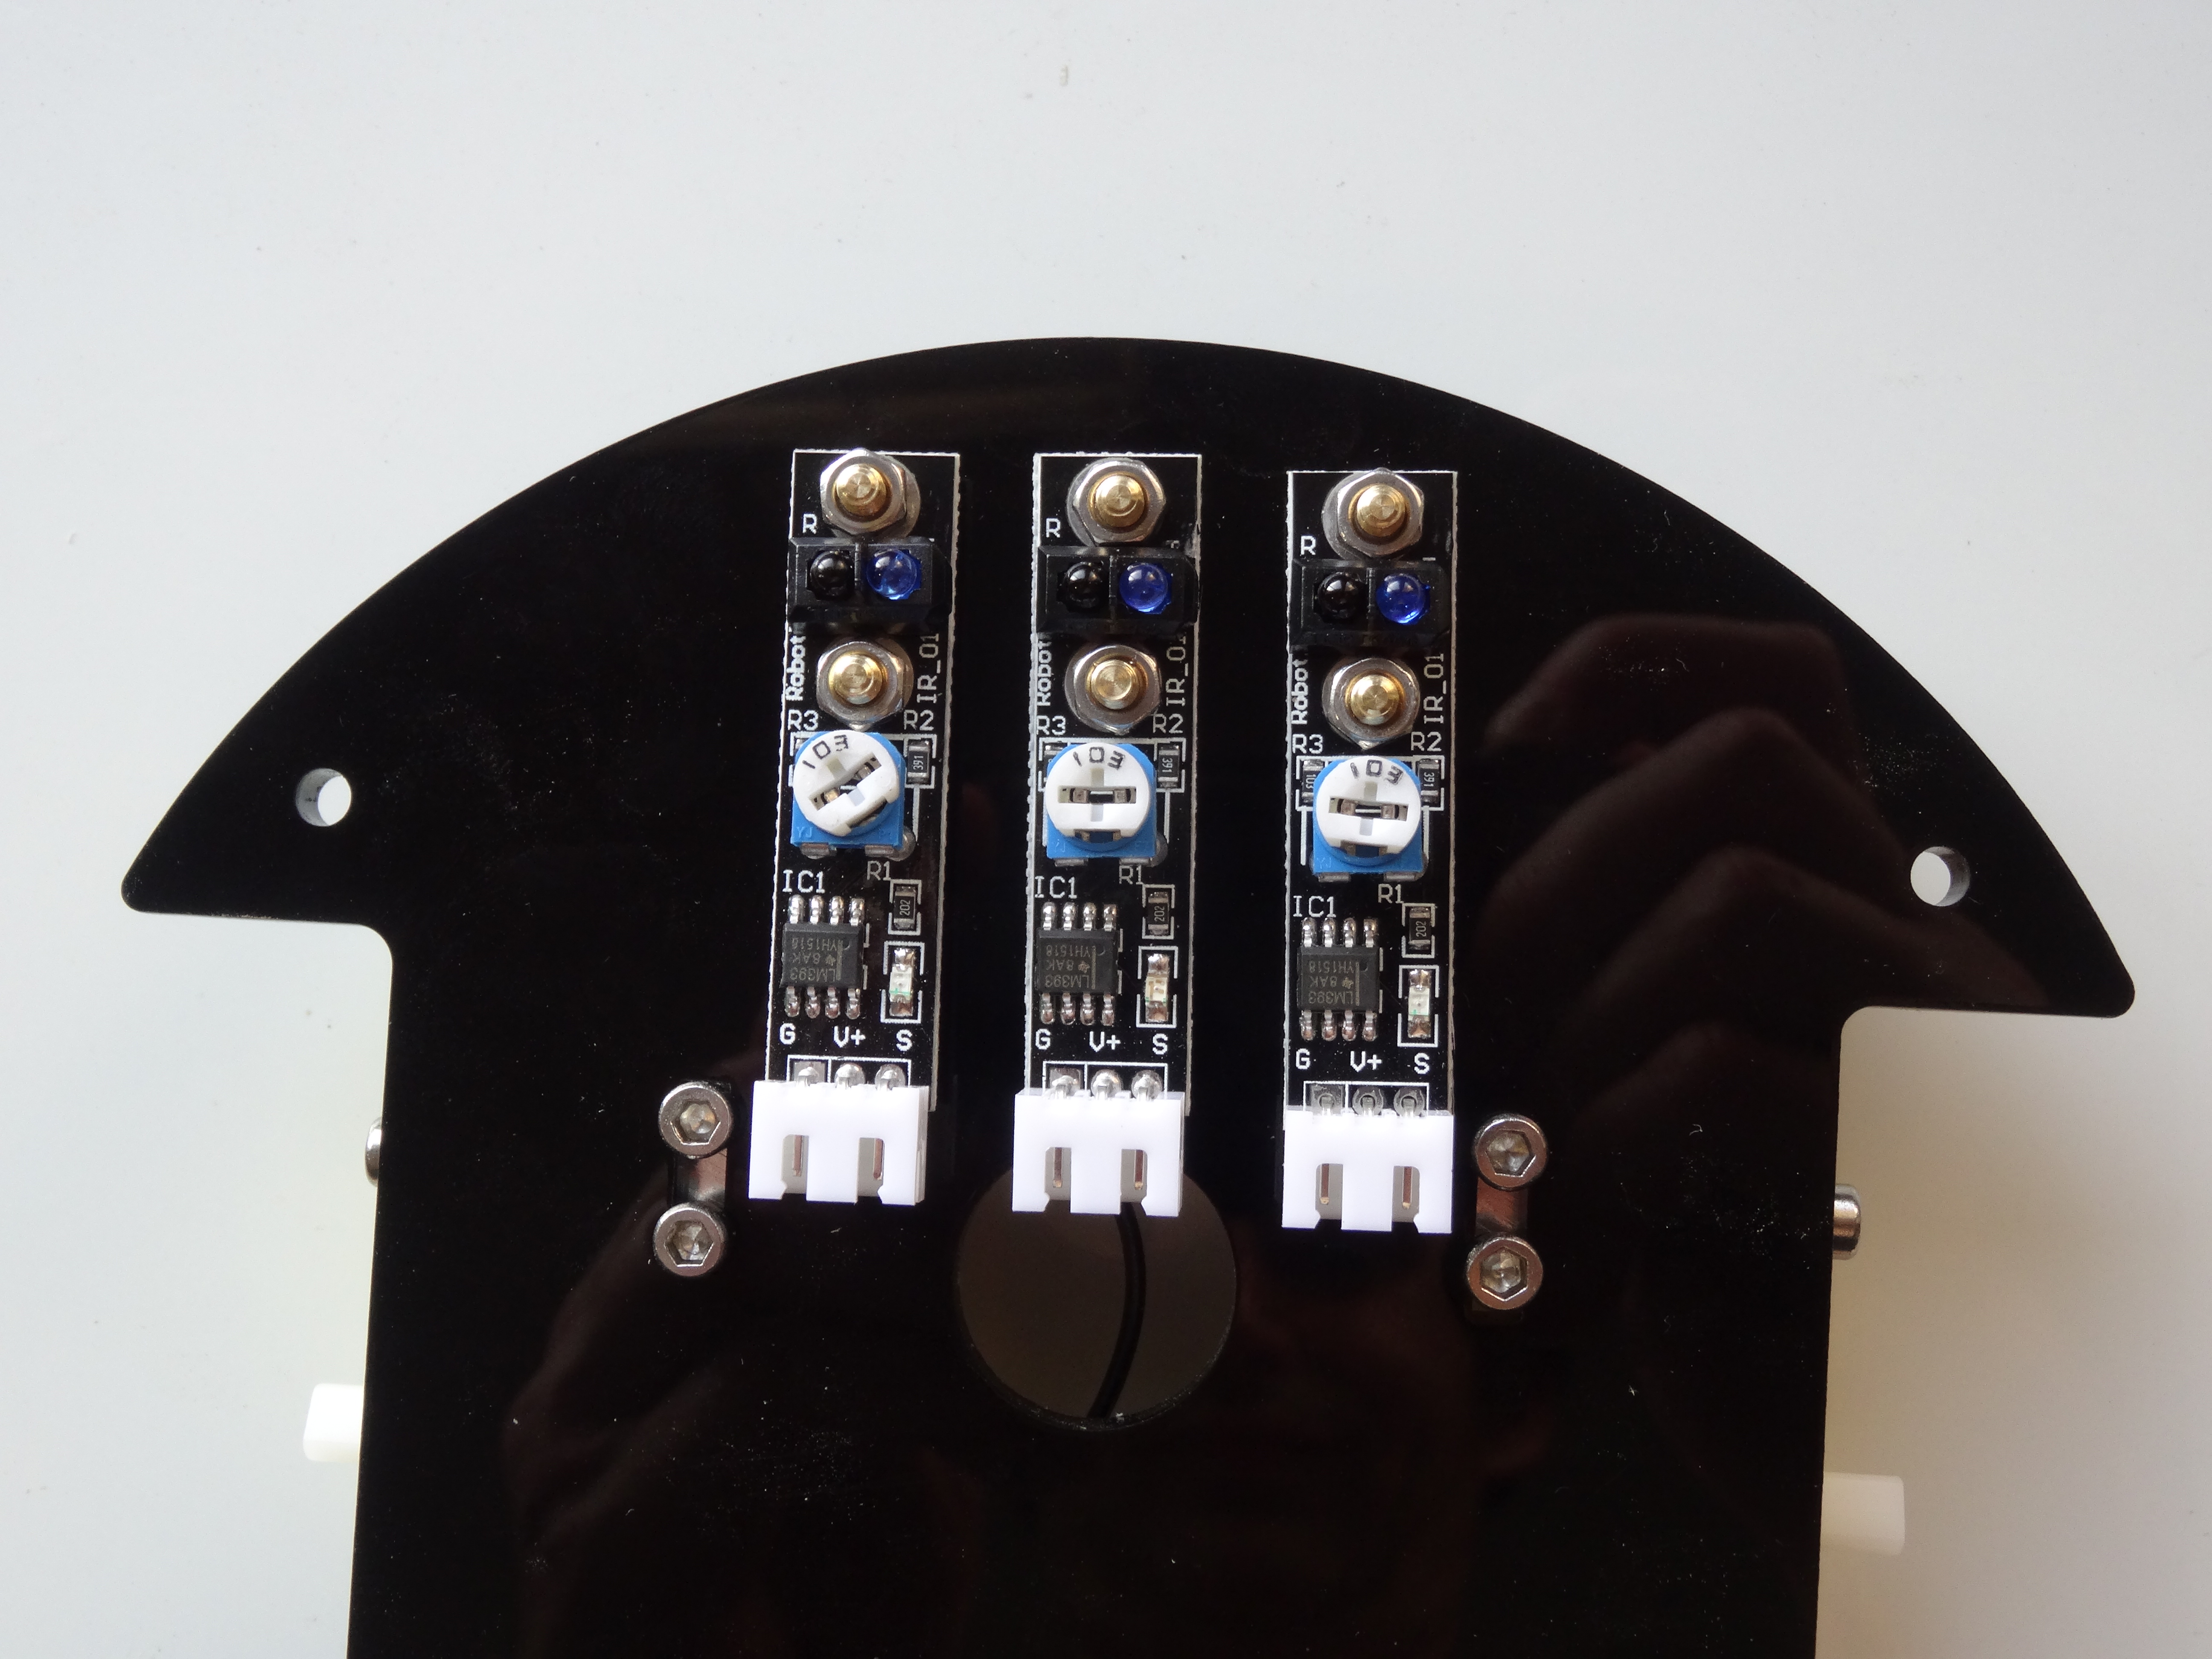
- Repeat the previous 2 steps for all 3 sensors (Picture 6 and 7)
Install the Wheels
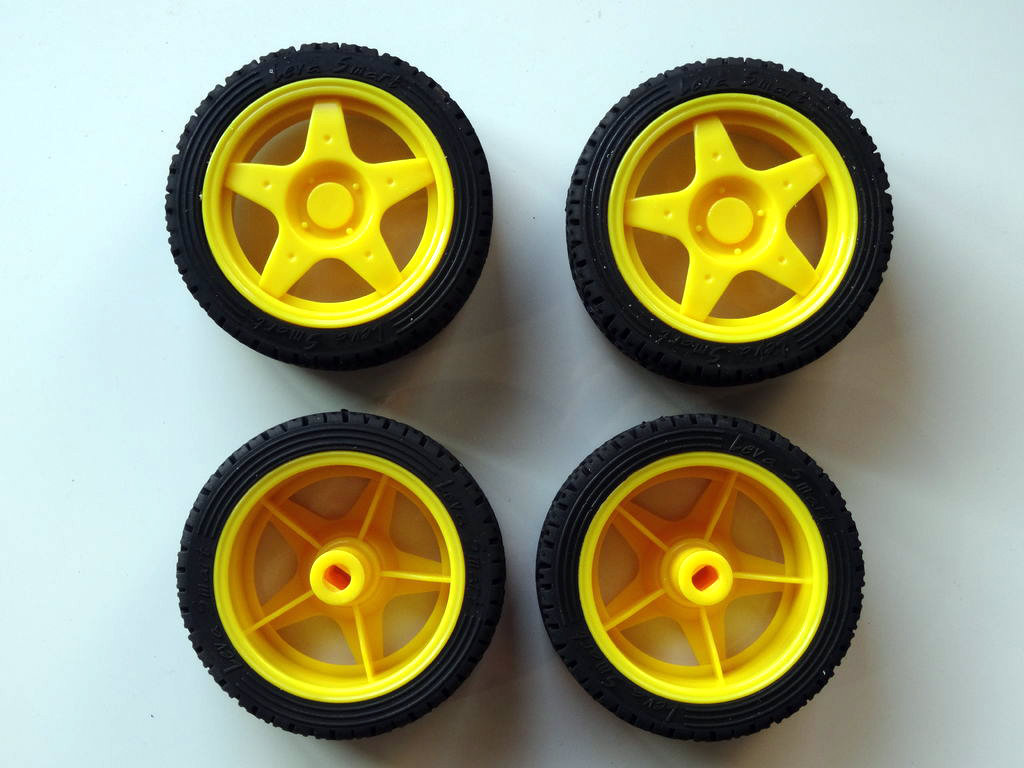
- Take out the wheels from the box and unpack them from the plastic bag (Picture 1)
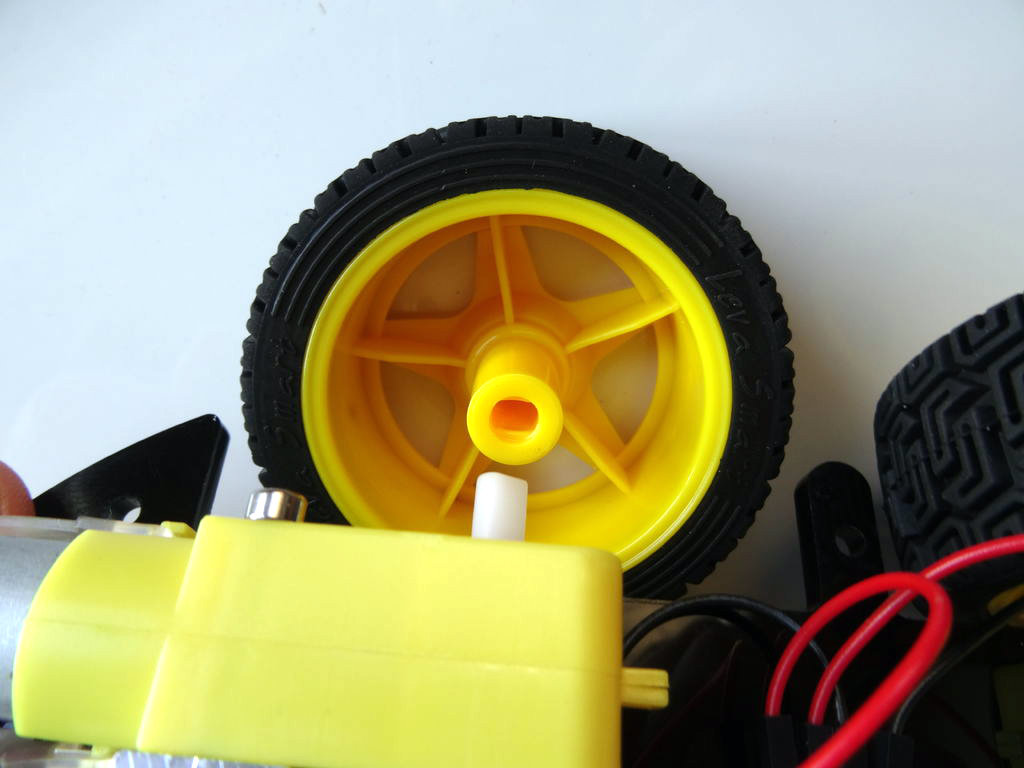
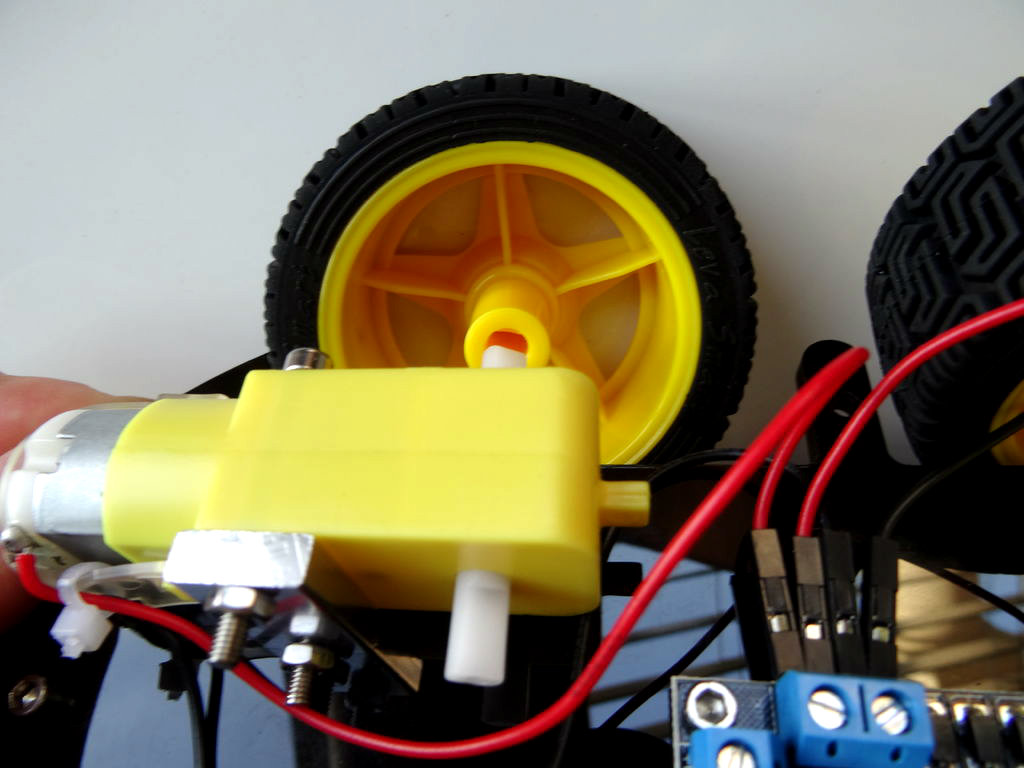
- Insert the axle of the gearbox of one of the motors to the center hole of the wheel. You will need to rotate the wheel until reaching the right position to insert the axle (Pictures 2 and 3)
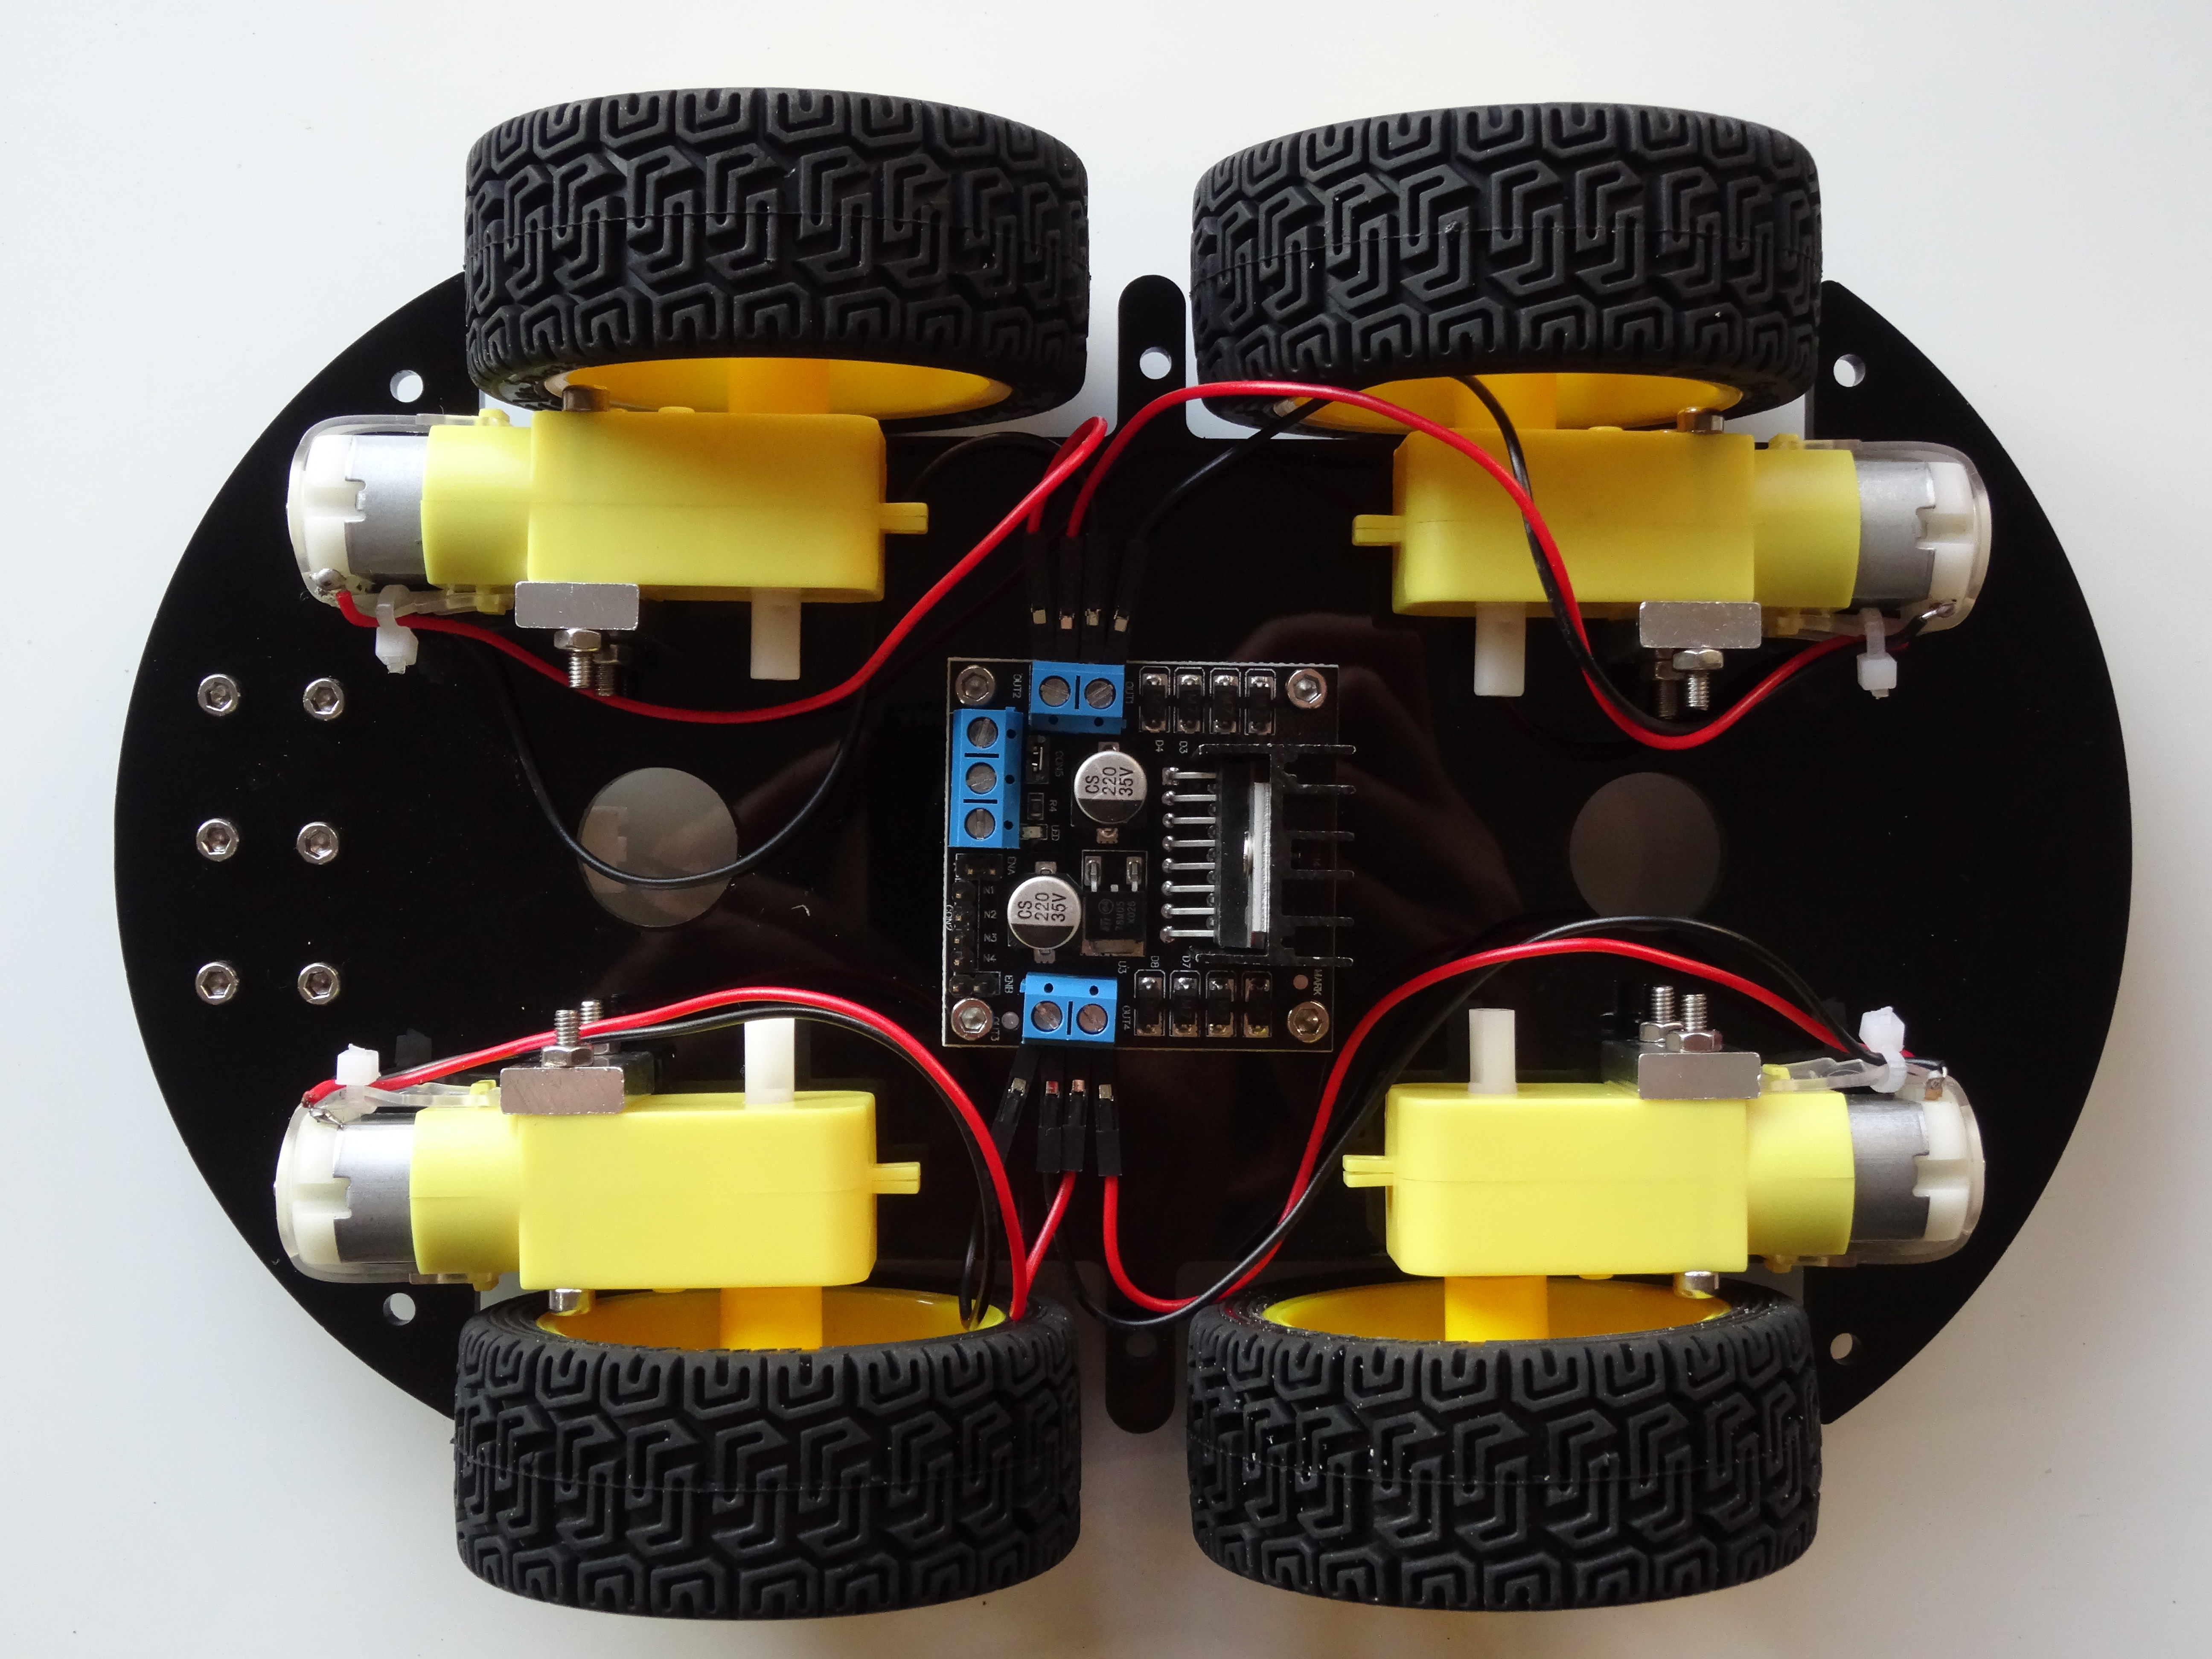
- Picture 4 shows all wheels installed
Installing the Arduino on the Robot
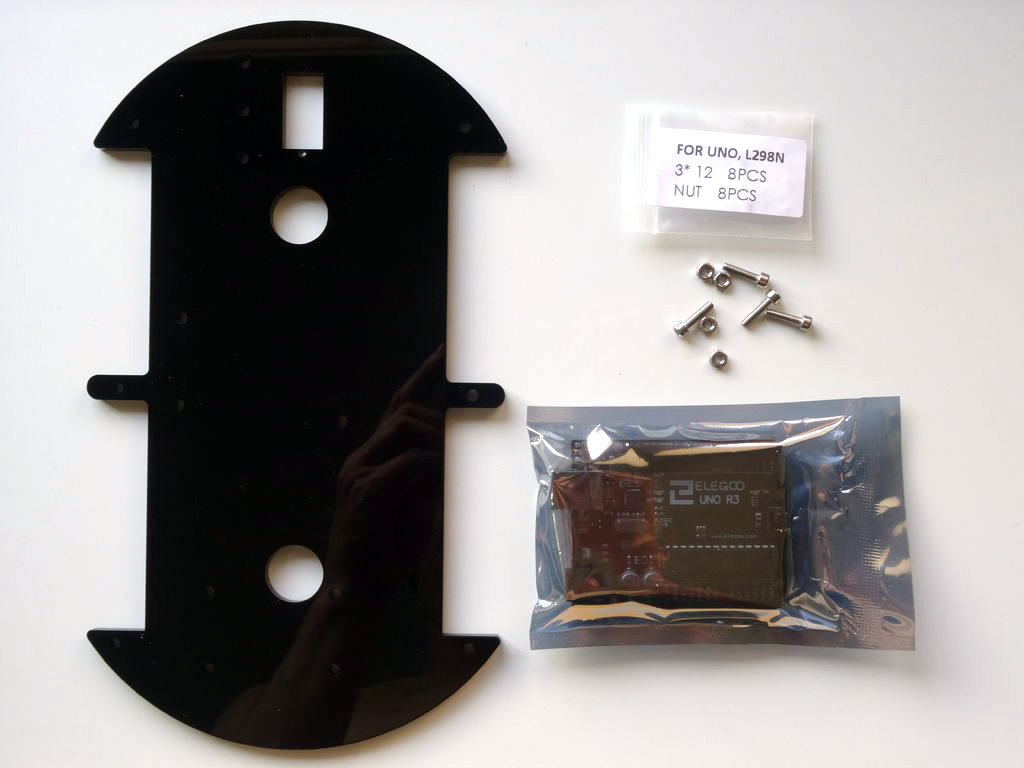
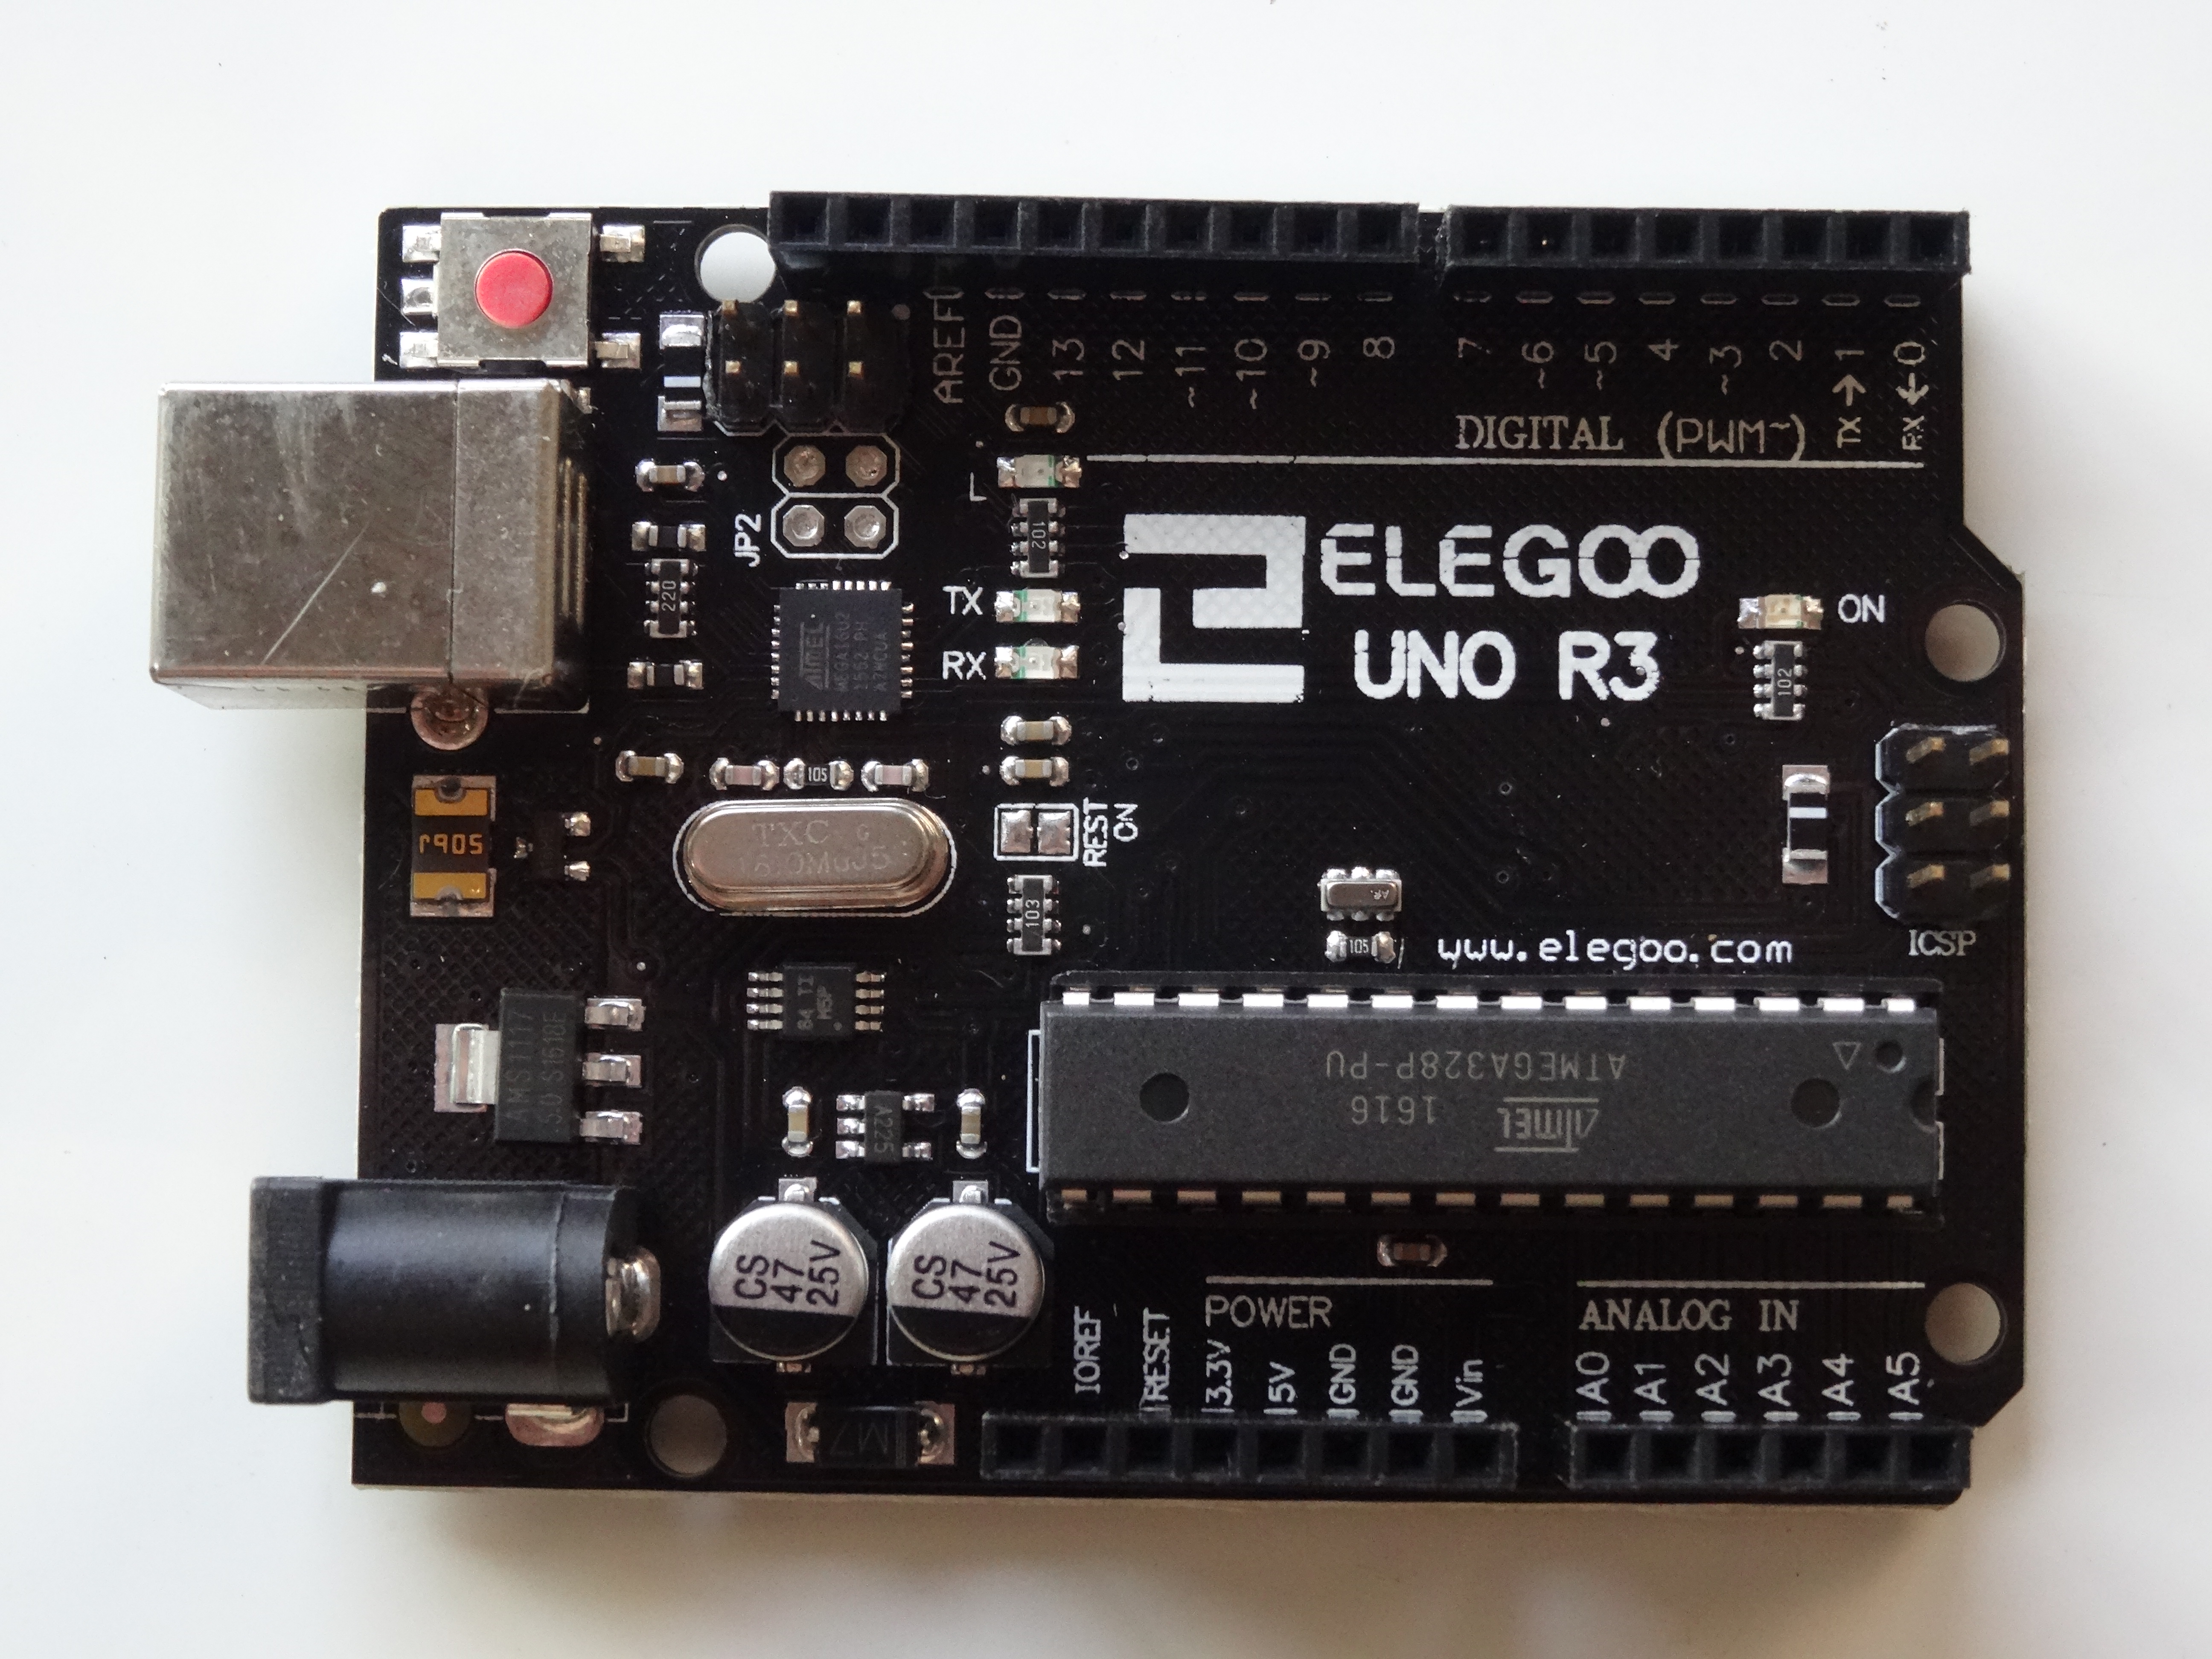
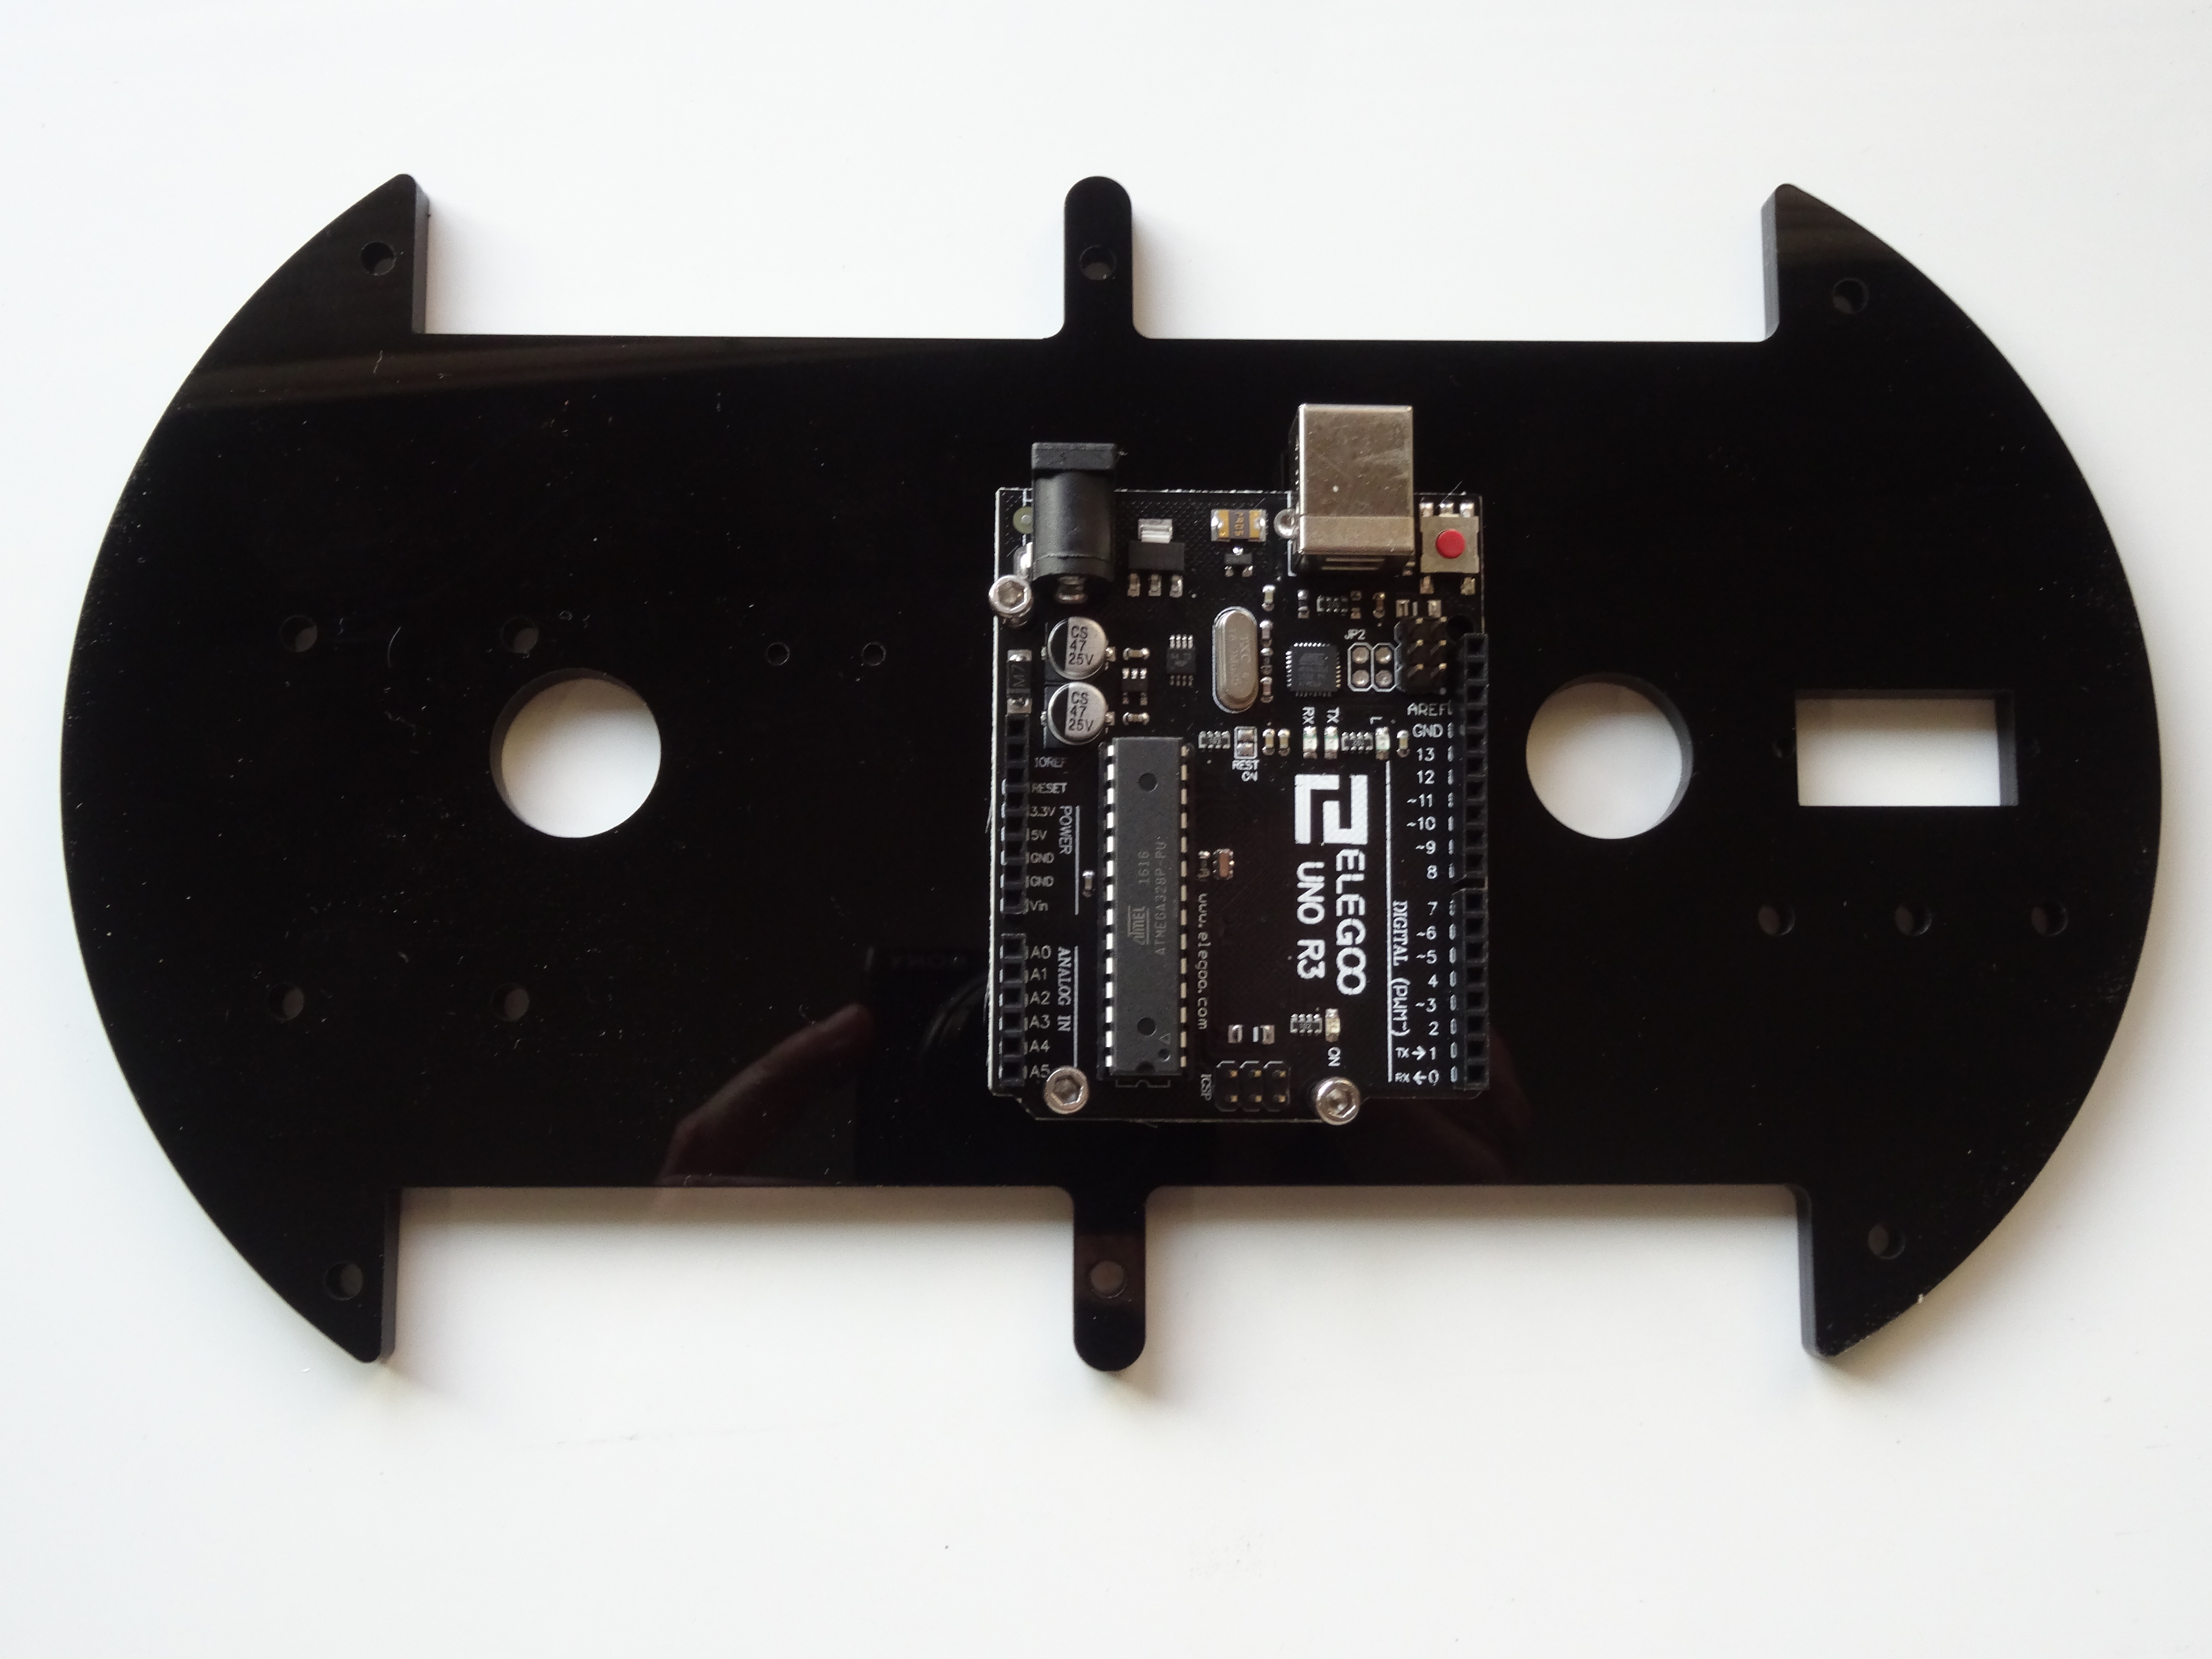
- Take out from the box, the top layer(level) of the Chassis, and the Arduino board (Pictures 1 and 2). You will also need the remaining screws and nuts from the bag labeled "FOR UNO, L298N" (Picture 1)
- Place the Arduino board over the top layer of the Chassis, and insert screws through the 3 holes from the top (Picture 3)
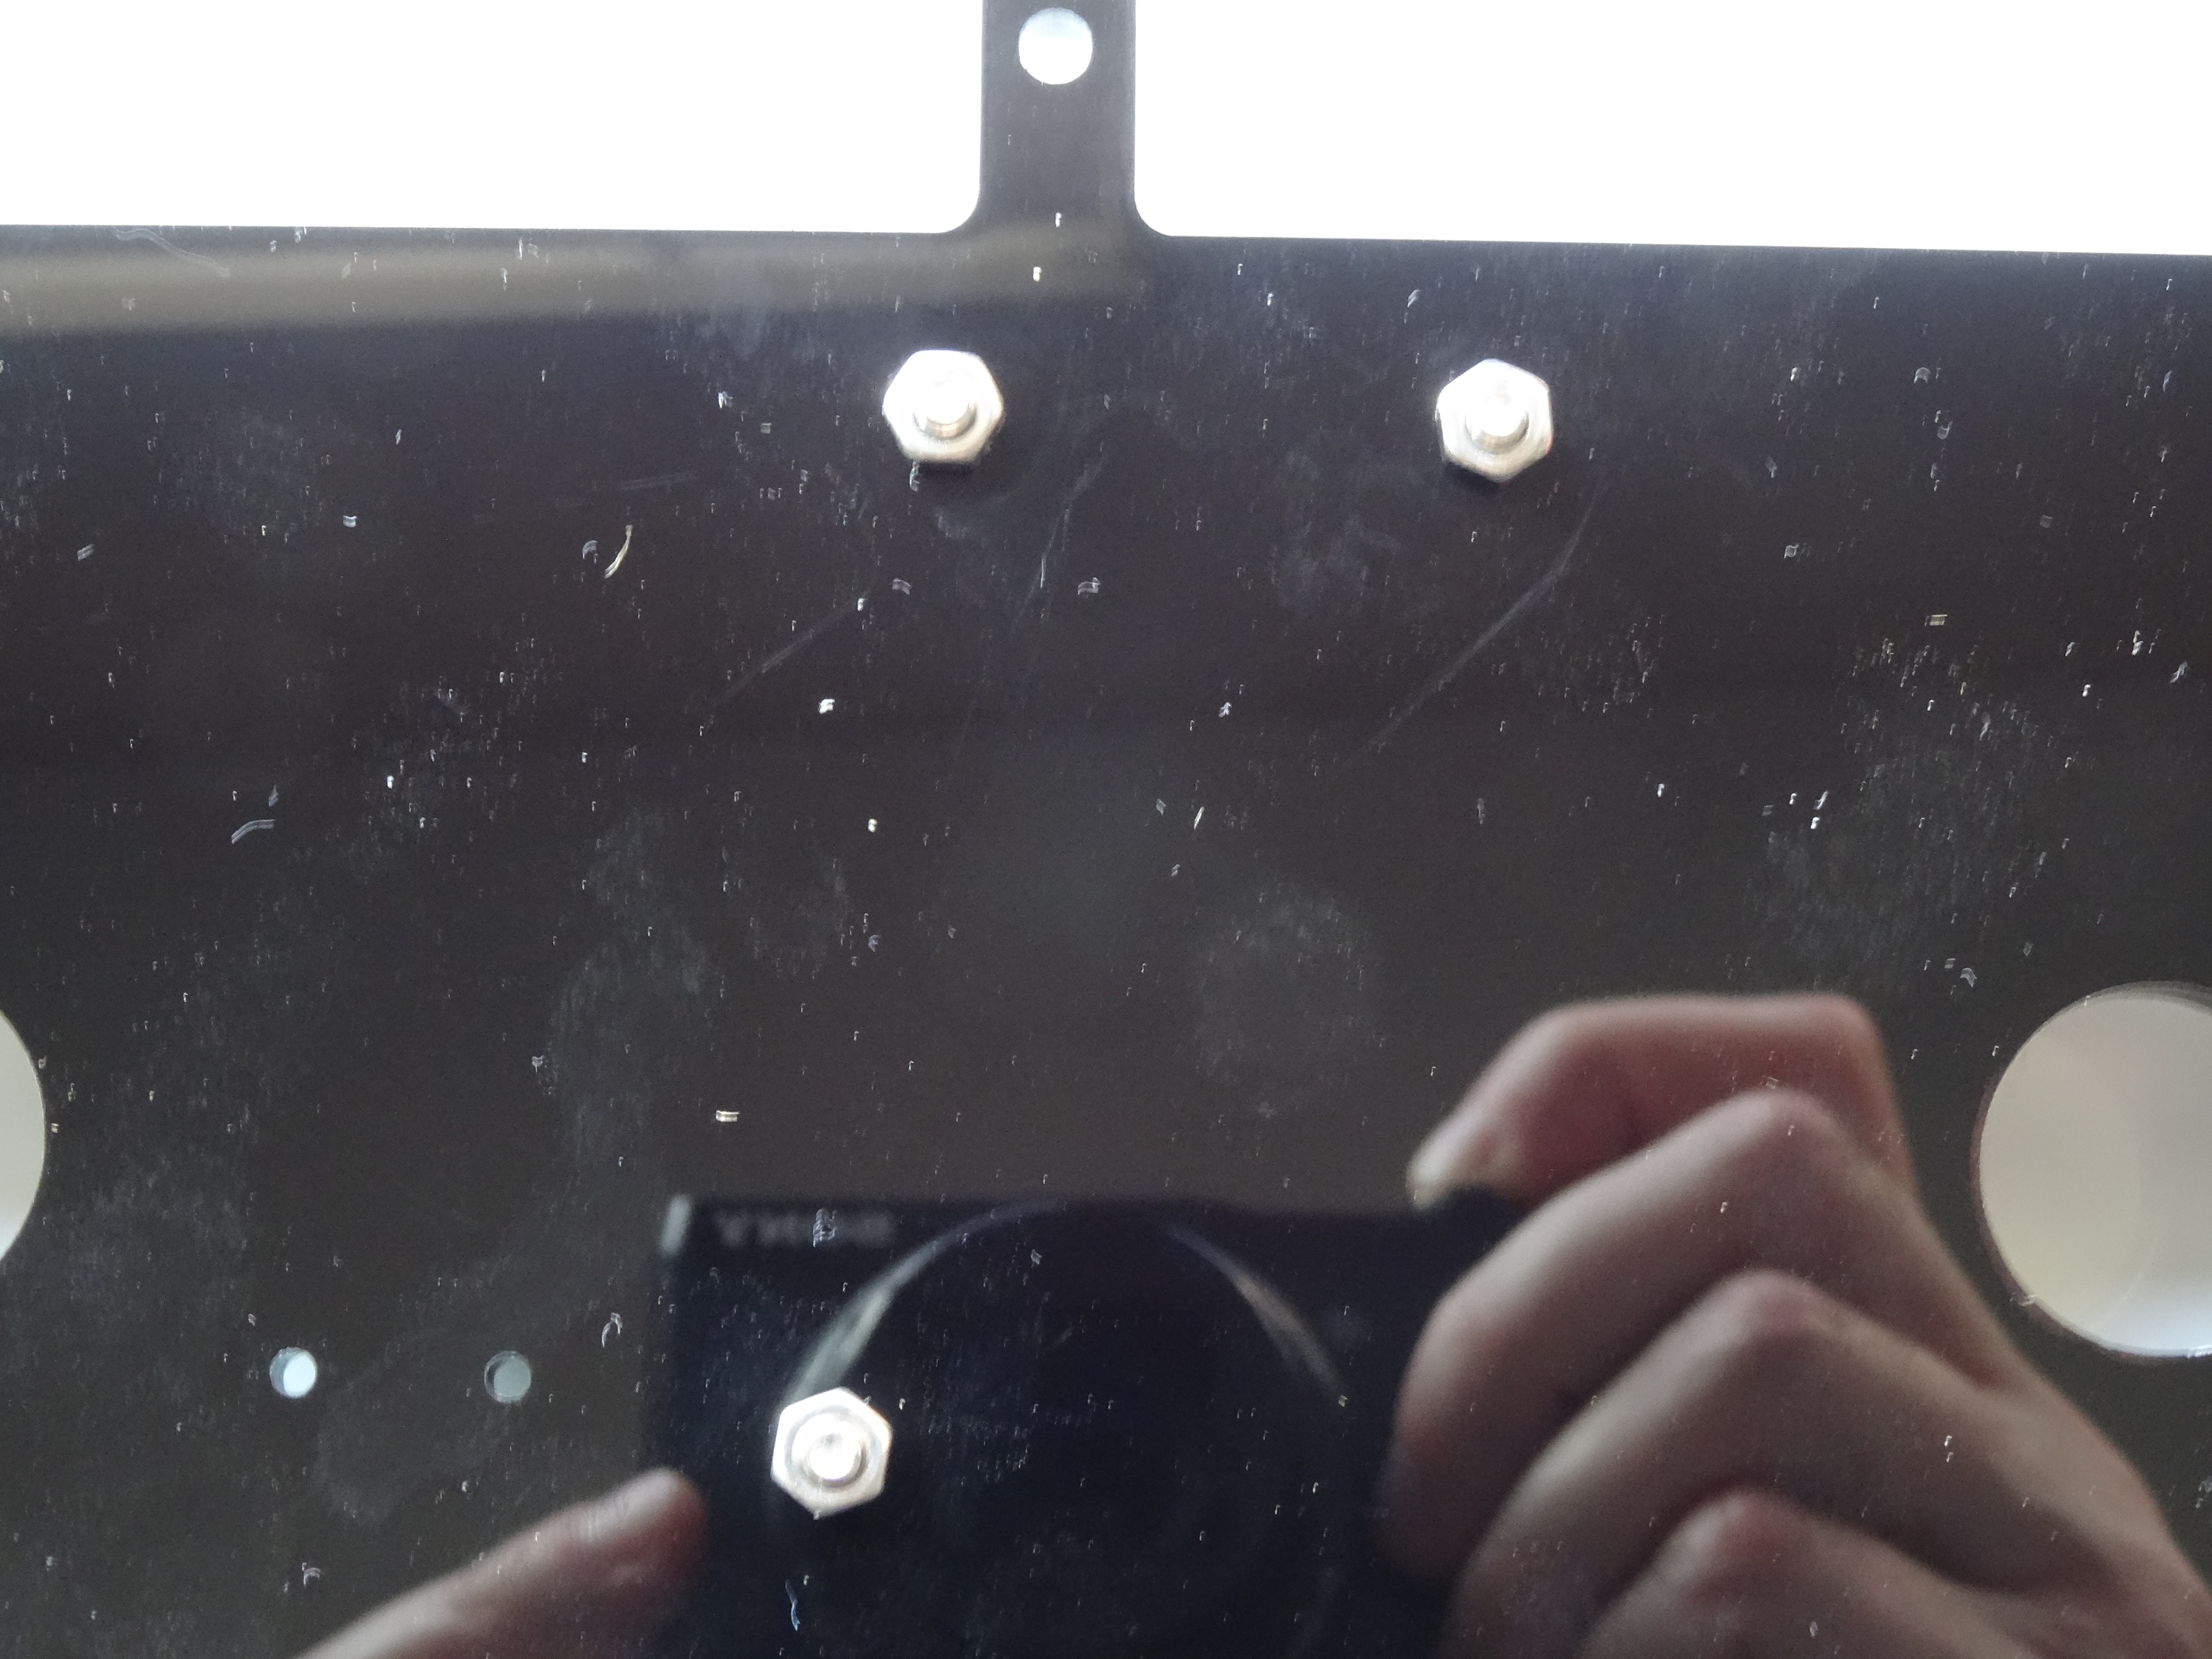
- Tighten the screws with nuts from the bottom (Picture 4)
Install the Sensor Shield on Top of the Arduino
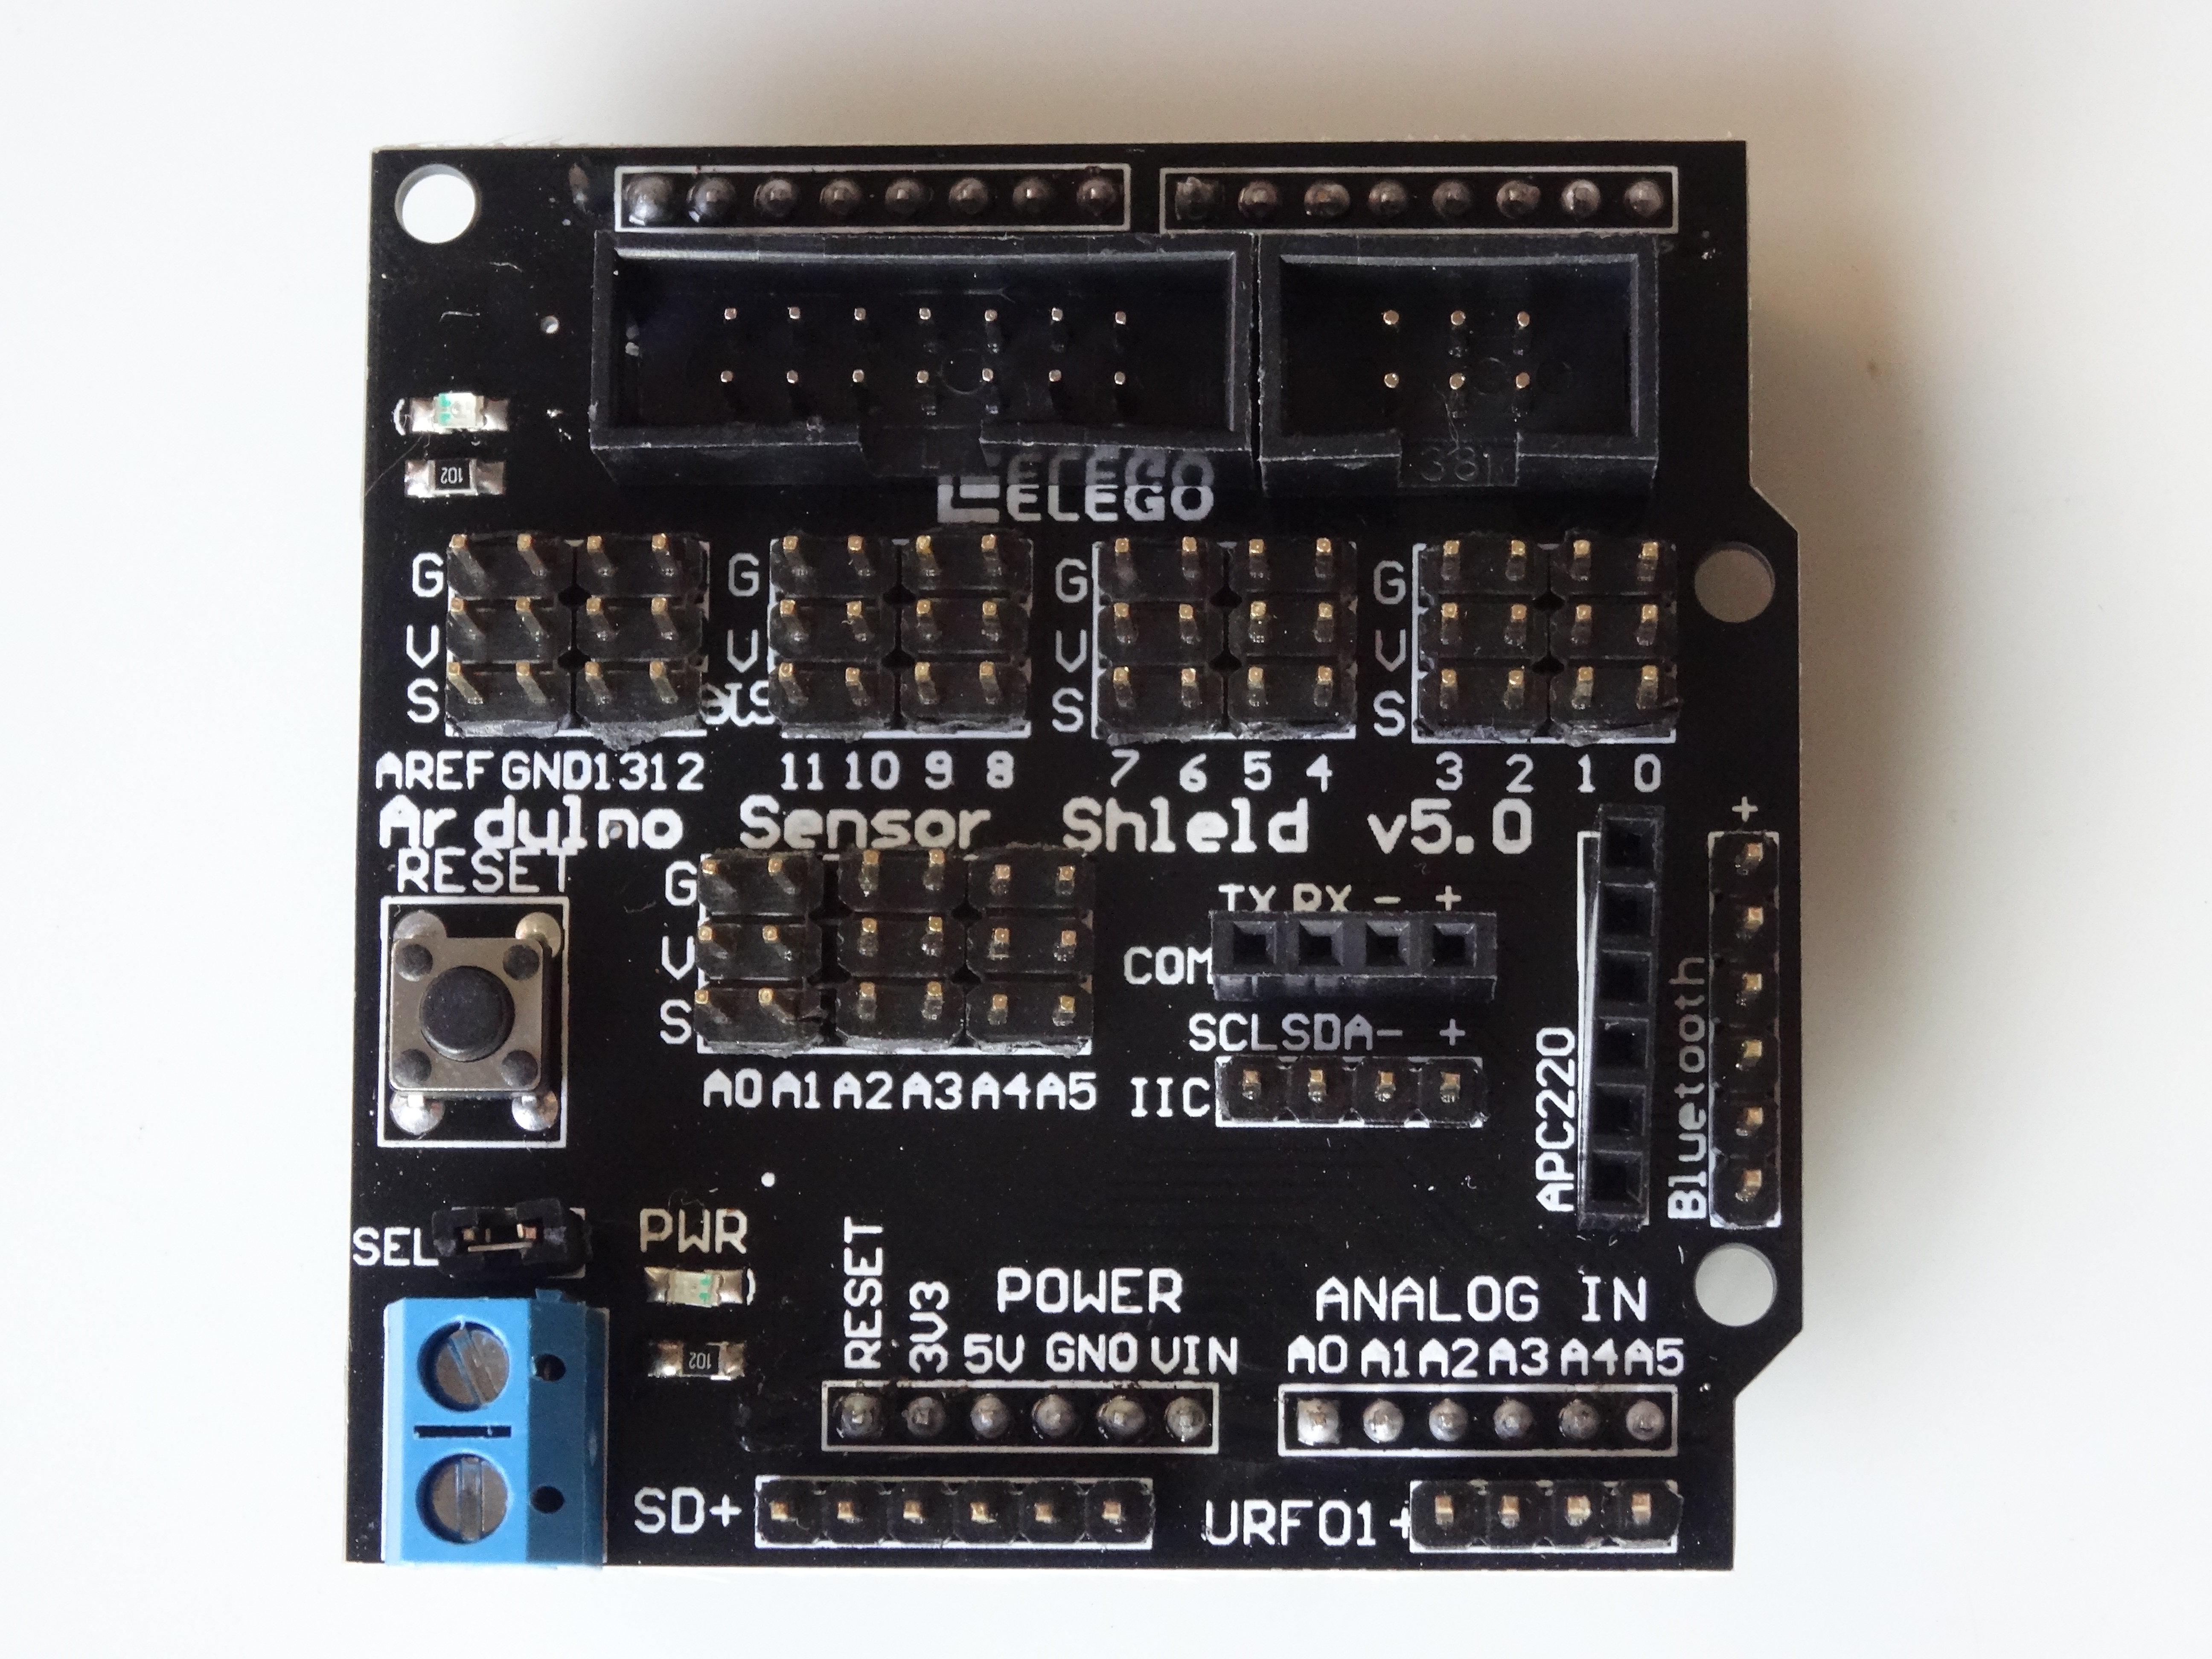
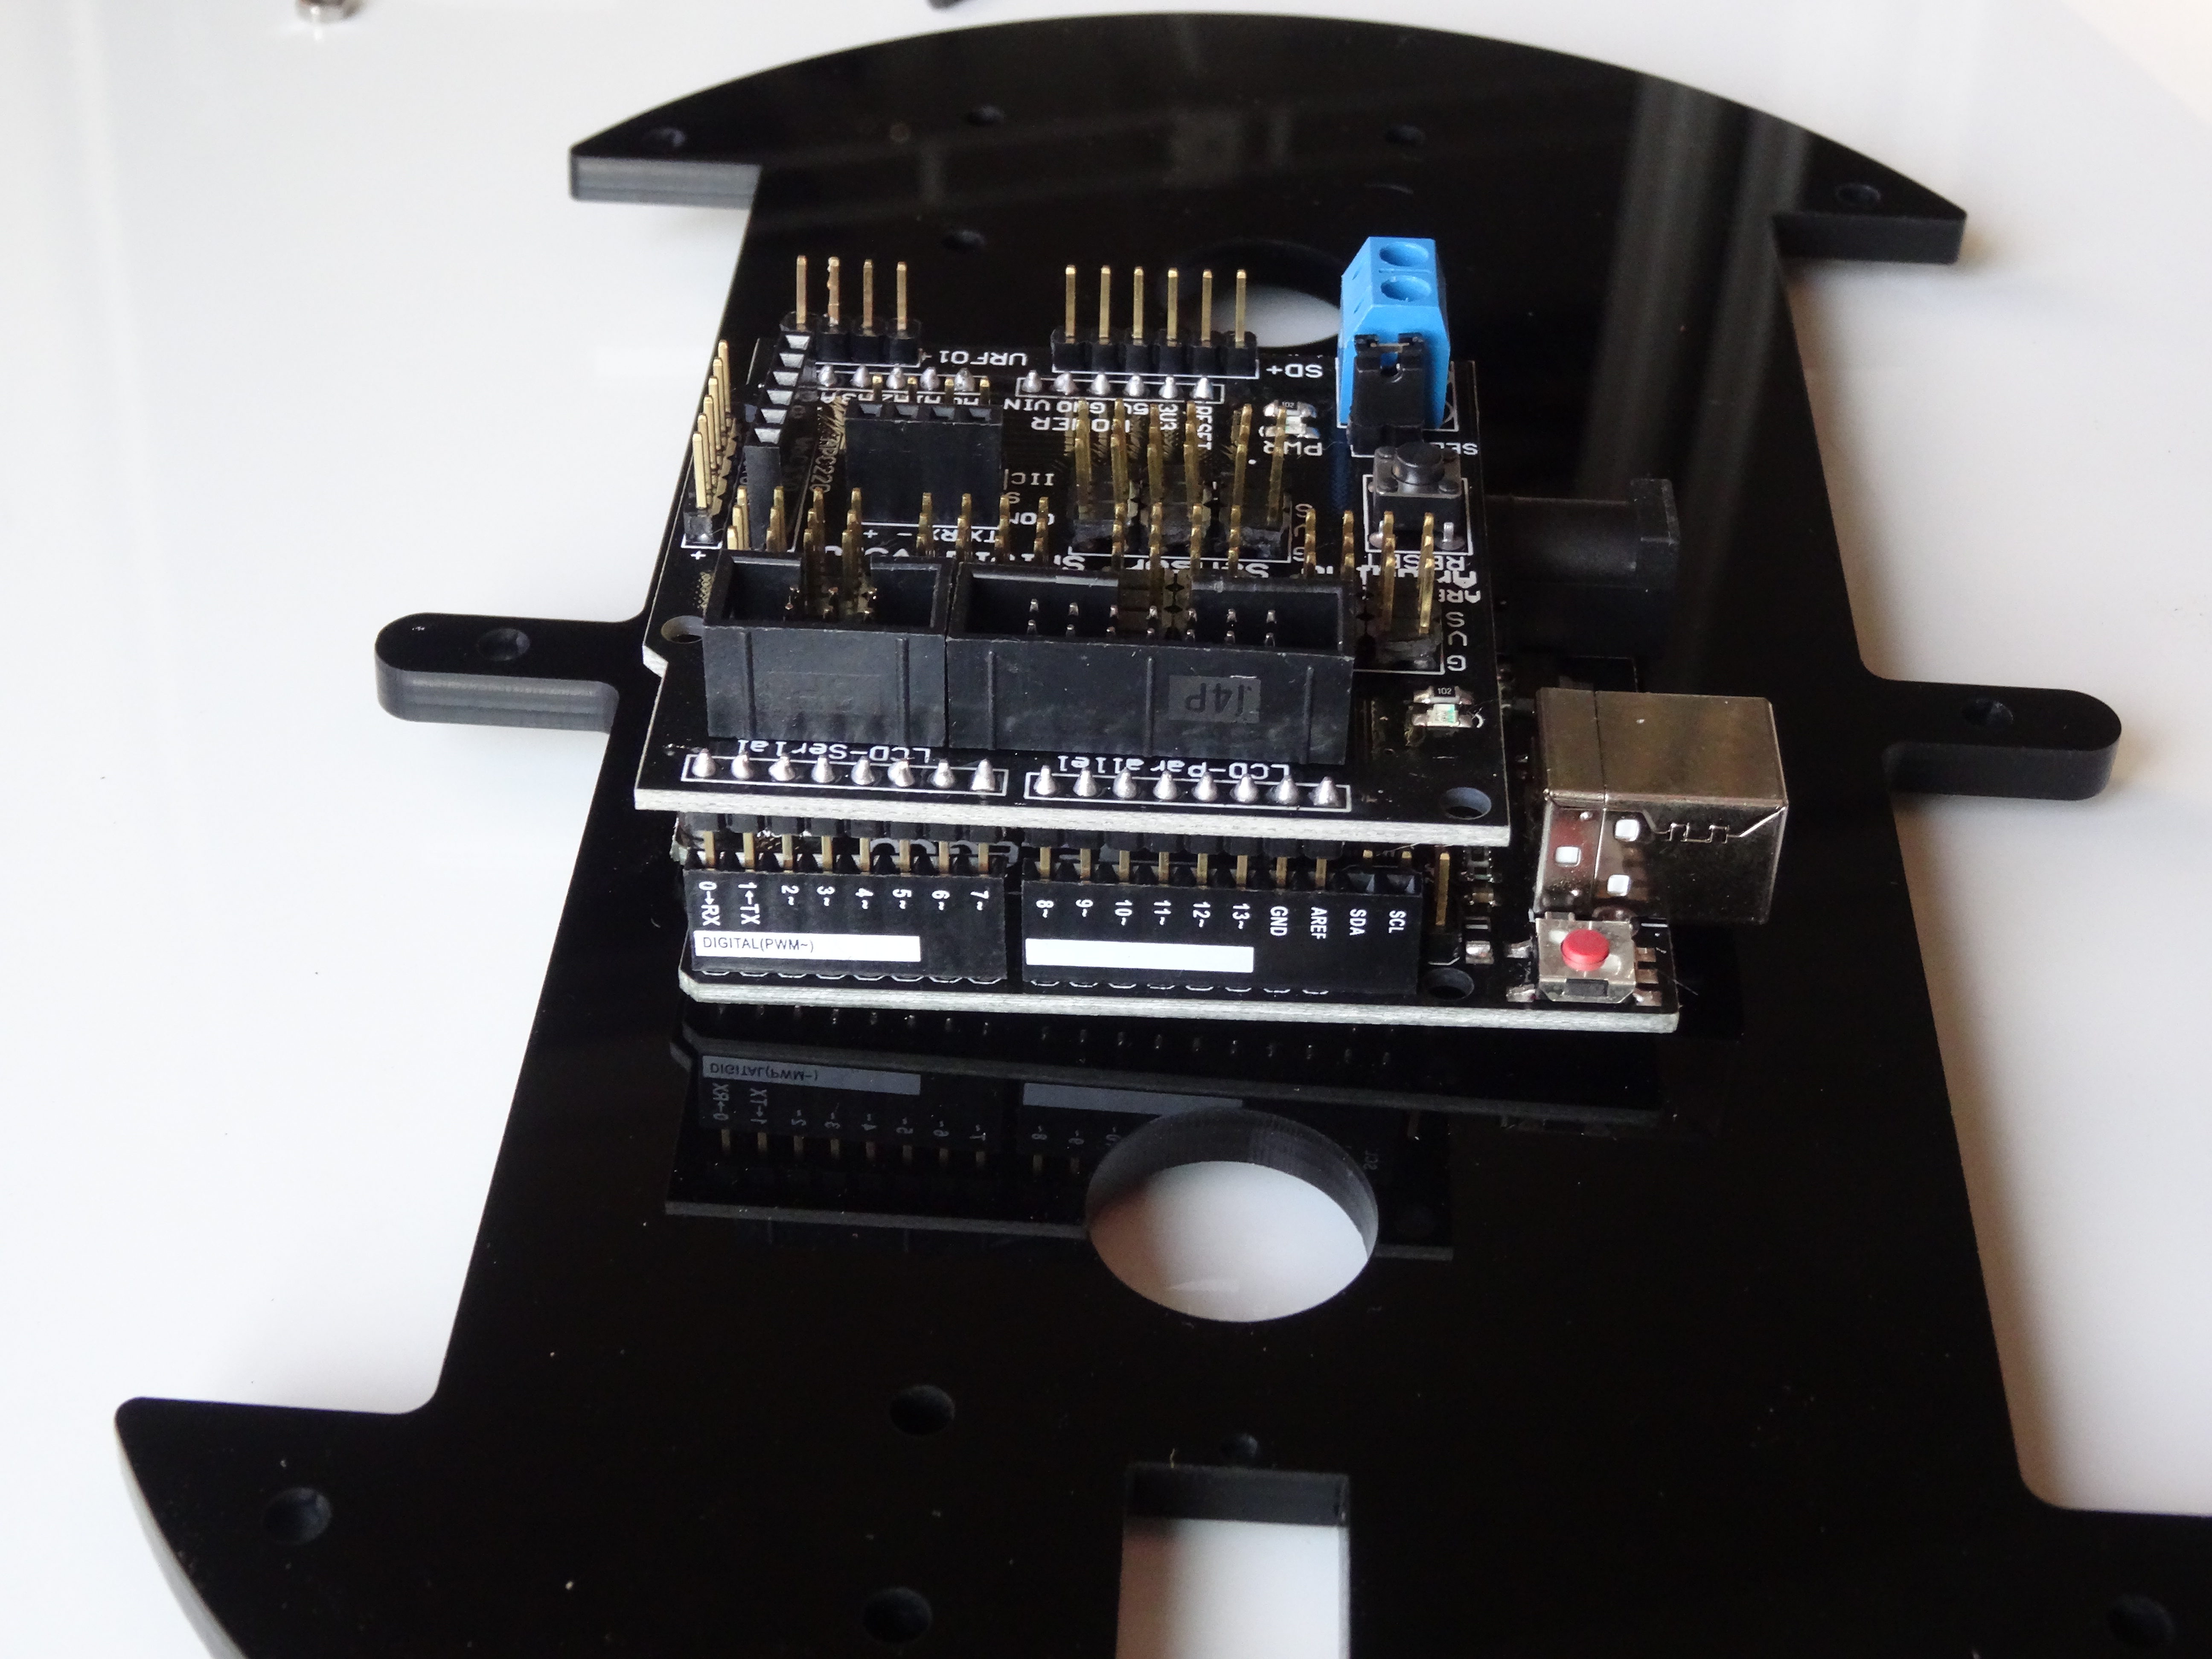
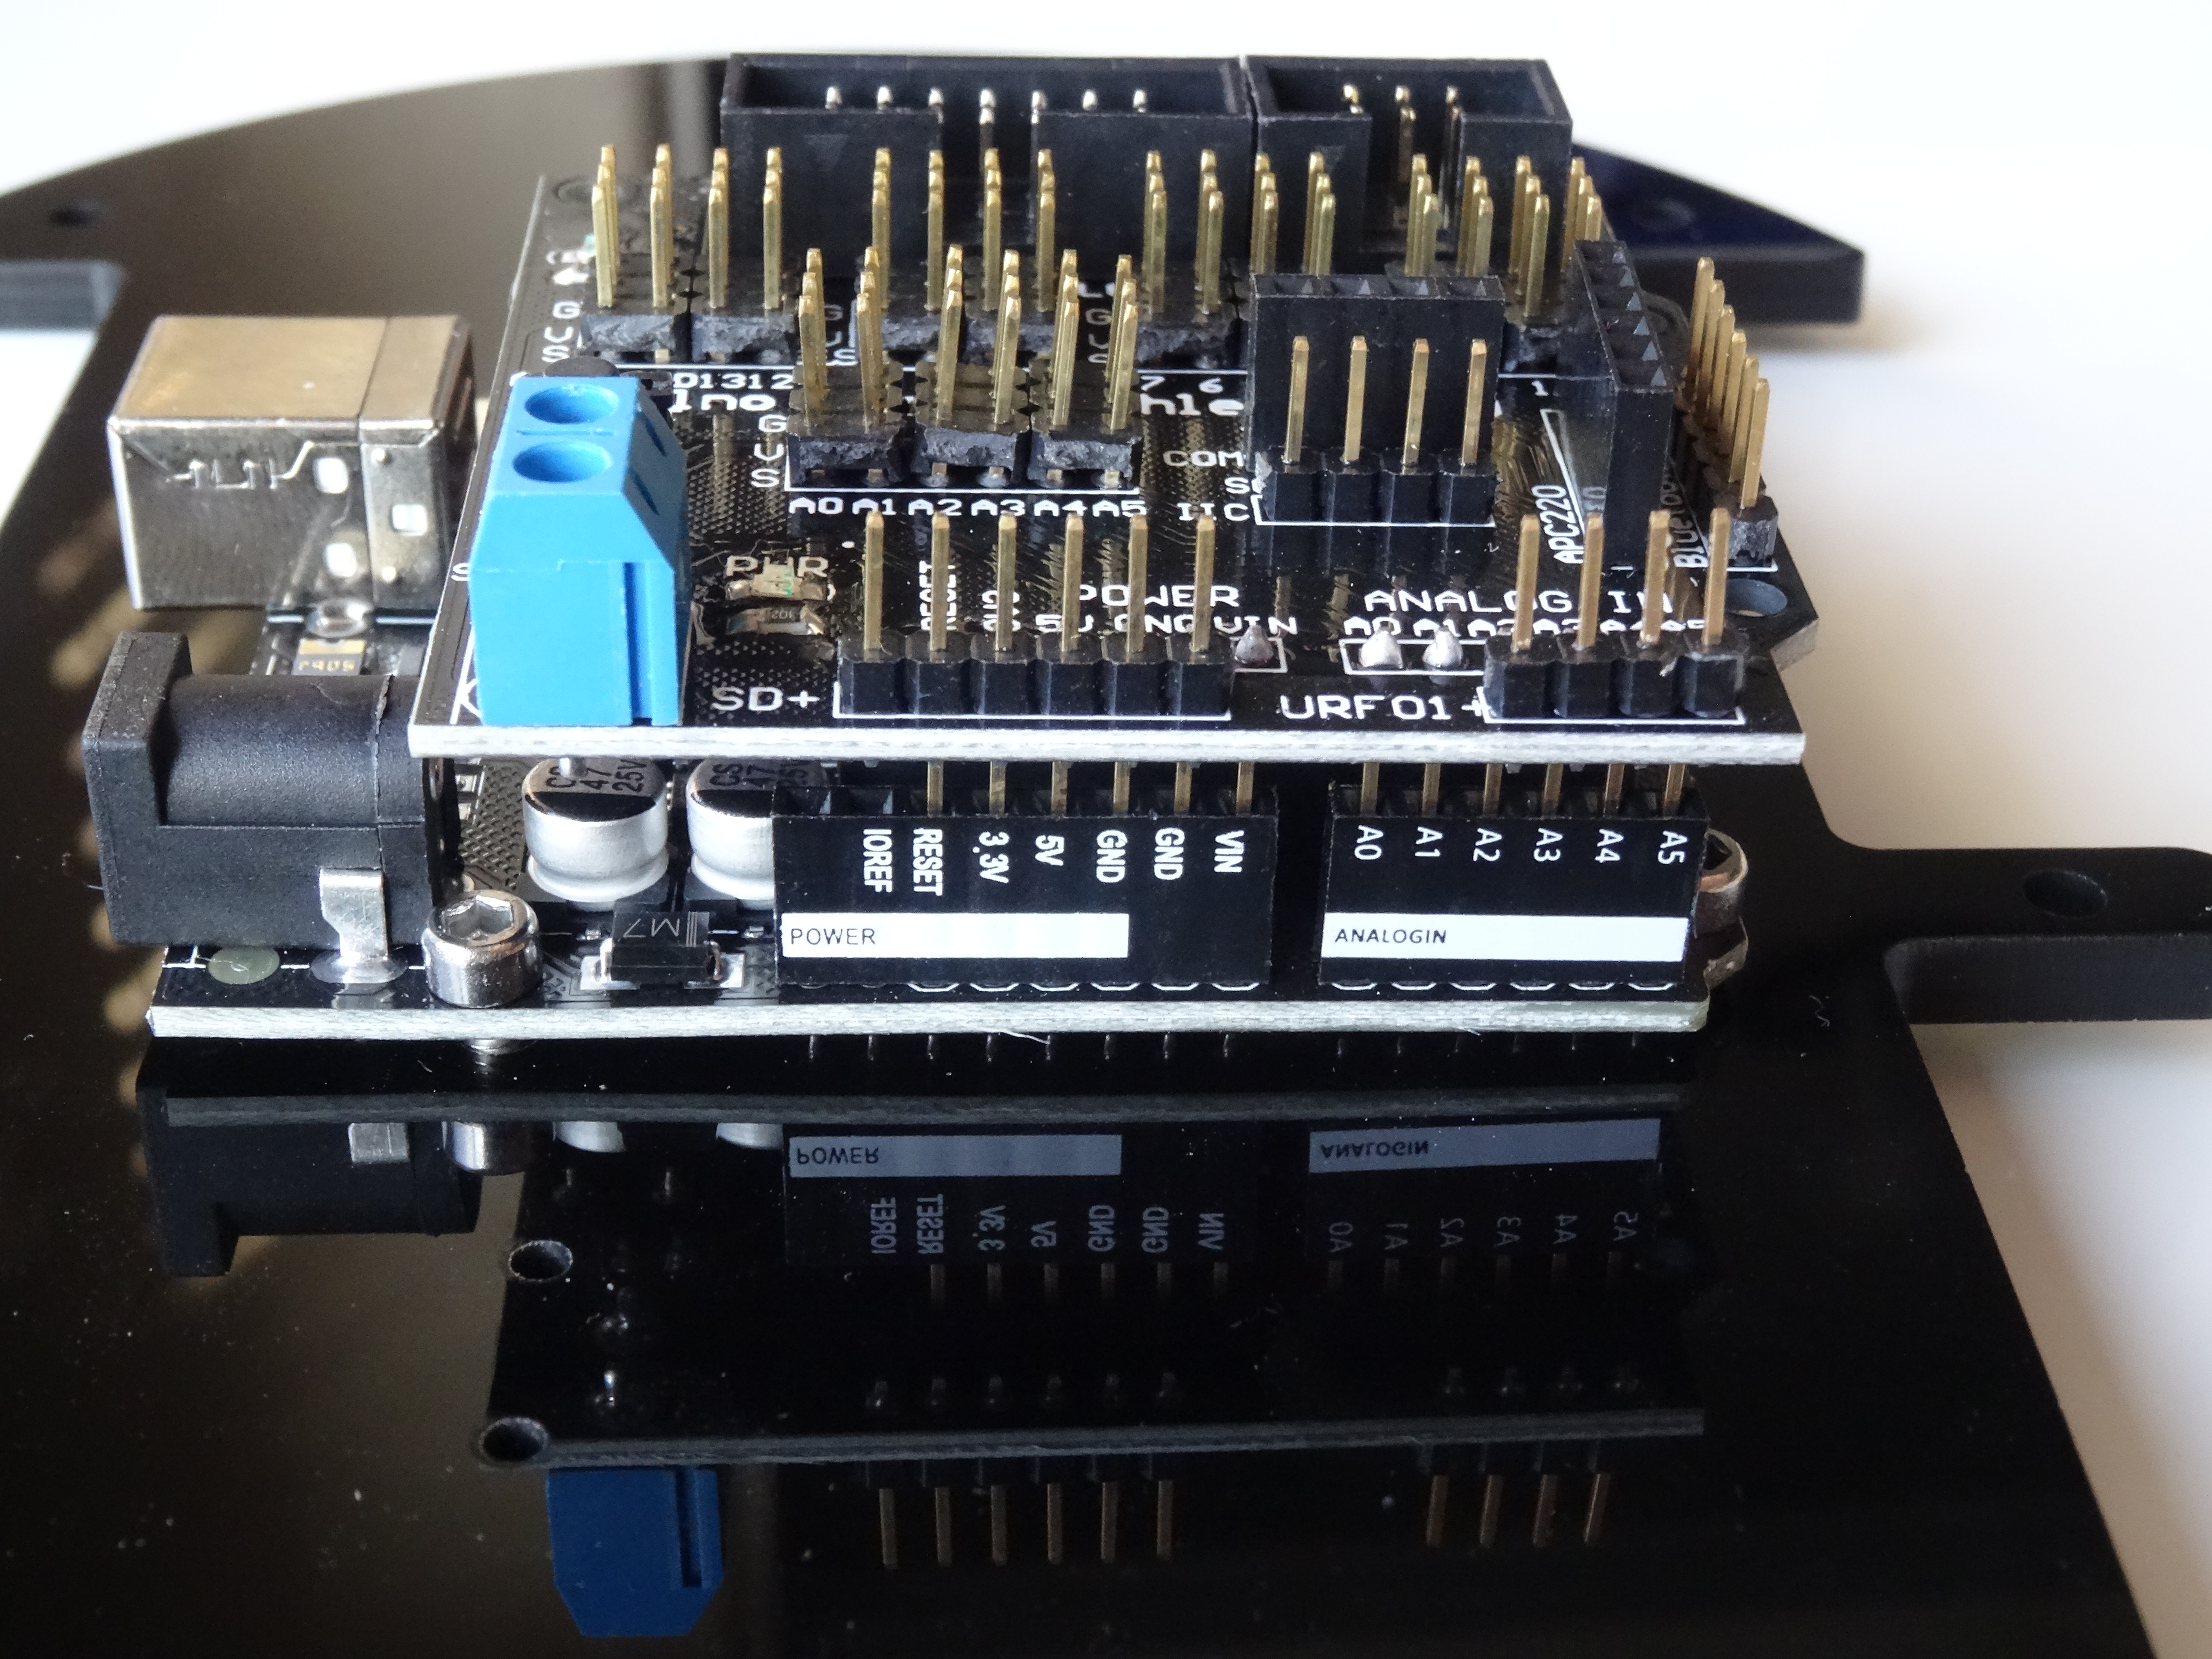
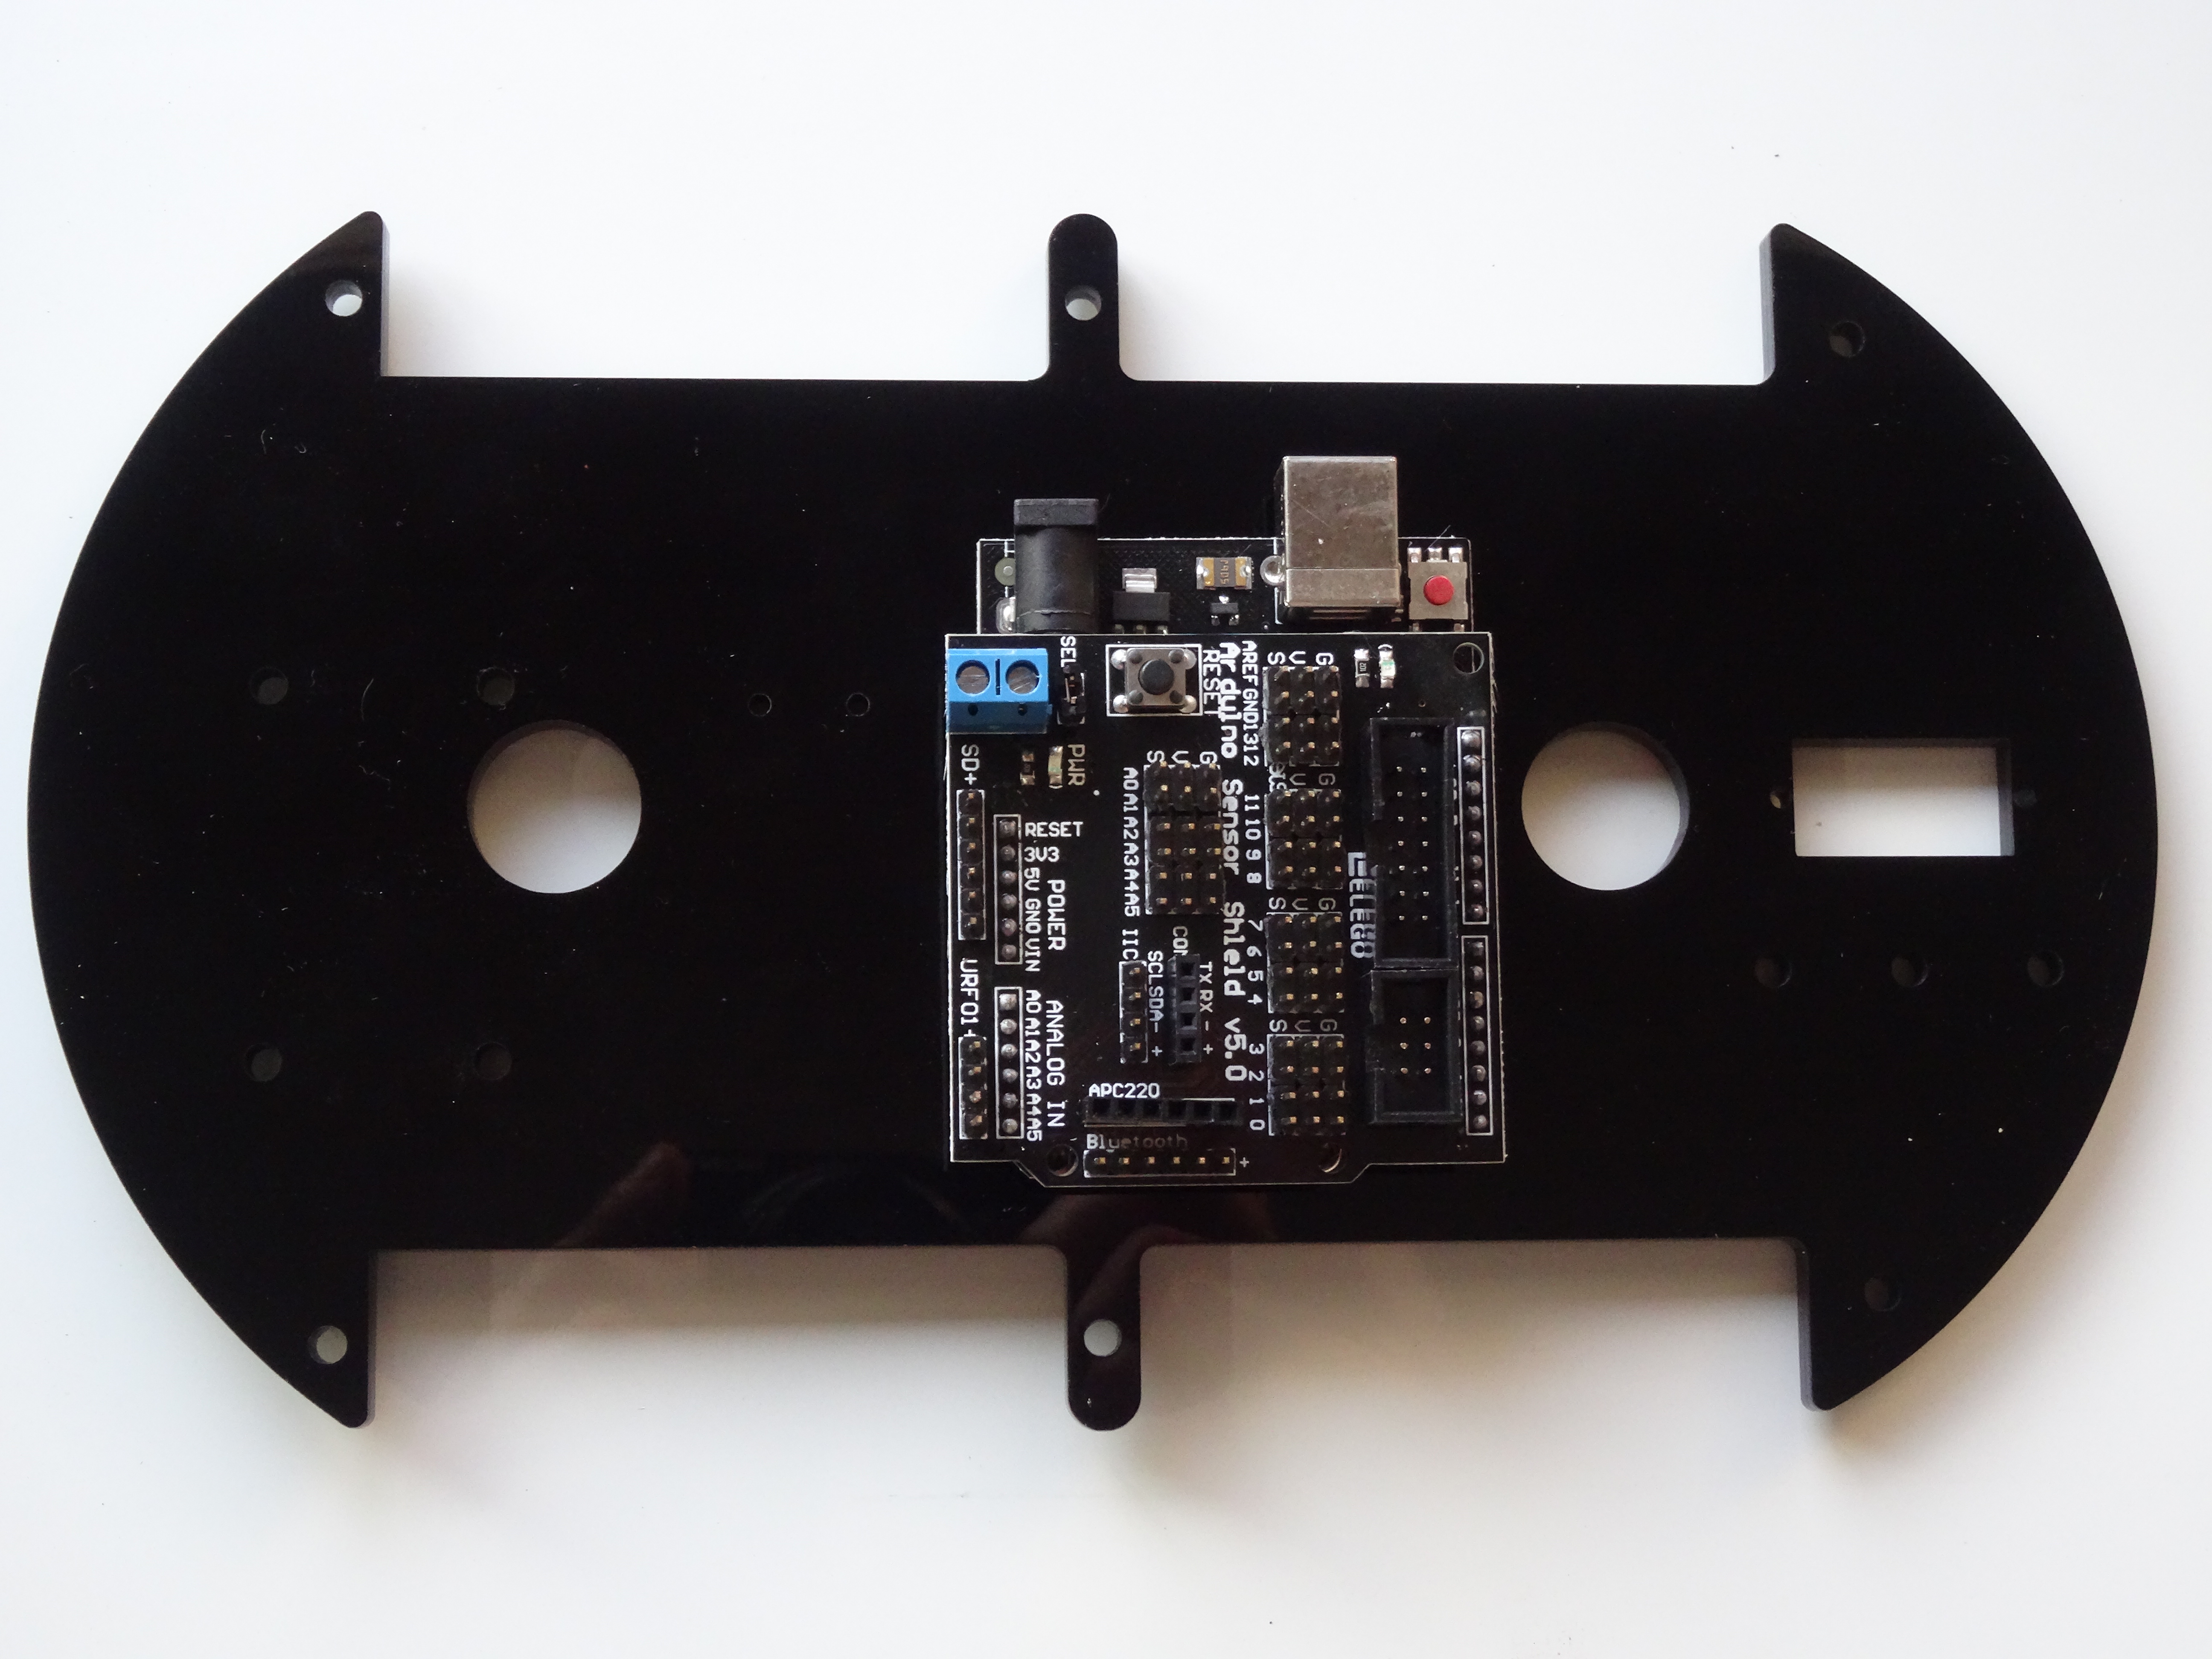
- Take the Sensor Shield out of the box, and remove it from the protective bag (Picture 1)
- Place the Sensor Shield on top of the Arduino as shown on Pictures 2, 3 and 4
Installing the Infrared Remote Receiver Module
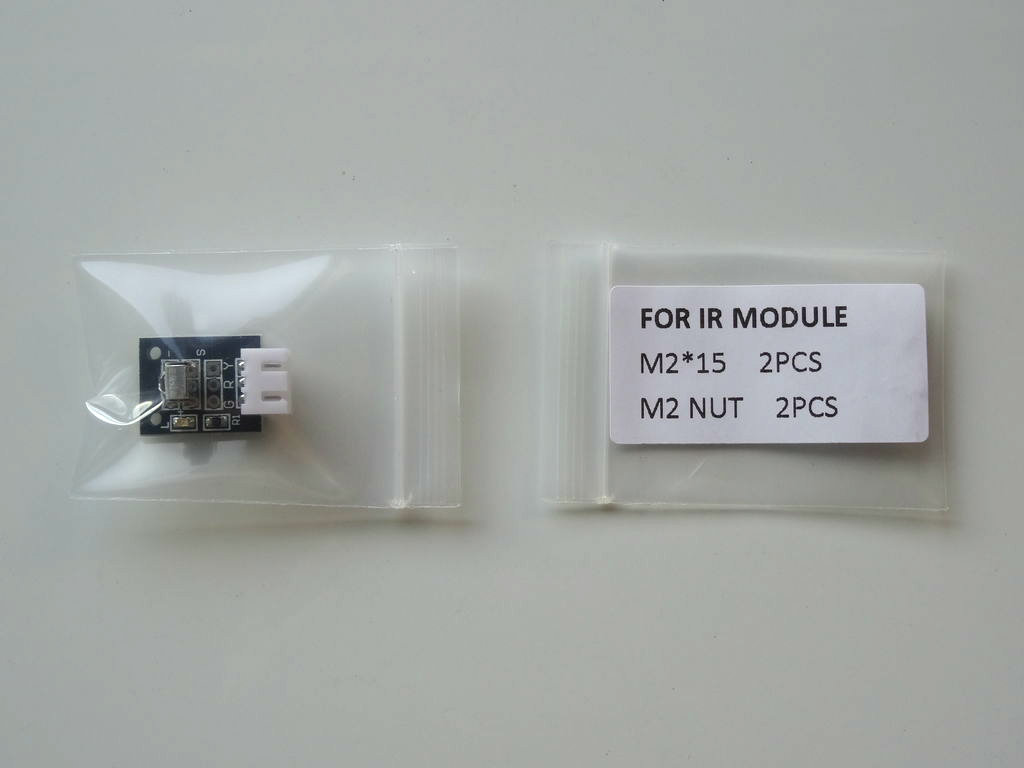
- Take out from the box, the Infrared Remote Receiver Module, and the plastic bag with screws and nuts labeled "FOR IR MODULE" (Picture 1)
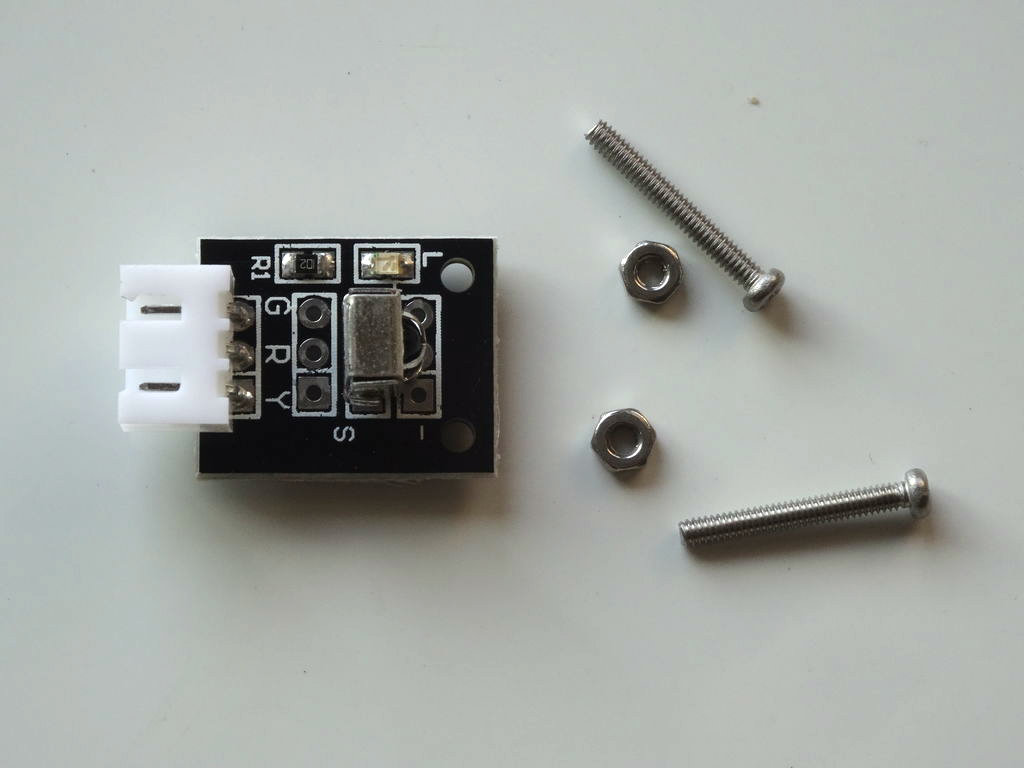
- Remove the Infrared Receiver Module, the screws, and the nuts from the bags (Picture 2)
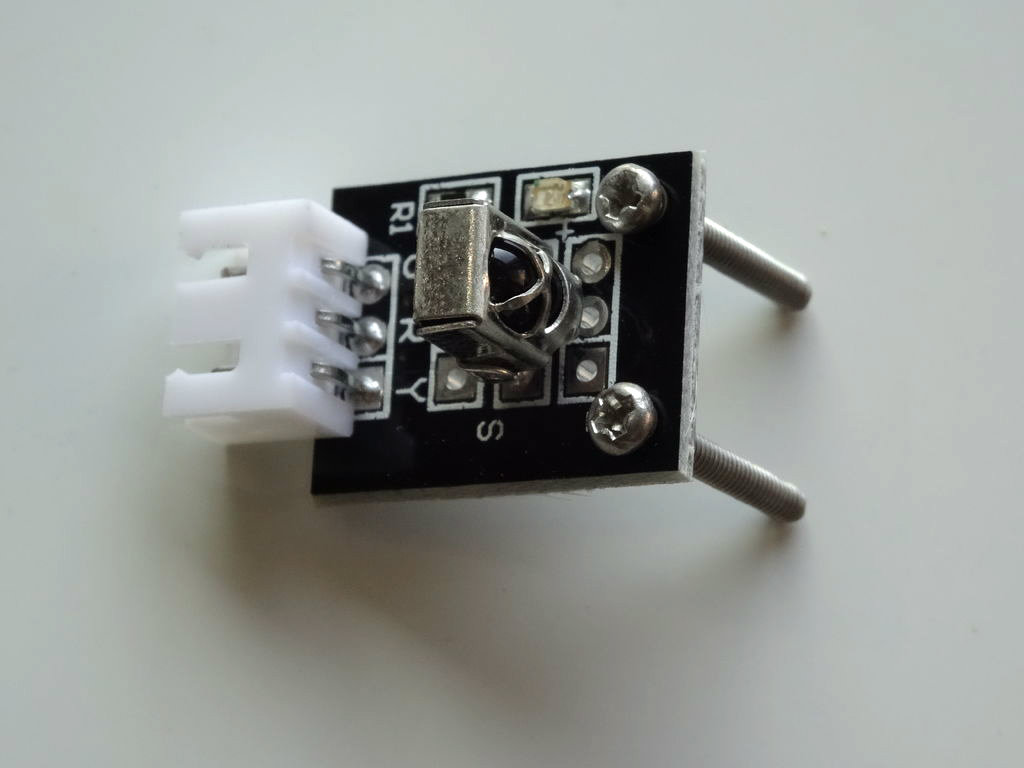
- Insert the screws through the holes of module from the top as shown on Picture 3
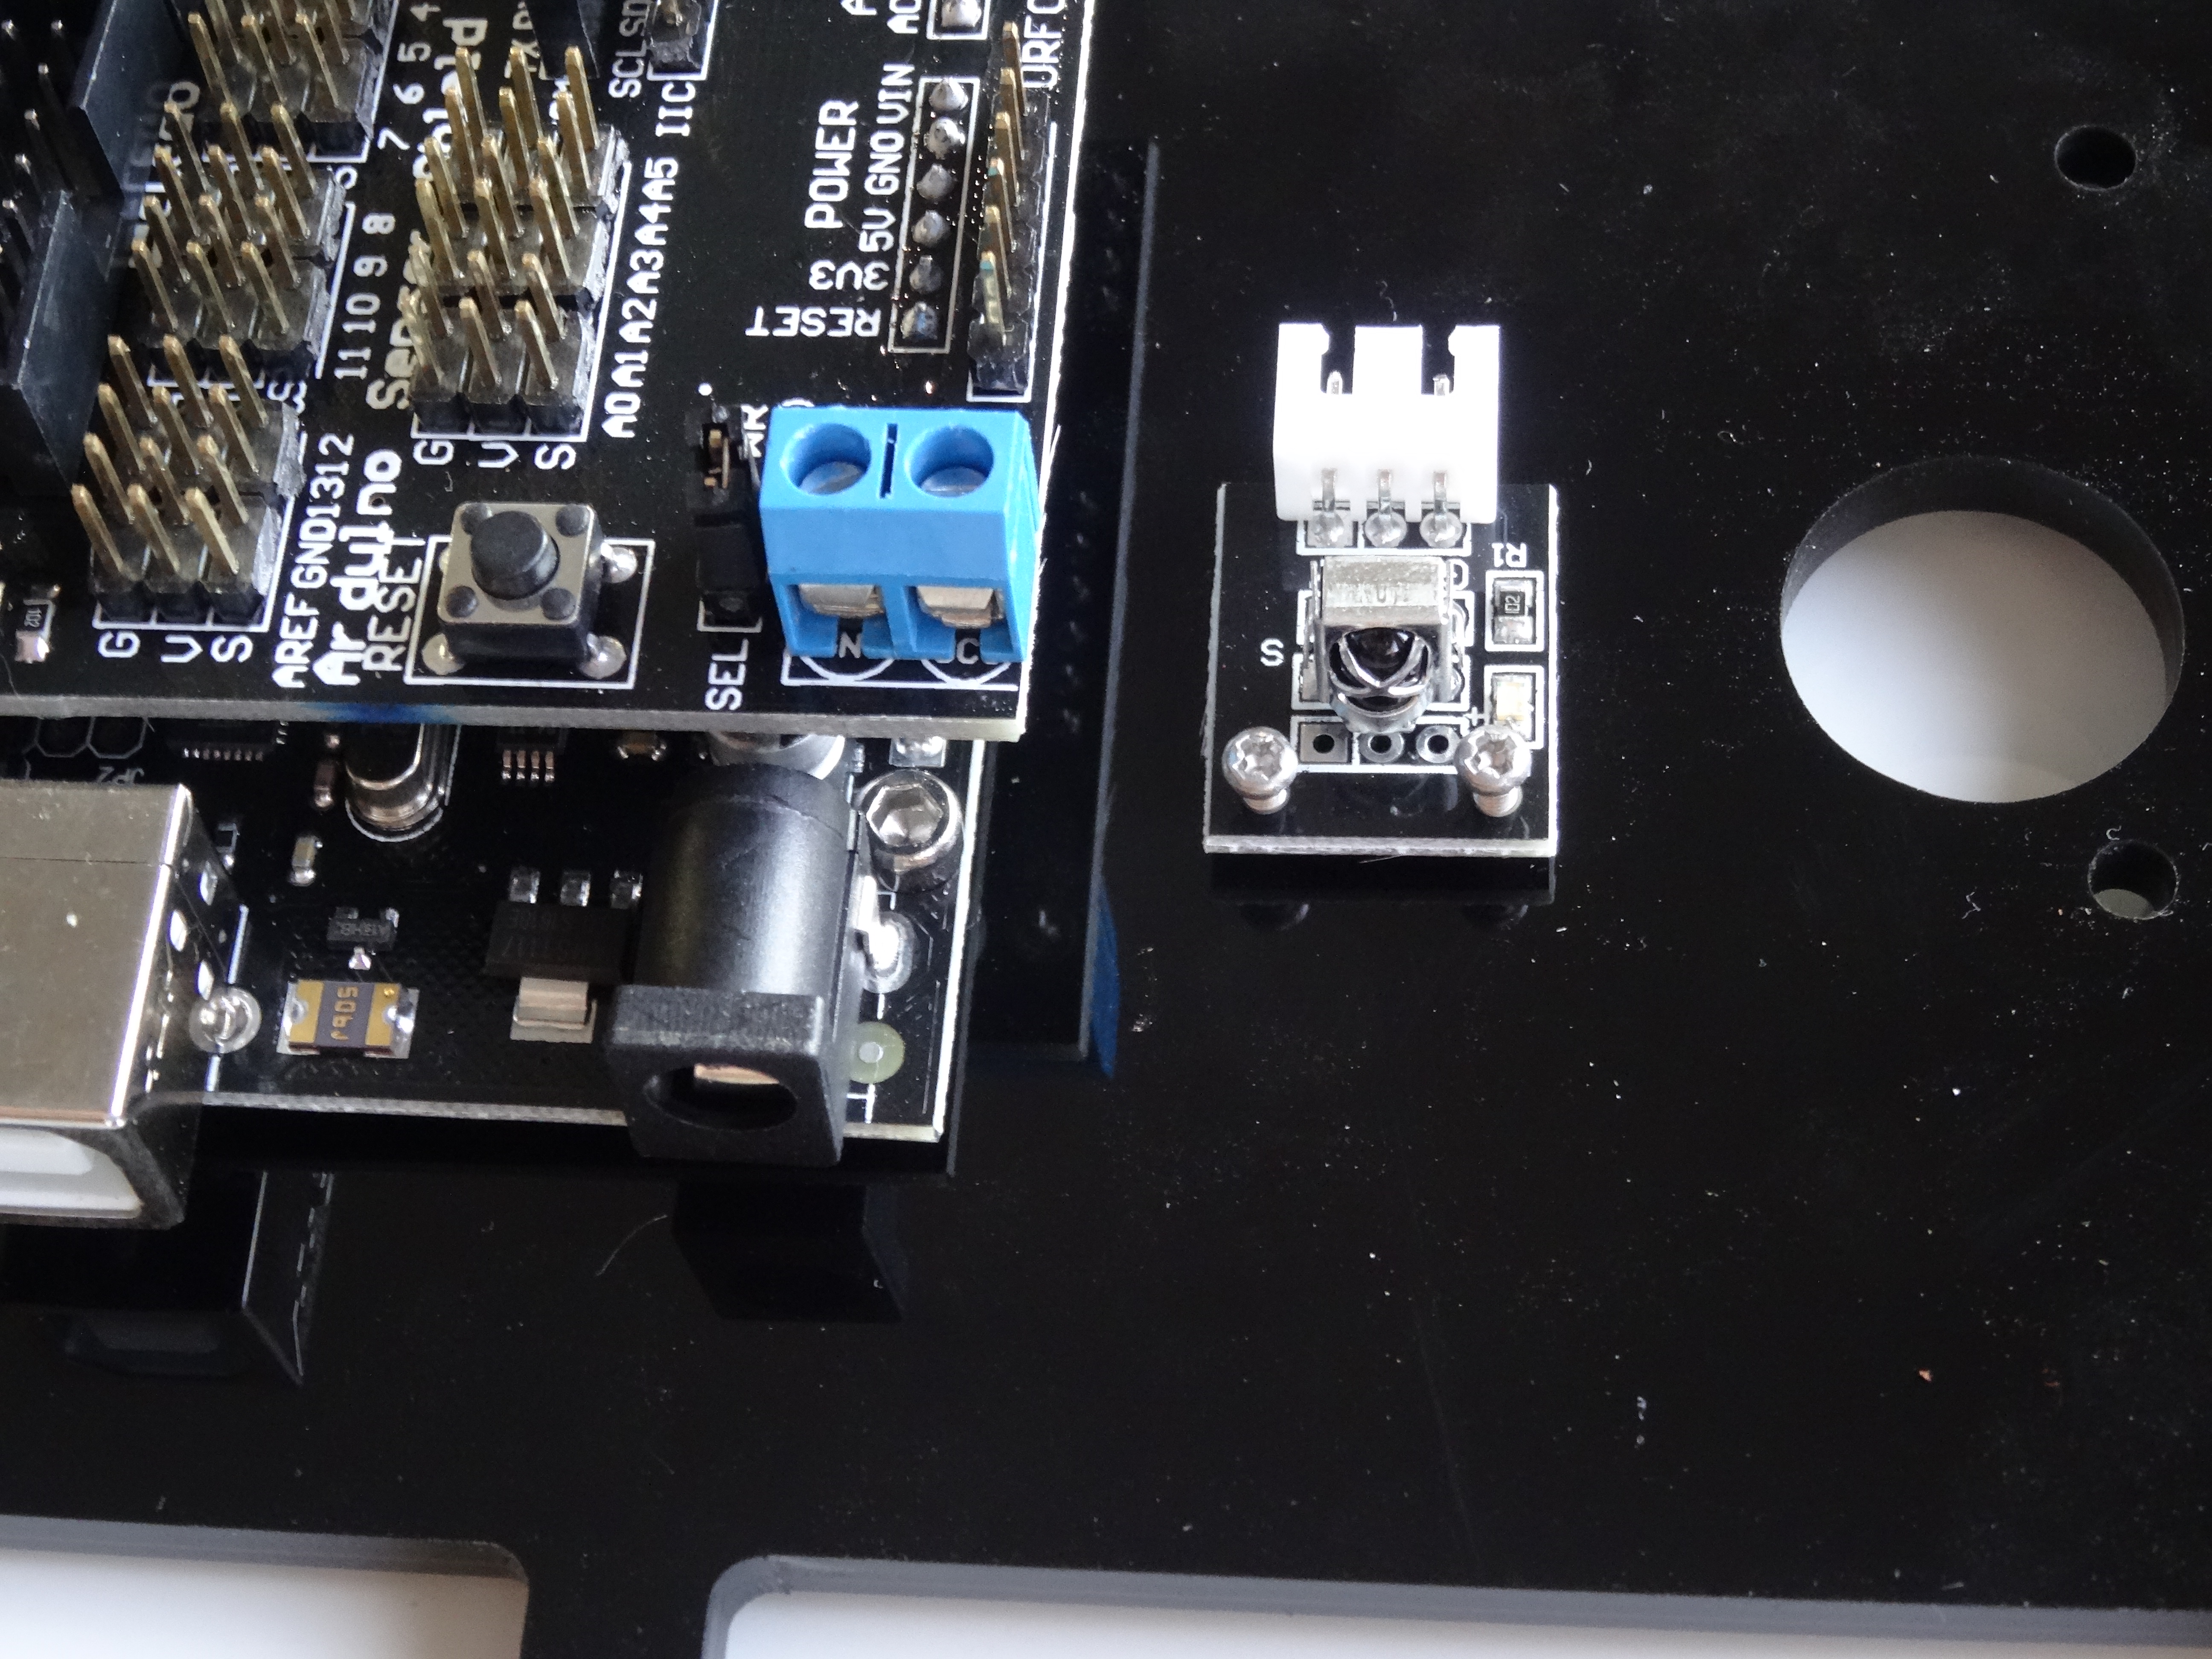
- Place the module on the top layer of the Chassis, and insert screws through the 3 holes from the top (Picture 4) and tighten the nuts from the bottom
Install the Rechargeable Batteries Box
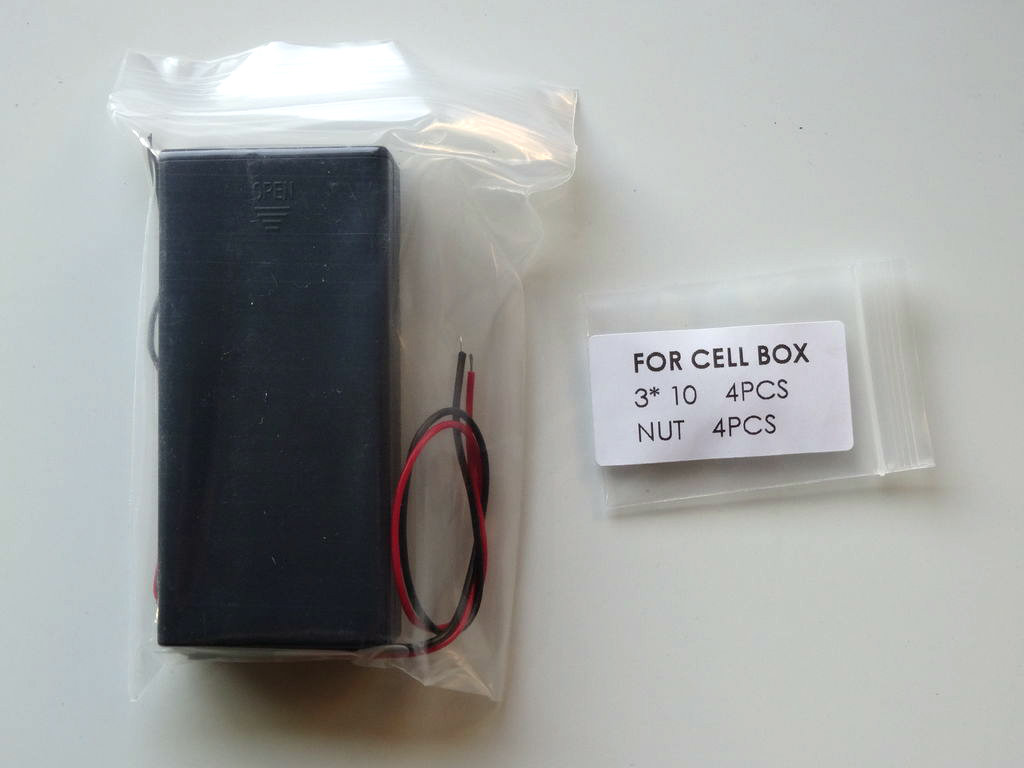
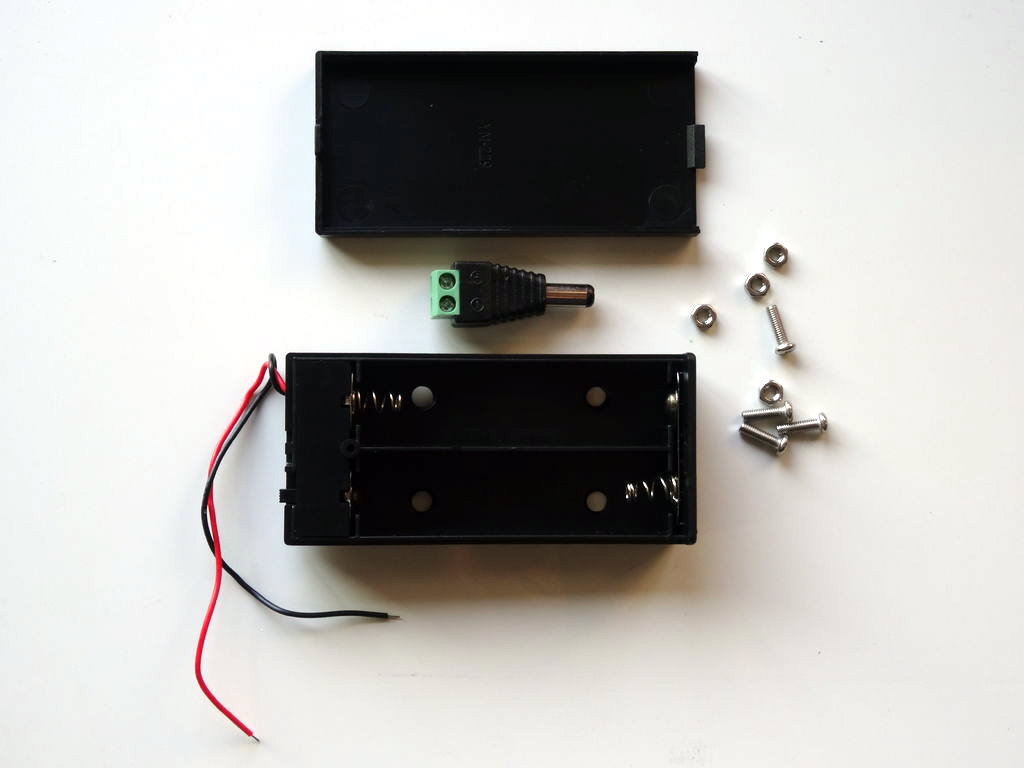
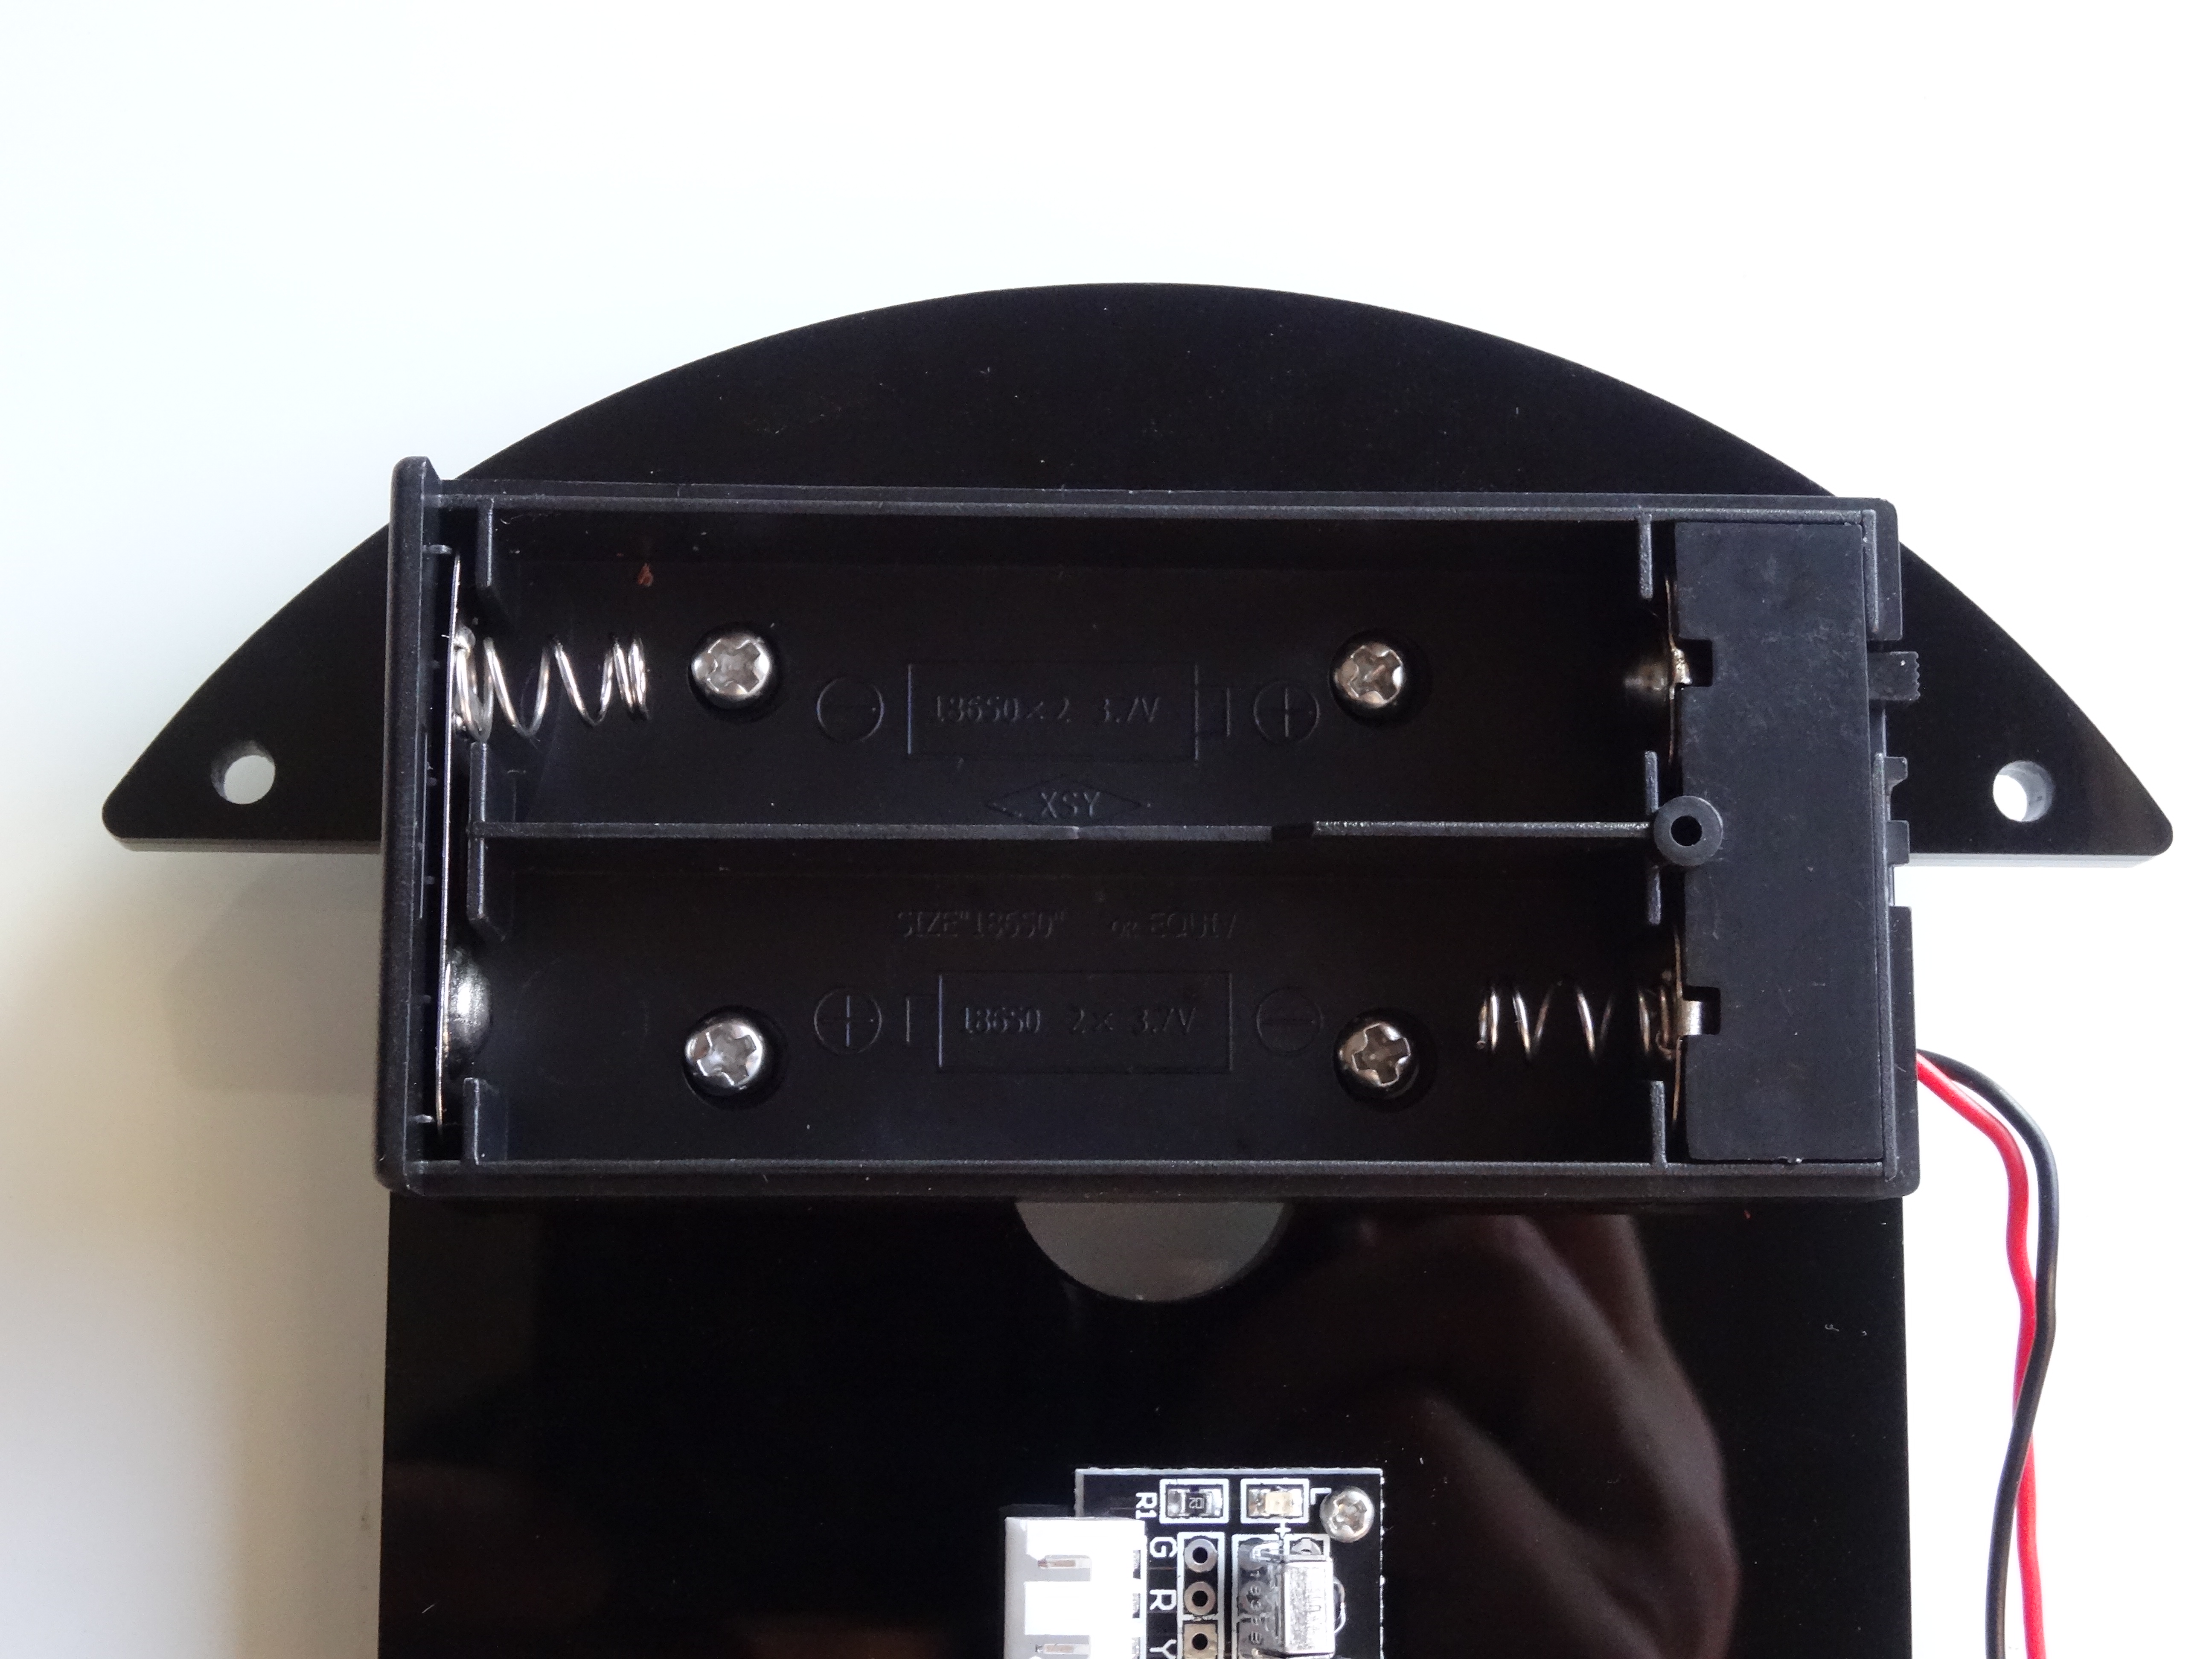
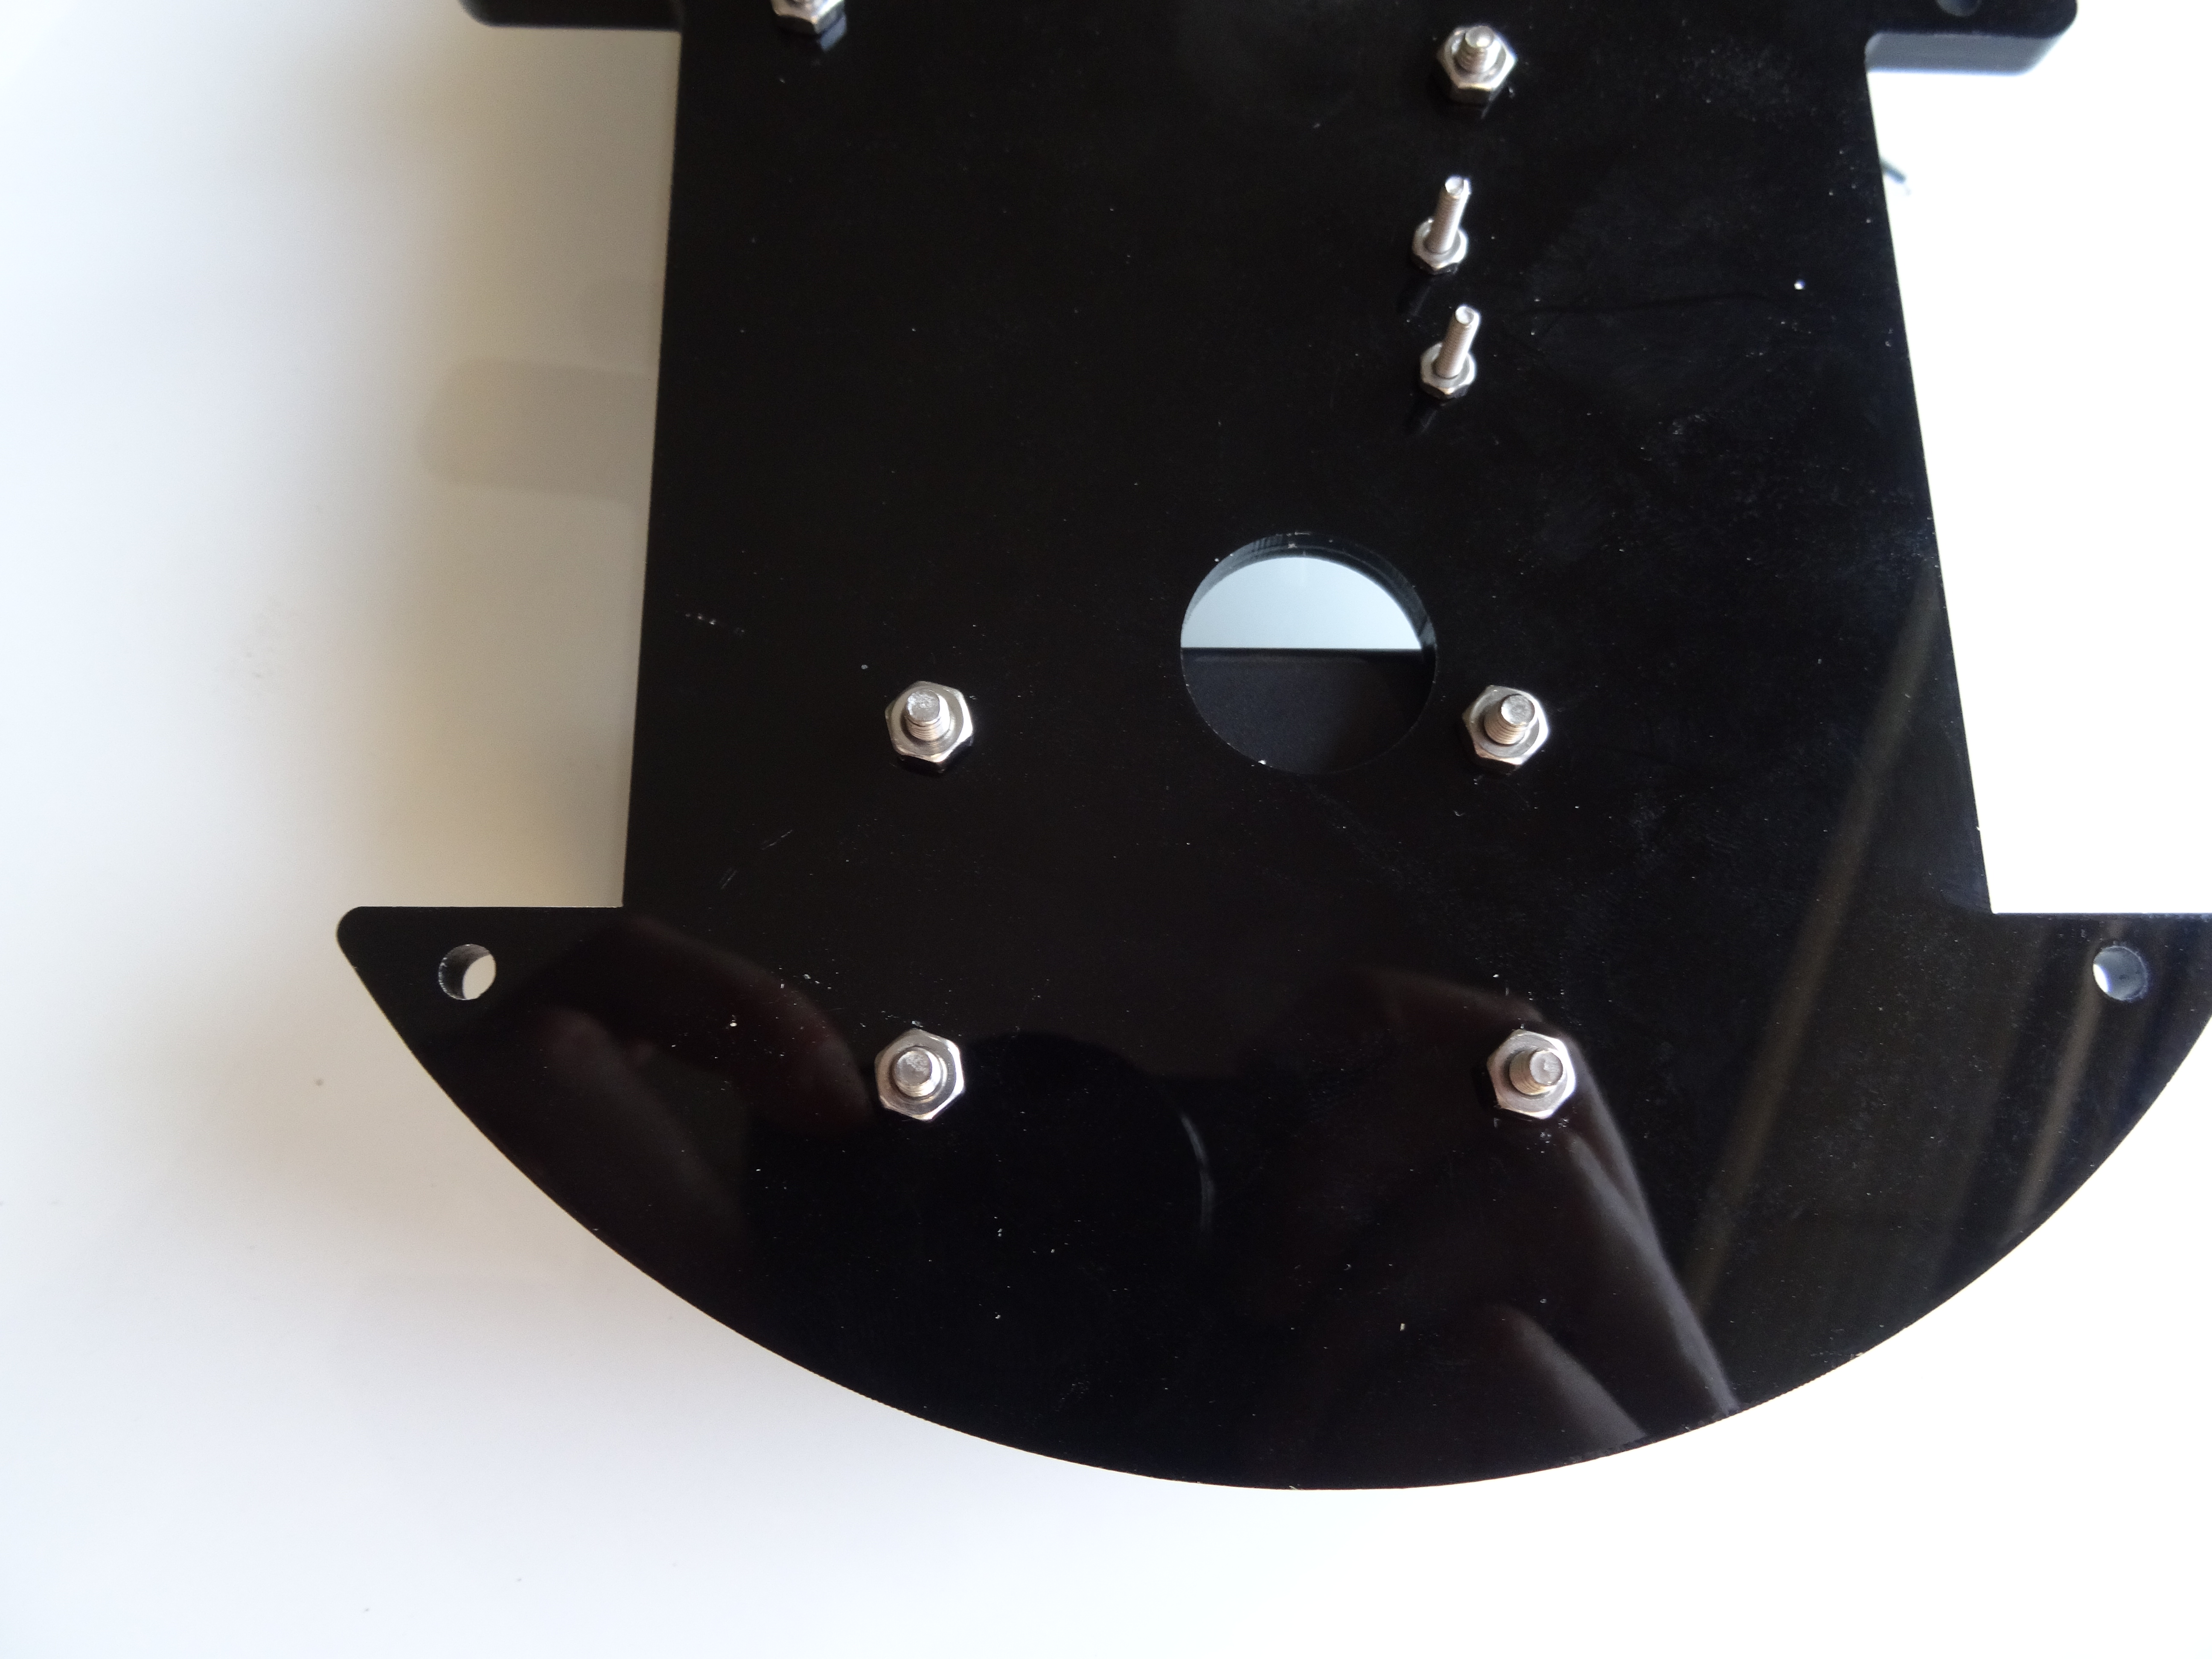
- Take out from the box, the Rechargeable Batteries Box, and the plastic bag with screws and nuts labeled "FOR CELL BOX" (Picture 1)
- Remove the Rechargeable Batteries Box, the screws, and the nuts from the bags (Picture 2)
- Place the battery box on top at the back of the top layer of the Chassis and insert the screws through the 4 holes (Picture 3)
- Tighten the bolts with nuts from the bottom (Picture 4)
Connect the Arduino Power Connector
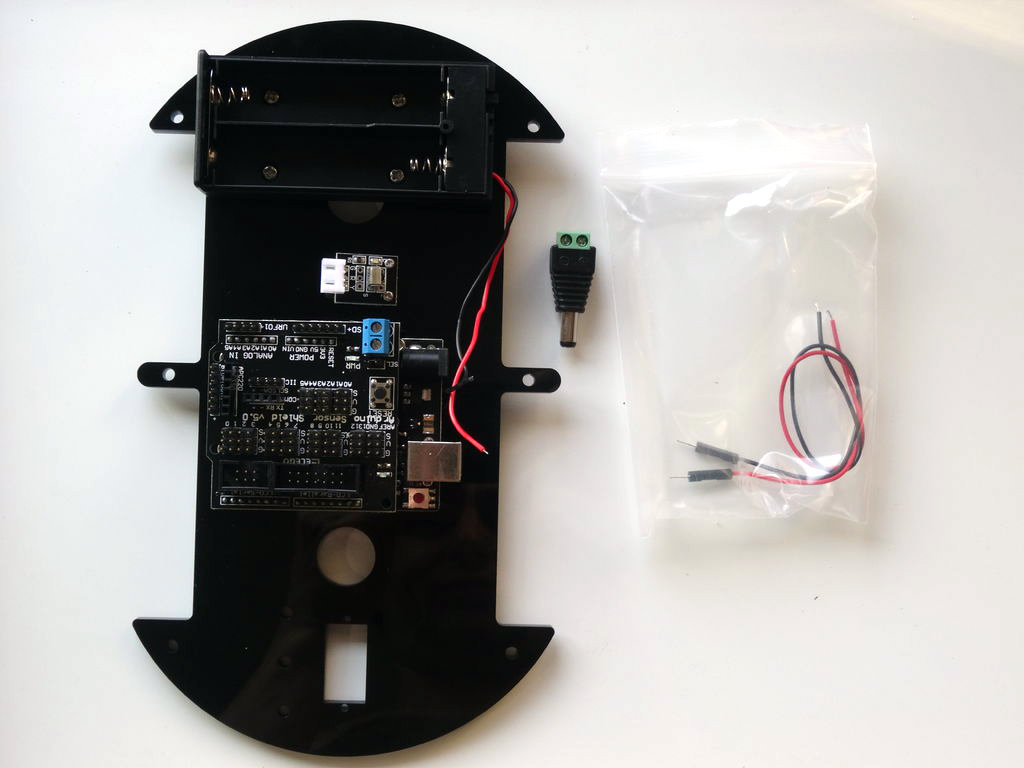
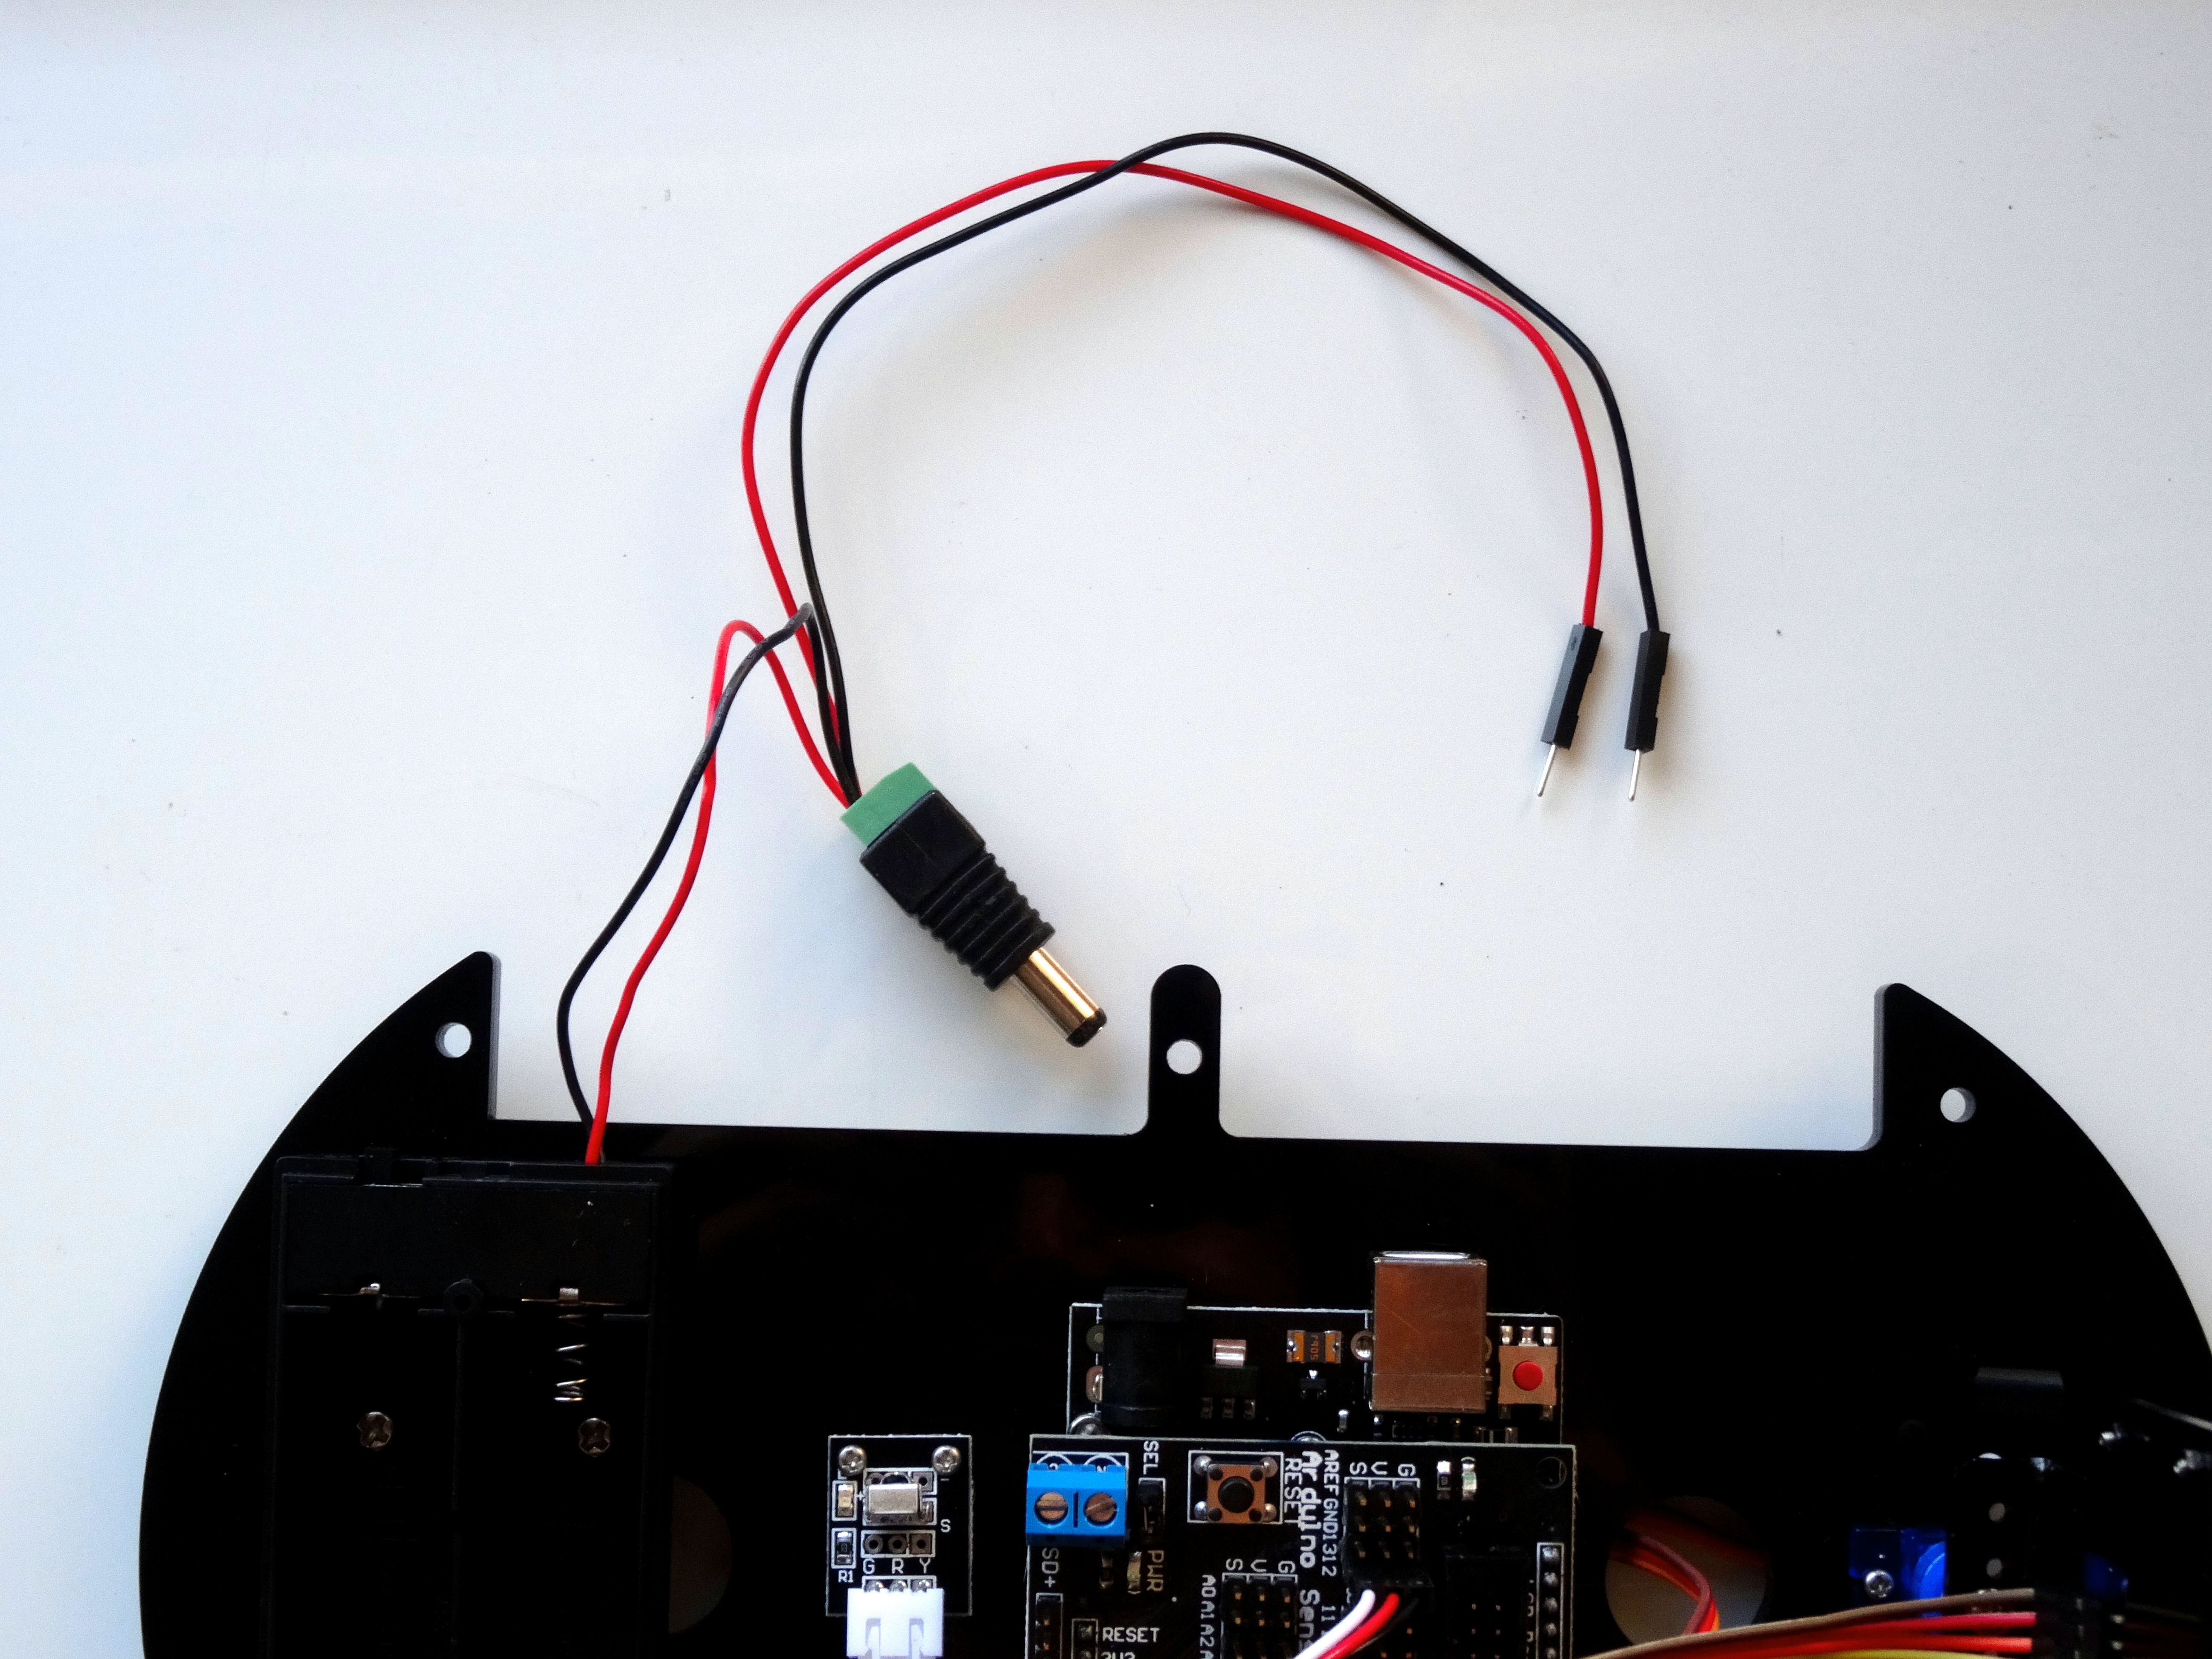
- Take out from the box, the plastic bag with the 2 power wires for the L298N Motor Driver Module (Picture 1)
- Since the L298N Motor Driver Module will need to be powered from the batteries, we will use the connection points of the Arduino Power Connector to connect the wires for the L298N Motor Driver Module
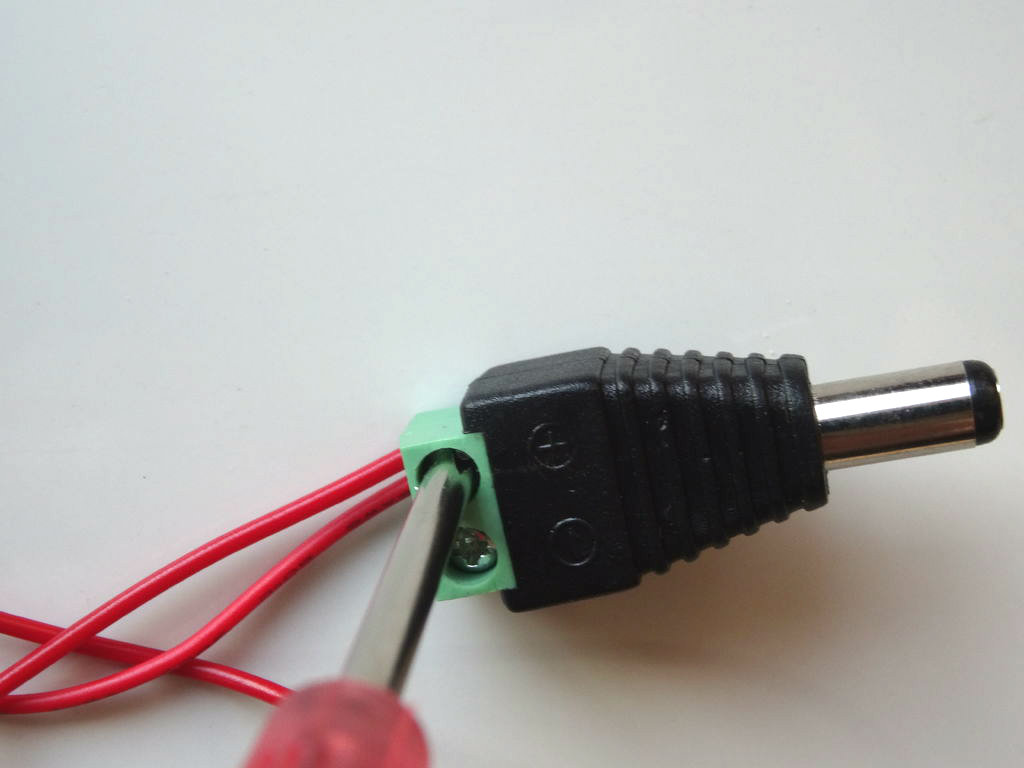
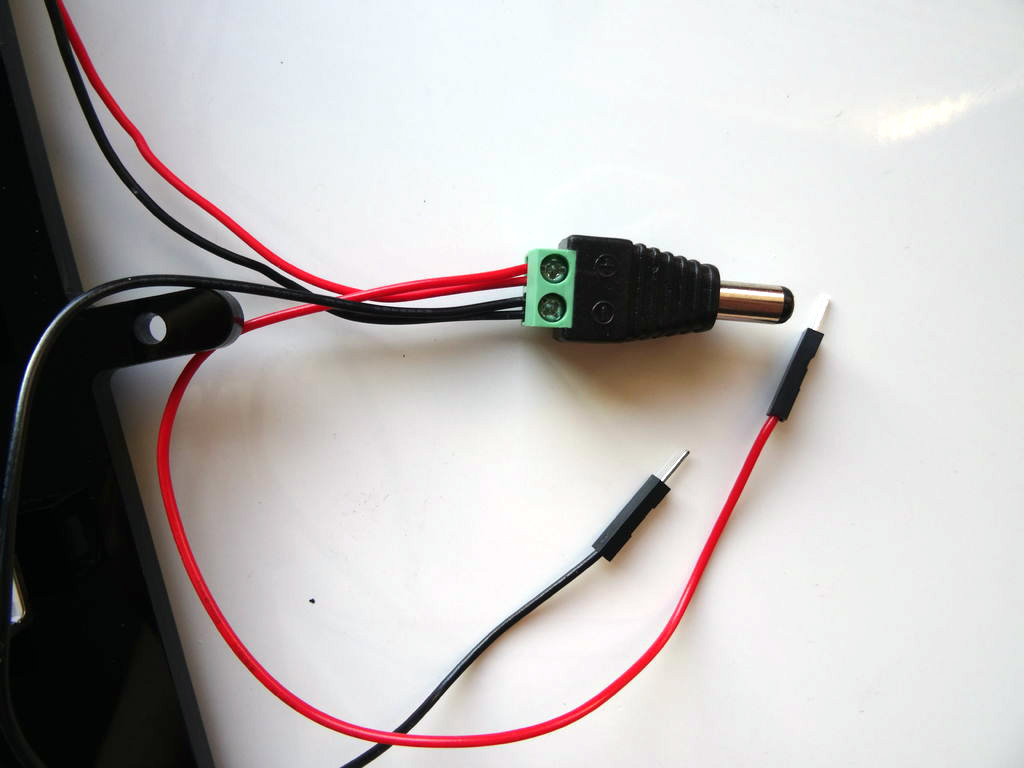
- Connect the 2 Red Wires (The one from the battery pack, and the one for the motor driver) together to the (+) Connection point of the Arduino power Connector (Picture 2)
- Connect the 2 Black Wires (The one from the battery pack, and the one for the motor driver) together to the (-) Connection point of the Arduino power Connector (Picture 3)
Mounting the Ultrasonic Holder on the Servo
Edited.JPG)
Edited.JPG)
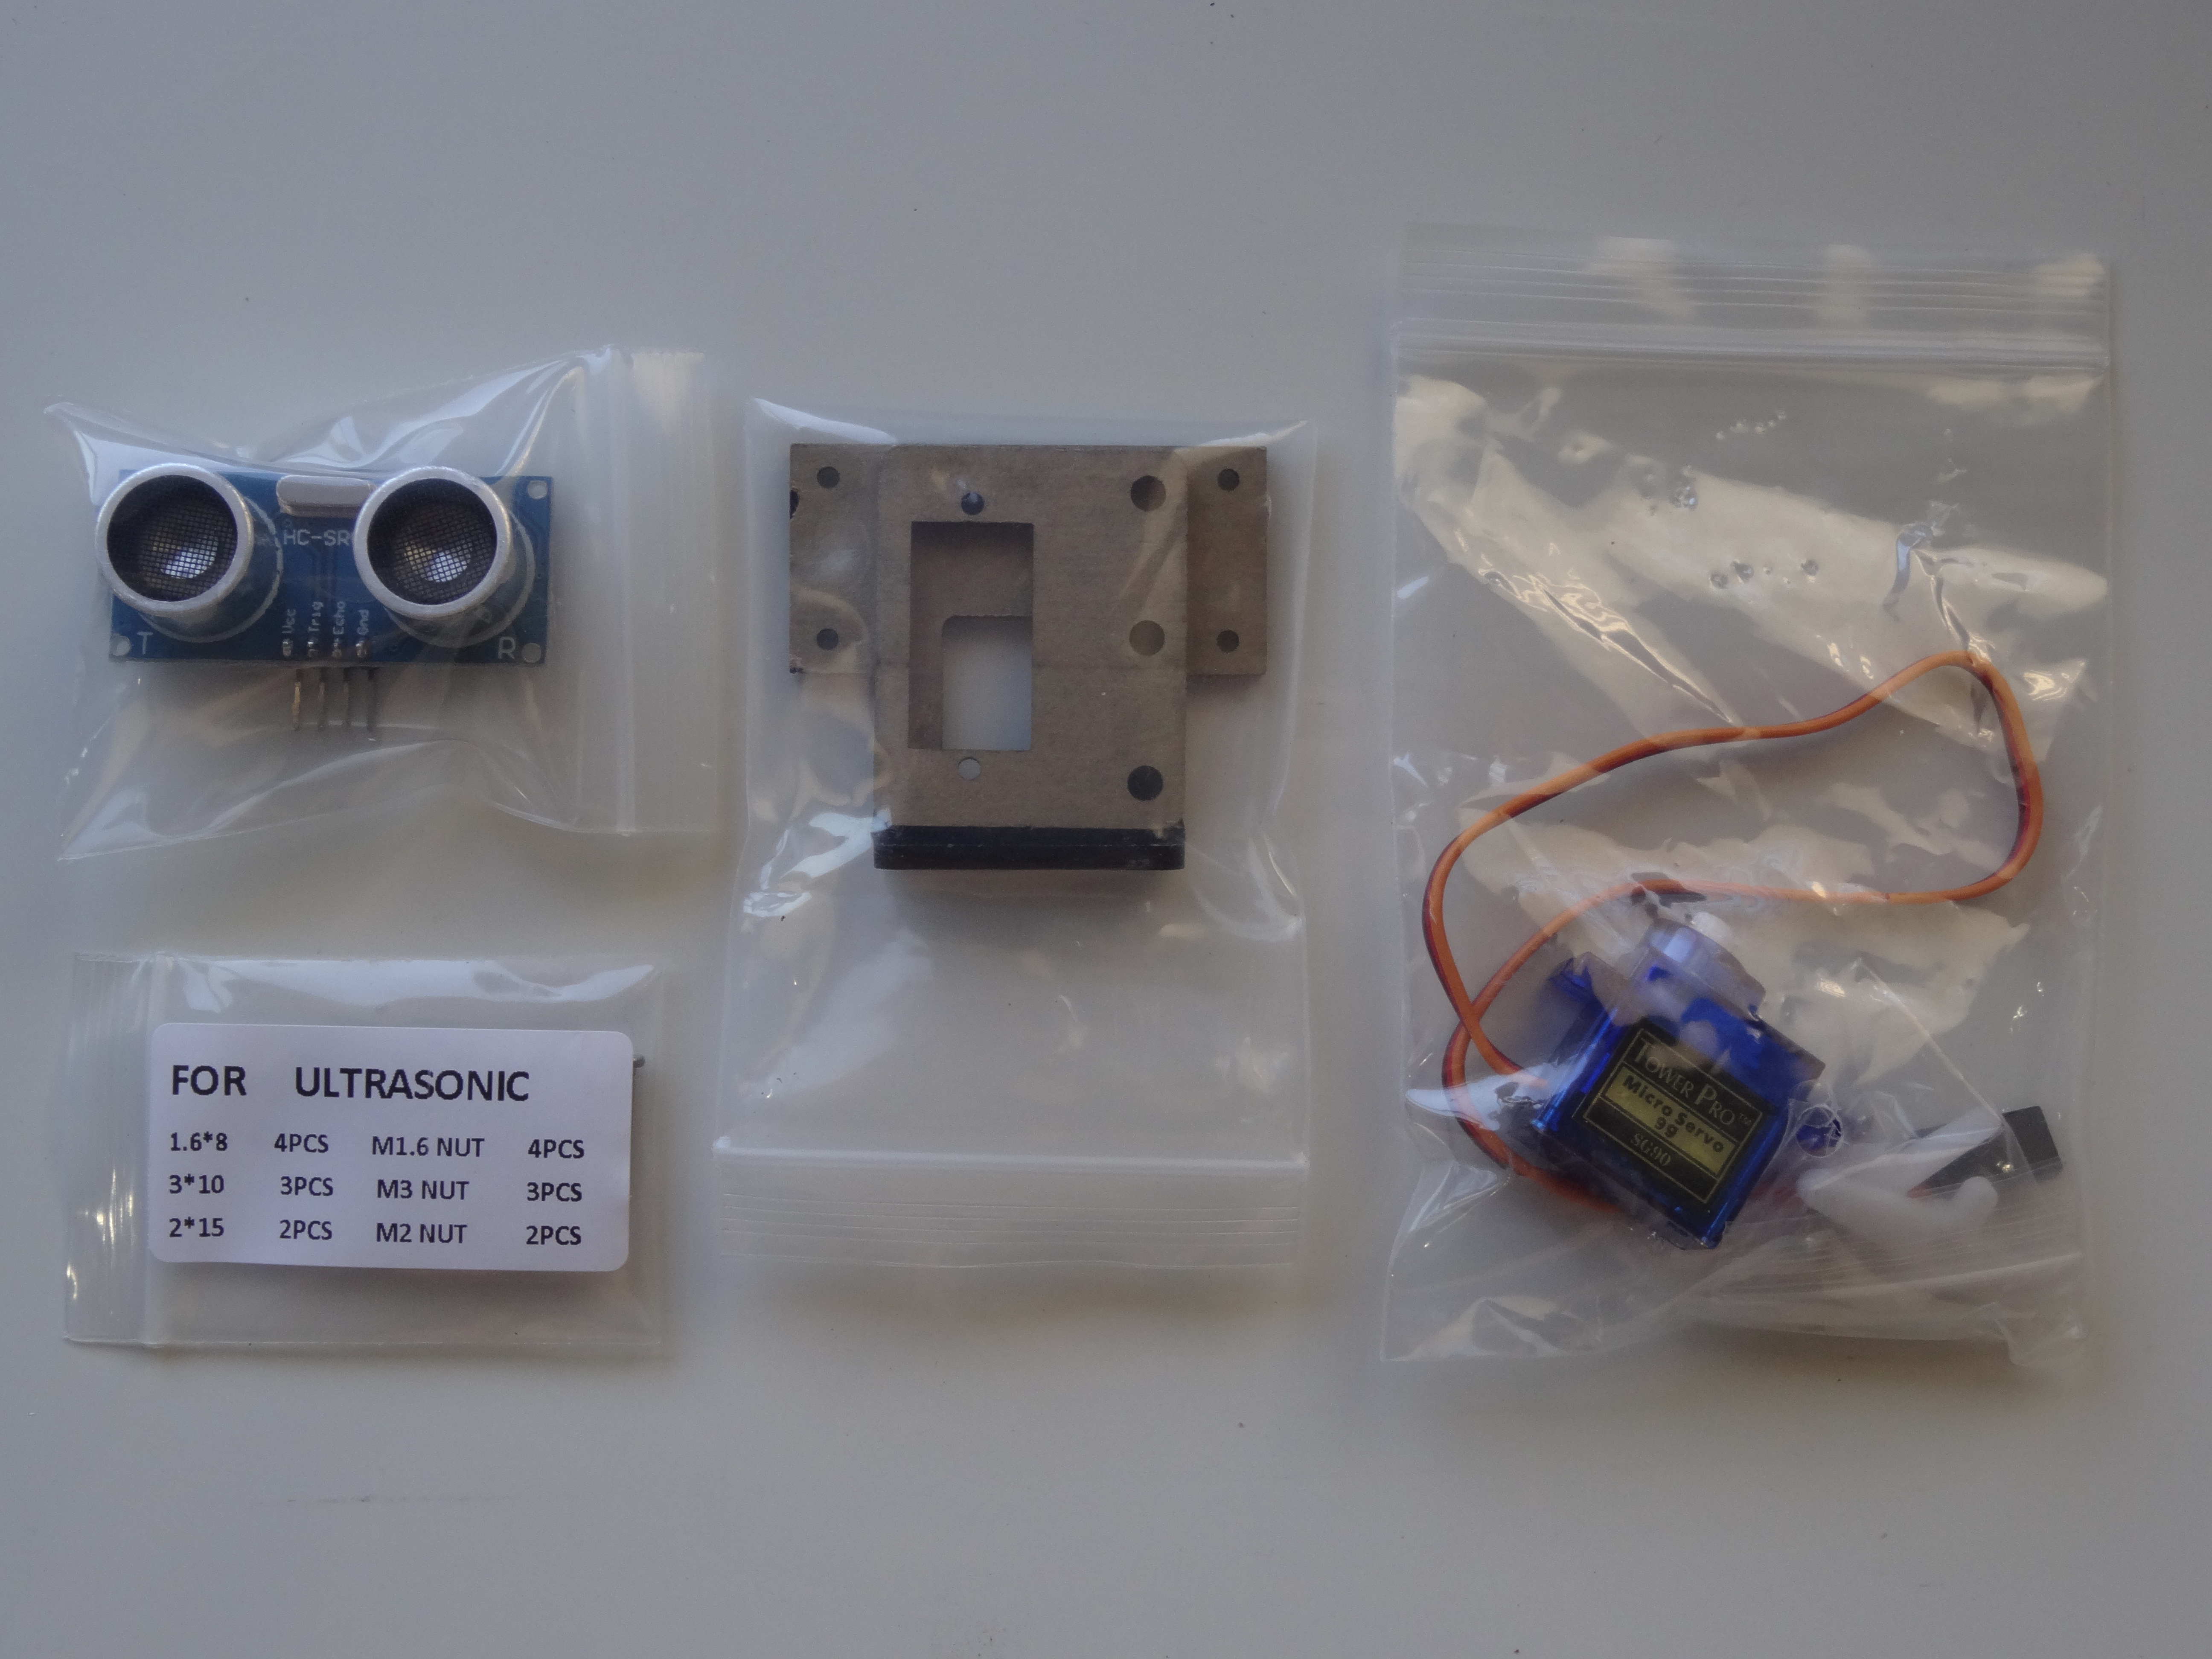
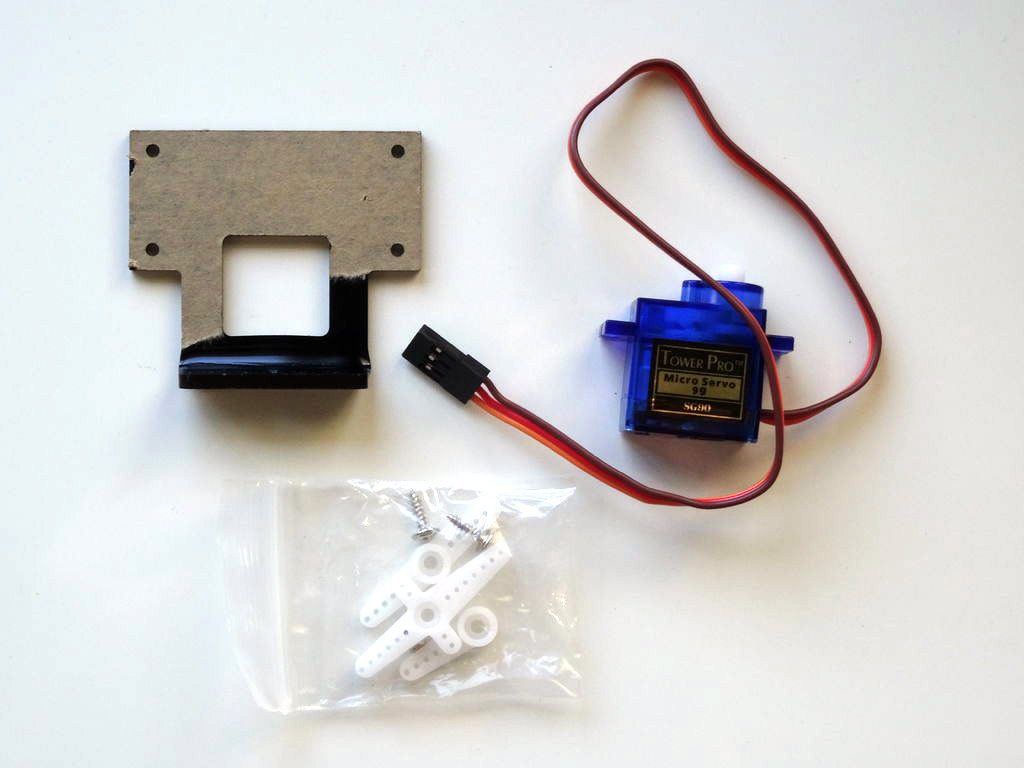
- Take out from the box, the Ultrasonic Sensor, the plastic Ultrasonic Holder parts, the Servo, and the plastic bag with screws and nuts labeled "FOR ULTRASONIC" (Picture 1)
- Remove the items from the box (Picture 2)
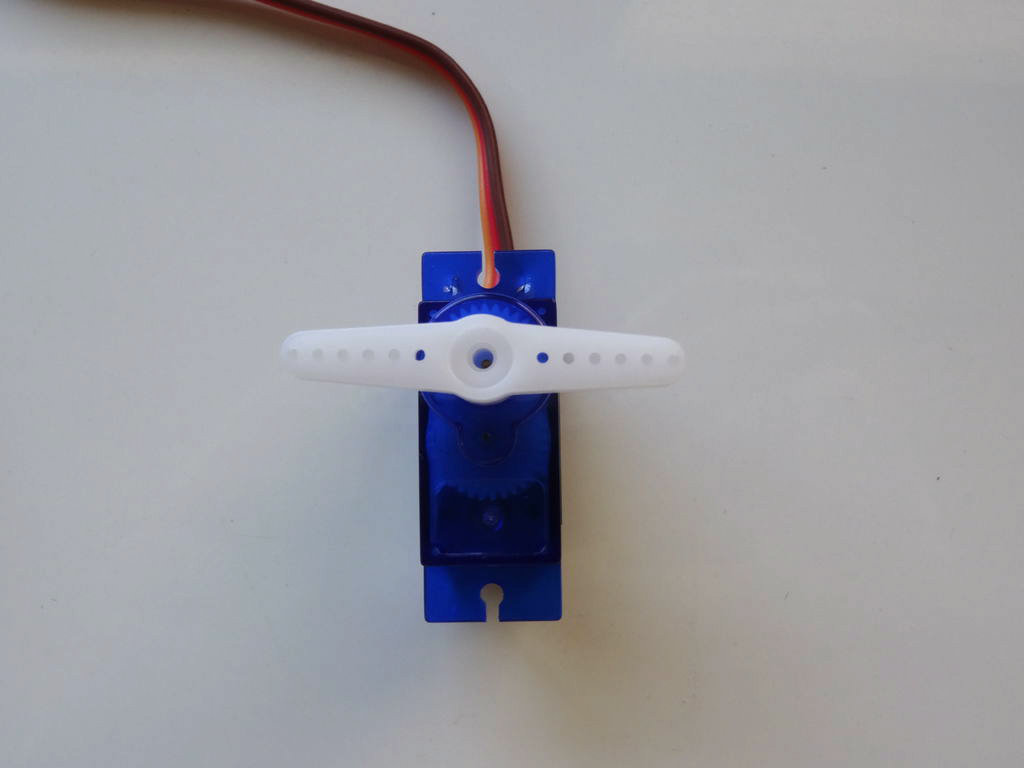
- Take from the bag of seats for the Servo, the big straight seat, and mount it on top of the Servo (Picture 3)
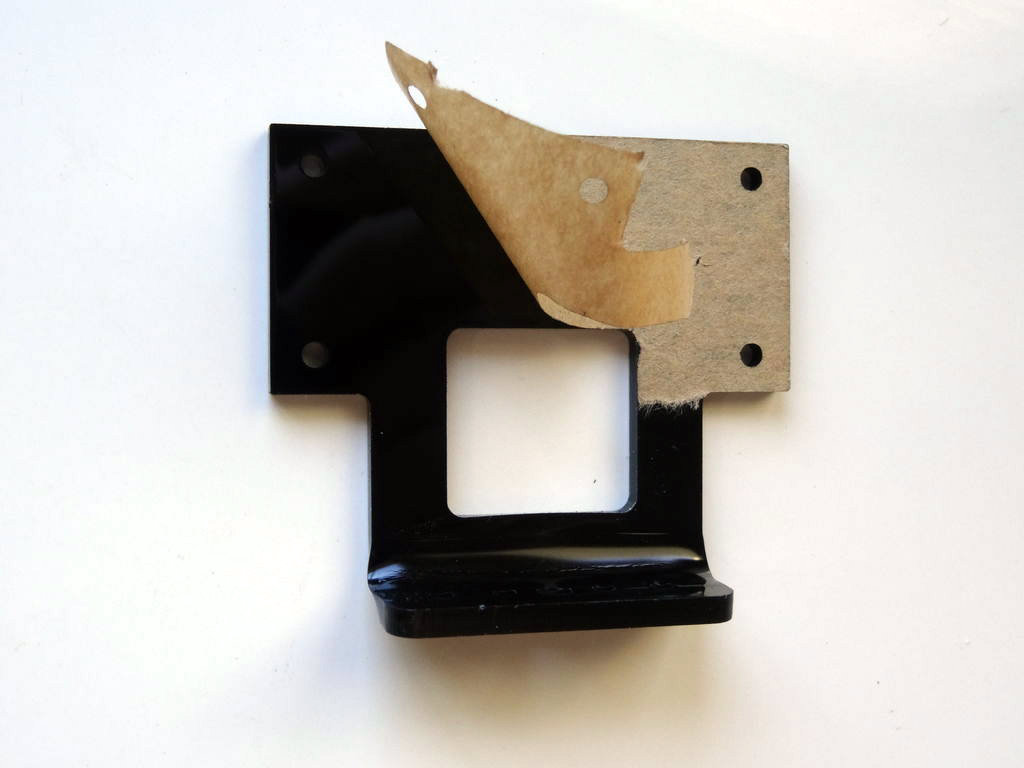
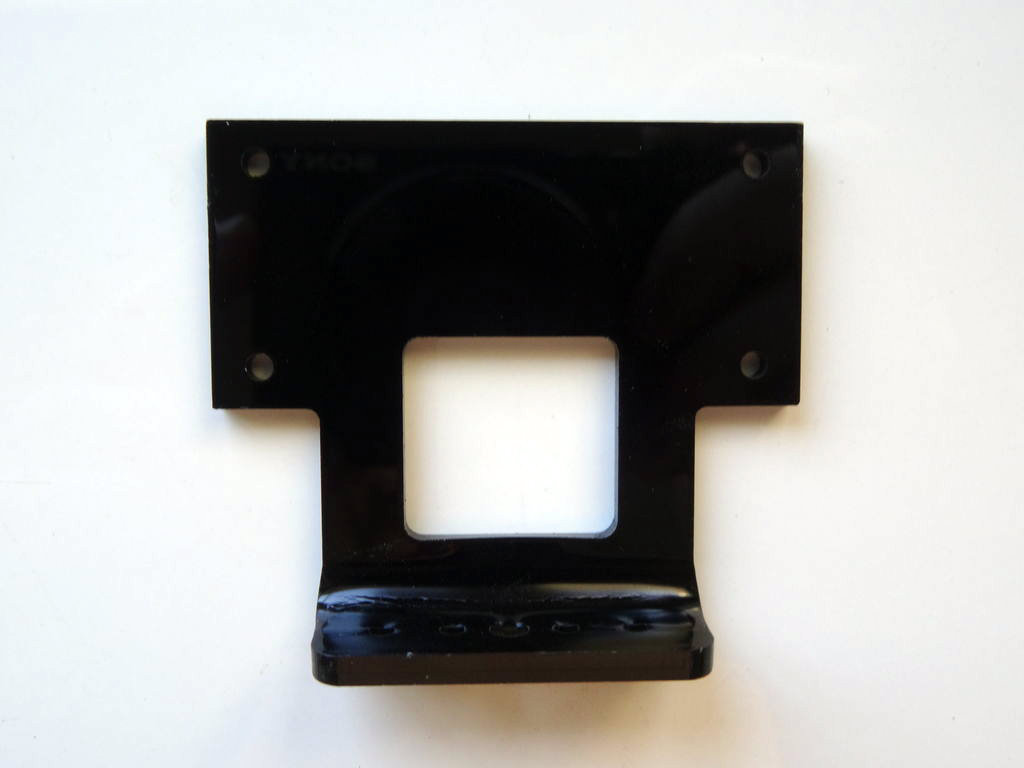
- Peel the protective layer from the Ultrasonic Holder parts (Picture 4, and 5)
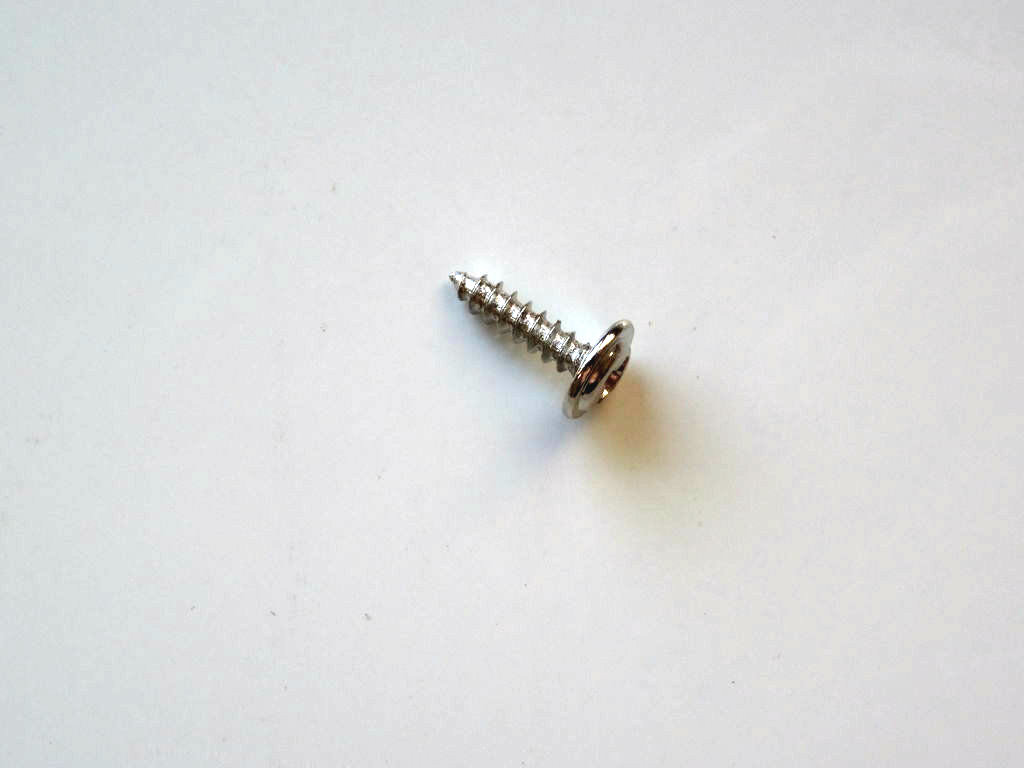
- Take the small Self-tapping screw from the plastic bag of sensor seats (Picture 6)
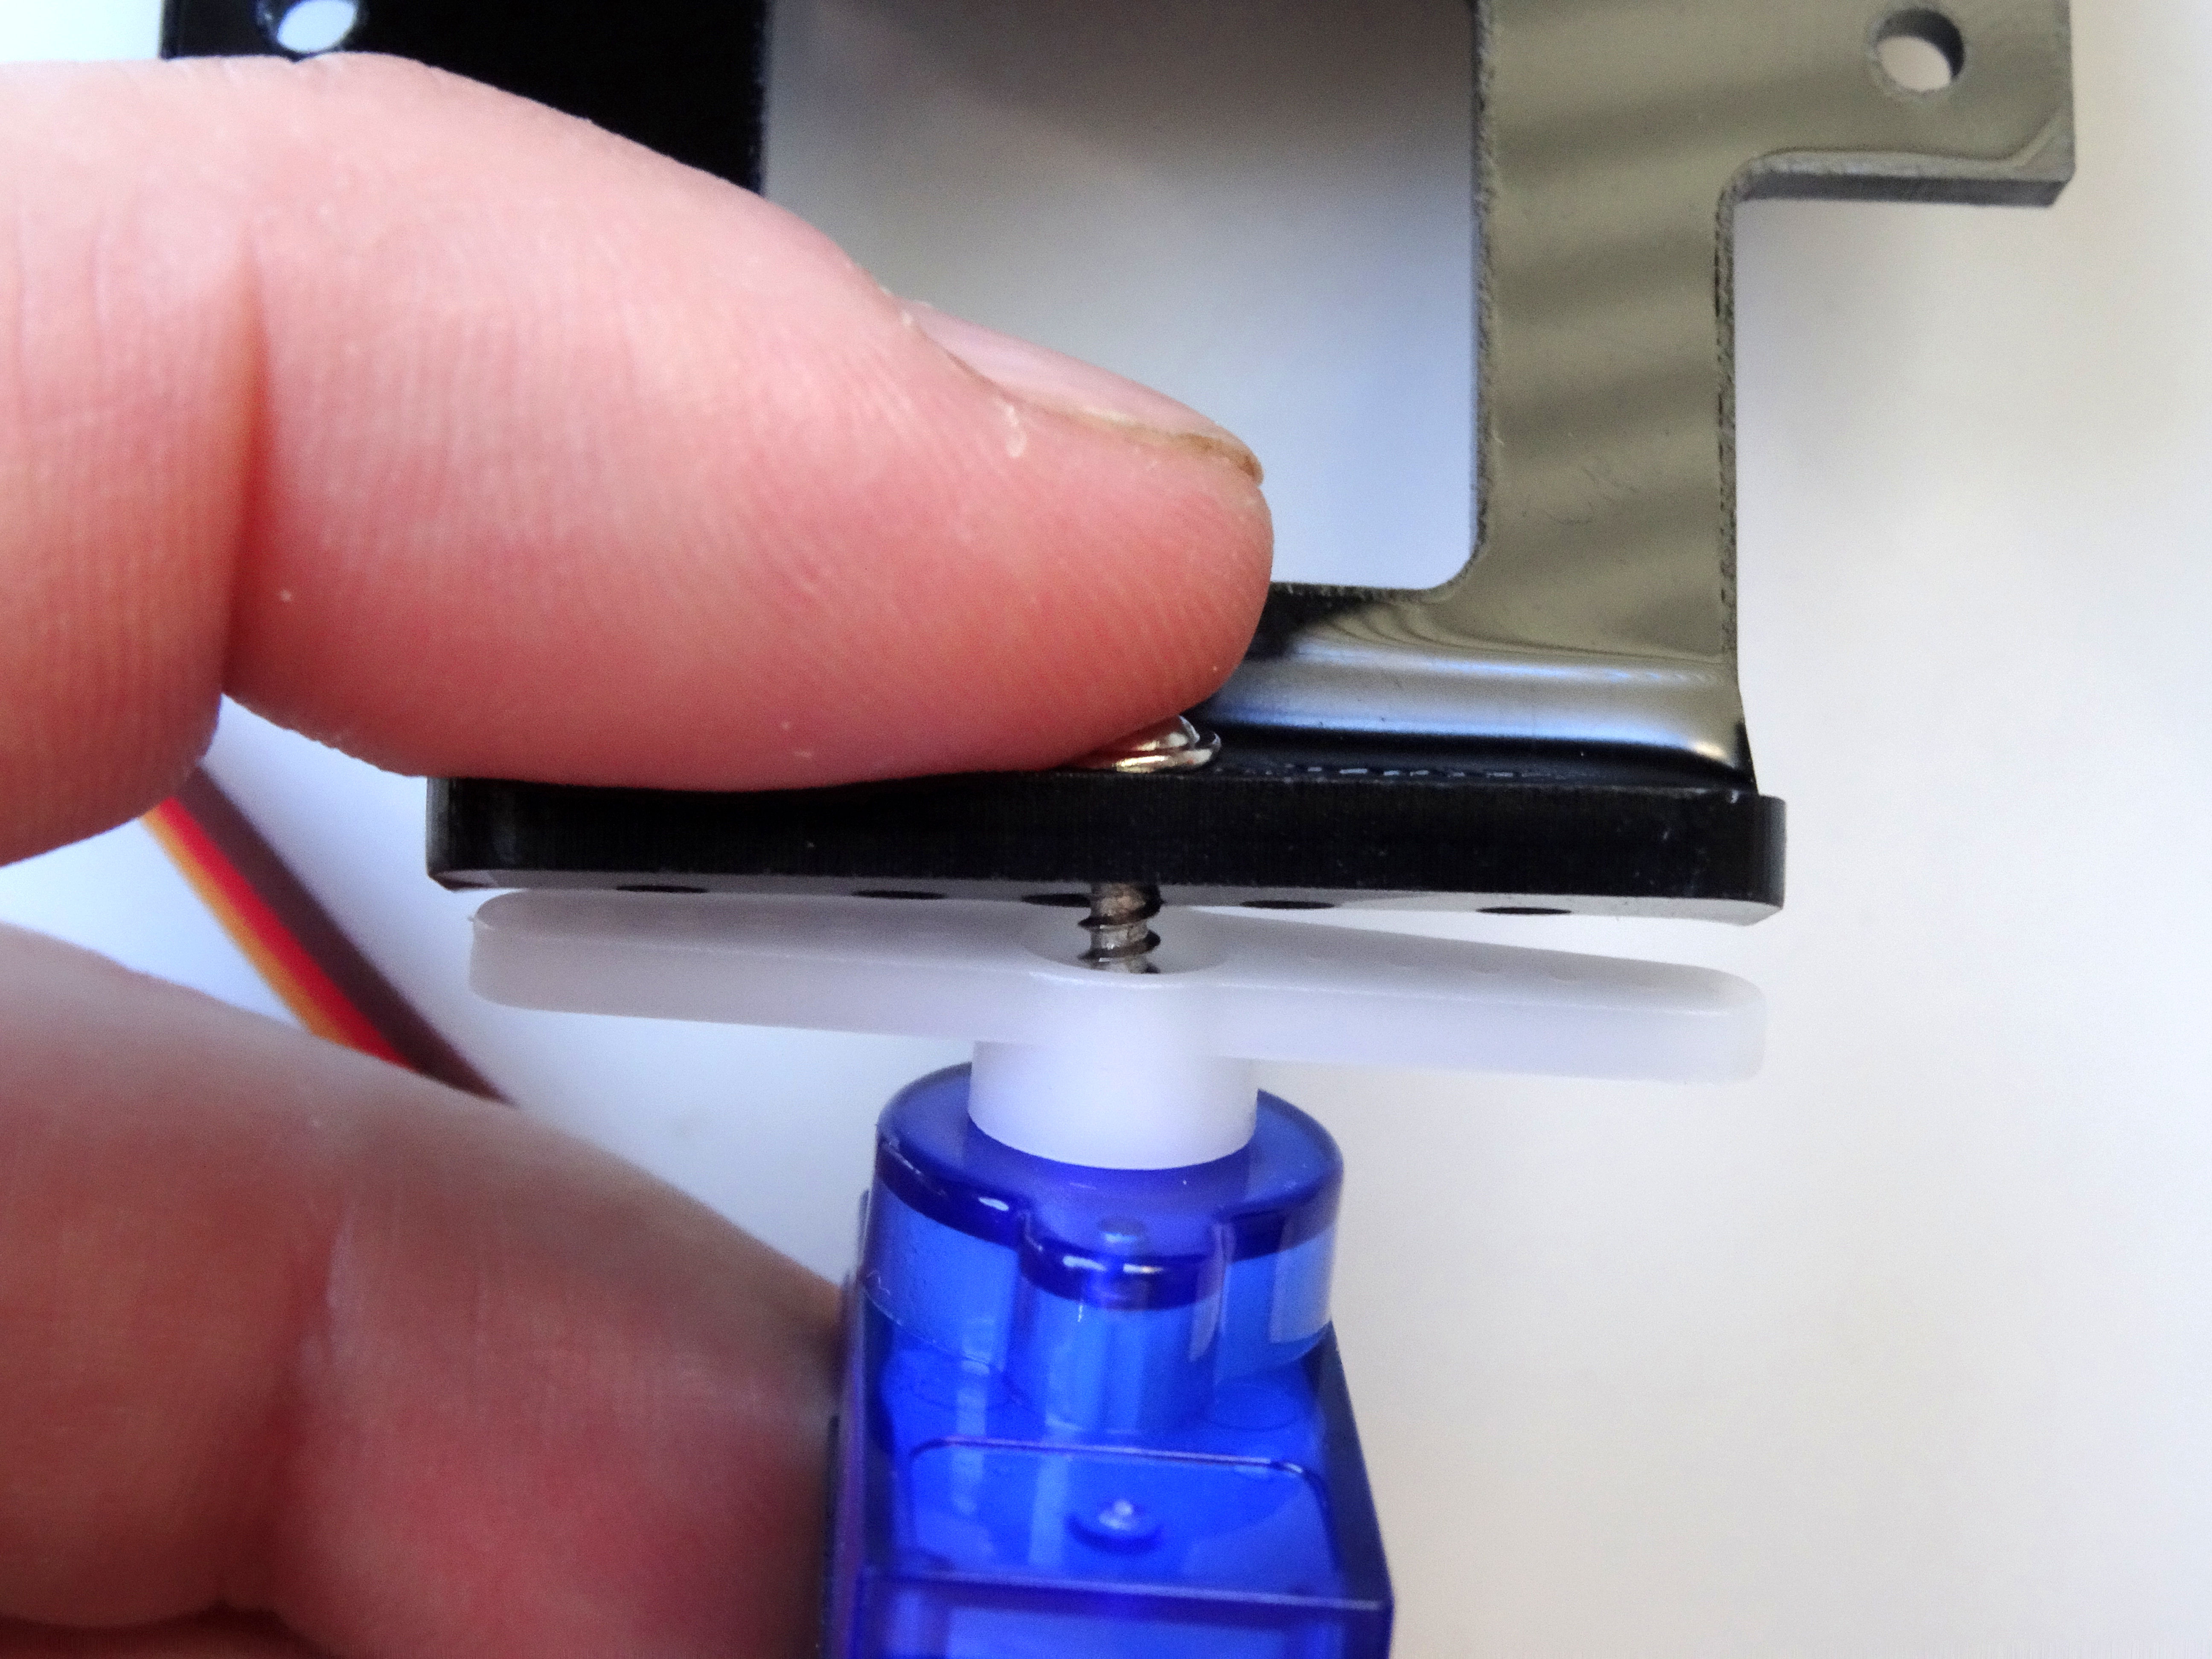
- Insert the screw through the central hole of the plastic Ultrasound Sensor Holder, and then into the axle of the Servo (Picture 7)
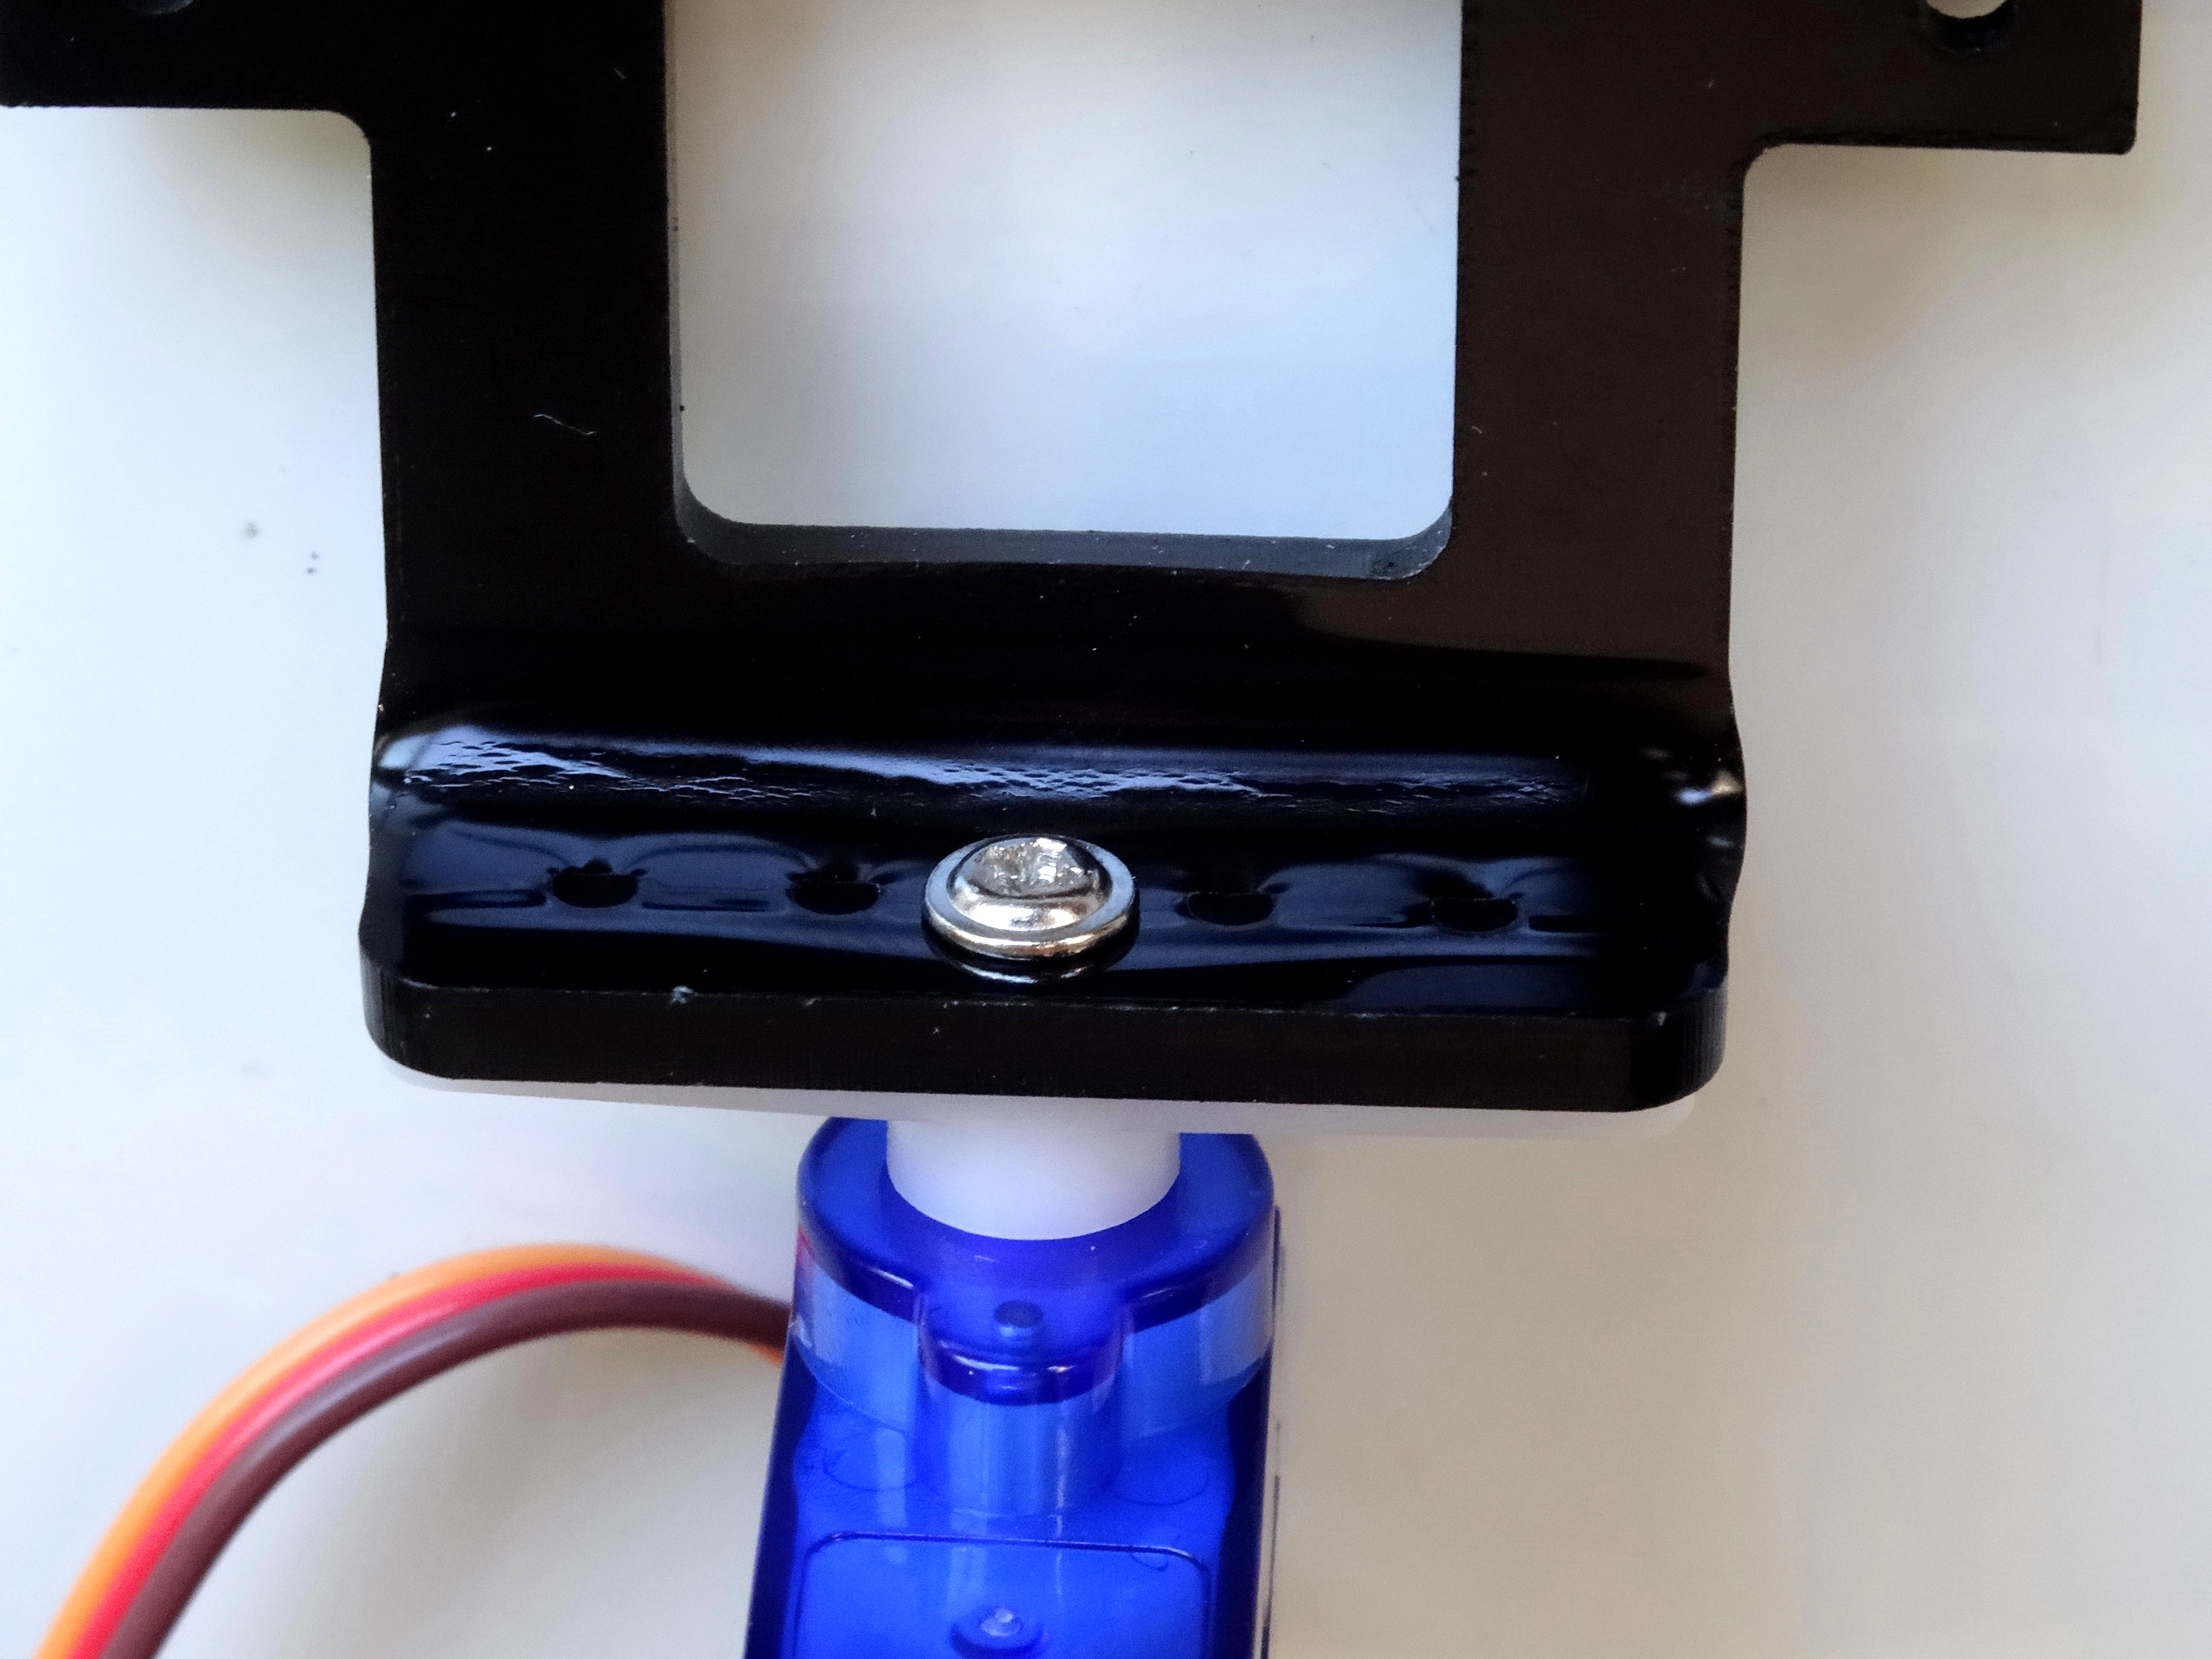
- Tighten the screw (Picture 8)
Mounting the Ultrasonic Sensor on the Ultrasonic Sensor Holder
Edited.JPG)
Edited.JPG)
Edited.JPG)
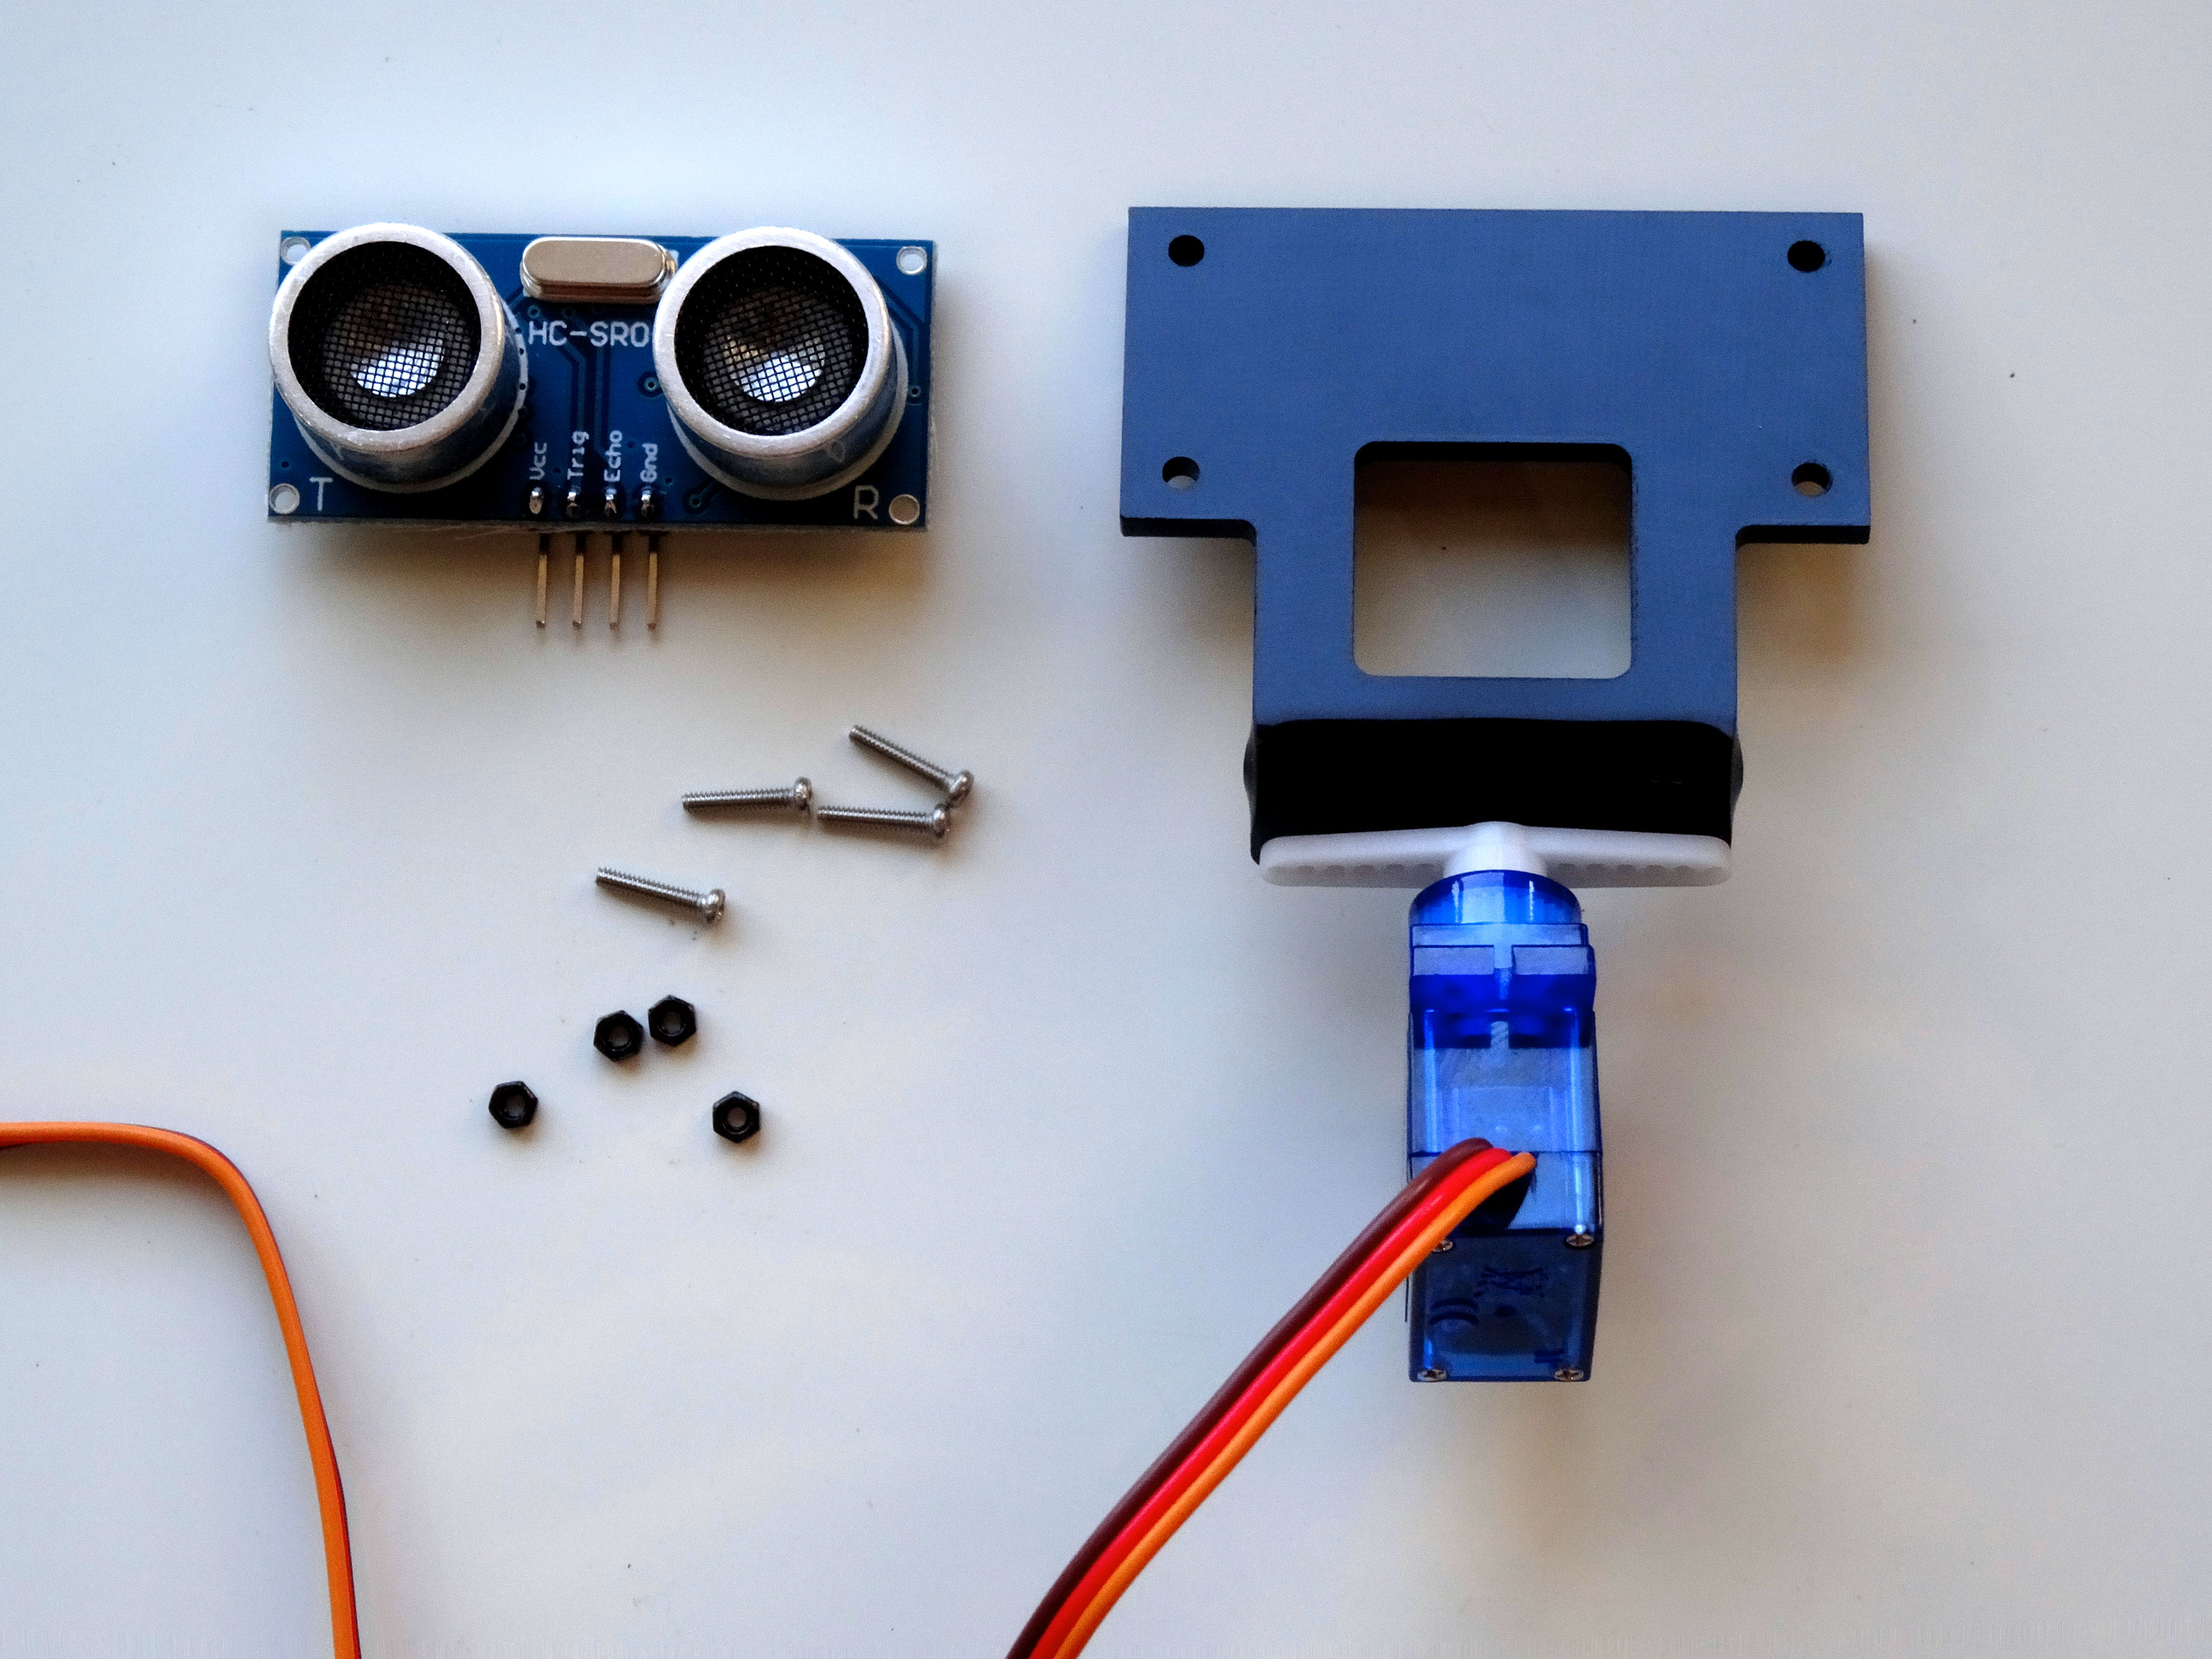
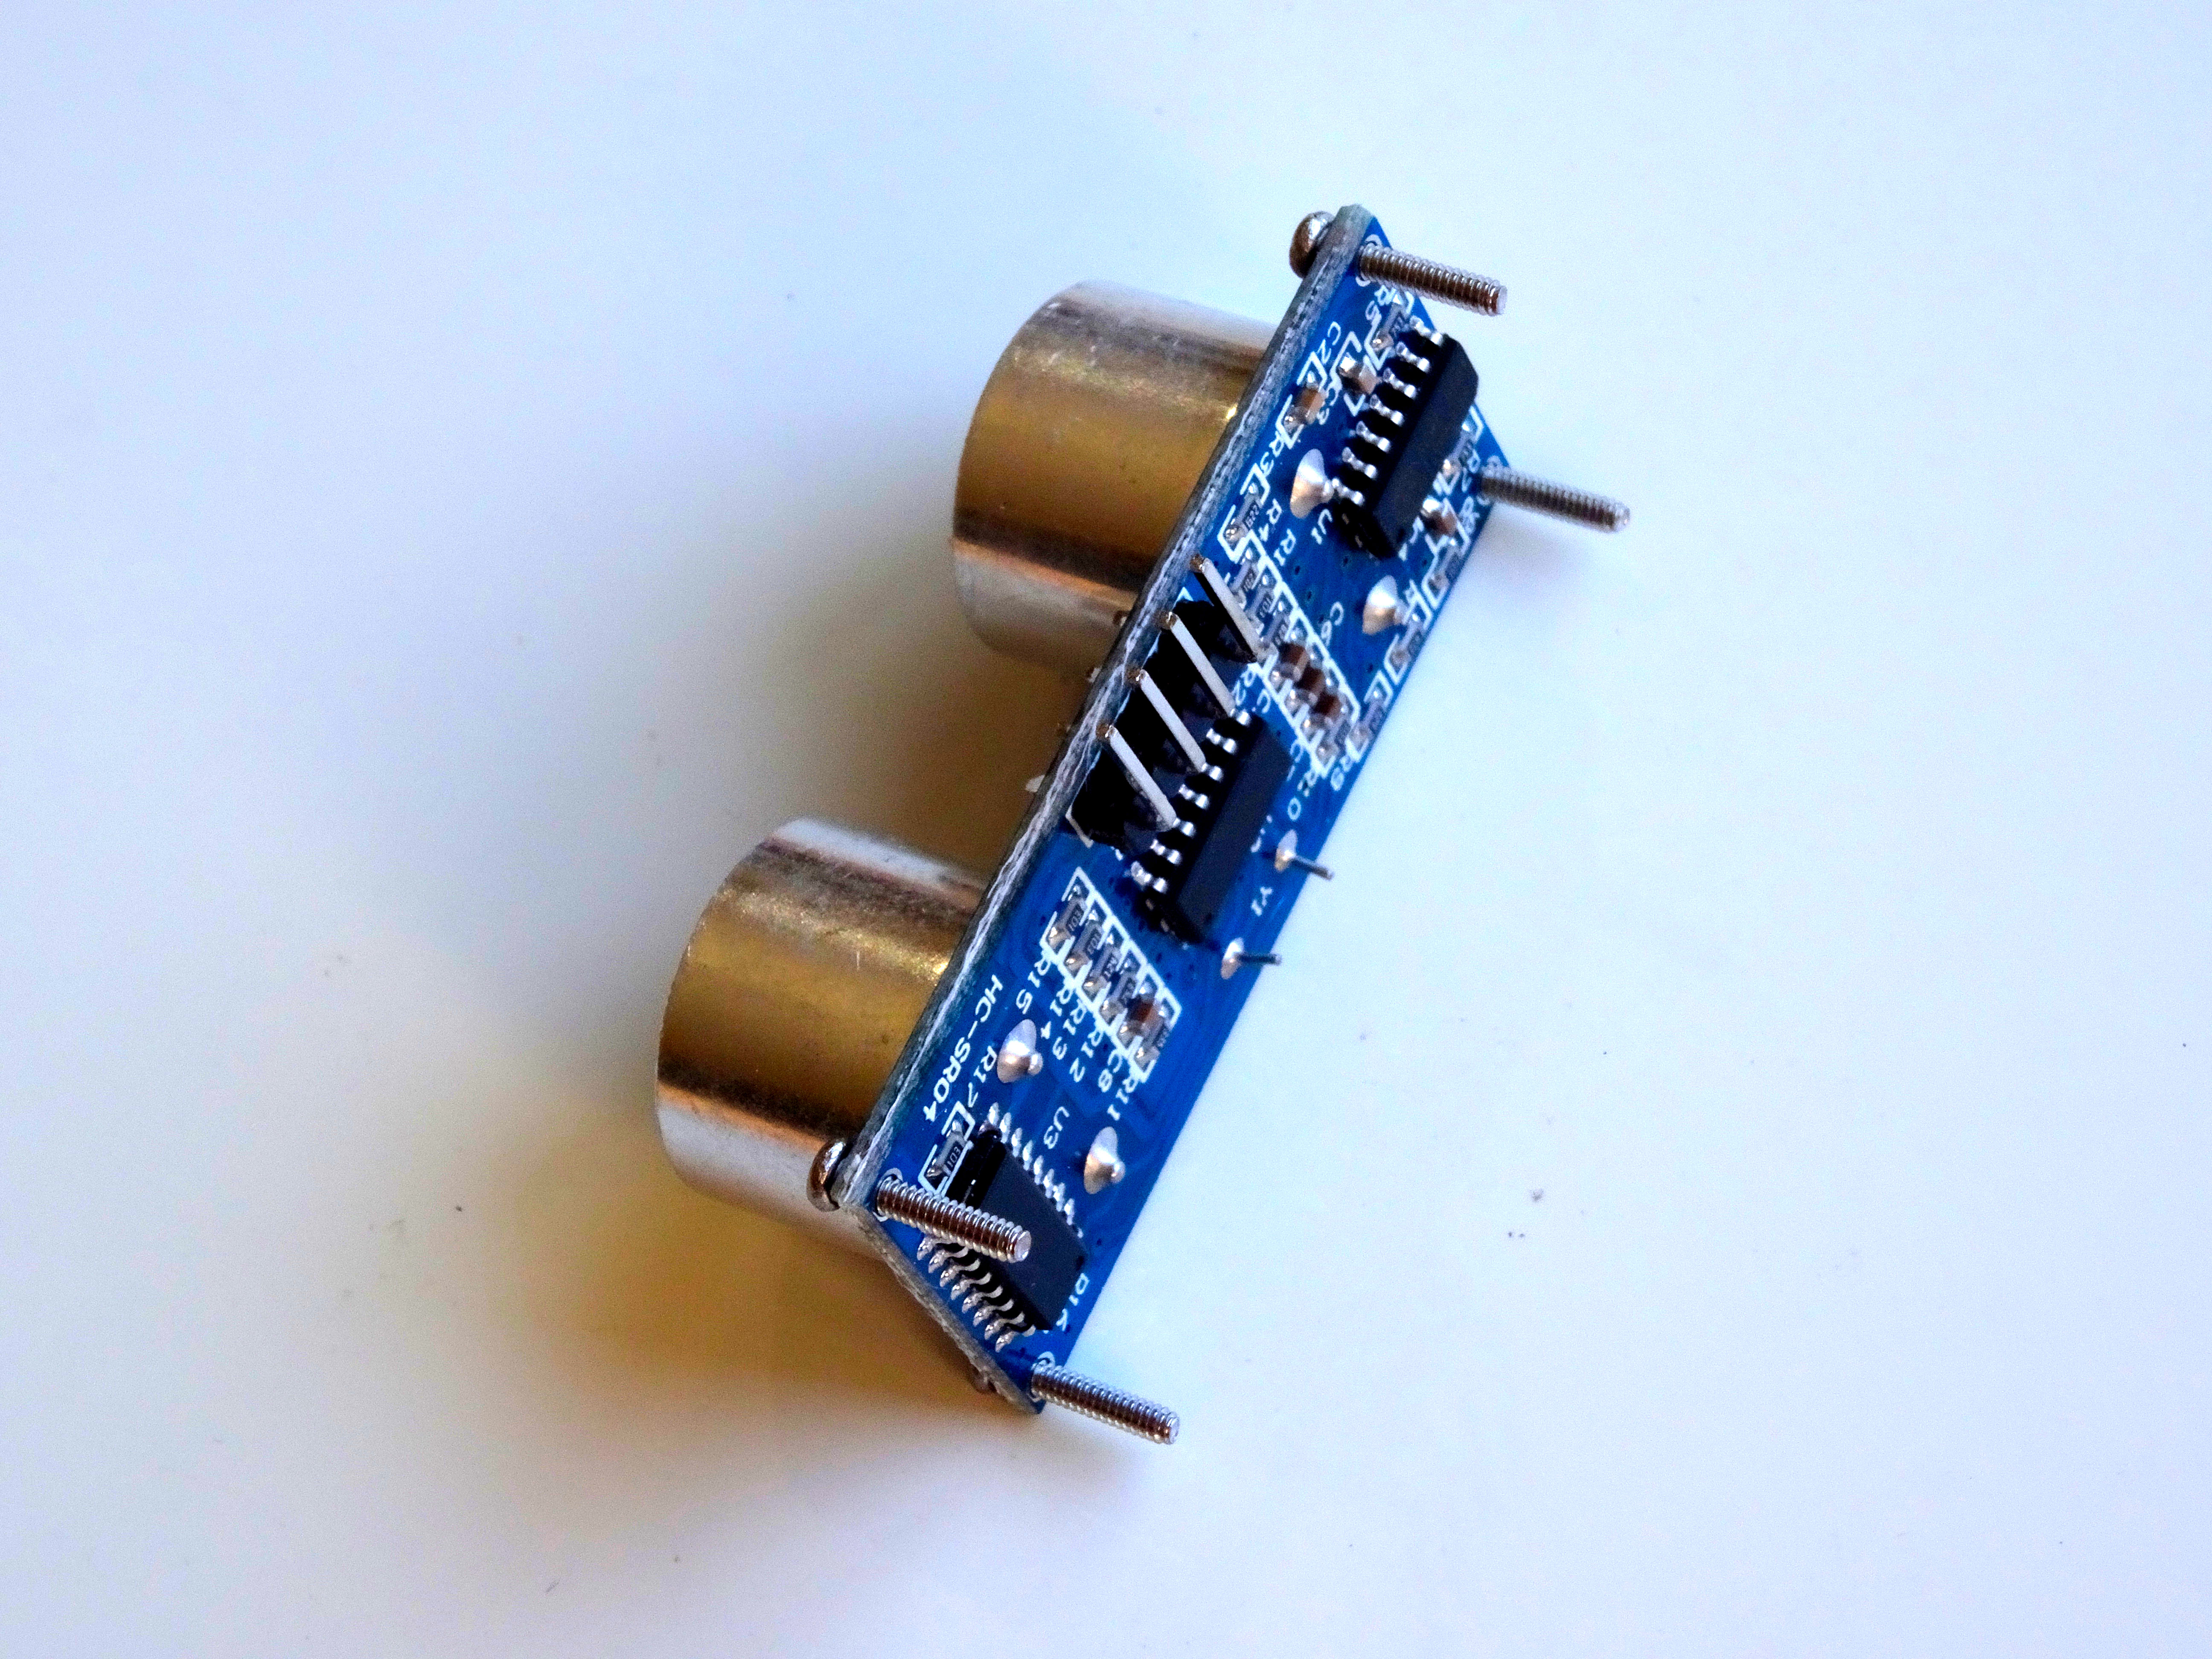
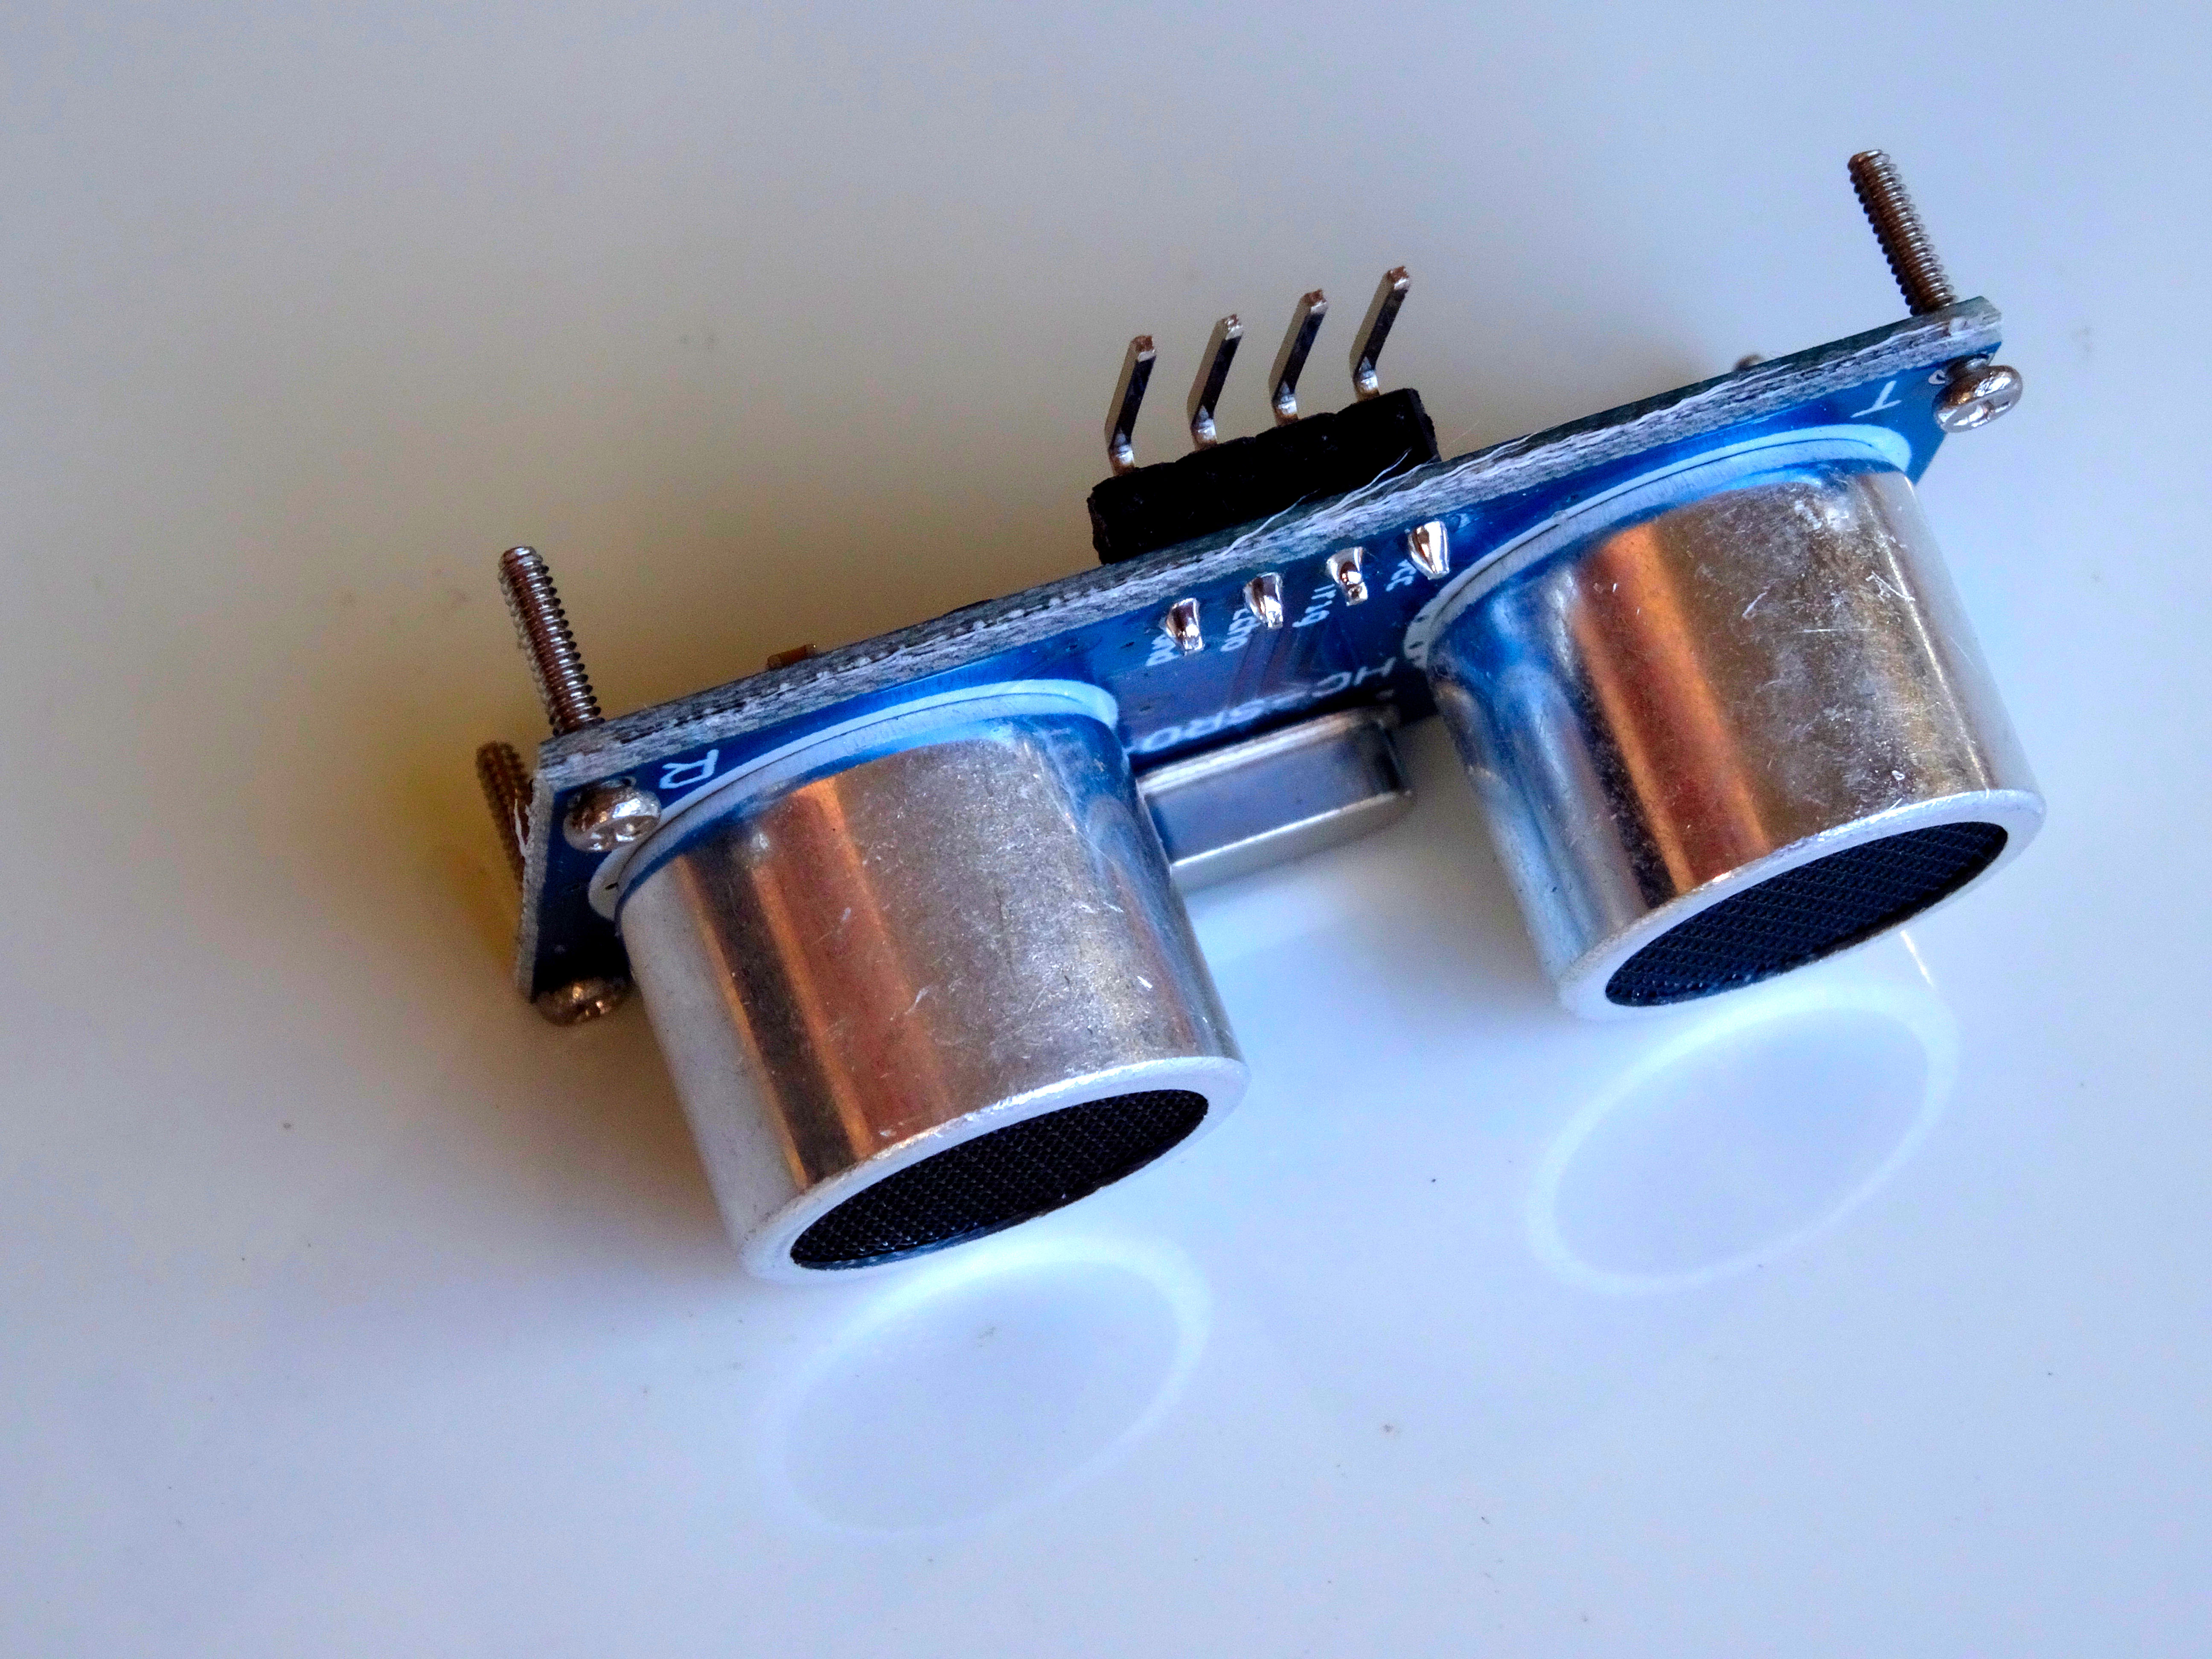
- Unpack the Ultrasonic Sensor from its bag, and the Screws and Bolts from the bag labeled "FOR ULTRASONIC" (Picture 1)
- Take the 4 small long screws and insert them through the 4 holes in the corners of the Ultrasonic Sensor (Pictures 2 and 3)
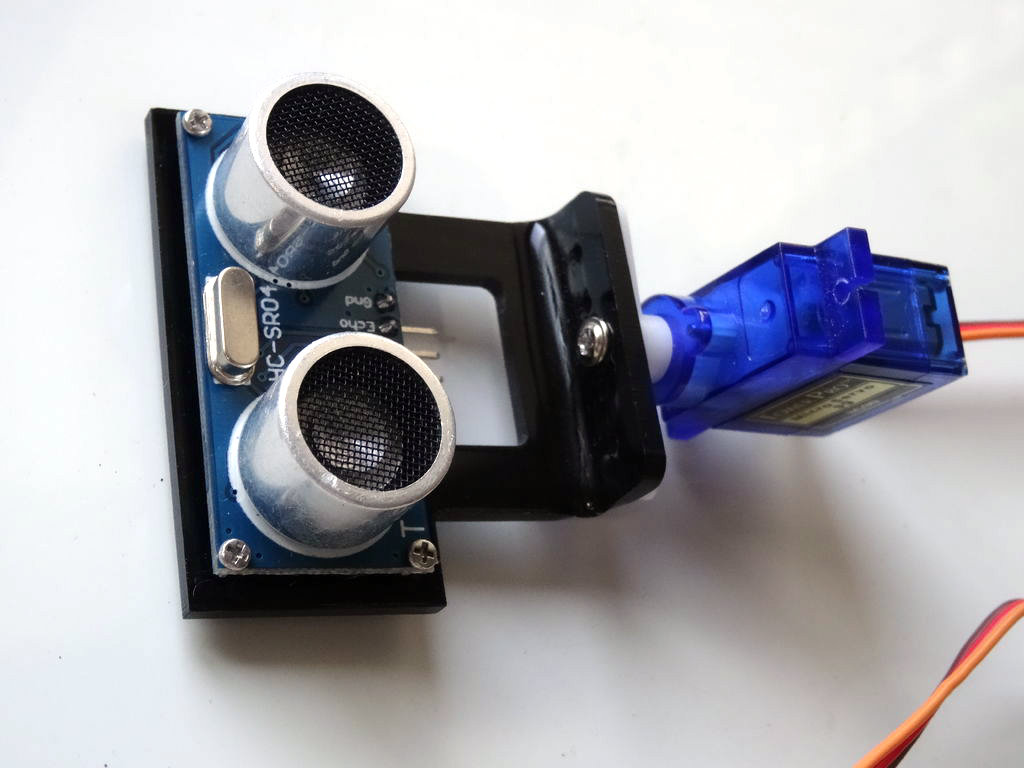
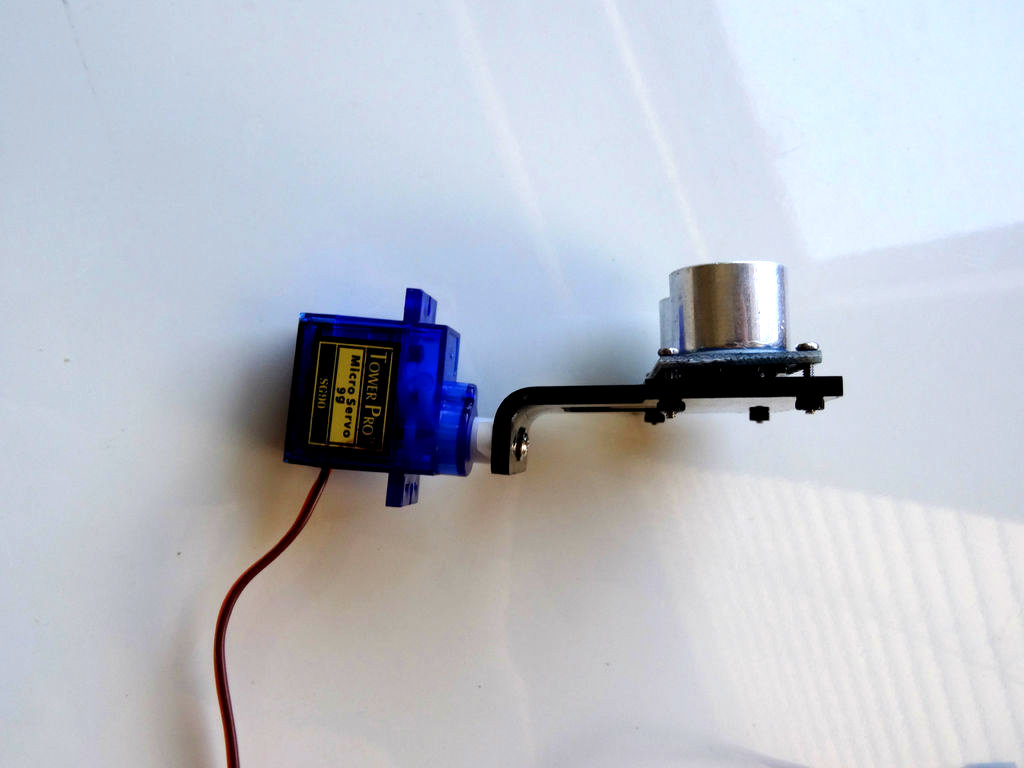
- Insert the screws through the 4 holes of the plastic Ultrasound Sensor Holder with the Ultrasonic Sensor pointing forward, and the connector pointing toward the Servo
- There are 2 ways you can install the Ultrasonic Sensor Module. Pictures 4 and 5 show the 2 possible options. The installation on Picture 4 is recommended, although in the following pictures I show the version on Picture 5
Prepare the Servo to Be Installed on the Chassis
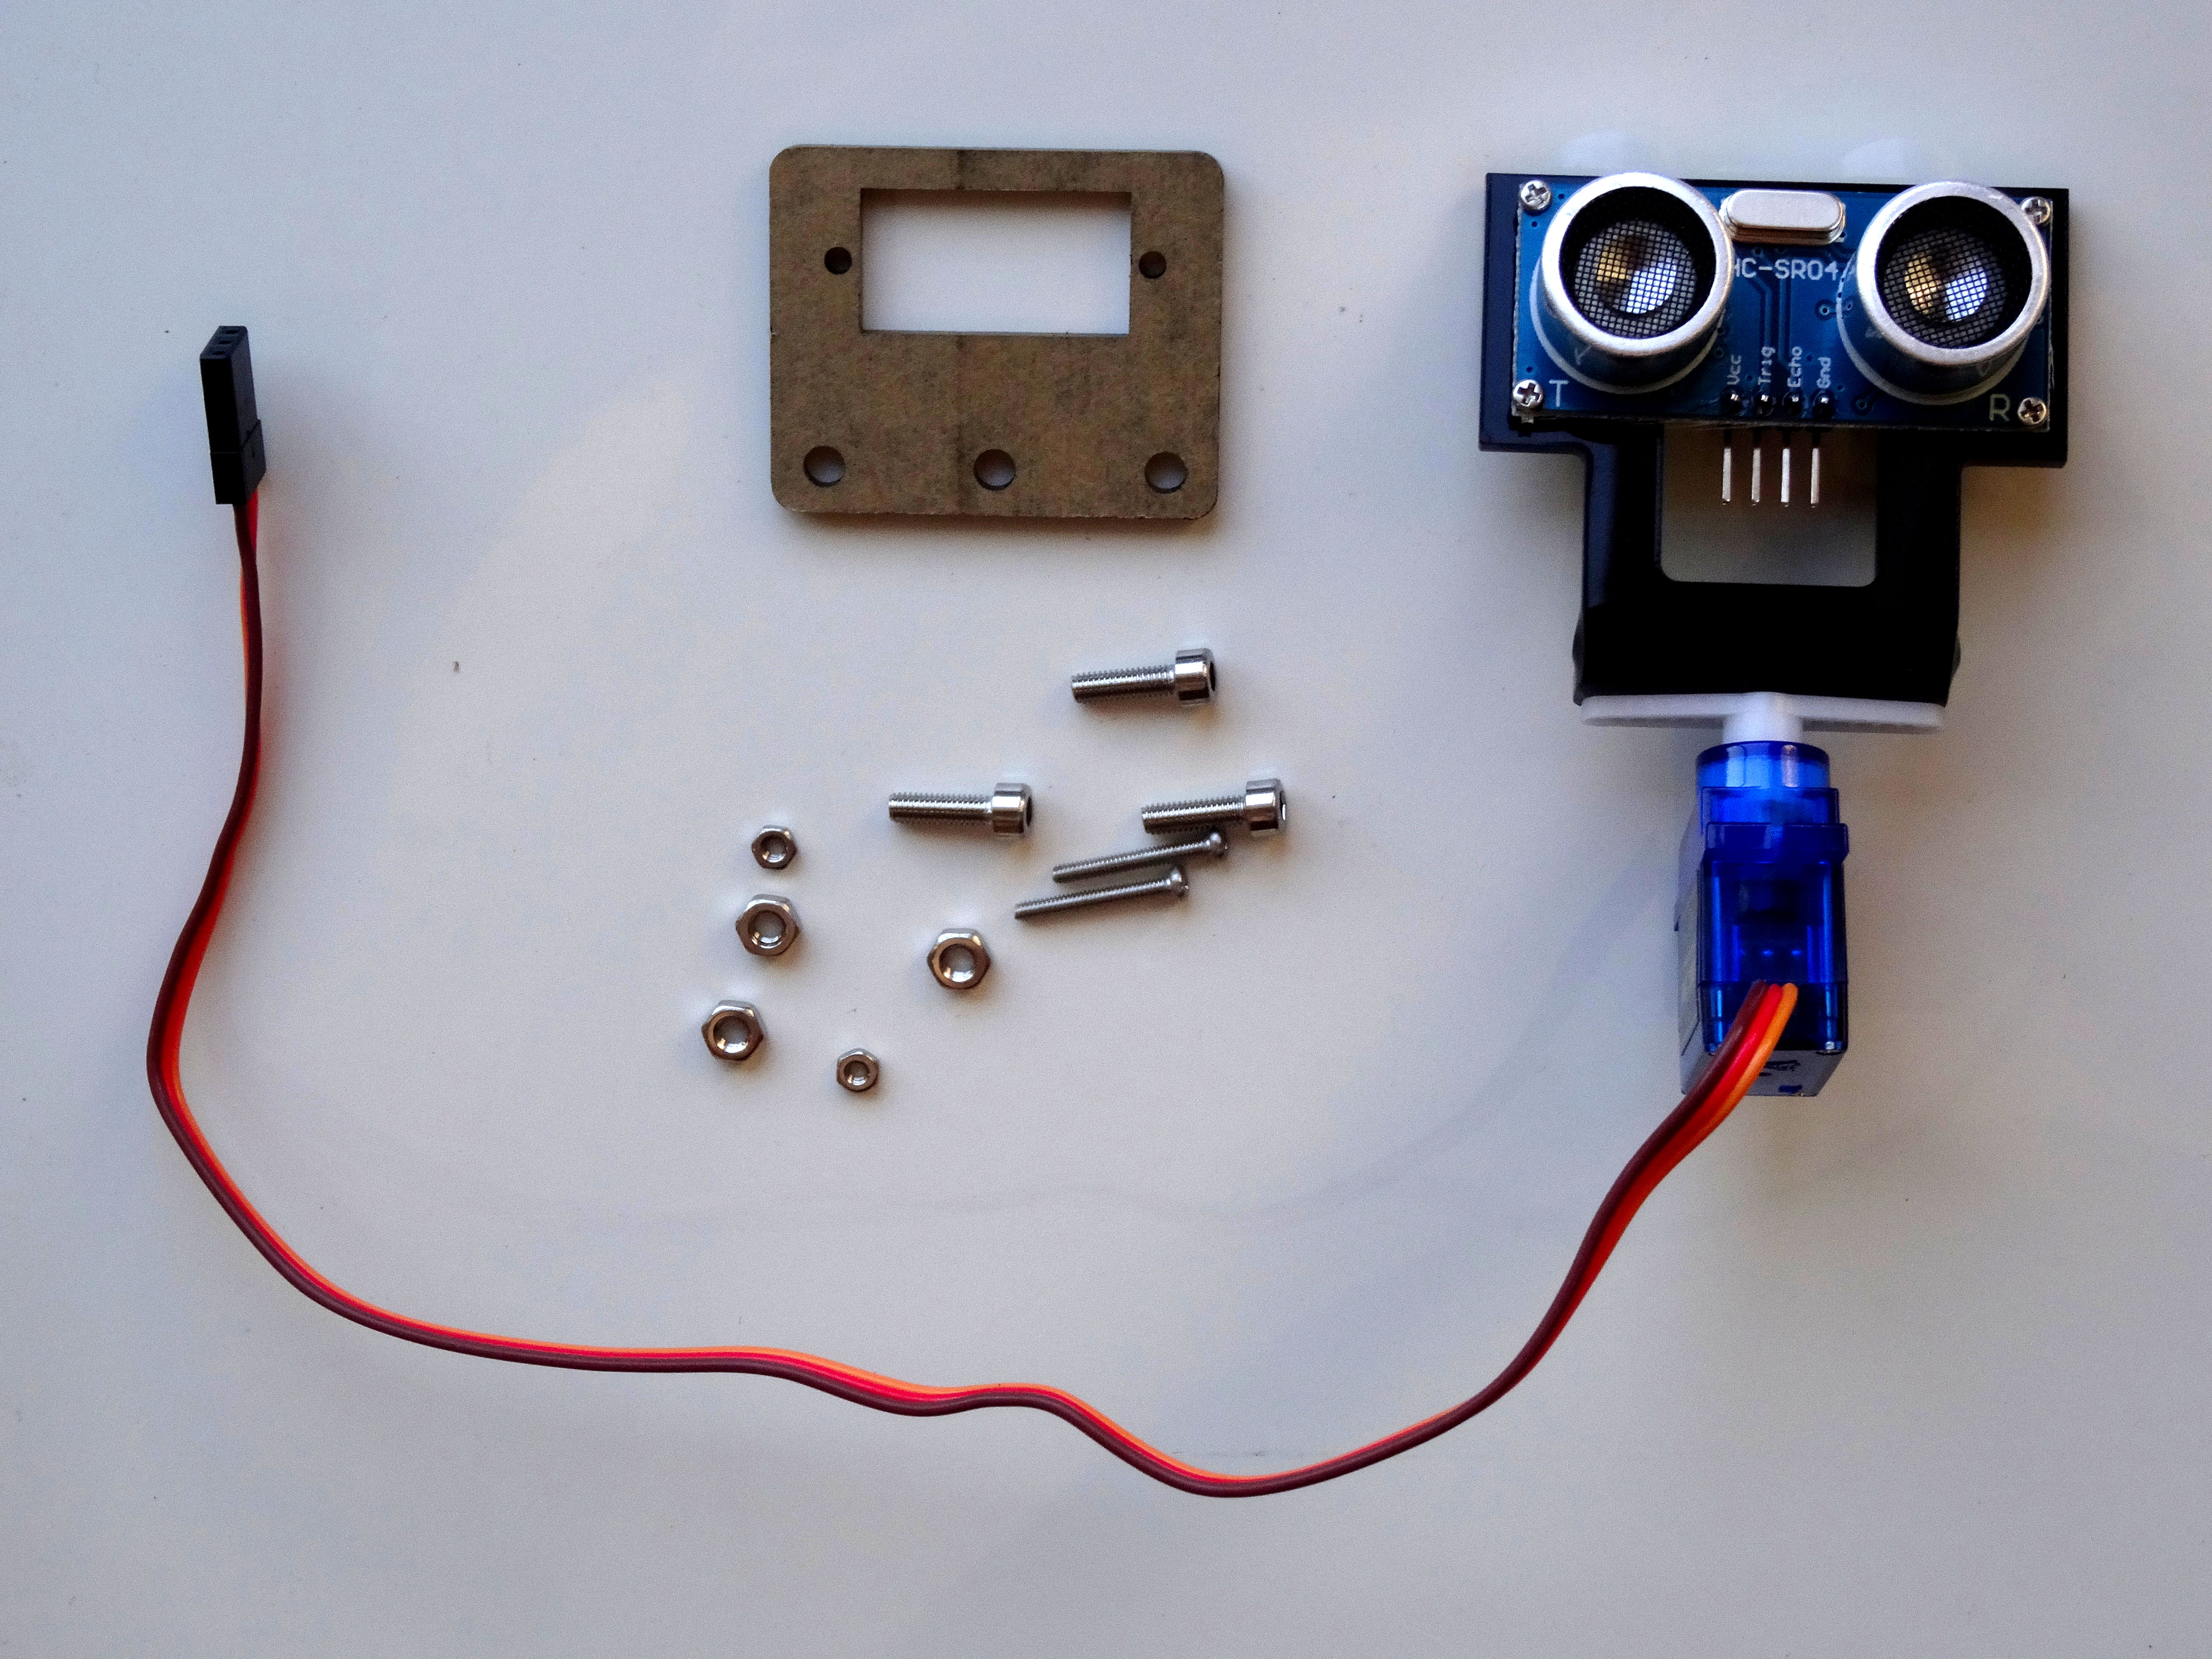Edited.JPG)
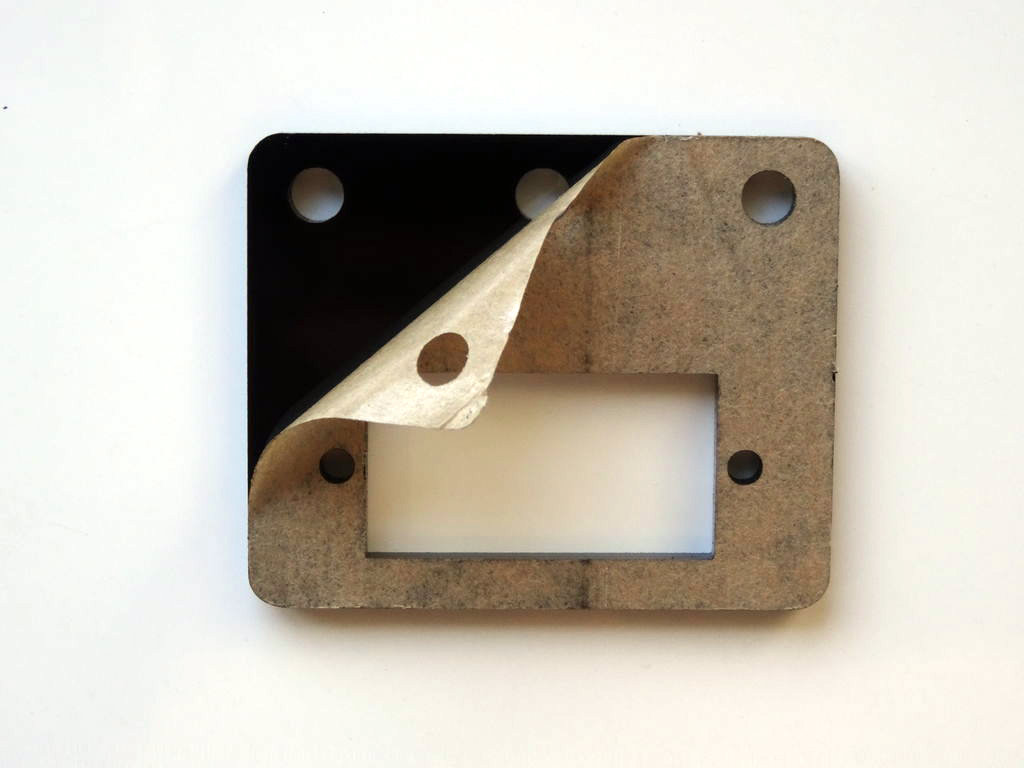
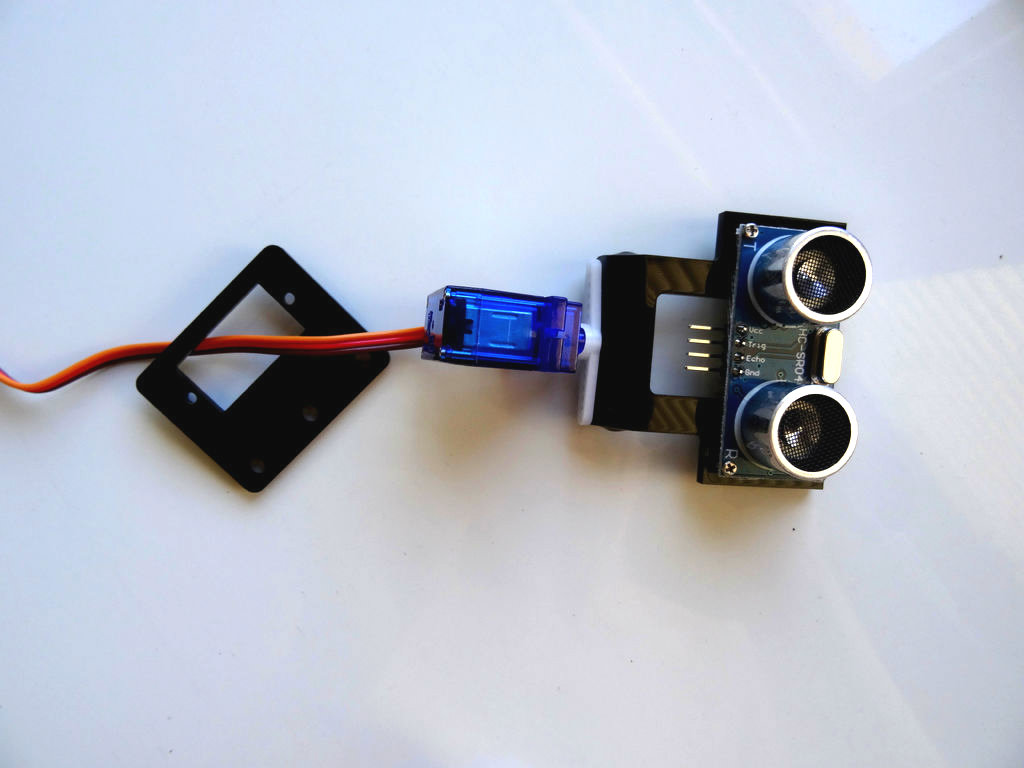
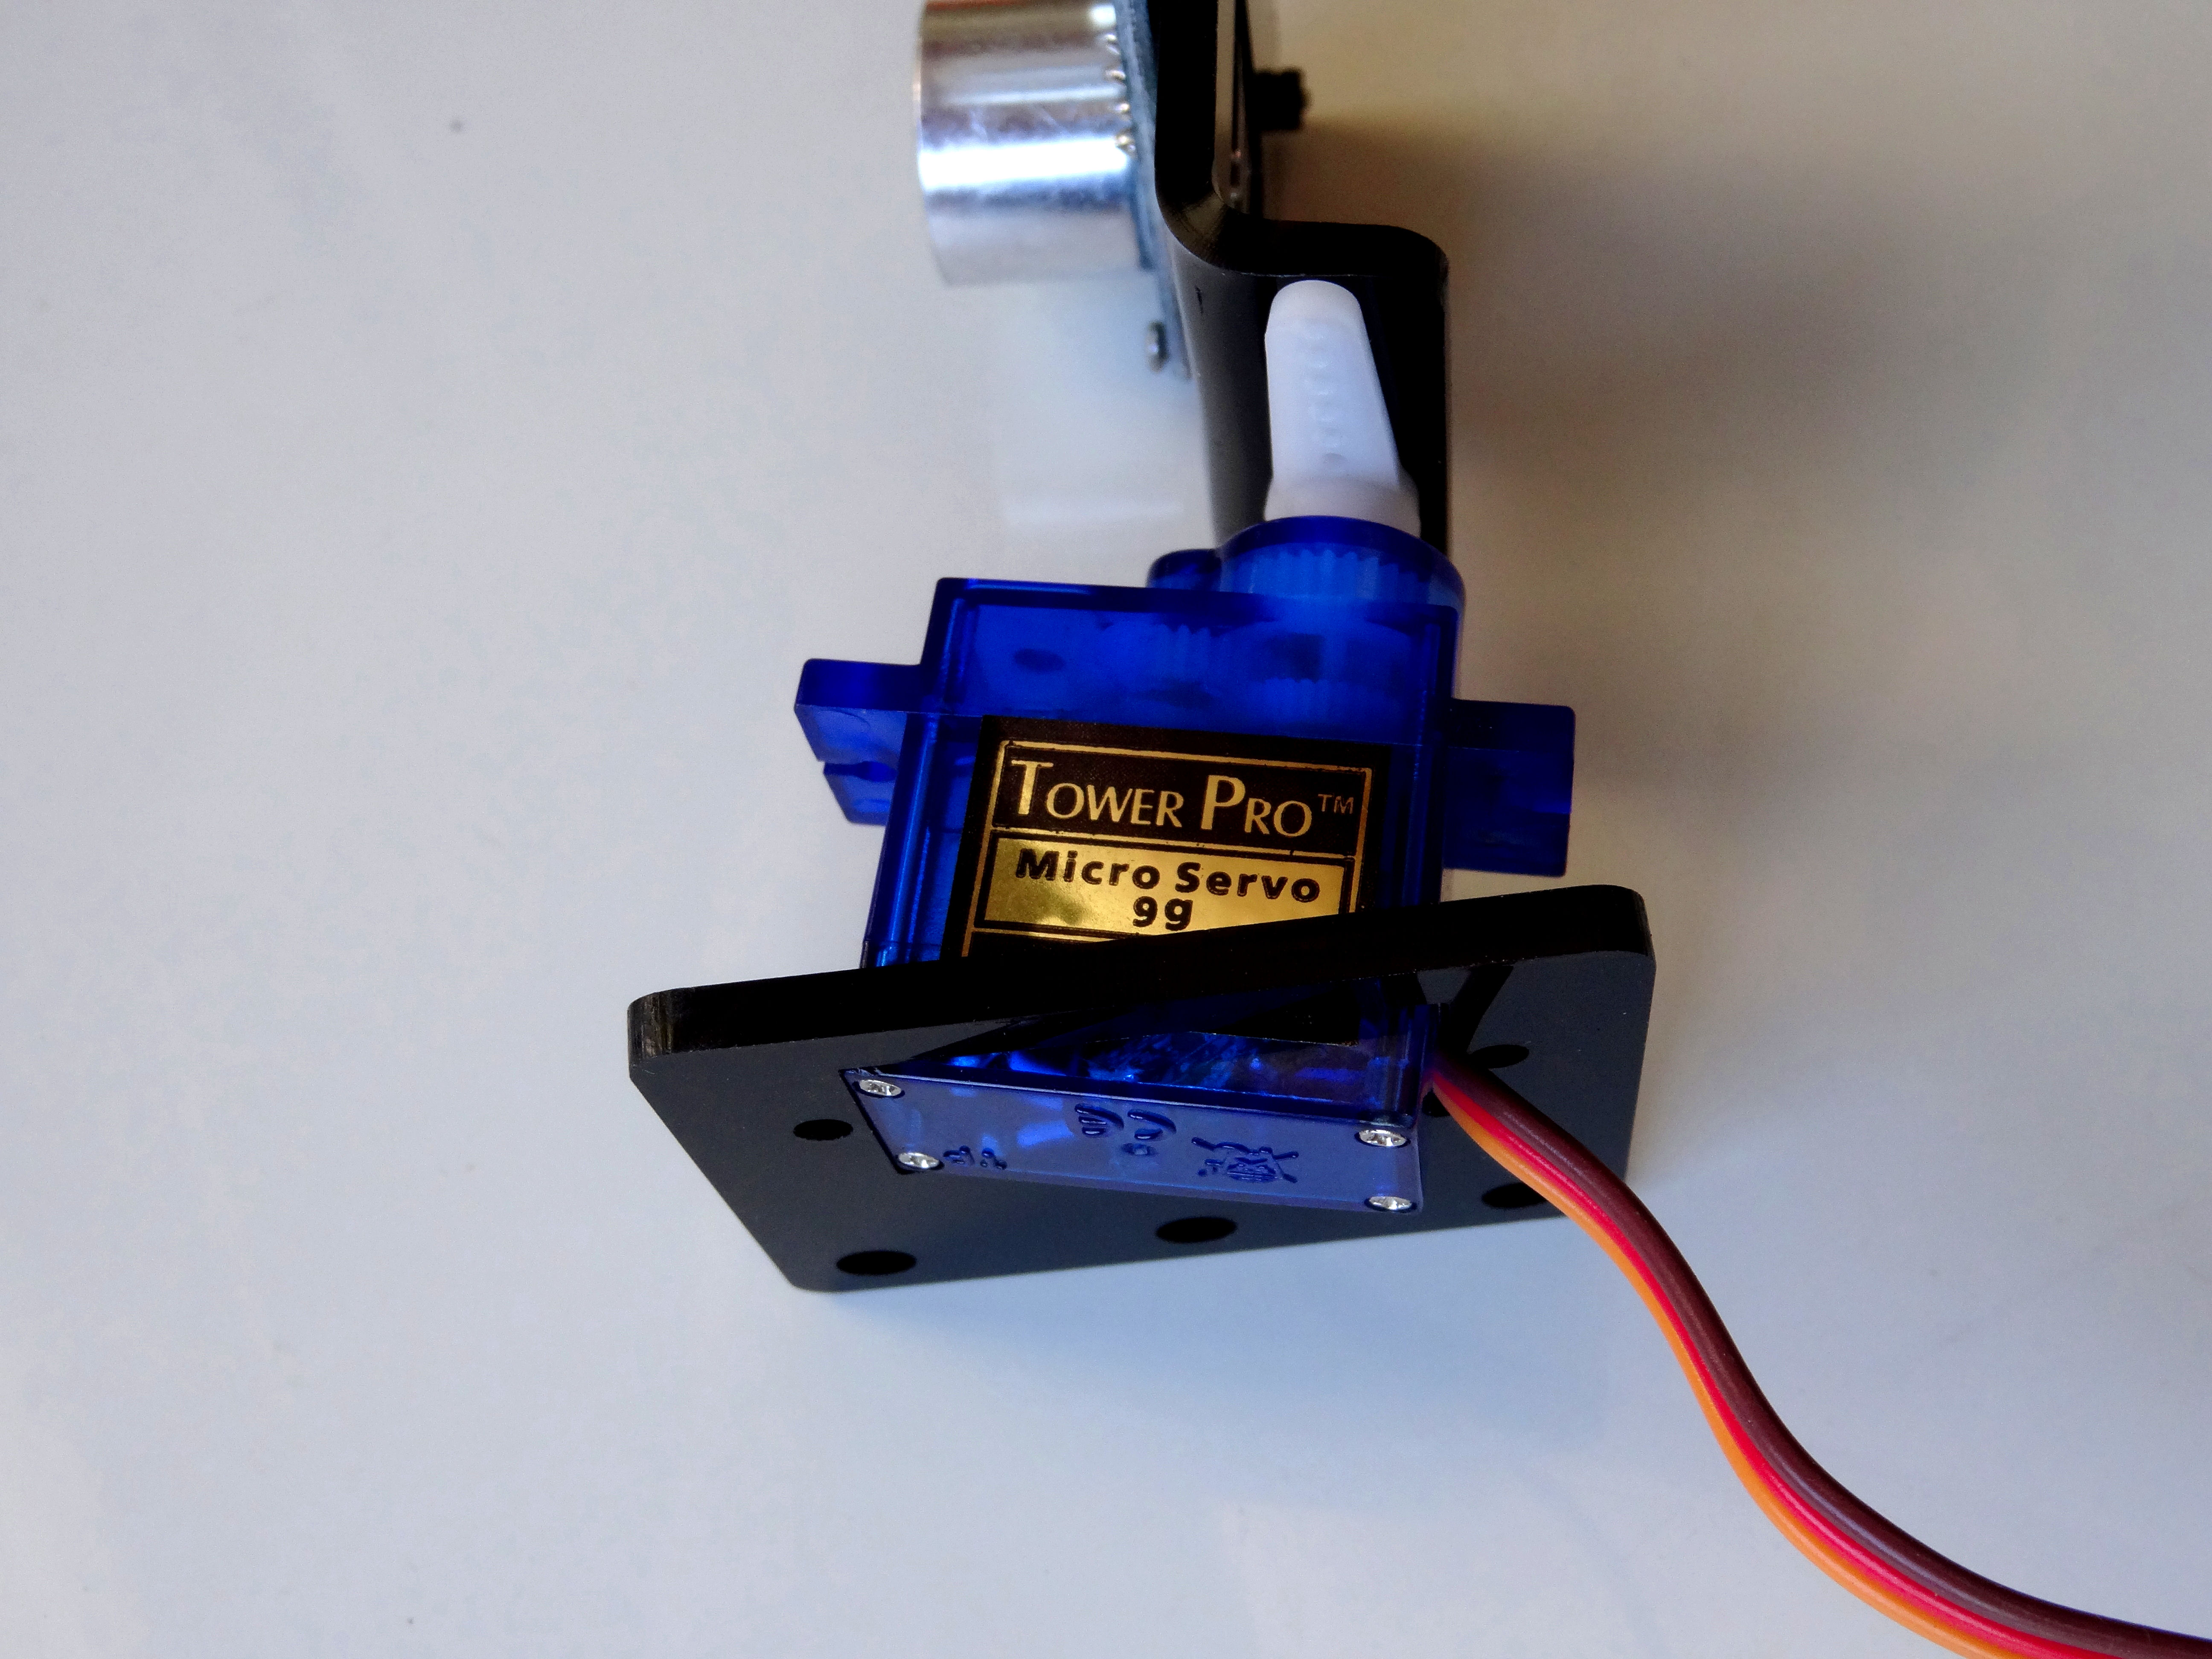
- Take the support mounting plate for the Servo, and the remaining screws (Picture 1)
- Peel off the protective layer from the the support mounting plate (Picture 2)
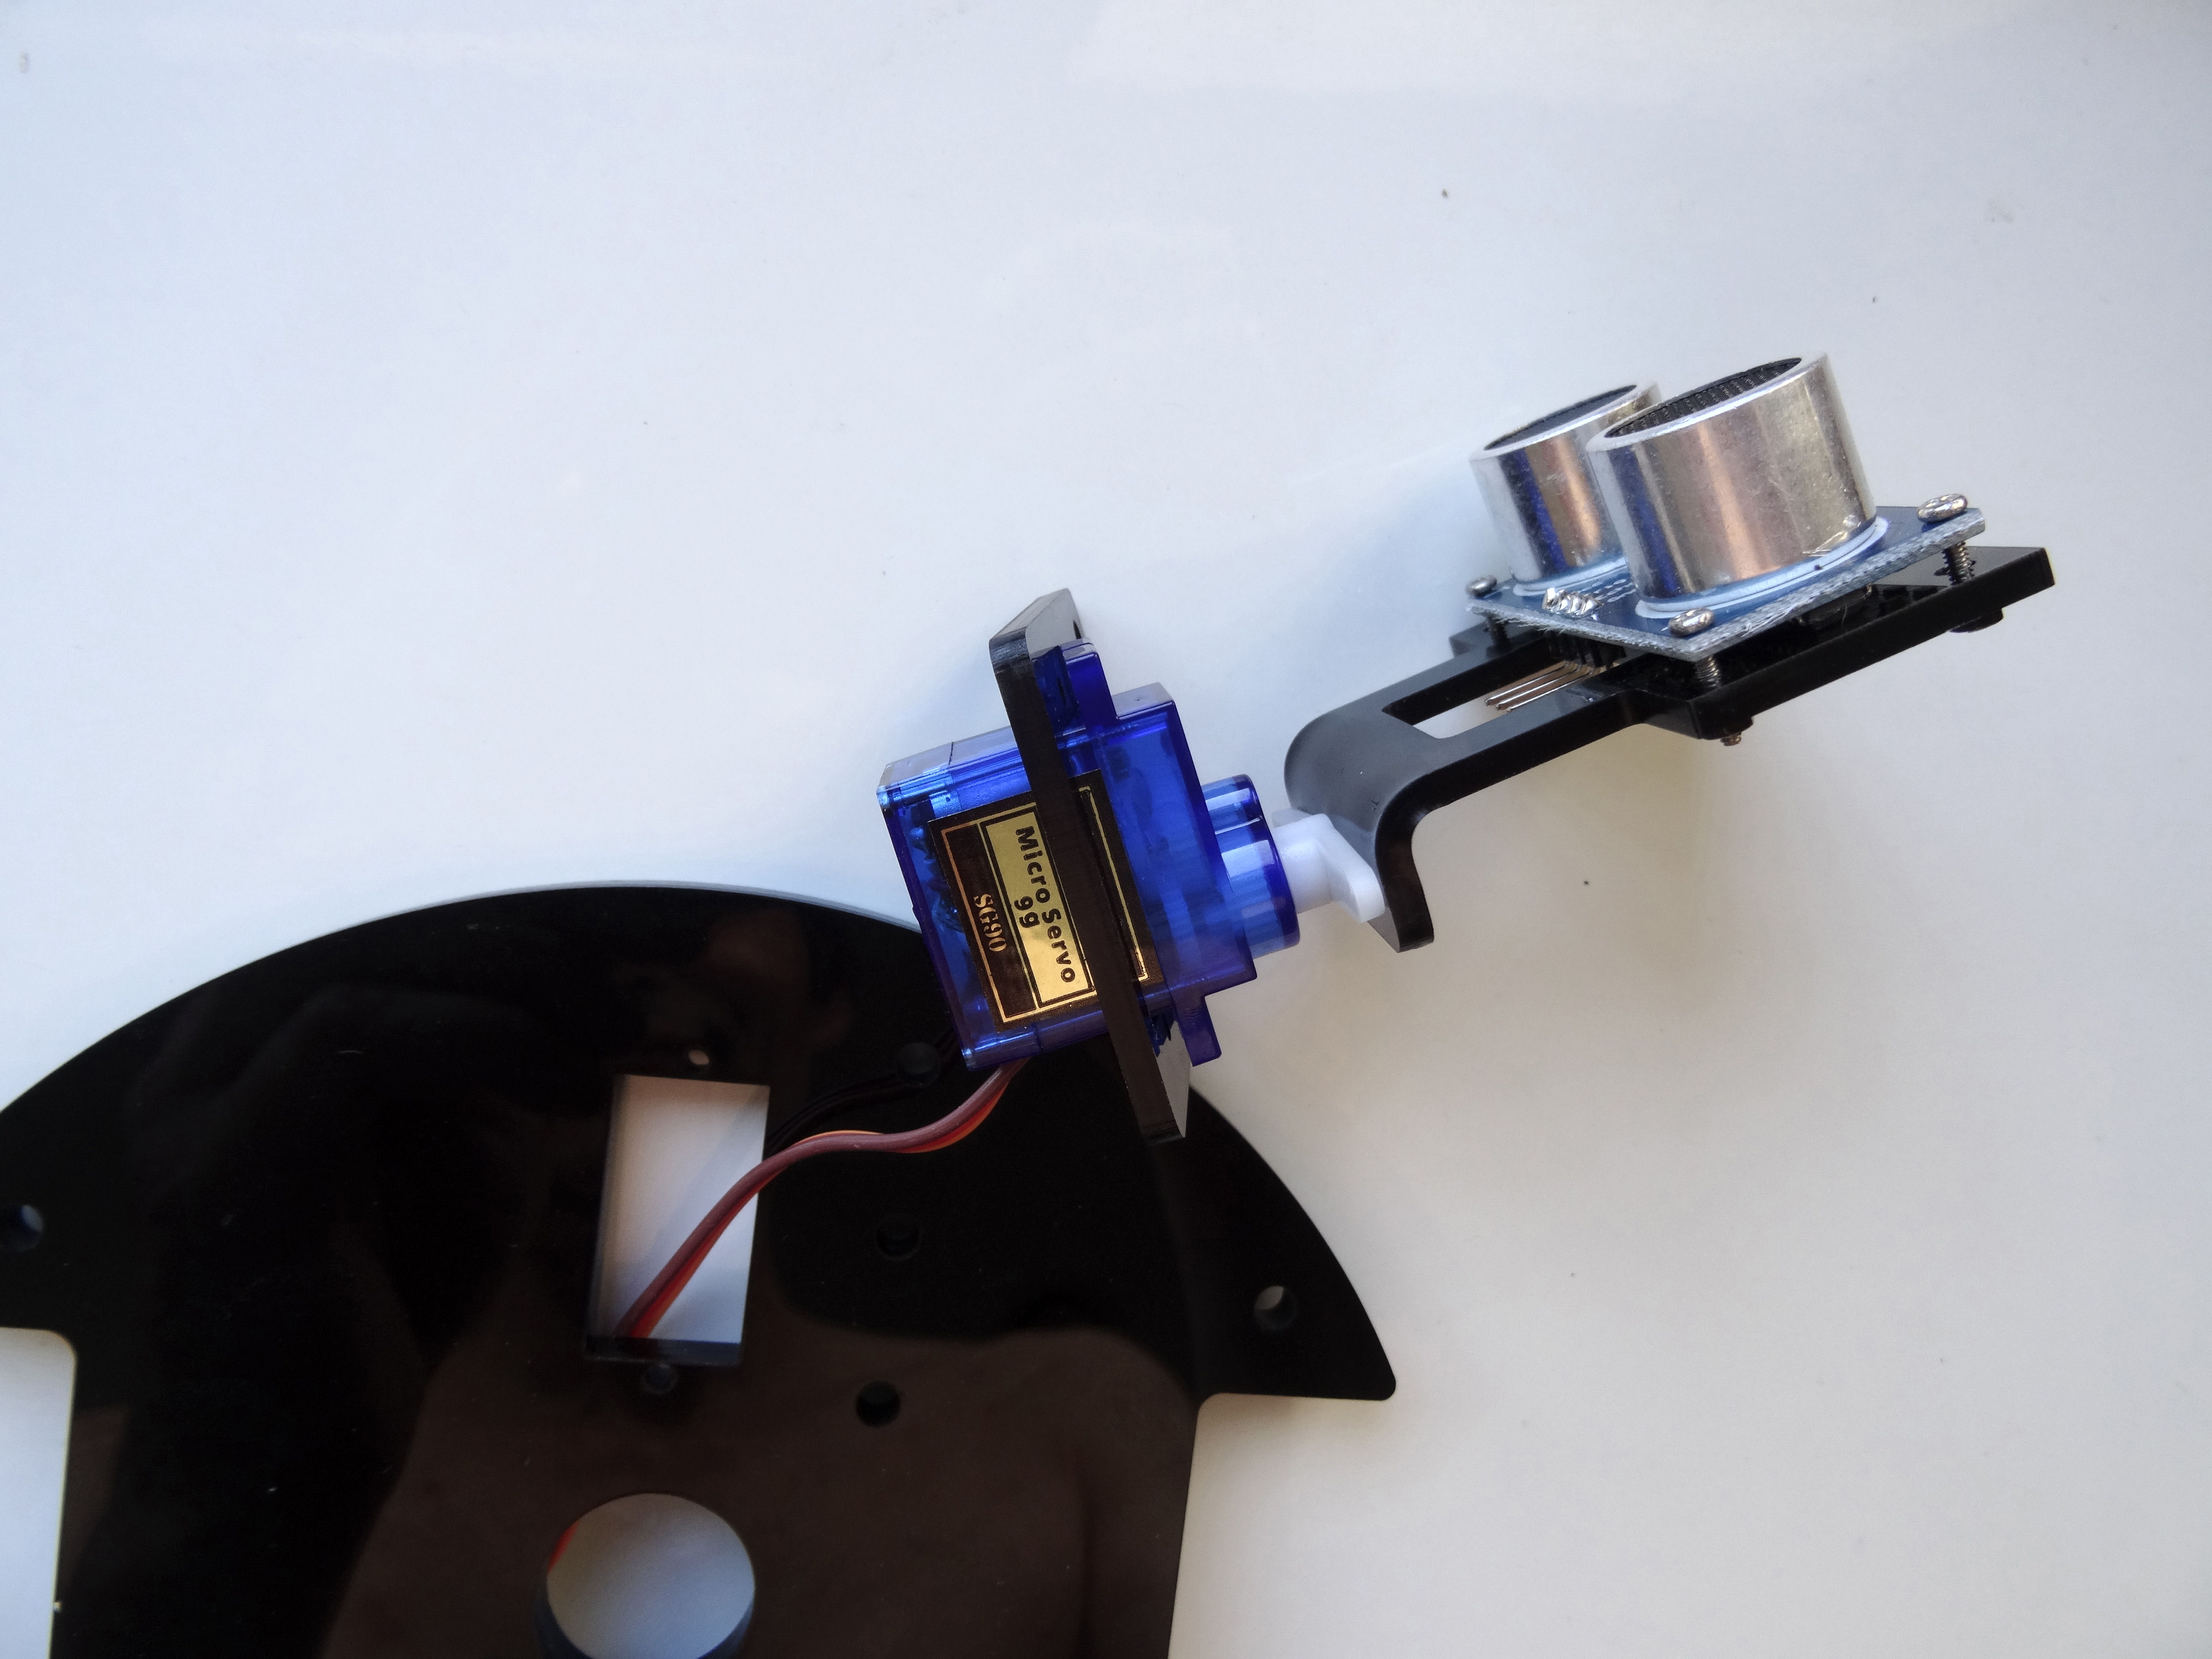
- Push the cables from the Servo through the big rectangular hole of the support mounting plate (Picture 3)
- Turn the Servo so the 3 big round holes of the support plate are on the right side when looking from the back, and insert the servo through the rectangular hole (Picture 4). The insertion is a bit tricky, but not that difficult
Install the Servo on the Chassis
Edited.JPG)
Edited.JPG)
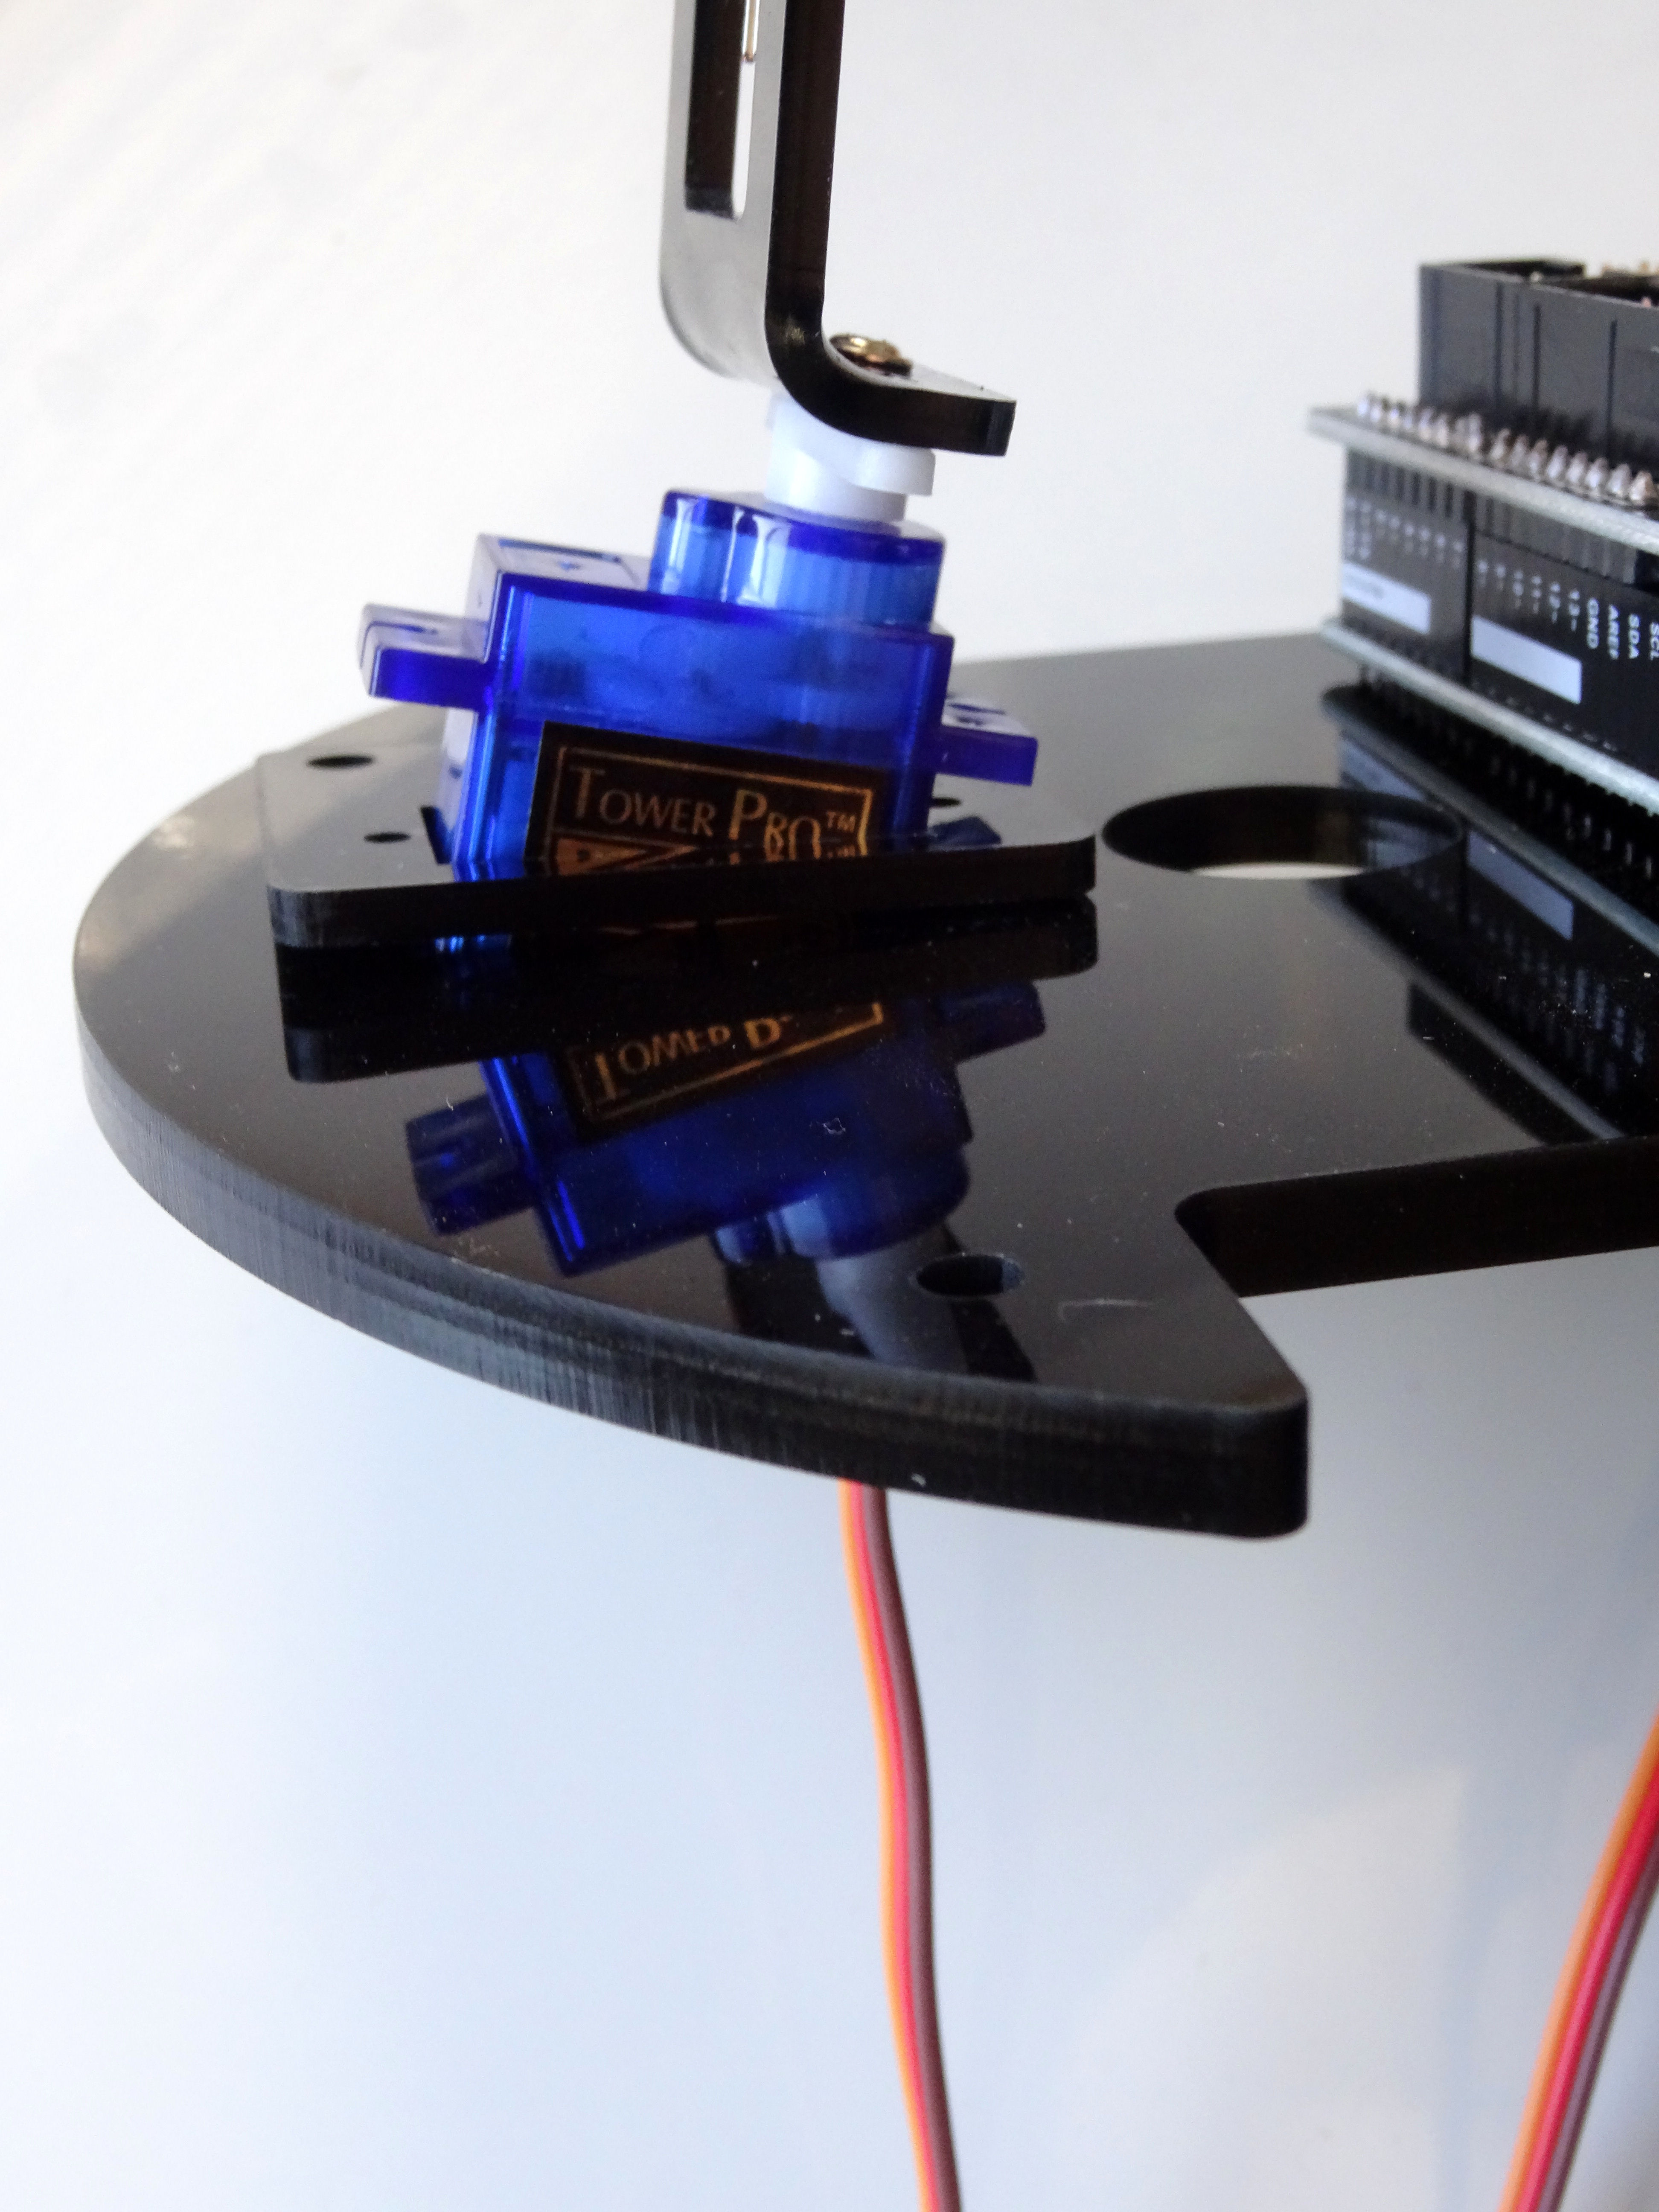
- Push the cables from the servo through the big rectangular hole of the top layer of the Chassis from top to bottom, so the Servo is on the top side of the layer (Picture 1)
- Carefully insert the Servo into the big rectangular hole of the Chassis (Picture 2)
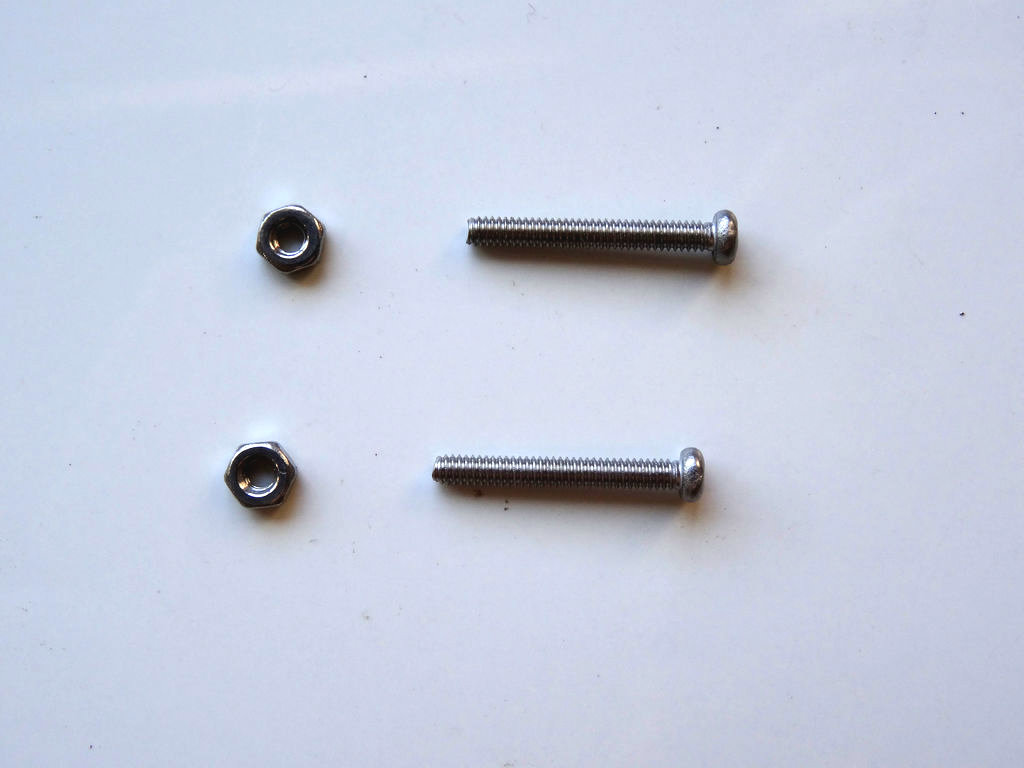
- Take the 2 small screws (Picture 3)
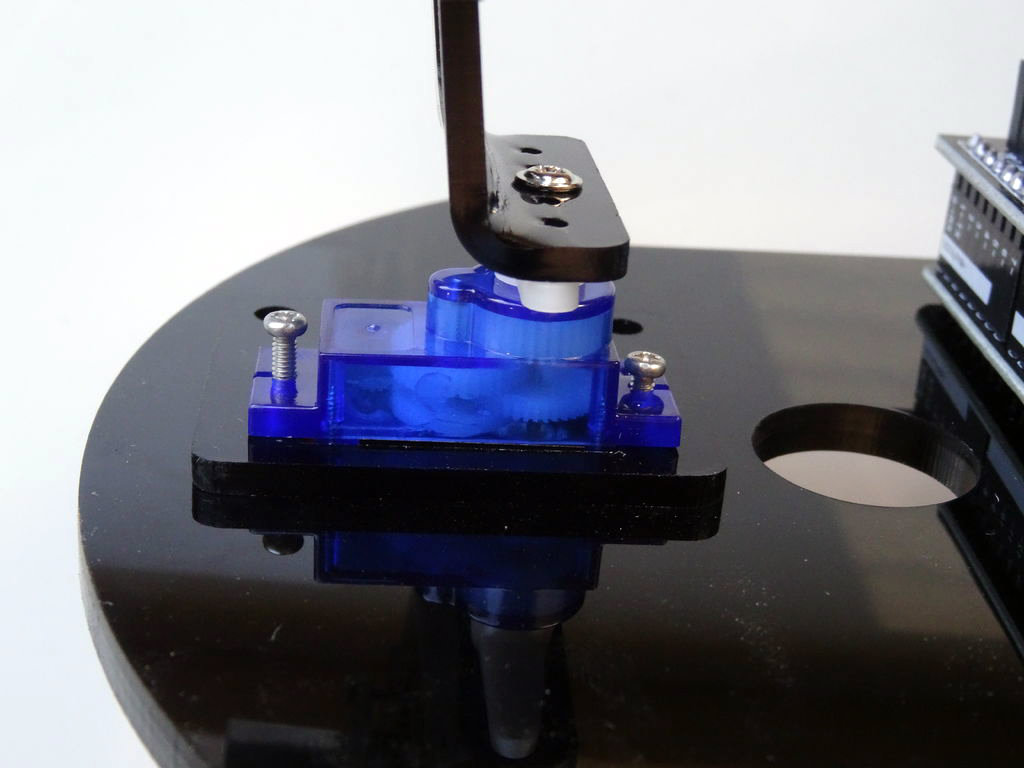
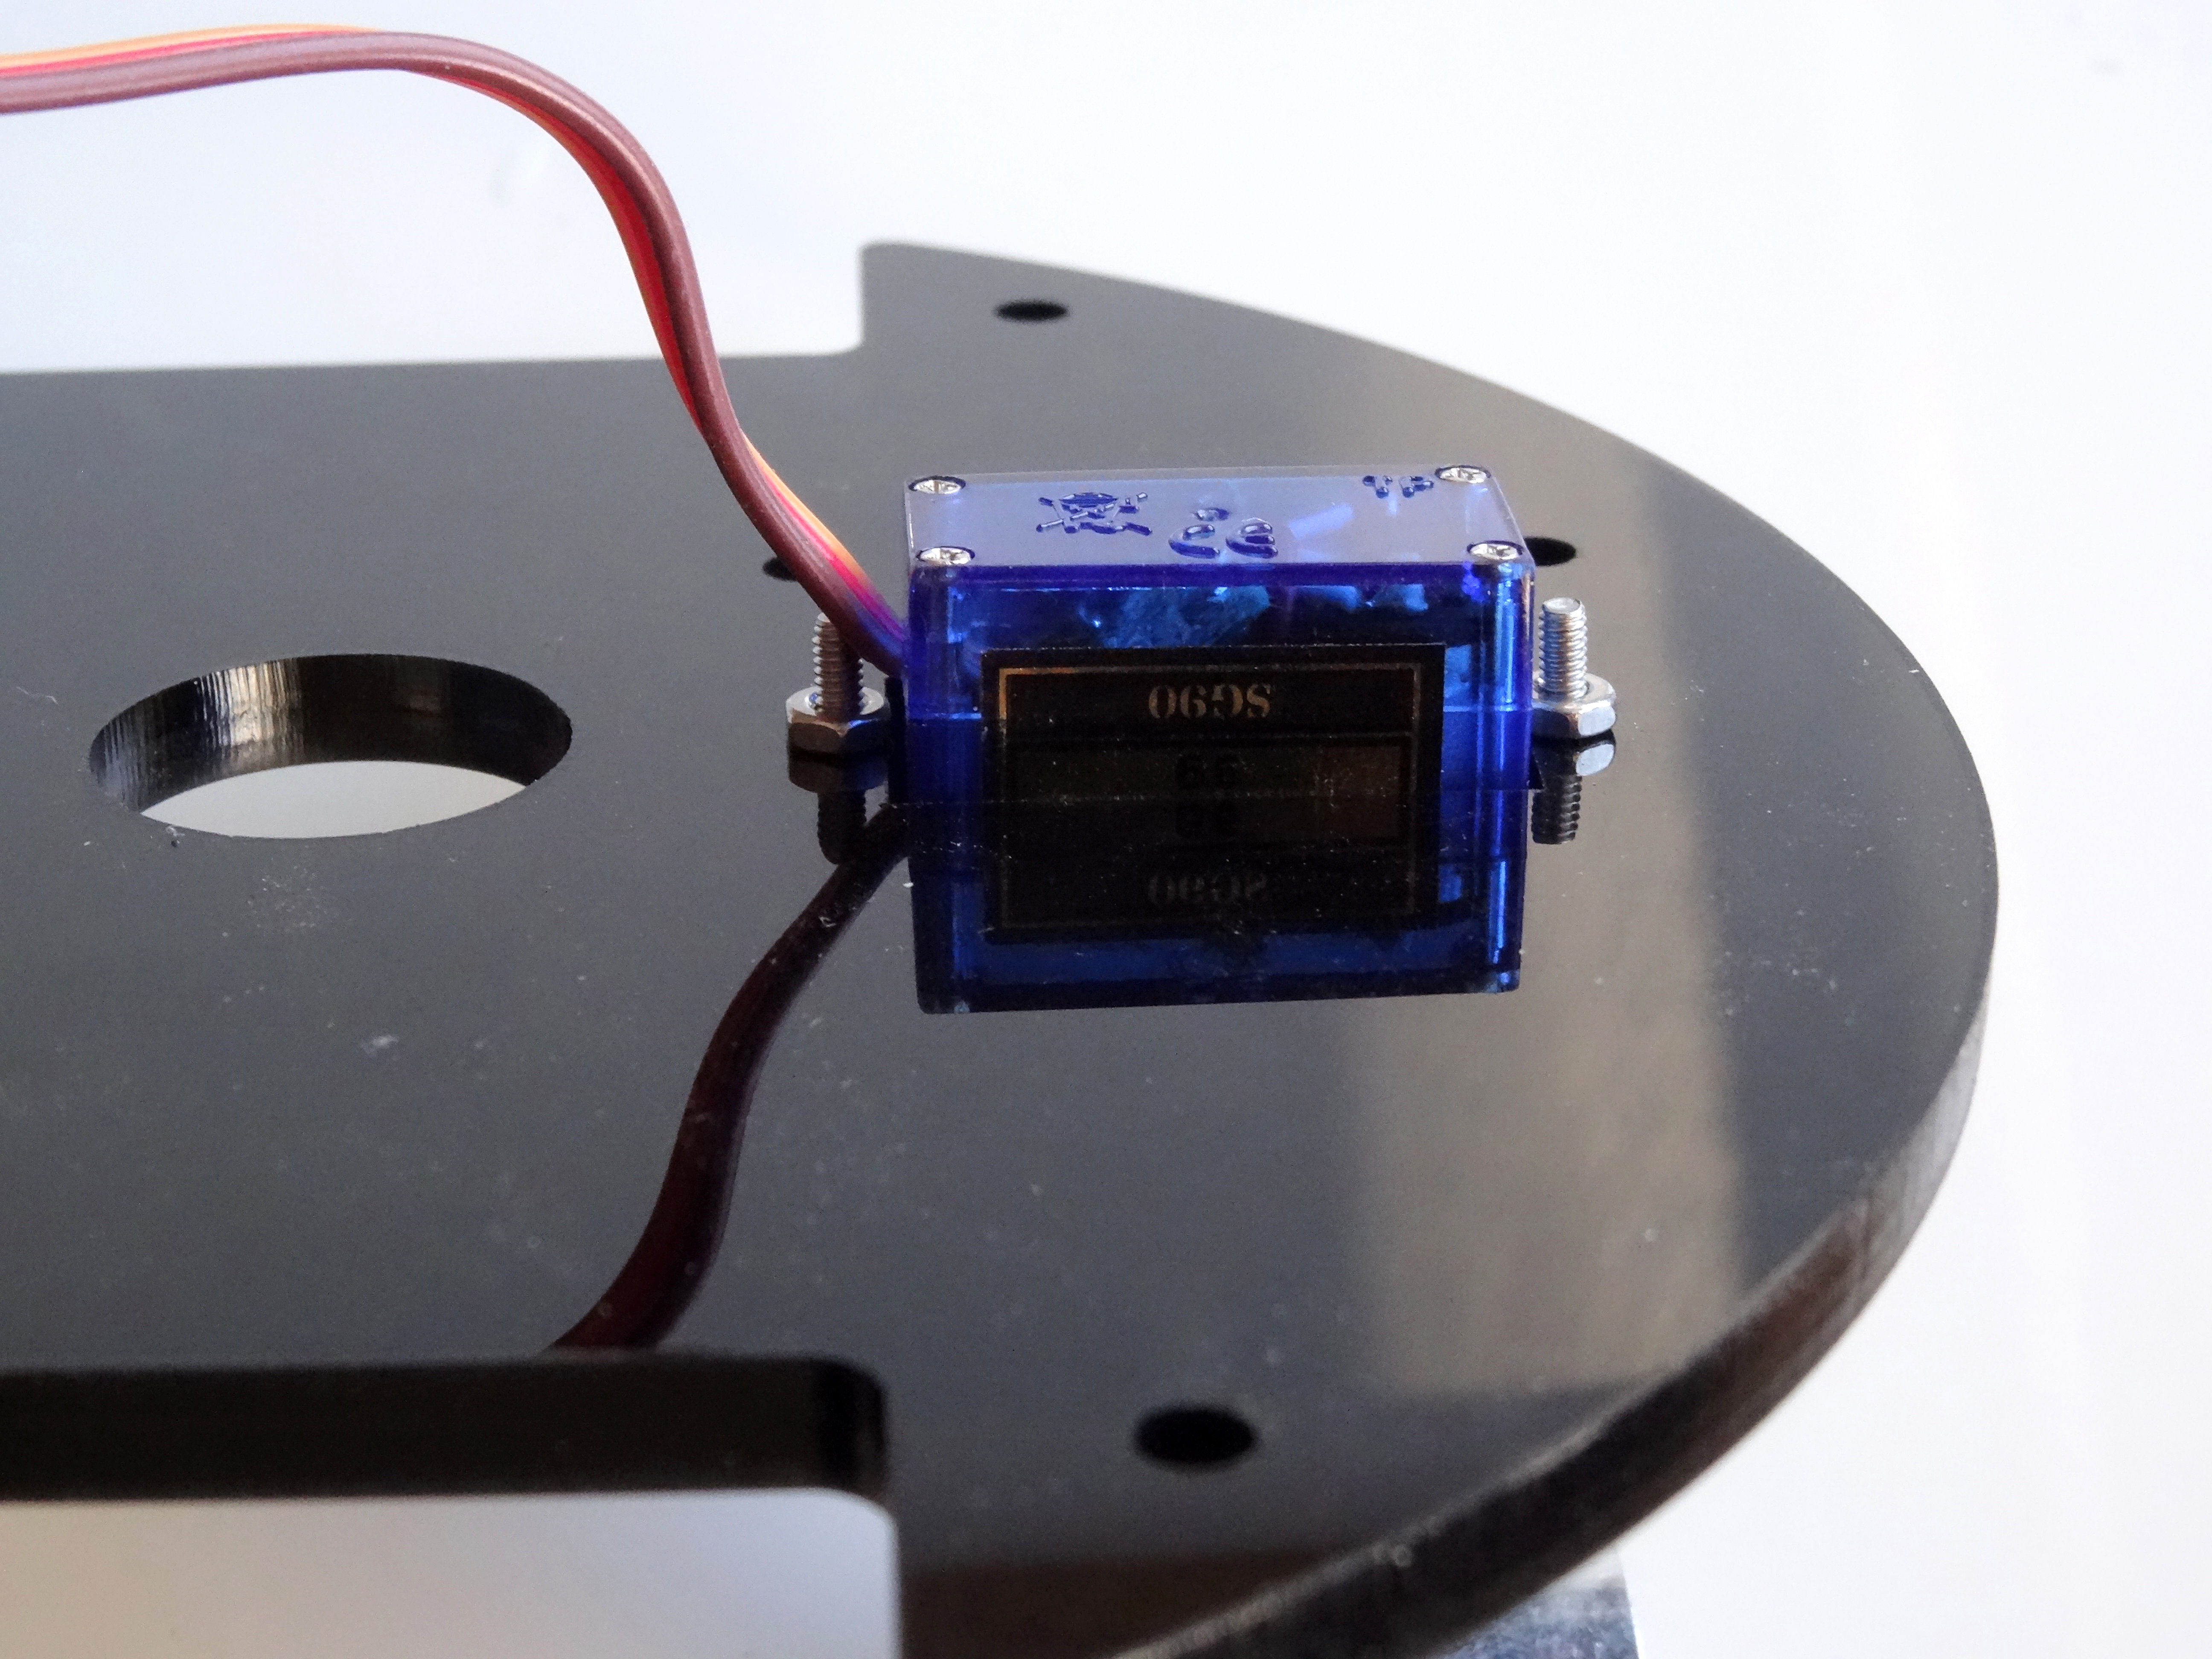
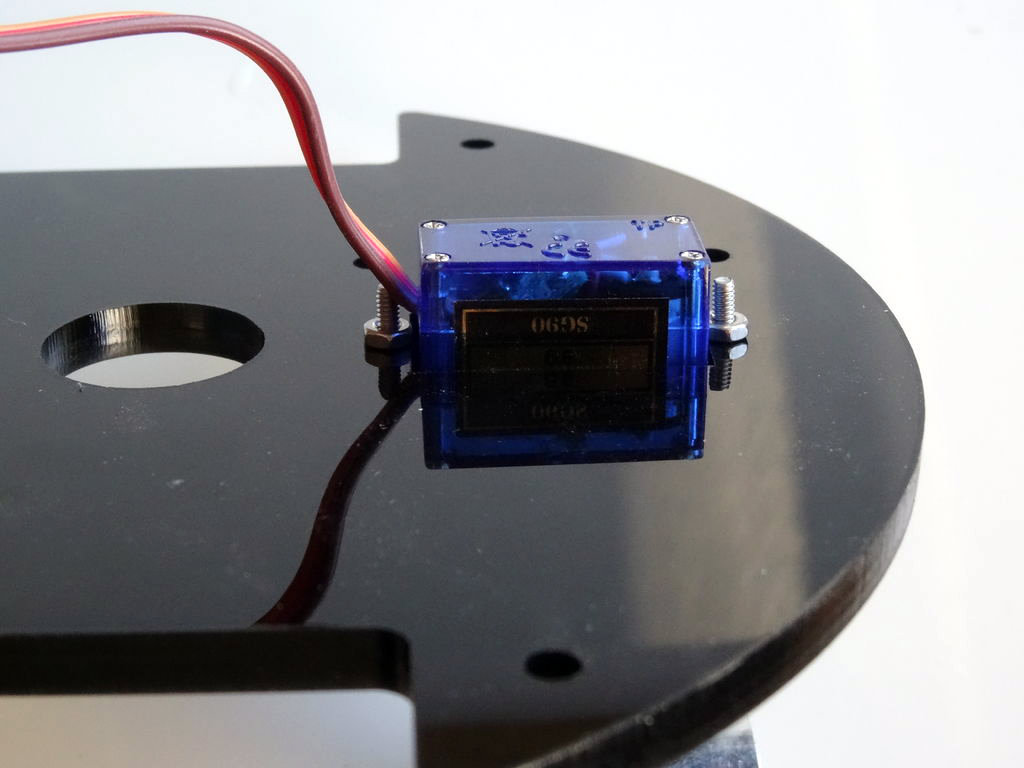
- And insert them through the 2 holes on the side of the Servo from the top (Picture 4)
- Then fasten them with the nuts on the bottom (Picture 5)
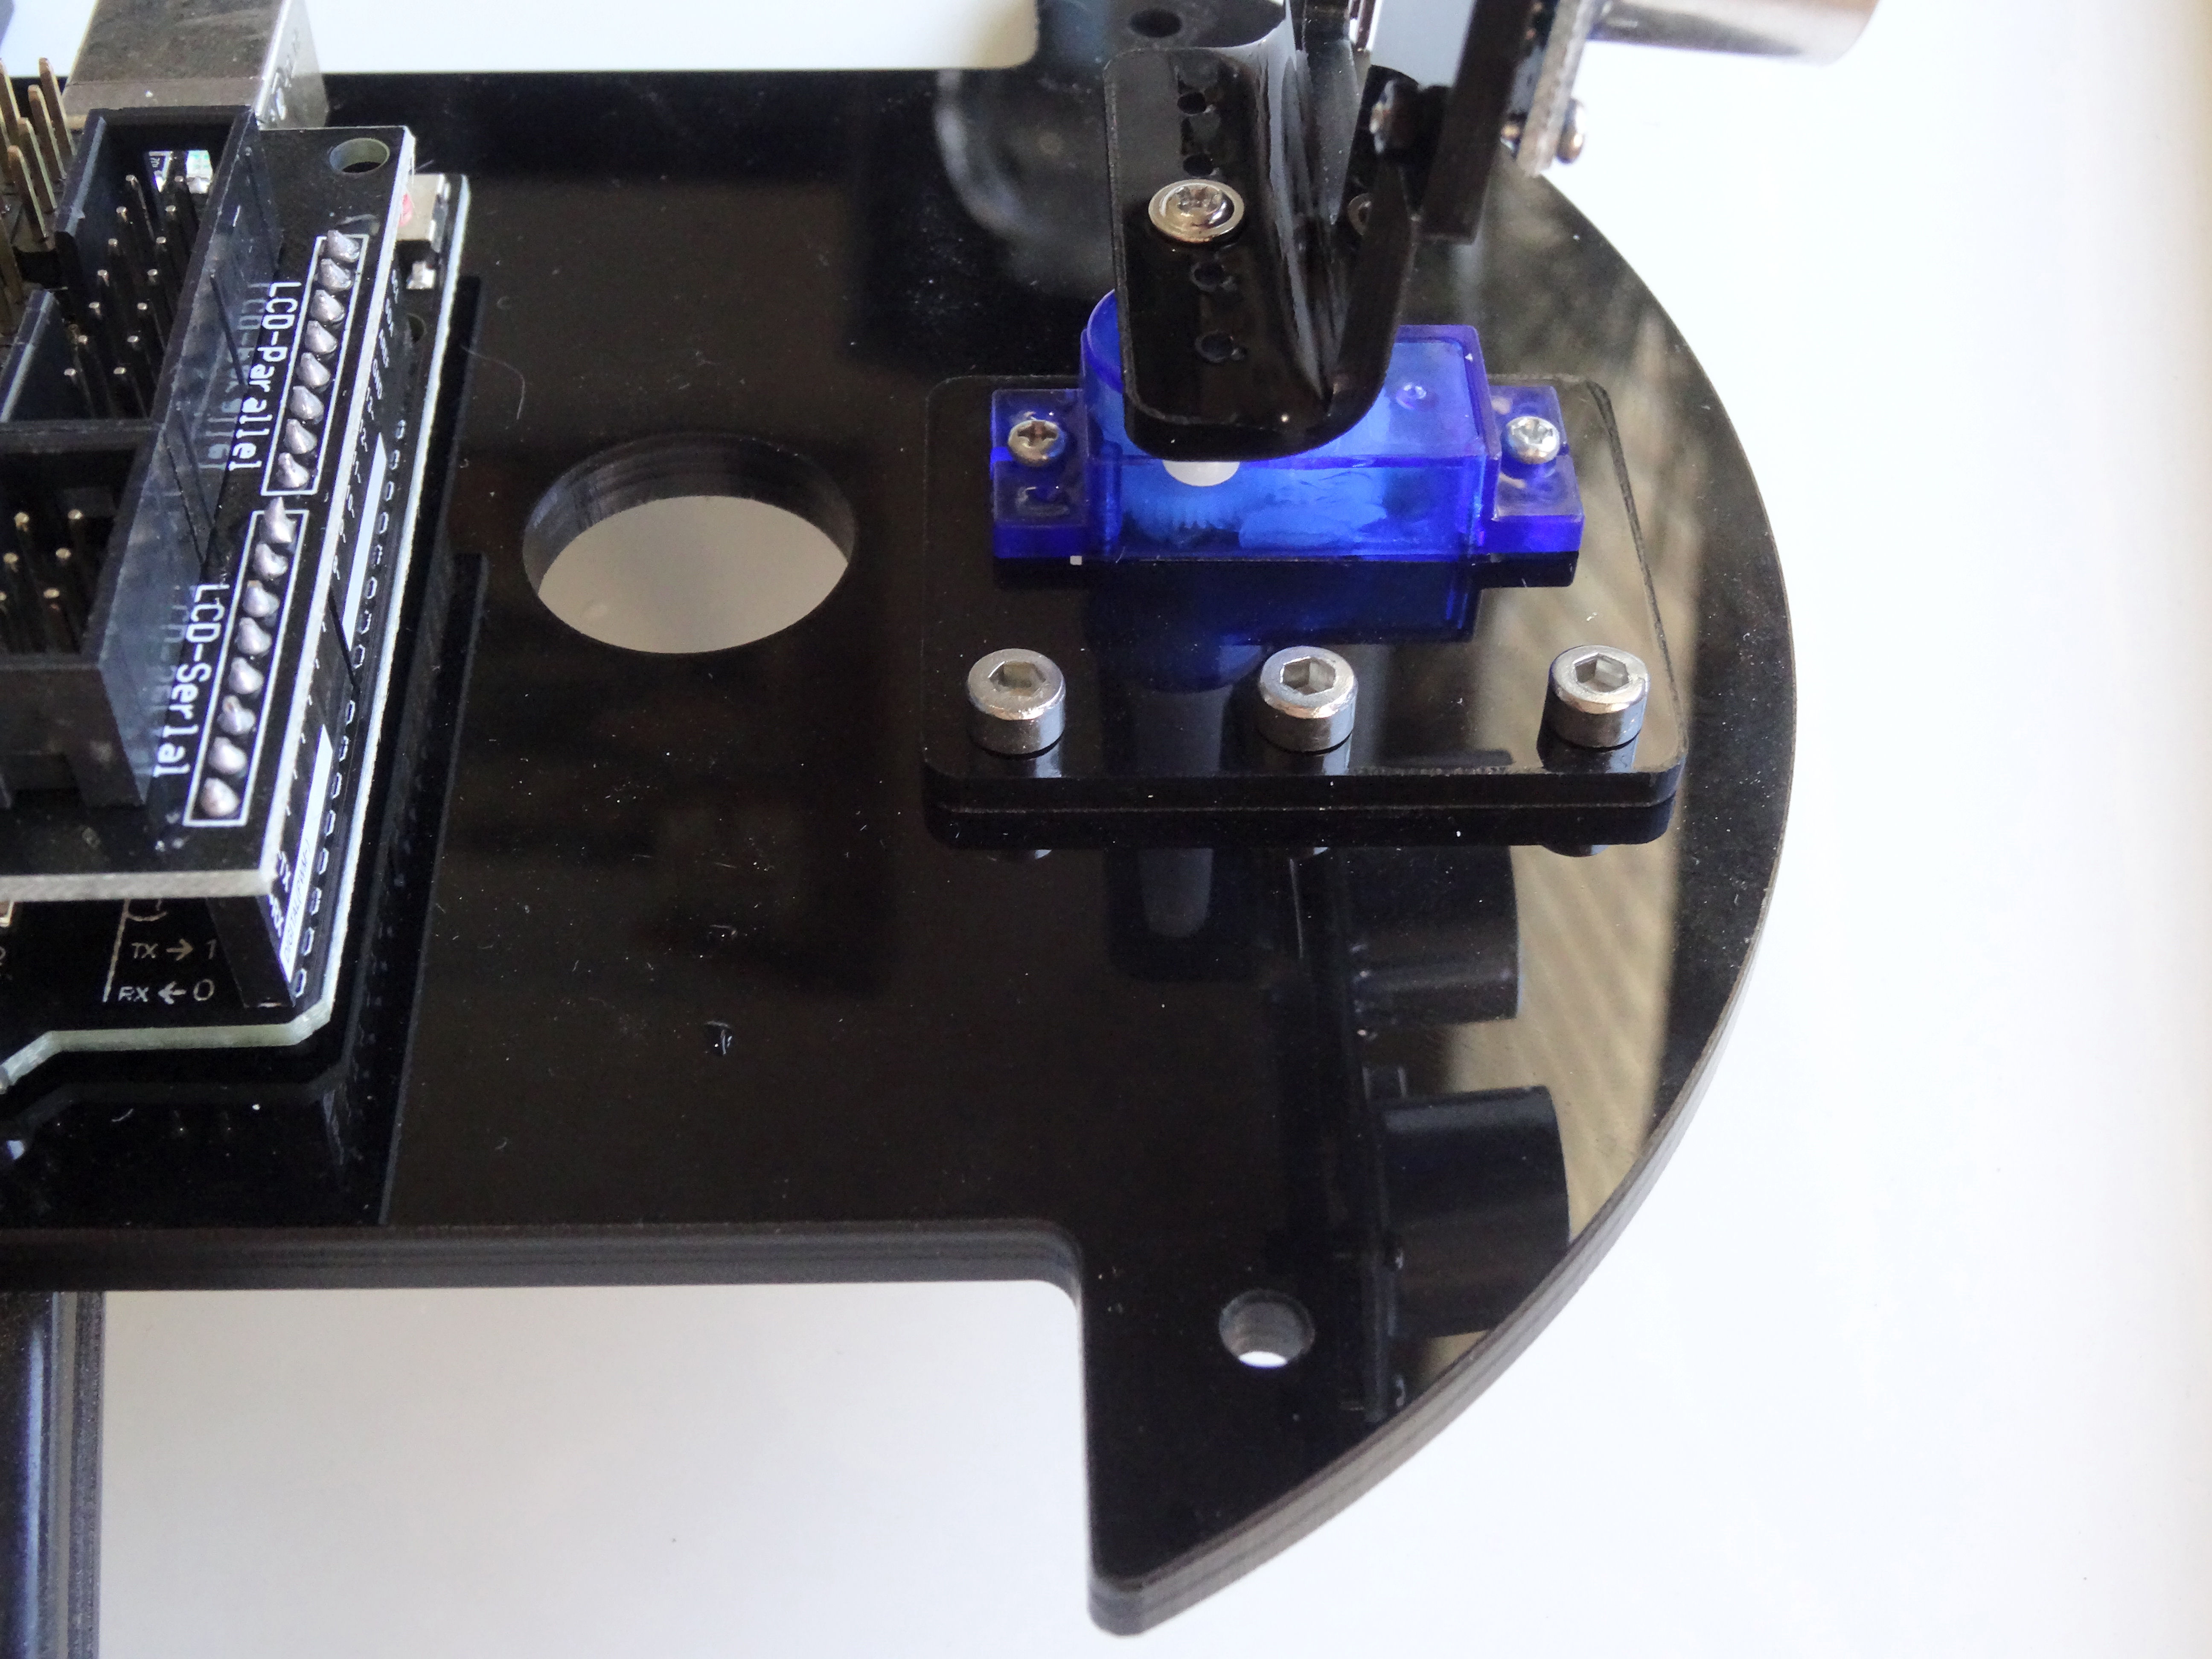
- Insert, from the top, the 3 big screws through the 3 big holes next to the servo, and fasten them with the nuts (Picture 6)
Connect the Servo to the Sensor Shield
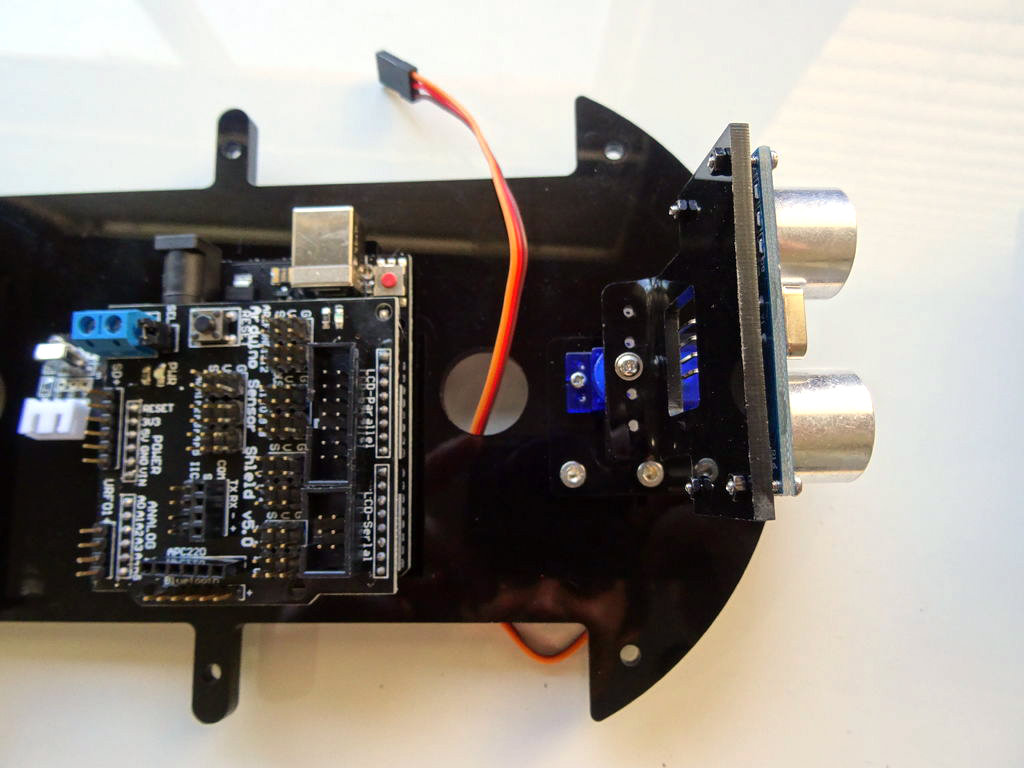
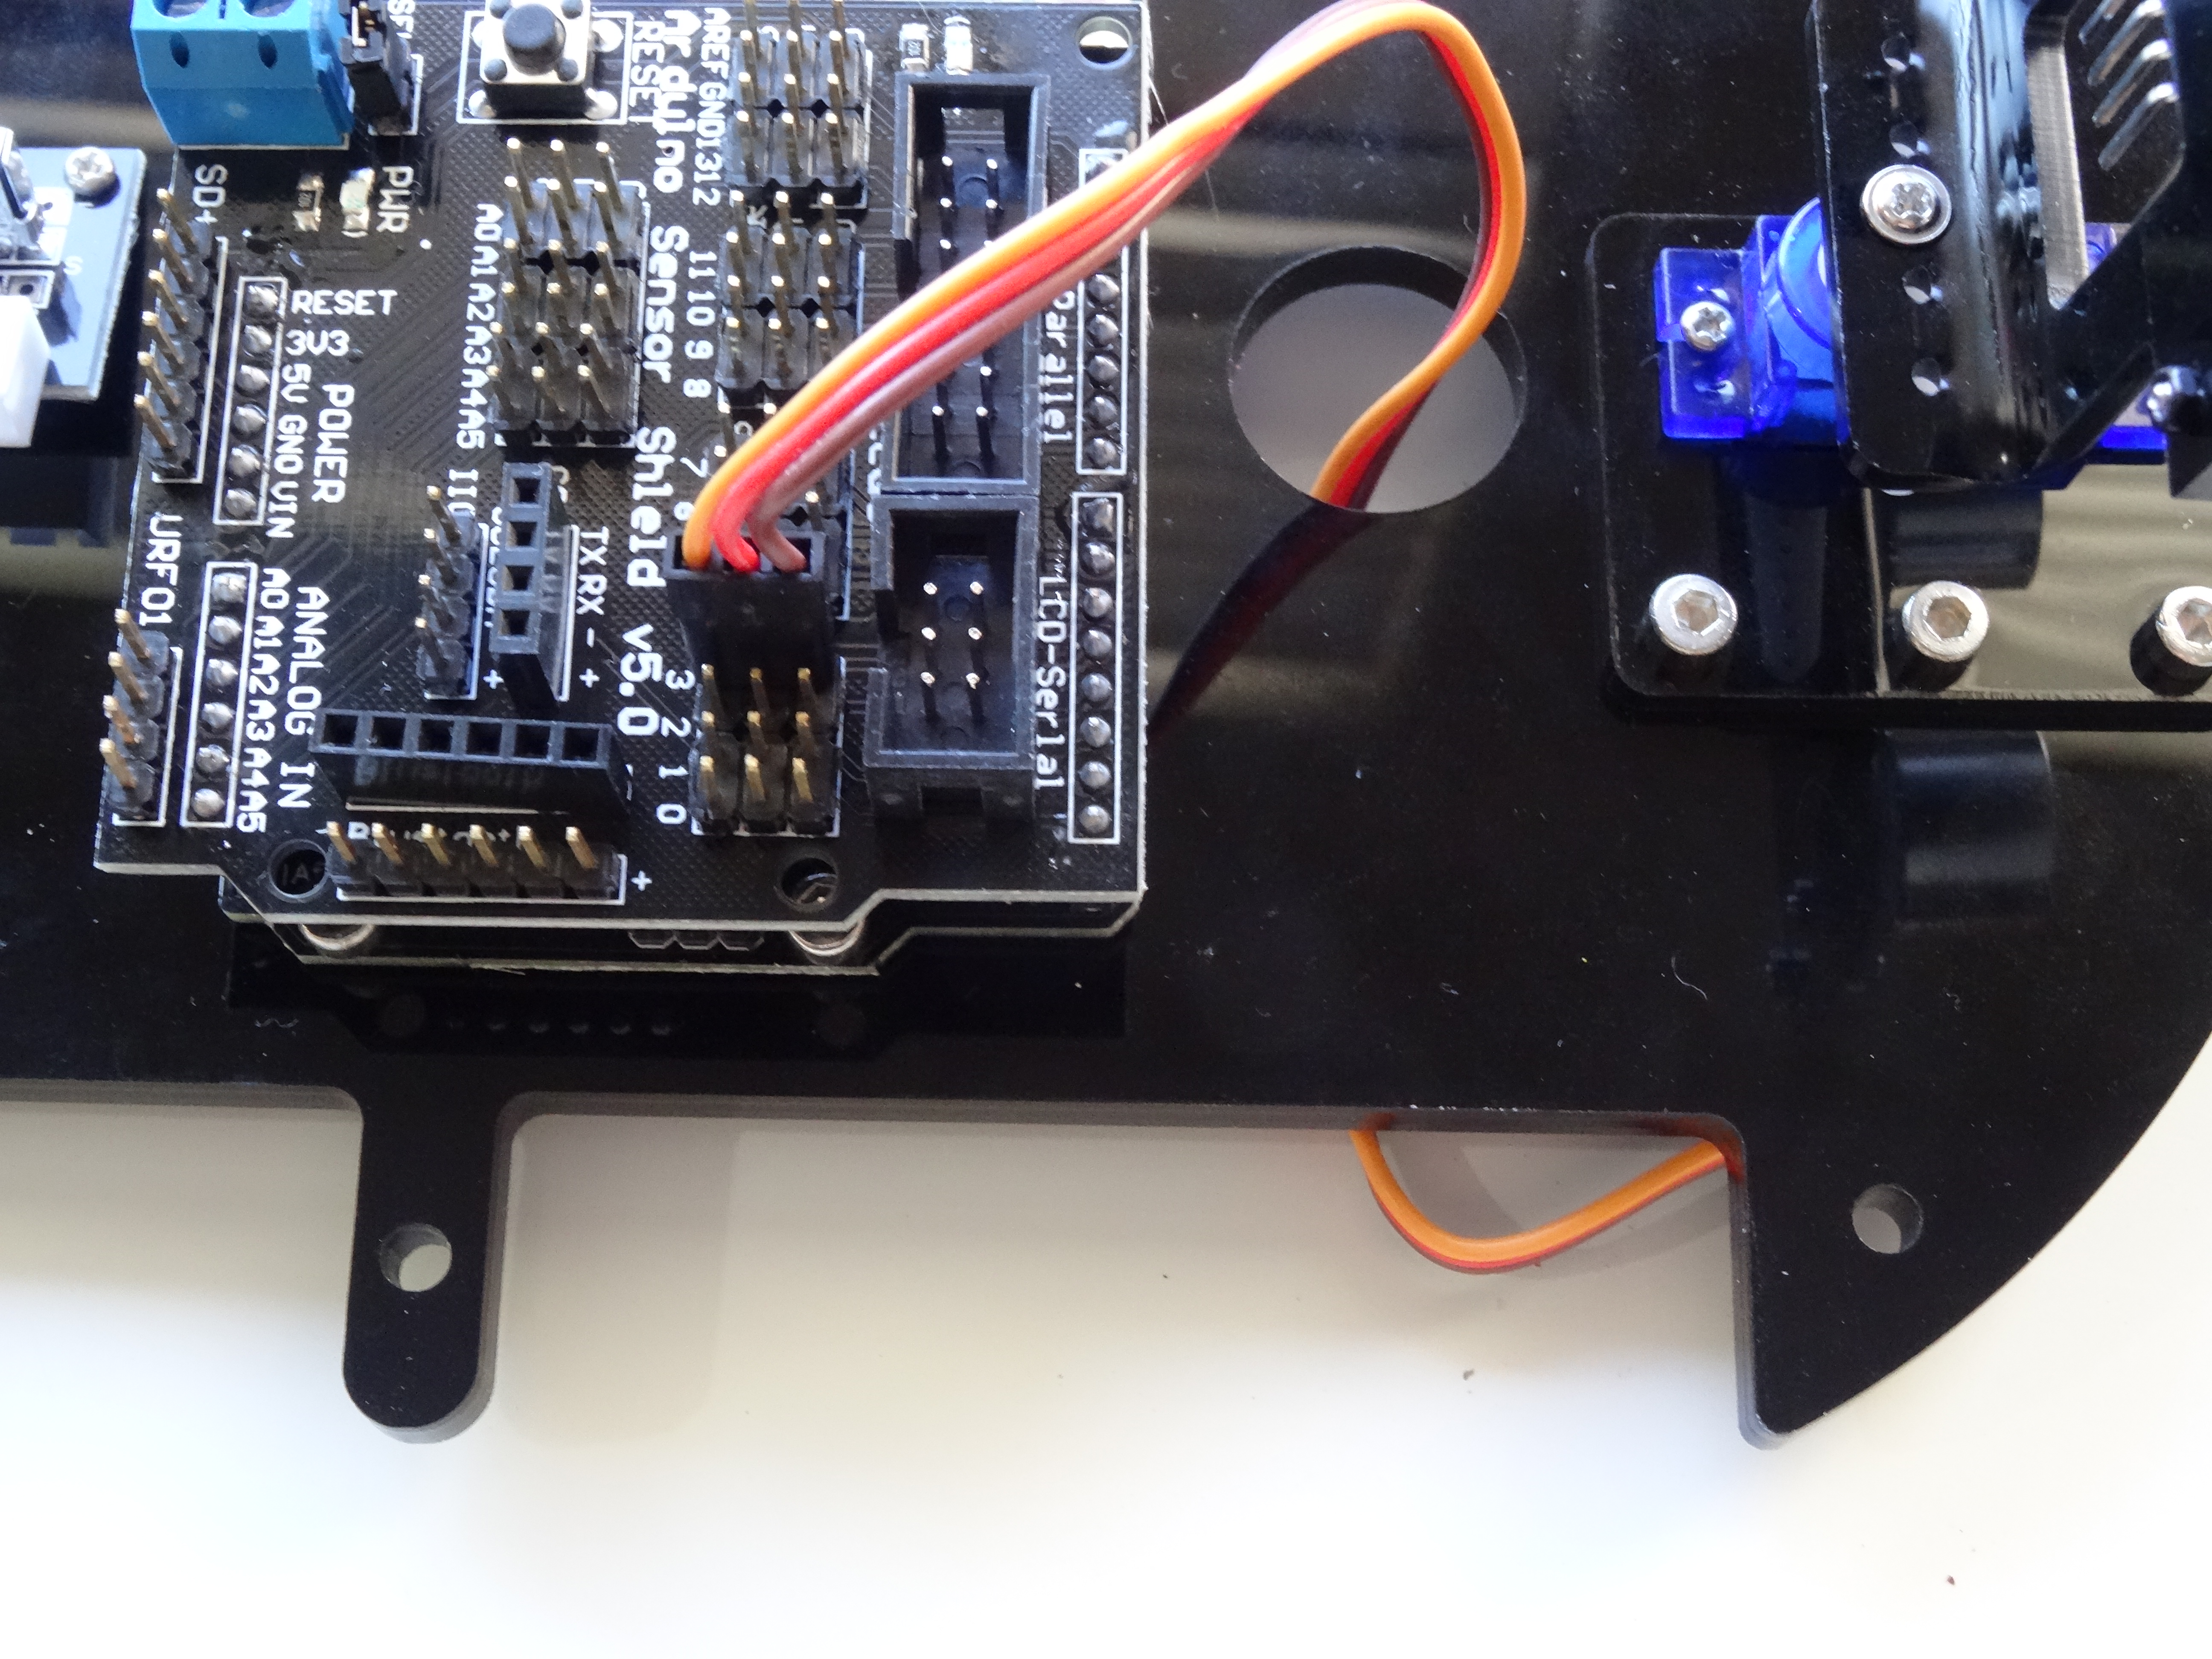
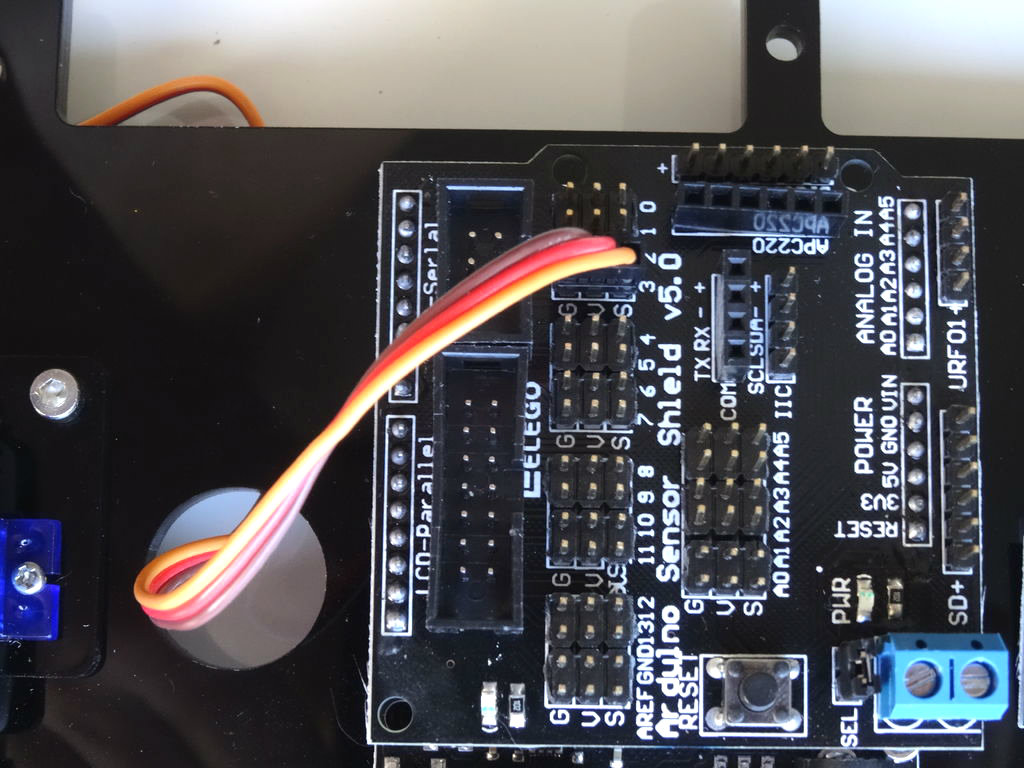
Connect the Wires to the Infrared Line Following Sensor Modules
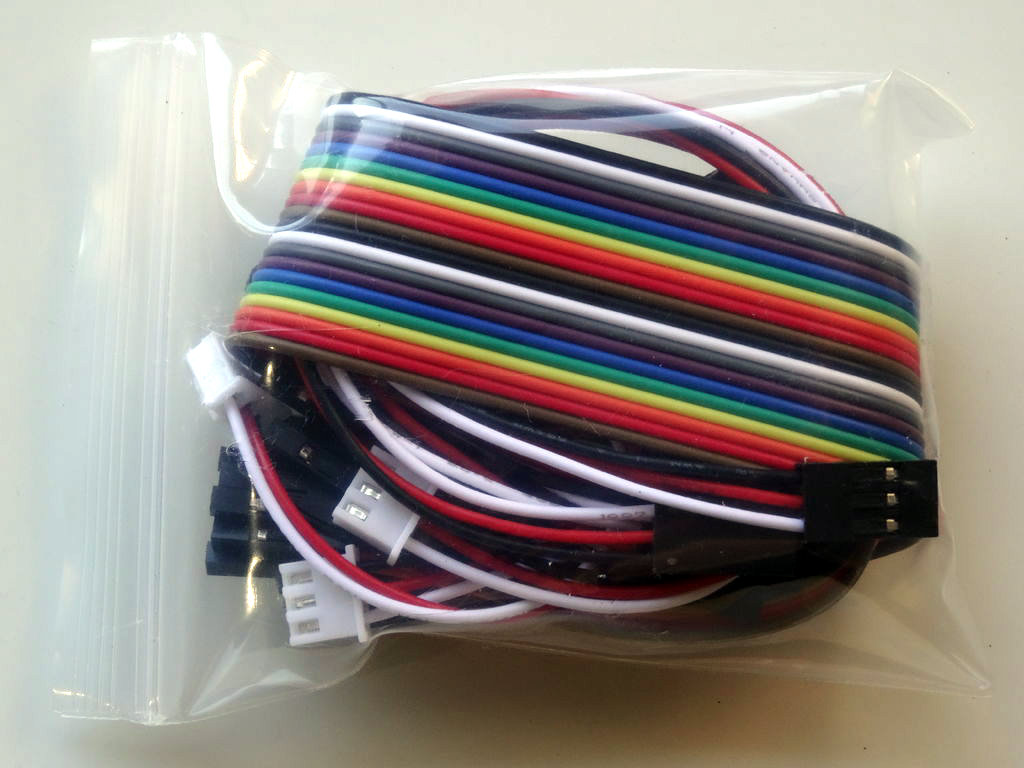
- Take the bag with the cables out of the box (Picture 1)
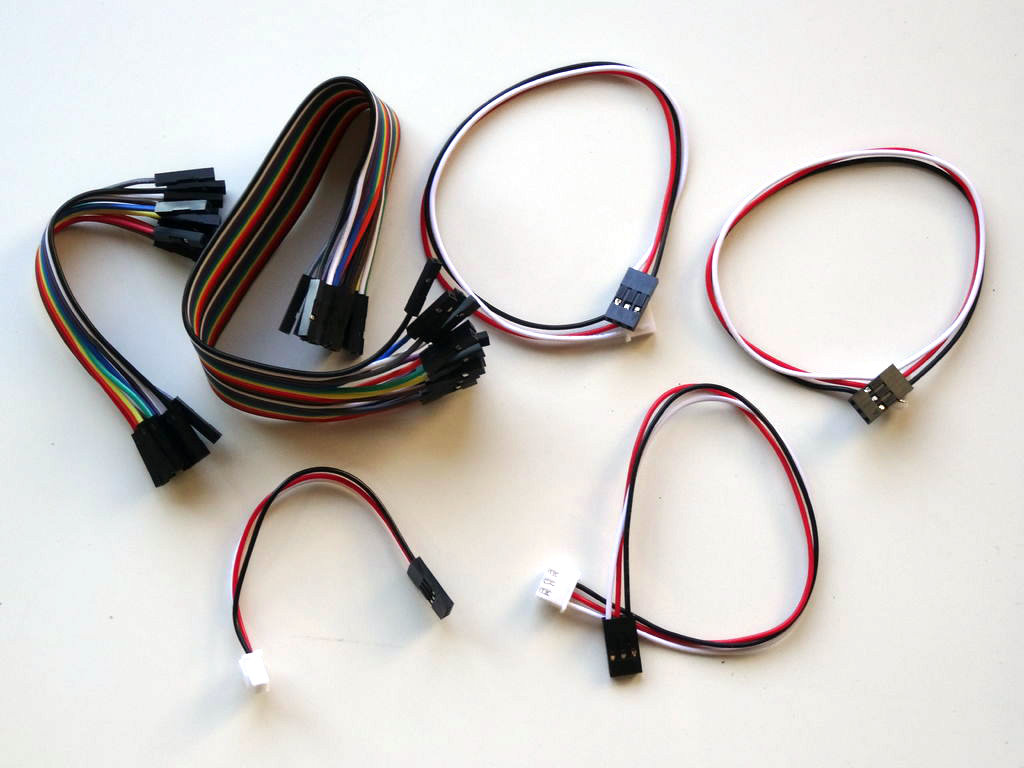
- Unpack the cables (Picture 2)
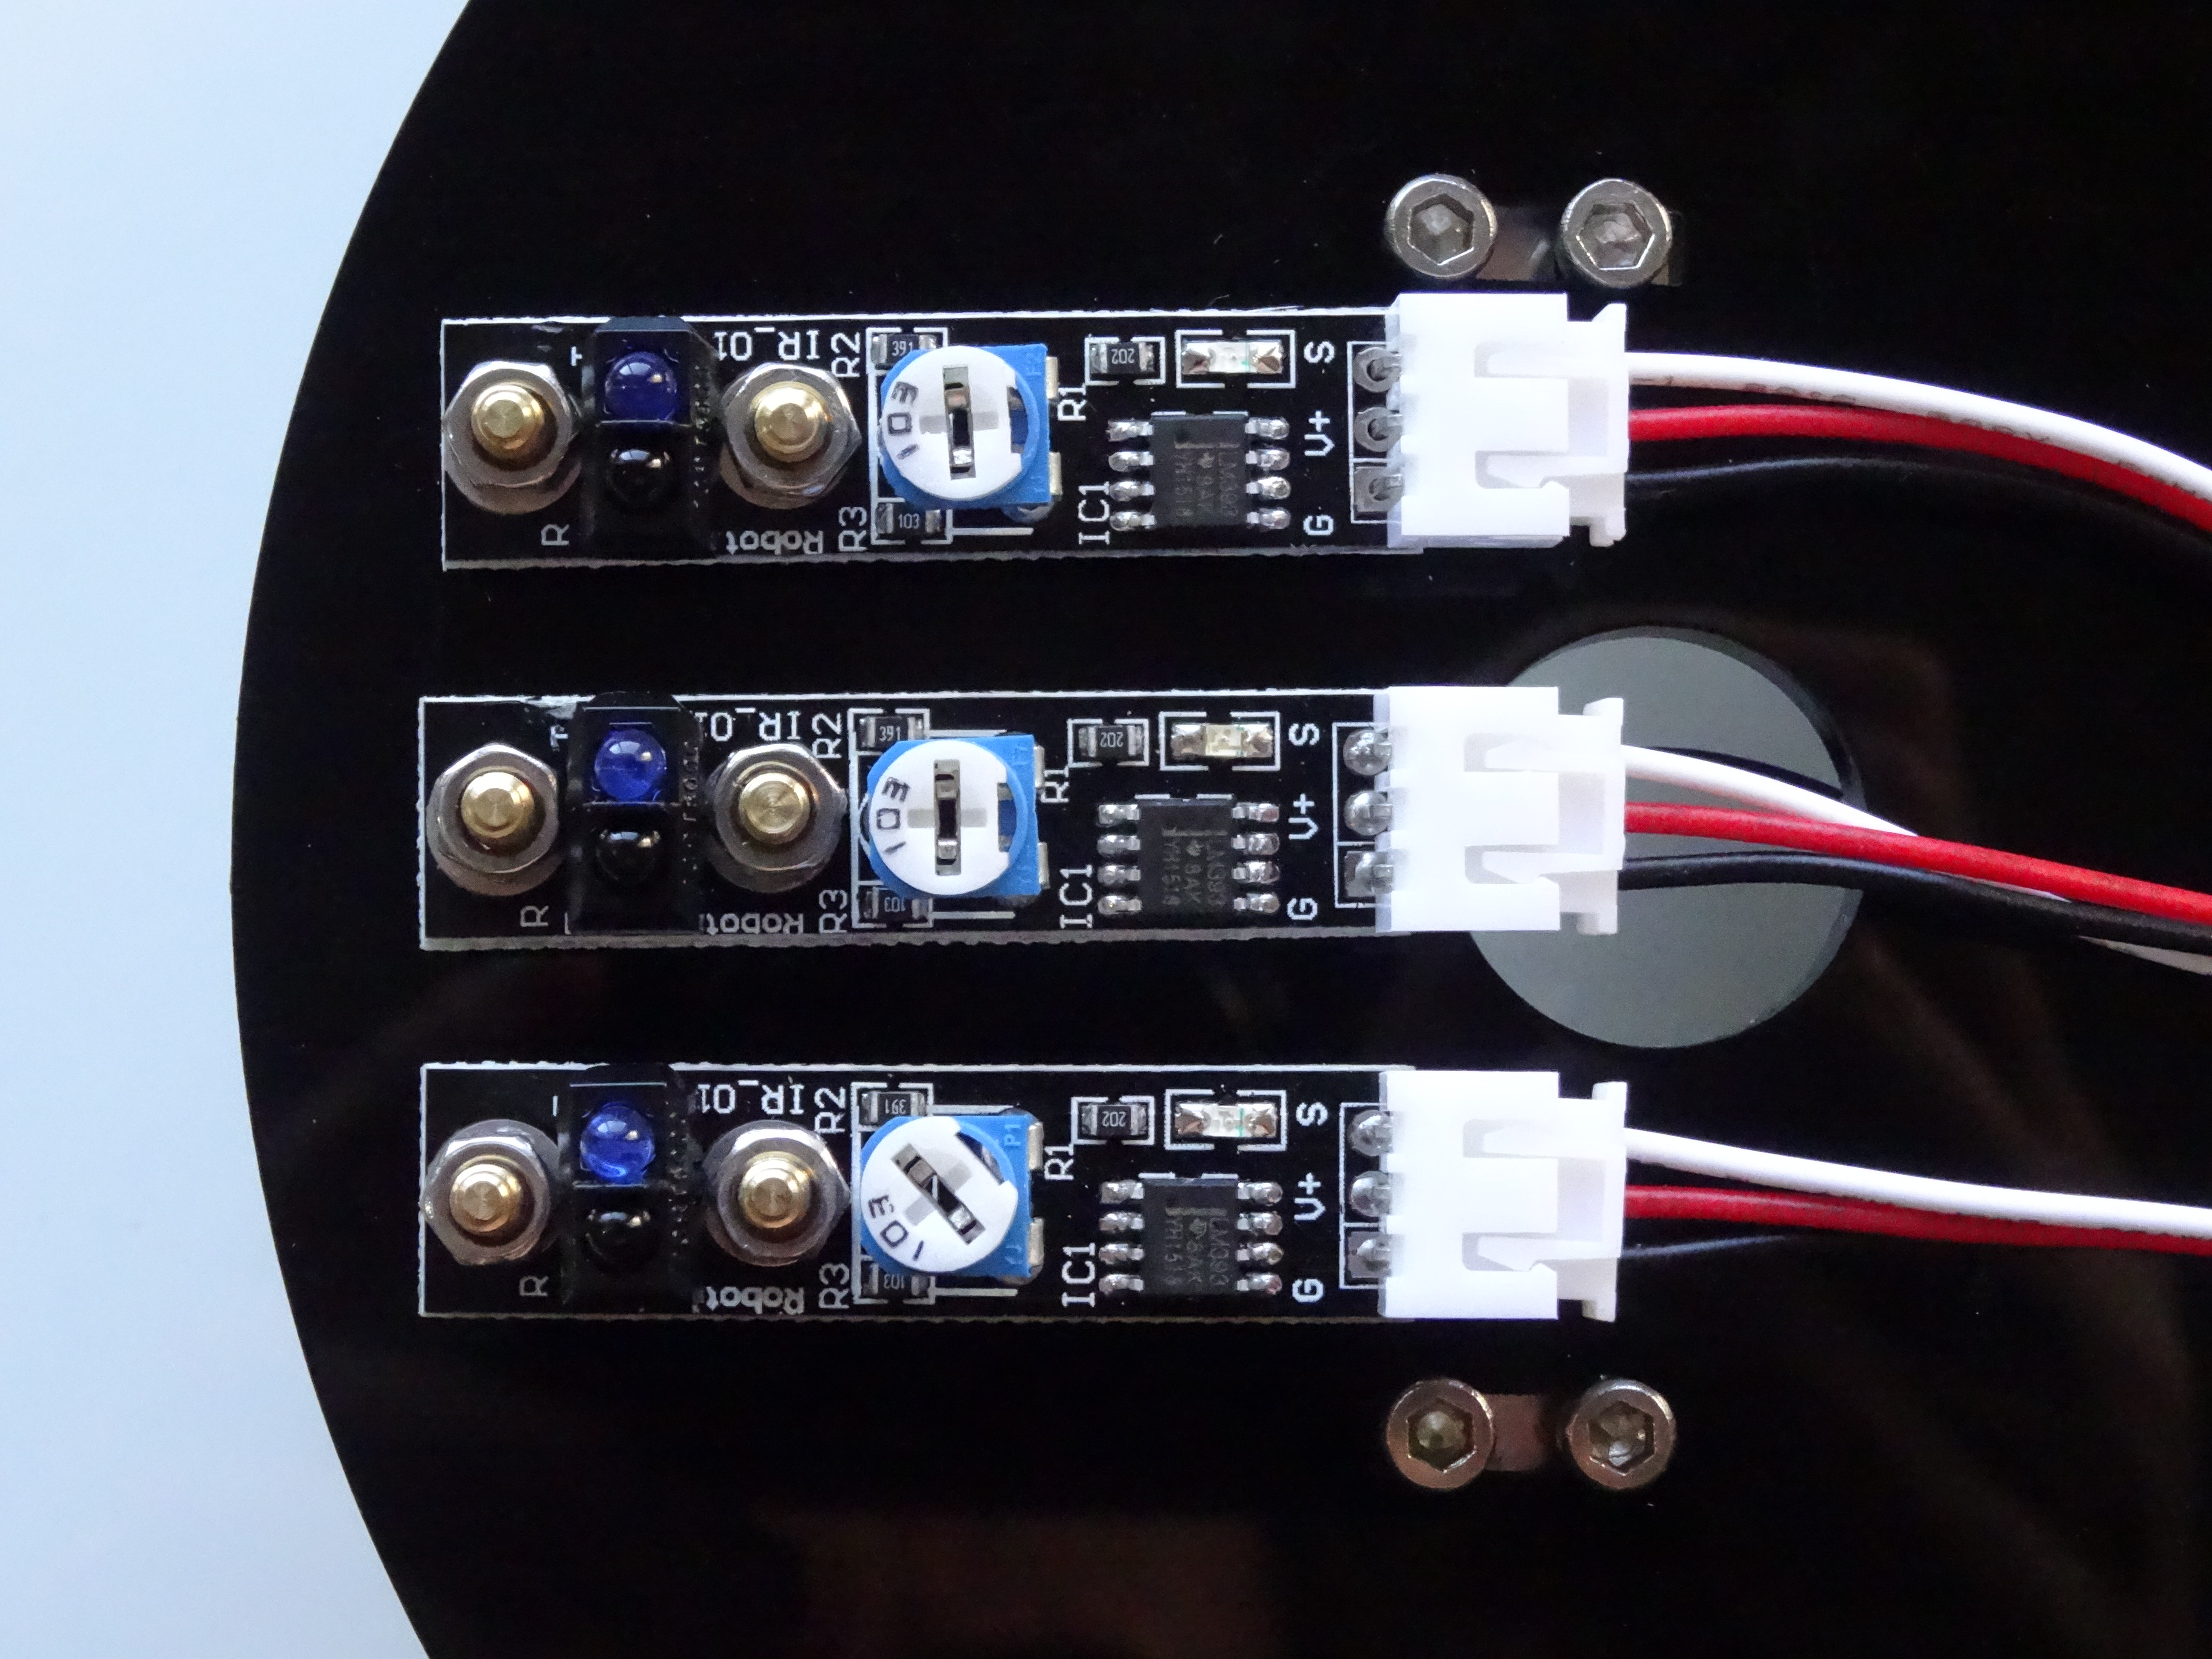
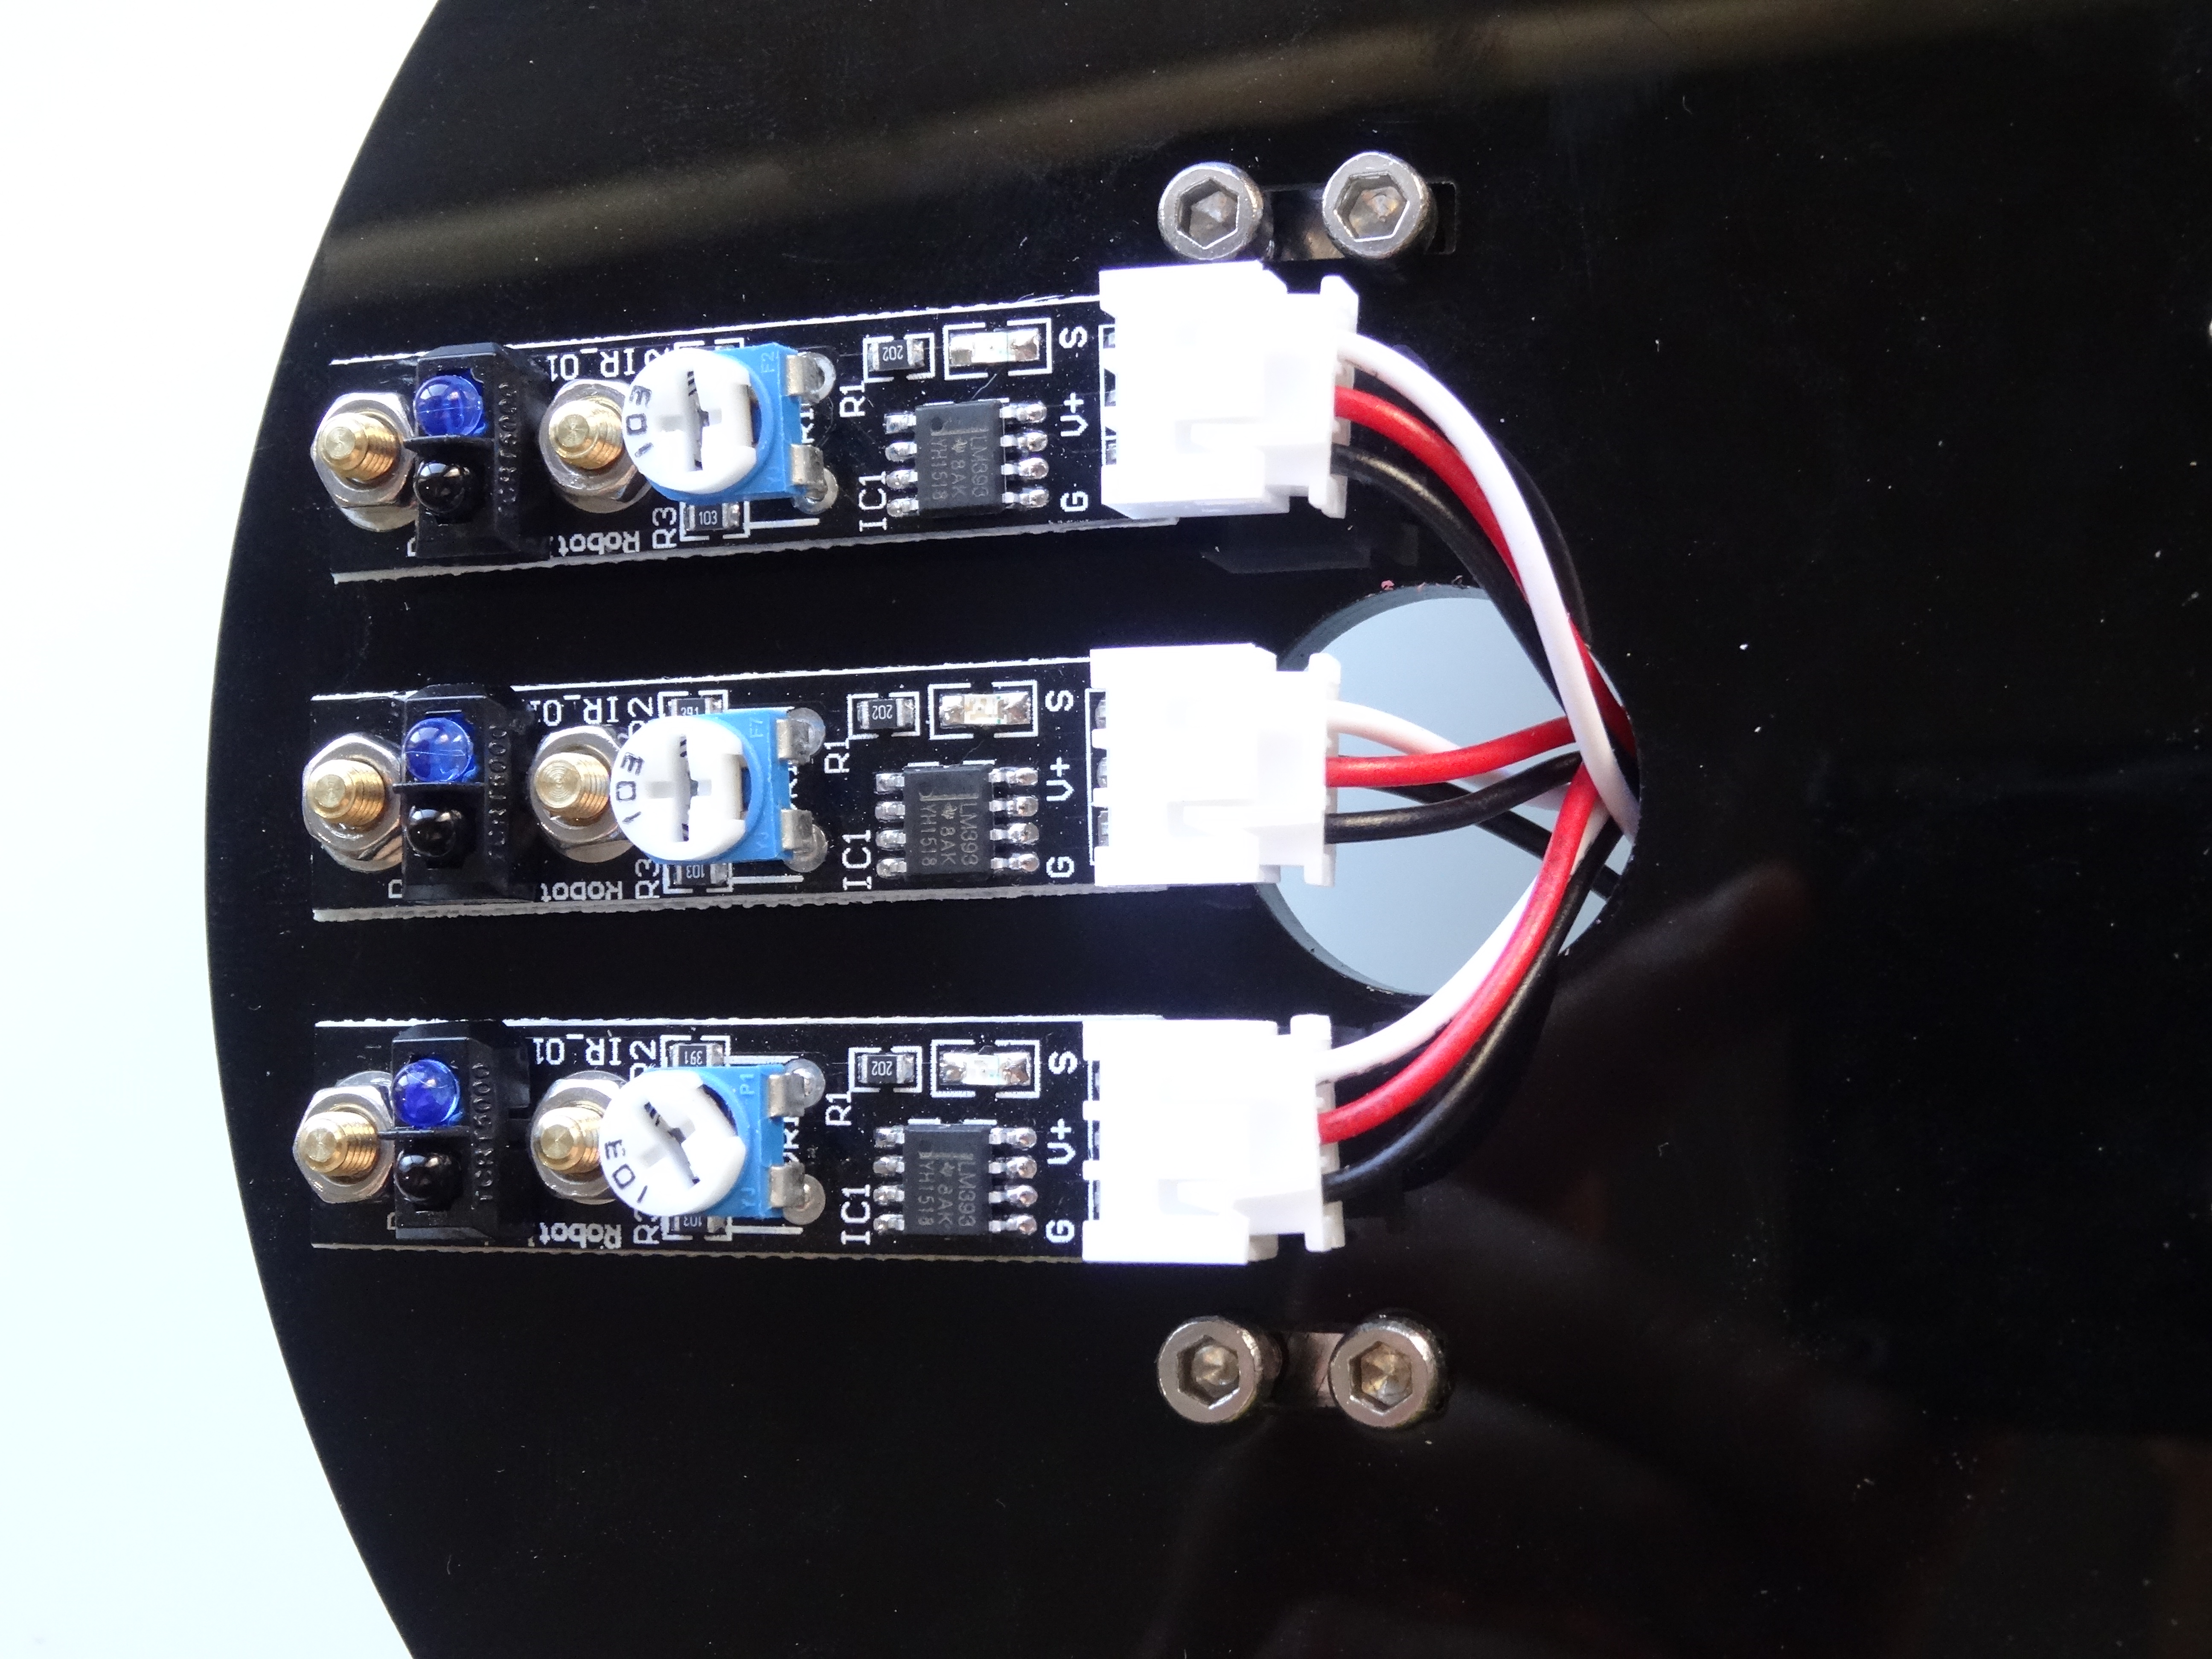
- Connect the 3 white connectors to the 3 line sensor modules (Picture 3)
- Push the cables through the big hole in the Chassis behind the sensors (Picture 4)
Connect the Ultrasonic Sensor to the Sensor Shield
Edited.JPG)
Edited1.JPG)
Edited.JPG)
Edited.JPG)
Edited.JPG)
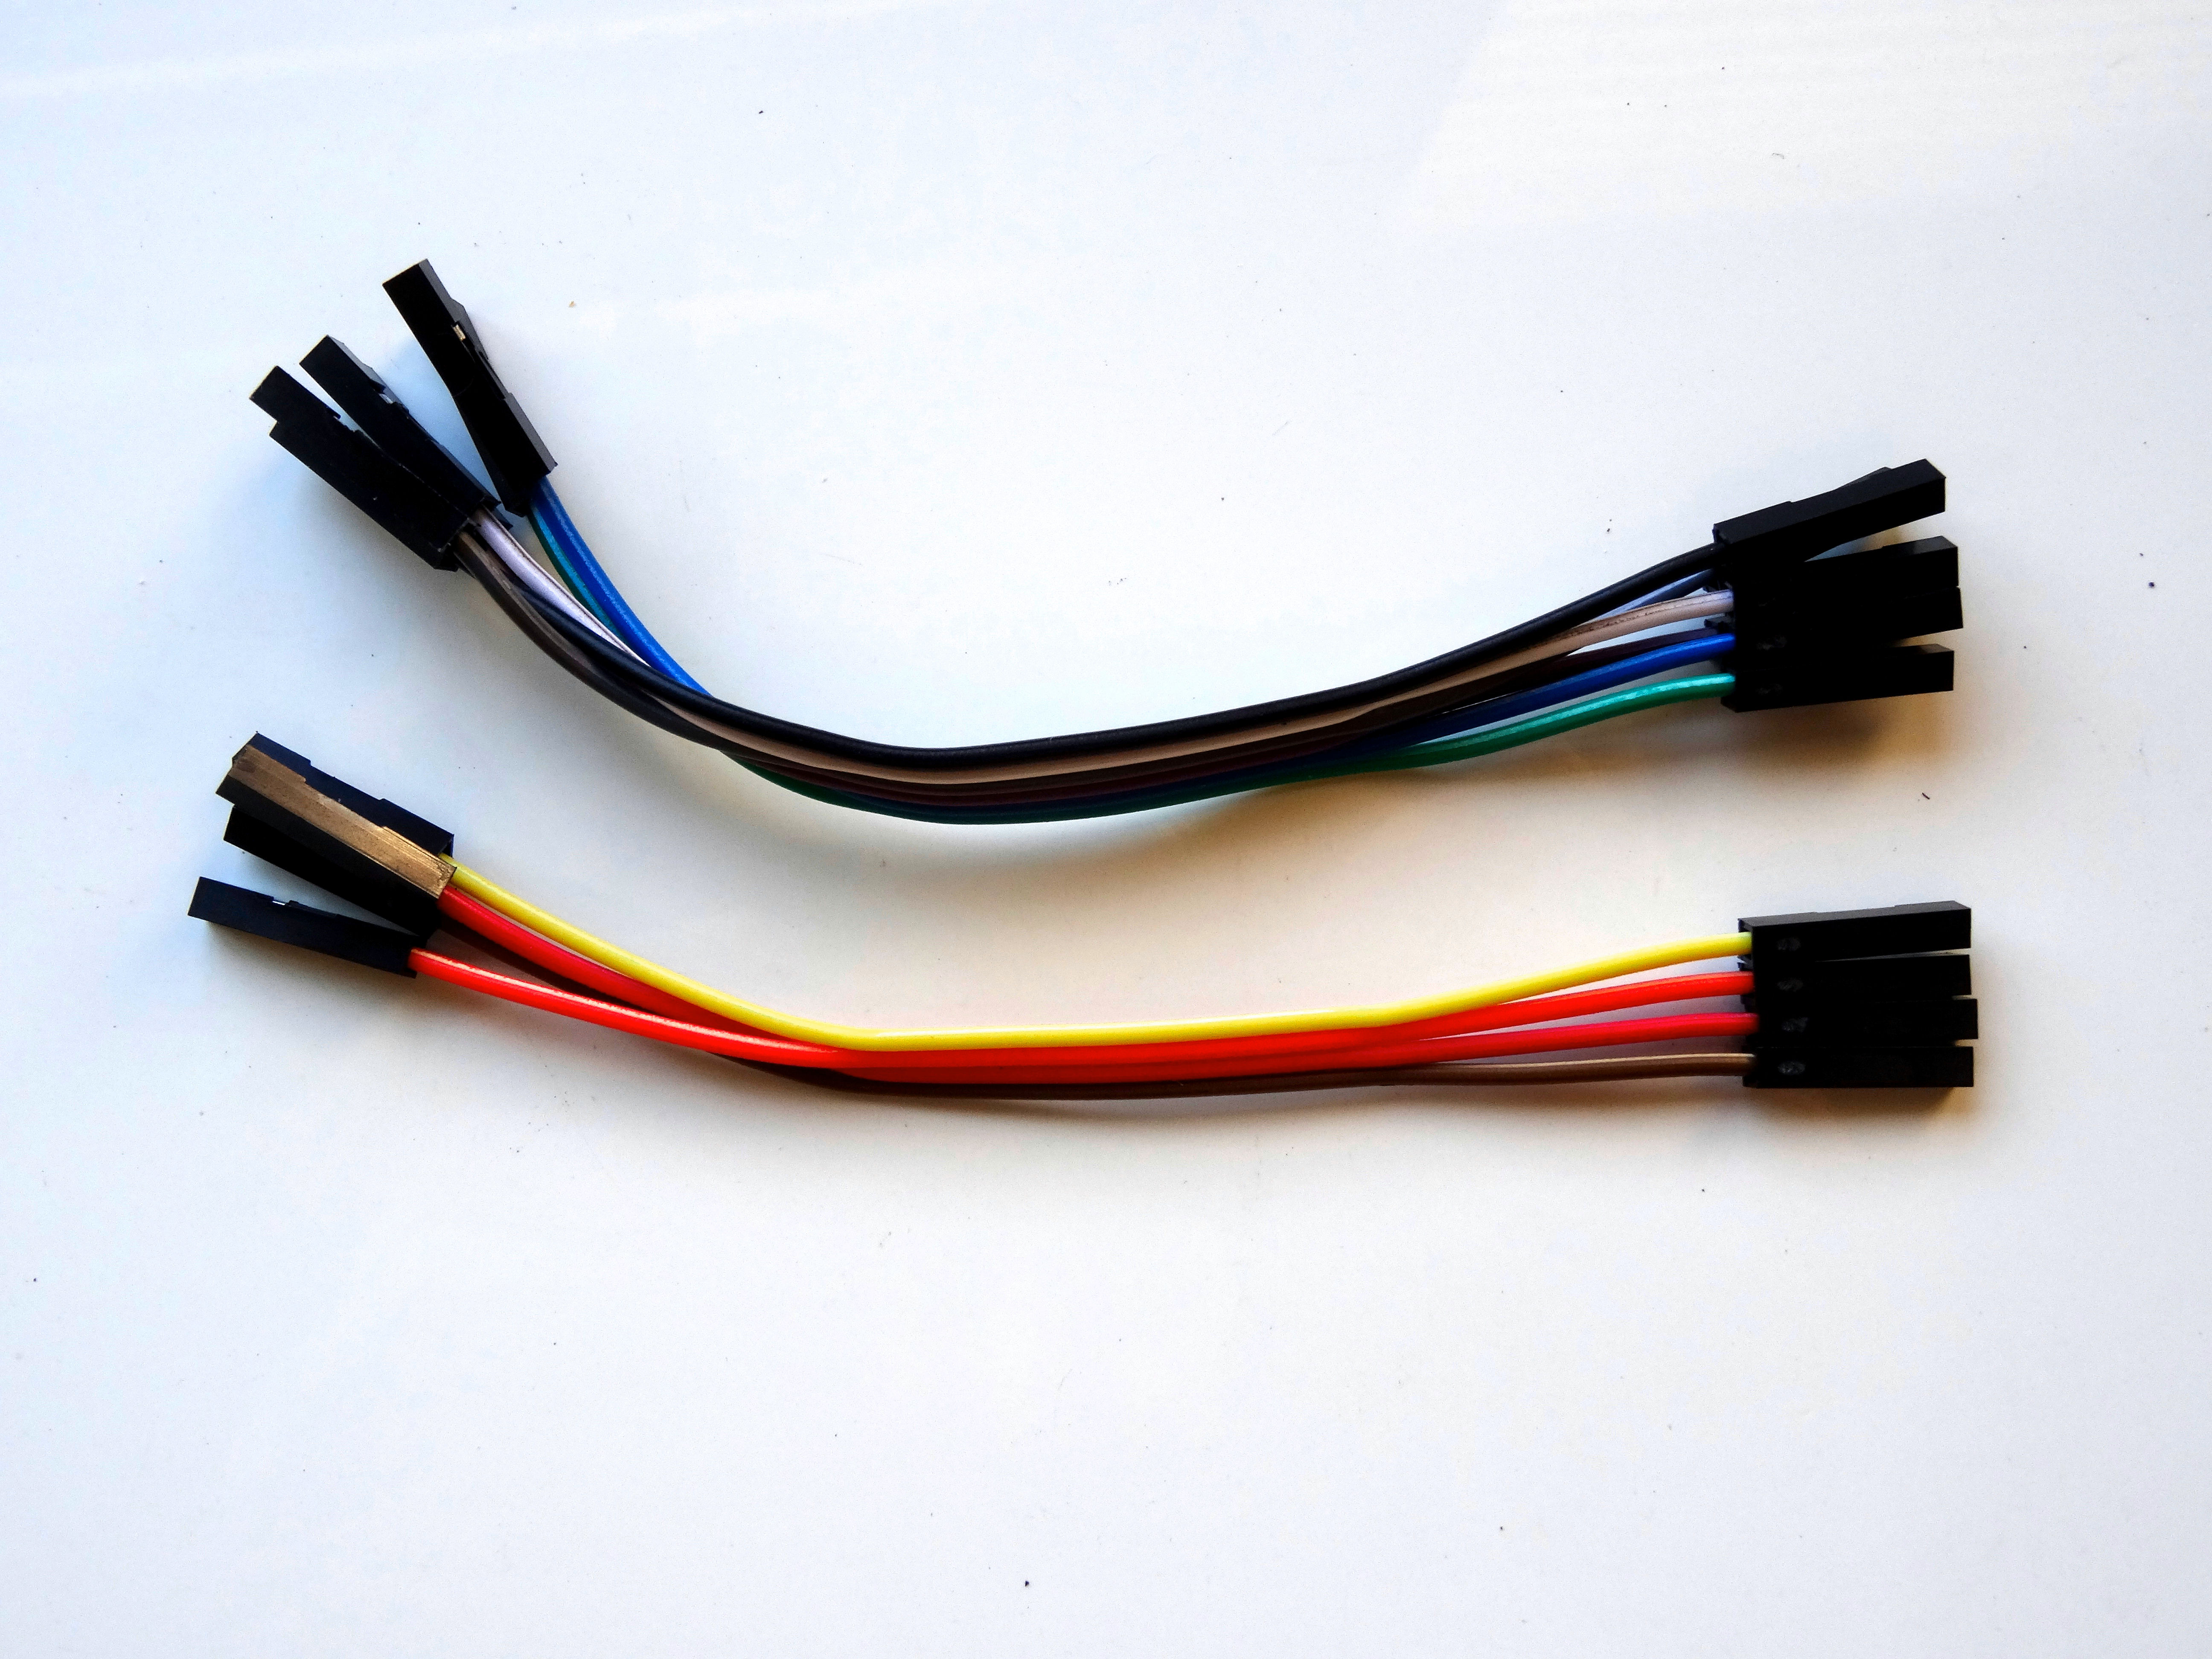
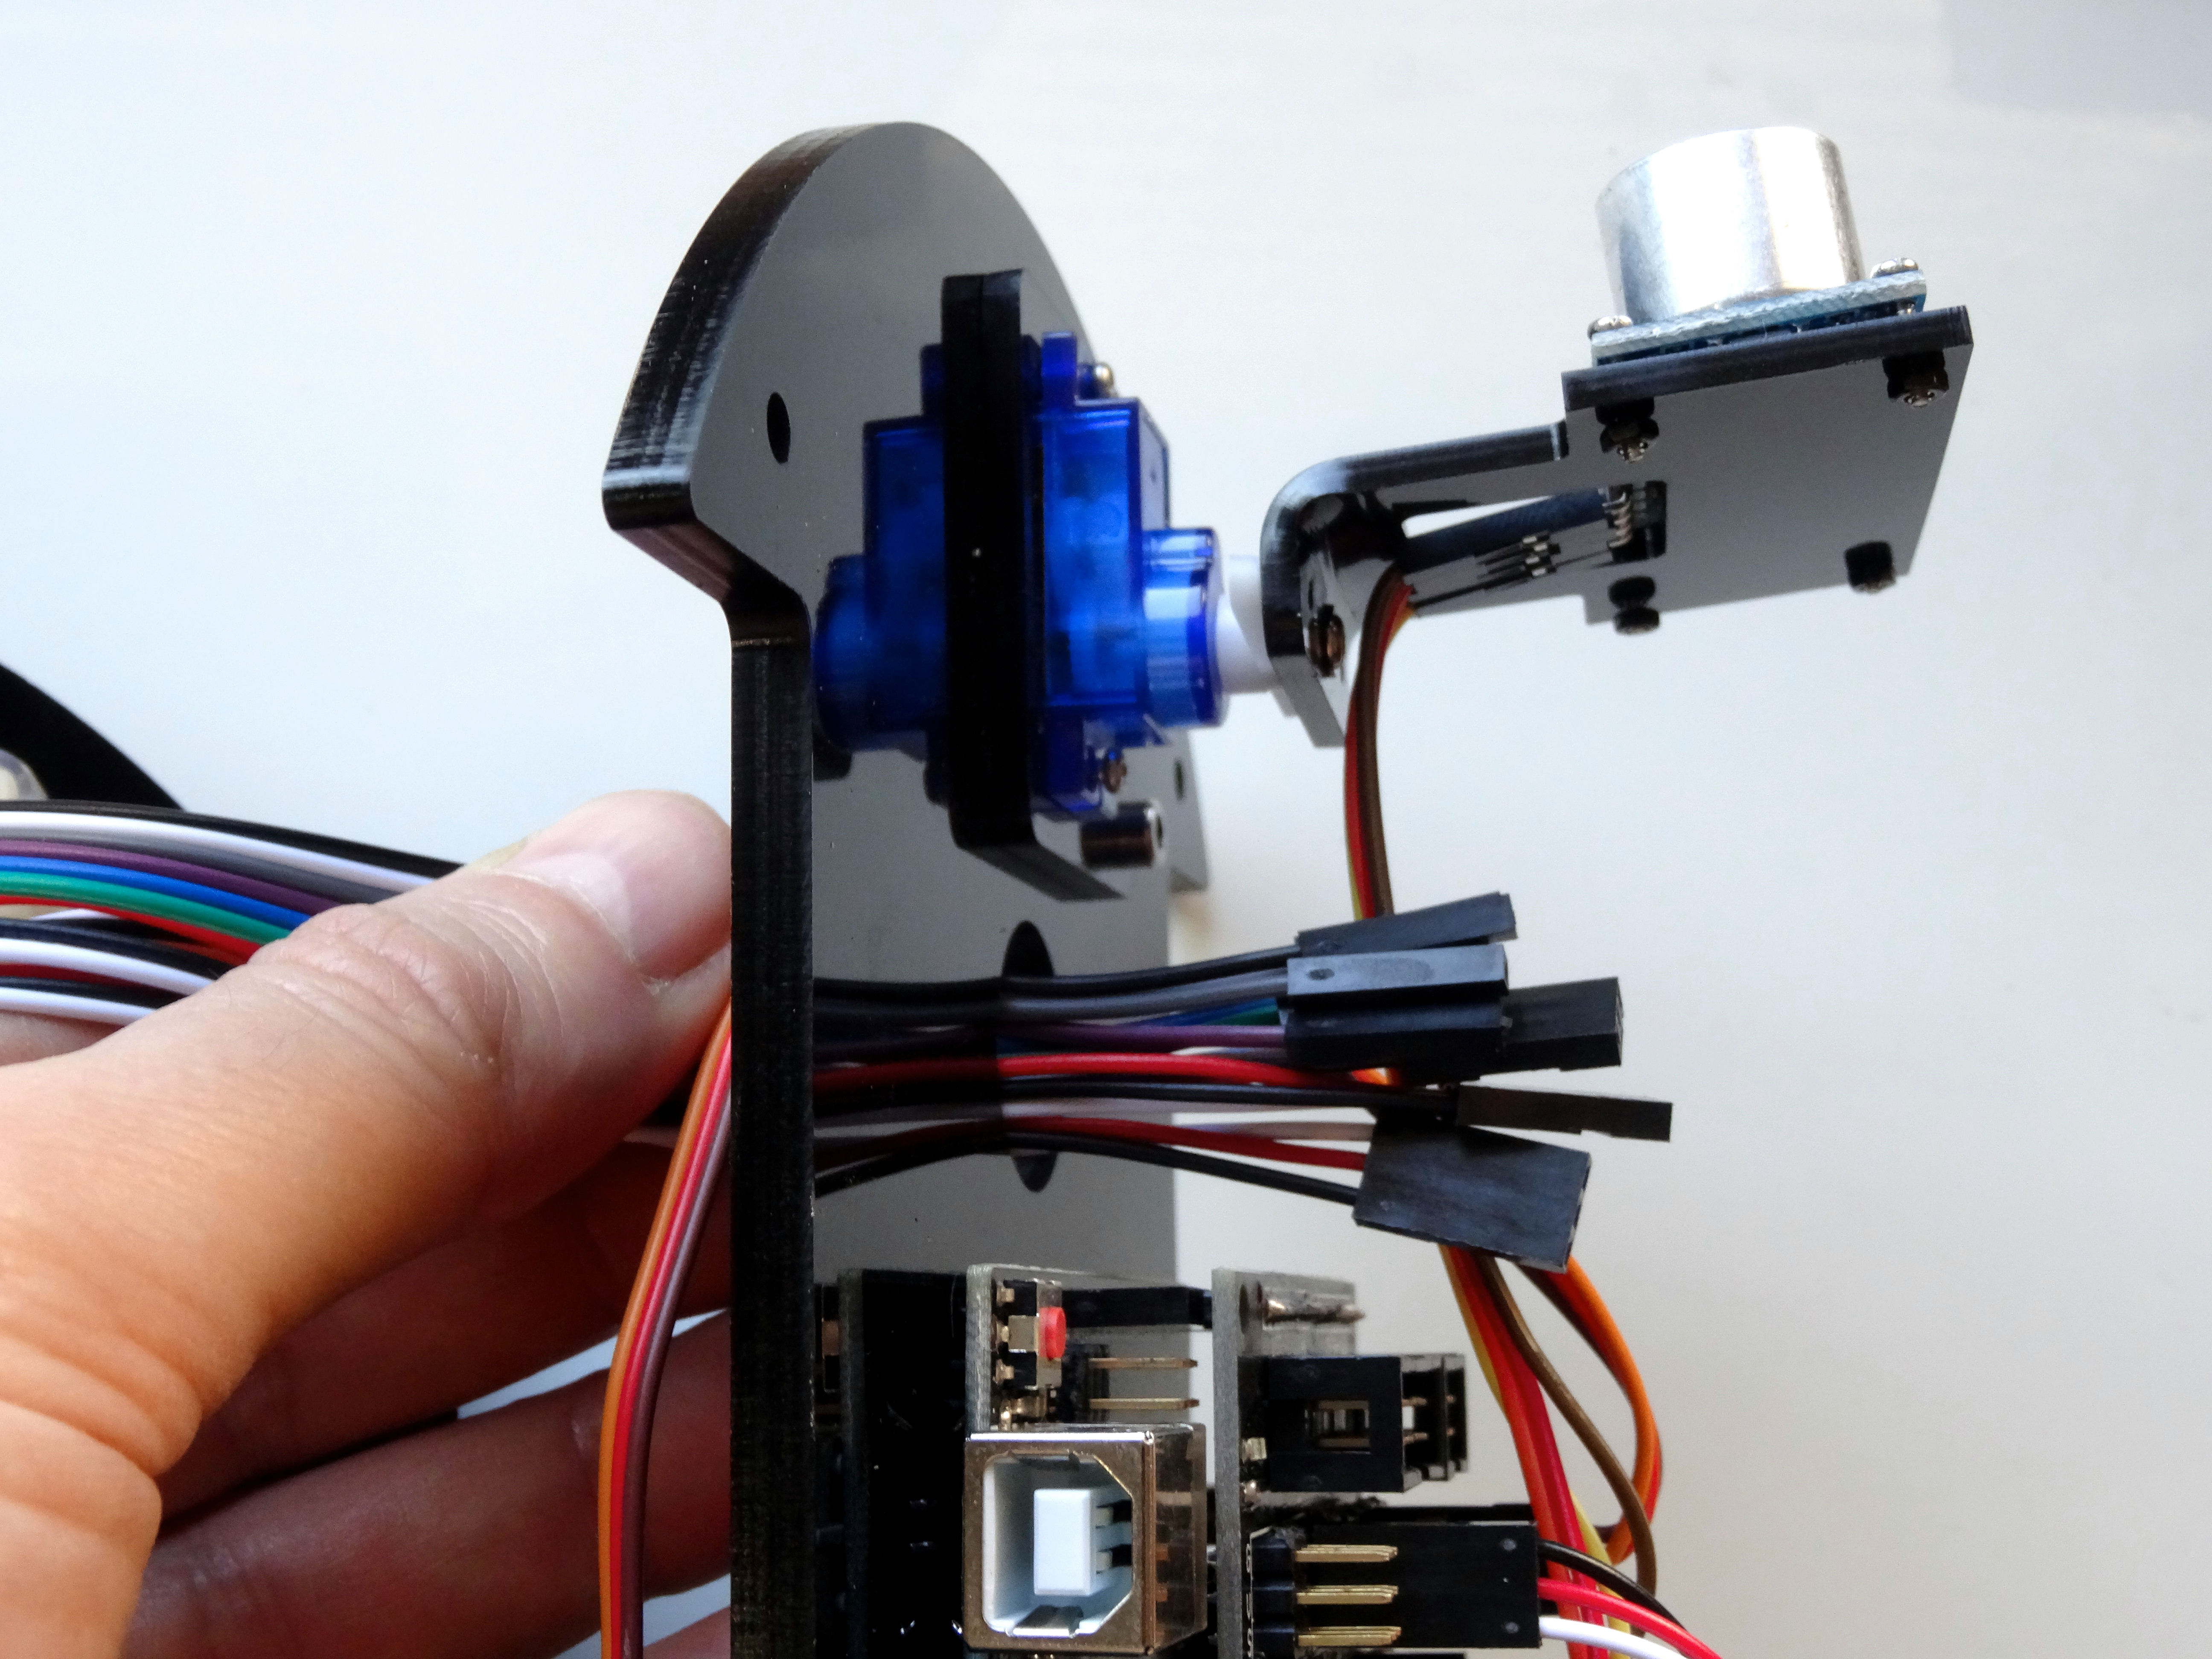
- The Smart Car kit comes with 2 sets of Female-Female jumper cables. Short and long. I initially tried to use the short ones for the Ultrasonic Ranger, but they seem too short, so peal 4 wires from the long set of cables (In my case Yellow, Orange, Red and Brown) (Picture 1)
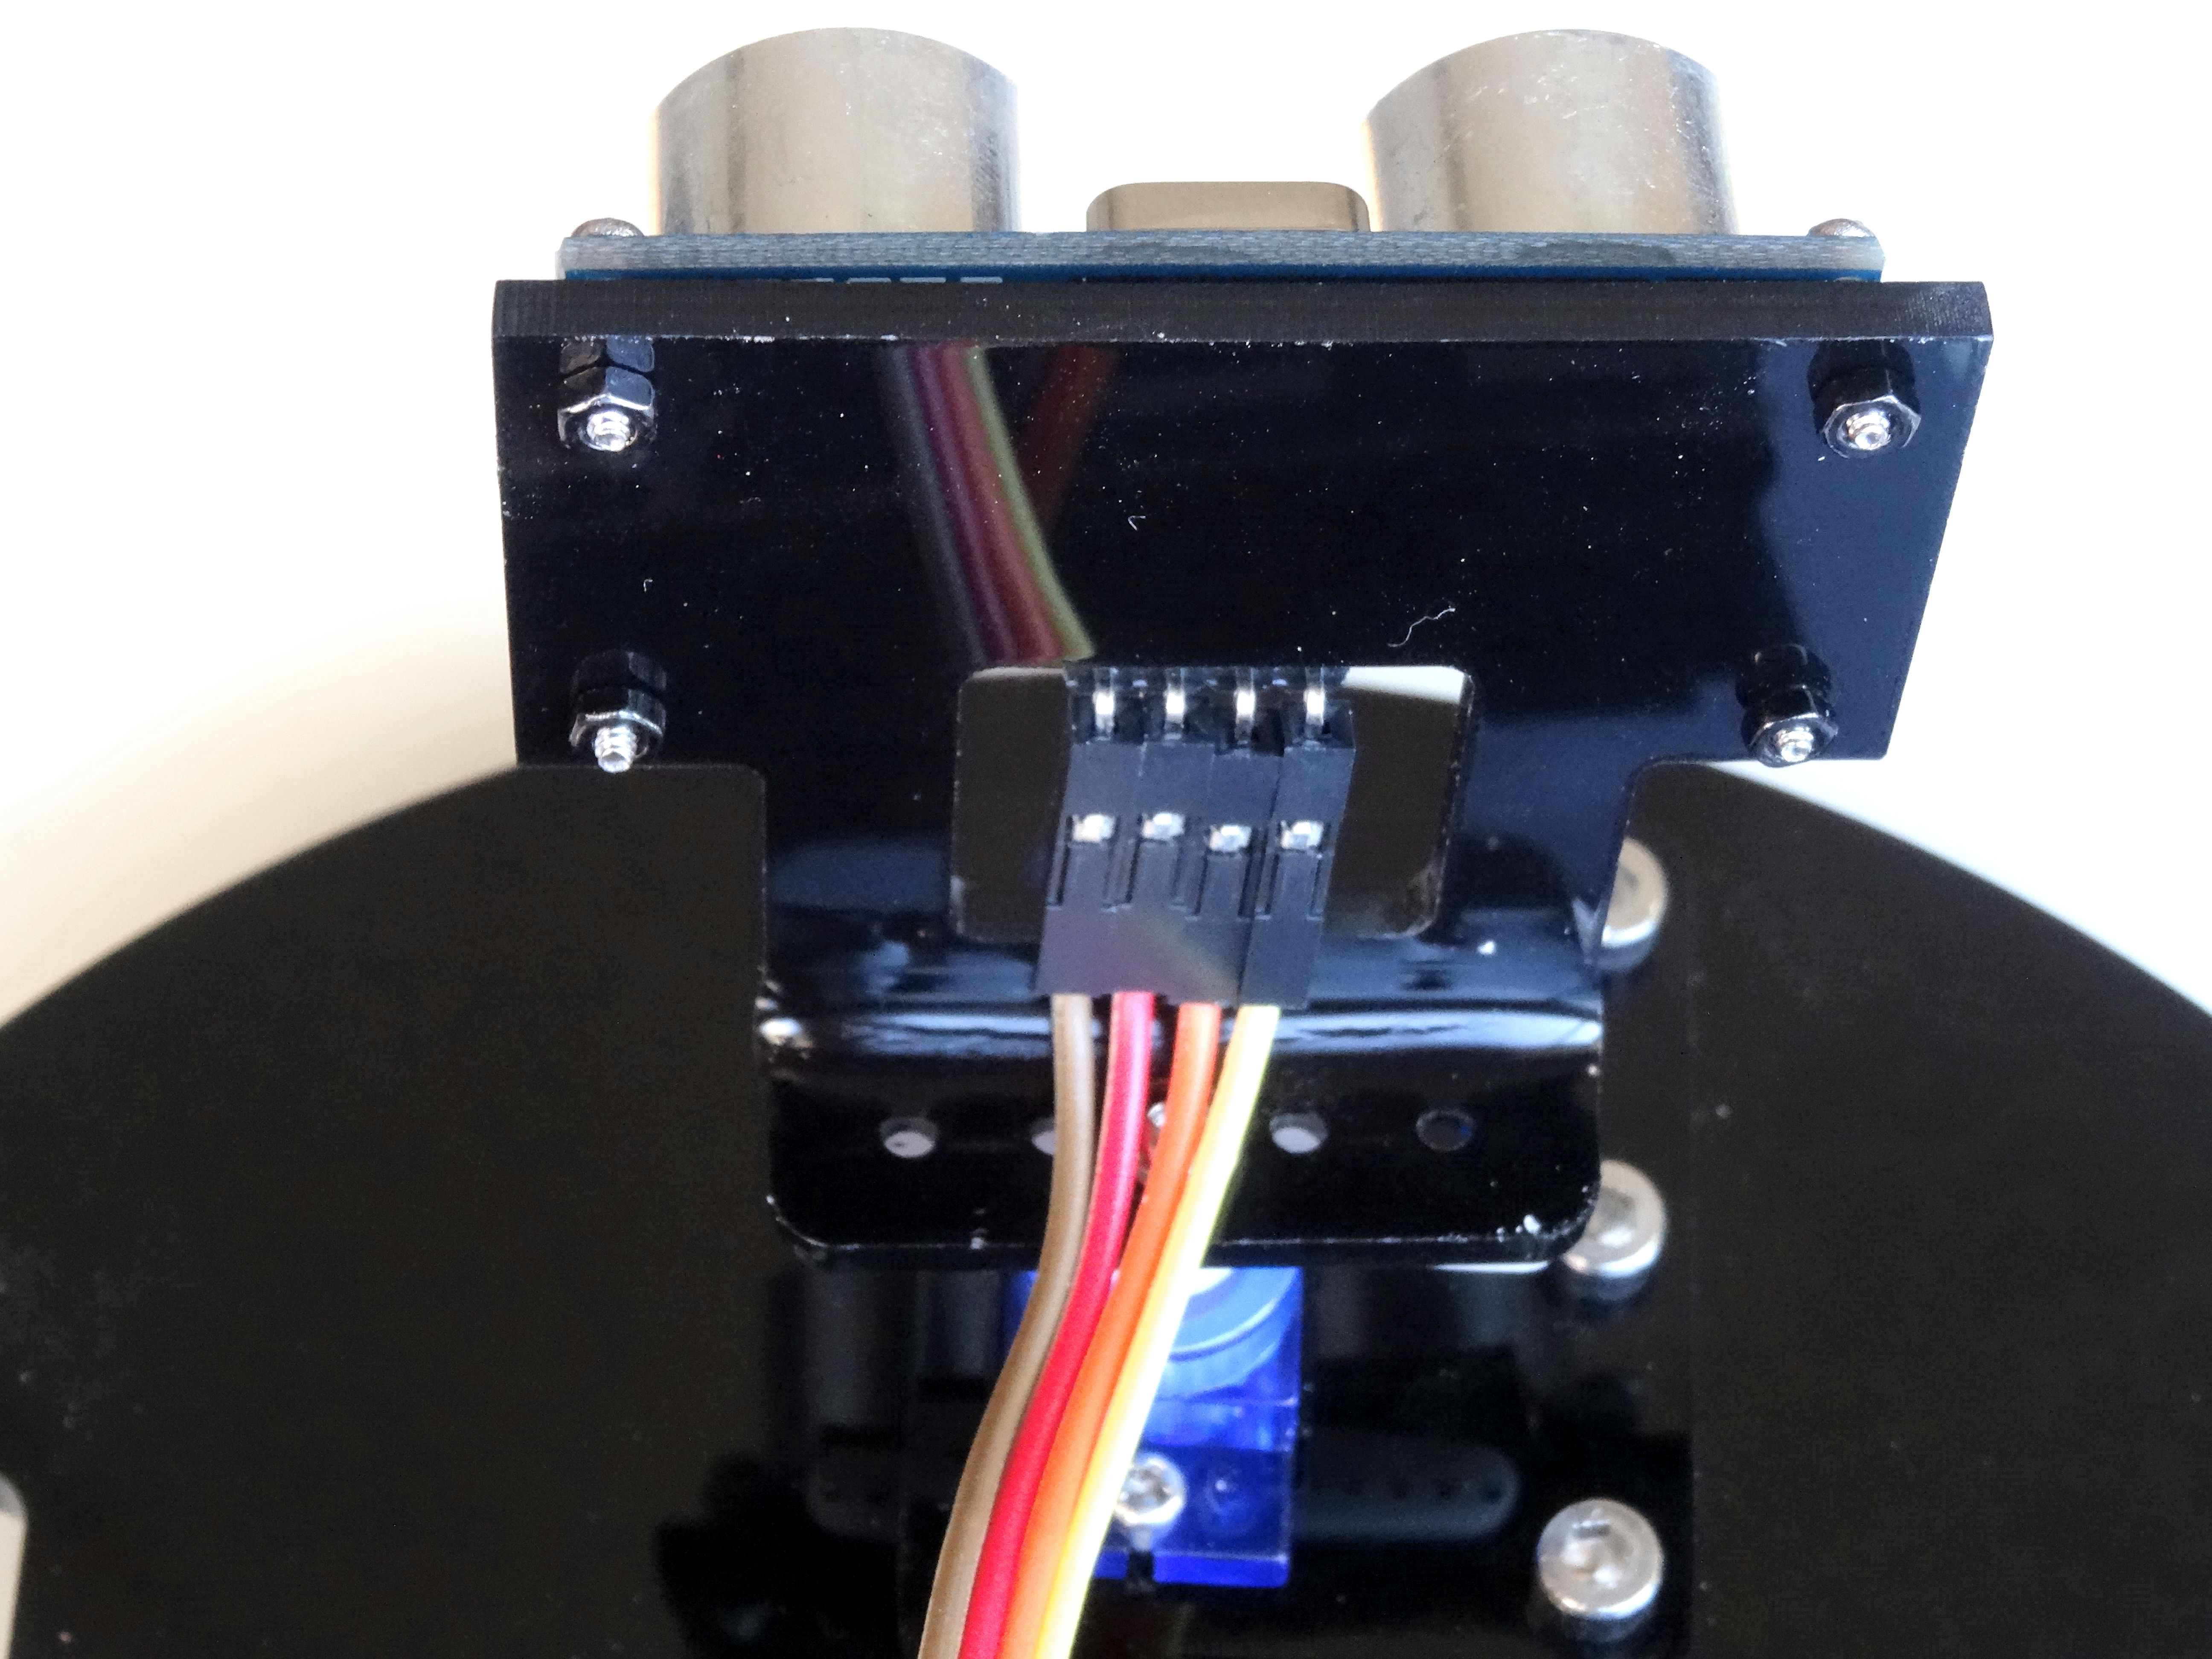
- Connect the wires to the Ultrasonic Ranger as shown on the picture - from the back left to right start with the Brown wire (Picture 2)
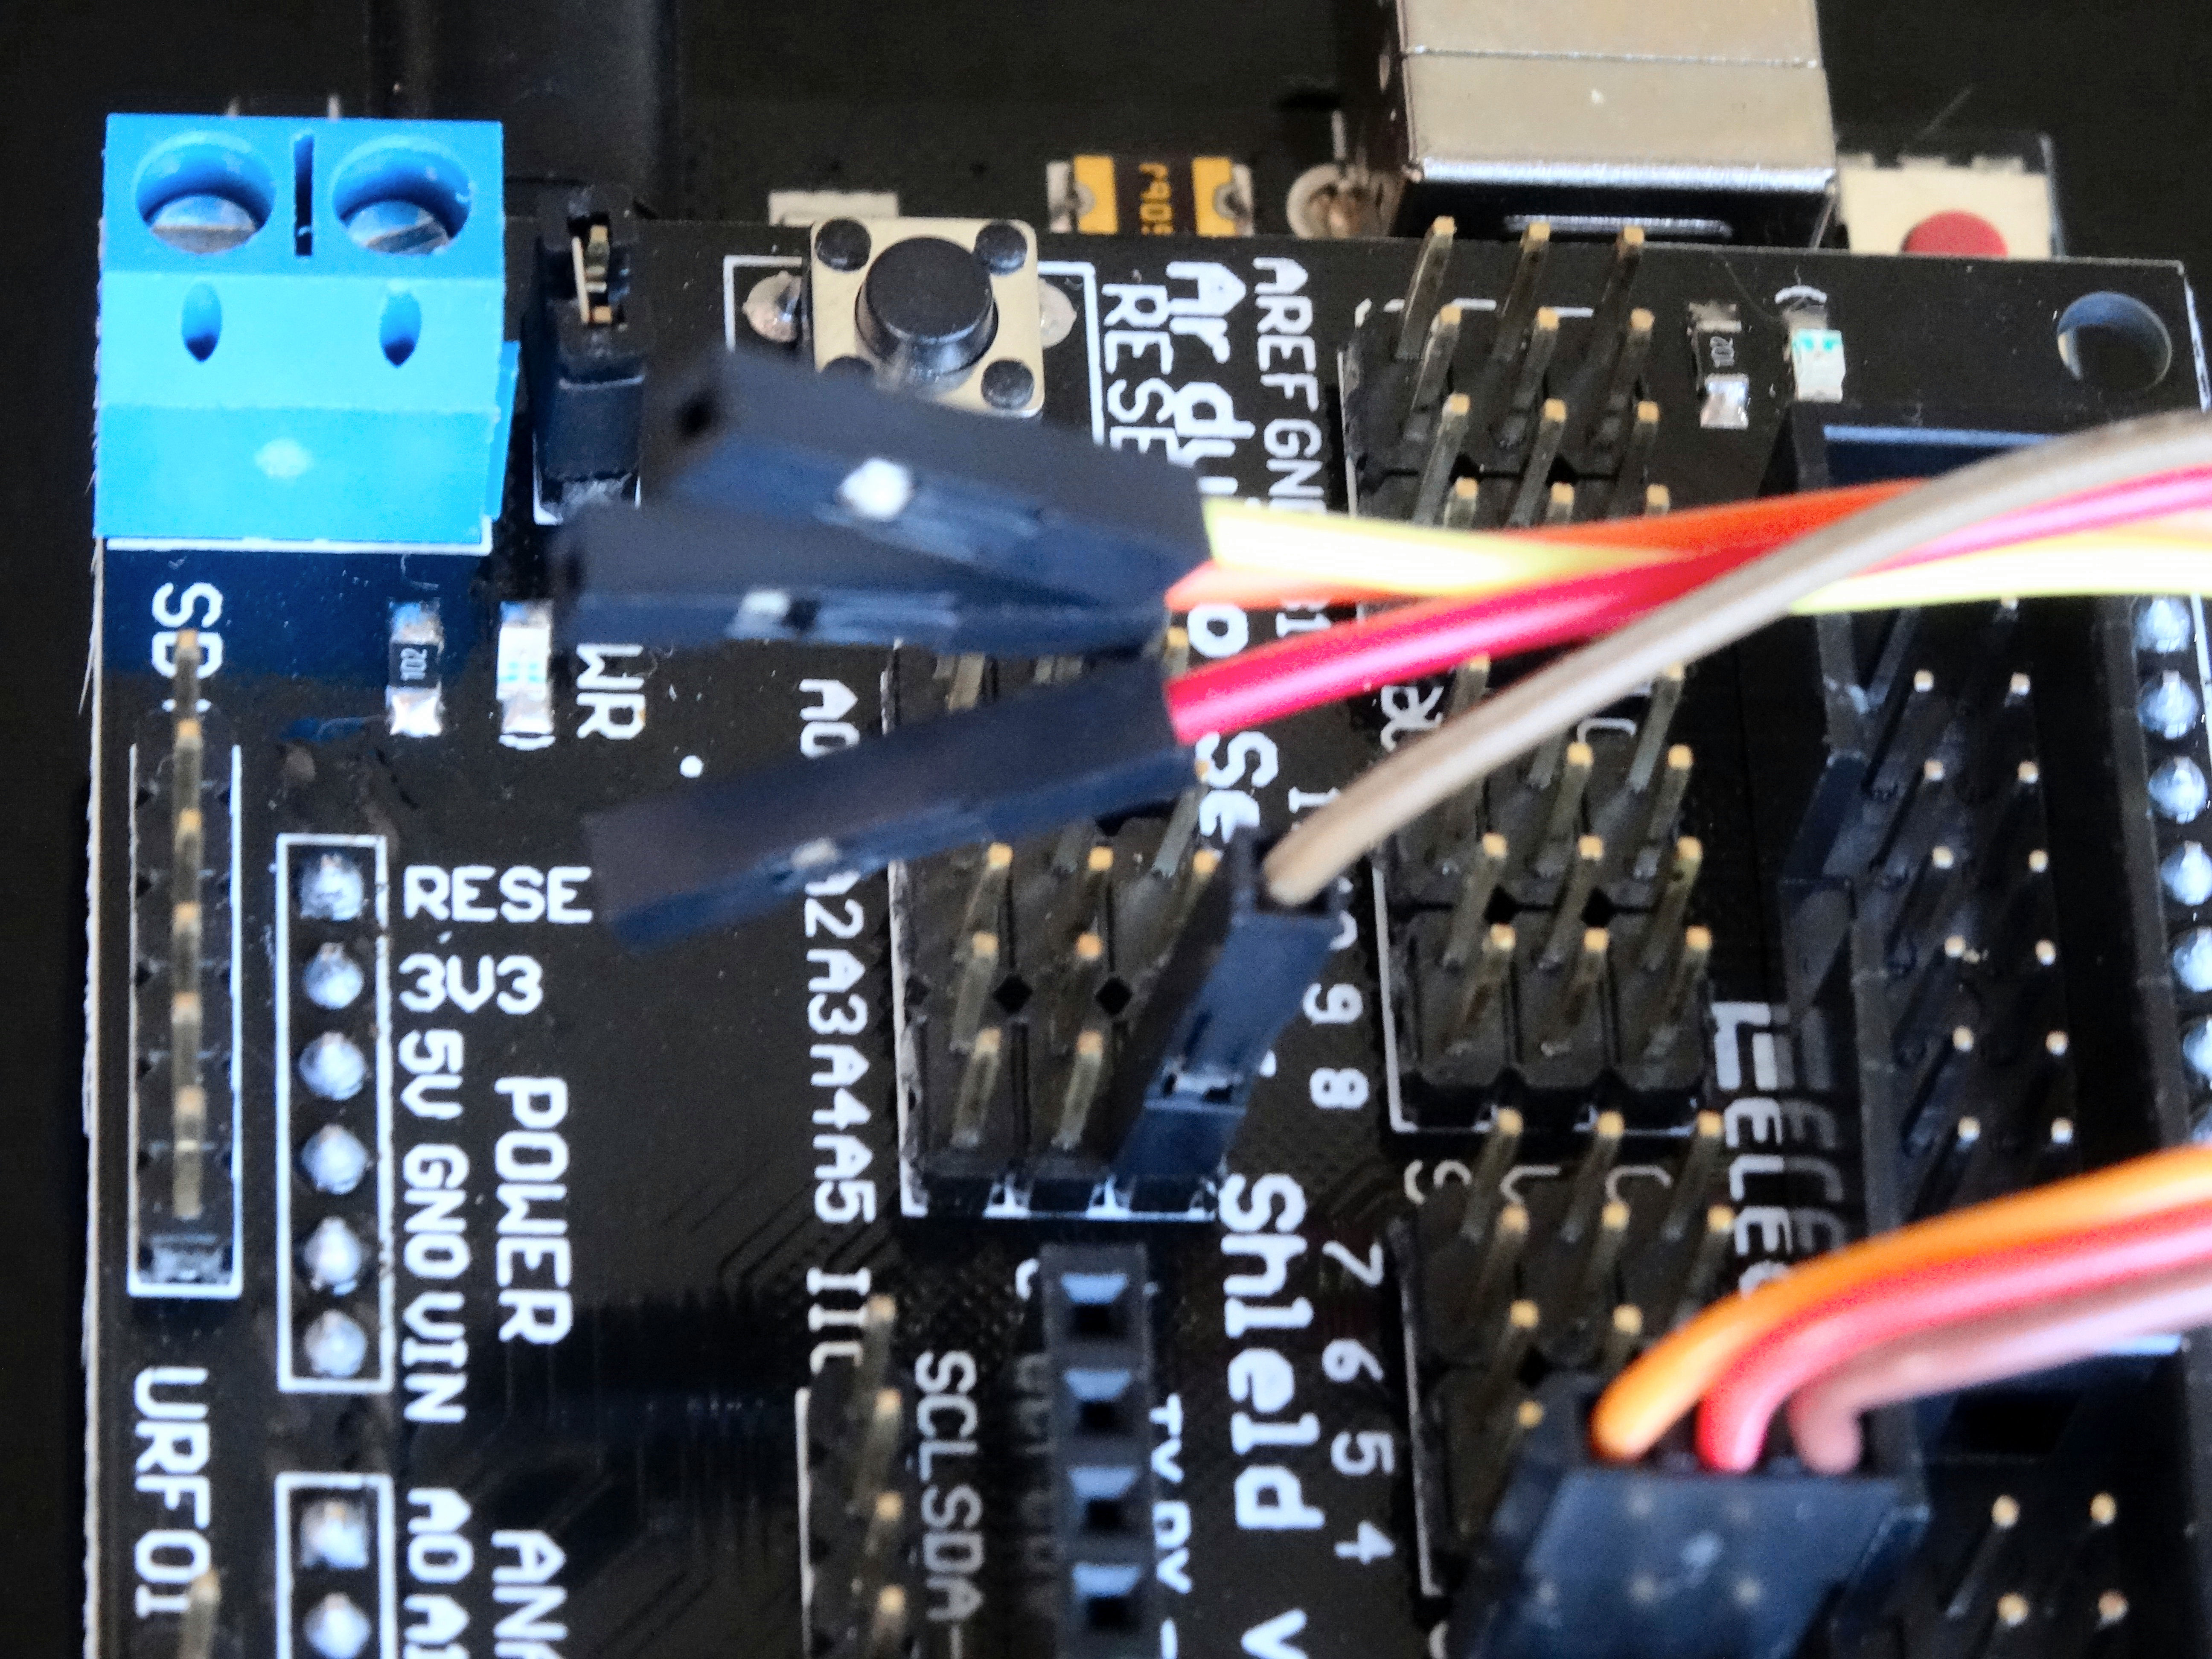
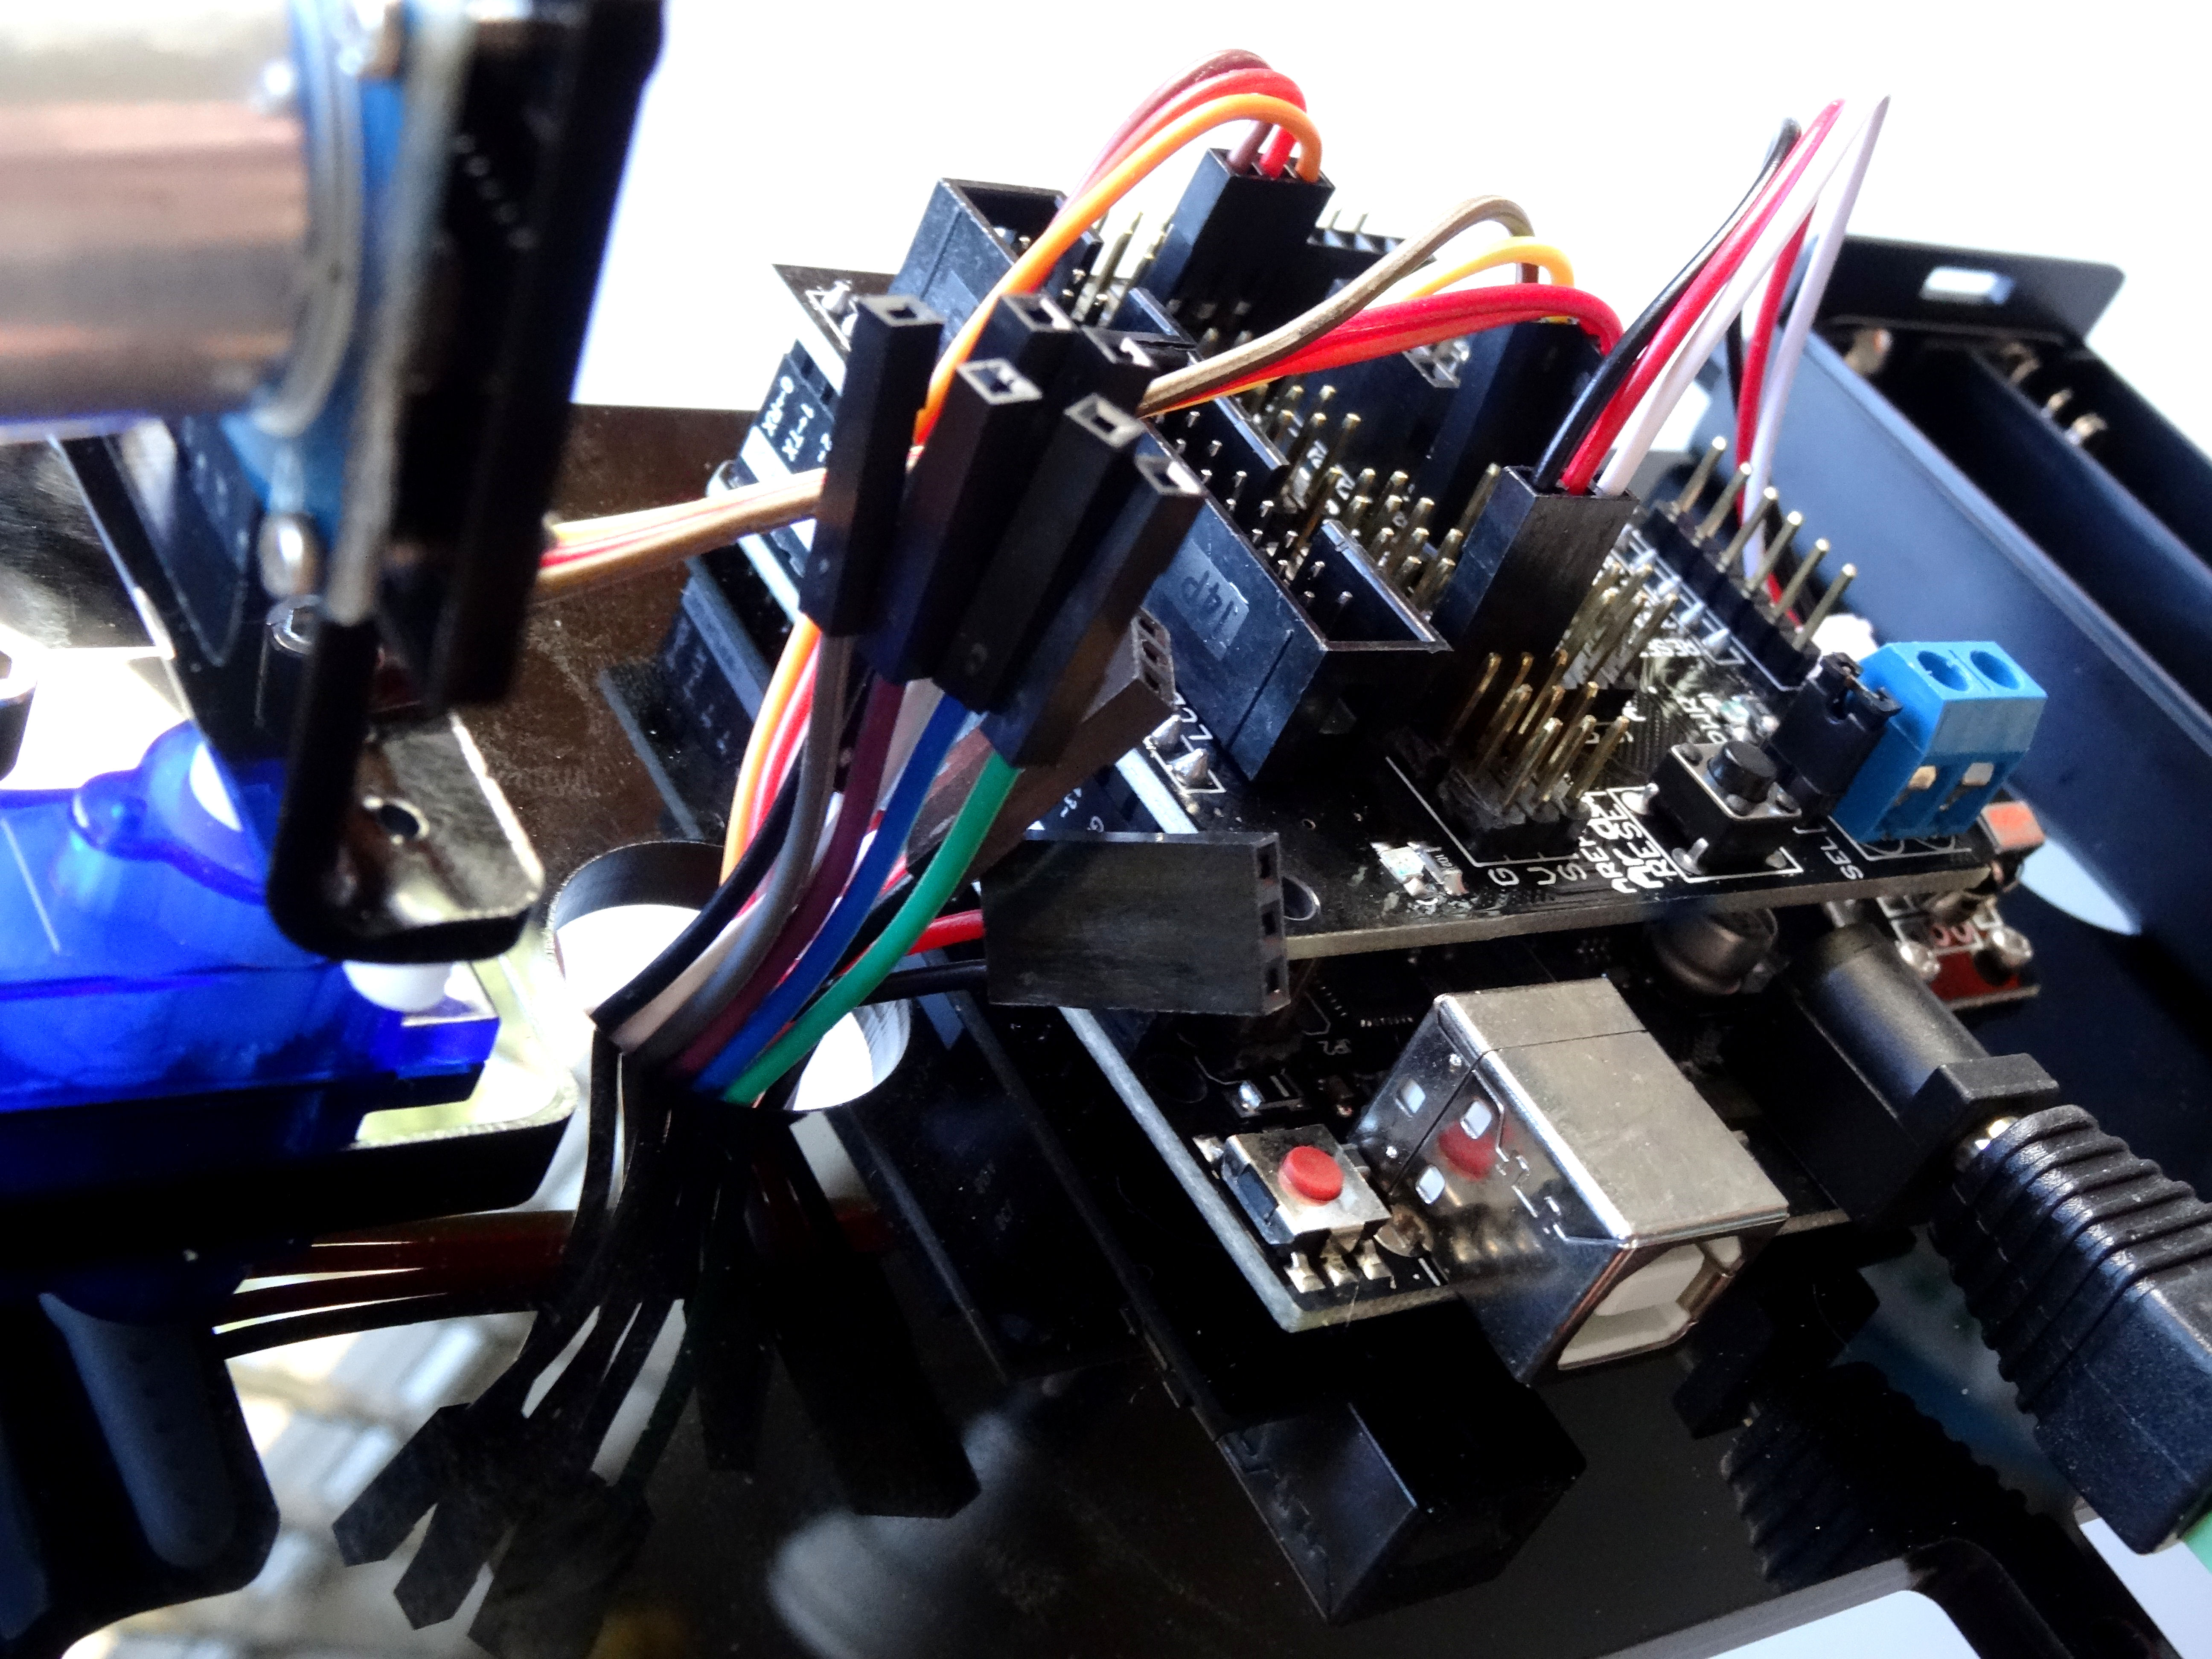
- Connect the other end of the Brown wire (the one connected to the left pin from the back of the Ultrasonic Sensor) to the Ground pin of the A5 sensor connection points of the Sensor Shield (Pictures 3, and 4)
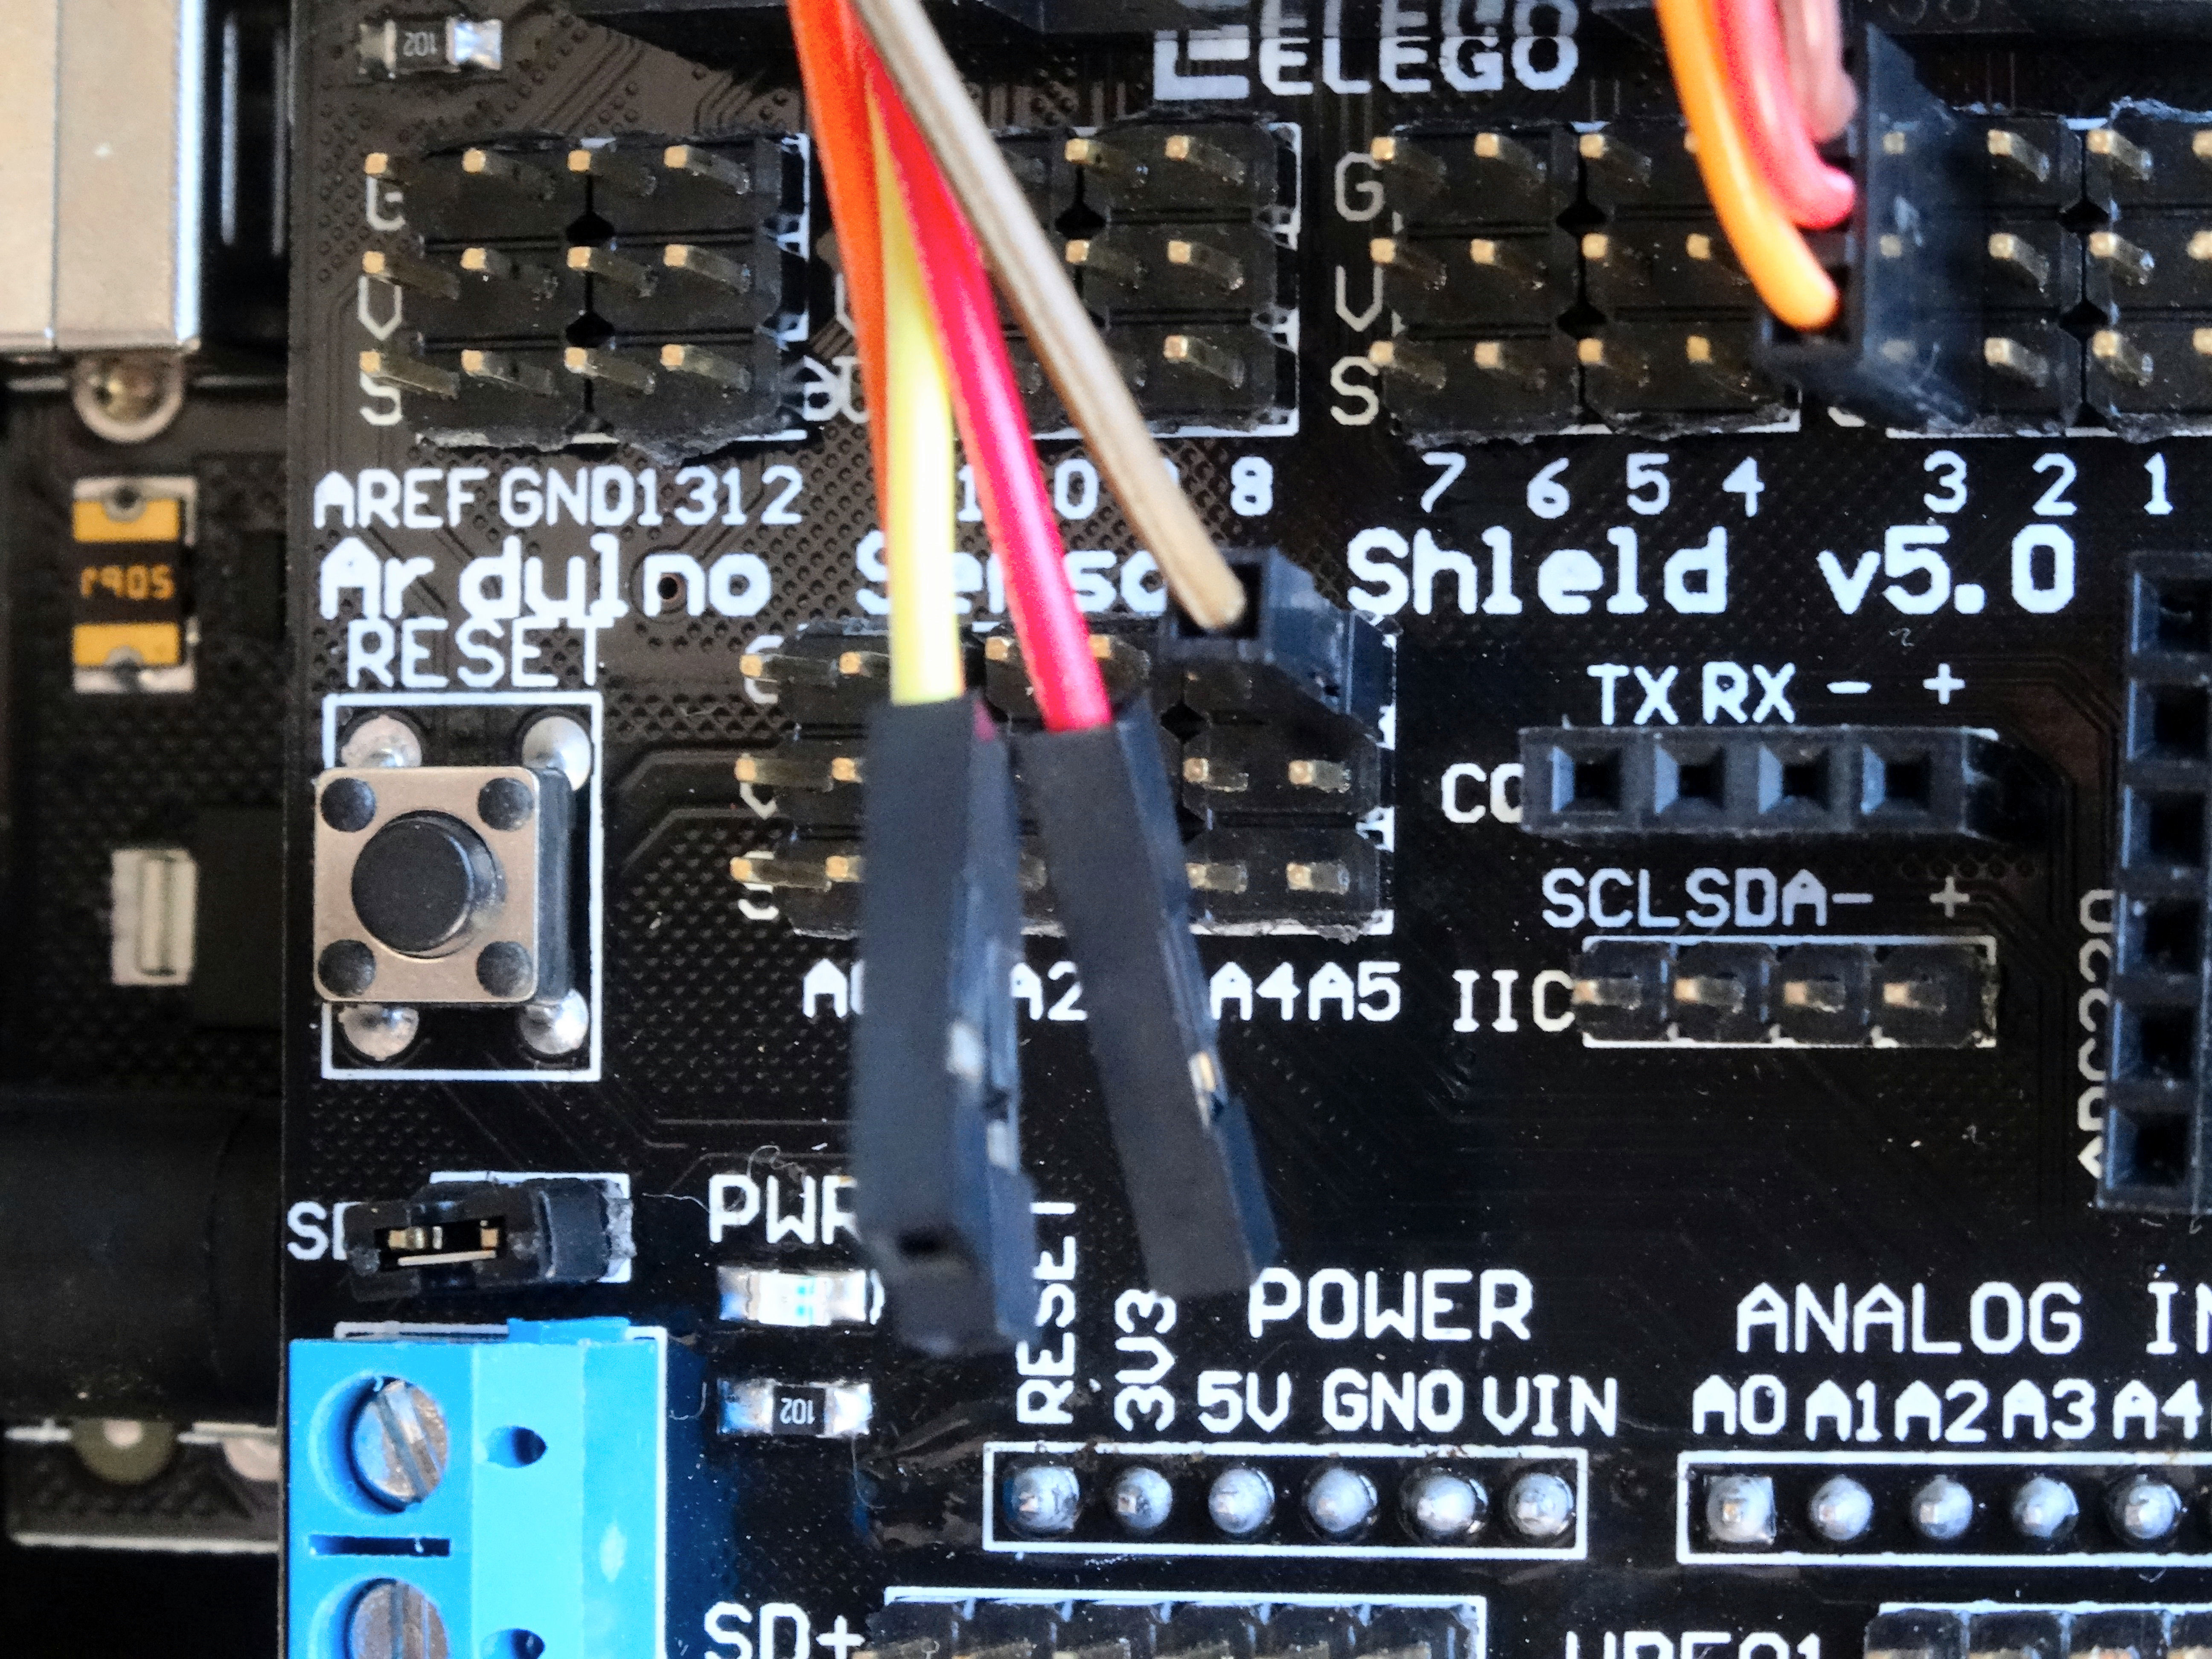
- Connect the Yellow Wire (the one connected to the right pin from the back of the Ultrasonic Sensor) to the Power pin of the A5 sensor connection points of the Sensor Shield (Picture 5)
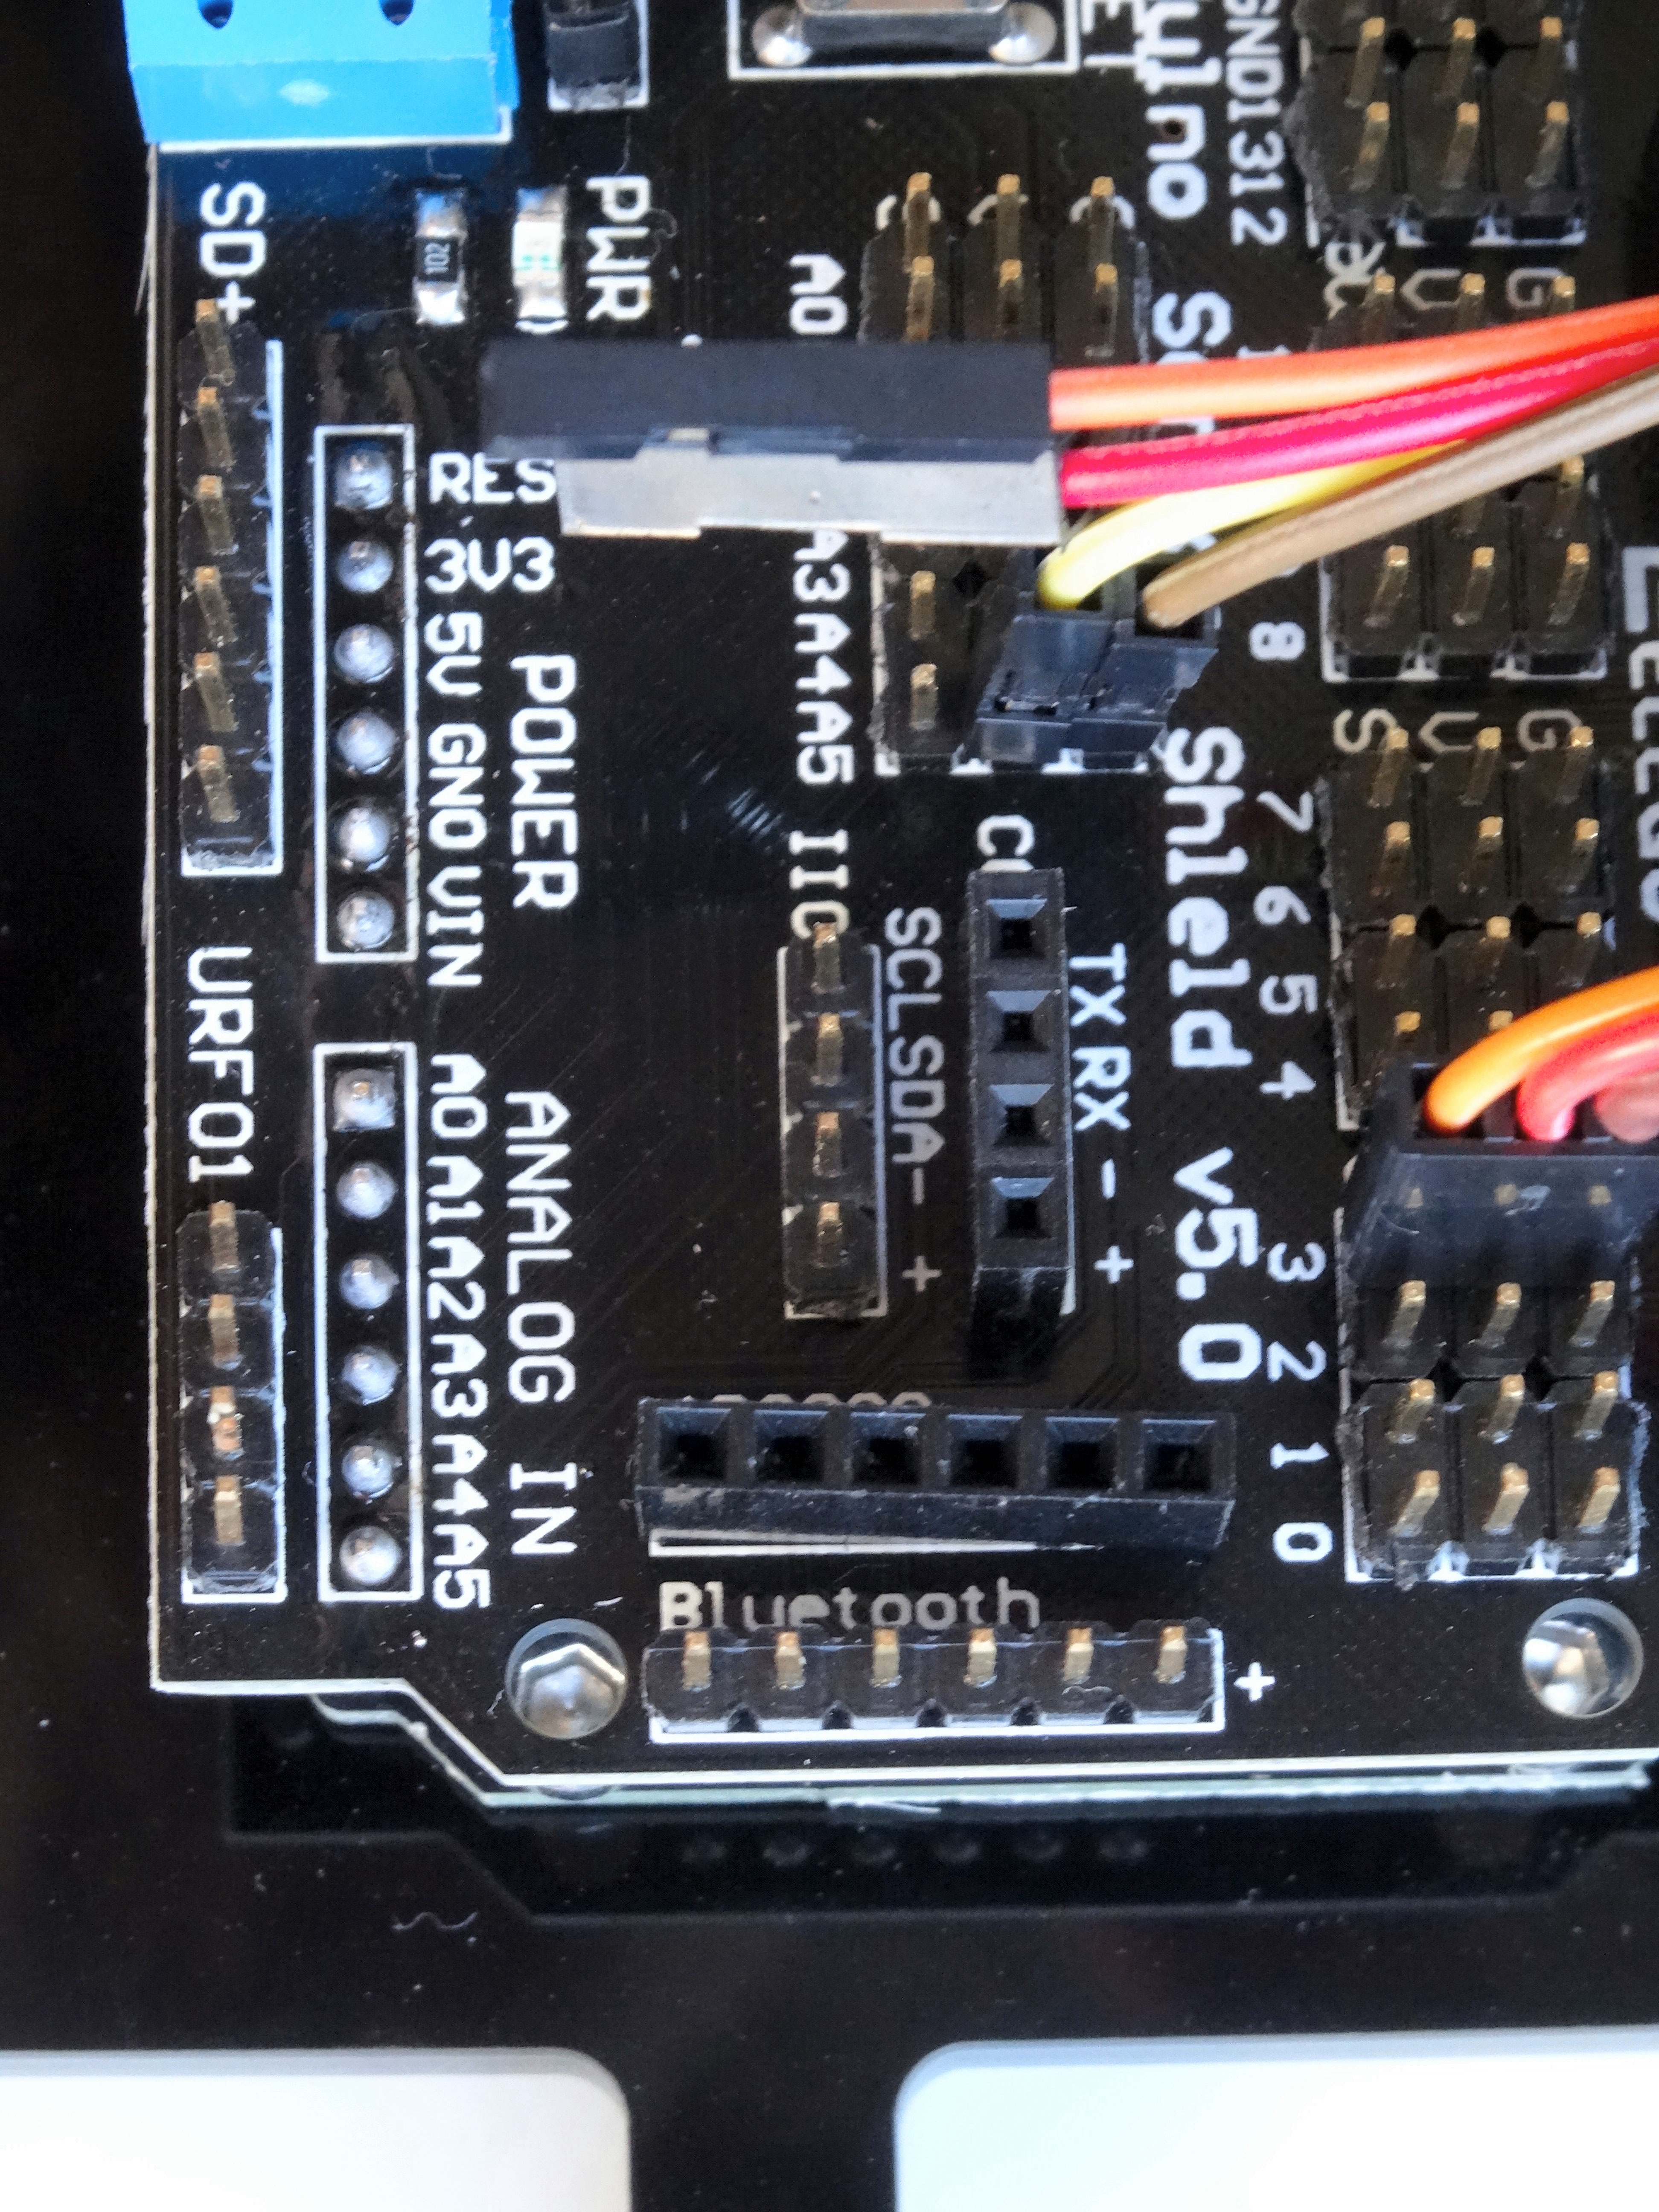
- Connect the Orange Wire (the one connected to the third pin from the left of the Ultrasonic Sensor) to the A5 Signal pin of the sensor connection points of the Sensor Shield (Picture 6)
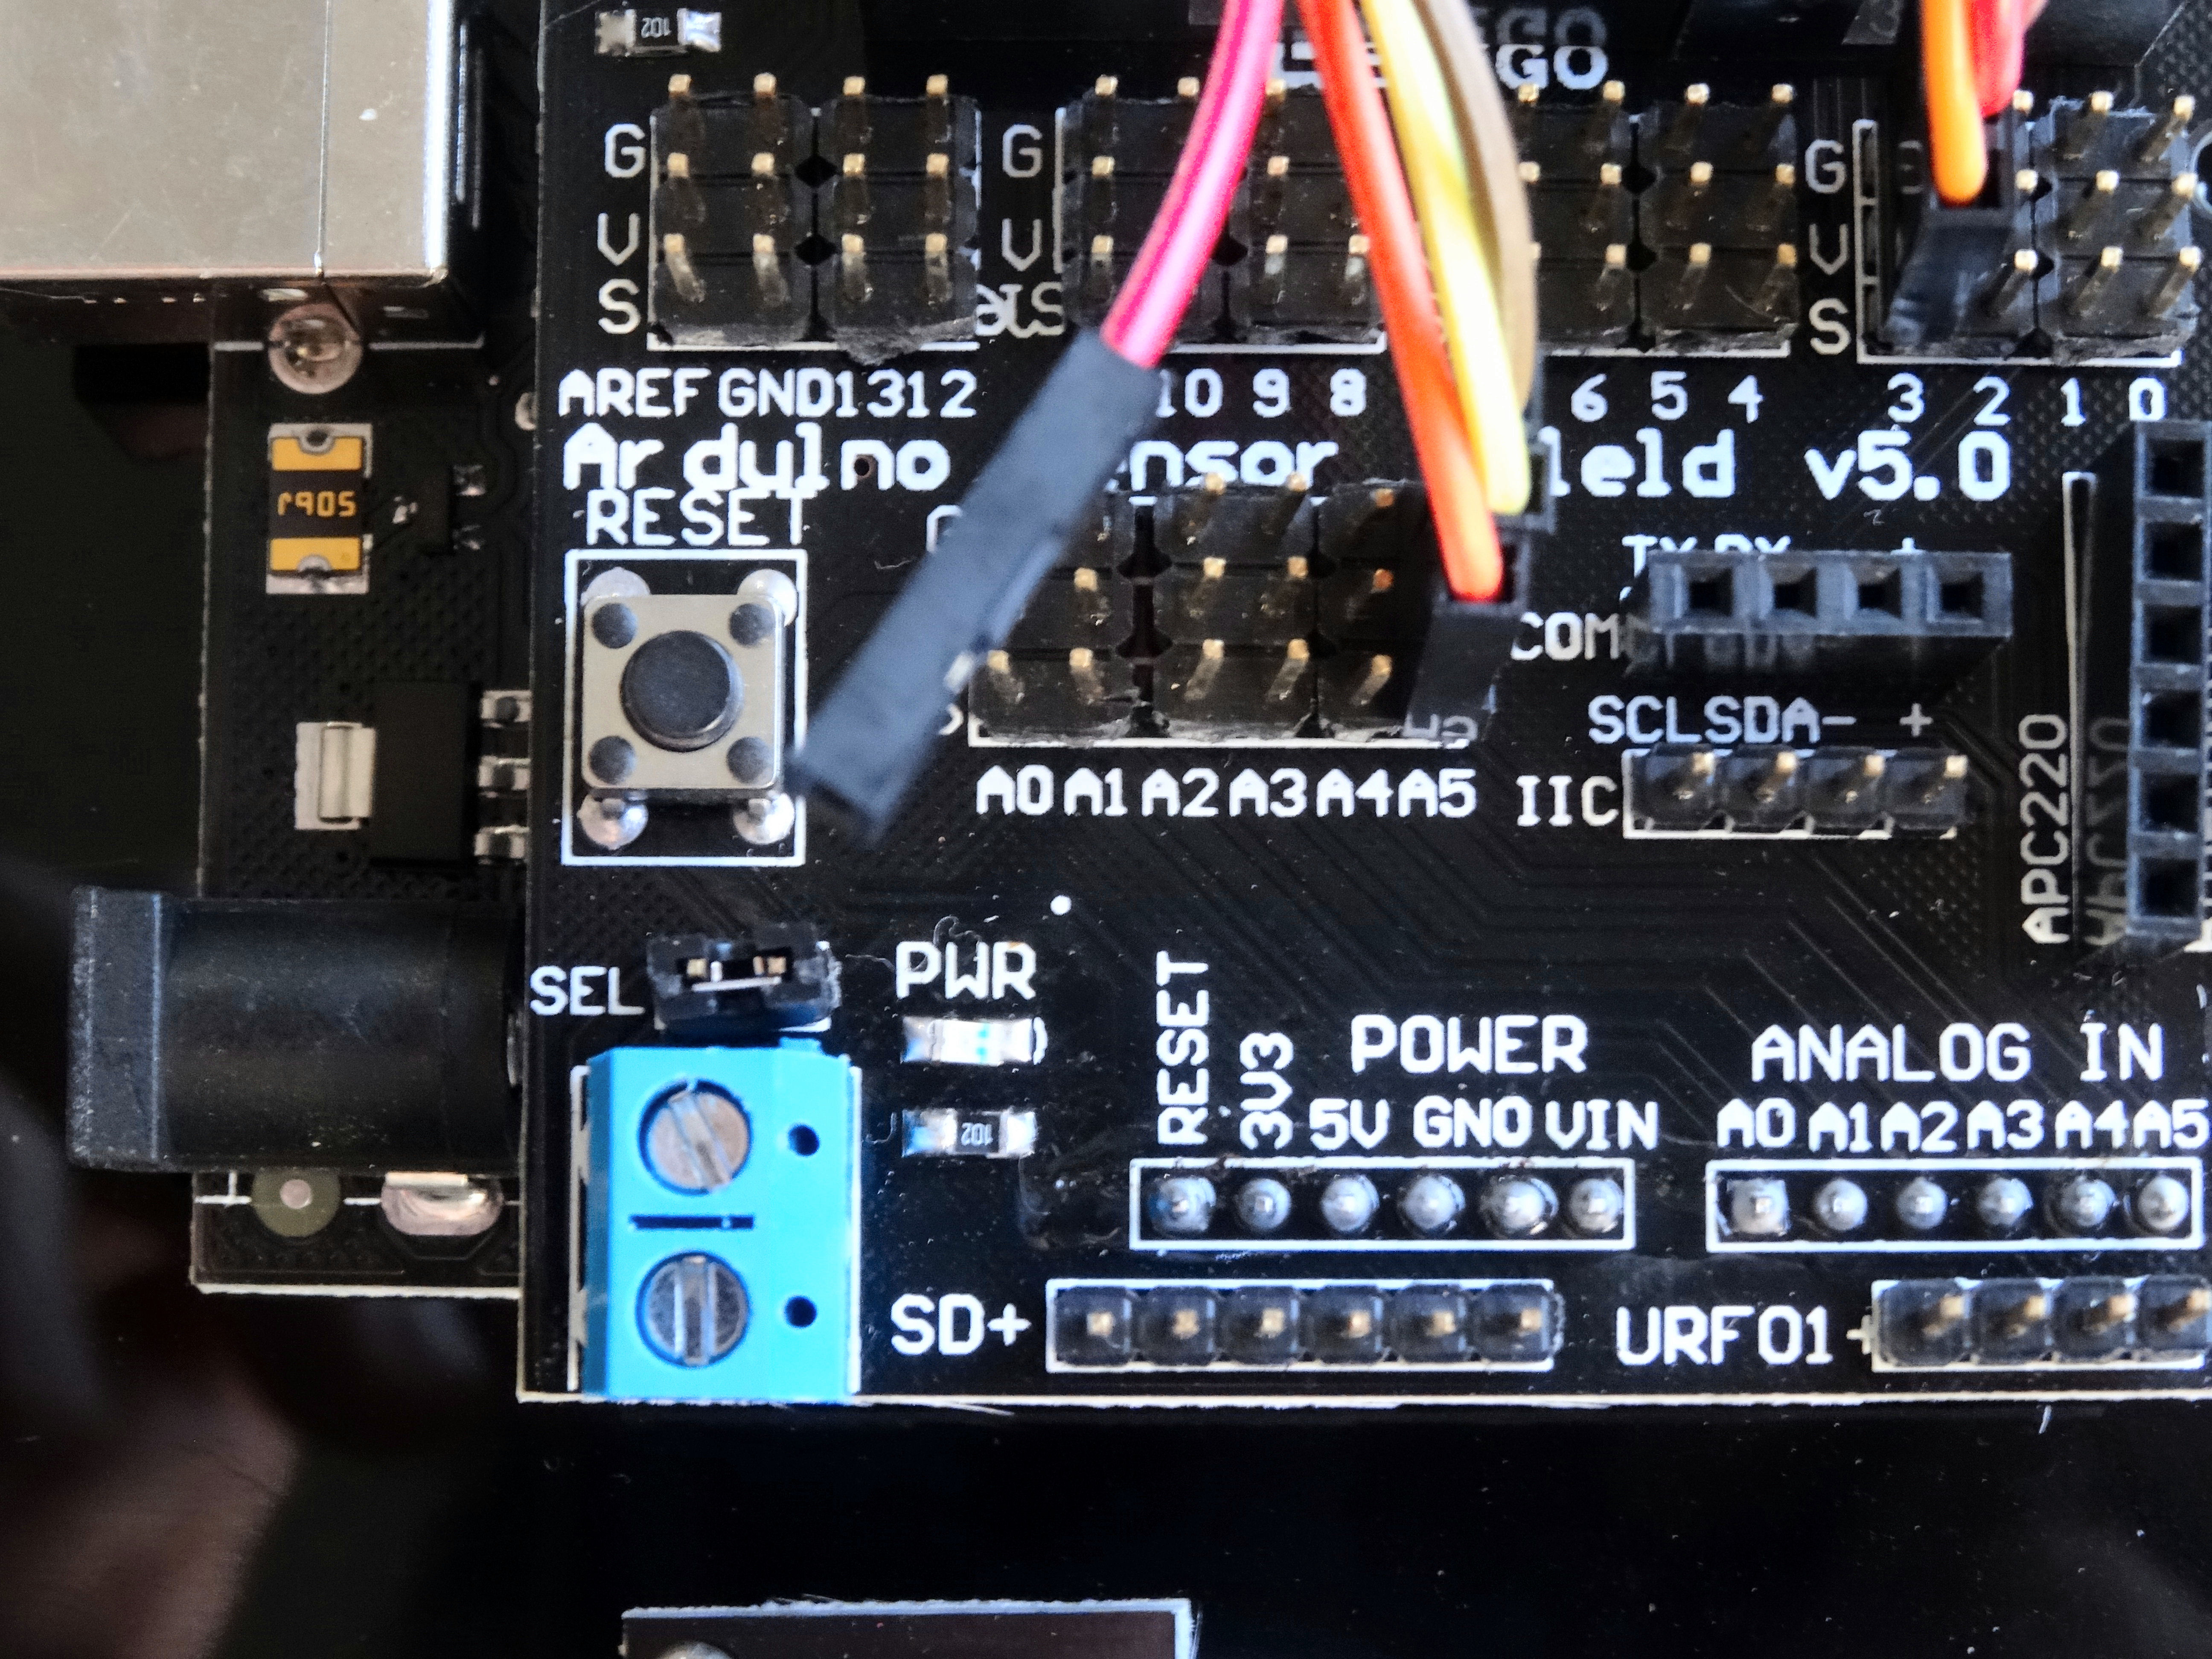
- Connect the last wire - Red Wire to the A4 Signal pin of the sensor connection points of the Sensor Shield (Picture 7)
Connect the Infrared Receiver Module to the Sensor Shield
Edited.JPG)
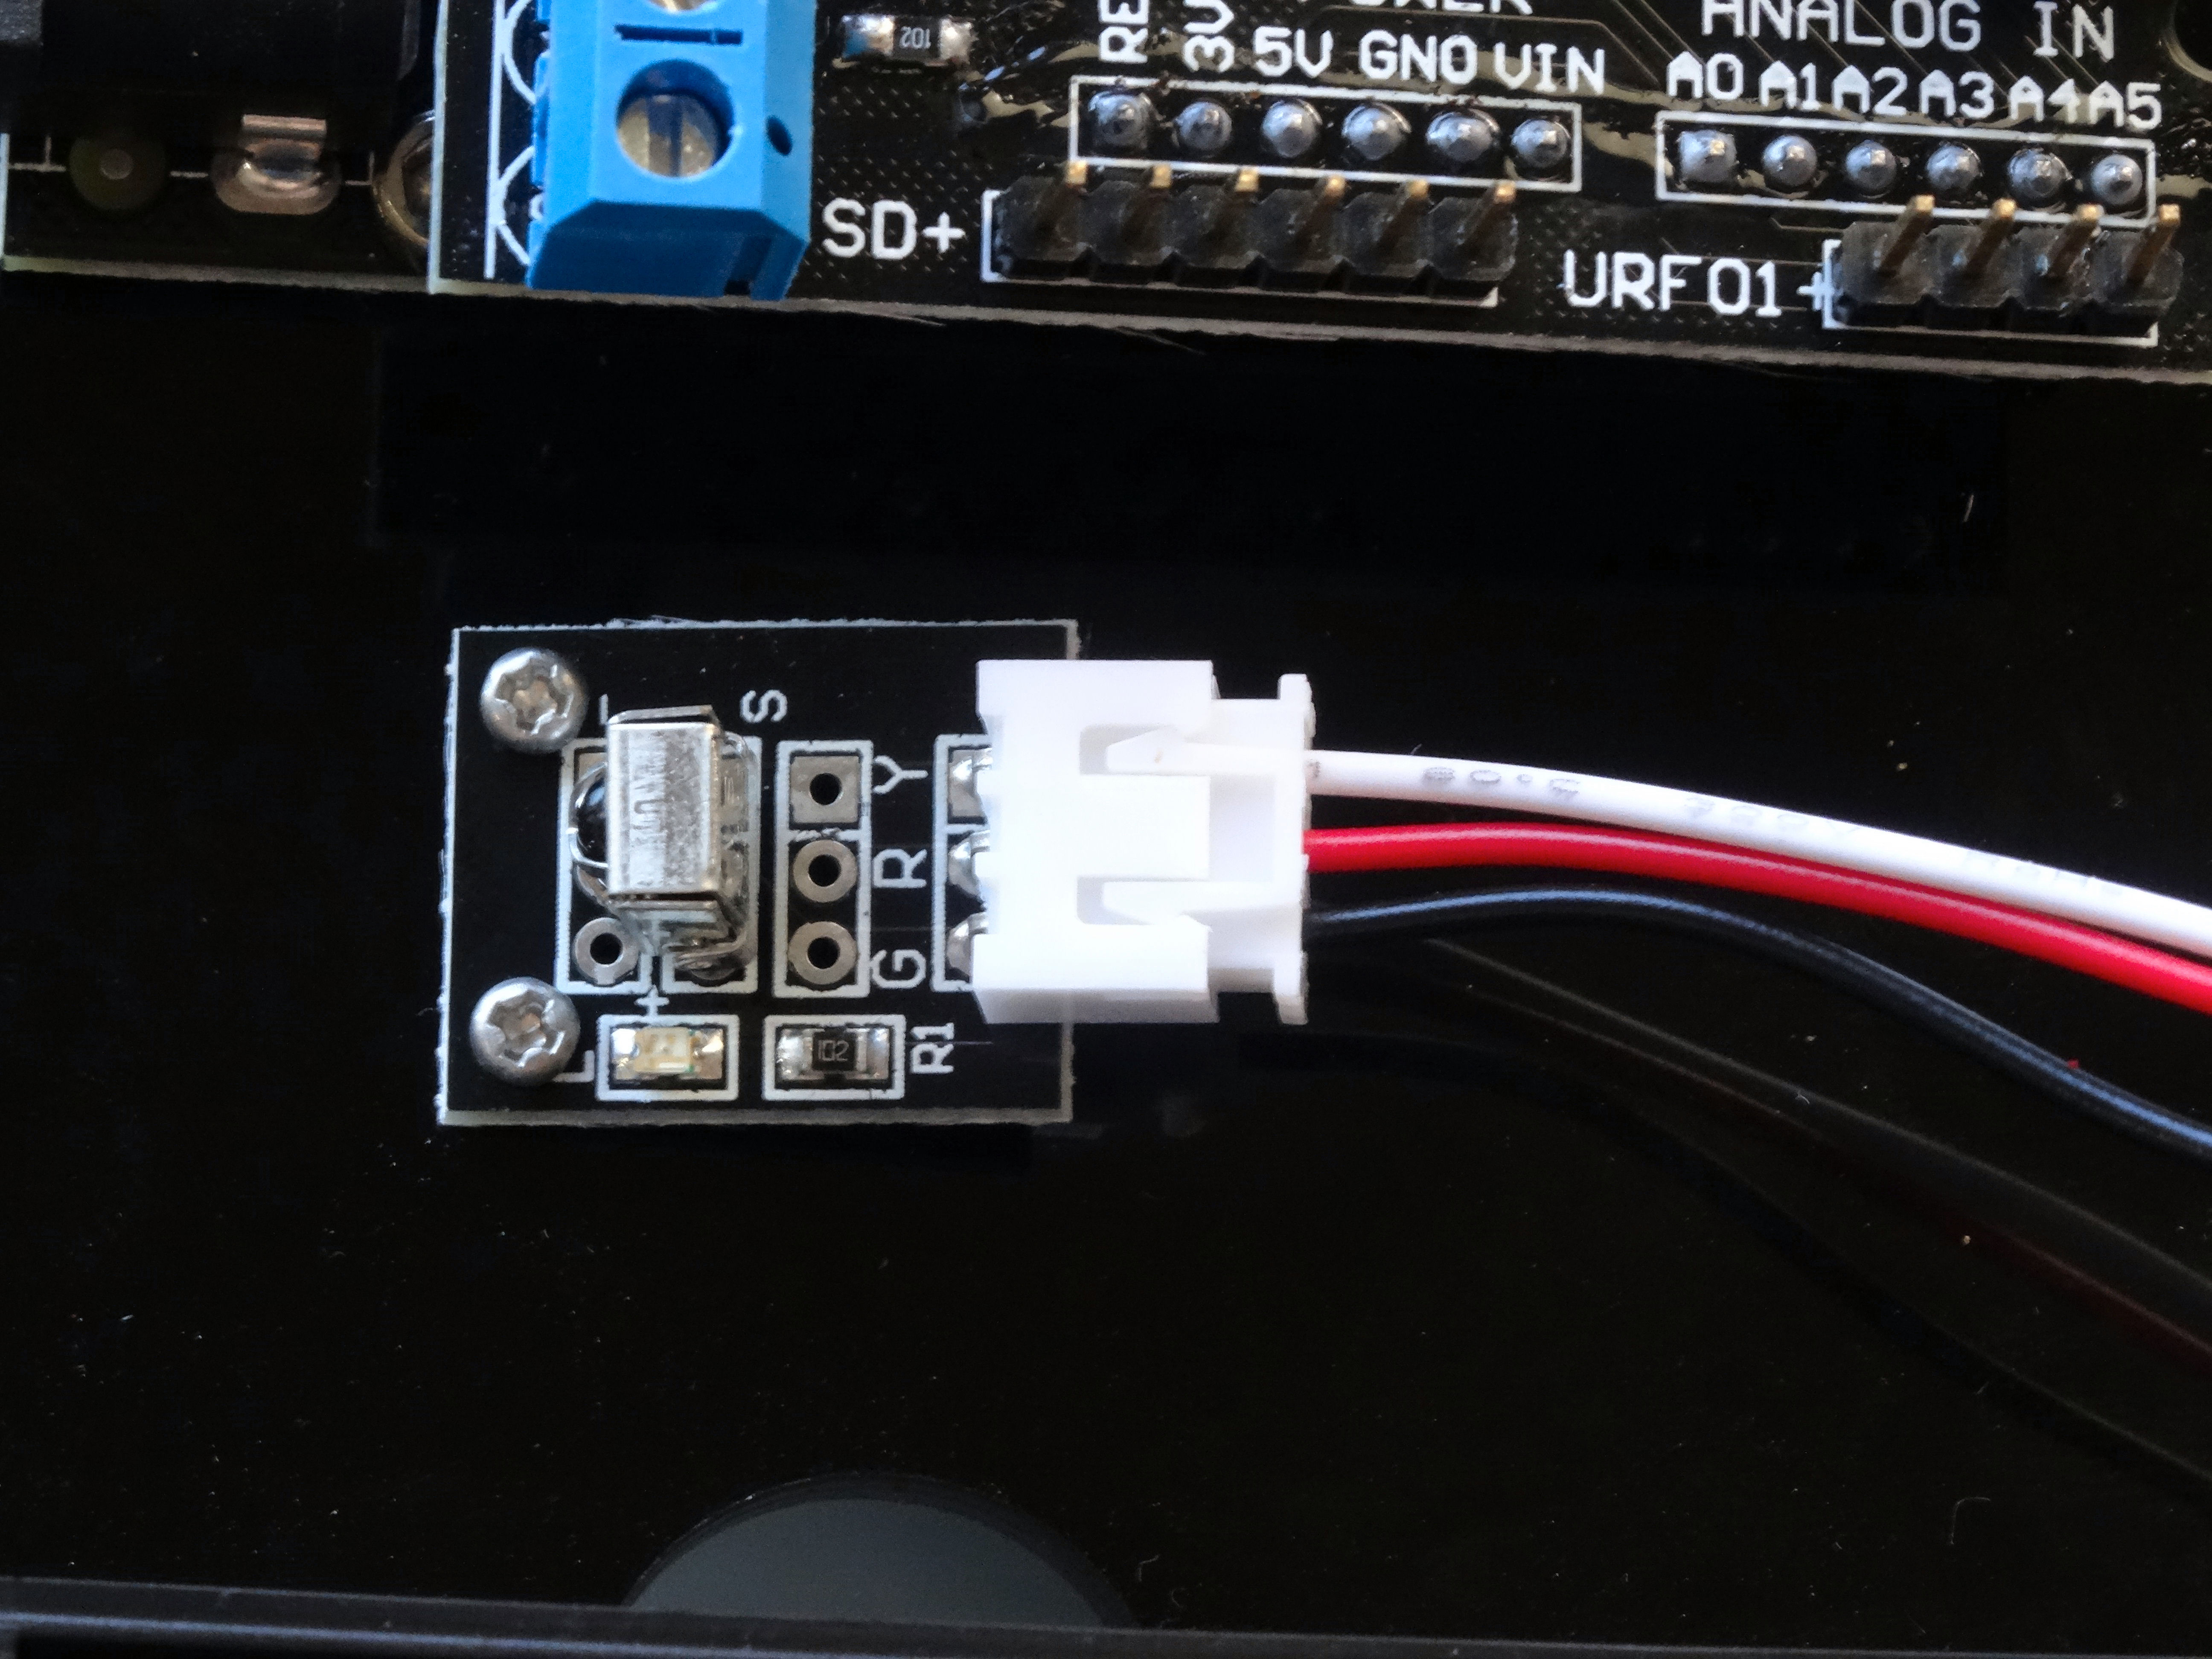
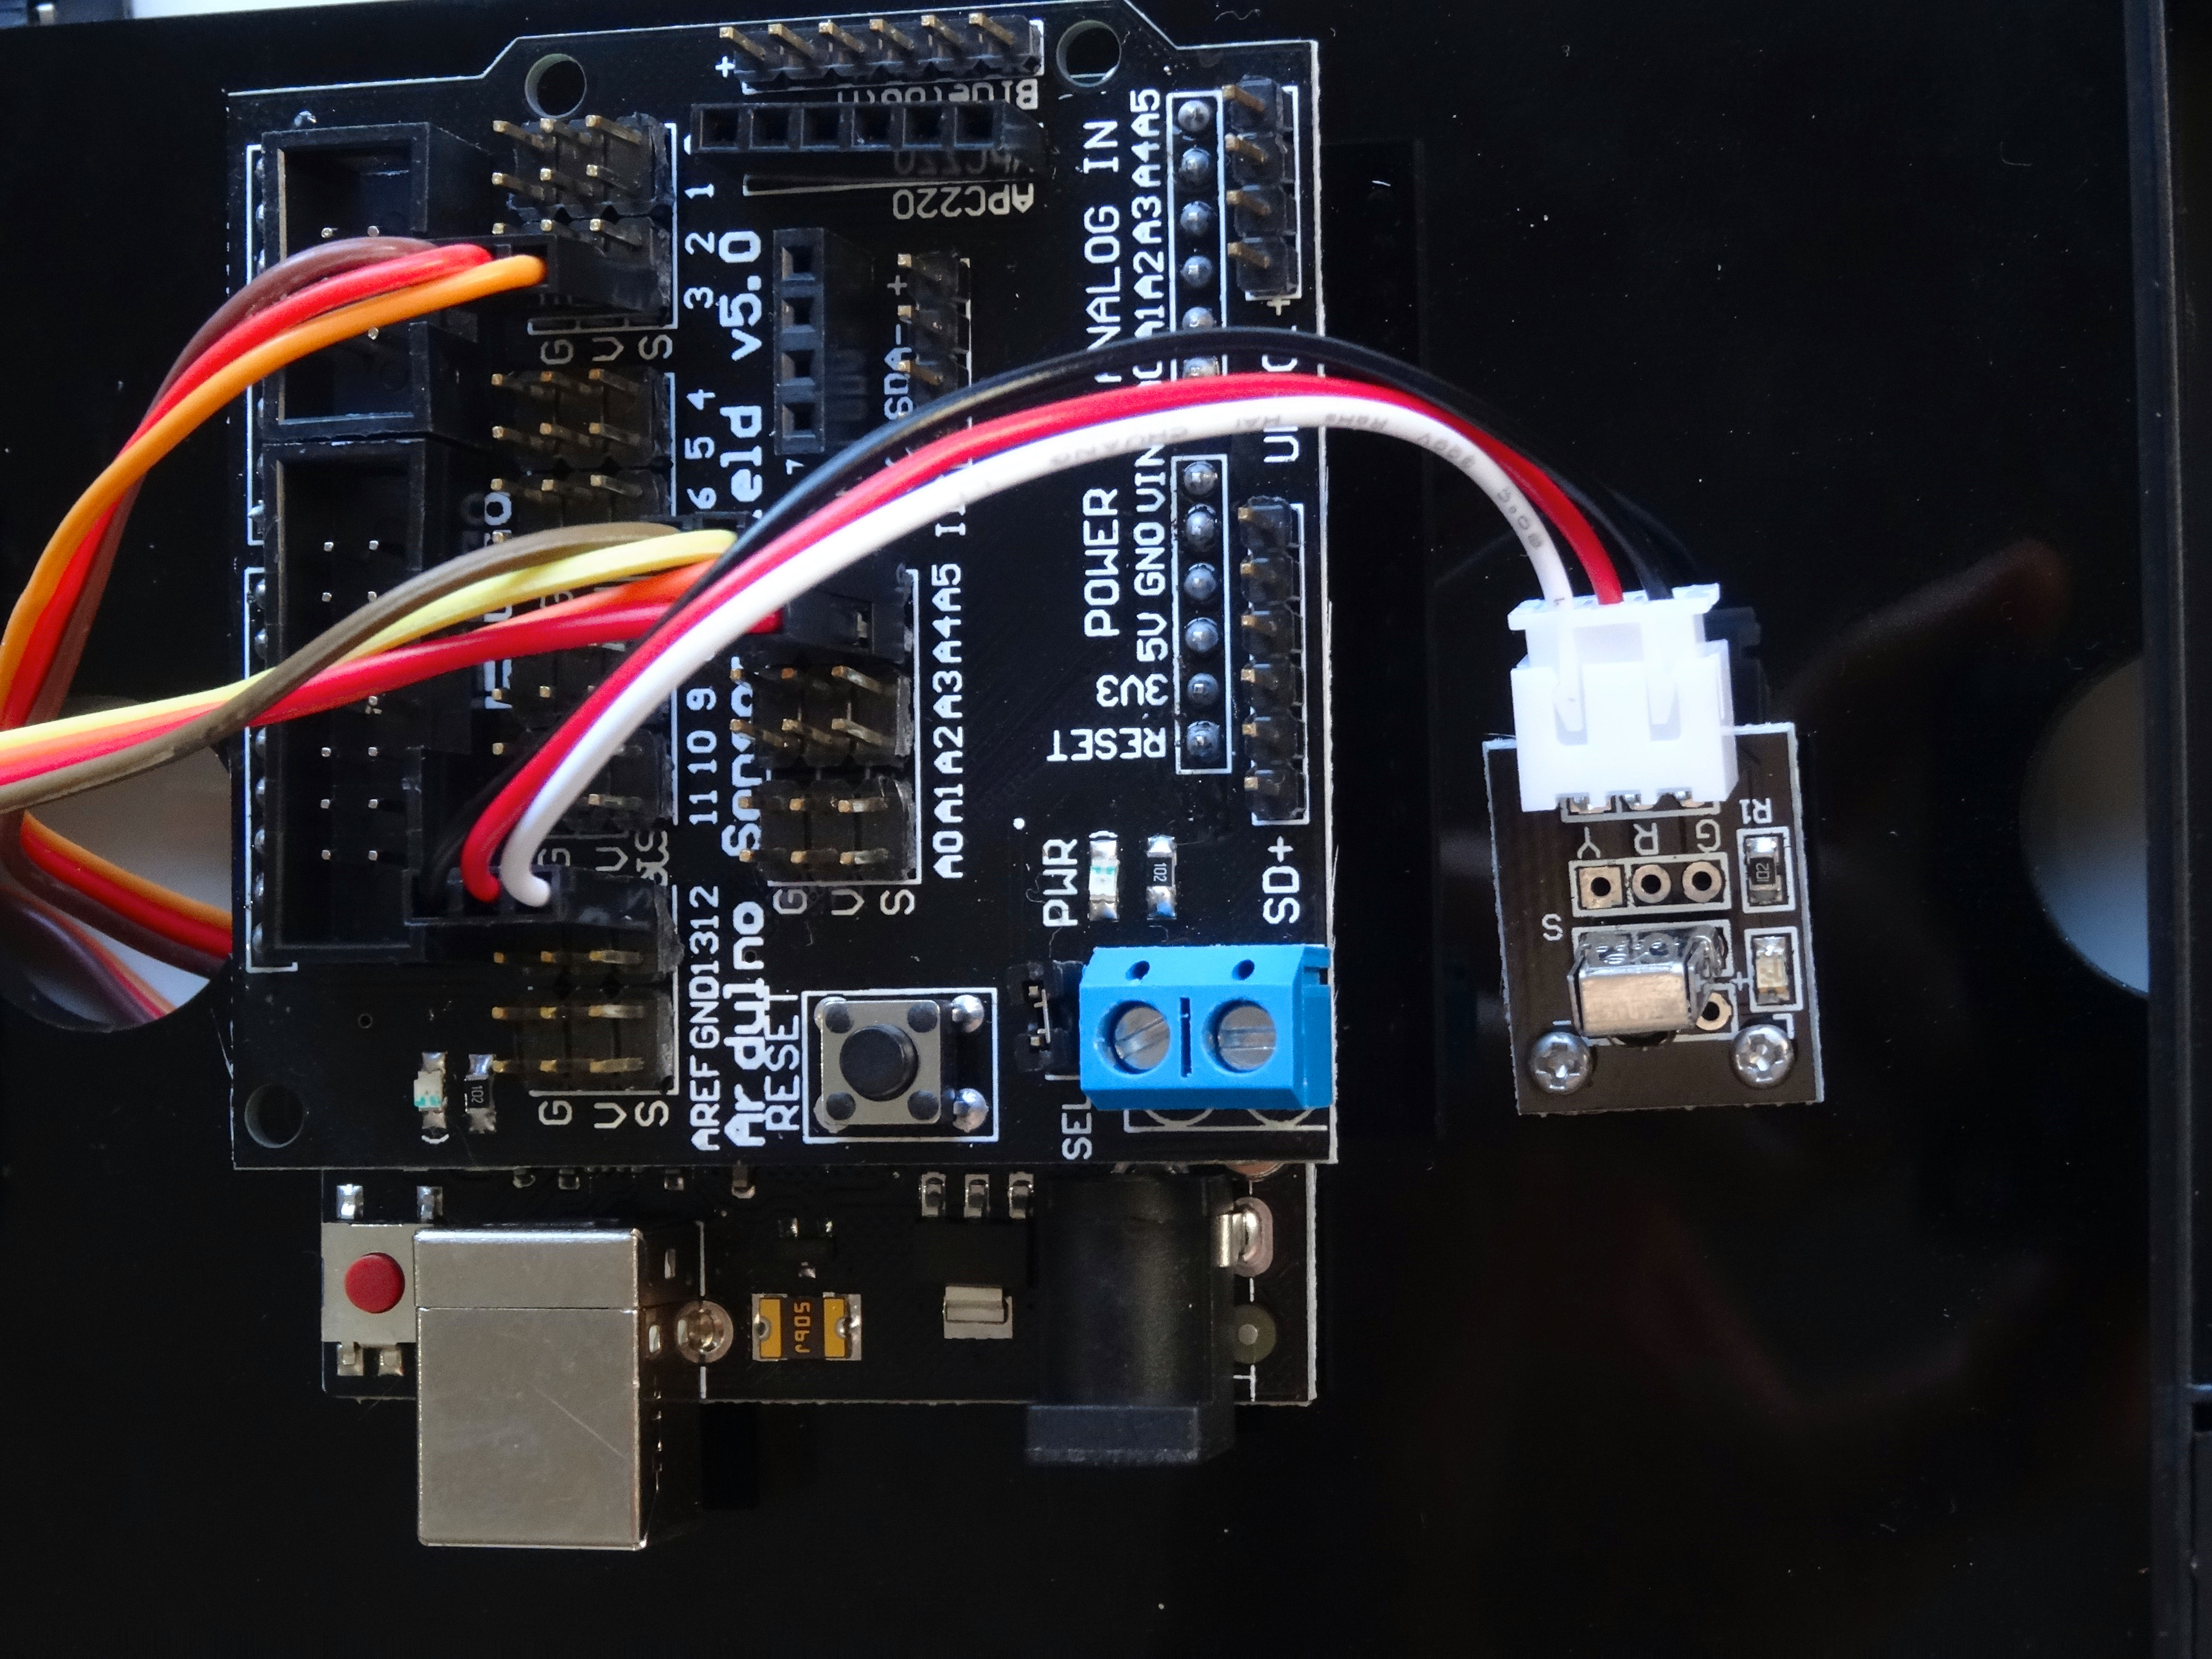
- Take the remaining short connection with white connector on one side, and black on the other, and connect the white connector to the Infrared Remote Sensor (Picture 1)
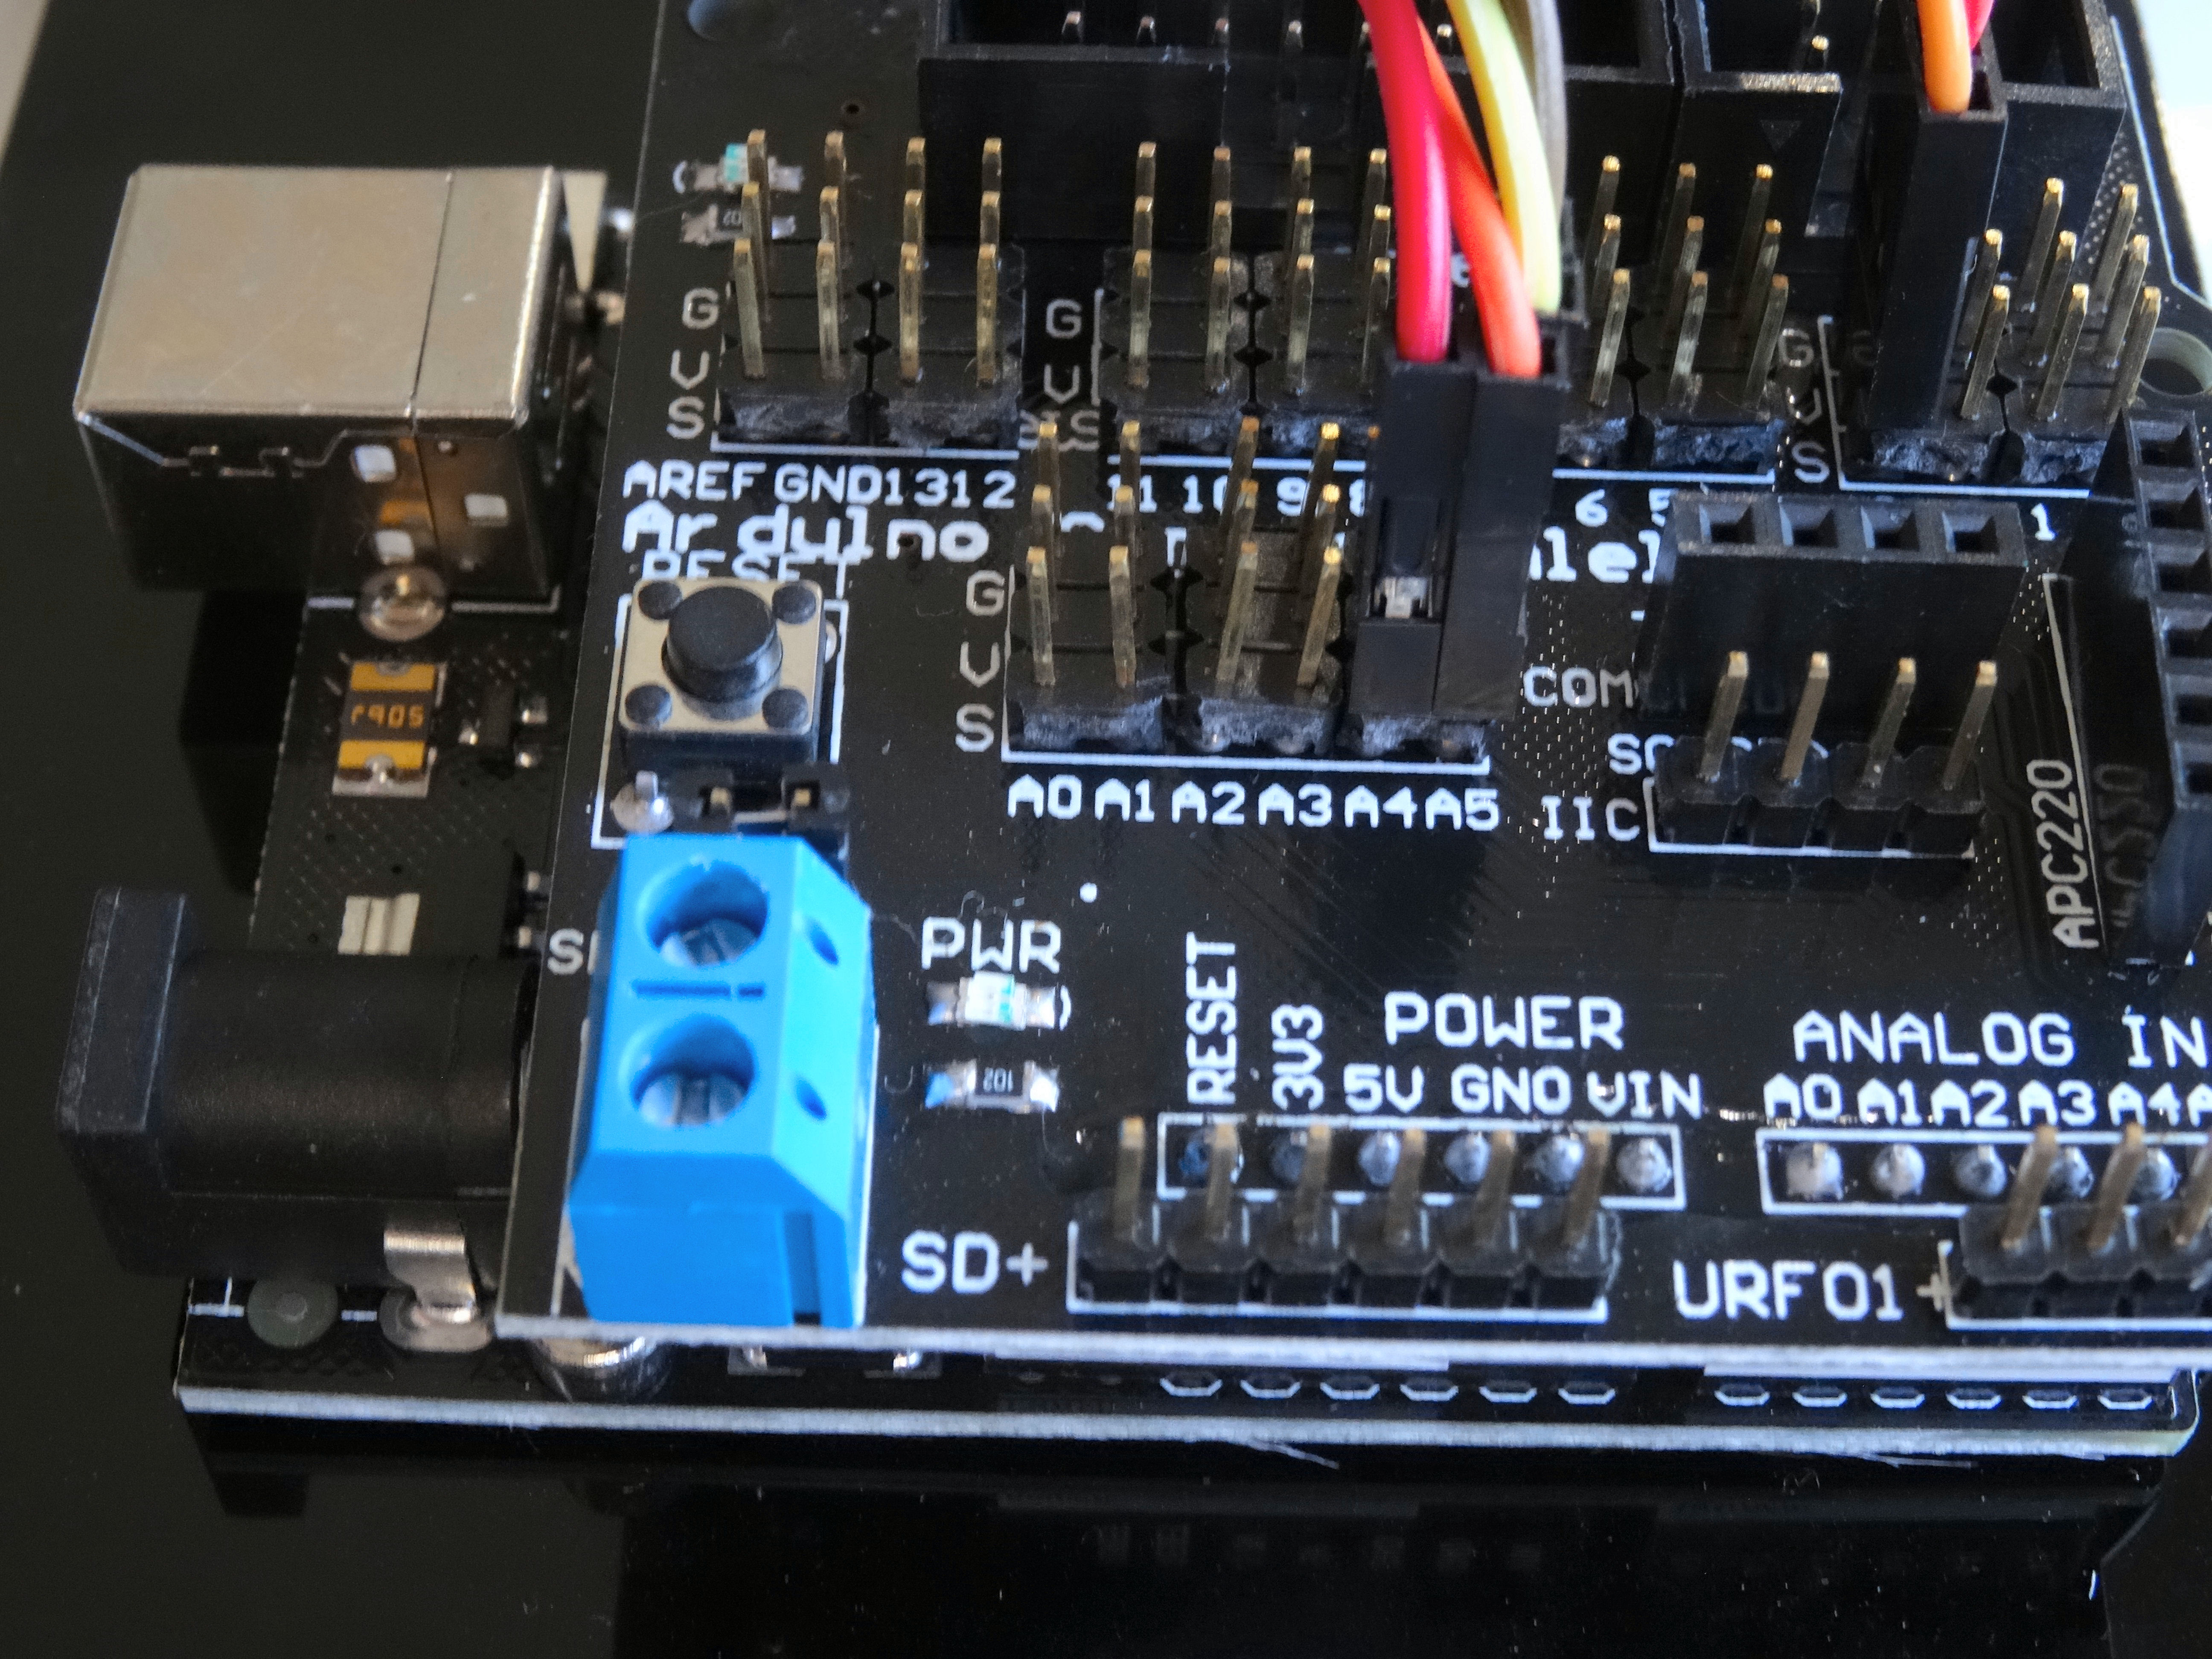
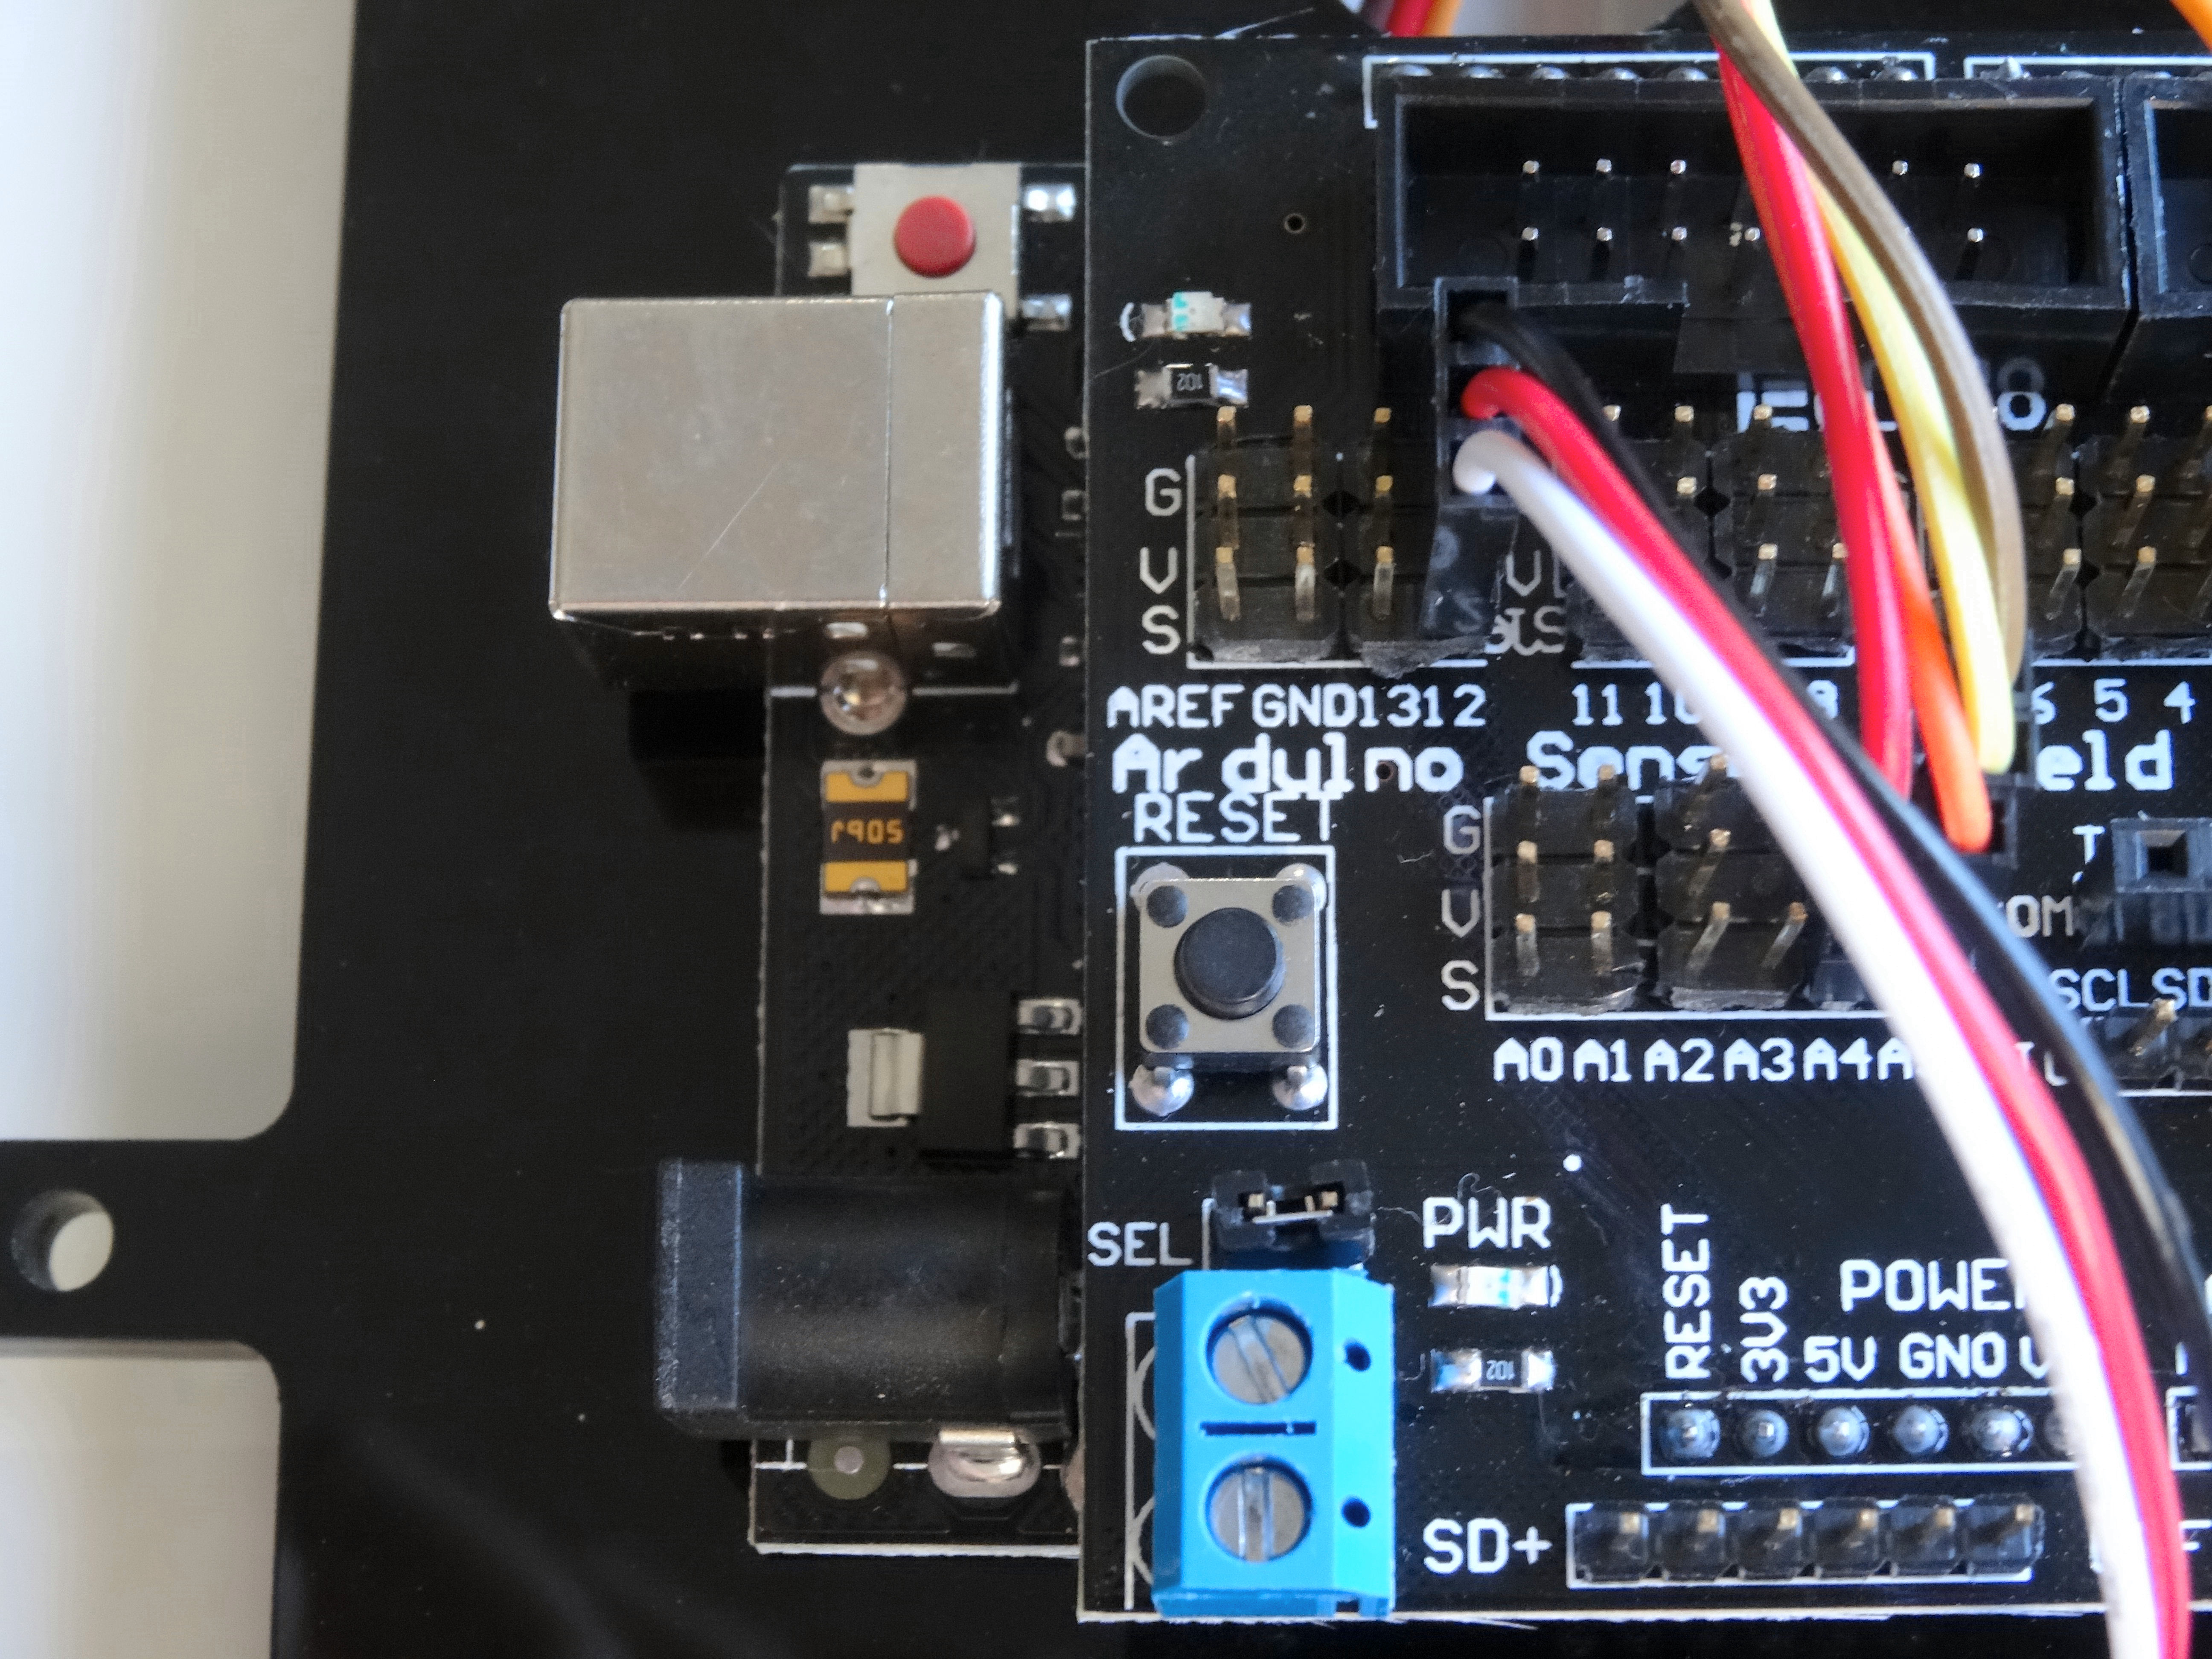
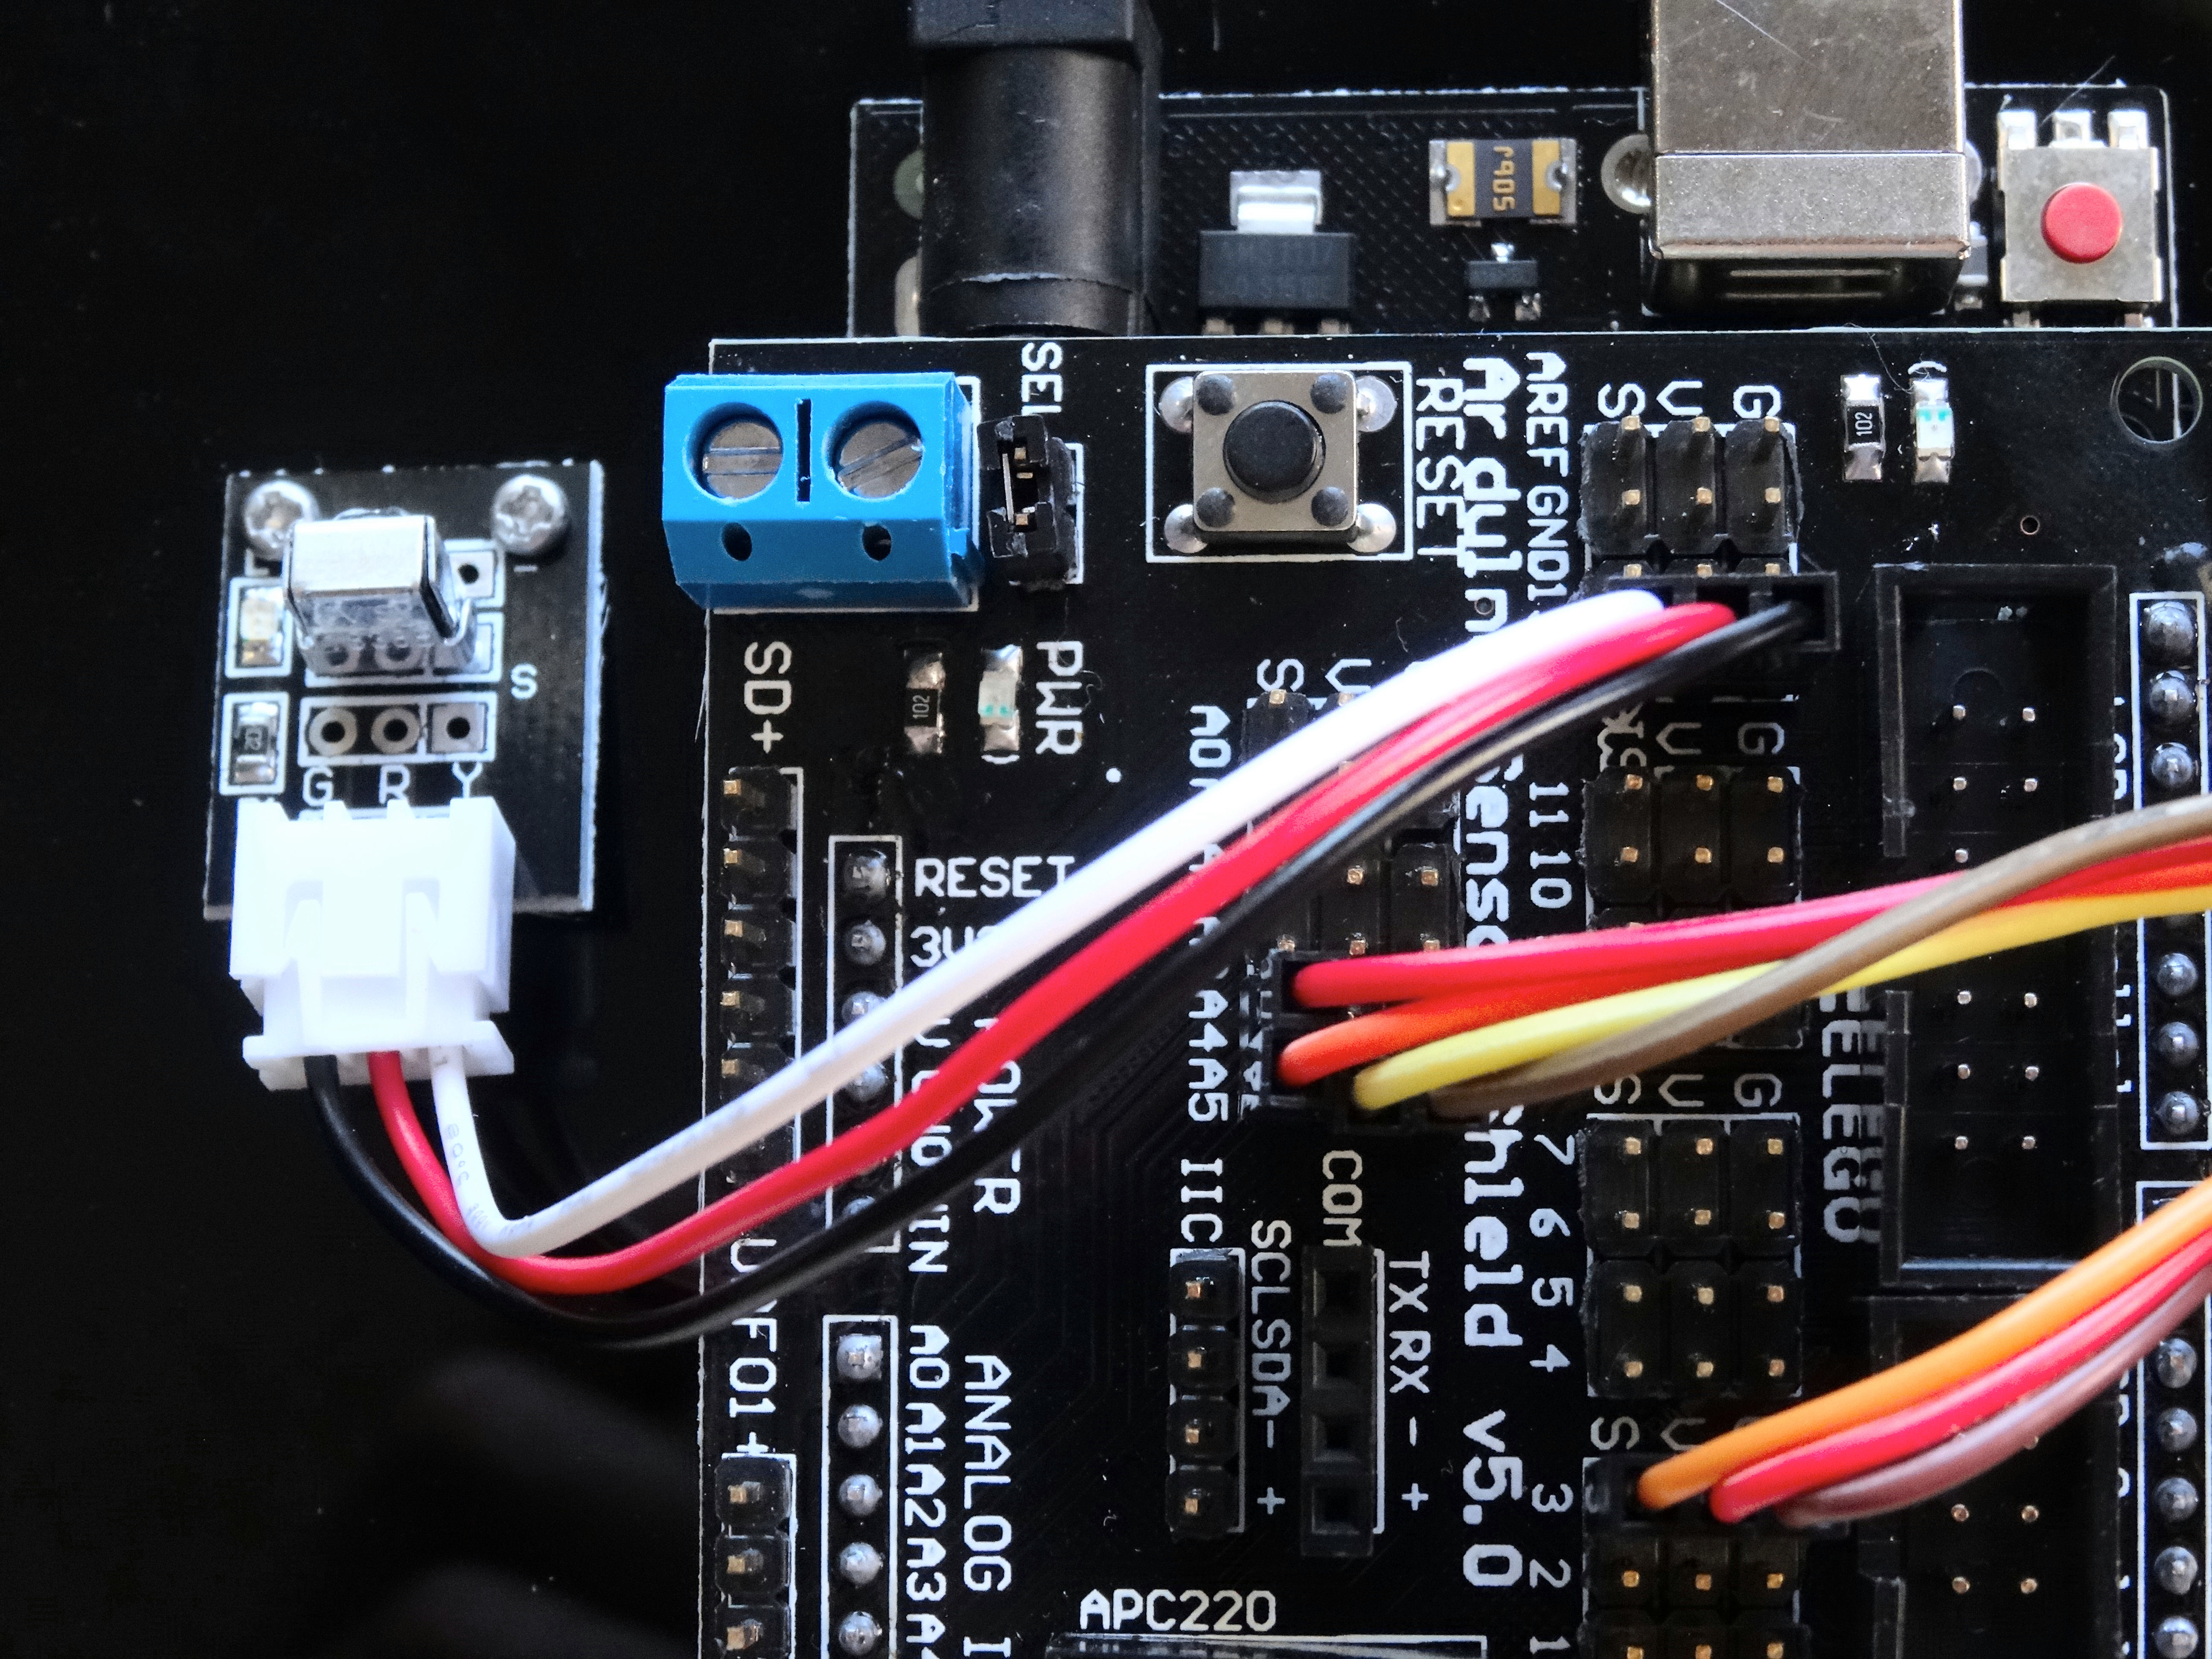
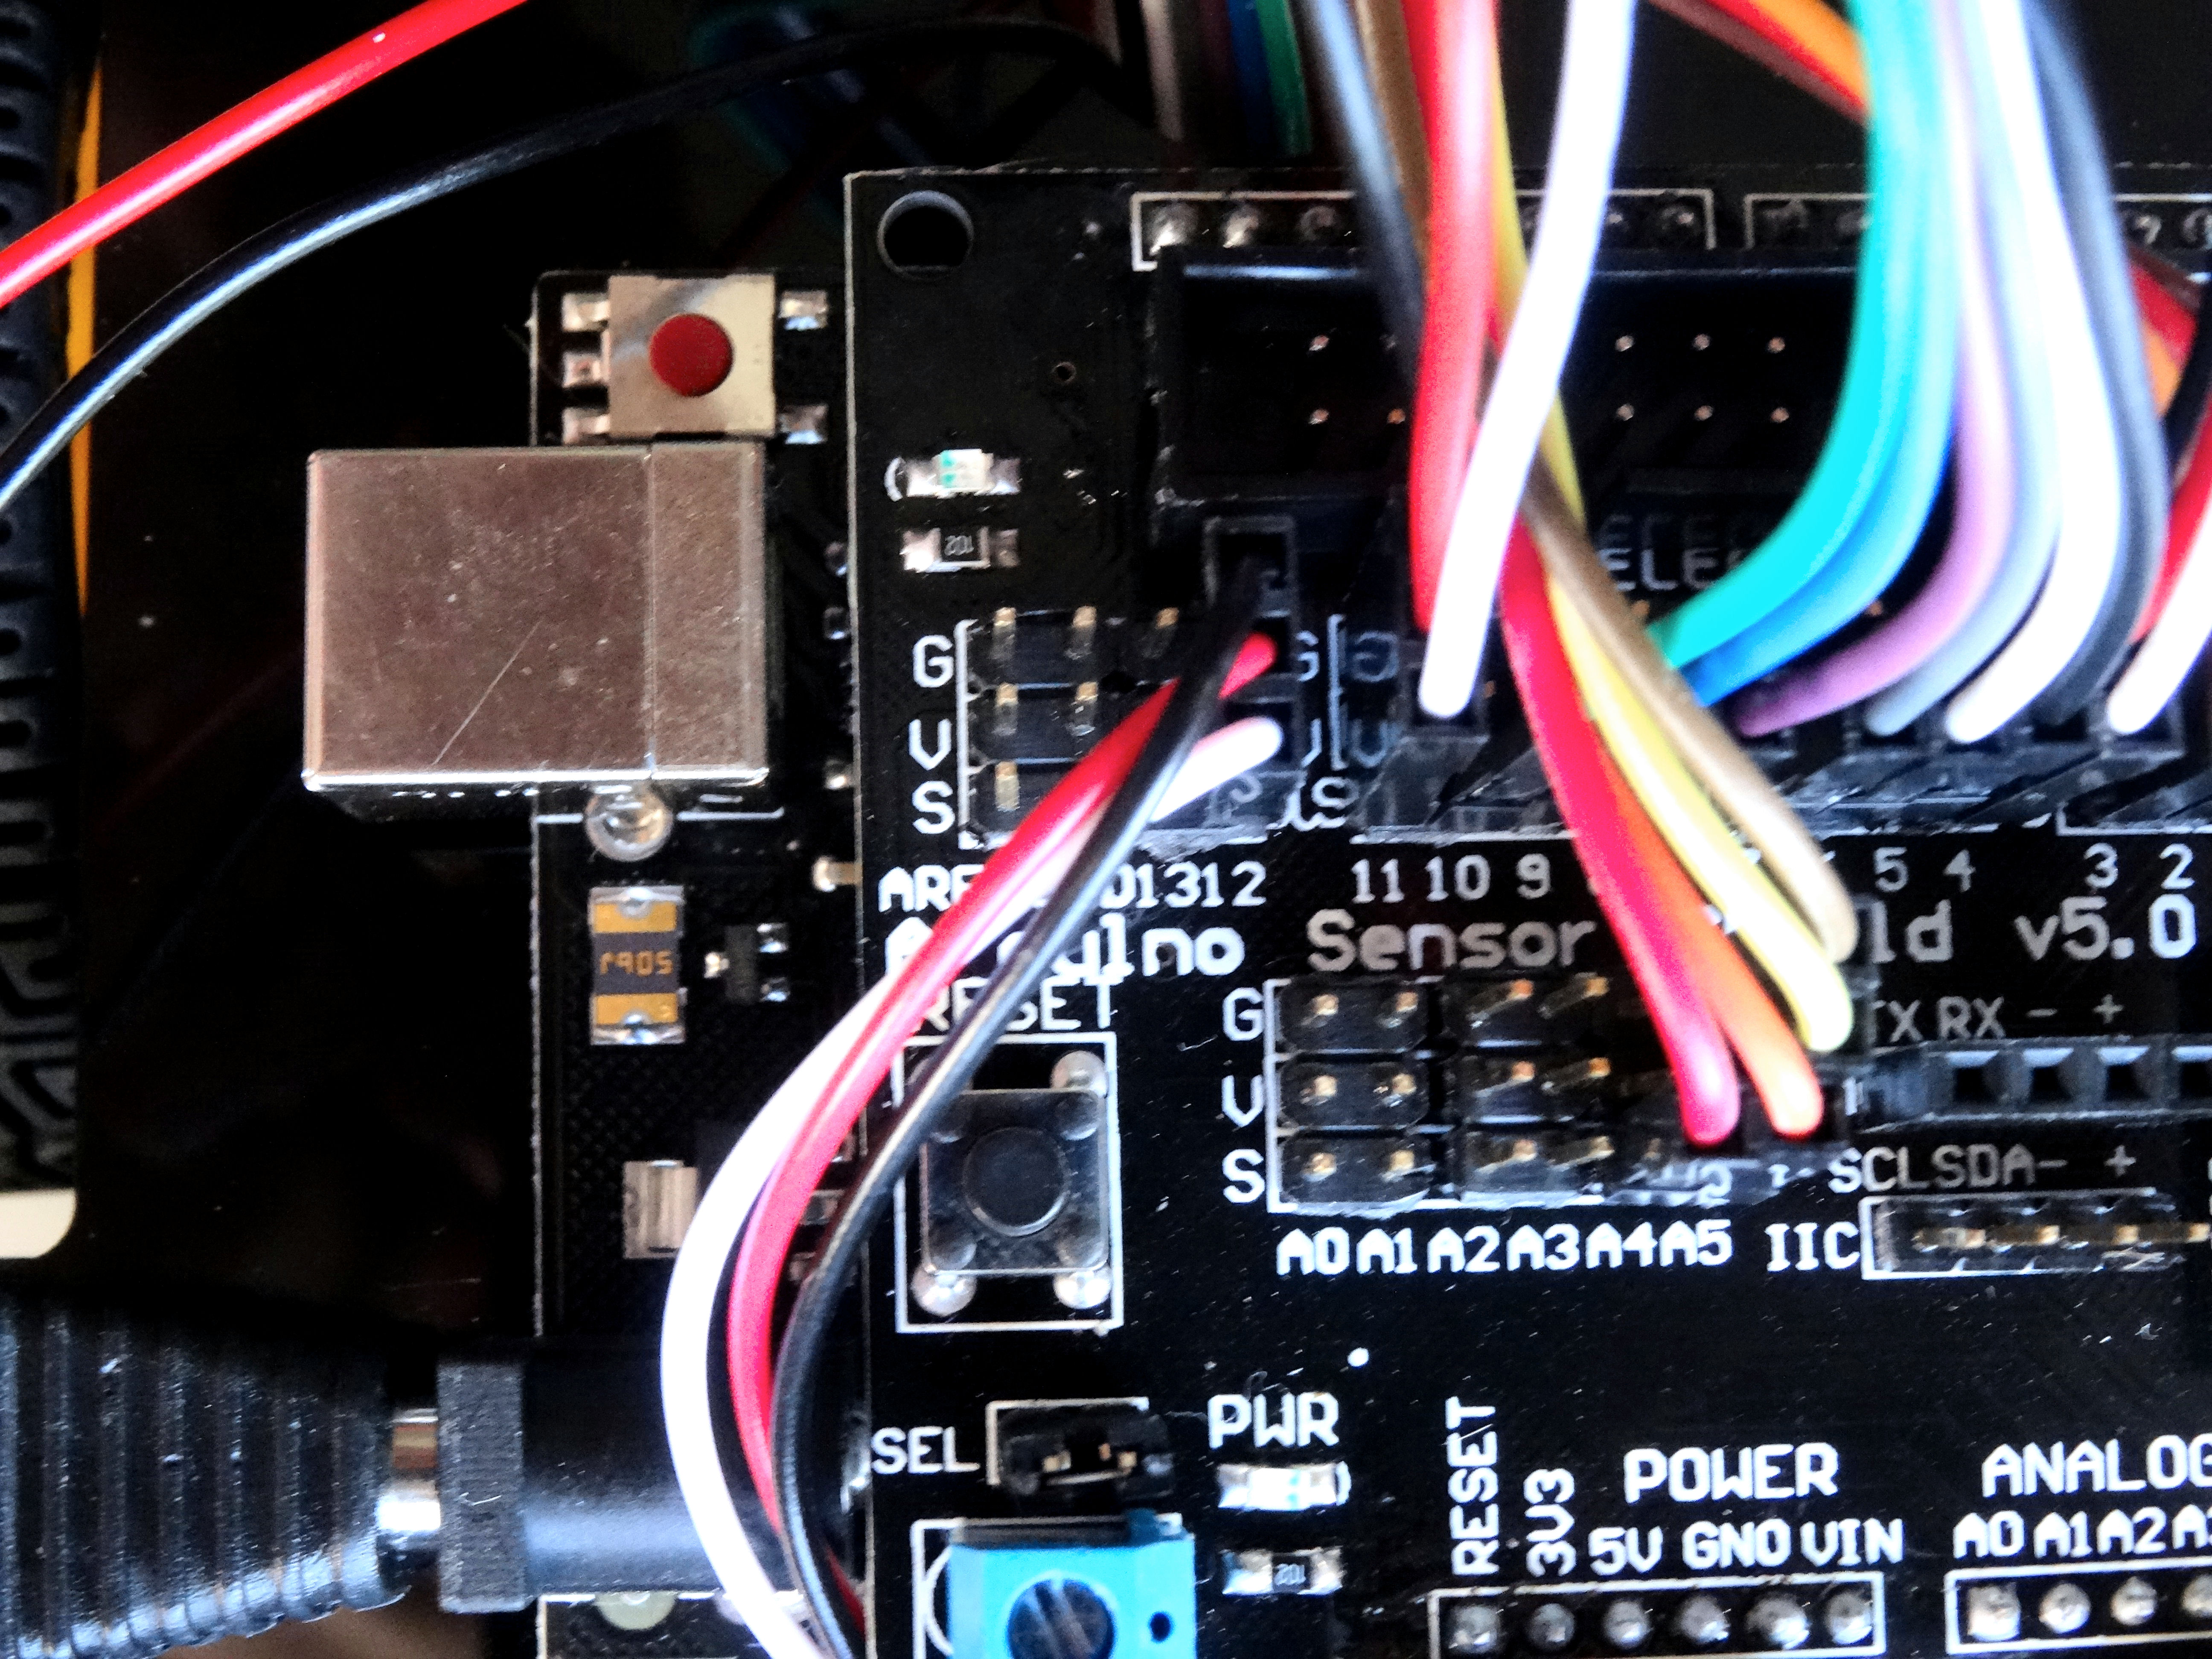
- Connect the black connector of the wire to the connection points for pin 12 on the Sensor Shield, so the black wire is connected to ground, and the white to signal (Pictures 2, 3, and 4)
Connect the Wires to Control the L298N Motor Driver
Edited.JPG)
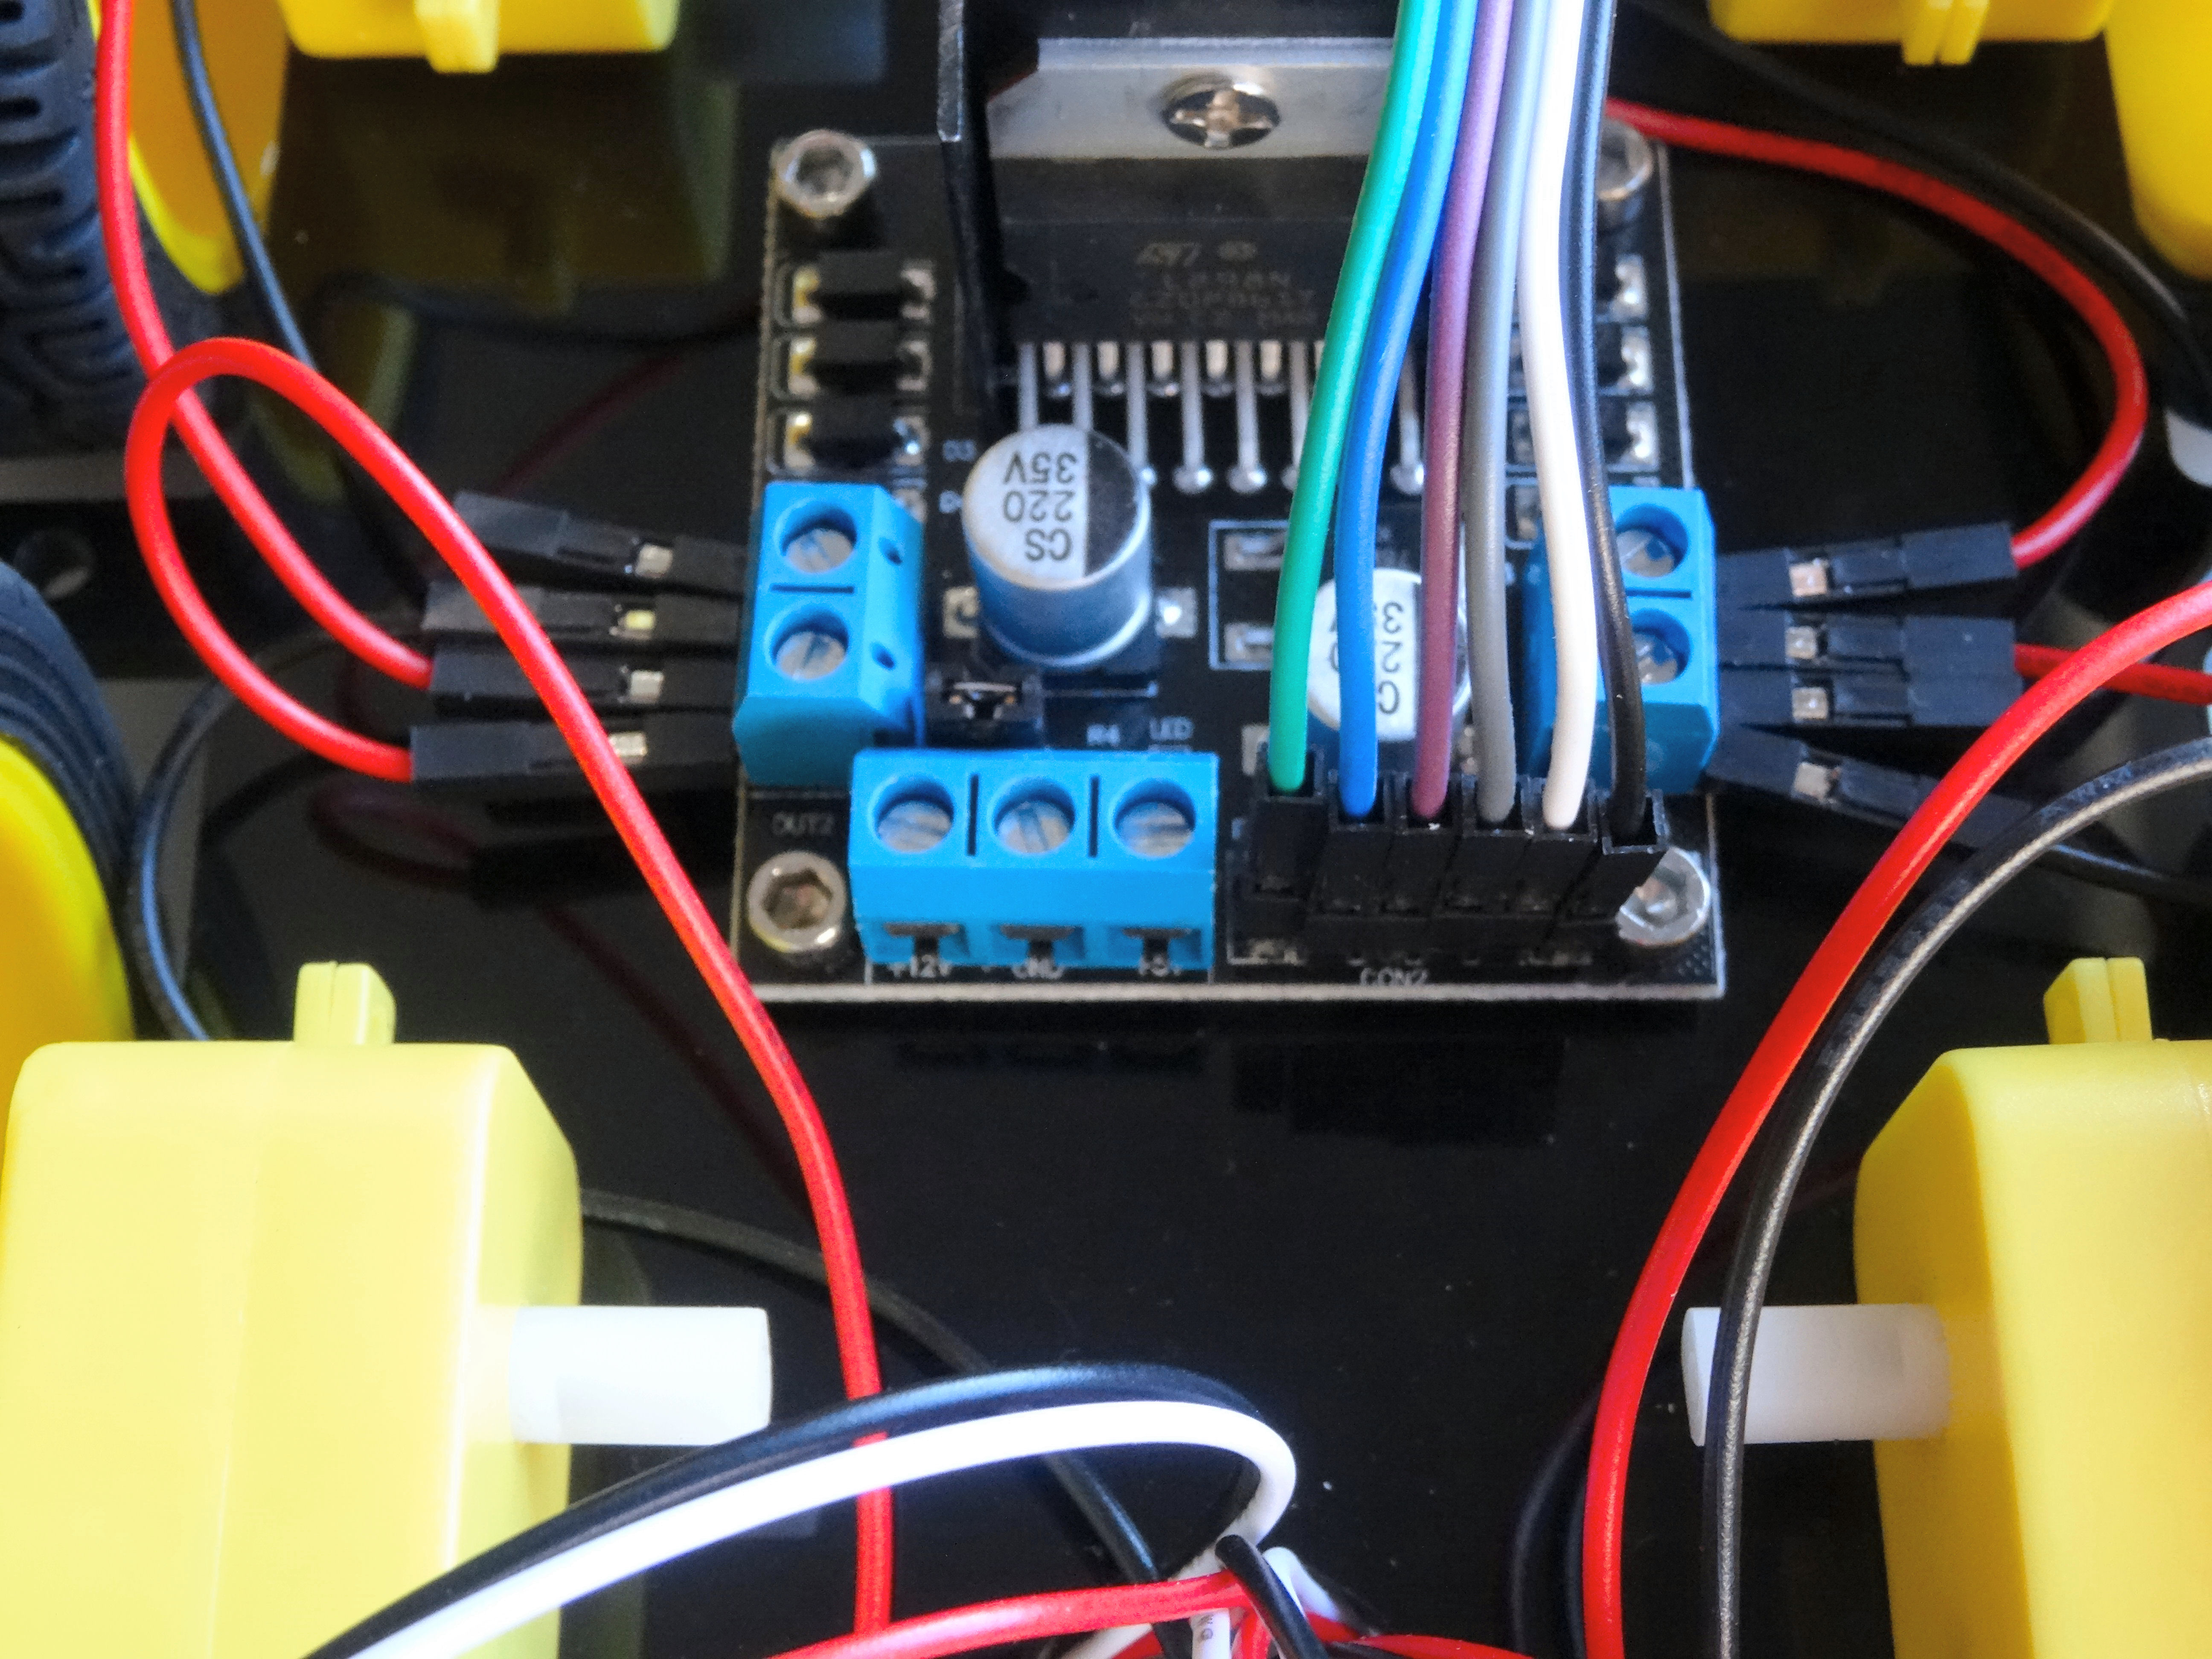
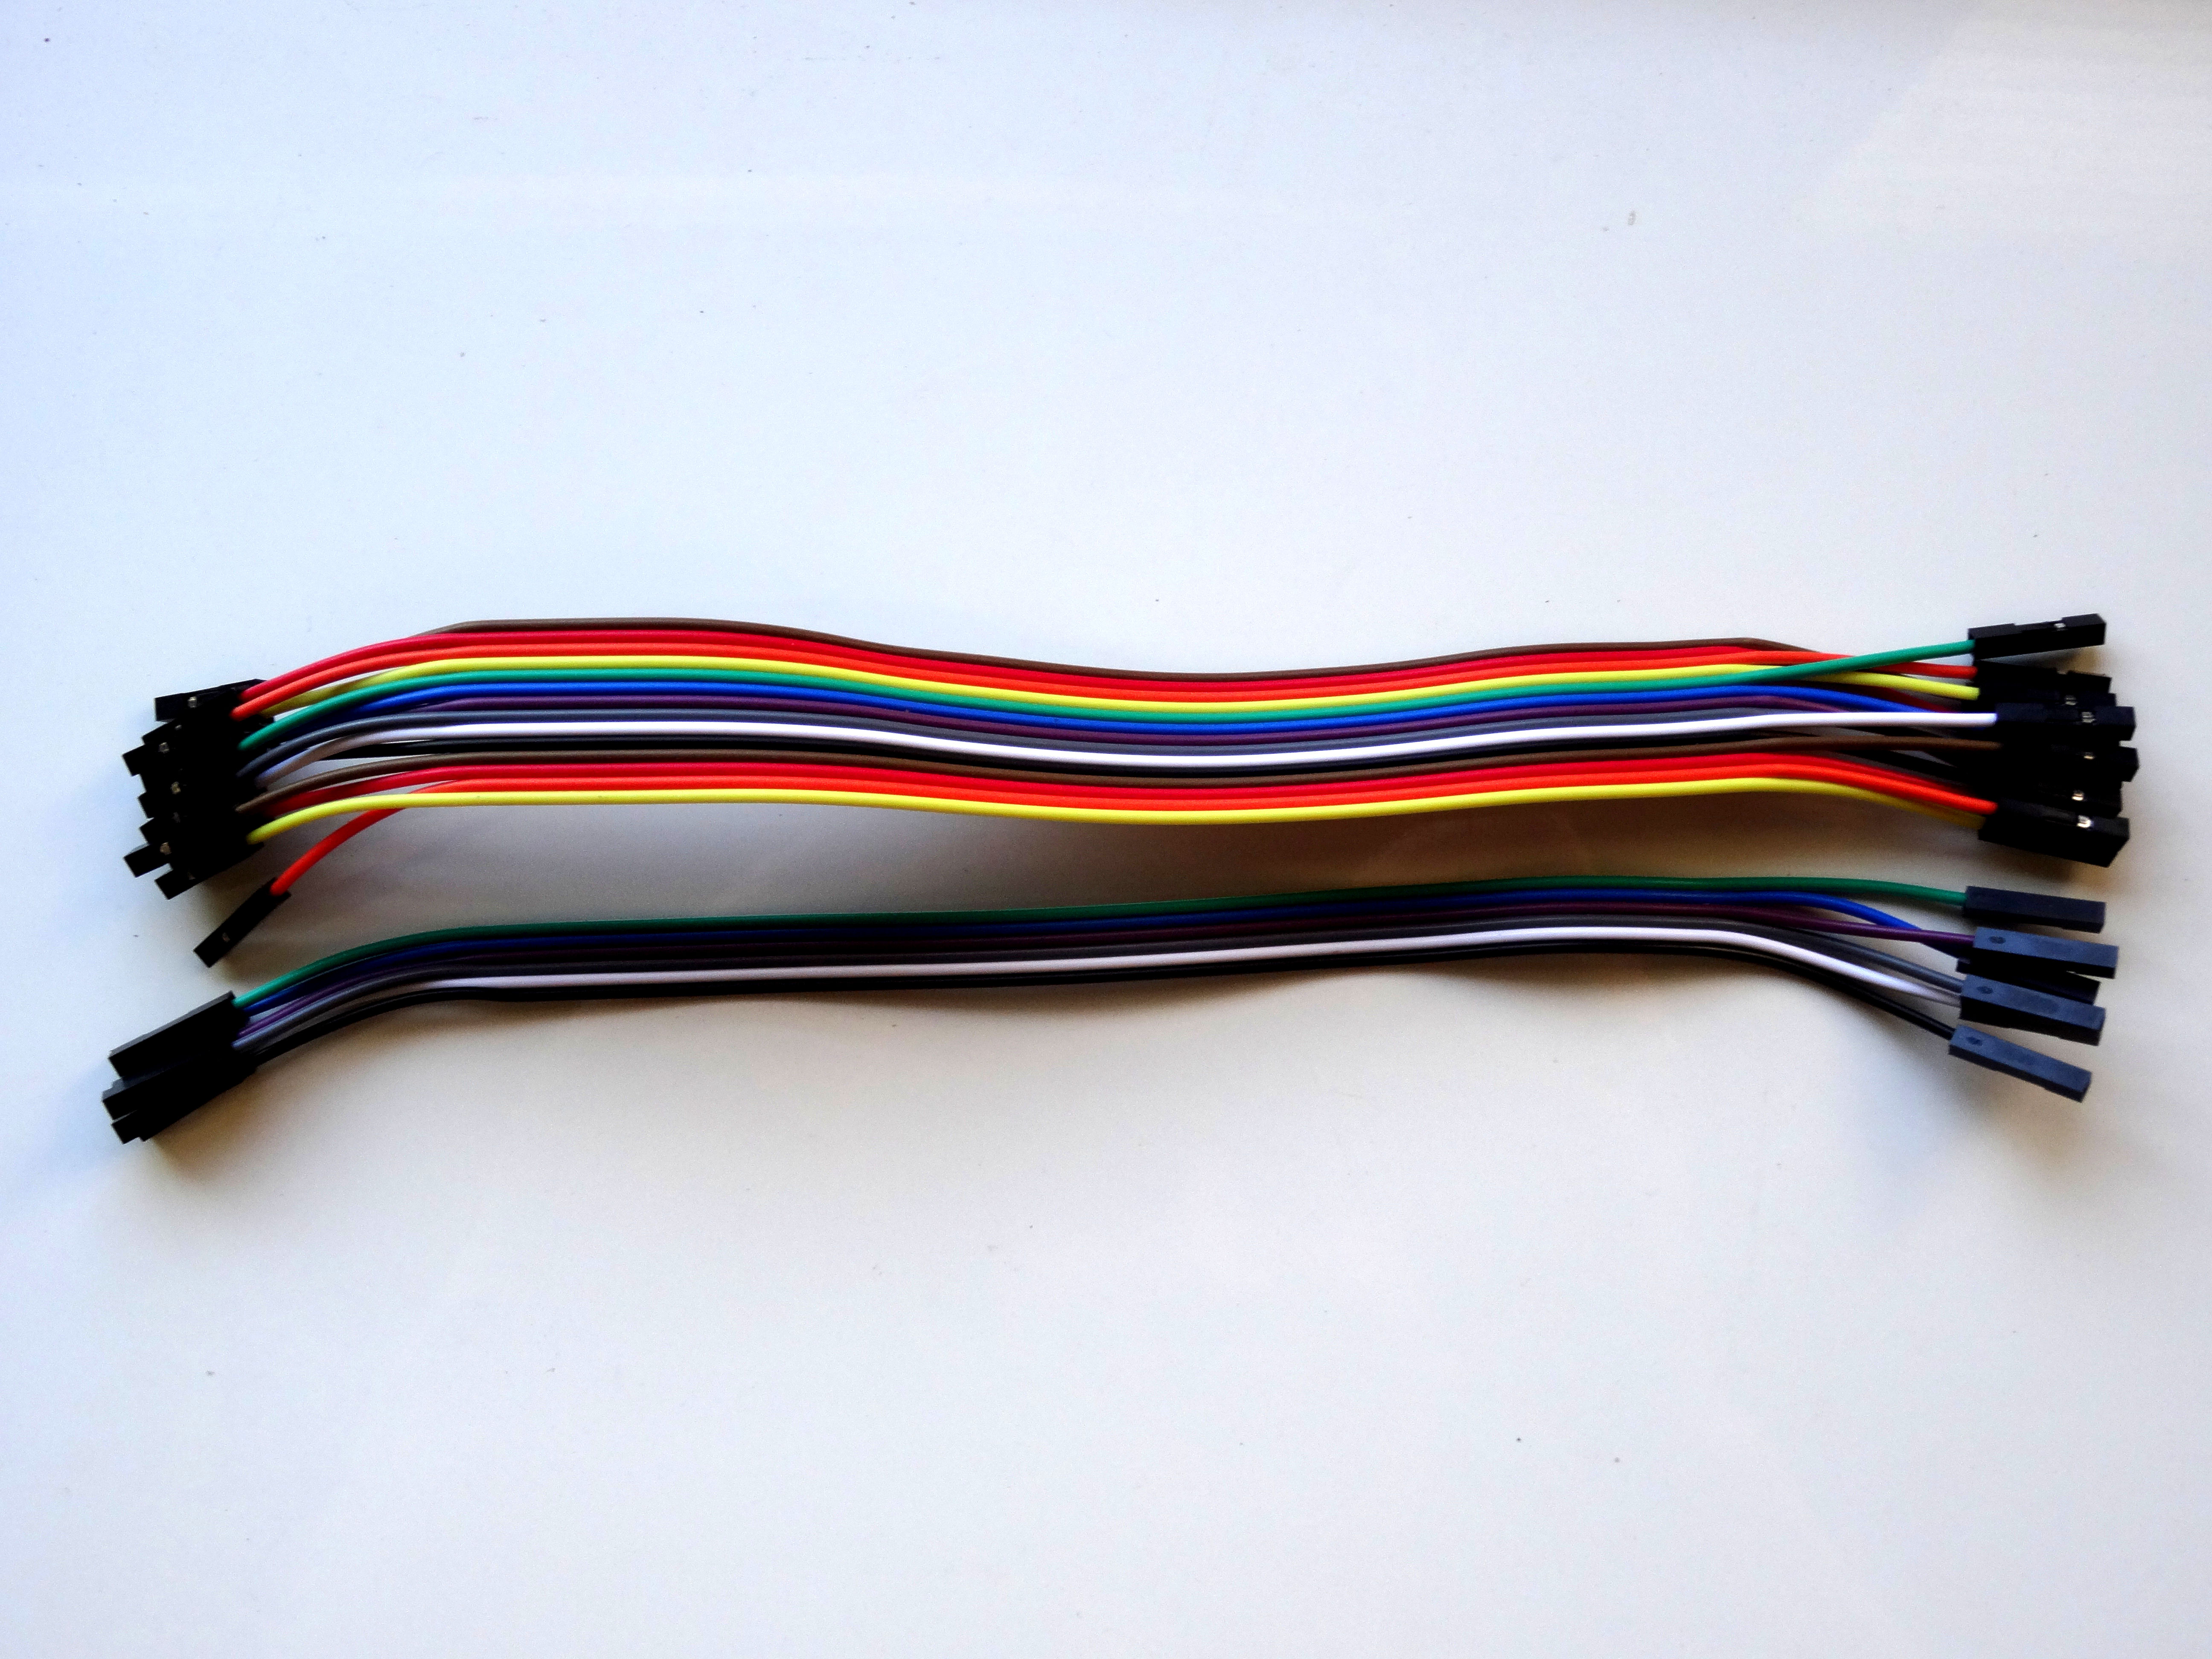
- Split 6 long Female-Female jumper wires - in my case Green, Blue, Purple, Gray, White and Black (Picture 1)
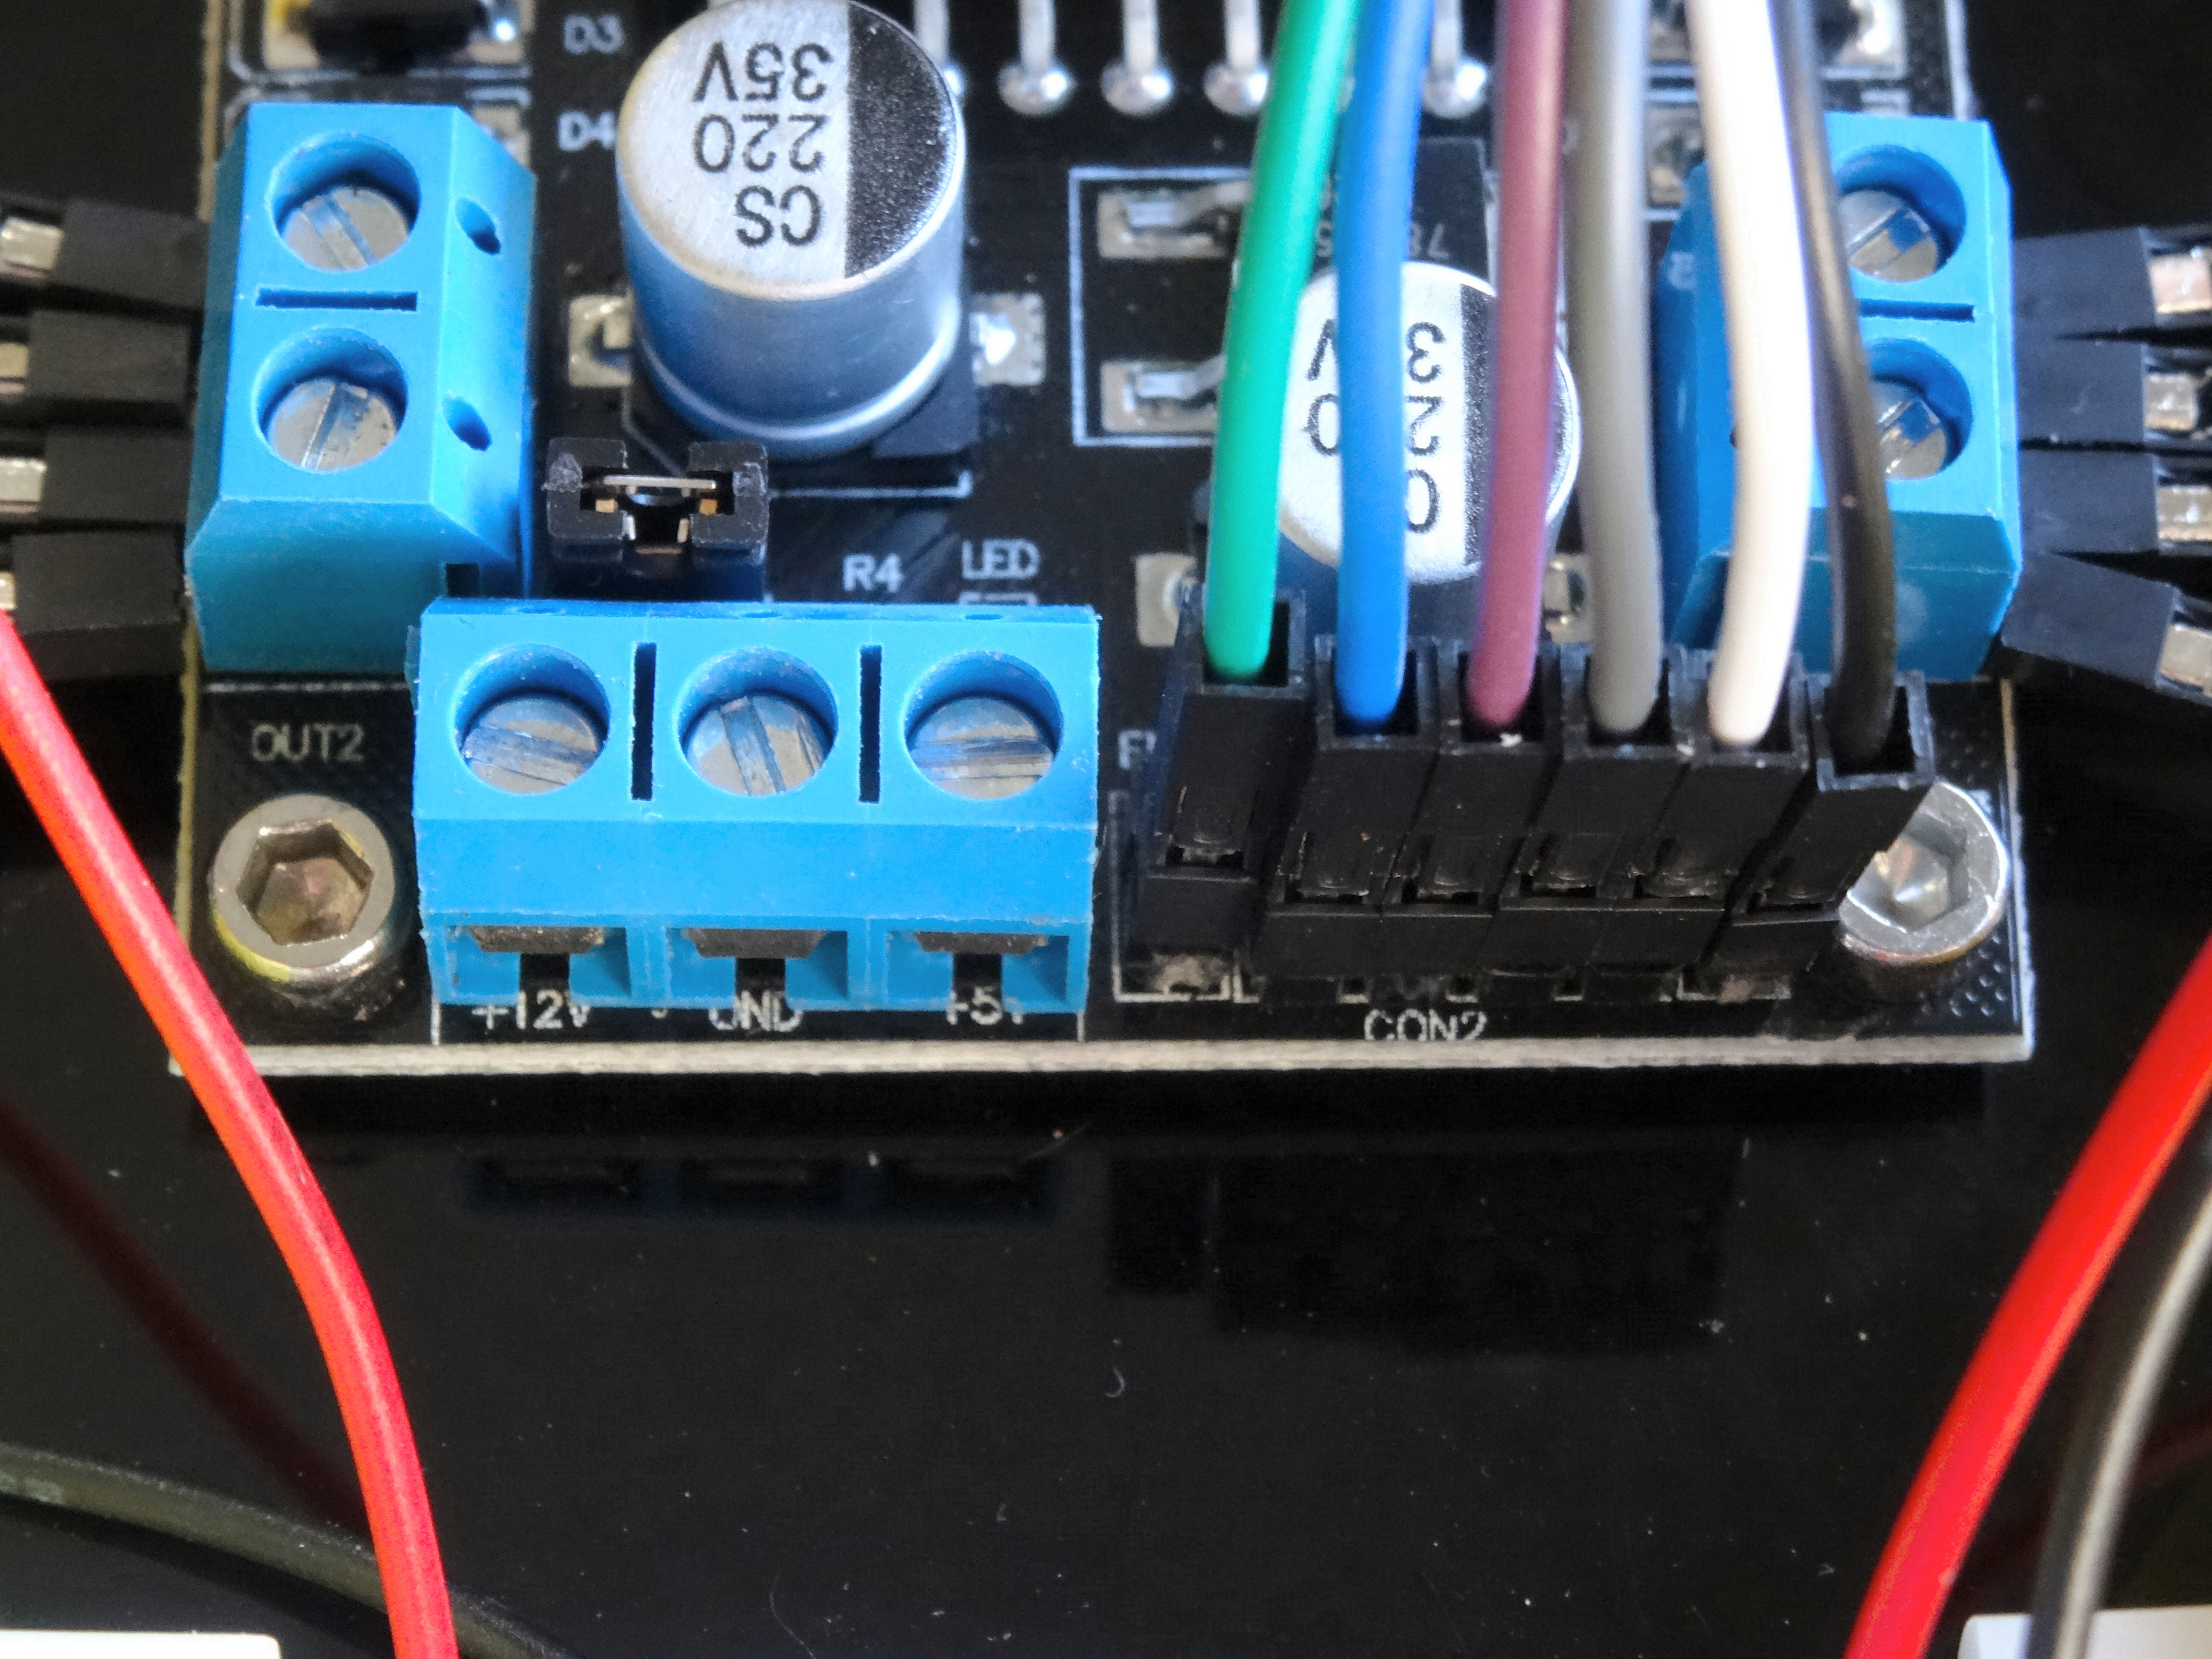
- Connect the wires to the L298N Motor Driver Module control connector as shown on the pictures 2 and 3
Installing the Spacers on the Bottom Layer of the Chassis
Edited.JPG)
Edited.JPG)
Edited.JPG)
Edited.JPG)
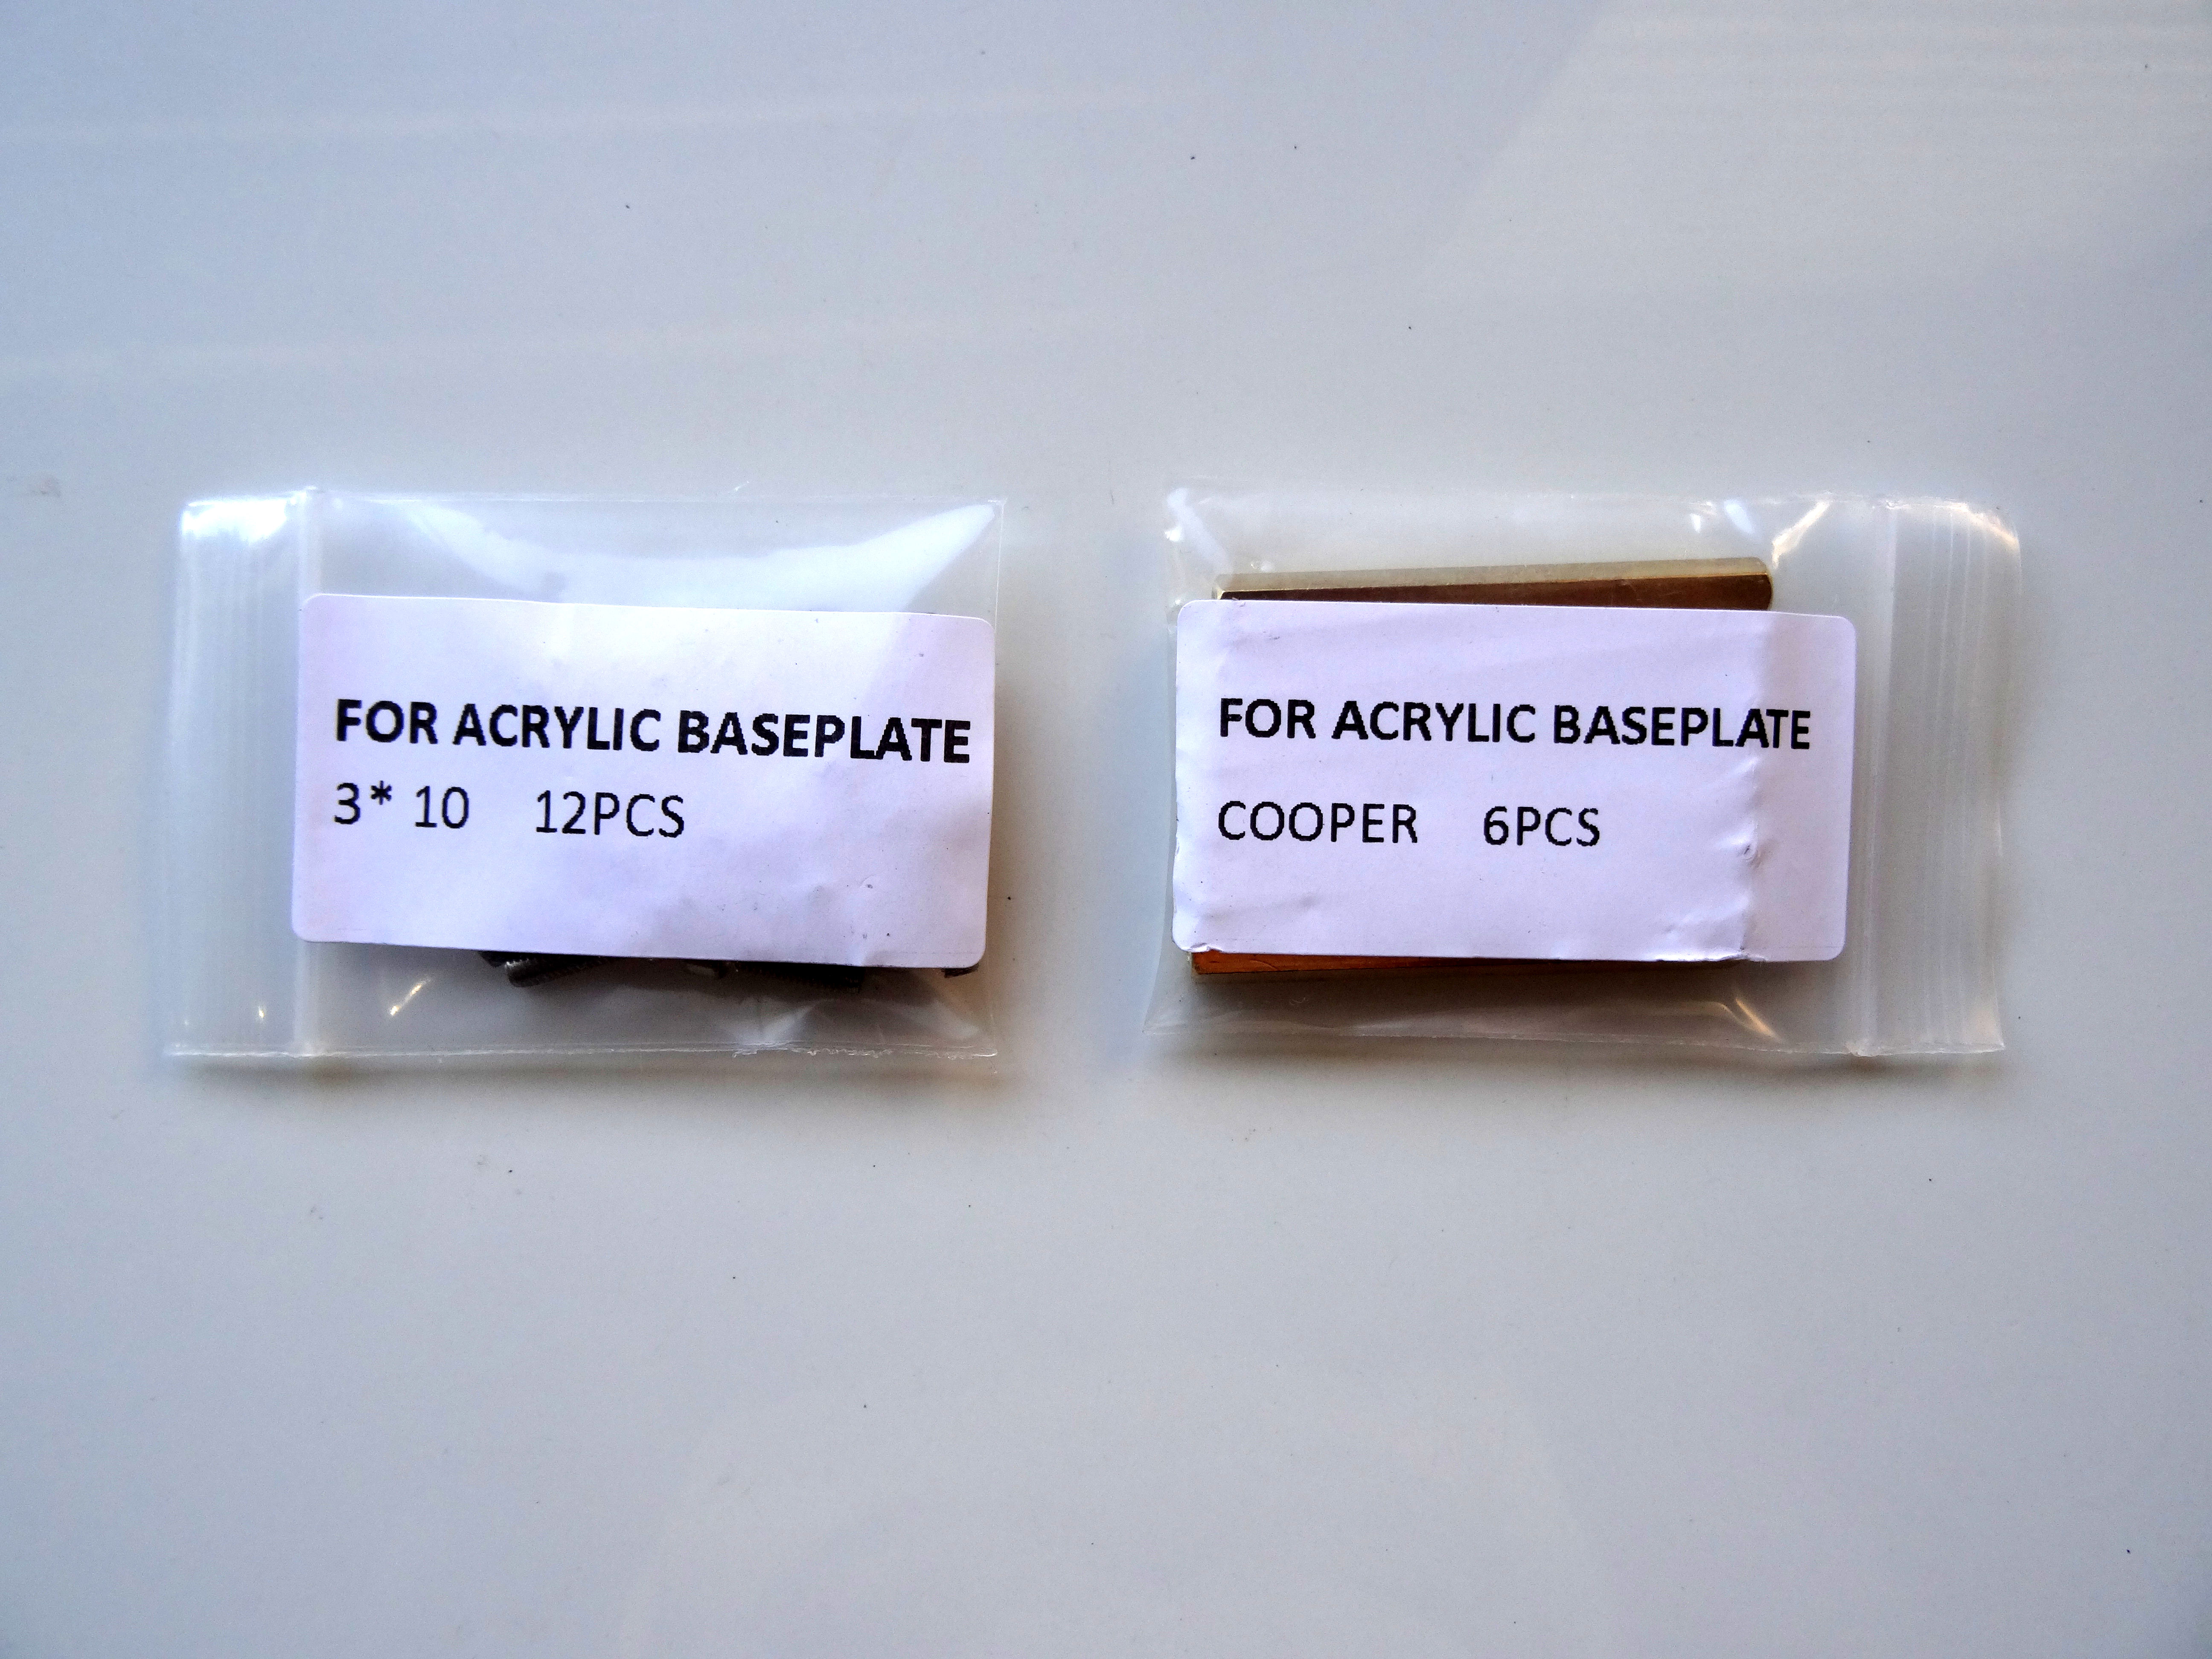
- Take the 2 bags with Hexagon Spacers and Screws labeled "FOR ACRYLIC BASEPLATE" (Picture 1)
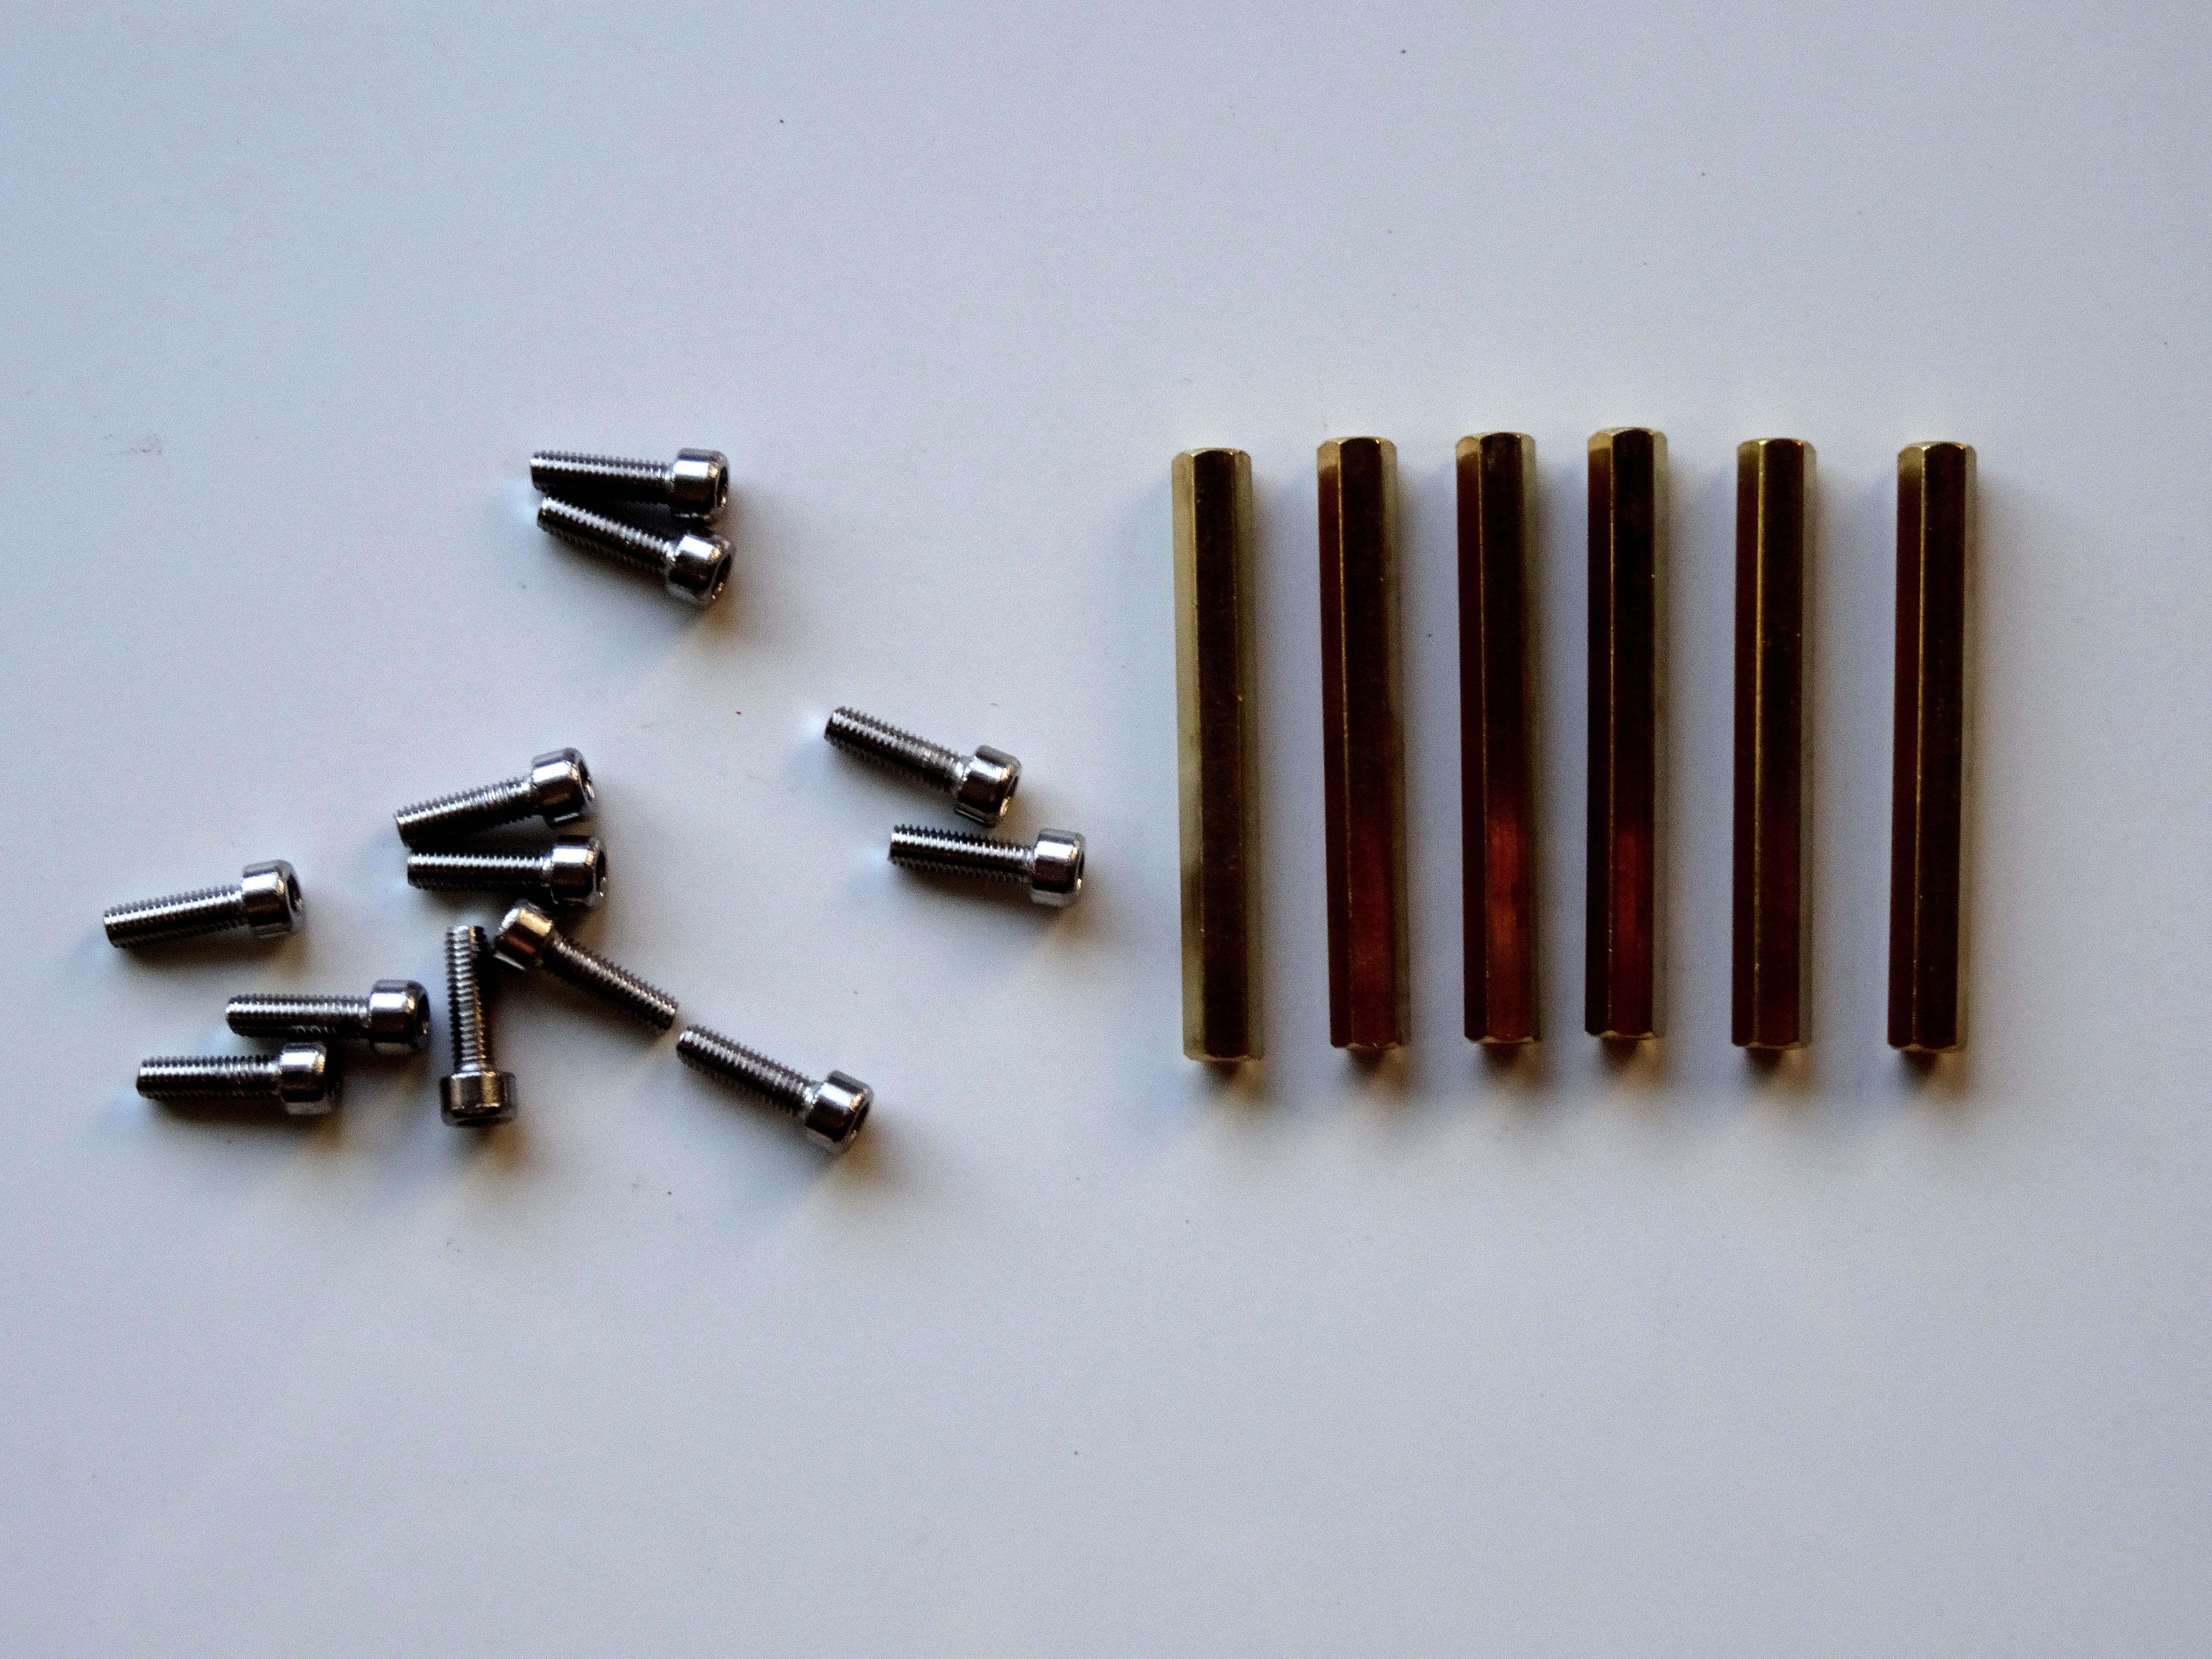
- Remove the Spacers and Screws from the bags (Picture 2)
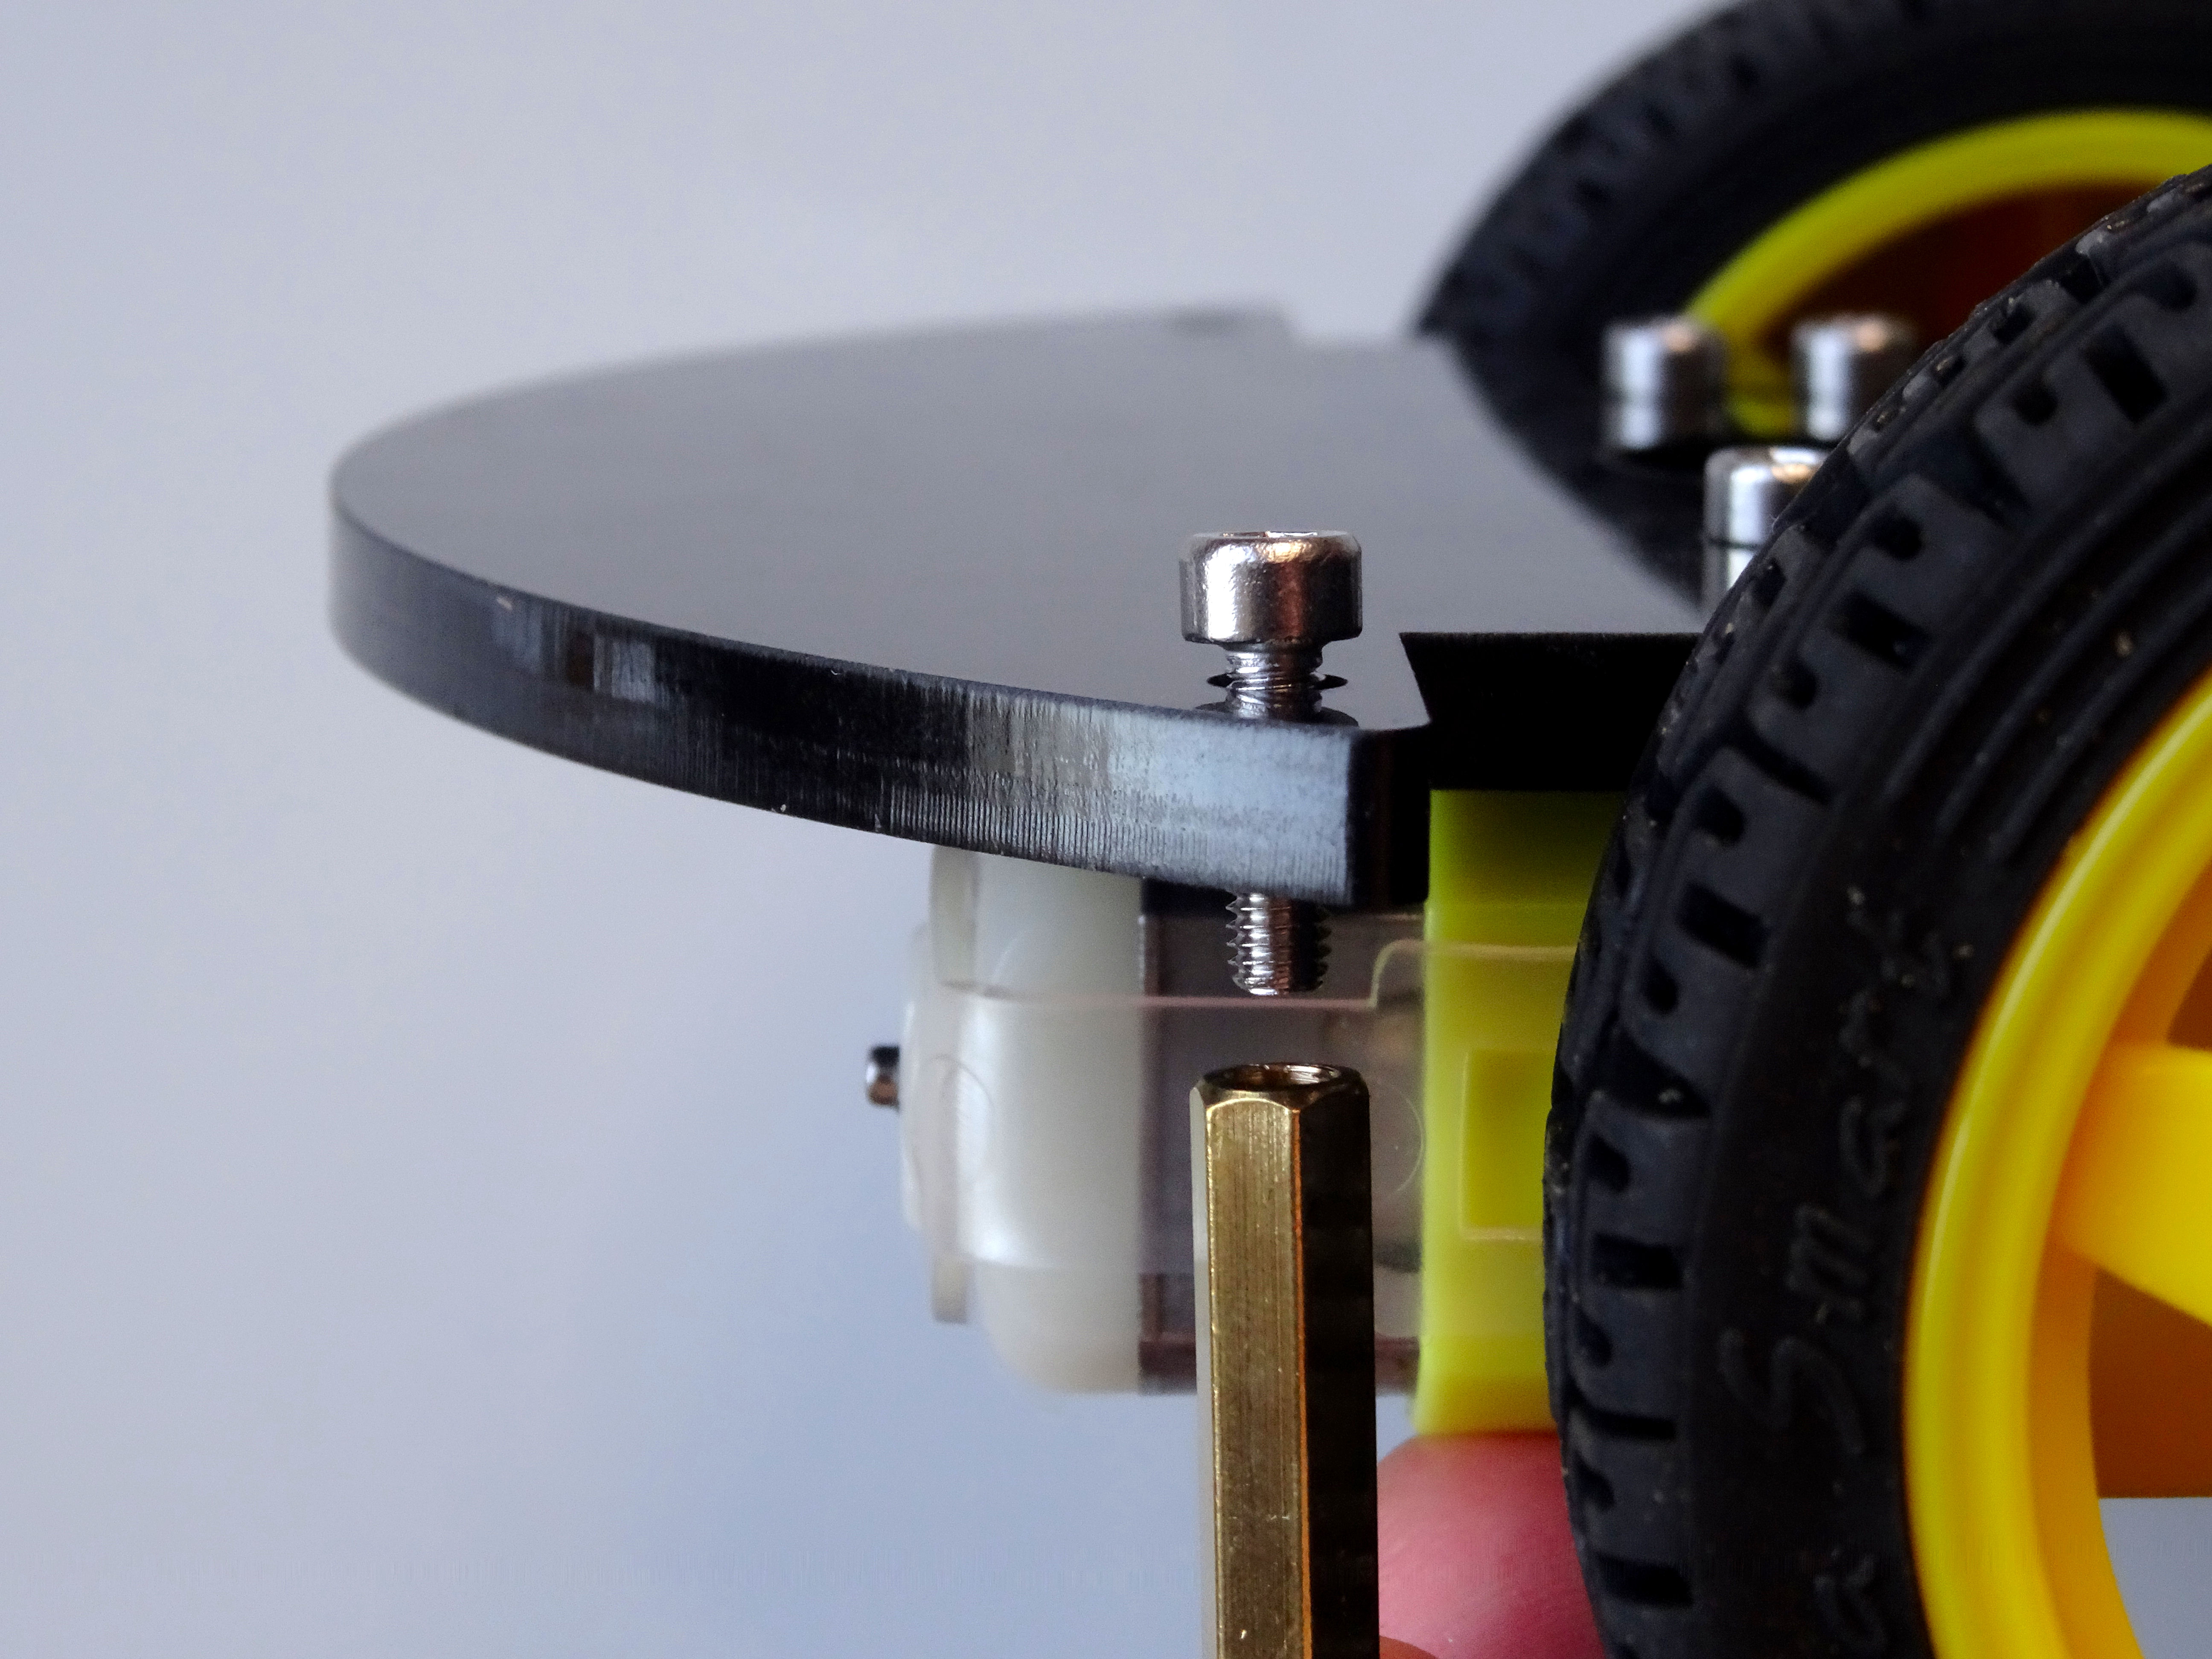
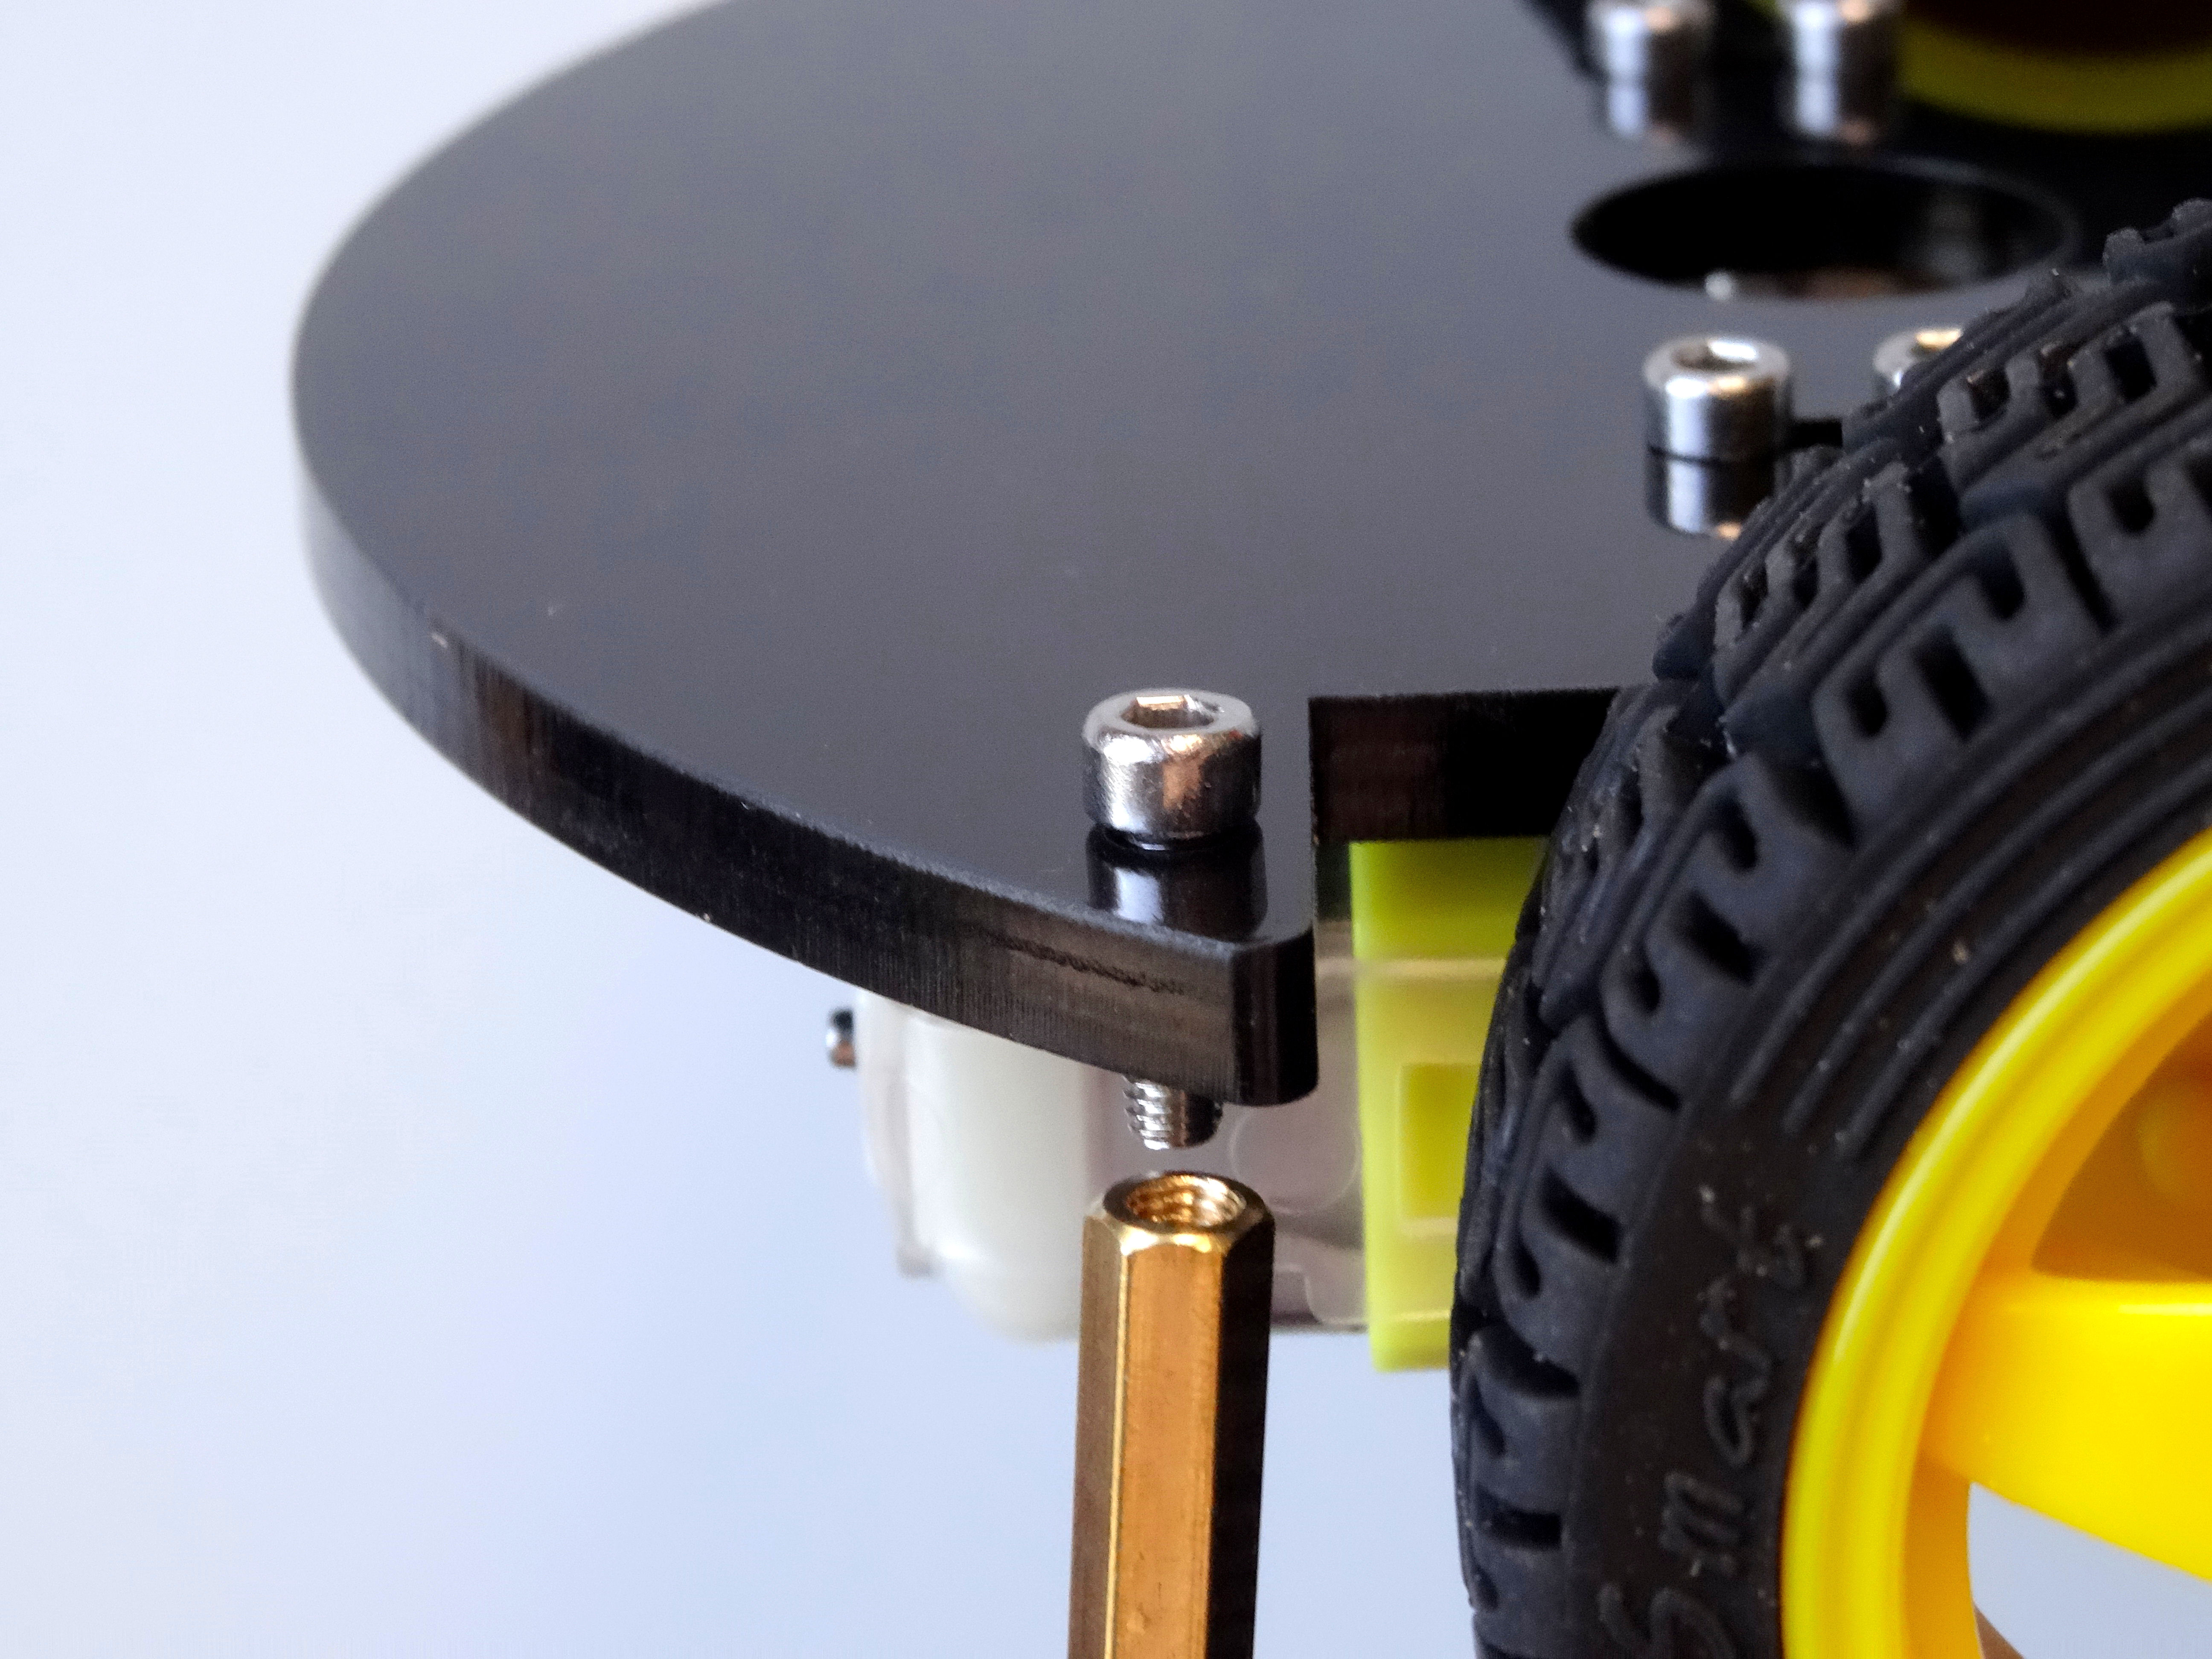
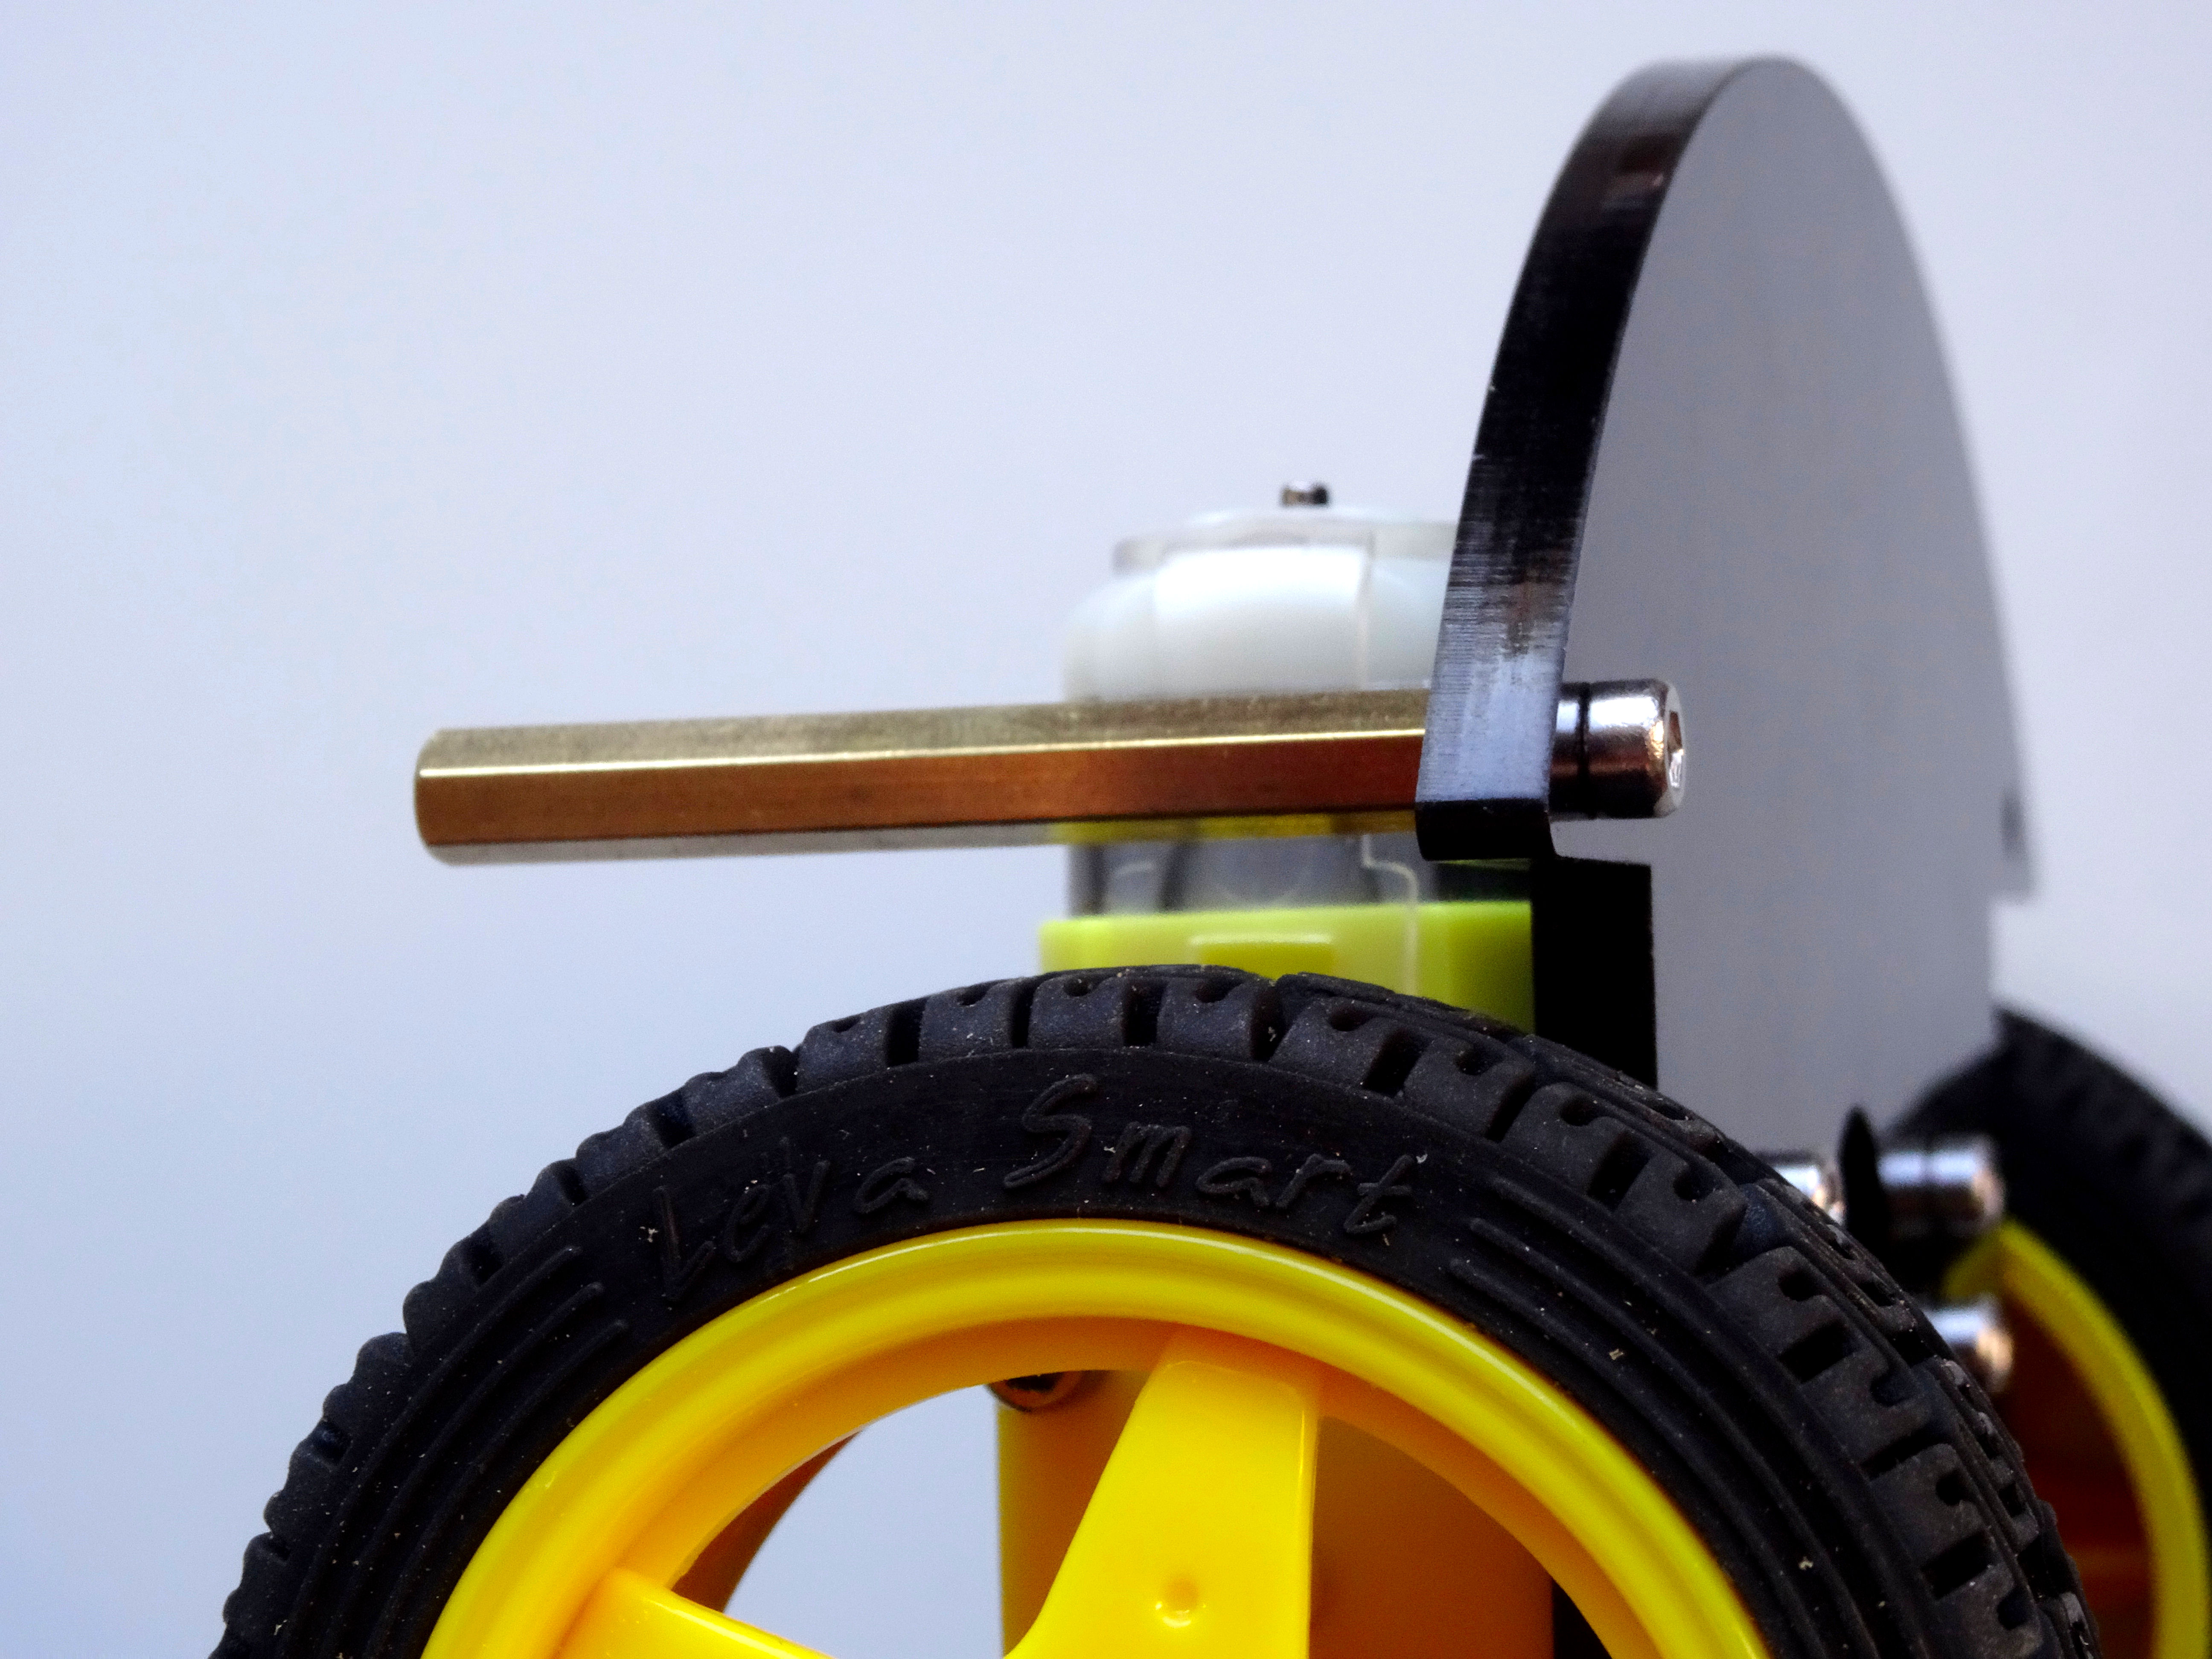
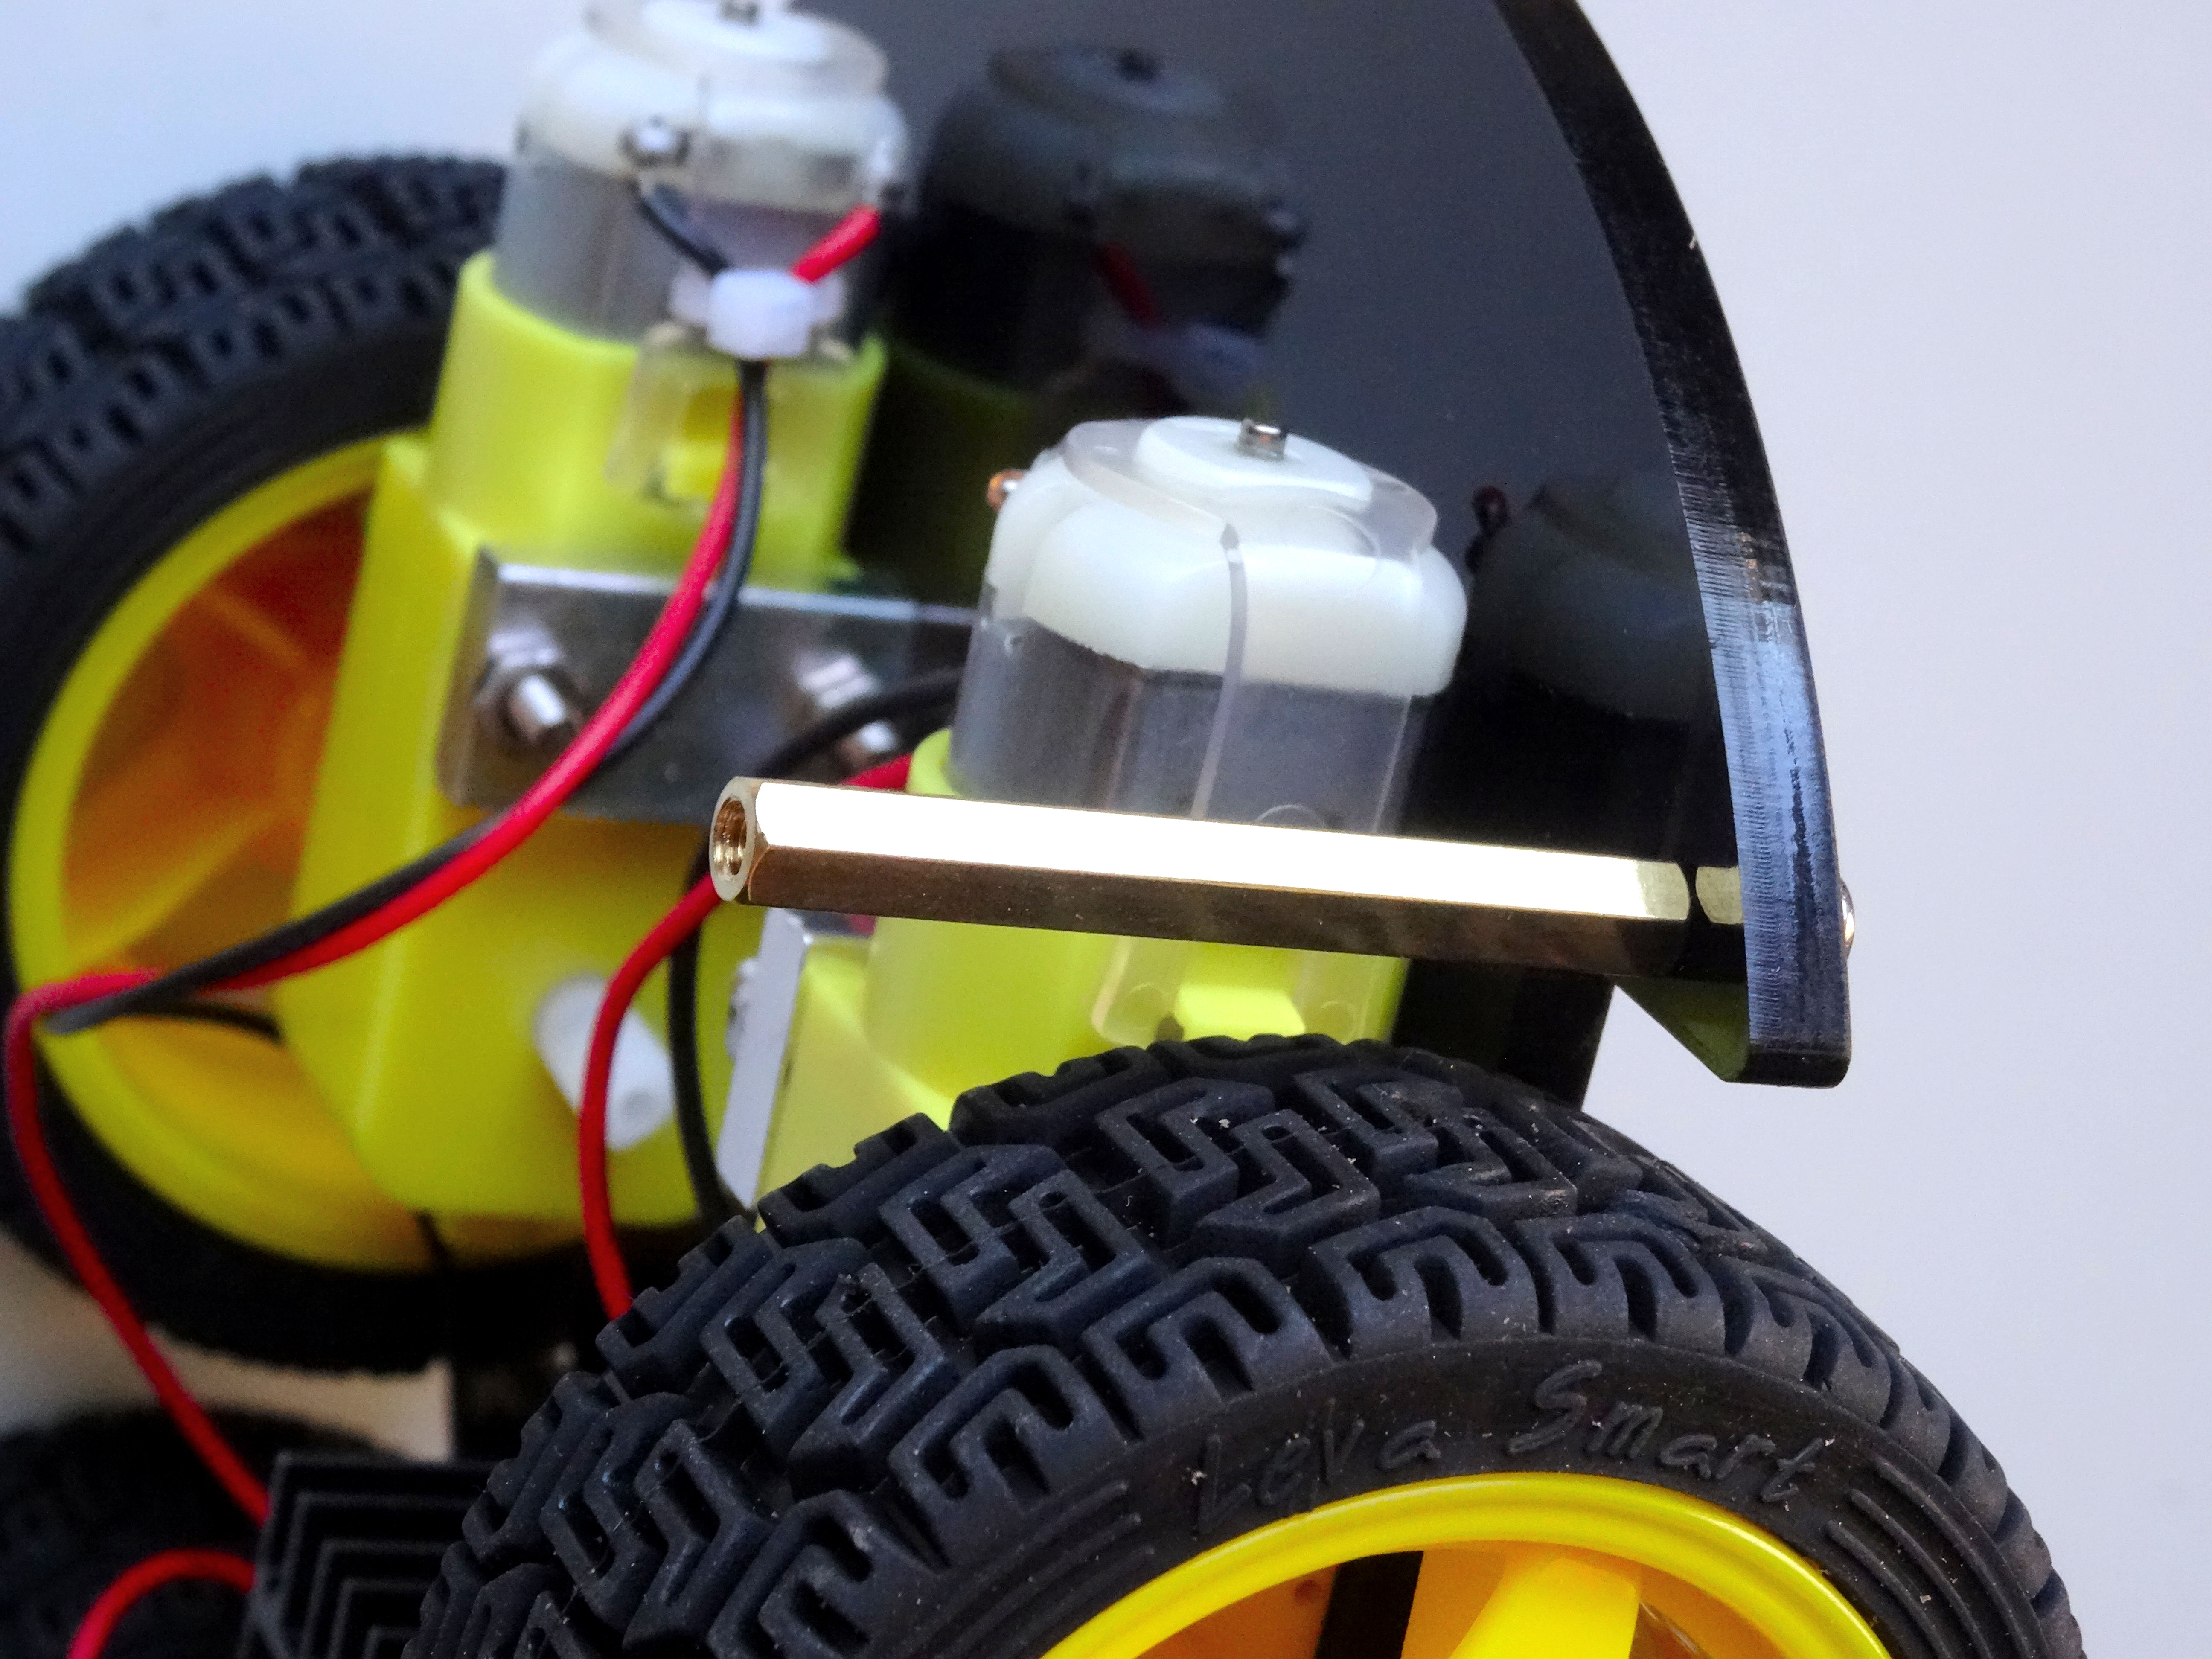
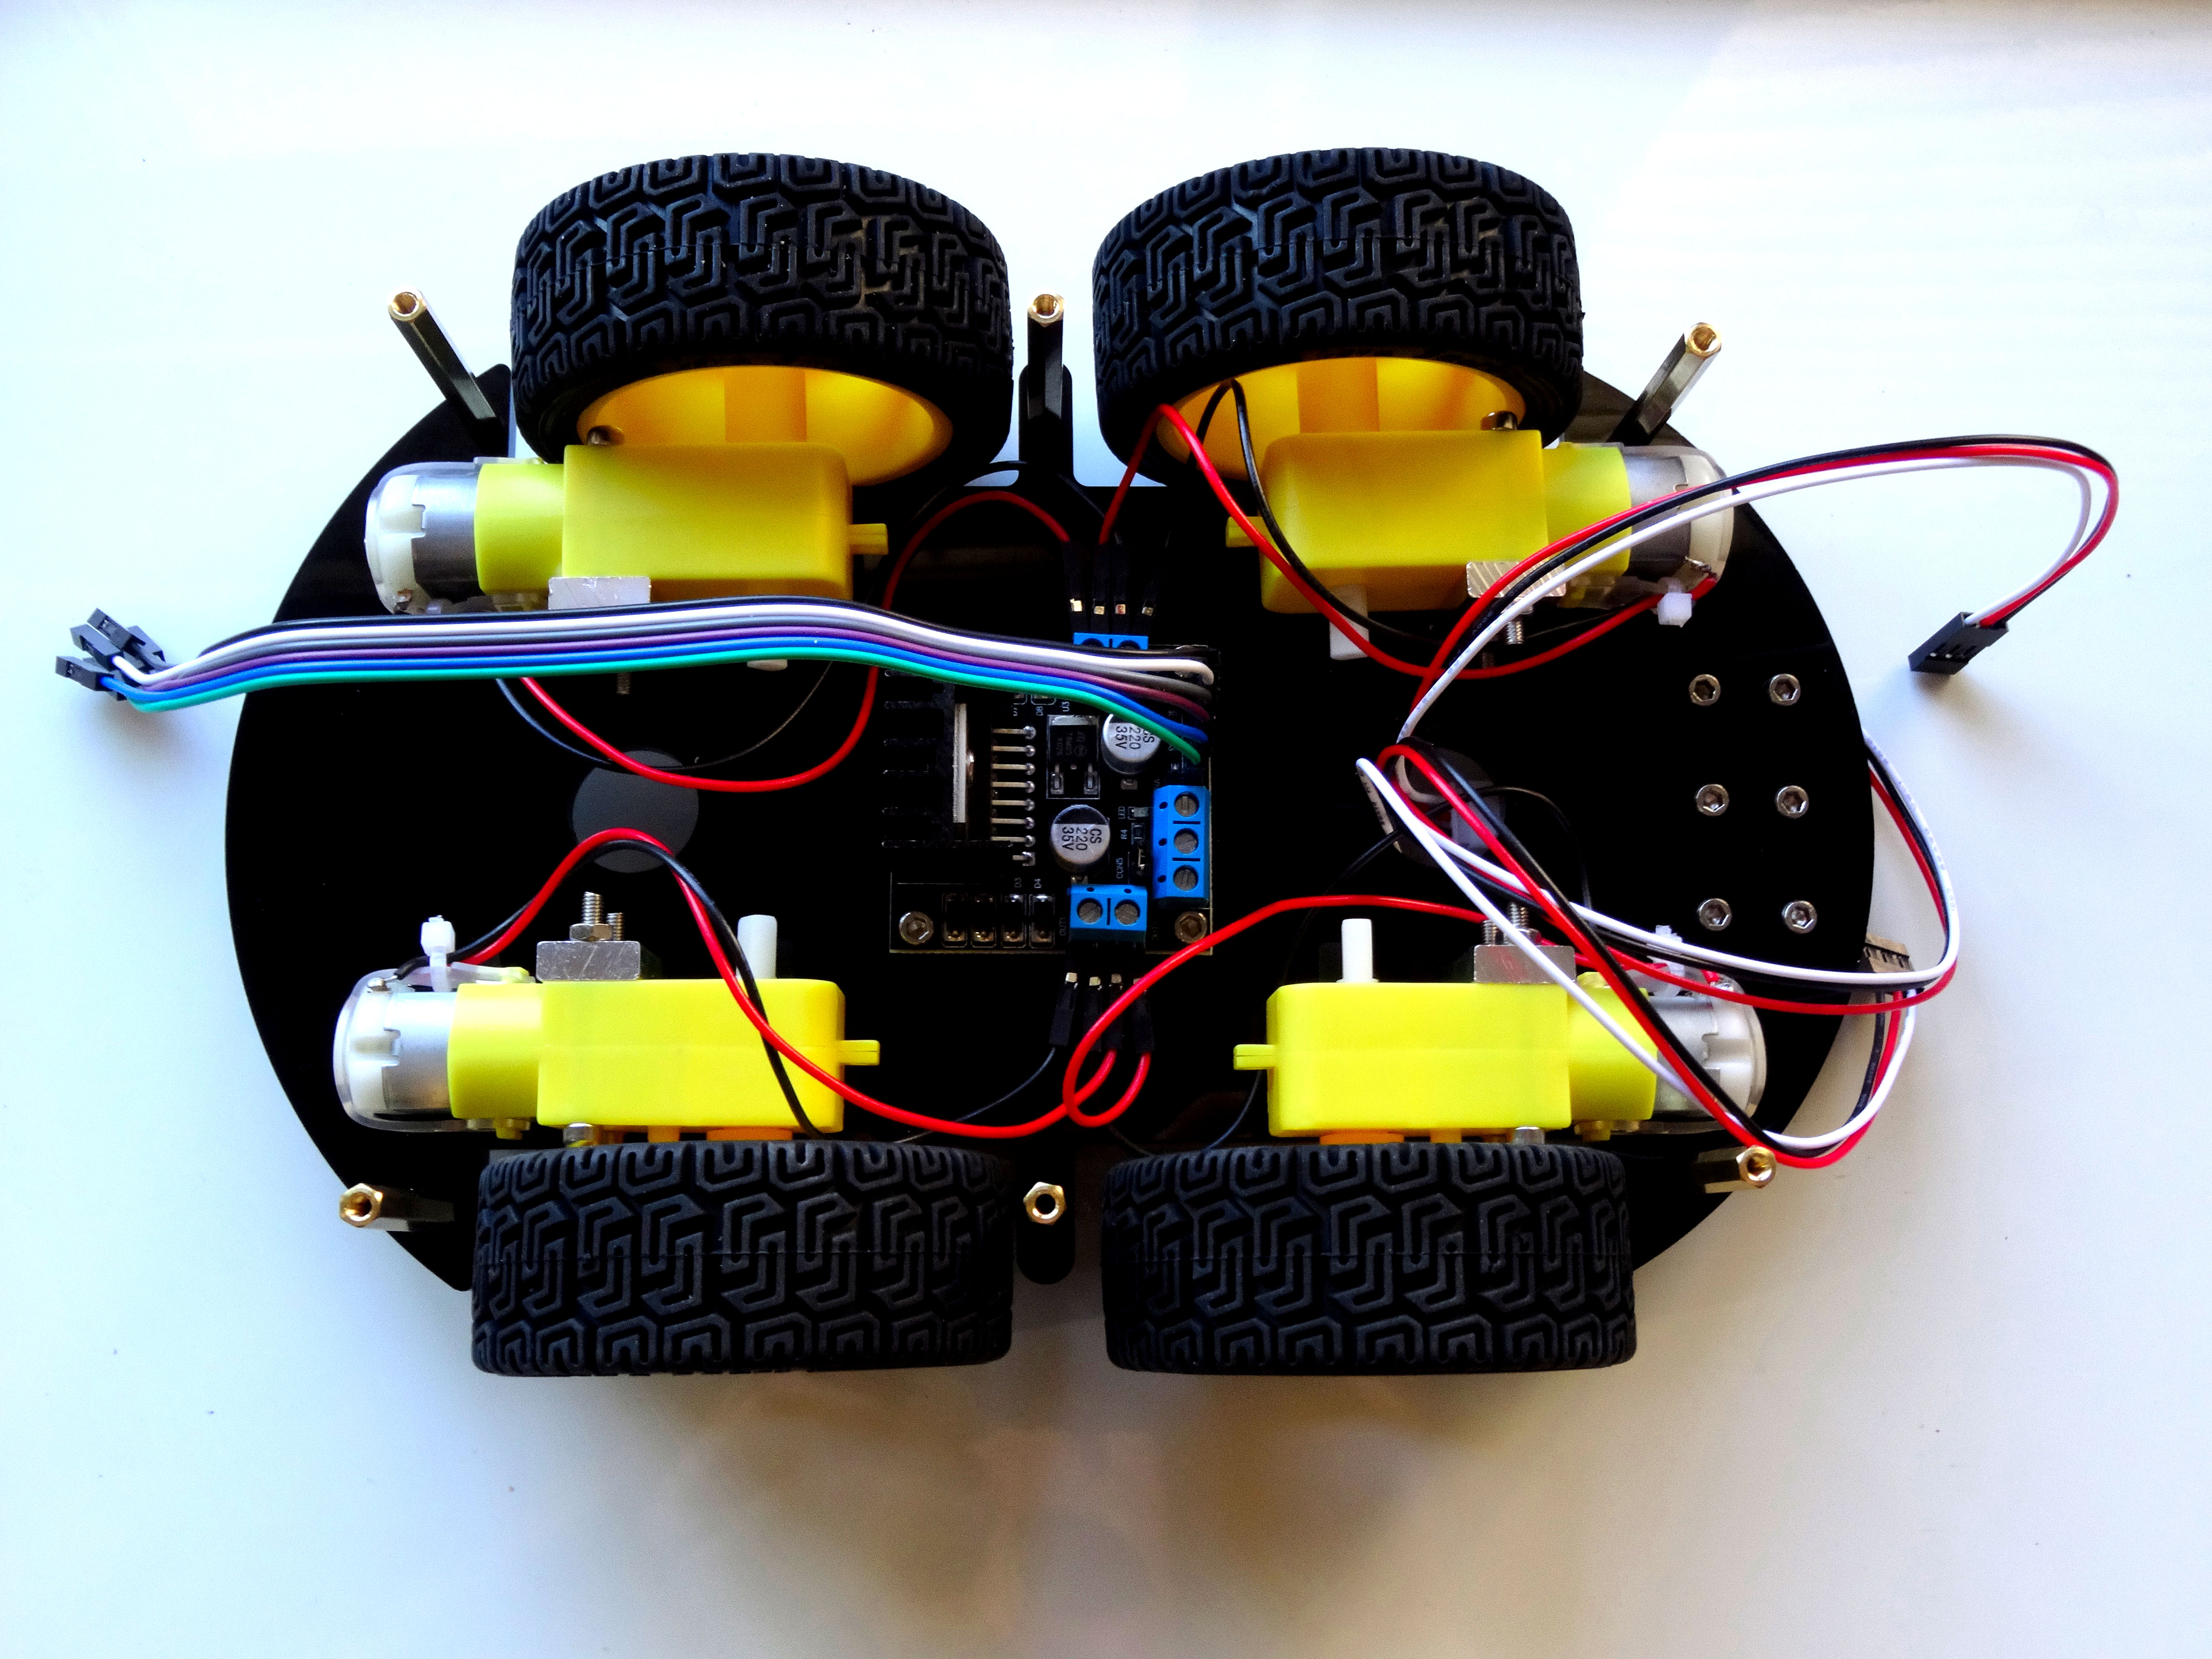
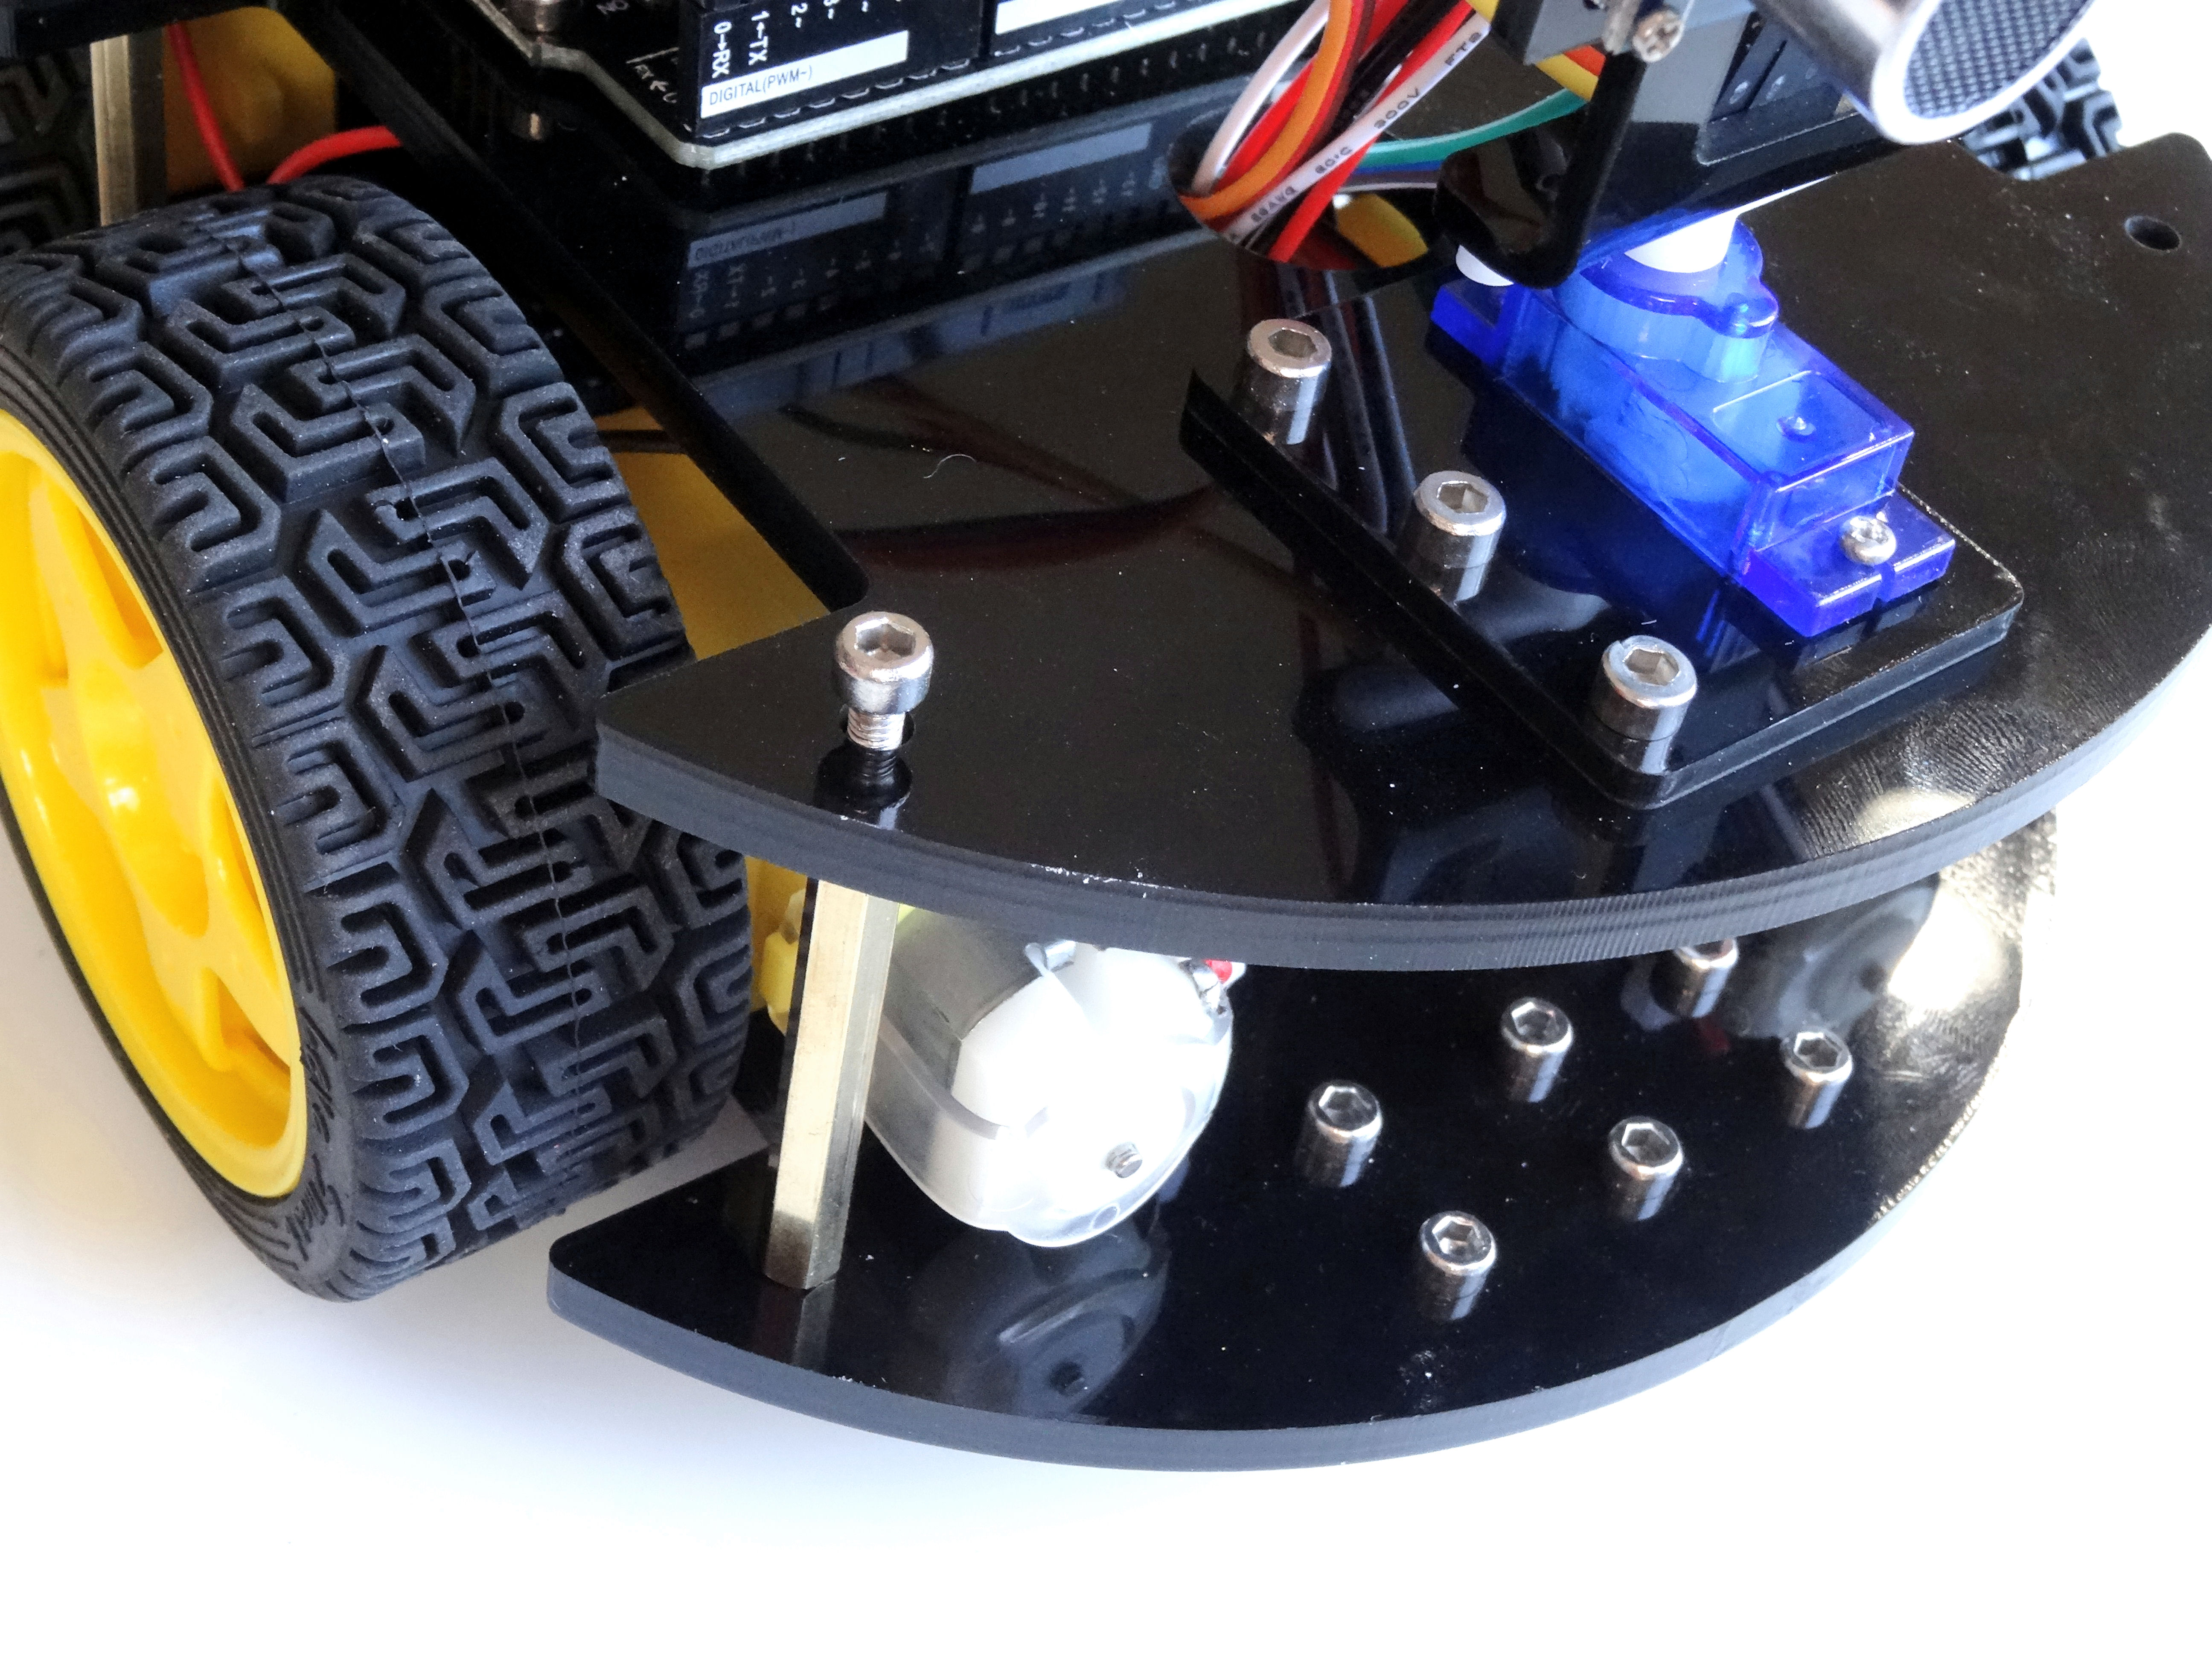
- Flip the bottom layer of the Chassis - the one with the motors upside down and insert one of the screws from the bottom trough one of the corner holes, then screw the spacer on it from the top (Pictures 3, 4, 5, and 6)
- Do the same with the rest of the spacers (Pictures 7, and 8)
Connect Power to the Arduino, and the L298N Motor Driver
Edited.JPG)
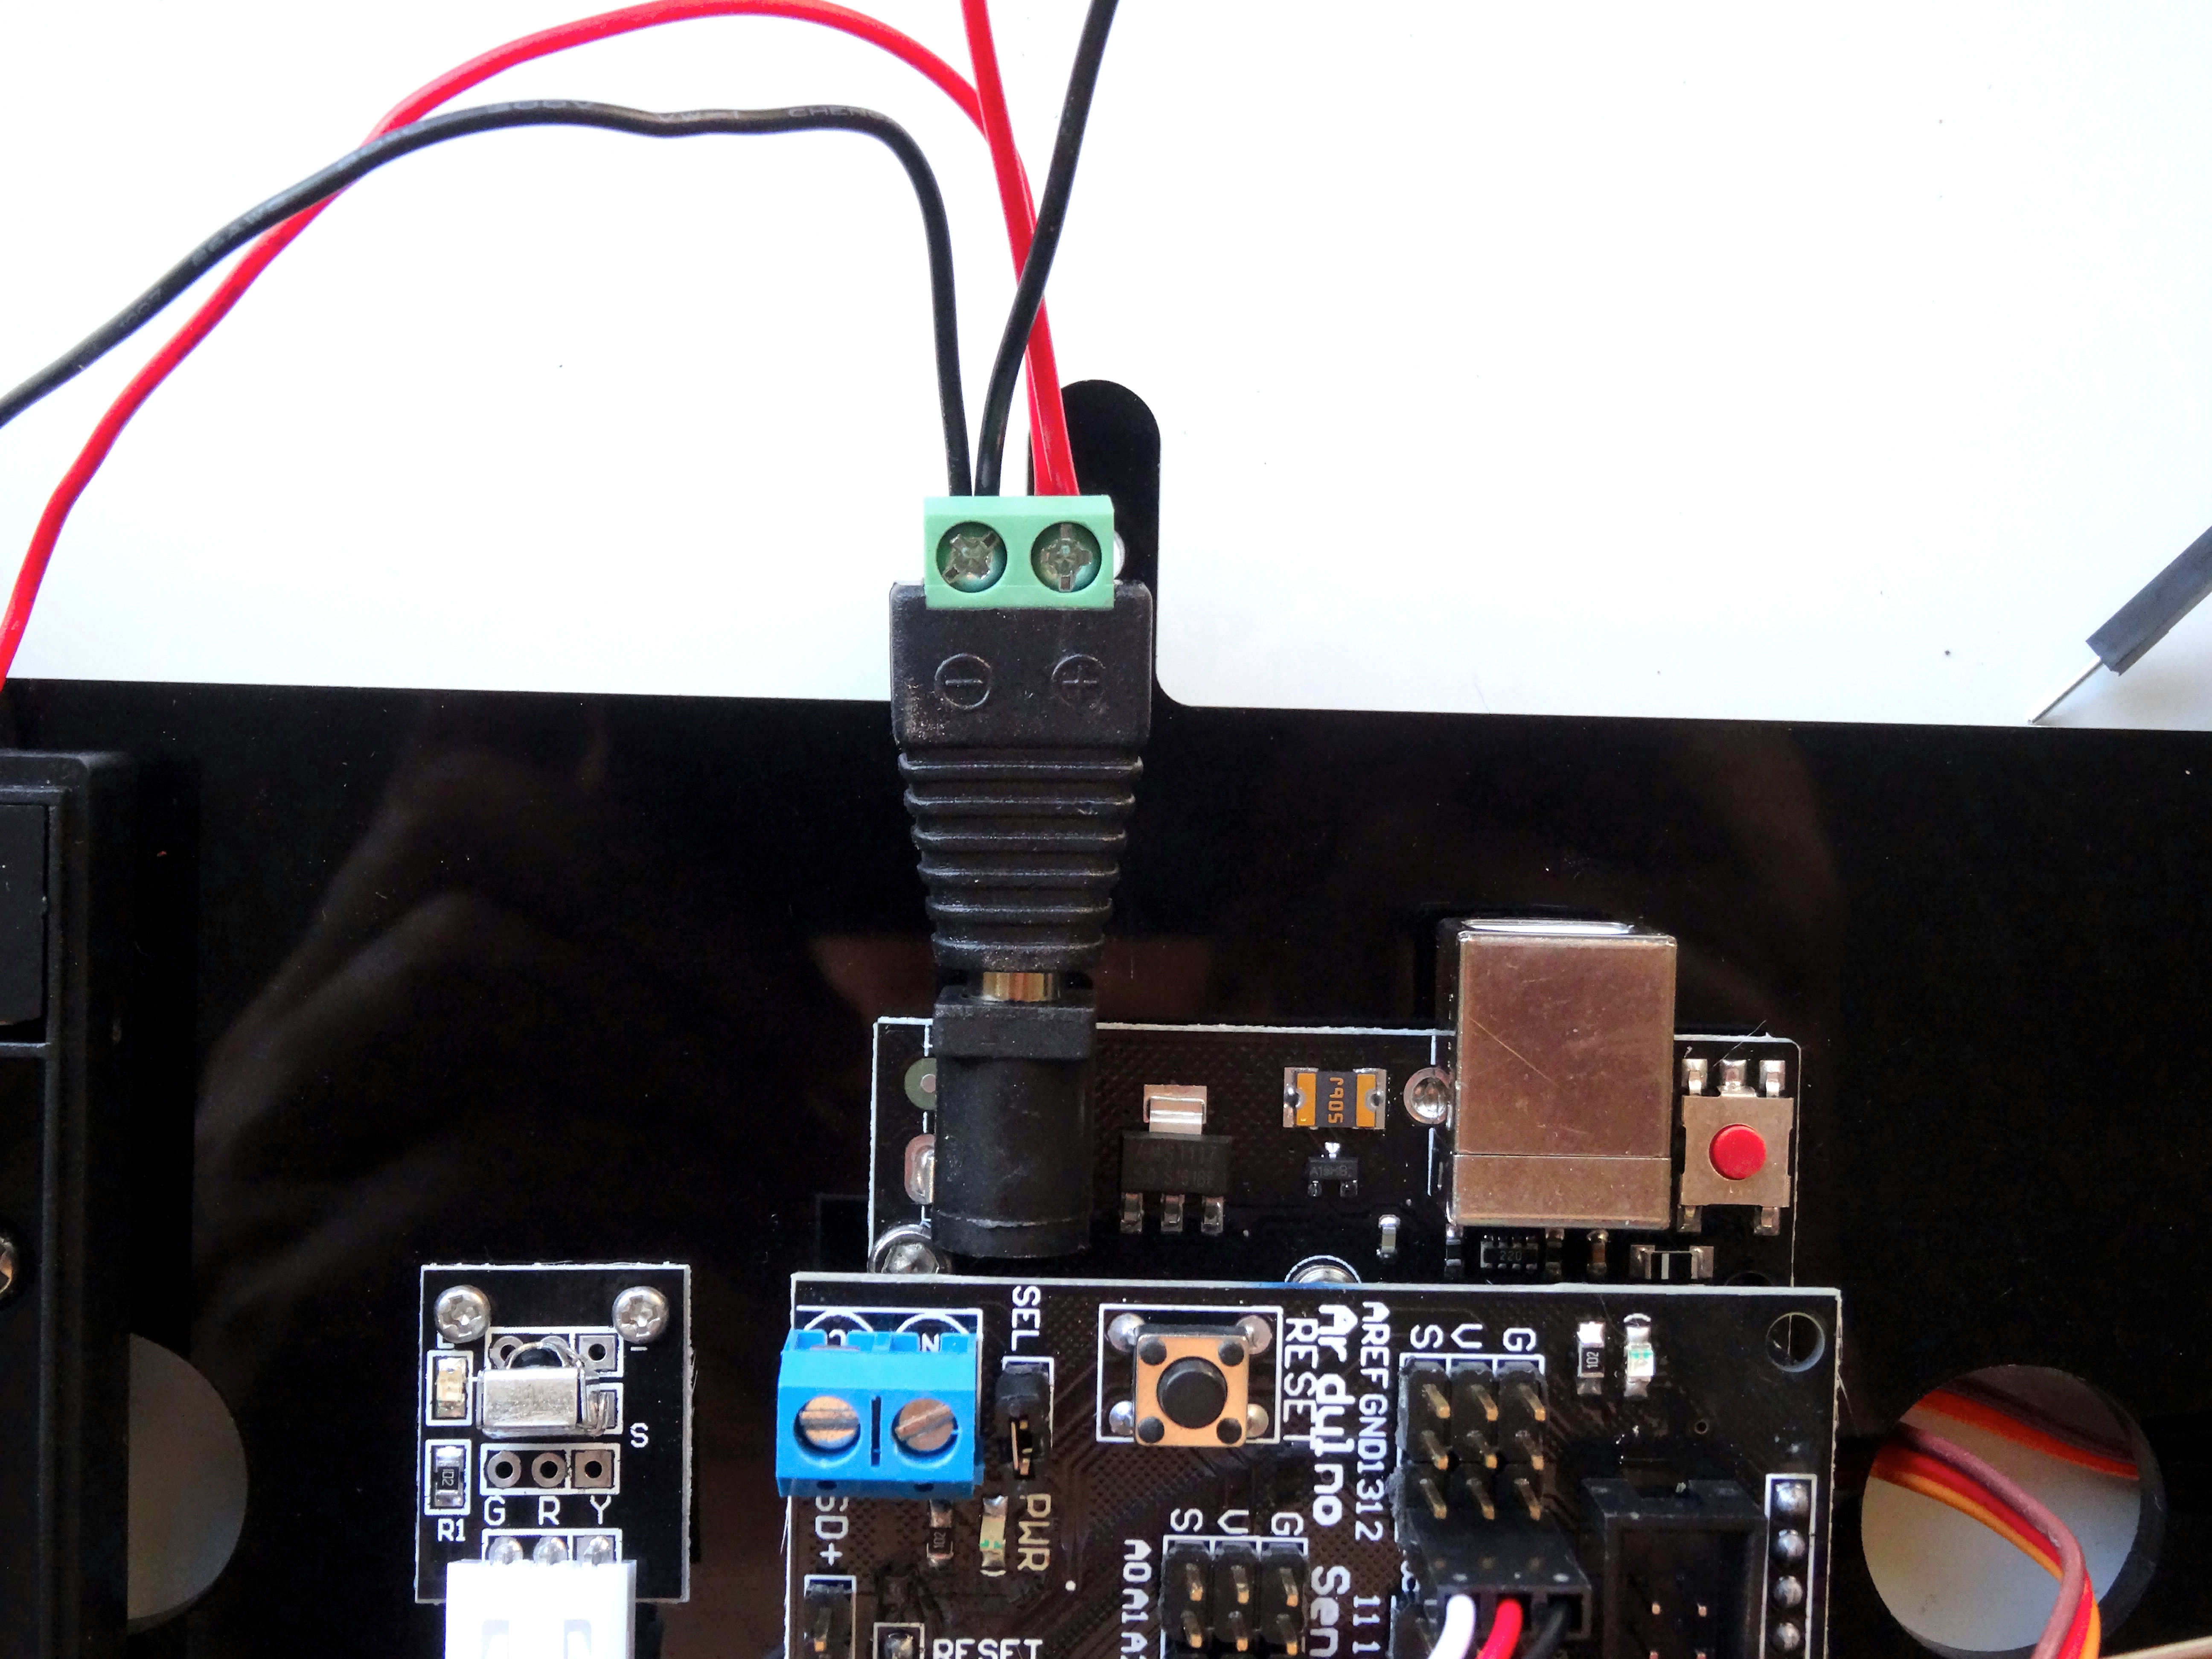
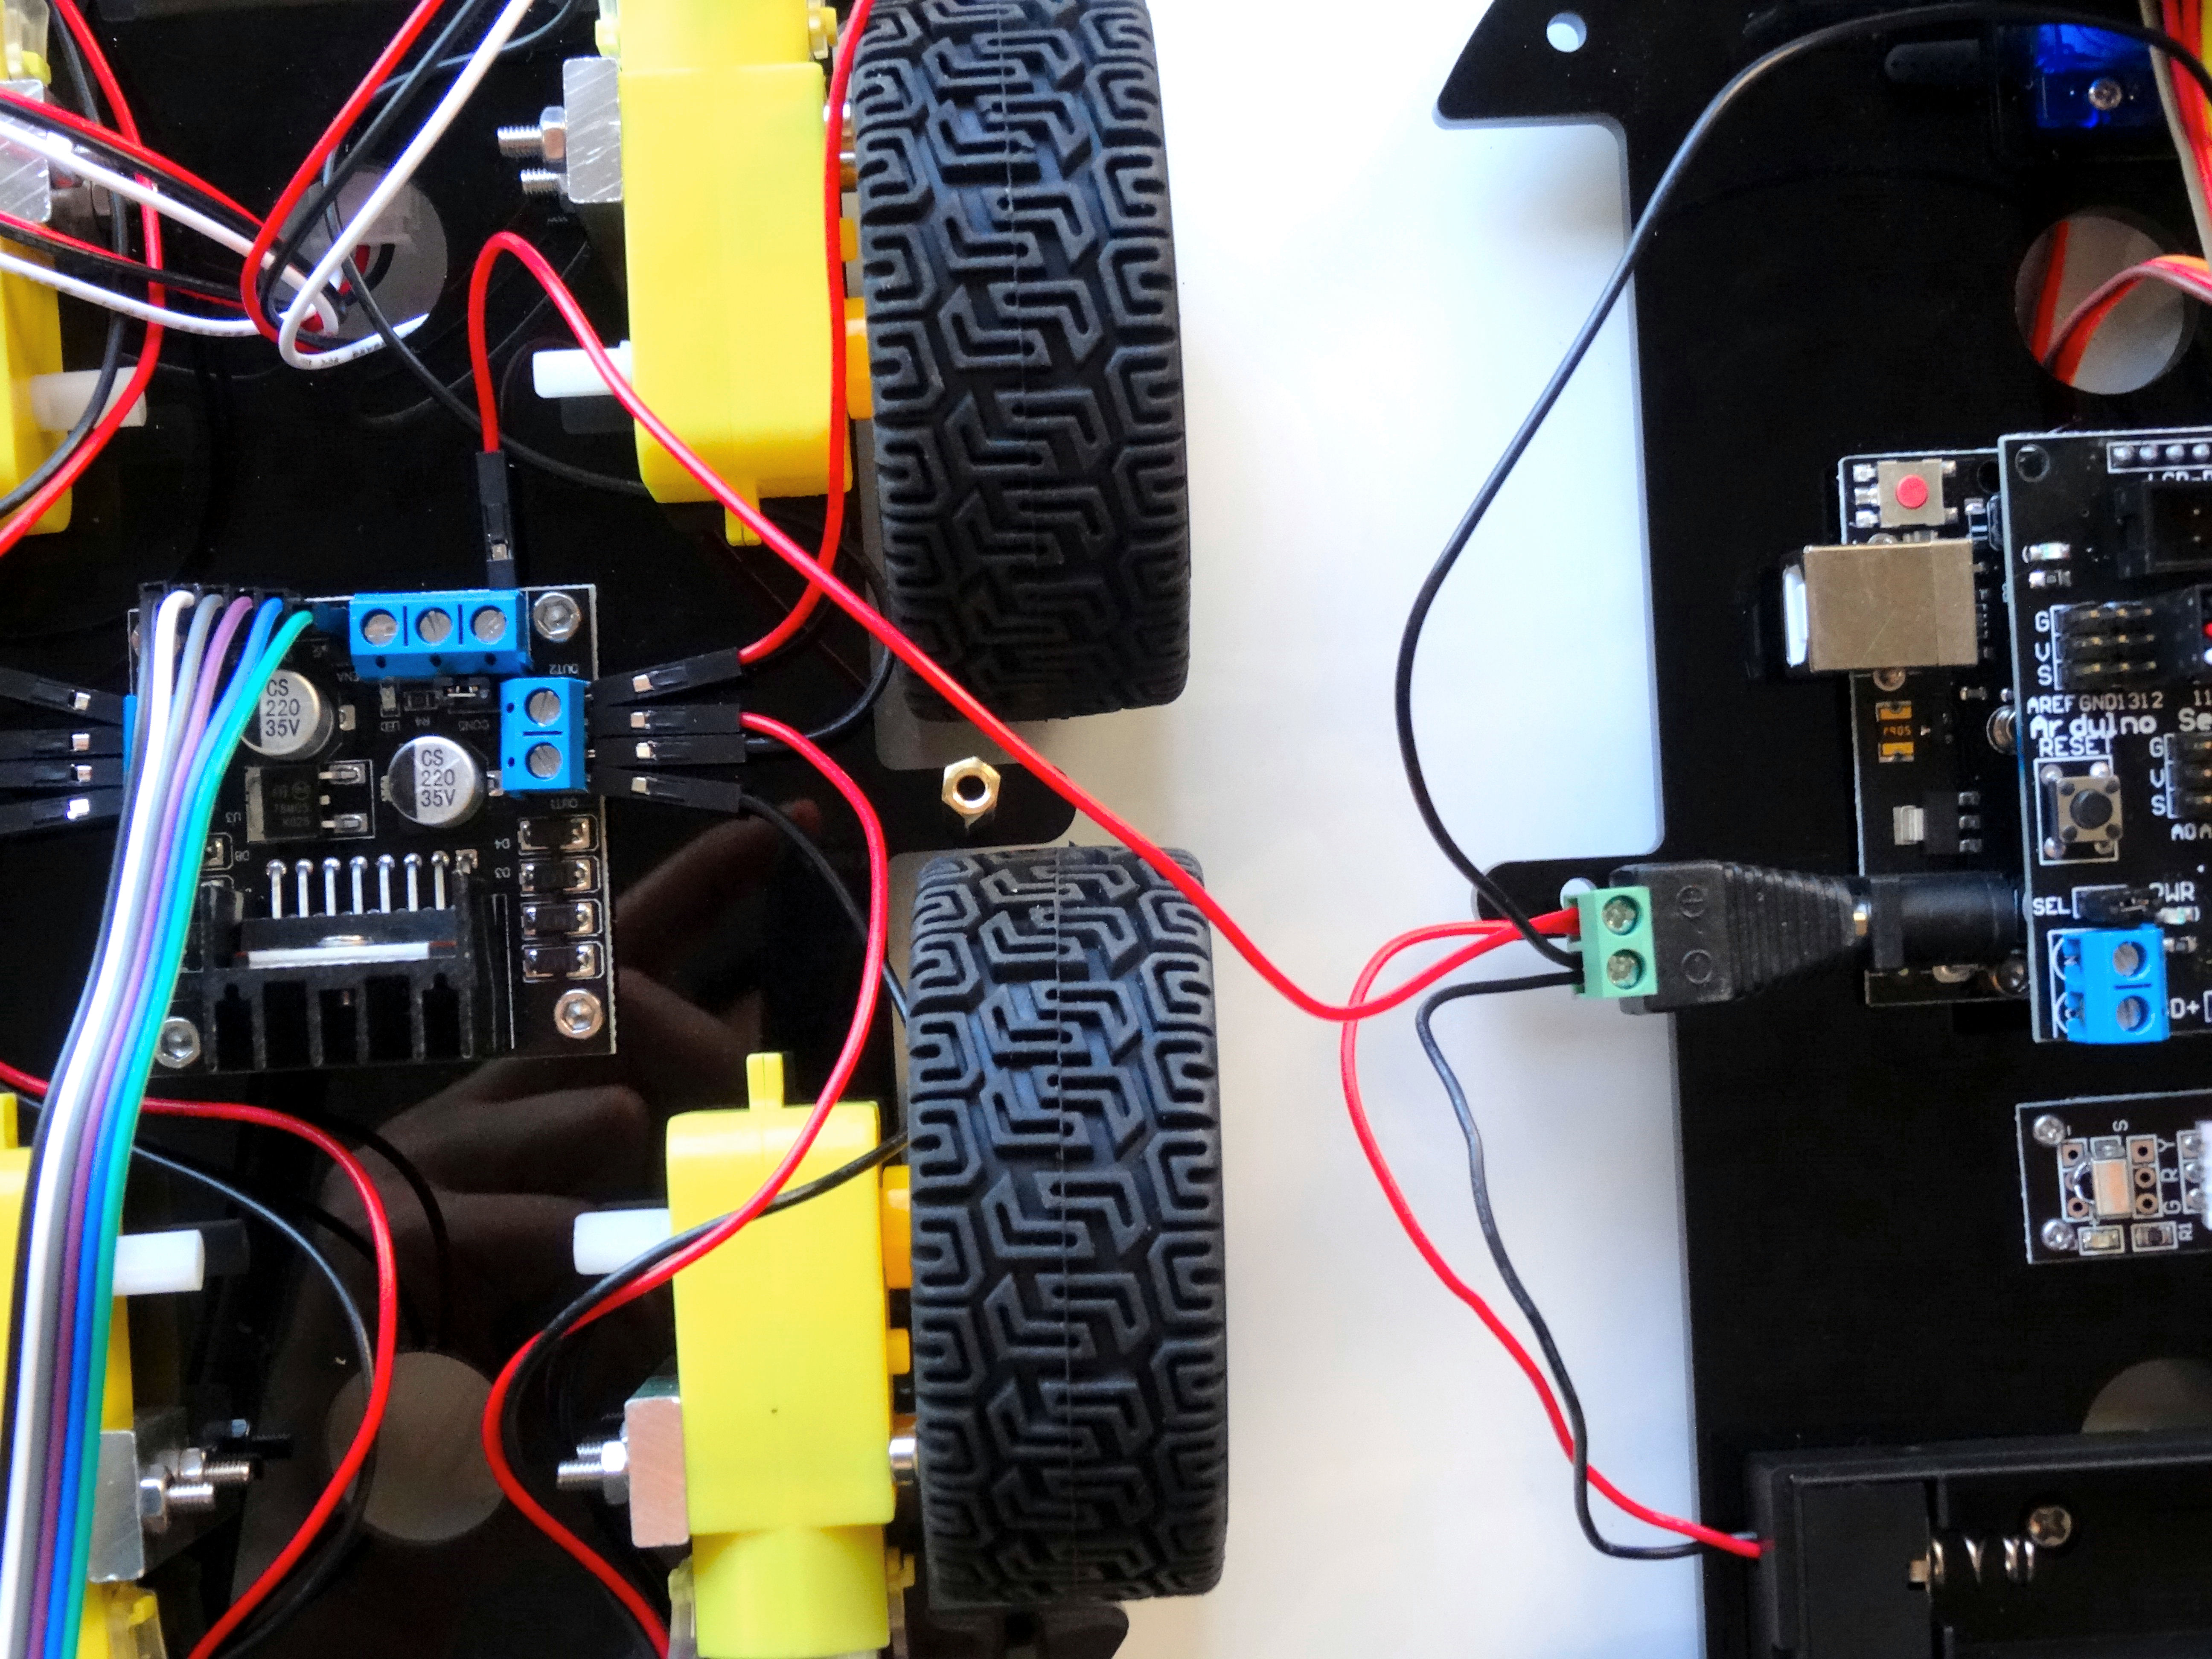
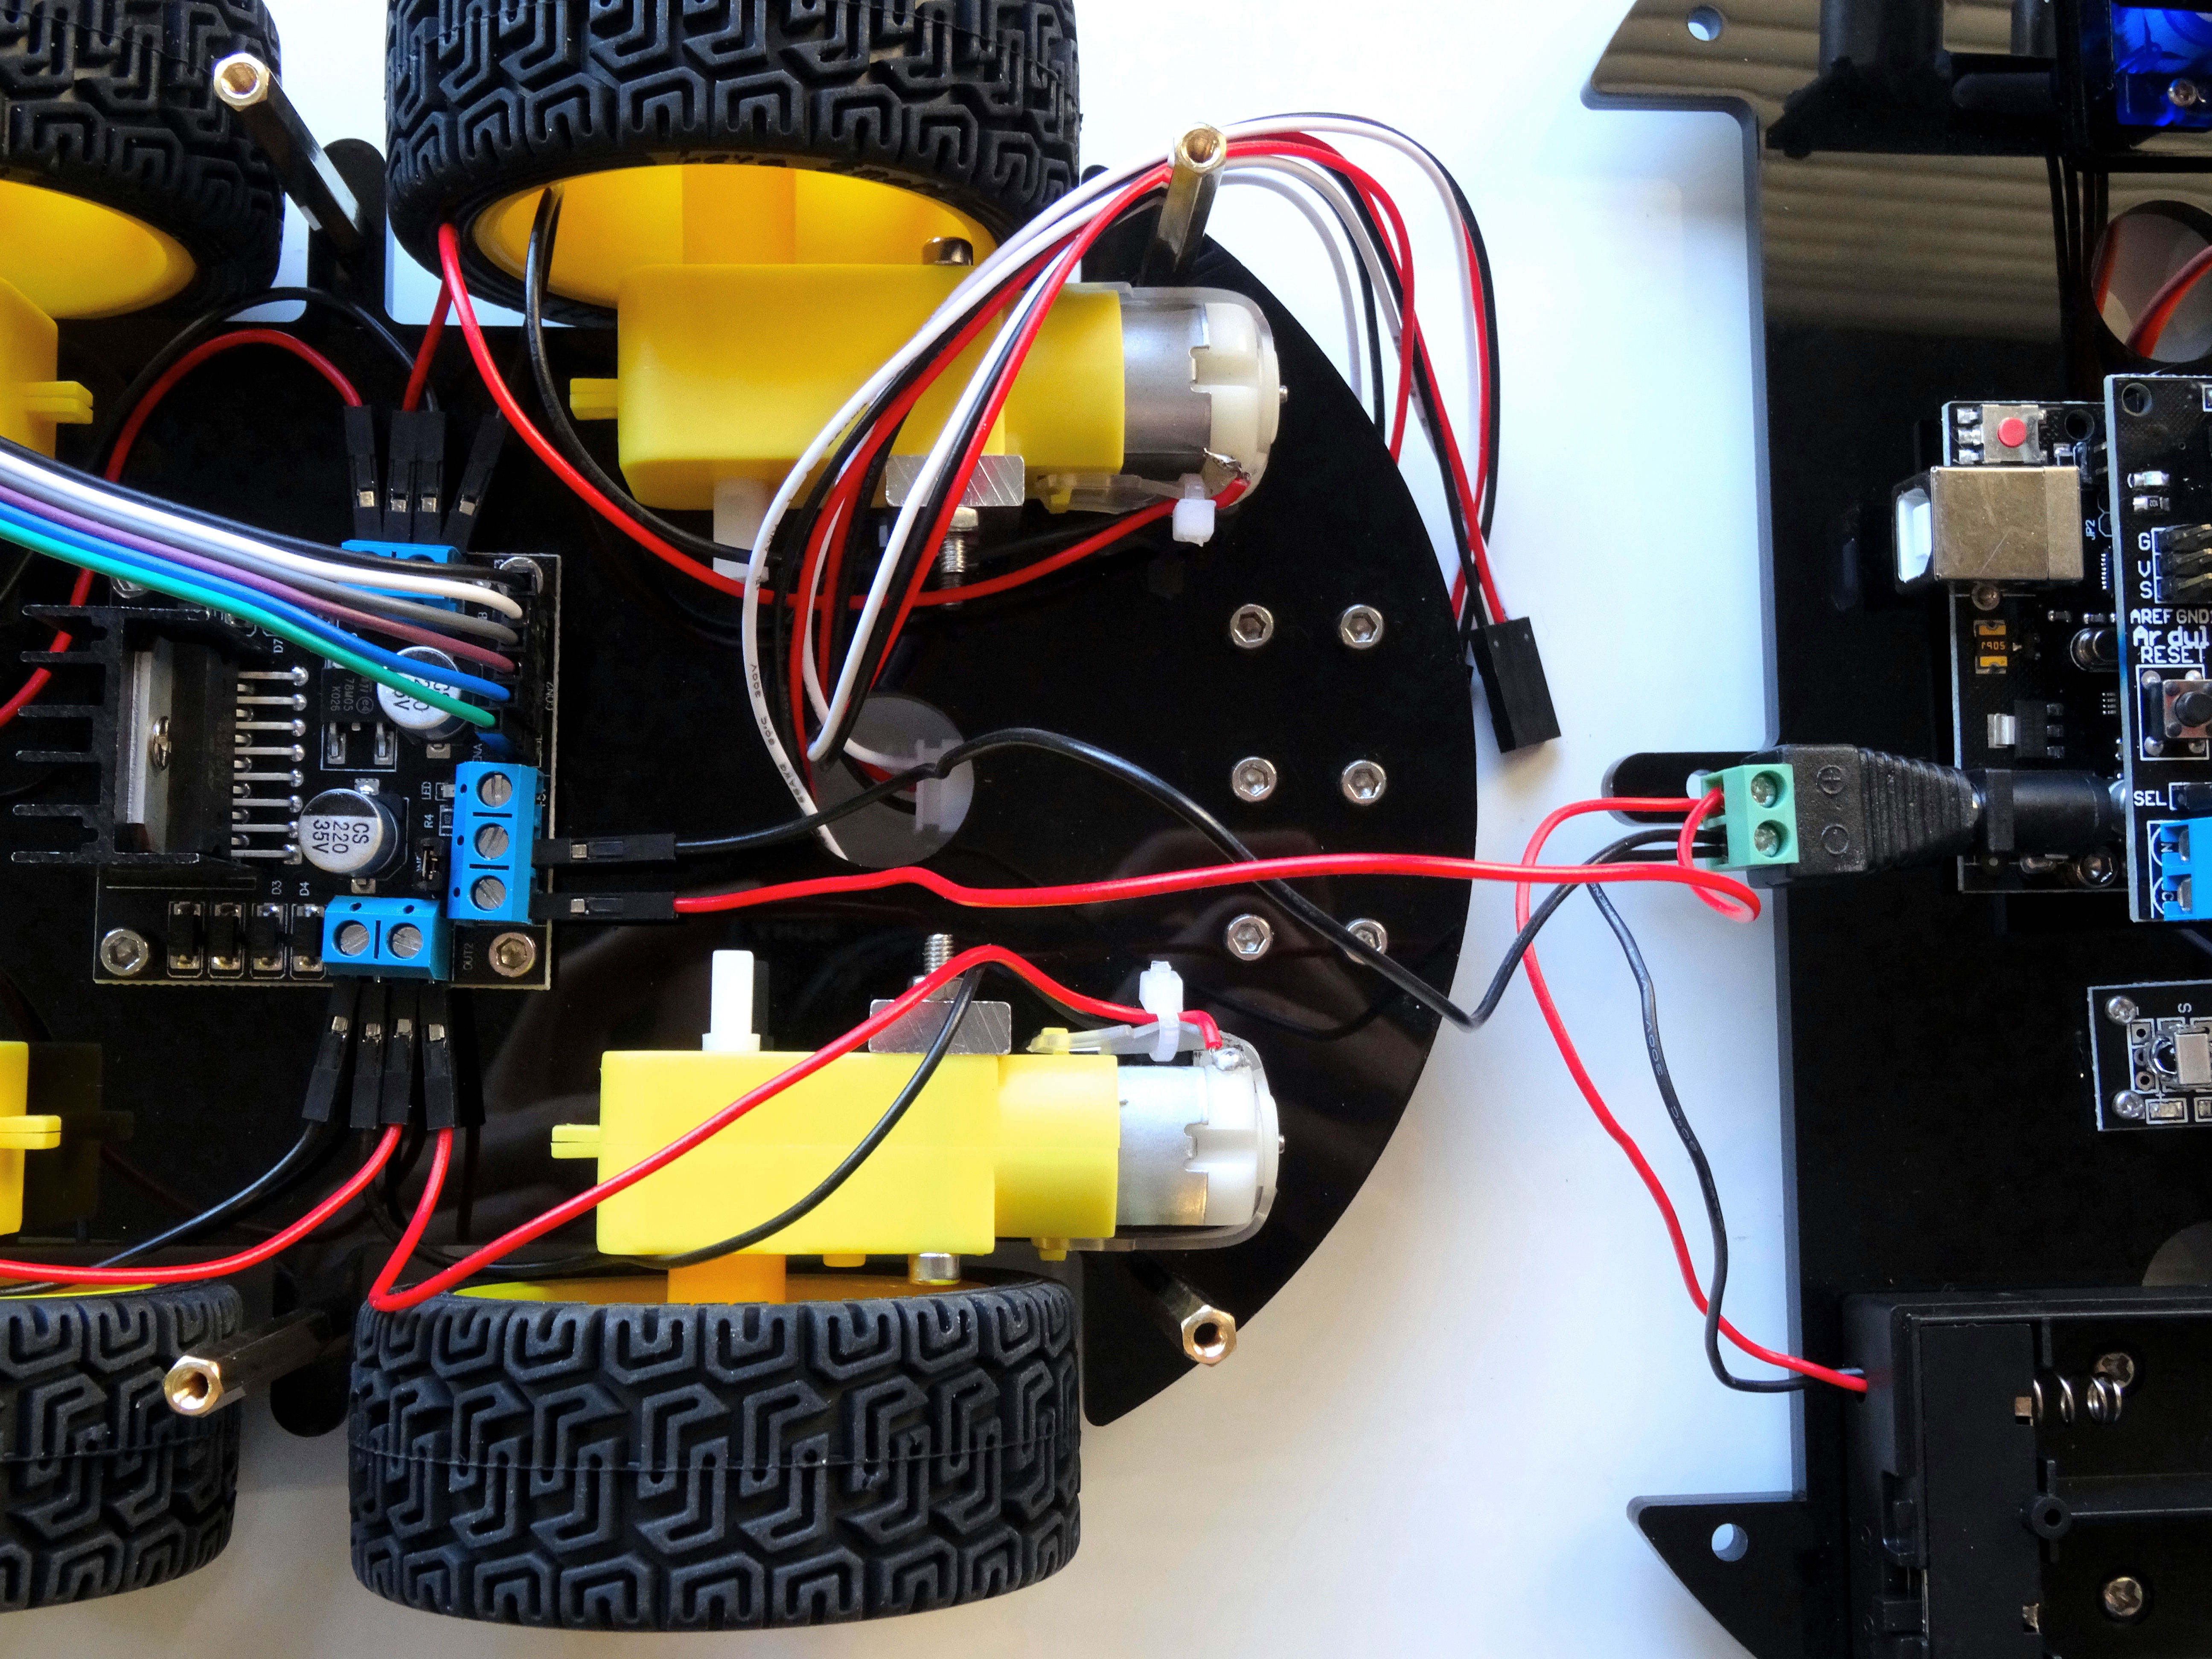
- Connect the power connector to the Arduino board (Pictures 1, and 2)
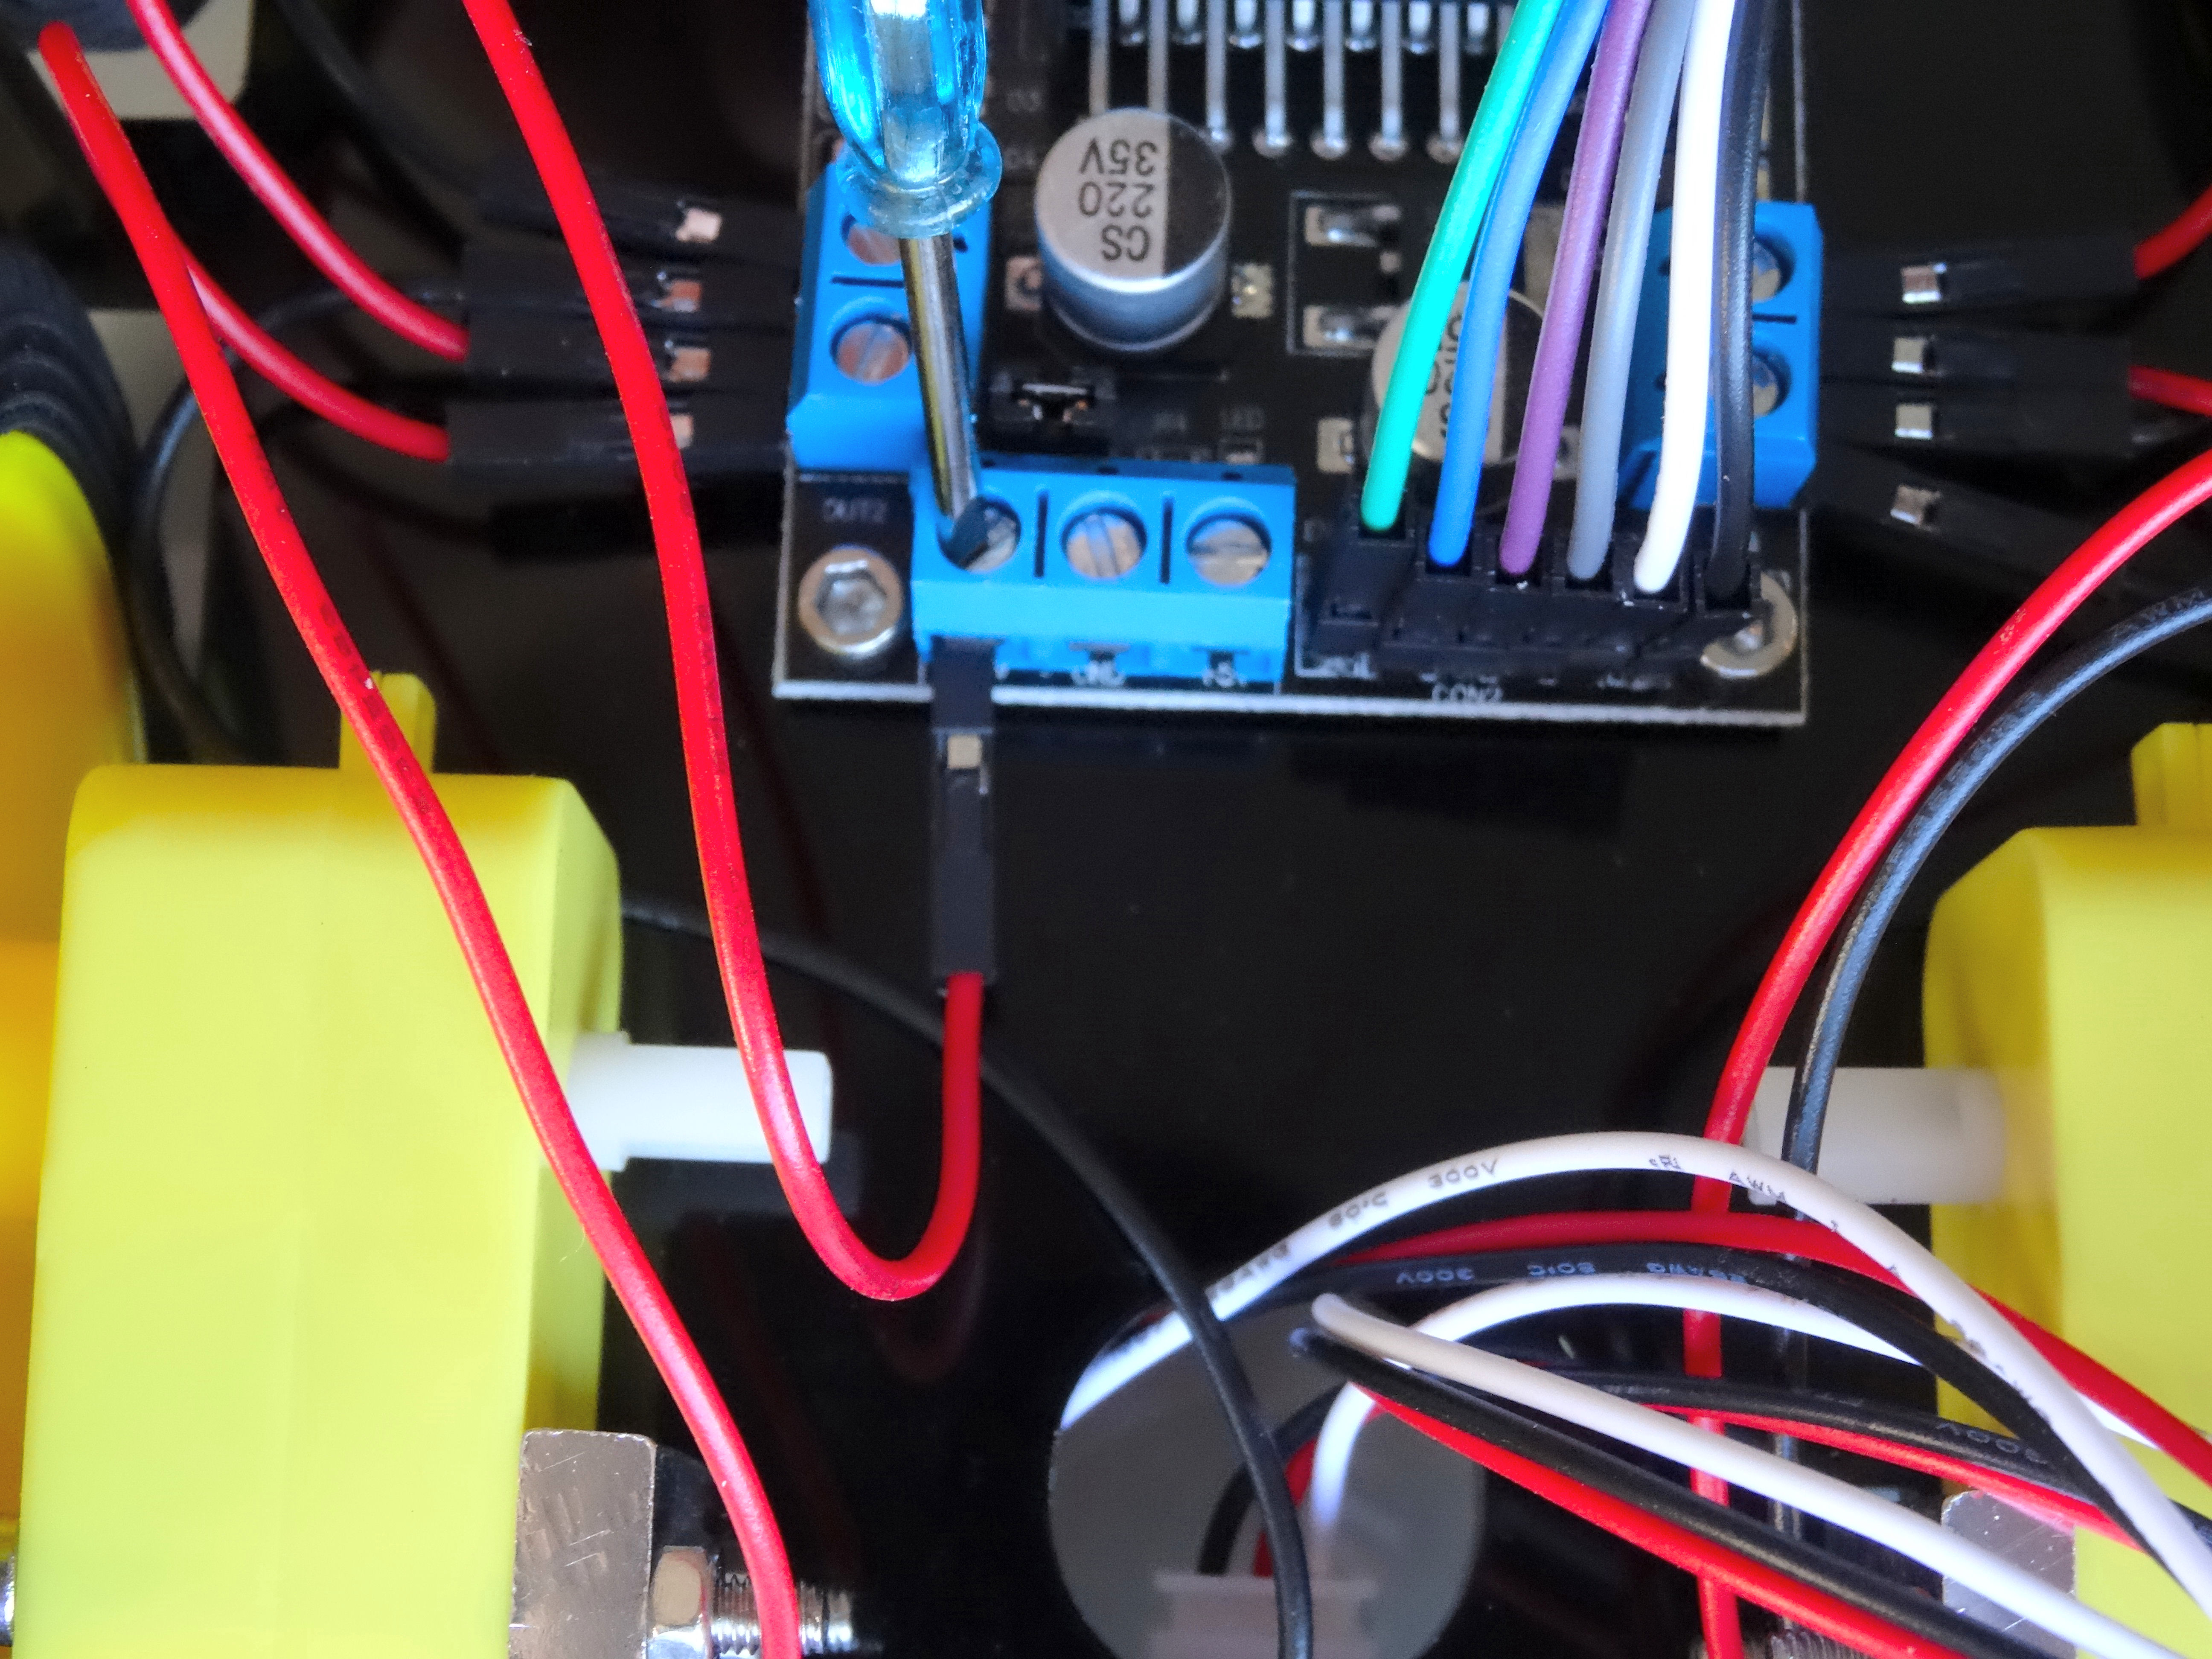
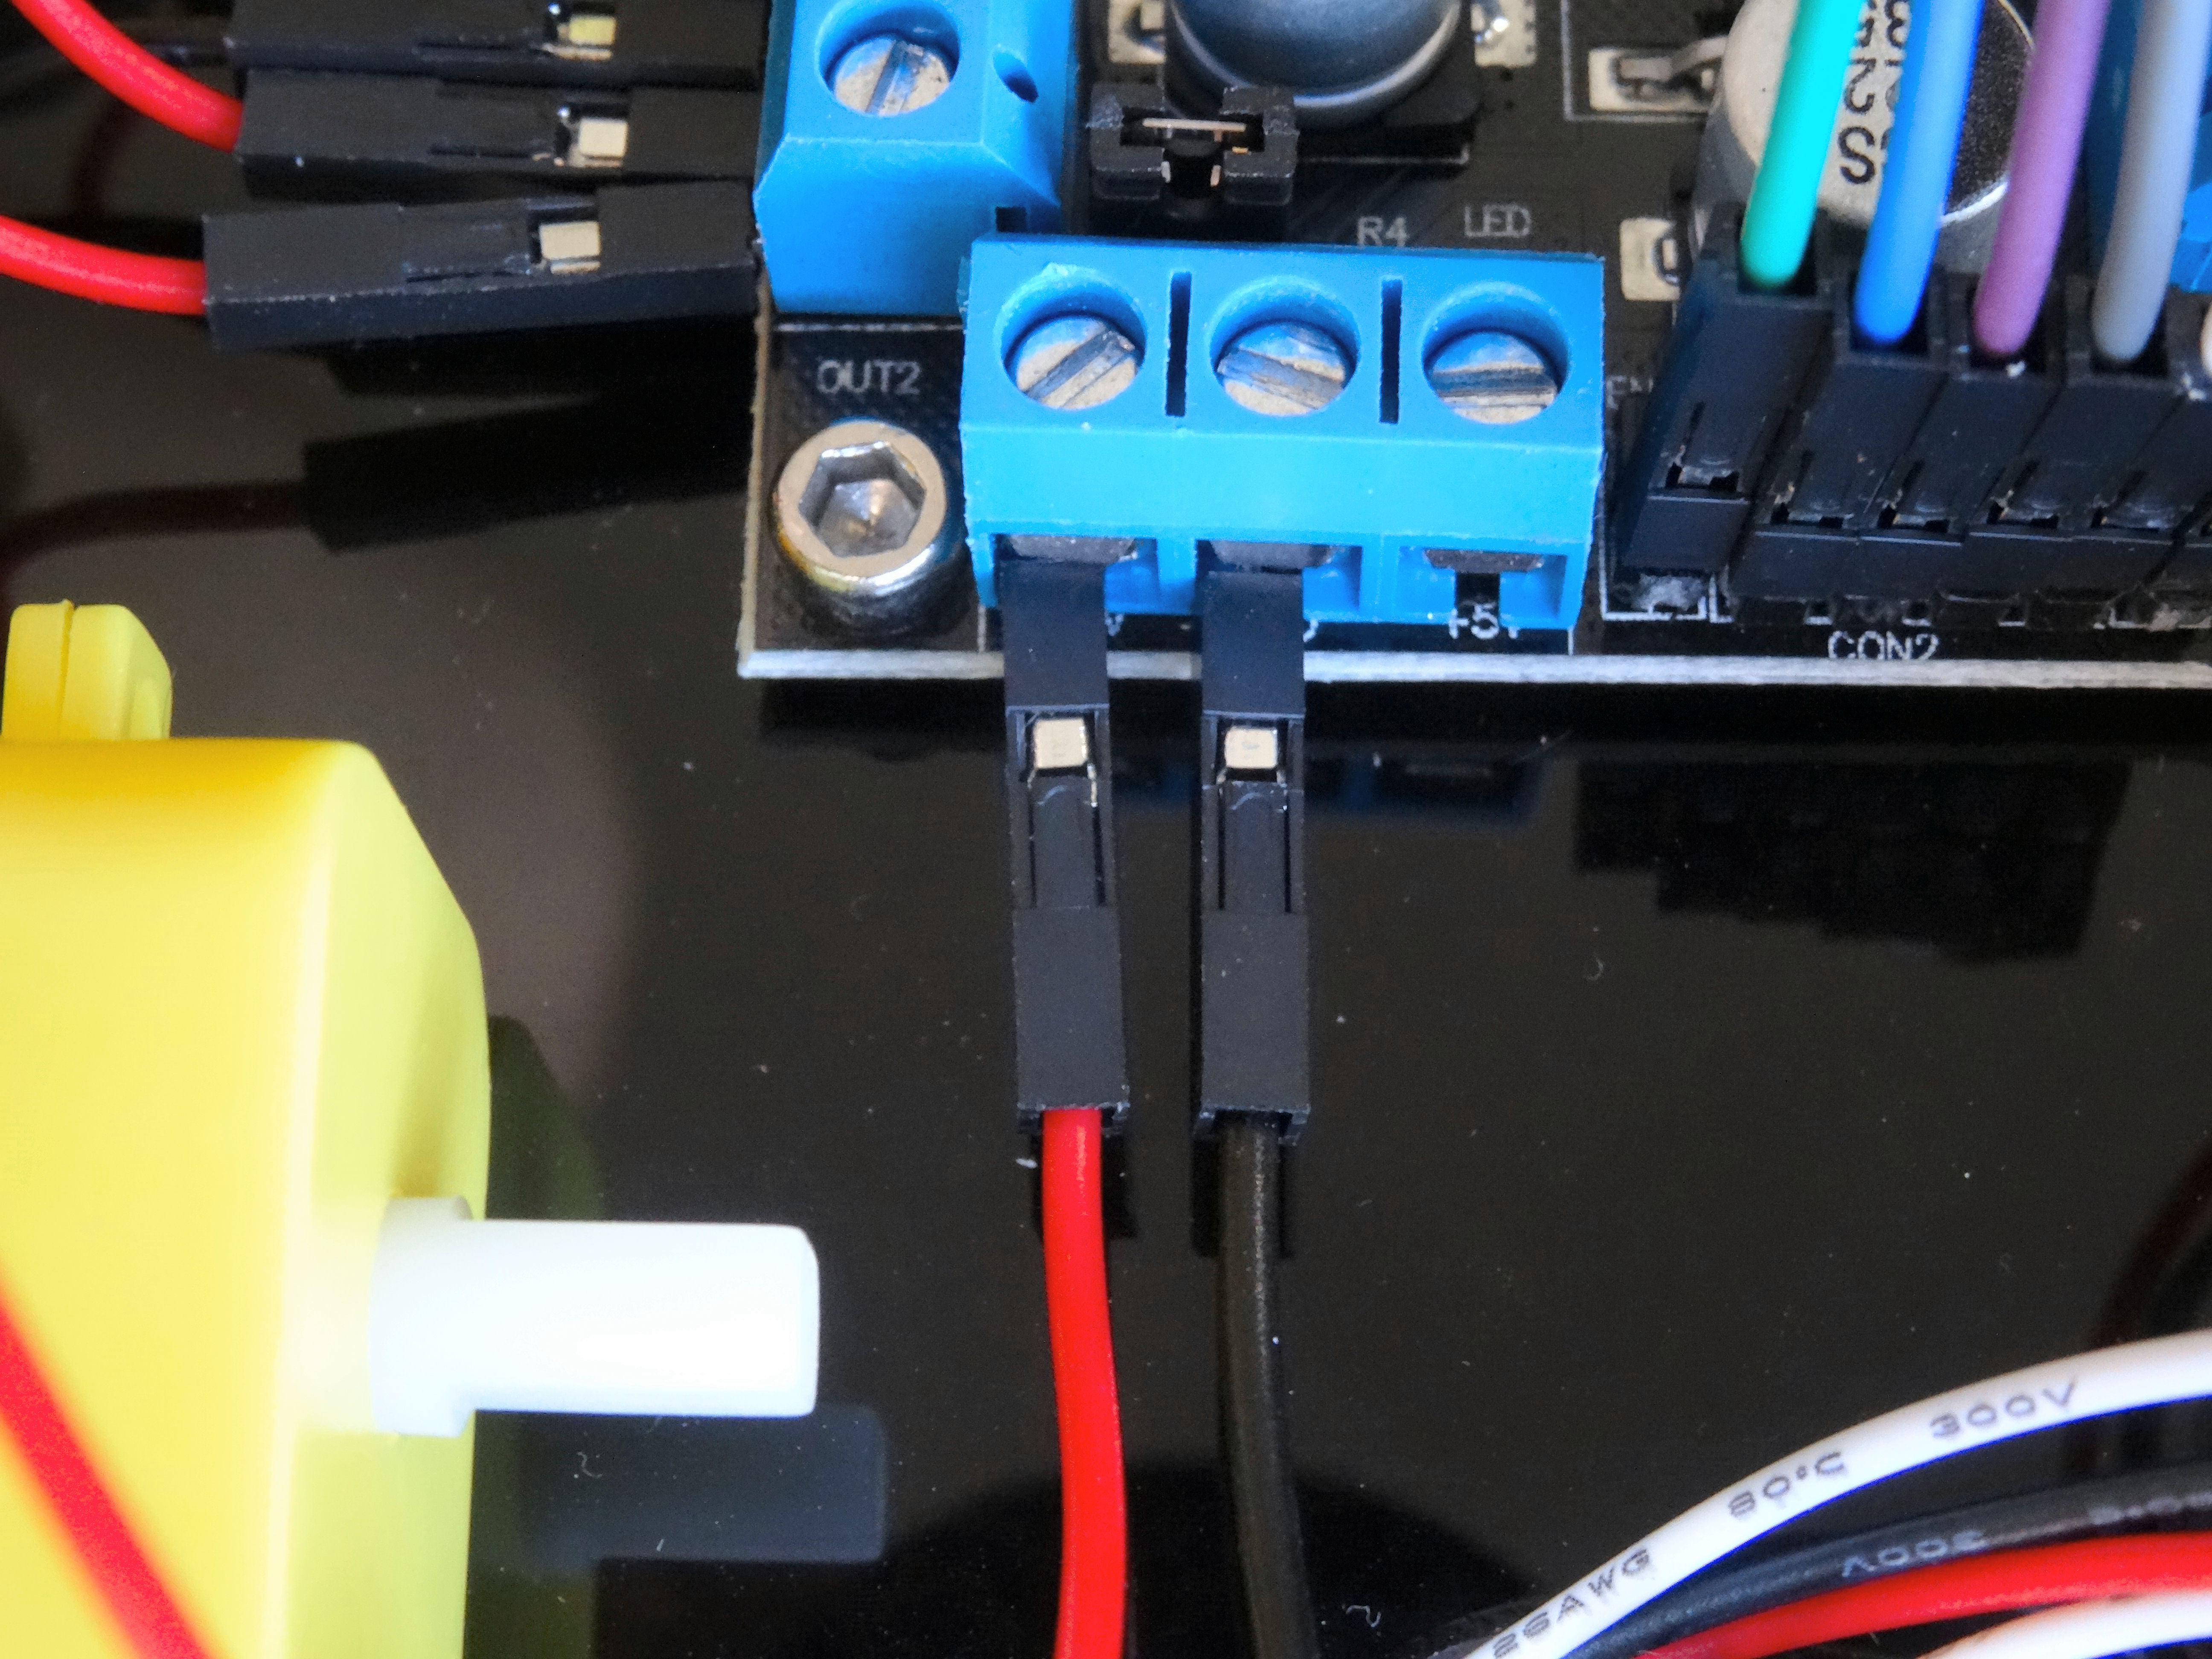
- Connect the Red Power wire from the power connector to the first connection point of the power connector of the L298N Motor Driver Module (Pictures 3, and 4)
- Connect the Black Ground wire from the power connector to the second connection point of the power connector of the L298N Motor Driver Module (Pictures 5, and 6)
Push the Wires Through the Top Layer of the Chassis
Edited.JPG)
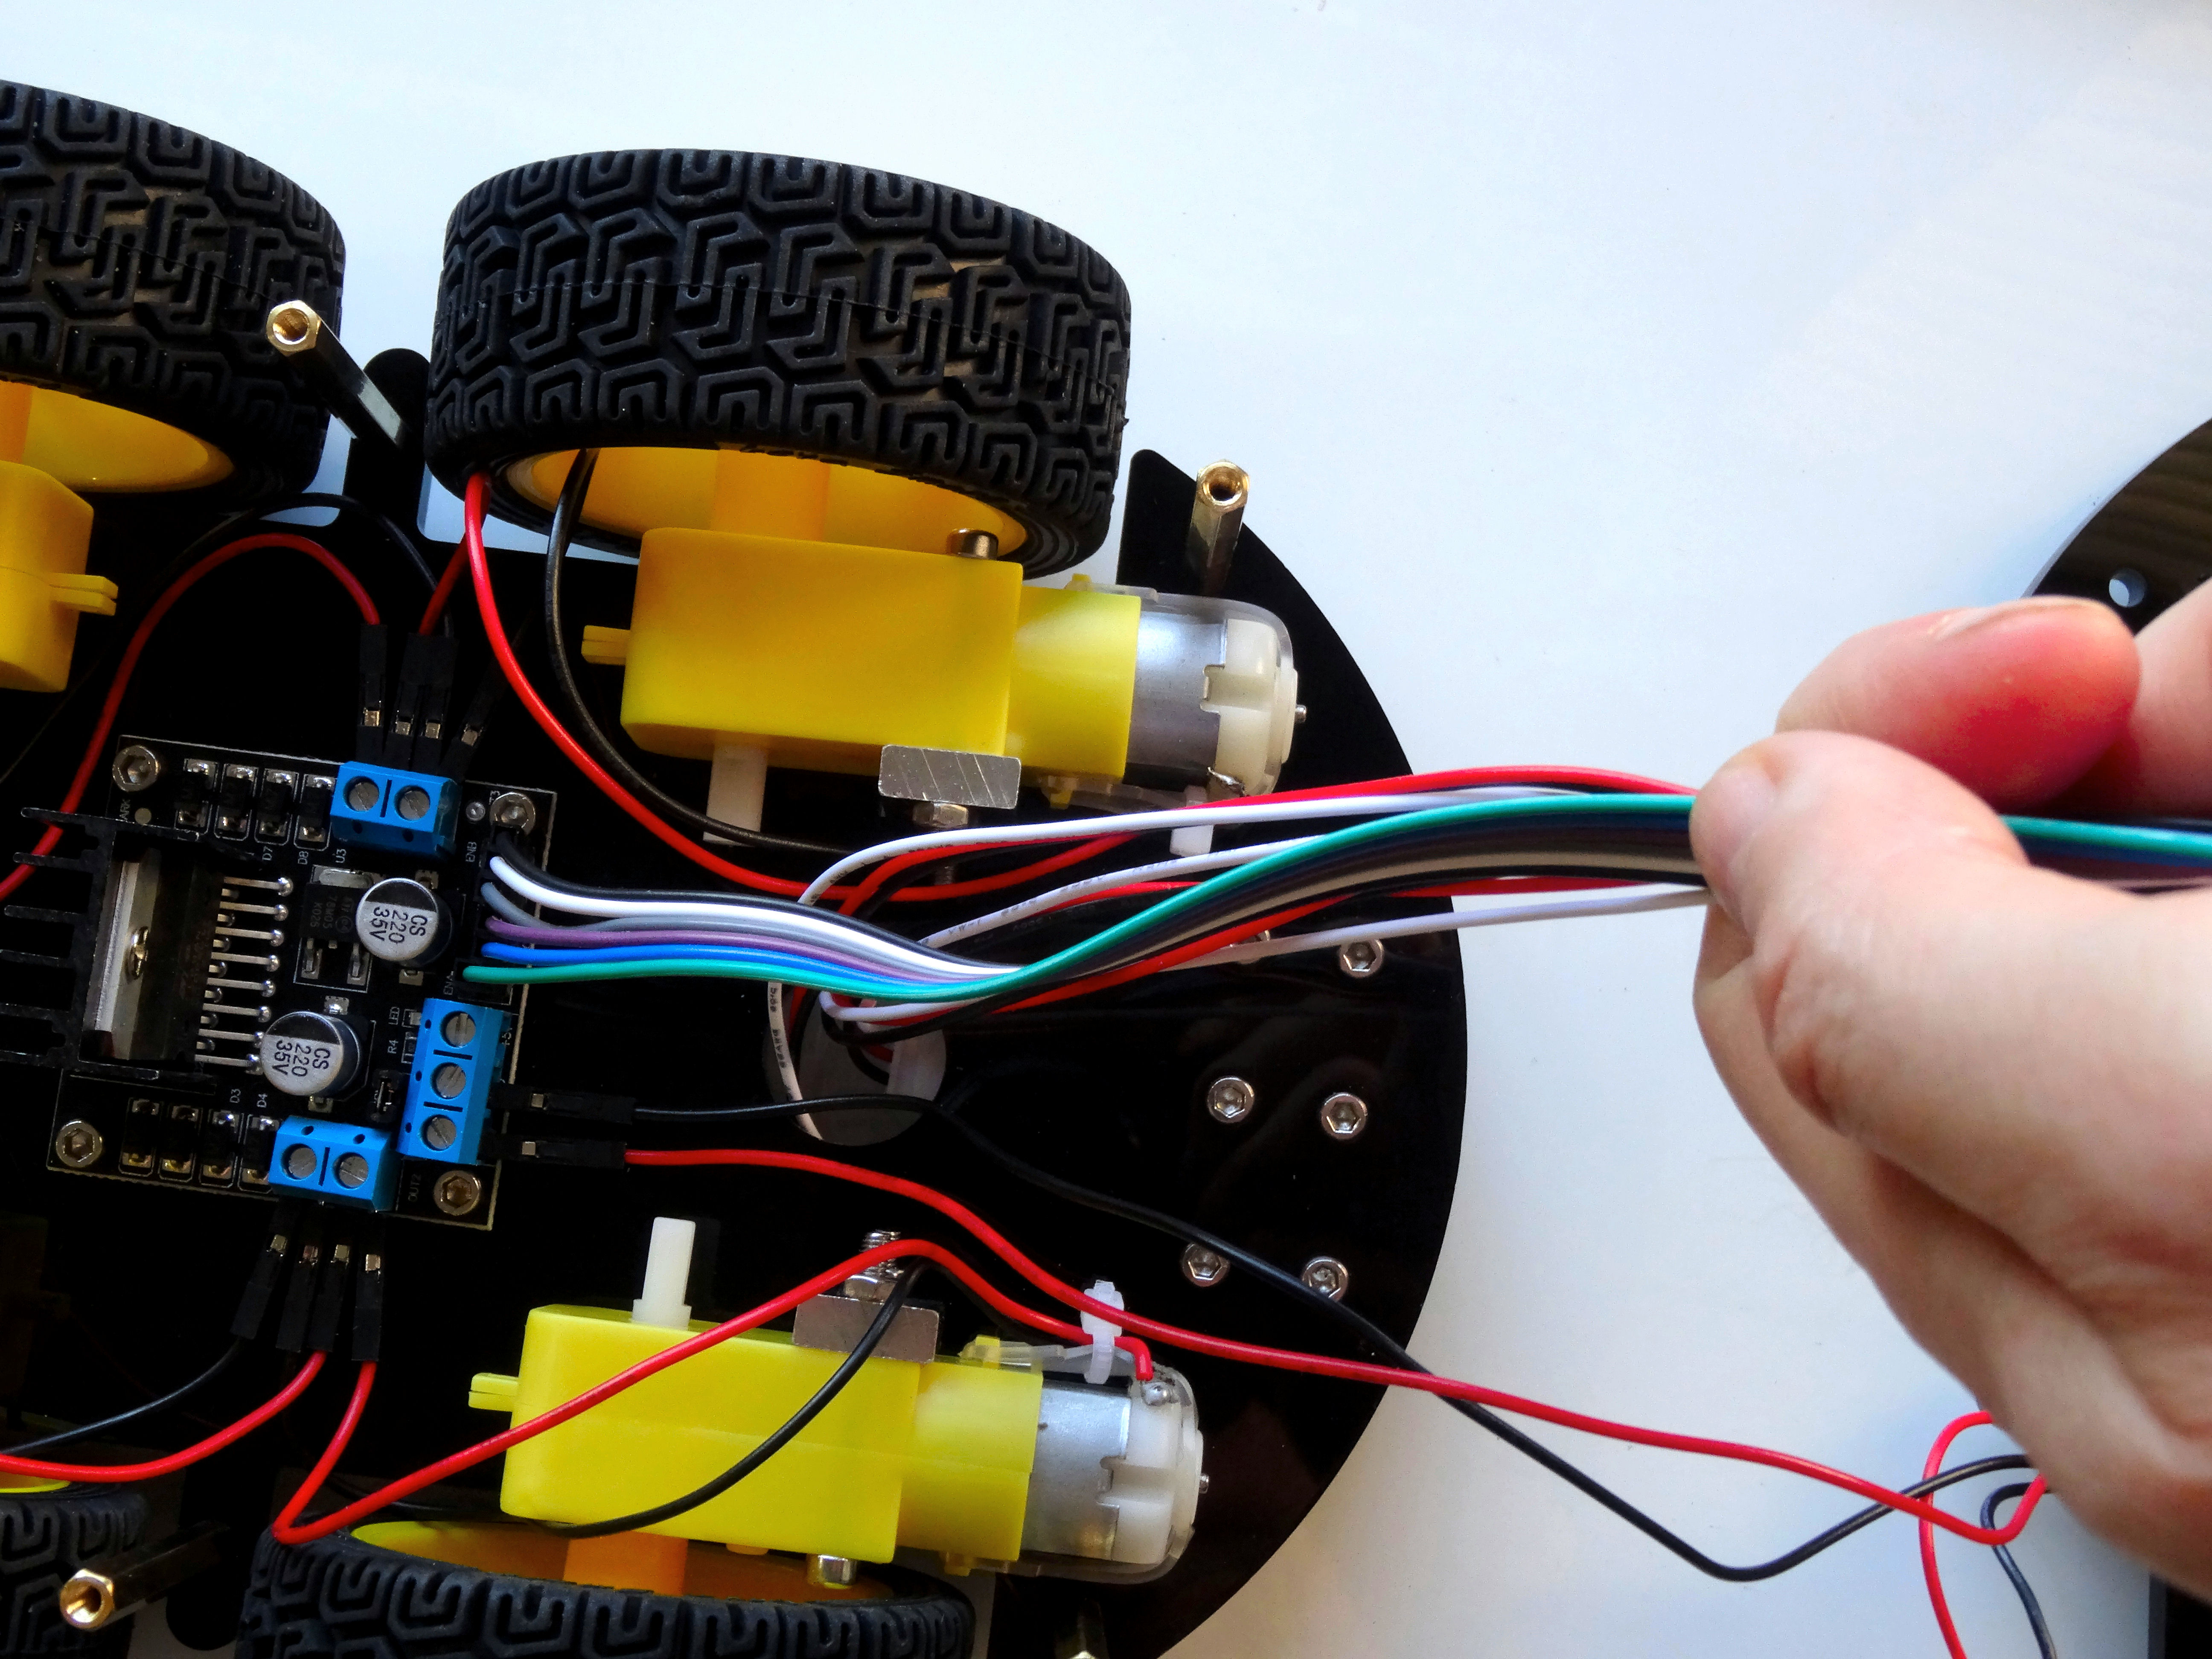
- Grab all the cables that have unconnected ends together (Picture 1)
- Push them through the big hole in the top Chassis layer from the bottom, so the unconnected ends appear on the top (Pictures 2, and 3)
Mount the Upper Layer of the Chassis
- Place the top layer of the Chassis over the spacers, so the corner holes match (Picture 1)
- Insert through the holes and tighten all the screws (Pictures 2, 3, and 4)
- I also inserted the power wires for the motor driver through the same big hole, to reduce clutter (Pictures 2, 3 and 4)
Connect the Control Wires From the L298N Motor Driver to the Sensor Shield
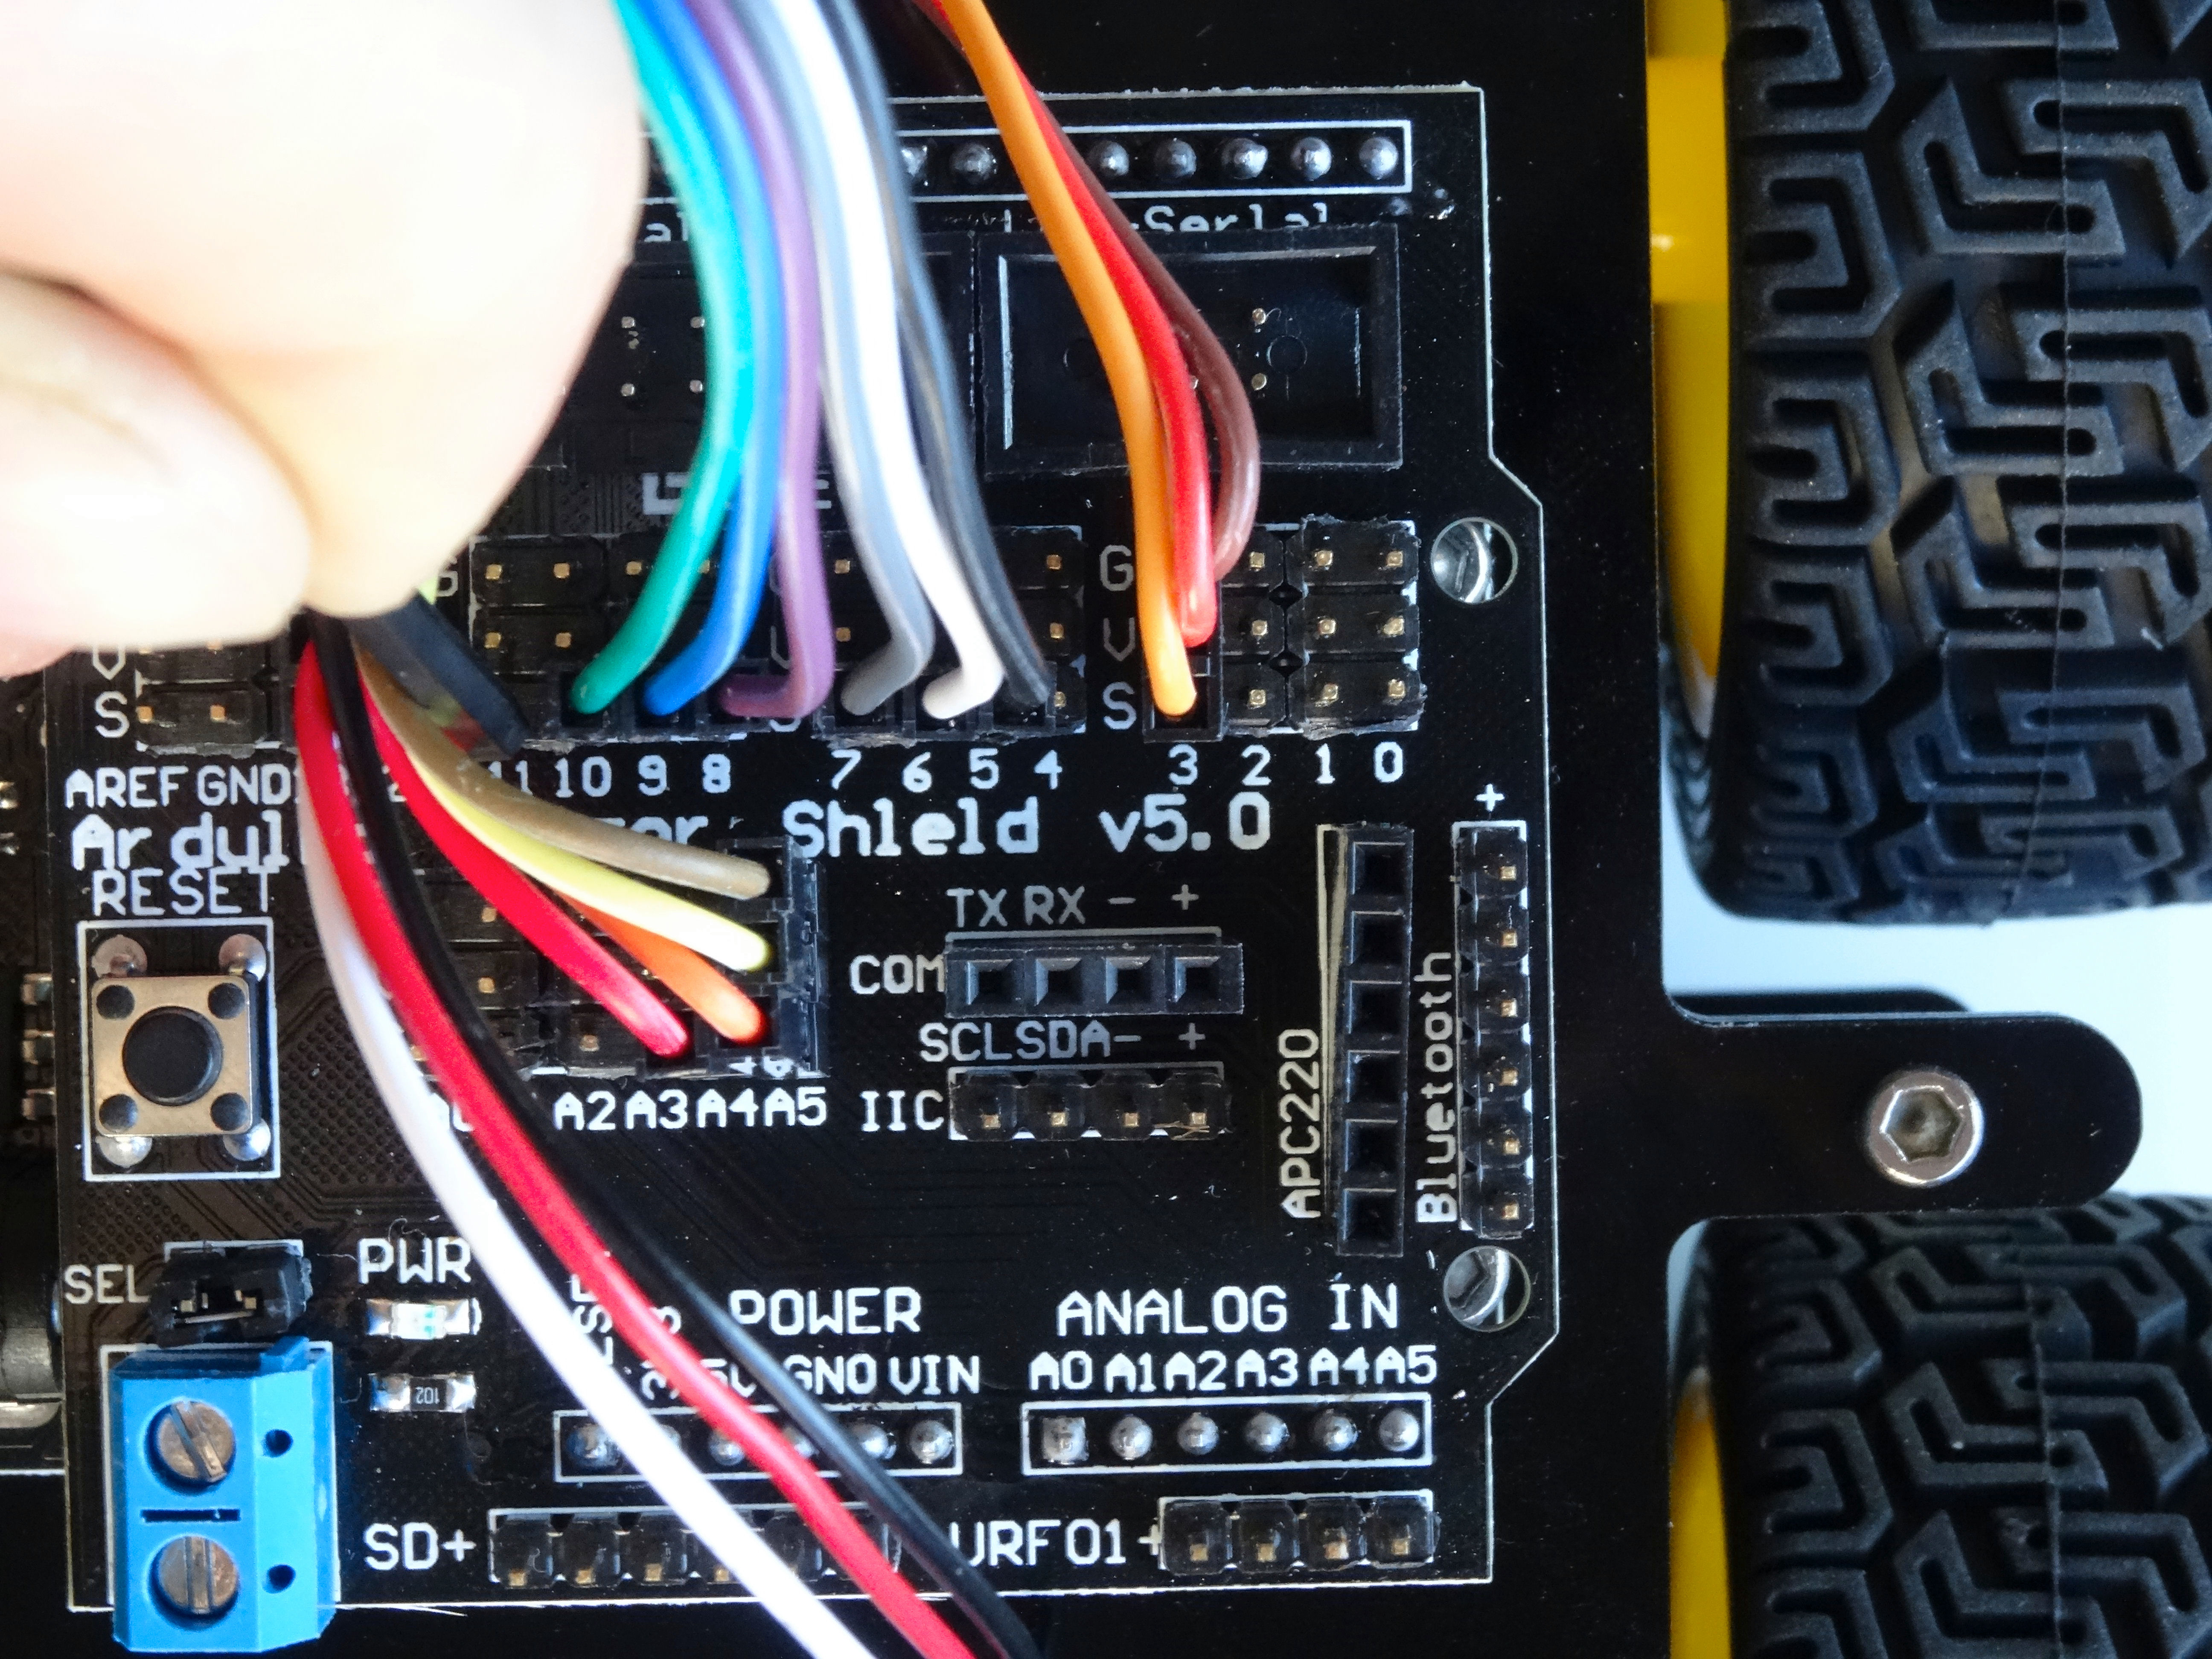
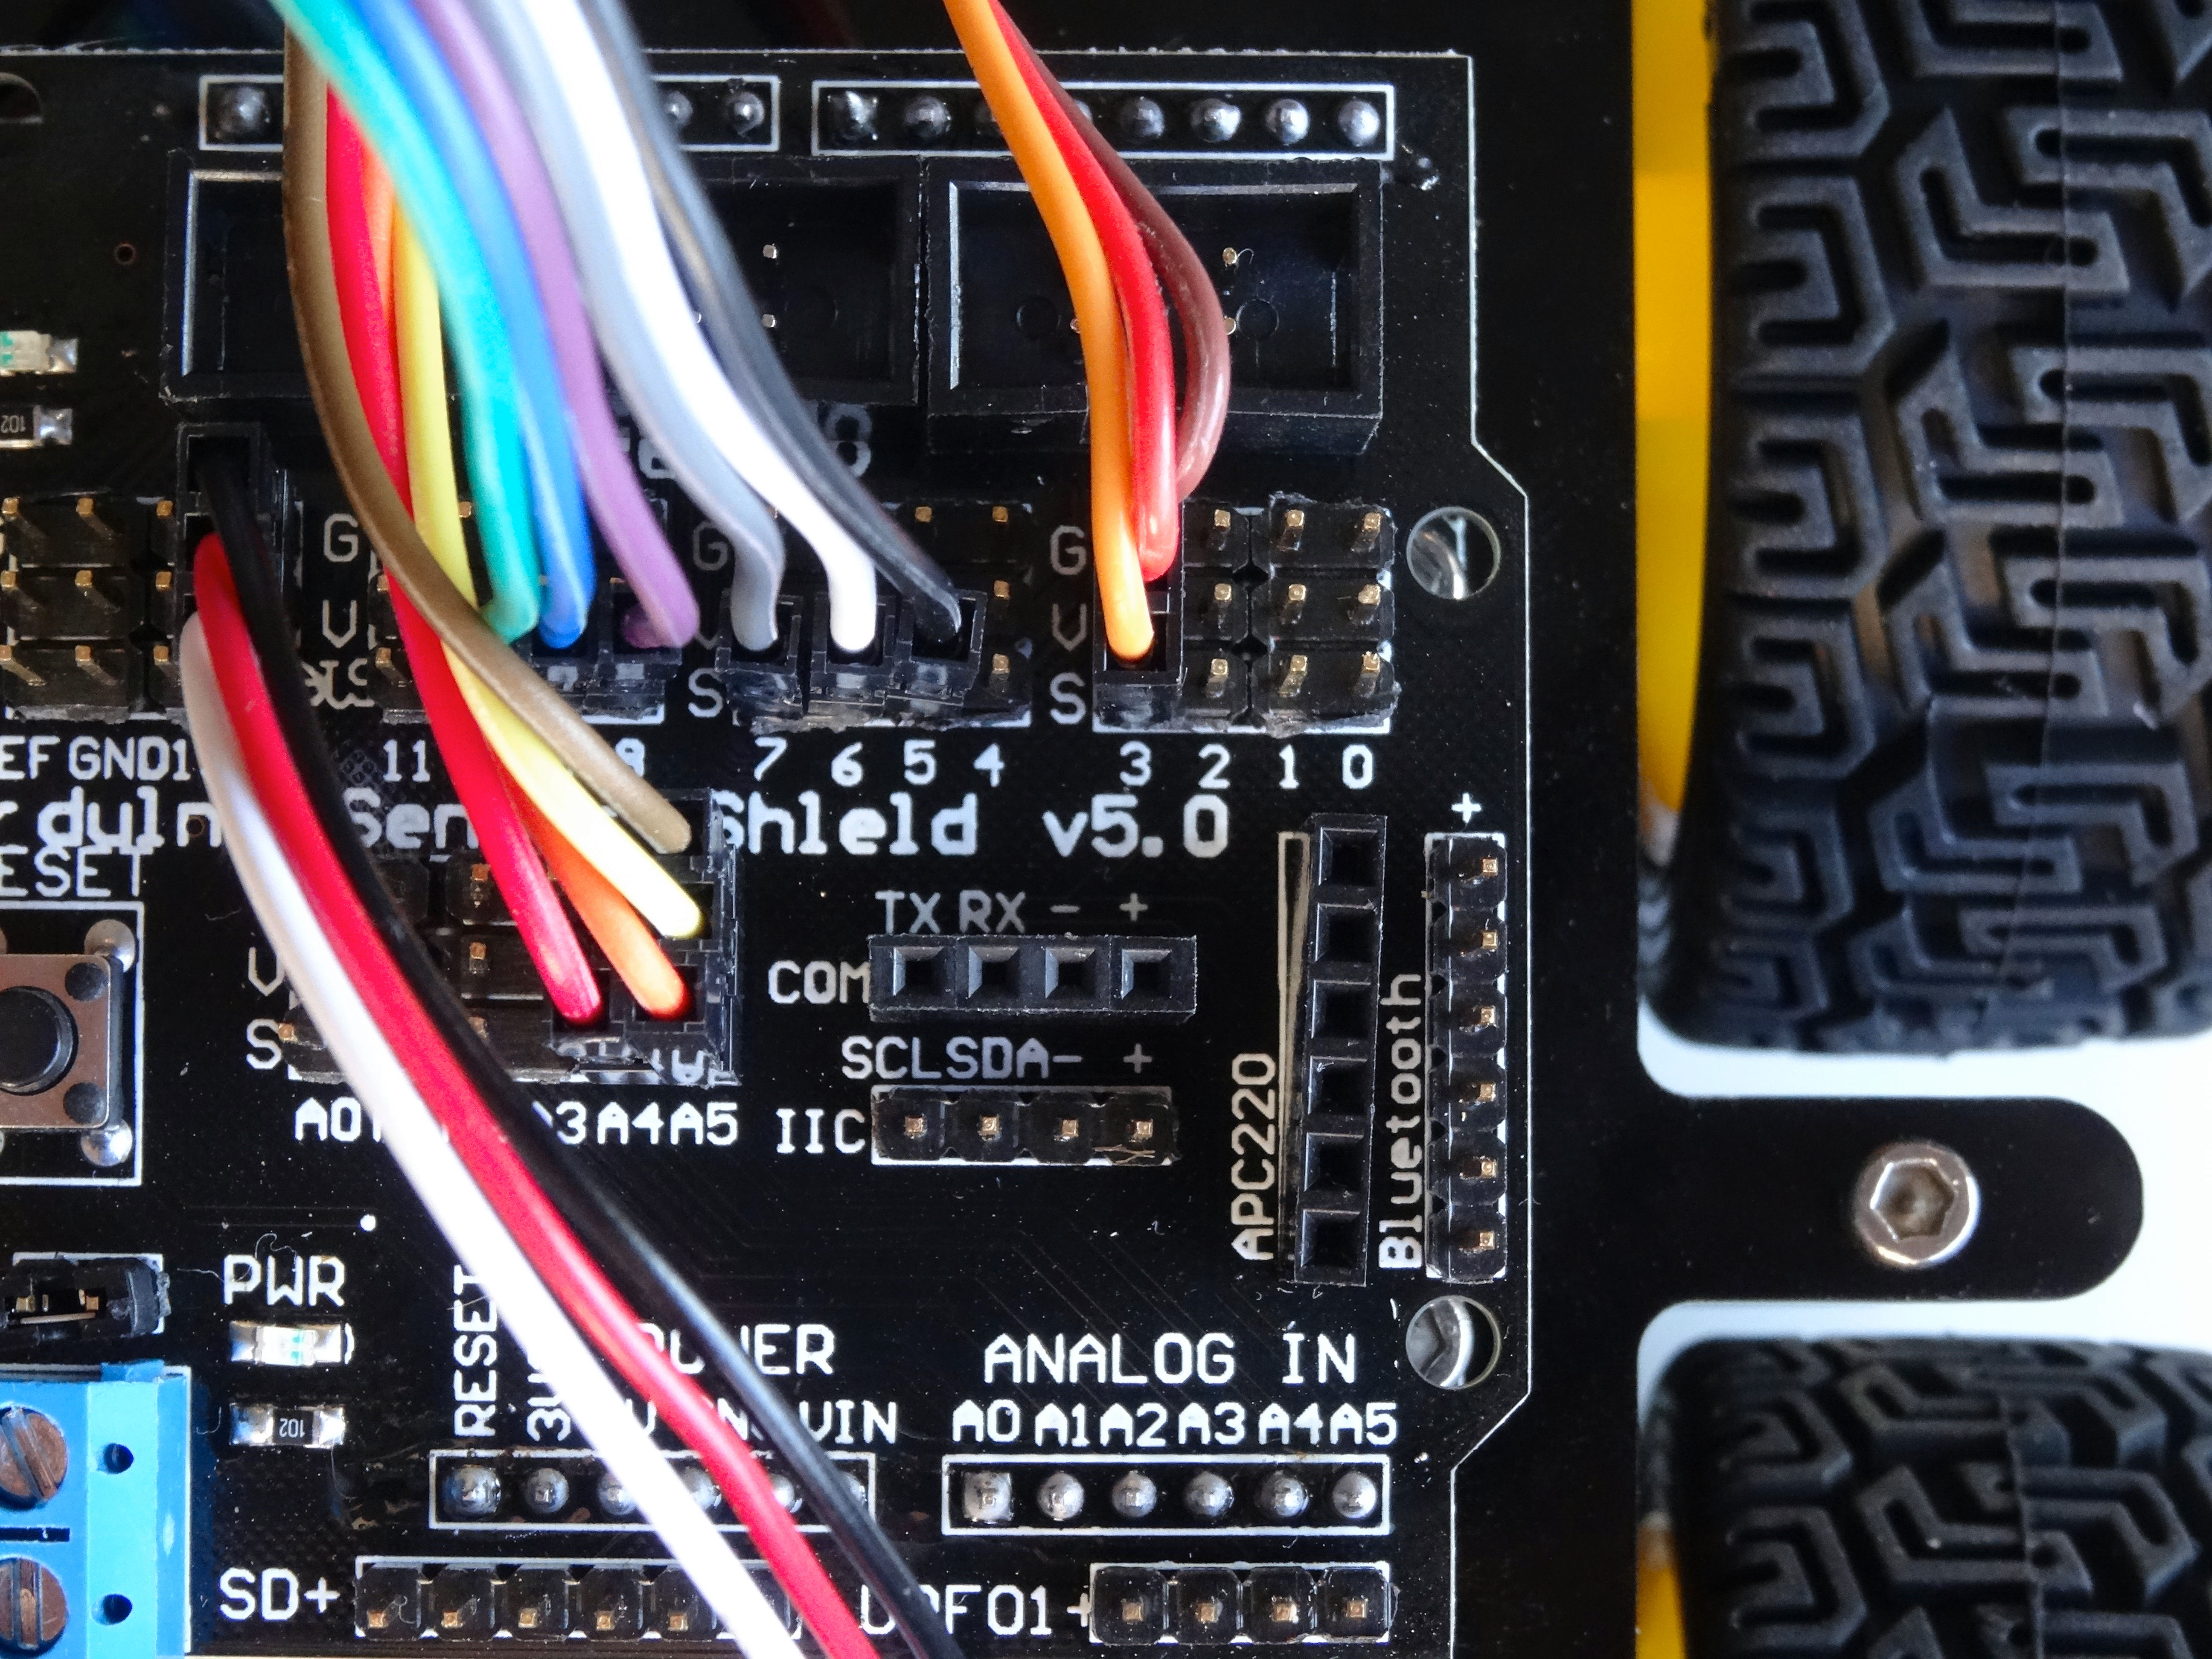
- Connect the 6 wires from the Motor Driver to the signal pins 5 to 10 of the digital sensor pins, connecting the wire from the left pin (Green Wire) of the L298N Motor Driver Module to pin 10, and the rest of the wires in order to the following pins until pin 5 (Pictures 1, and 2)
Connect the Wires From the Infrared Line Tracking Sensor Modules to the Sensor Shield
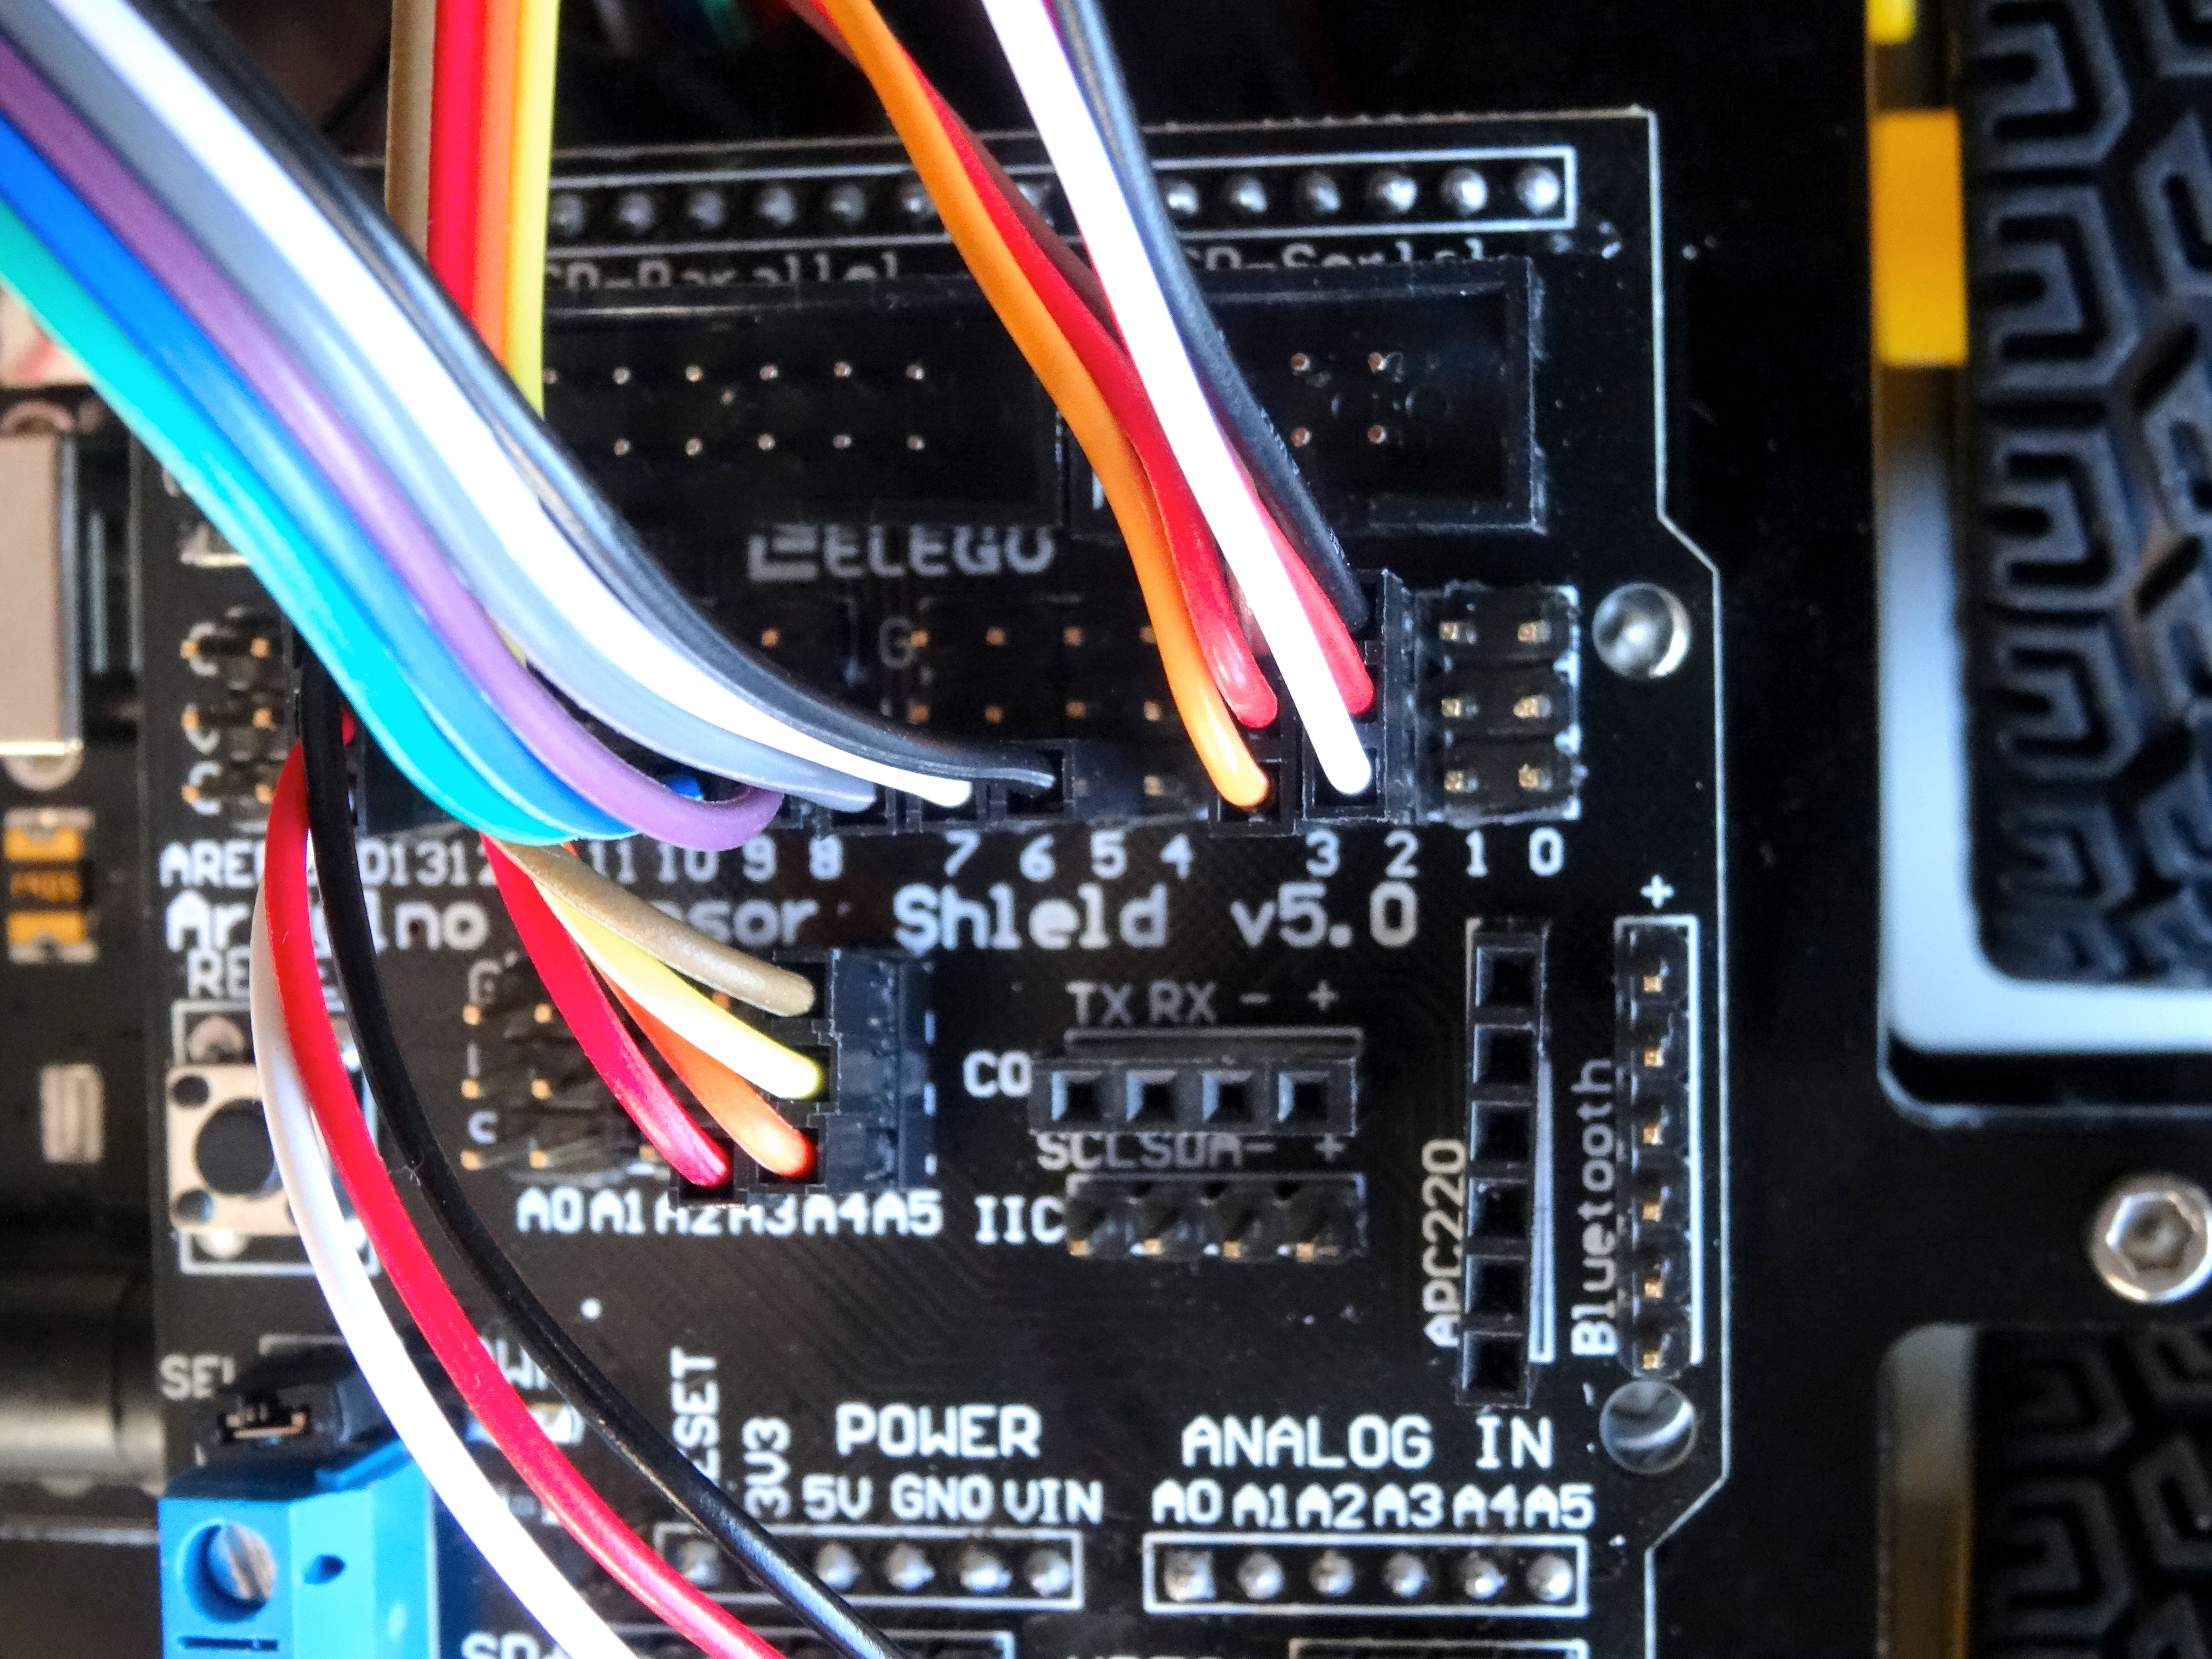
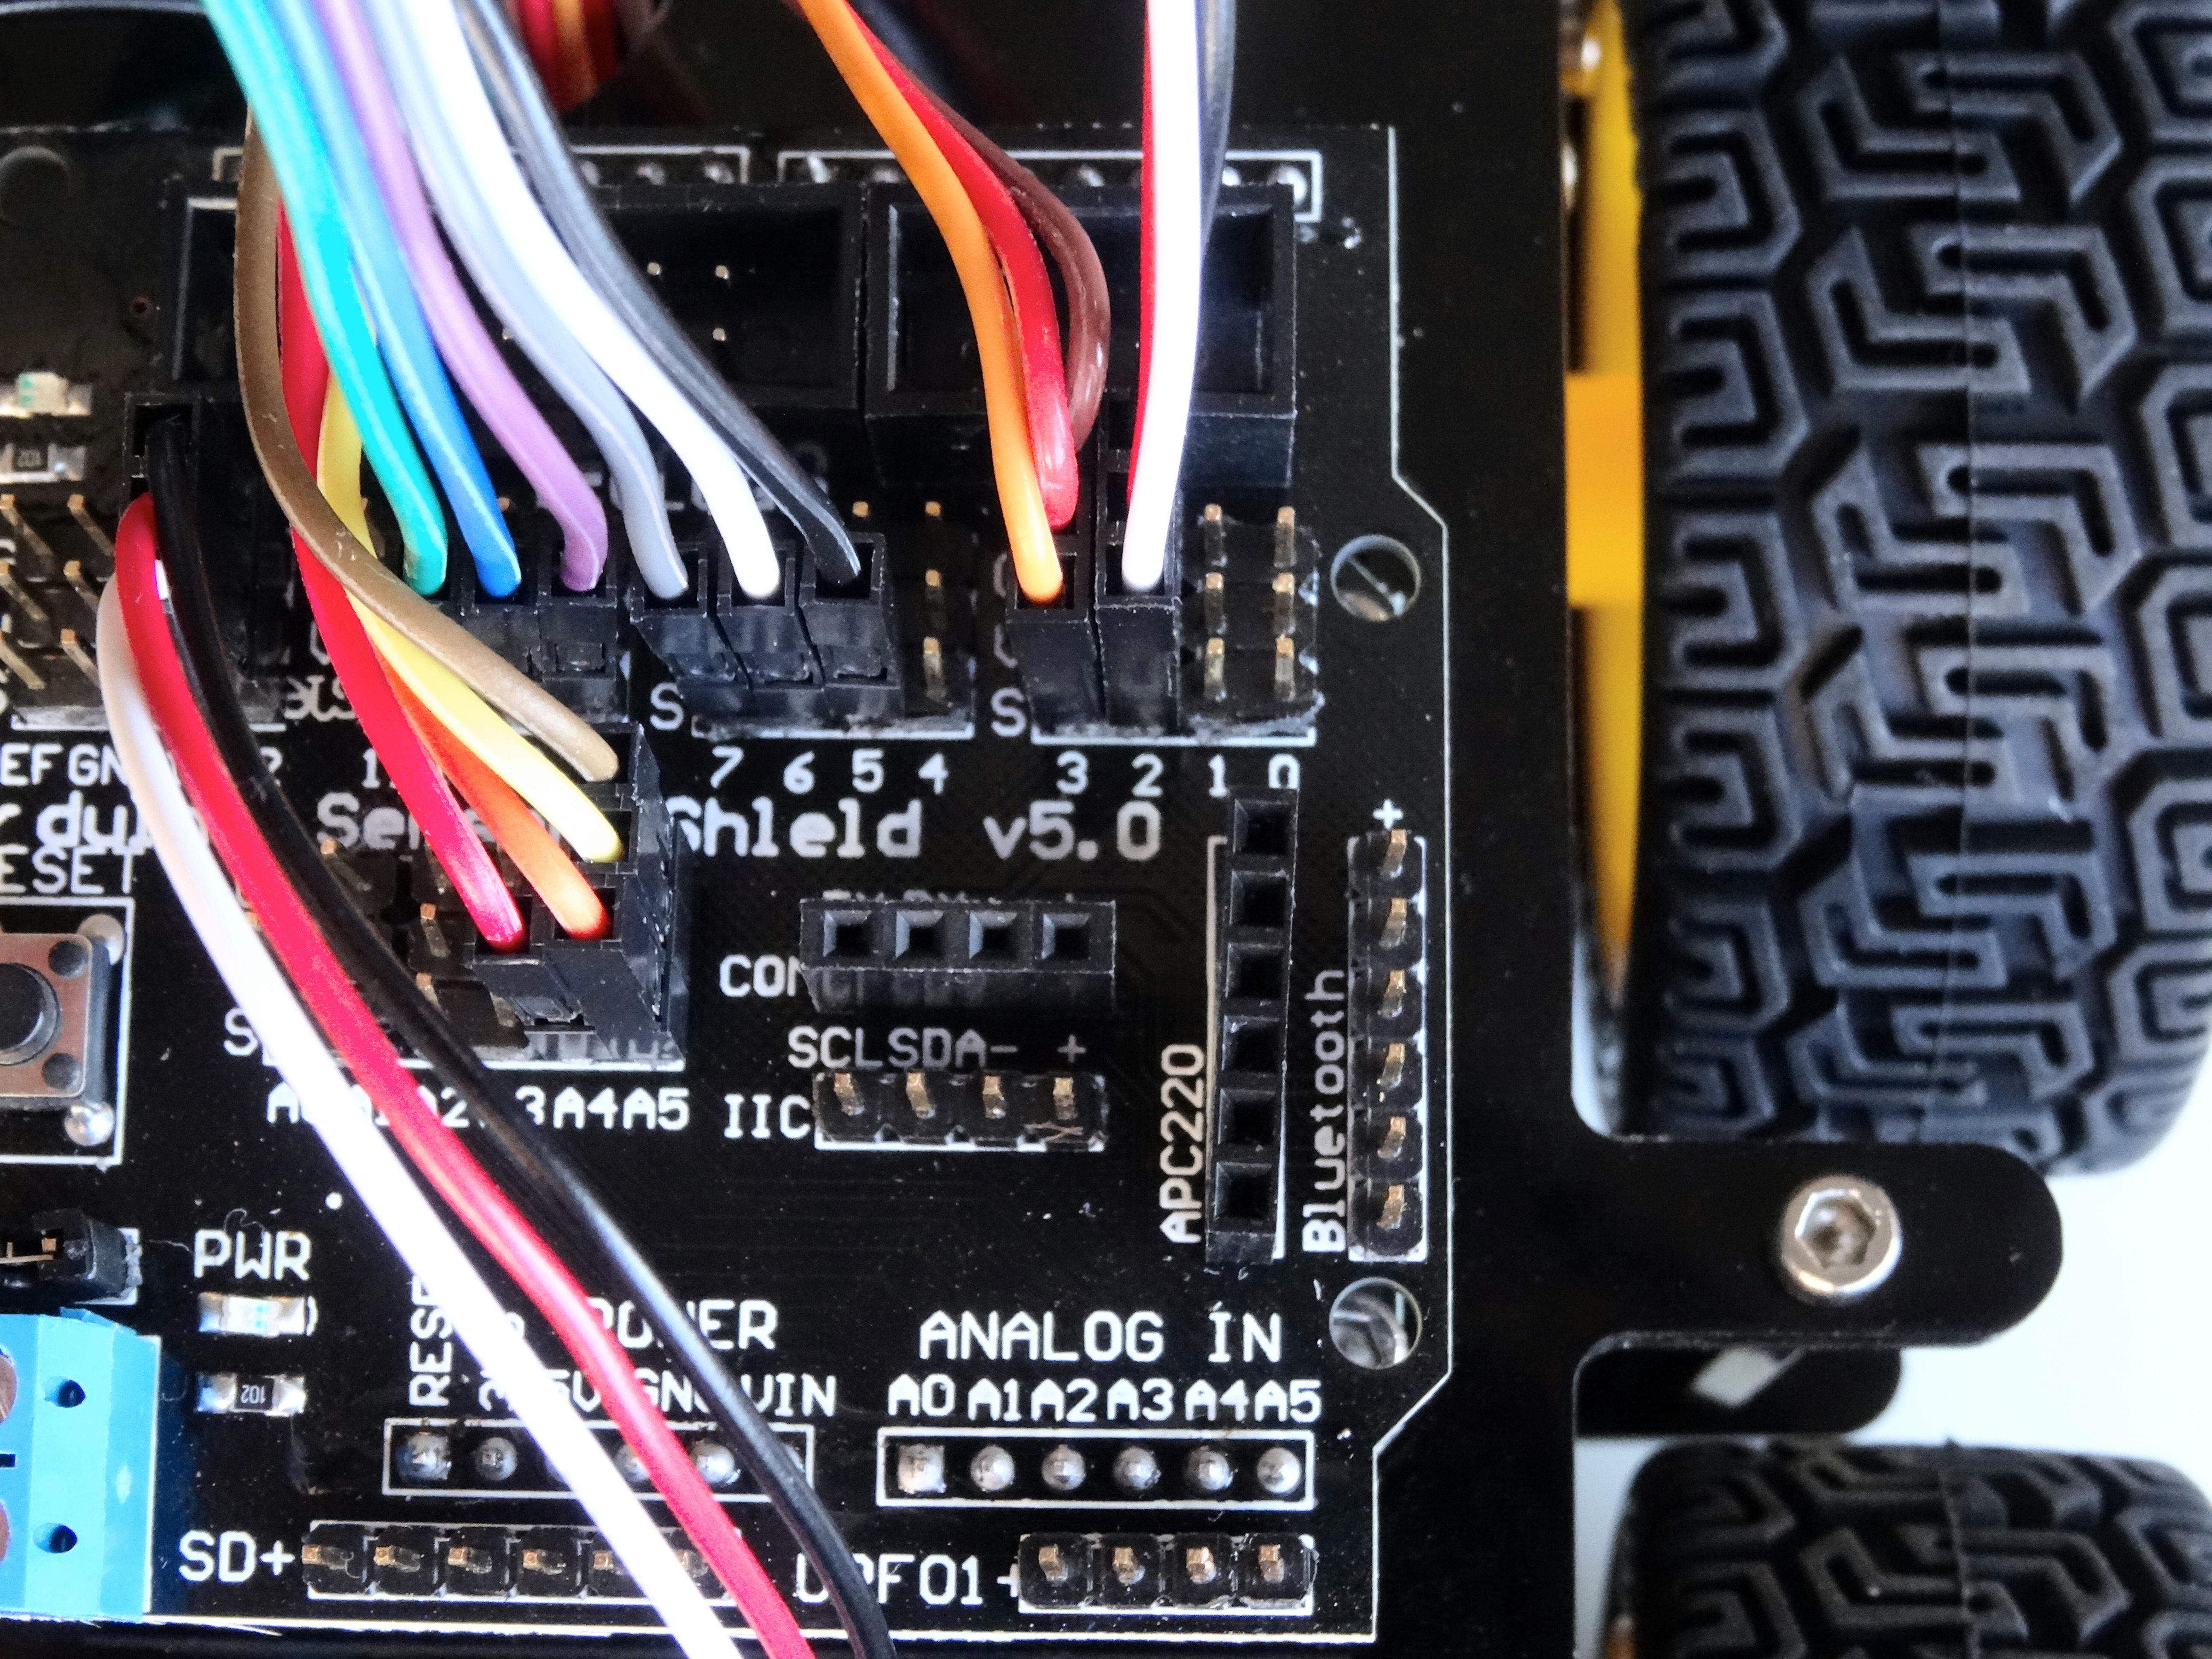
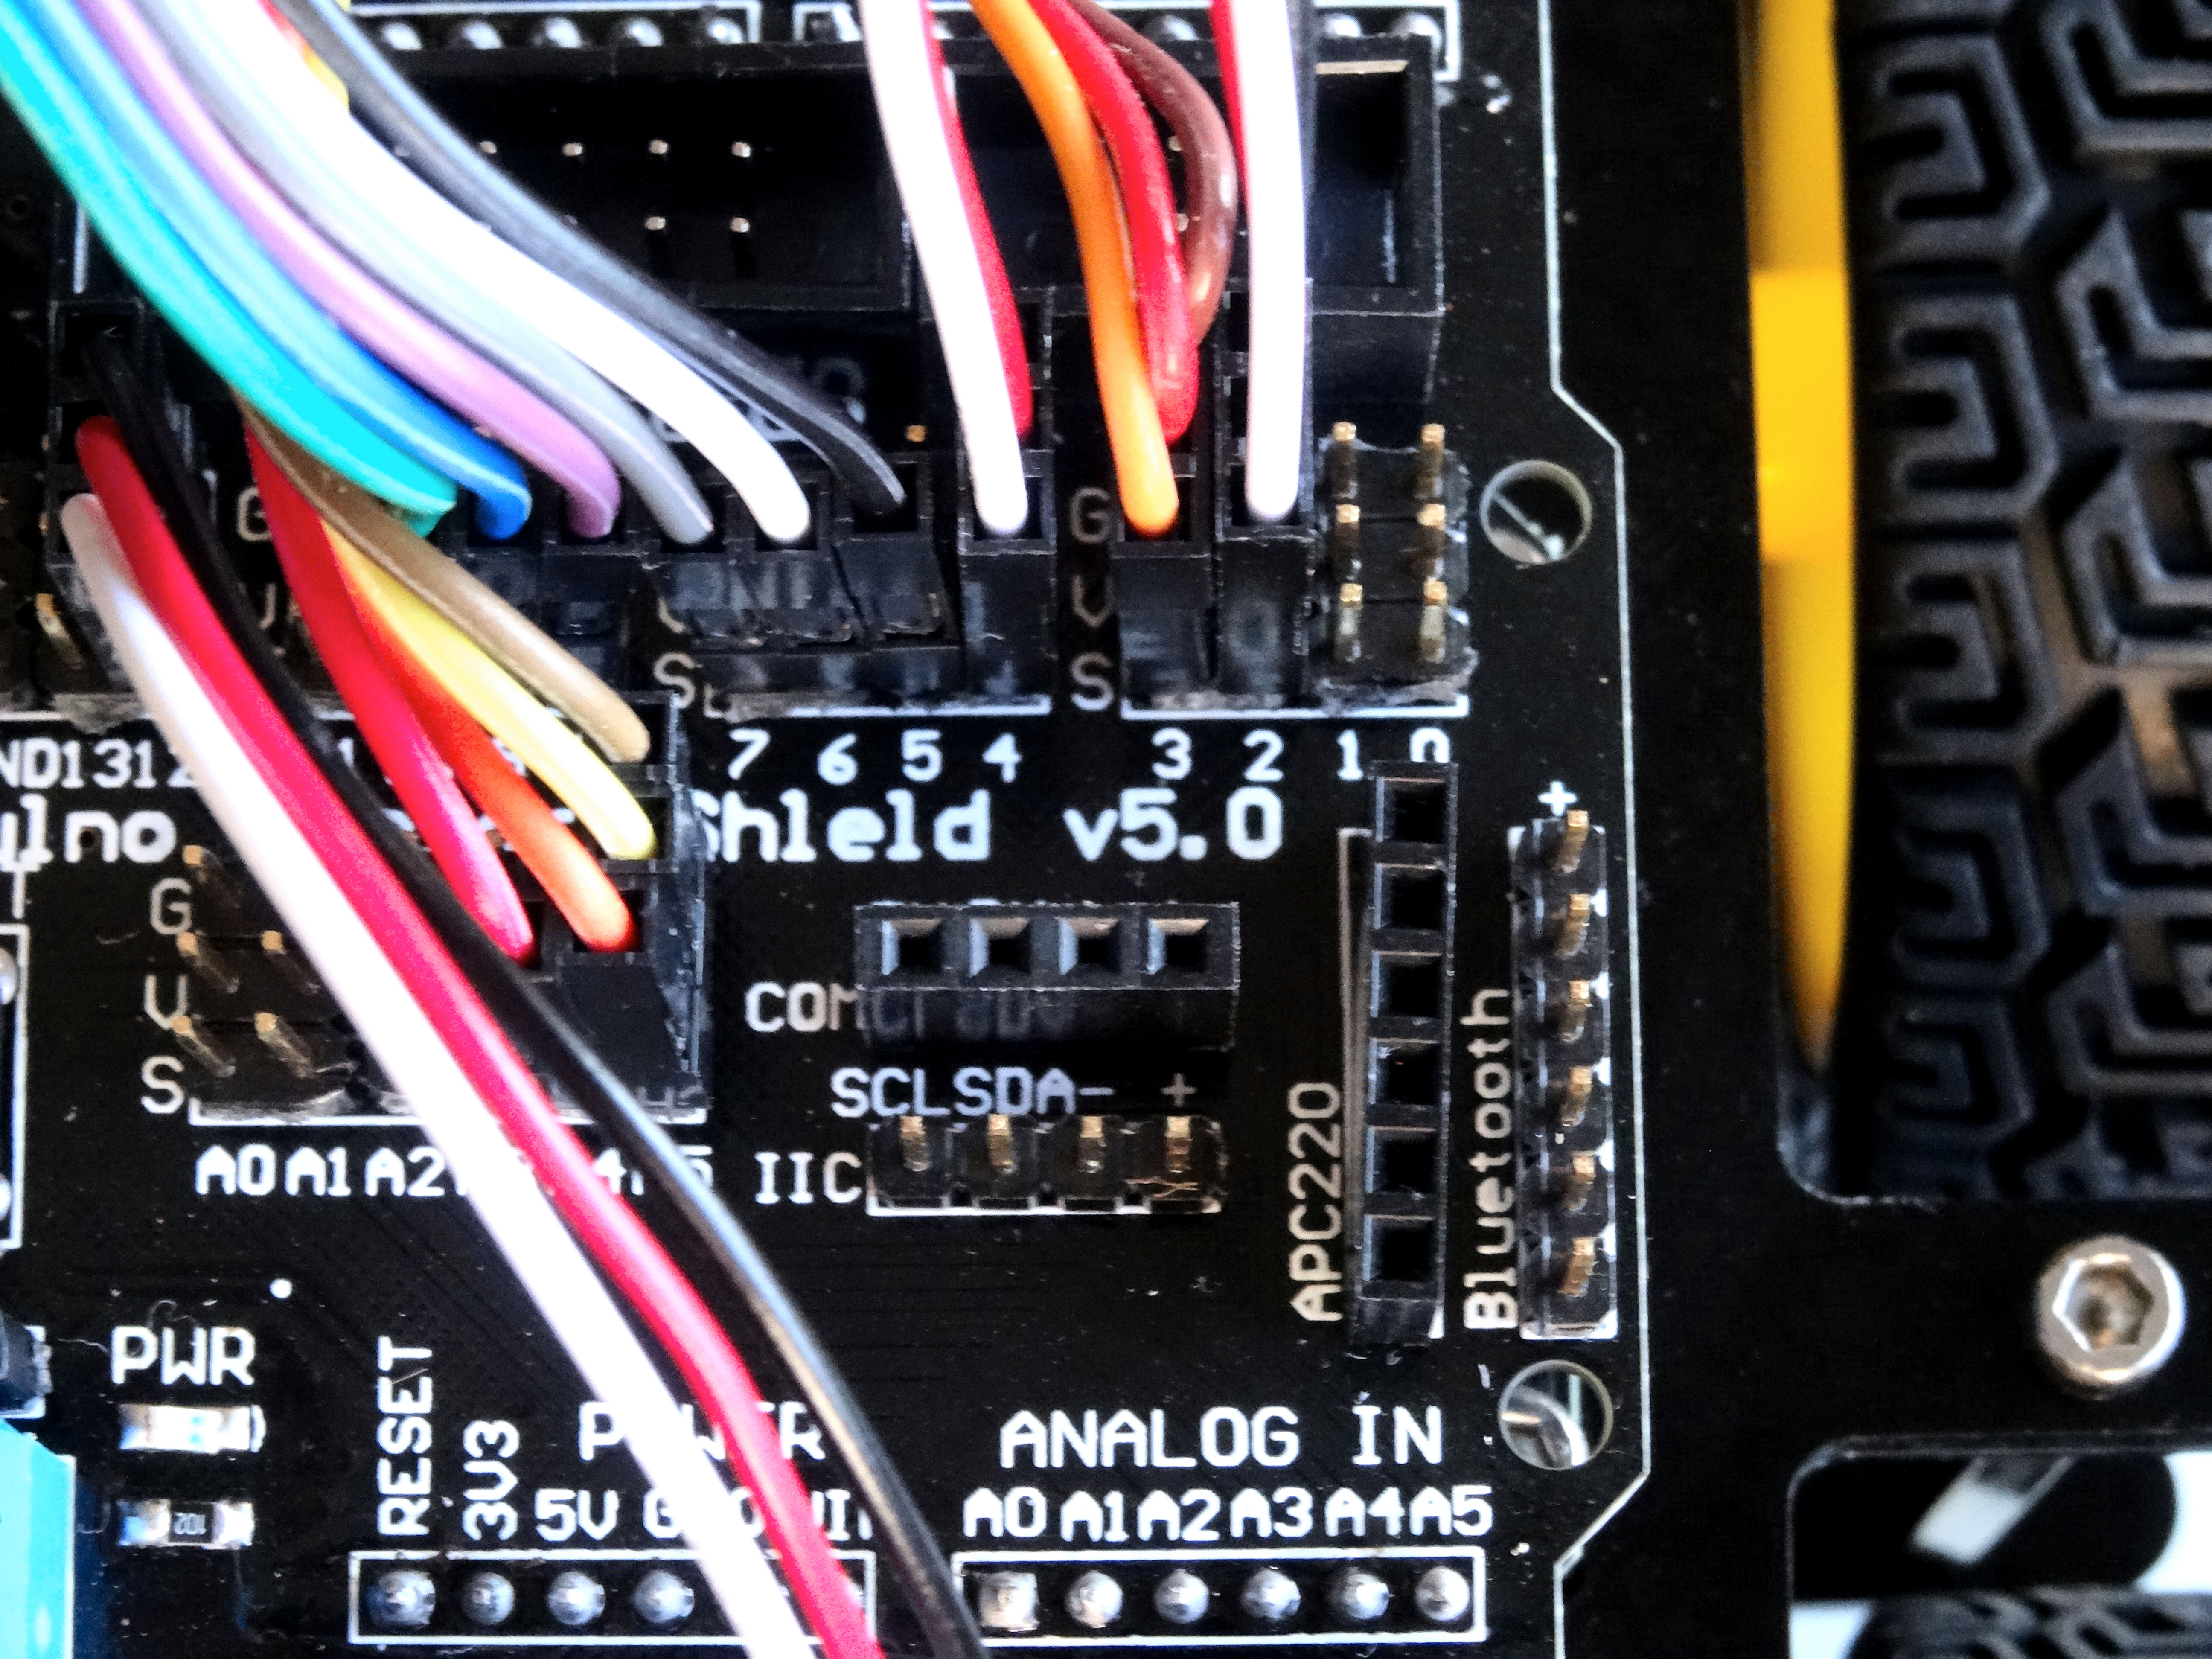
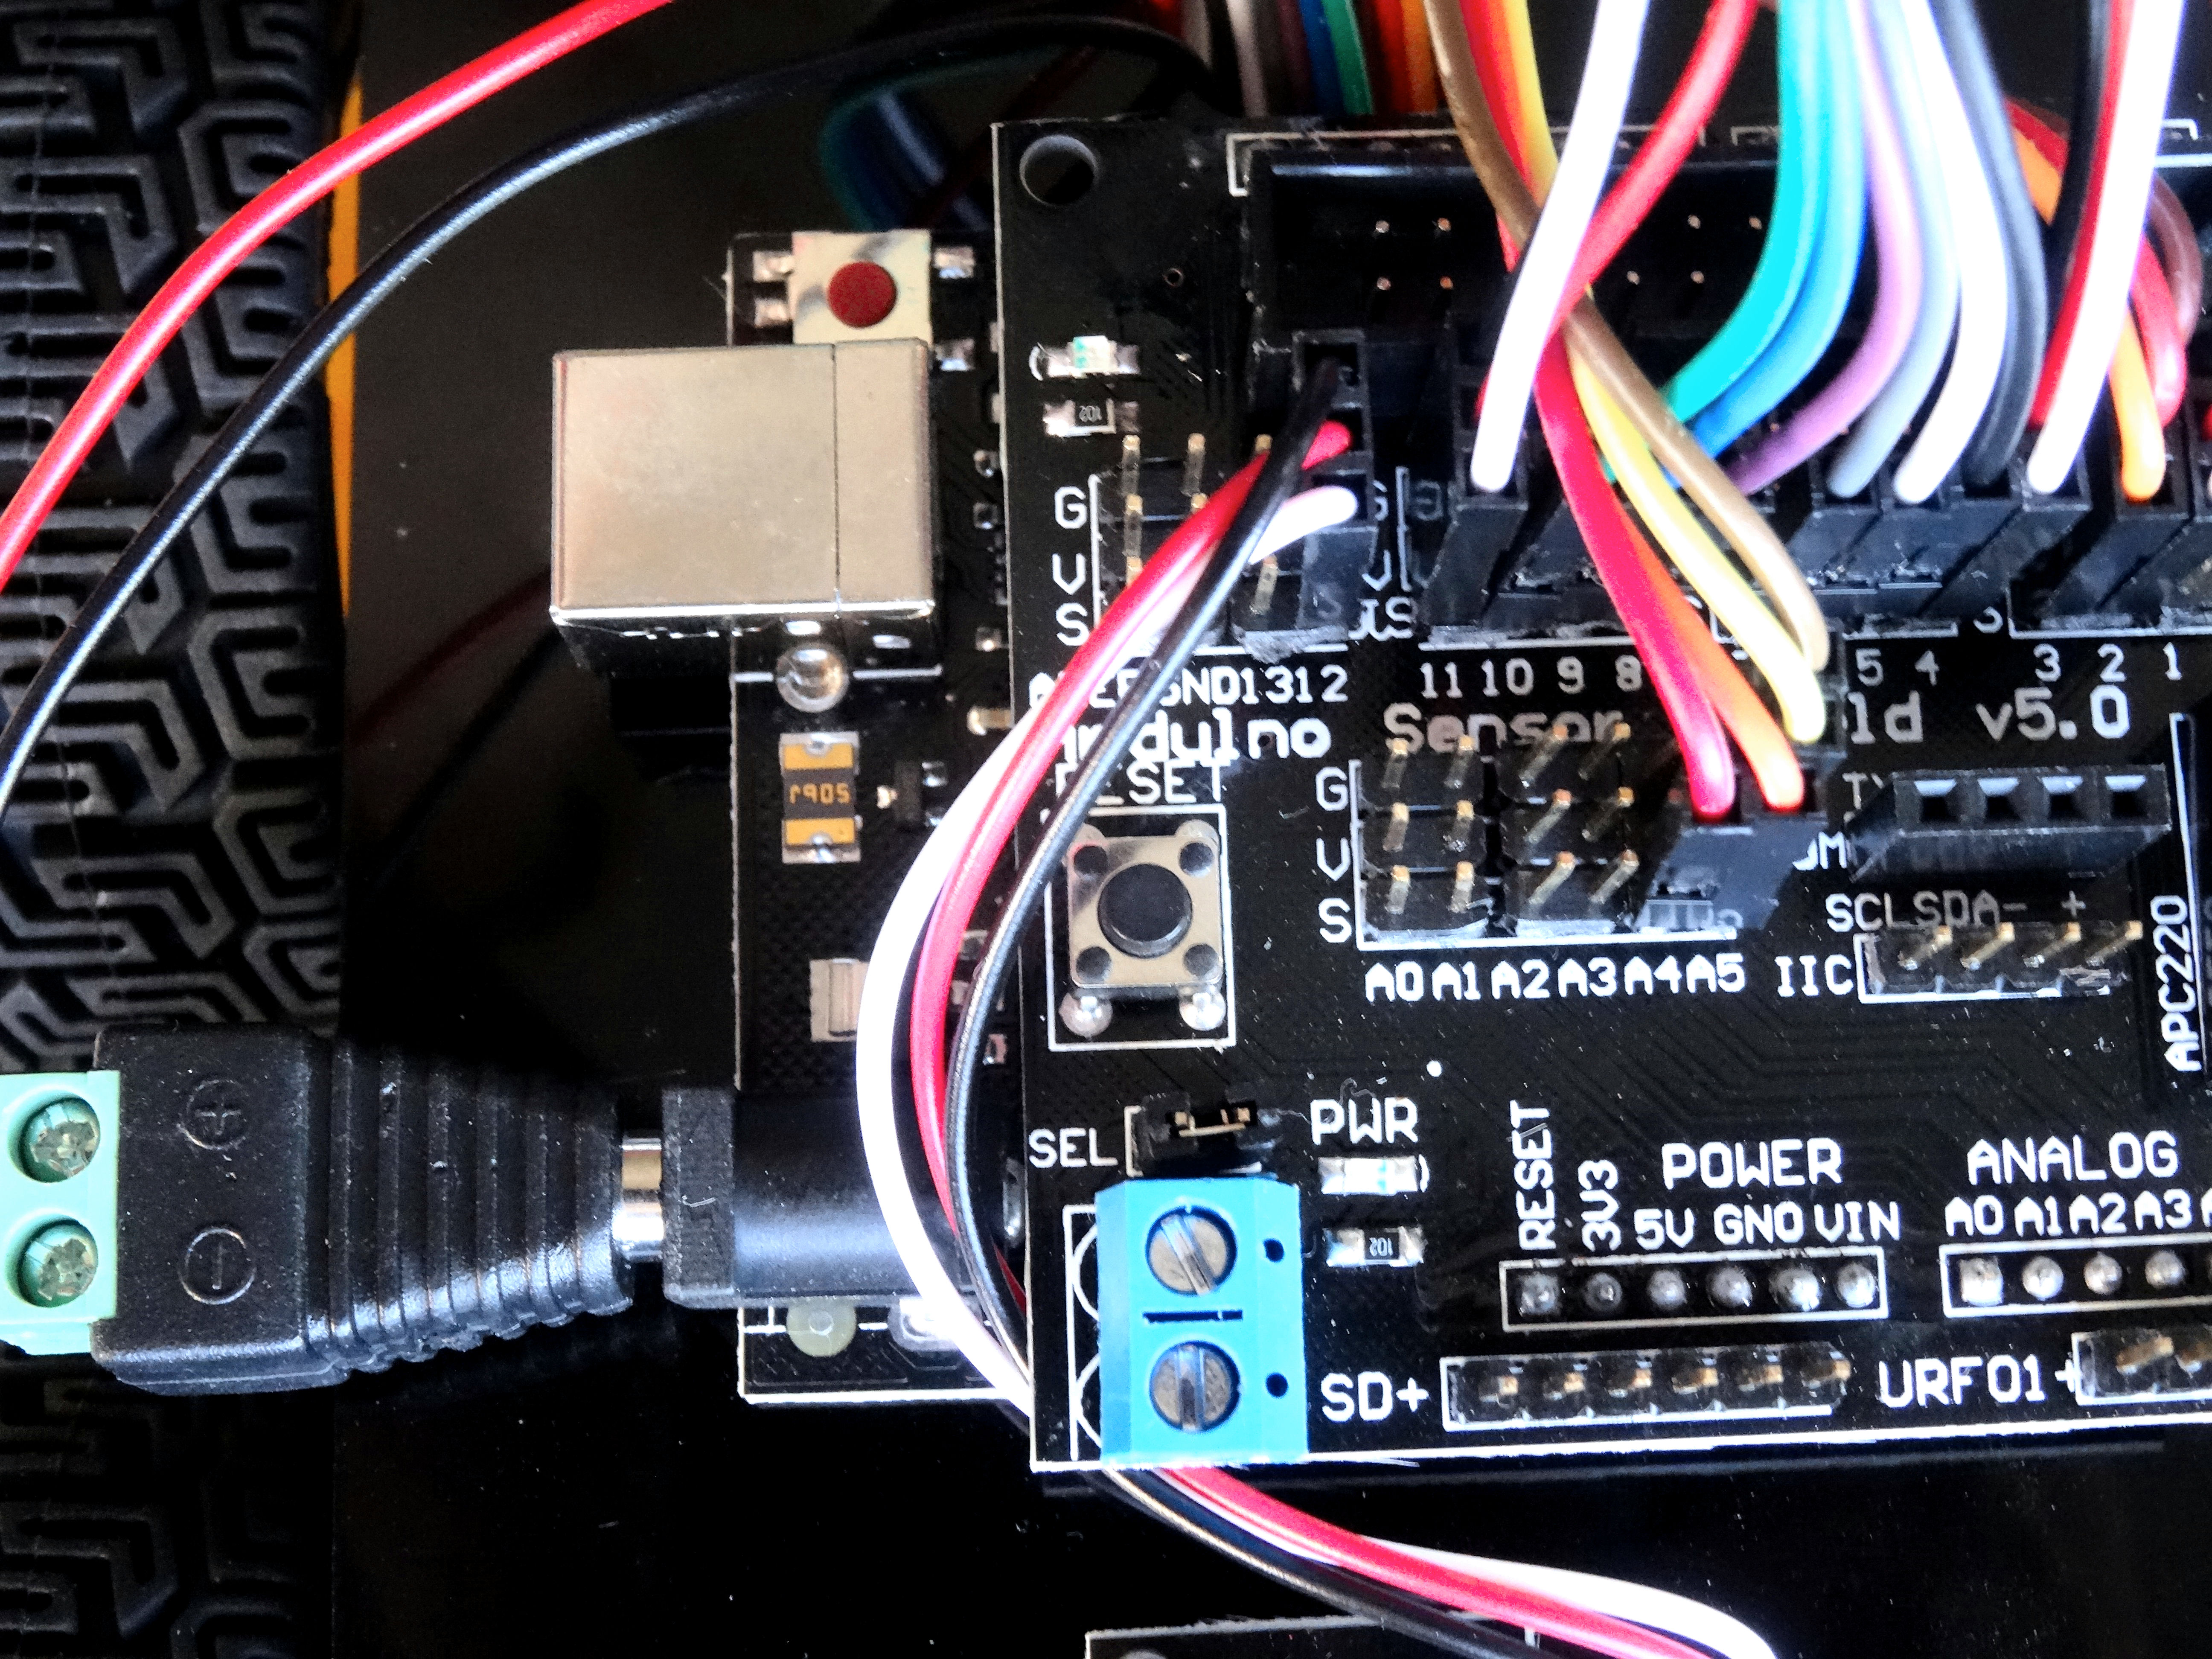
- Connect the wire from the Right Line Following Sensor when looking from the back of the cart in normal upside position (The sensor on the opposite side of the power connector for the Arduino), to the points for pin 2 on the Sensor Shield, so the black wire is connected to ground, and the white to signal (Pictures 1, and 2)
- Connect the wire from the Center Line Following Sensor, to the points for pin 4 on the Sensor Shield, so the black wire is connected to ground, and the white to signal (Picture 3)
- Connect the wire from the Left Line Following Sensor when looking from the back of the cart in normal upside position (The sensor on the opposite side of the power connector for the Arduino), to the points for pin 11 on the Sensor Shield, so the black wire is connected to ground, and the white to signal (Pictures 4, and 5)
Connect the Power to the Arduino
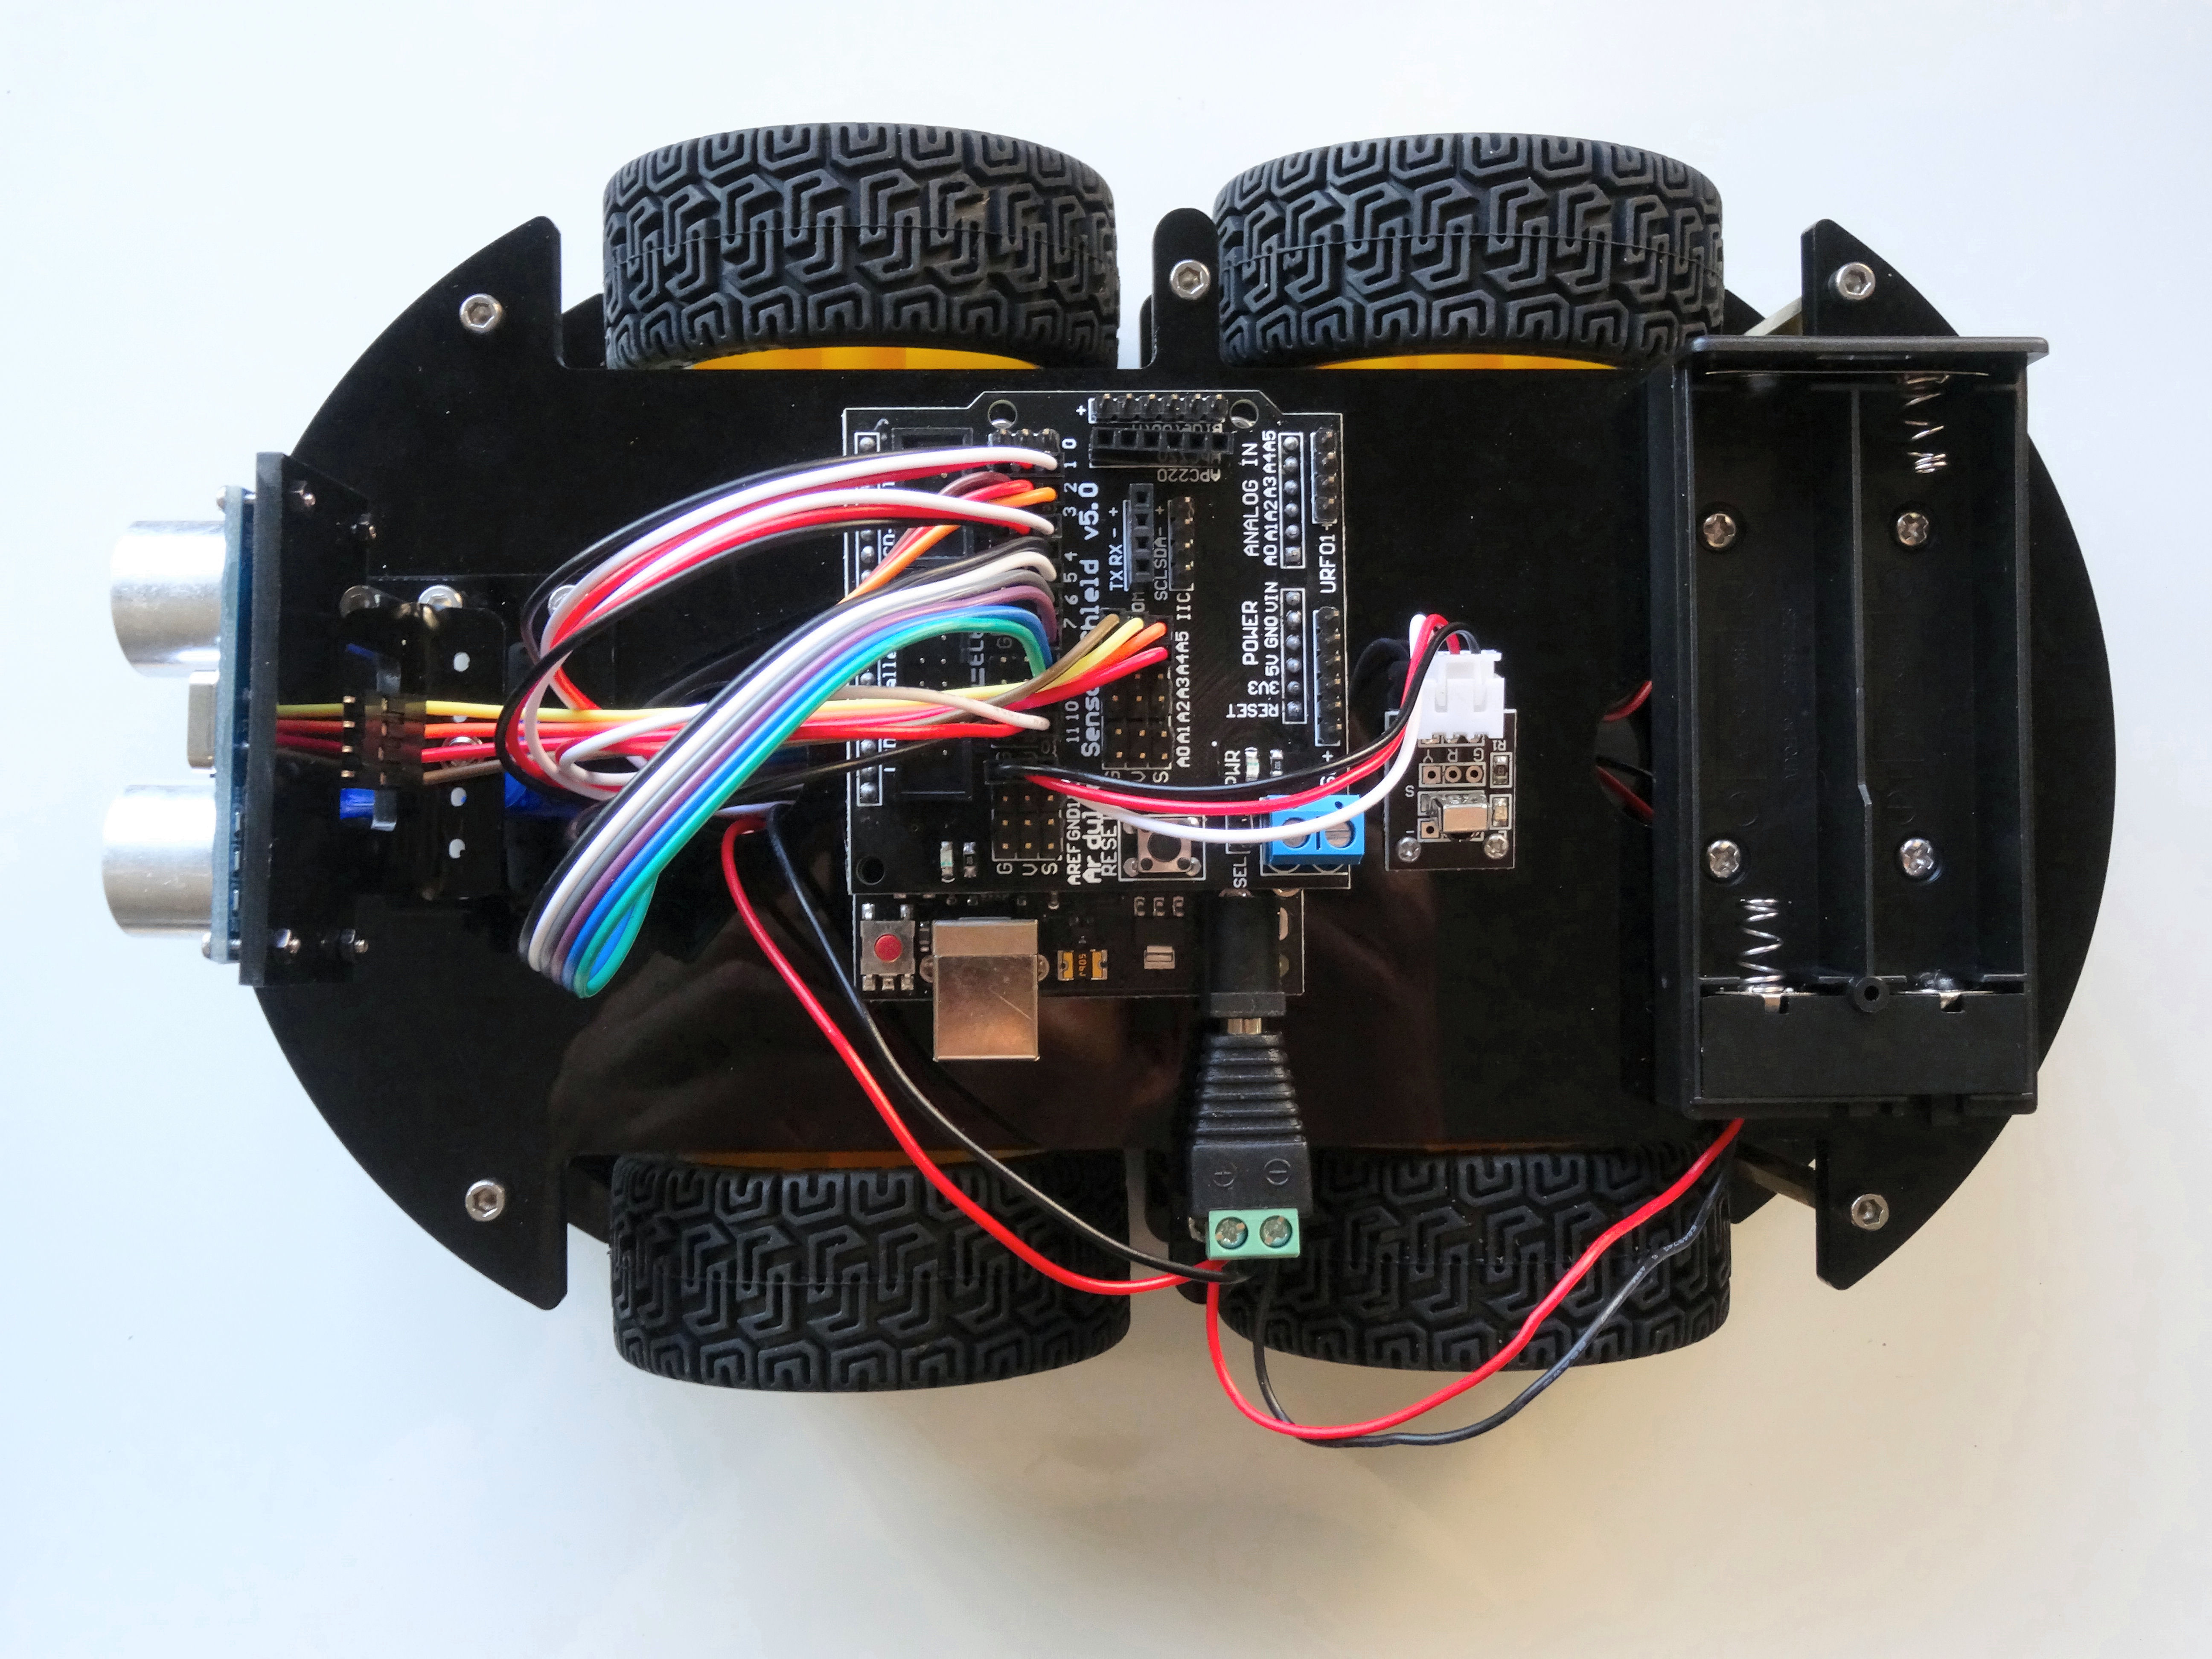
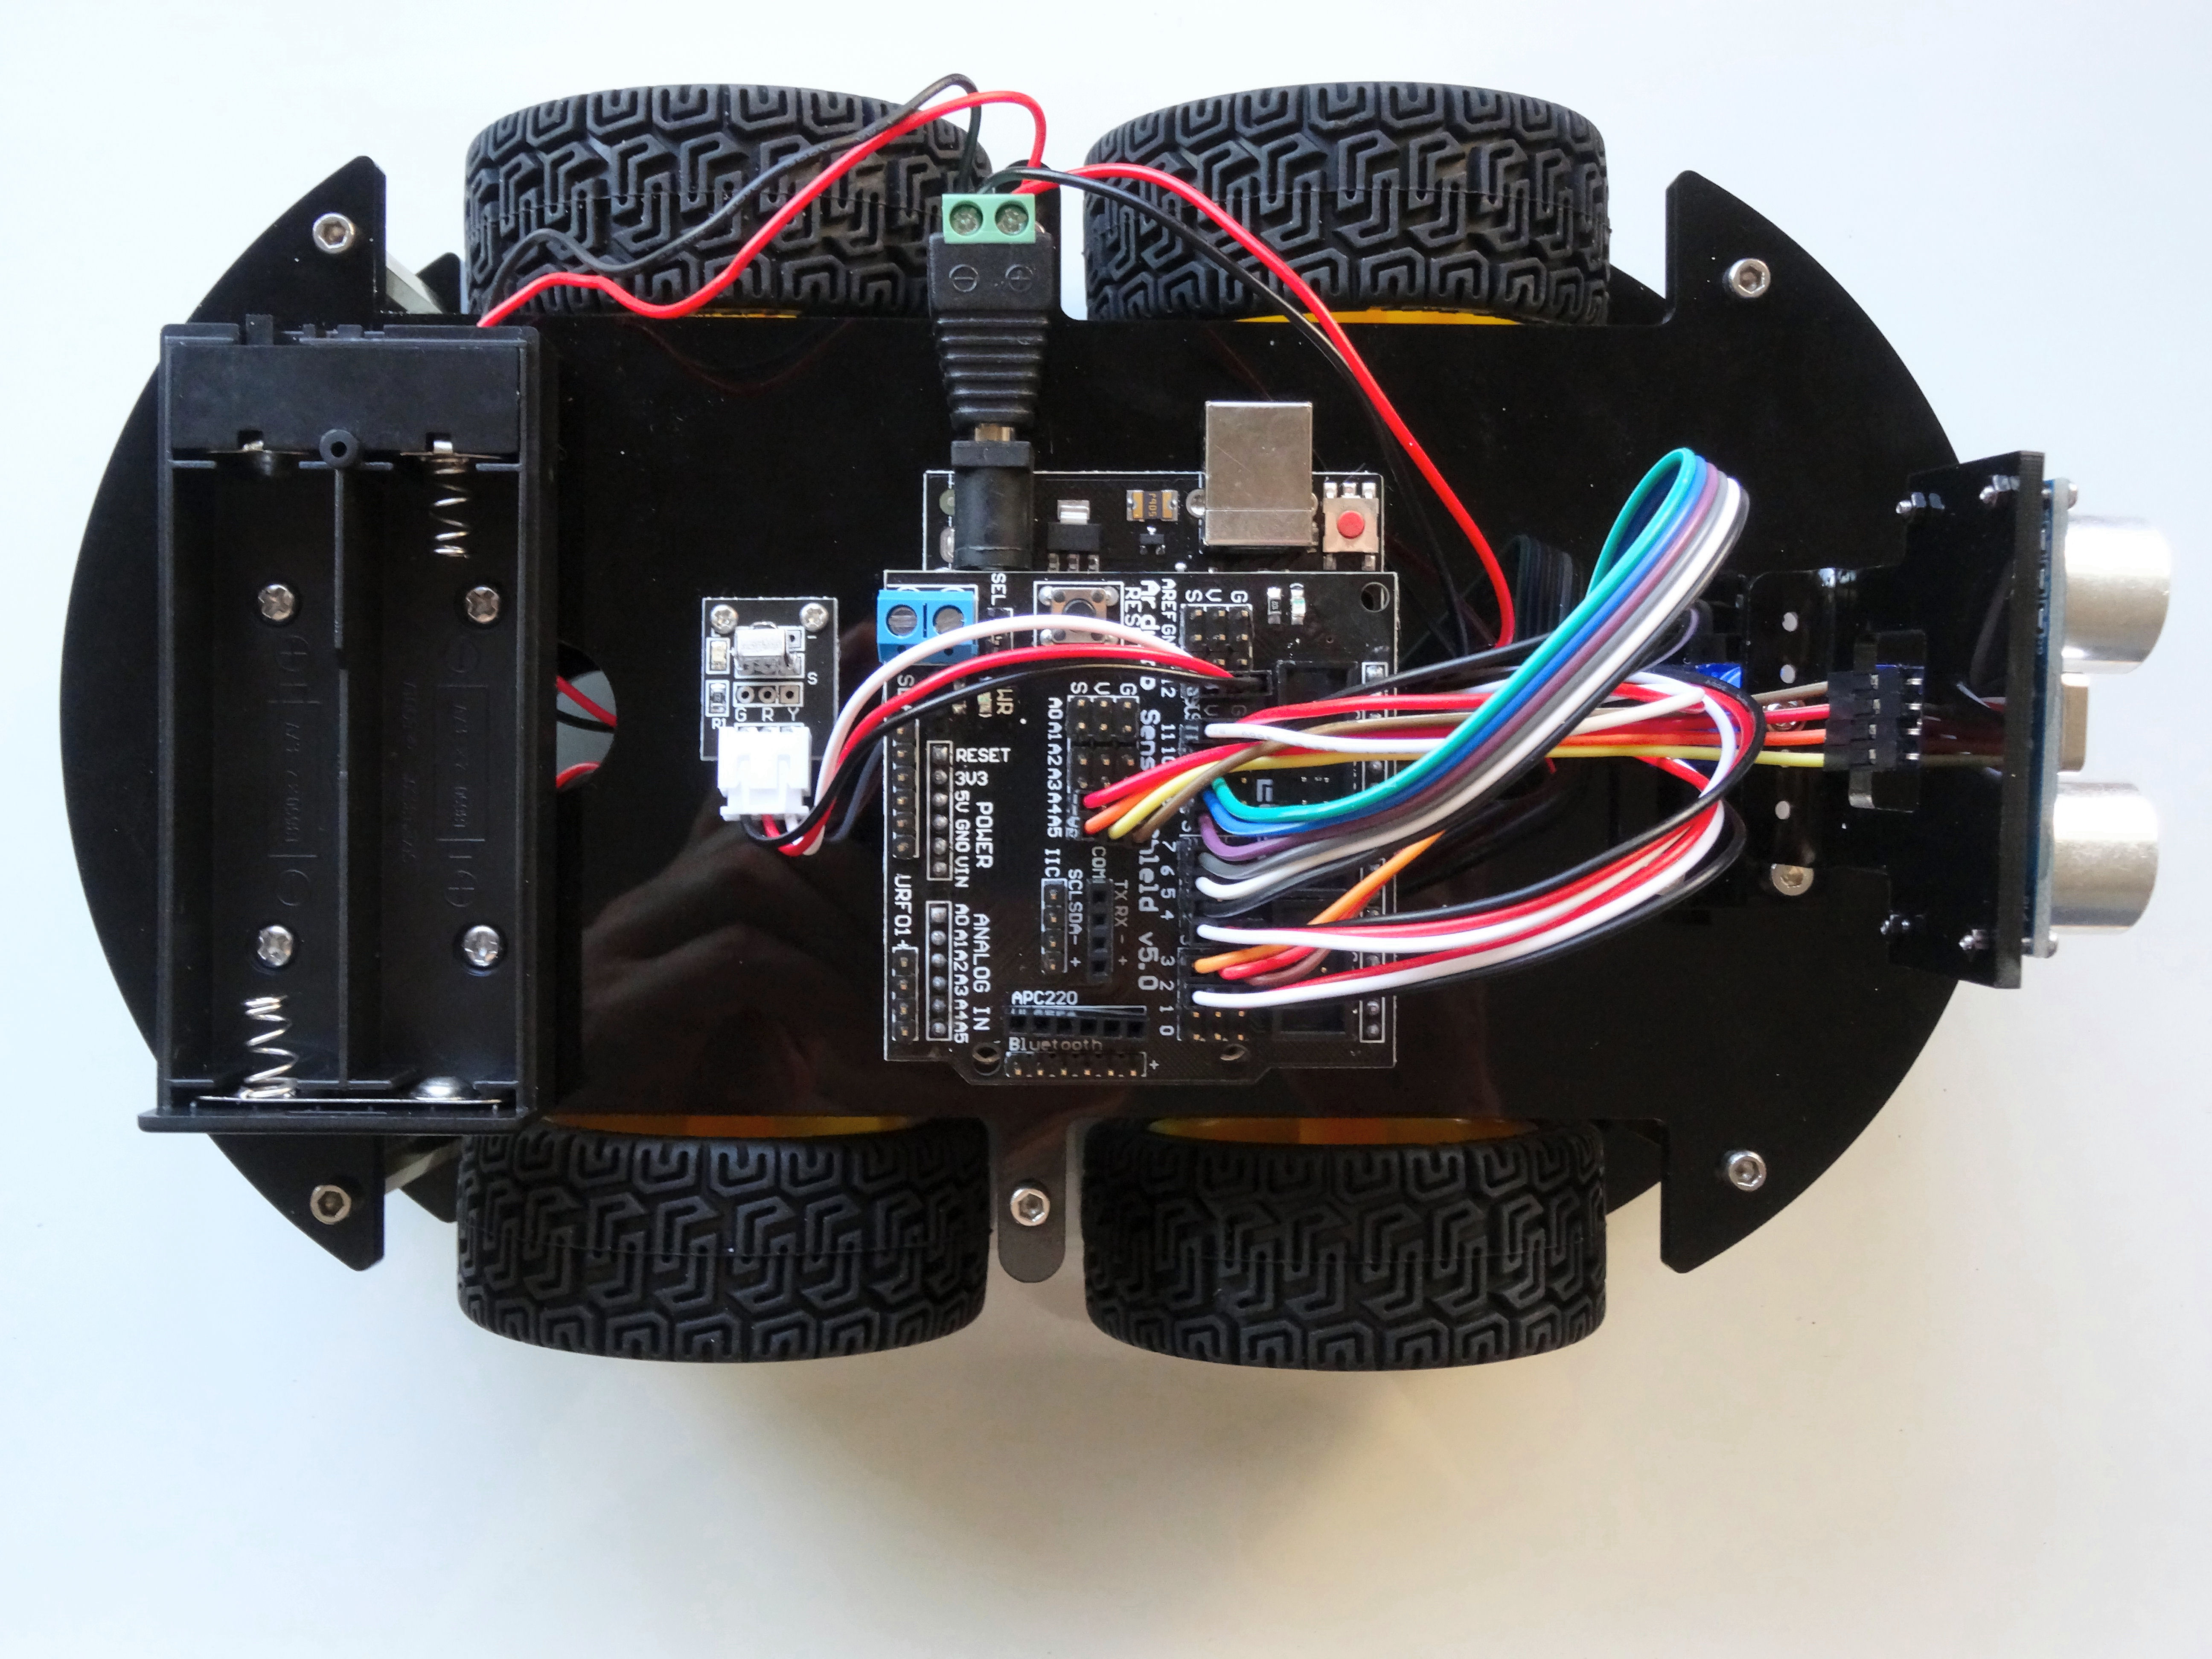
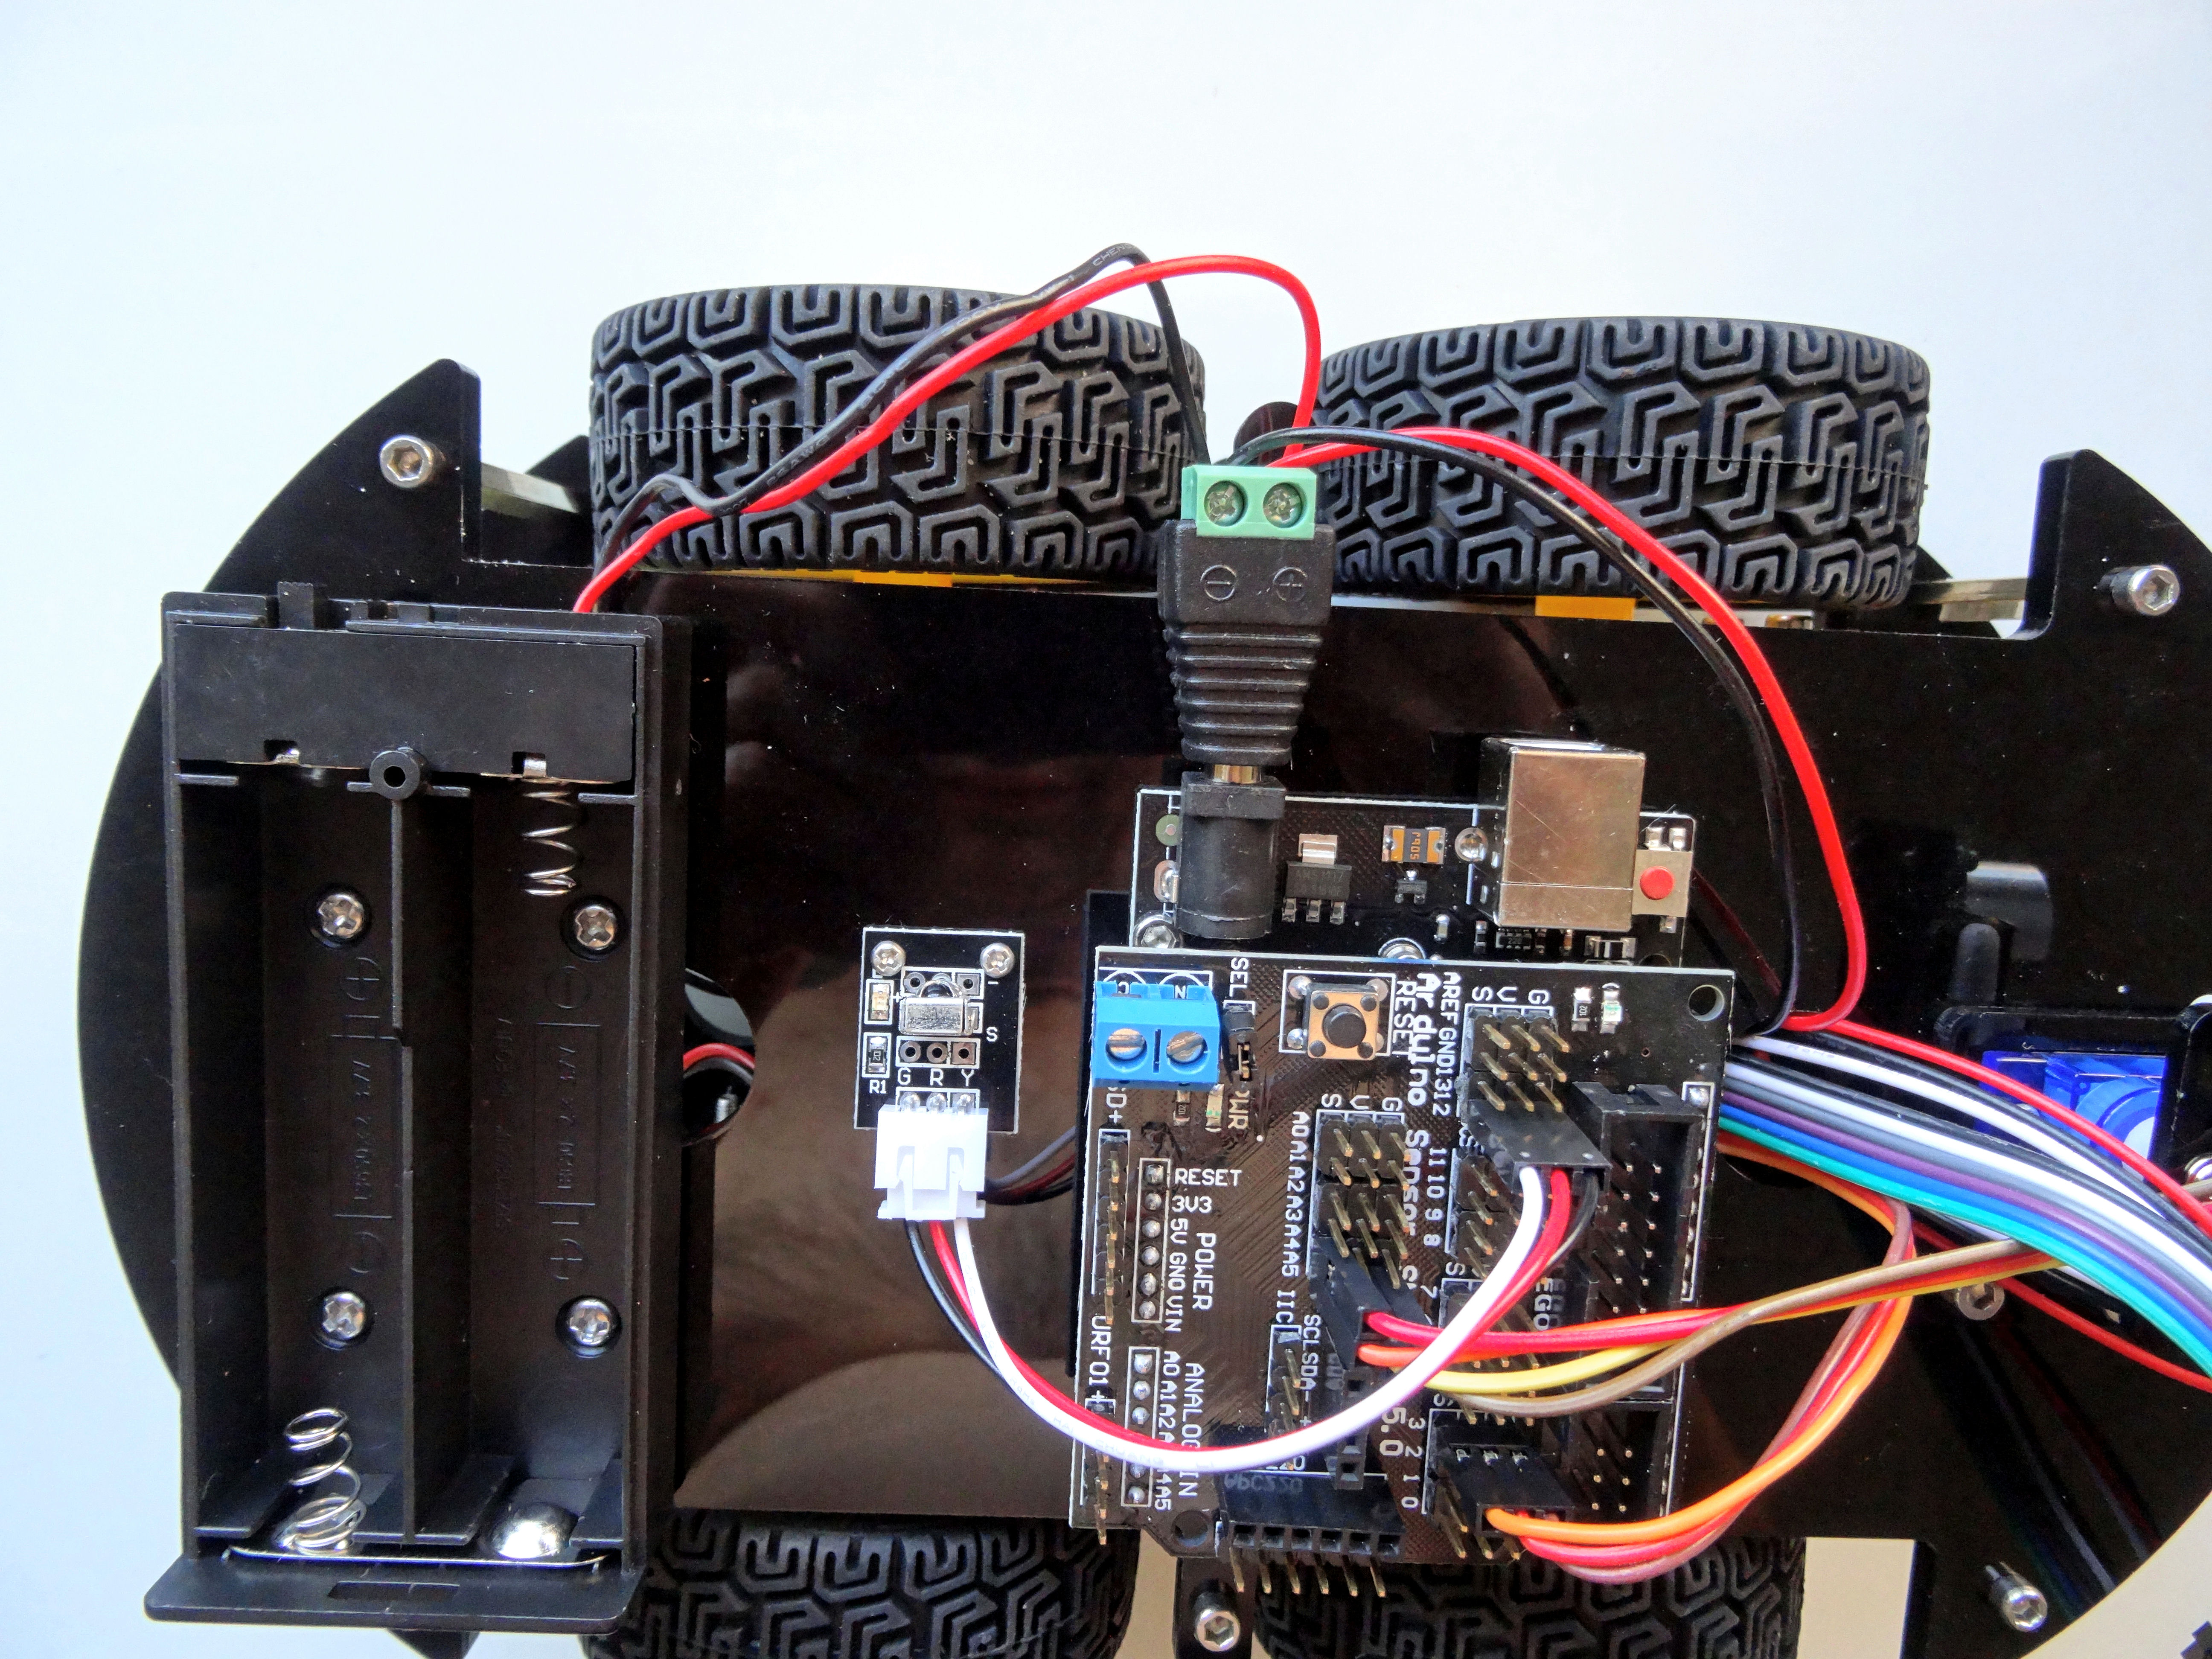
I had to disconnect temporary the power to the Arduino while connecting the wires. Now I connected it back as shown on the pictures
Optionally: Installing the Bluetooth Module
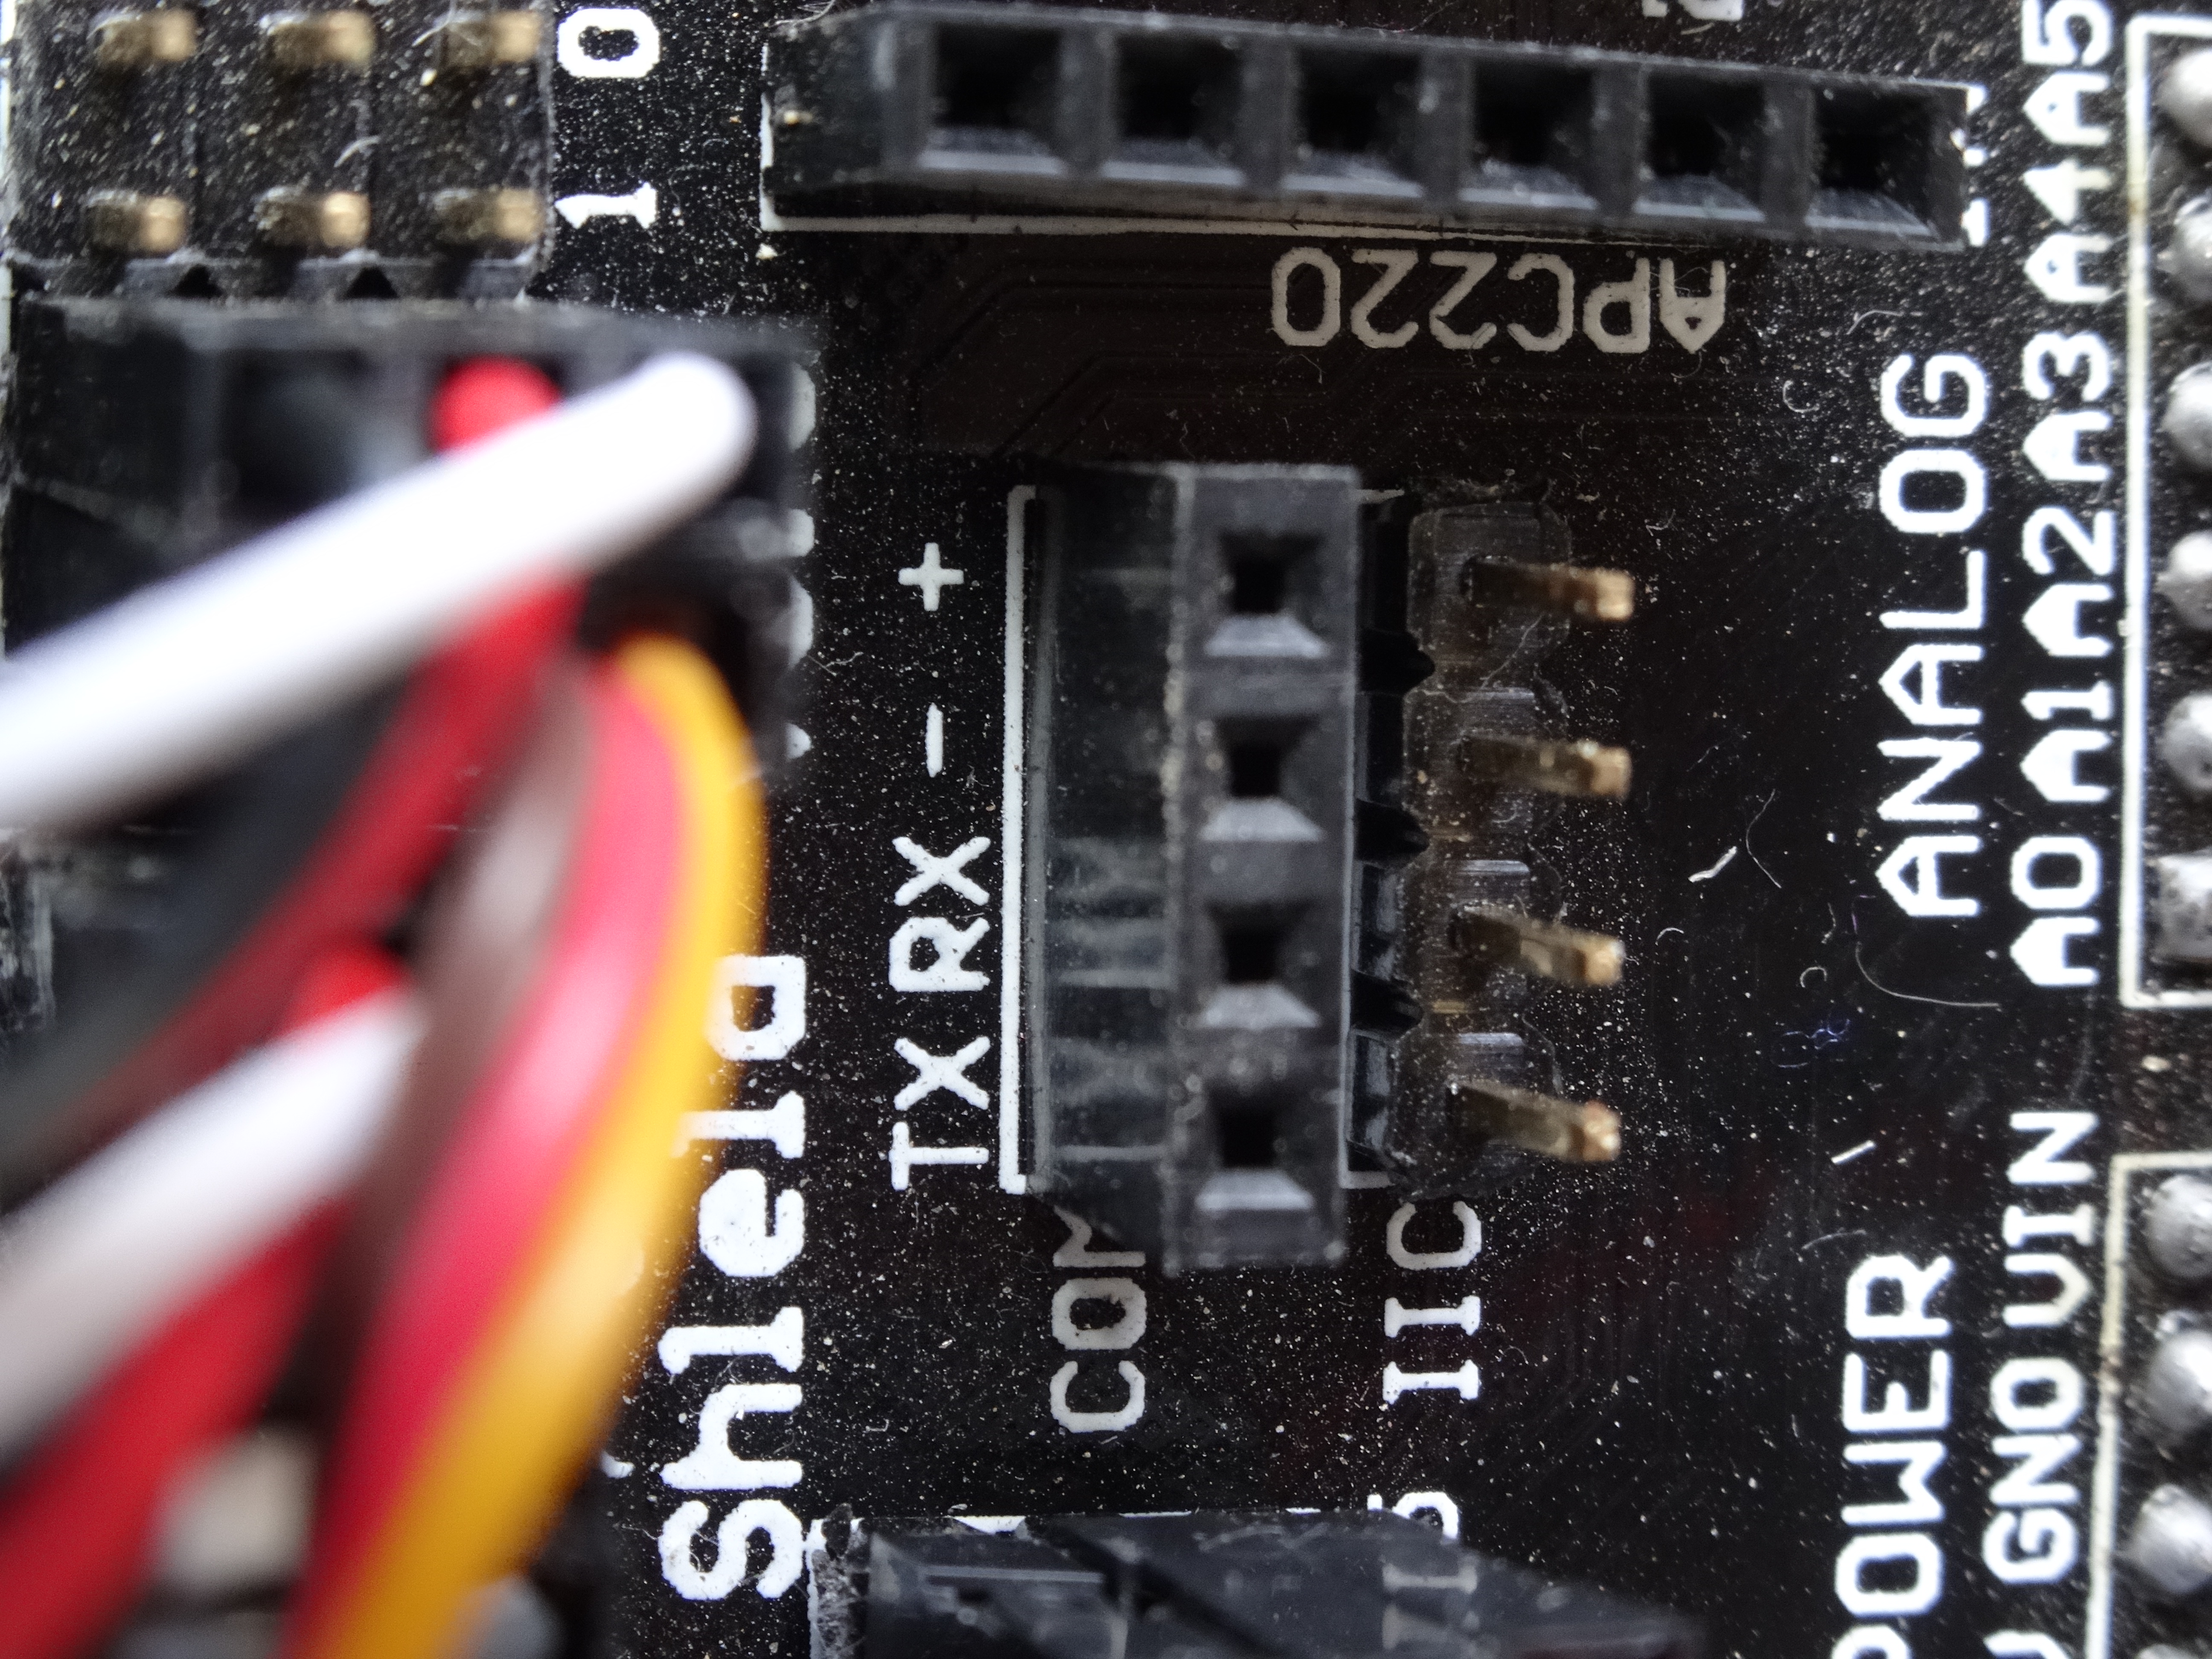
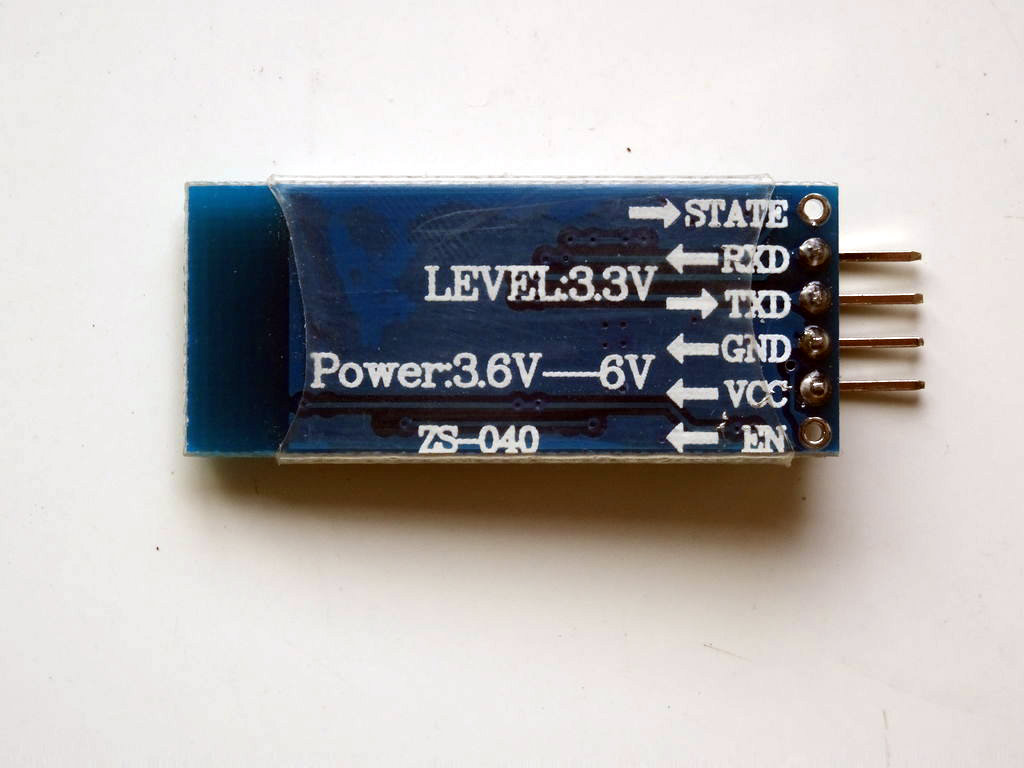
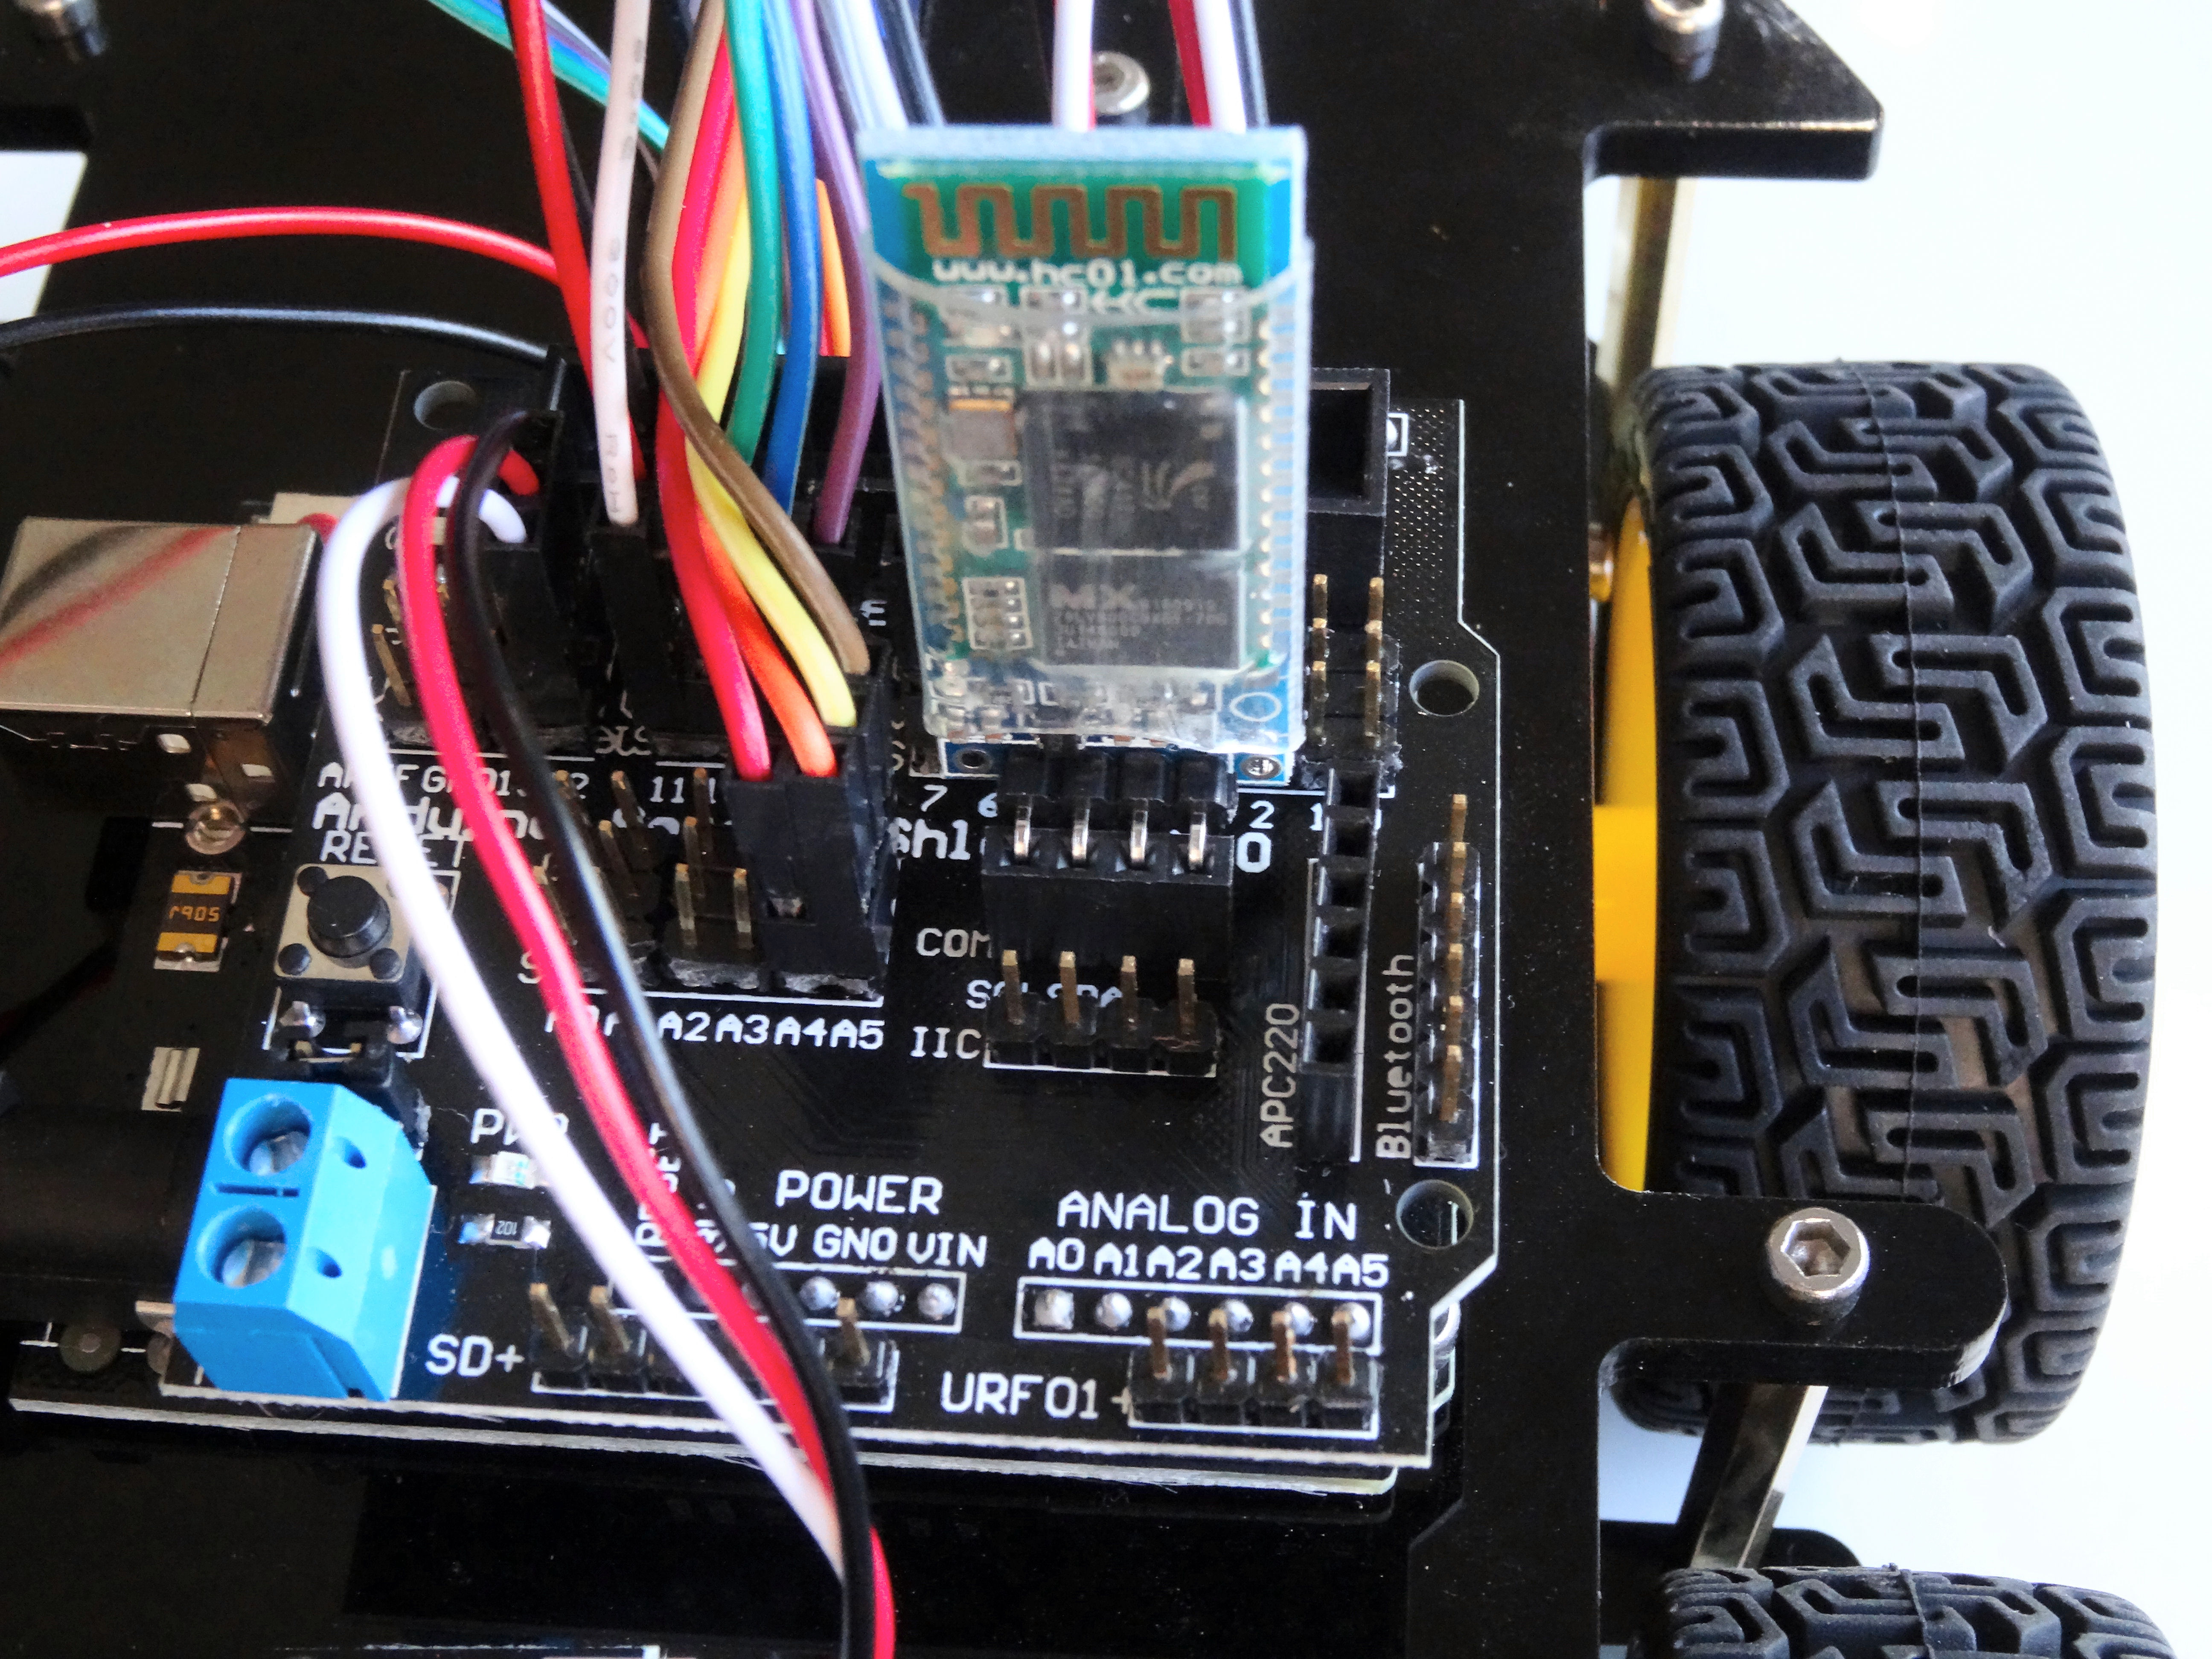
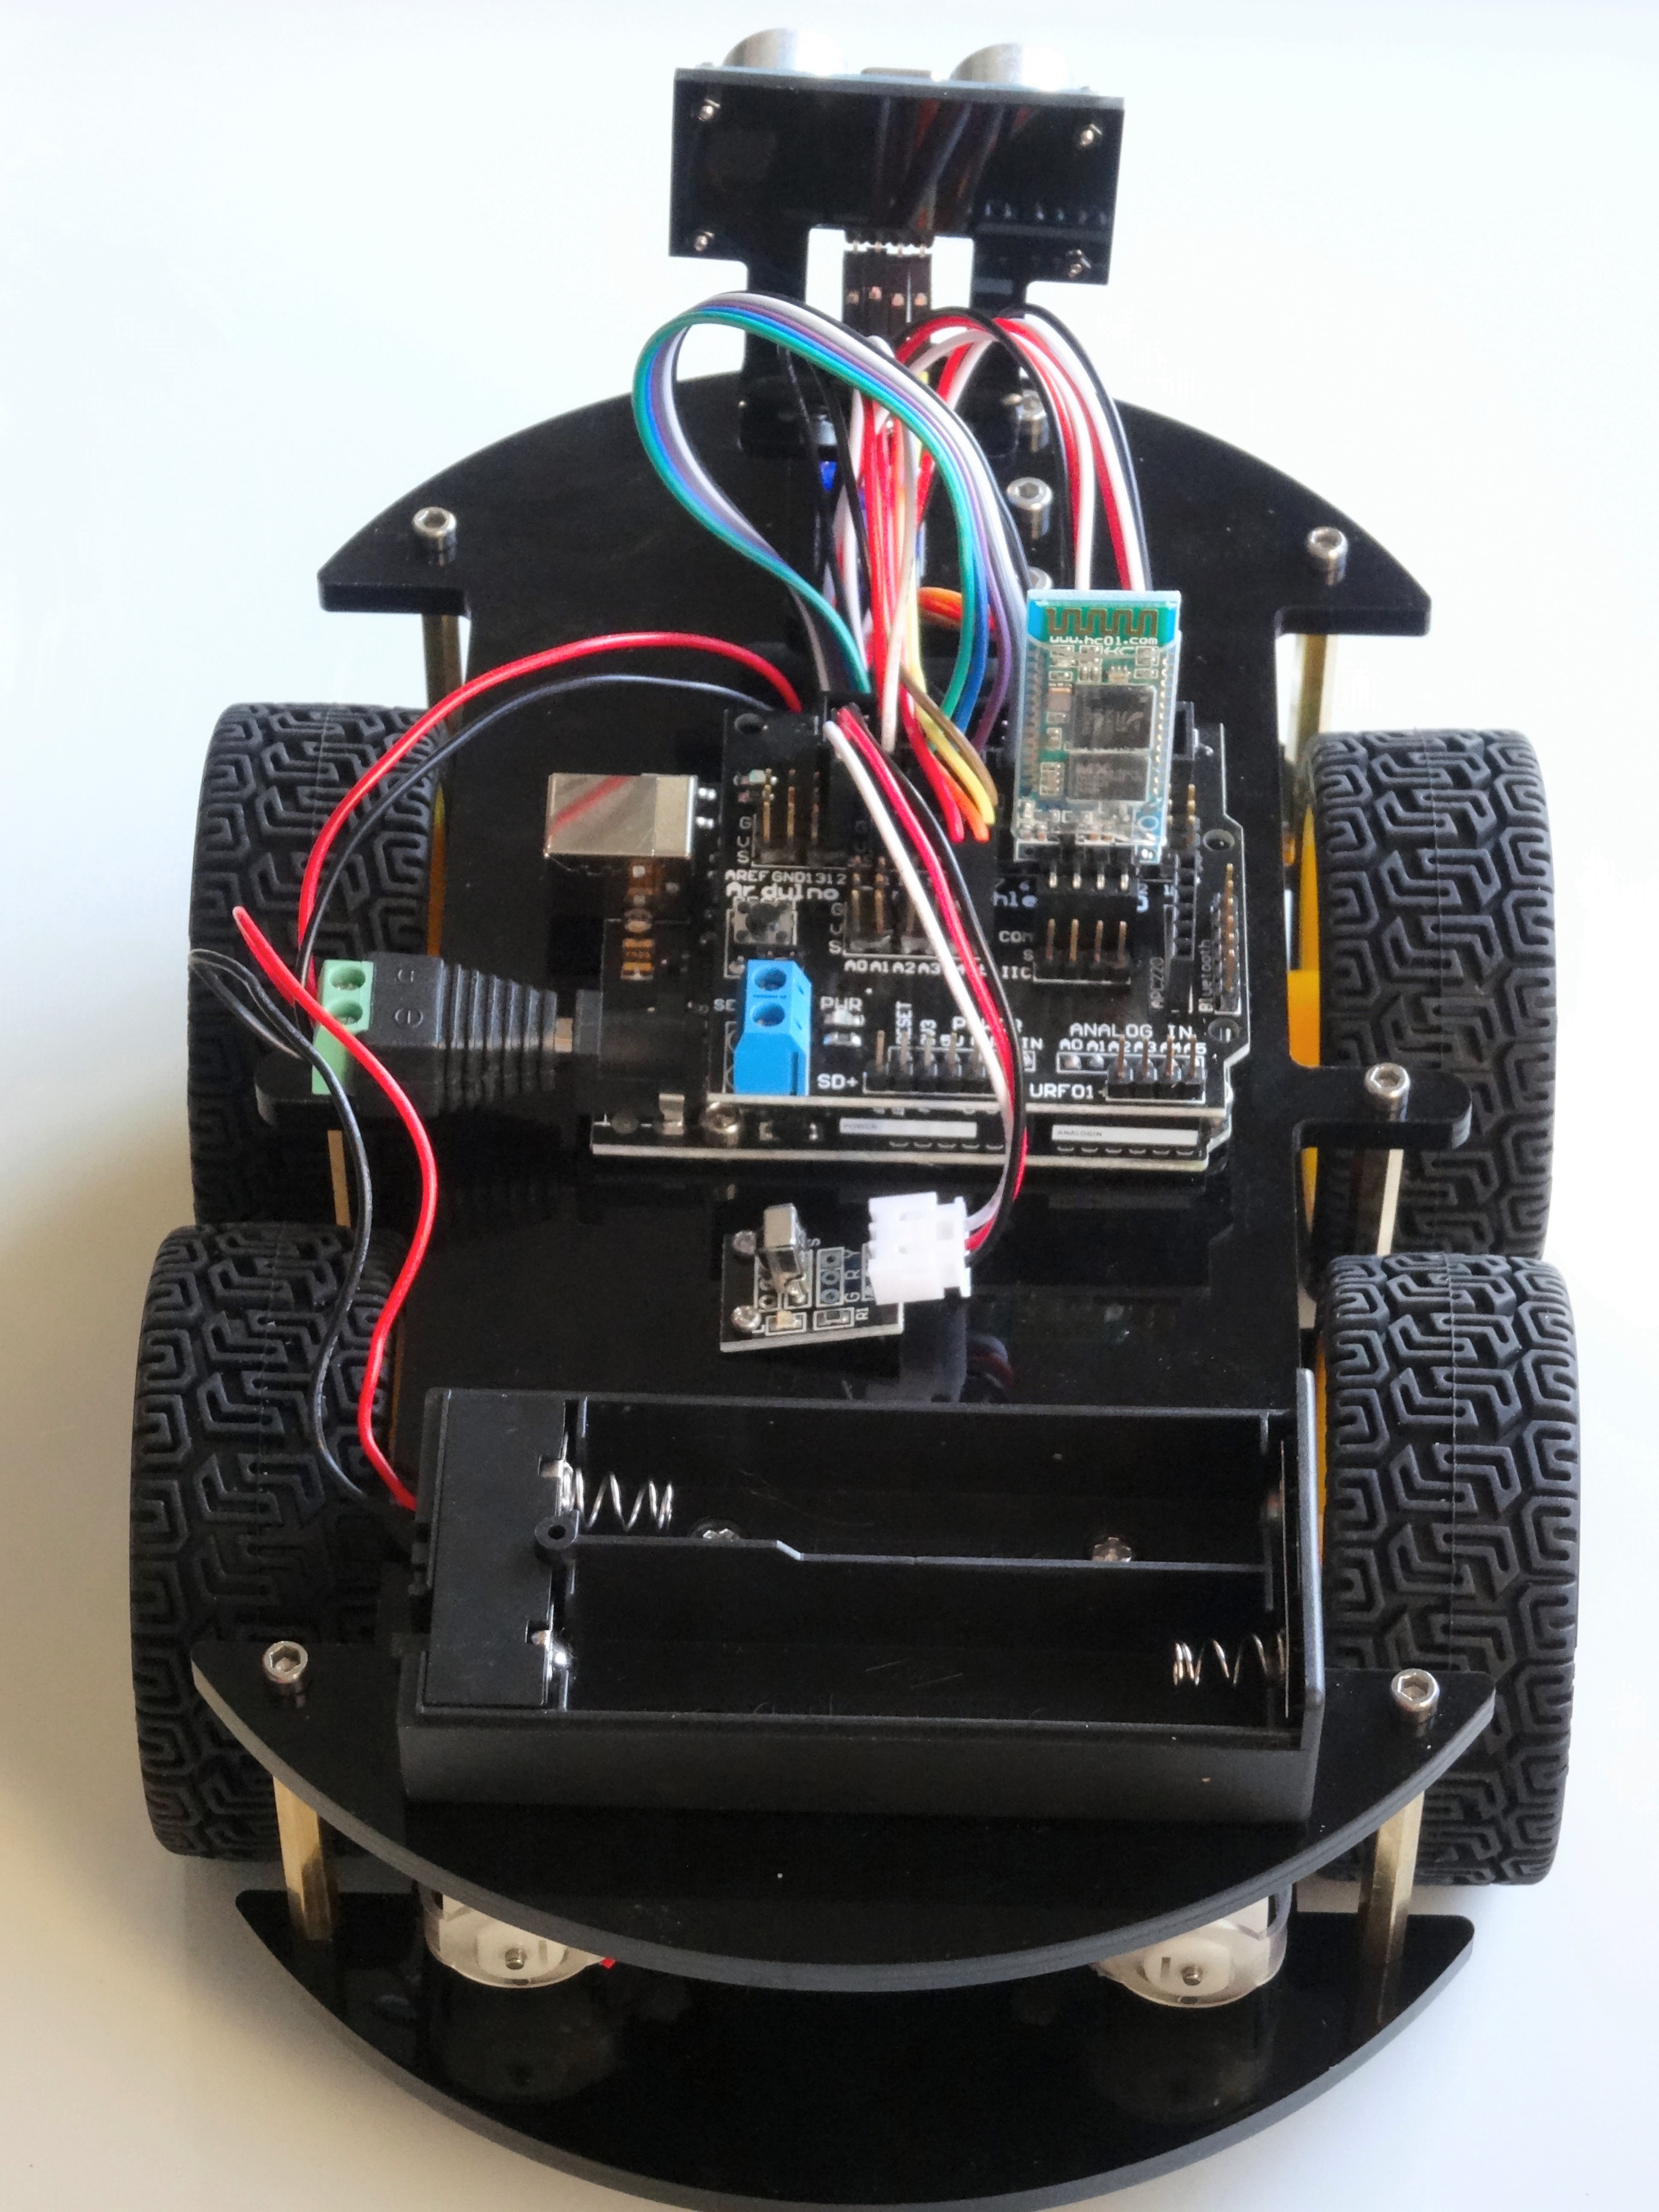
The Bluetooth HC-06 Module uses the serial port. When it is installed, it will not be possible to upload code to the Arduino. You need to program the Arduino before installing the Bluetooth Module. Once programming you can follow this step to install the Bluetooth Module.
- The Sensor Shield has dedicated connector for the HC-06 Bluetooth Module (Picture 1)
- The HC-06 Bluetooth Module has 4 pins (Picture 2). They are clearly labeled
- Insert the HC-06 Bluetooth Module so the VCC Pin is connected to + on the Sensor Shield, and the RXD pin is connected to TX on the Sensor Shield (Pictures 3, and 4)
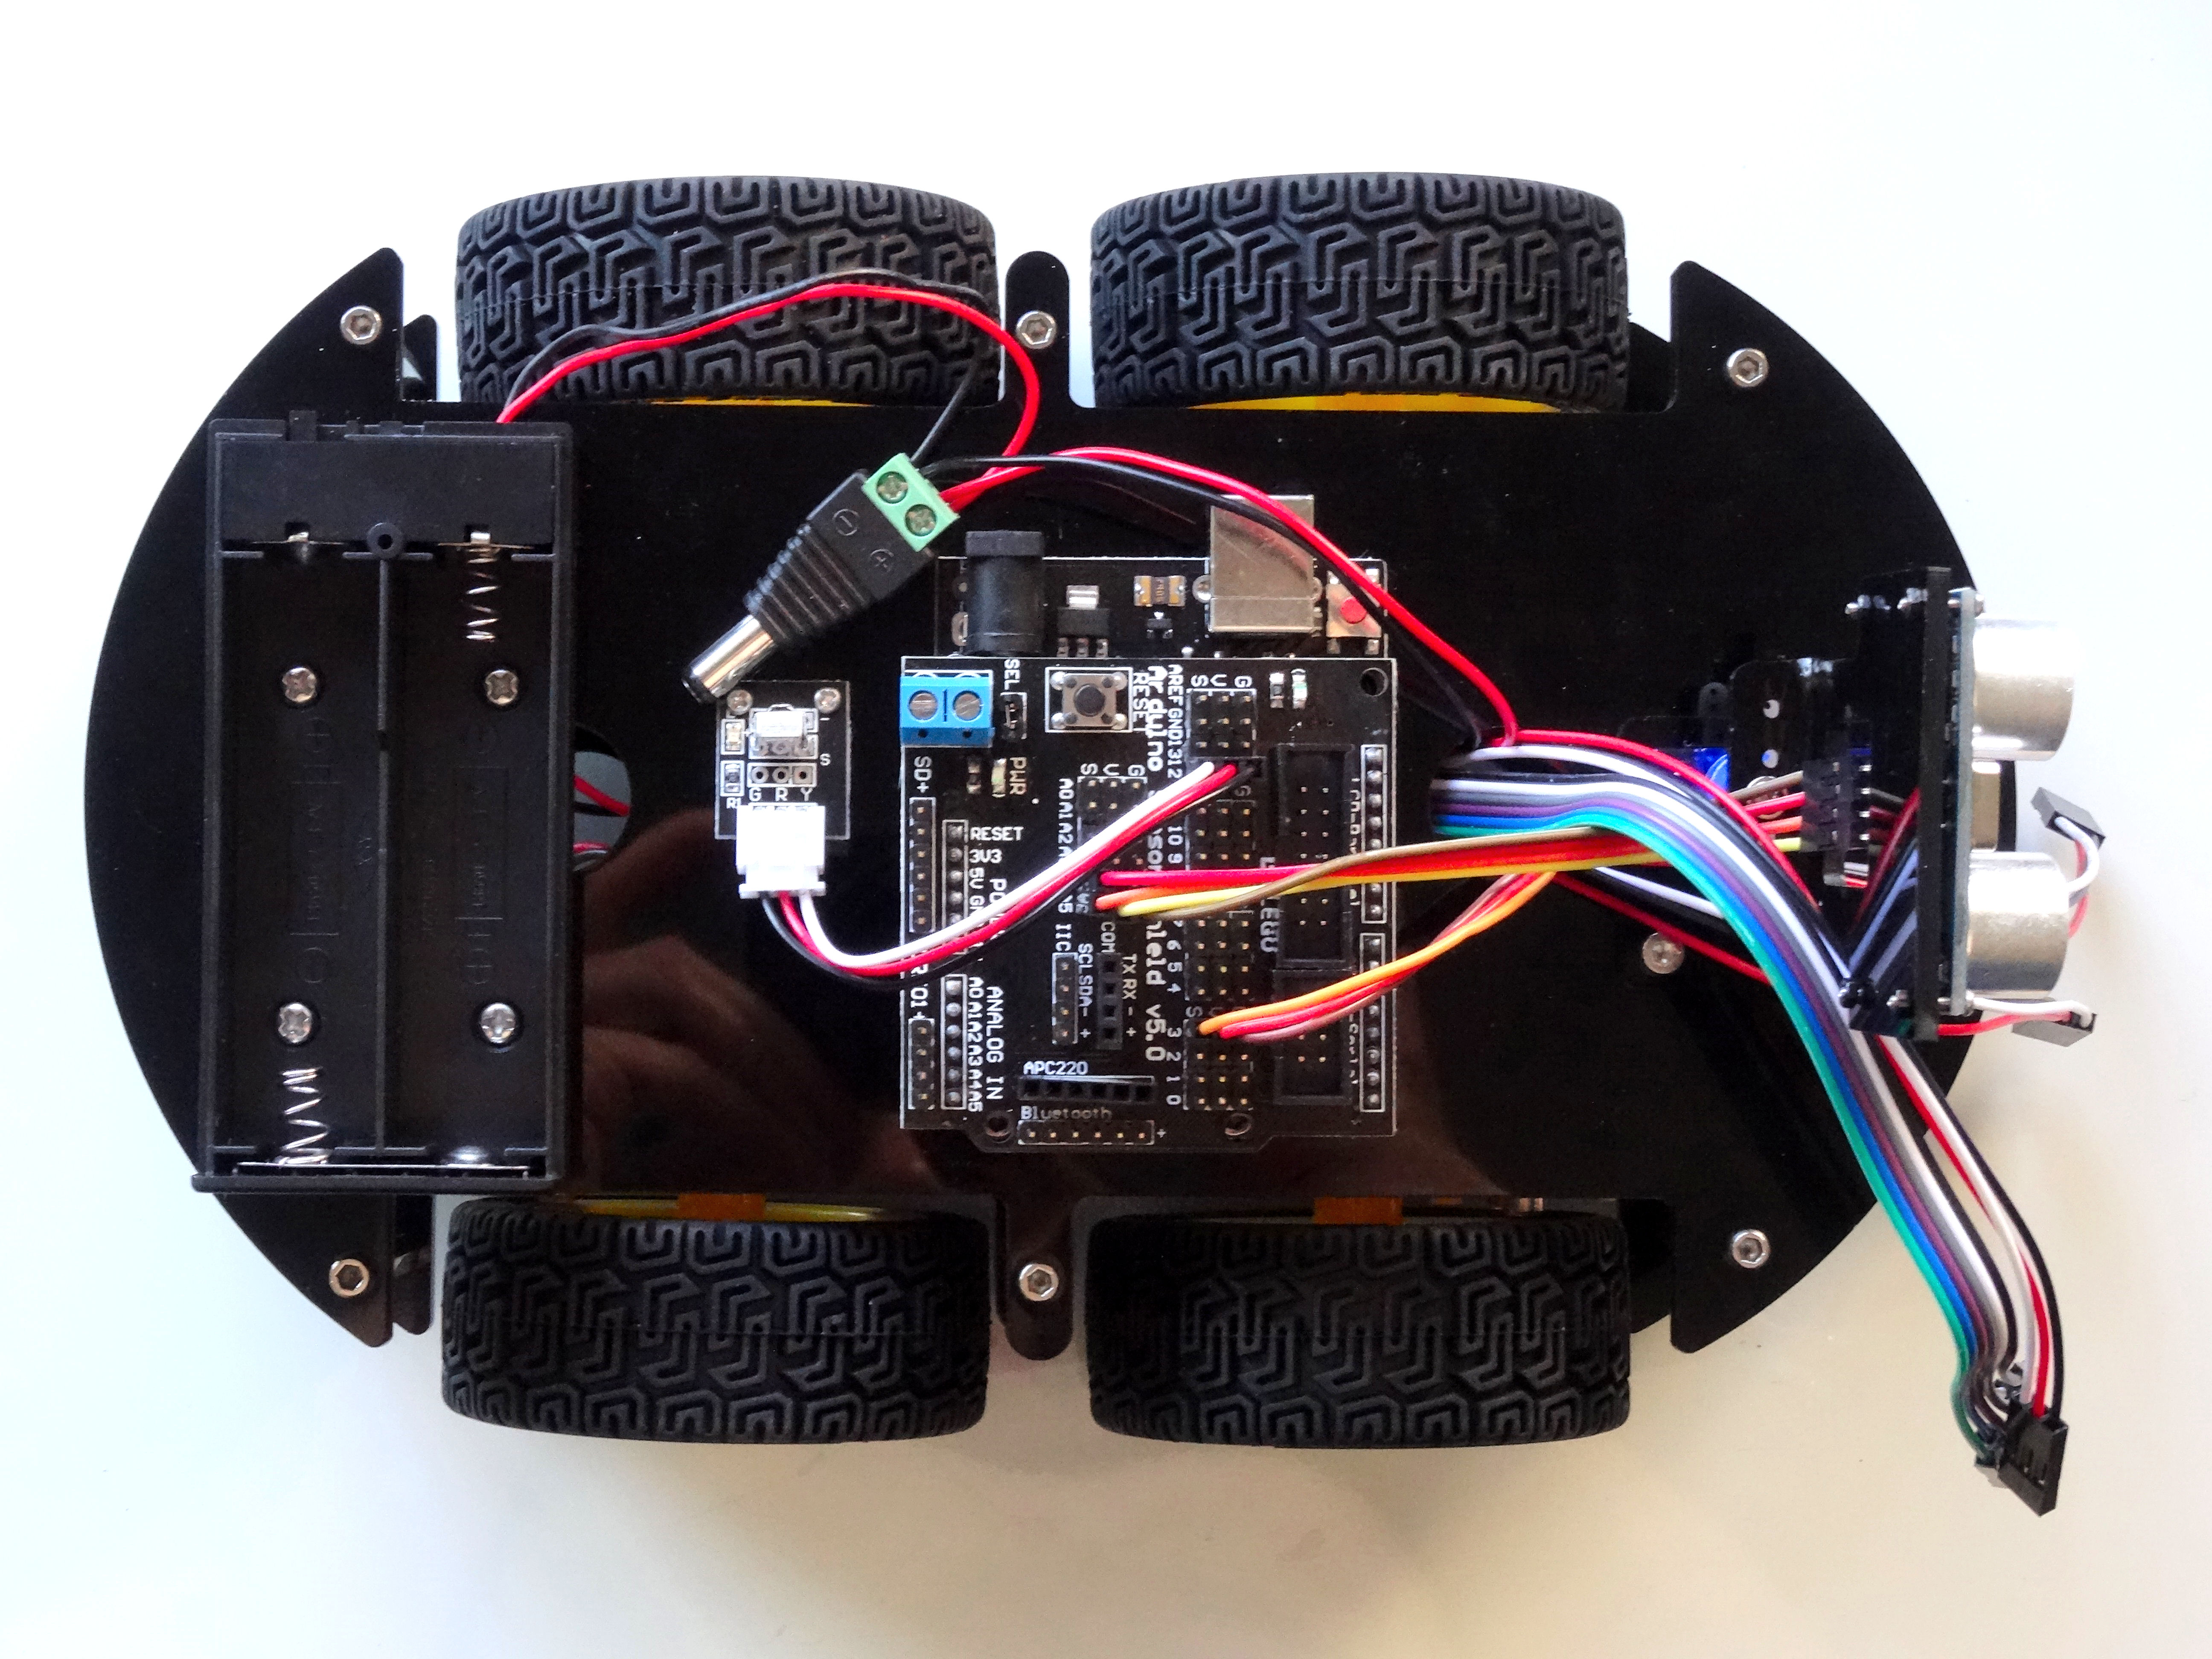
The Smart Car Robot Without Th Batteries
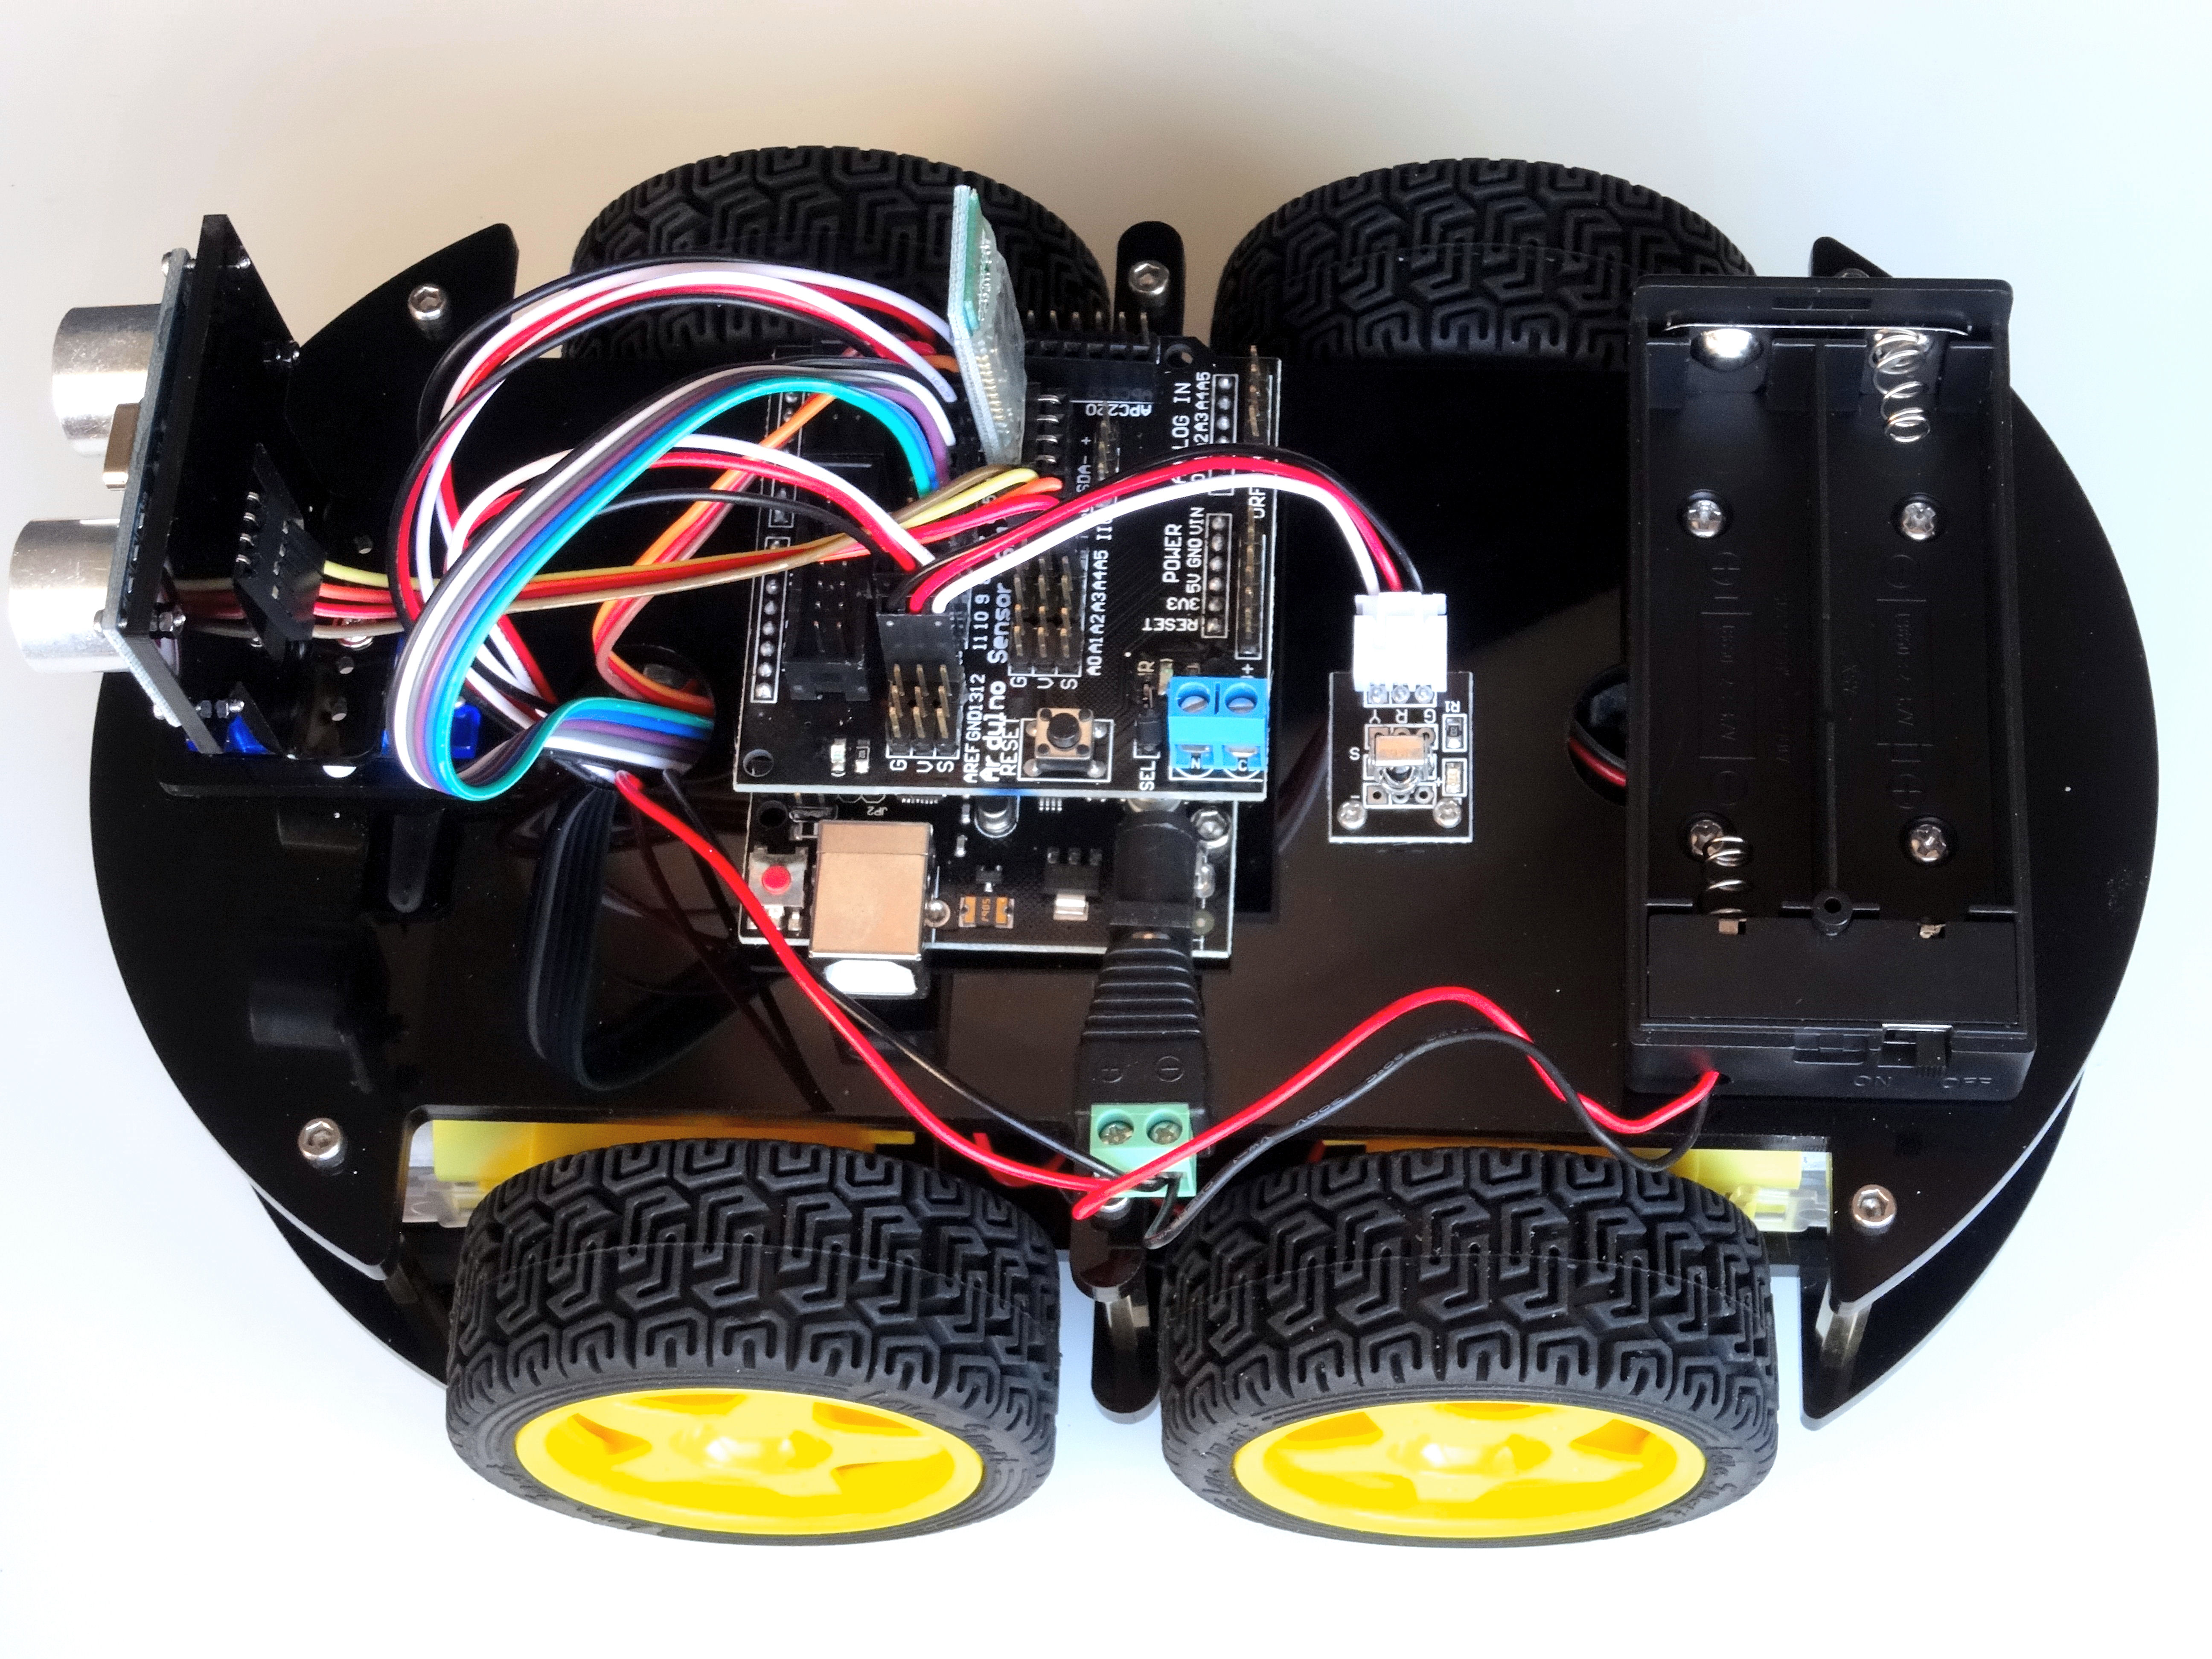
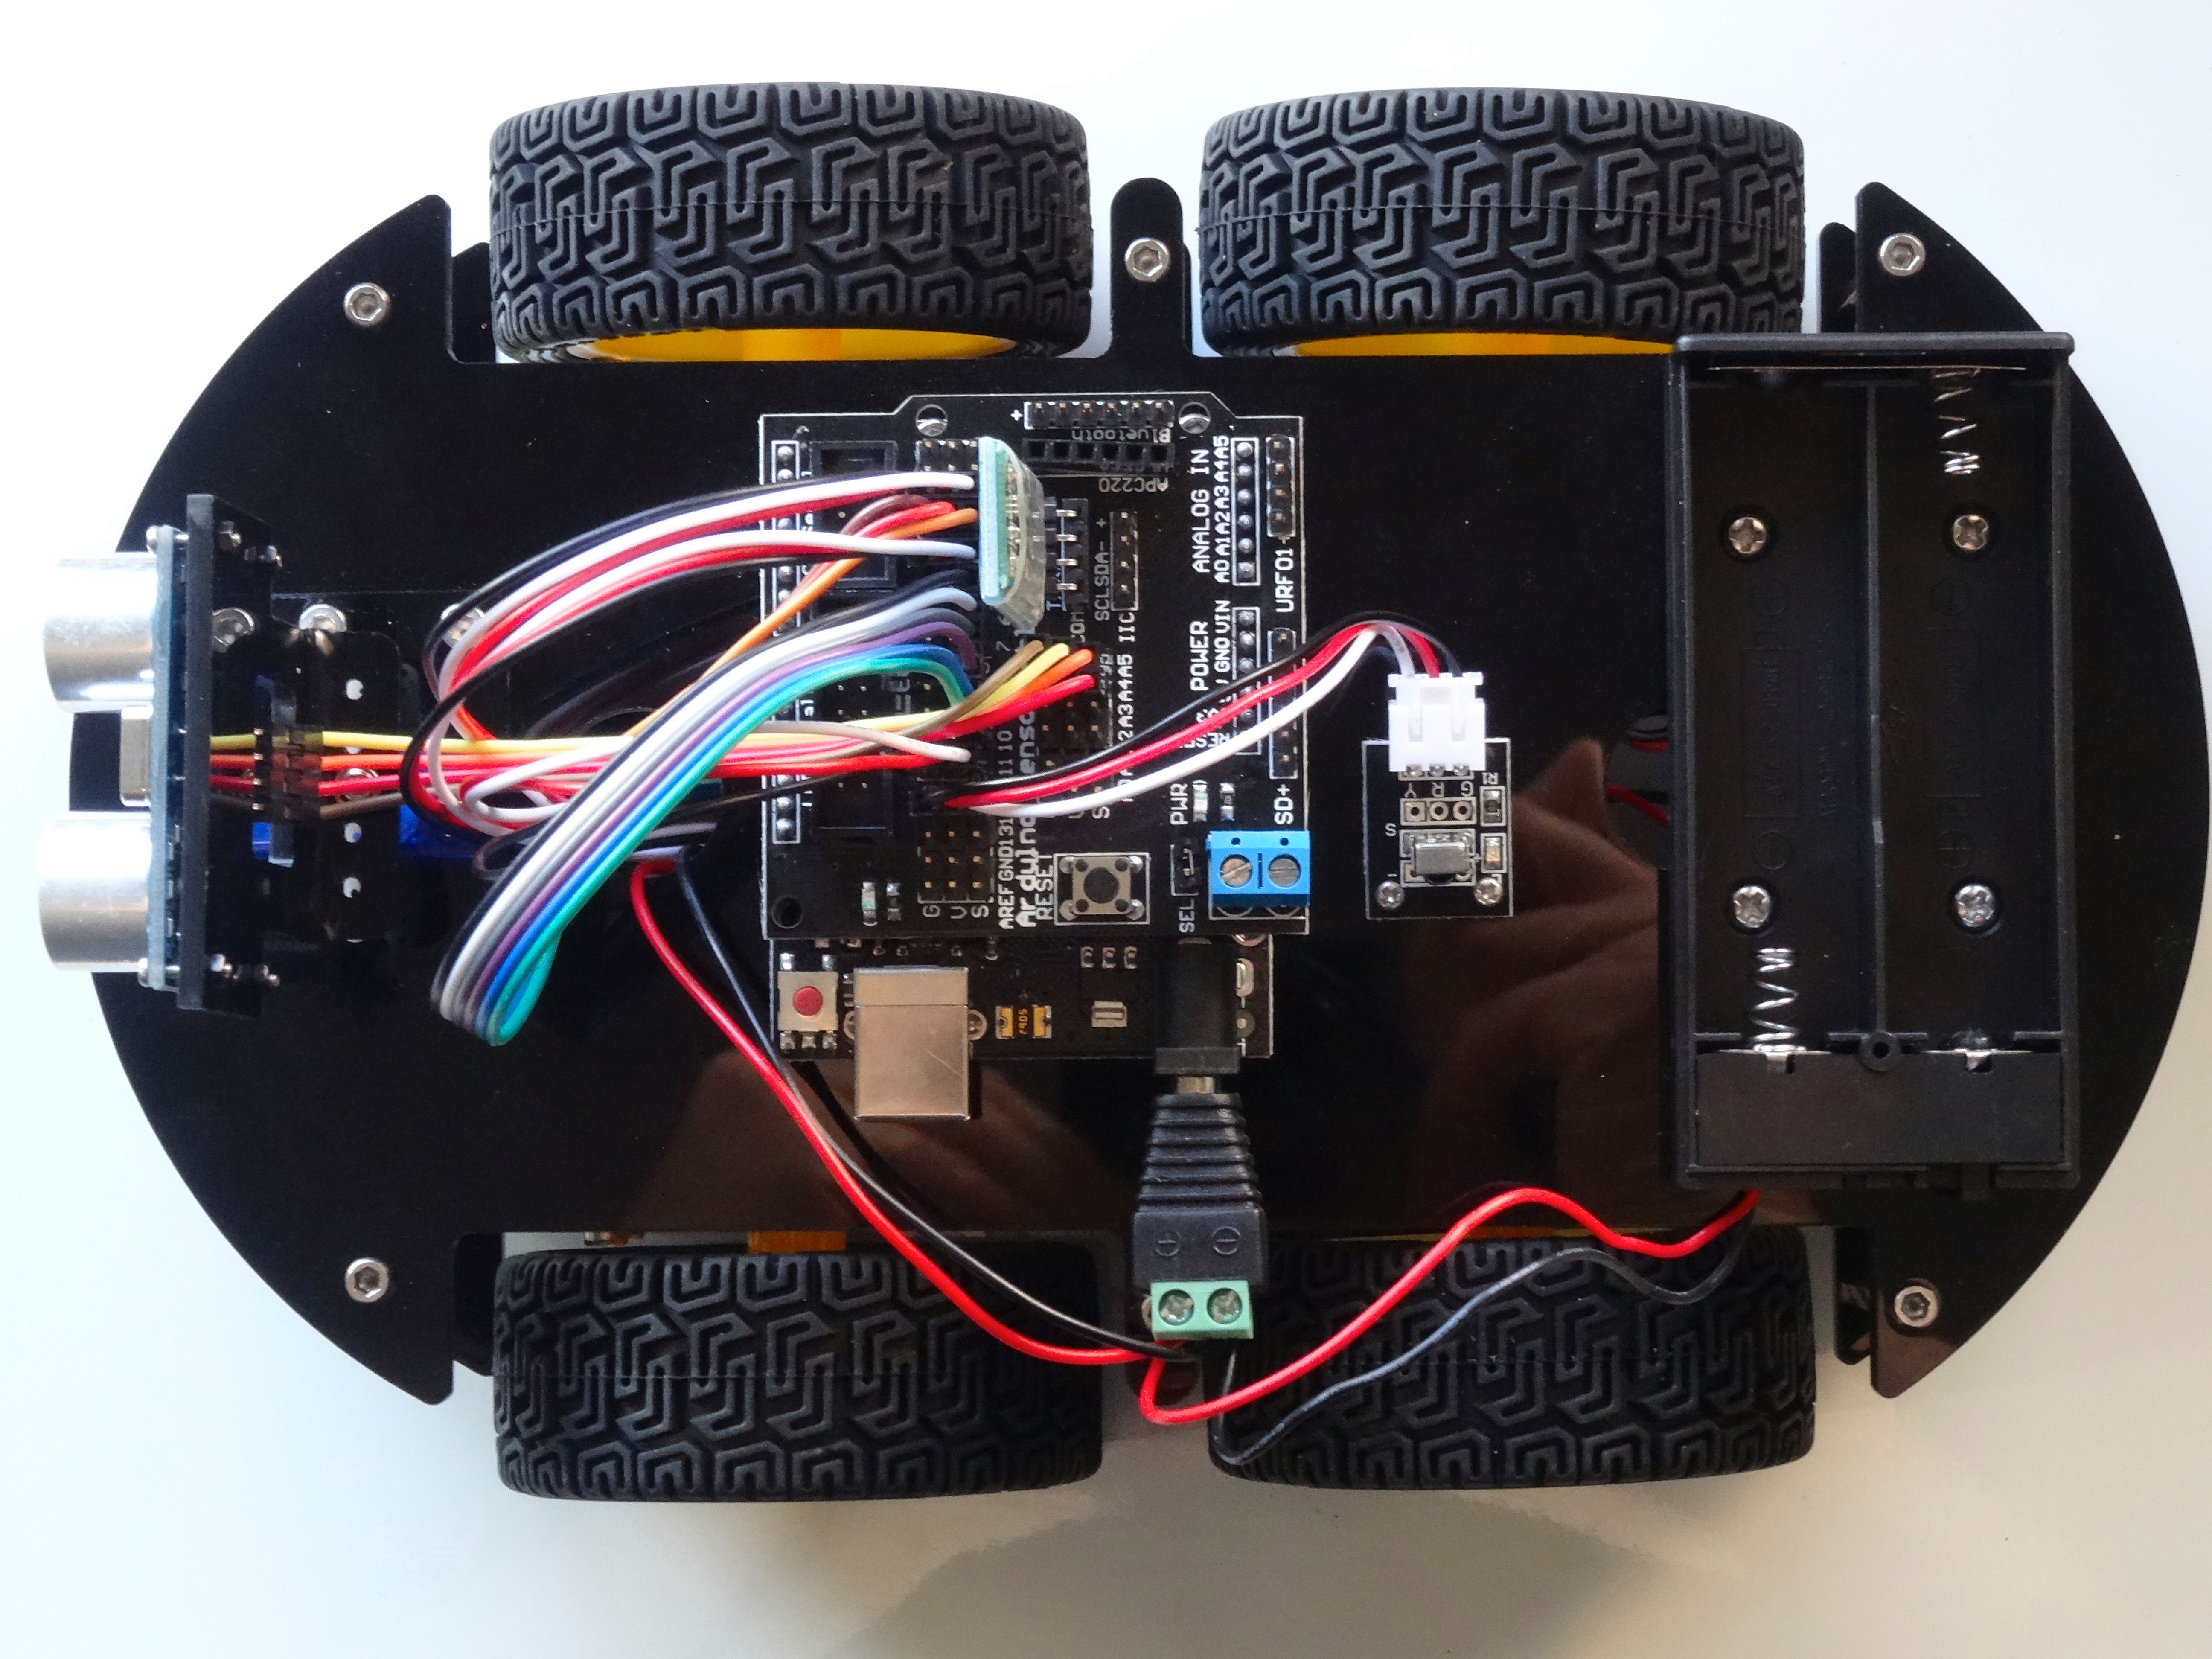
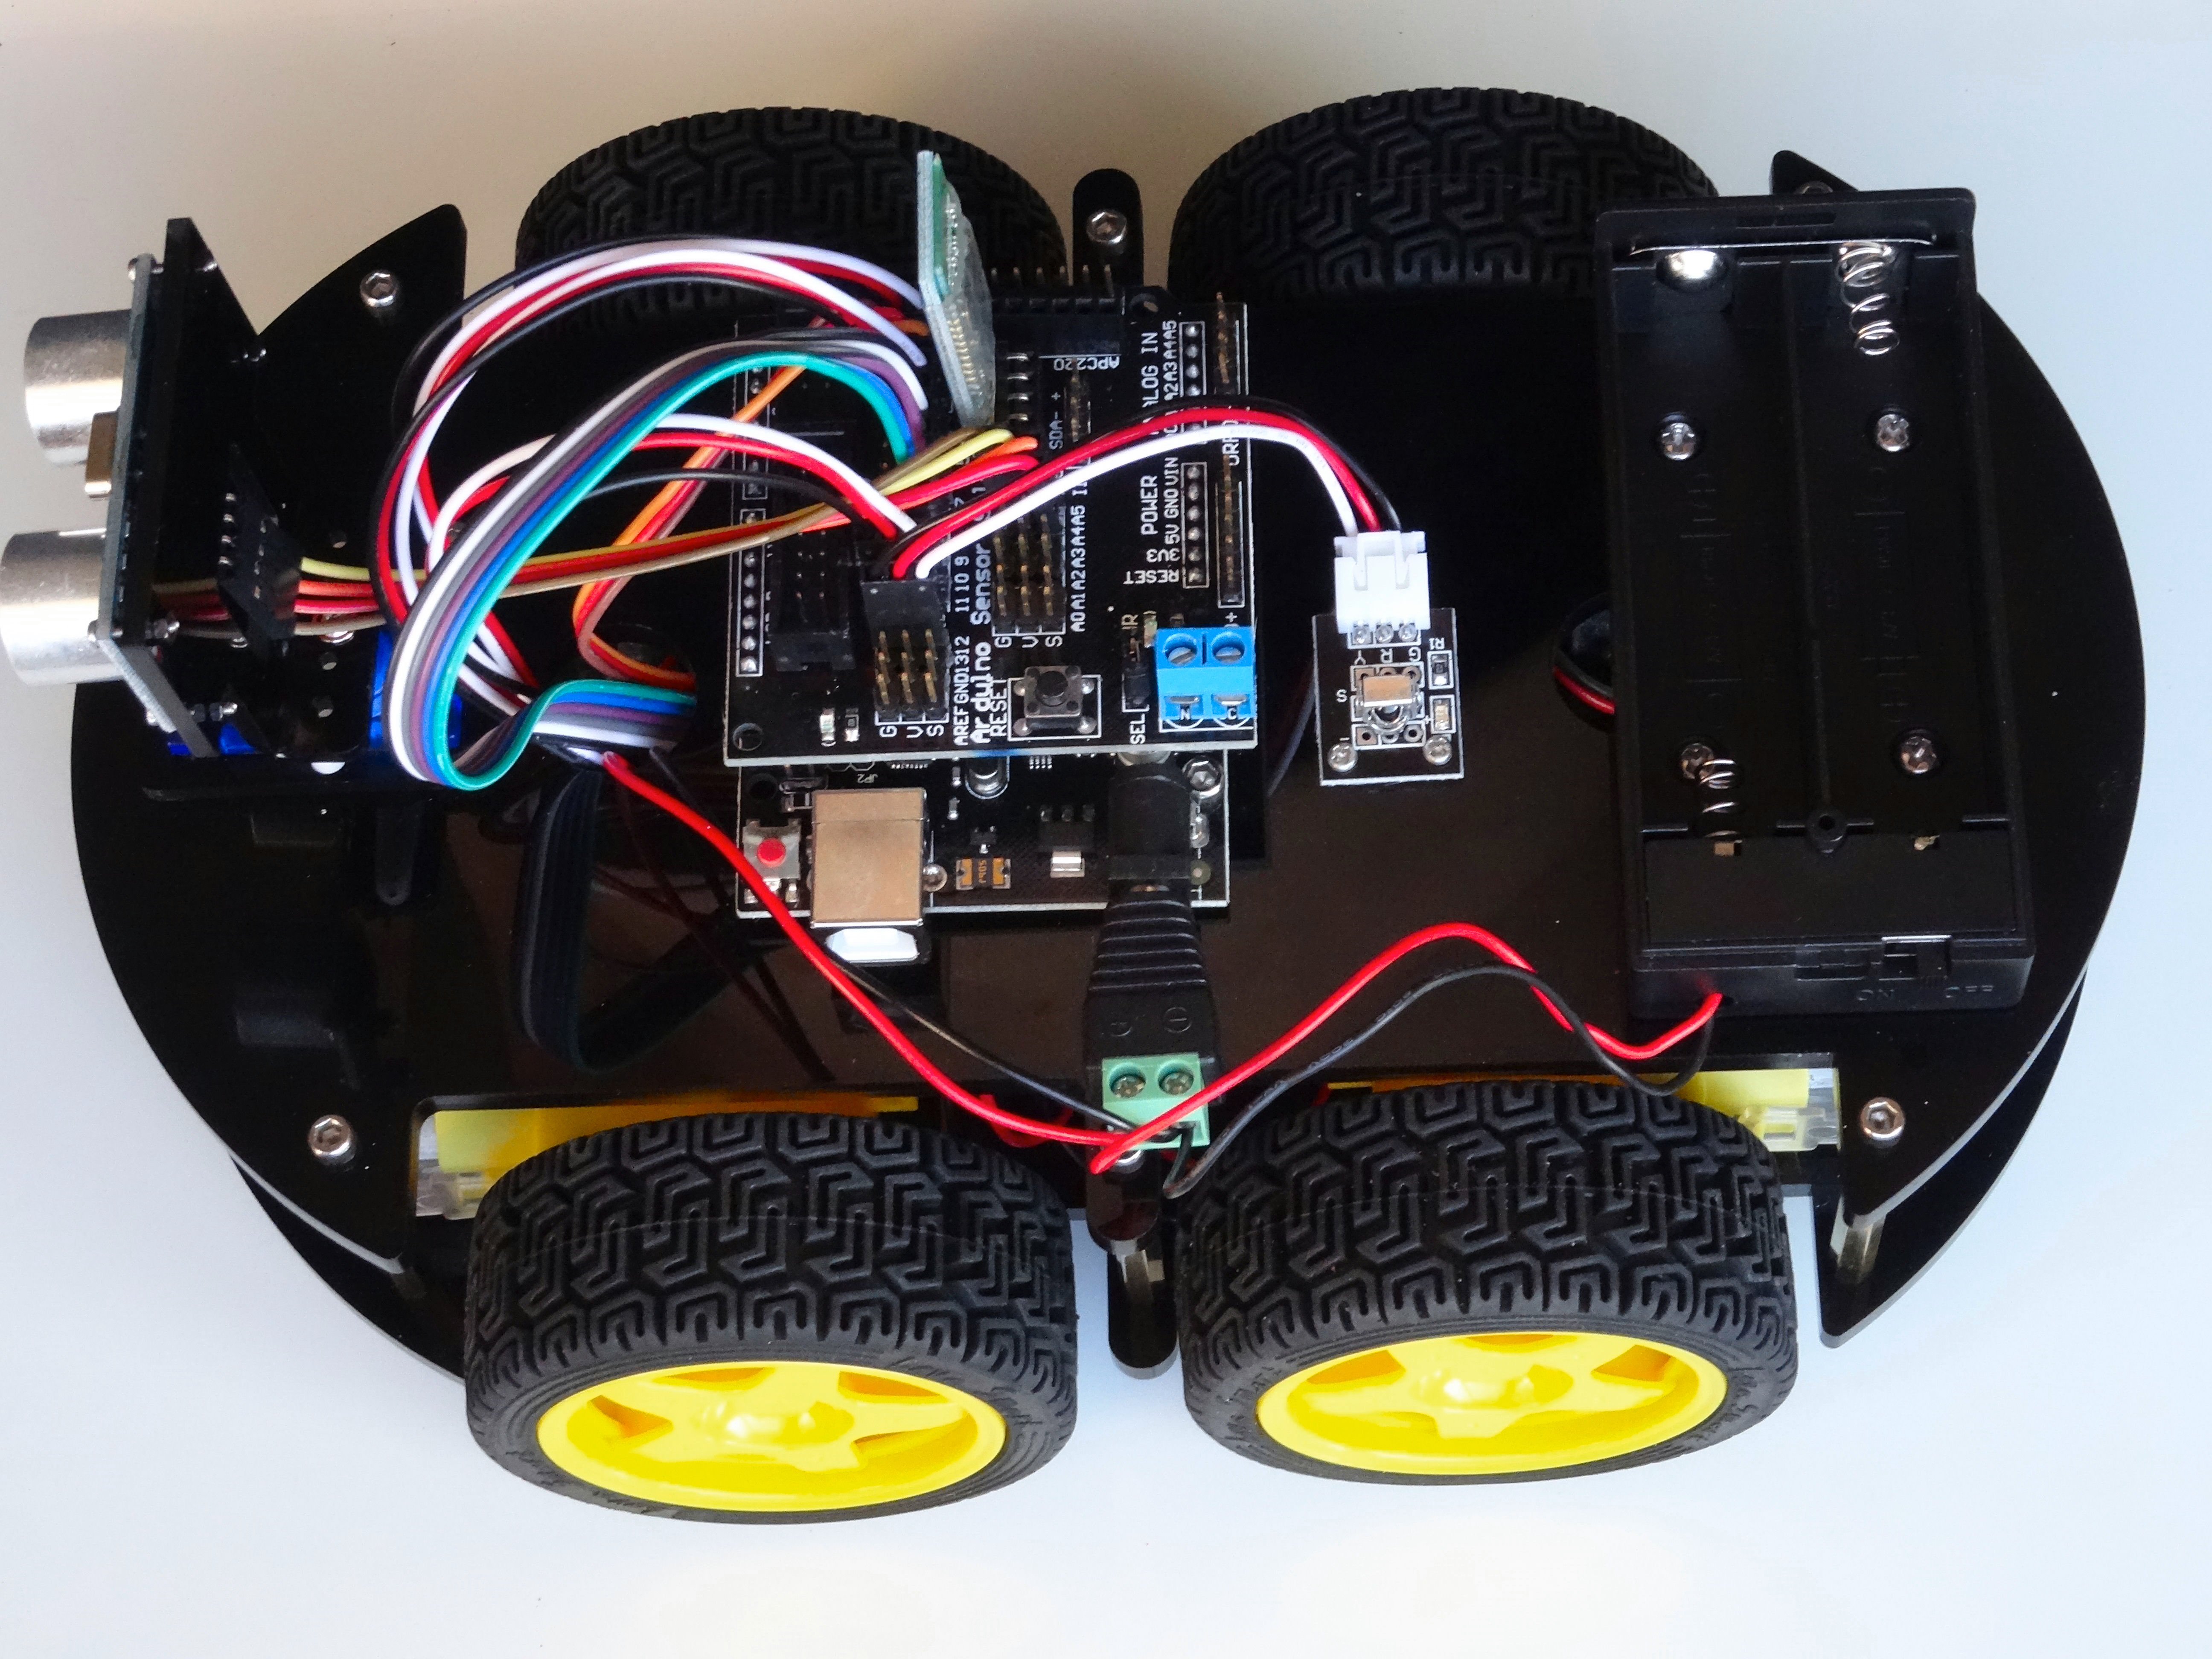
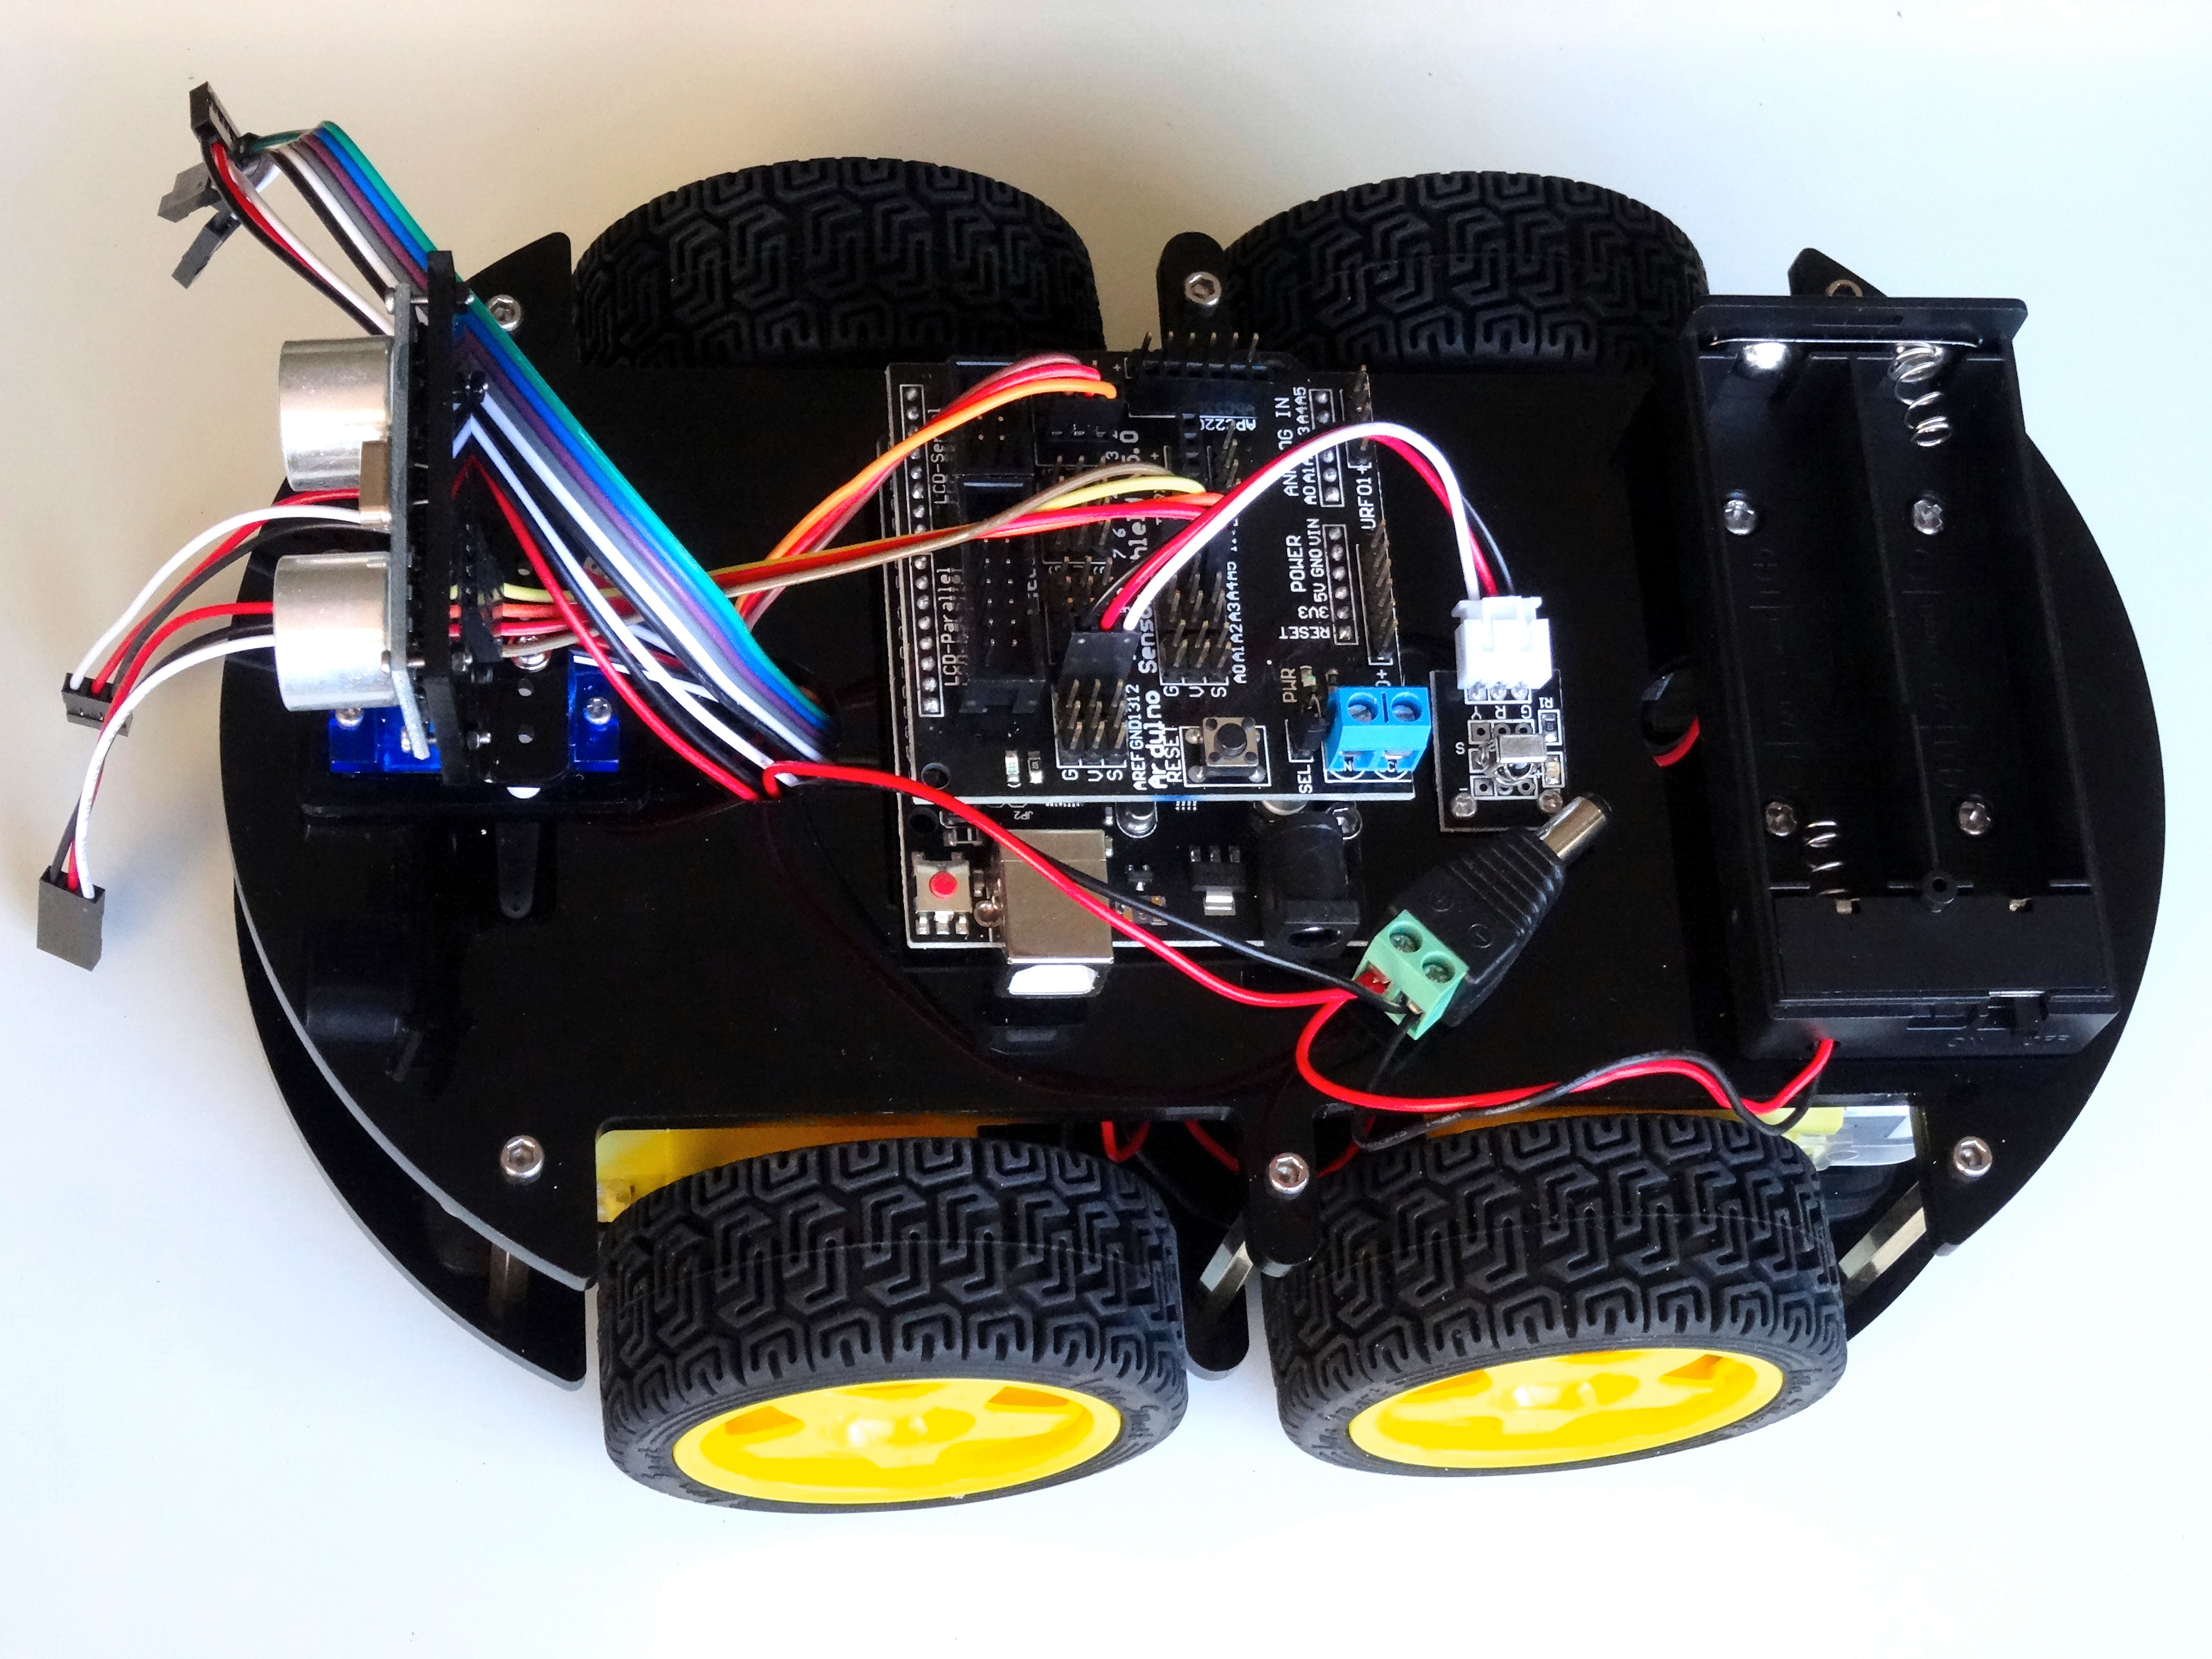
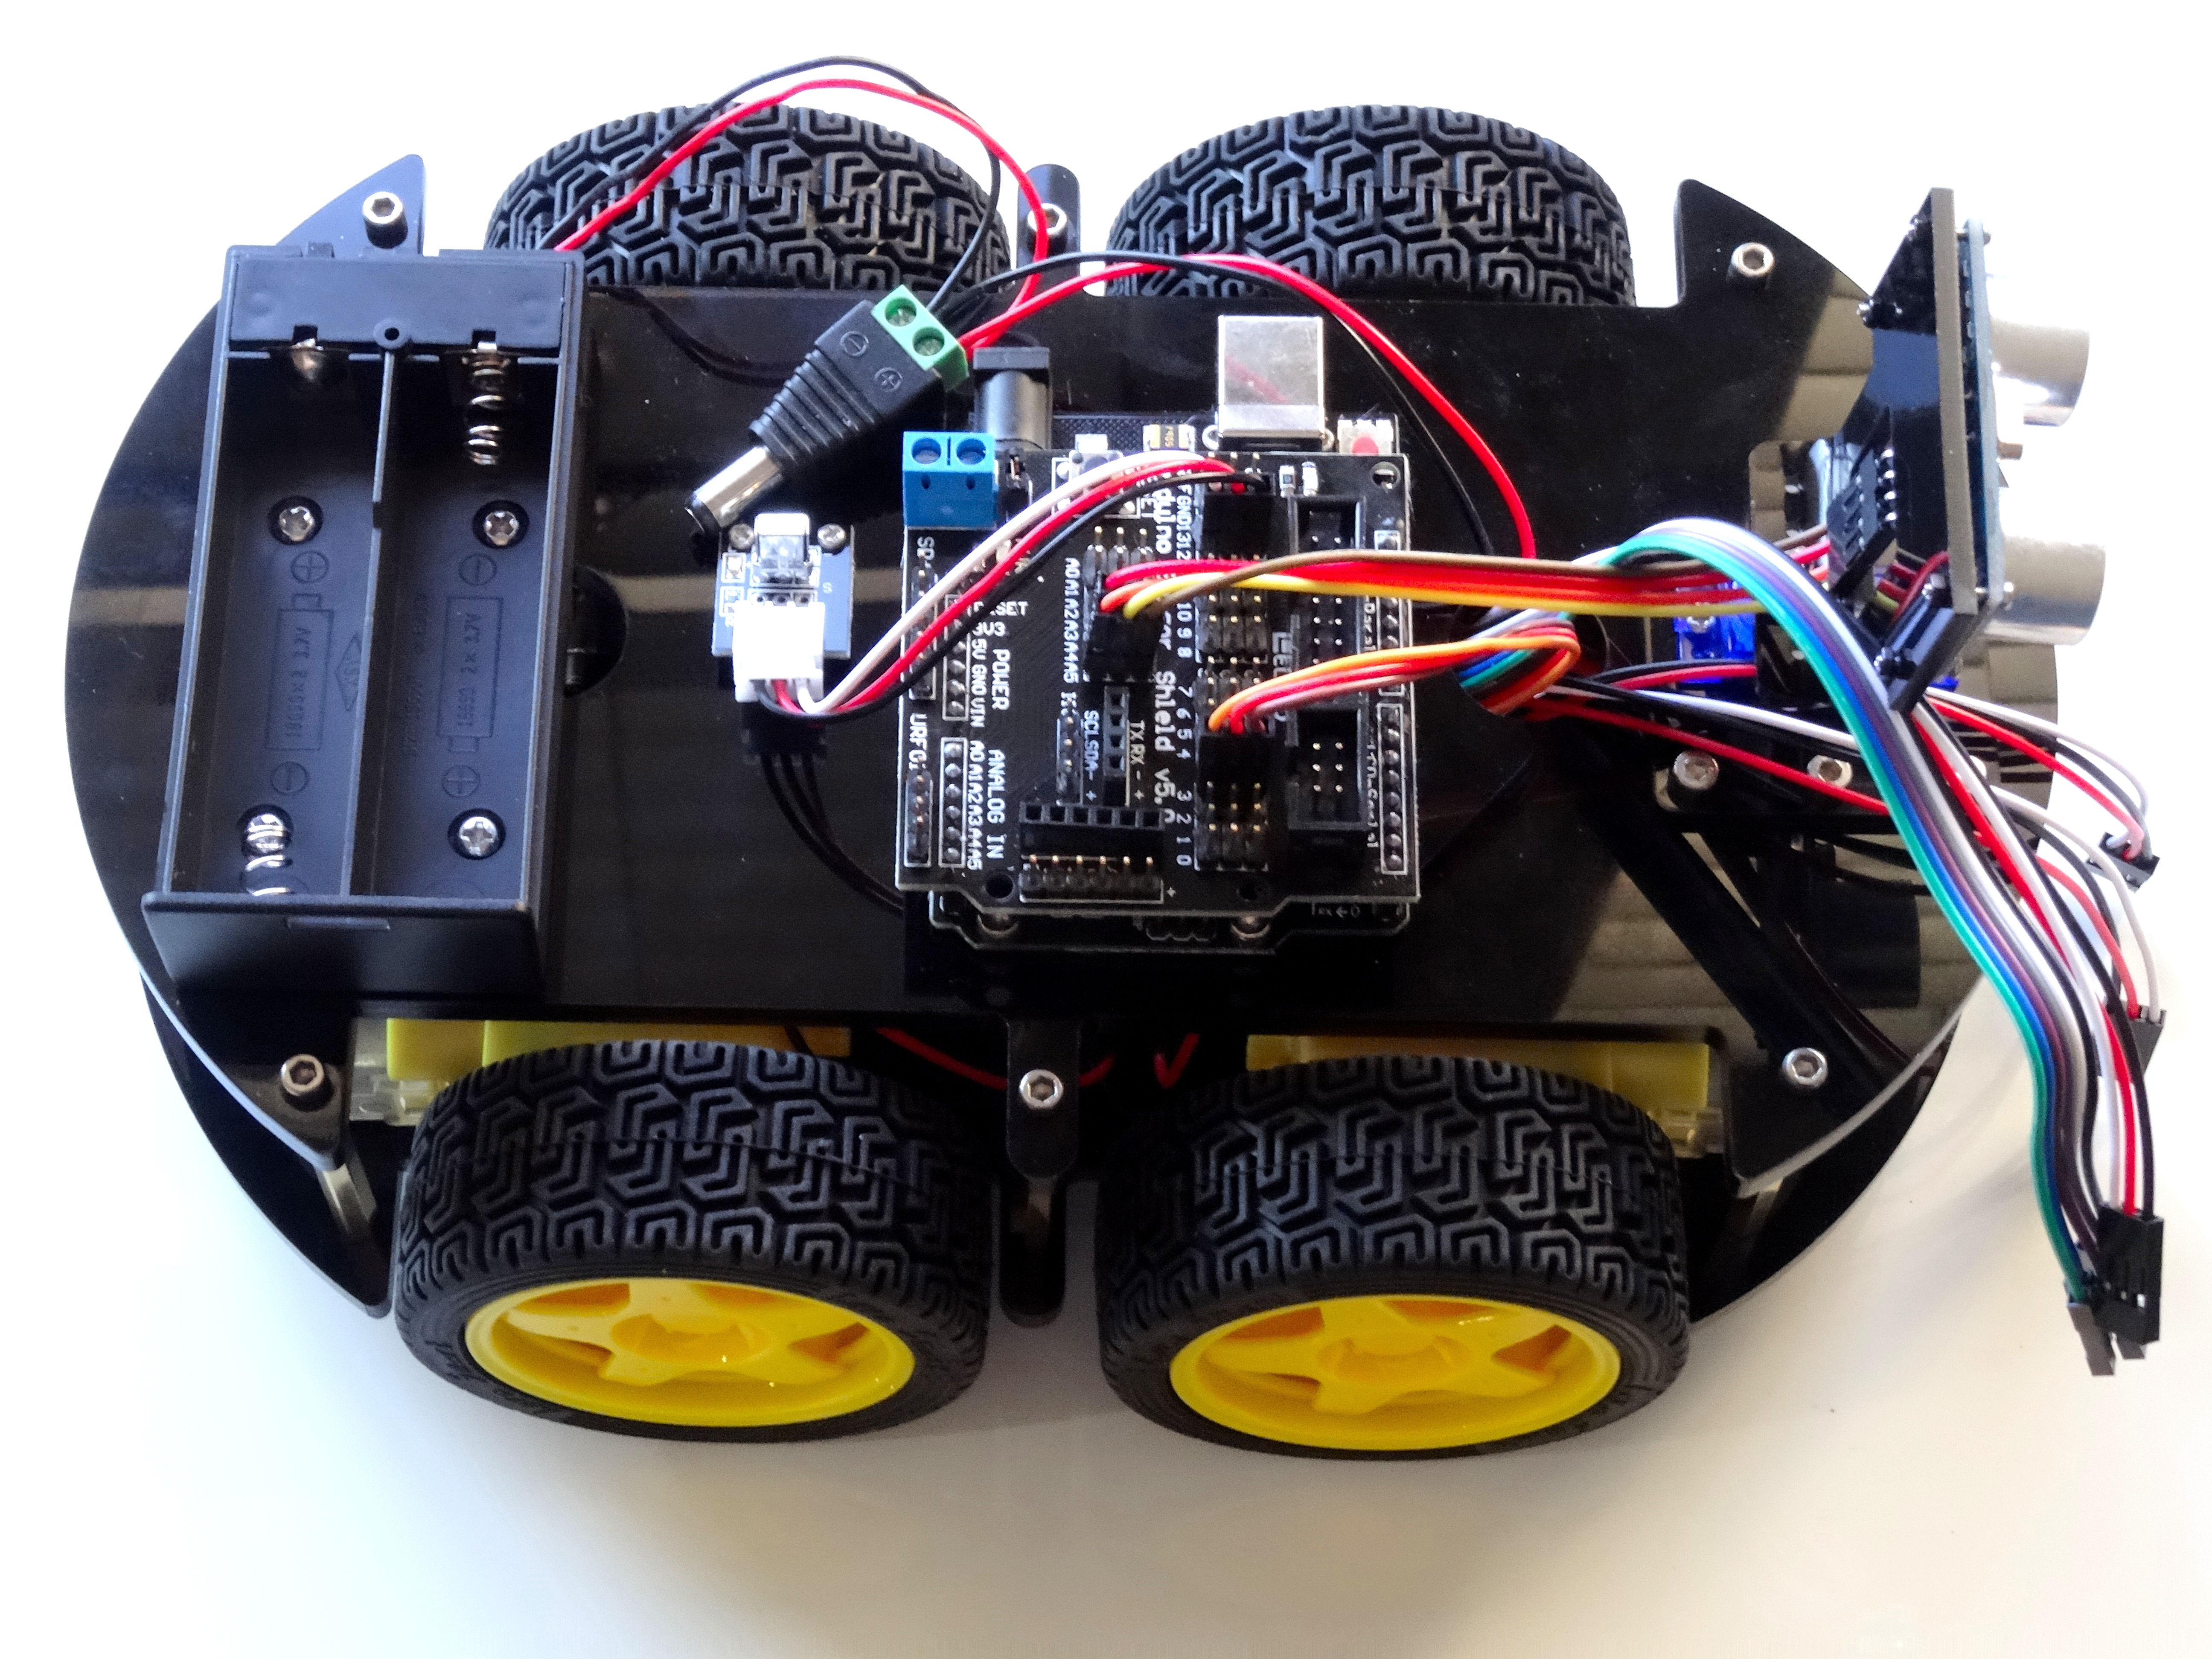
Here is how the Smart Car robot looks like when completed and waiting to install the batteries.
Charging the Rechargeable Batteries
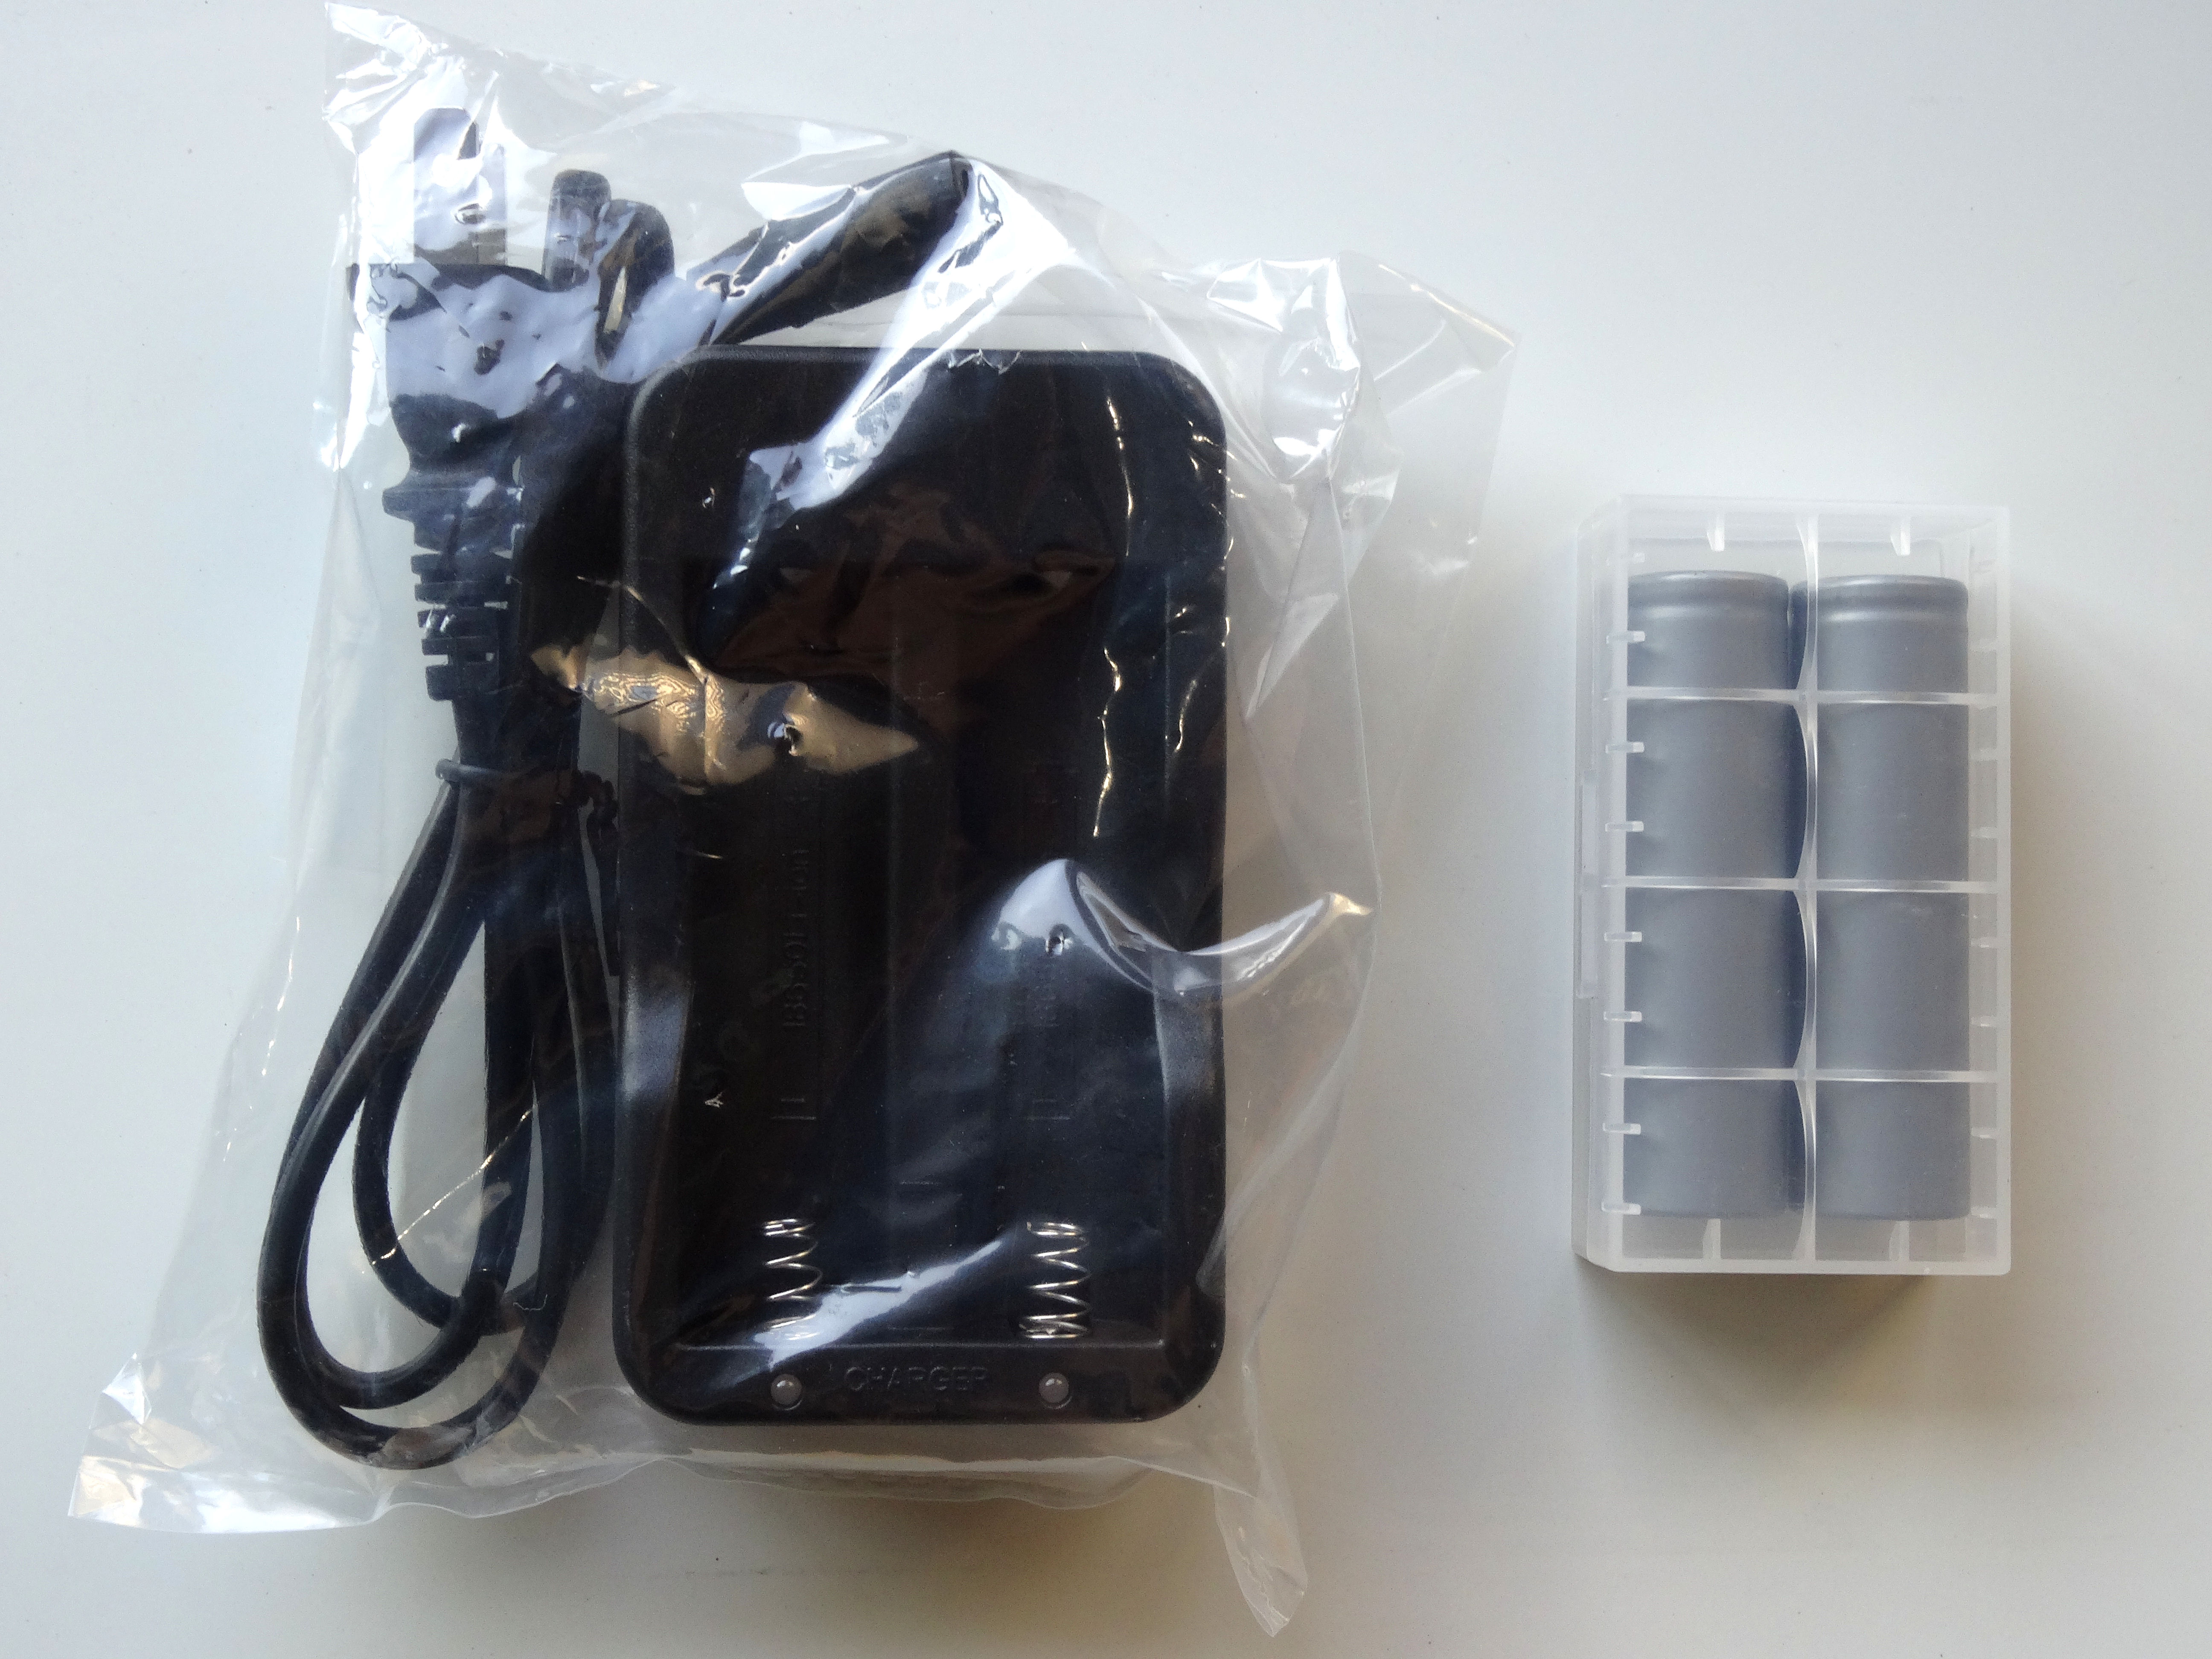
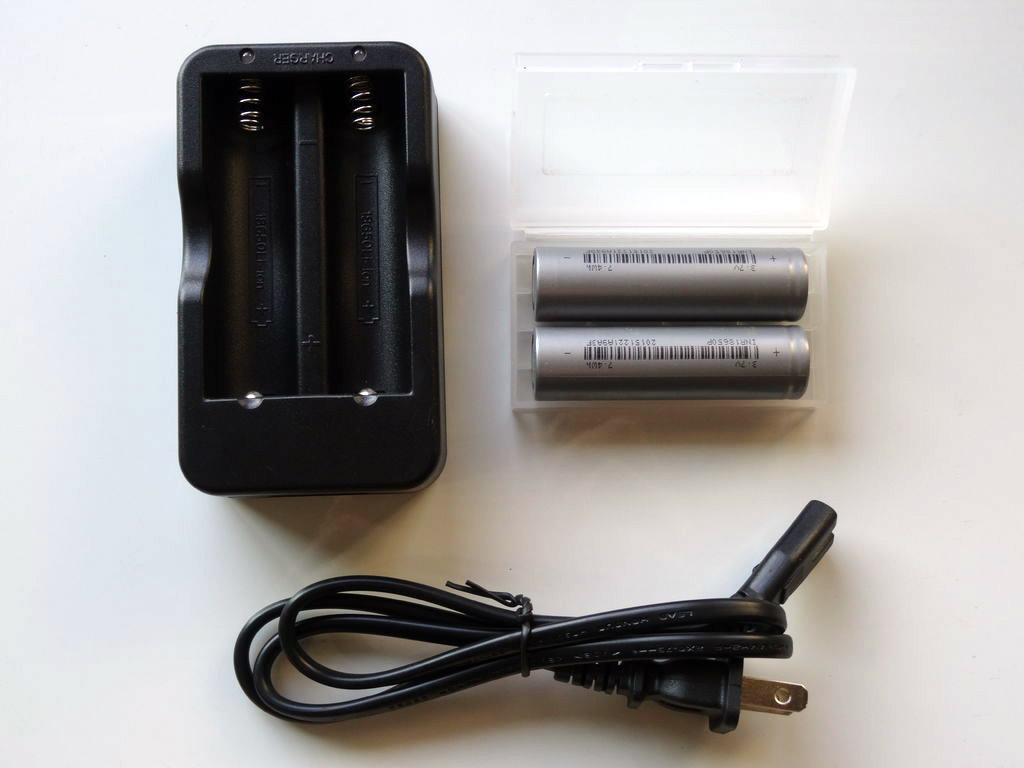
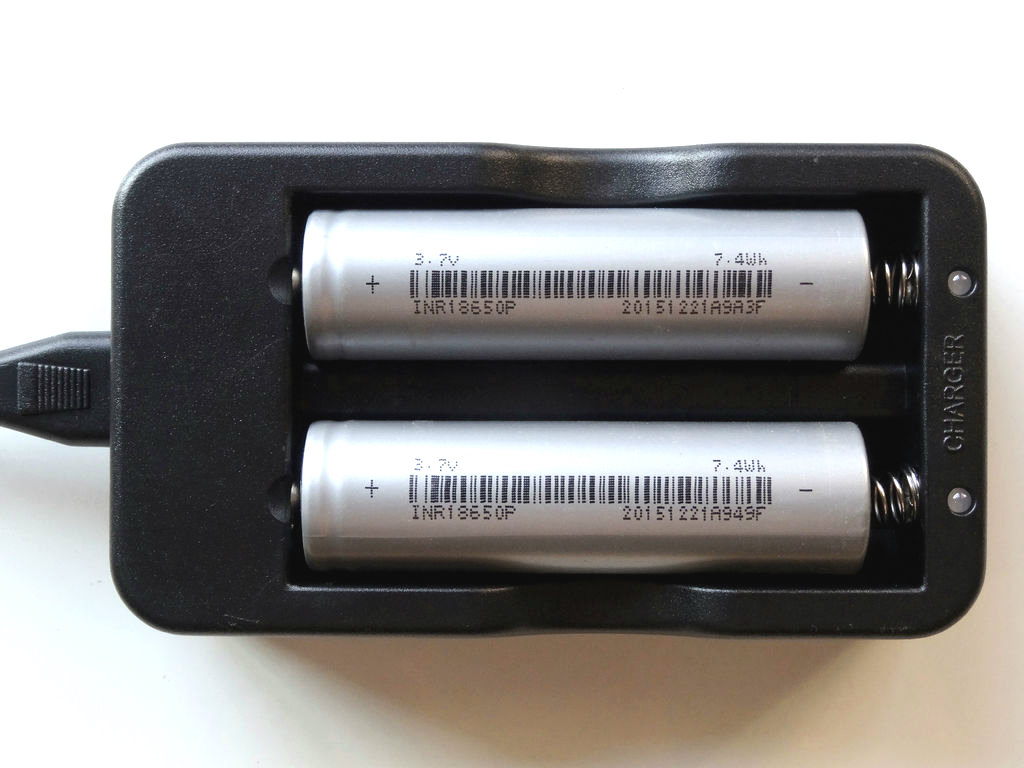
The kit comes with rechargeable batteries, and charger for them.
Make sure you use the included charger to charge the batteries, as otherwise you may damage them, or even cause fire!
- Take out from the box, the Batteries, and the Charger (Picture 1)
- Remove the charger from the protective bag (Picture 2)
- Remove the Batteries from the plastic box
- Insert the batteries into the charger making sure you match the + and - as labeled on the charger (Picture 3)
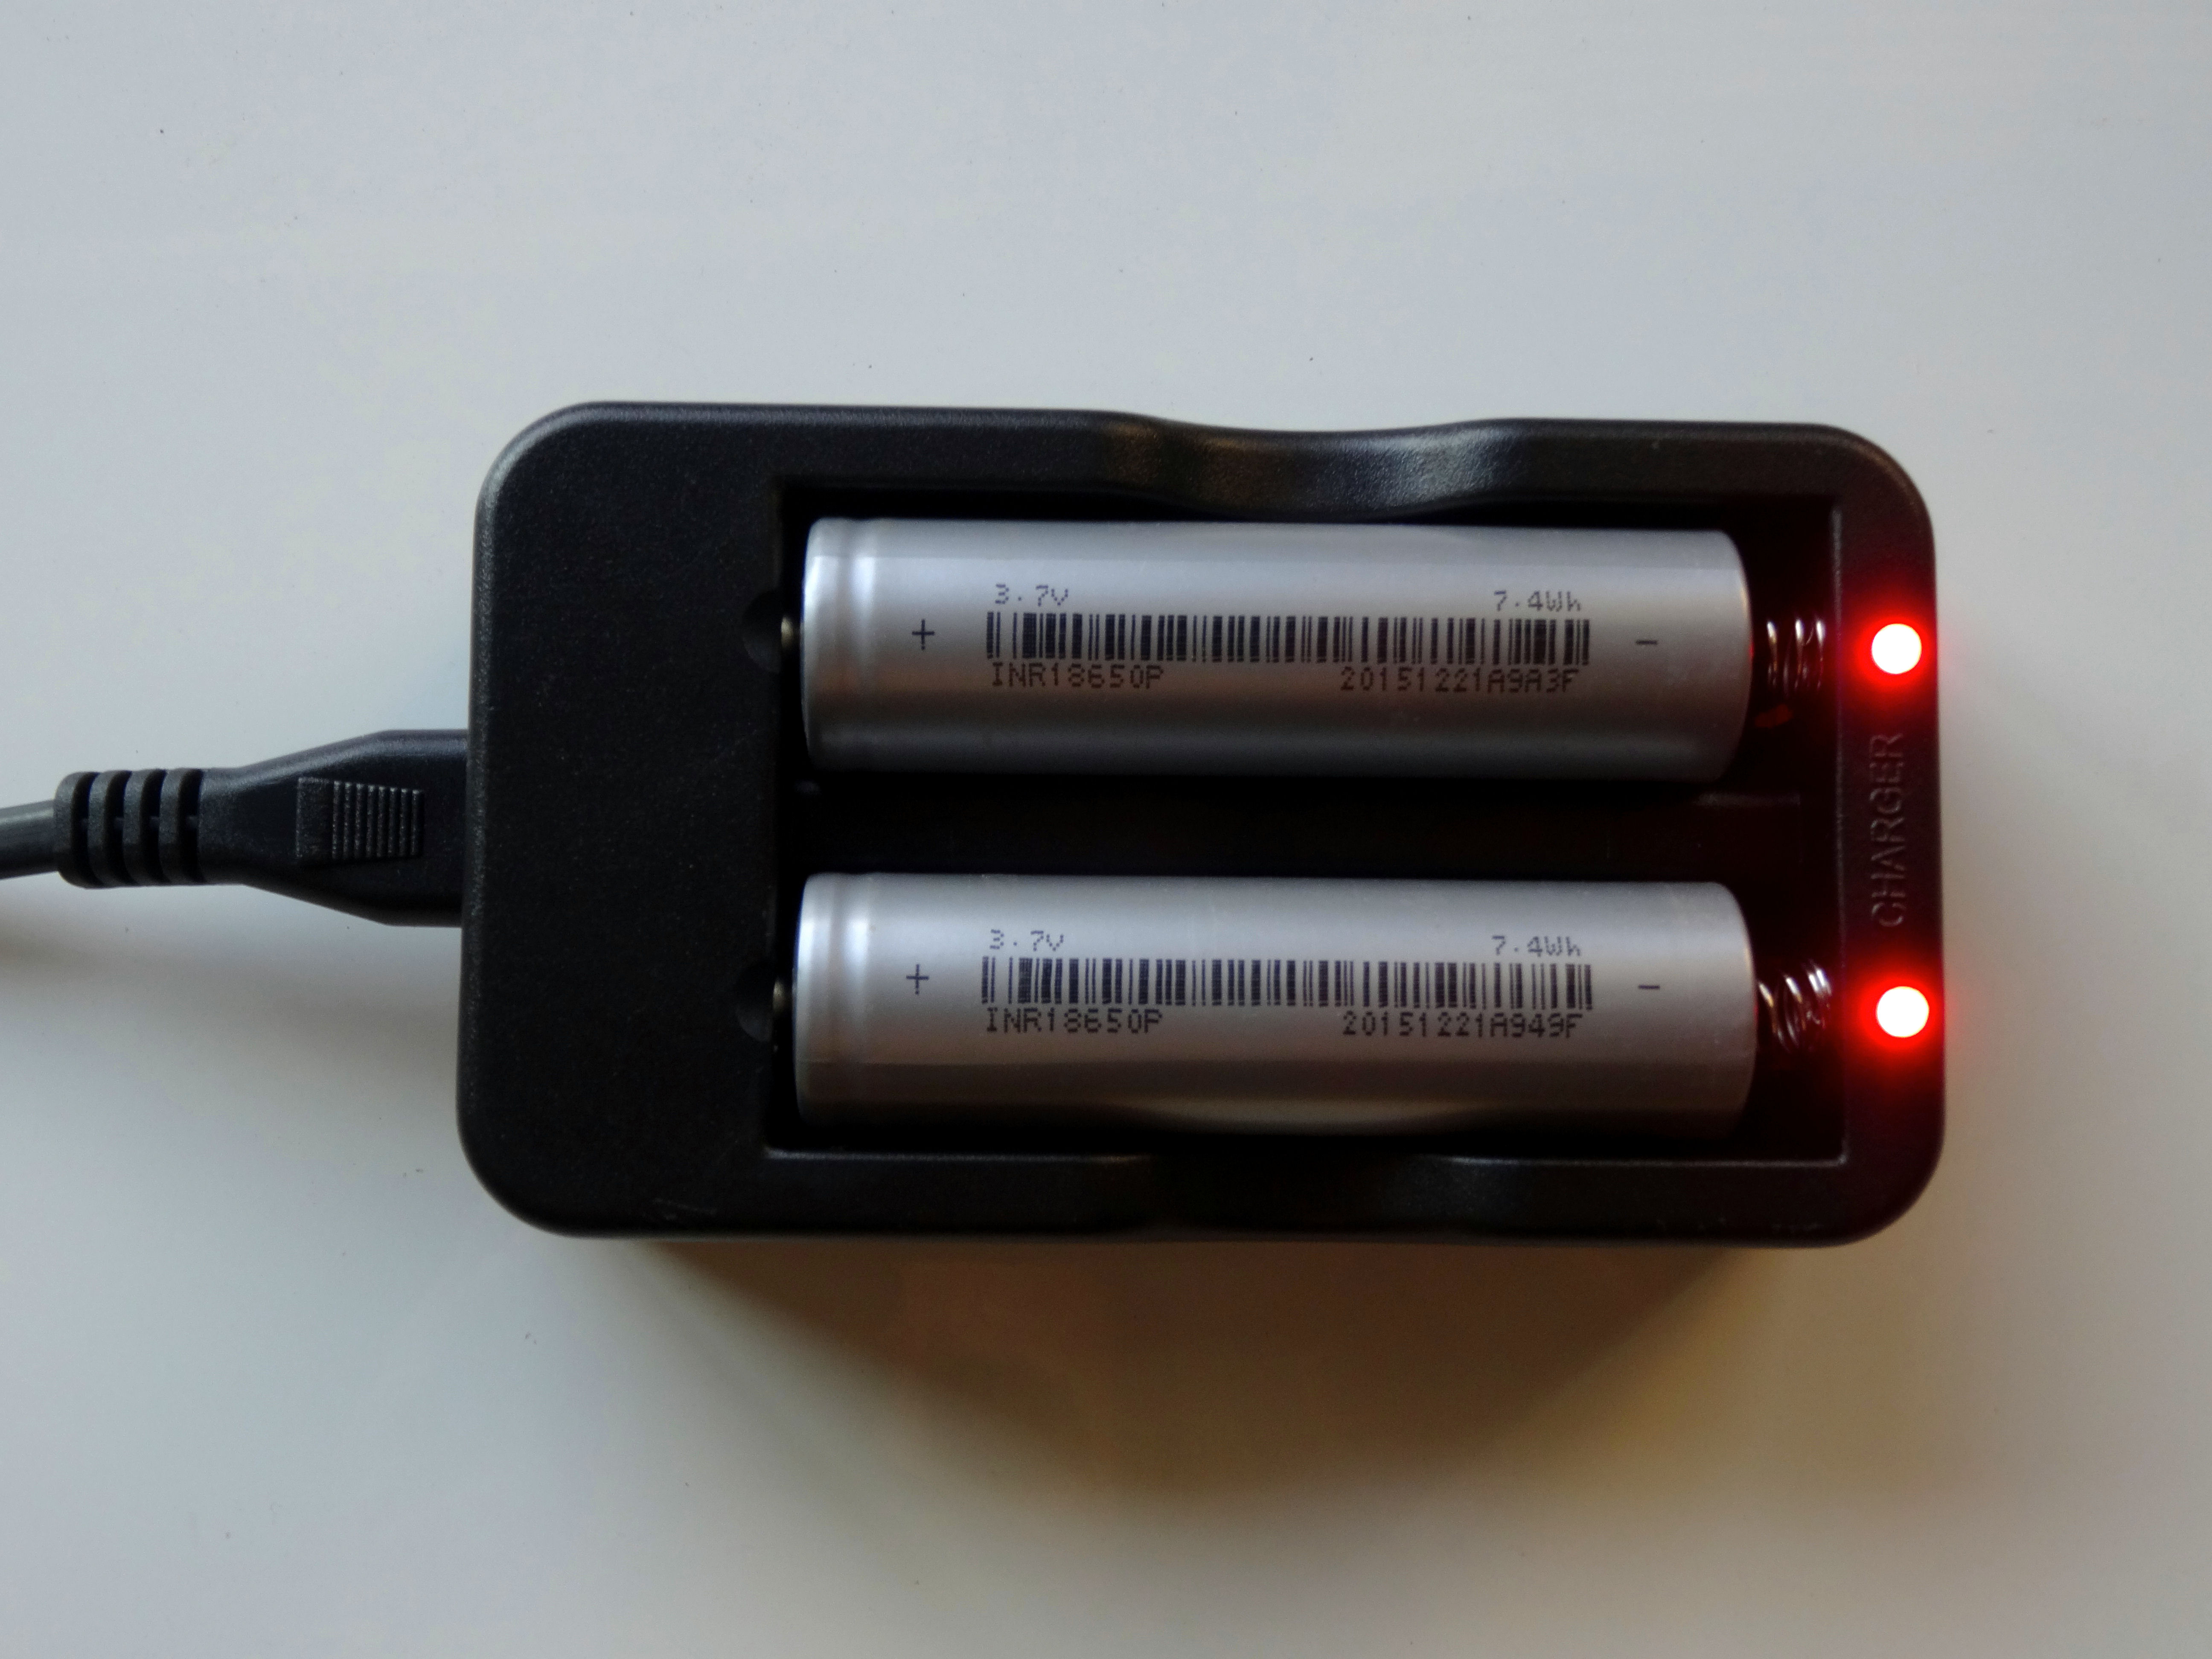
- Connect the charger to power. The LEDs will light in red indicating charging the batteries (Picture 4)
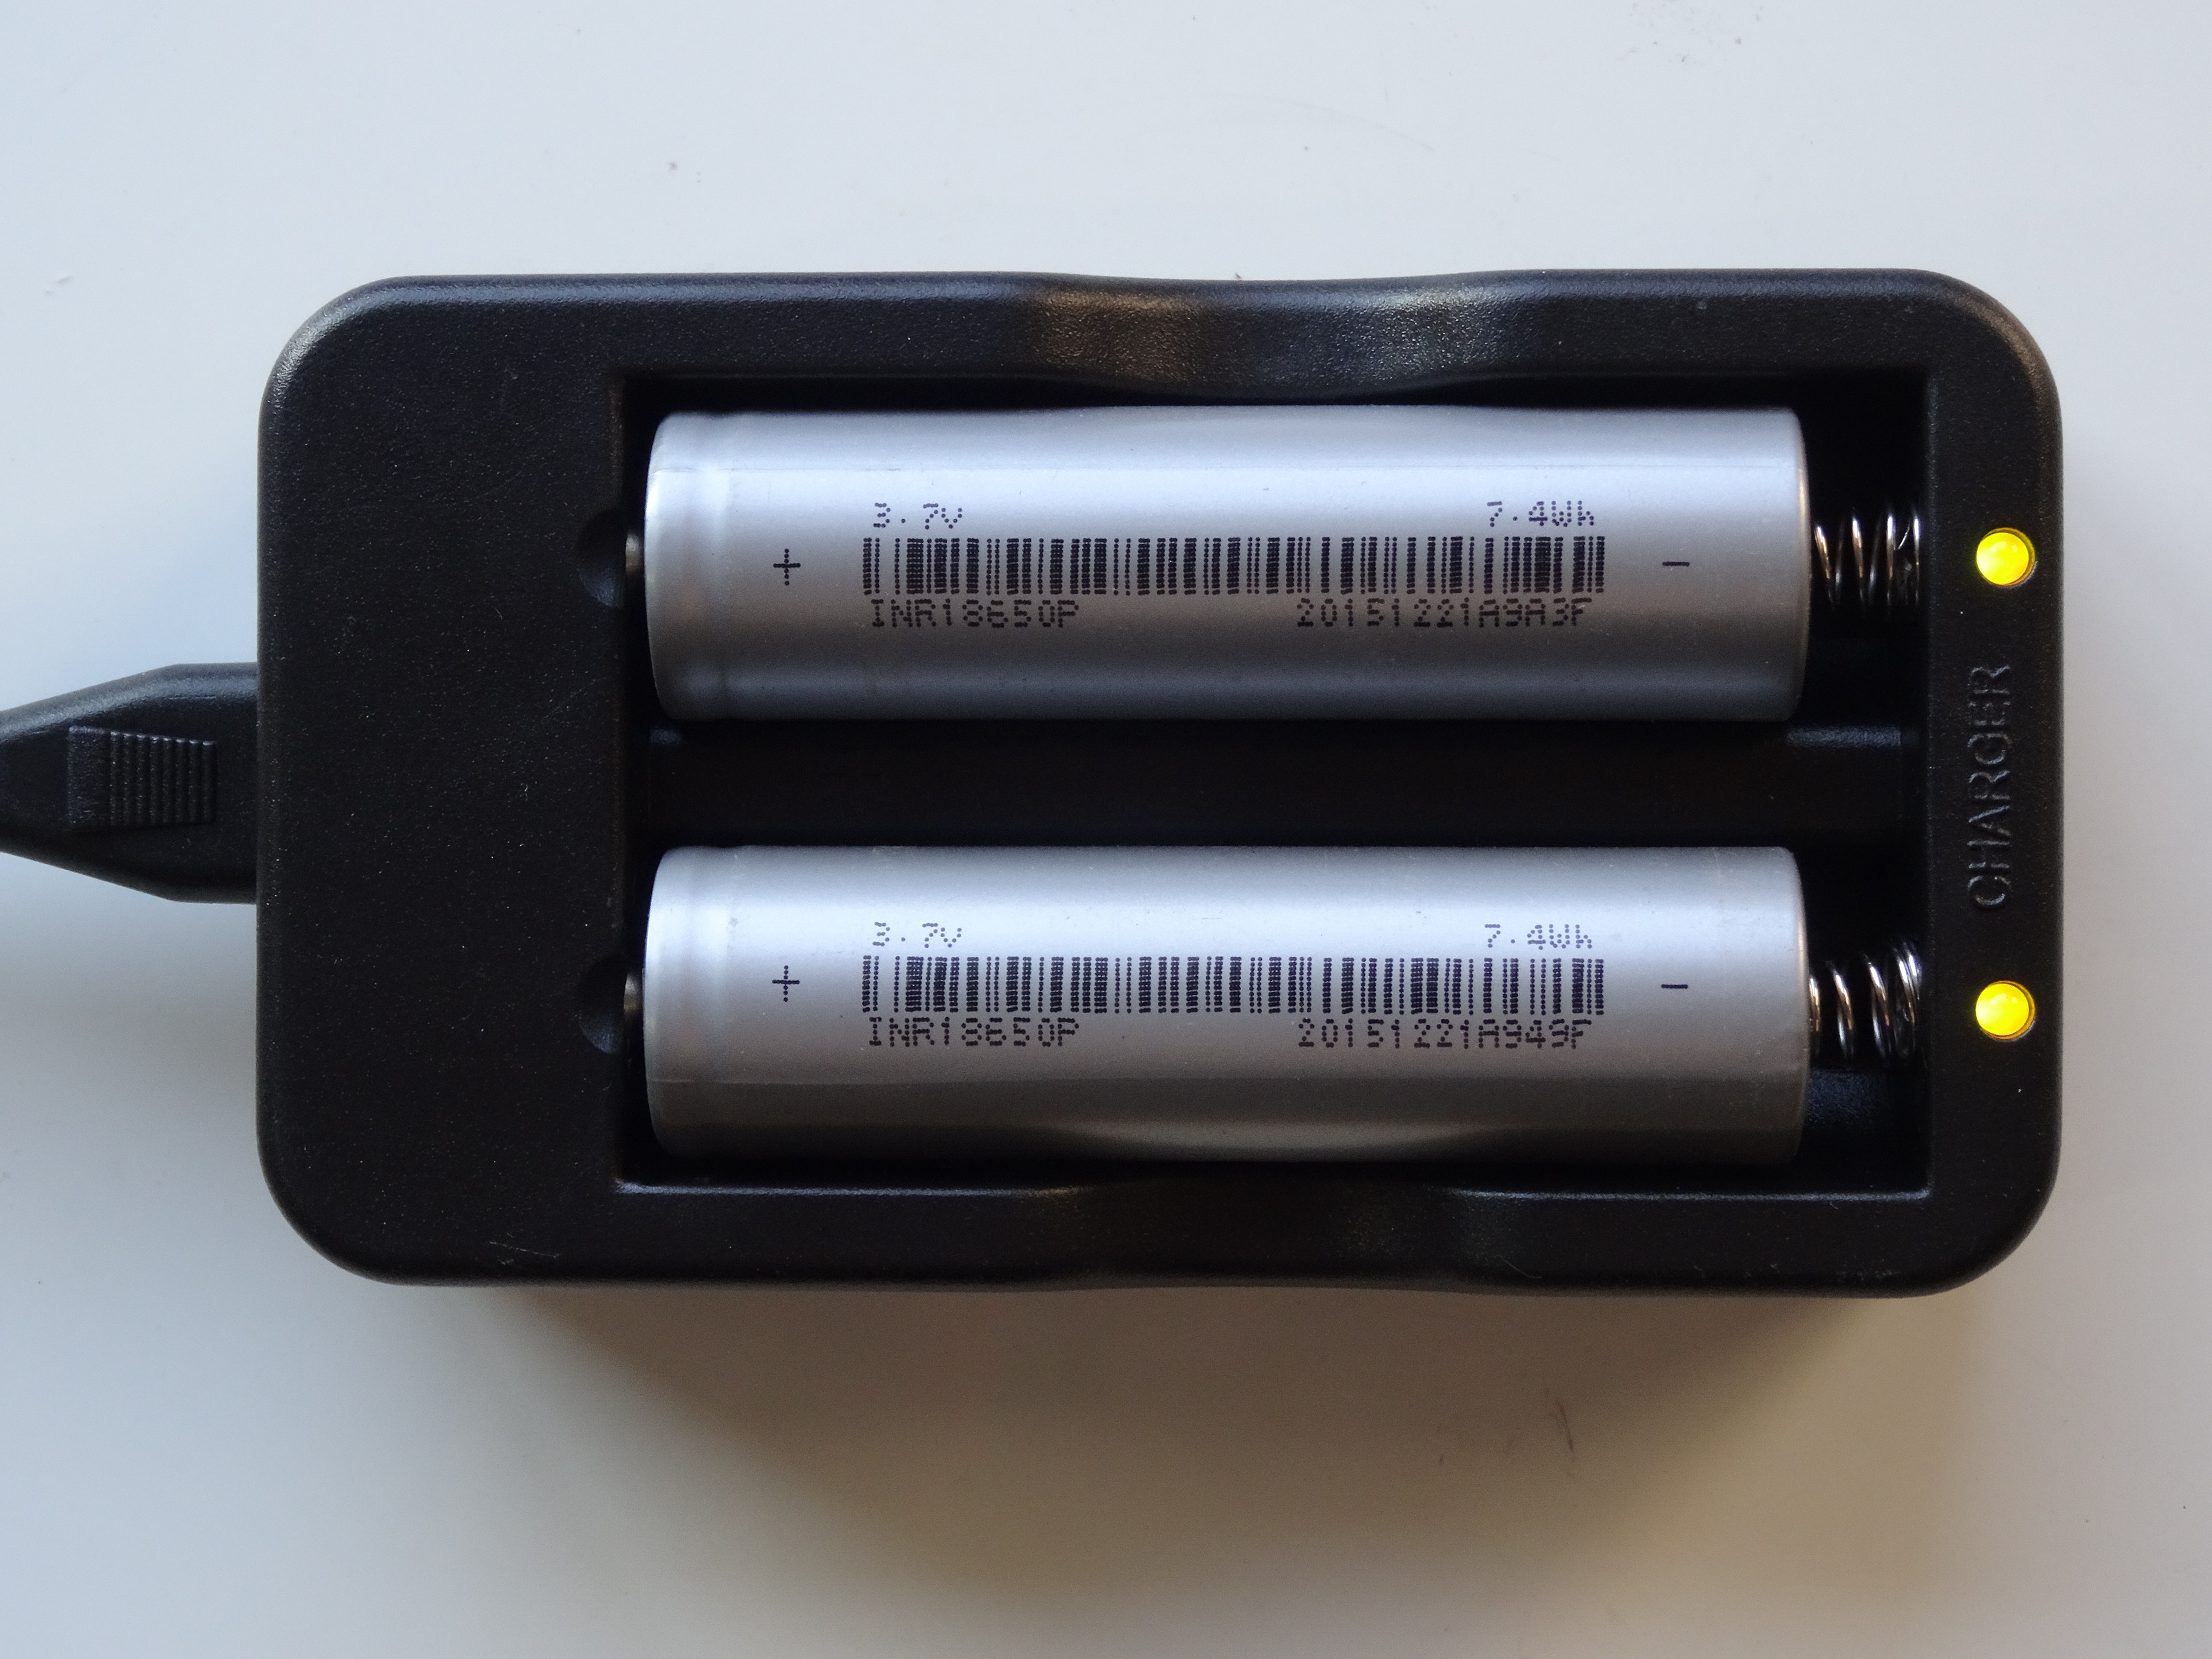
- Once the batteries are charged, the LEDs will turn green (Picture 5)
Installing the Batteries
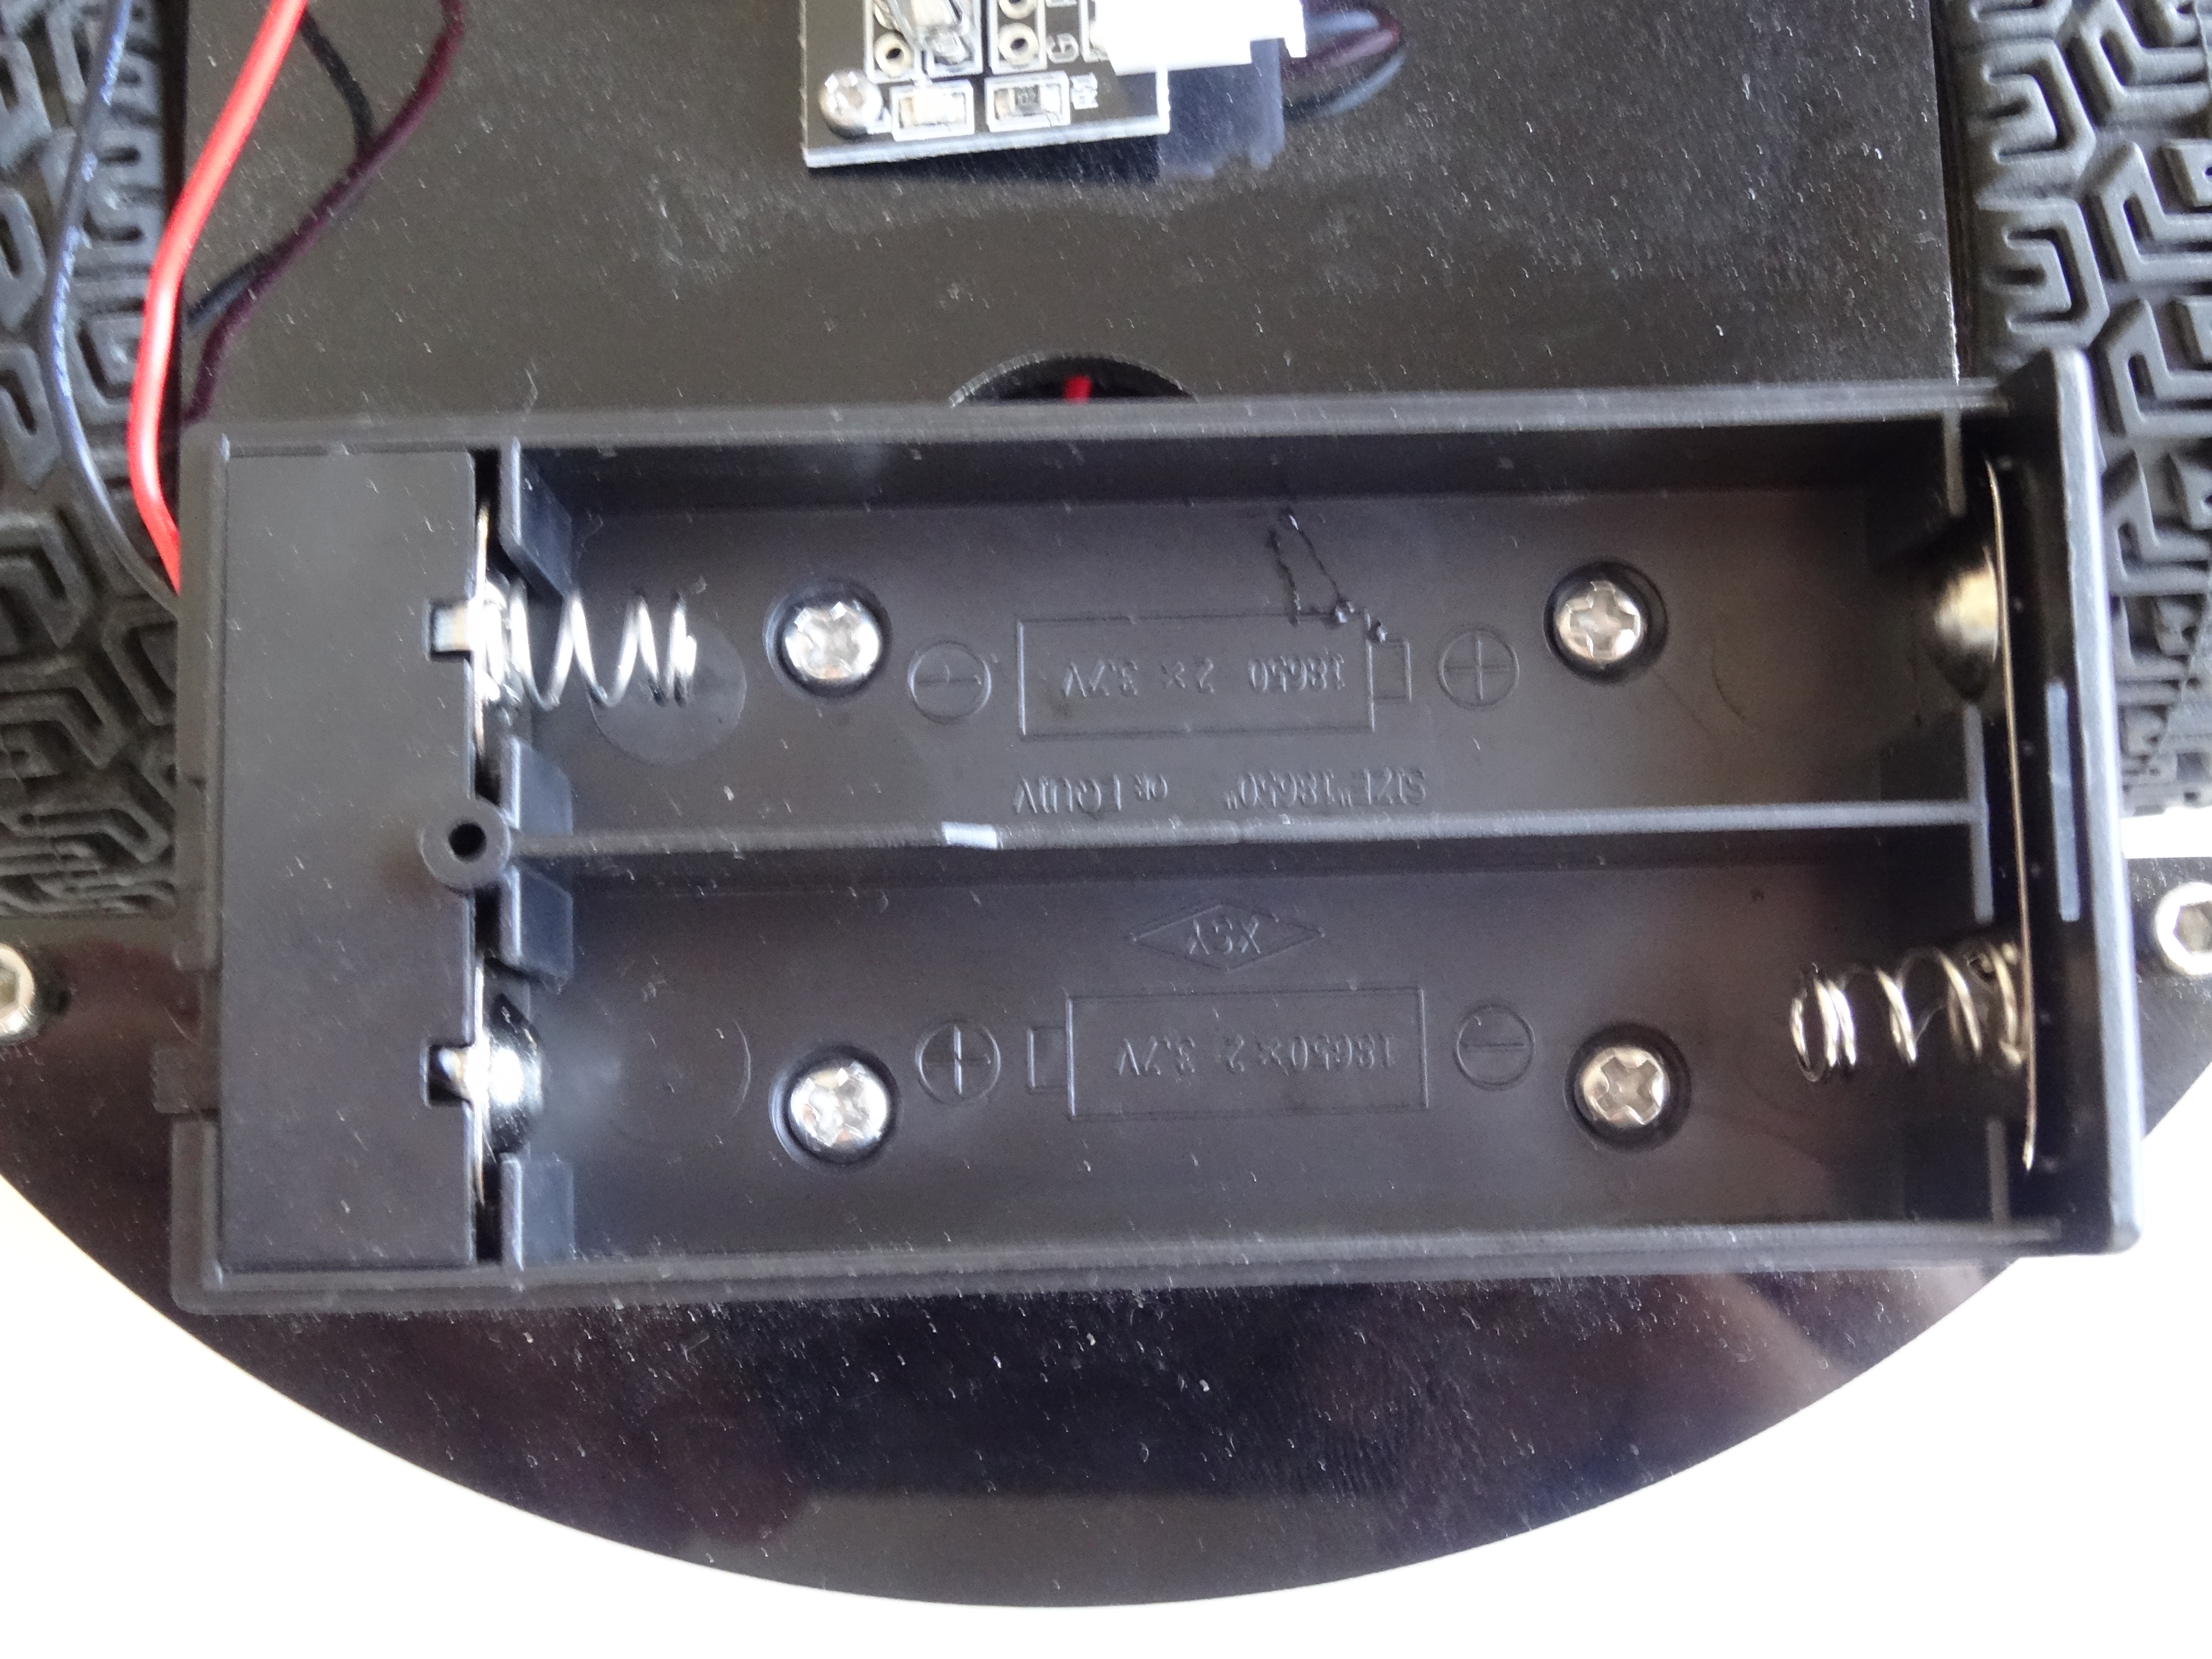
- Remove the batteries from the charger
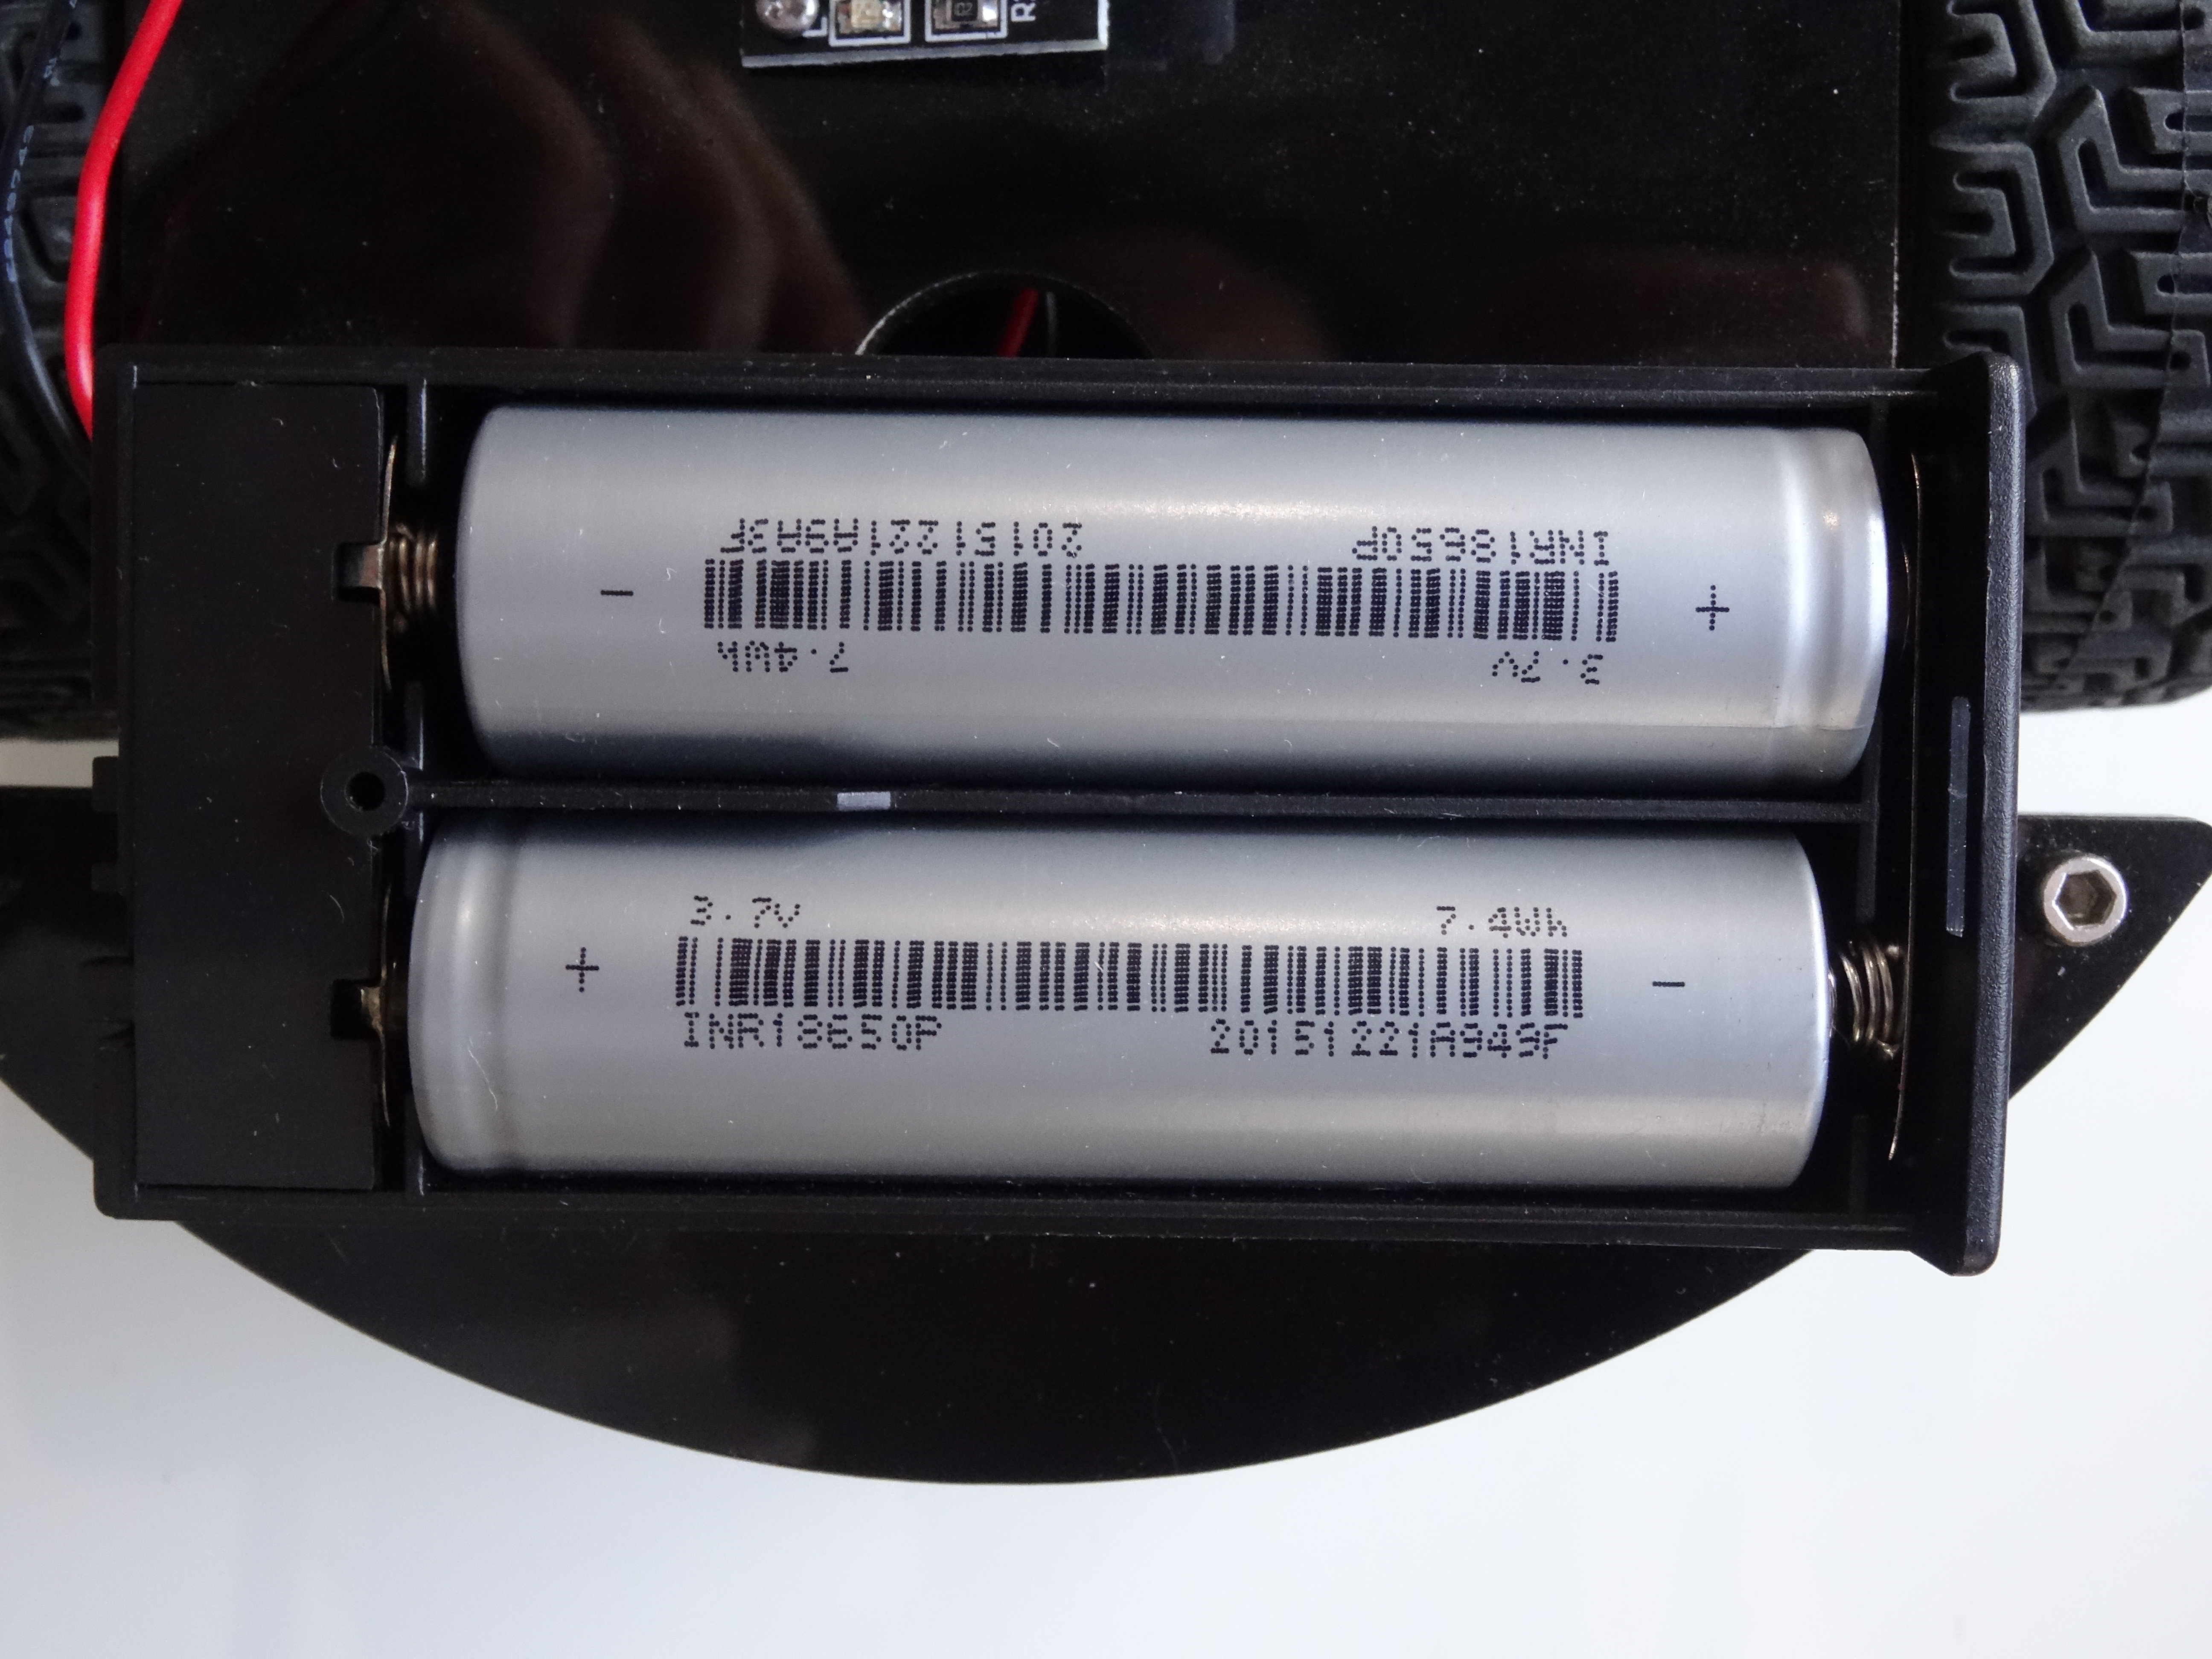
- Insert the batteries into the Battery Box the + and - as labeled on the Battery Box bottom (Pictures 1, and 2)
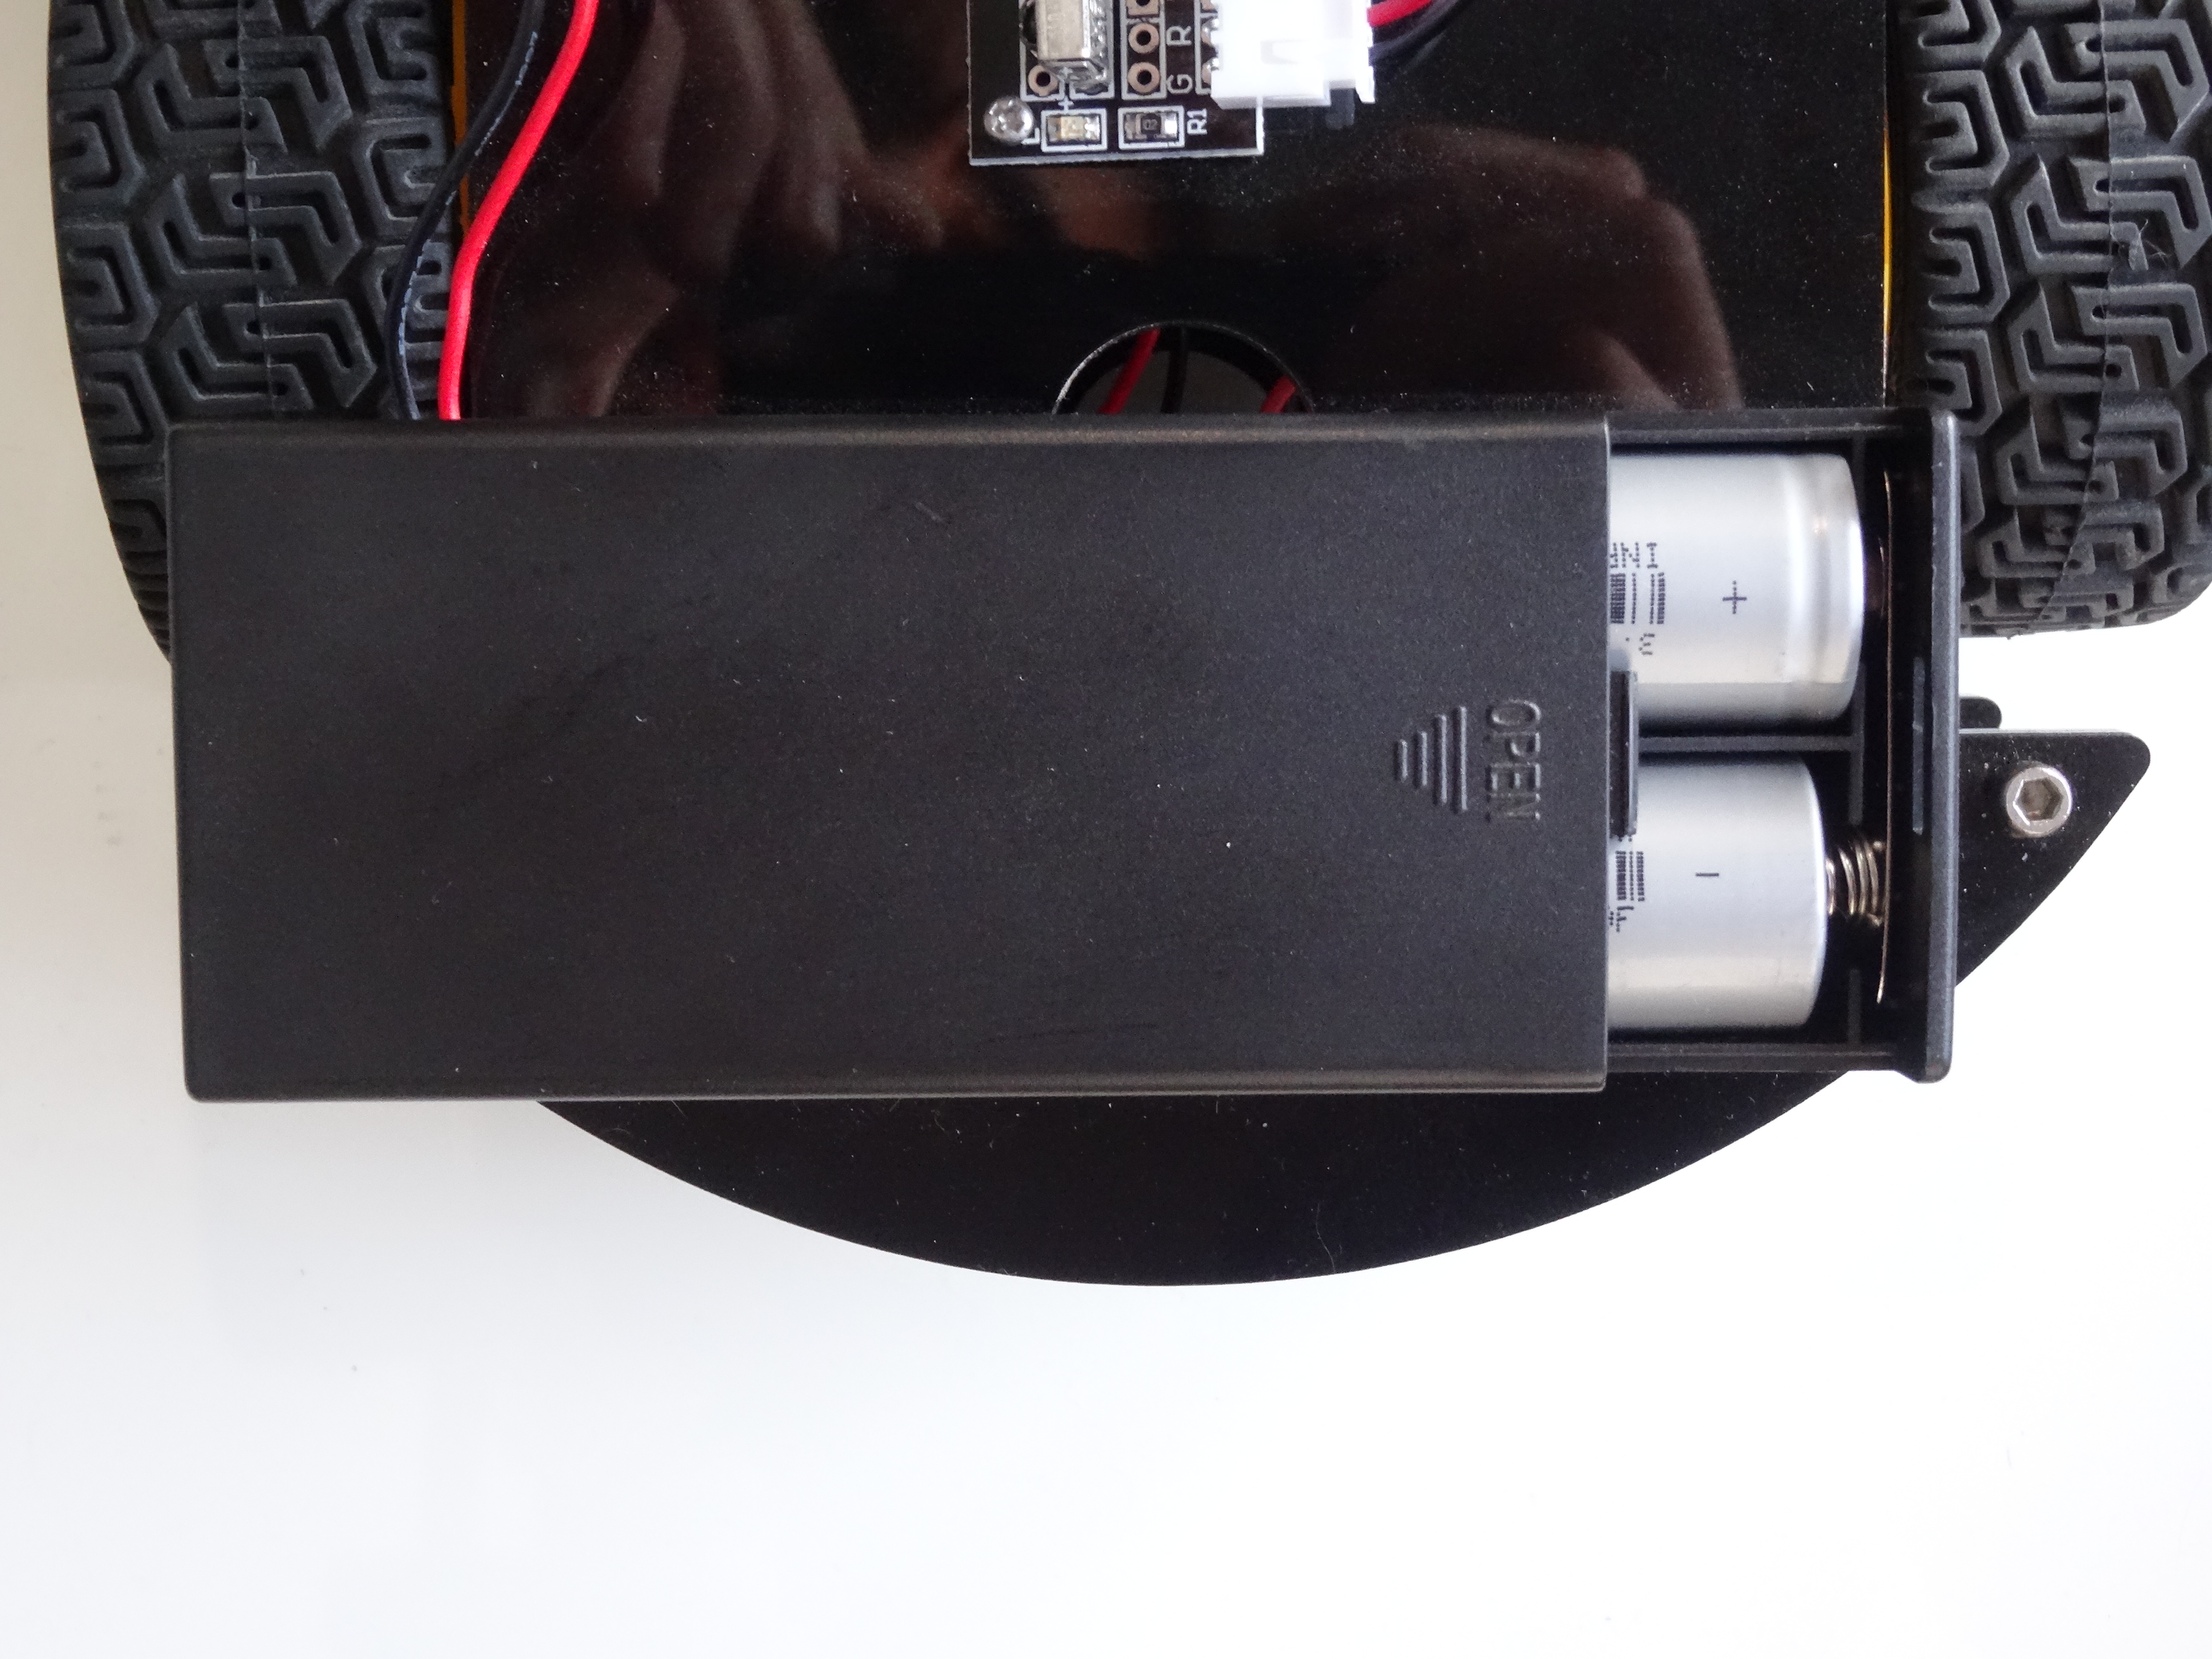
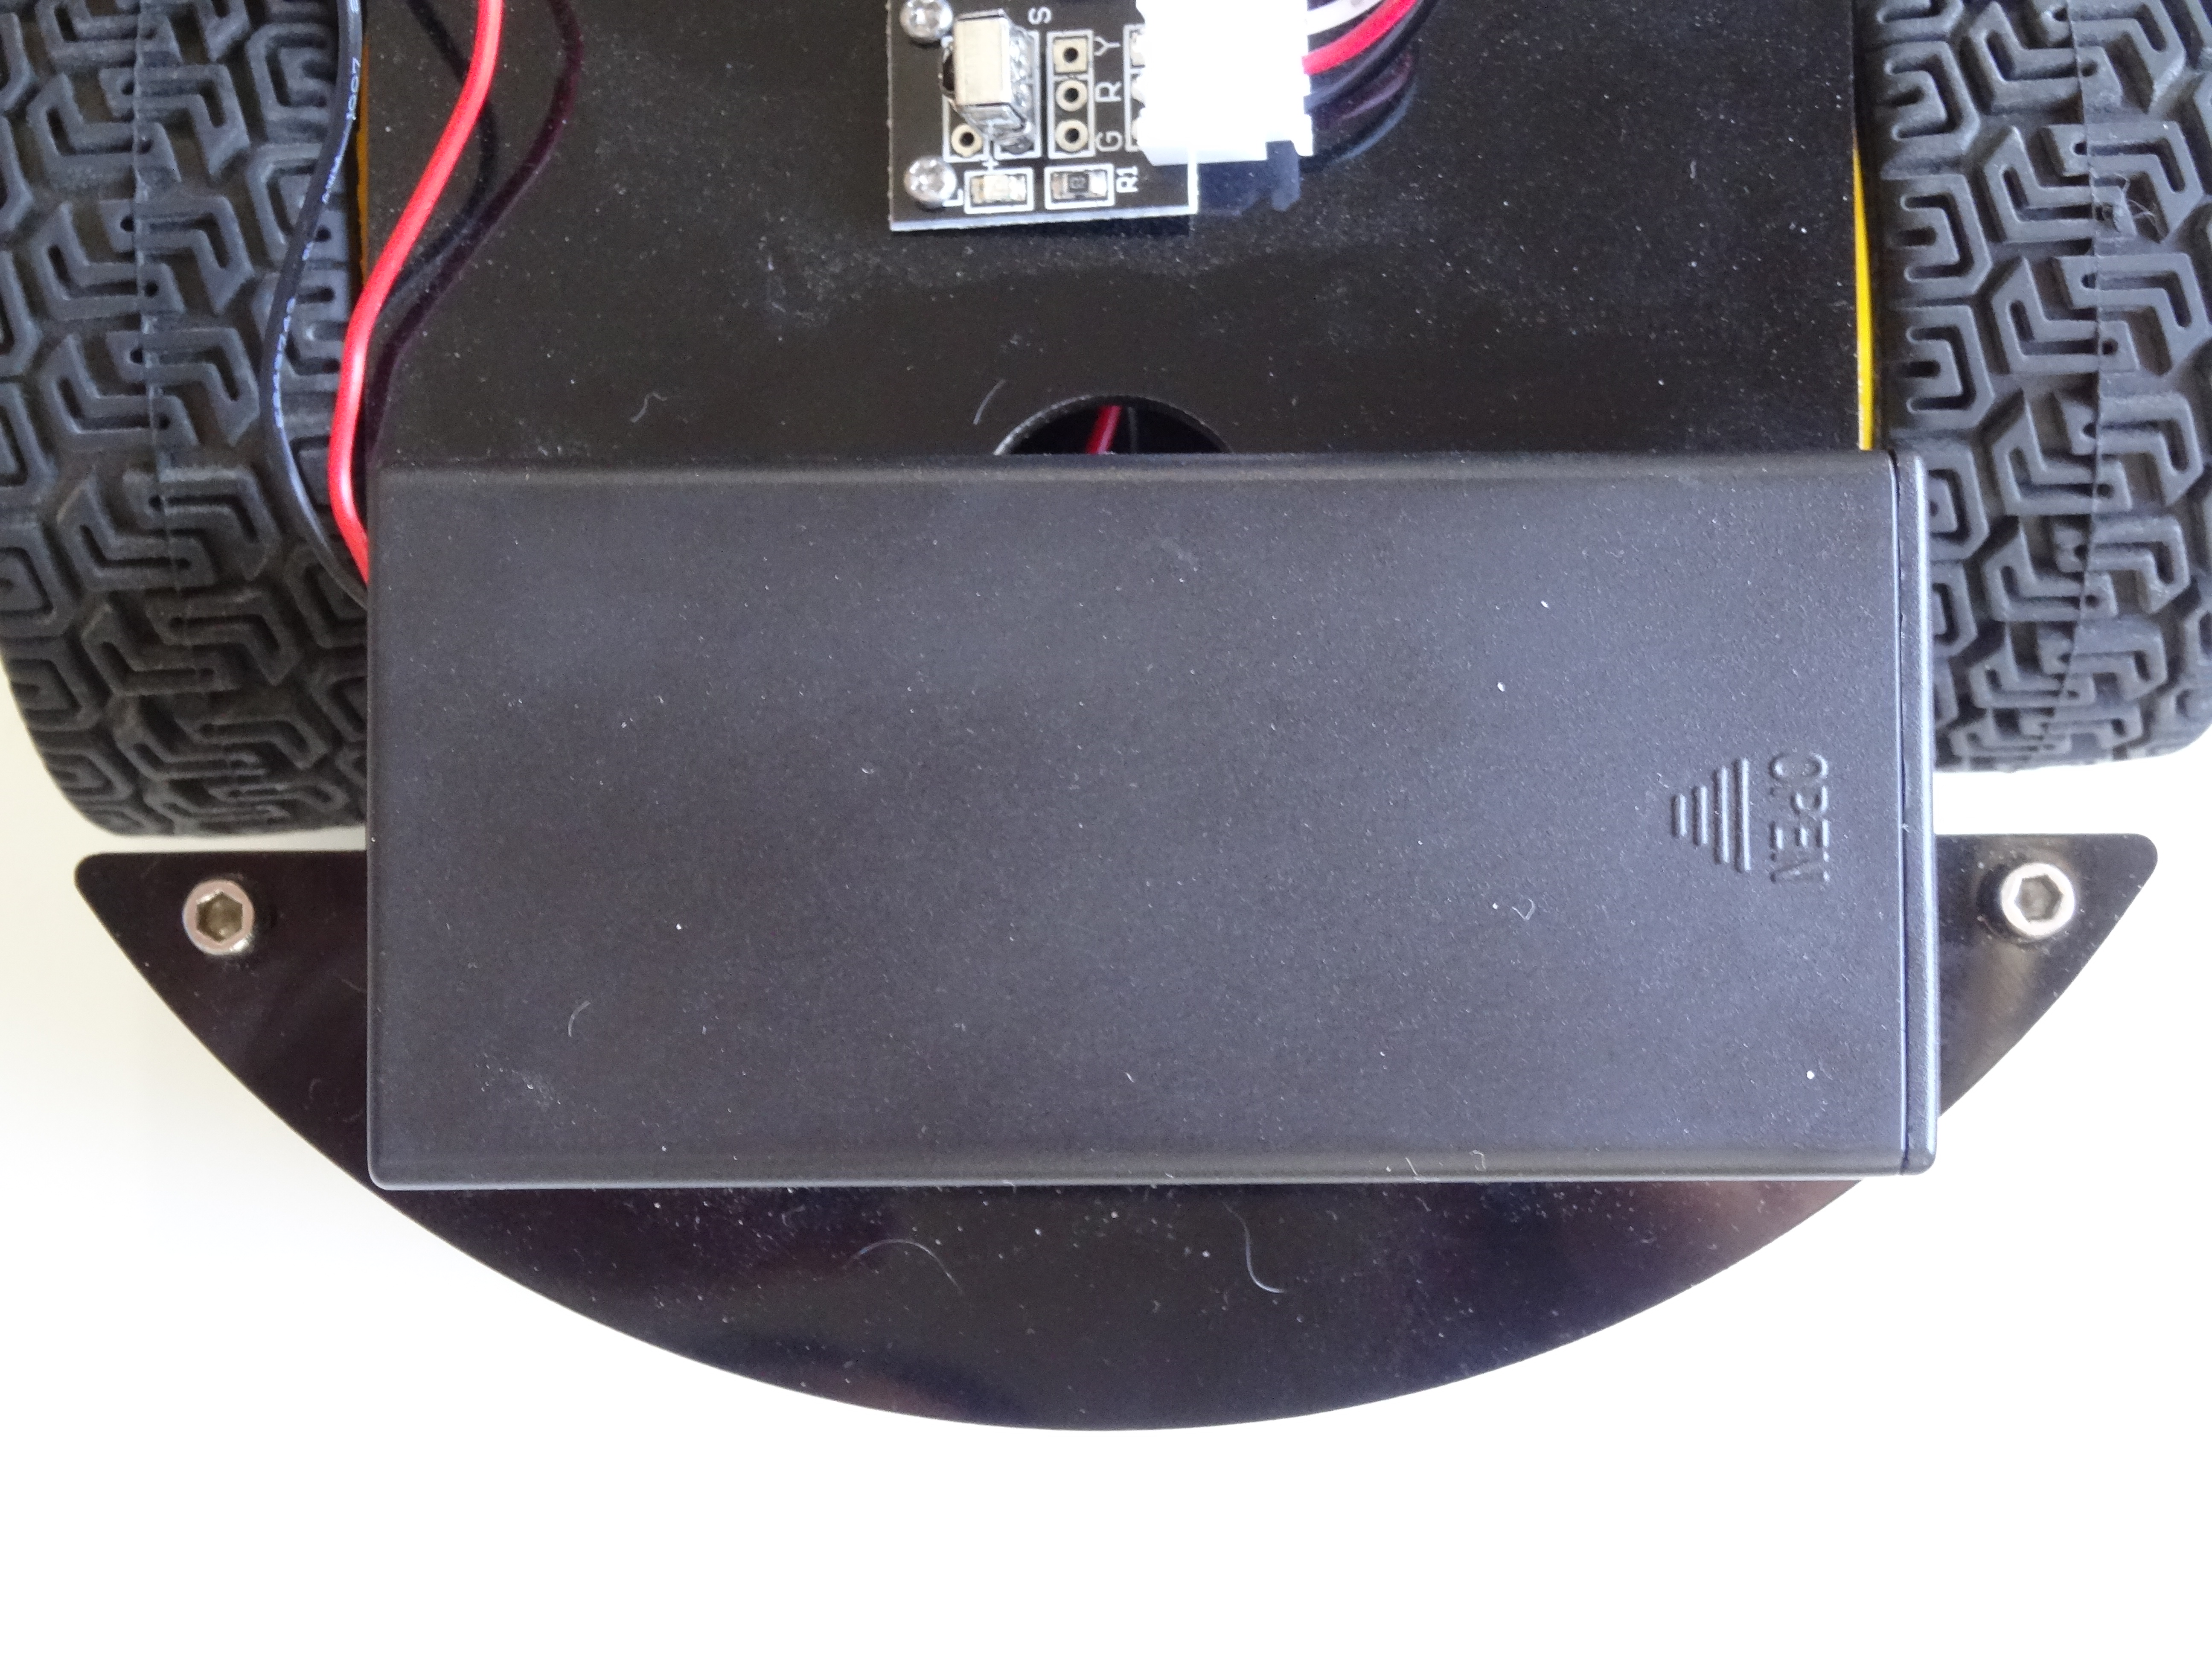
- Plece over and slide the Cover of the Batter Box until it is locked closed (Pictures 3, and 4)
The Smart Car Robot Is Complete
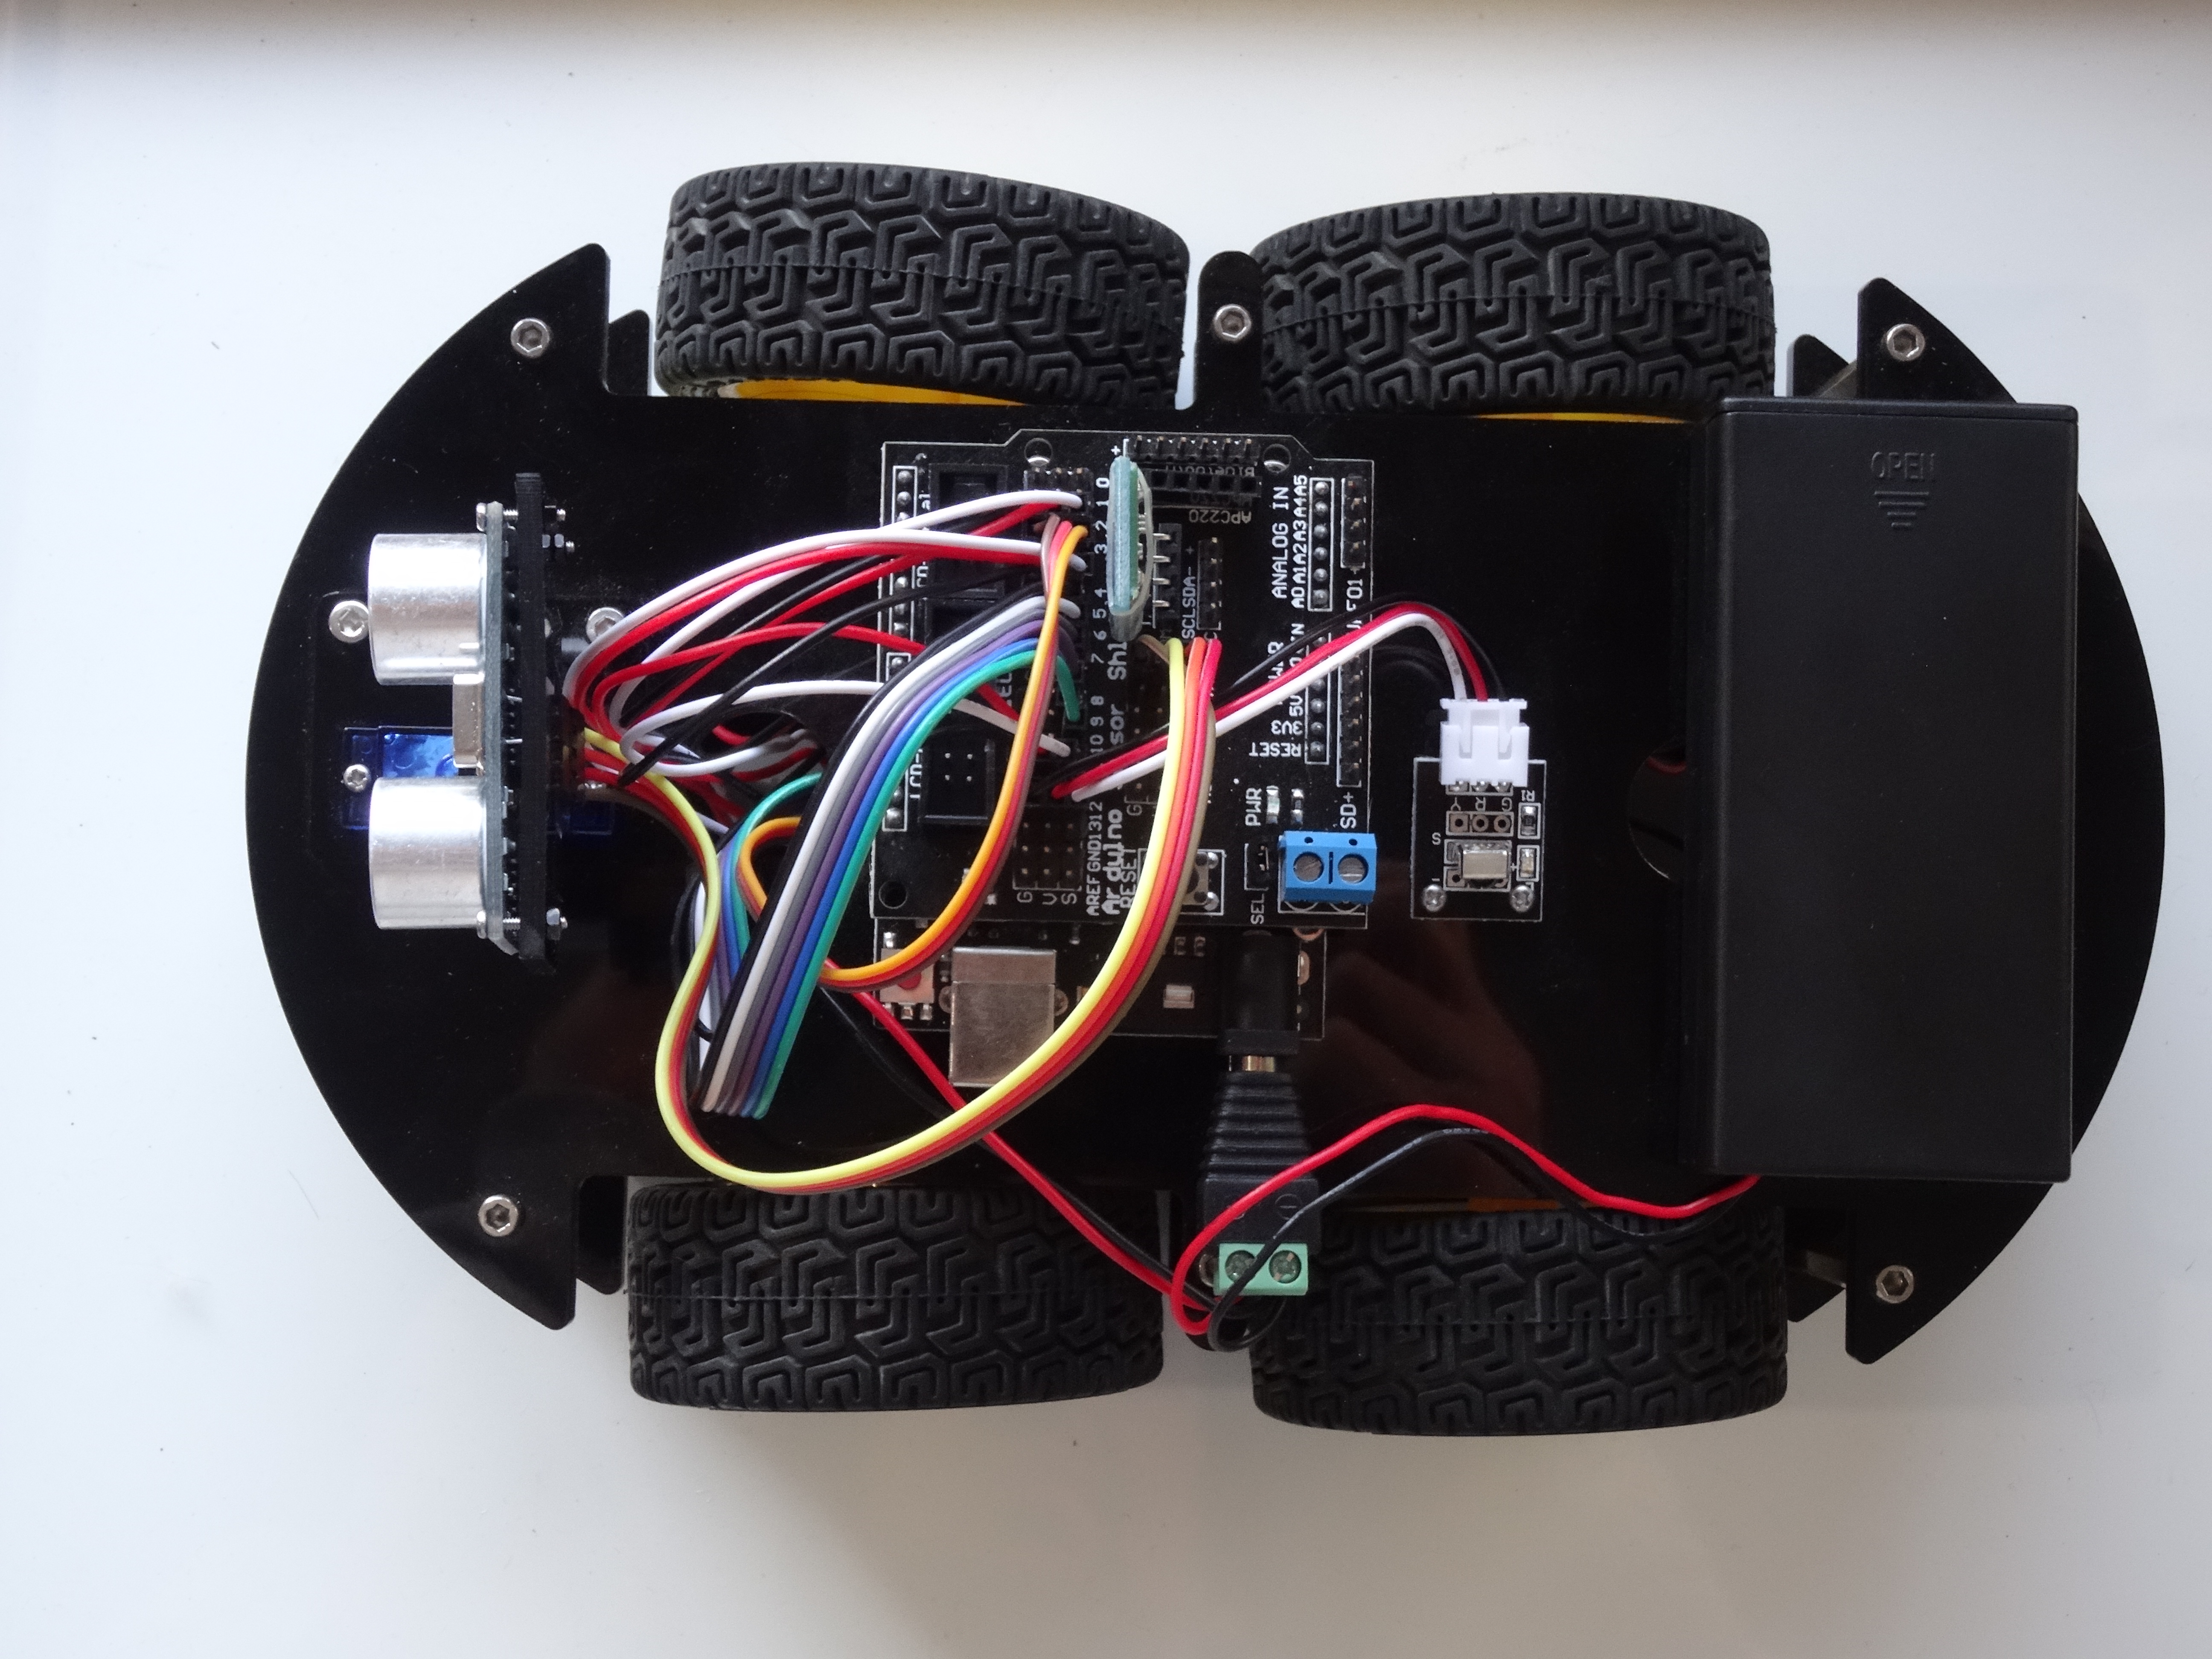

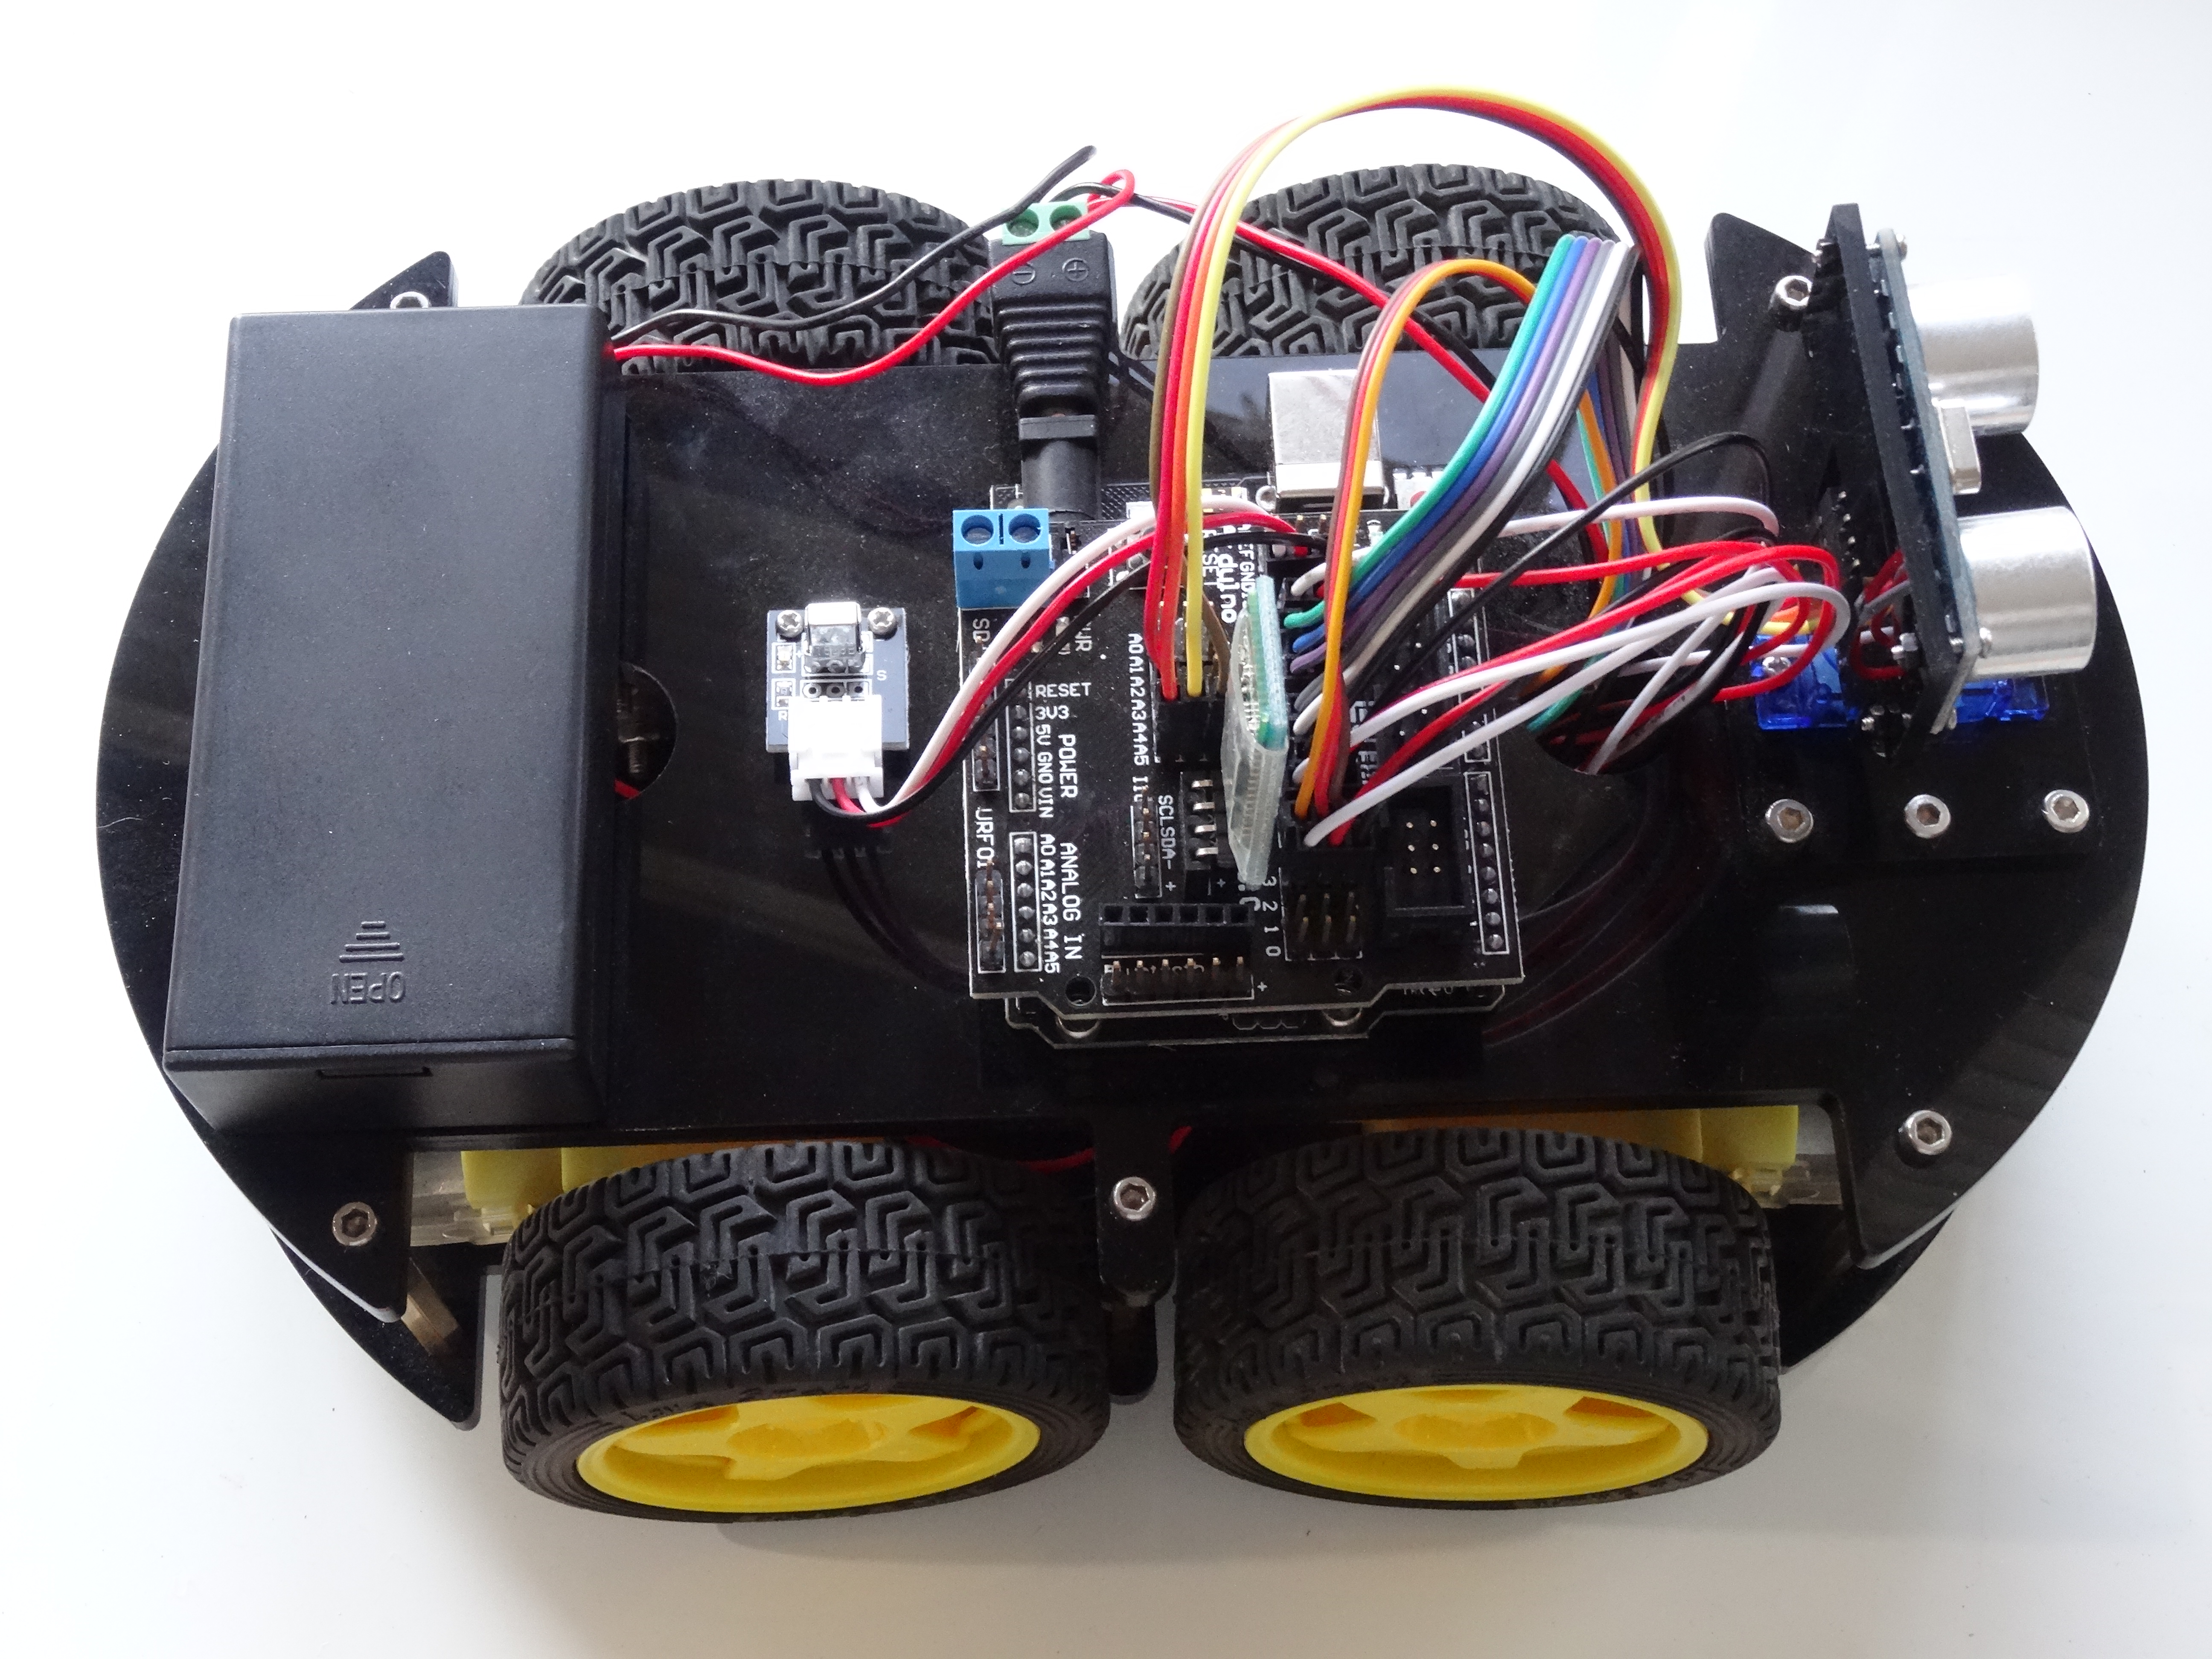
Congratulations! The Smart Car Robot is ready :-)
In the following Tutorials, I will show you how you can program it with Visuino as remote controlled, or autonomous robot.