Artistic Sports Trophy
by Markus Opitz in Workshop > Molds & Casting
827 Views, 6 Favorites, 0 Comments
Artistic Sports Trophy

I had to make the trophies for a climbing competition at my school, the first three places in each of three categories. Making them individually was out of the question, it would be too much detail work and the sculptures might not look quite the same. I also wanted to use the design again for next year.
I'll show you how to make sculptures in small series production. The trophy itself will be made of concrete and wood.
It just depends on your template.
Supplies

- Template in original size 1:1 - made of wood, clay, metal, plasticine or plastic (3D printer)
- Latex paint (for clay: cheap silicone from the DIY store)
- Concrete mix, ready-to-use
- Baby-powder
- Plaster powder OR construction foam
- Bucket/container
- Screws & wire
Base:
Screw and dowel
Piece of wood
Prepare the Template

In theory, you can use almost any template. The important thing is a simple shape without openings, en bloc.
You can use clay, wood, glass, ceramic, metal (crumpled aluminum foil), plasticine or plastic from the 3D printer.
I decided to work with the 3D printer here because I had to create a trophy for a climbing competition. Of course, a mountain is a suitable award. I explain how to do this in step 2.
If you use clay as a template, you can also use silicone from the DIY store. It sticks so well to smooth surfaces that you can hardly remove the mould. The soft clay, on the other hand, can be easily removed and washed out. The original mould will of course be destroyed.
You can see two examples of this in this chapter: A piglet (30cm) and a bird (8cm).
You don't need to prepare anything for the template if you use latex paint from an art supply store.
Tinkercad and 3D Printer
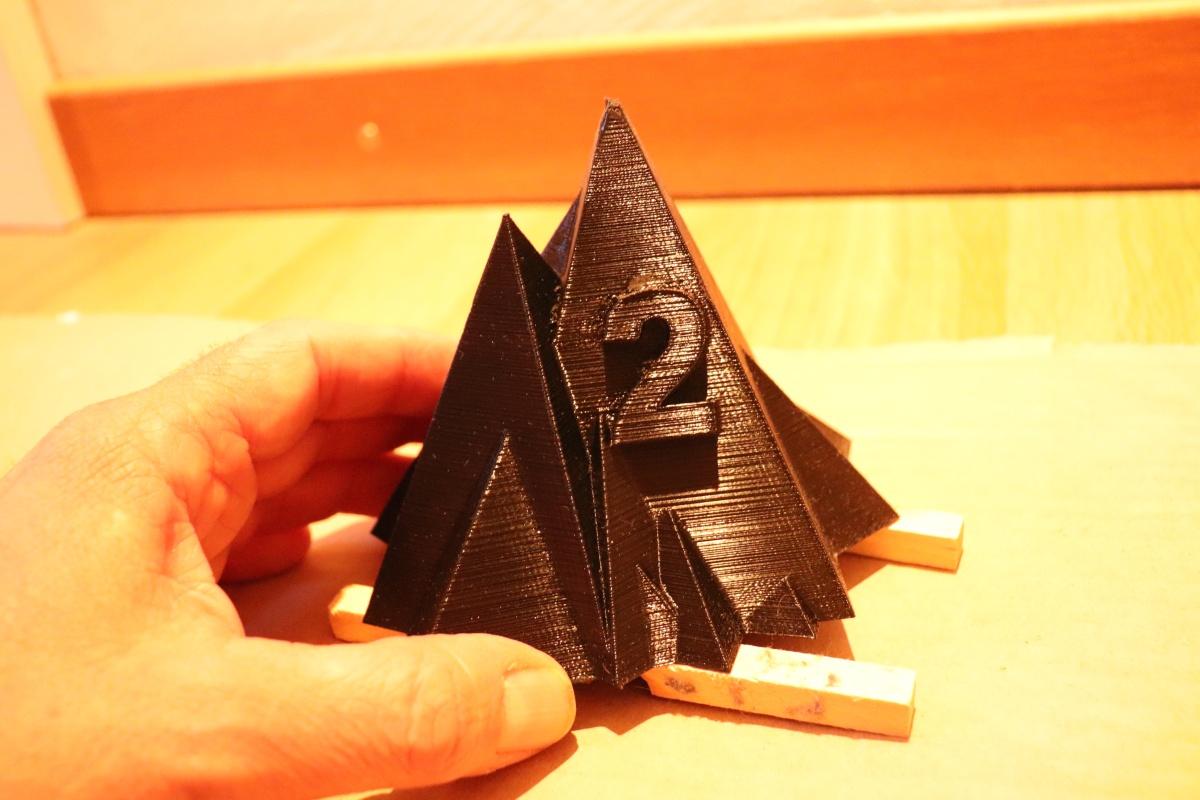
Tinkercad makes it easy to build complex shapes from the basic shapes. These shapes can be combined by adding and subtracting.
I have favoured the pyramid shape. By copying, rotating and scaling, I created a complex mountain shape. Then I copied and scaled the whole mountain to get three different sizes. Using the letter function, I generated the place numbers 1, 2 and 3, which I placed slightly tilted on a mountain wall.
Then you just have to wait until the 3D printer has produced the parts.
Latex Layer

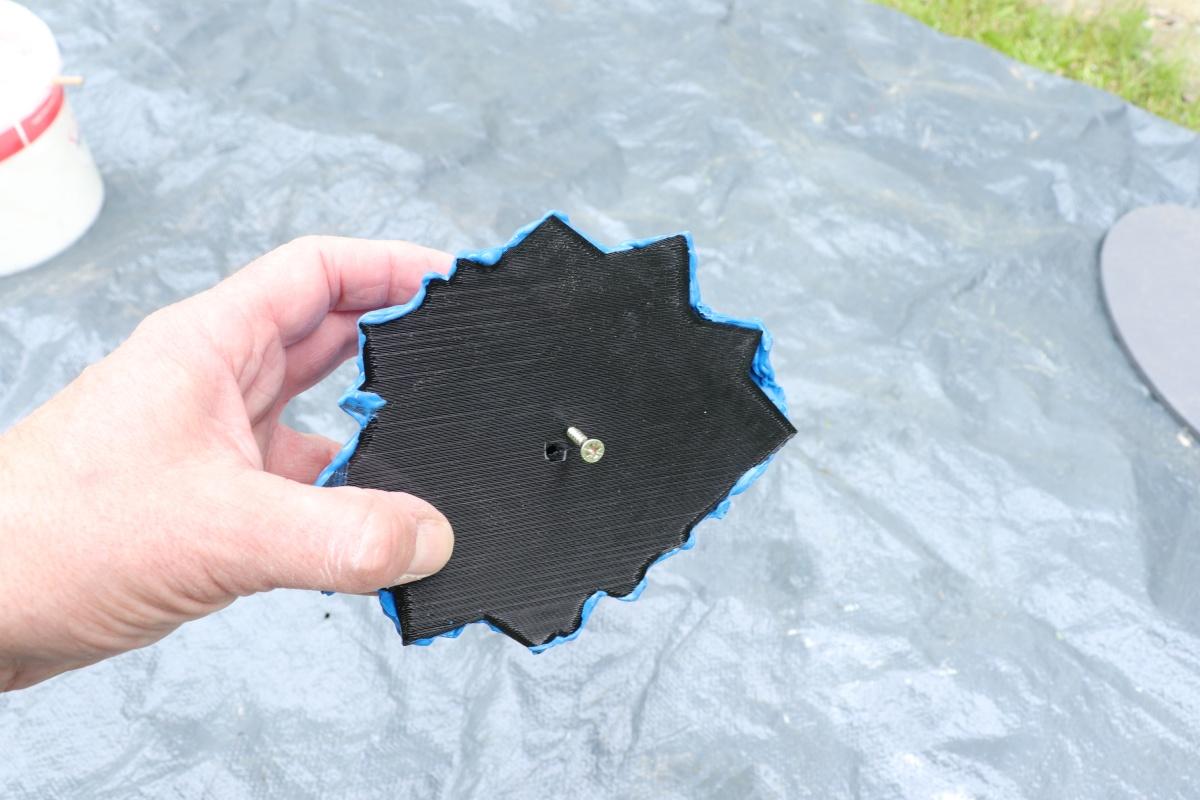


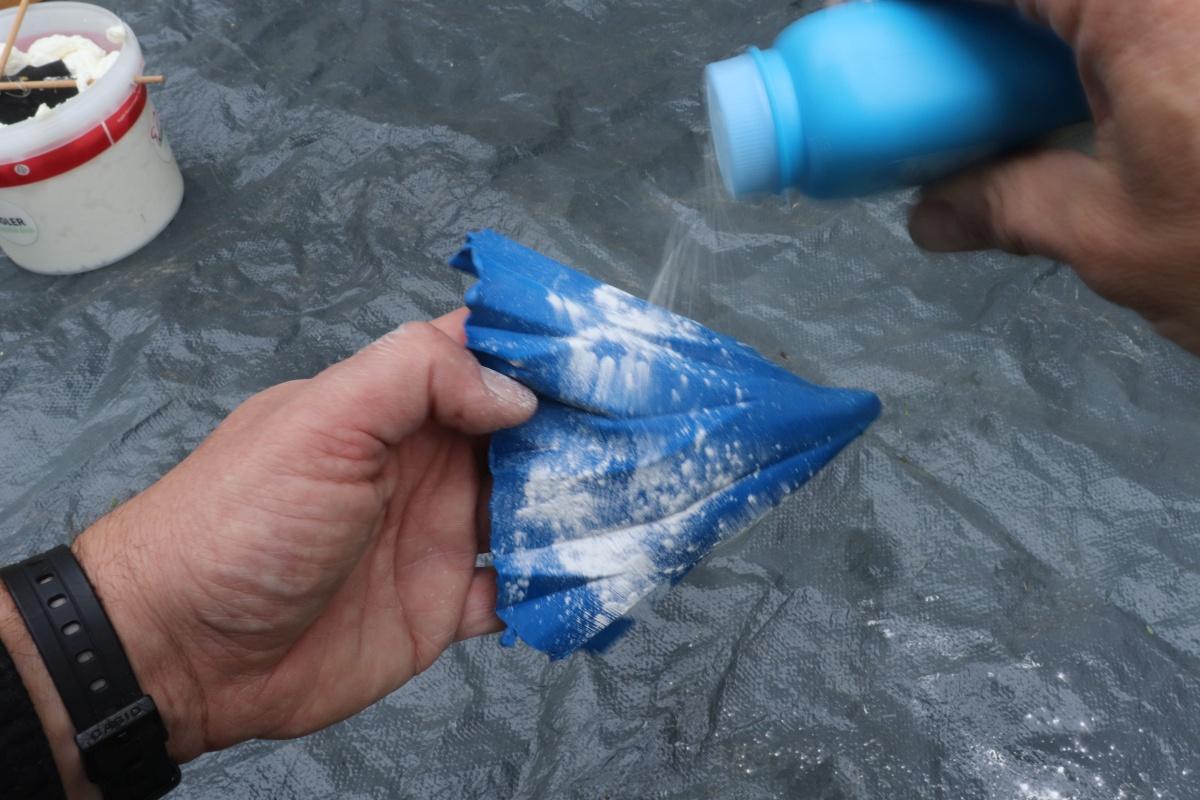
The latex is applied with a brush. It usually takes a few hours to a day to dry. Then you can add the next layer. I used four coats to get a stable latex layer.
You can usually tell whether the paint is dry by its colour: dried paint is usually darker than fresh paint.
If everything is really dry, you can risk removing the latex layer as a test and checking for defects. The inside of the latex should be dusted with baby-powder so that nothing sticks. The template must then be placed back into the latex mould.
[You could make the cast without the silicone/latex layer with a few tricks. However, it would be much more difficult to remove and the mould could only be used once. ]
Solid Plaster or Foam Mold


The latex mould itself is of course far too soft to pour heavy concrete into later. That's why we need a solid support out of plaster or foam.
a) Prepare a suitable container. Mix the plaster according to the instructions on the packet, not too firm. Dip the template with the latex layer upside down into the liquid plaster. Fix the mould until the plaster has completely hardened.
b) Prepare a suitable container. Spray the construction foam from the spray can into half the container. The foam will still expand. Dip the template with the latex layer upside down into the fresh foam. Fix the mould until the plaster has completely hardened. Depending on the temperature, this will take a few hours,
Remove Template

When everything has hardened, try to remove the template from the latex mold. If the latex mold also comes loose from the hard shell, it doesn't matter. You can put everything back together again.
The Screw


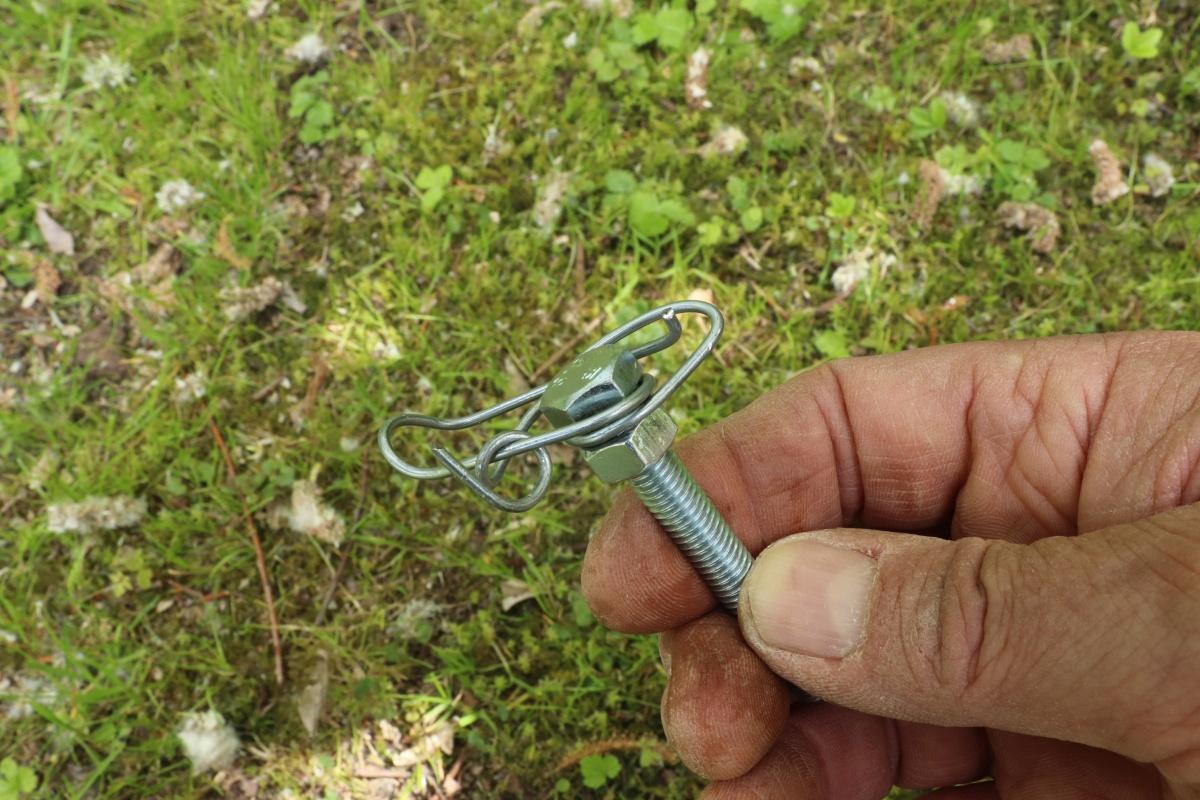

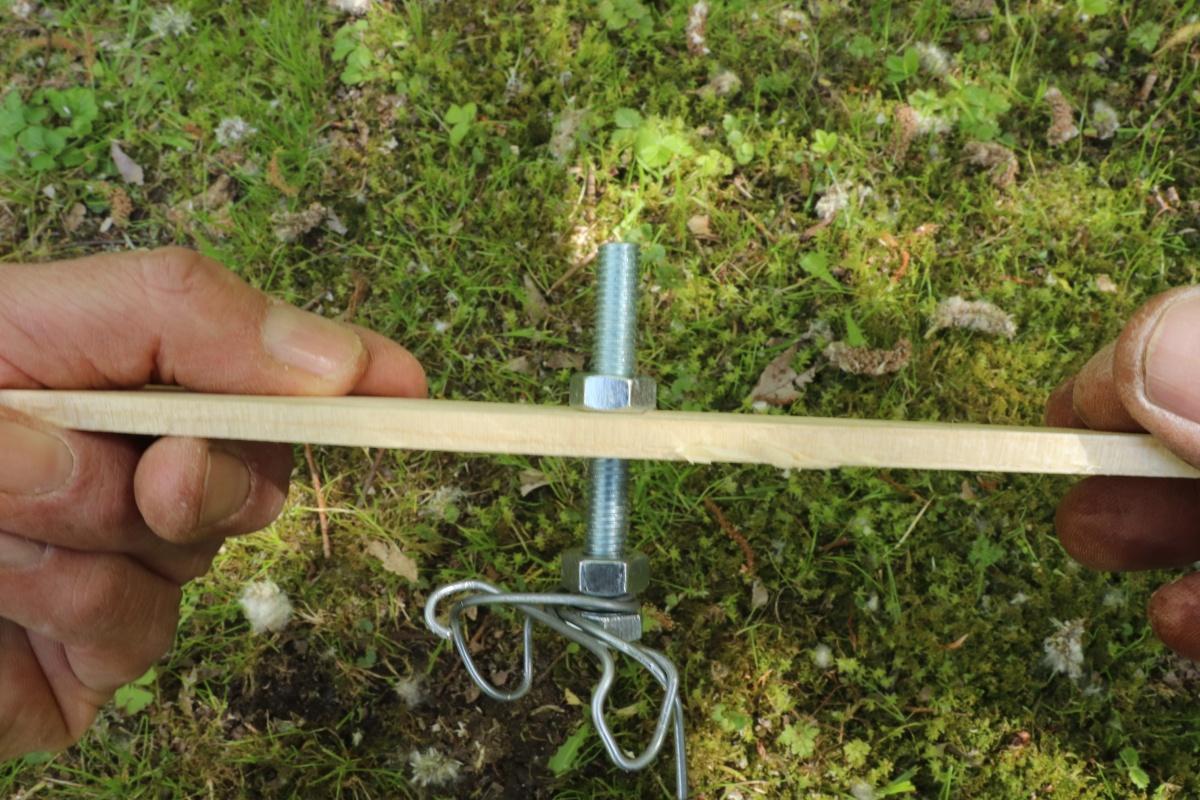
To be able to attach the sculpture to the wooden base later, we need a screw that we can sink into the concrete. To prevent the screw from turning in the concrete later, we attach strong wire between the end piece of the screw and a screw nut (see series of pictures). This screw is held in position during the casting process by a small wooden strip.
Concrete Casting


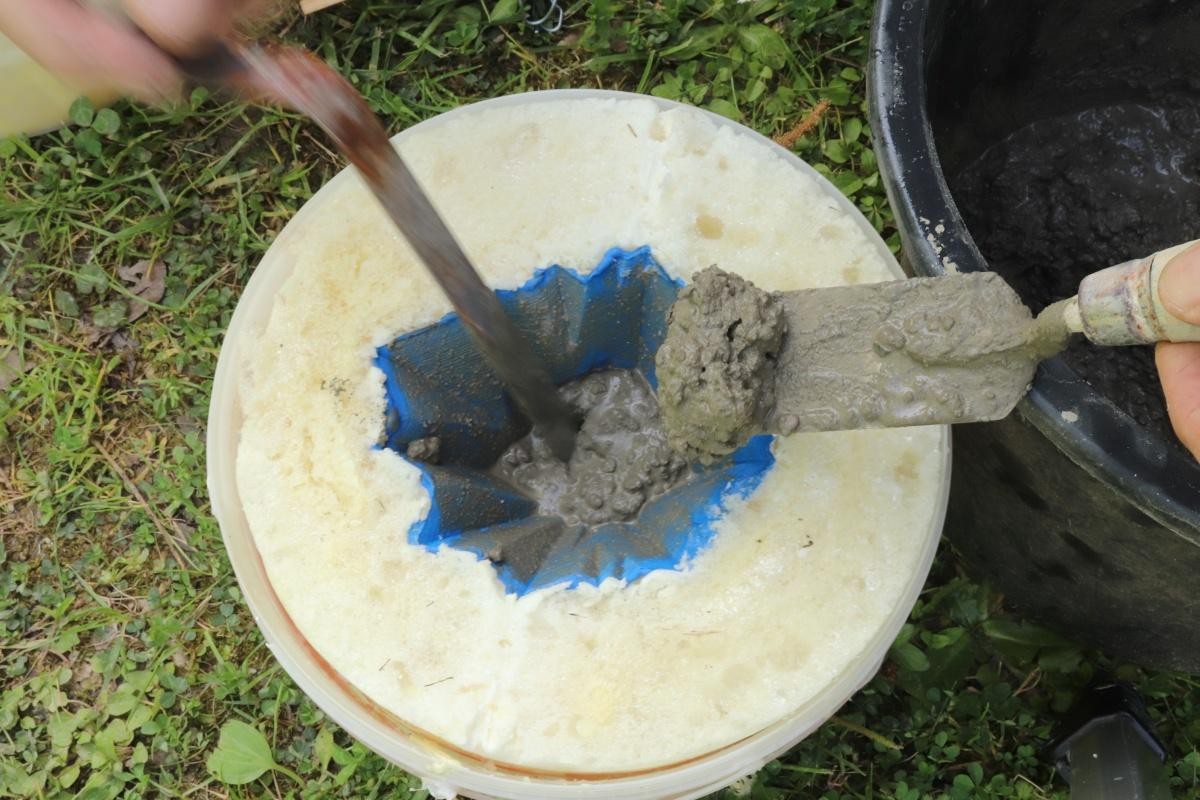


Mix the ready-mixed concrete as described on the packaging. Usually you only have to add water.
Use an old paintbrush to wet the inside of the mold with a thin concrete mixture and at least moisten the mold. You should also pour a thin concrete mixture into the tips of the mold, if possible without stones, otherwise the tips will break off easily later.
Now you can carefully fill in the rest of the concrete, layer by layer.
To ensure that no bubbles remain in the concrete, the mass must be moved. This can be achieved either by tapping the mold for a long time, or by holding an orbital sander to the container and vibrating the concrete.
Careful Removal of the Cast


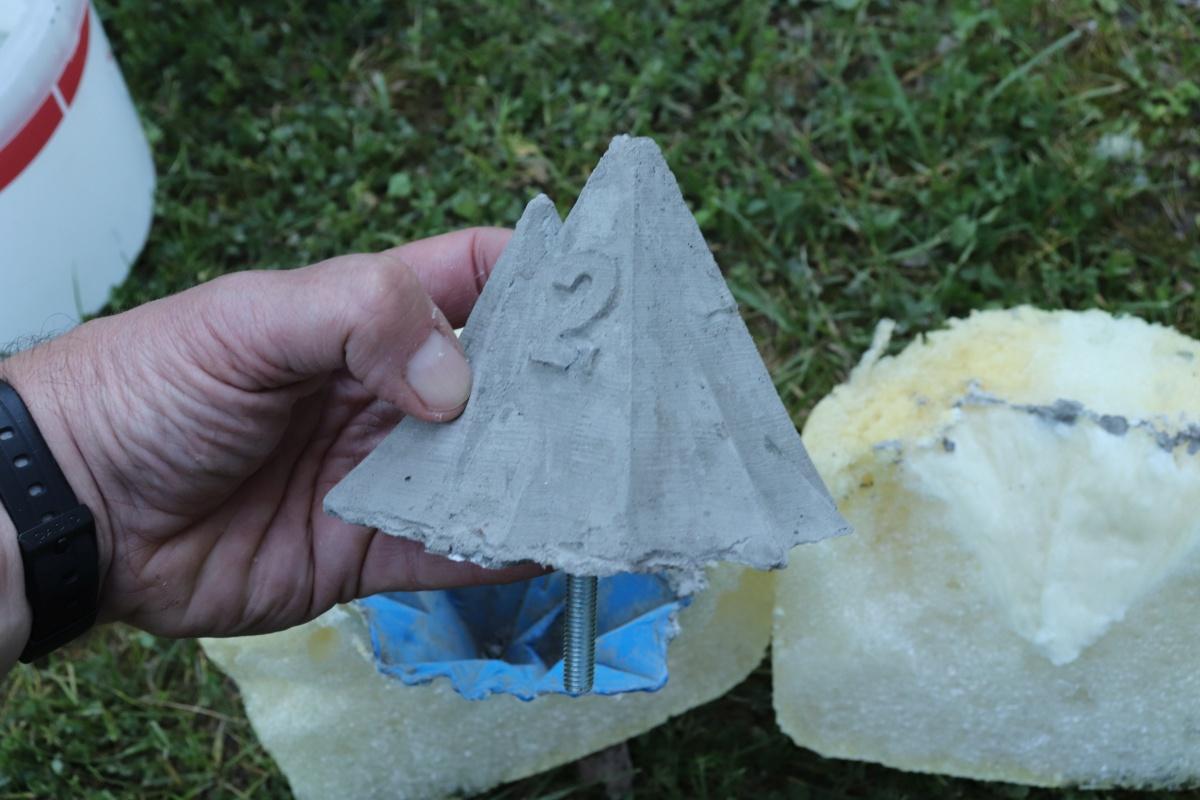
Once hardened, the construction foam mold can be easily removed from the smooth bucket. If not, use a cutter knife and/or a long metal ruler to help.
Use a knife to carefully cut open the foam and remove the concrete figure.
The construction foam support and latex mold can be reassembled and used for the next casting - sustainably.
Editing Concrete

I didn't want to leave the concrete raw. Over time, the concrete crumbles and becomes dusty. That's why I decided to use a varnish finish. I still had clear lacquer at home, which I thinned for a first coat and later applied another coat.
Unfortunately, the light grey "rock" took on a yellowish tone. Note to self: Use a grey or bluish varnish next year.
On the Base!

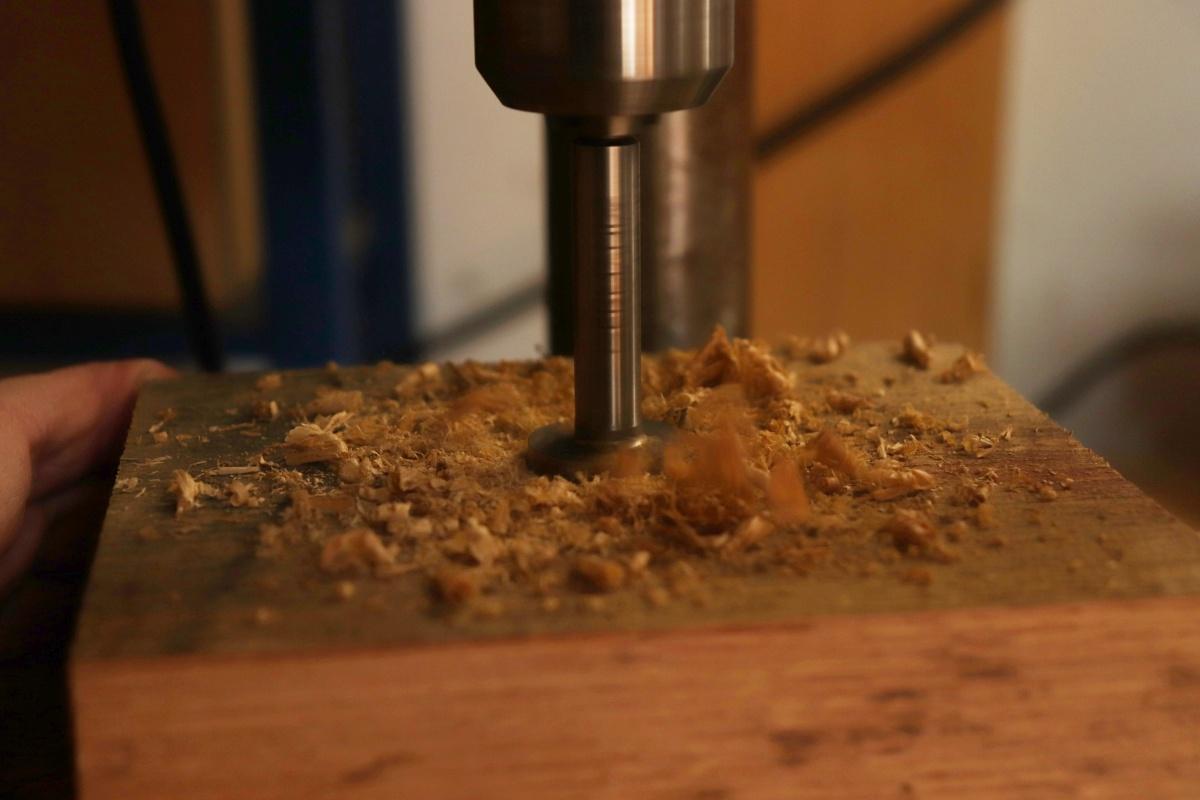

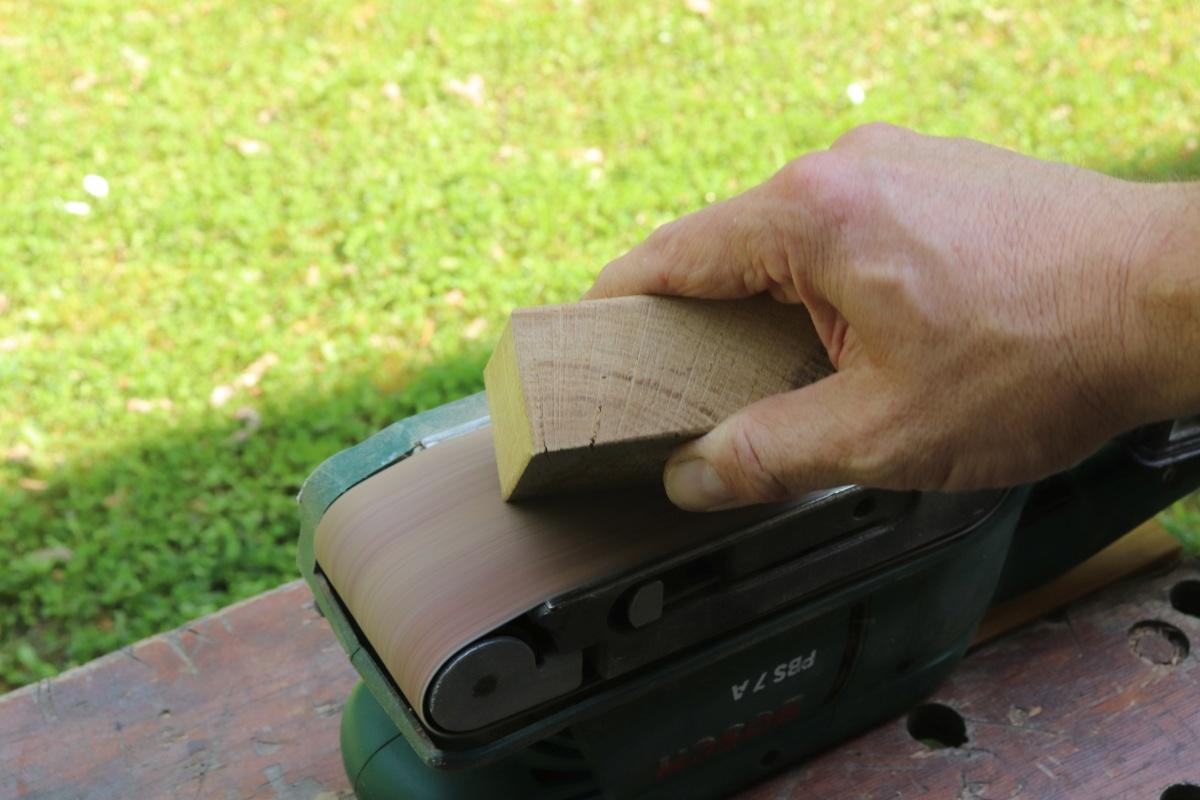


Now for the base: I used a circular saw to make 3x3 bases from oak, each in the appropriate size for the trophy. I determined and marked the centre of a pedestal using the diagonals. With a stationary drill, I started by drilling a hole on the underside with a Forstner bit. However, it should only be deep enough for the screw nut to disappear into it. Do not drill all the way through!
The hole can then be completed with a smaller drill bit.
Now the plinth still needs to be sanded, either by hand or with a machine. Finally, the plinth is rubbed with linseed oil. Depending on your taste, you can also use varnish, stain, lime paint or, if necessary, salad oil.
All that remains to be done is to insert the trophy with the bolt from above and screw it in place from below. Fini!