Art Project on a Metro Wagon
This project is part of a course on digital fabrication from
the Open University of Catalonia. It is a design to cut in colour vinyl and stick to the outside of the wagon.
Supplies
Procreate
Inkscape
Colour vinyl
Transfer vinyl
Vinyl cutter
Part1: Establishing the Wagon Dimensions.

I have to establish the wagon dimensions according to the
information provided by document “Nou Material Mòbil per al Metro de Nou Material Mòbil per al Metro de Barcelona (Trens sèrie 5000)” by the Barcelona public transit department. Link: https://www.atm.cat/web/pdf/np/2005/TRENS_LINIA_5.pdf
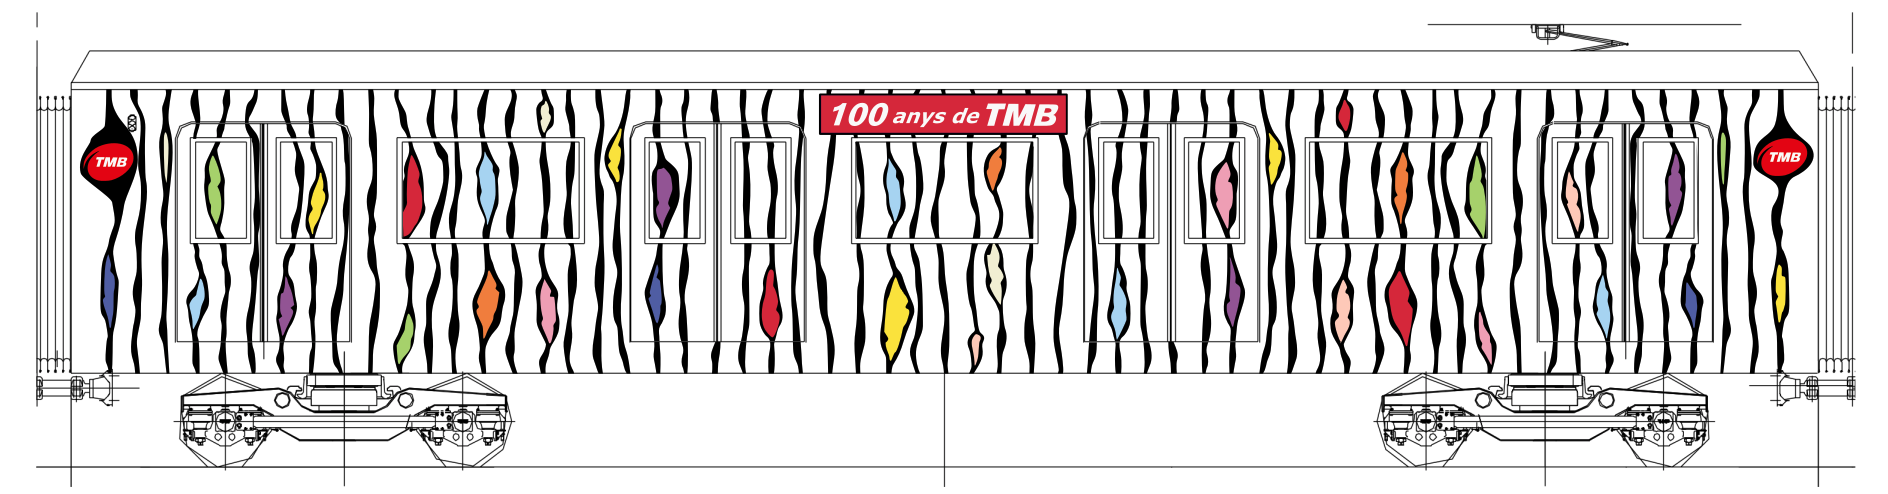
Part 2: Art Design

I took the image of the wagon and draw the design on top of it using Procreate on my iPad.
Each colour is on a separate layer, thus I was able to transfer and trace the bitmap of each colour with Inkscape to create a vector image to later optimize for cutting.
Part 3: Trace the Bitmap With Inkscape
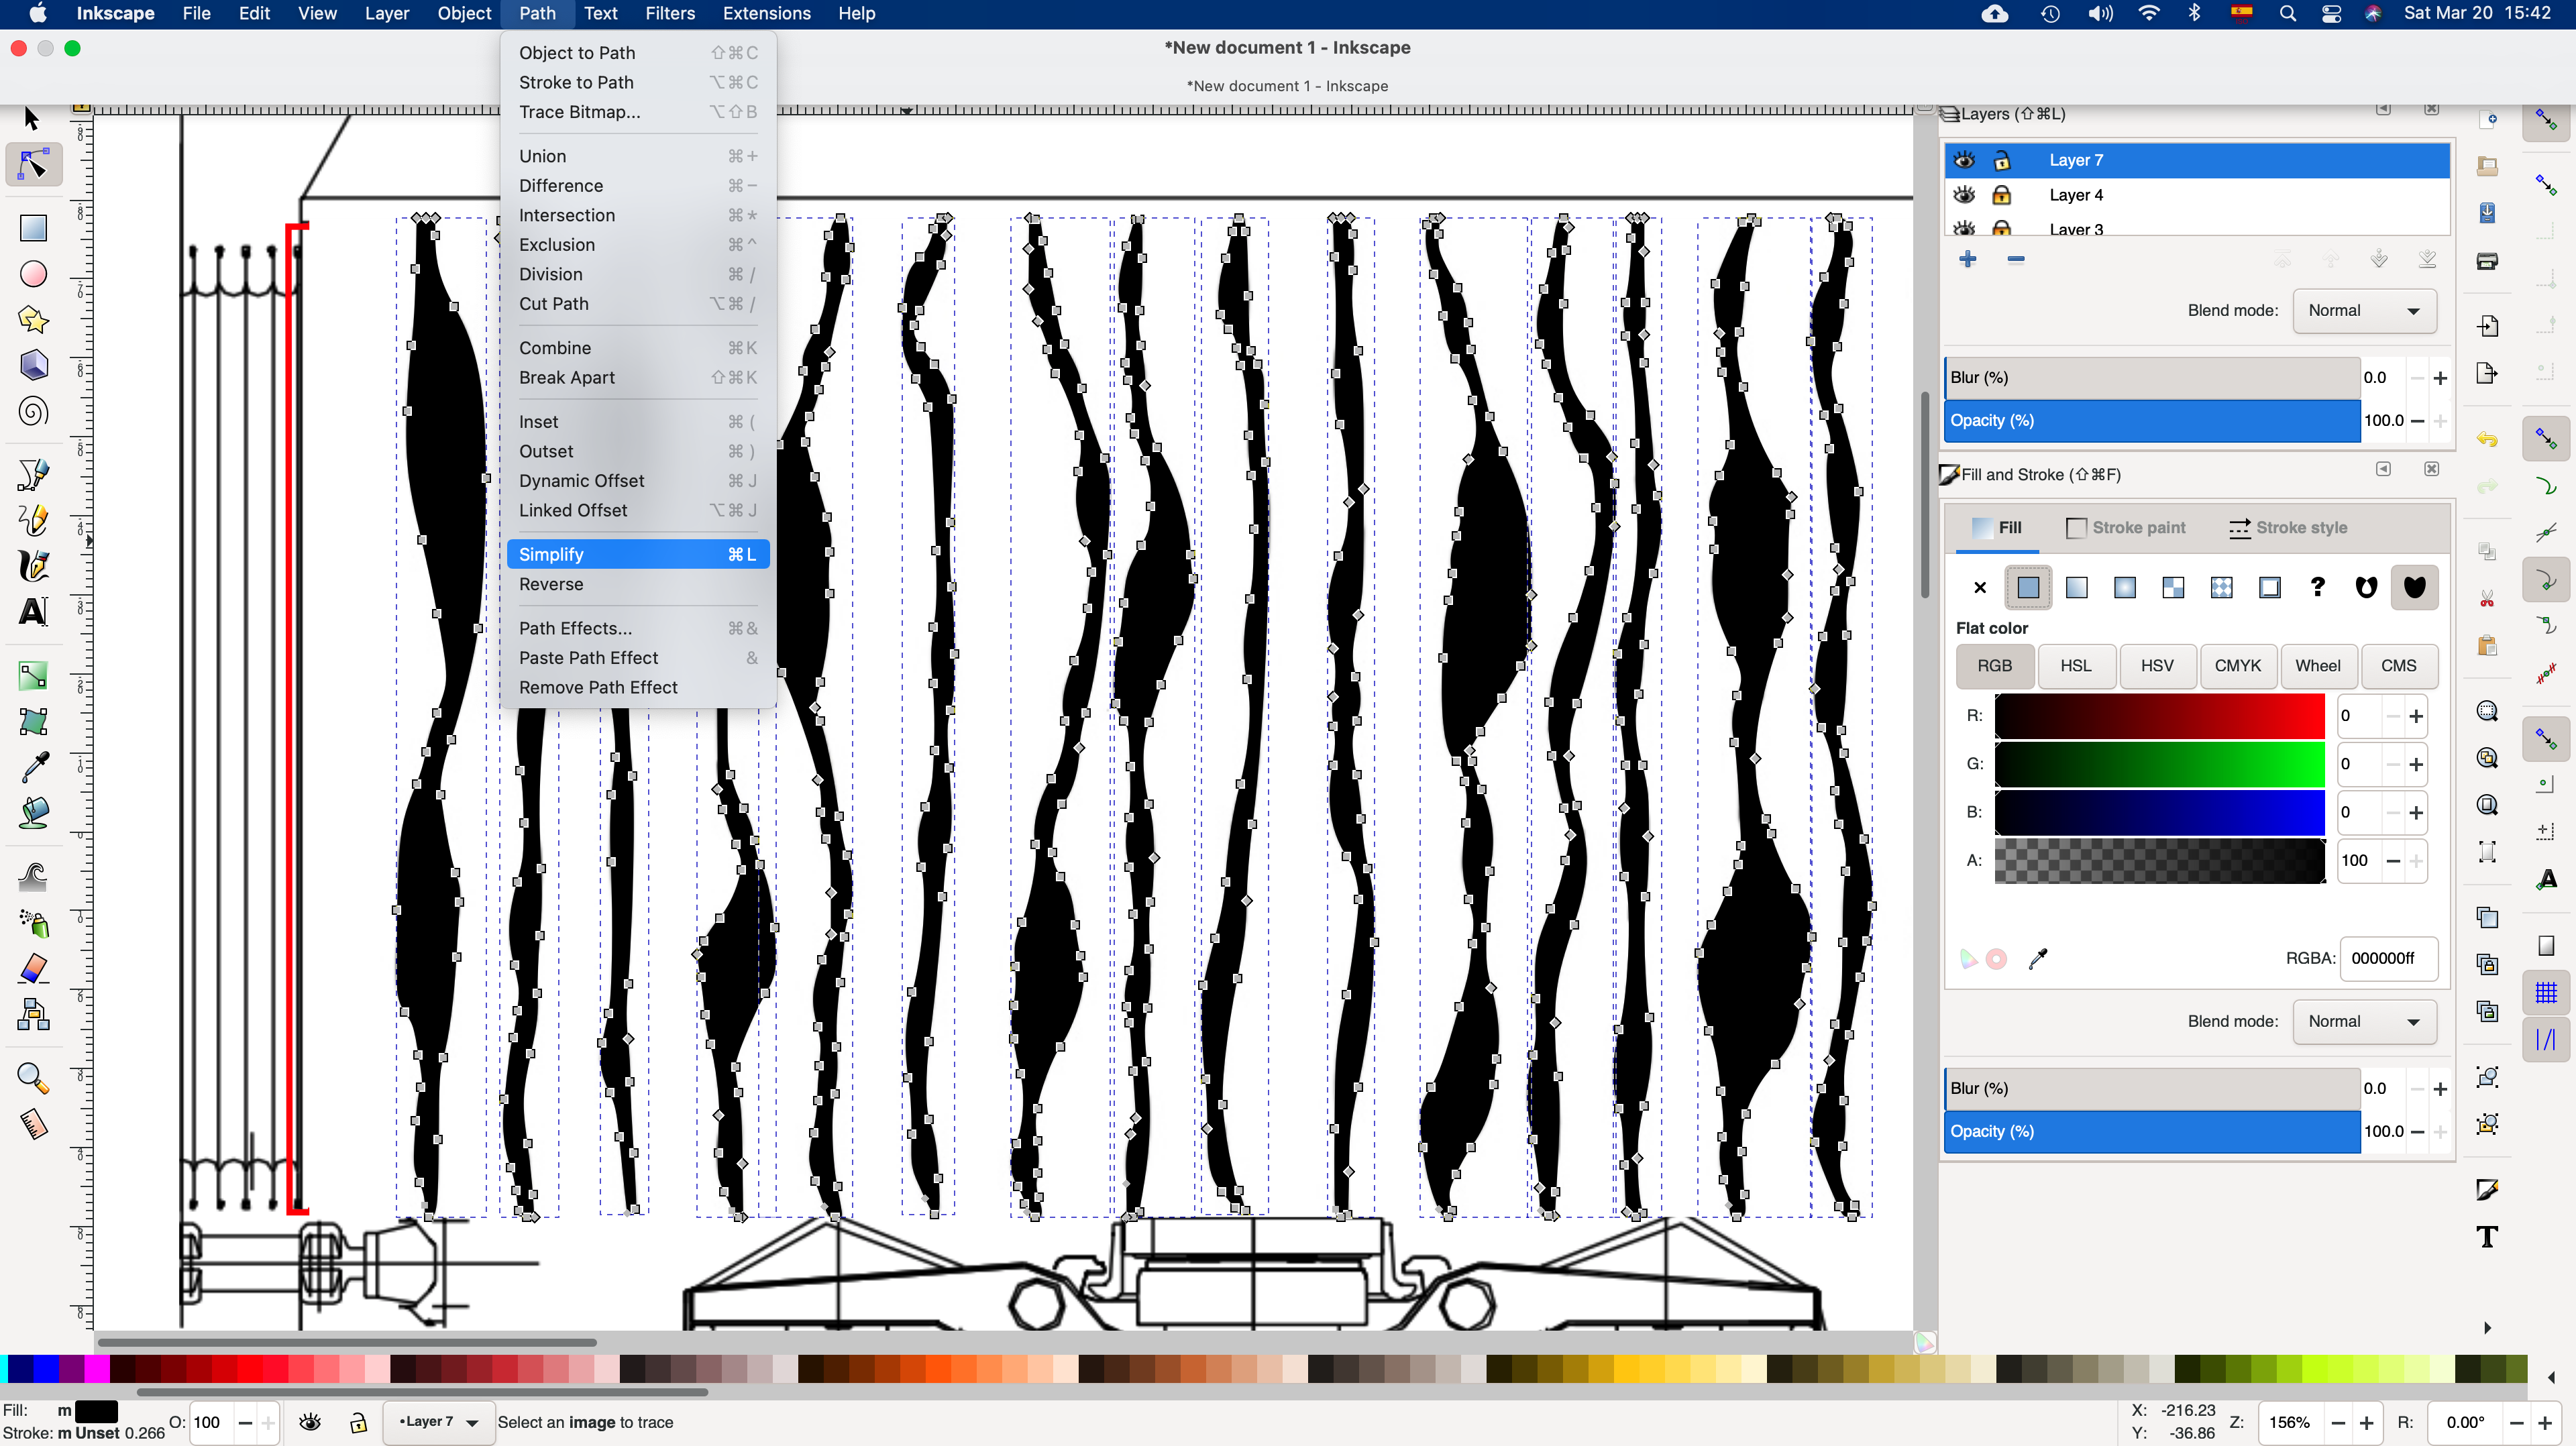

Transfer each colour to bitmap is ease and quick, but it needs refining afterwards. After simplifying the map, some angles turned too sharp and needed softening.
I achieved the softness by changing the type of node from “corner” type of node to a “smooth” or “symmetric” type, depending on the situation.
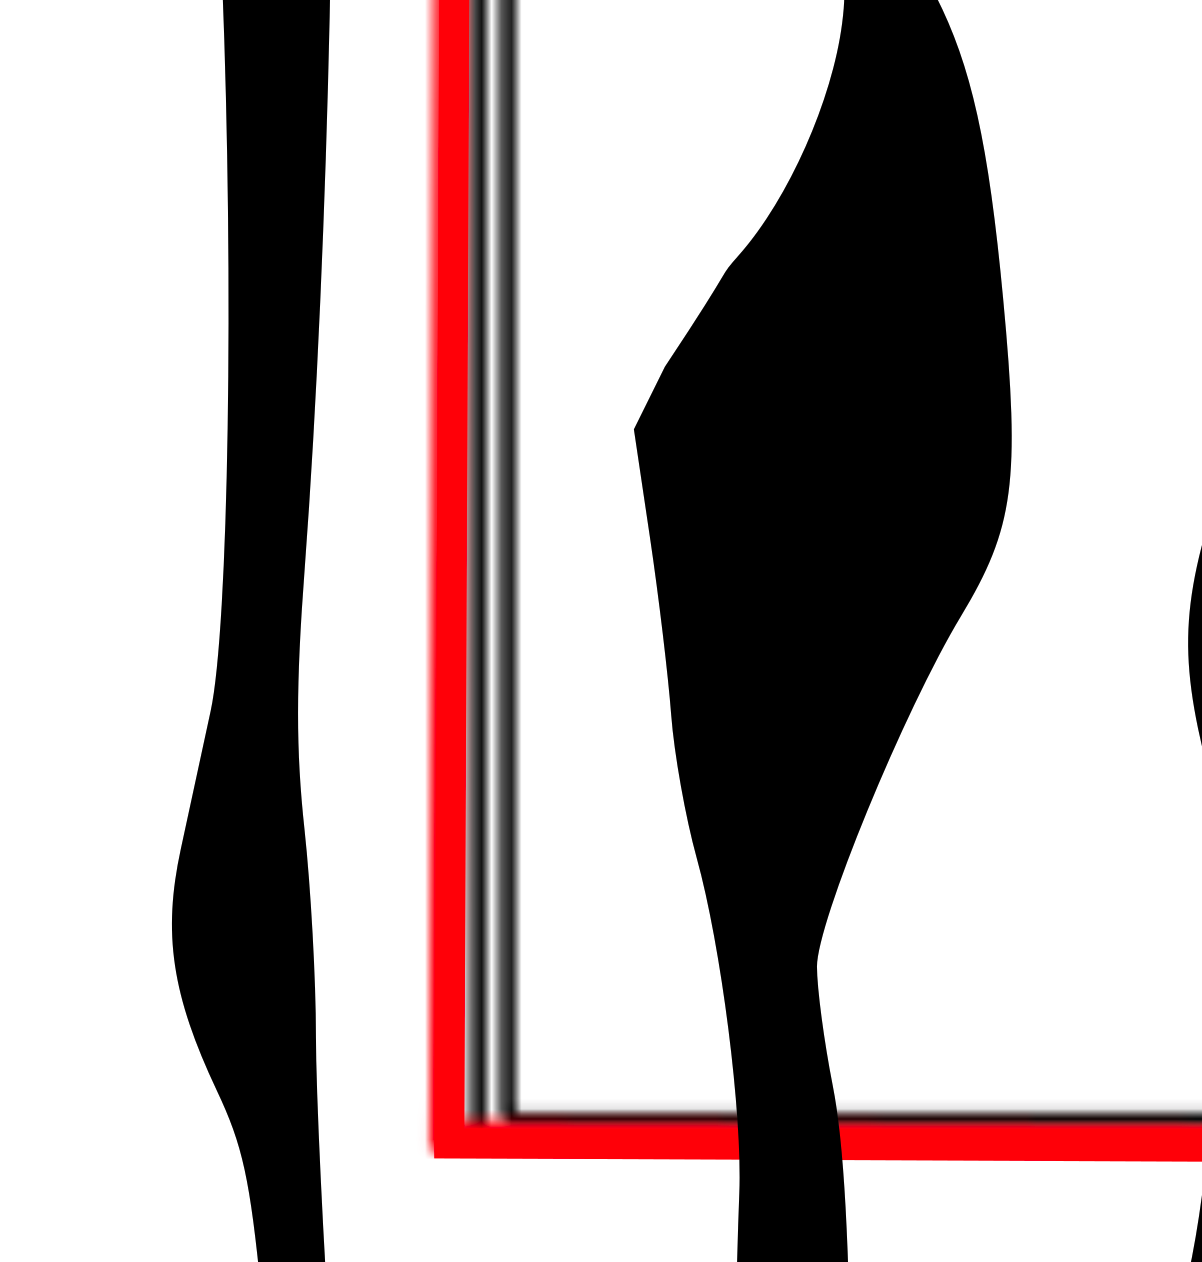
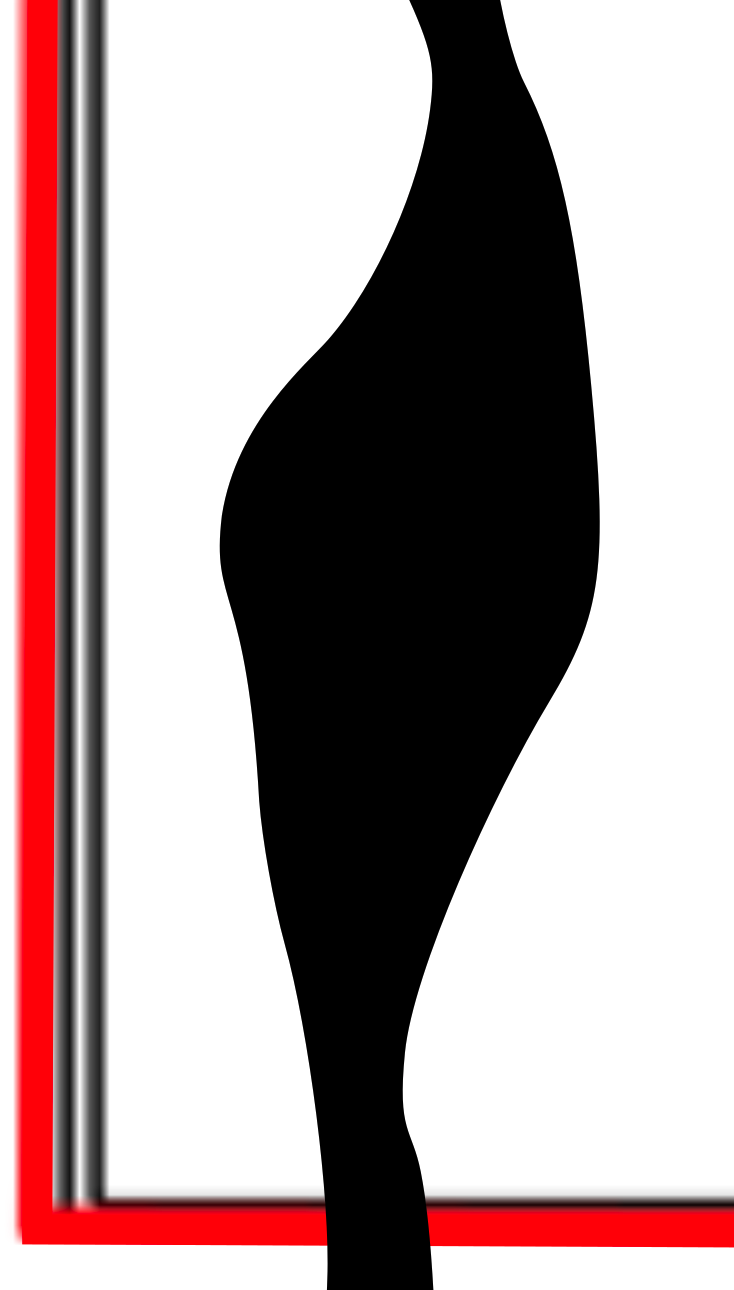
Part 4: Adjusting the Black Lines Tops and Bottoms.
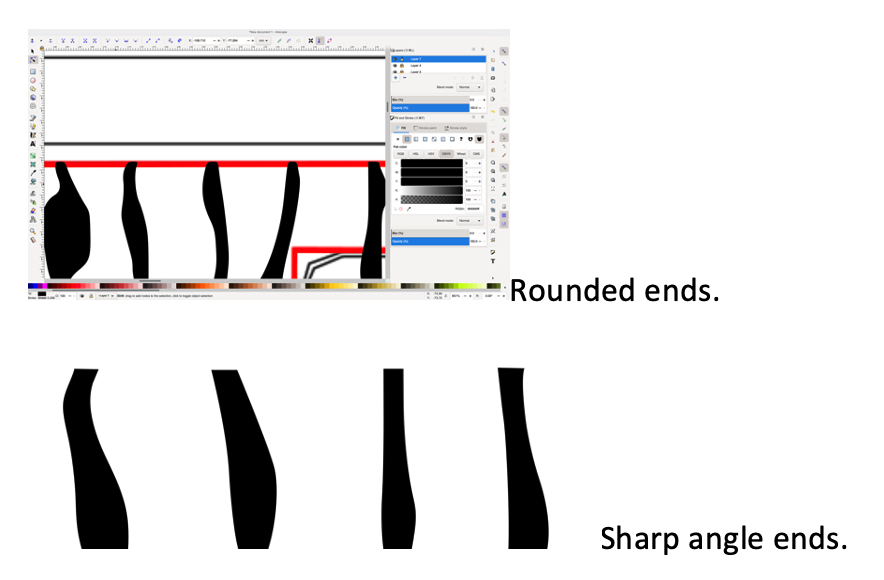
Now I did the opposite to part 3. The black lines tops and bottoms were too rounded, and I had to sharp them by changing the nodes to the “corner” type.
Part 5: Adjusting the Shapes to the Windows and Doors Frames.
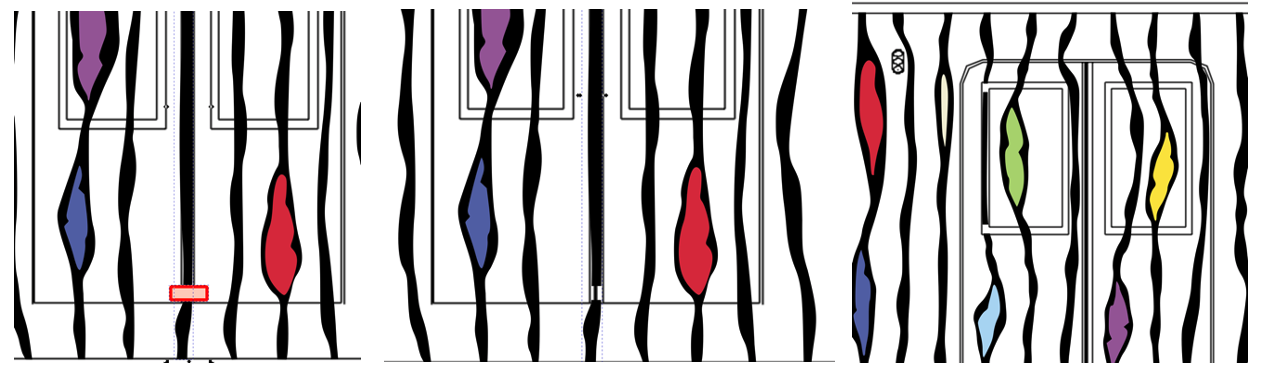
Always working with a background of the wagon image I cut the shapes to adjust them to the windows and doors frames. I did so by bezier drawing in top of the shape following the frame from the wagon image and then selecting “difference” from the “path· menu to erase the new bezier drawing from the shape fellow.
Part 6: Adding the TMB Logo and the Typography “100 Anys De “.
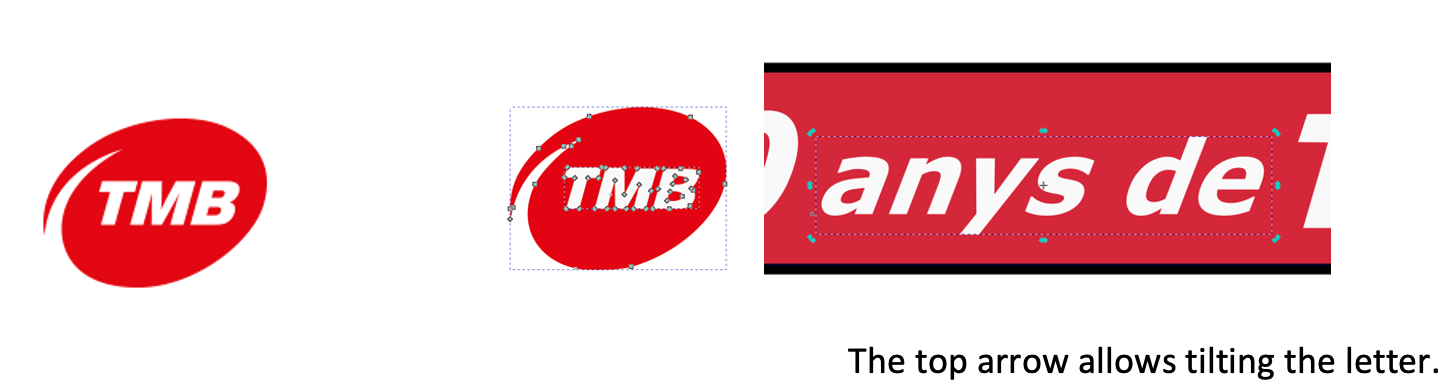
I copied an image of the TMB logo and trace a new Bezier path over it. Reshape the shape of the black line where I diced to pace the logo.
I chose the Arial Hebrew typography because it is similar to the TMB logo letter. Using the arrows to change the angle of the letter I adjusted to have the same inclinations at the letter in the logo.
Mockup Part 1: Material
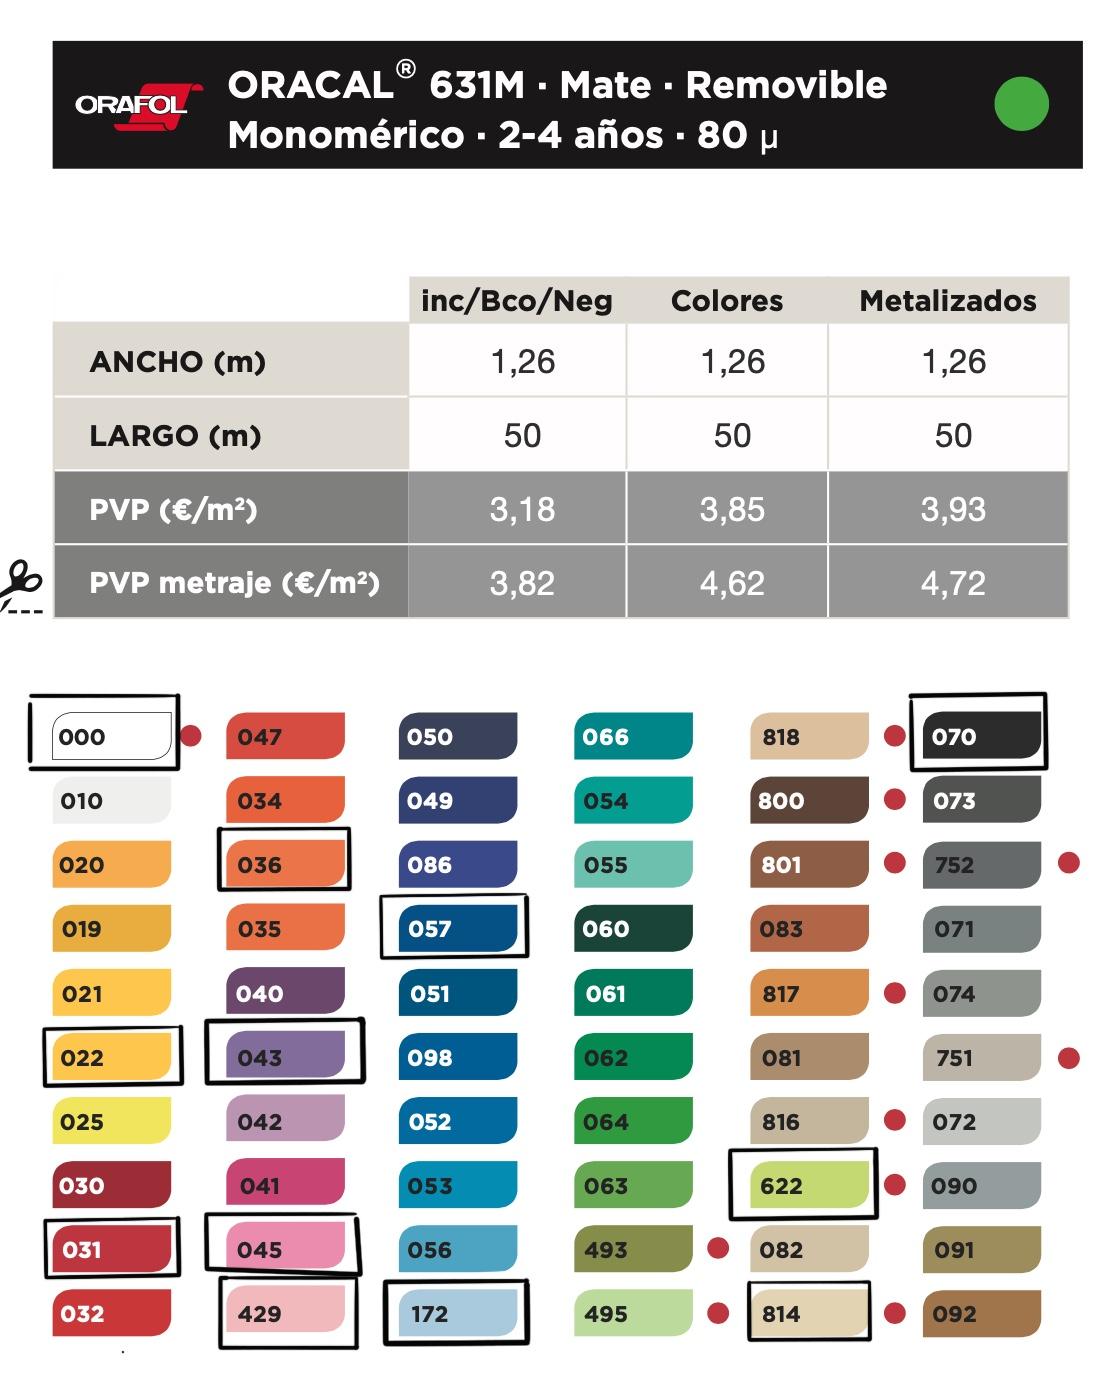
I will be using short removable matte vinyl from the VINK Digital solutions company catalogue.
It will be a short-lived intervention and this type of vinyl will live up to my expectations.
I also recommend using a transfer vinyl to help with the correct placement of the black lines on the wagon body.
My proposal assumes that the wagon will be completely white, otherwise I would use white vinyl to cover the bodywork.
The windows will maintain the transparency of the glass.
Any large format vinyl cutter can make the cuts such as a CAMM-1 GR Series Large Format cutter.
Vinyl chart with colour selections indicated with a black square.
Mockup Part 2: Cutting and Order for Sticking the Pieces:

The vinyls will be glued in the following order:
· First the black elements. They are cut taking into account the frames of the posts and windows.
· The colour elements.
· The typography and letters of the TMB logo.
Black items will be cut from 15 svg files. 14 for the lines and one for the rectangle. The following image shows where to place each of these cuts.
To facilitate the work of gluing can be to serve a transfer vinyl.
Mockup Part 2: Cutting Dark Red

Dark red elements. VINK catalogue vinyl code# 031
Mockup Part 2: Cutting Salmon Pink

Salmon pink elements. VINK catalogue vinyl code# 429
Mockup Part 2: Cutting Sea Blue

Sea blue elements. VINK catalogue vinyl code# 057
Mockup Part 2: Cutting Ivory

Ivory elements. VINK catalogue vinyl code# 814
Mockup Part 2: Cutting Iceberg

Iceberg elements. VINK catalogue vinyl code# 172
Mockup Part 2: Cutting Green Yellow

Green yellow elements. VINK catalogue vinyl code# 622
Mockup Part 2: Cutting Violet

Violet elements. VINK catalogue vinyl code# 043
Mockup Part 2: Cutting Dark Yellow

Dark yellow elements. VINK catalogue vinyl code# 022:
Mockup Part 2: Cutting Orange

Orange elements. VINK catalogue vinyl code# 036
Mockup Part 2: Cutting Panther Pink

Panther pink elements. VINK catalogue vinyl code# 045
Notes About the Svg Files
These files have 2 layers, one contains the shapes to cut and a second one is just to have a visual of the vinyl size. This last layer can be deleted before cutting.