Art Collectors Cabinet
by Ruud van Koningsbrugge in Workshop > Furniture
8499 Views, 297 Favorites, 0 Comments
Art Collectors Cabinet
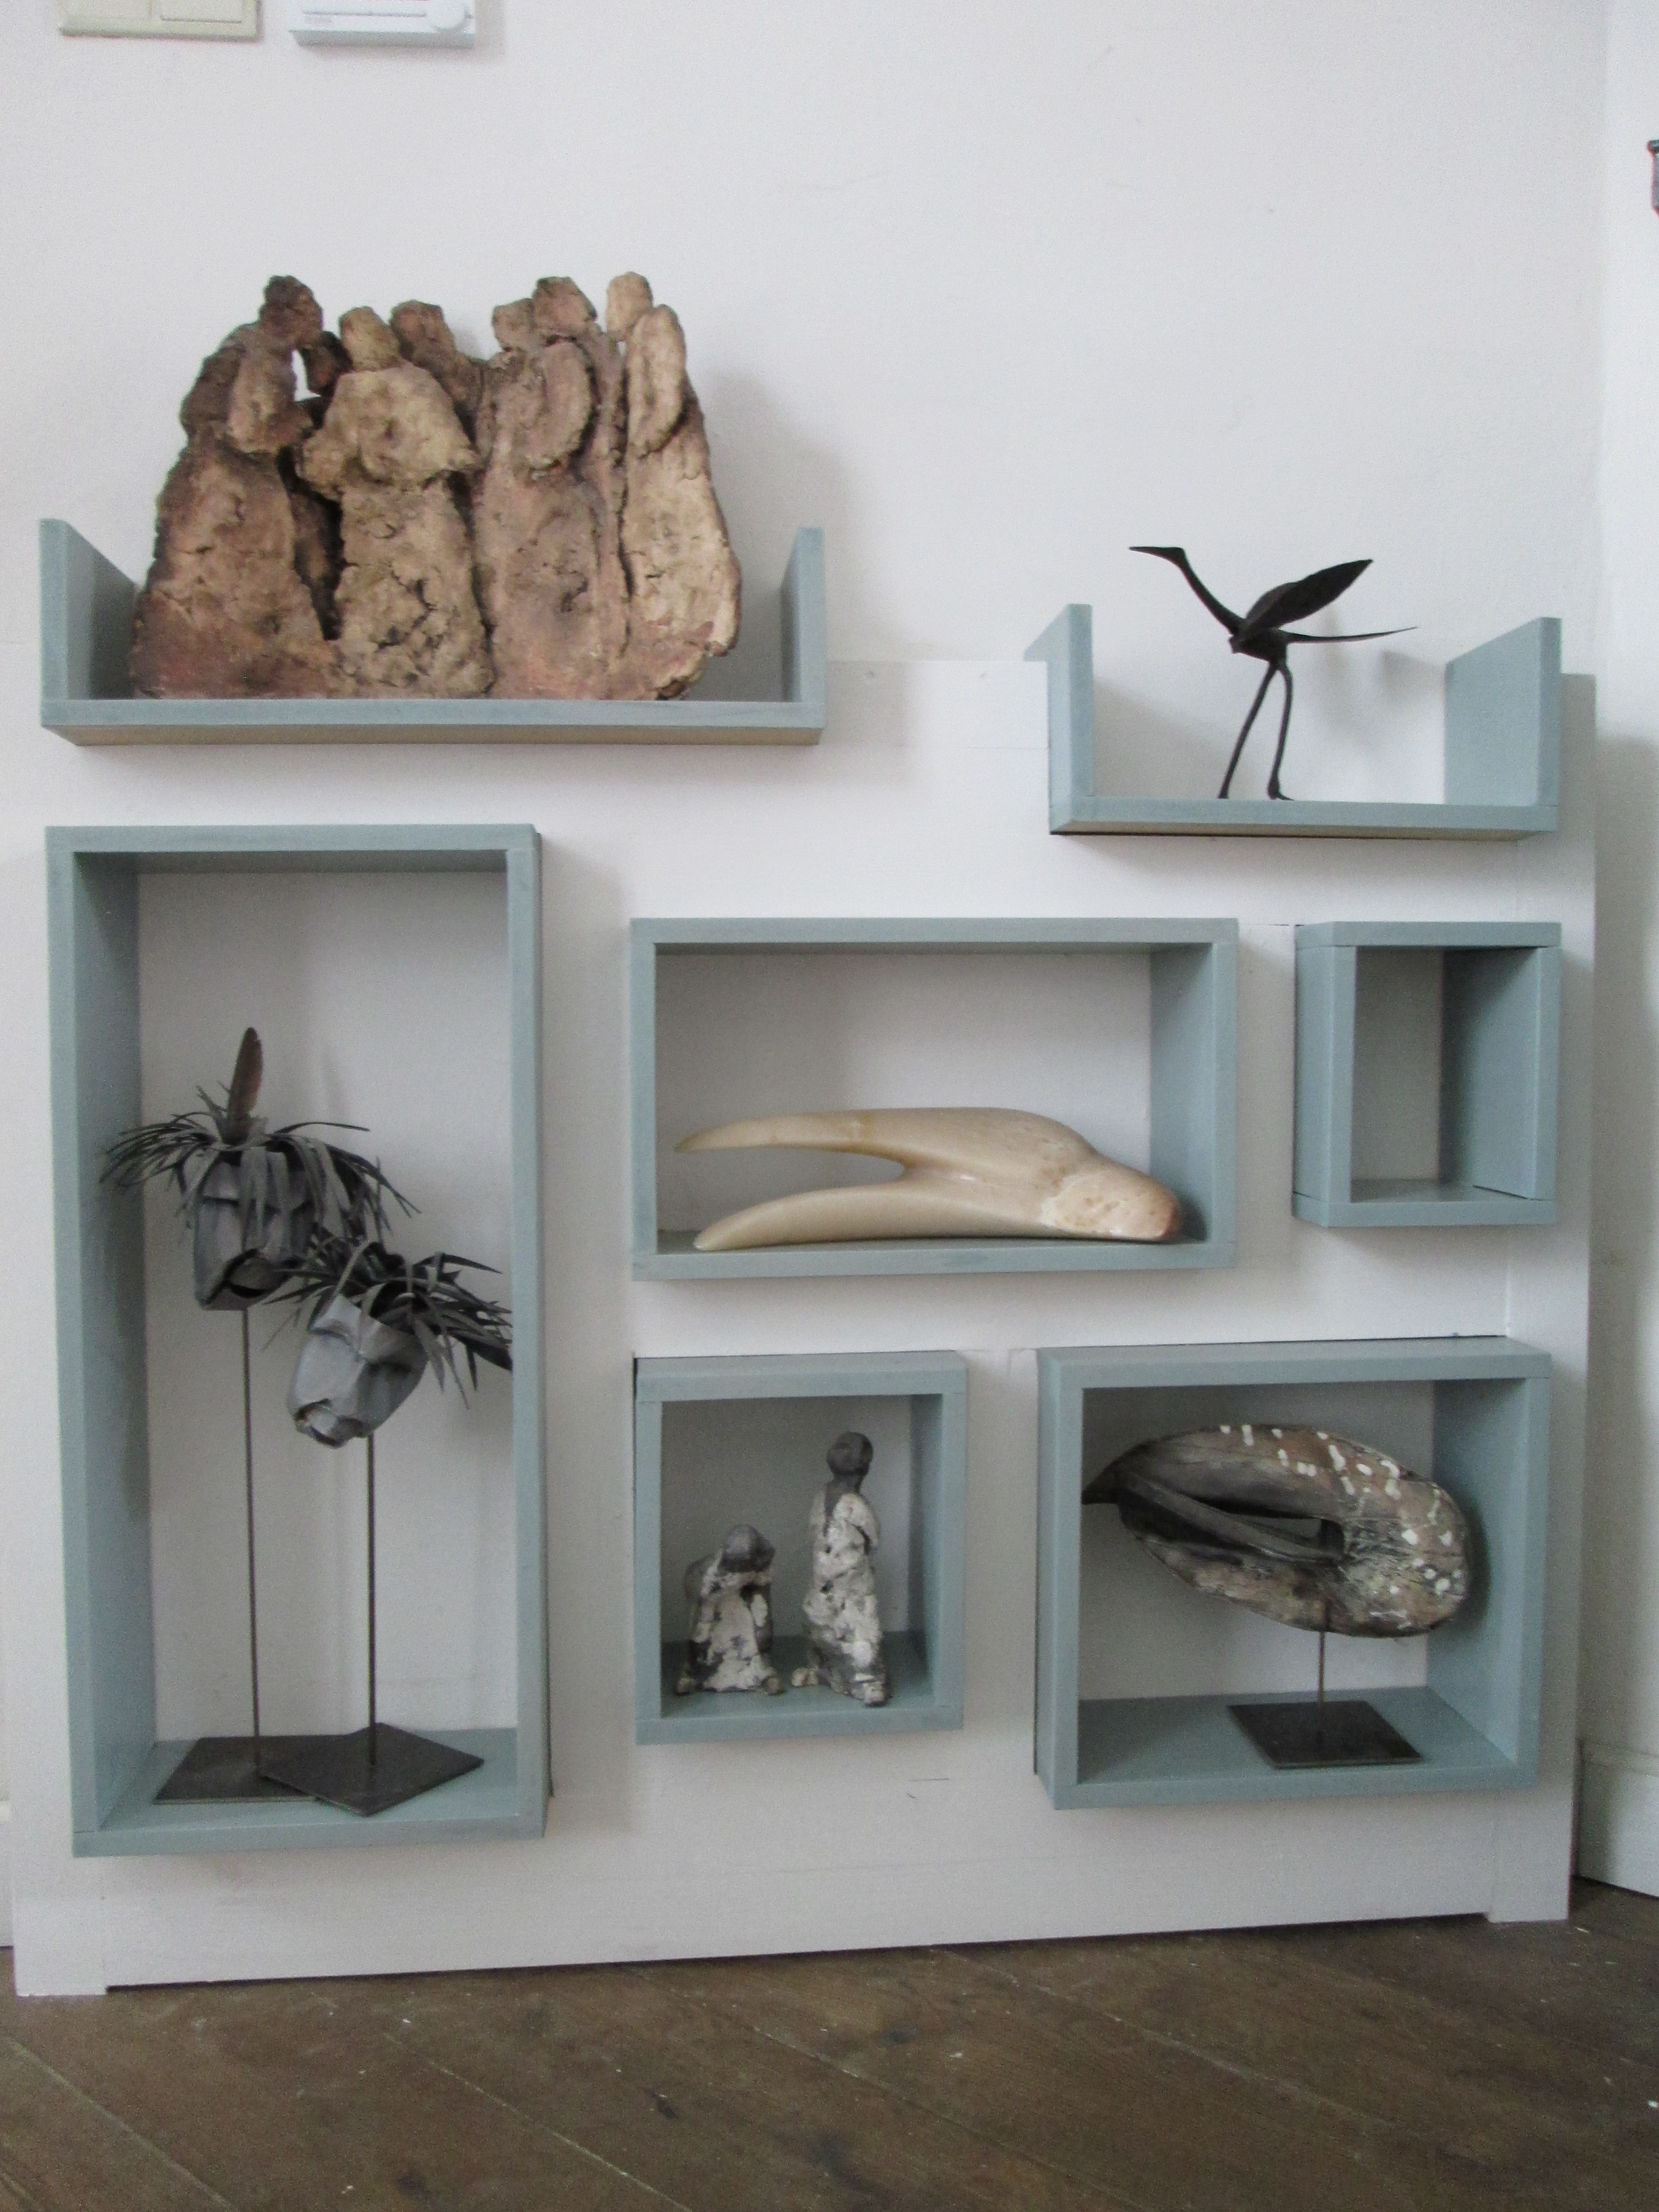
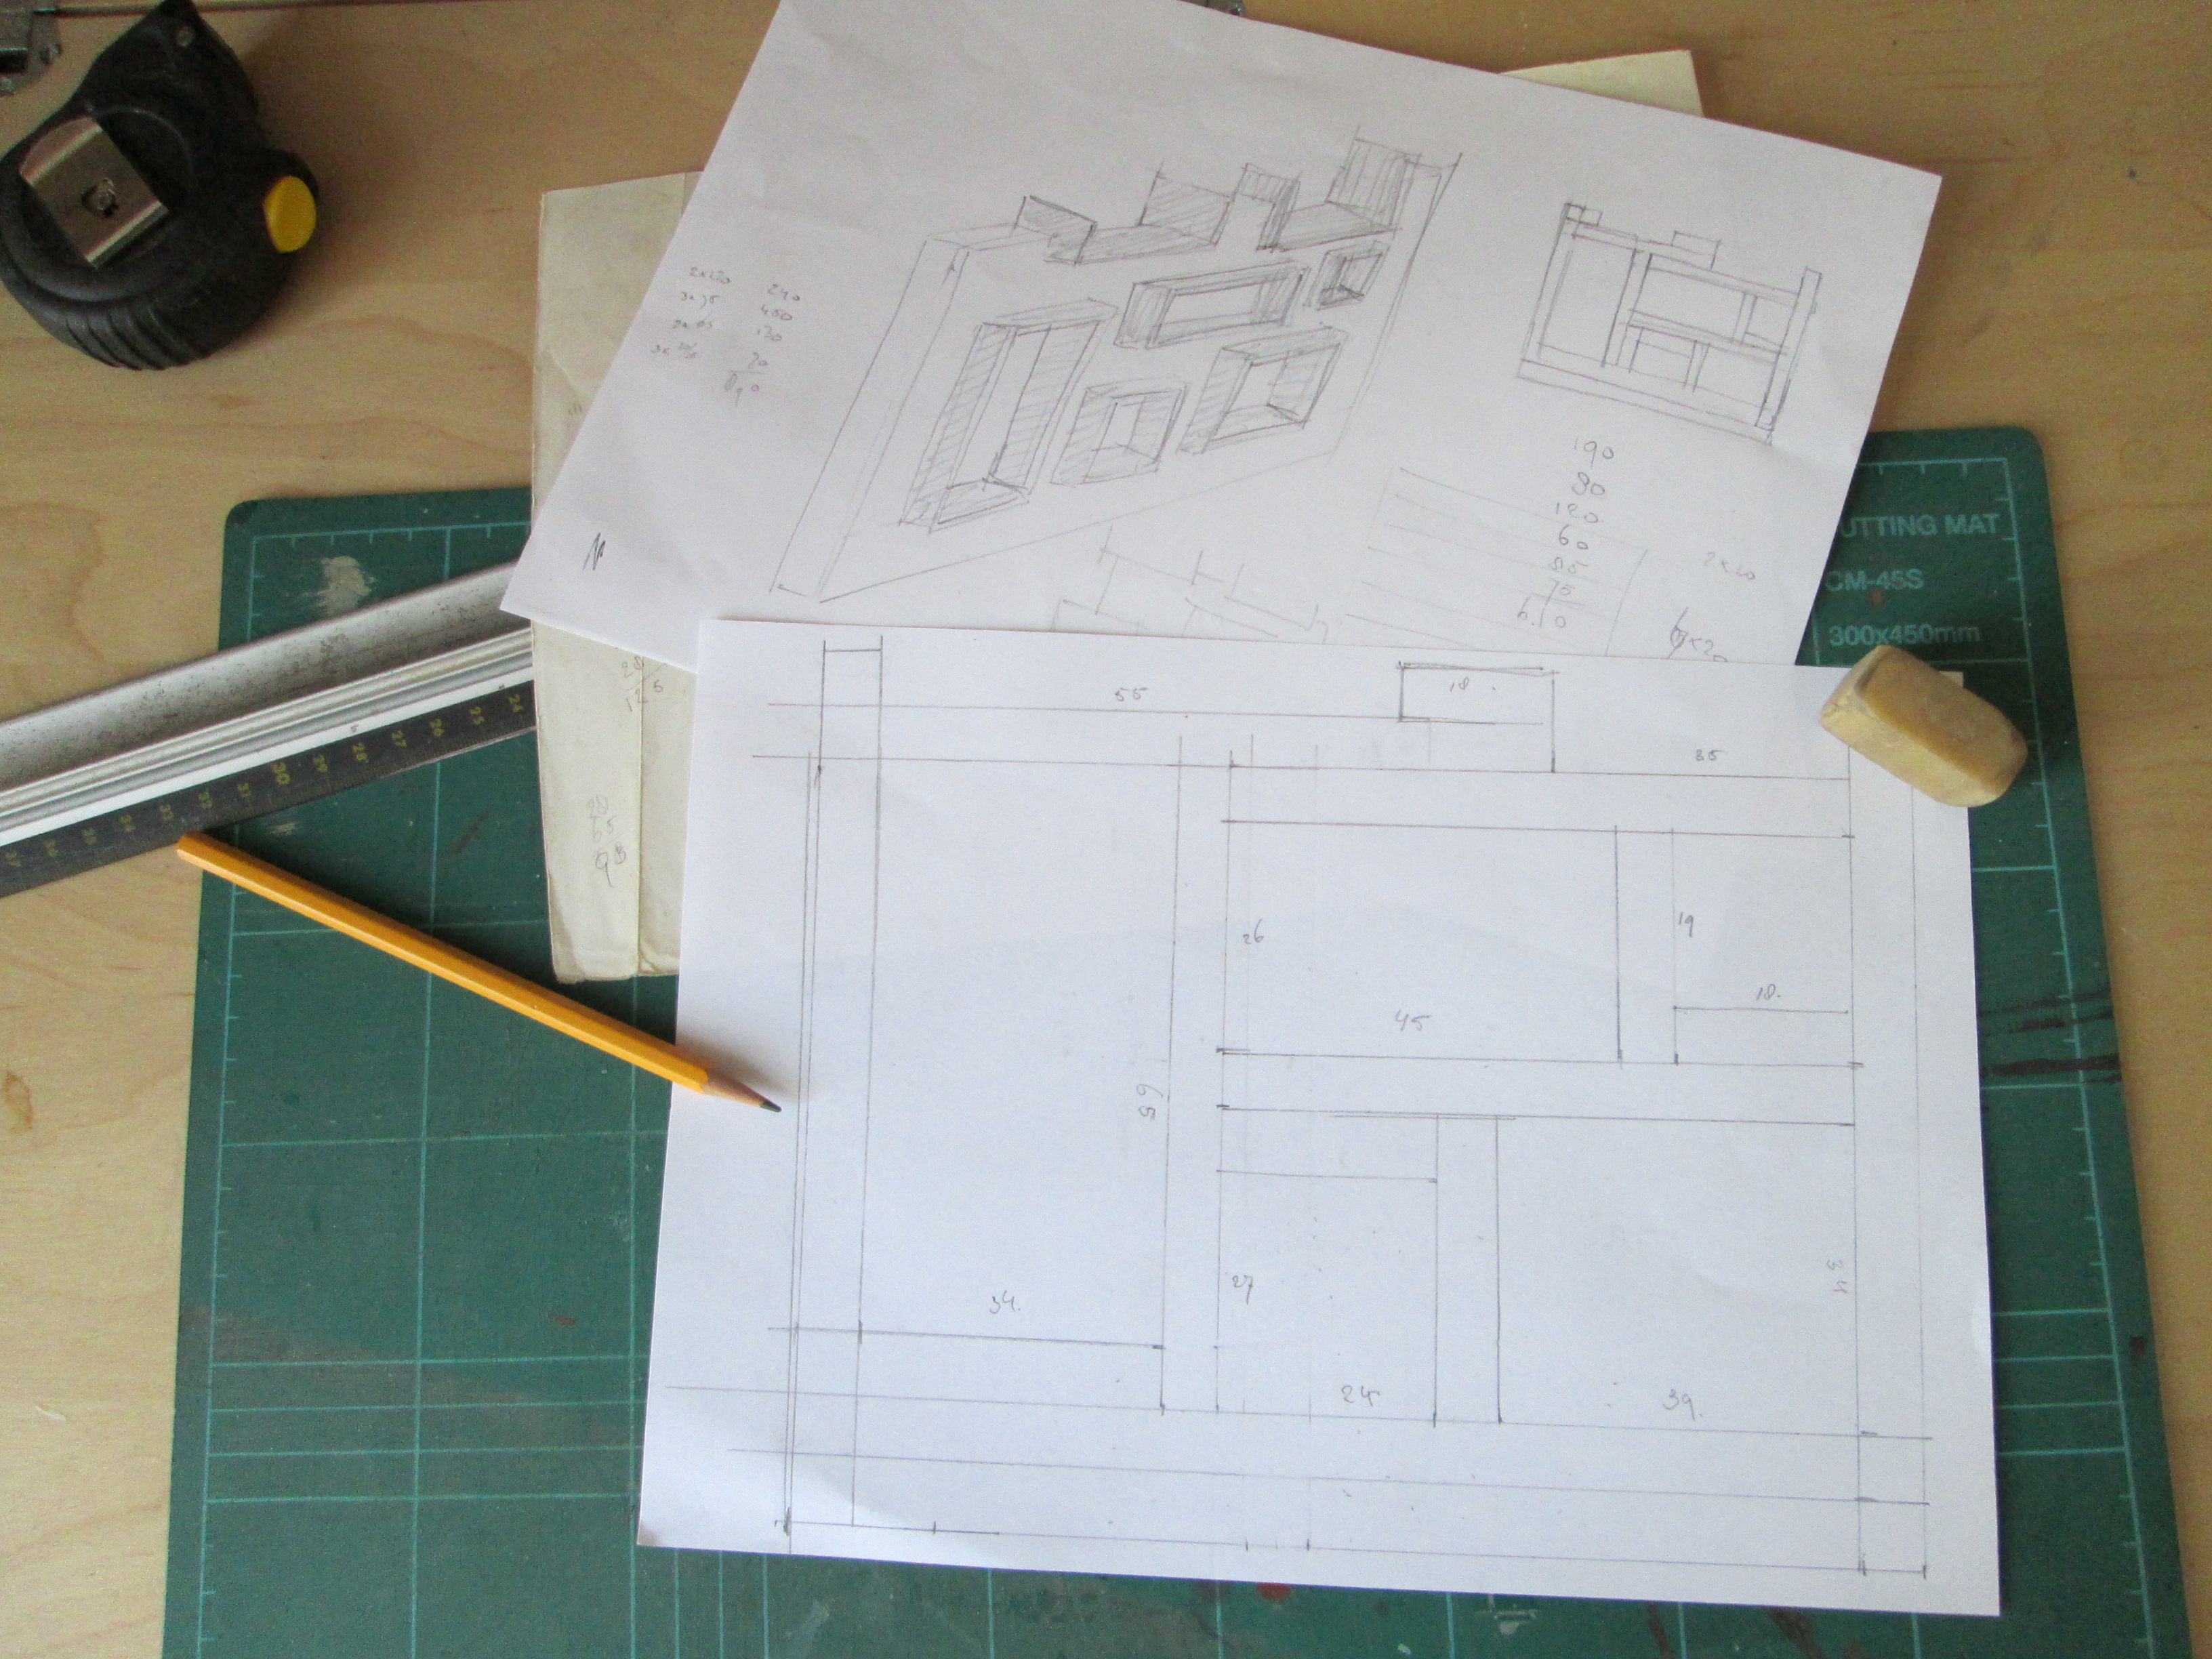
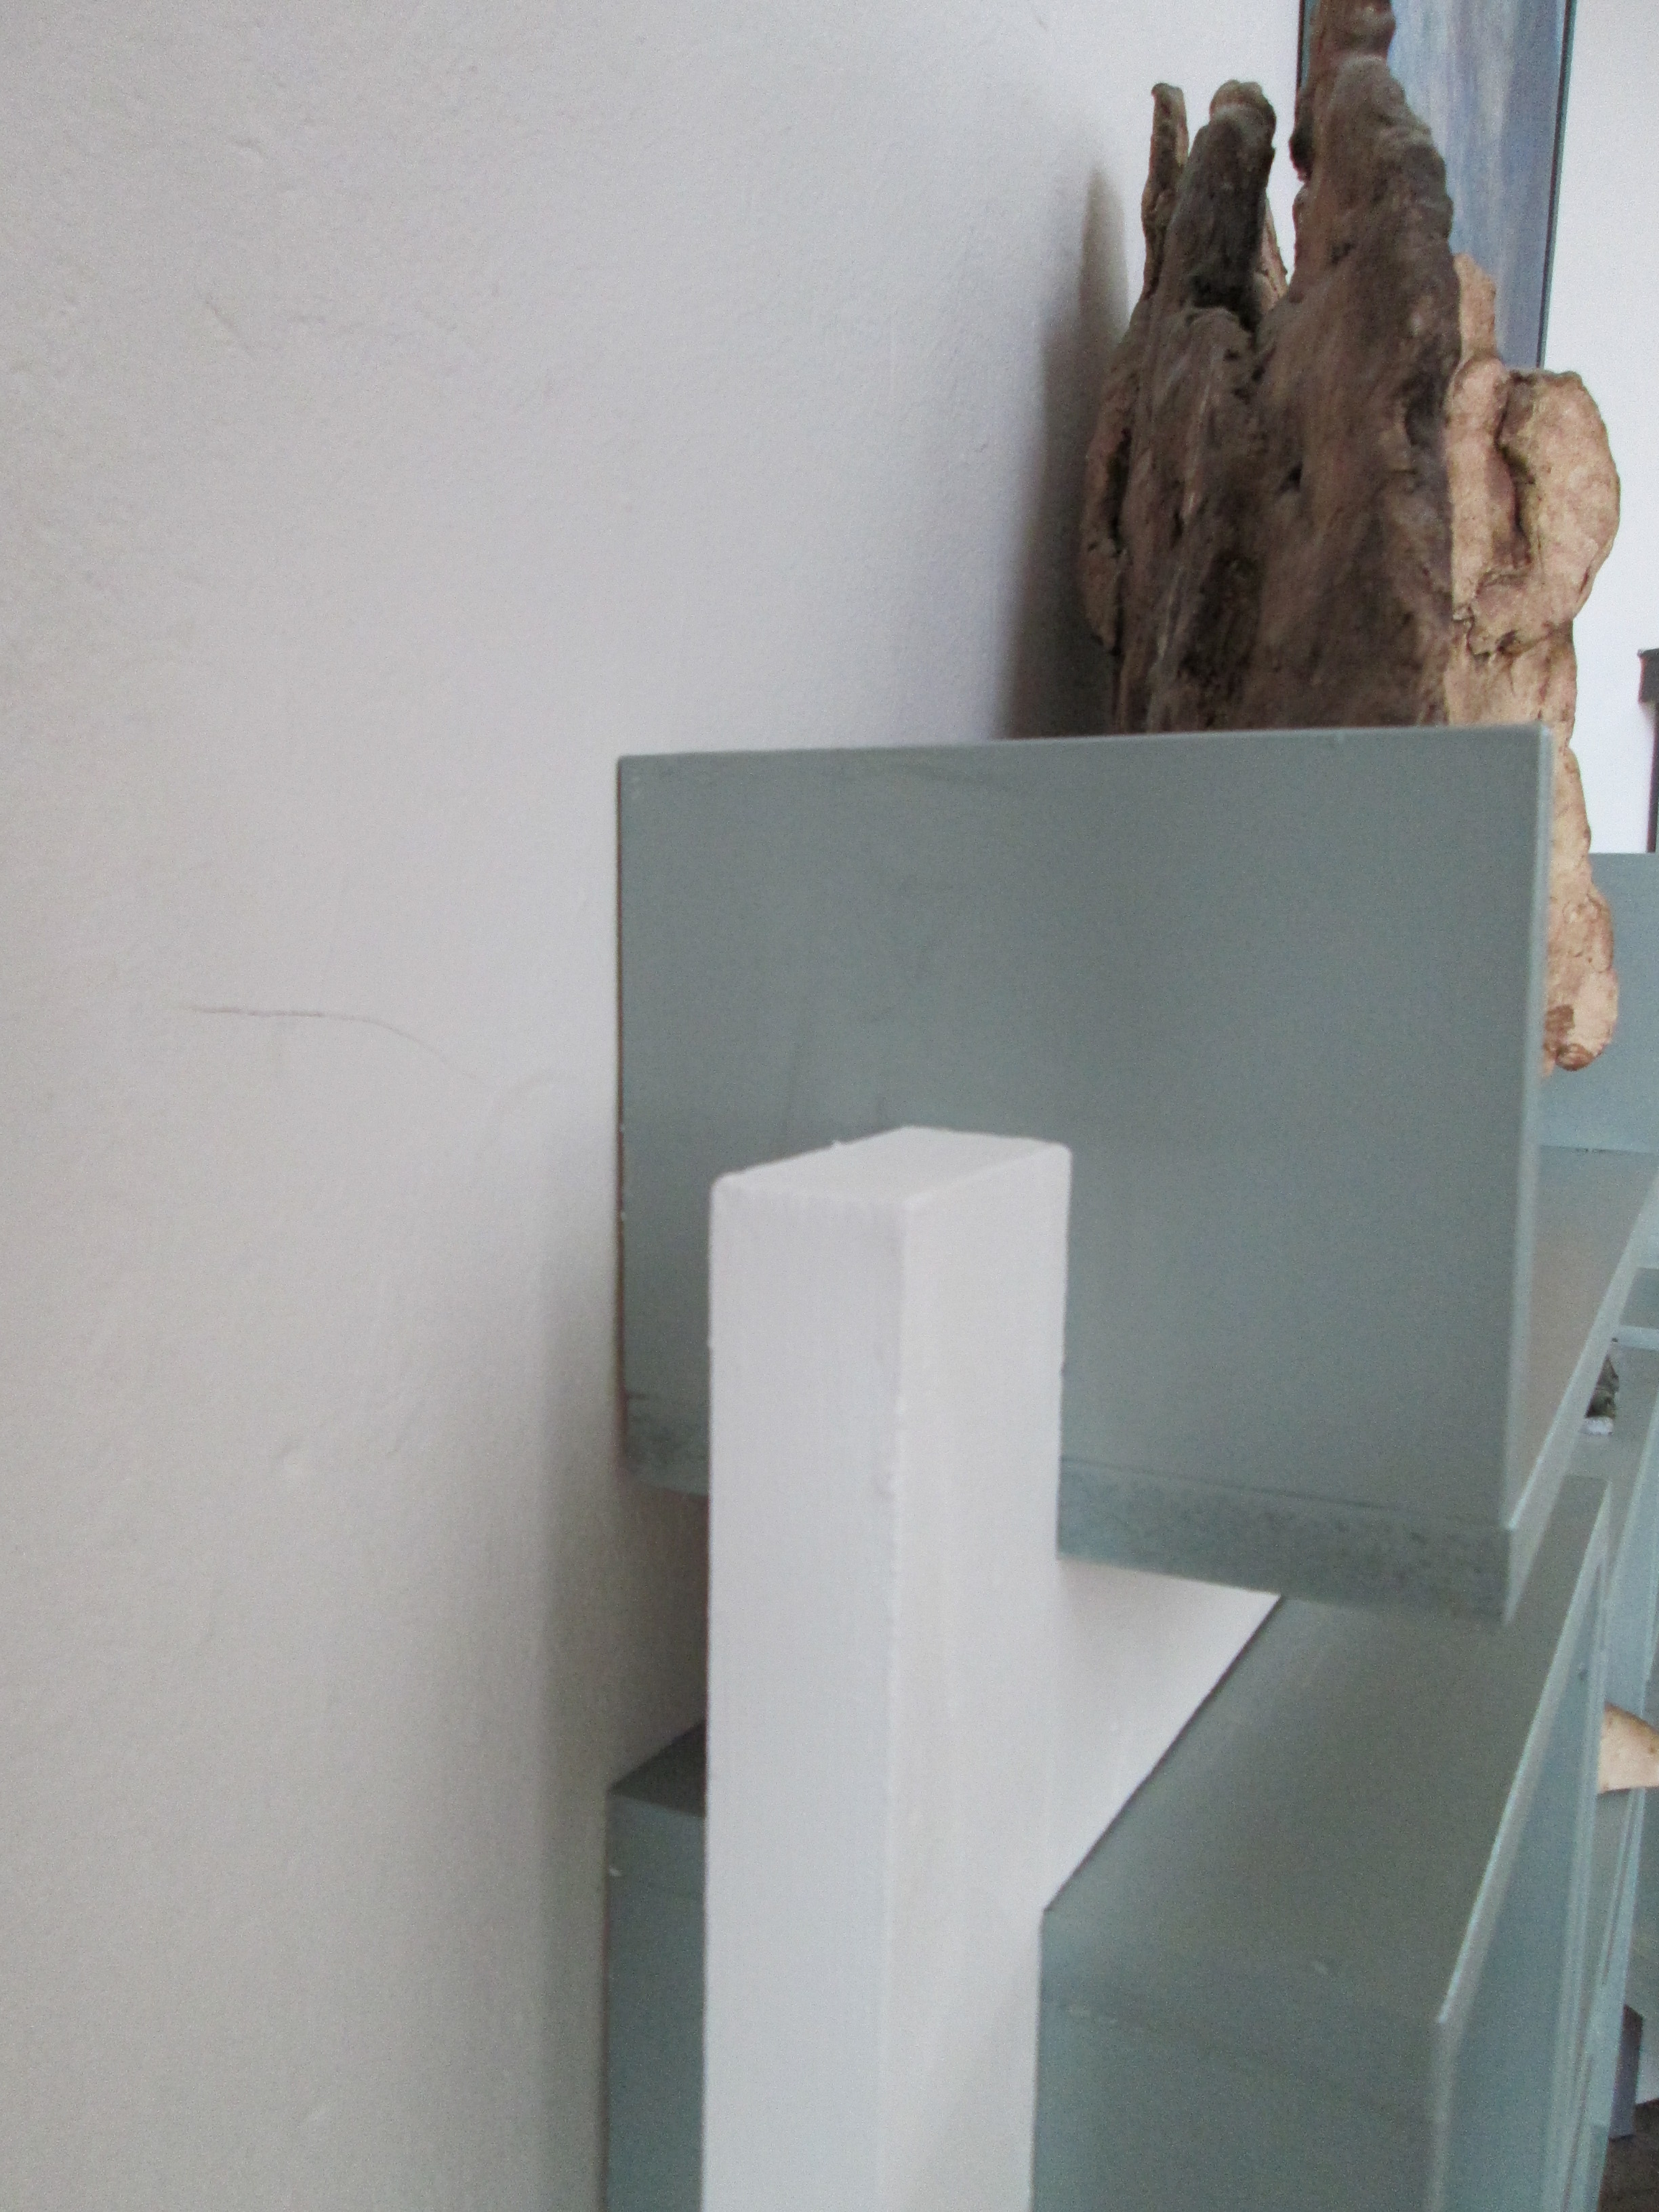
Whenever you collect or create art, there soon comes a point where there is no more place in the house to display the collection. With many decorative items its good advise to cluster in groups, but with many pieces of art that doesn't work. Each piece needs a place of its own. To accommodate a few of my "treasures" I drew up a plan for a collectors cabinet.
A few of my contemplations:
It should visually not take up too much space. By extending the wall forward for three inches I created niches that look deeper than they seem to extend from the wall.
Each object should has its own space and given the same attention
It should be custom made for specific objects. I measured the minimum space for each objects. Don't forget to add the thickness of the MDF on all sides.( as I did the first time).I made paper squares the same ratio and shuffled them around for a nice balanced design, and at the same time made sure there is a diversity of big and small boxes, that could be used for other objects if I later want to change content.
Materials
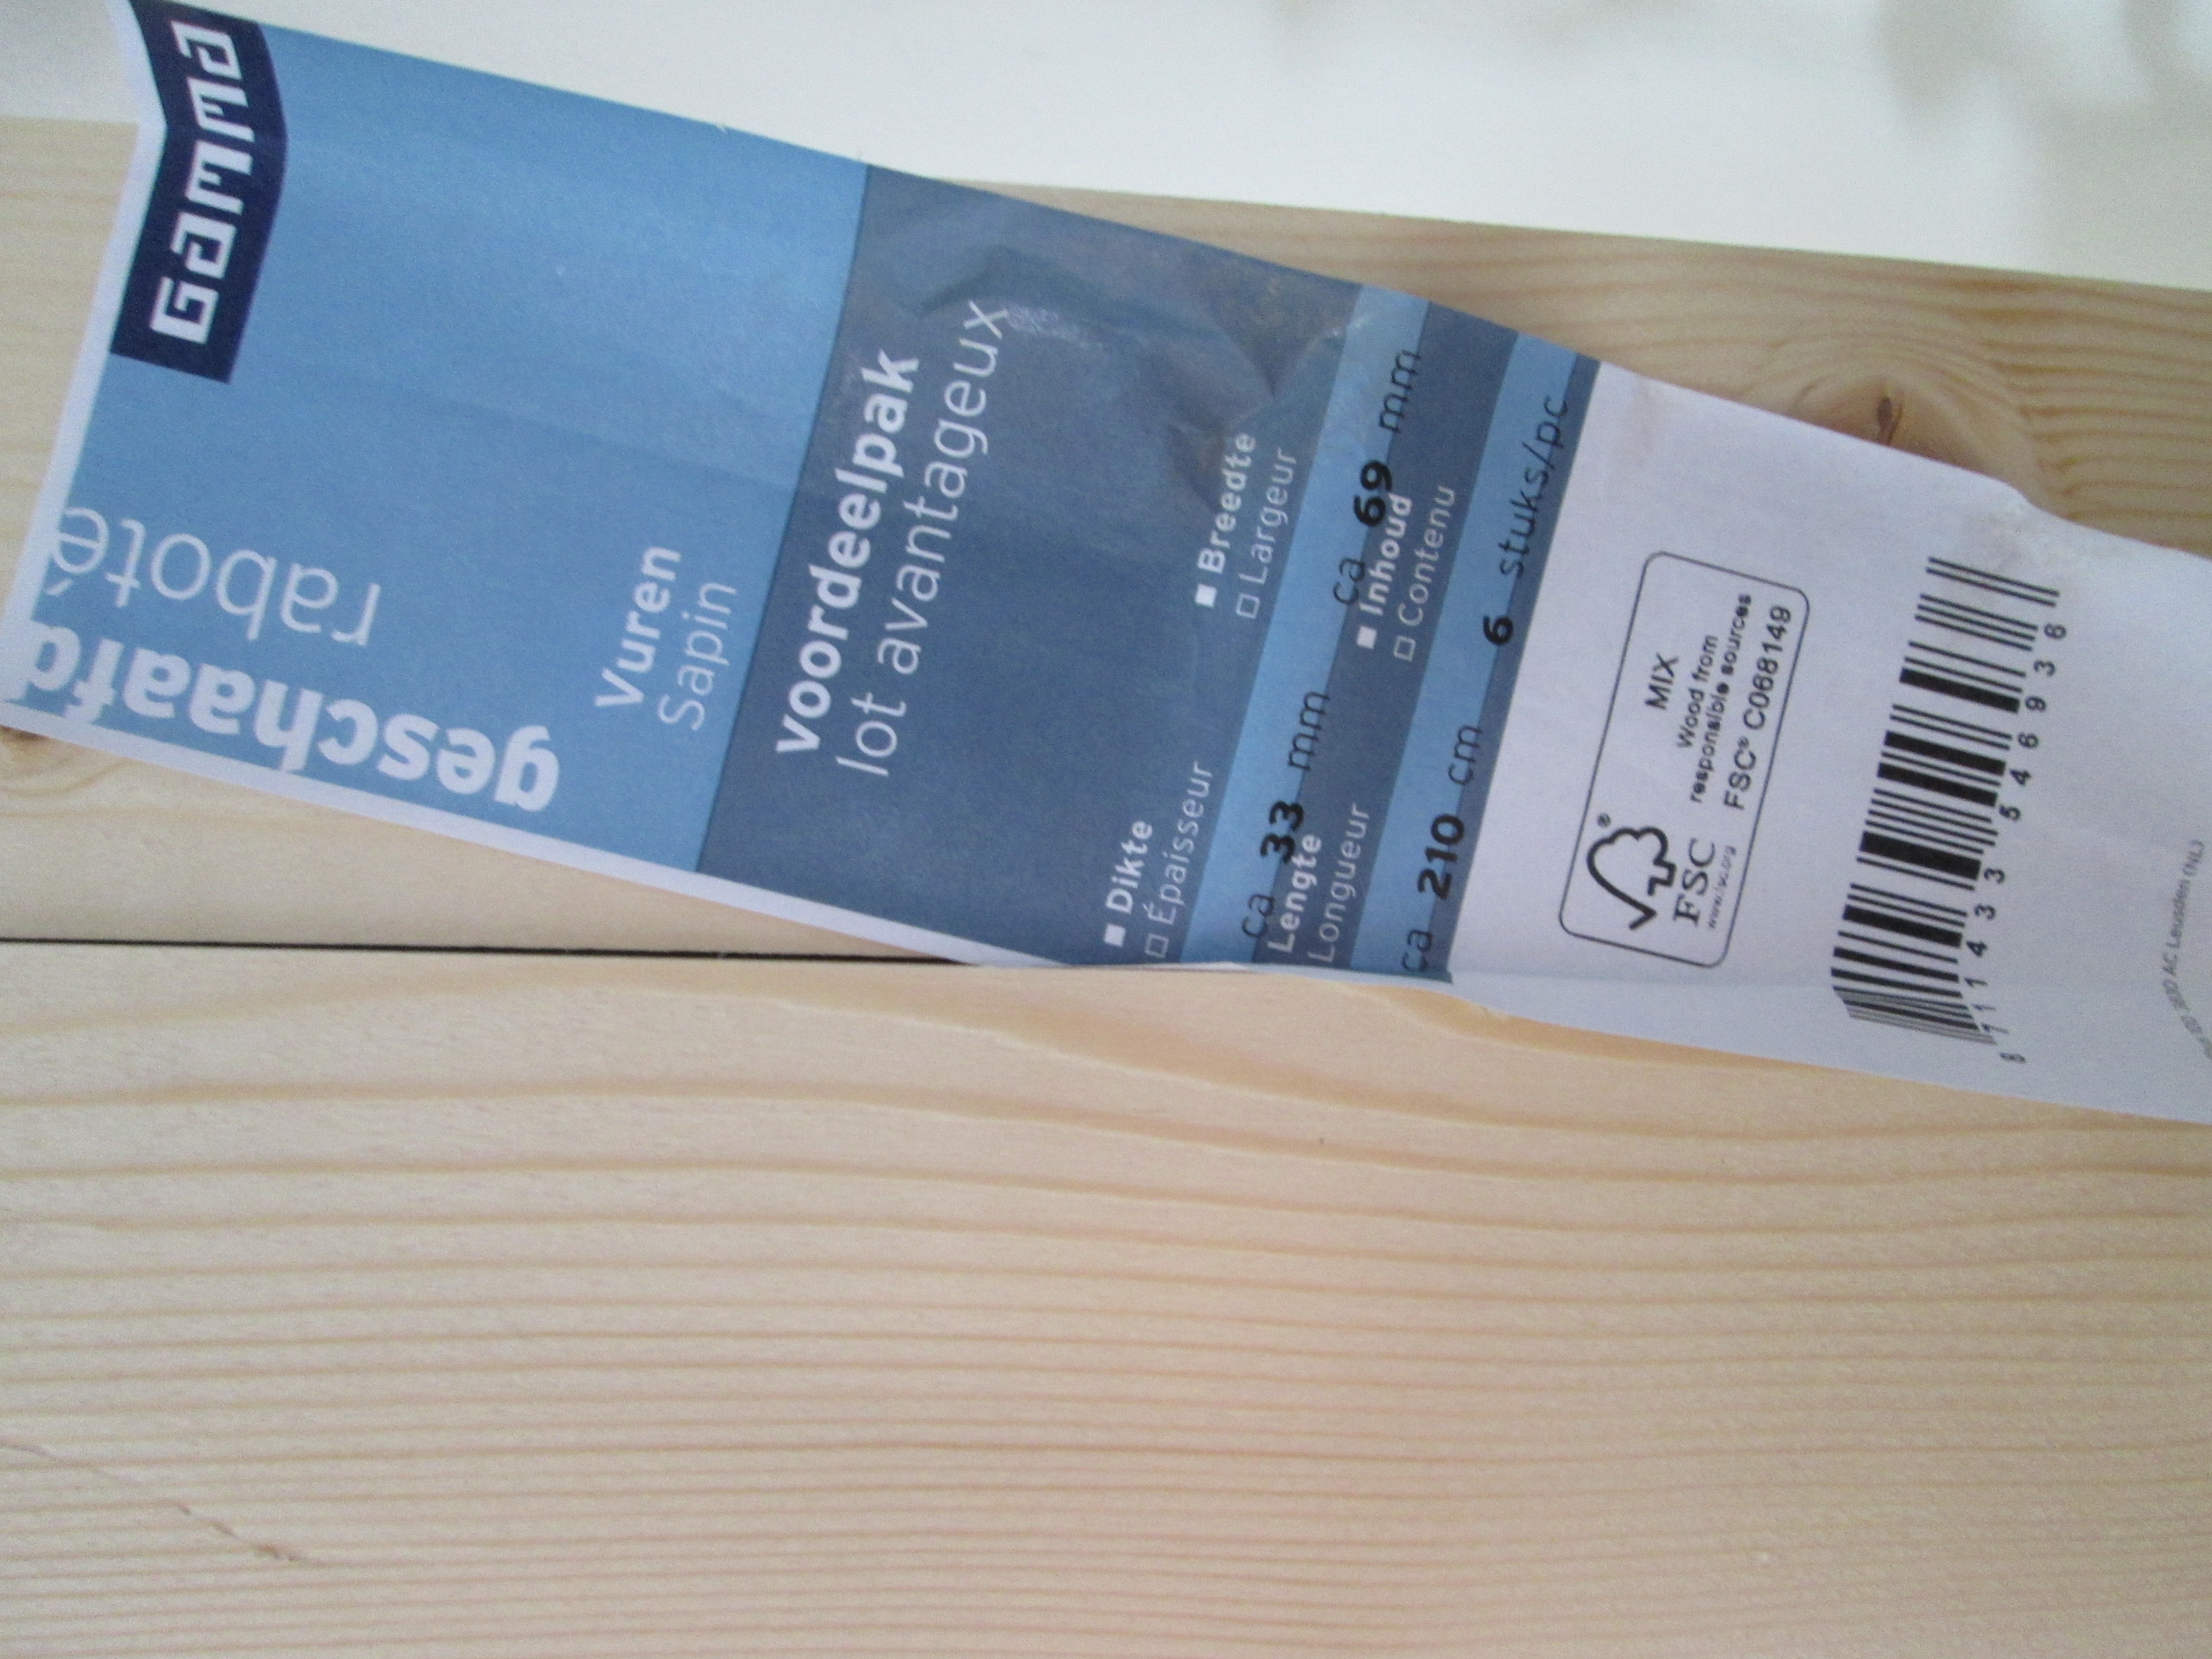
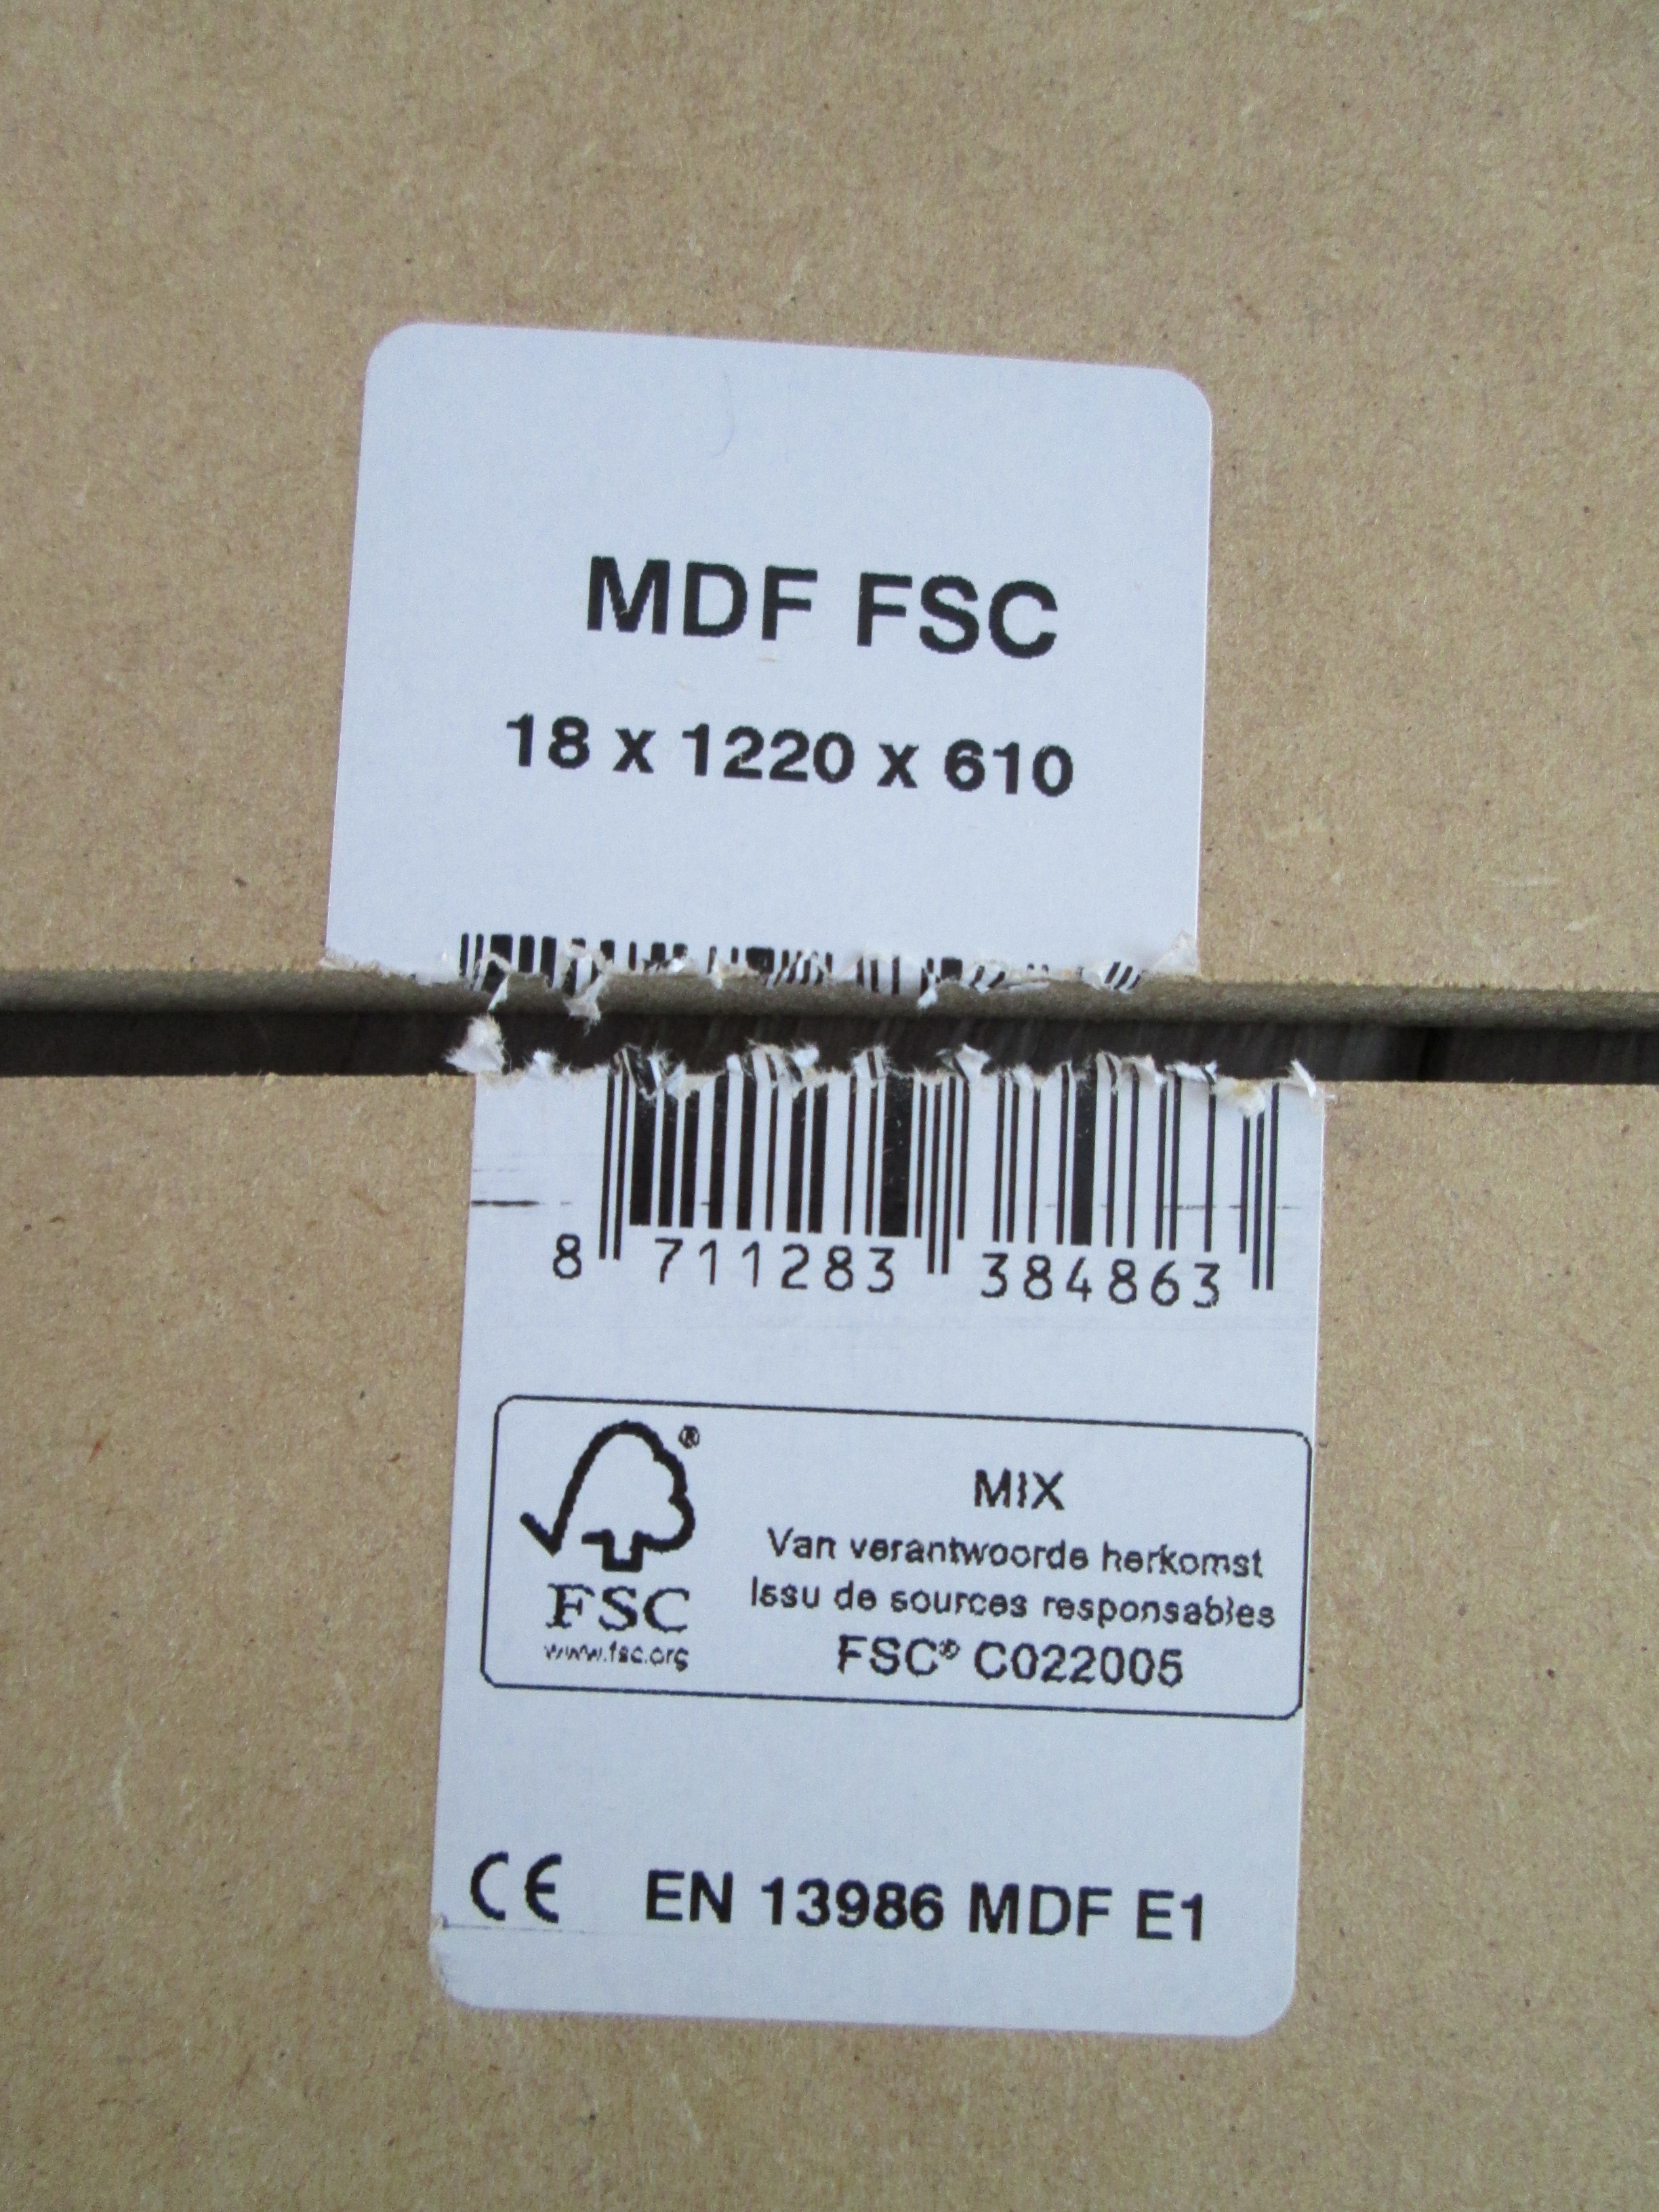
The main materials are 8 meters of pine 30 x 69 mm and strips of MDF 18 mm thick and 17 cm wide, also 8 meters
Further materials include 3,5 cm nails,3,5 cm screws, 10 cm screws, 8 cm dowels, wood glue, two wall plugs, paint ( acrylic based)
basic woodworking tools:
Hammer, saw ( I used electric jig saw, and miter saw with guide. If you own semi-professional electric saws; lucky you), drill, dowel guide, electric screwdriver, sanding paper, little planer, paint brush.
Cut Out the Frame
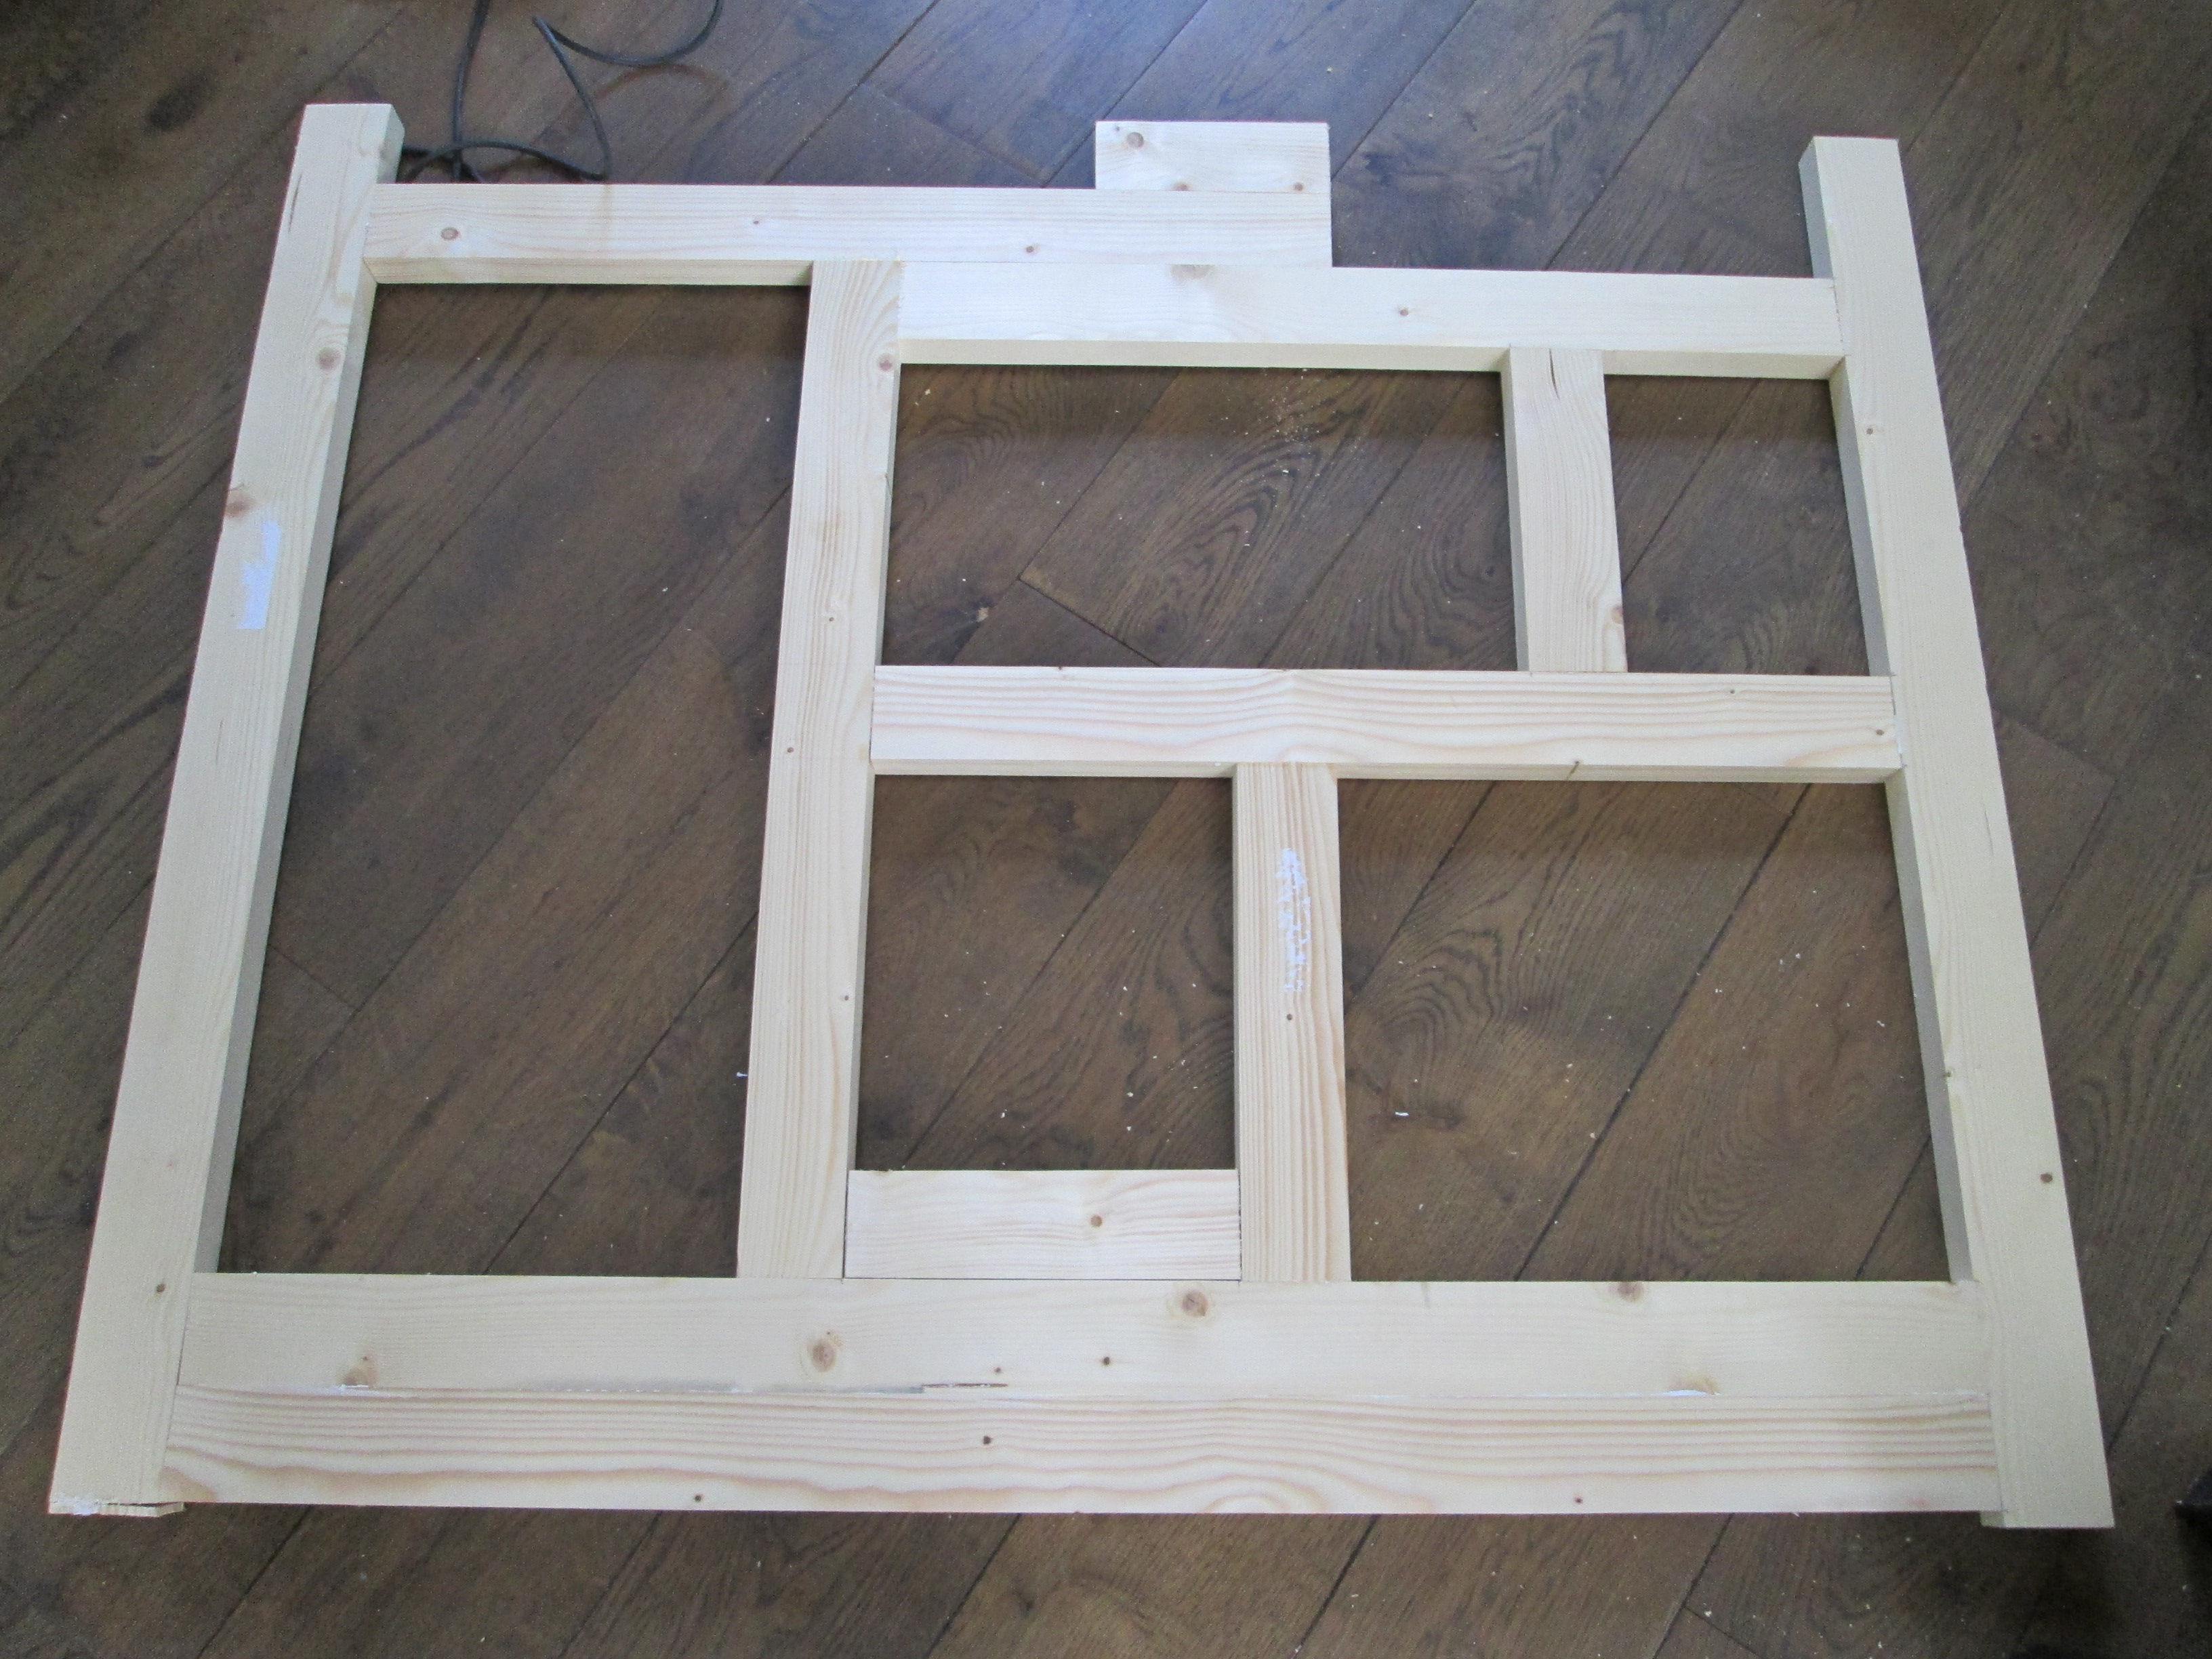
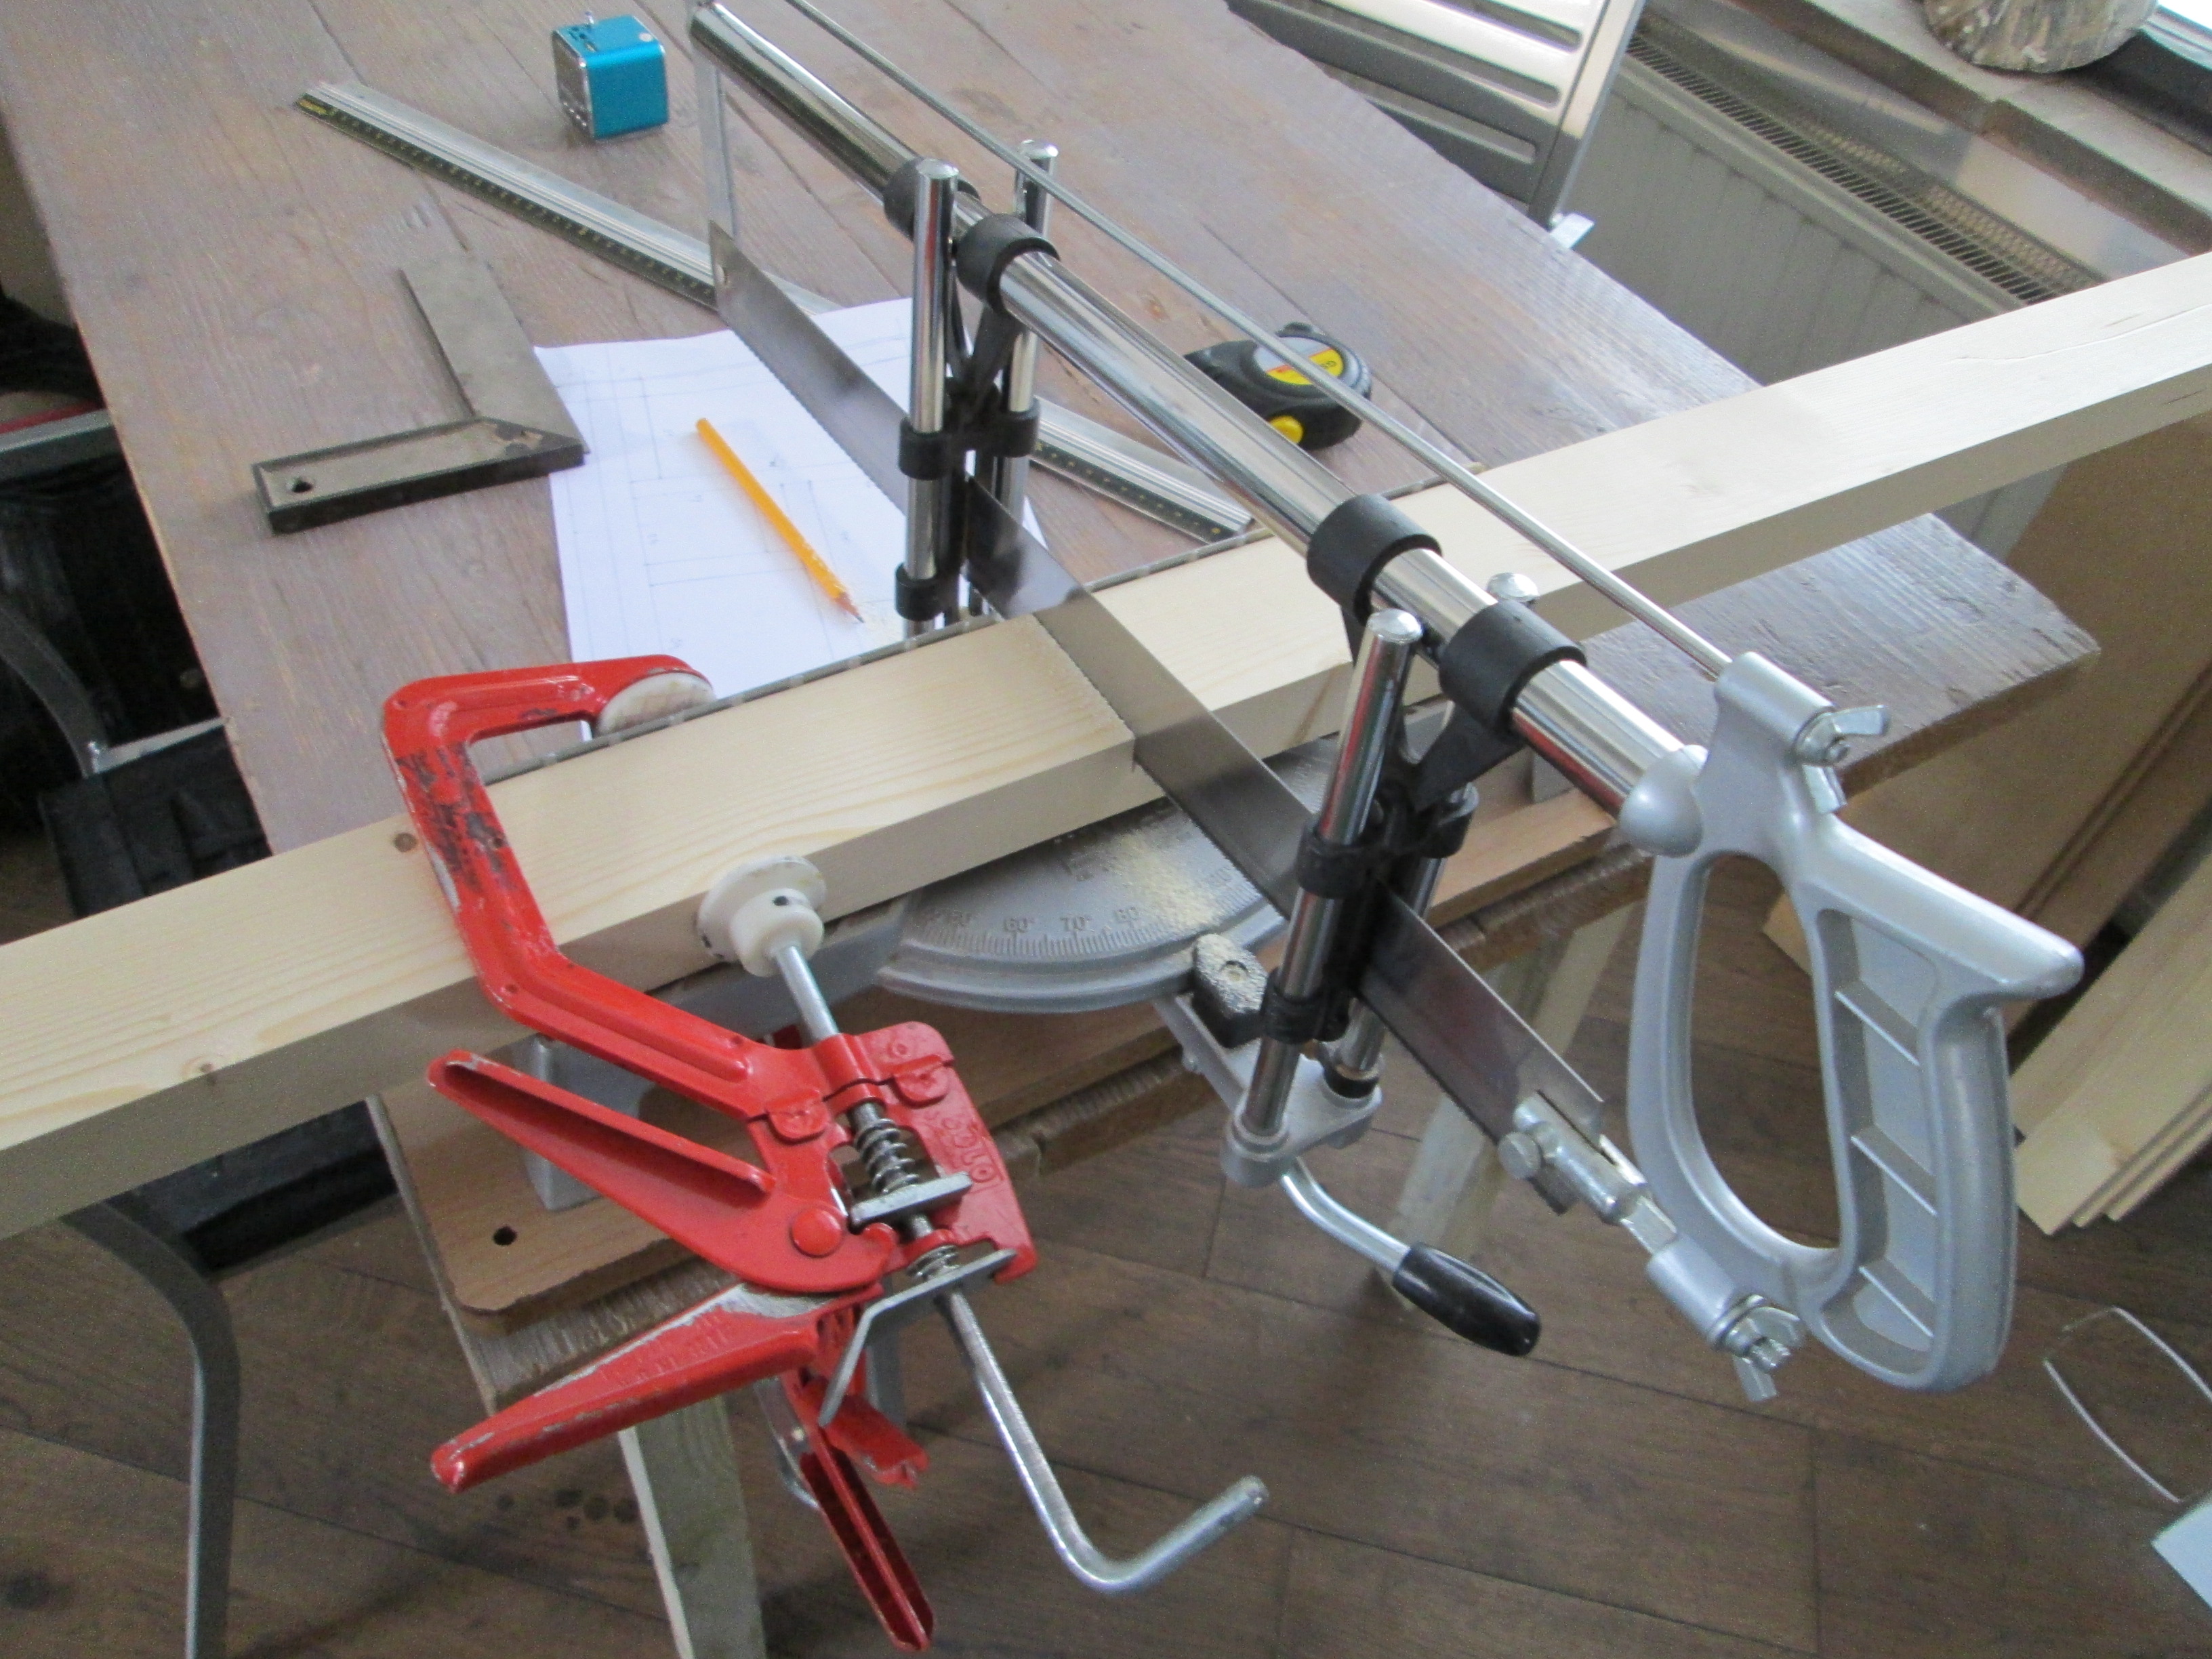
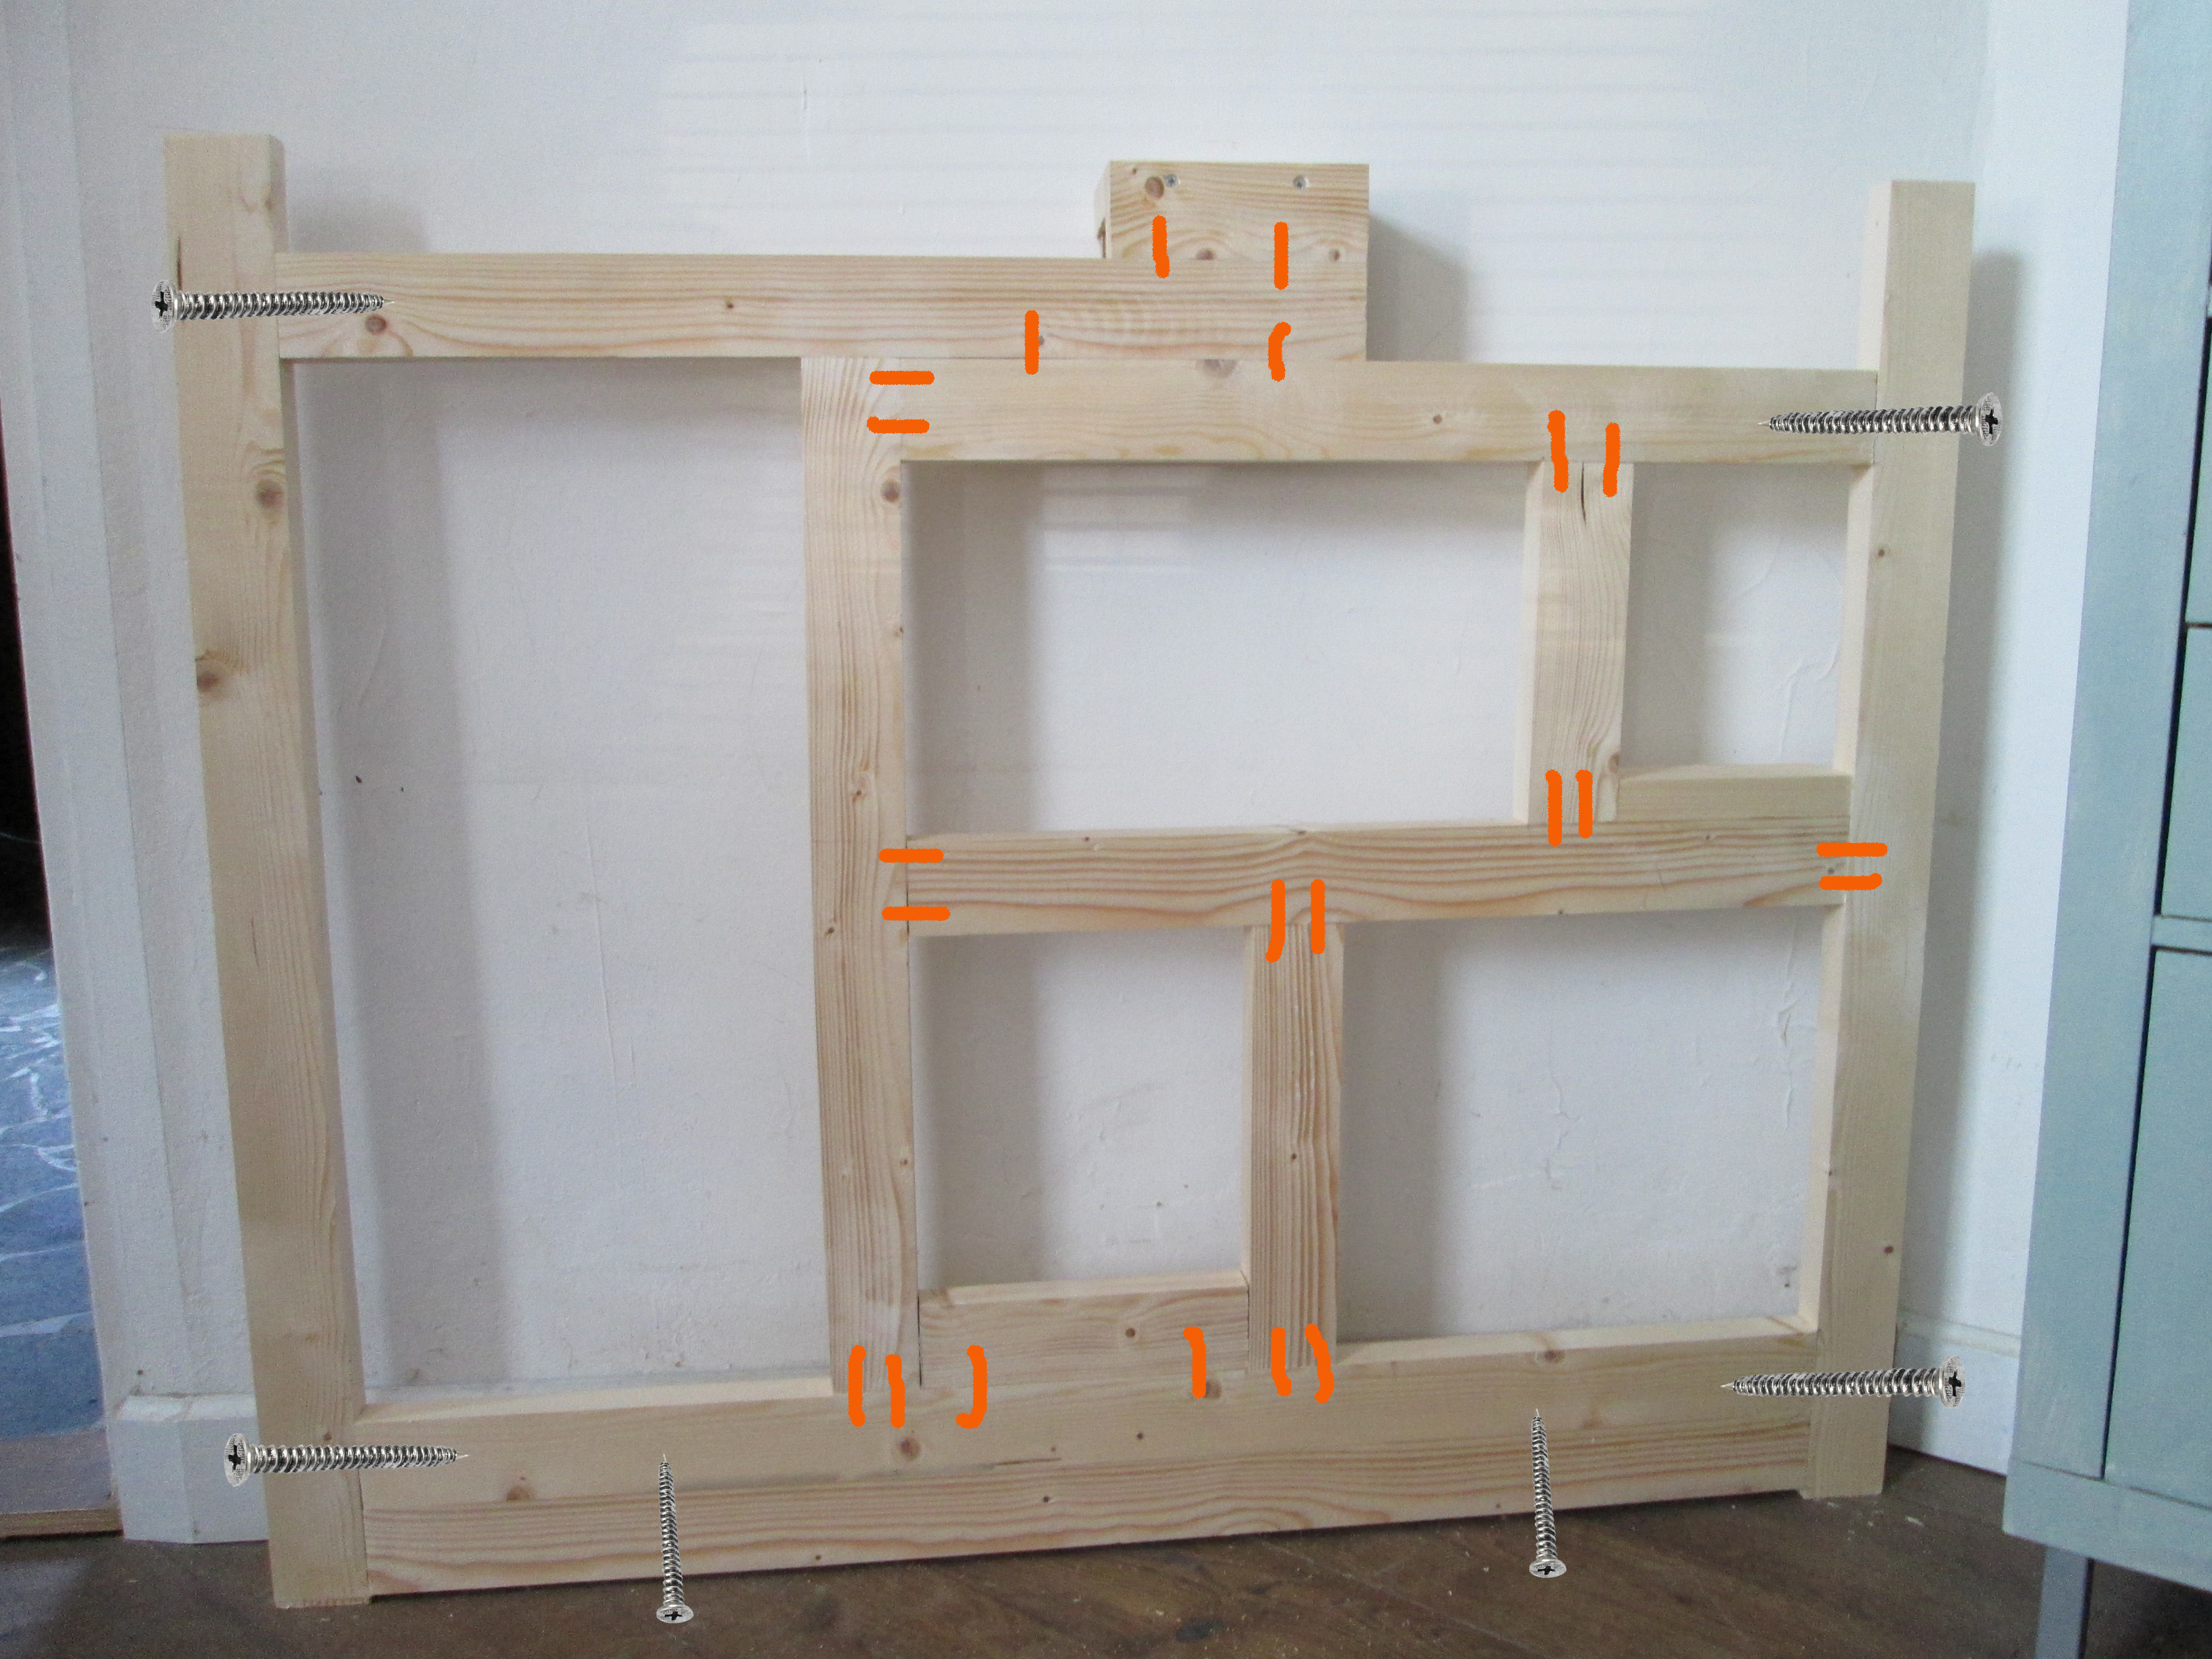
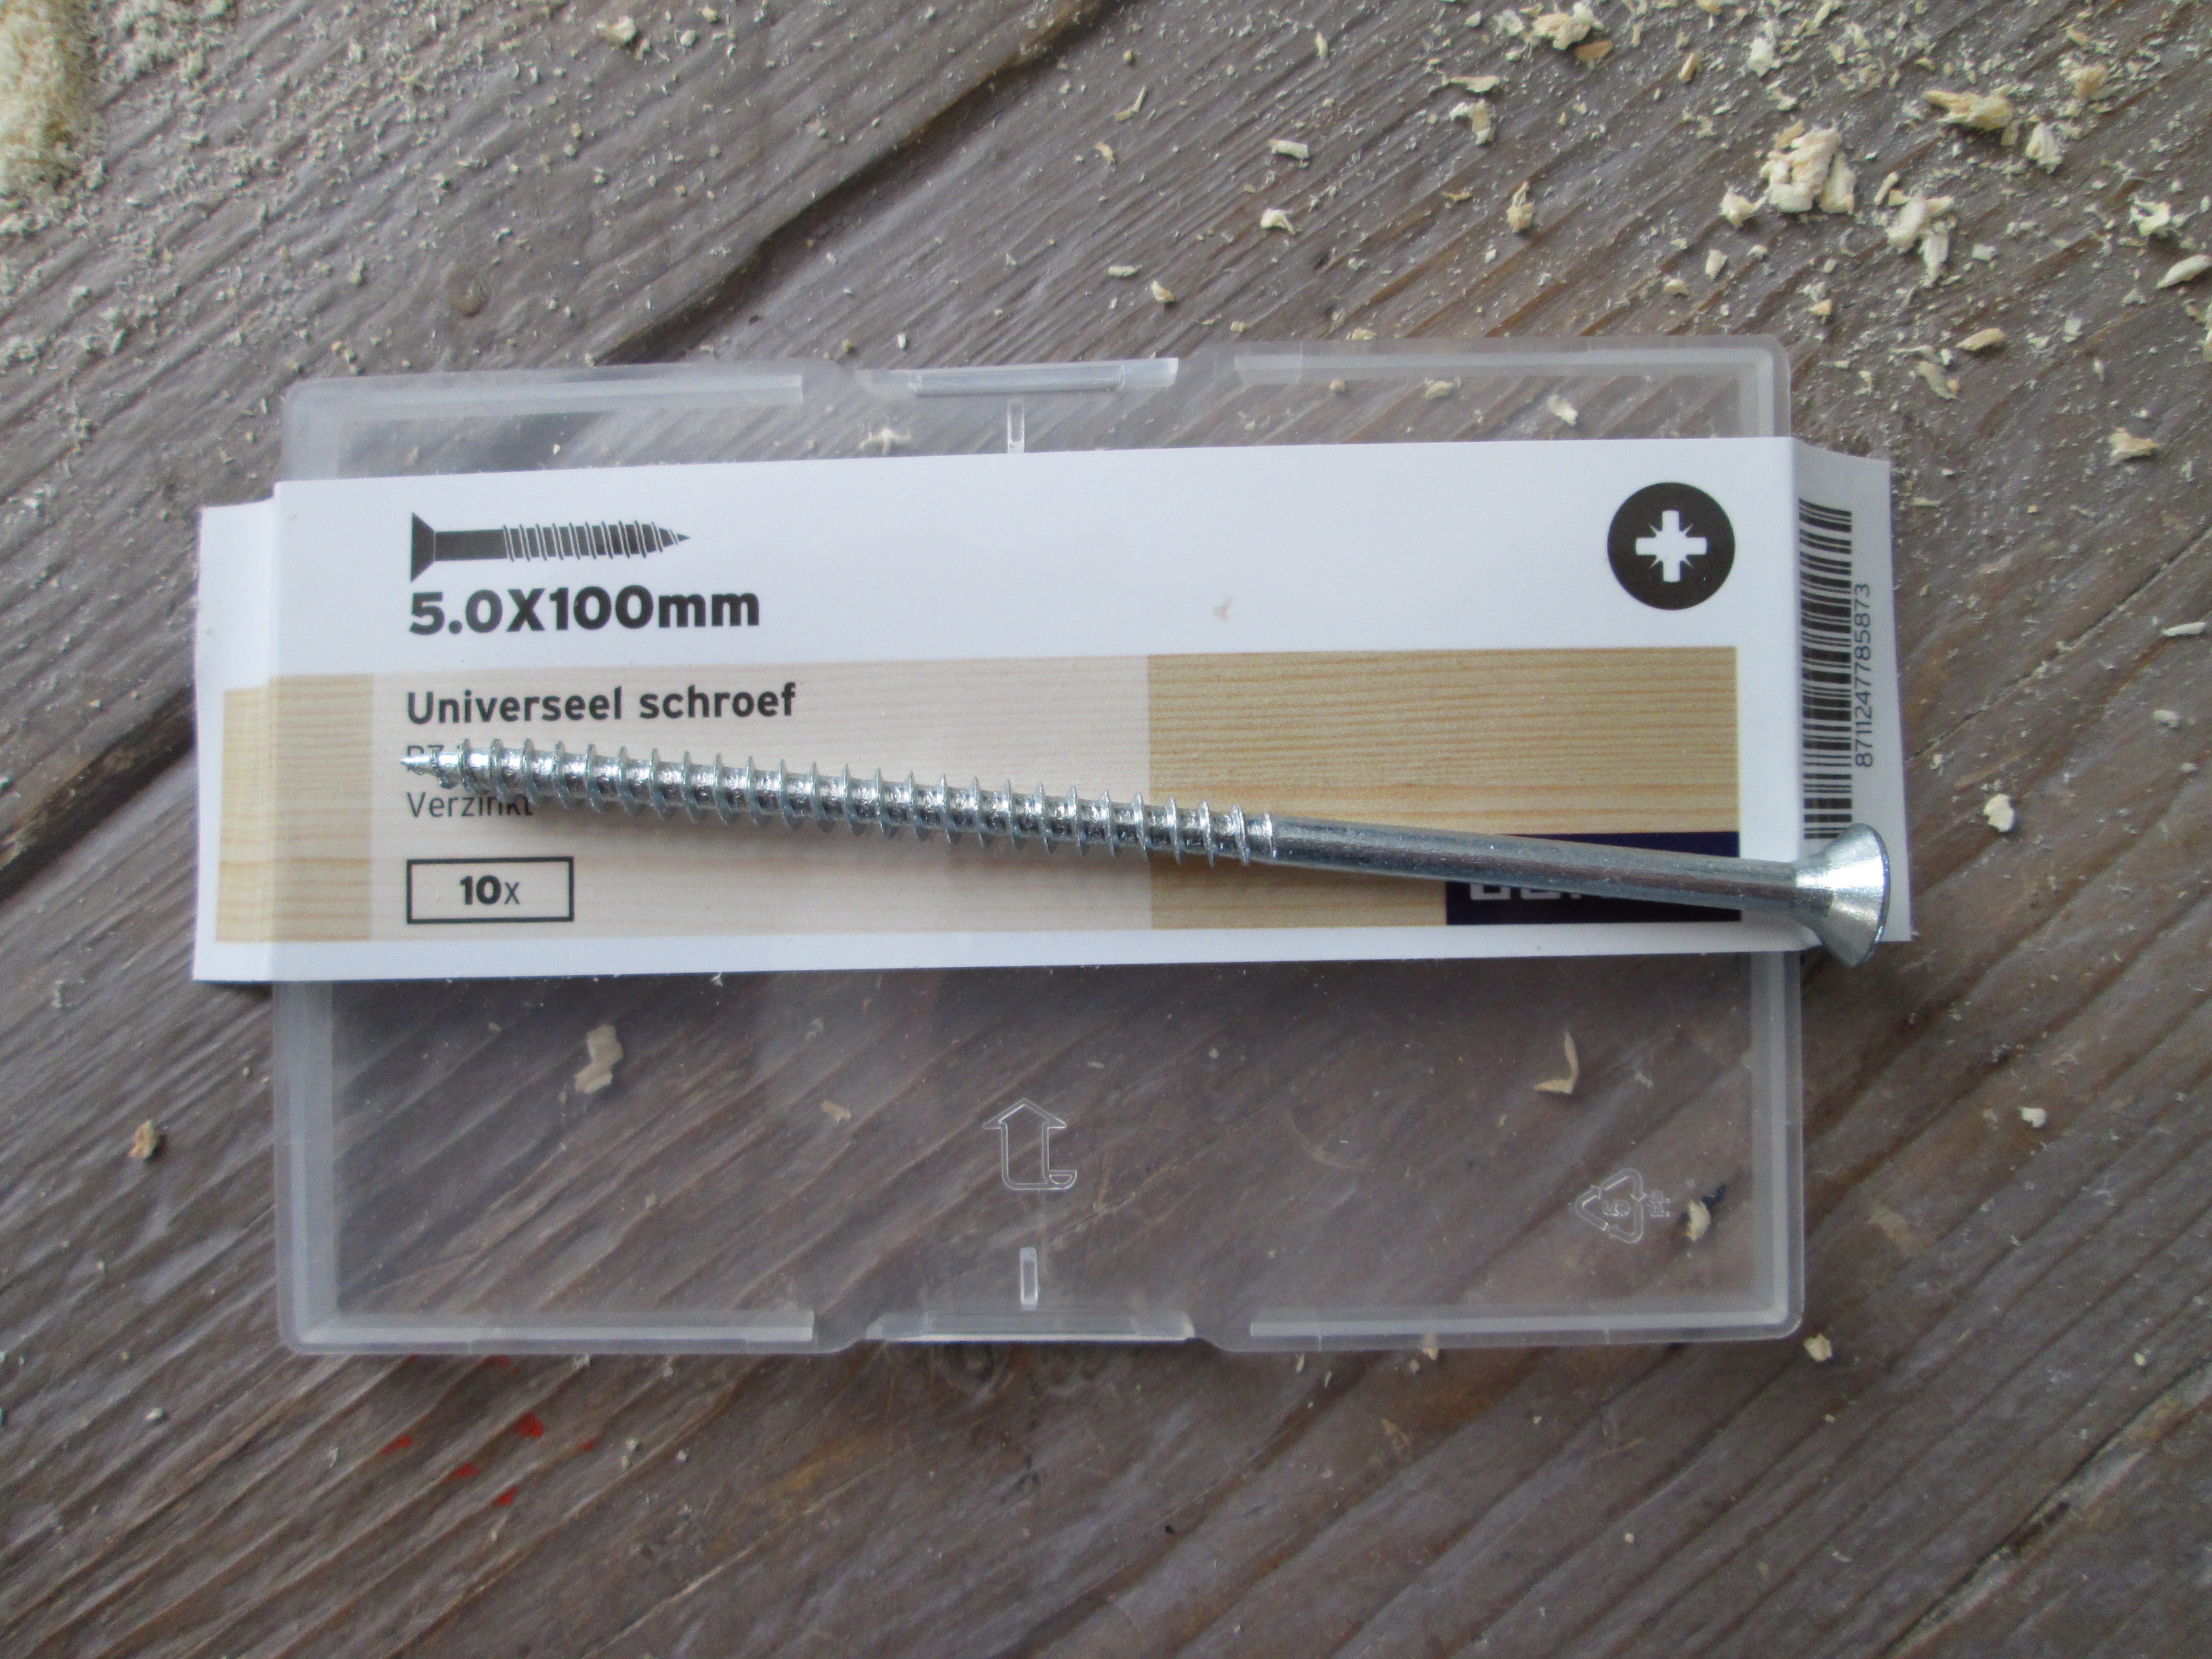
Cut all pieces the right size. Check the measurements while are busy. Note that I extended the outer poles by 0.5 cm as legs to the floor. This prevents the cupboard from wobbling when the floor is not entirely even. The beams are approximately 69 mm wide, before you know it you are a few mm off. Lay them out on the floor. Most of the beams are connected by dowels. See the next step for more detailed advice. To pull the frame together I used screws on the outside. See the picture where six screws are drawn, and dowels are pictured in orange.
Using the Dowel Guide
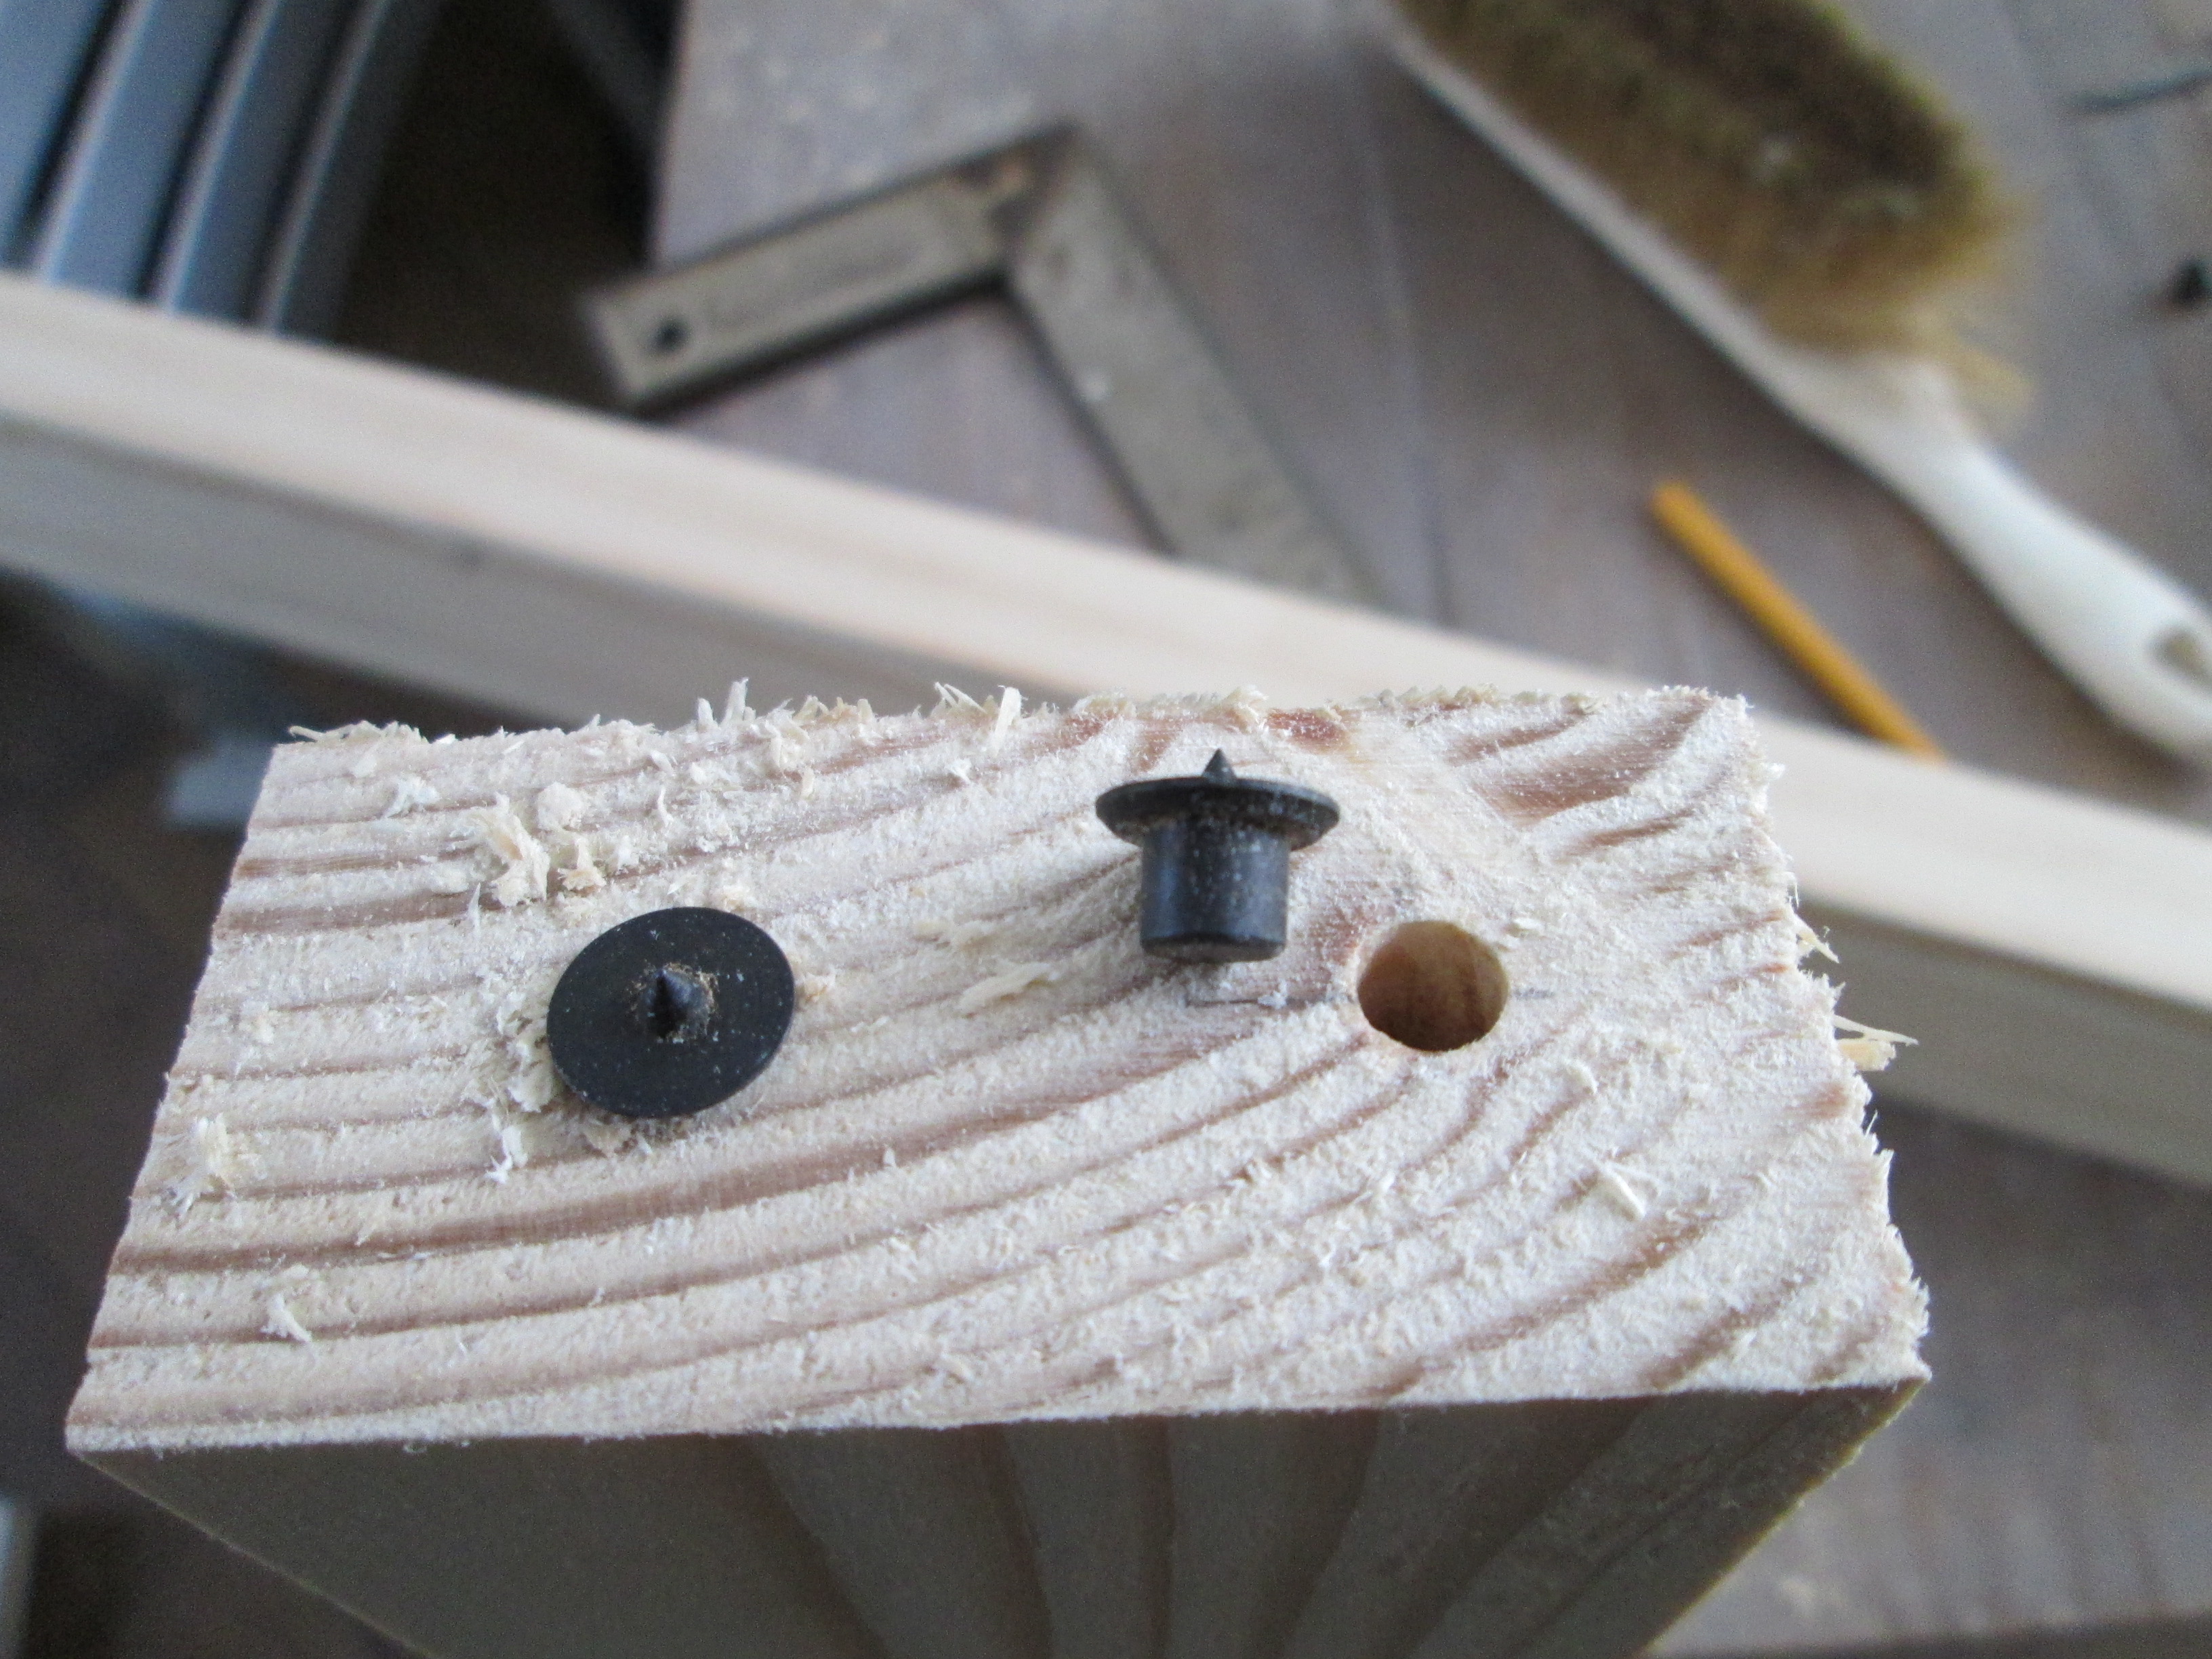
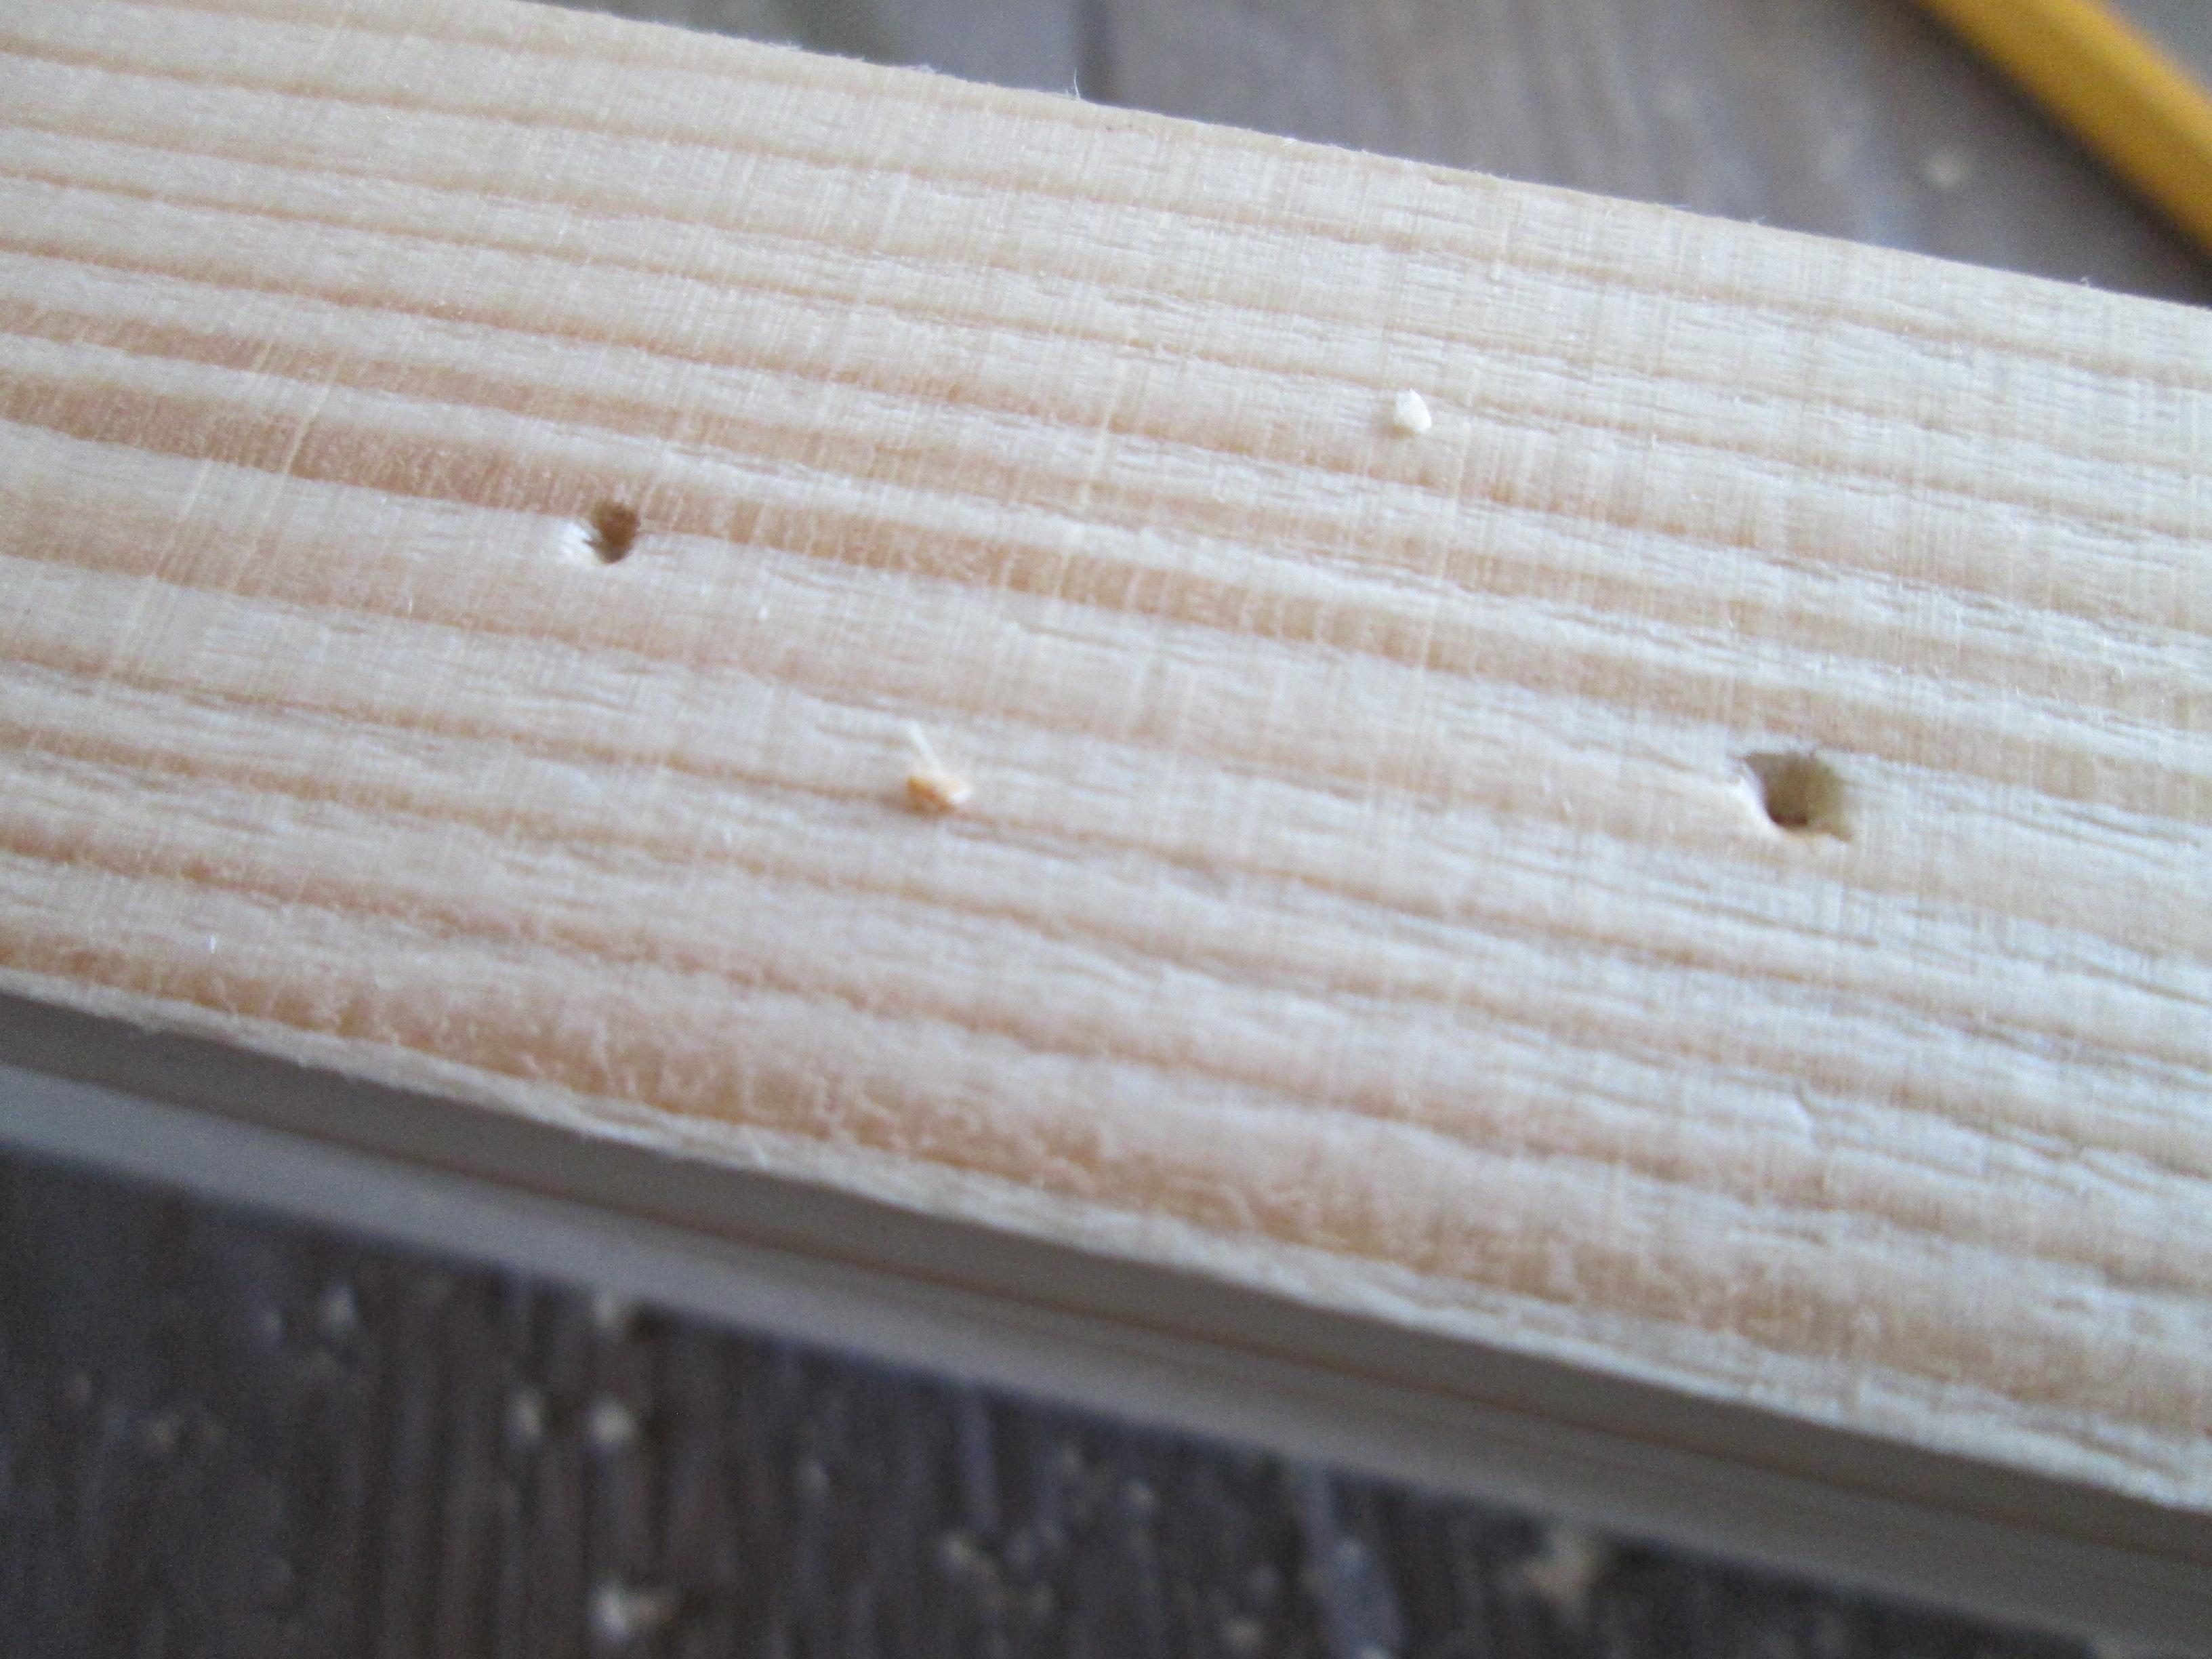
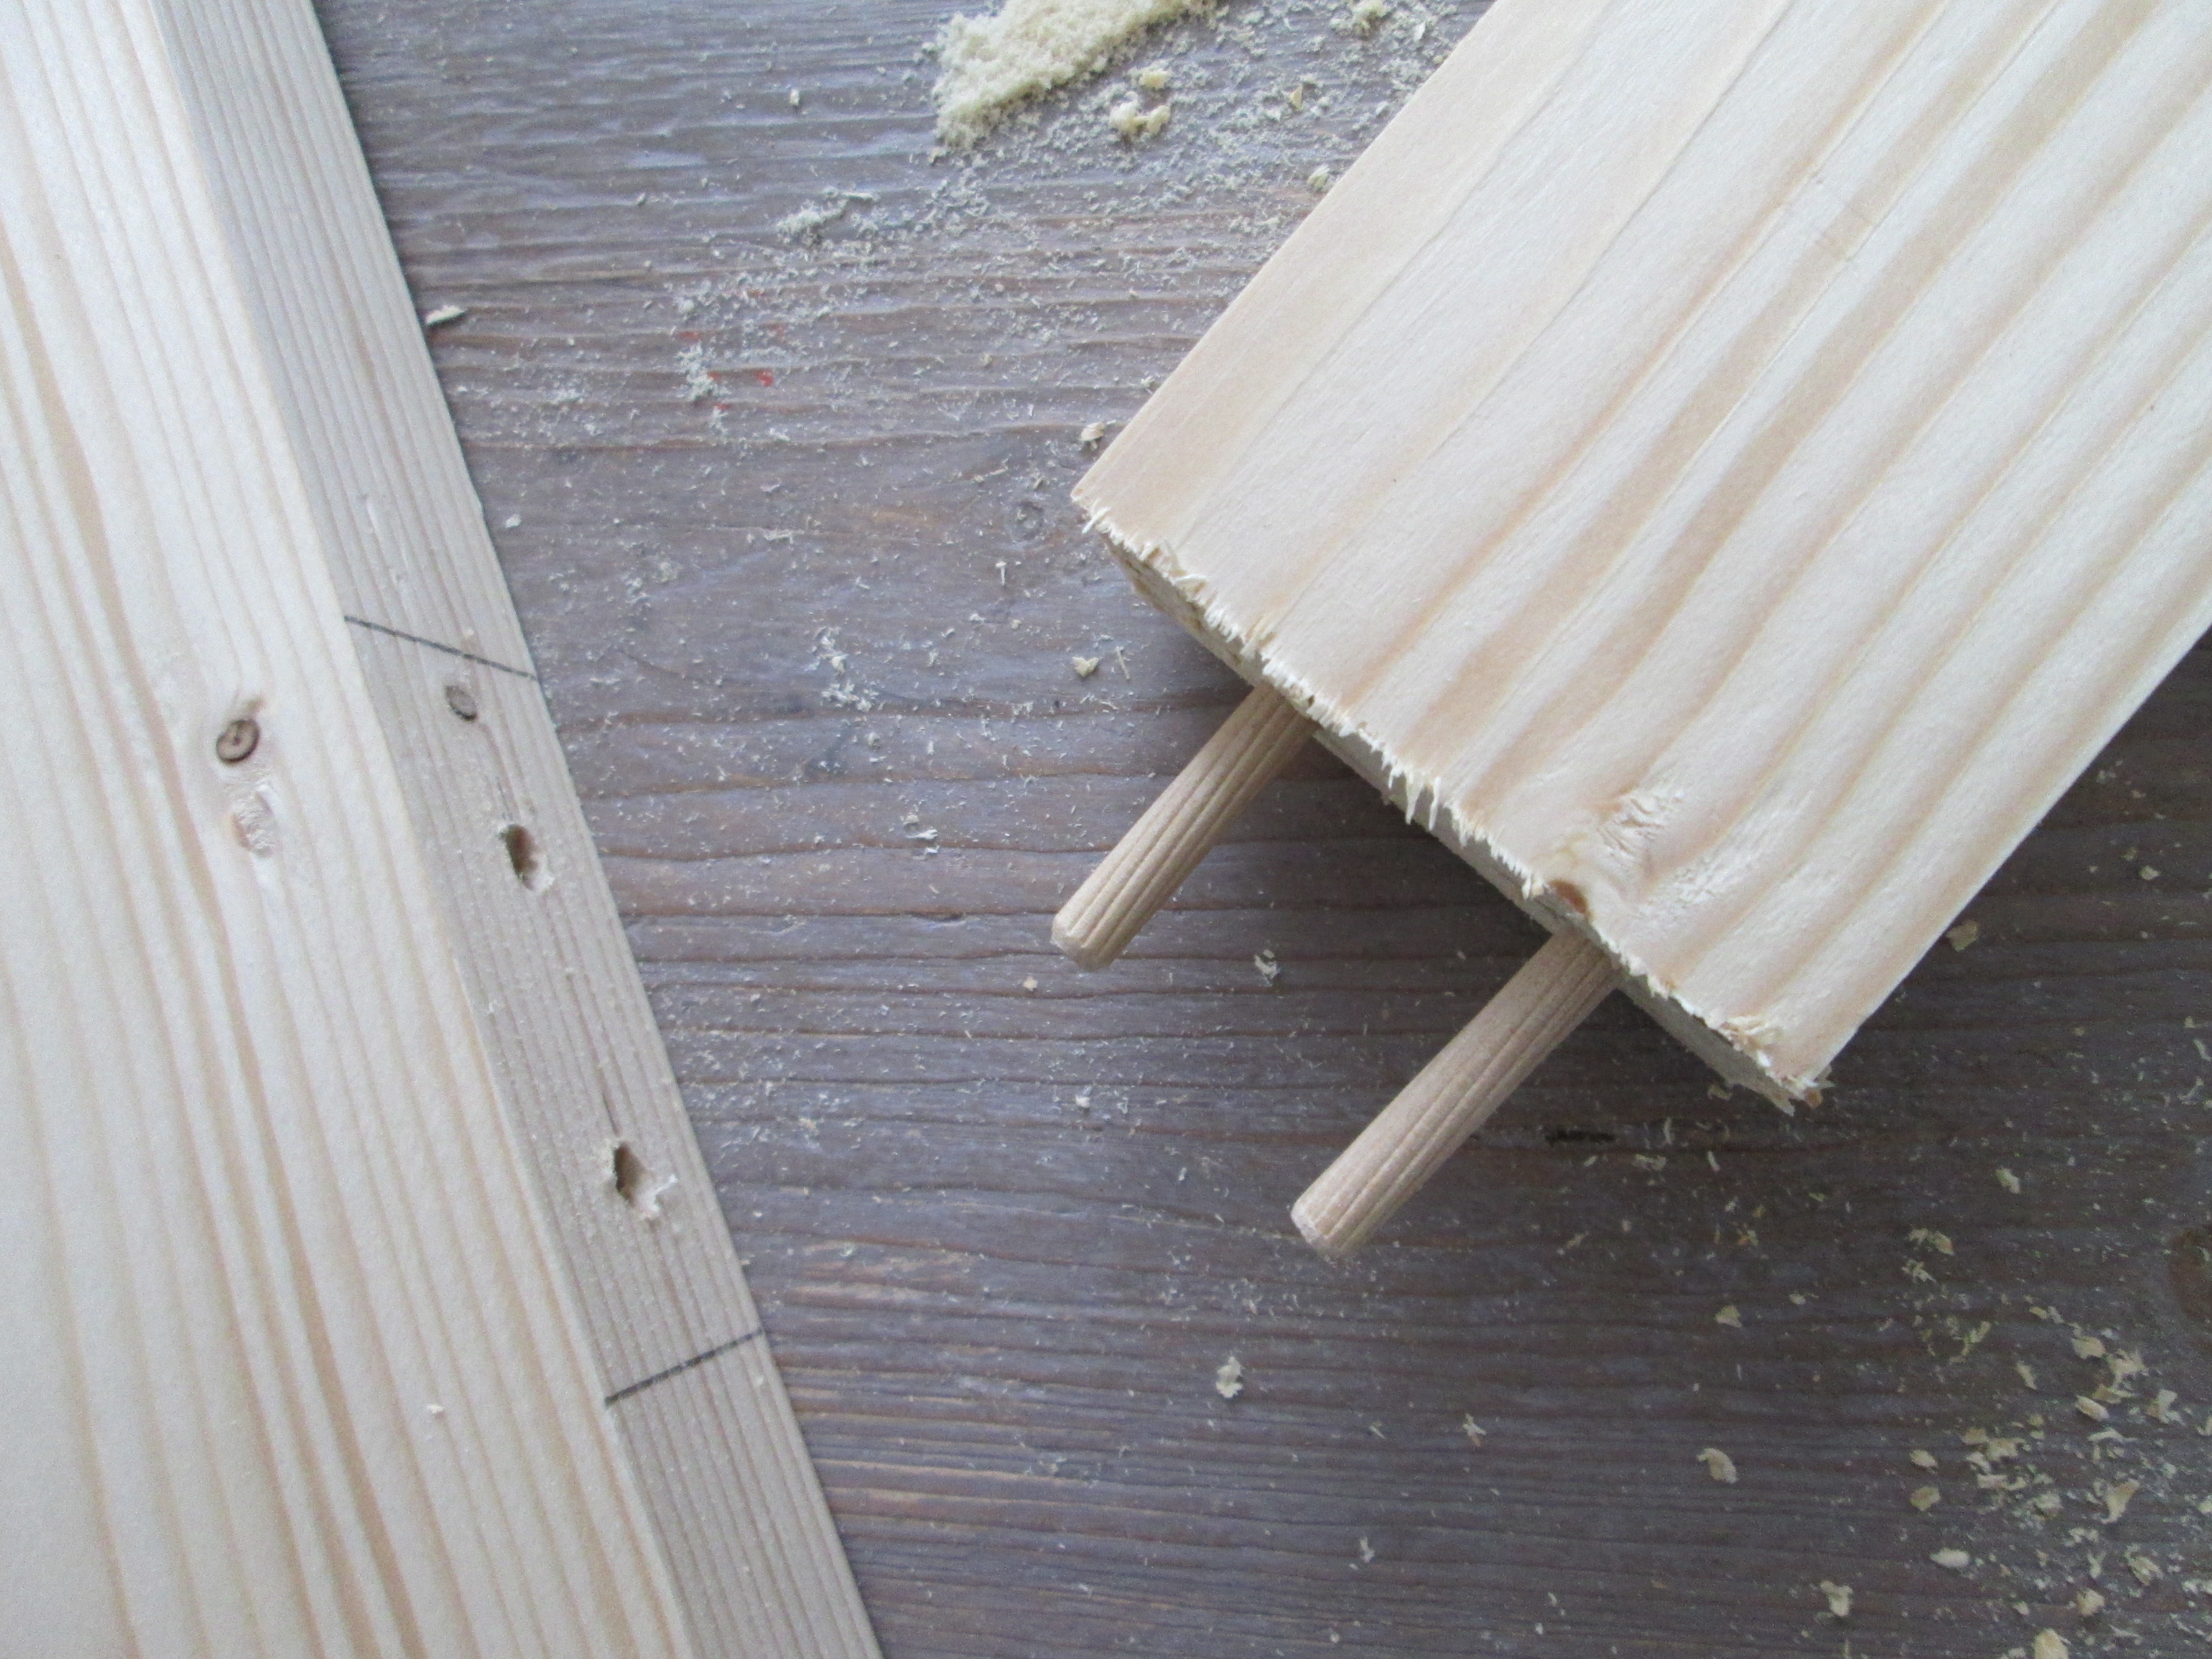
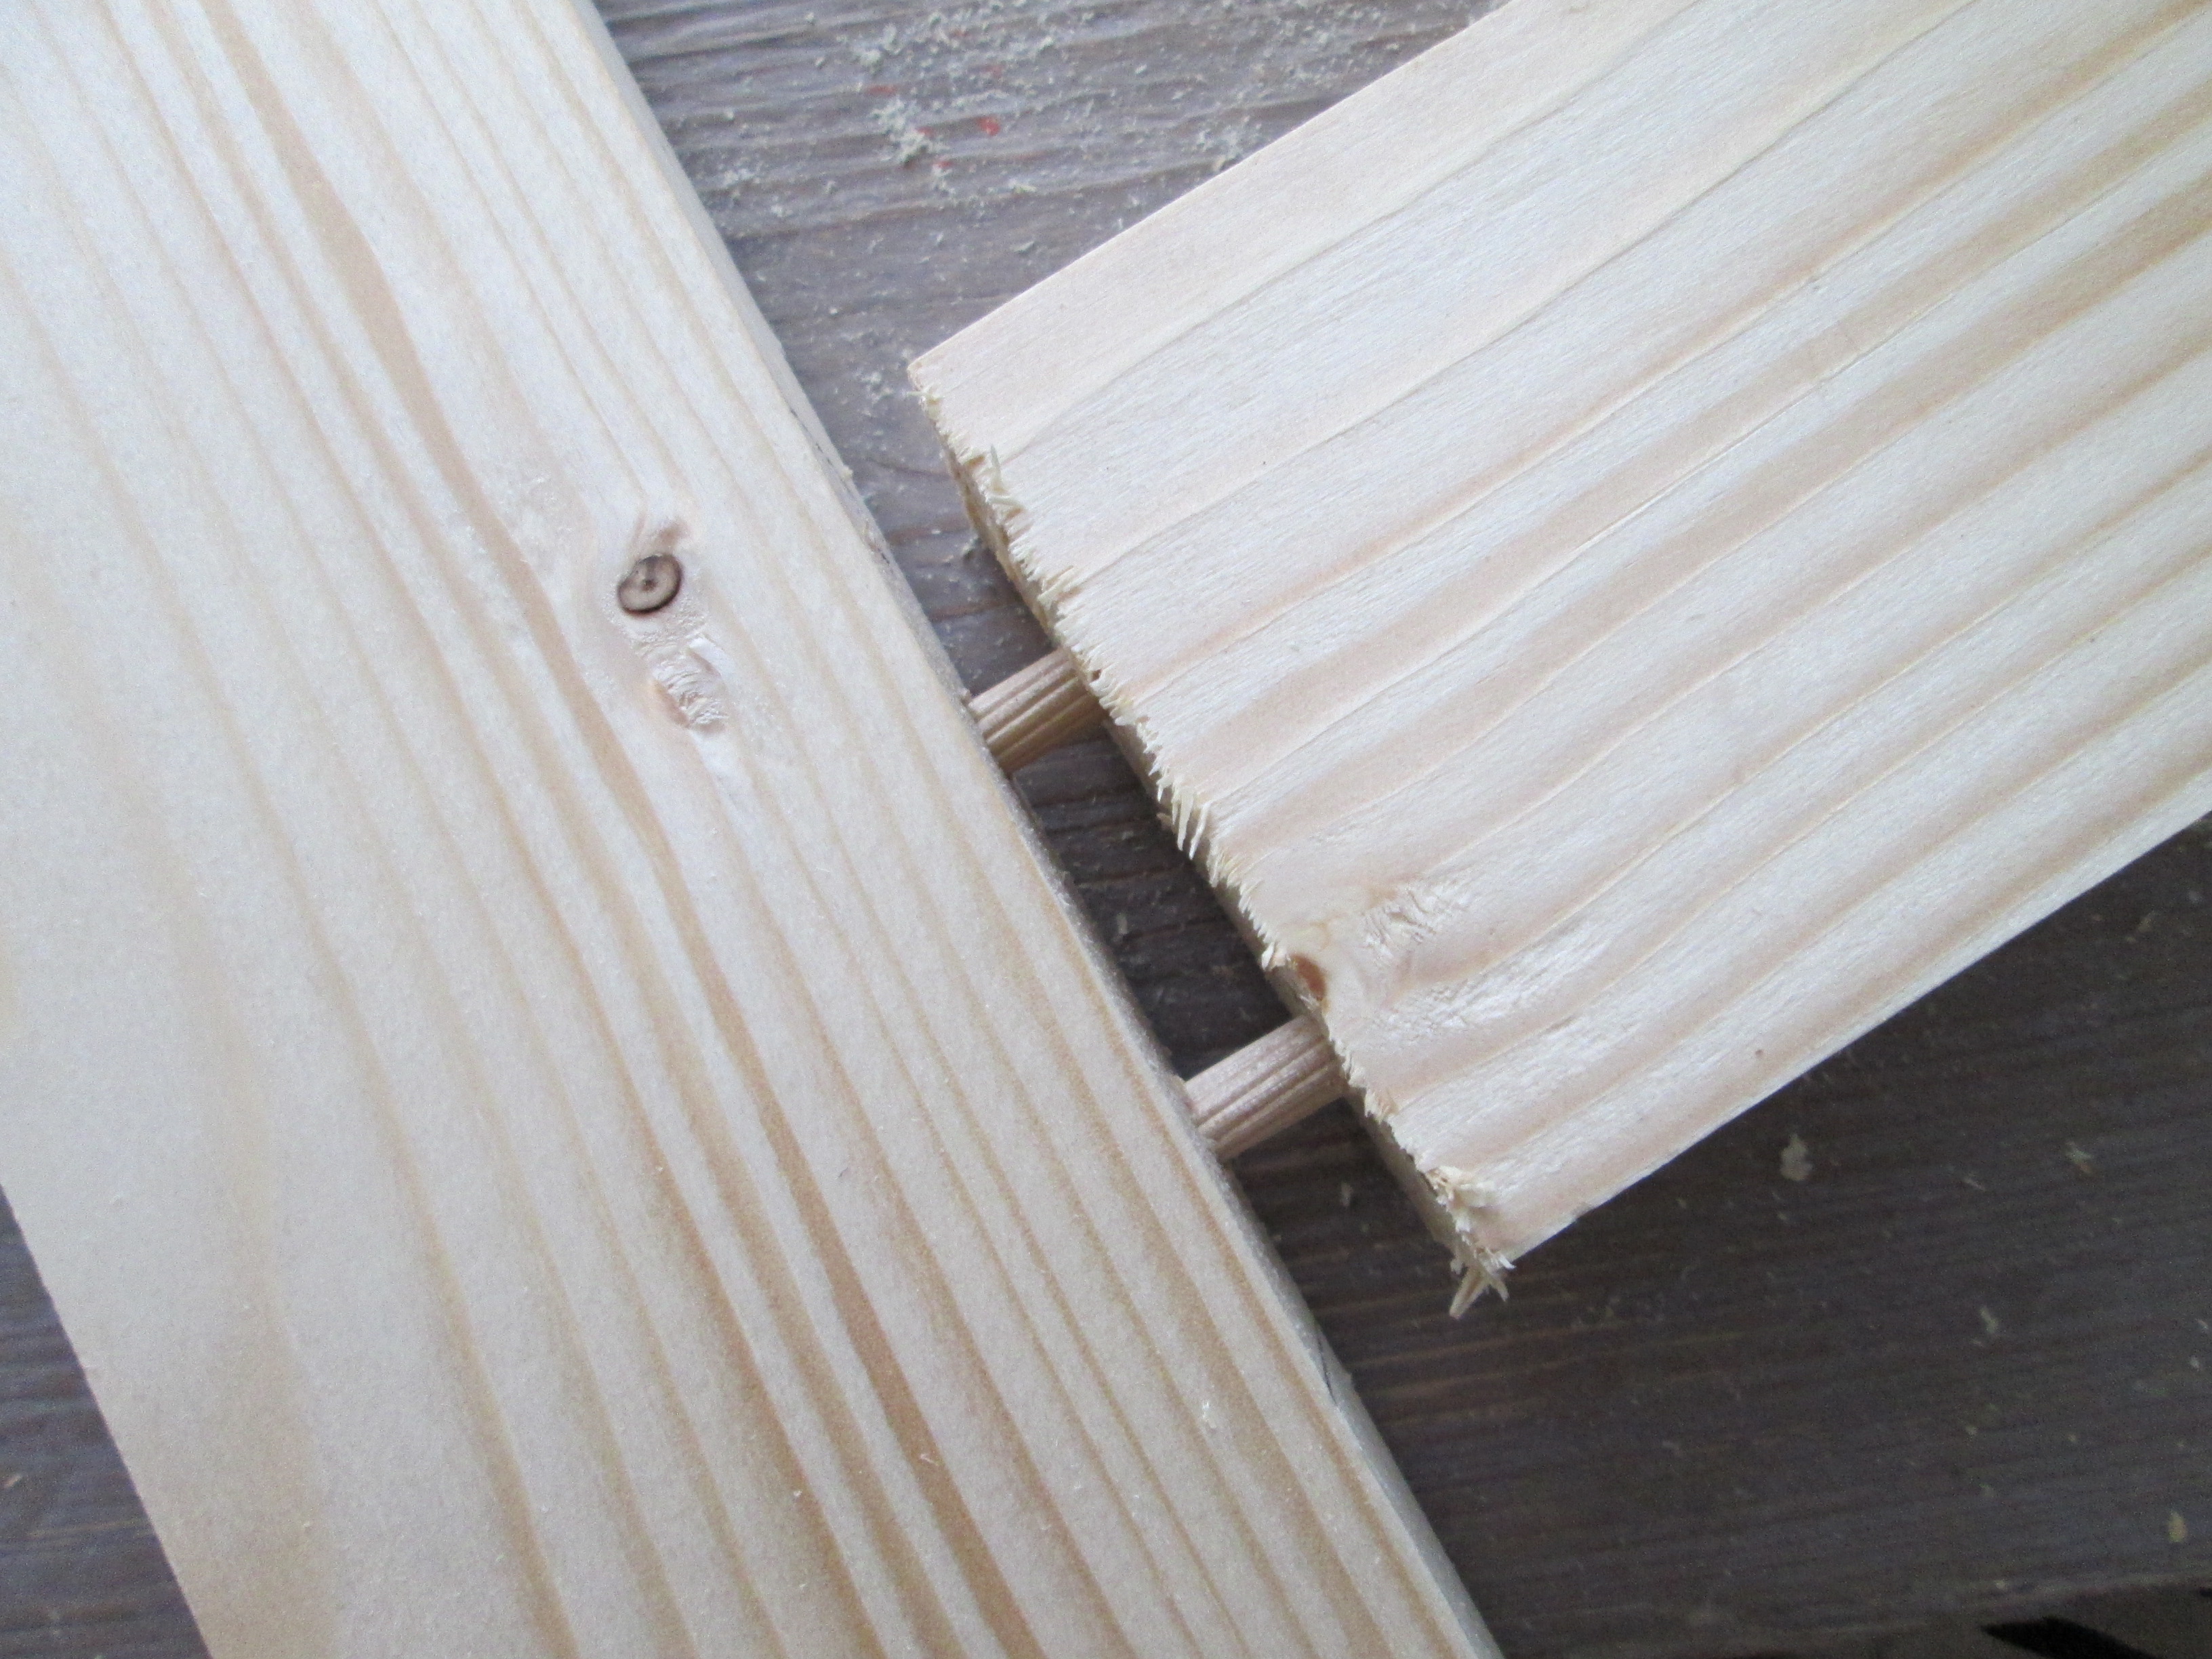
I don't know if "dowel guide" is the right expression, but the picture shows what I mean. Drill holes in the end of the beam where you want to use dowels, the same size as the dowels. Put in the guide points. Press the beams together on a flat surface. The dents will show where the holes should be drilled in the other piece of wood. It is essential to drill exactly vertical. Add wood glue and place the dowels in place. press firmly together. If possible use clamps to secure.
Cut Out the Boxes
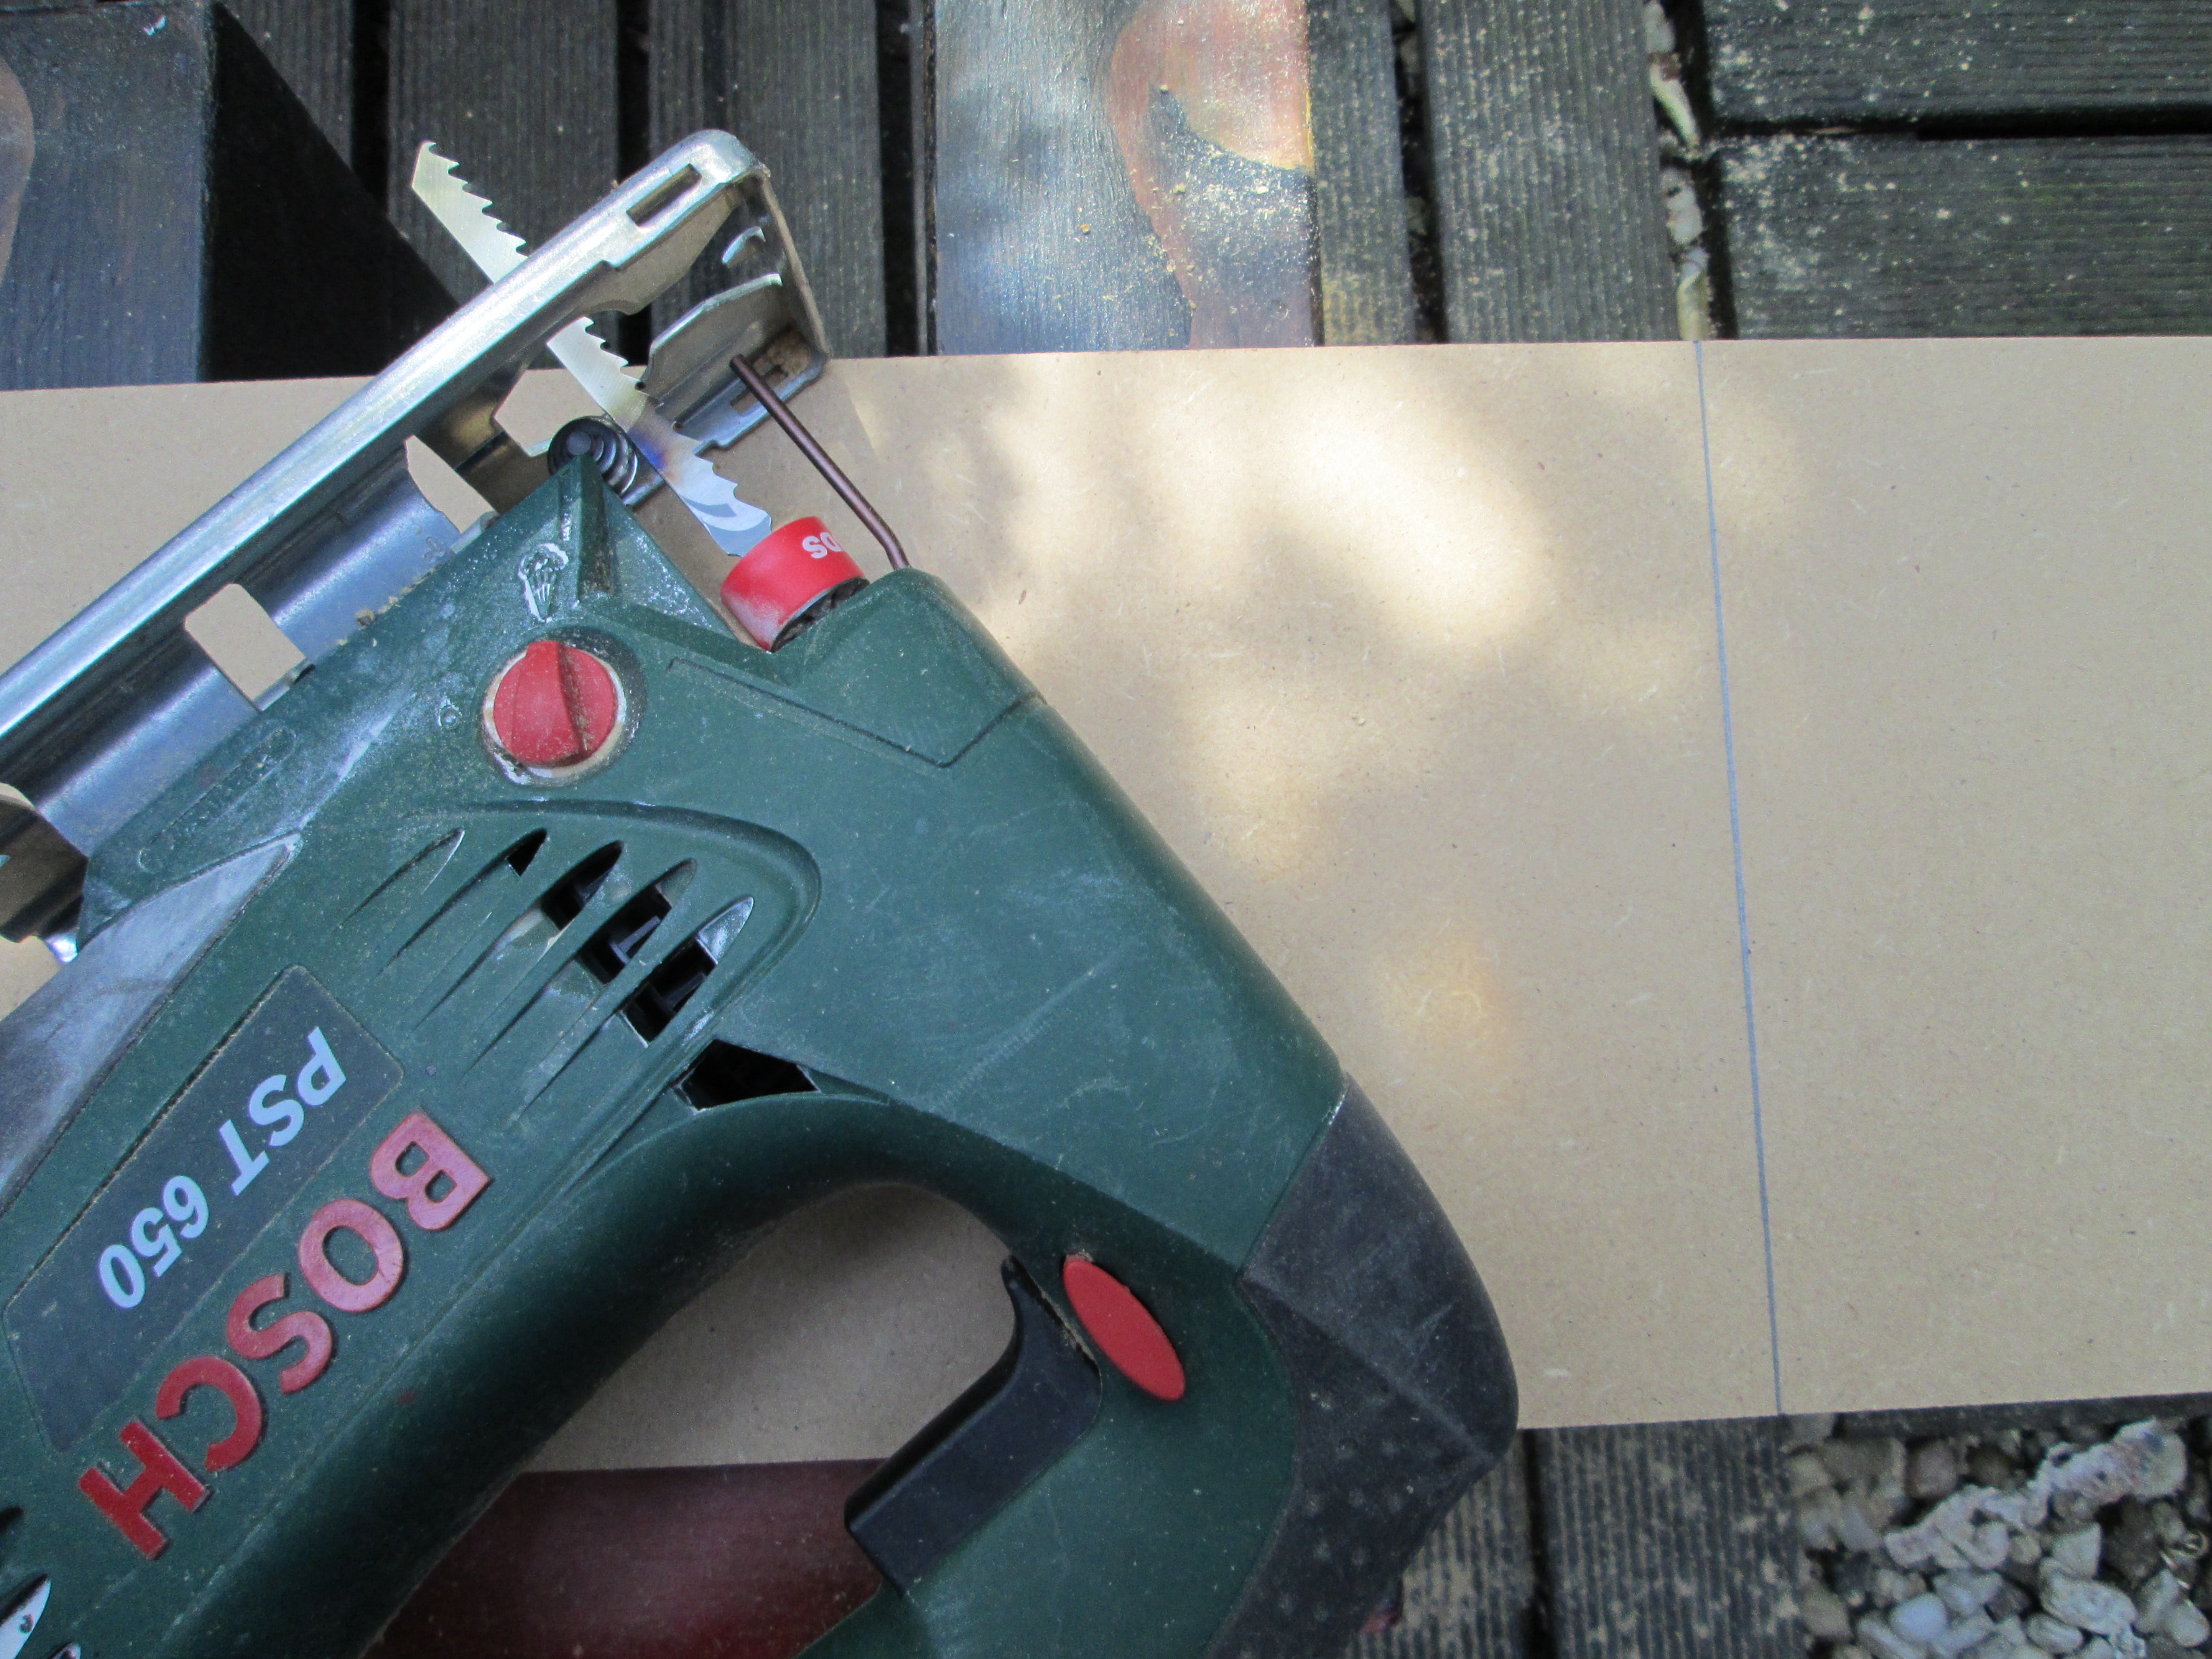
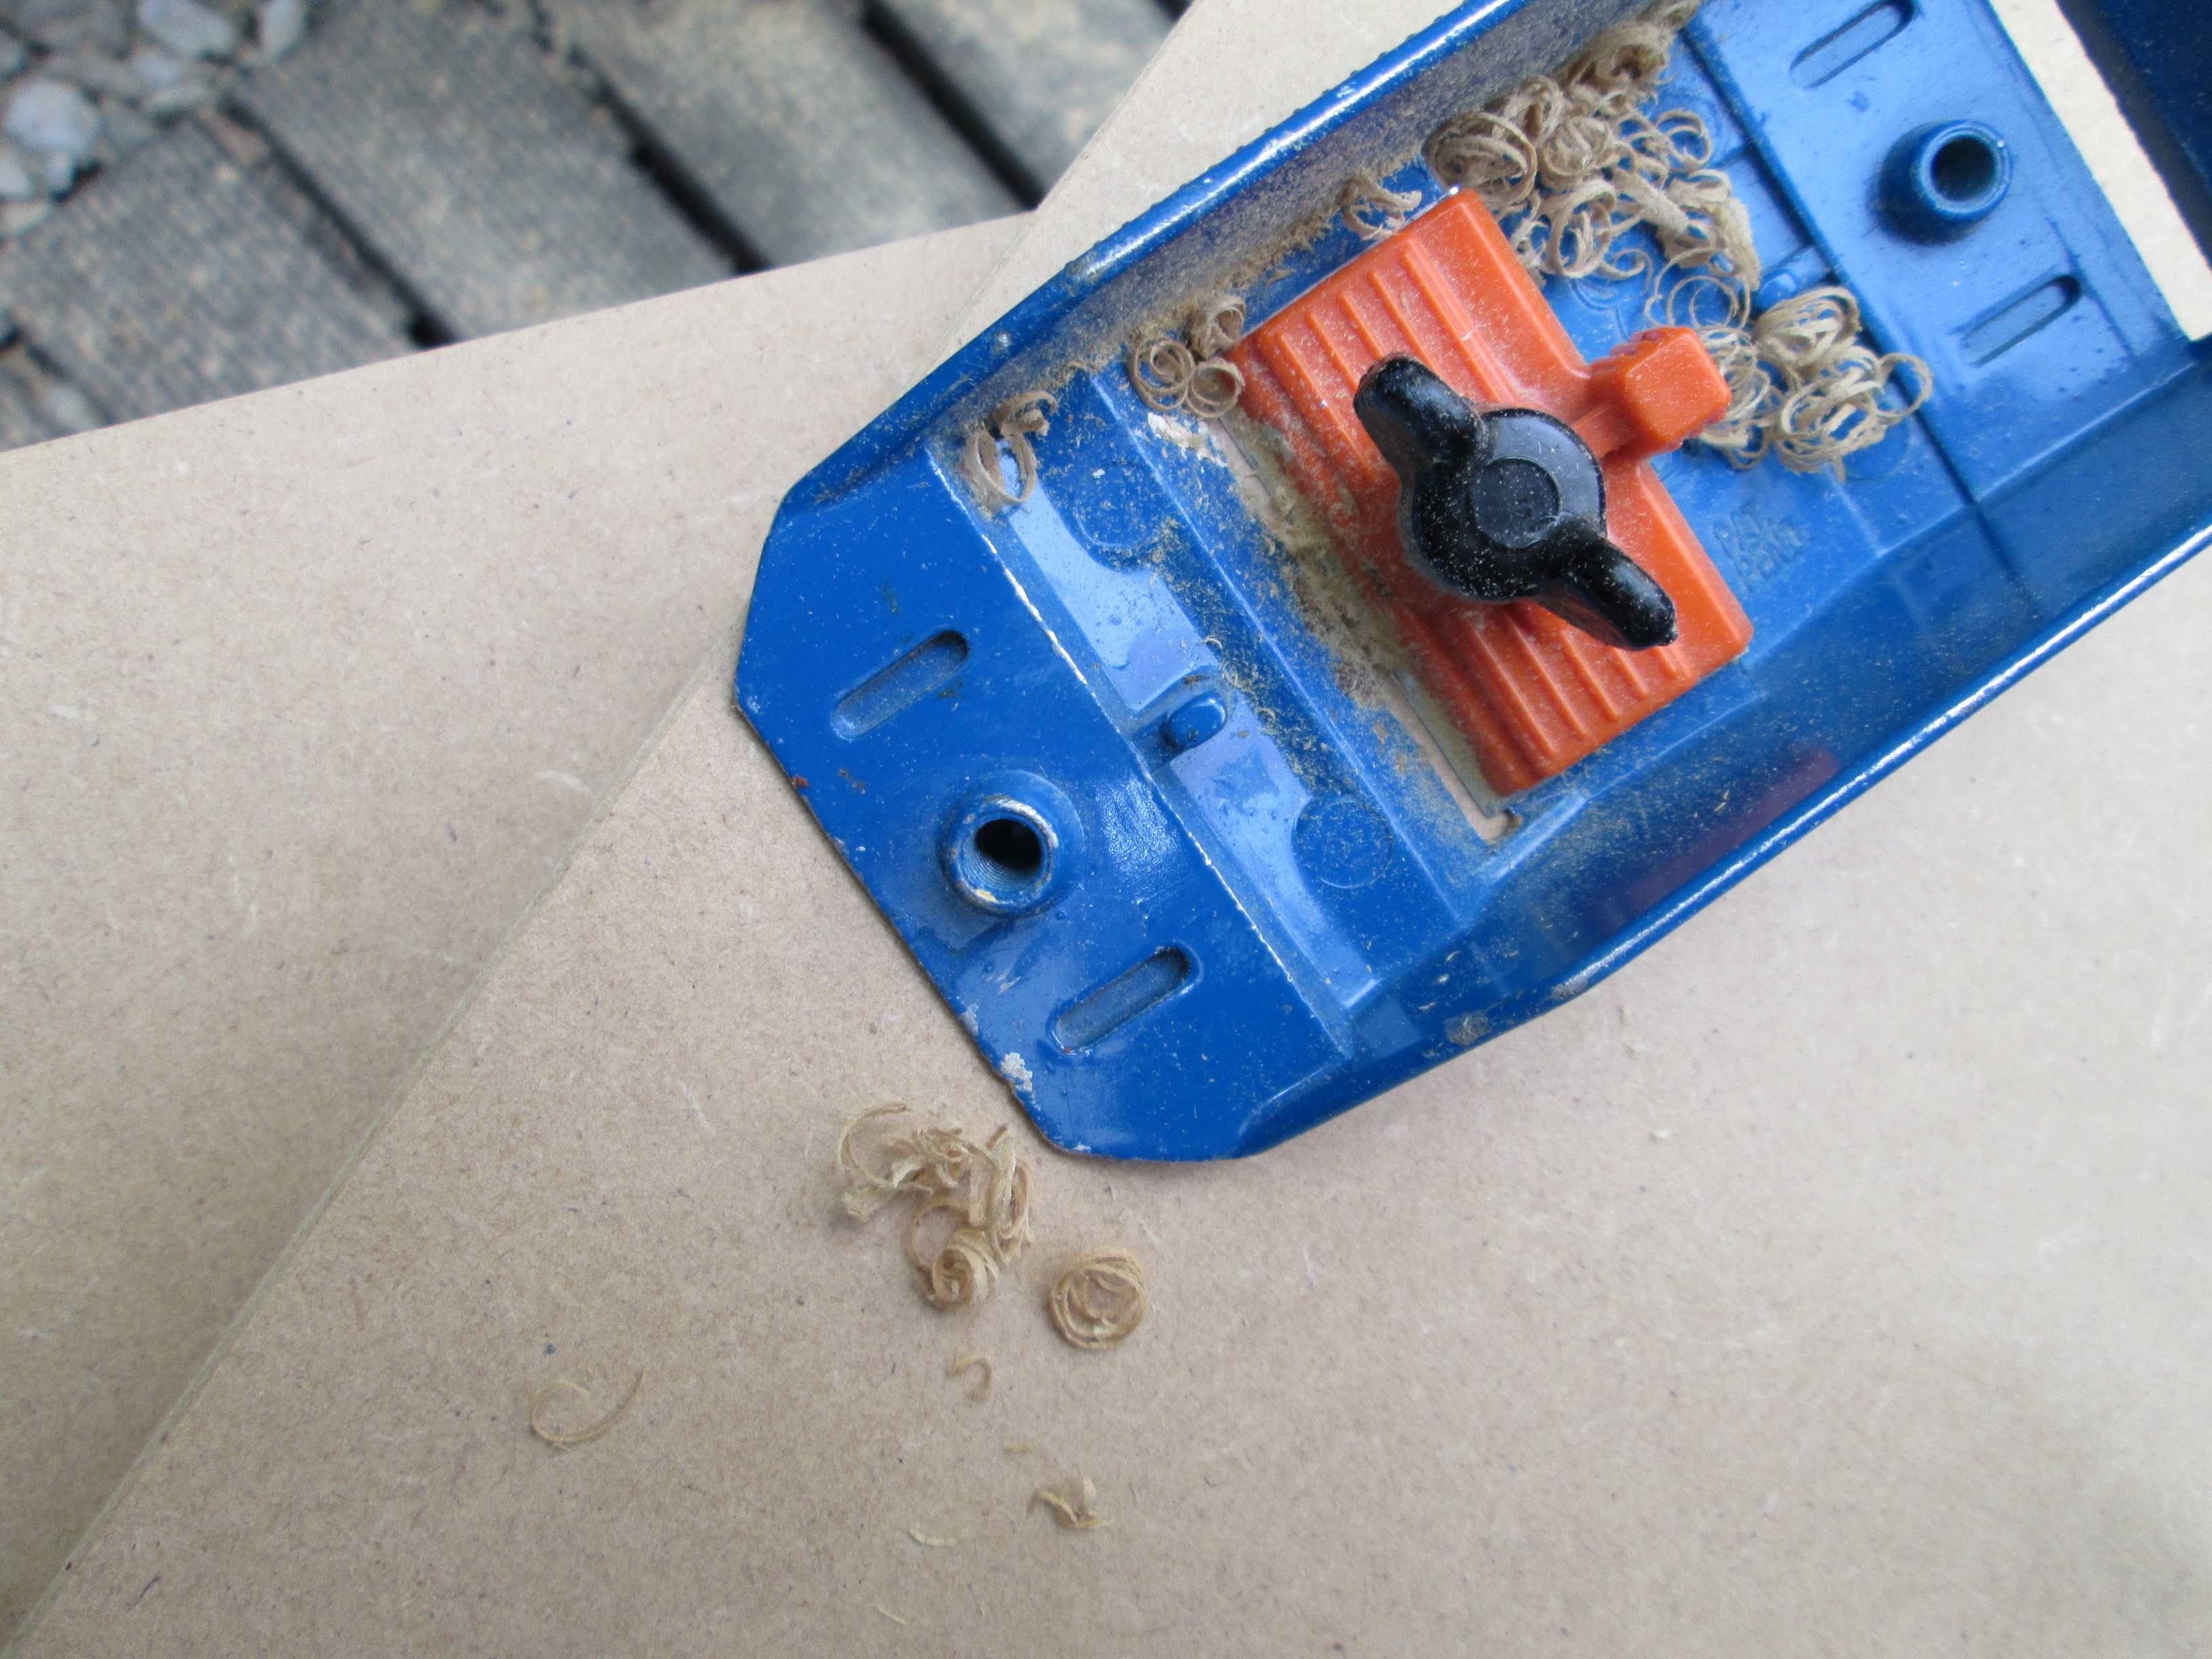
Take measurements from the frame you already made. First draw and cut the horizontal surfaces. Mind that the vertical parts are the height of the opening in the frame minus twice the thickness of the MDF. All pieces should fit without being tight. The paint will ad a layer and will damage if the boxes are to tight. Break all the edges with a little planer. Sand all pieces
Assemble the Boxes
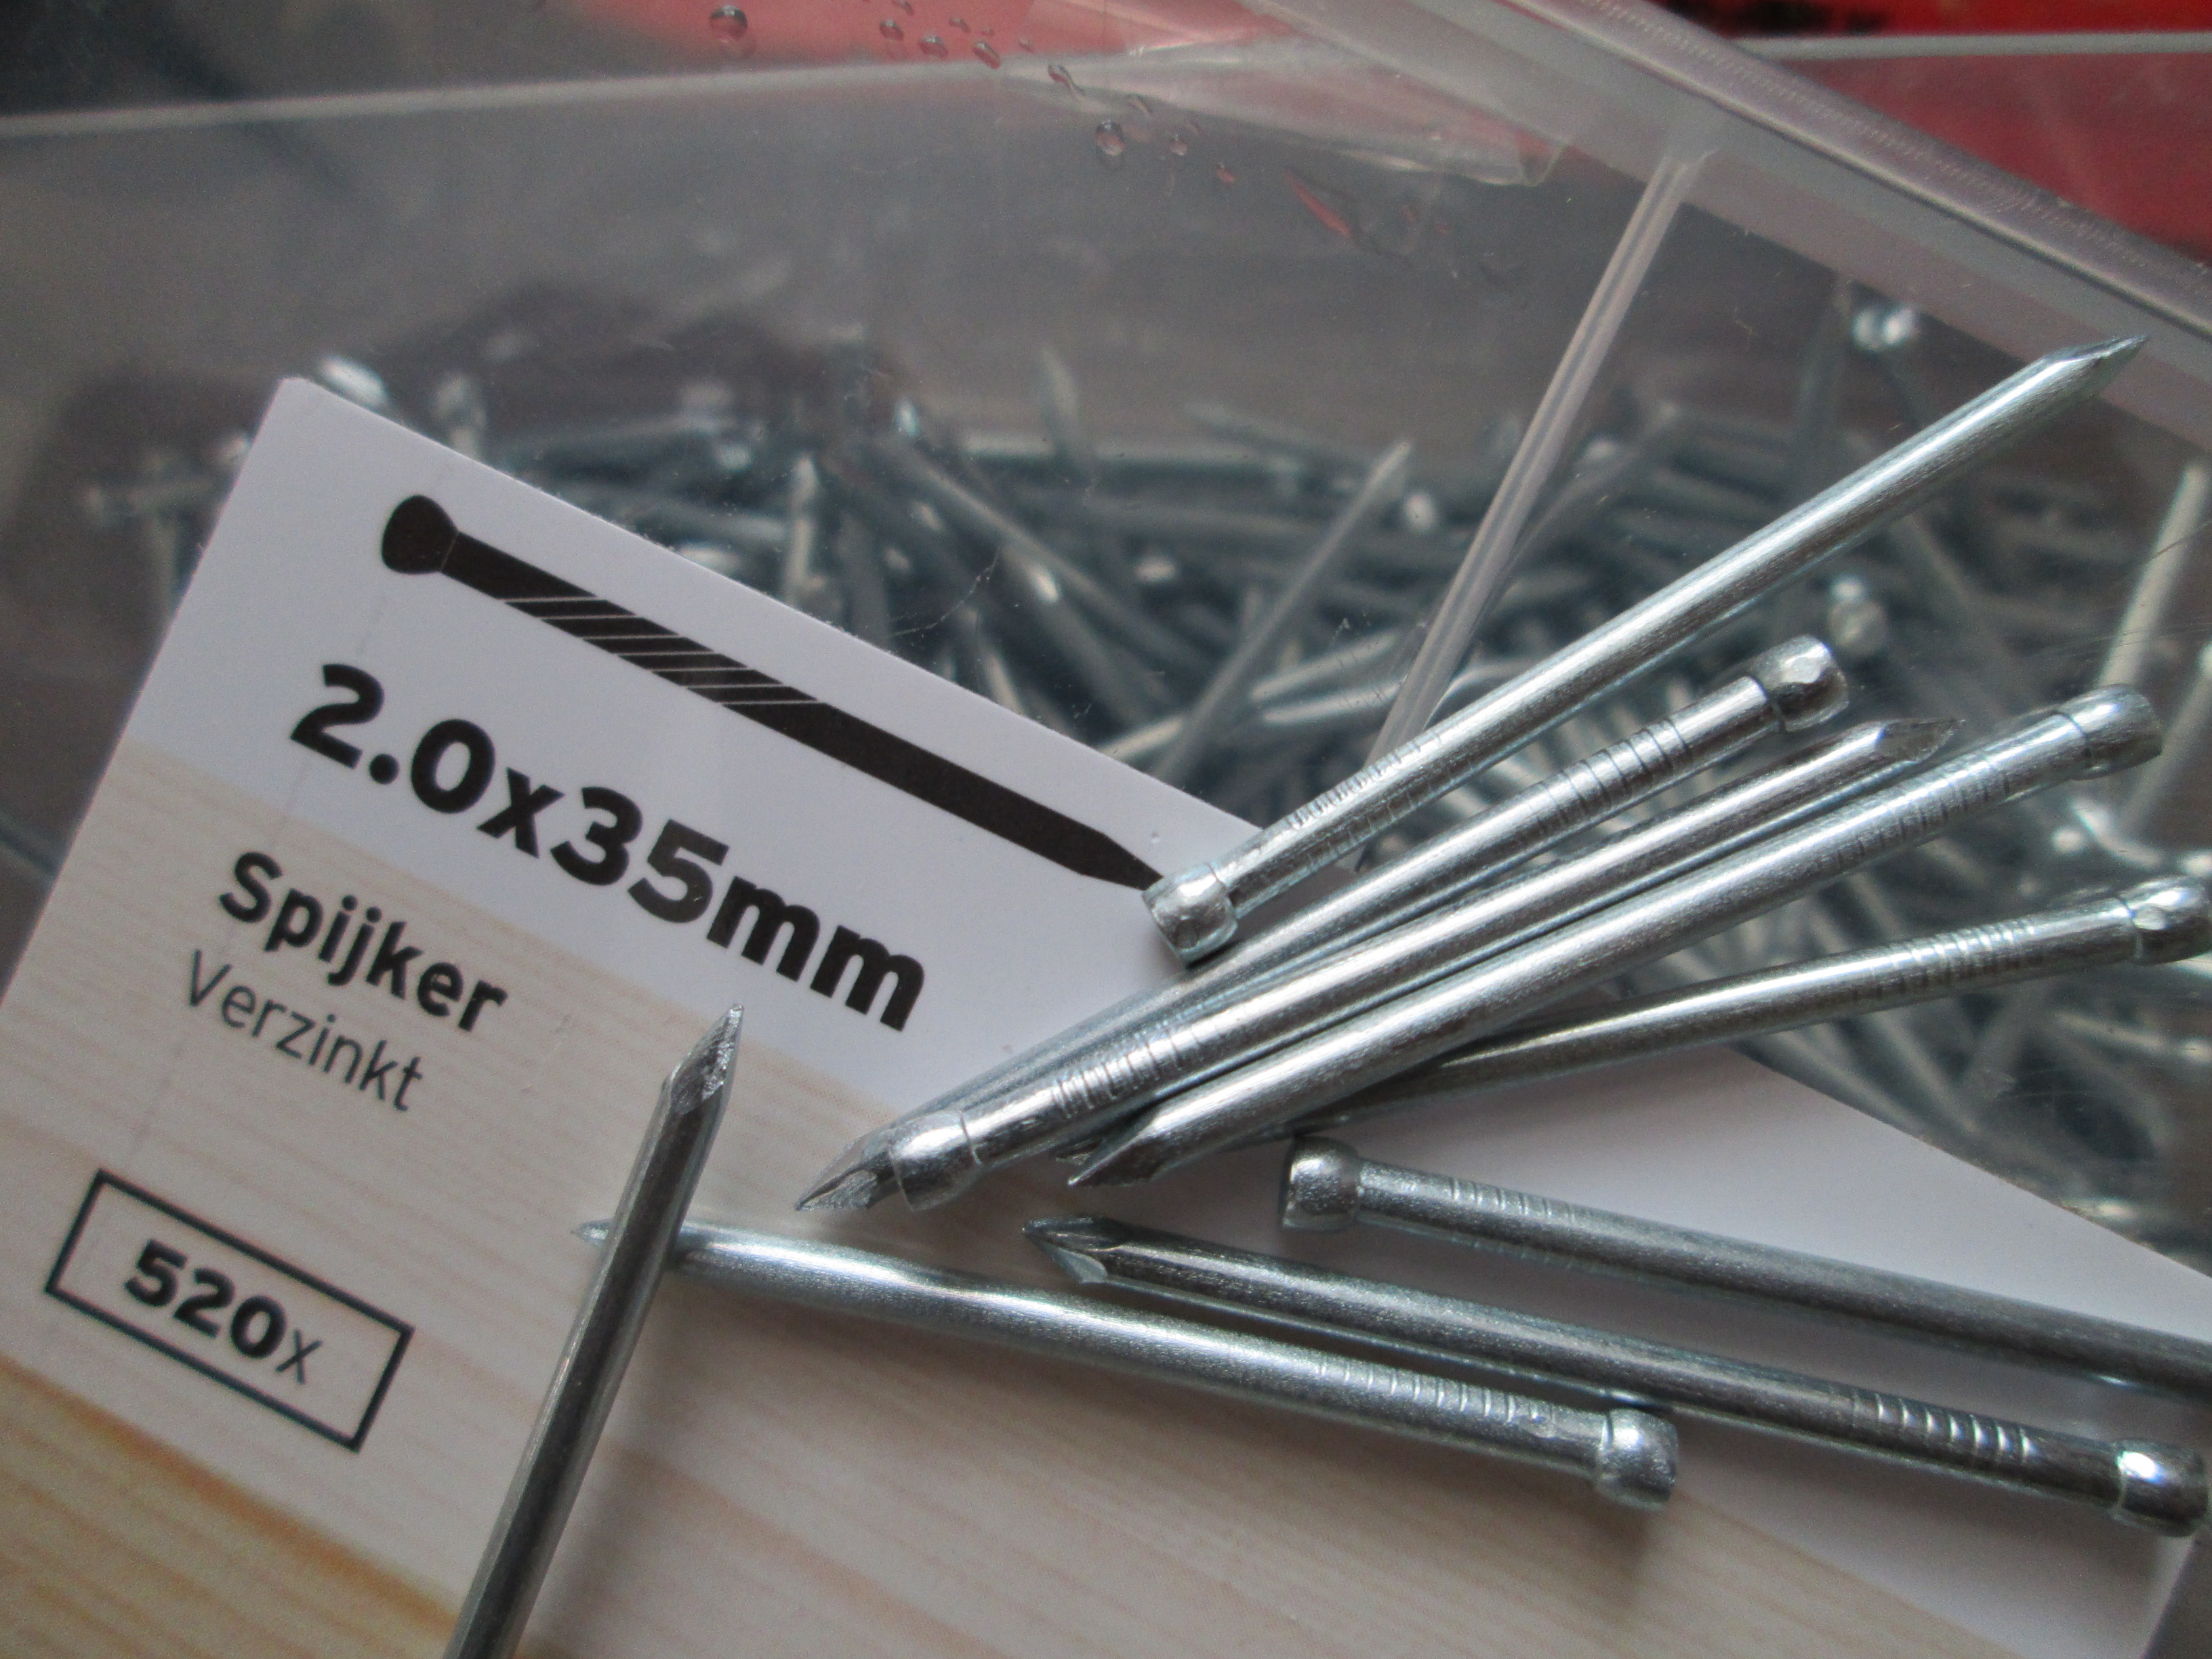
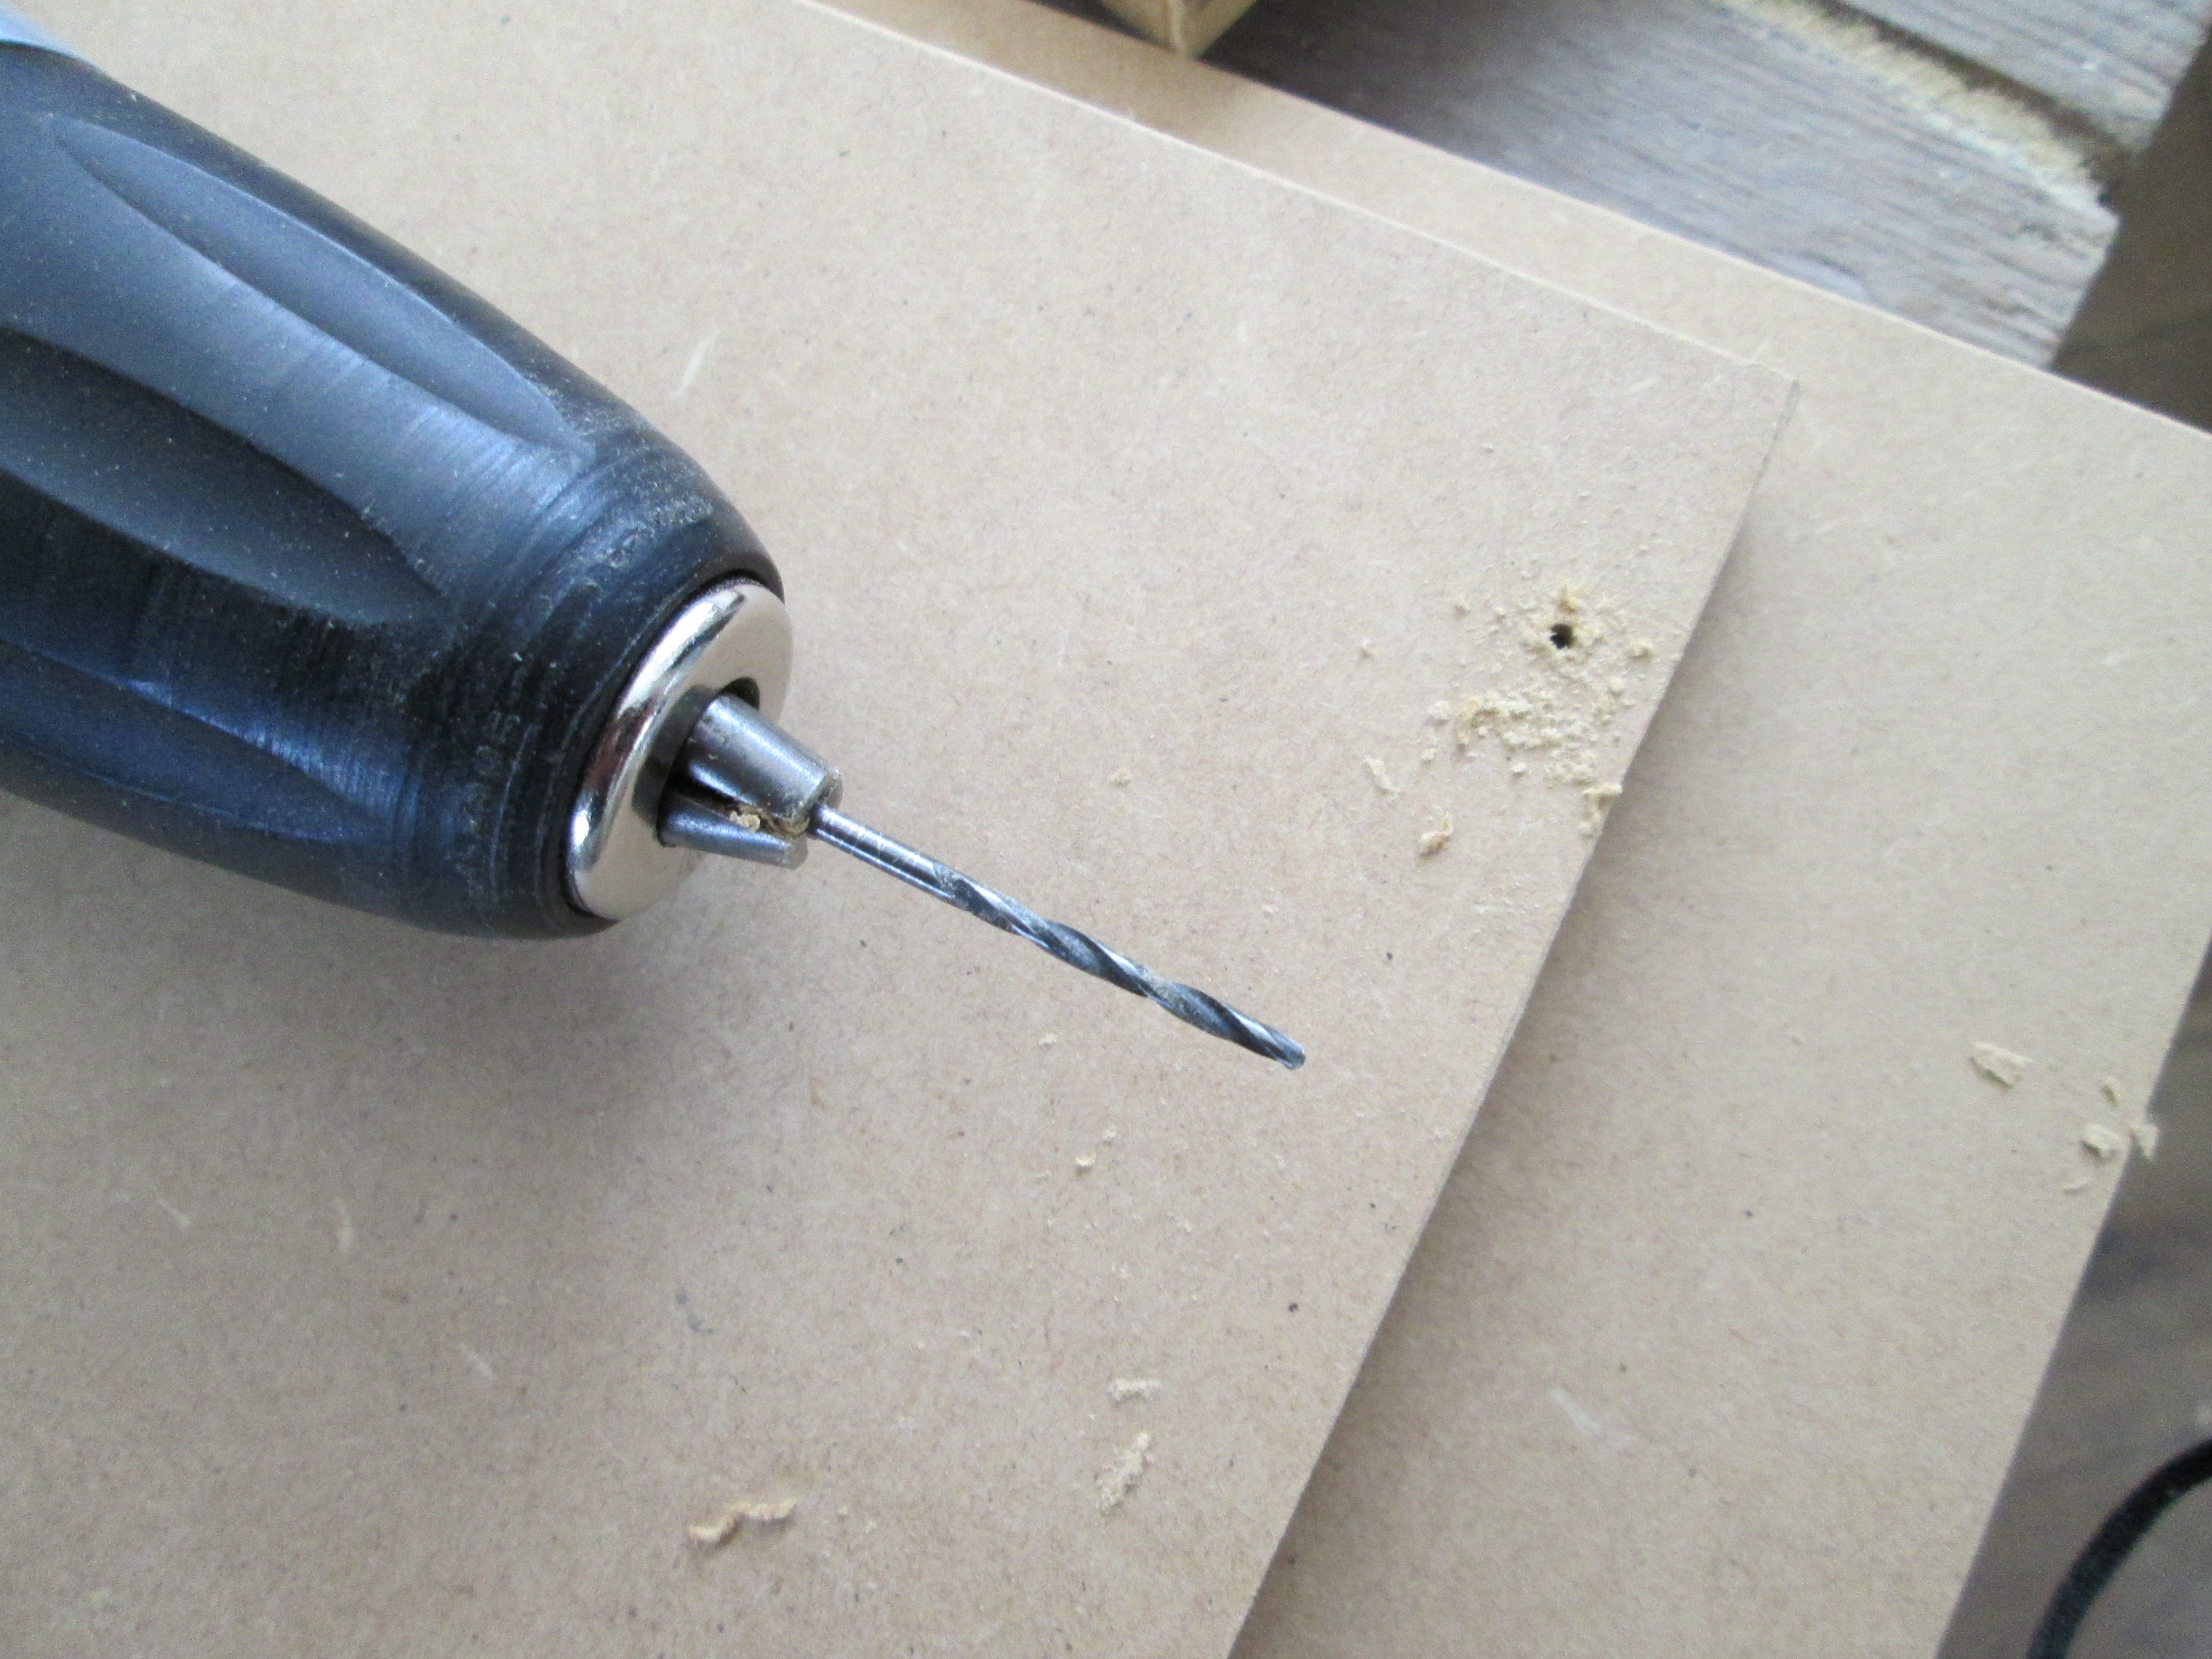
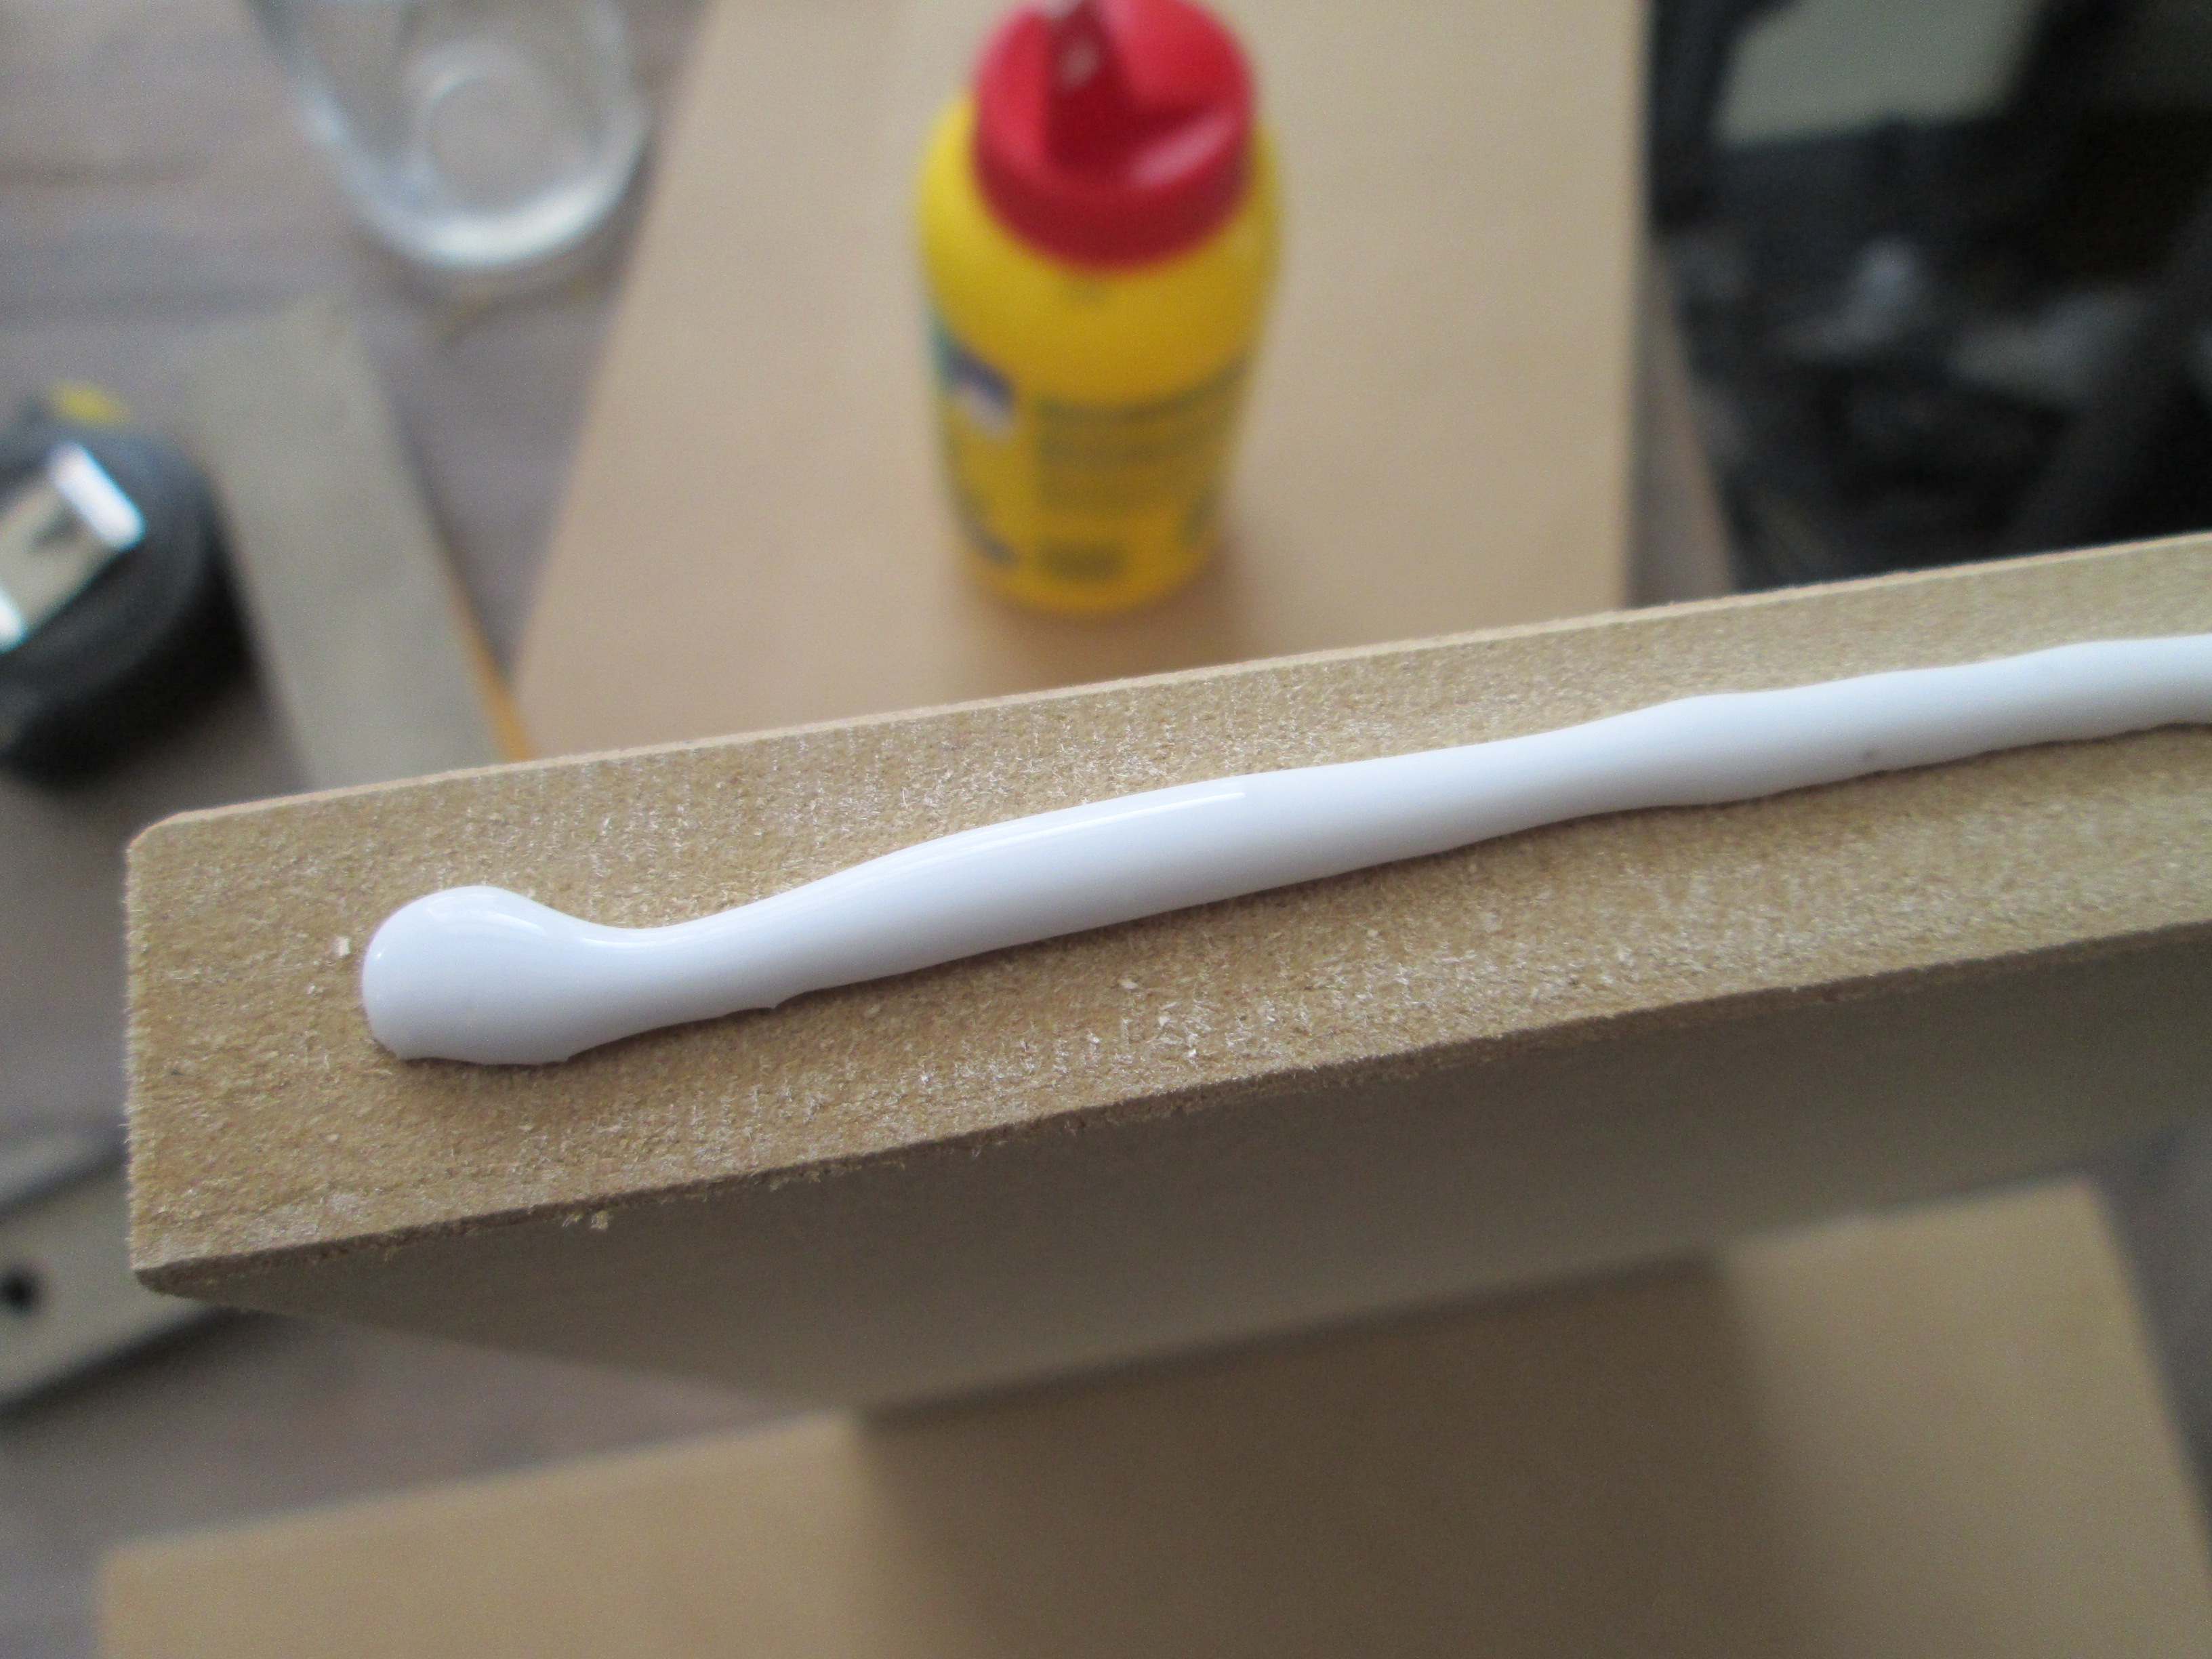
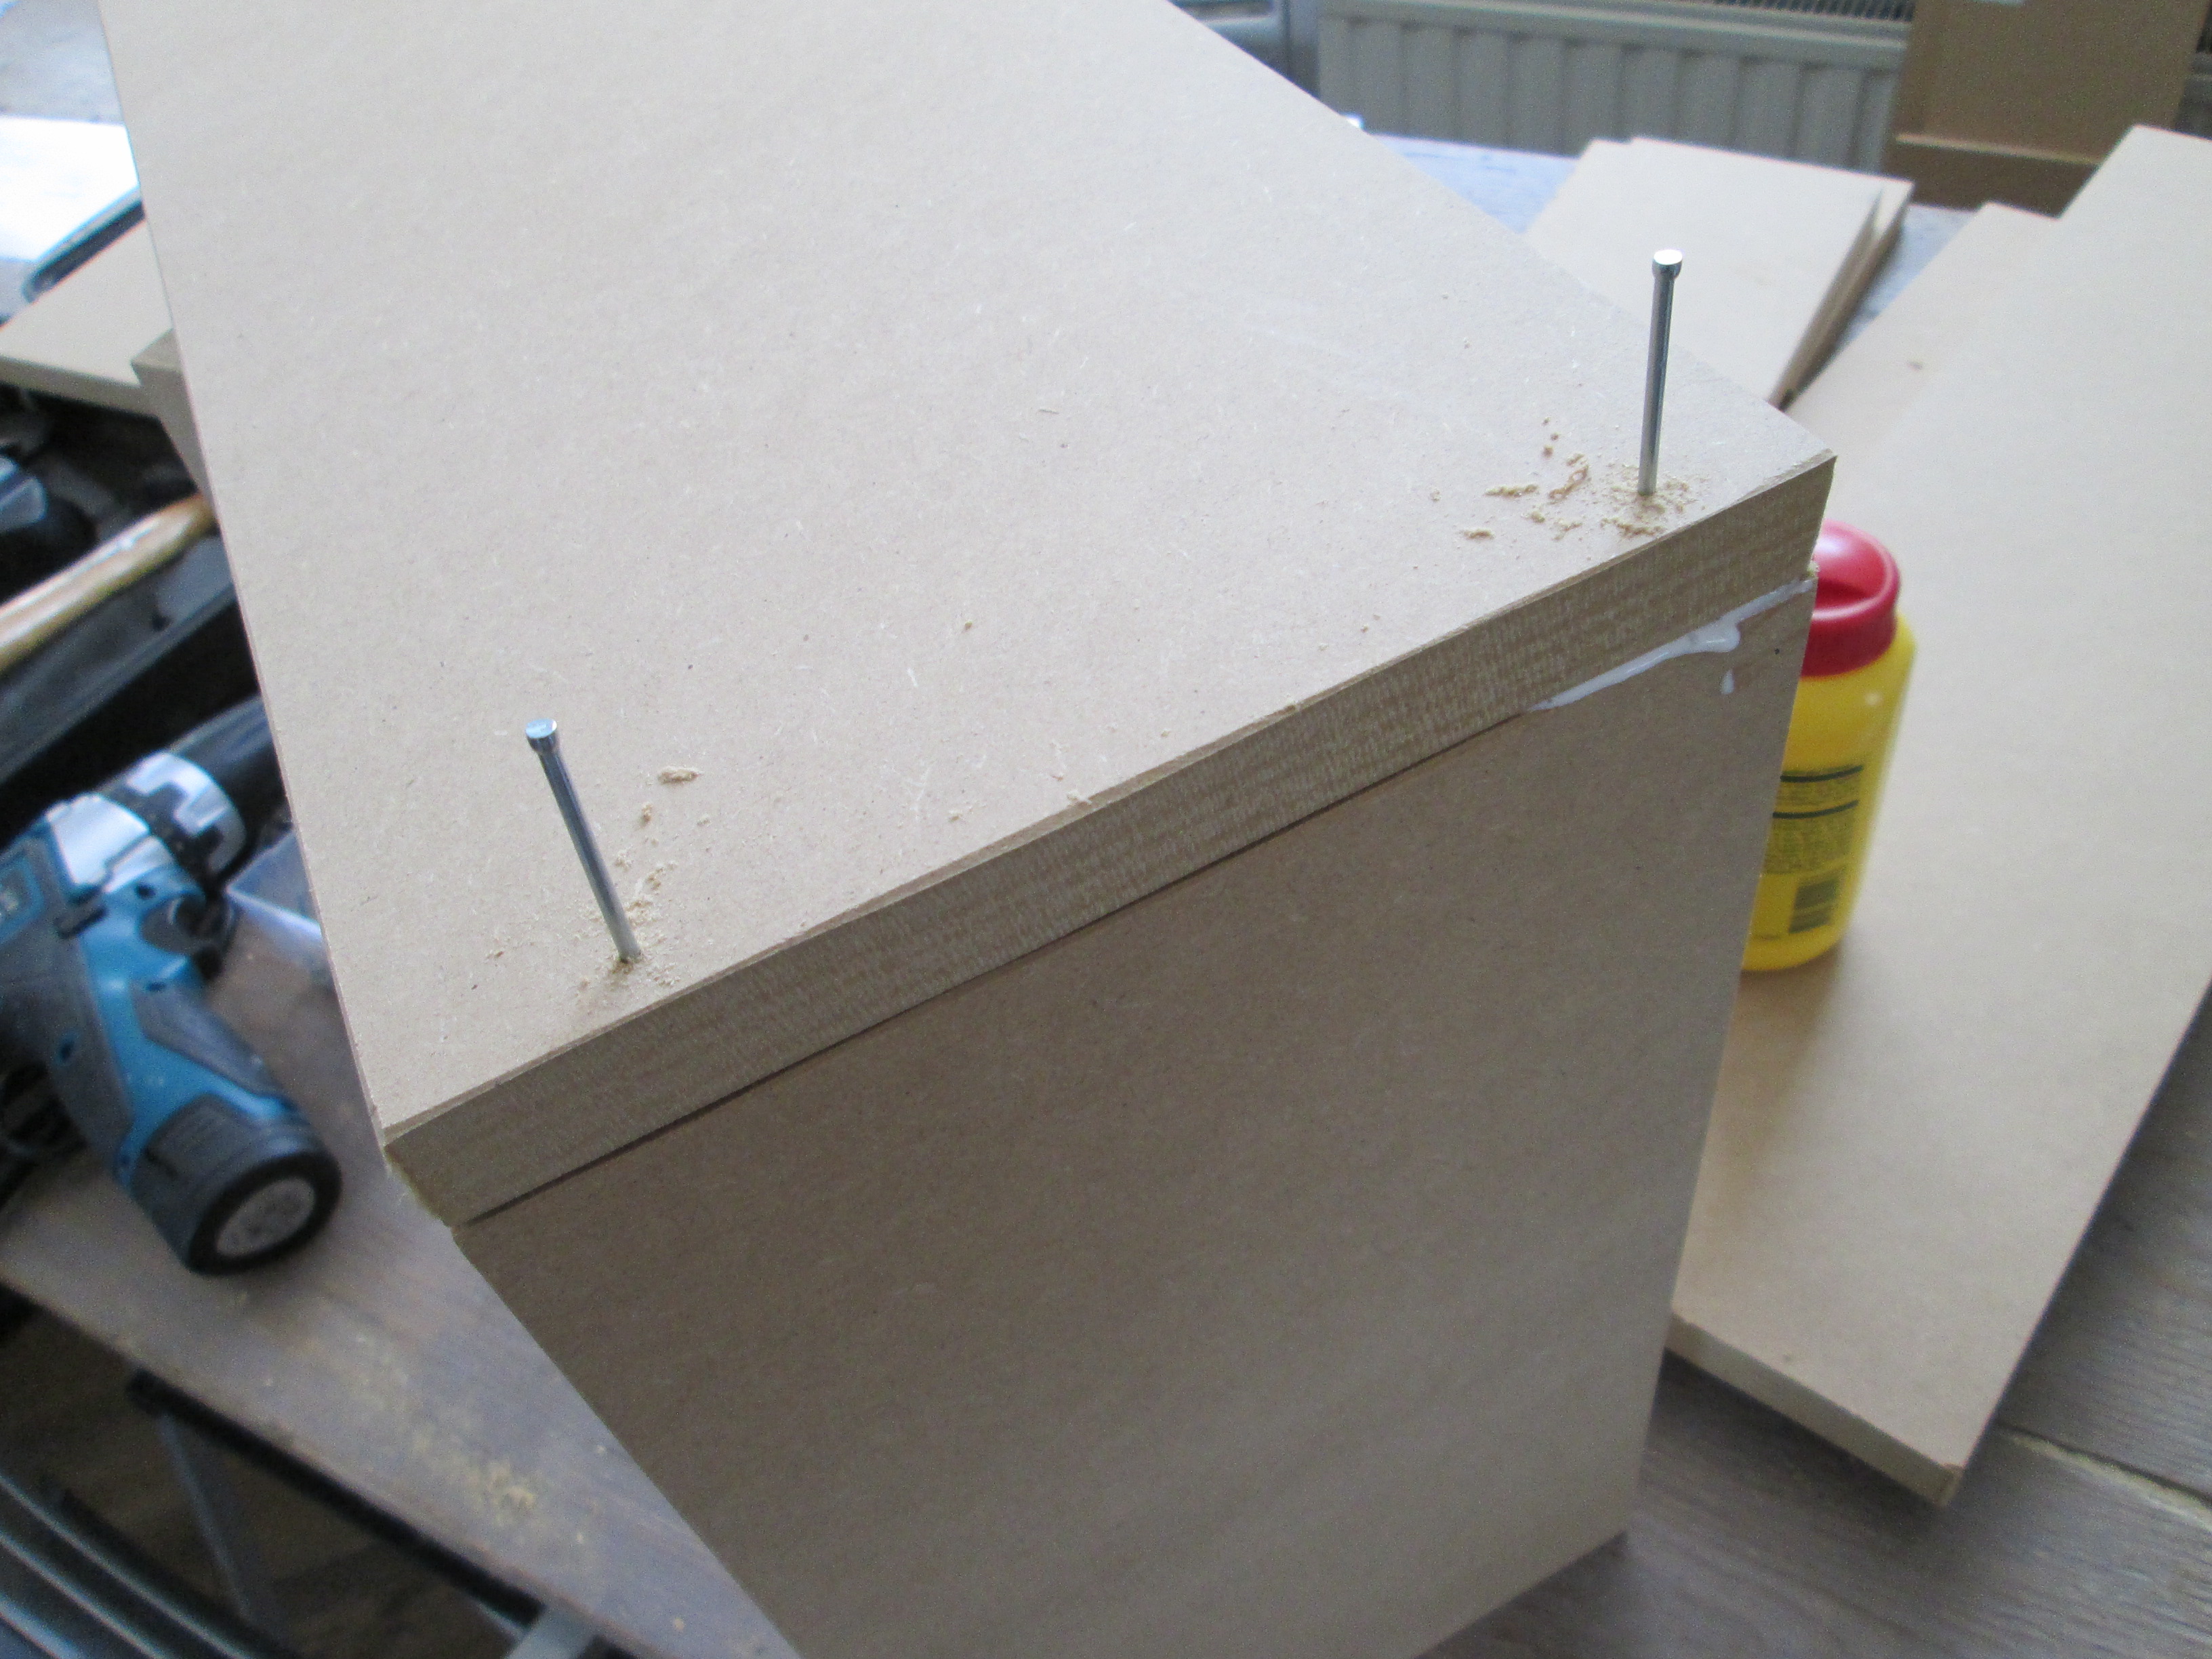
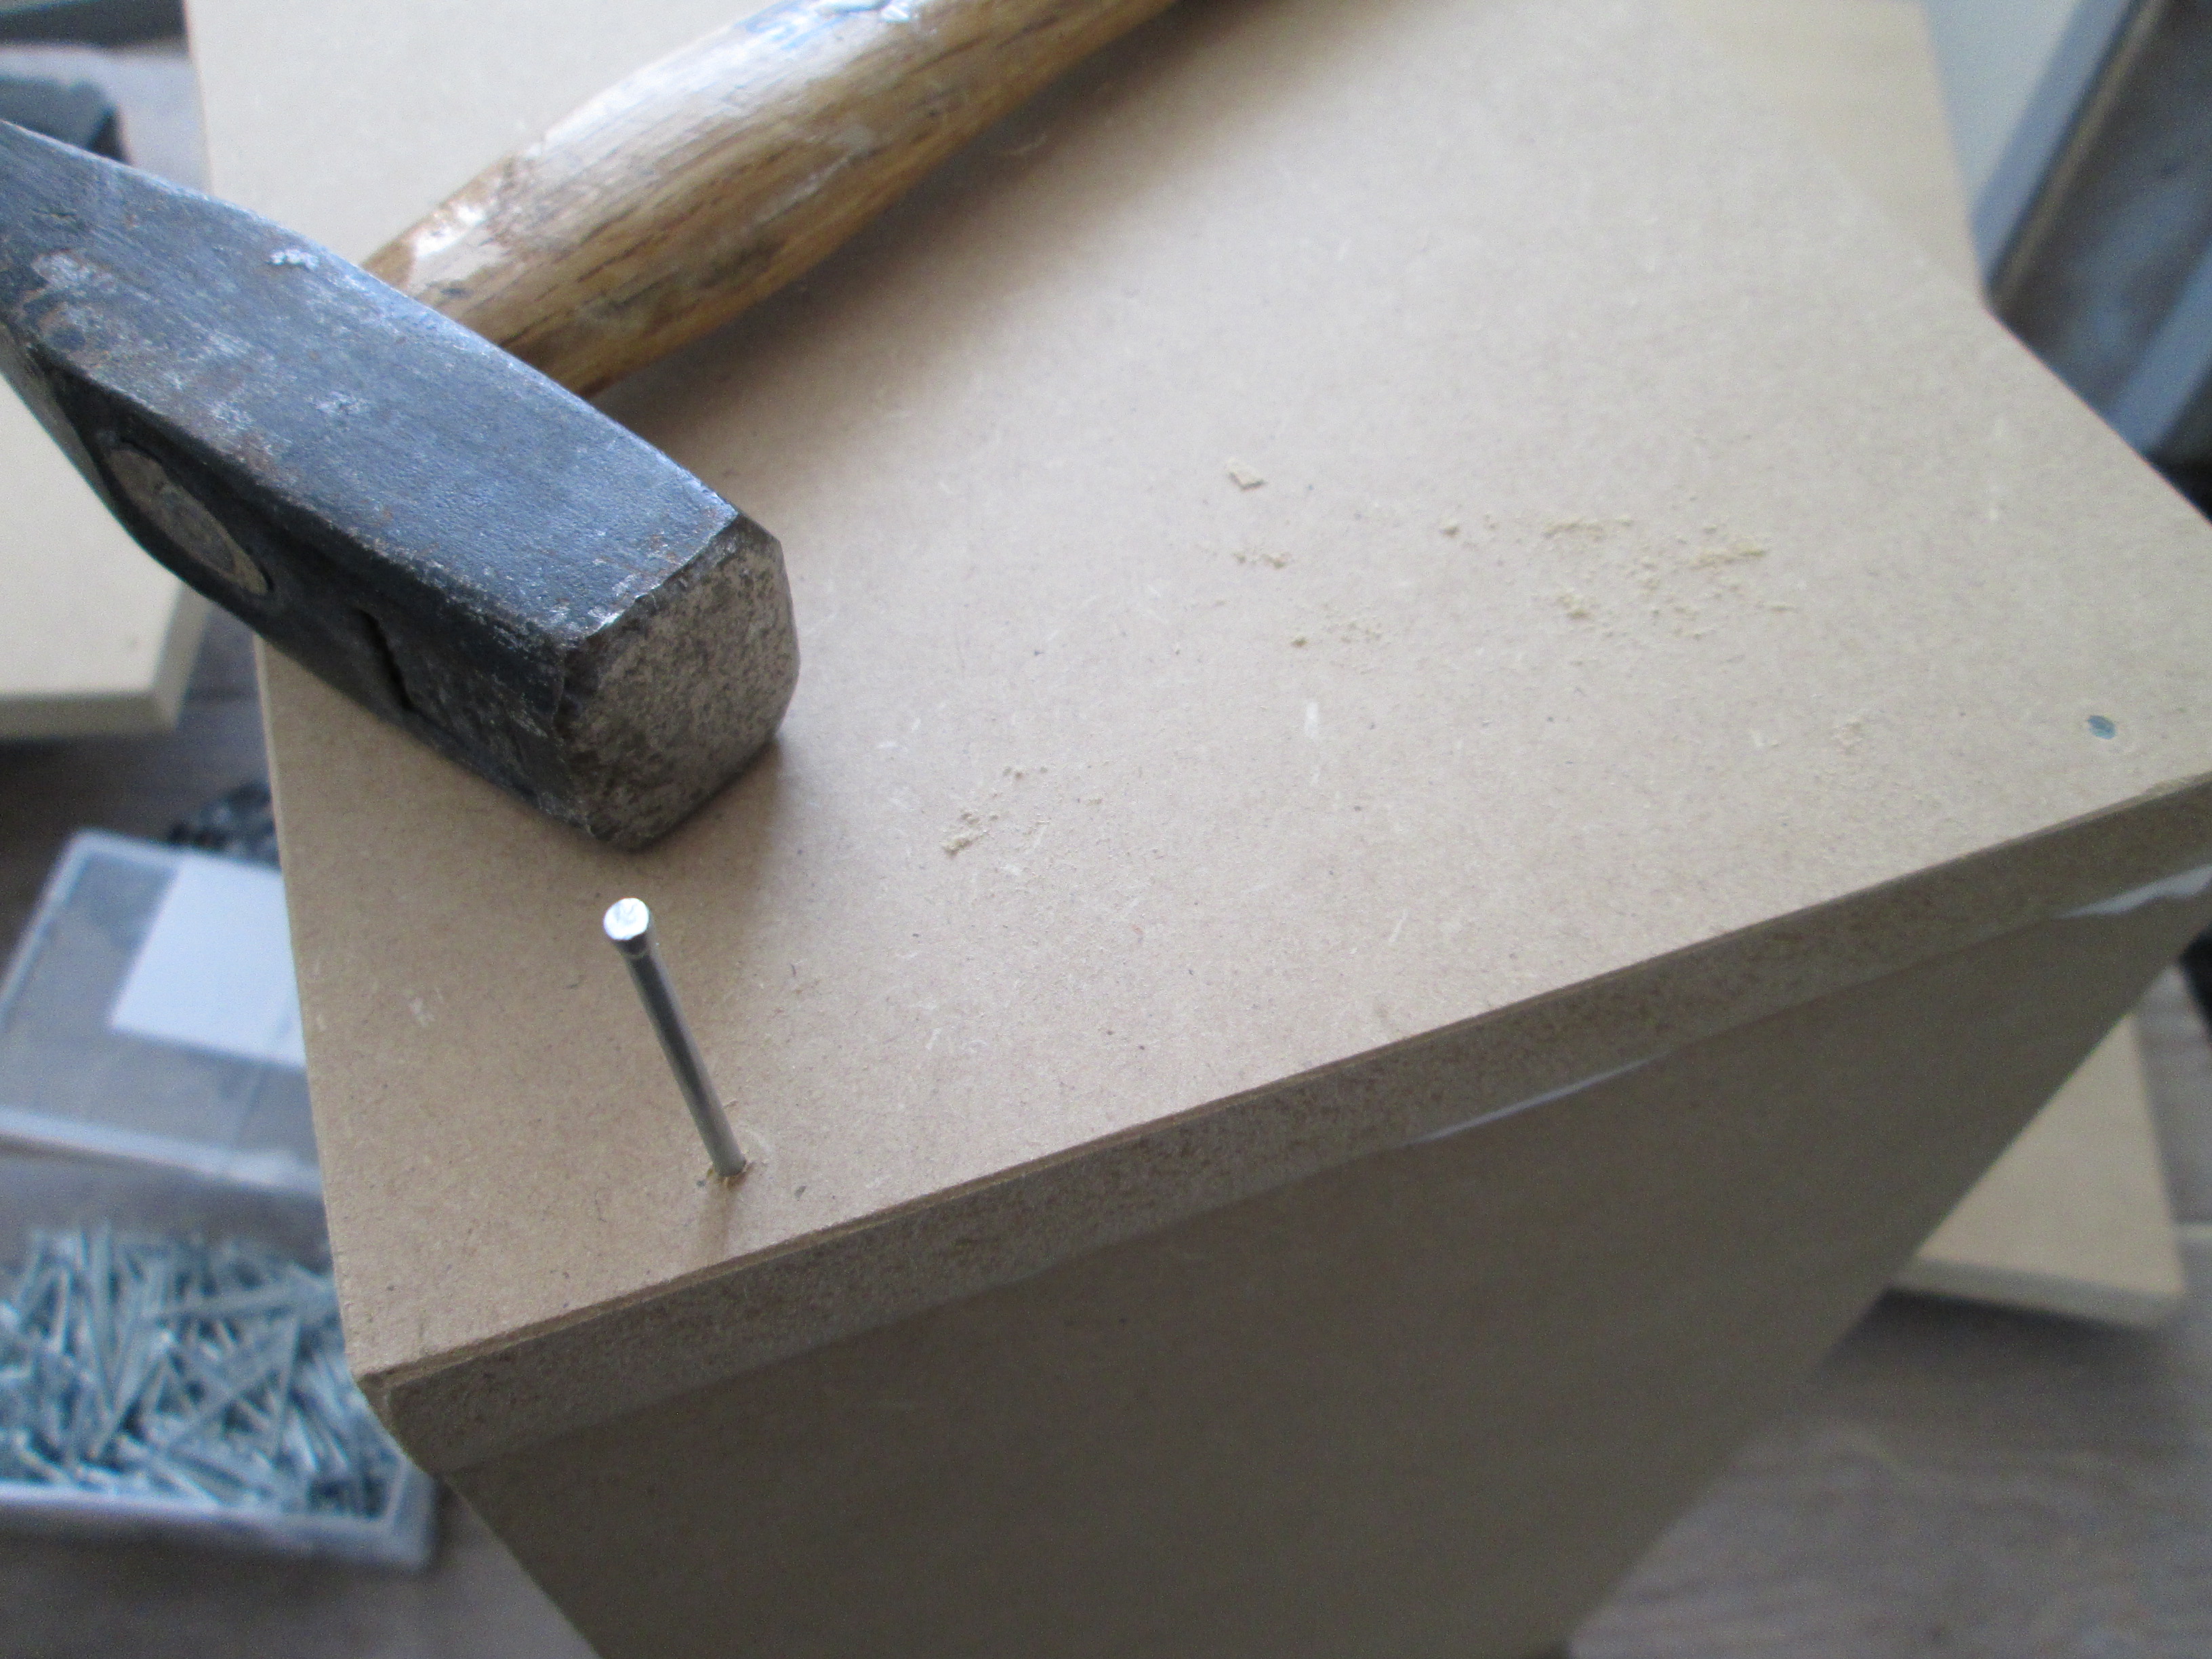
The boxes are locked in the frame when all is assembled so there is no need to use a very strong construction. Nails and glue are perfect. Pre-drill the hole for the nails in all horizontal boards. Add wood glue and nail the pieces together. Make sure the pieces align before nailing down.
Test the Boxes
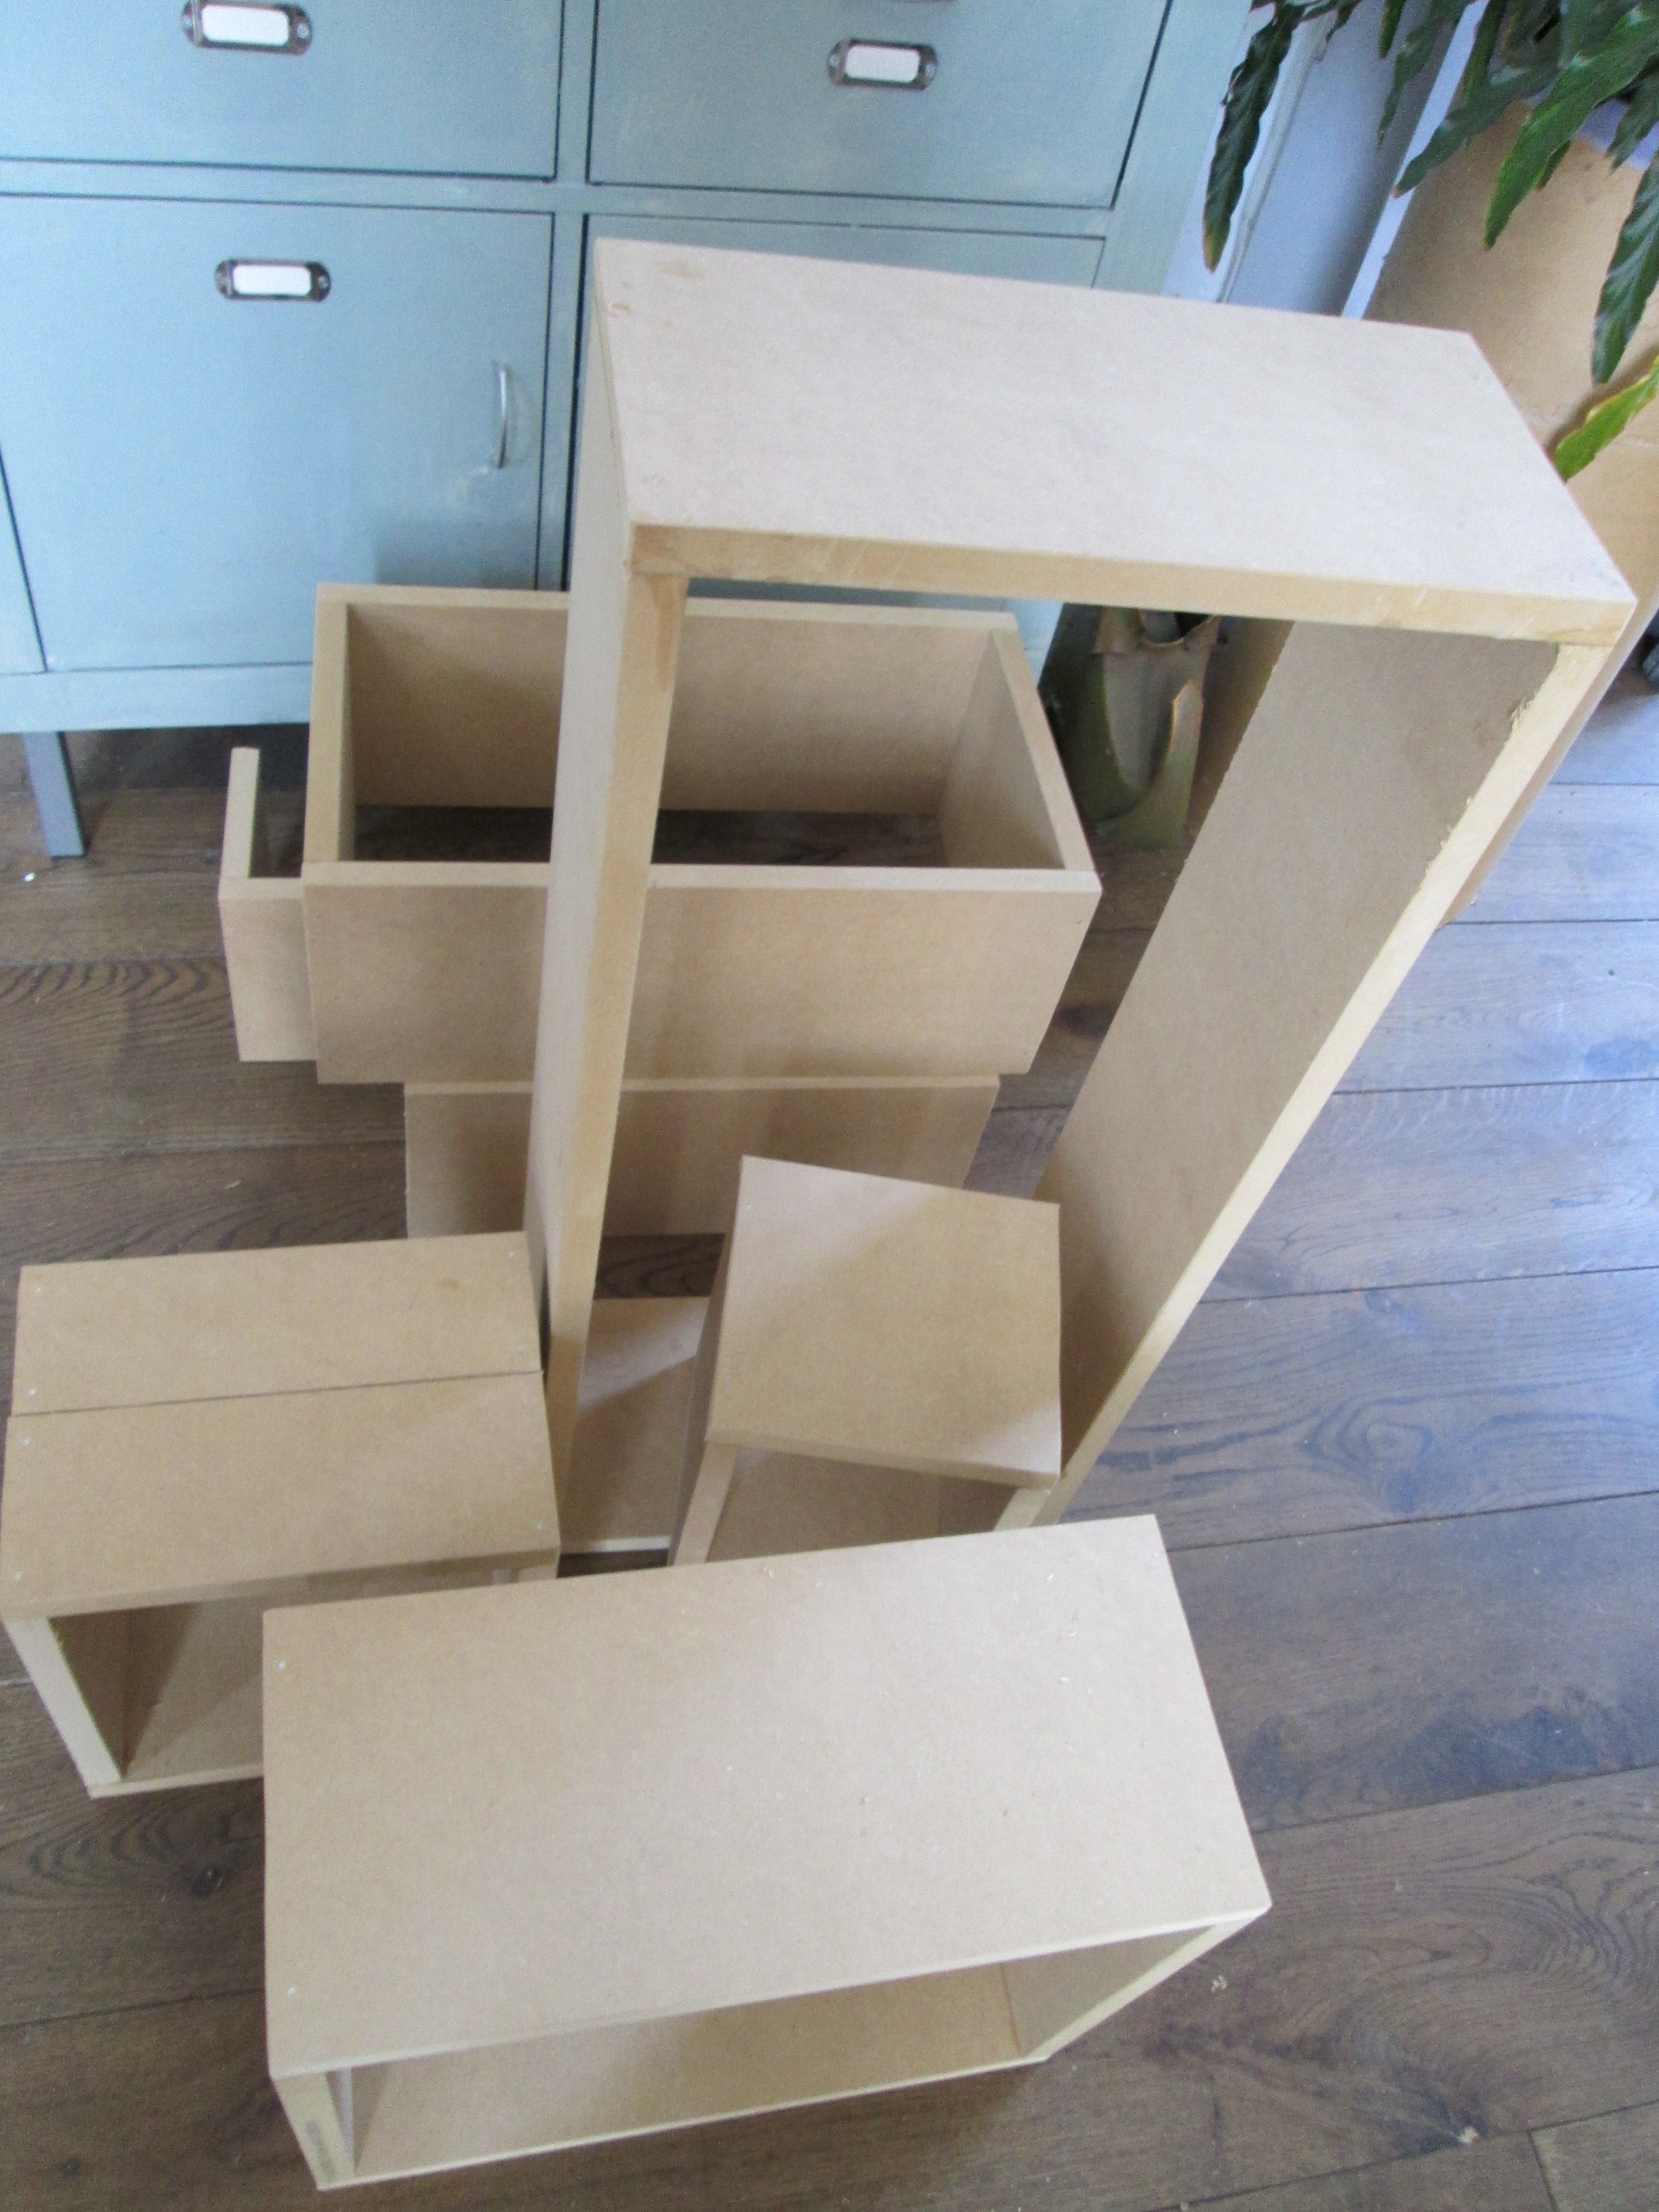
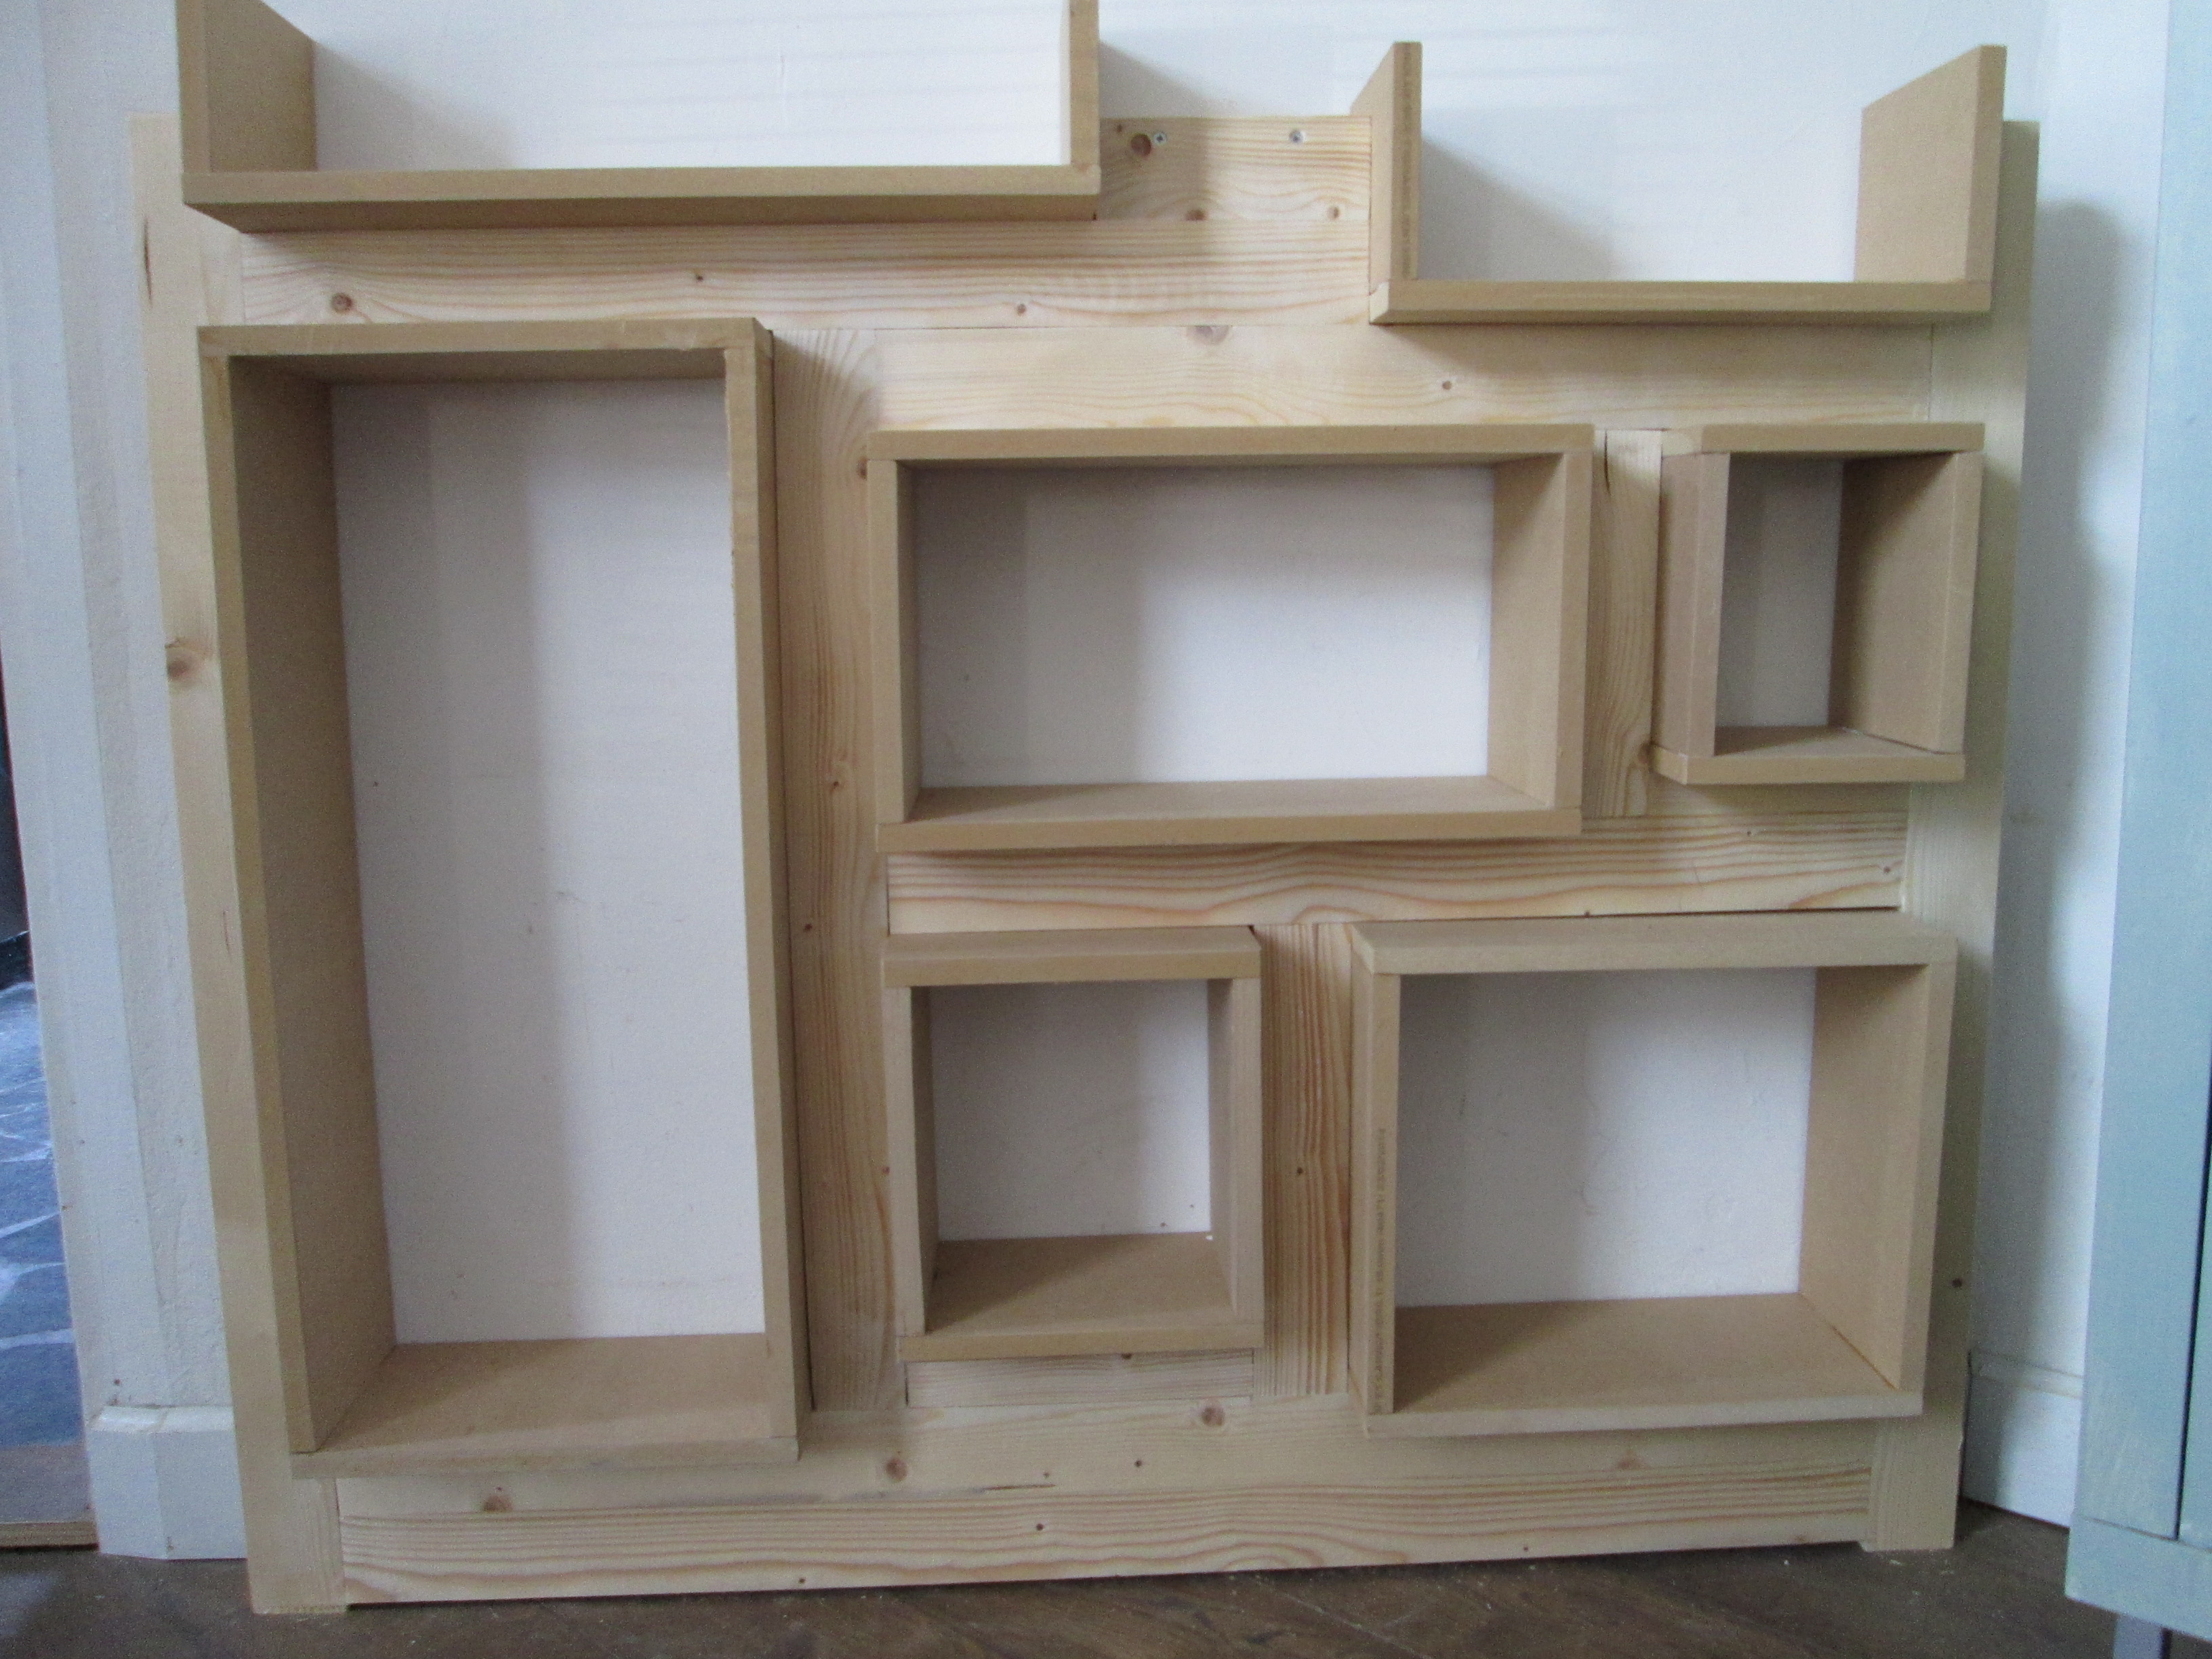
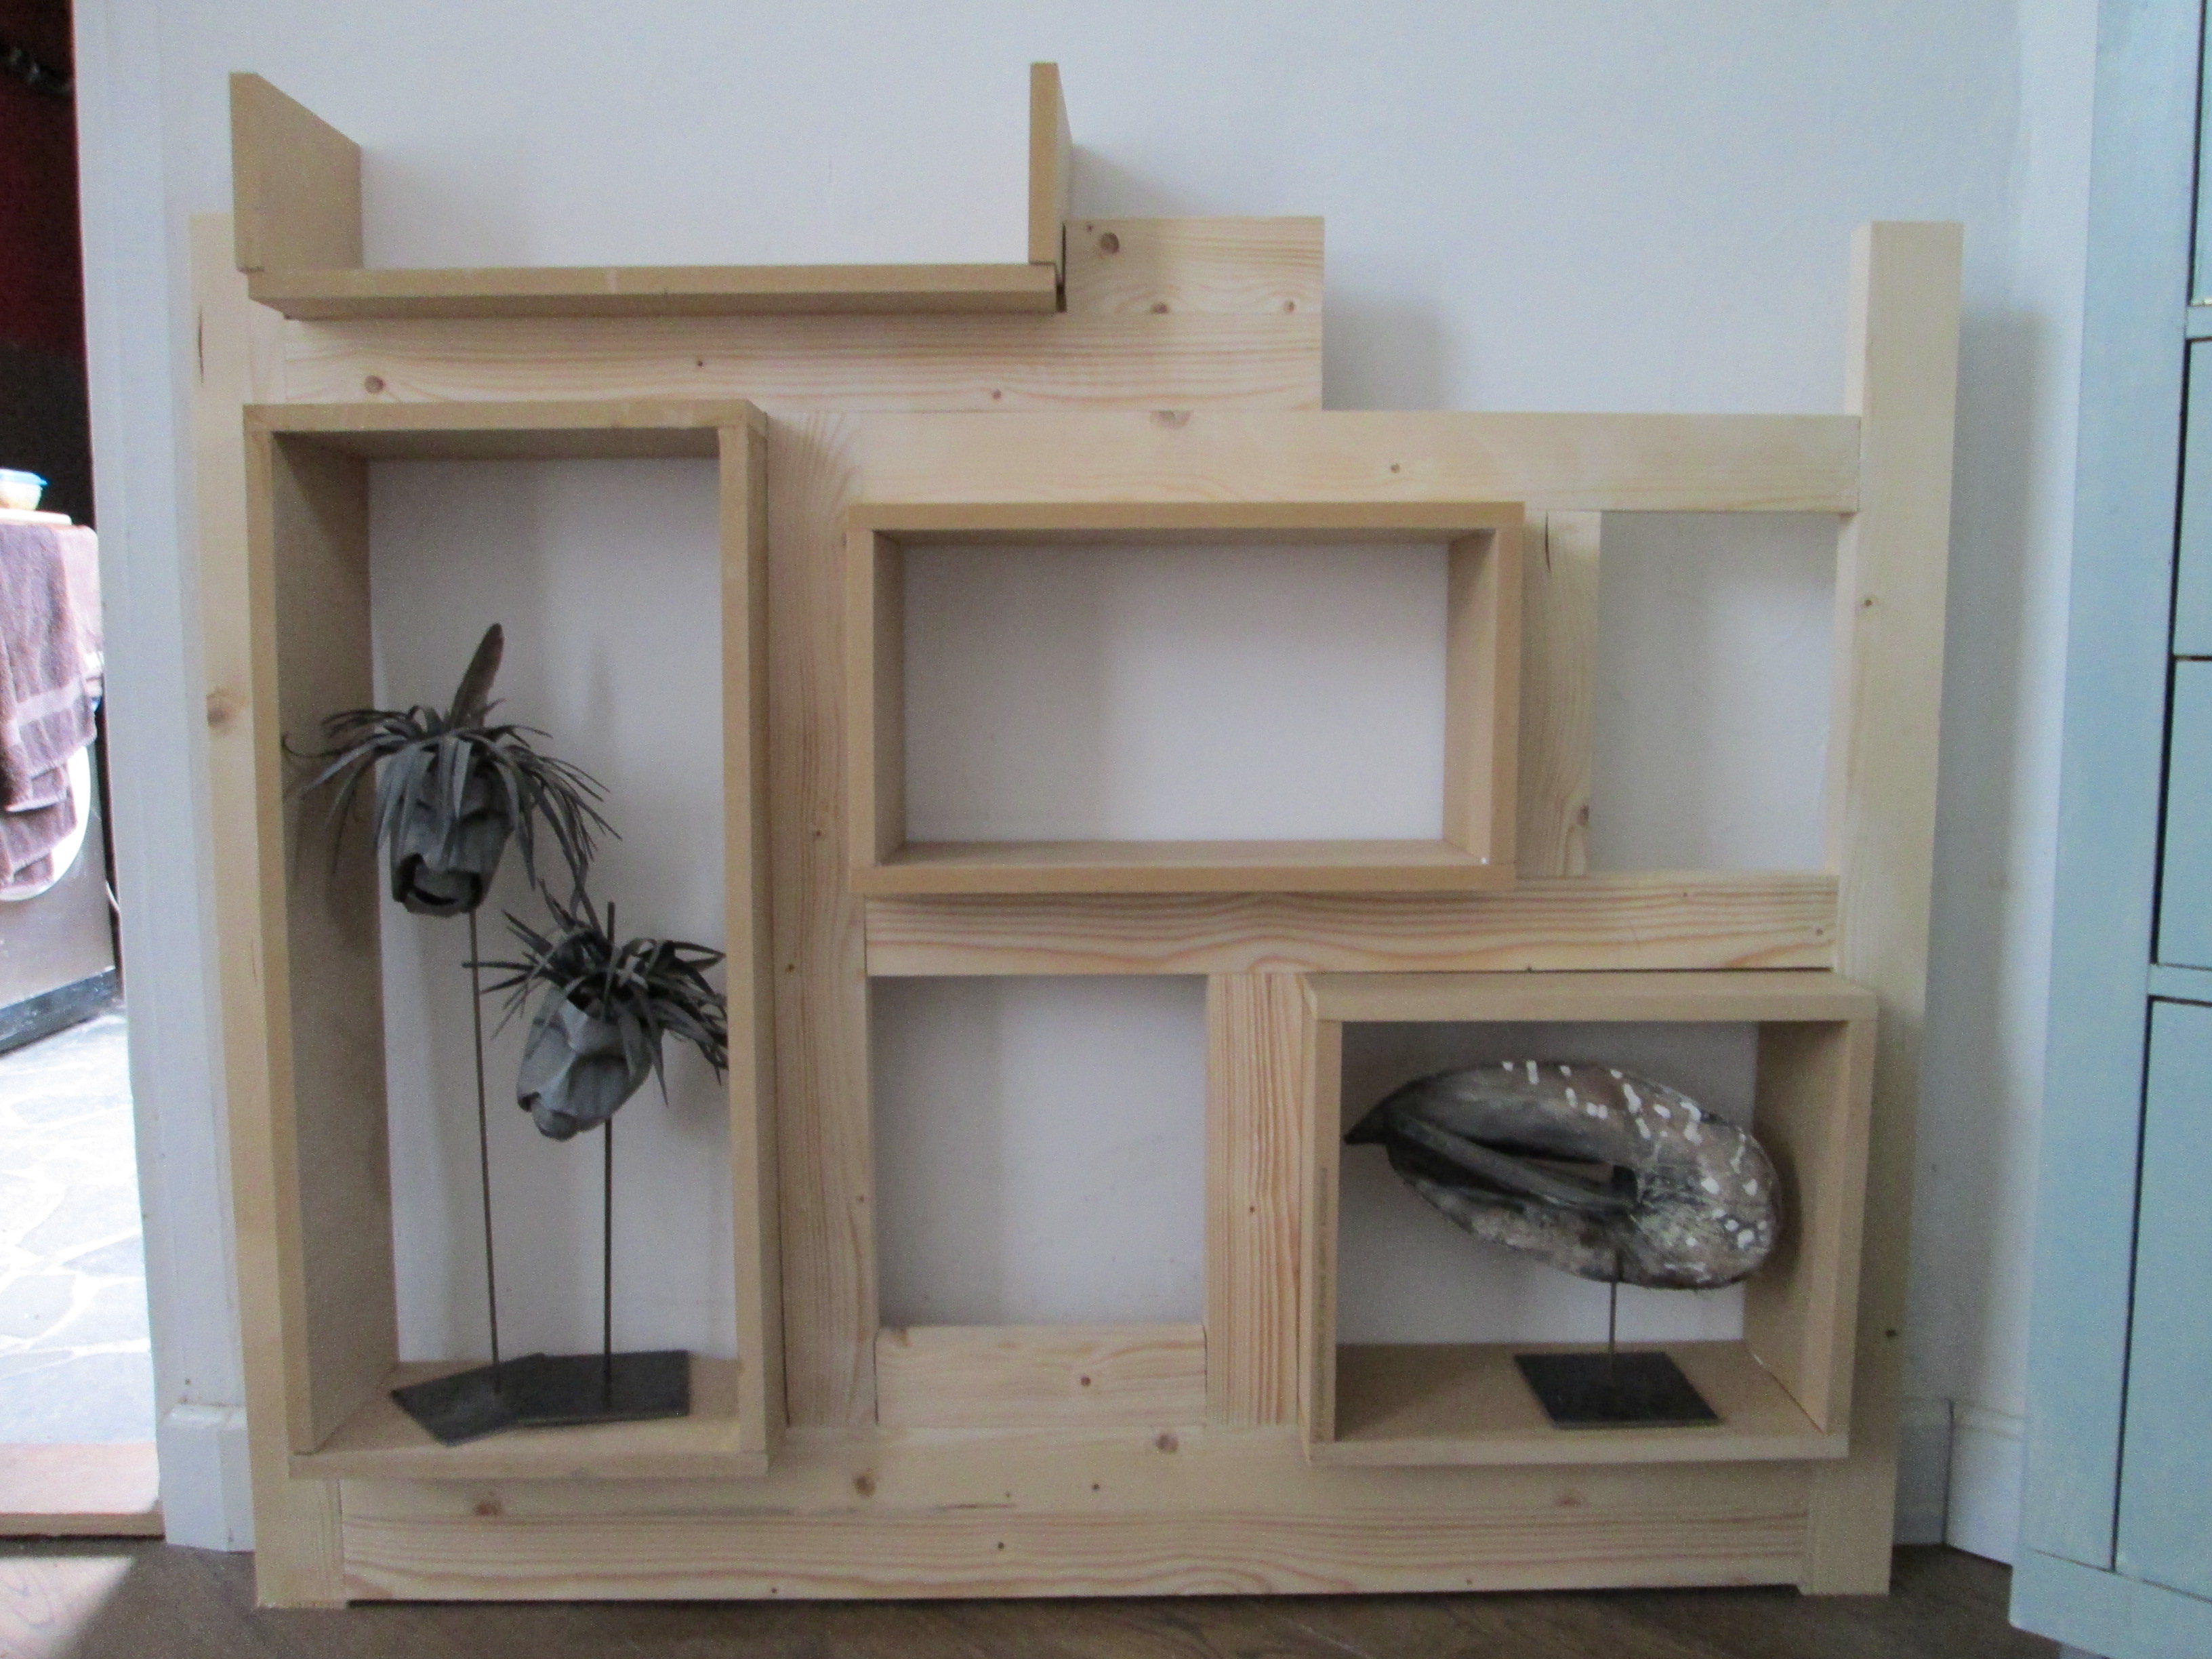
Test each box in the frame: does it fit without being to tight? The frame supports the boxes in the middle. The boxes extend 7 cm on the back-side and front-side. If necessary make alterations. Now you can test how the end result will look by putting in some objects.
Secure the Frame to the Wall
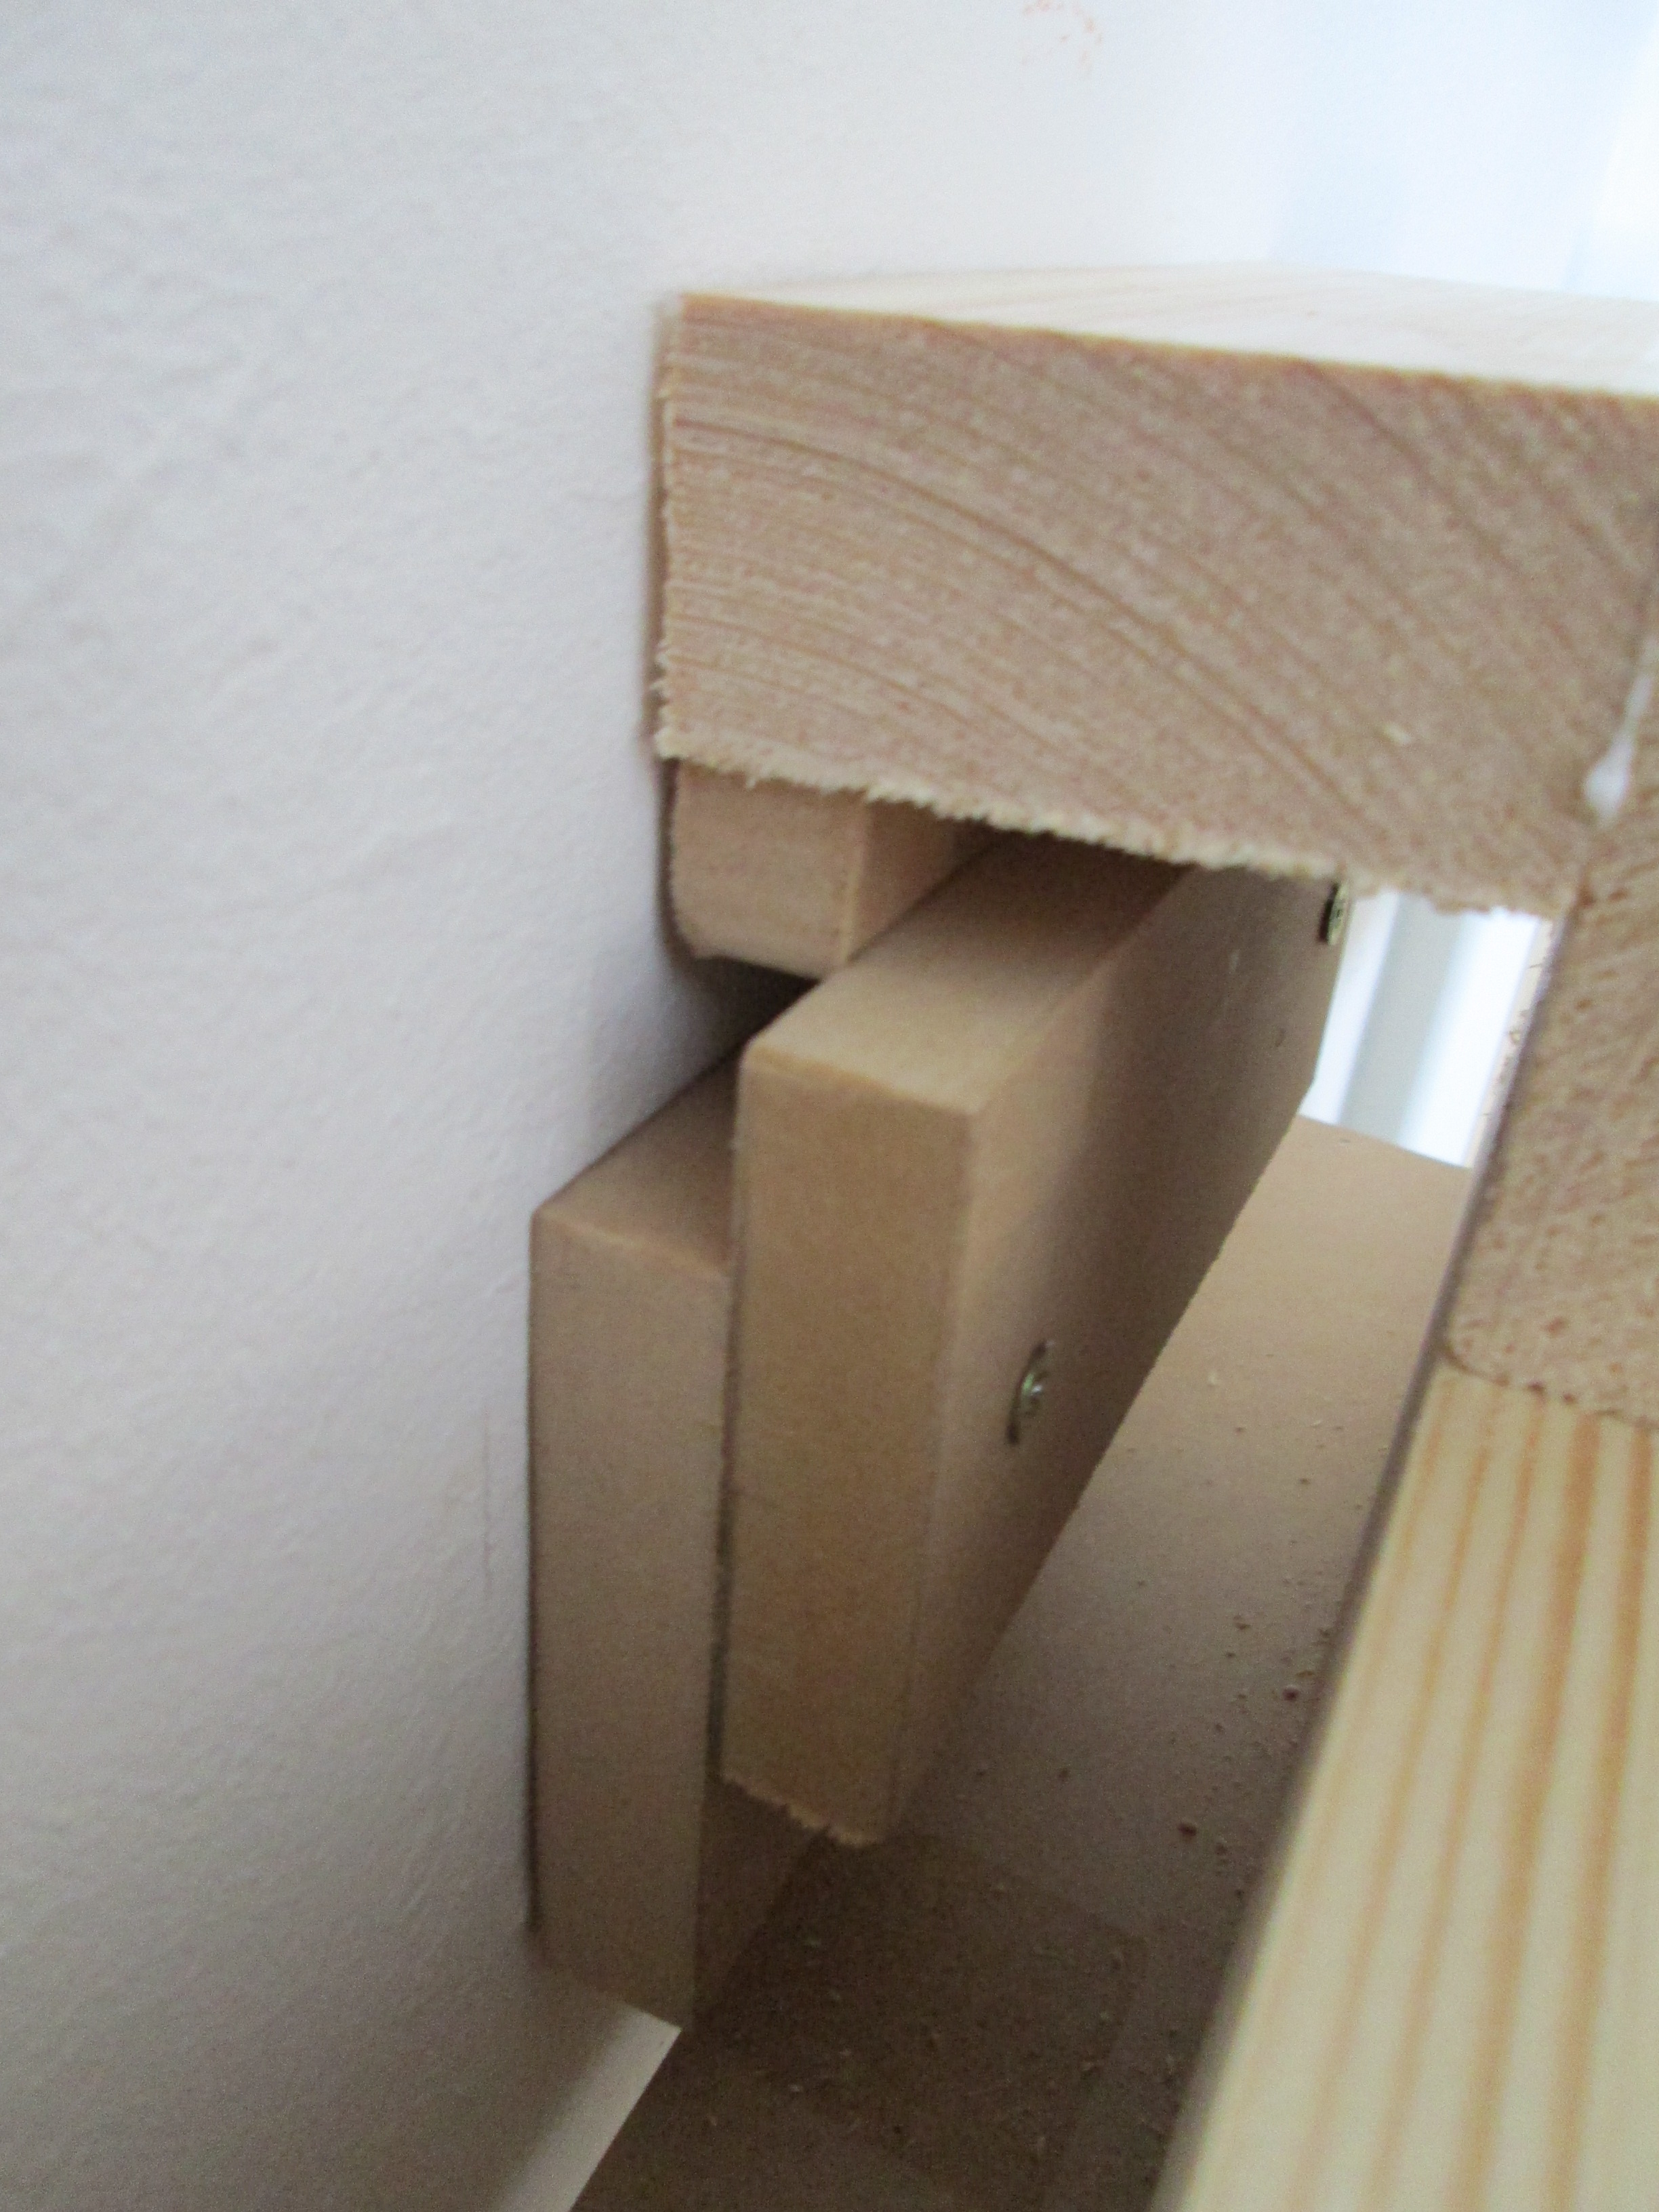
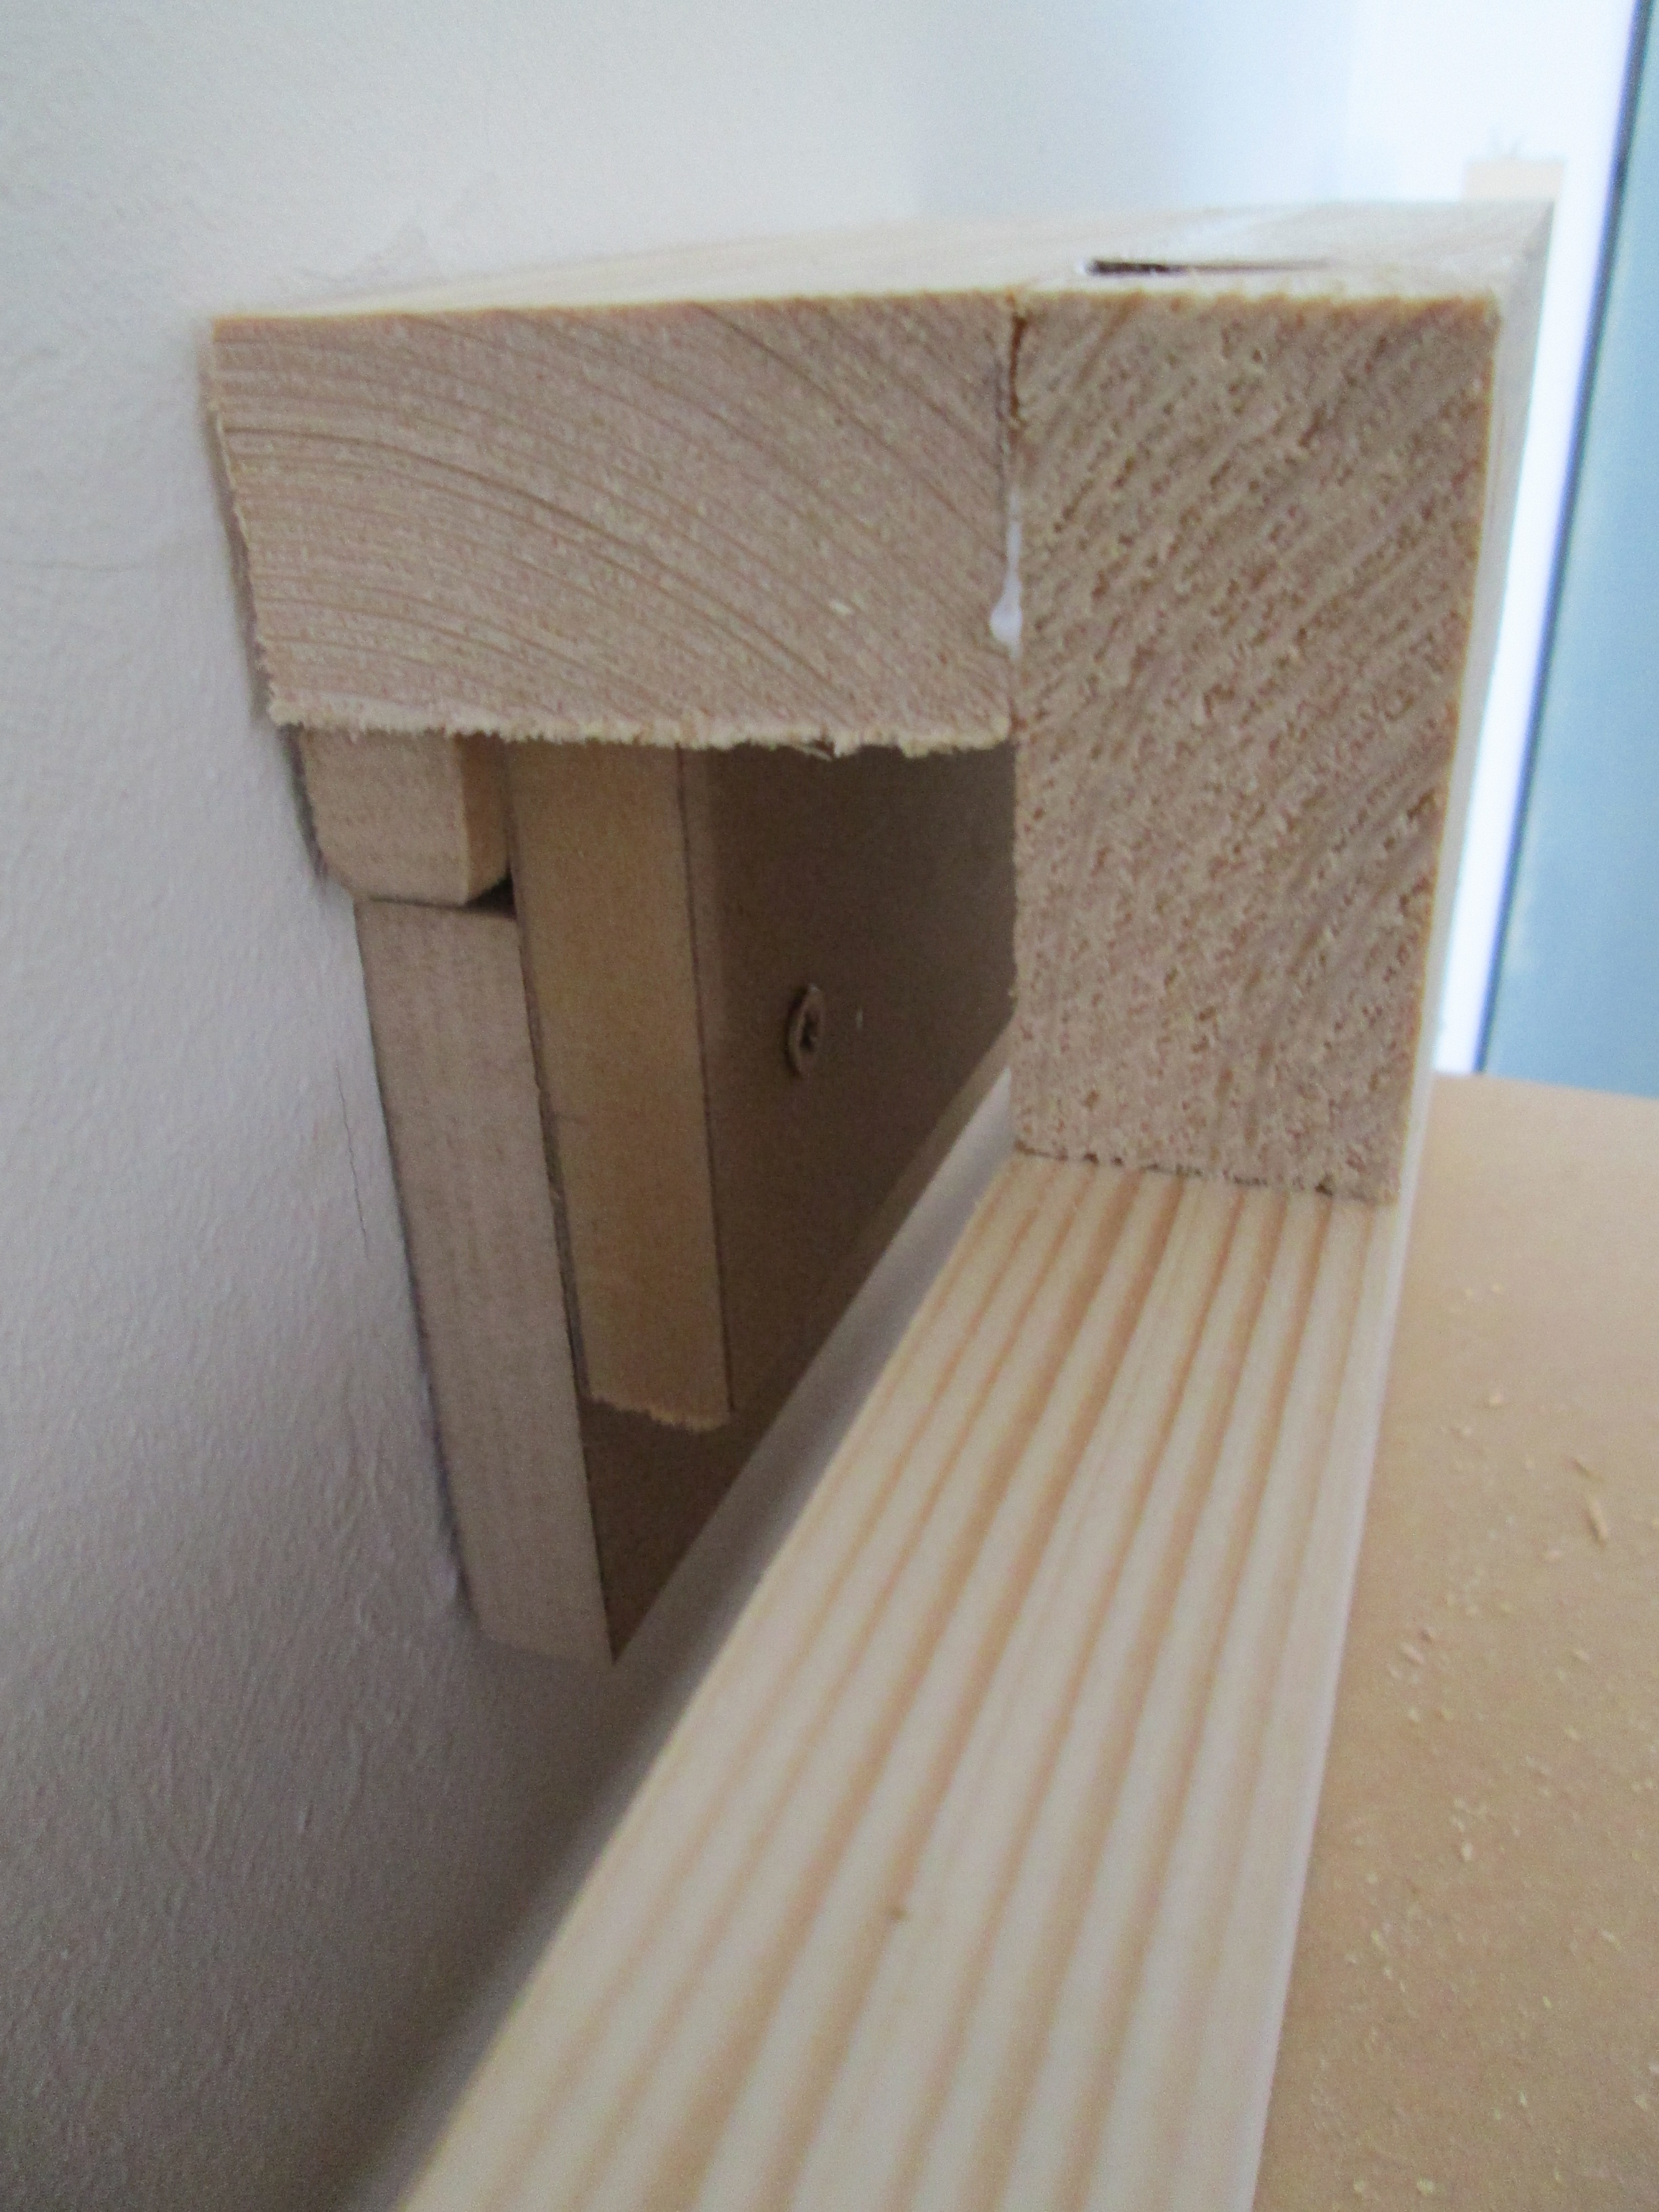
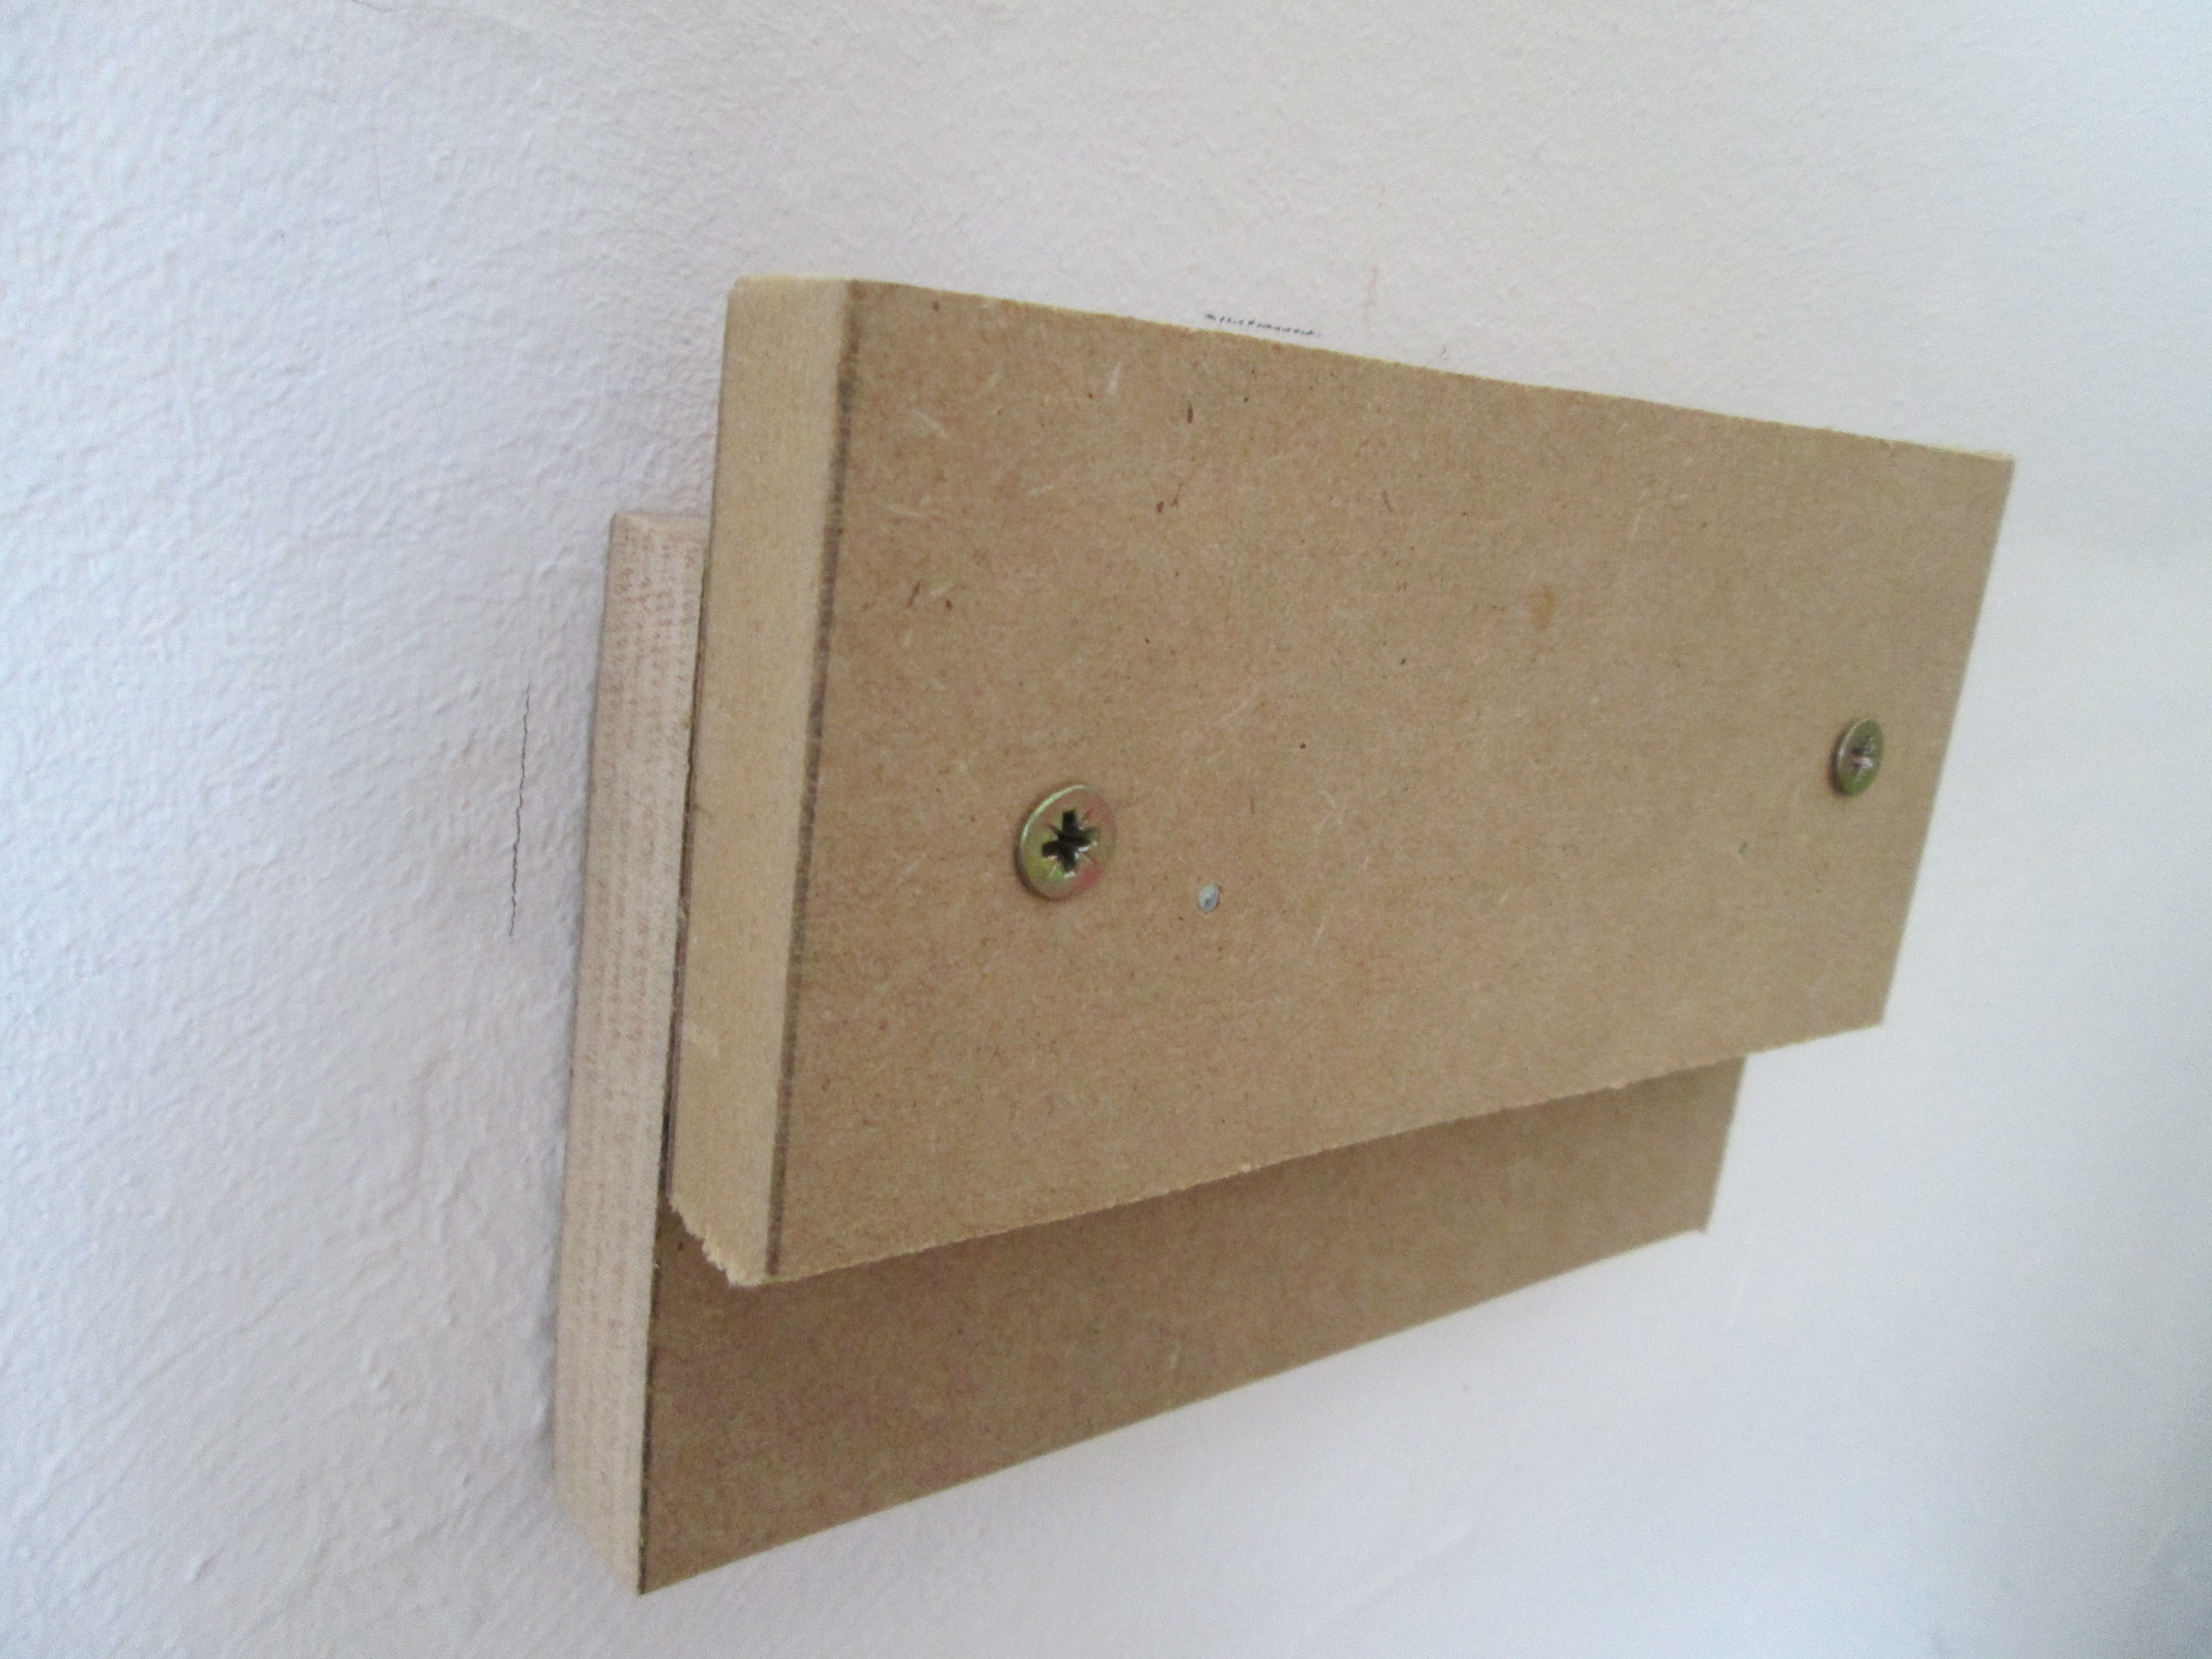
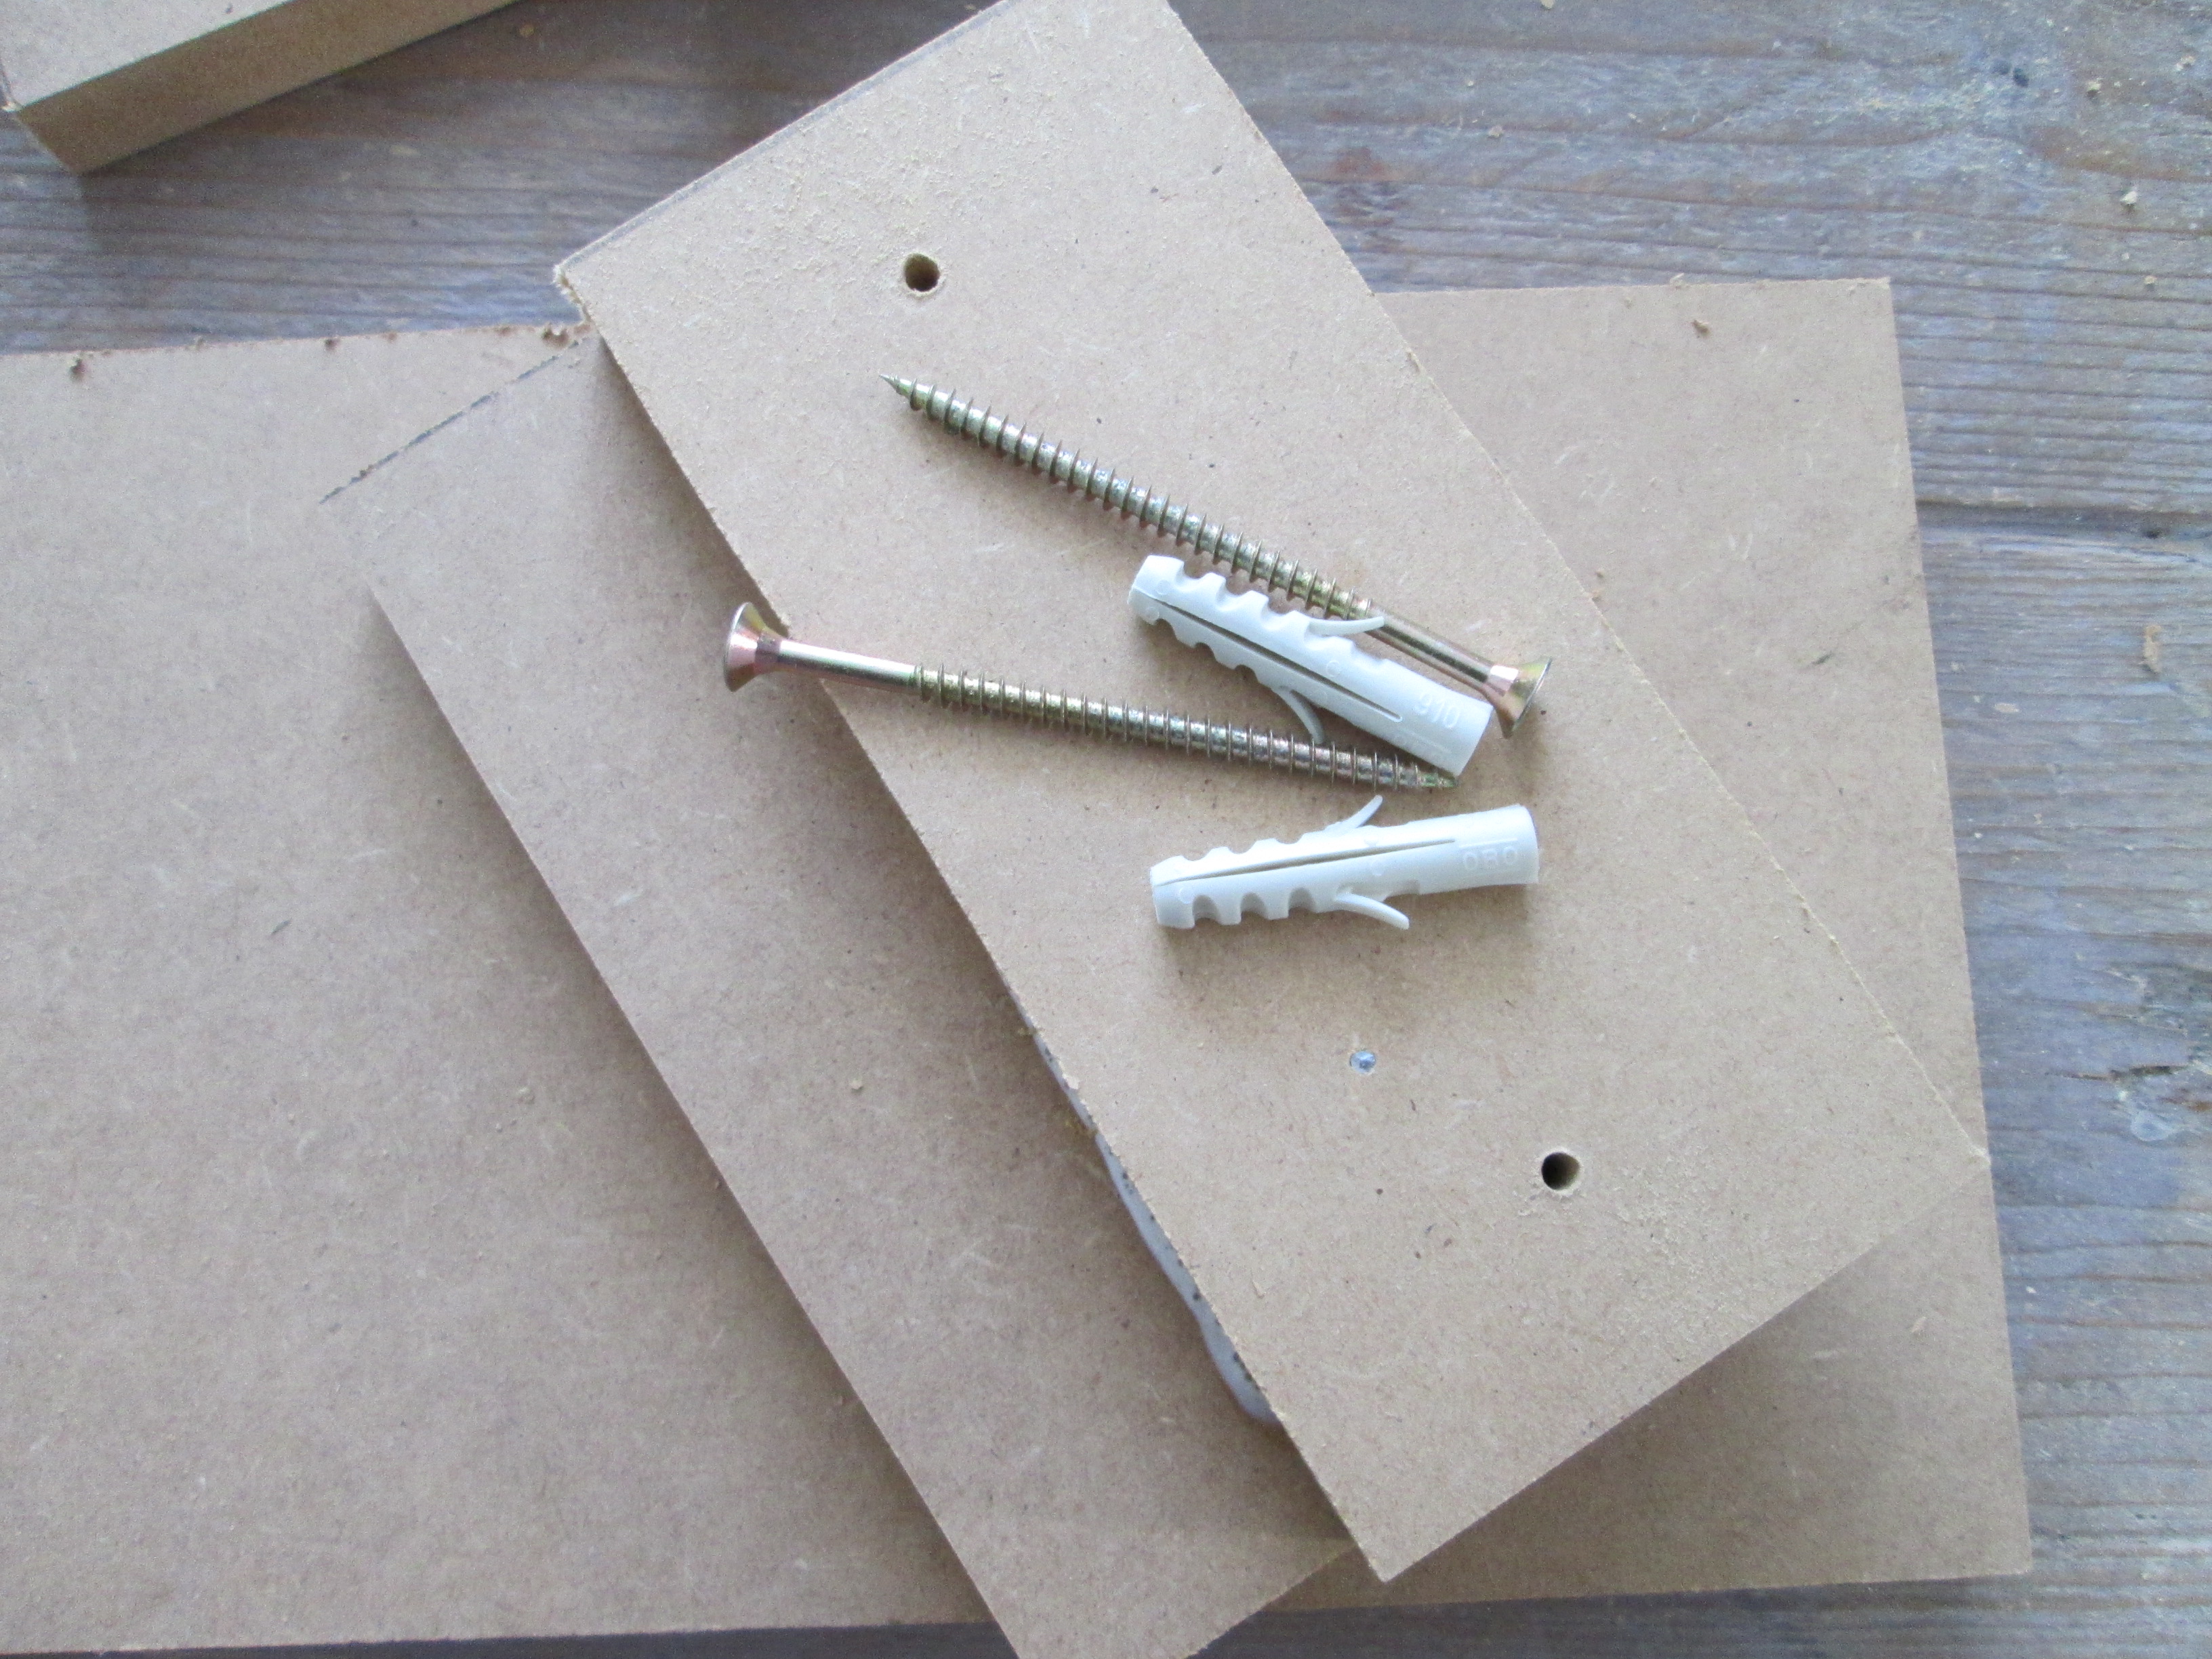
Prevent the cupboard from falling forward. I made sort of a hook to the top of the frame with a left over piece of beam and a little piece of slat. The hook is glued and screwed to the frame. With two pieces of left over MDF I made a wall ridge witch holds the hook of the cupboard. When I want to remove the cupboard I can simply lift it of the hook
Paint
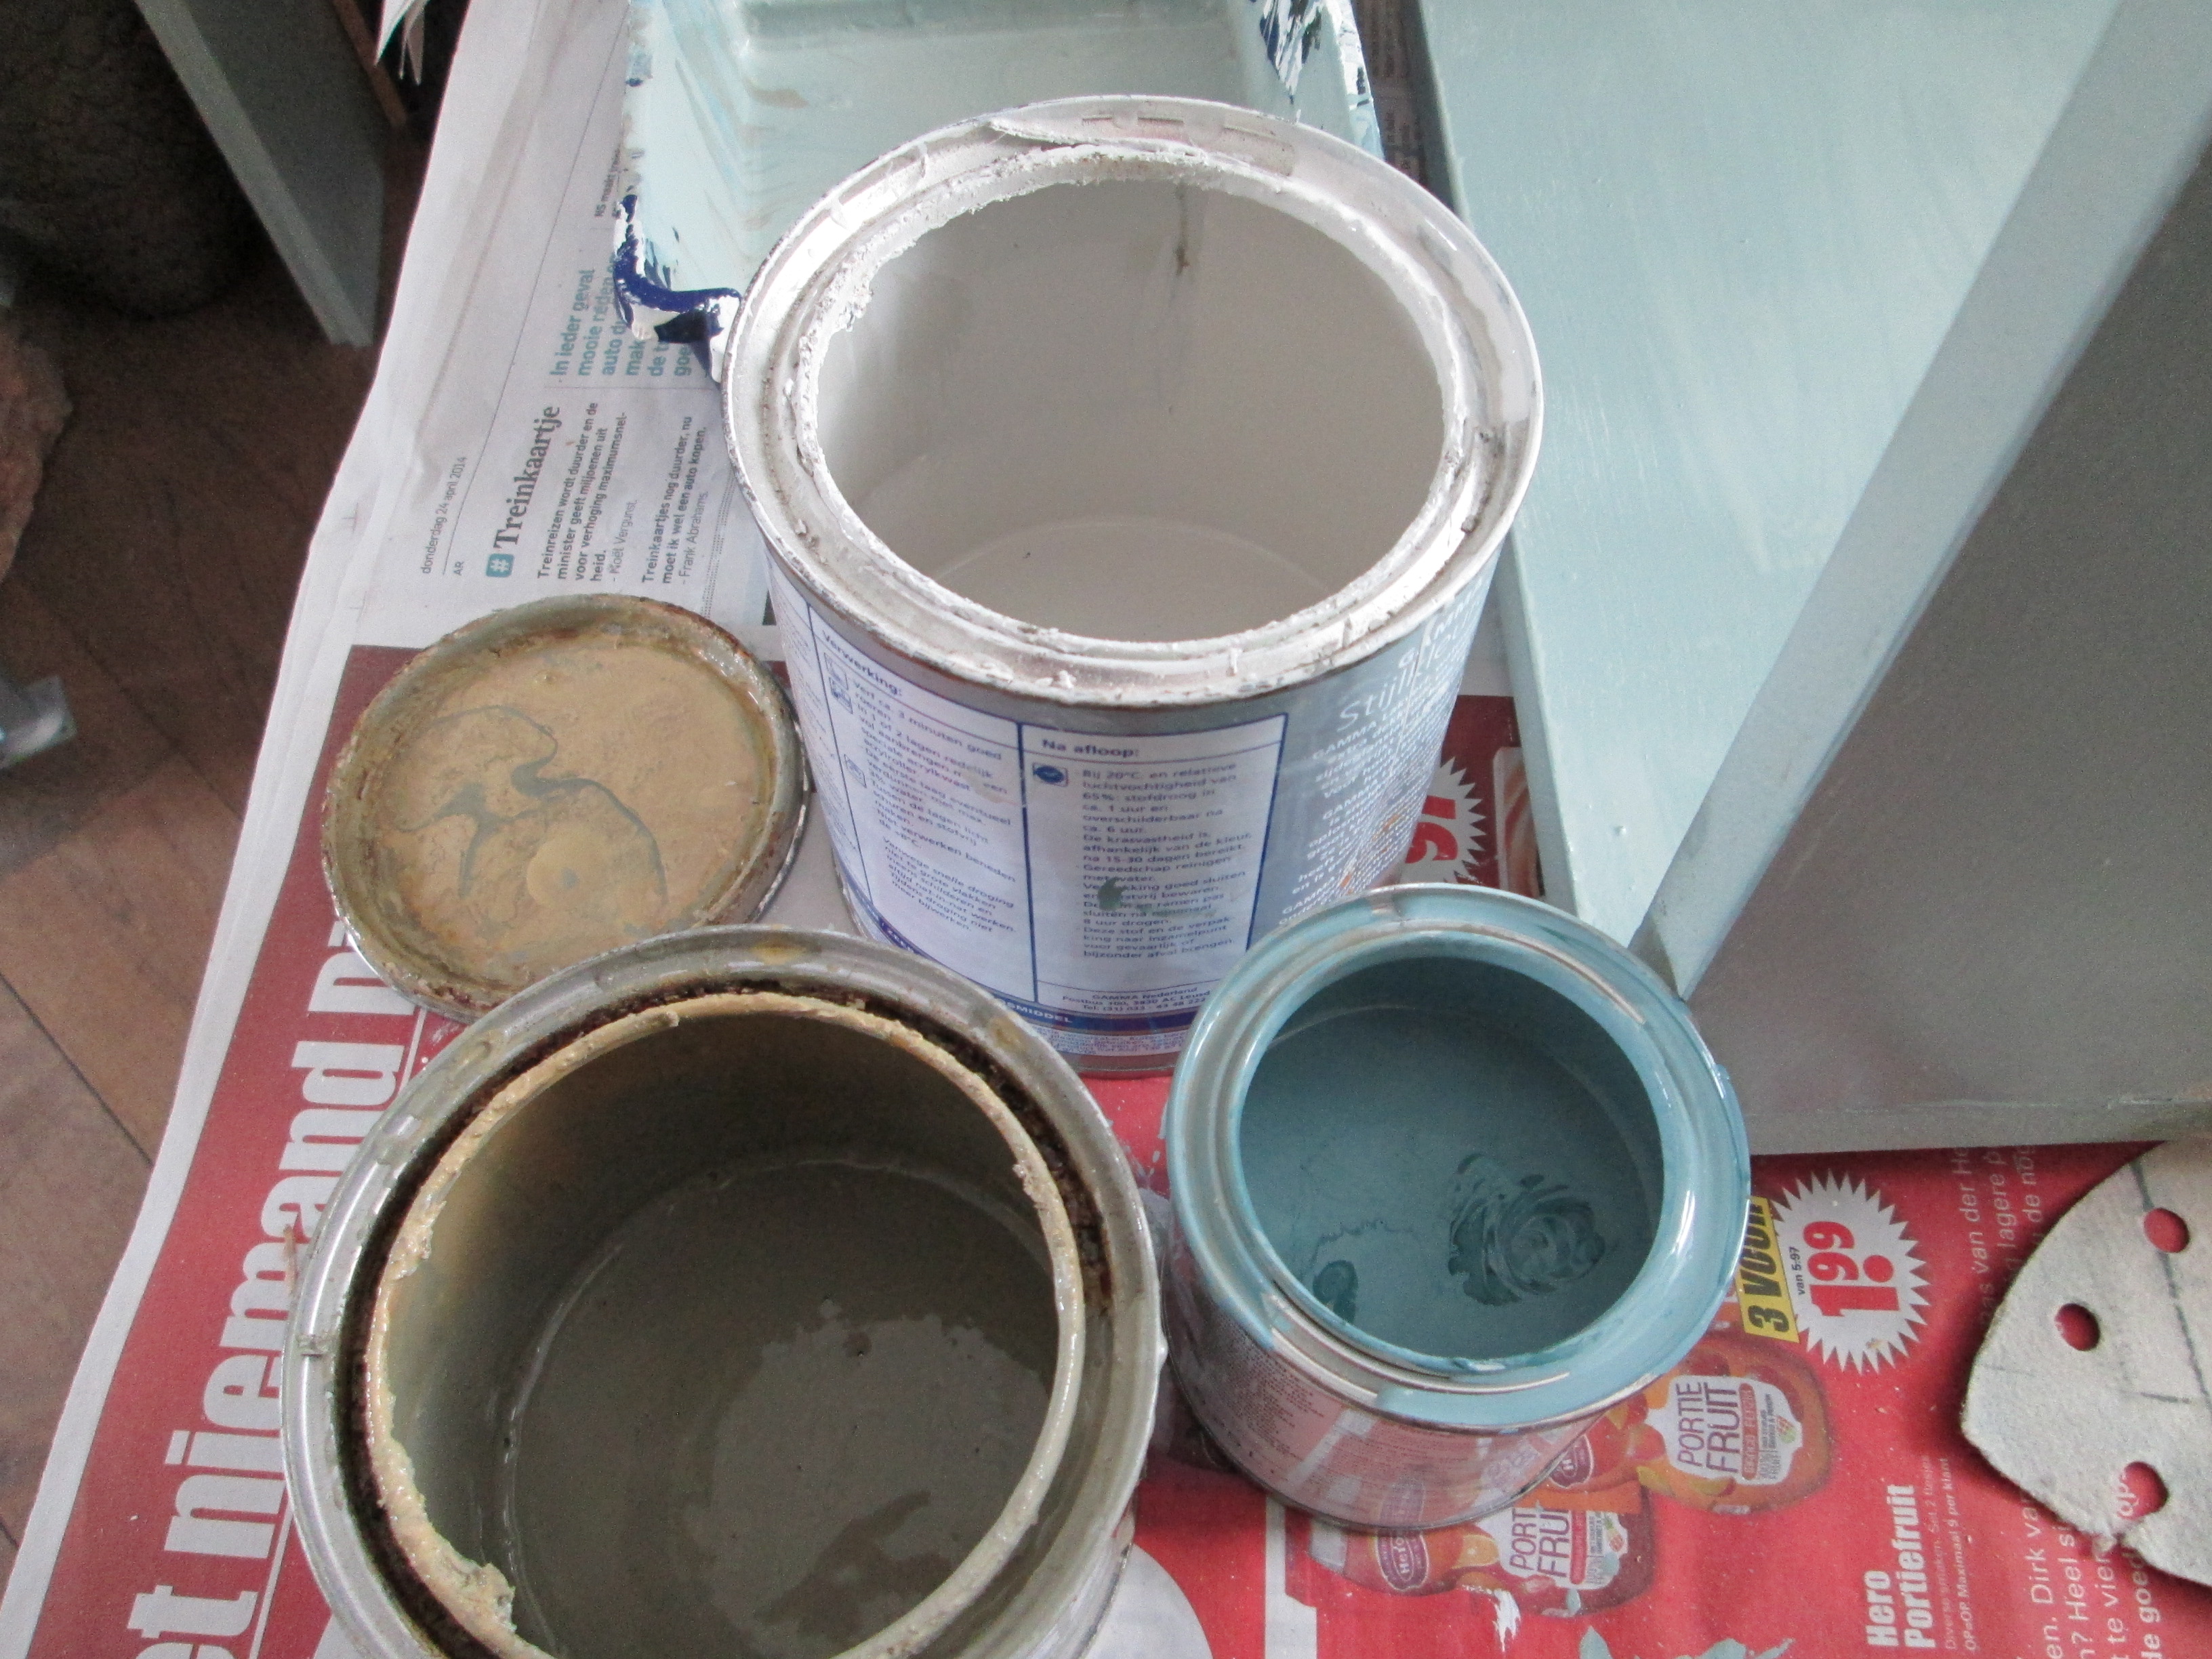
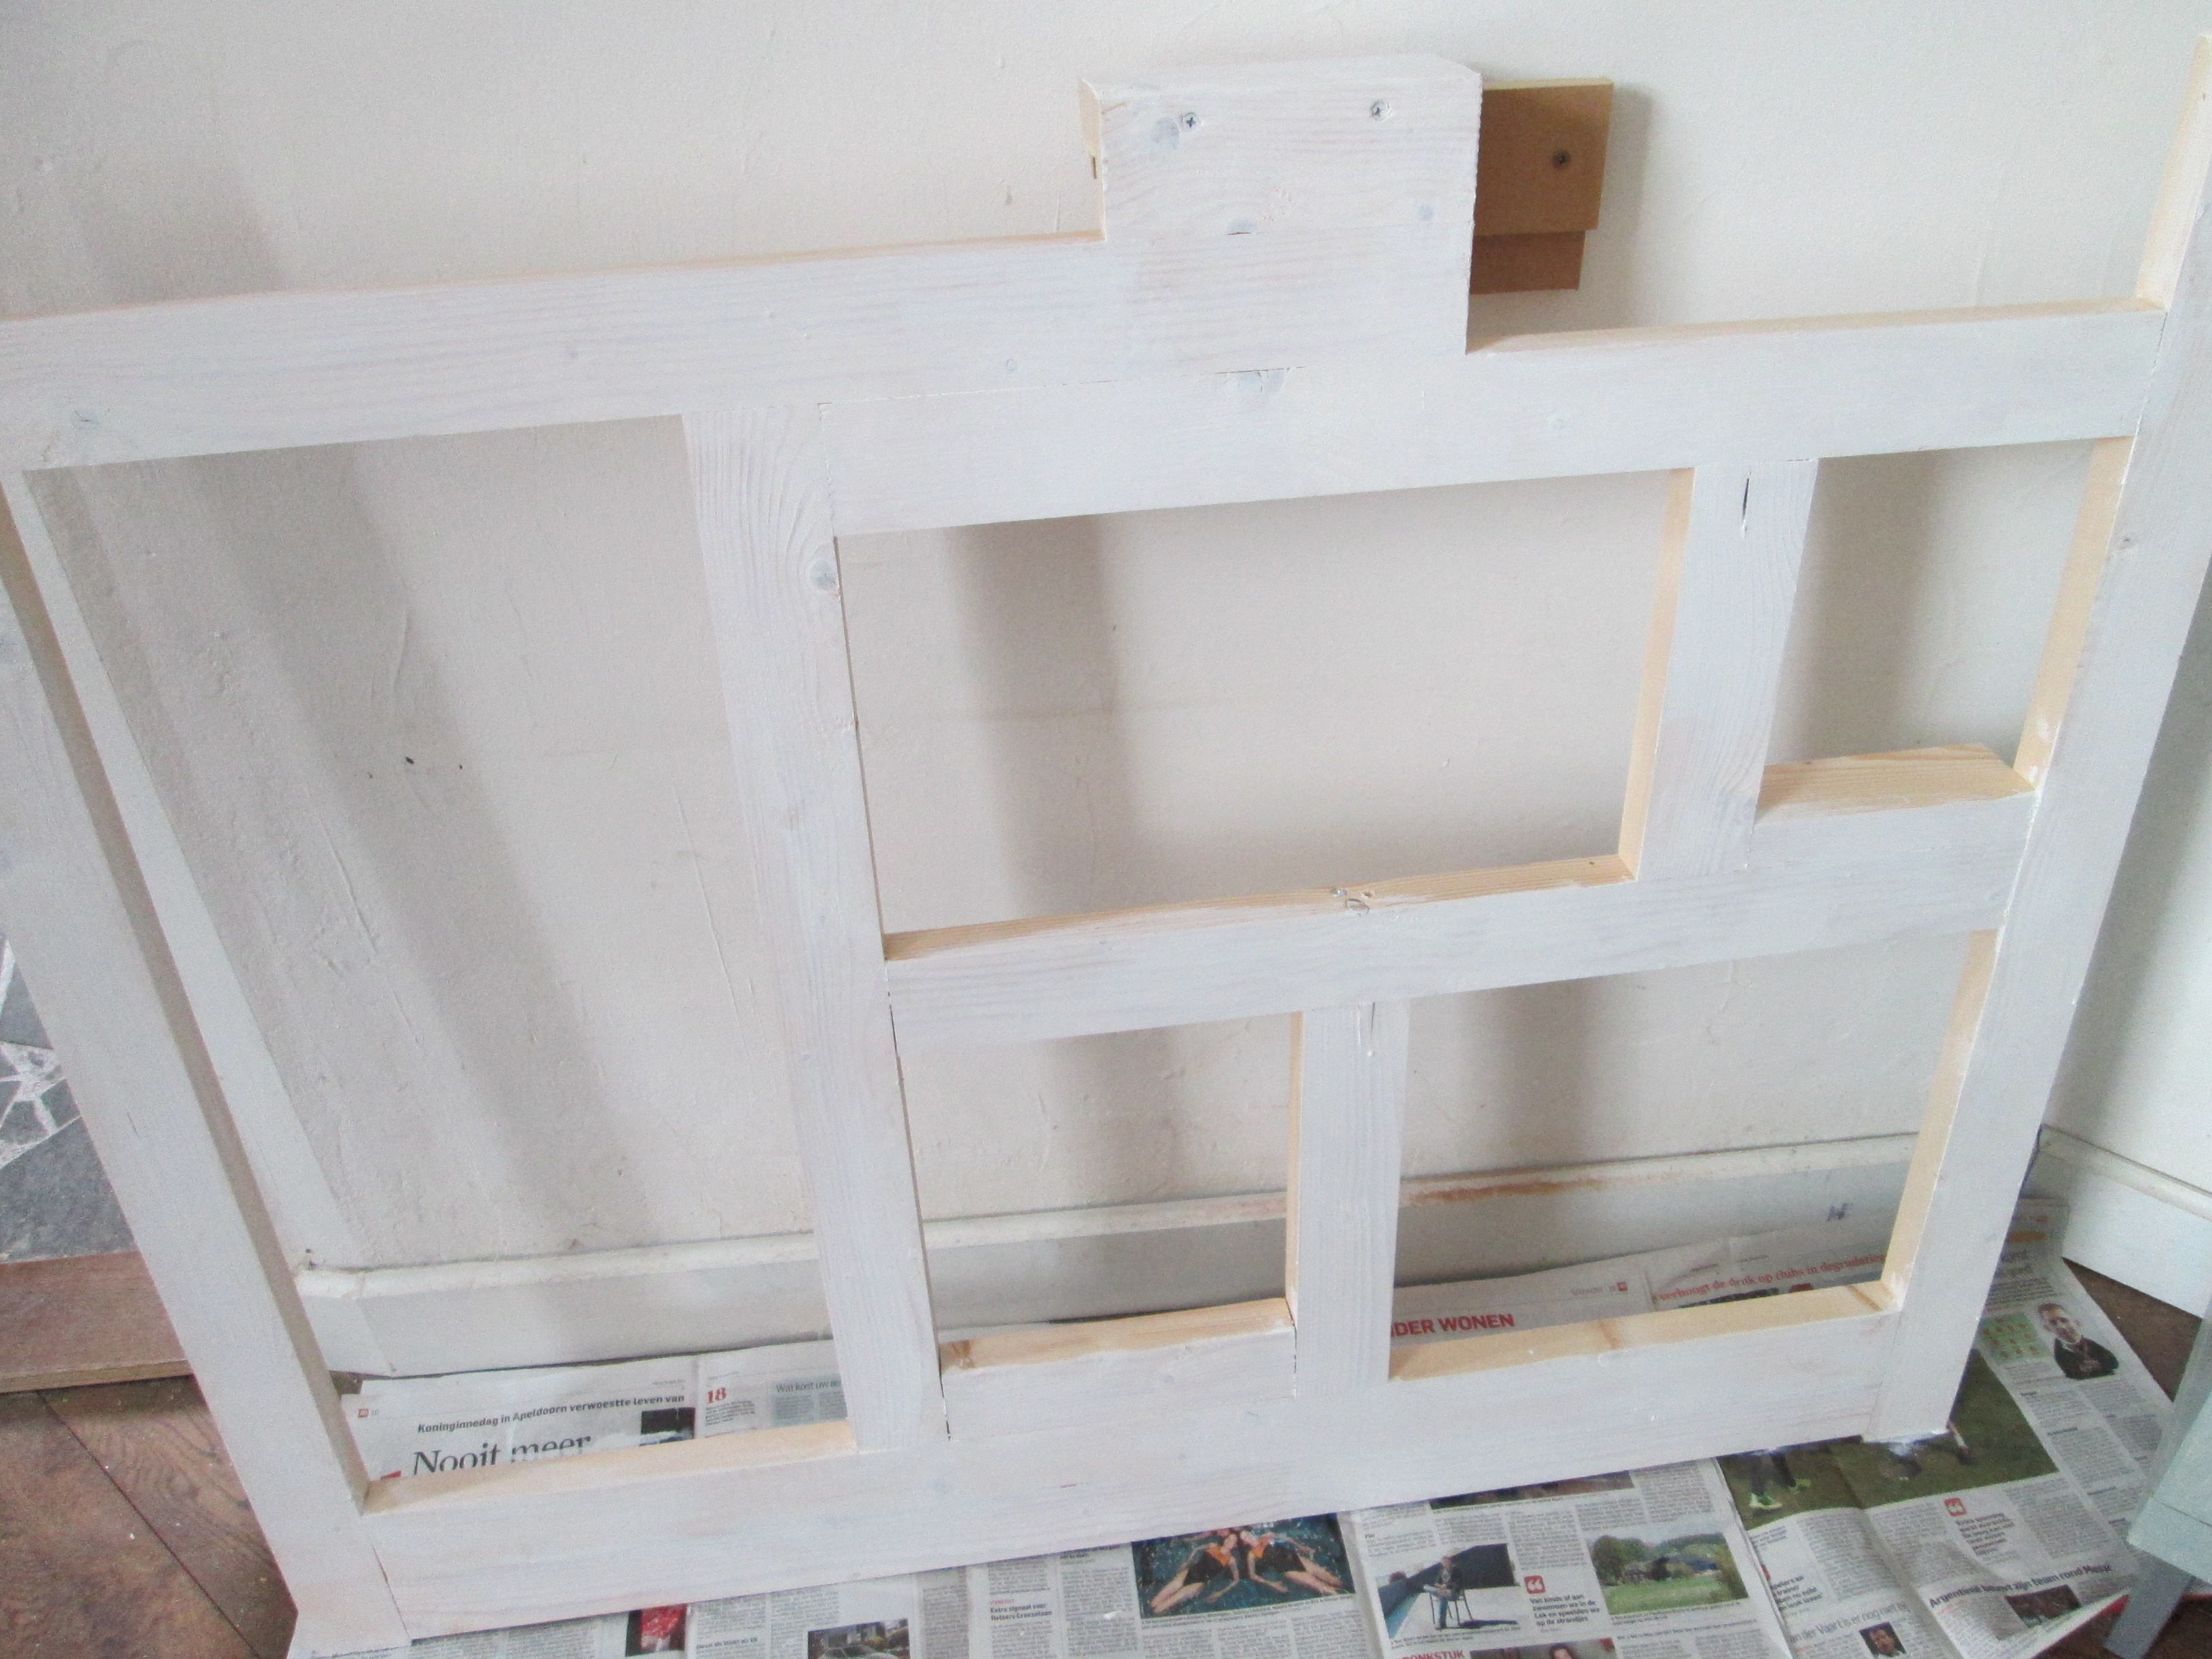
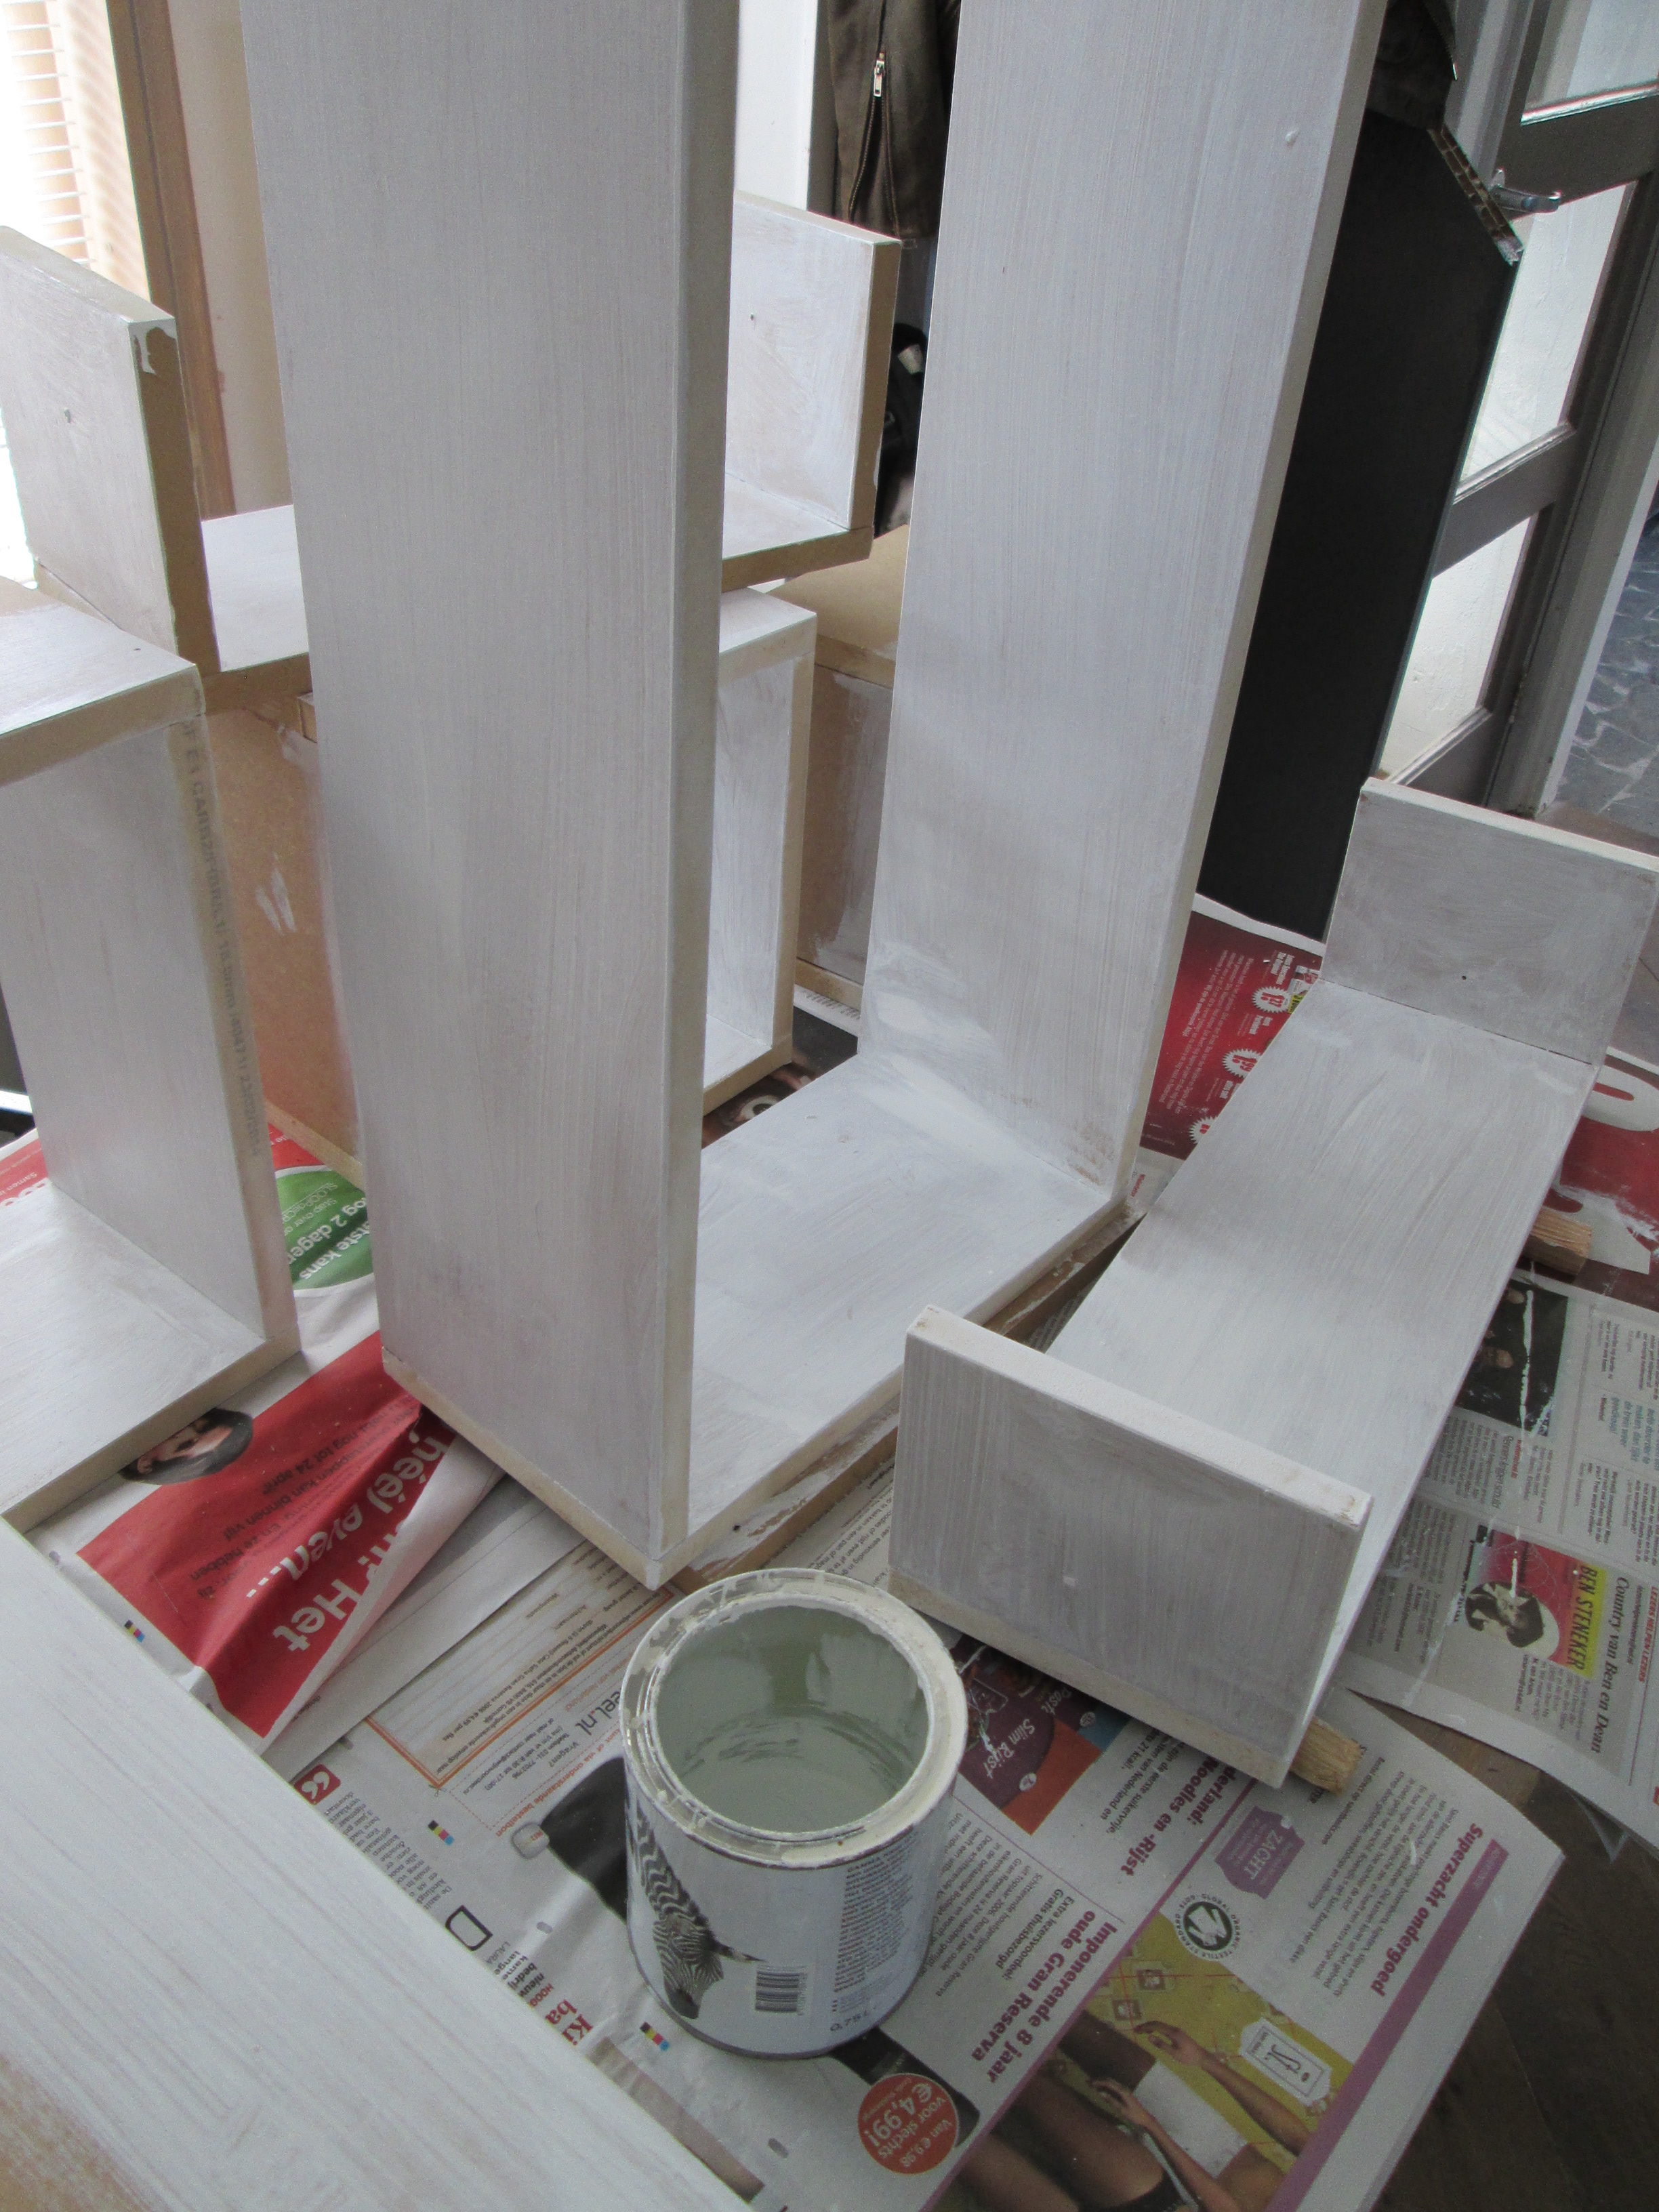
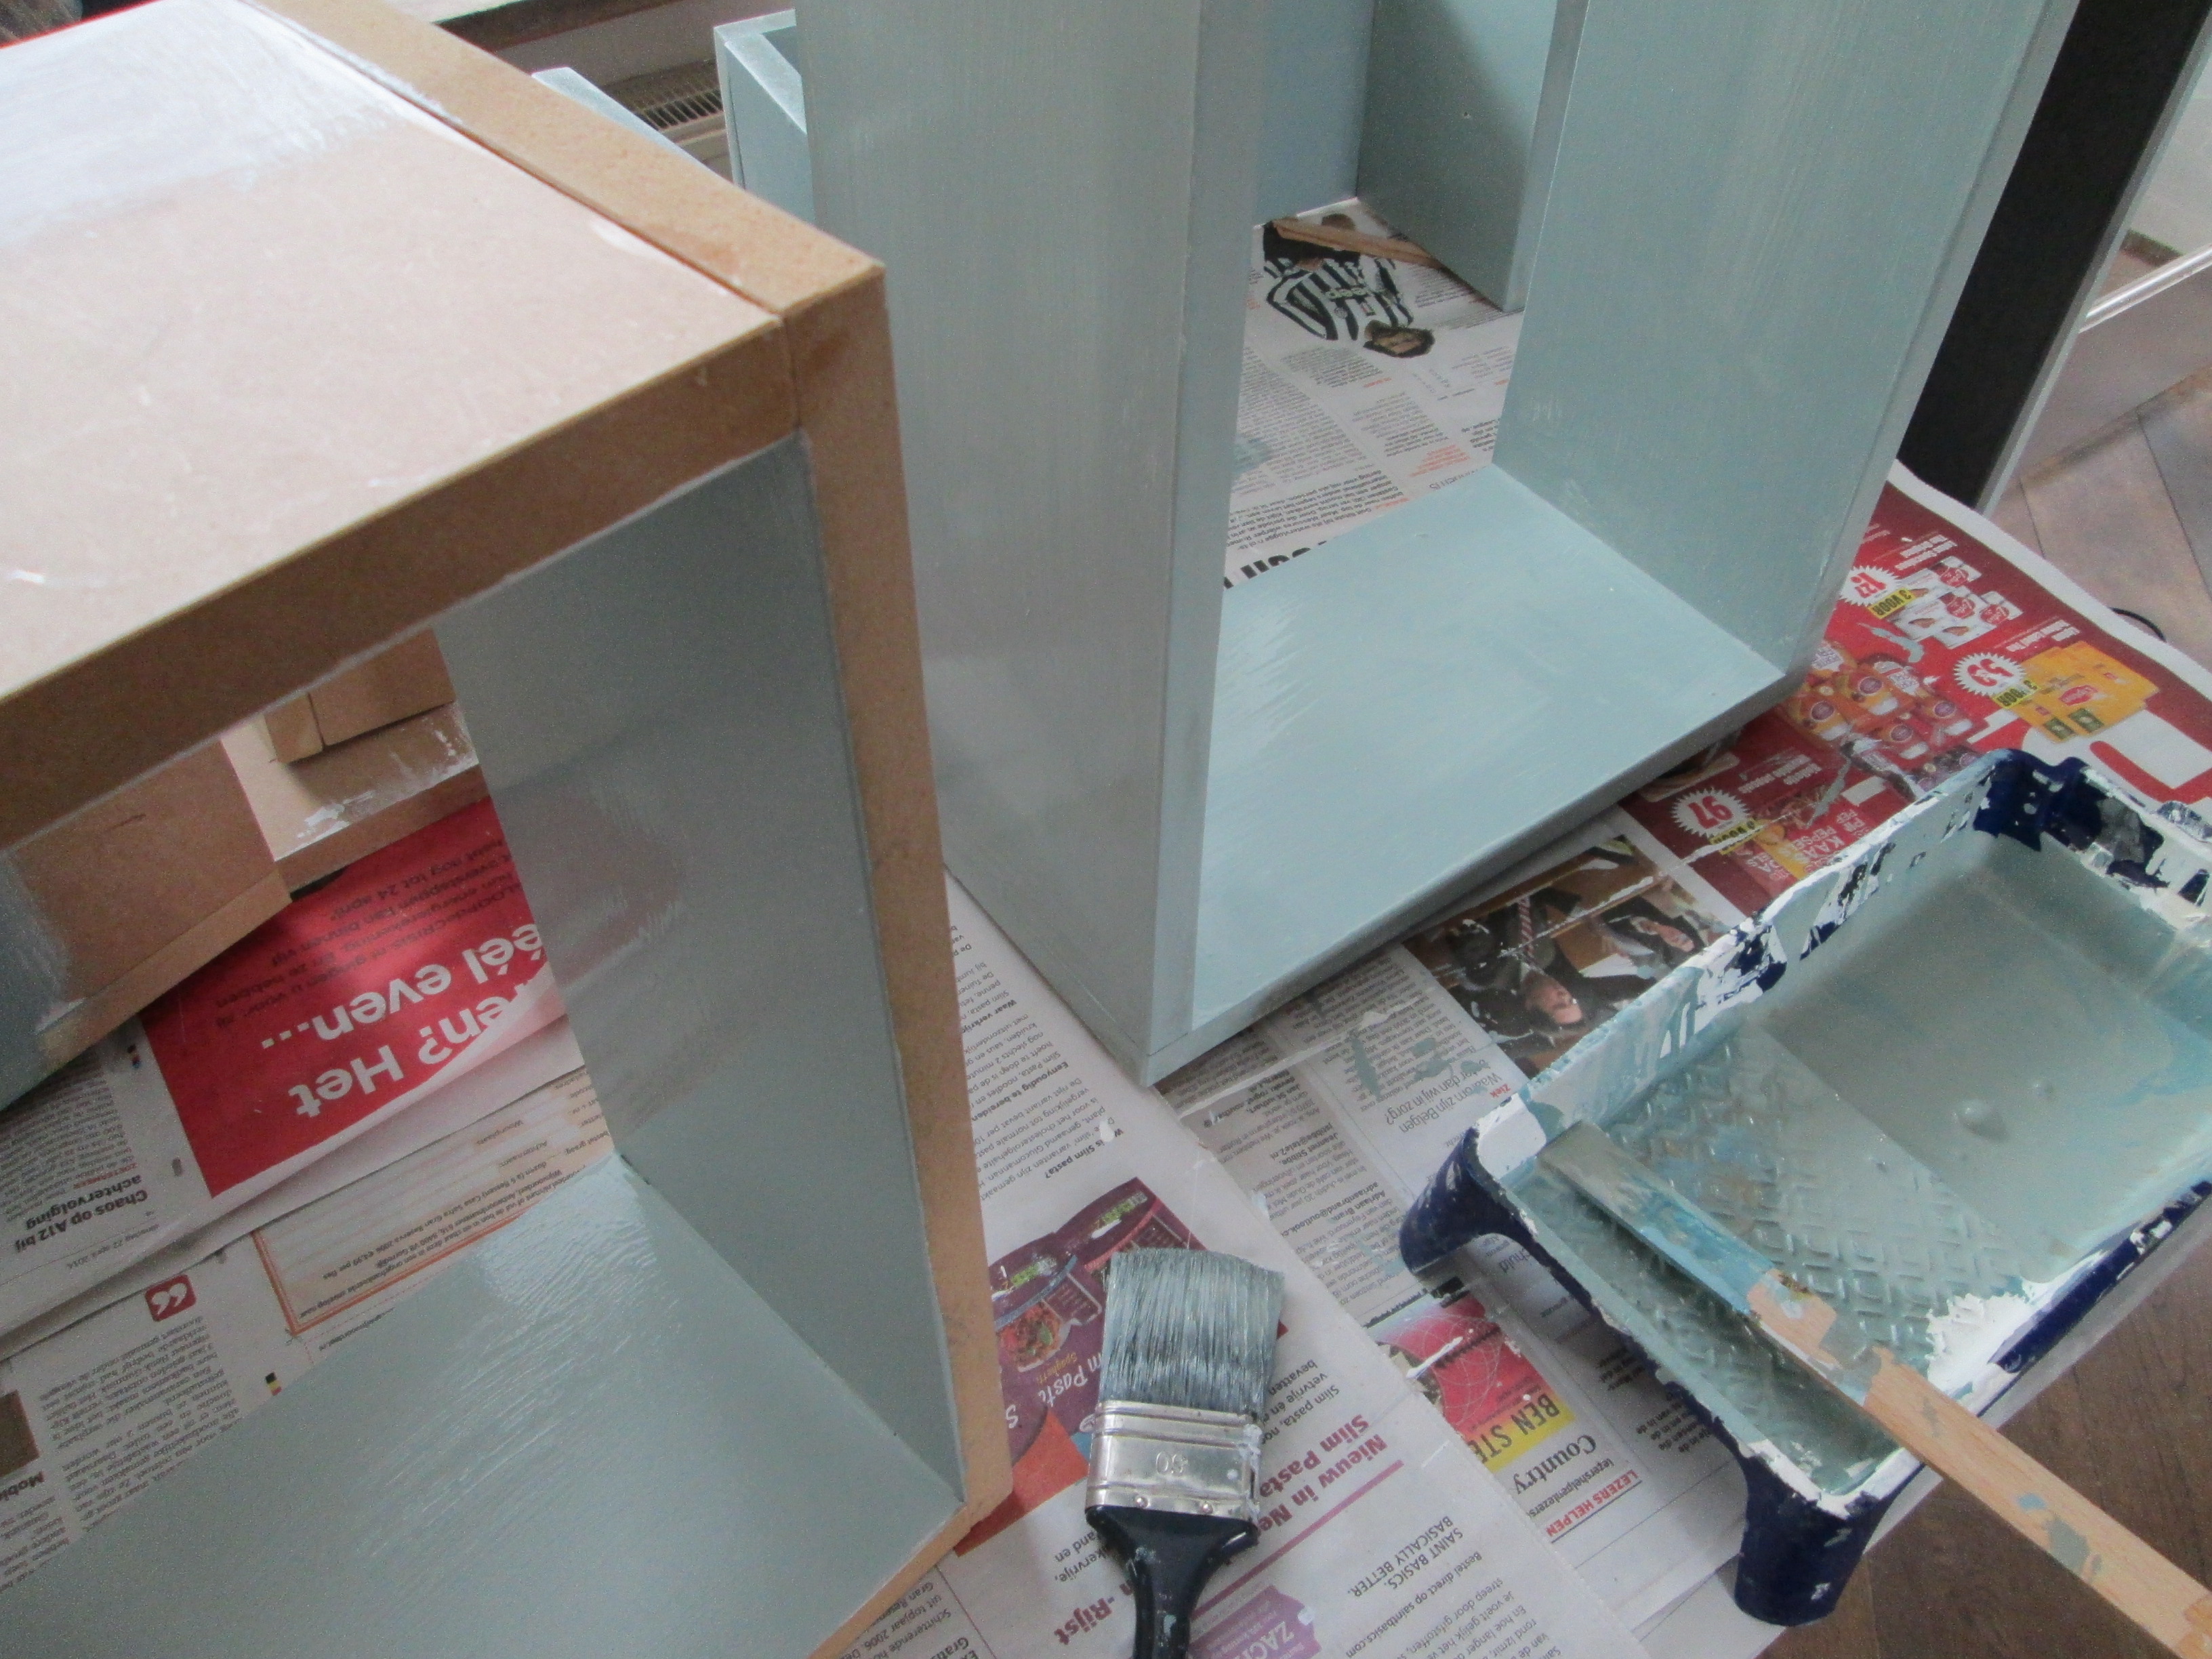
Give all pieces ( frame and boxes) a white base coat.Take special care for the rims of the MDF as they will soak up all the paint the first time. You will have to sand the rims after painting. The second layer of the frame should be with the same wall paint as the wall it will be attached to. I painted the boxes in a blue-greenish grey witch I mixed from three different colors. A pebble white, light steel blue and an army green. I suppose you could buy this ready mixed, but I always have left over paint, that I like to use before buying new. Furthermore I like it when the paint is not completely mixed and sometimes gives a stronger shimmer of the blue or green.
Place Boxes in Frame and Objects in Boxes
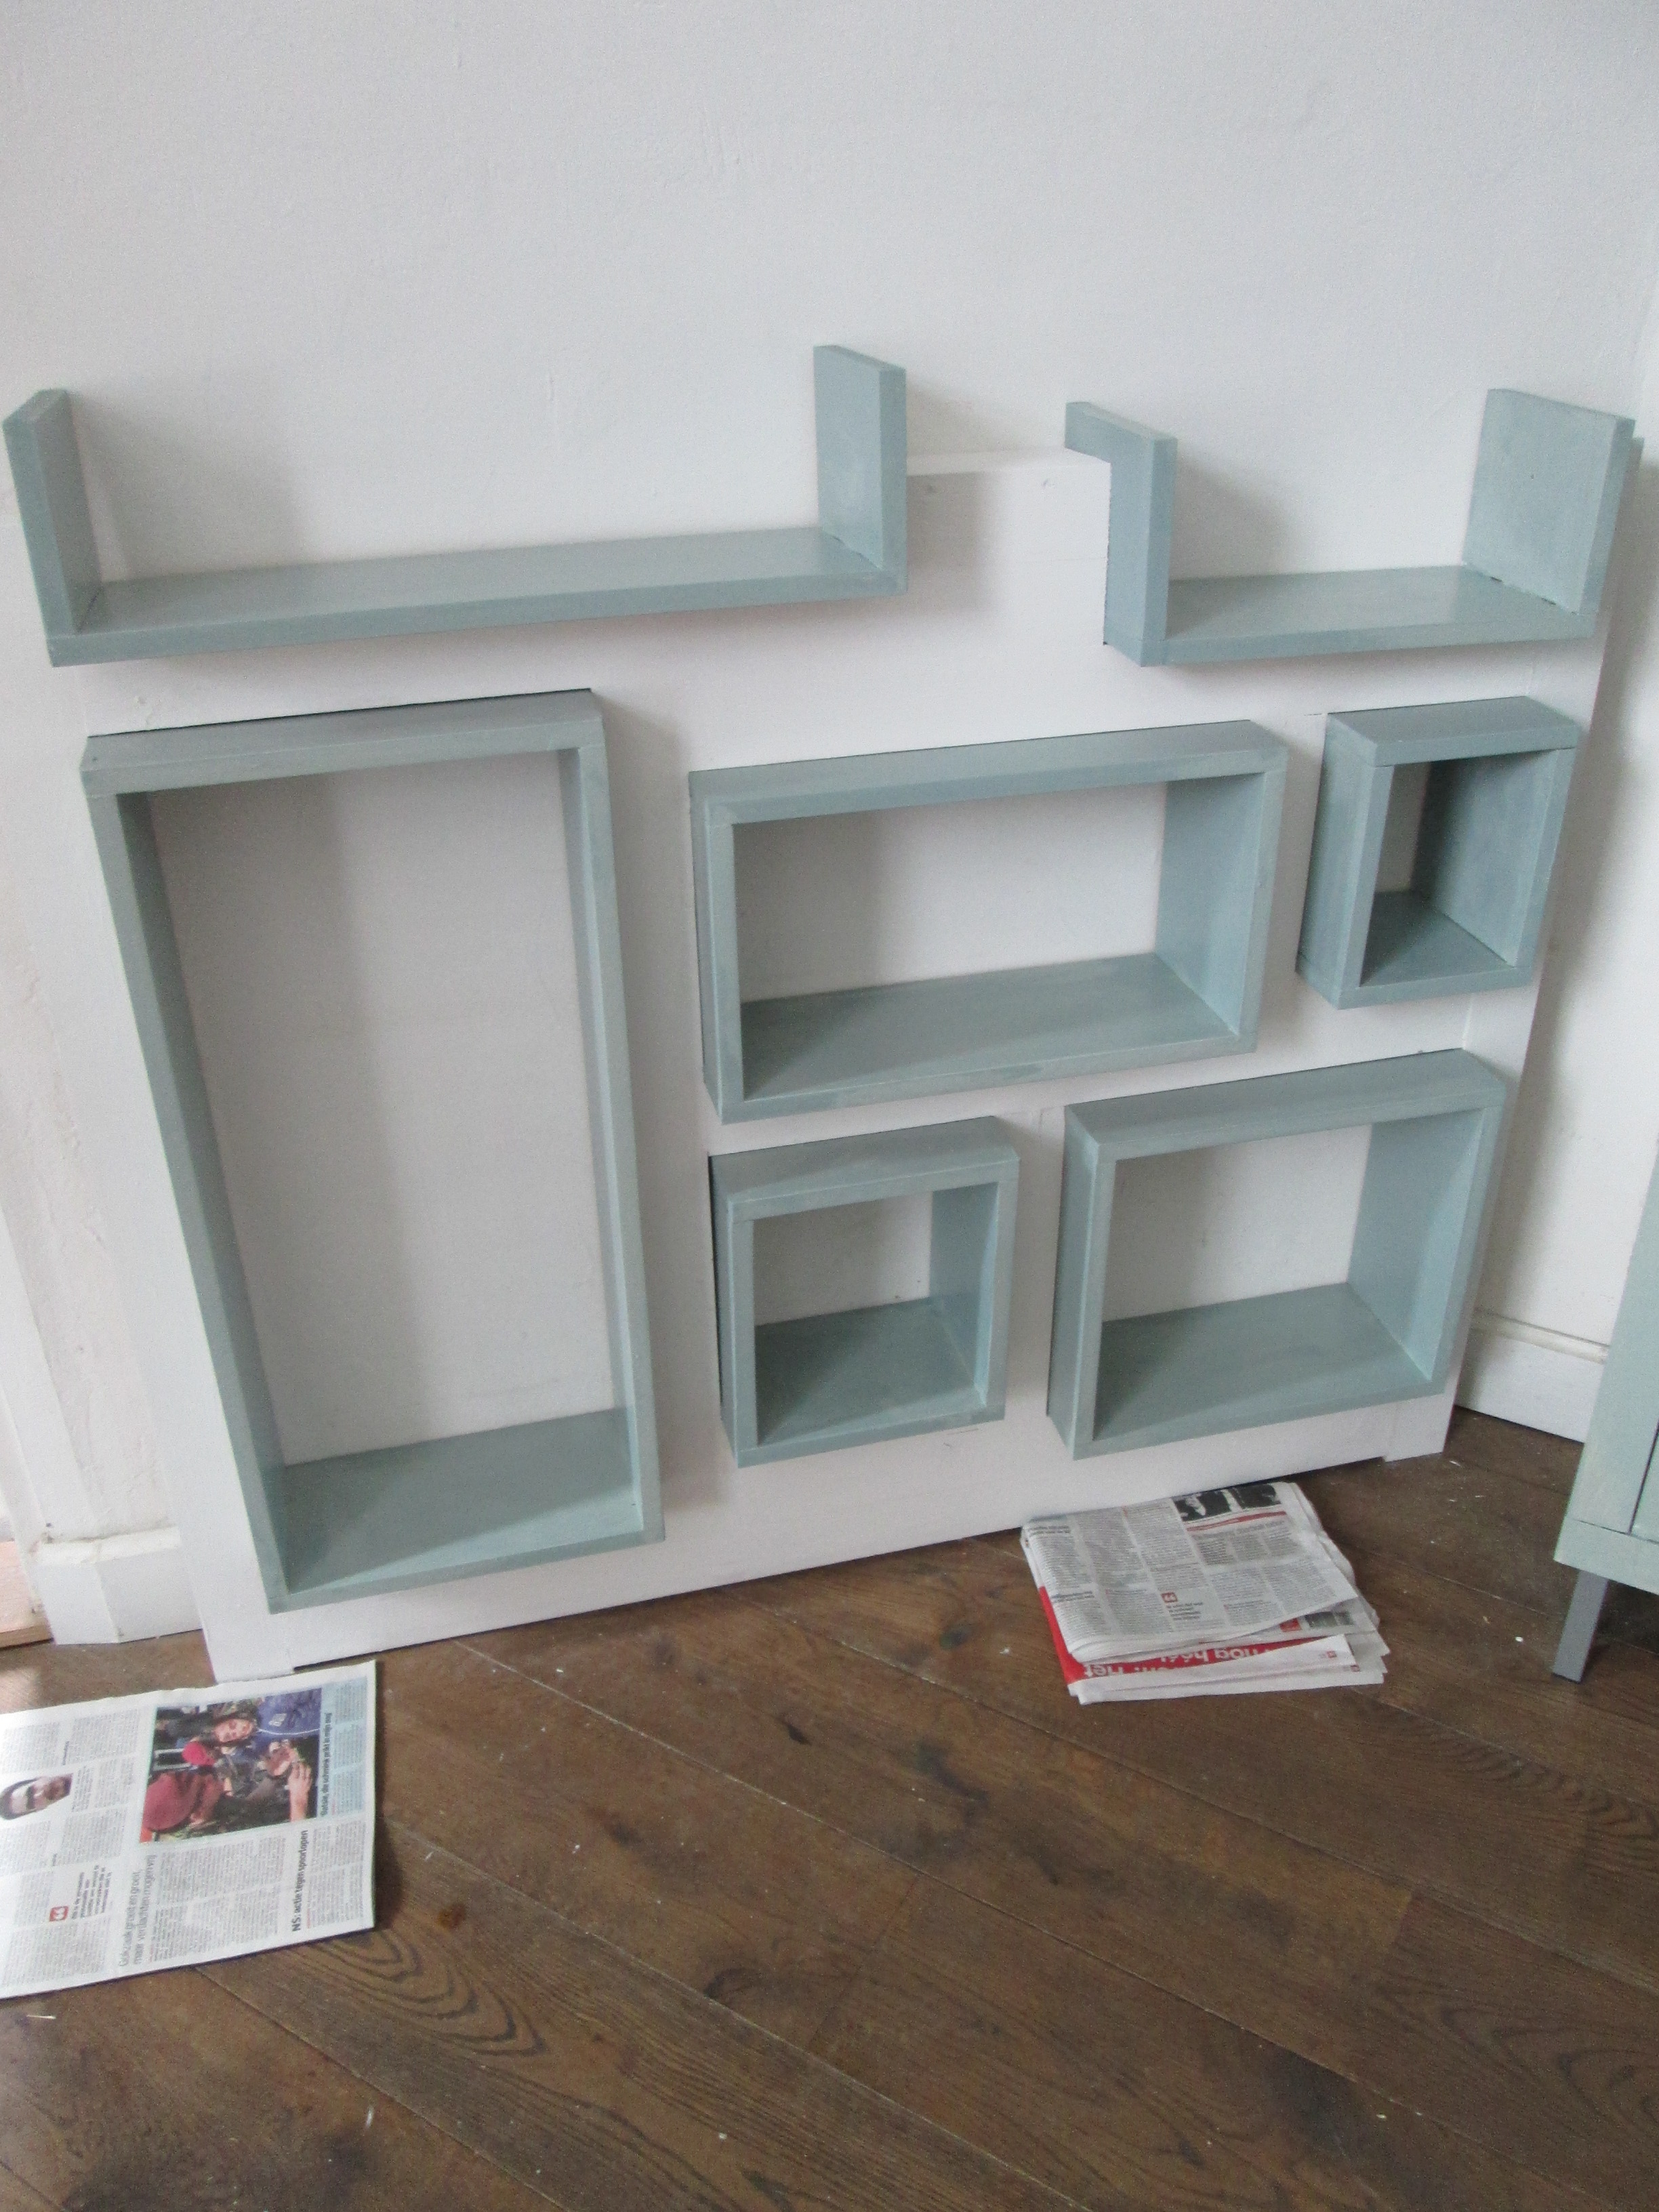
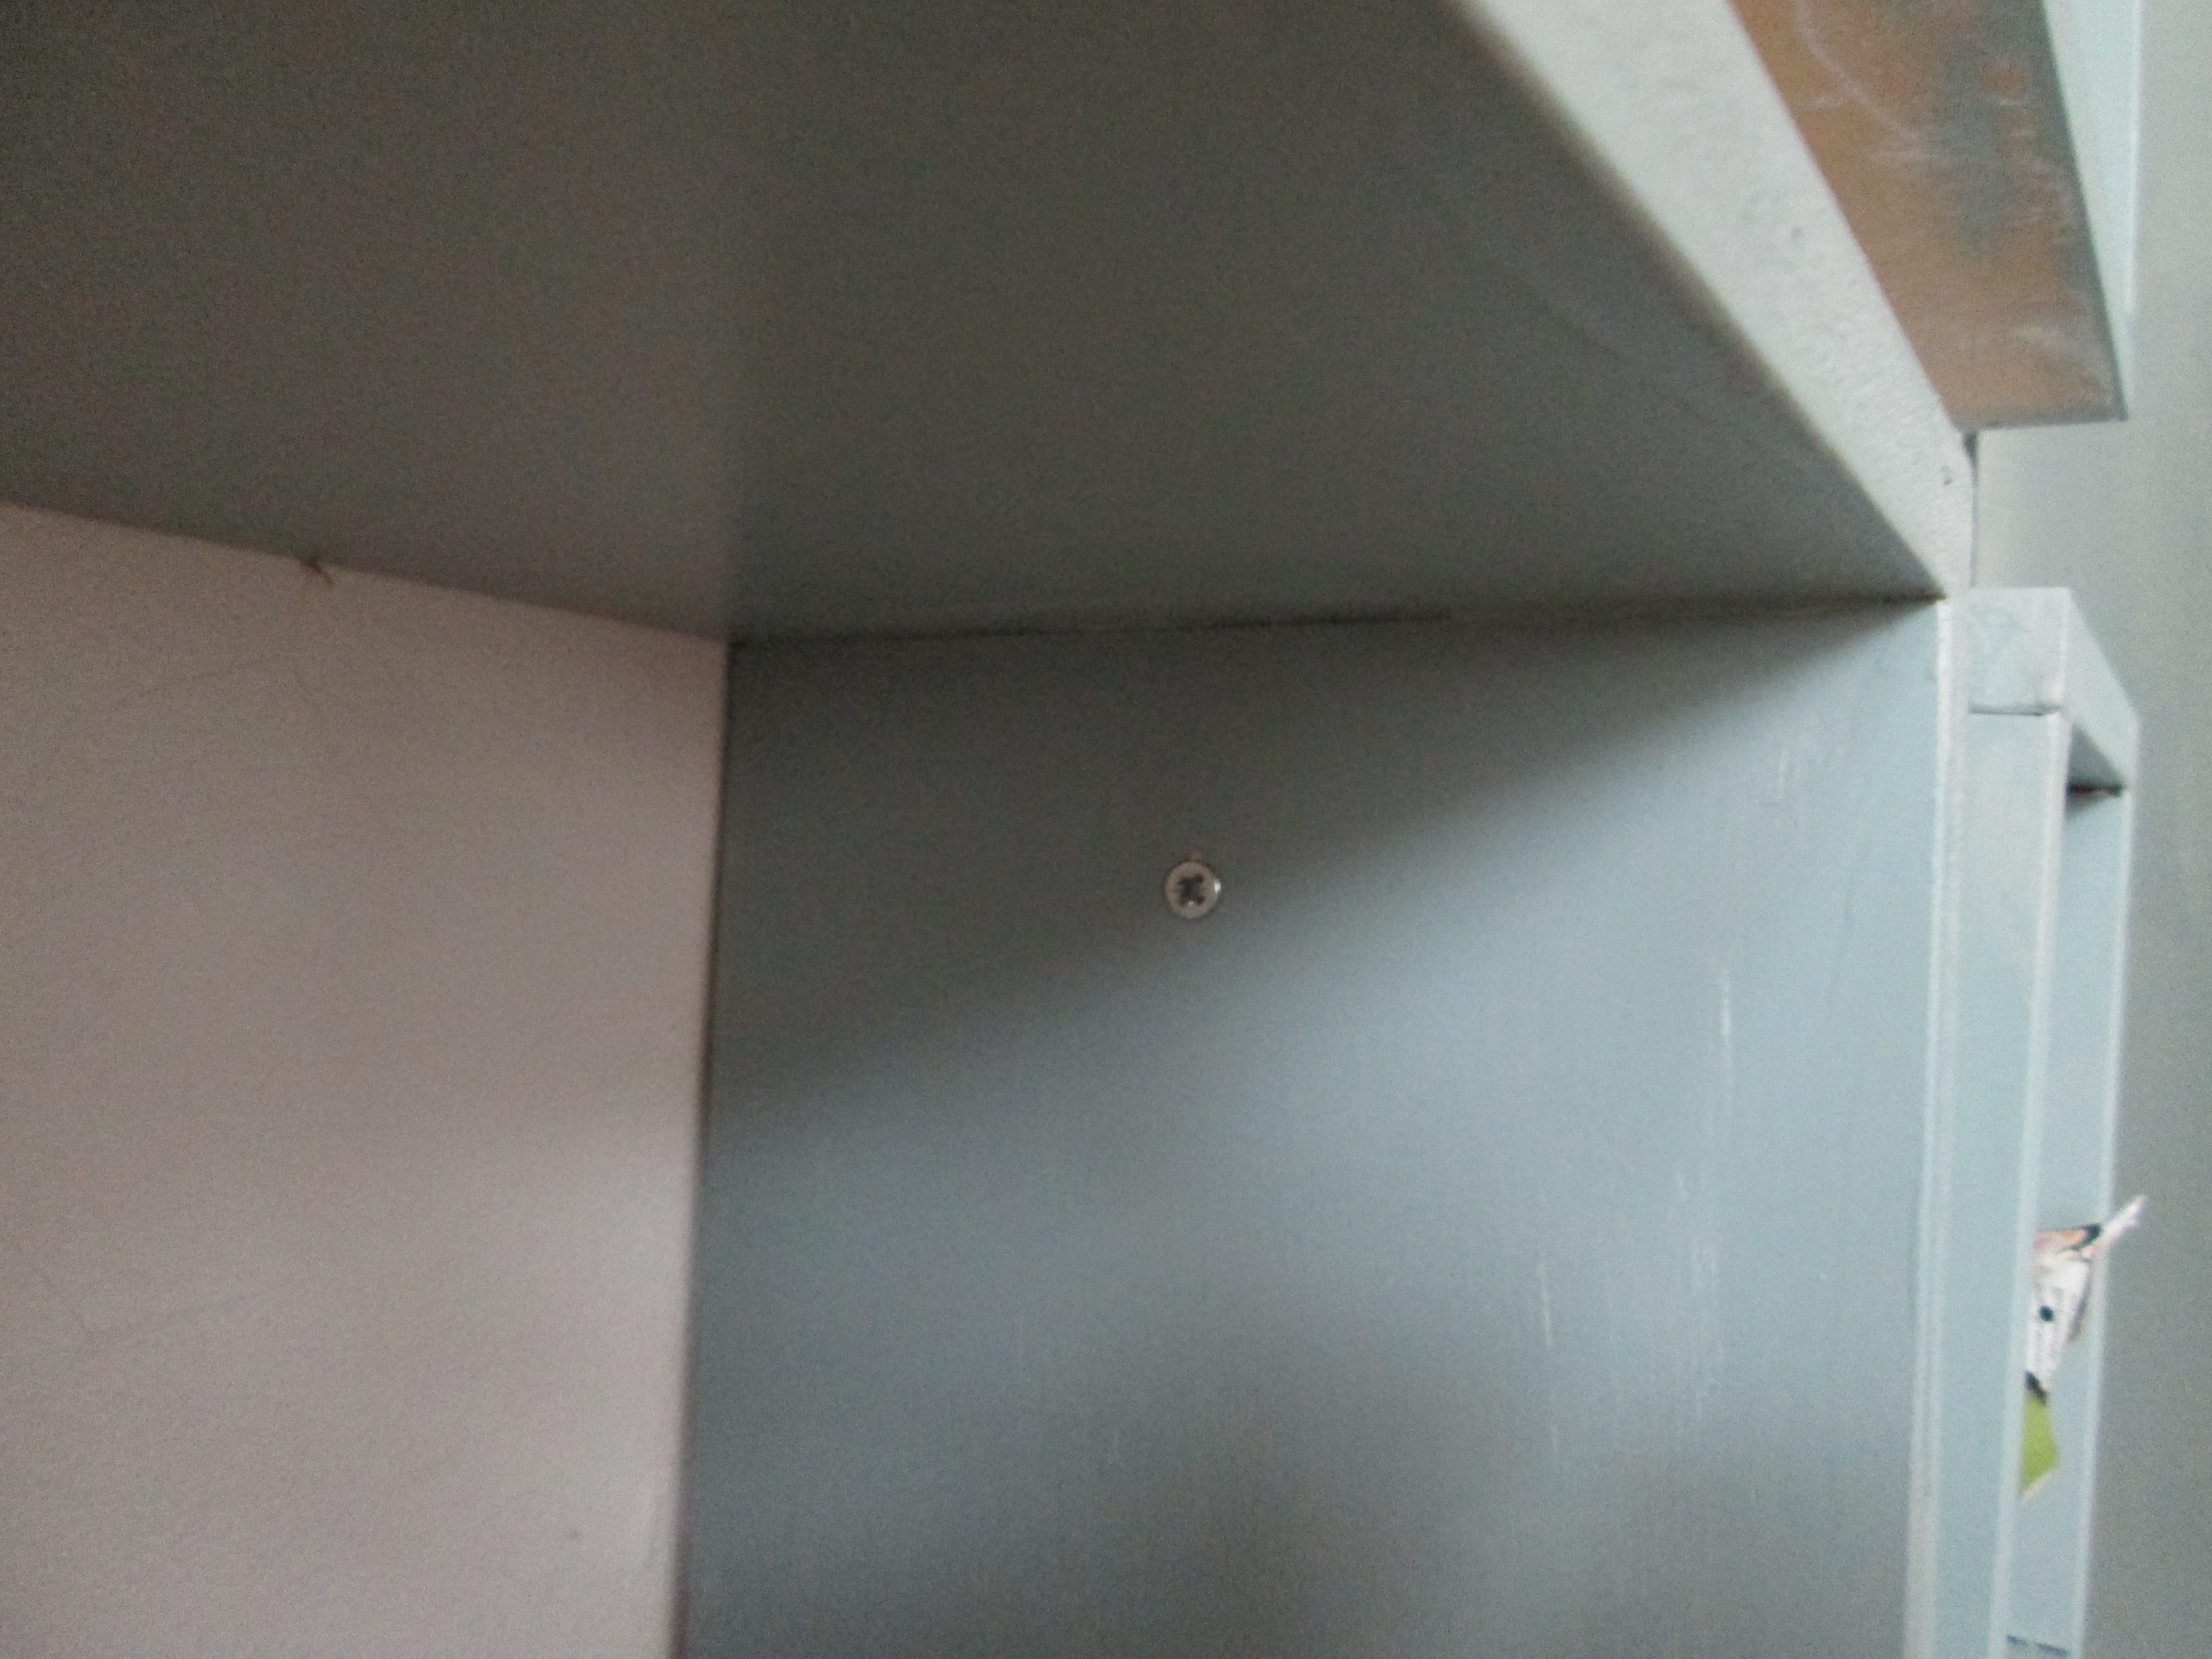
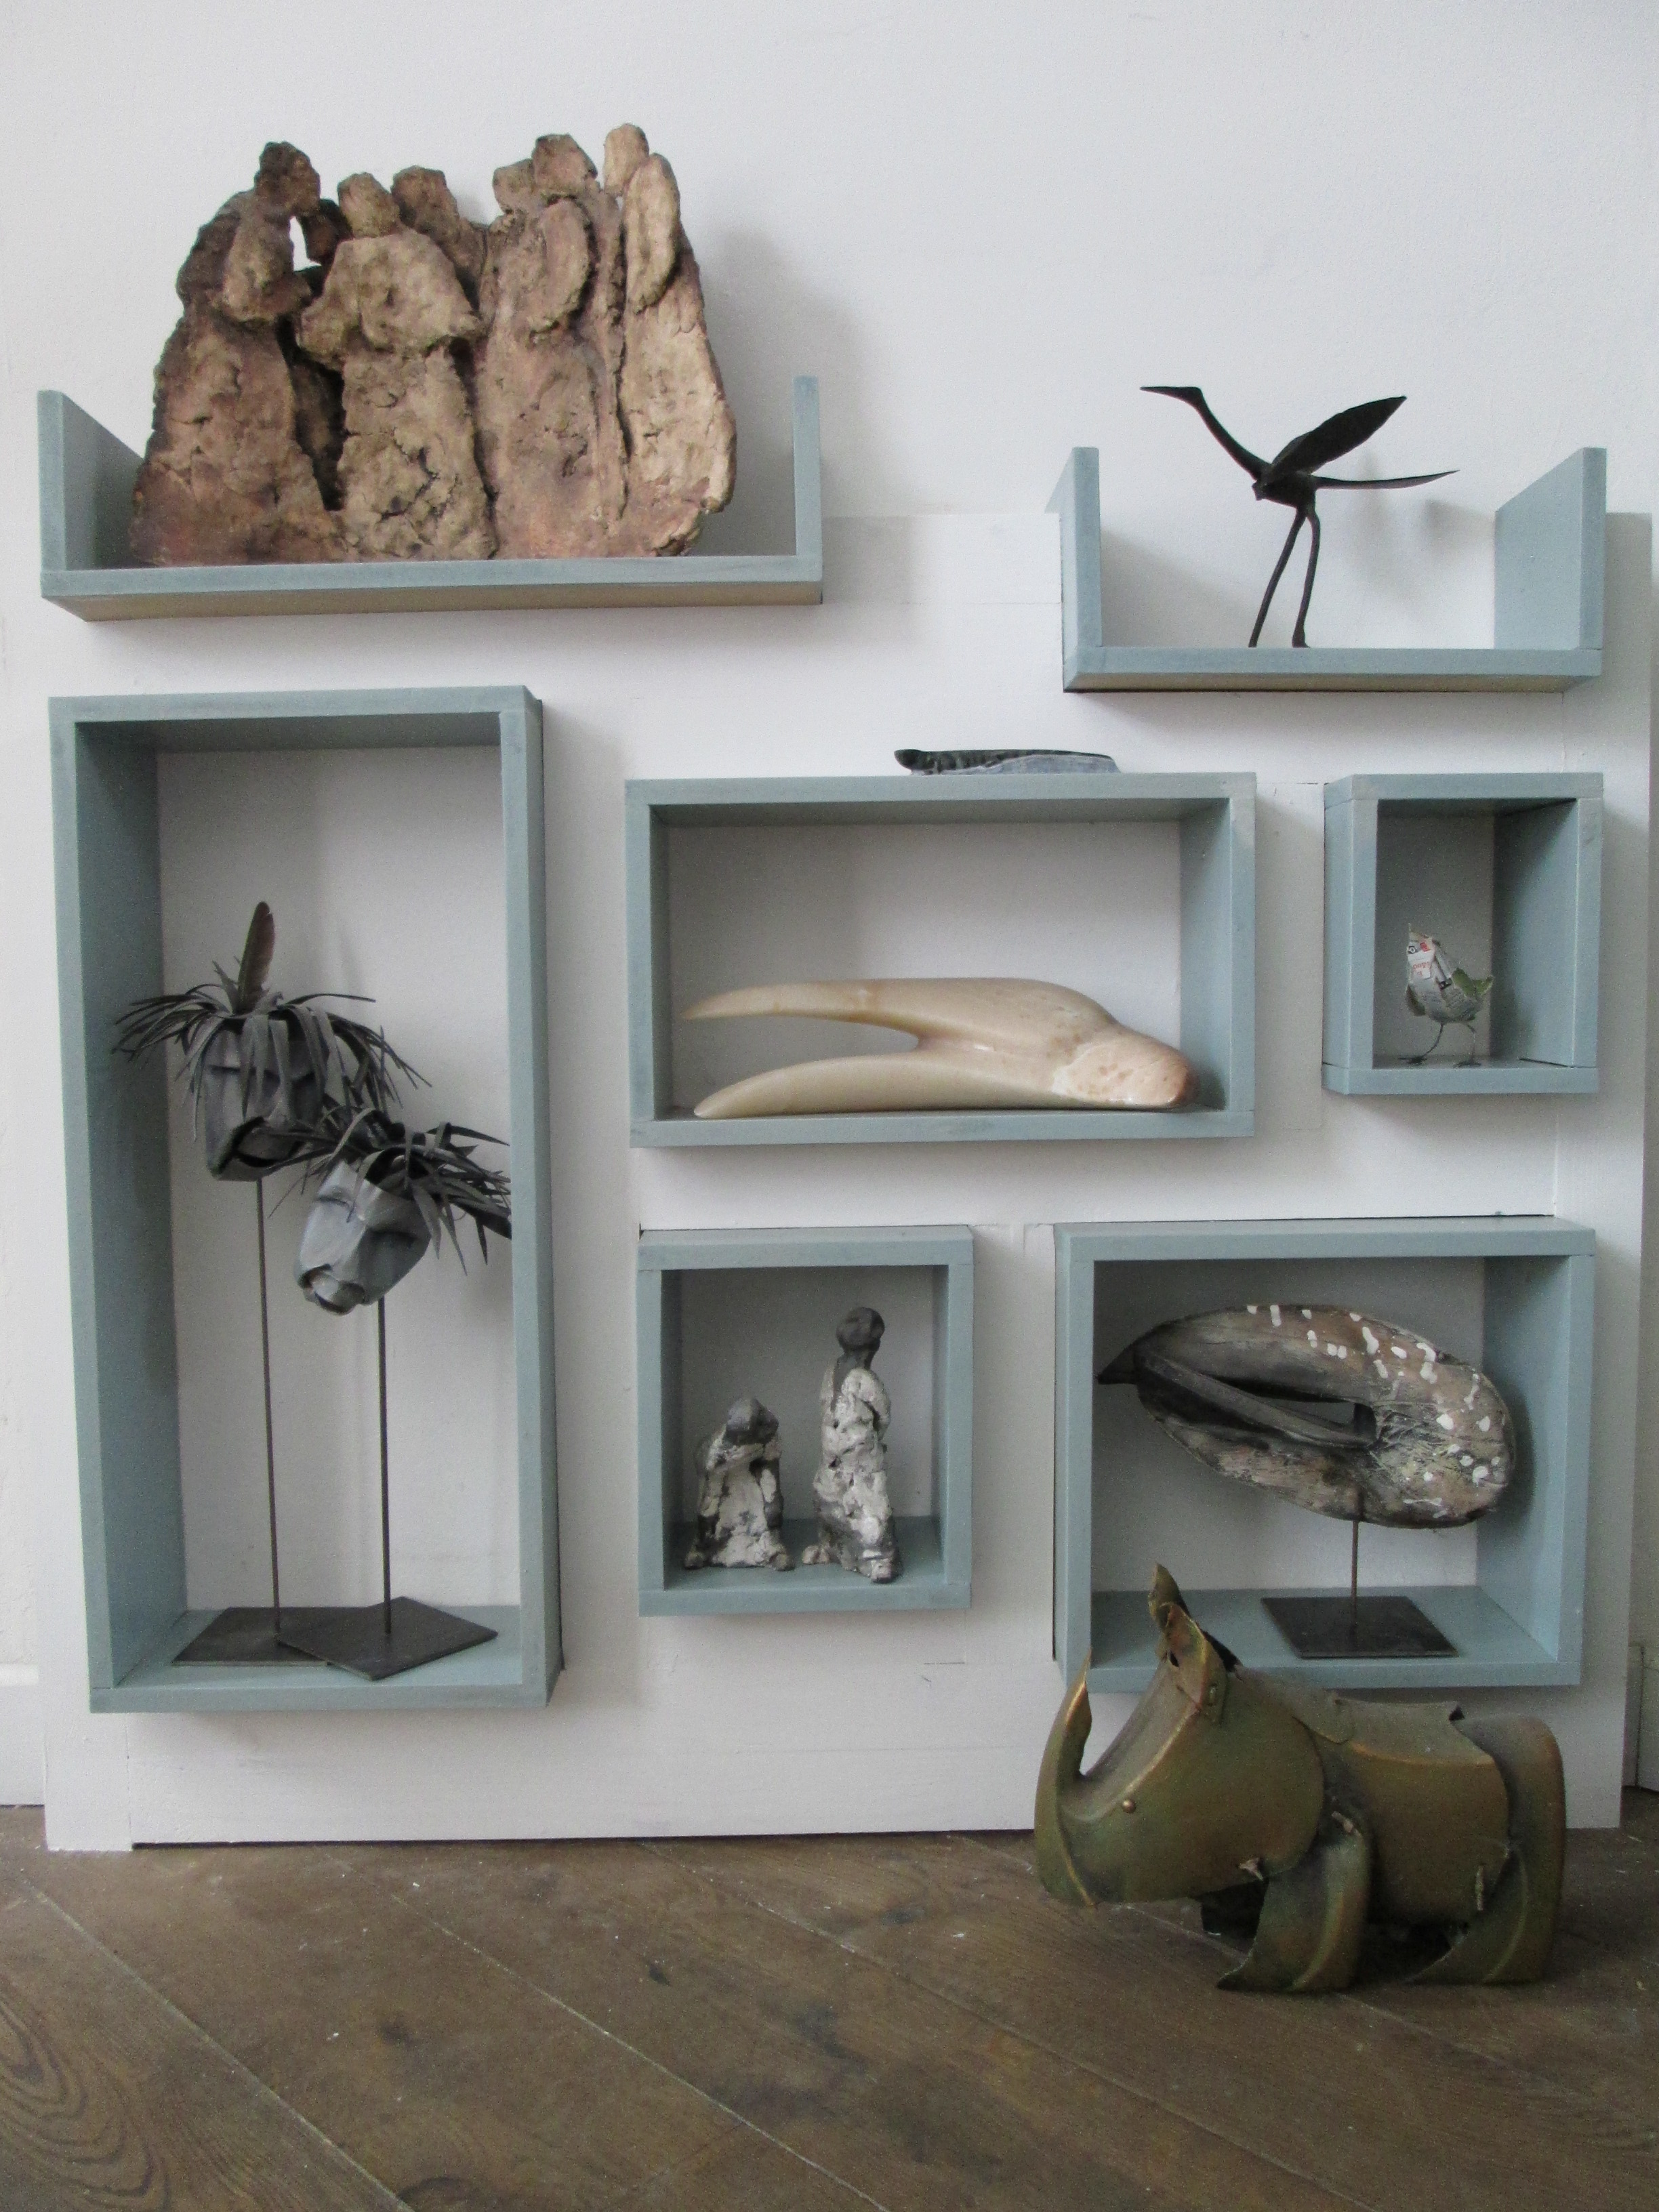
When the paint is thoroughly dry put the boxes back in the frame. Secure the boxes with two screws on either side. The two smallest boxes are a bit fiddly to screw in, so I didn't. They stay in place without any attachment.
On the last picture I posted remarks on the art pieces shown. They are not for sale, but if inspired make your own version. More of my own artwork can be seen on www.ruudvankoningsbrugge.nl