Arduino Ws2812 LED or Neopixel Led Strip or Ring Tutorial
by electronicGURU in Circuits > Arduino
24621 Views, 23 Favorites, 0 Comments
Arduino Ws2812 LED or Neopixel Led Strip or Ring Tutorial
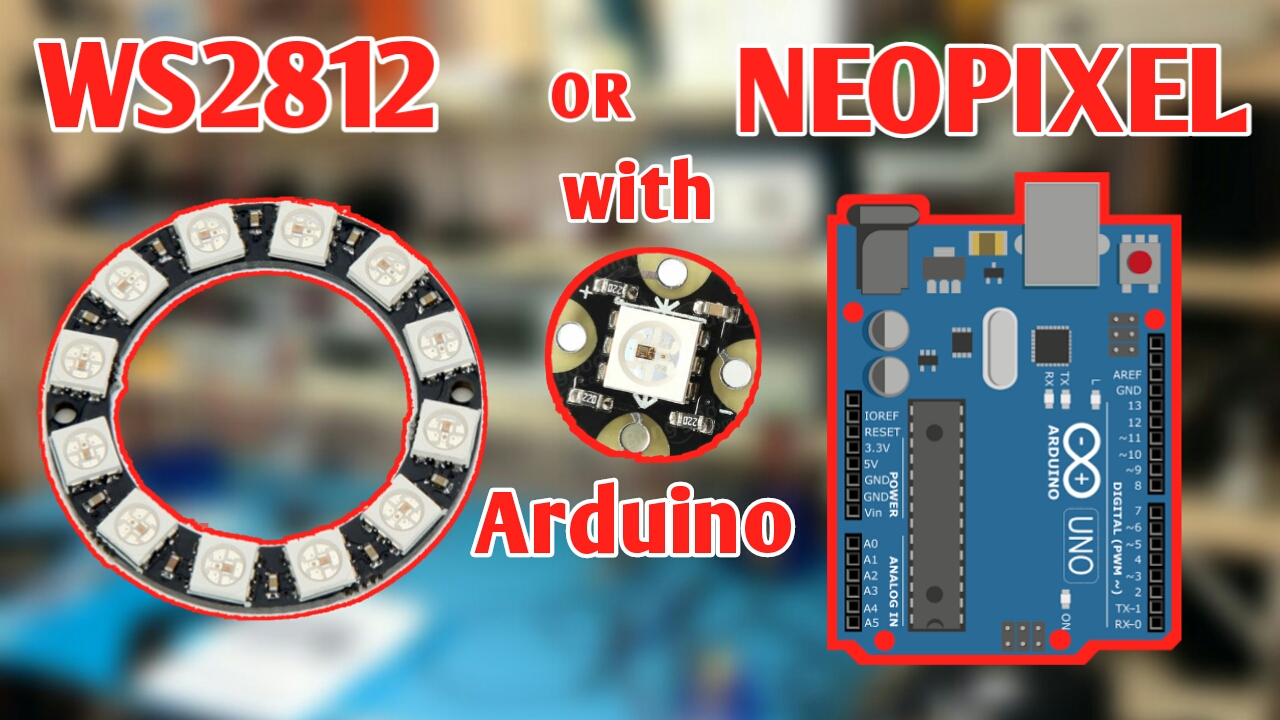
In this instructables we will learn how to use the neopixel or ws 2812 or fast led with Arduino.These types of LED or strip or ring are controlled by only one single Vin pin and all the LEDs are individually addressable so these are also called individual addressable LEDs and they are quite costly than normal RGB LED.
Gather Your Components
BUY PARTS:
BUY ARDUINO UNO:
https://www.utsource.net/itm/p/7199843.html
BUY WS2812 LED :
https://www.utsource.net/itm/p/8673712.html
BUY WS2812 LED Ring:
https://www.utsource.net/itm/p/8673715.html
////////////////////////////////////////////////////////////////////////
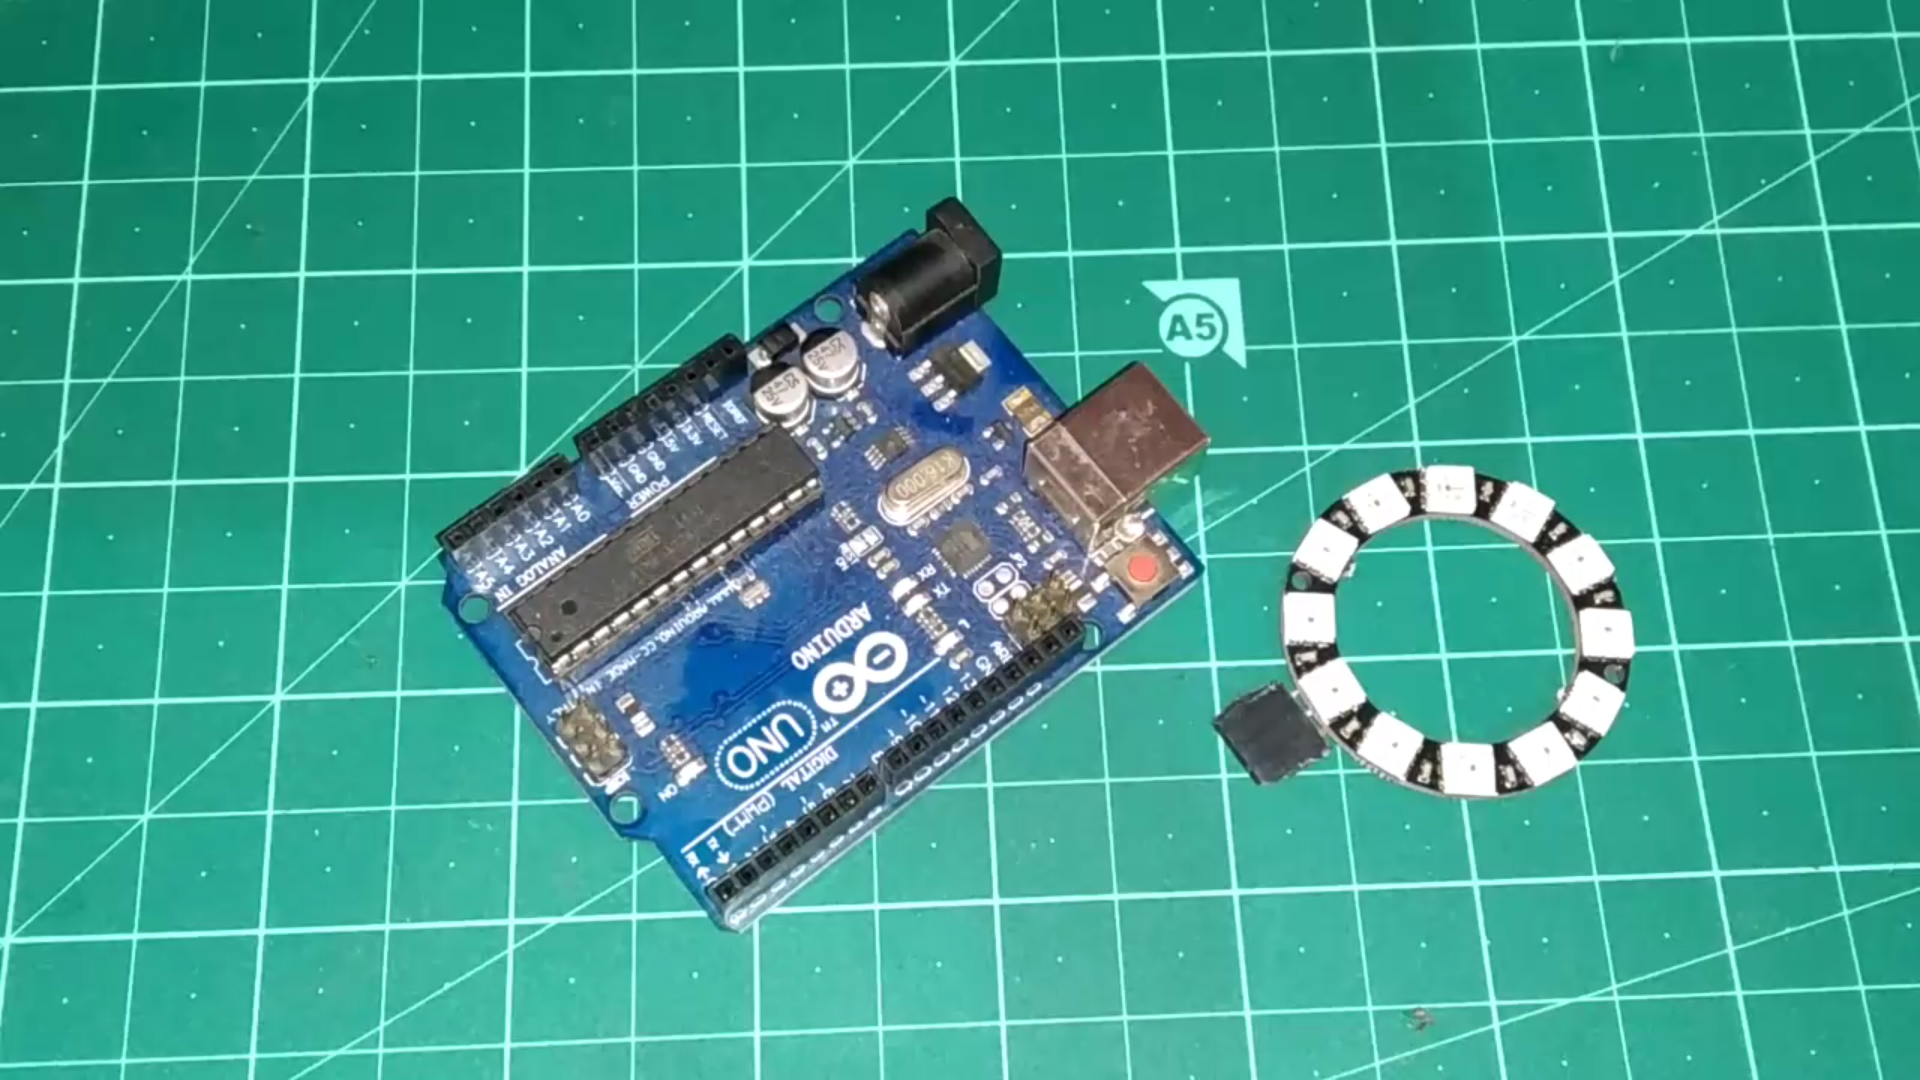
so very first you need to get two important components one of them is an arduino and other one is neopixel ws2812 LEDs / led strip or ring.
Items to Buy (affiliate link) -
Arduino Uno-
https://www.banggood.com/UNO-R3-ATmega16U2-AVR-Mod...
Ws2812 neopixel (12 bit) ring -
https://www.banggood.com/3Pcs-CJMCU-12-Bit-WS2812-...
https://www.banggood.com/CJMCU-12-Bit-WS2812-5050-...
Ws2812 neopixel (7bit) ring-
https://www.banggood.com/5Pcs-CJMCU-7-Bit-WS2812-5...
https://www.banggood.com/3Pcs-CJMCU-7-Bit-WS2812-5...
Ws2812 neopixel (3 bit) ring -
https://www.banggood.com/5pcs-CJMCU-3bit-WS2812-RG...
https://www.banggood.com/CJMCU-3bit-WS2812-RGB-LED...
Ws2812 neopixel led strip -
https://www.banggood.com/AUDEW-1M4M5M-RGB-SMD5050-...
https://www.banggood.com/4-PCS-WS2812-5V-Taillight...
https://www.banggood.com/0_5M1M2M3M4M5M-DC5V-USB-R...
Connections
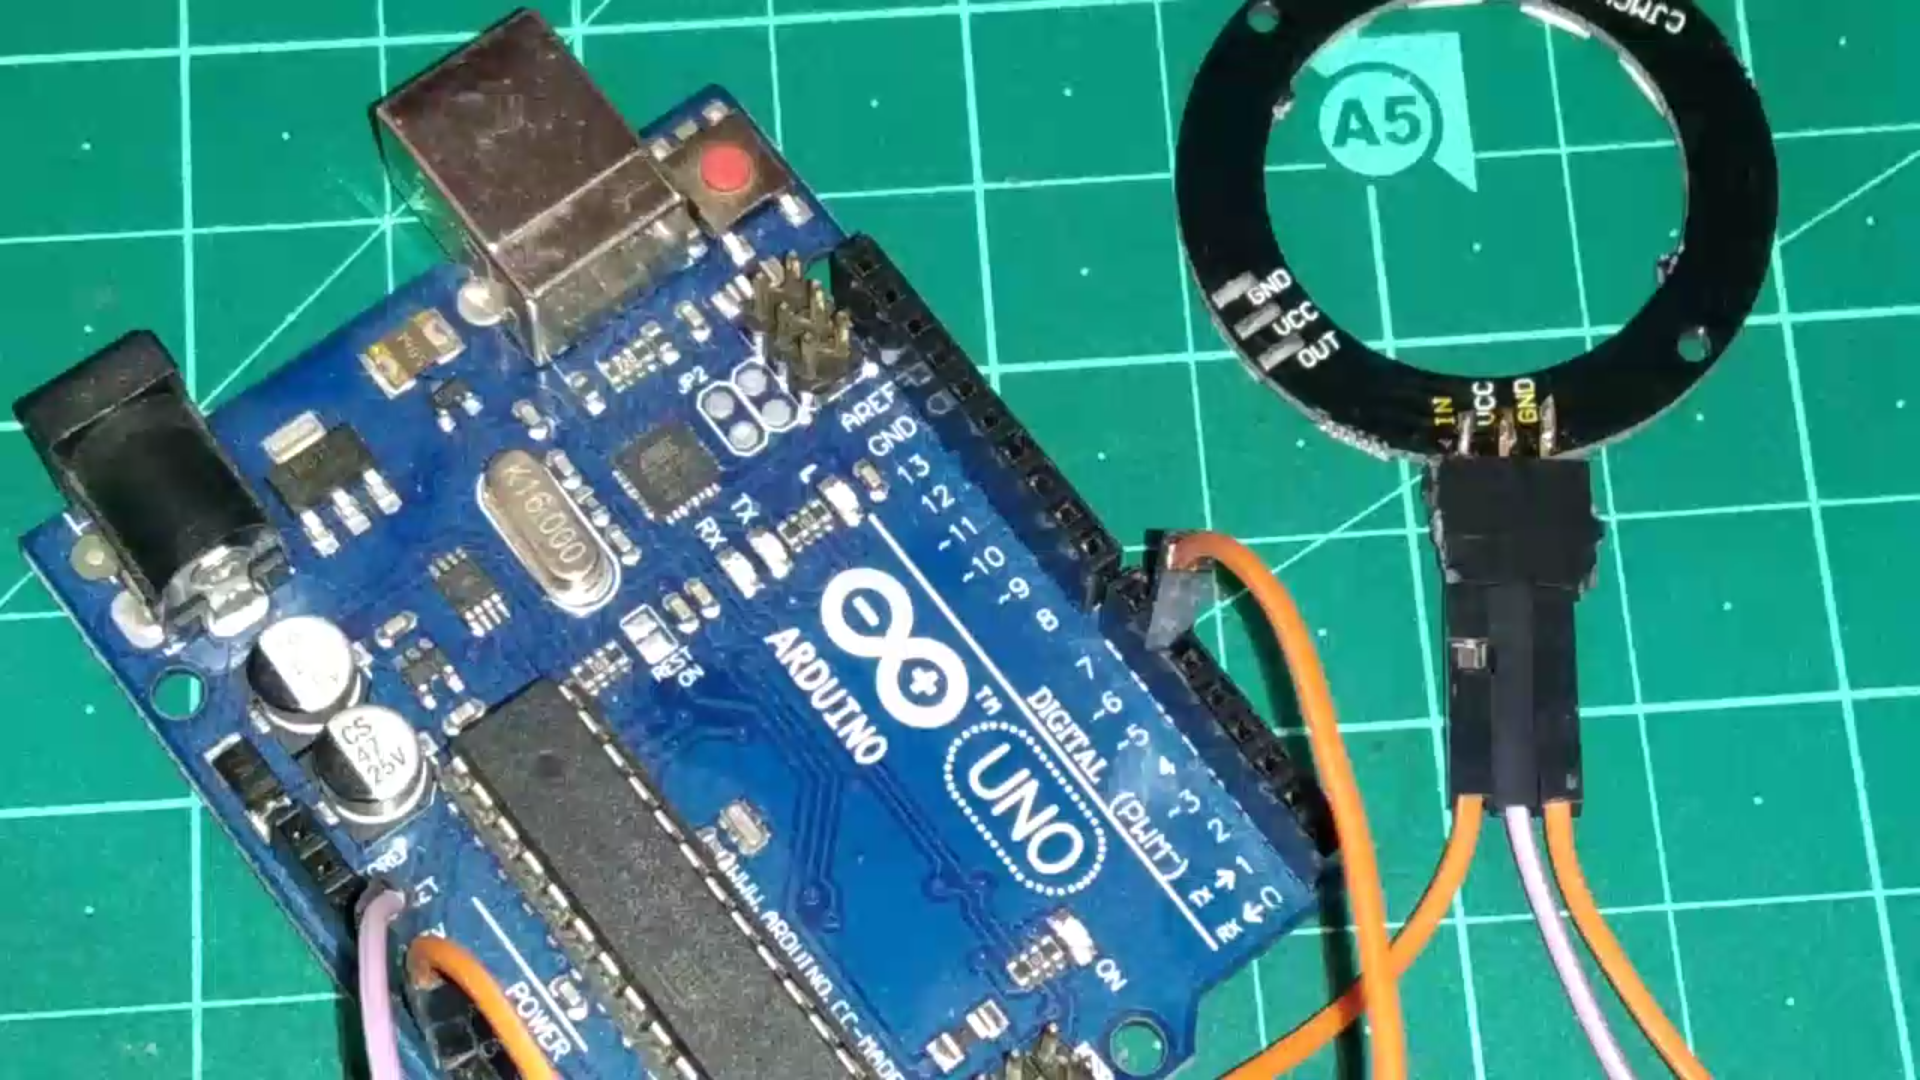
the connections are very simple.all you need to do is to connect vcc of neopixel to the +5v & Gnd of neopixel to the Gnd & the Vin pin of the neopixel to any digital pin ( i am connecting it to pin 6 because we will define the pin 6 in the software.).
IIf having issue in connections then refer video for help.
Programming
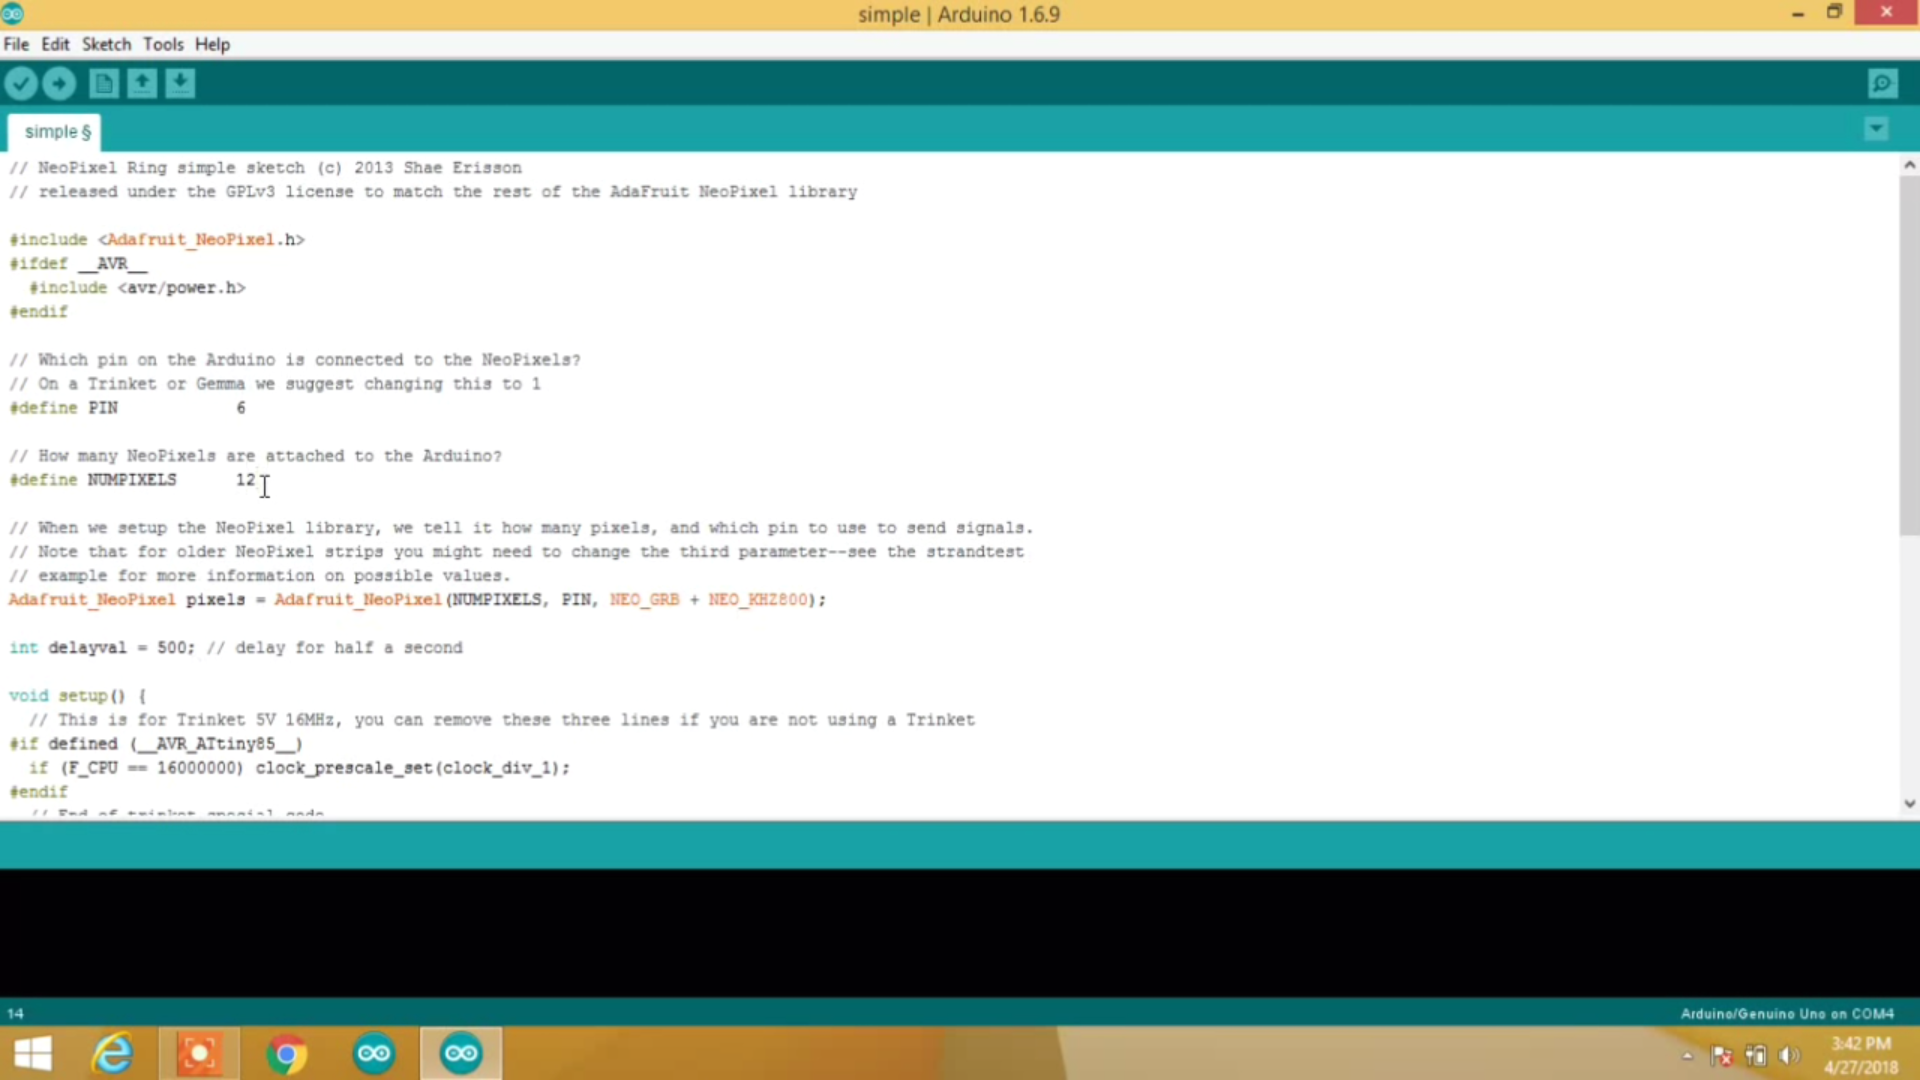
Open Arduino IDE then go to examples & go to "neopixel" then open "simple" sketch.
In the sketch you need to set two things first
1- define PIN 6 (You need to define the pin no of arduino on which Vin pin of neopixel is connected, we are using PIN 6 here)
2- define NUMPIXELS 12 (you need to define no of pixels your neopixel have which means no of LED on it , we have 12 LEDs on our neopixel so we'll use 12)
And in the loop section there is one command is used to set the color of neopixel
pixels.setPixelsColor(i,pixels.Color(r,g,b));
Where "i" is the number of pixel or led you want to turn ON in any color
& "r" "g" "b" are shades of color which are RED , GREEN,BLUE & their value range is 0 to 255.
So here we are using
pixels.setPixelsColor(0,pixels.Color(0,0,255);
This means that the first pixel is set for blue color.
Upload the Code
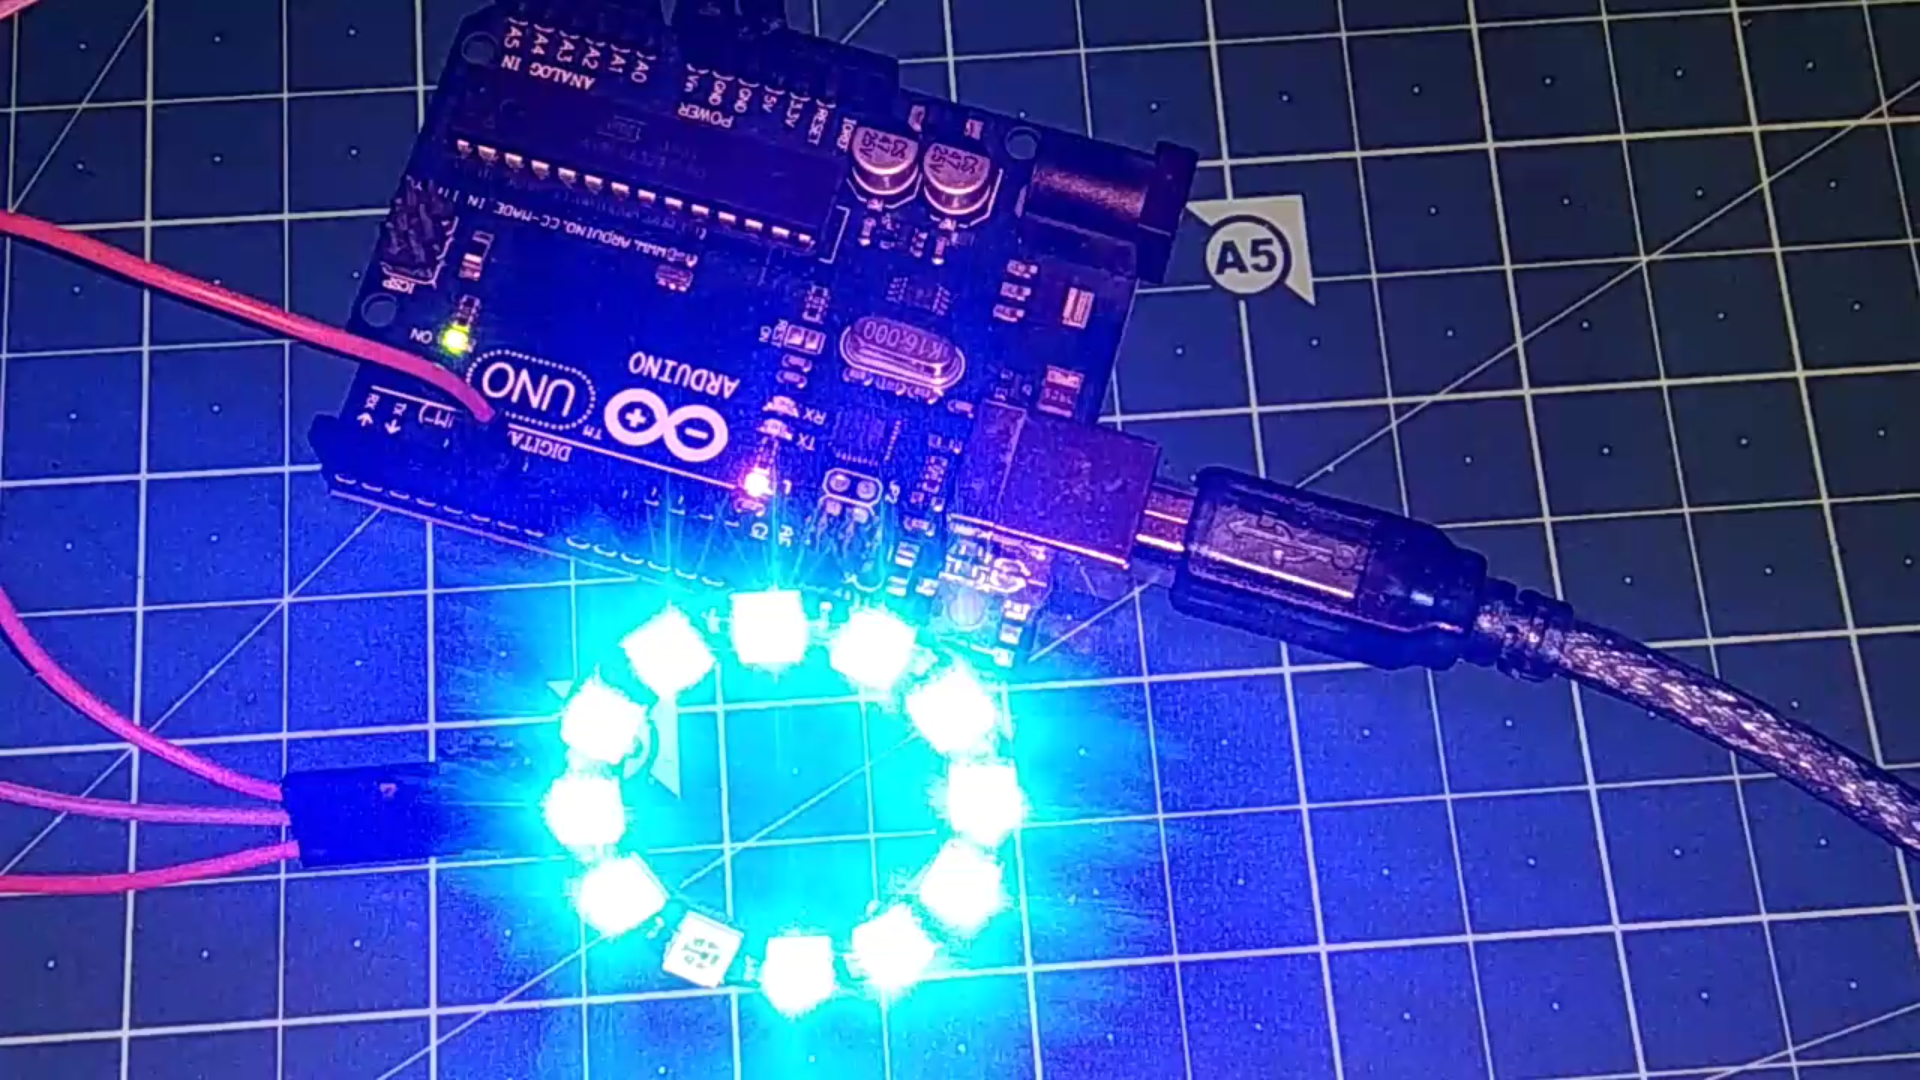
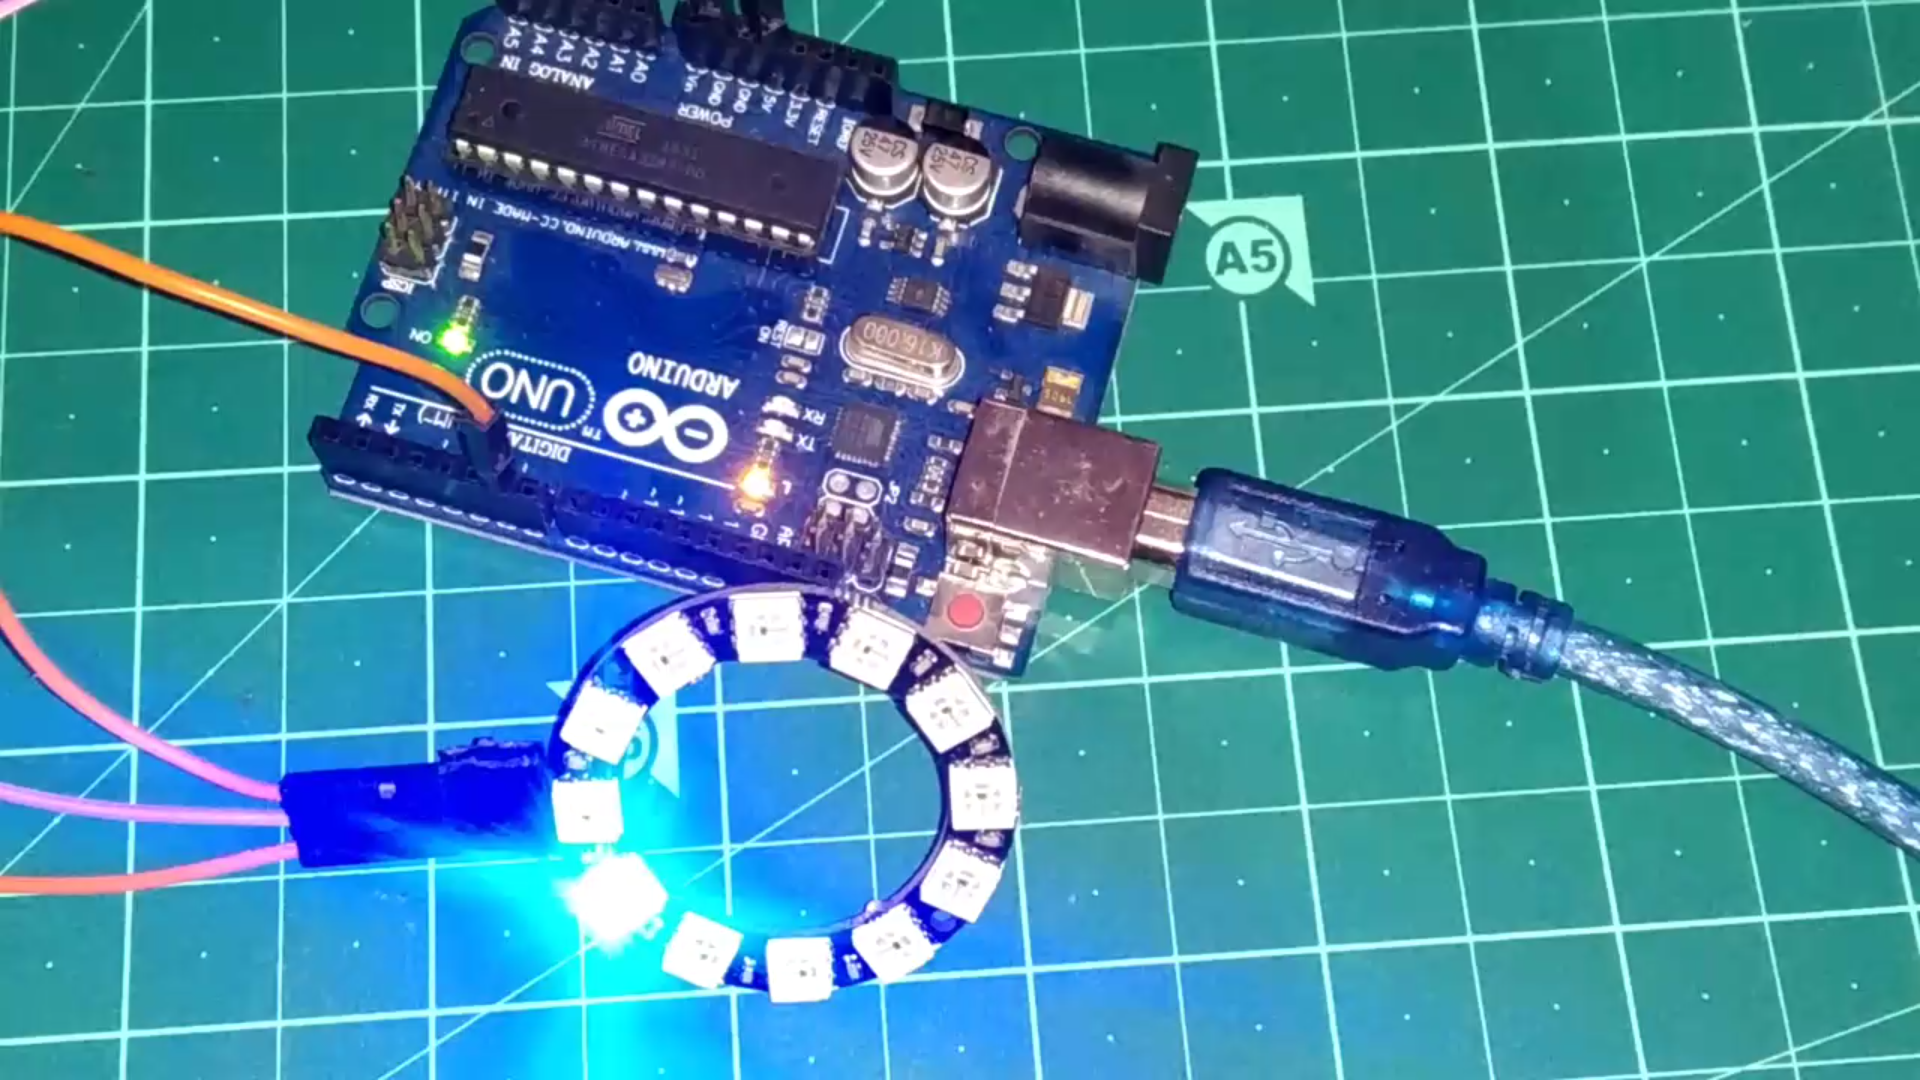
The final step is upload the code to Arduino & you are done & if you did everything correct then neopixel will turn on according to the logic you gave .
And if have any issue with any step please refer for video.
EEnjoy your neopixel.