Arduino Web Weather Server
by Komal Manoj Thakur in Circuits > Arduino
5127 Views, 25 Favorites, 0 Comments
Arduino Web Weather Server
For more interesting stuff visit Steps2Make.com
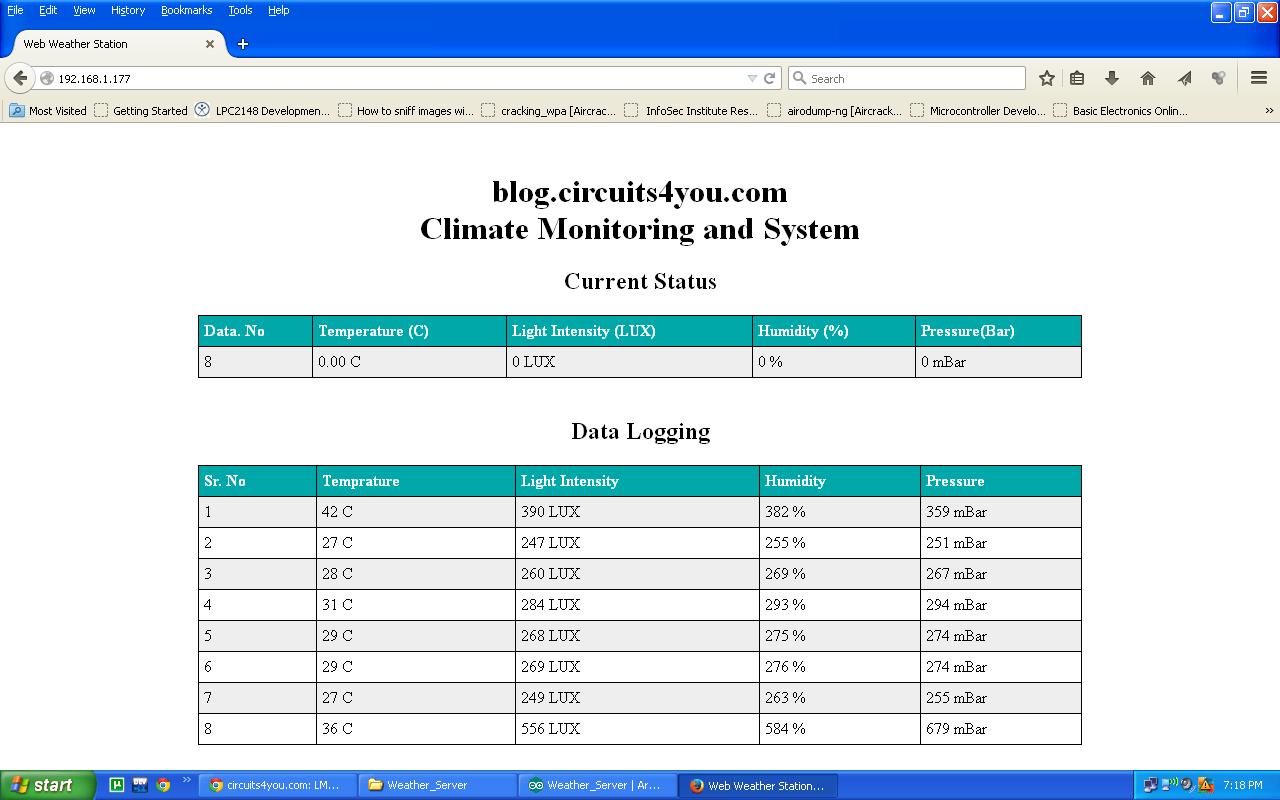
Aim of this instructable to Get know How to use Ethernet shield for various applications, This is one of the application, In this we measure Temperature, Humidity, Light Intensity, Pressure.
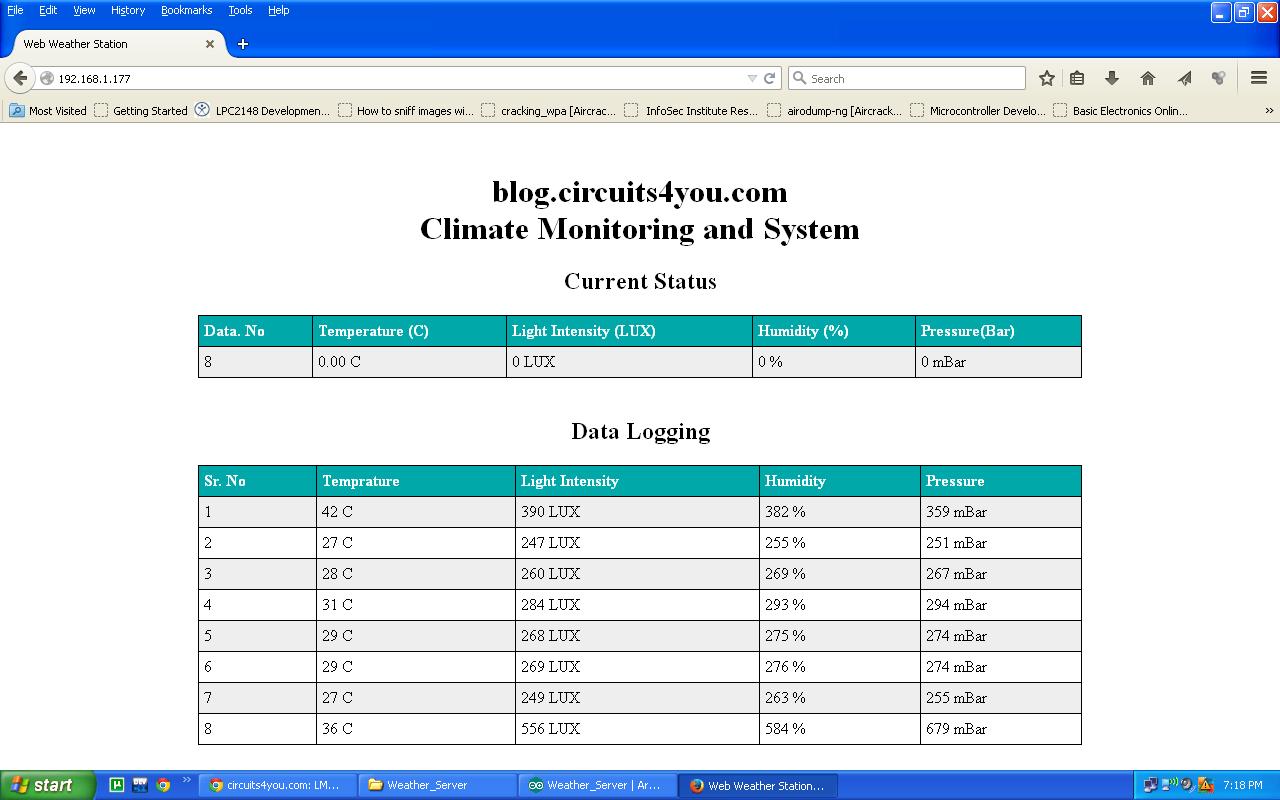
It displays current status and logs the last 20 reading and continuously updates at every 5 Sec on web browser.
Components Required
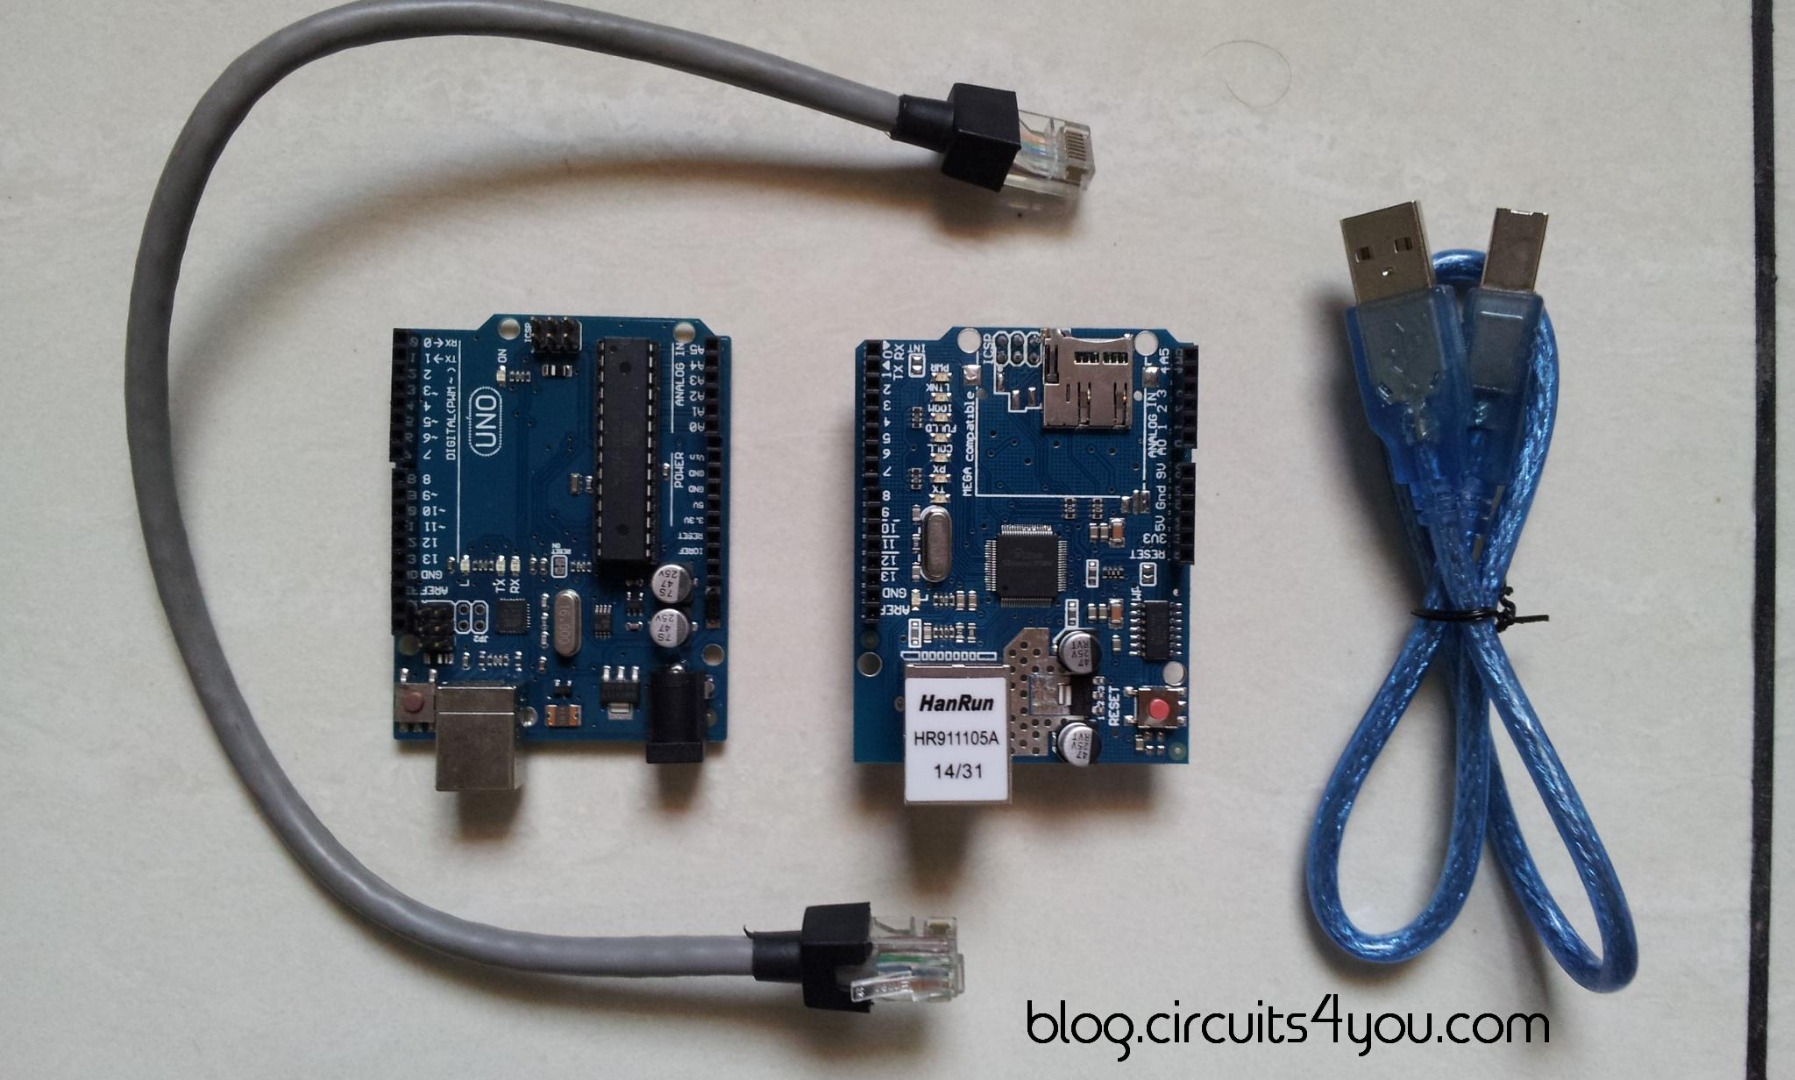
1. Ethernet Shield
2. LM35 Temeperature Sensor
3. LDR
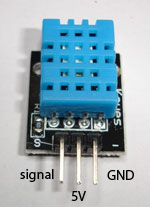
4. Humidity Sensor
5. Pressure Sensor
Click here Refer Arduino Tutorials for Web server Design and Sensor Interfacing details
Make Connections
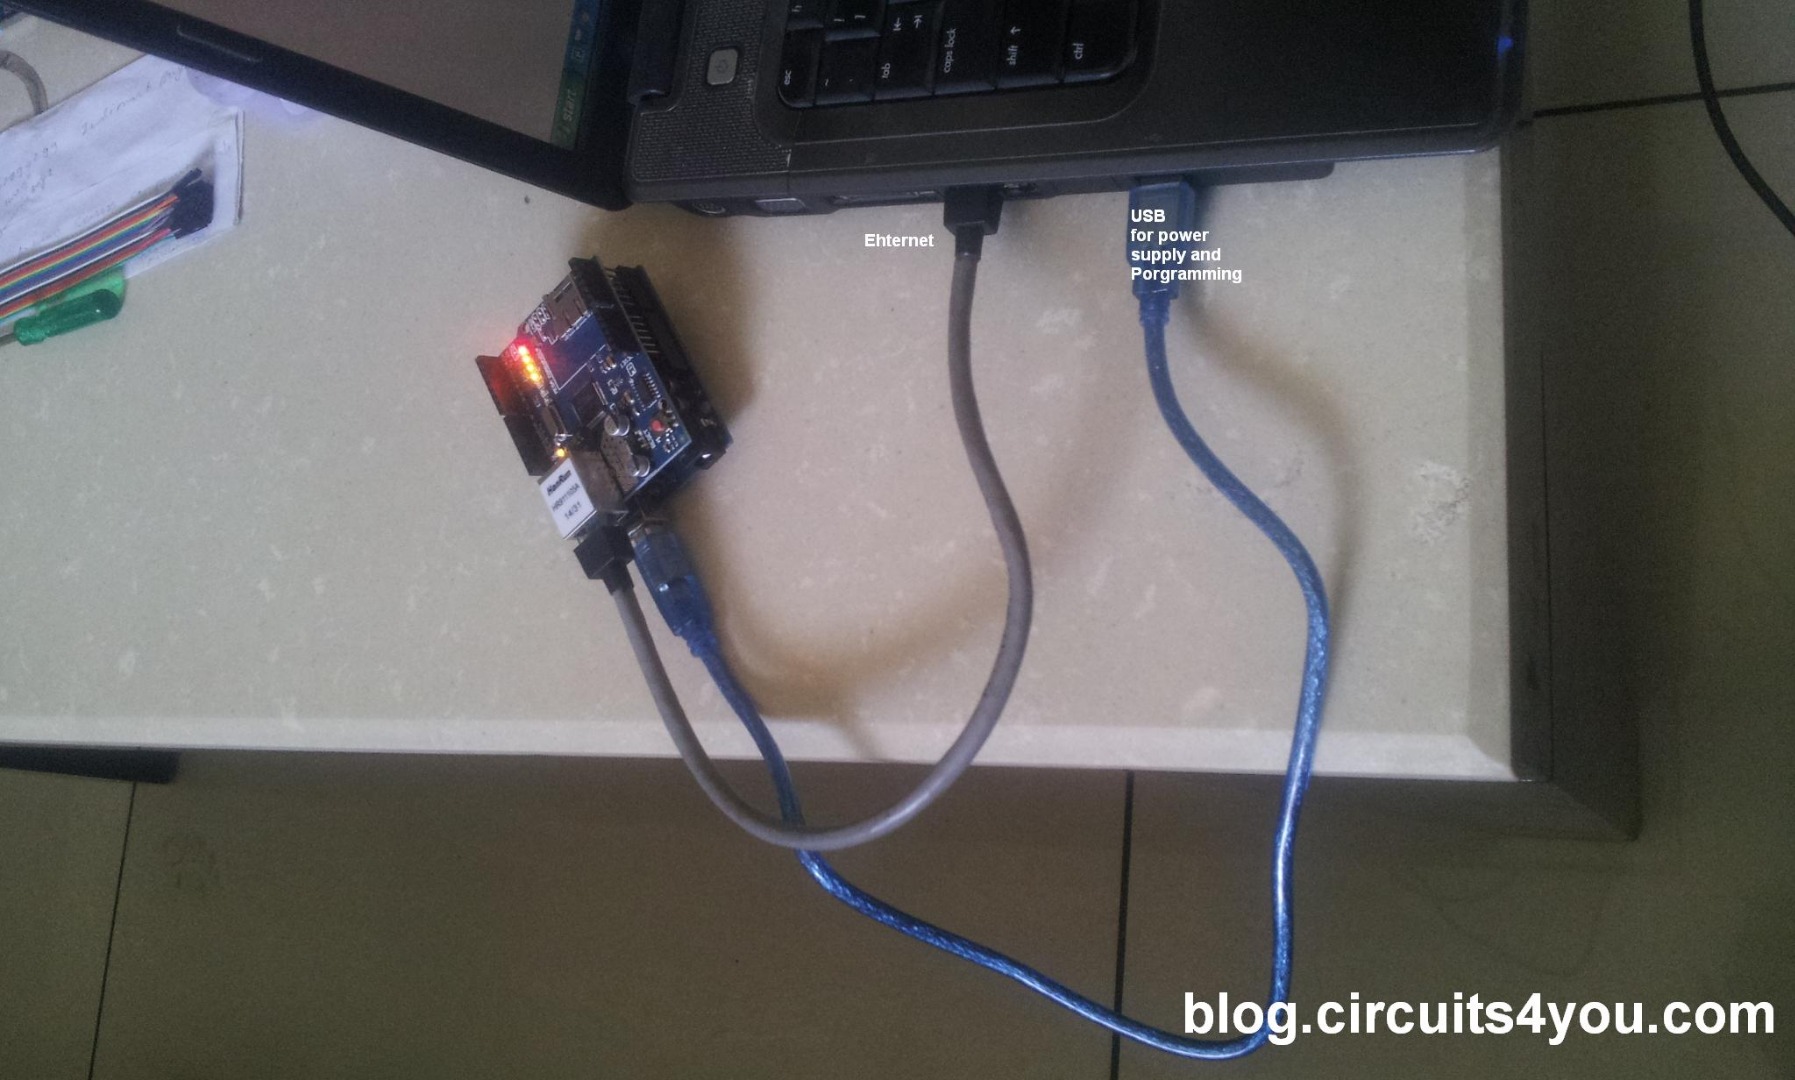
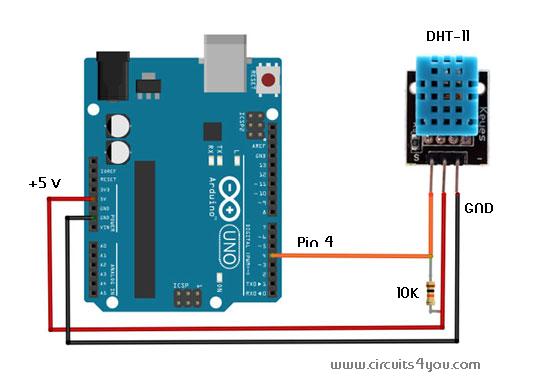
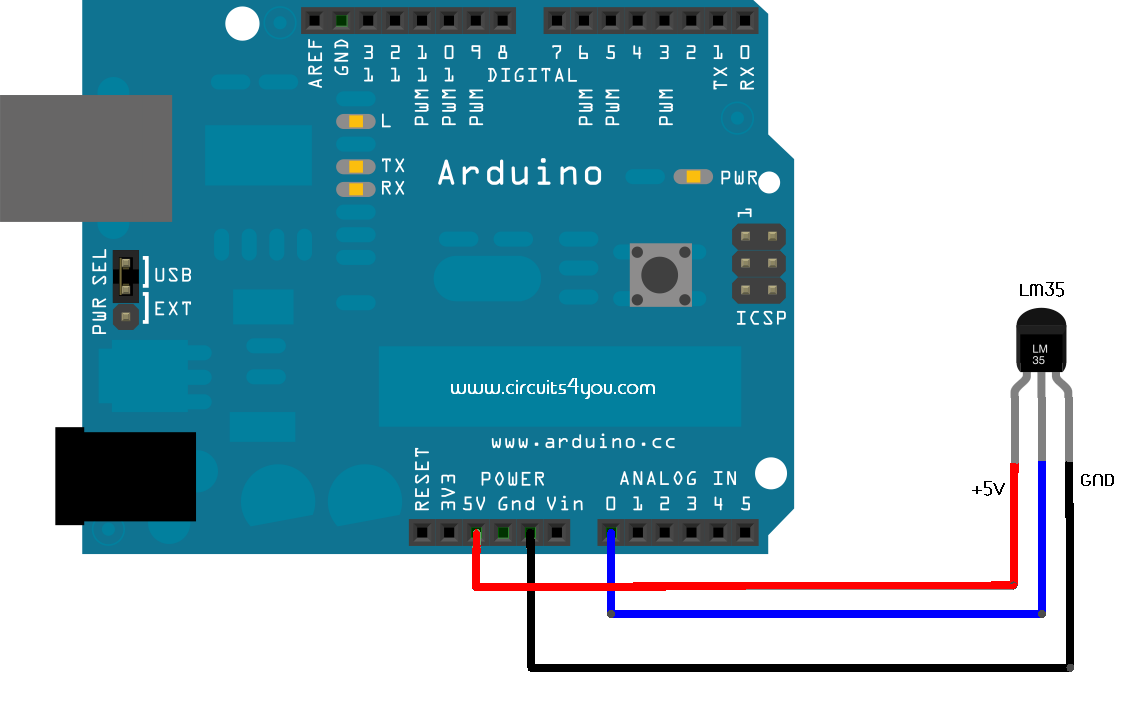
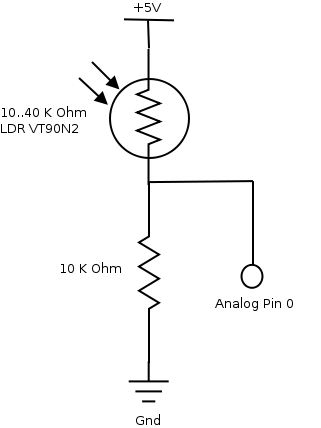
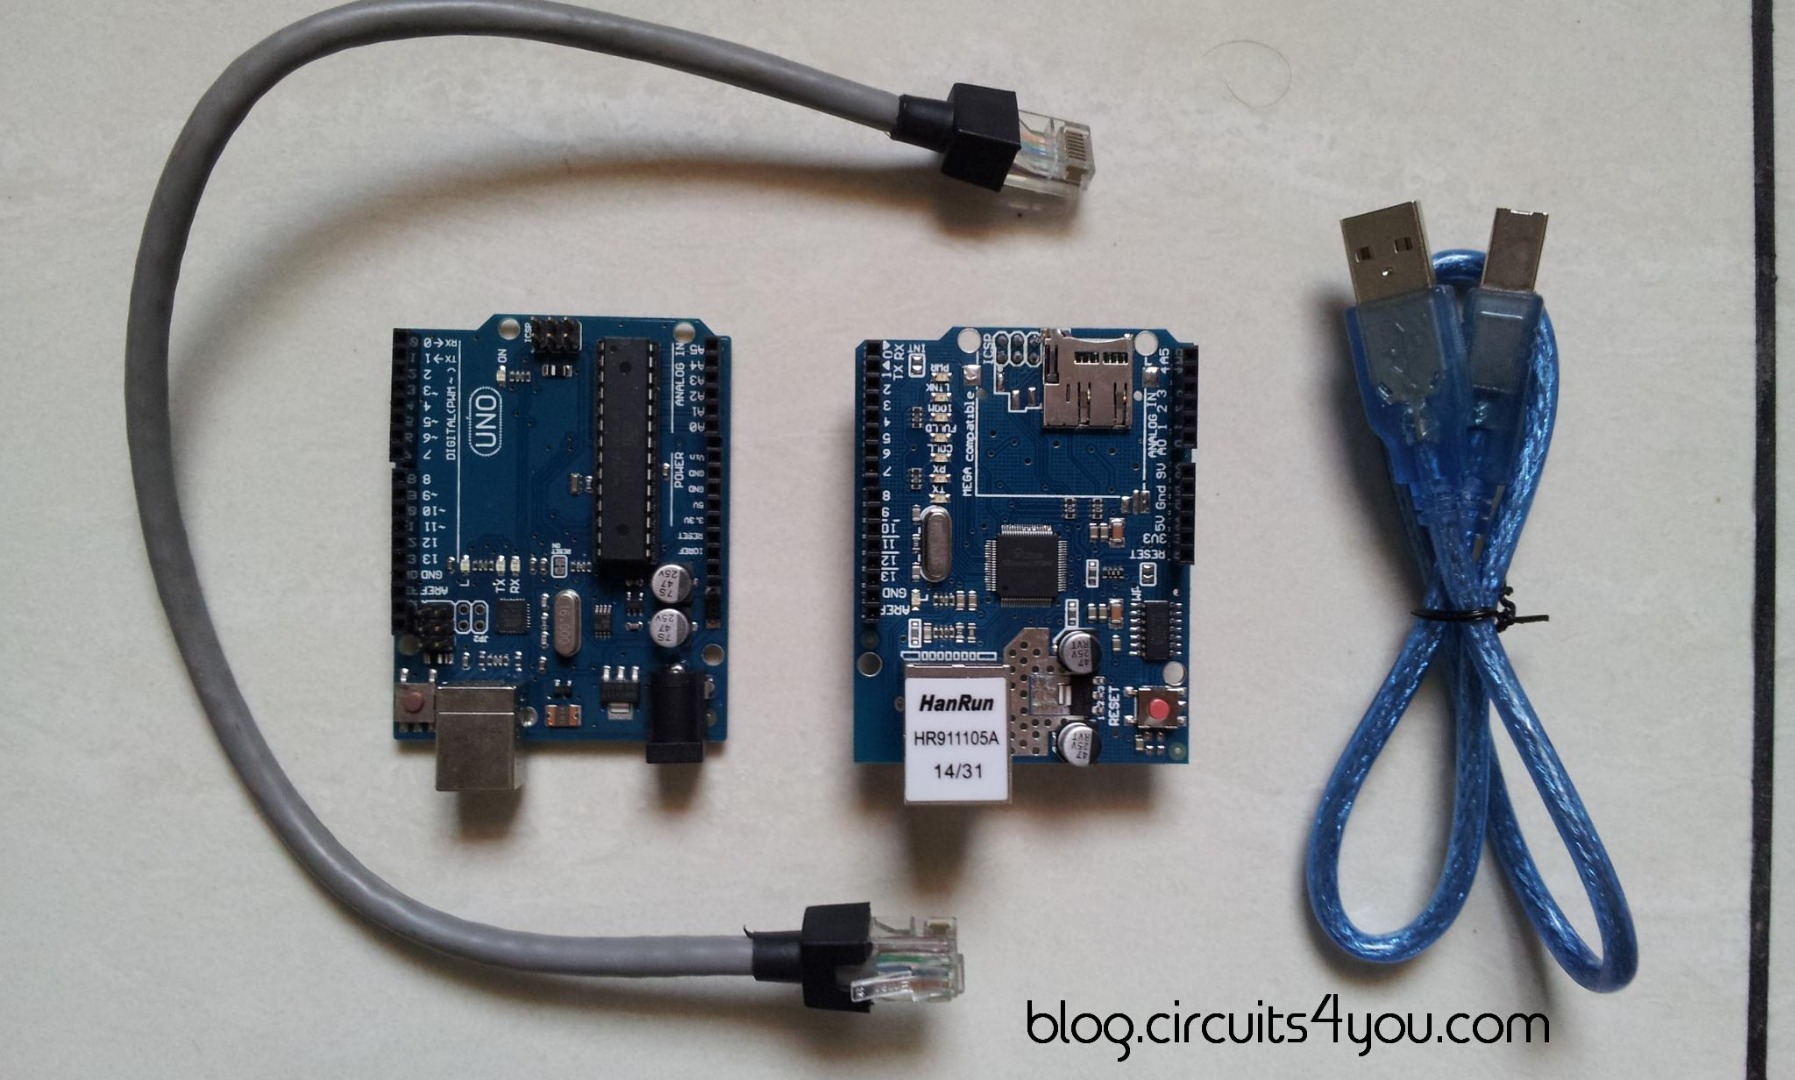
- Connect Ethernet cable as shown
- Connect USB cable
- Just plug the Ethernet shield and Sensors on Analog input, Do some calibration...That's it...
Program Your Arduino
Configure Your Computer Network Settings
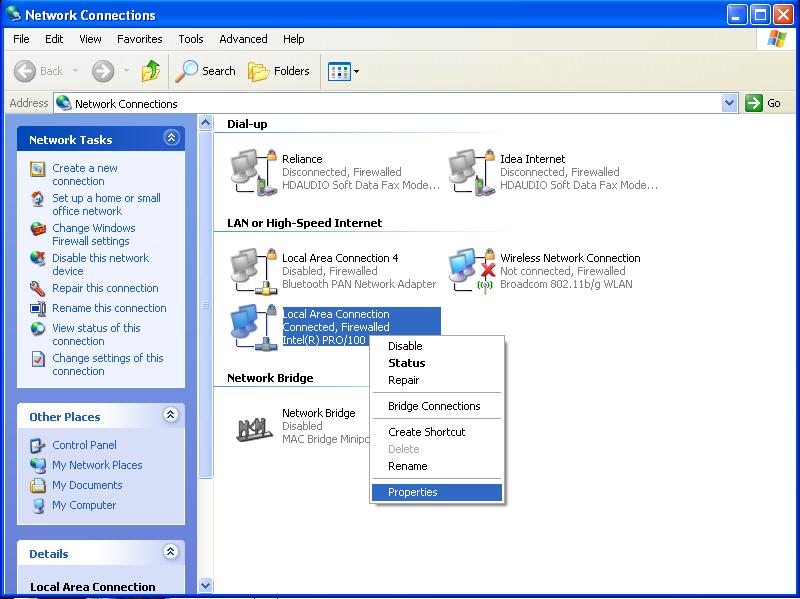
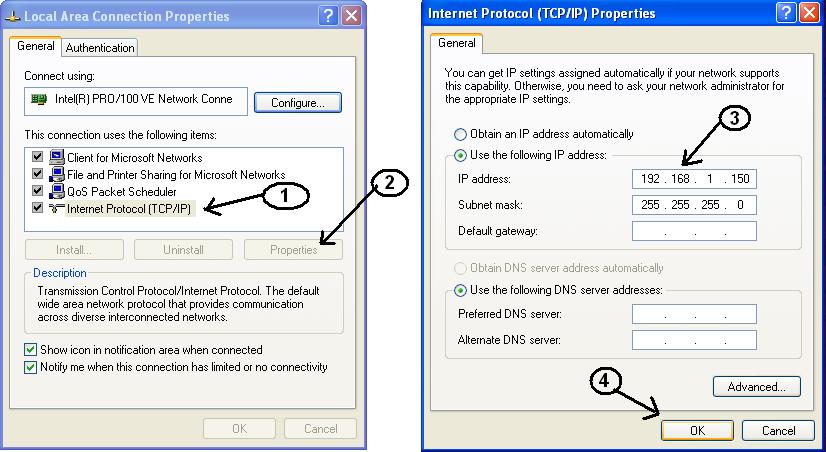
1. Open network settings from control panel or View Network Connection
2. Right Click on your Local area connection
3. Click on properties
4. Select "Internet Protocol (TCP/IP)
5. Click "Properties"
6. Set the "IP" and "Subnet Mask" as Shown
7. Open the web browser and enter IP: 192.168.1.177 Hit enter
You Did it...
Check out my blog for more interesting things blog.circuits4you.com