Arduino Wake Light
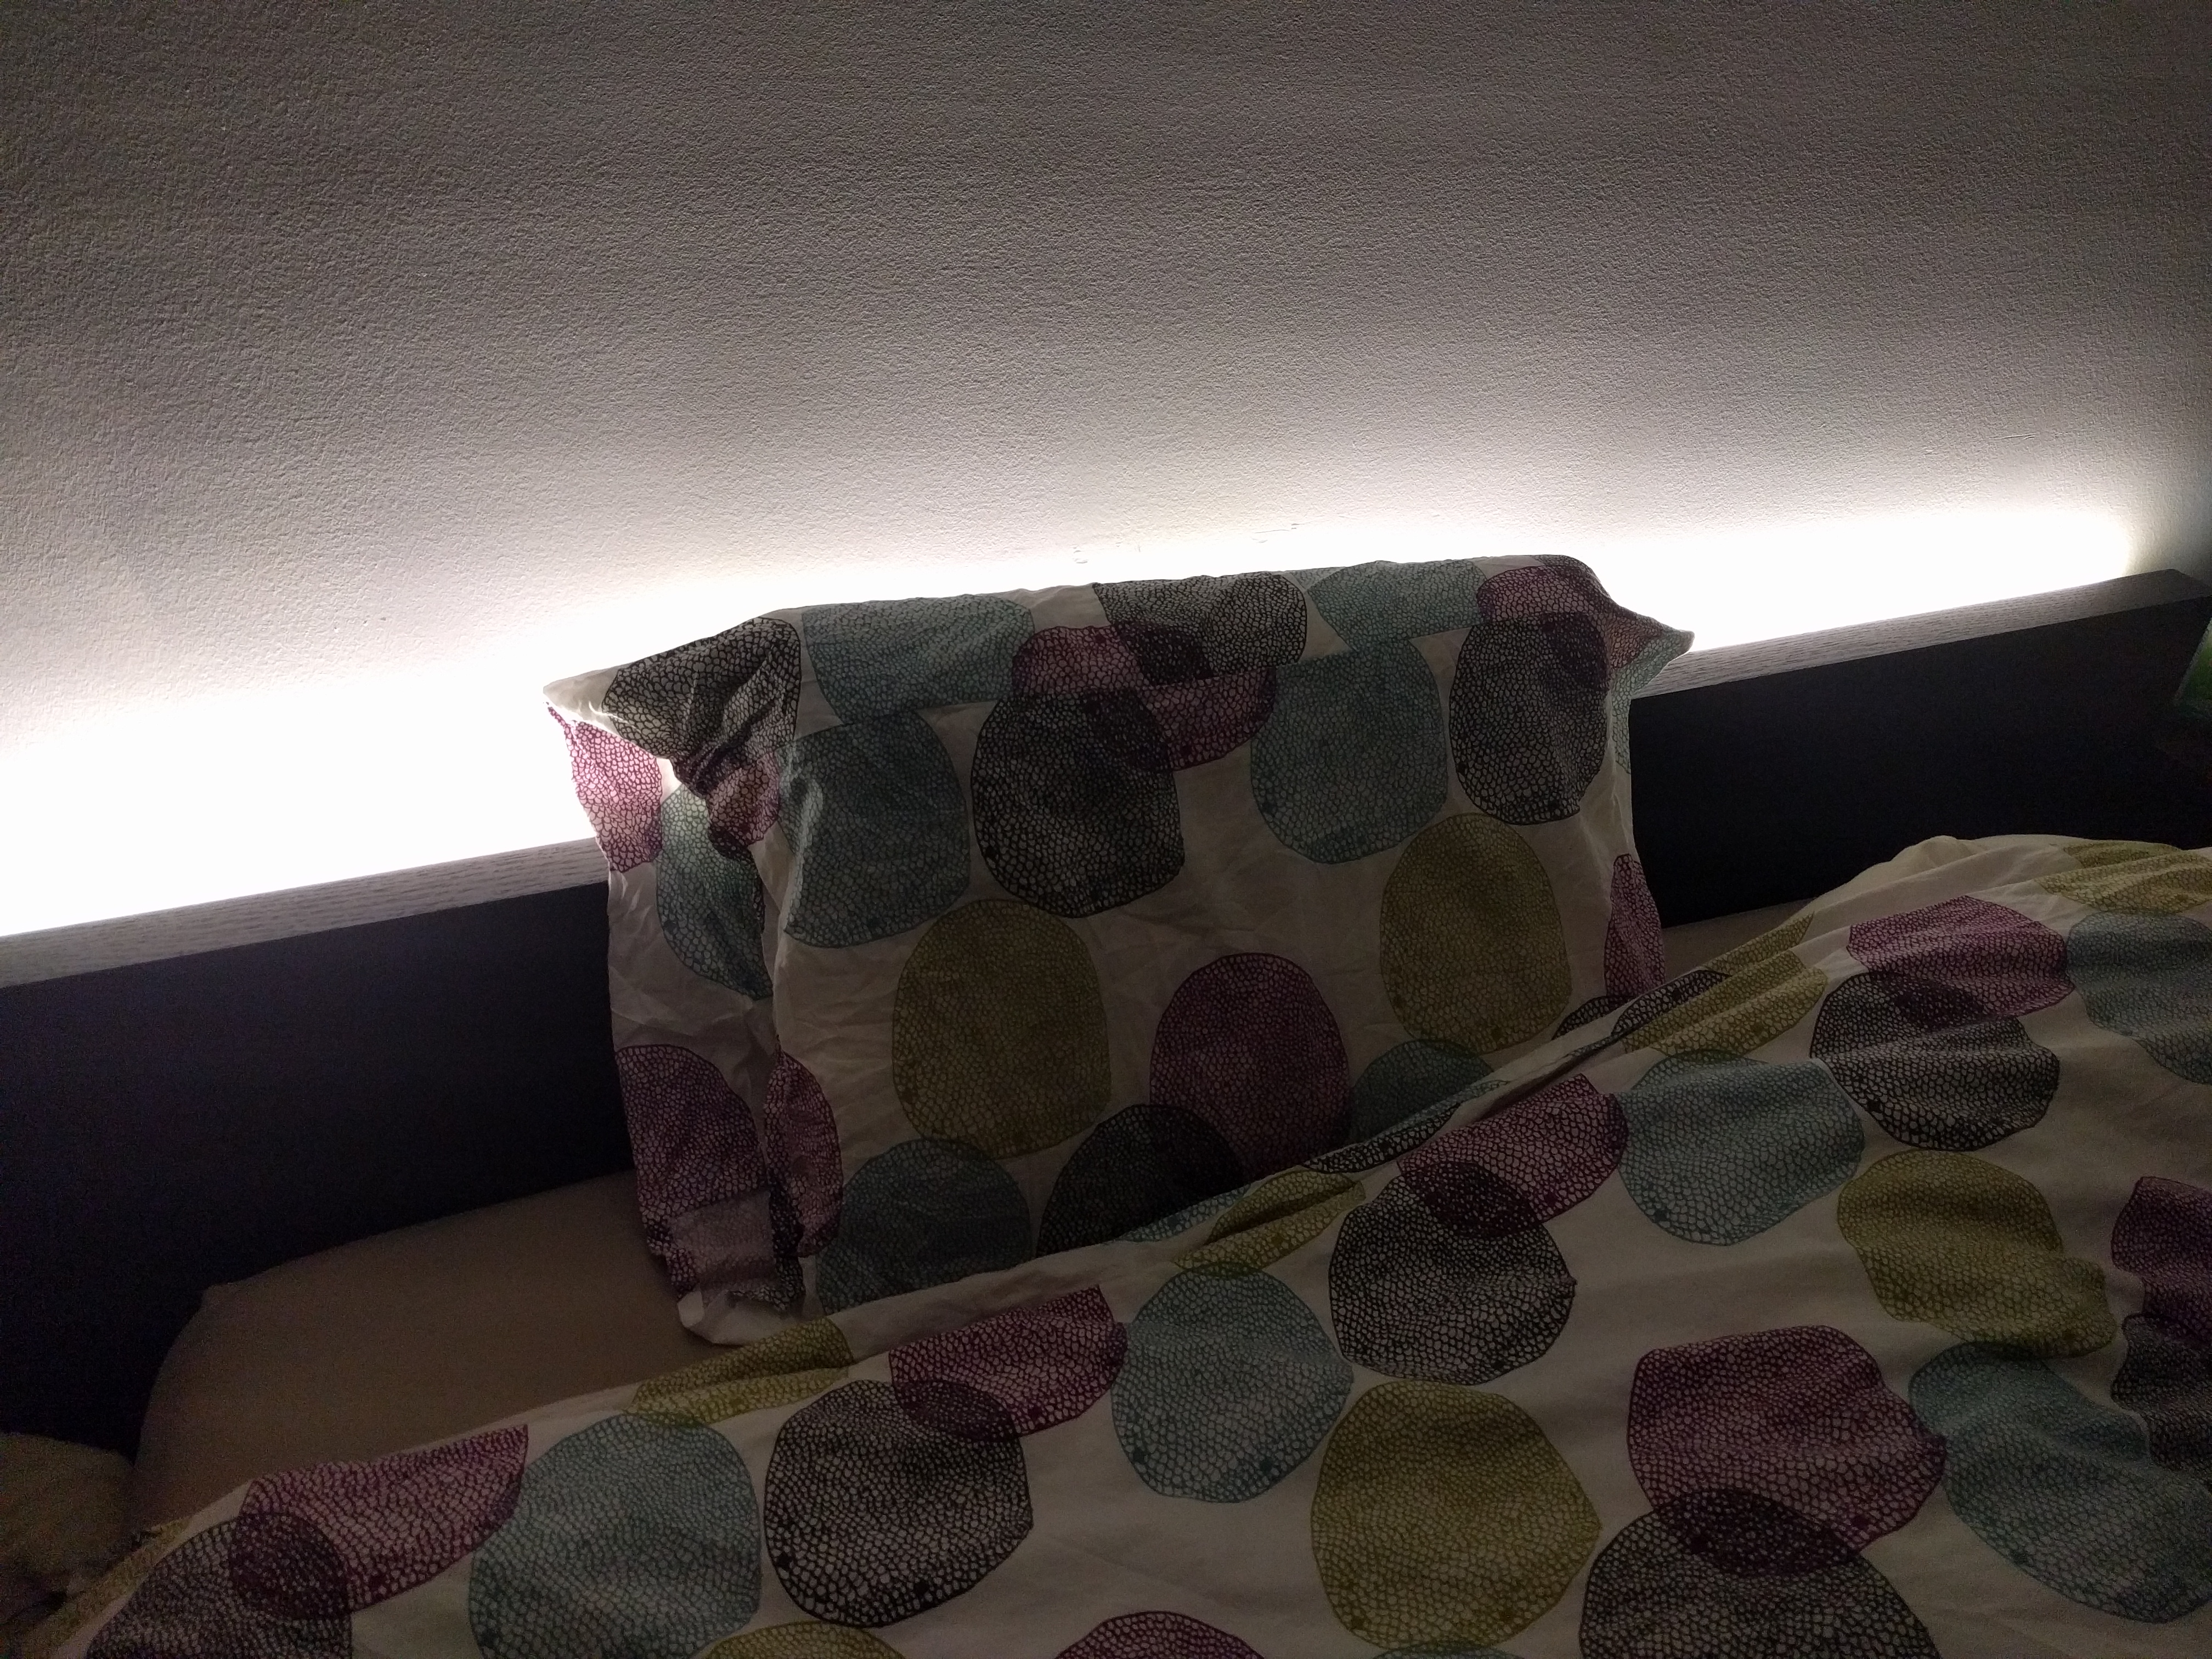
I always liked the idea of the Philips Wake Light alarm clock (https://www.amazon.ca/Philips-HF3520-Wake-Up-Colou...) but didn't want to spend $200 to find out if it worked (plus I wanted to also use it as a proper light source during the night) So I thought of making an Arduino-controlled LED strip light at the back of the bed to use as a gentle light alarm as well as a permanent light source for reading at night etc.
Gather Your Parts
For this instructable you will need:
- Arduino Nano Atmega 328
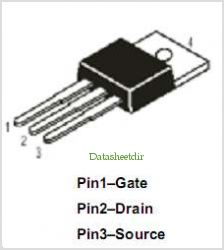
- n-channel low-power Mosfet (I used IRFZ44N)
- 12V warm light LED strip (I bought this one: https://www.amazon.ca/gp/product/B01FHCD3GS/ref=o...
- some way of mounting the LED strips to the back of the bed (I used a 2x4 wood board running the length of the headboard)
- RTC unit DS3231 (I got this one: https://www.amazon.ca/gp/product/B01ESQDRJM/ref=o...
- momentary switch(es) to turn the light on and off
- some connectors and a box to put everything in
Prepare the LED Light
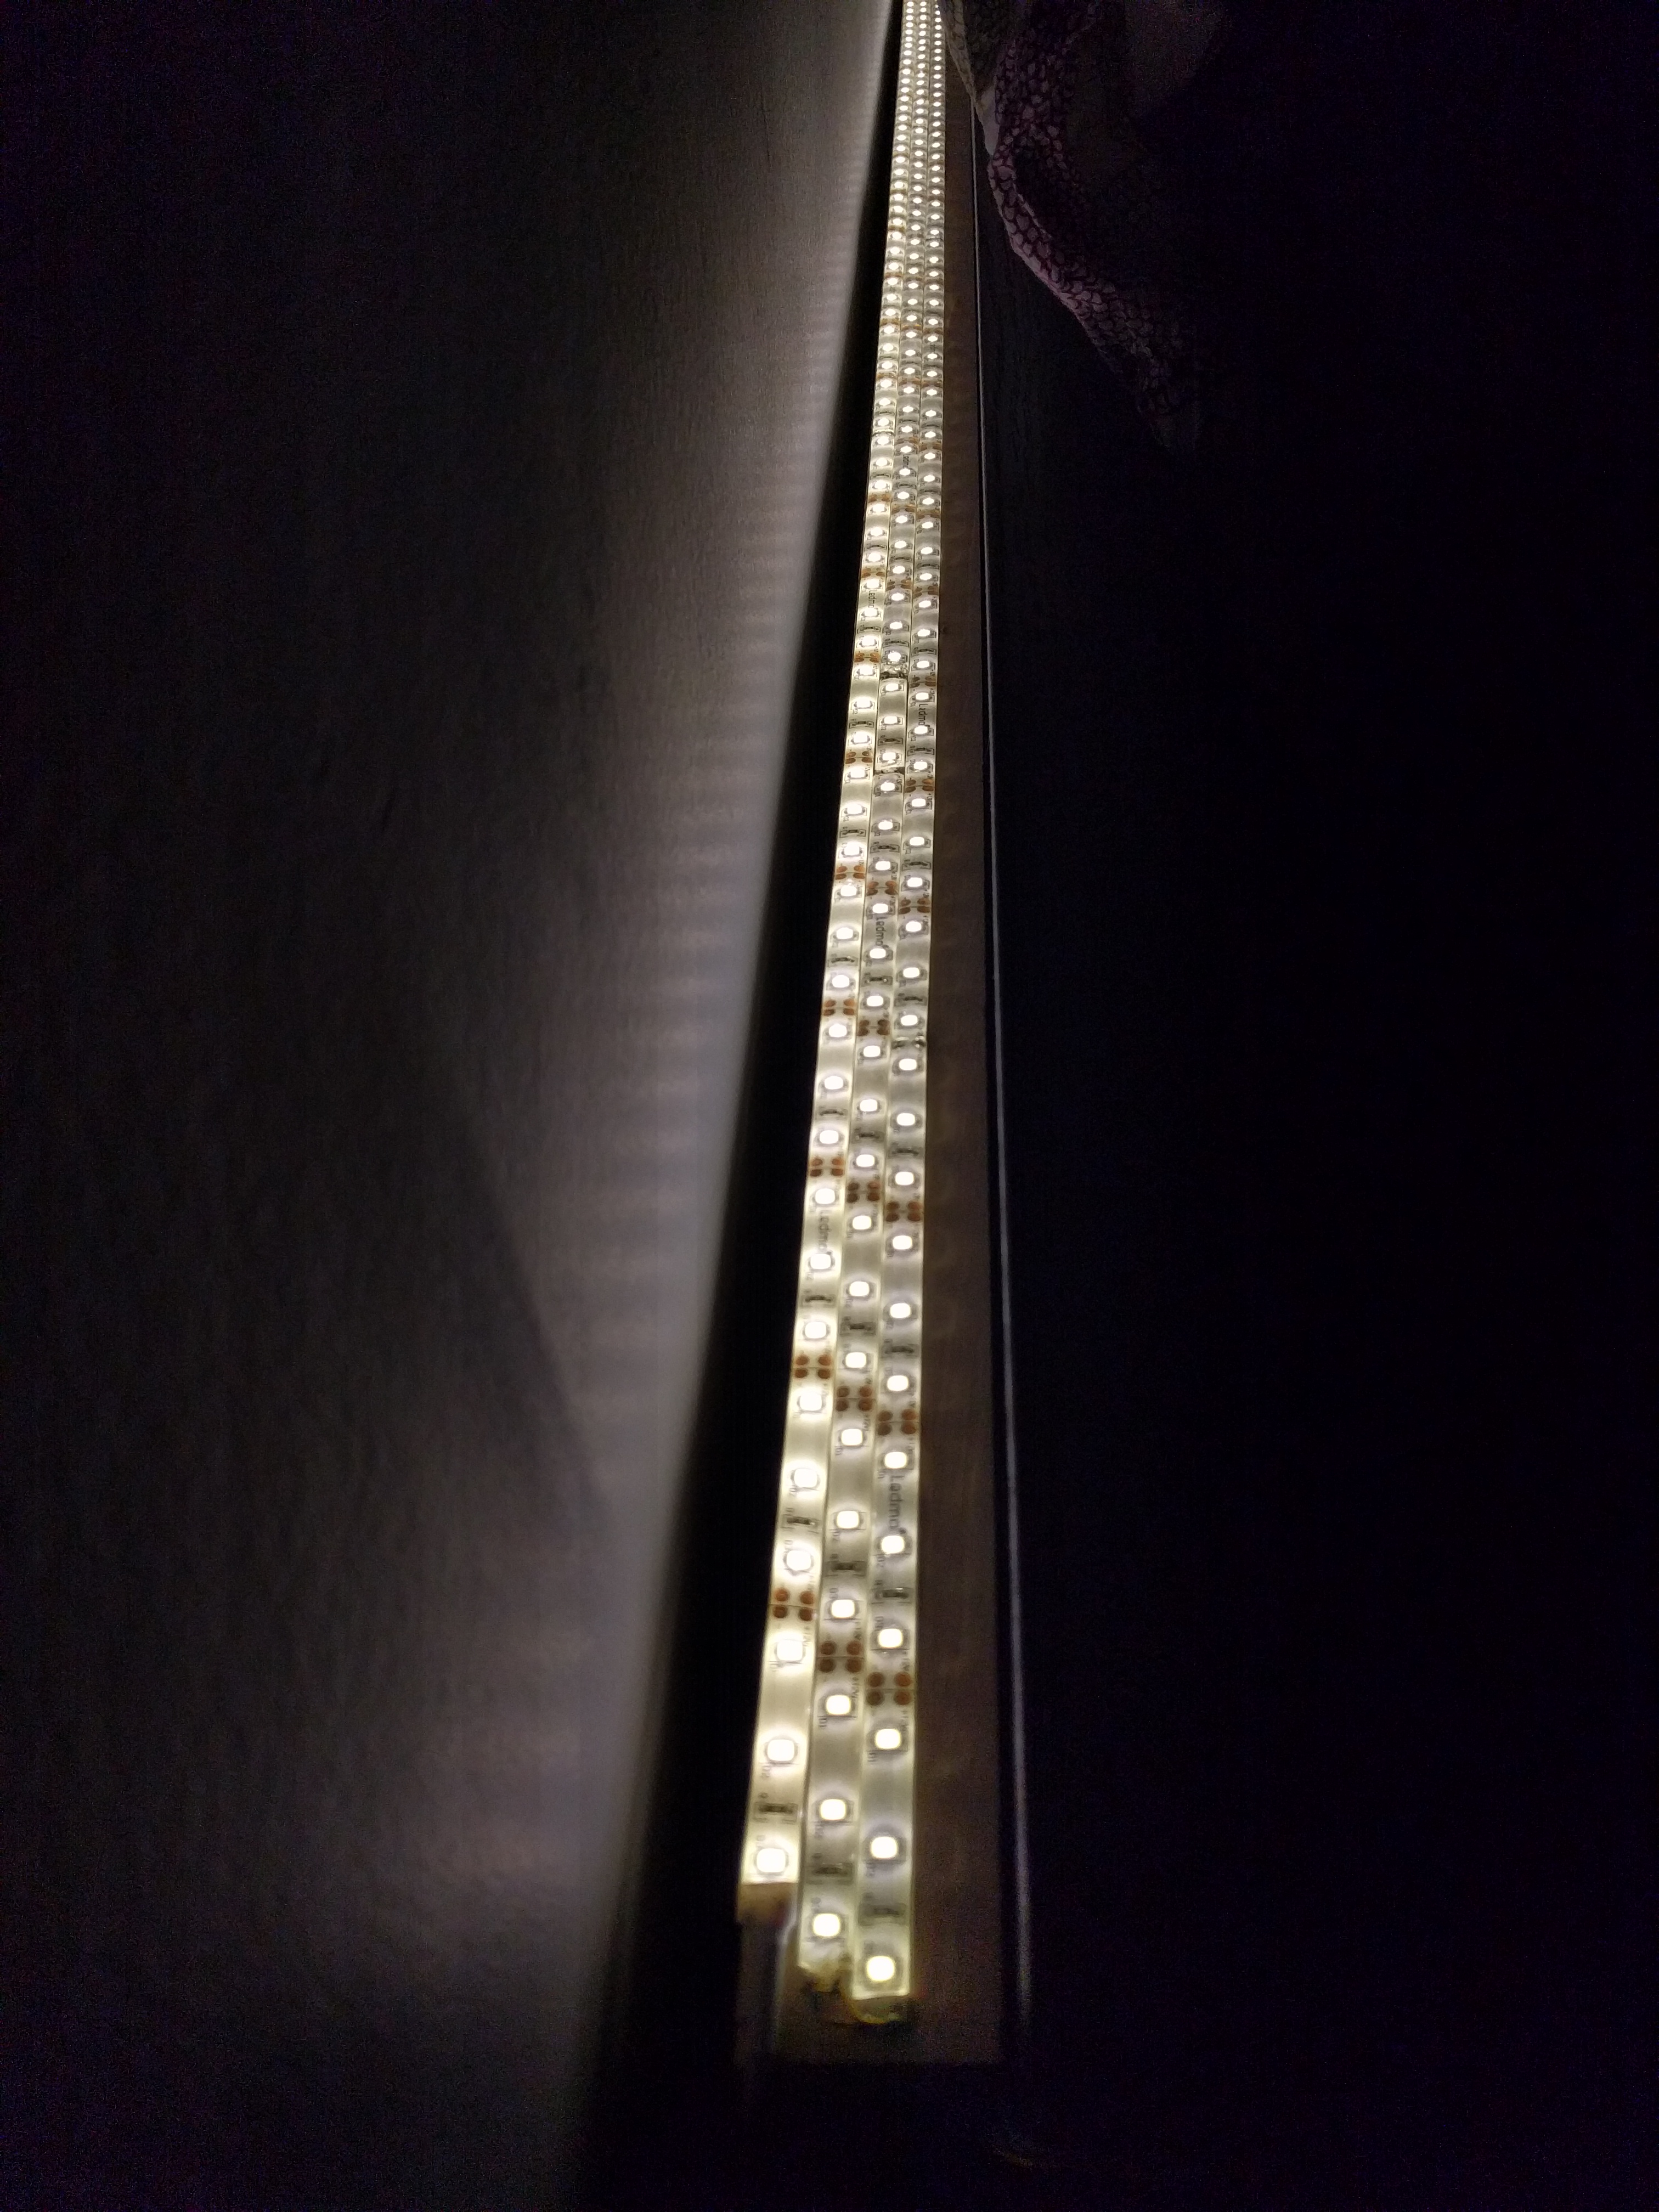
As I mentioned I used a piece of wood mounted with brackets to the back of the headboard (about half a foot down from the top) and on top of it (I soldered together 3 rows of LED strips. Make sure to connect them in series, 12V solder joints together and GND joints together to avoid a short. Leave enough room in the cabling to reach the control box where you want it.
Wire the Switches
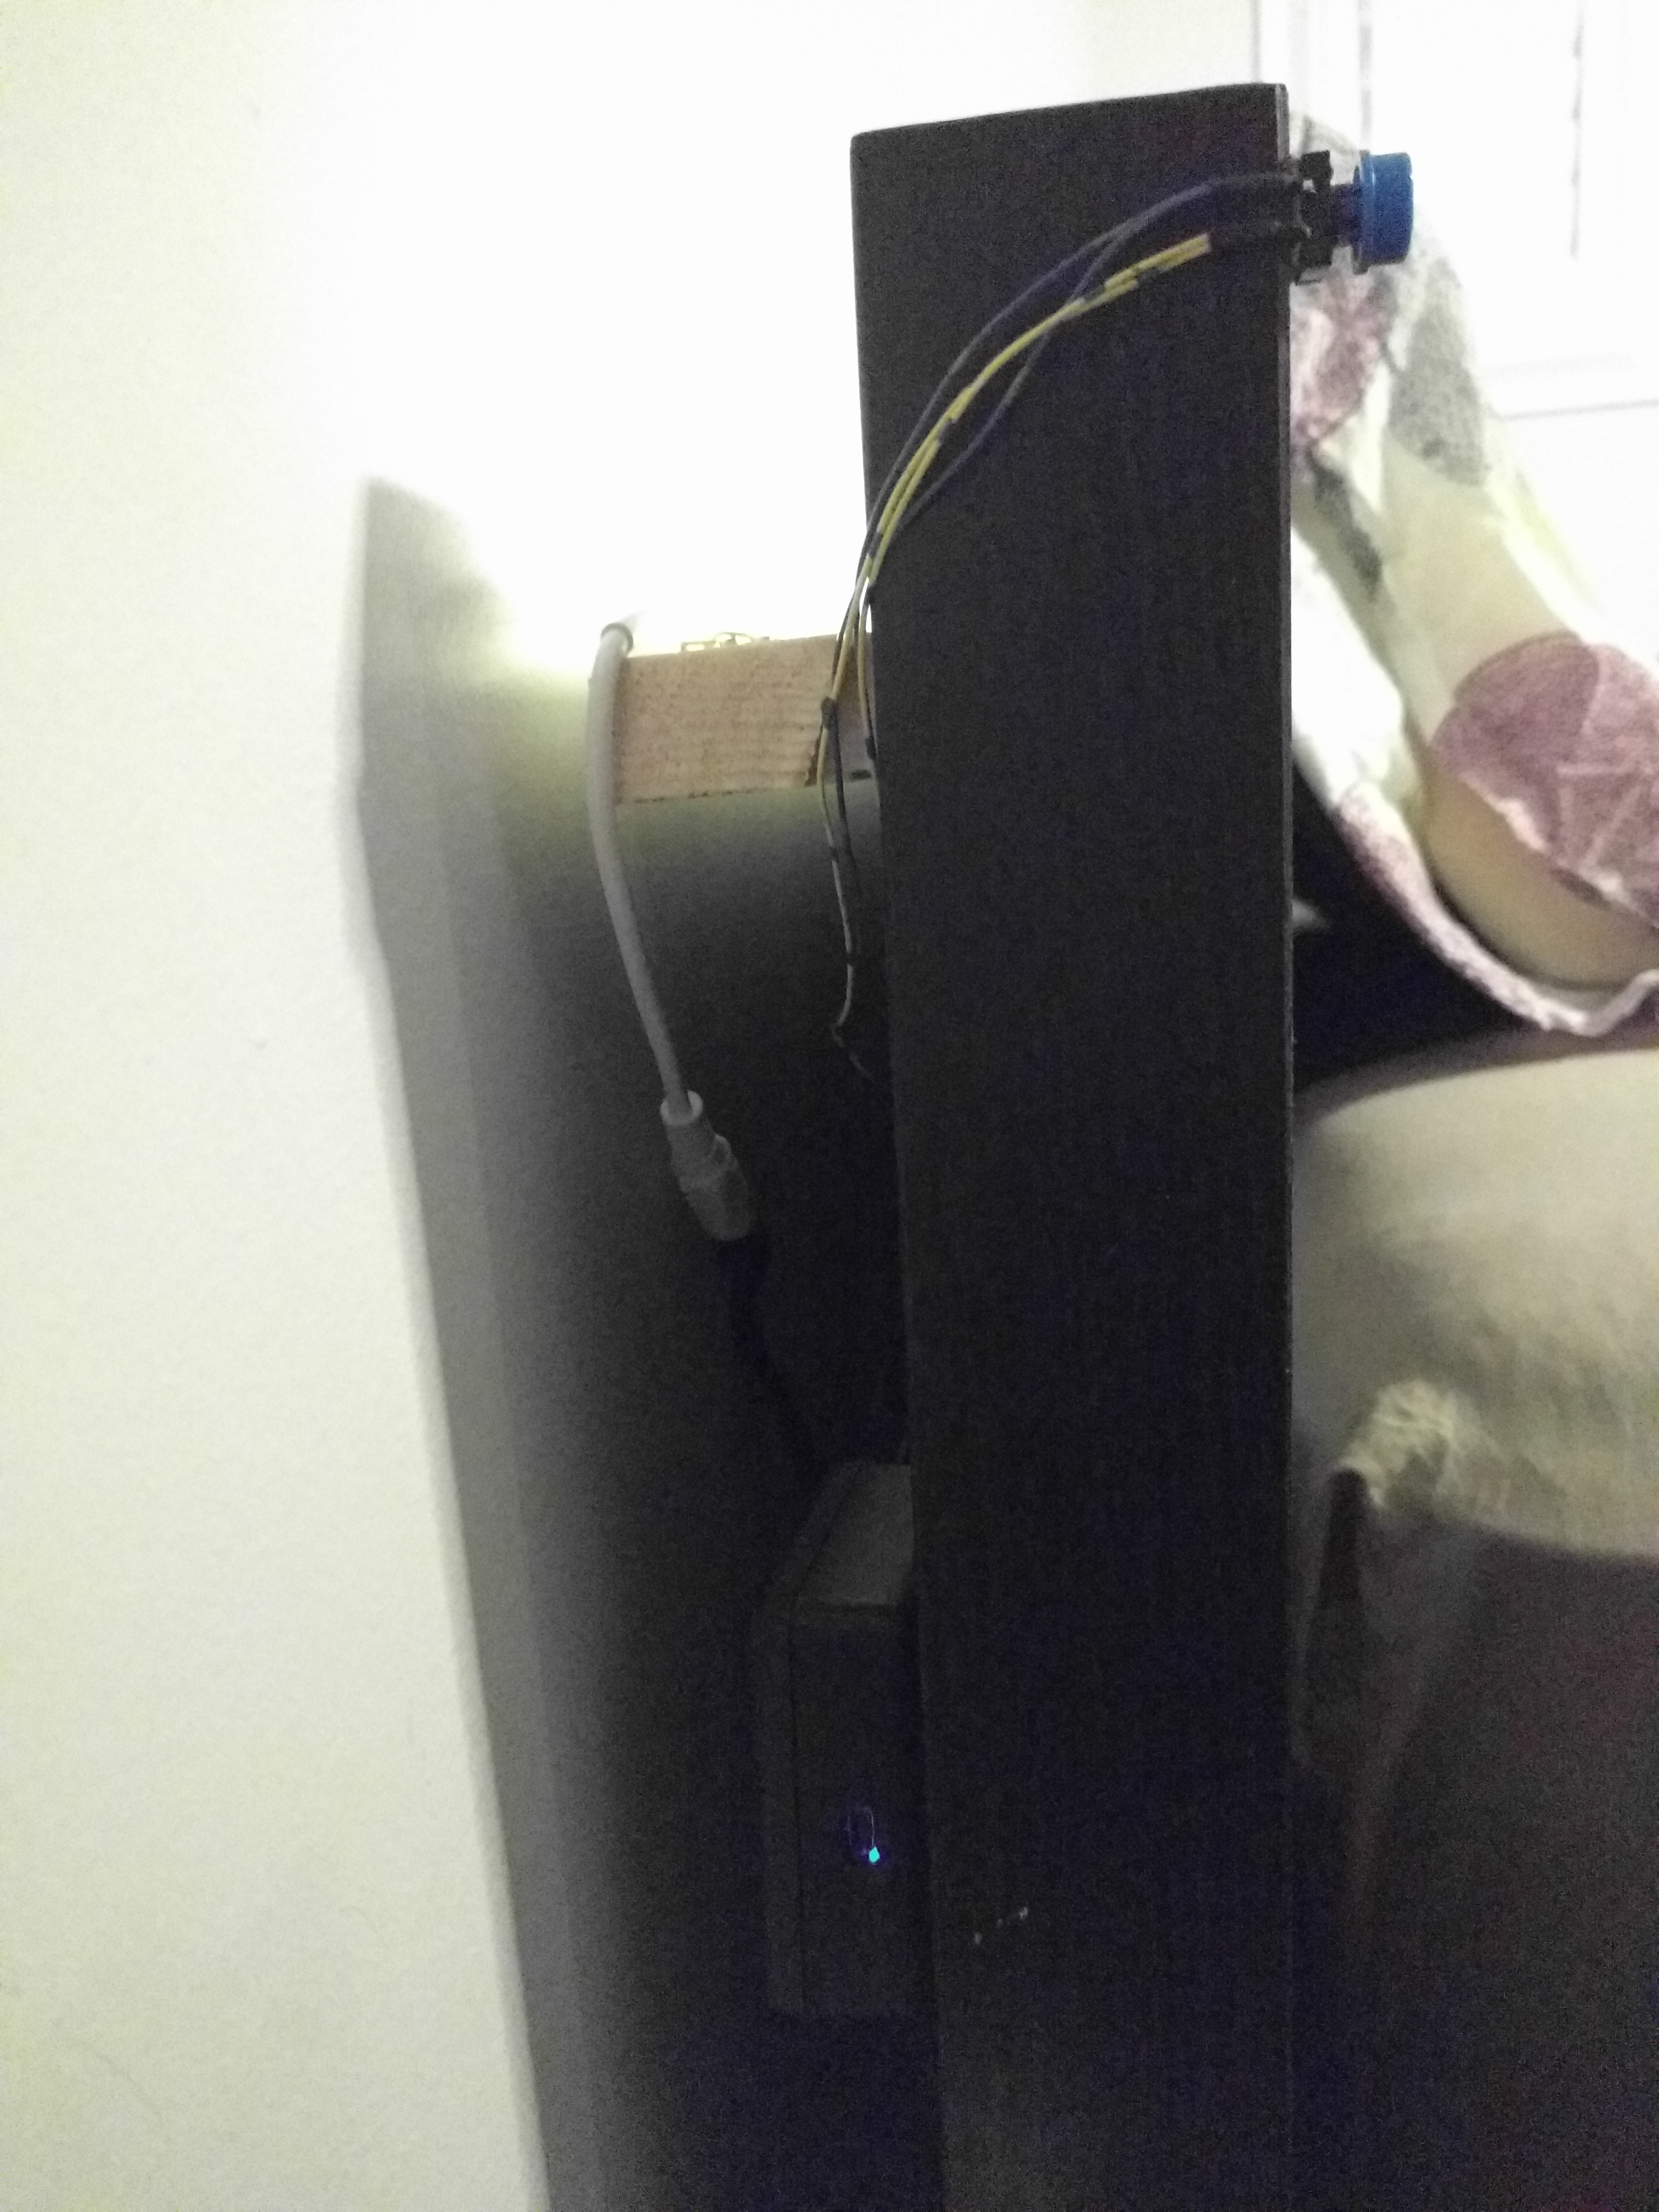
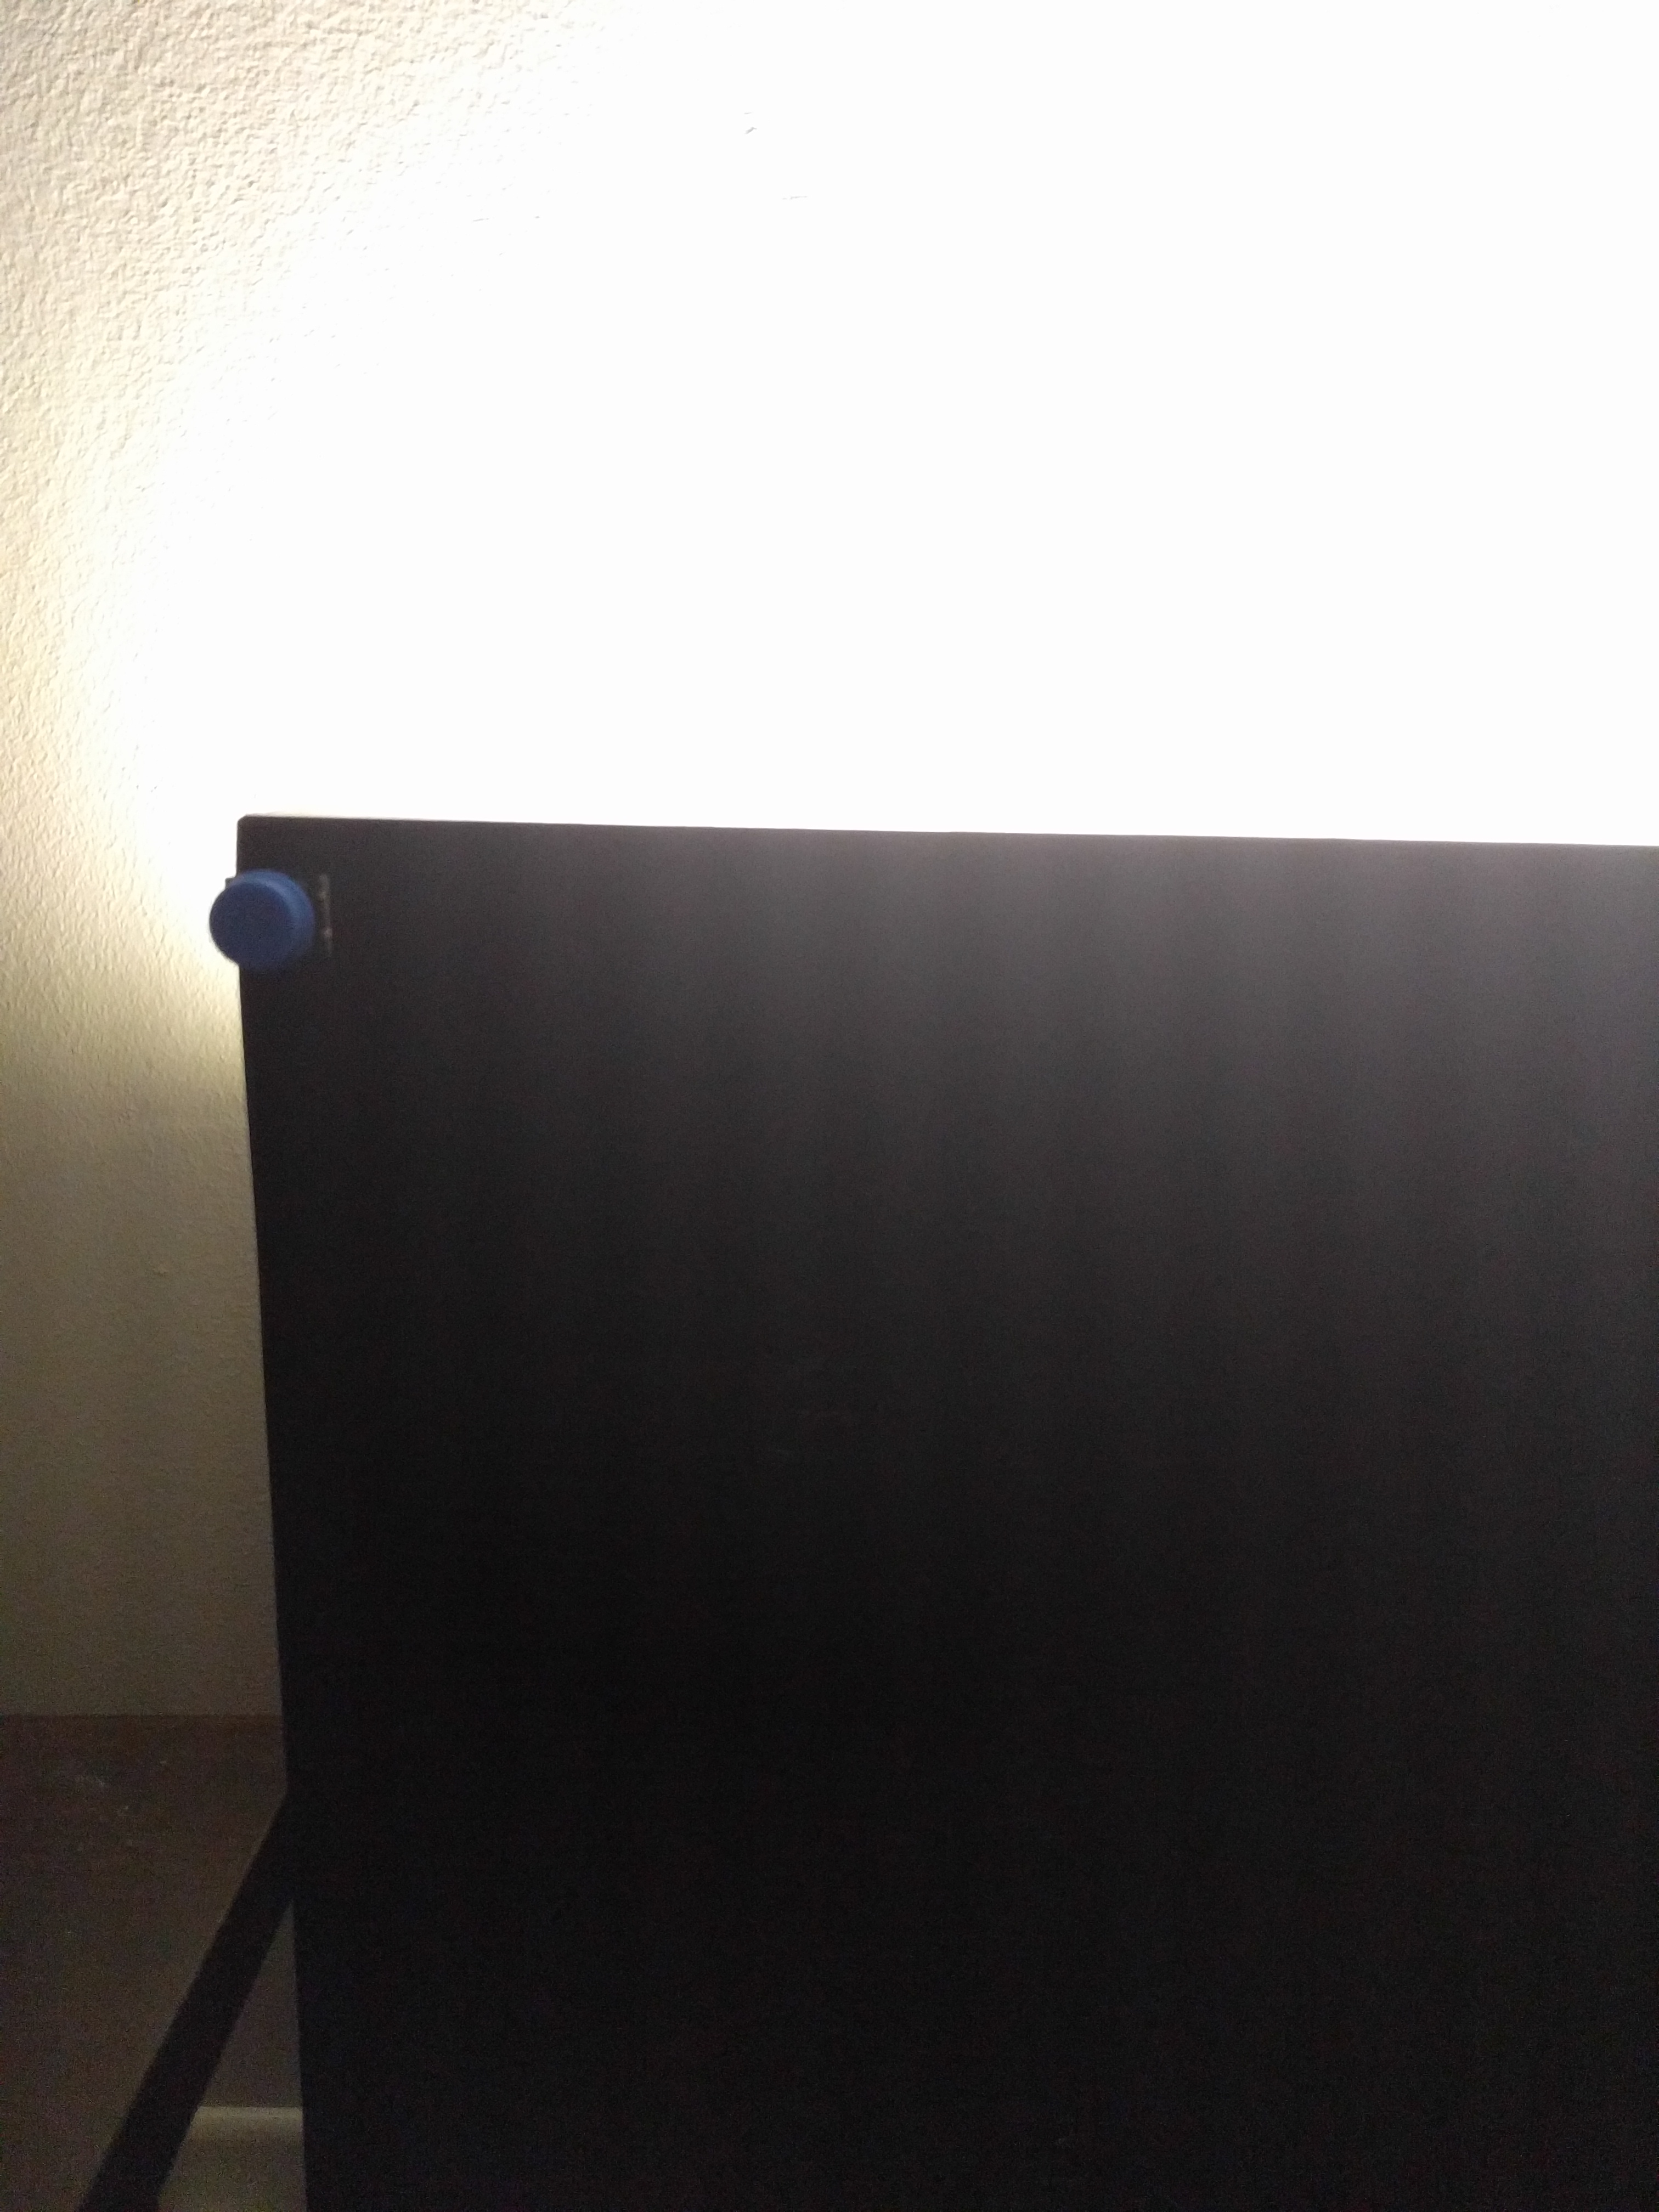
Next, attach the switches wherever you want them around the bed - for accessibility I recommend big push button switches. I used 12mm x 12mm momentary switches with large caps. Wire them in parallel (if using more than one) and terminate in a 2-pin connector that will hook up to the control box. Leave enough length to reach comfortably.
Put Together the Control Box
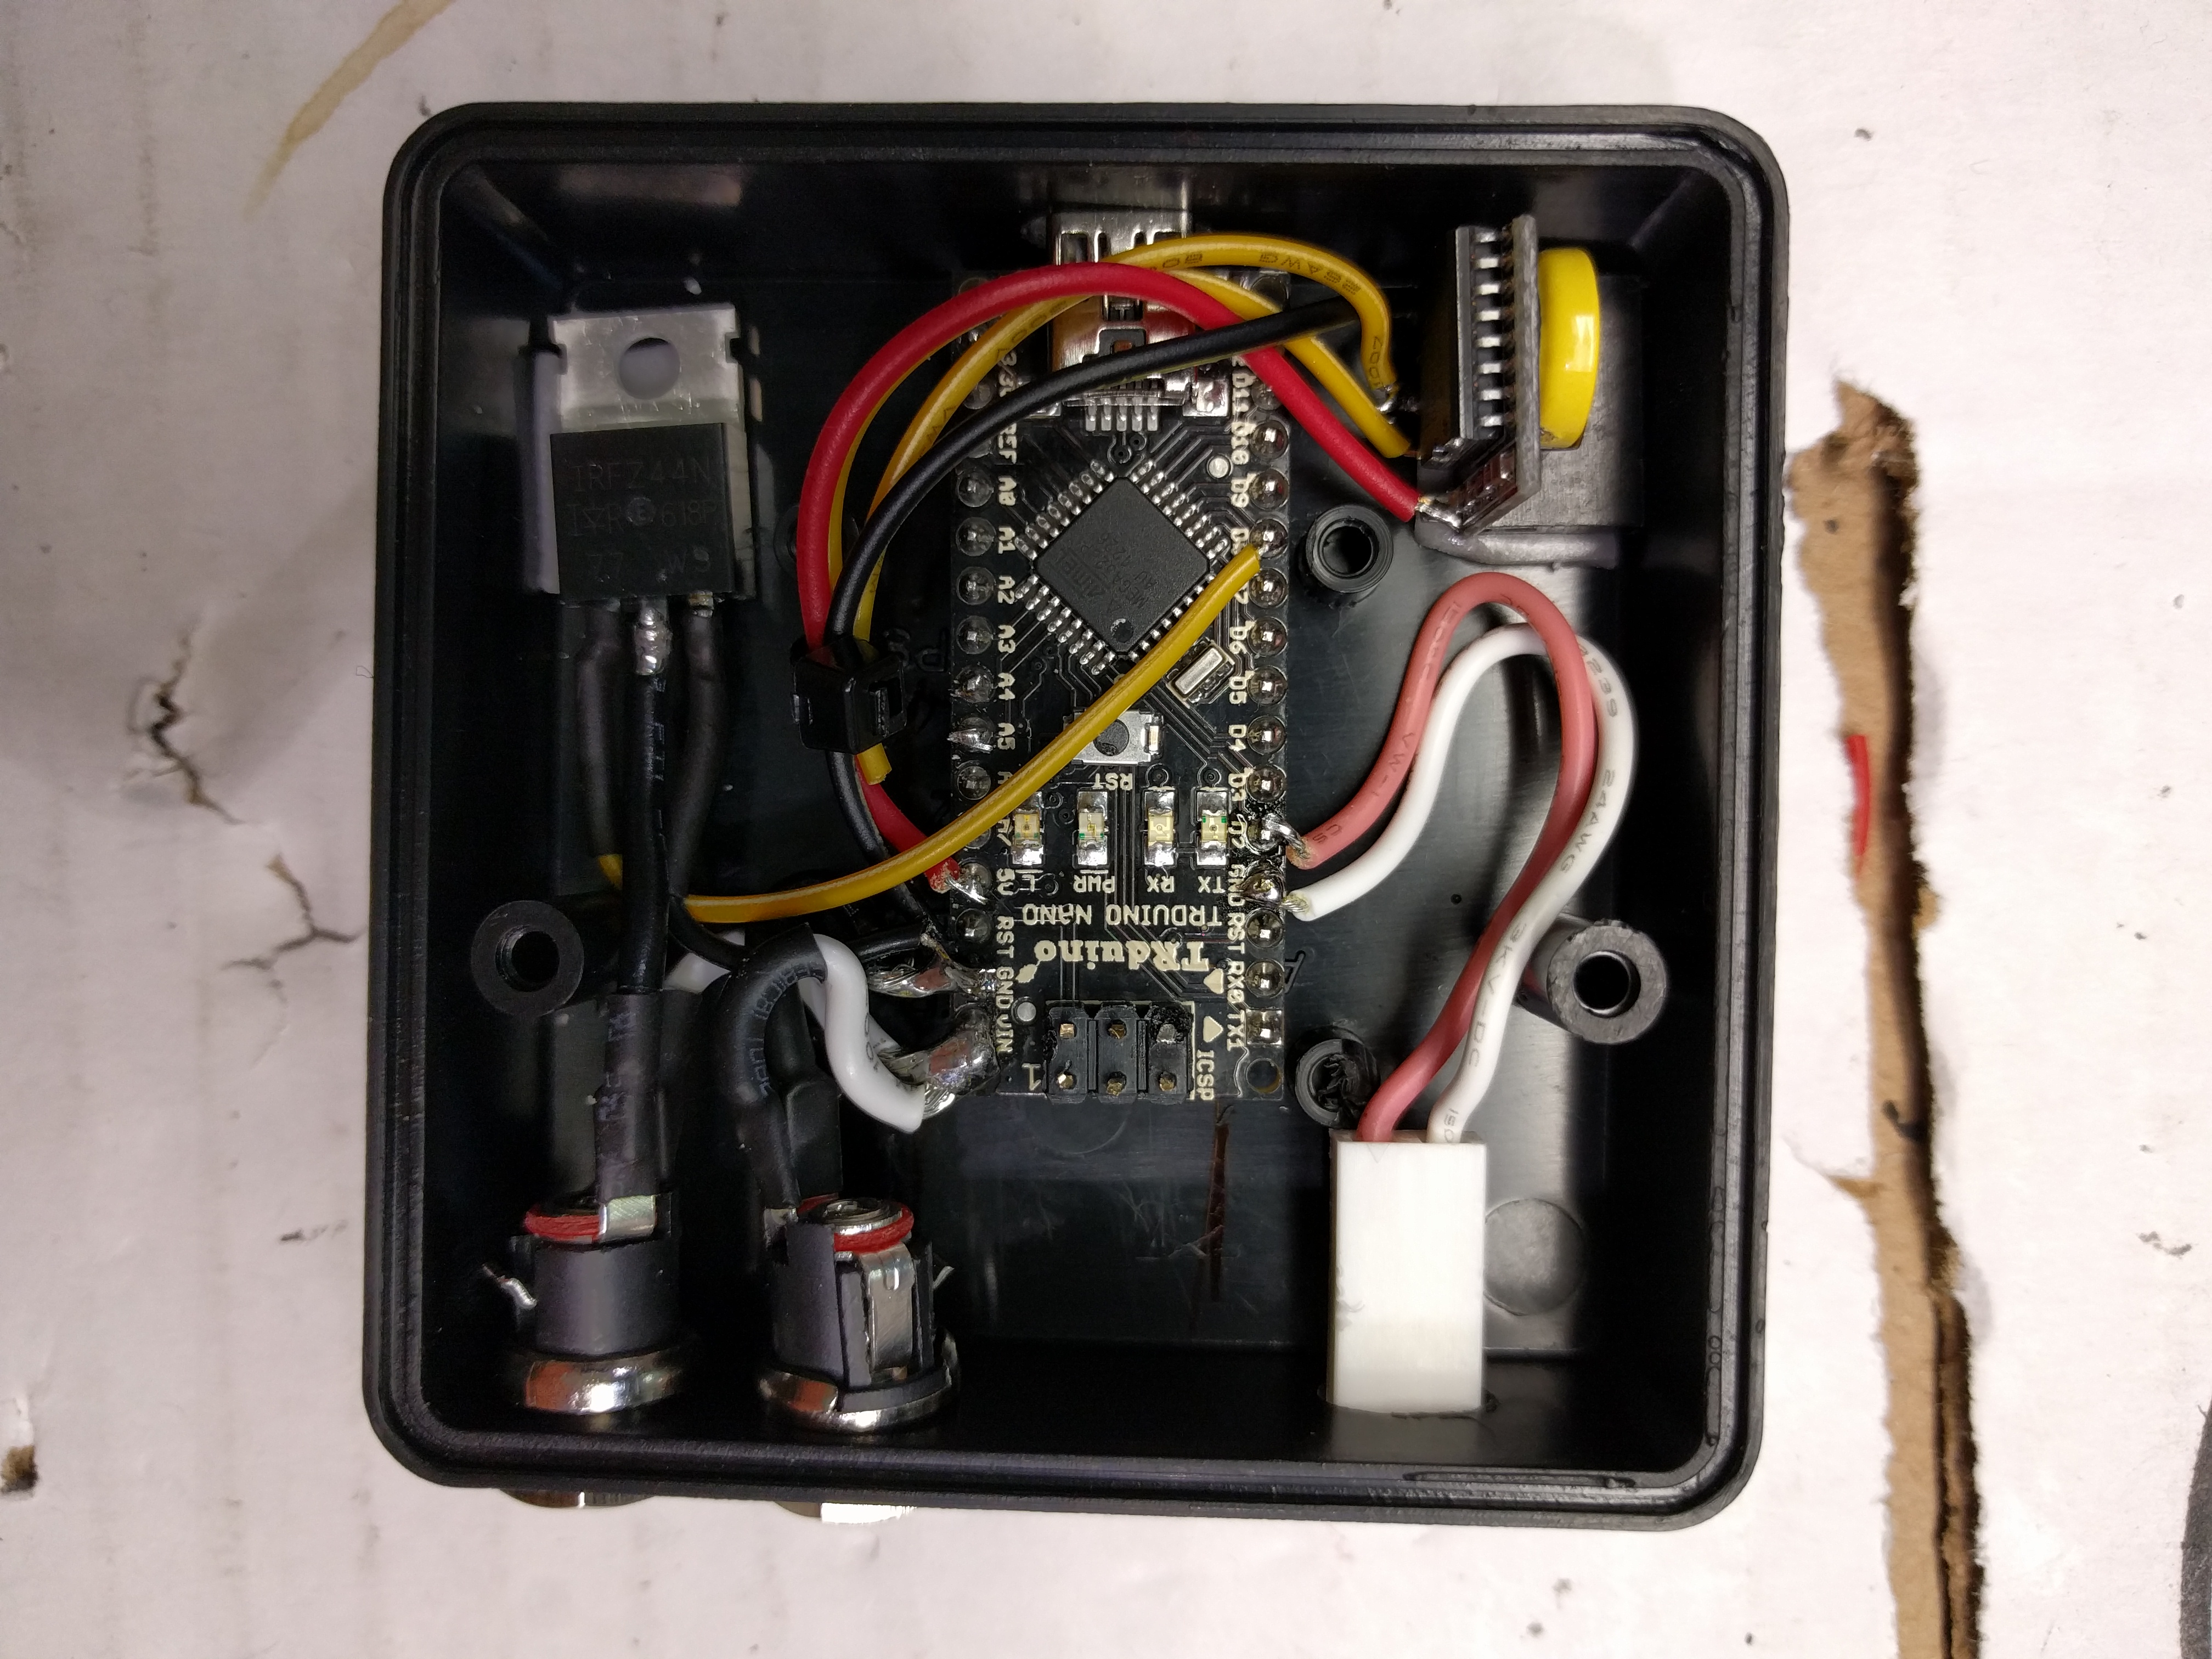
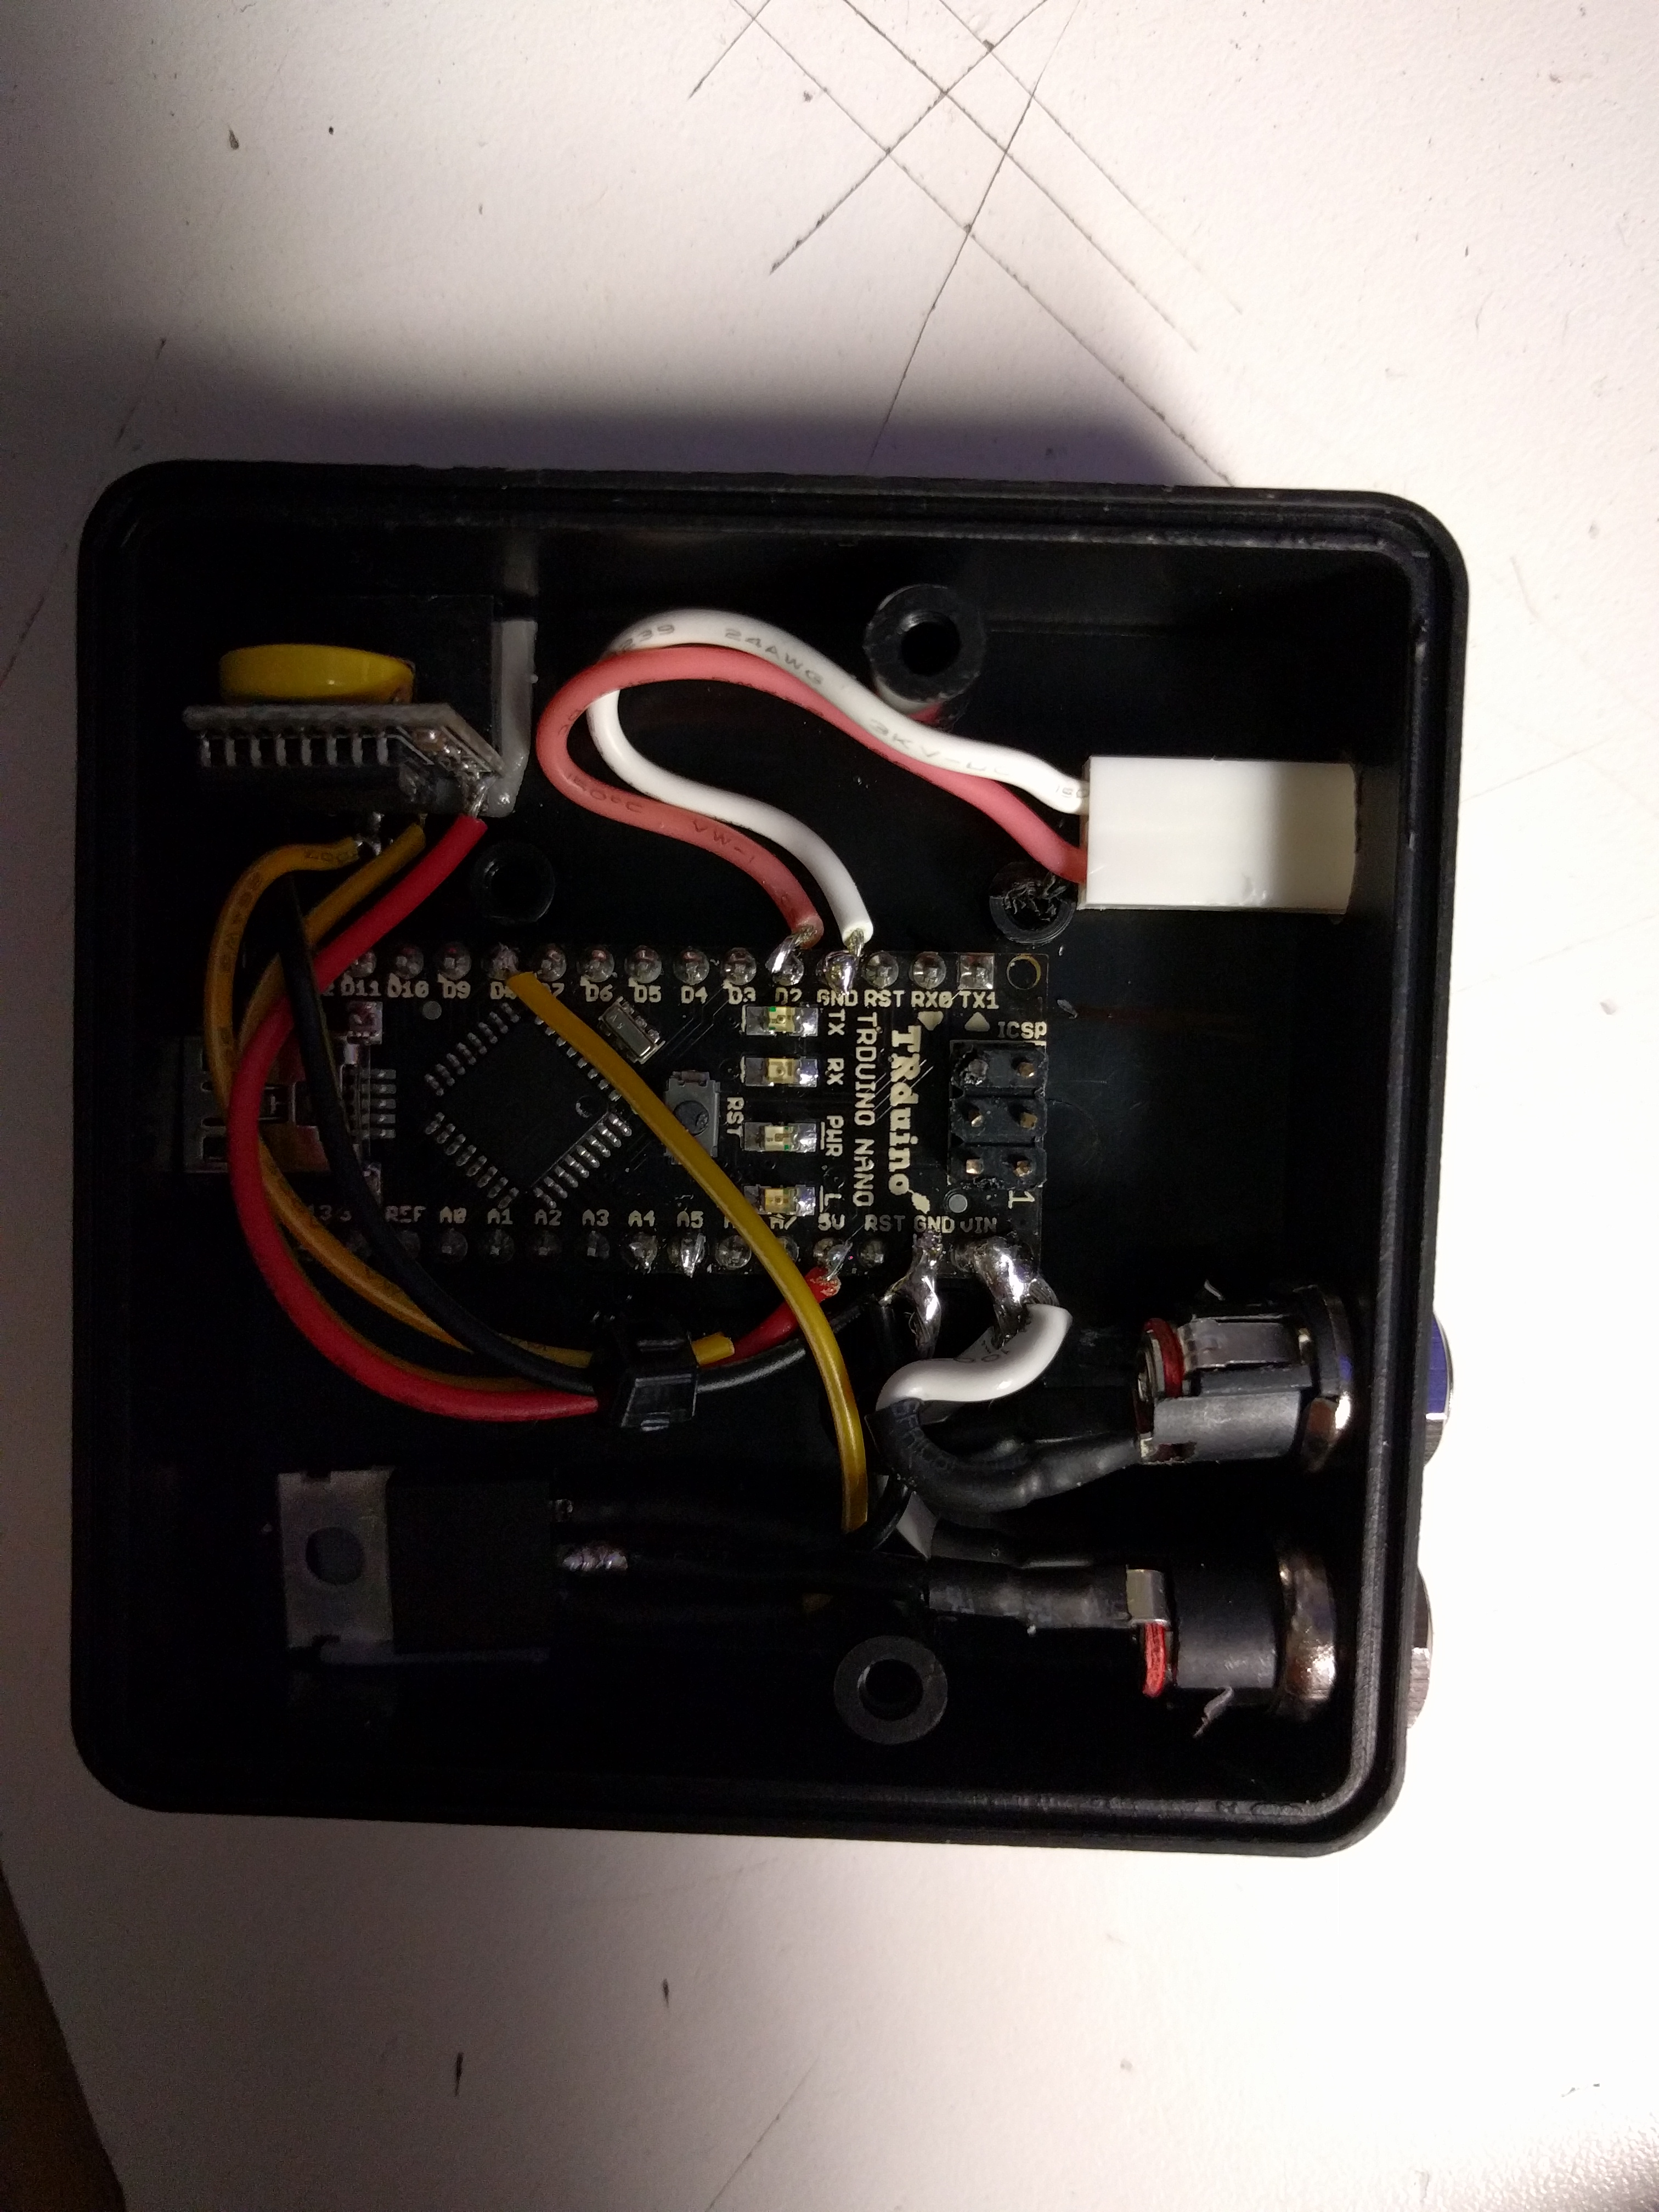
The wiring in the control box is fairly straightforward. The RTC gets wires as follows using the 2-wire protocol:
- SDA pin to A4 on the Nano
- SCL pin to A5 on the Nano
- VCC pin to 5V on the Nano
- GND pin to GND
The Mosfet gets wired as follows:
- Gate to pin 9 (this has to be a pwm pin)
- Drain to the negative terminal of the LED strip
- Source to the negative terminal of the 12V DC input
The 12V DC input goes to power the Arduino, and the negative terminal also goes to the Mosfet and the positive terminal also goes to the 12V DC out.
The 12V DC output + is in parallel with 12V DC input and the negative goes to the drain pin on the Mosfet.
The switch gets wired to pin 2 and GND.
I suggest mounting the box close to the edge of the headboard and have a way to access the USB port in case you need to reprogram.
Set Up the RTC and Upload the Sketch
Start by adding the RTC library to Arduino. You can find it here: https://github.com/adafruit/RTClib
Most likely the RTC will come with the right time (mine did) but in case it doesn't, the RTC library comes with examples to help you set it up (just change the code to the current date and time). It's very helpful to have the serial monitor to check whether the RTC is communicating properly and holding the time right.
Remember to hook the RTC up to the ANALOG pins 4 and 5 (not the digital ones). It took me forever to figure out why it wasn't working the first time due to this mistake.
Next, you can compile and upload the sketch to the Nano.
Downloads
Put It All Together
Now plug all the cables in and connect the 12V power adapter. I recommend at least a 3A one but this will depend on how many strips and how long they are - check the per foot power consumption of your LED strip and make sure you have sufficient current before using!
Feel free to update the code to start the wake up alarm at a time you like. It can also be modified for weekends, etc. The exit loop to shut the sequence off can also be easily disabled or modified if desired.
Enjoy!!