Arduino - Voice Controlled Robot (Bluetooth and Smartphone)
by MertArduino in Circuits > Arduino
30417 Views, 27 Favorites, 0 Comments
Arduino - Voice Controlled Robot (Bluetooth and Smartphone)
)
In this tutorial, we will make voice controlled robot with an Android application.
We will control the robot via Smartphone.
Please don't forget to subscribe. Thank you for your support.
Visit My Youtube Channel - Mert Arduino Tutorial & Projects
Suggested videos about this project:
- How to install the library: https://youtu.be/Es8D1q_b-c4
- Voice controlled LED: https://youtu.be/Hn9CG_vEQAE
- Error: No Such File or Directory: https://youtu.be/Hn9CG_vEQAE
Hardware Required
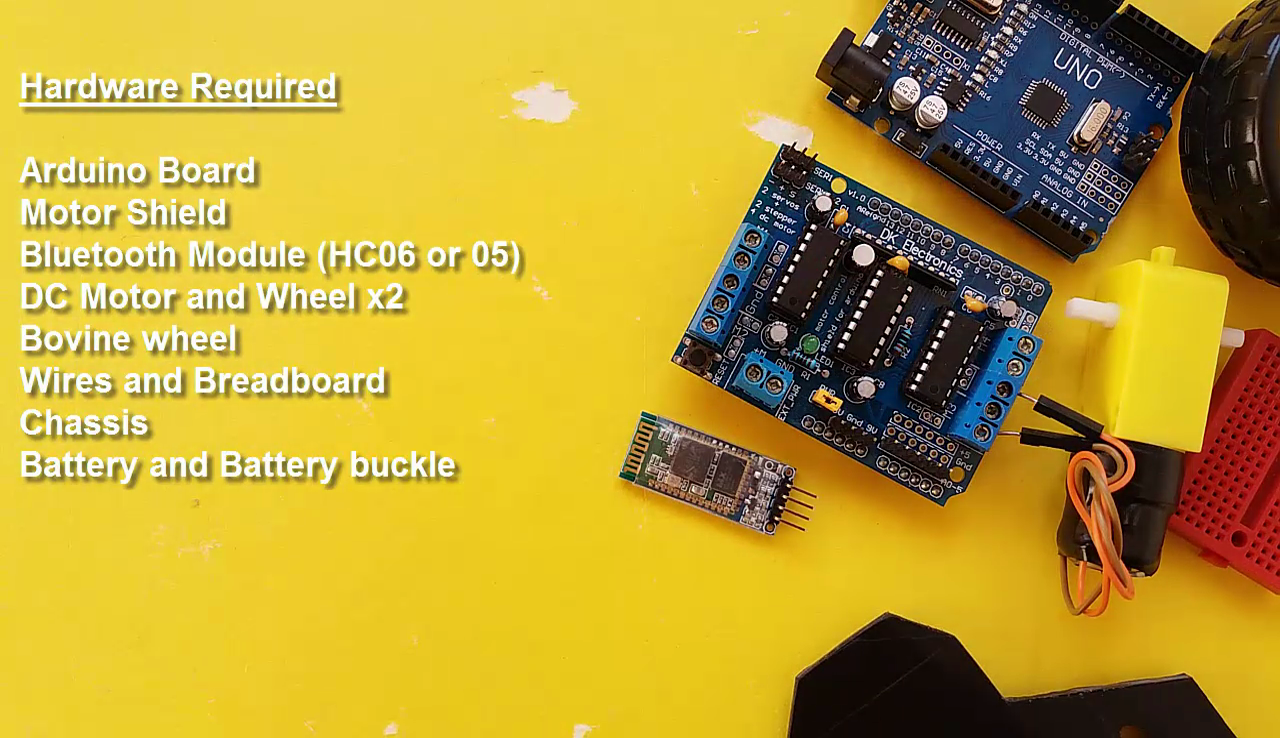
- Arduino Board
- Motor Shield
- Bluetooth Module (HC06 or 05)
- DC Motor and Wheel x2
- Bovine wheel
- Wires and Breadboard
- Chassis
- Battery and Battery buckle
Creating Chassis
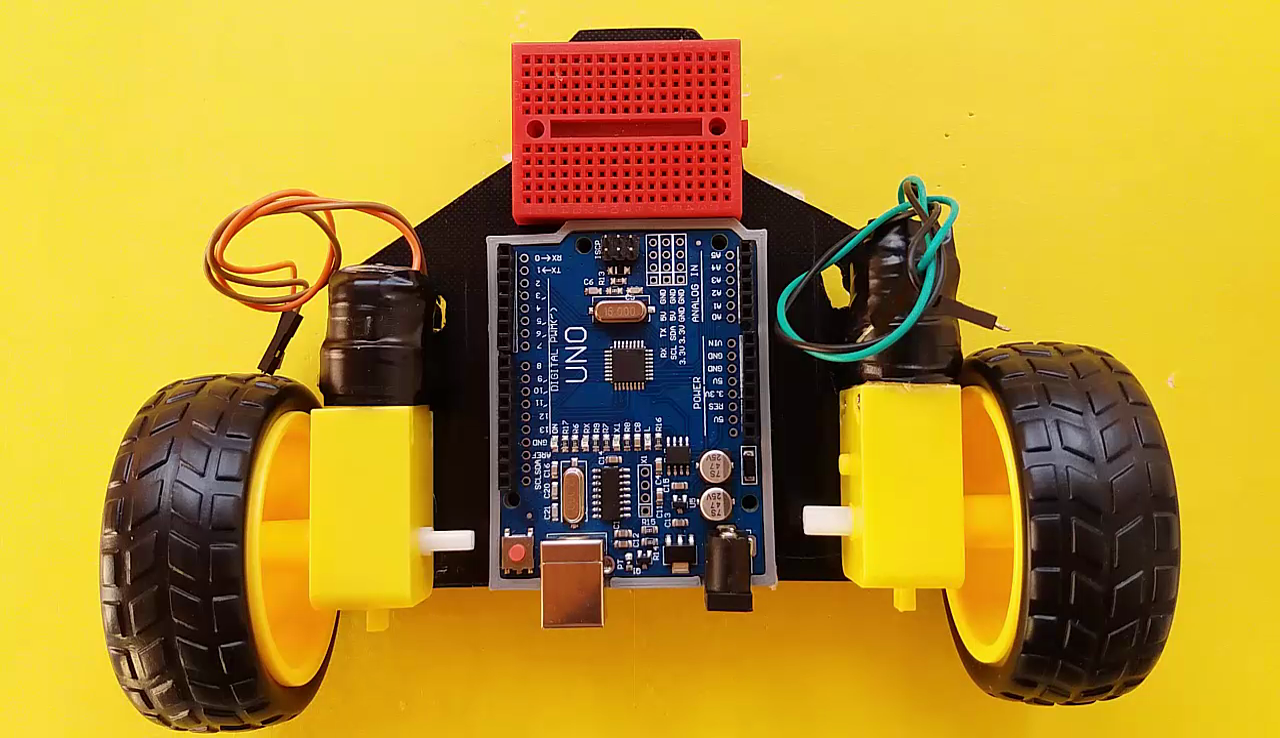
- DC Motors attach to the chassis
- The Arduino board attach to the chassis
- Mini breadboard attach to the chassis
- Bovine wheel attach to the chassis
- Wheels attach to DC Motors
- Bluetooth module attach to mini breadboard
Connections
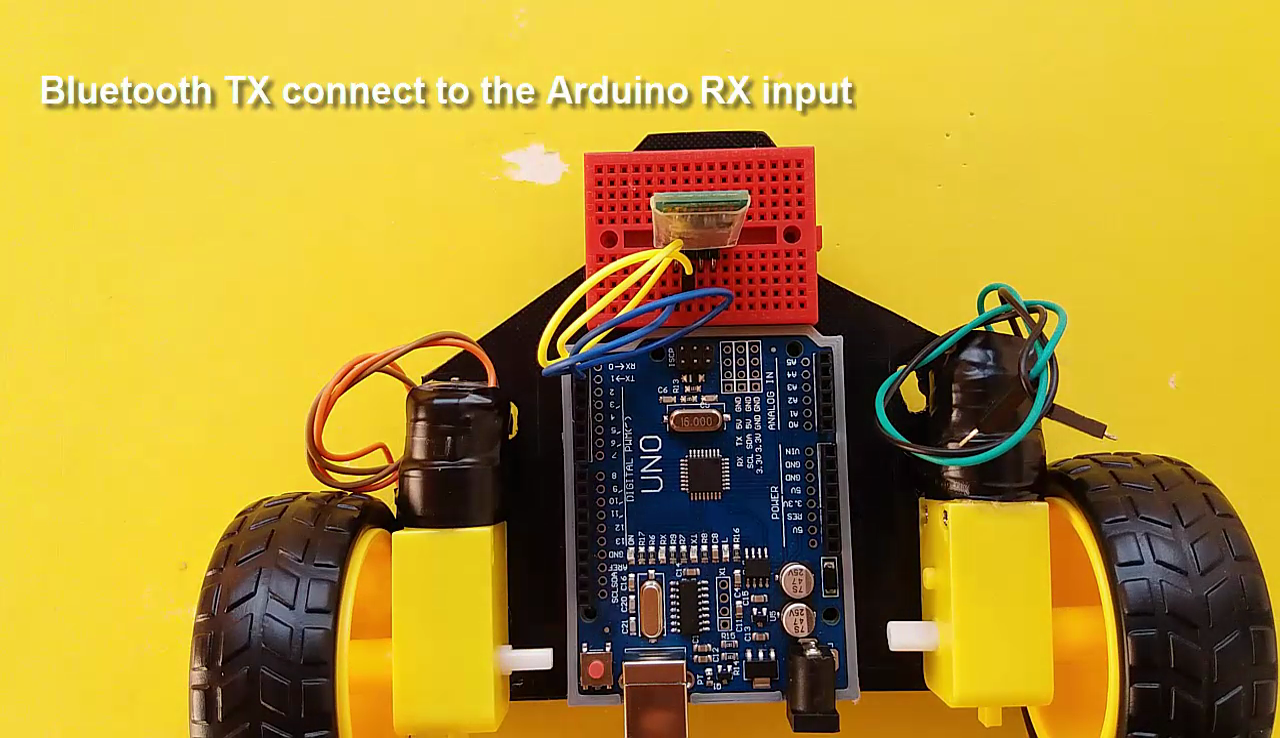

- Bluetooth RX connect to the Arduino TX input
(***If you want to connect the connections in the exact and correct way, you need to divide the RX from the bluetooth module with two resistors, connecting the first 1K resistor to the Arduino TX and the second 2K resistor to GND.)
- Bluetooth TX connect to the Arduino RX input
- The Motor Shield attach to the Arduino board
- The Arduino GND connect to the Bluetooth module GND
- The Arduino +5V connect to the Bluetooth module VCC
- Left DC Motor connect to the Motor Shield M1 inputs
- Right DC Motor connect to the Motor Shield M2 inputs
- Battery buckle connect to the Motor Shield +V and GND
Code and Application
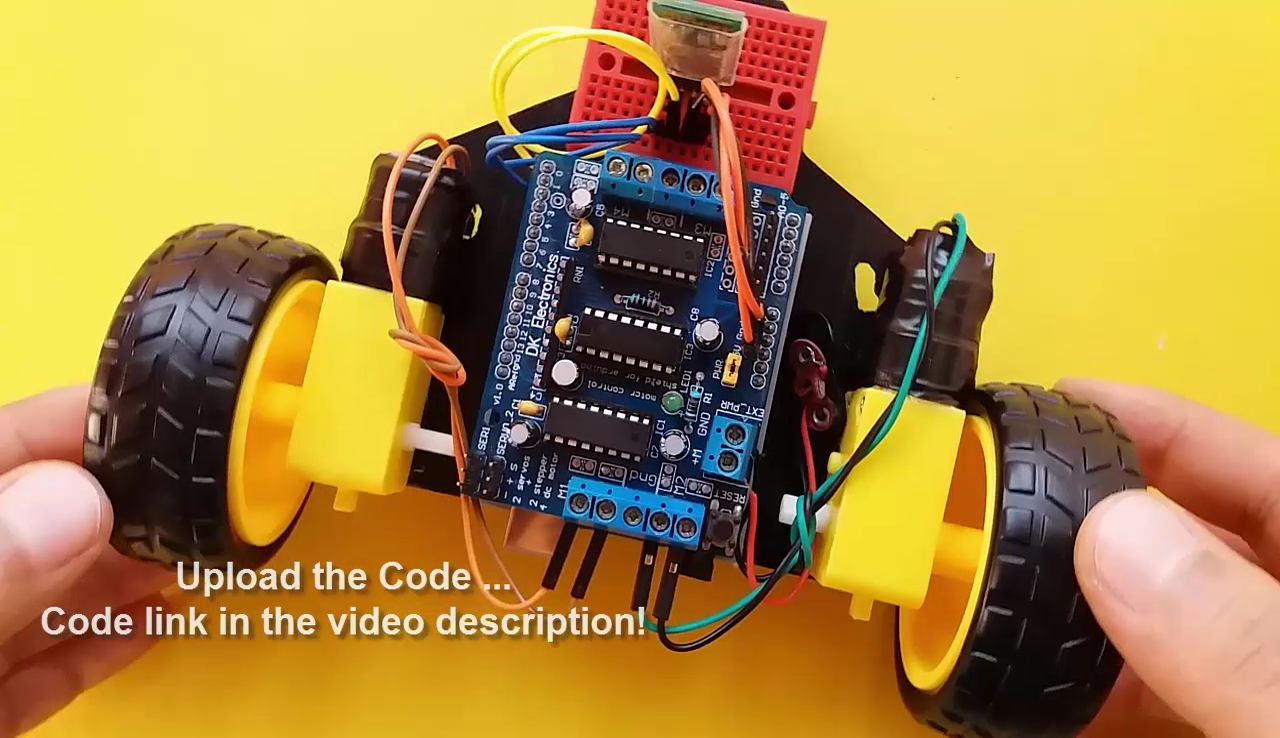
- Get the Code: Arduino Code
- The Arduino board connect to the PC
- Open the Arduino New Sketch
- Copy and Paste the Code
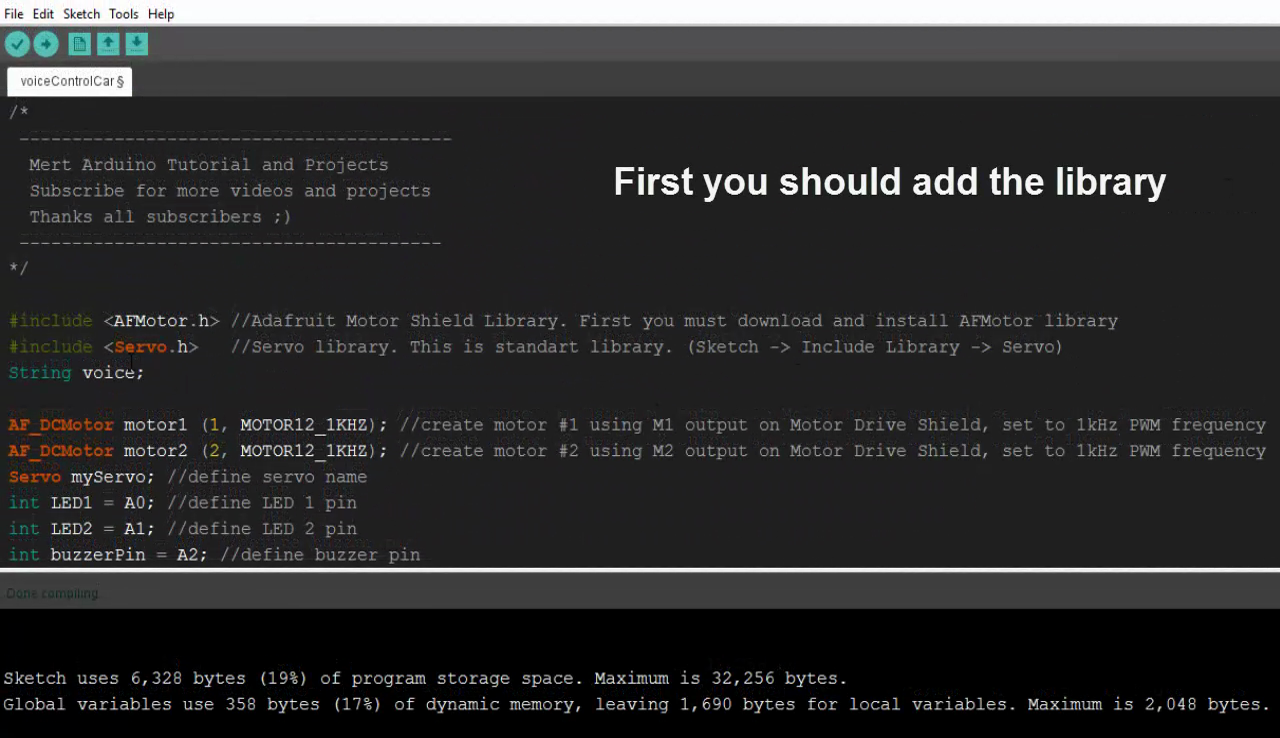
- First you should add the library
- Get the AFMotor.h library: GitHub
- Servo.h library is standard library
- Don't Forget ! You should select your Port
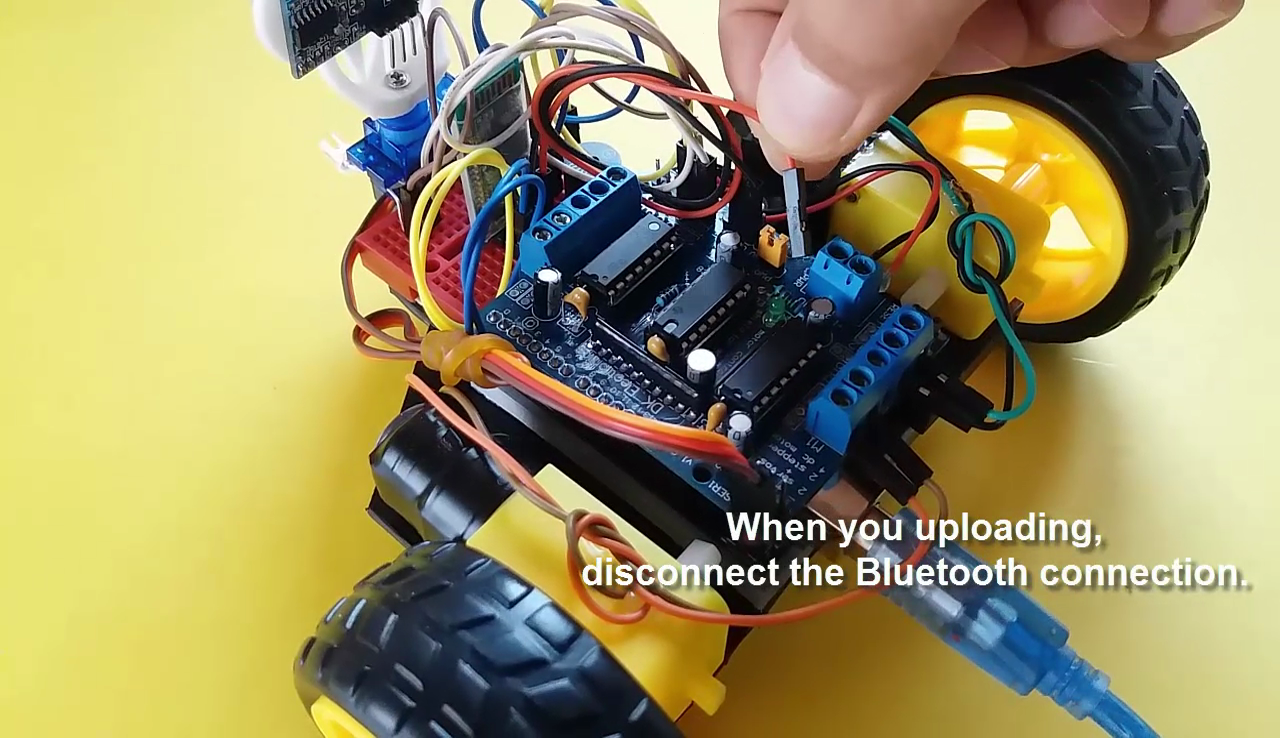
- When you uploading, disconnect the Bluetooth connection
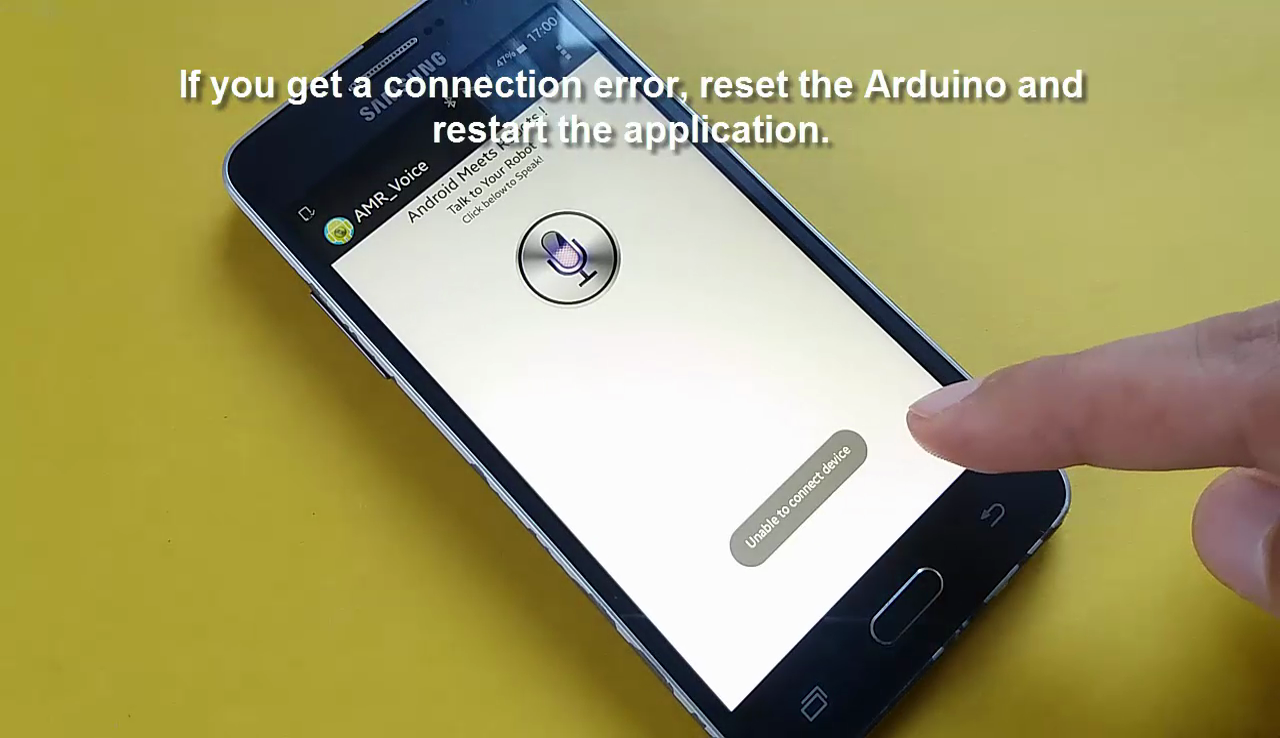
- Download and Install the Application: Google Play
- If you get a connection error, reset the Arduino and restart the application