Arduino Uno - Passive Infrared (PIR)
by ChristianL84 in Circuits > Arduino
2596 Views, 19 Favorites, 0 Comments
Arduino Uno - Passive Infrared (PIR)
Hello everyone...
I have been trying to make more Instructables as time permits.
In this Instructable, we are going to wire a Passive Infrared (PIR) sensor to our Arduino Uno in hopes of making a way to detect movement for a future home project.
Let's begin....
Gather Materials
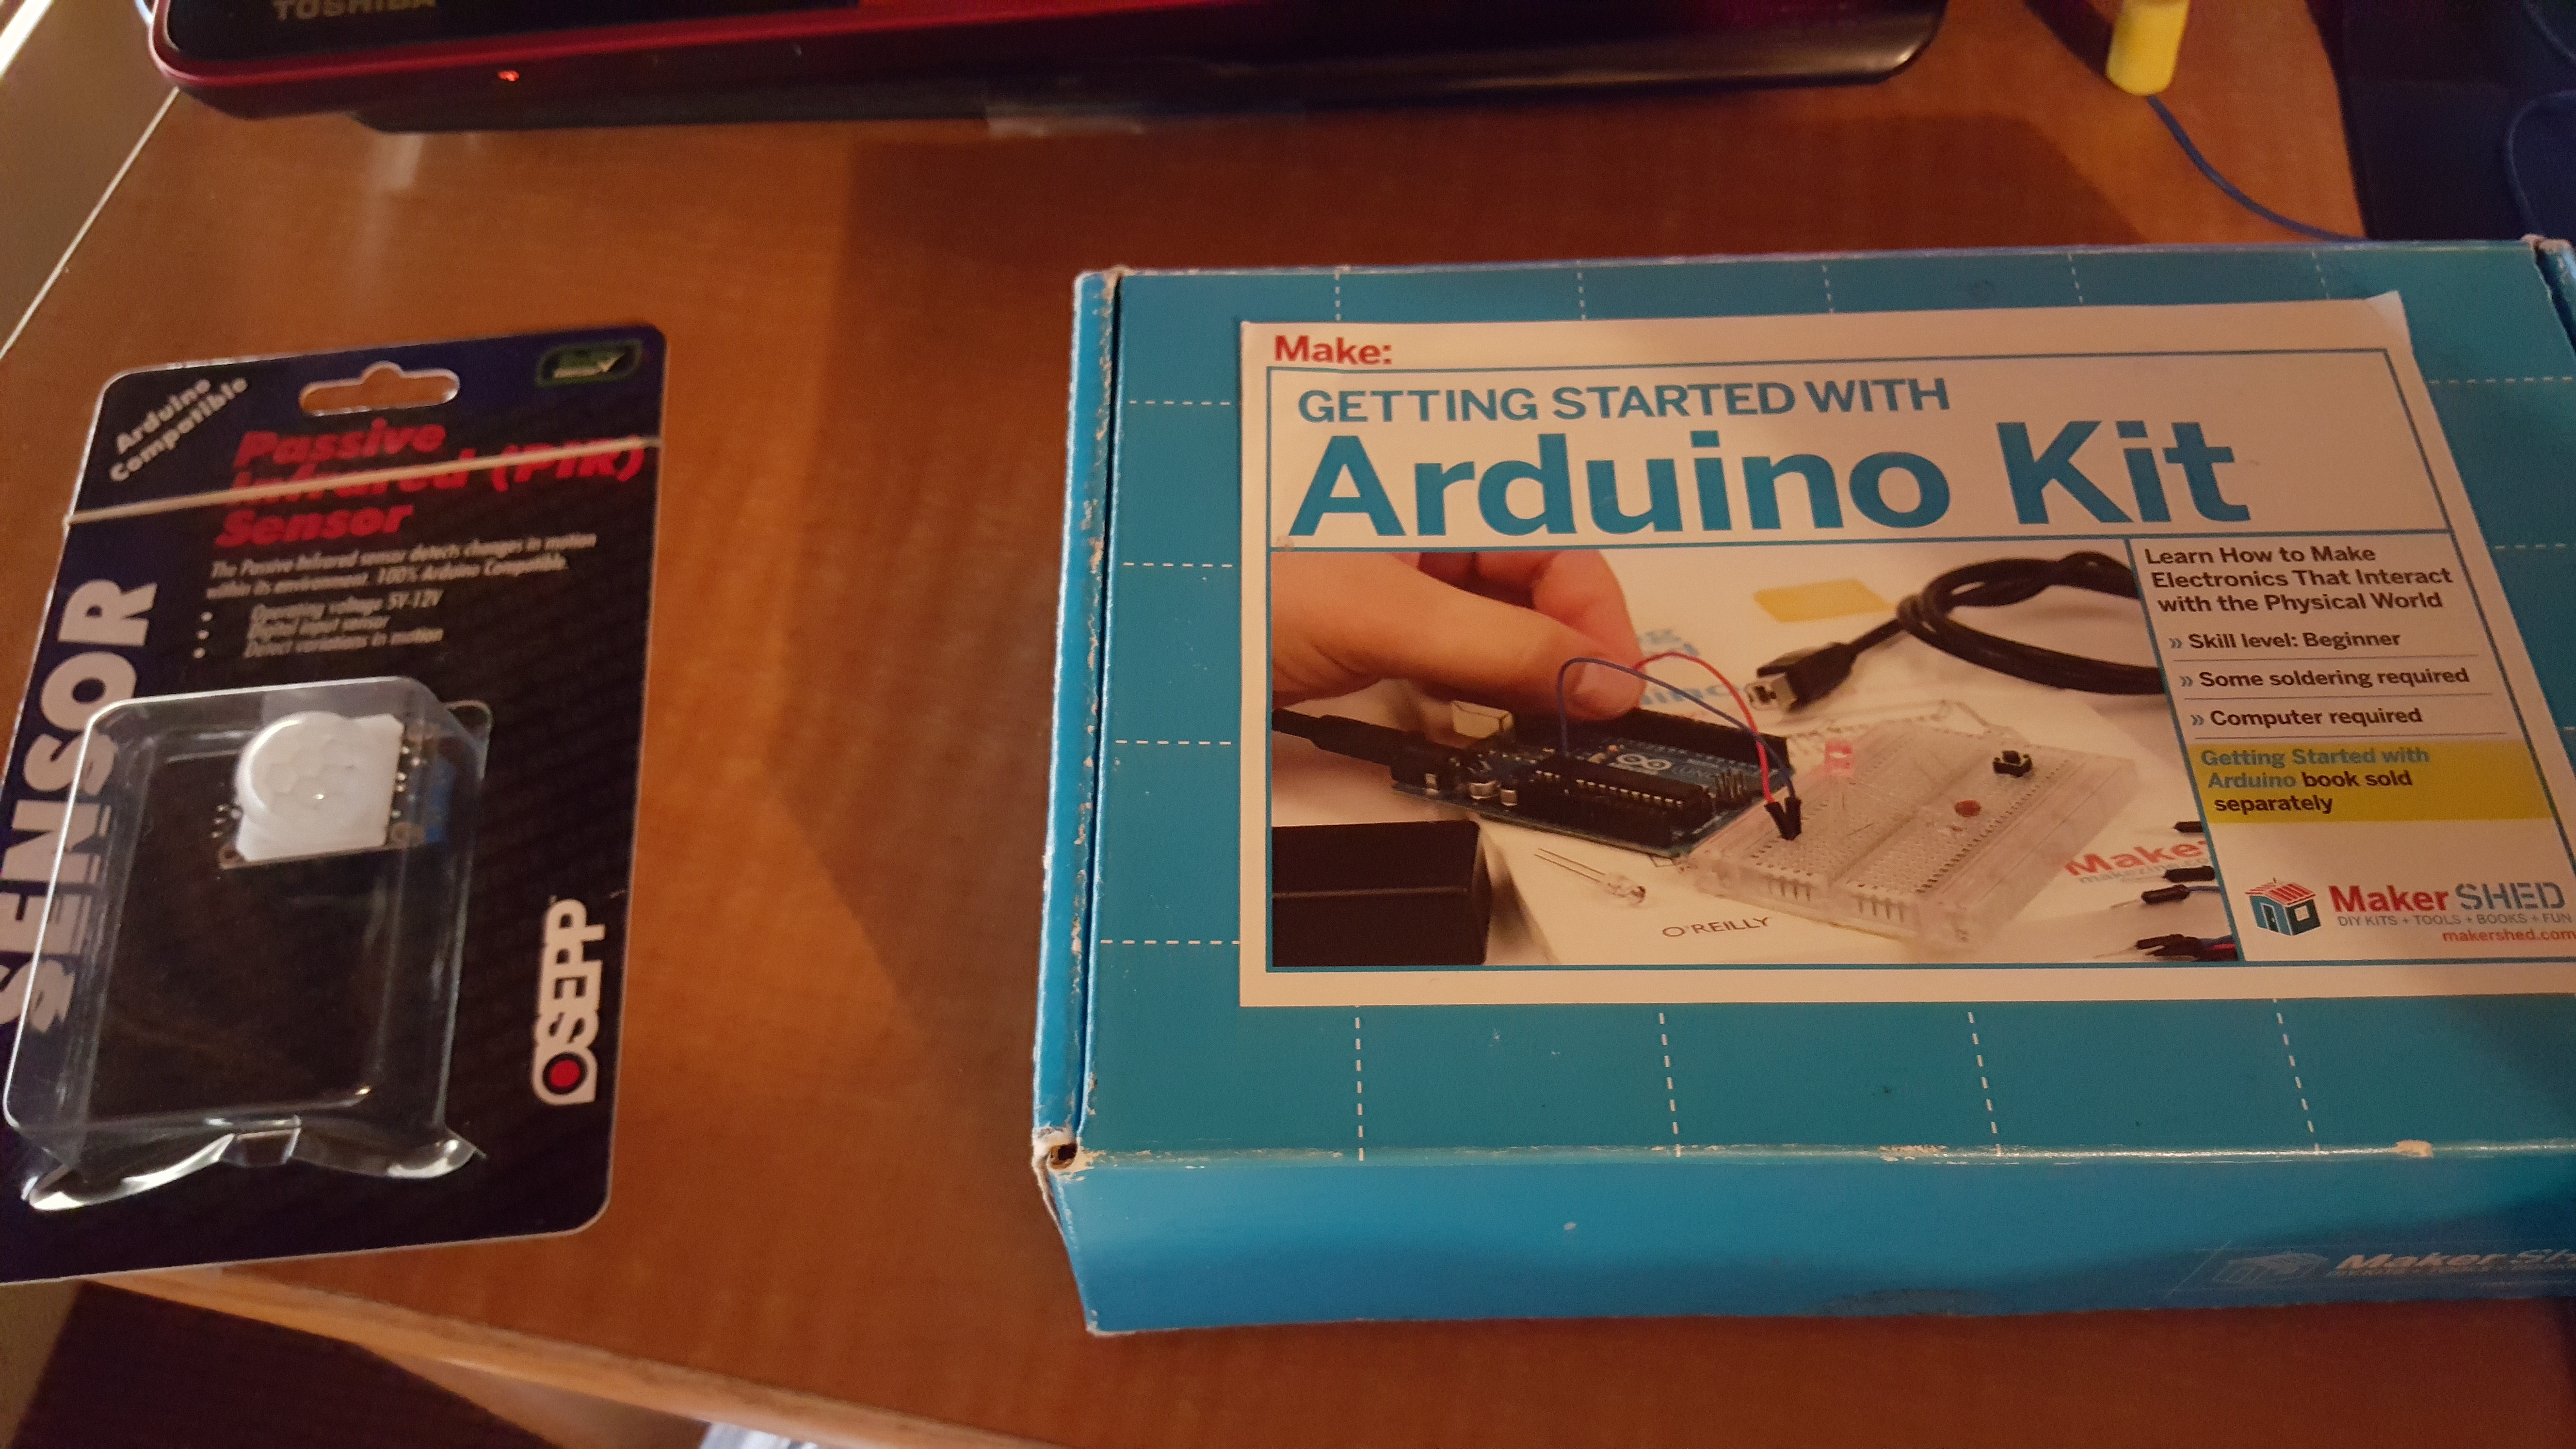
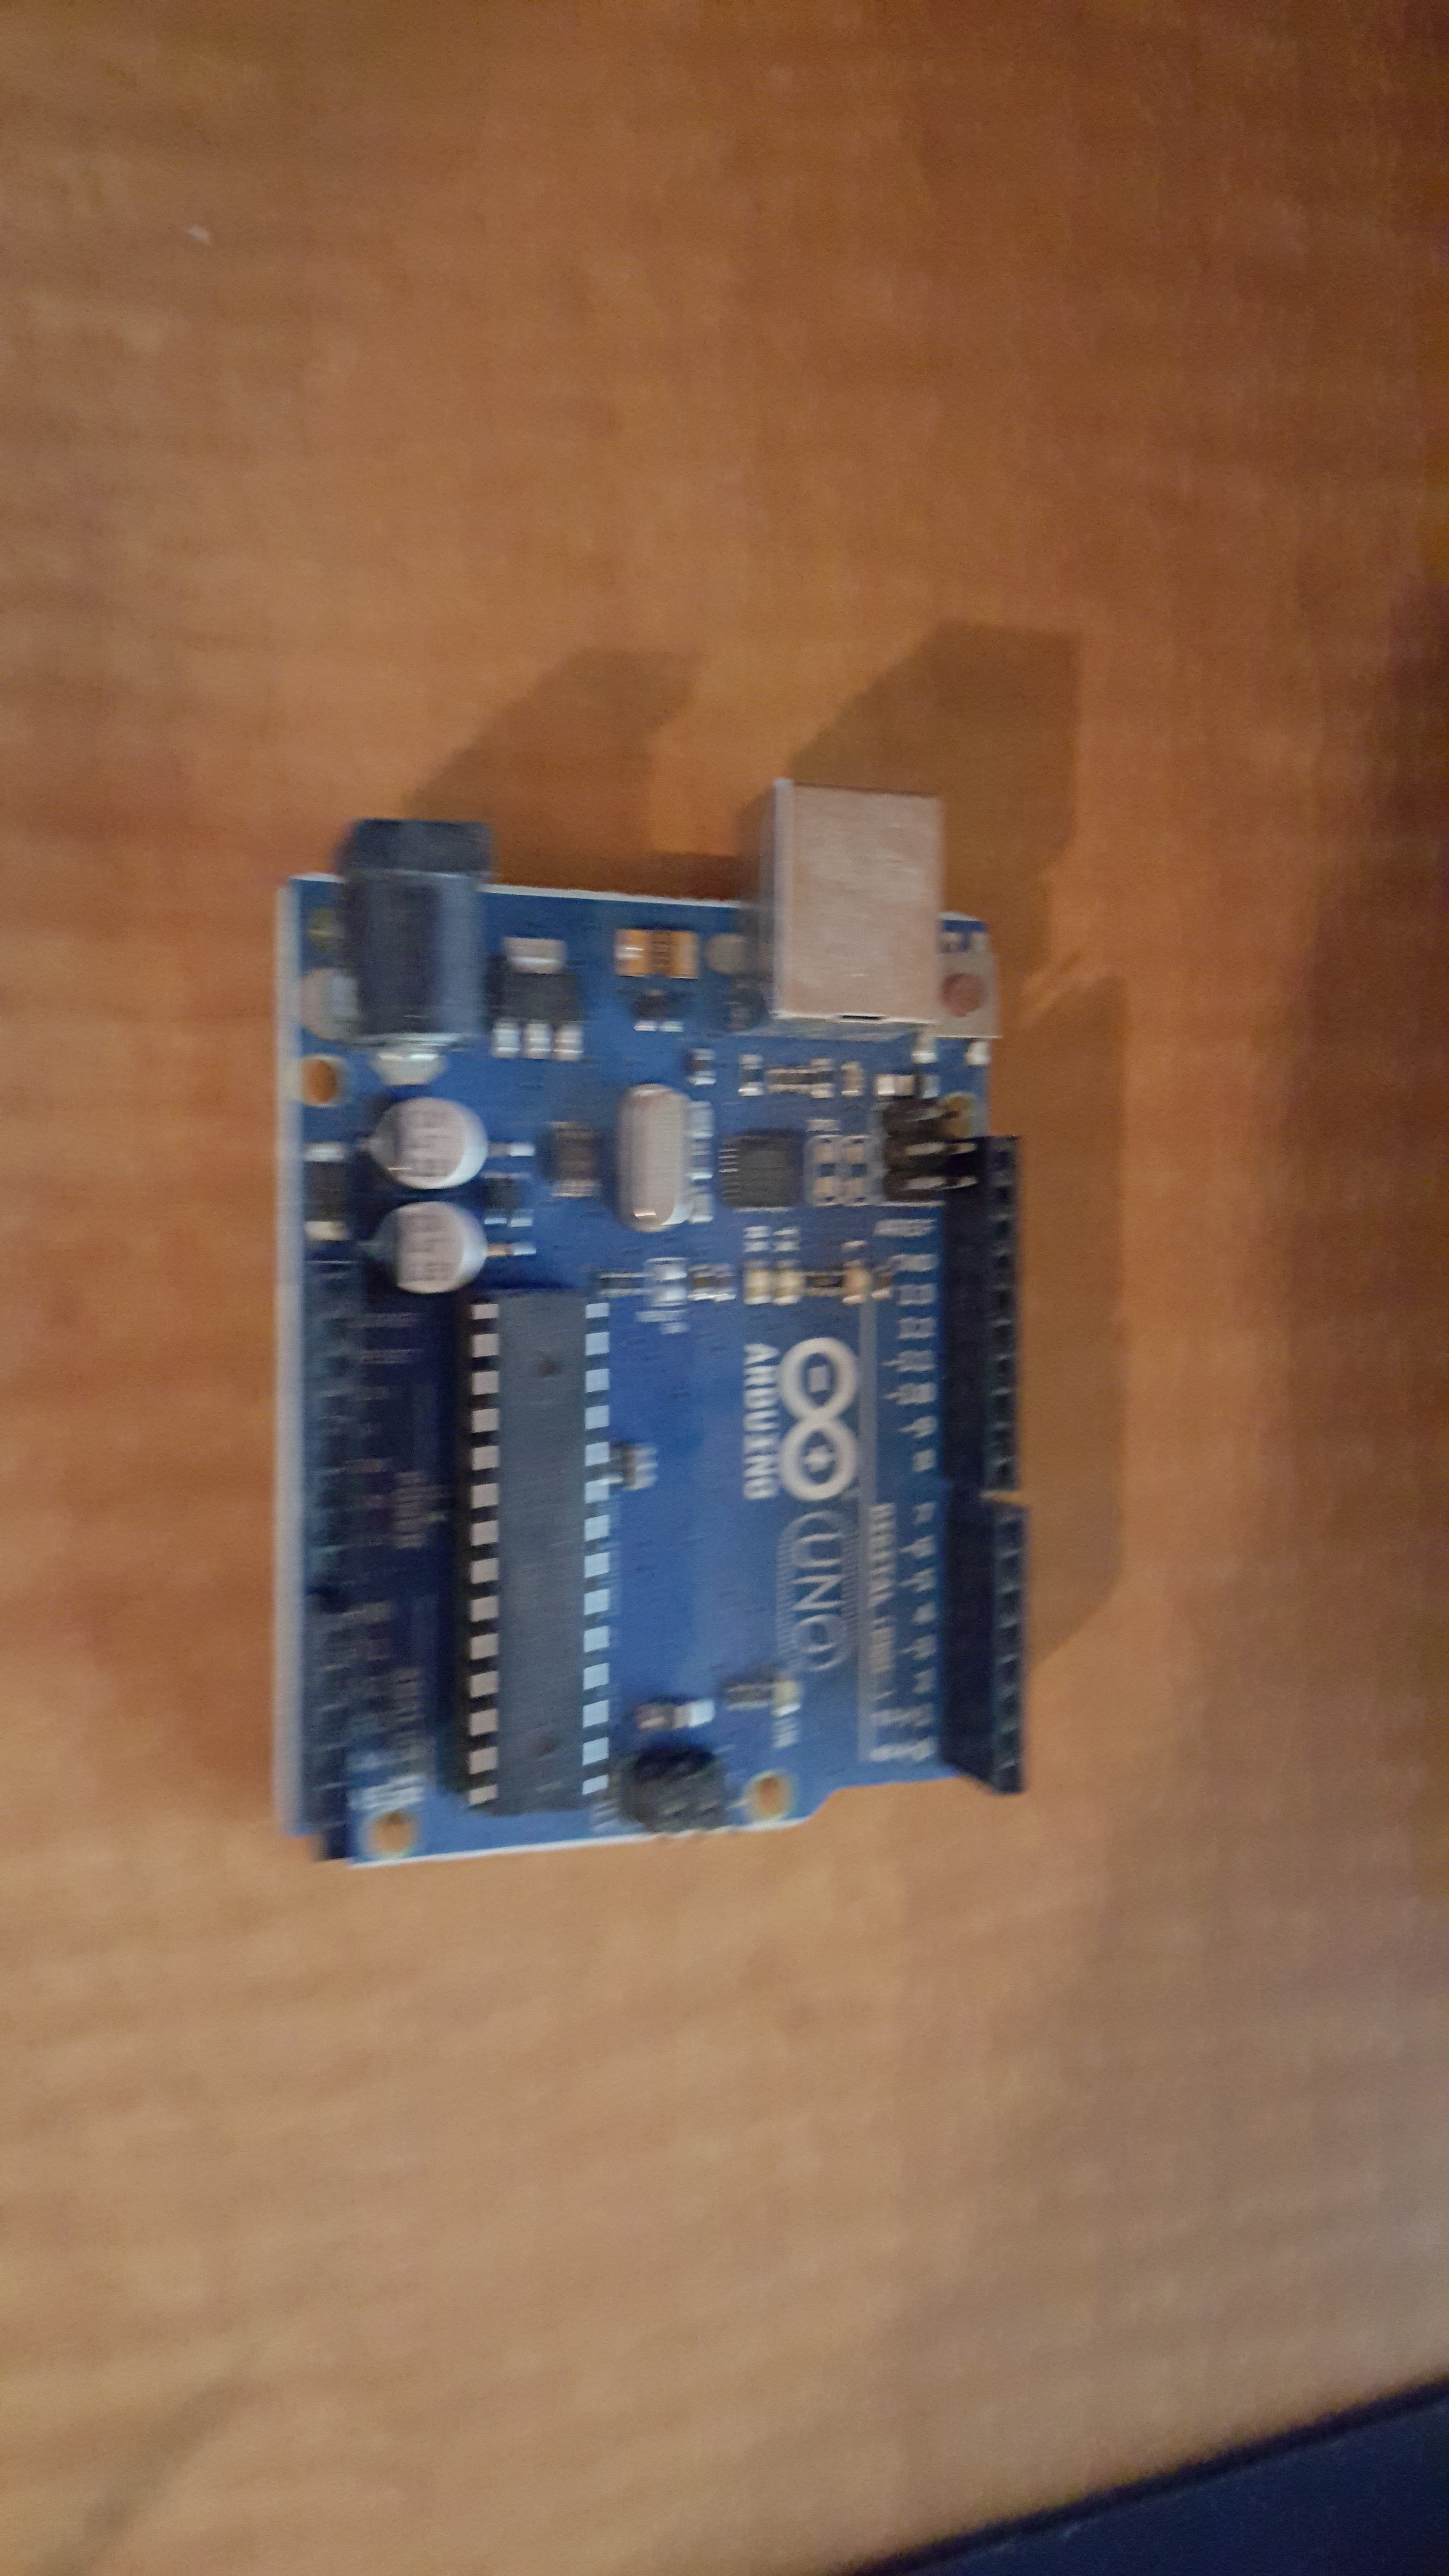
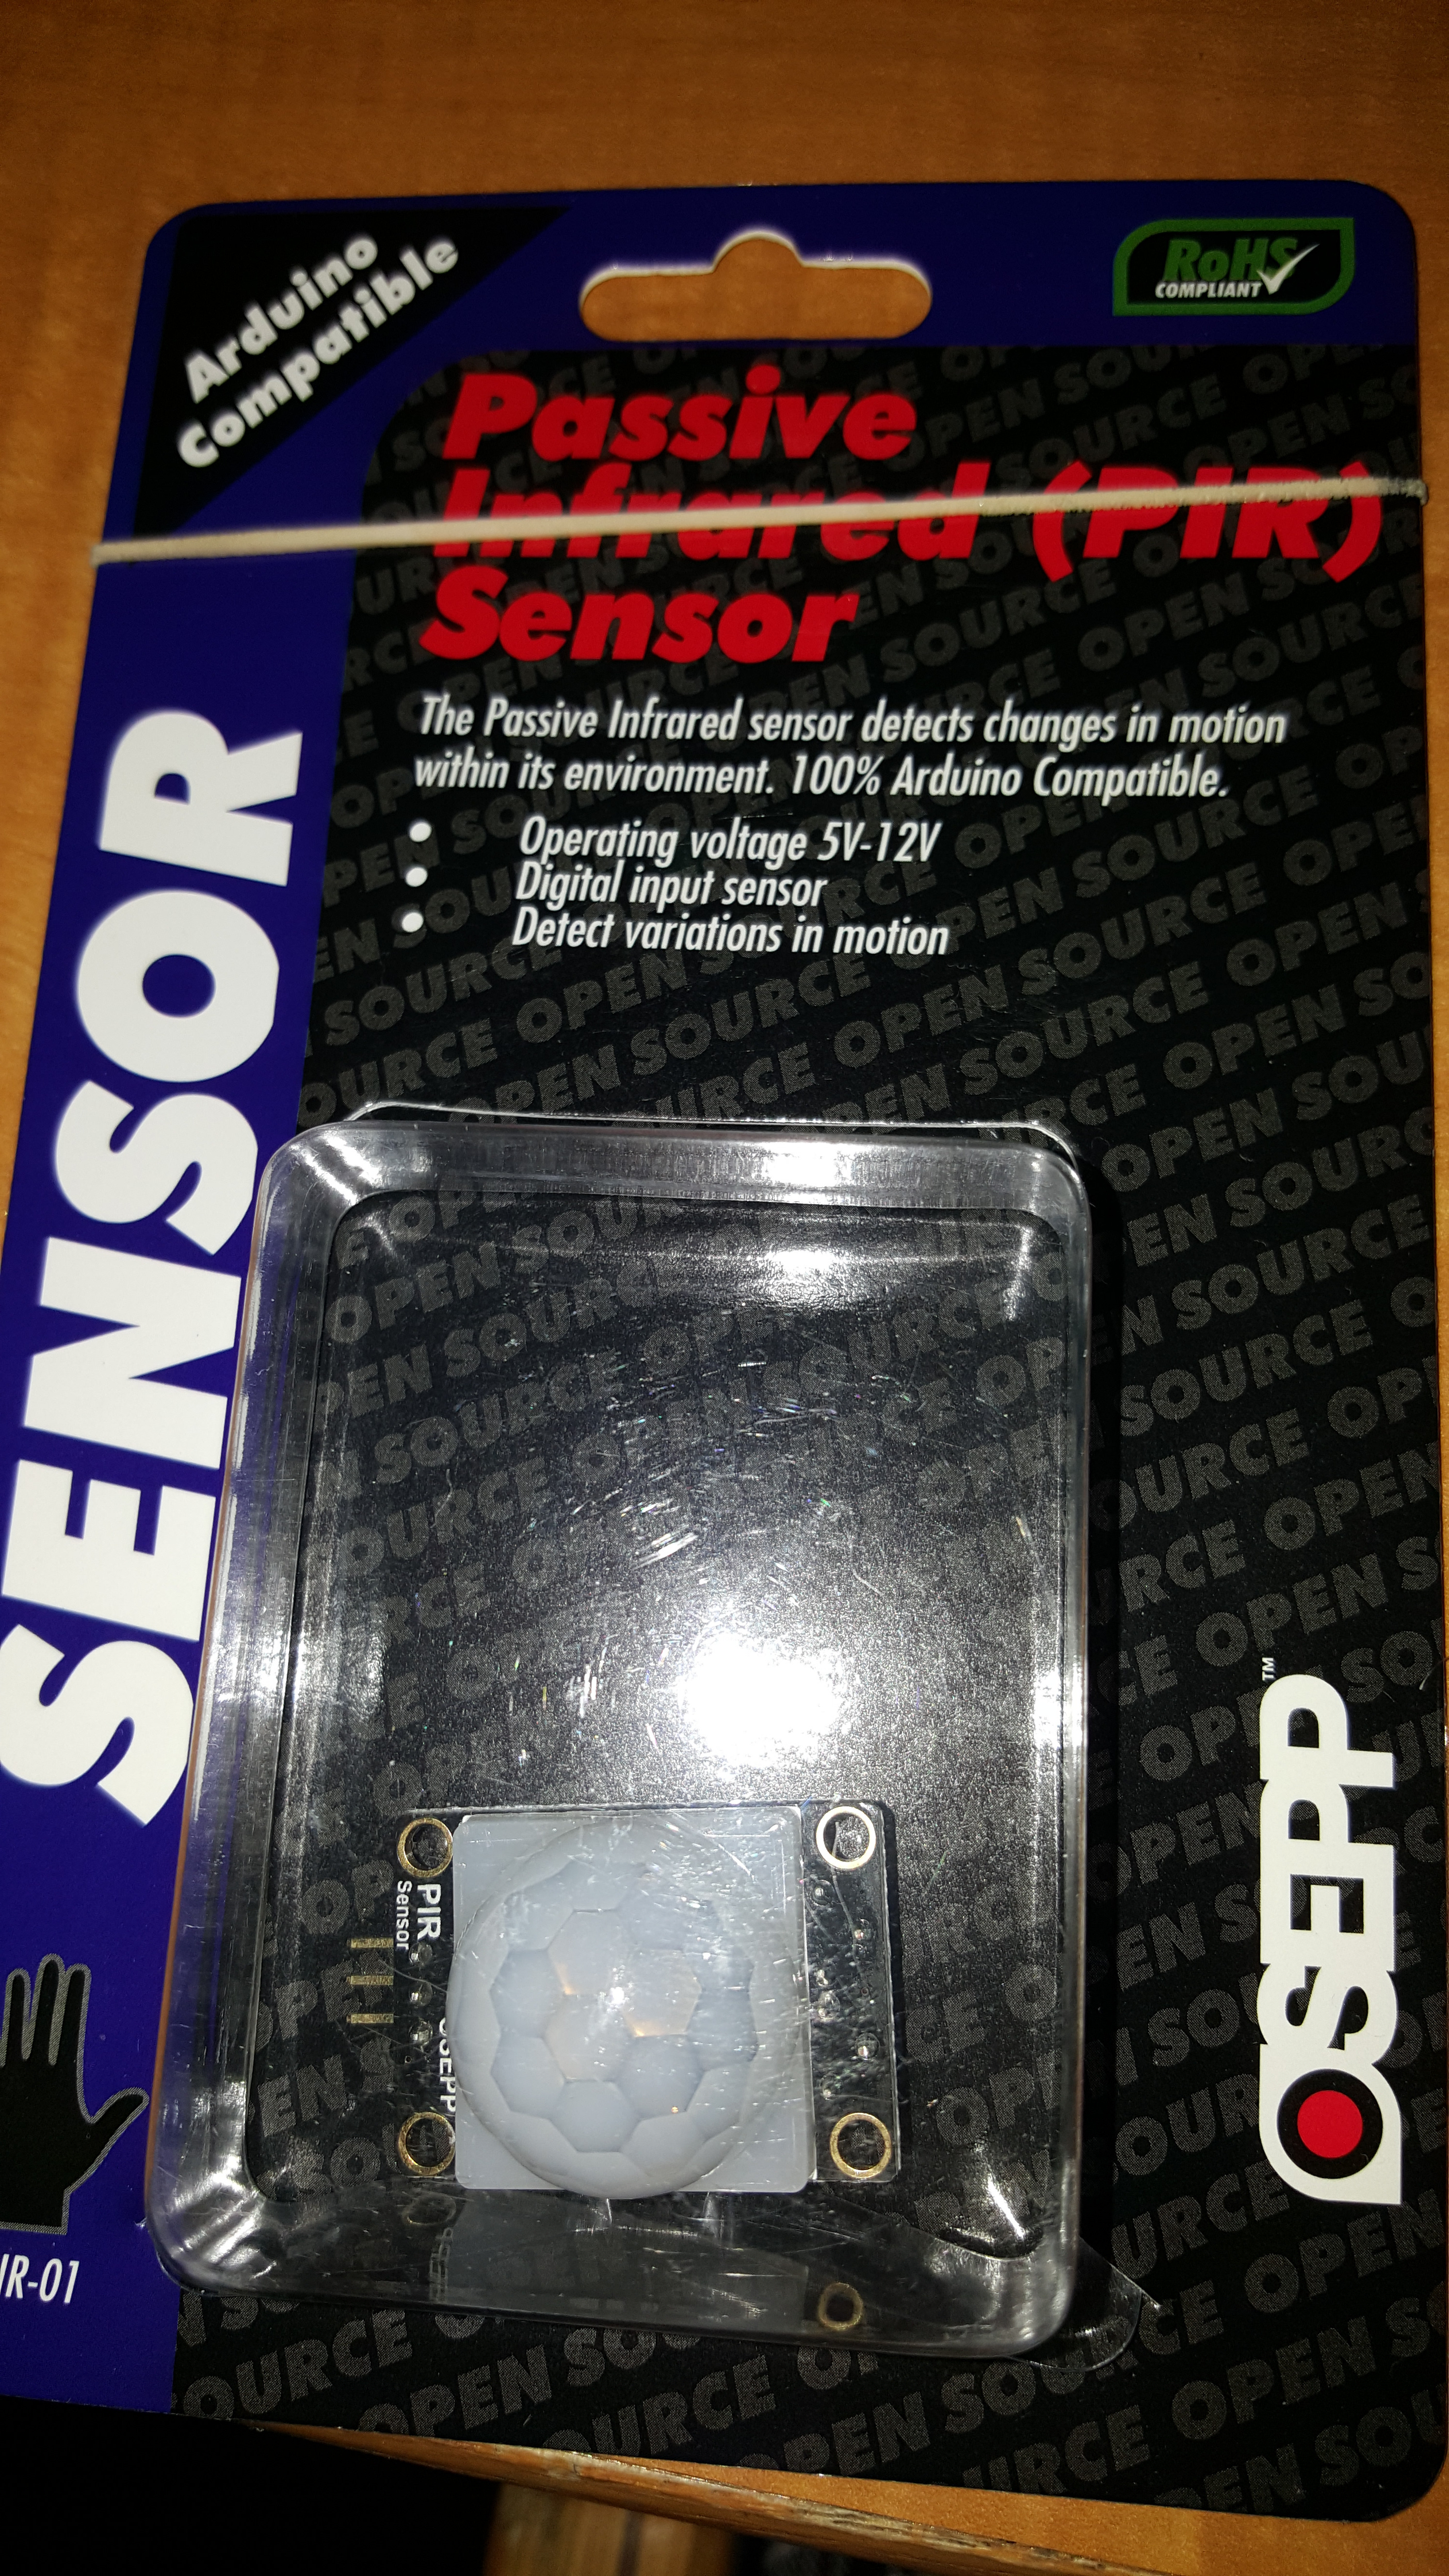
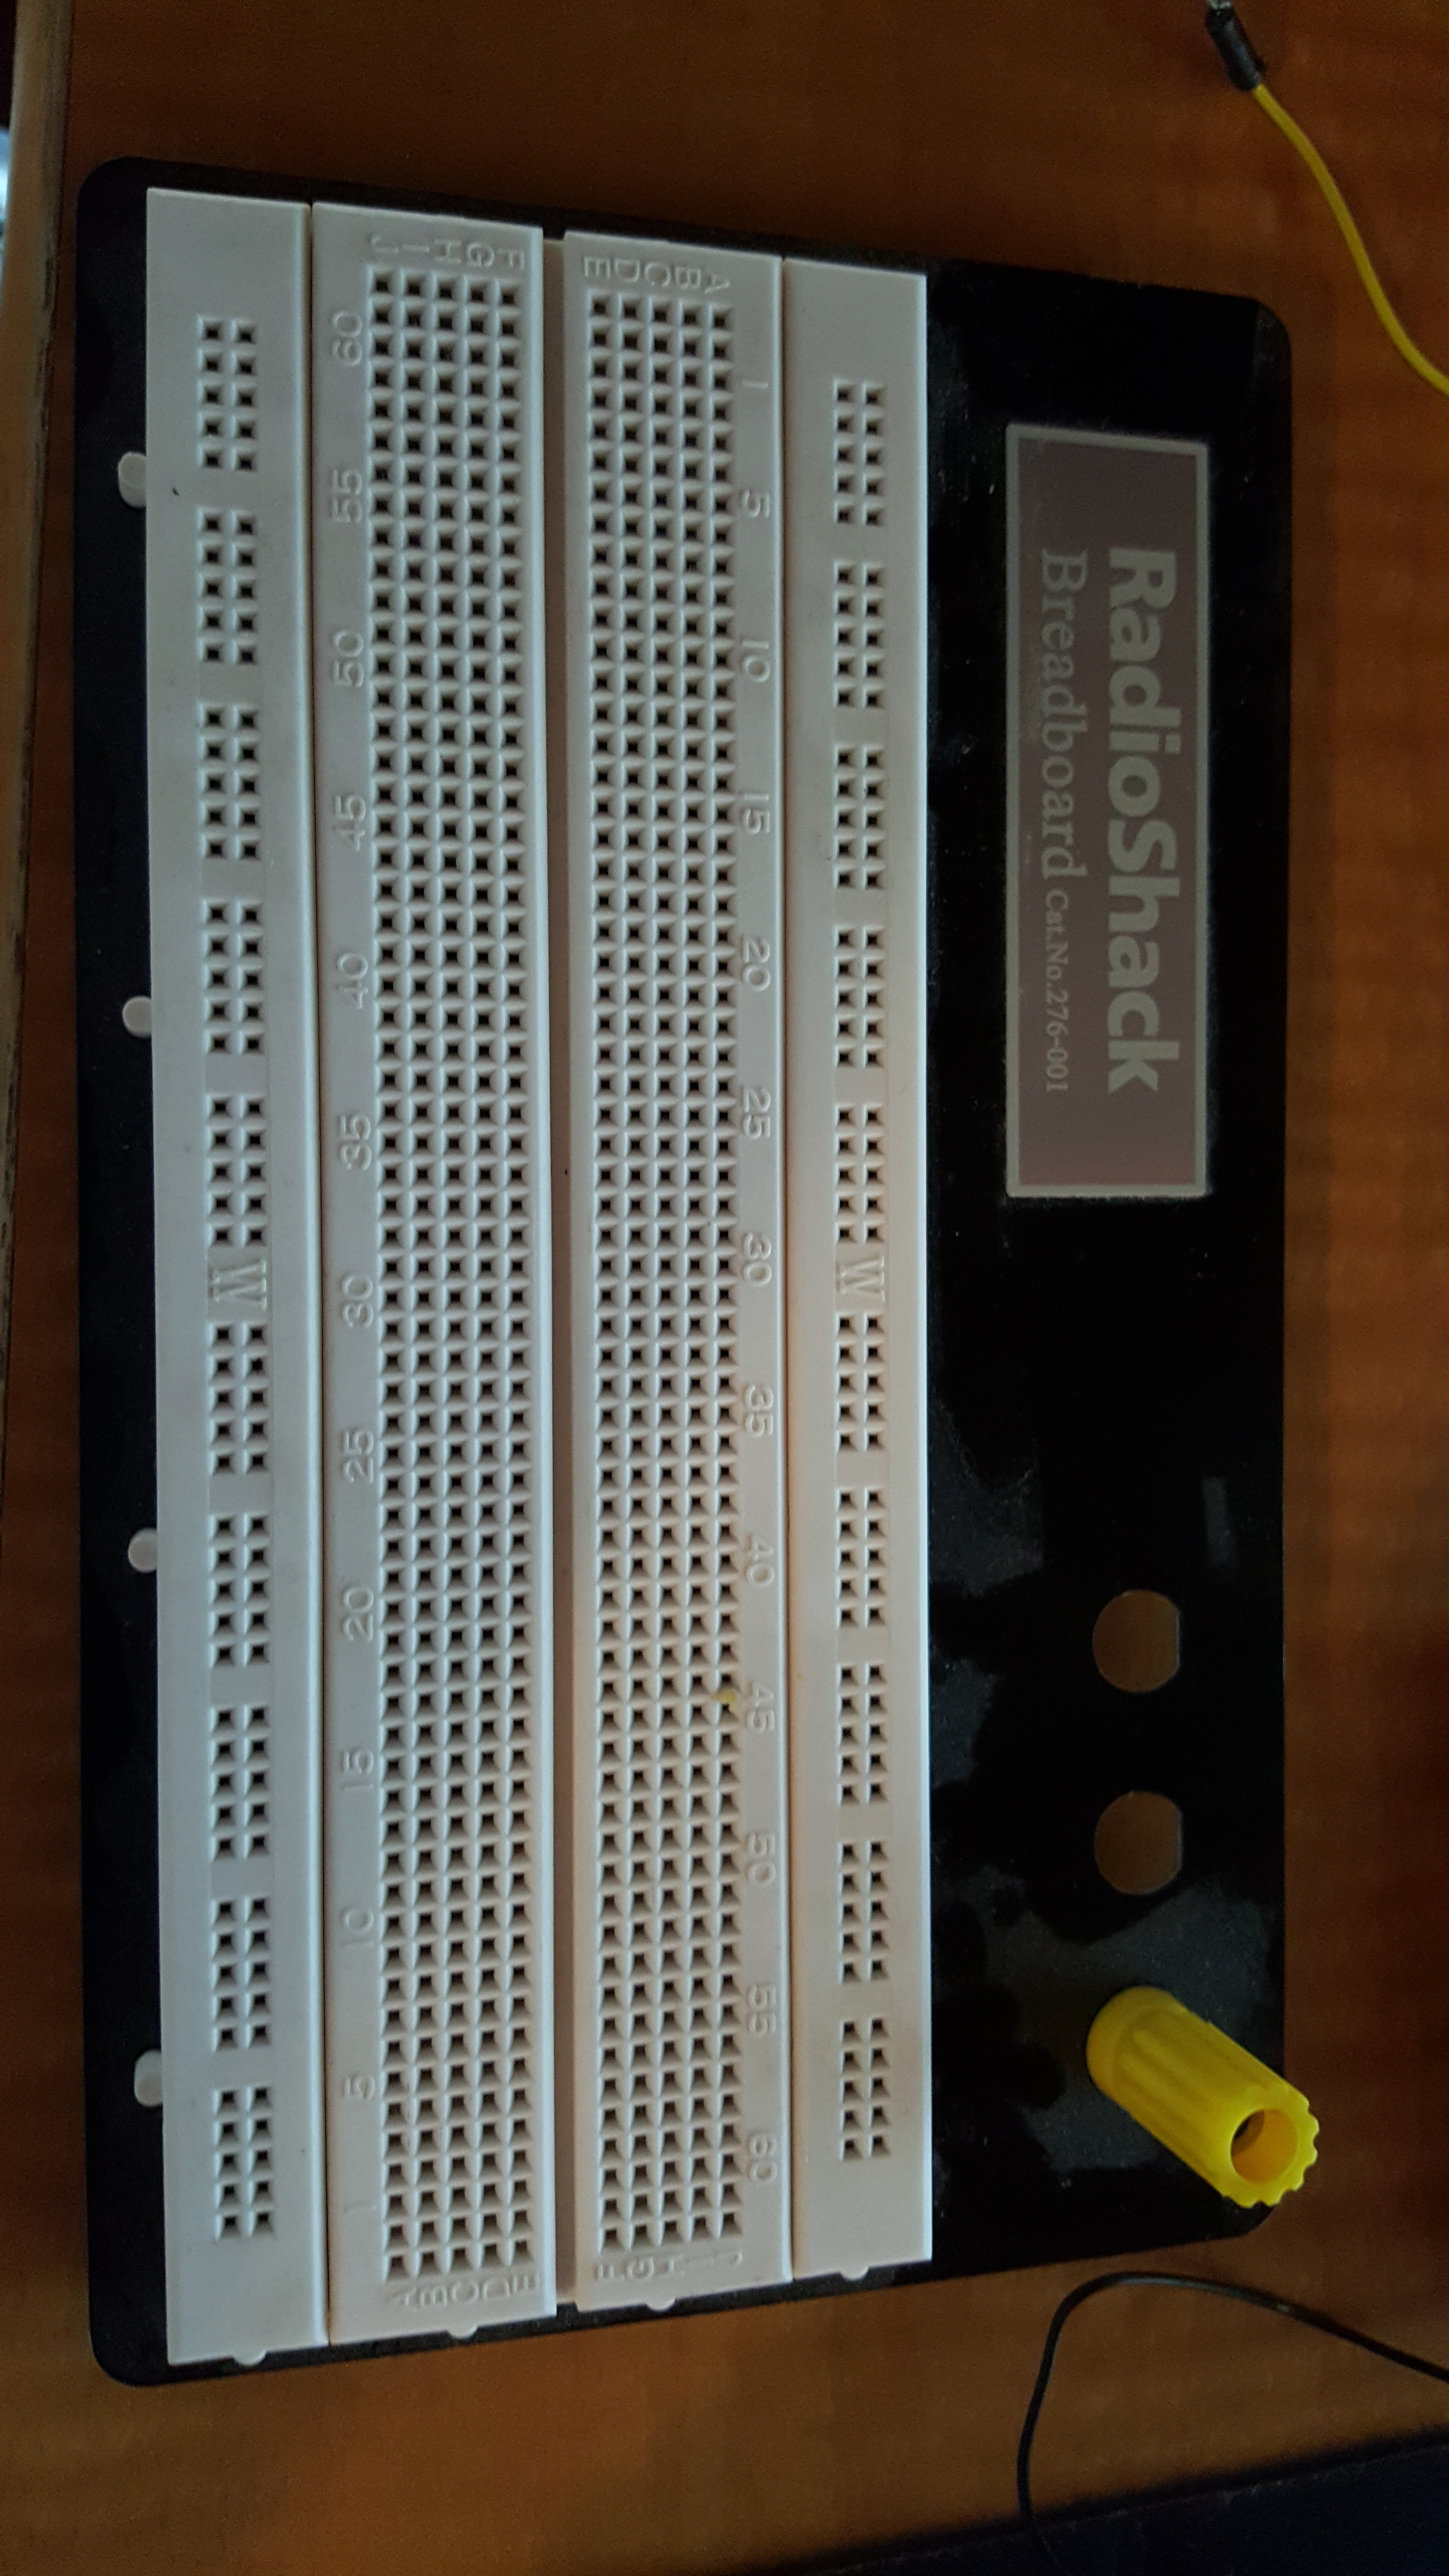
As always, the first step in anything (as long as you already made a plan) is to gather the materials needed for your project.
For this project I used:
Arduino Uno : www.arduino.cc
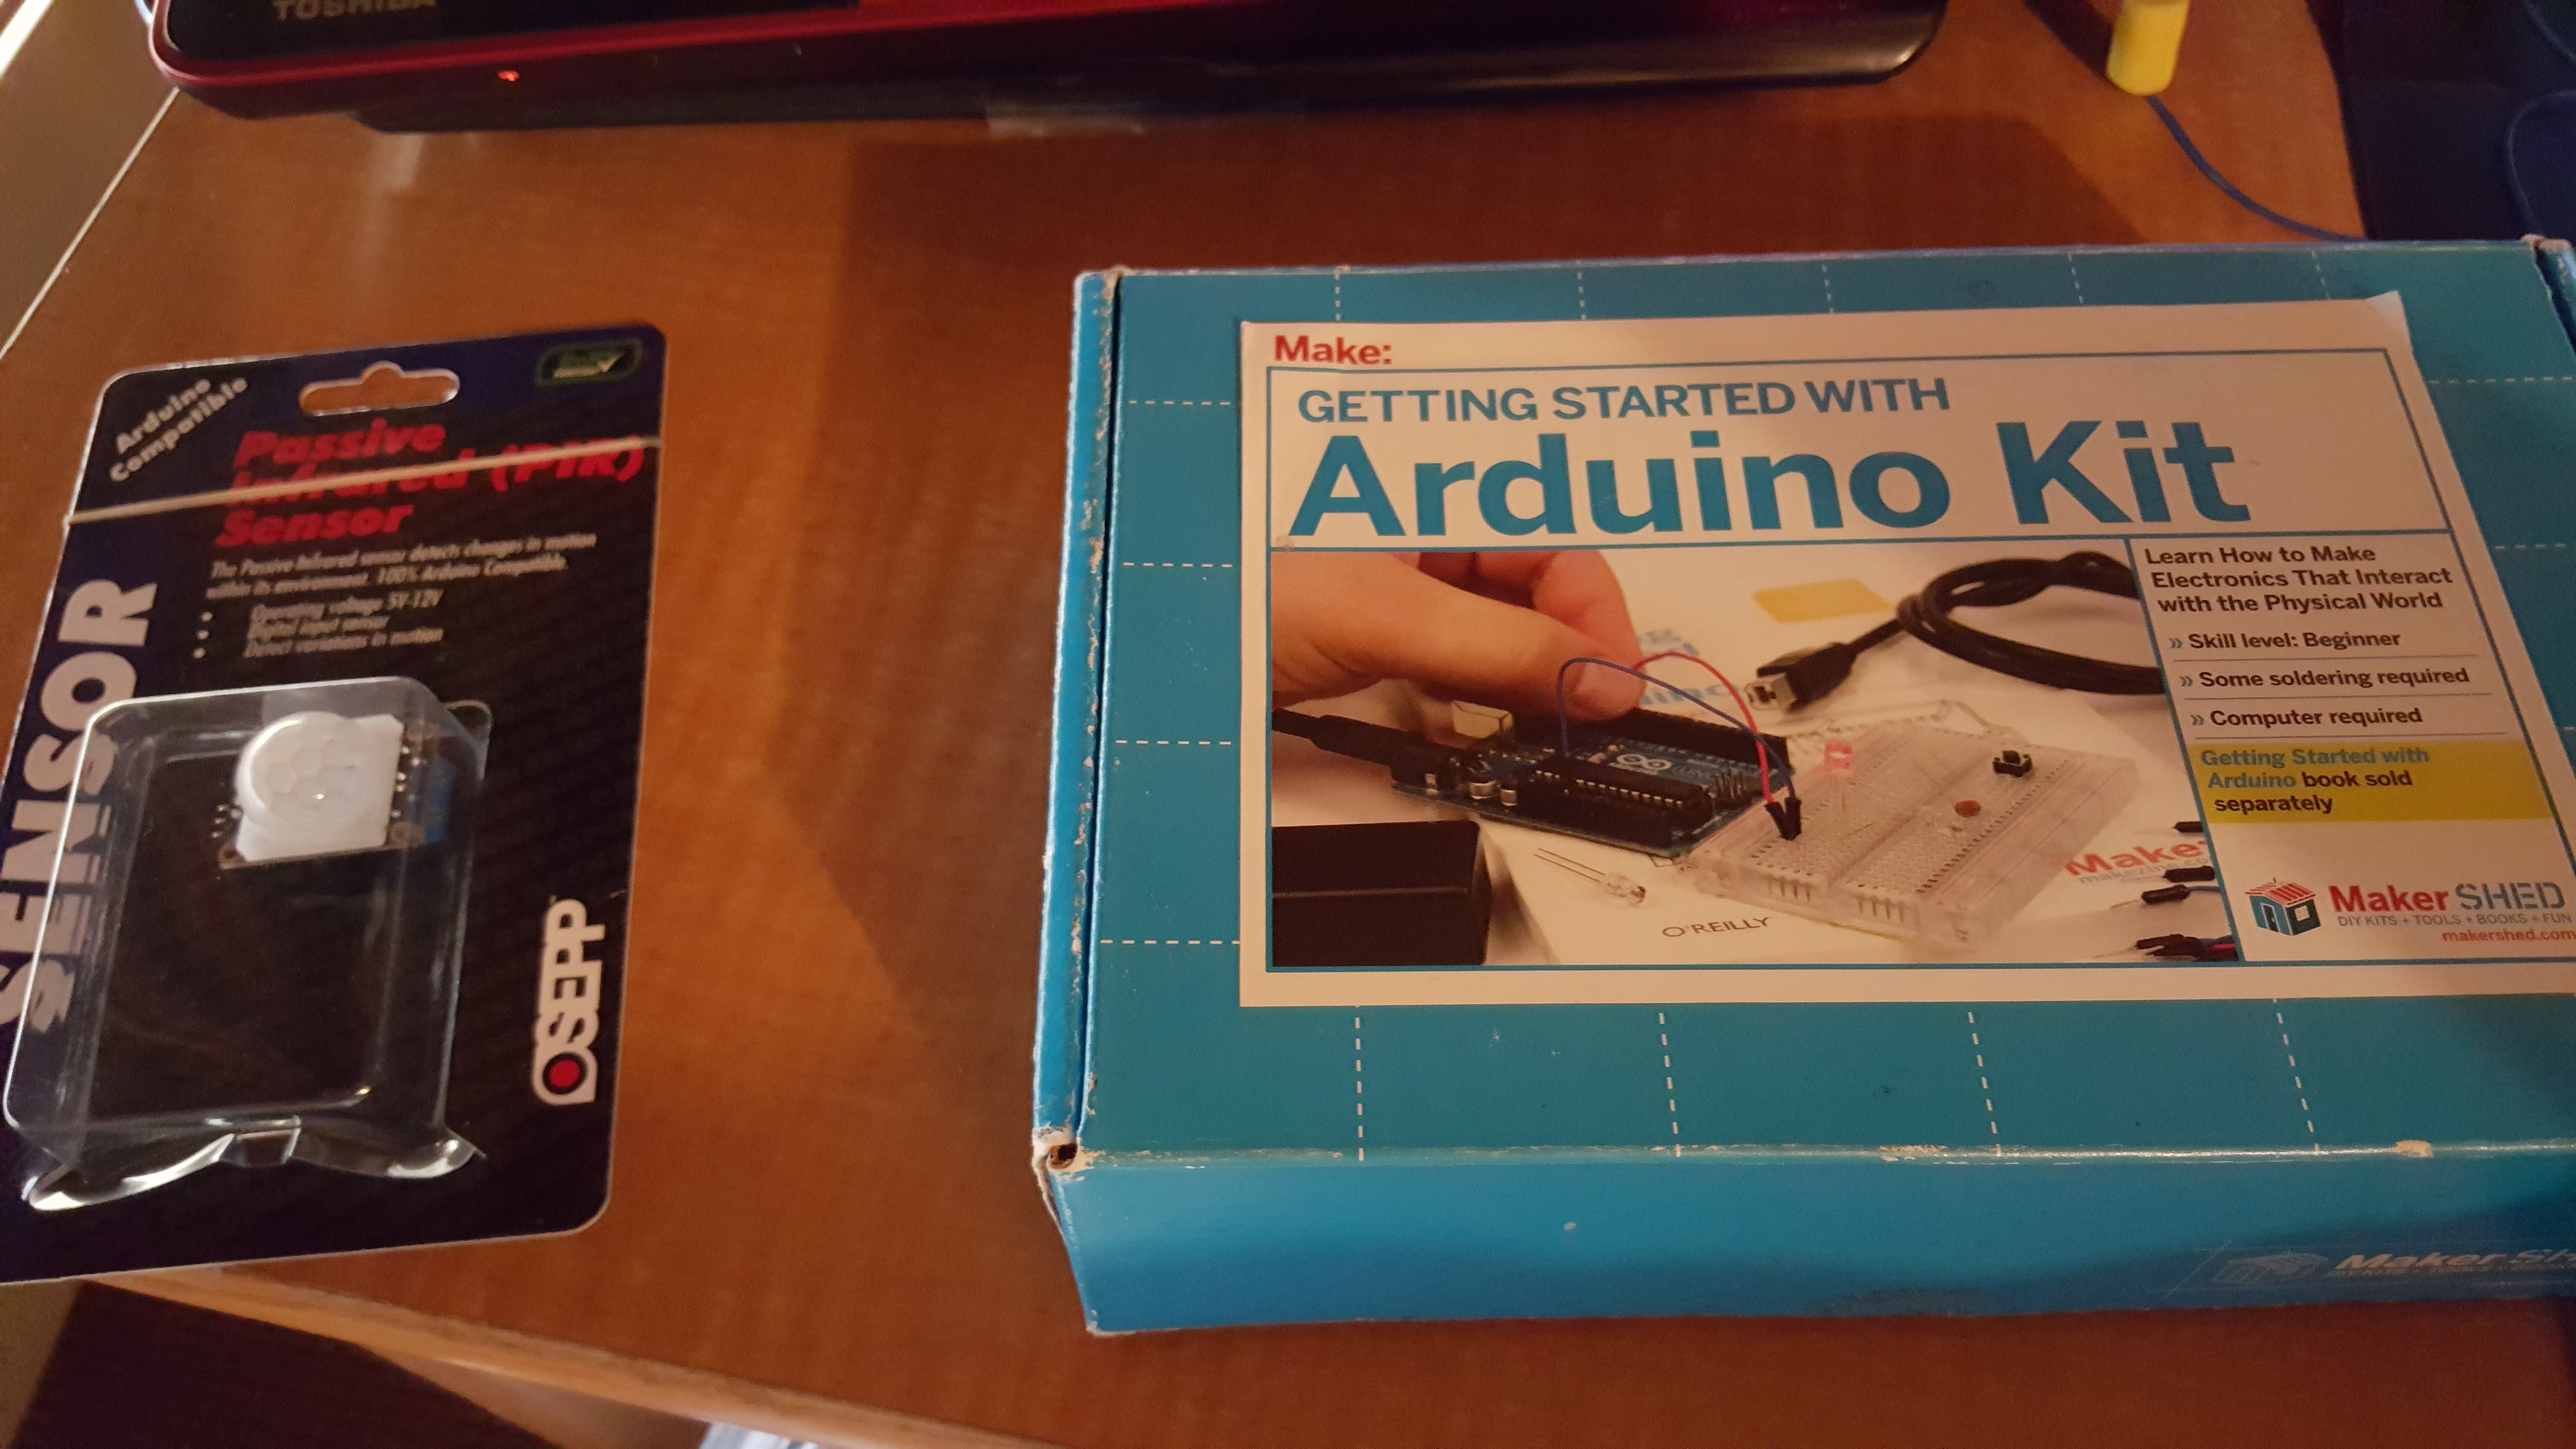
OSEPP PIR Sensor: http://osepp.com/products/sensors-arduino-compatib... (I picked mine up at Frys)
Bread Board
Jumper Wires
PC/Laptop: For uploading Sketch to Arduino Uno (I also use mine to power my Arduino)
Now that we have our materials, let's take a closer look at the PIR
PIR Sensor
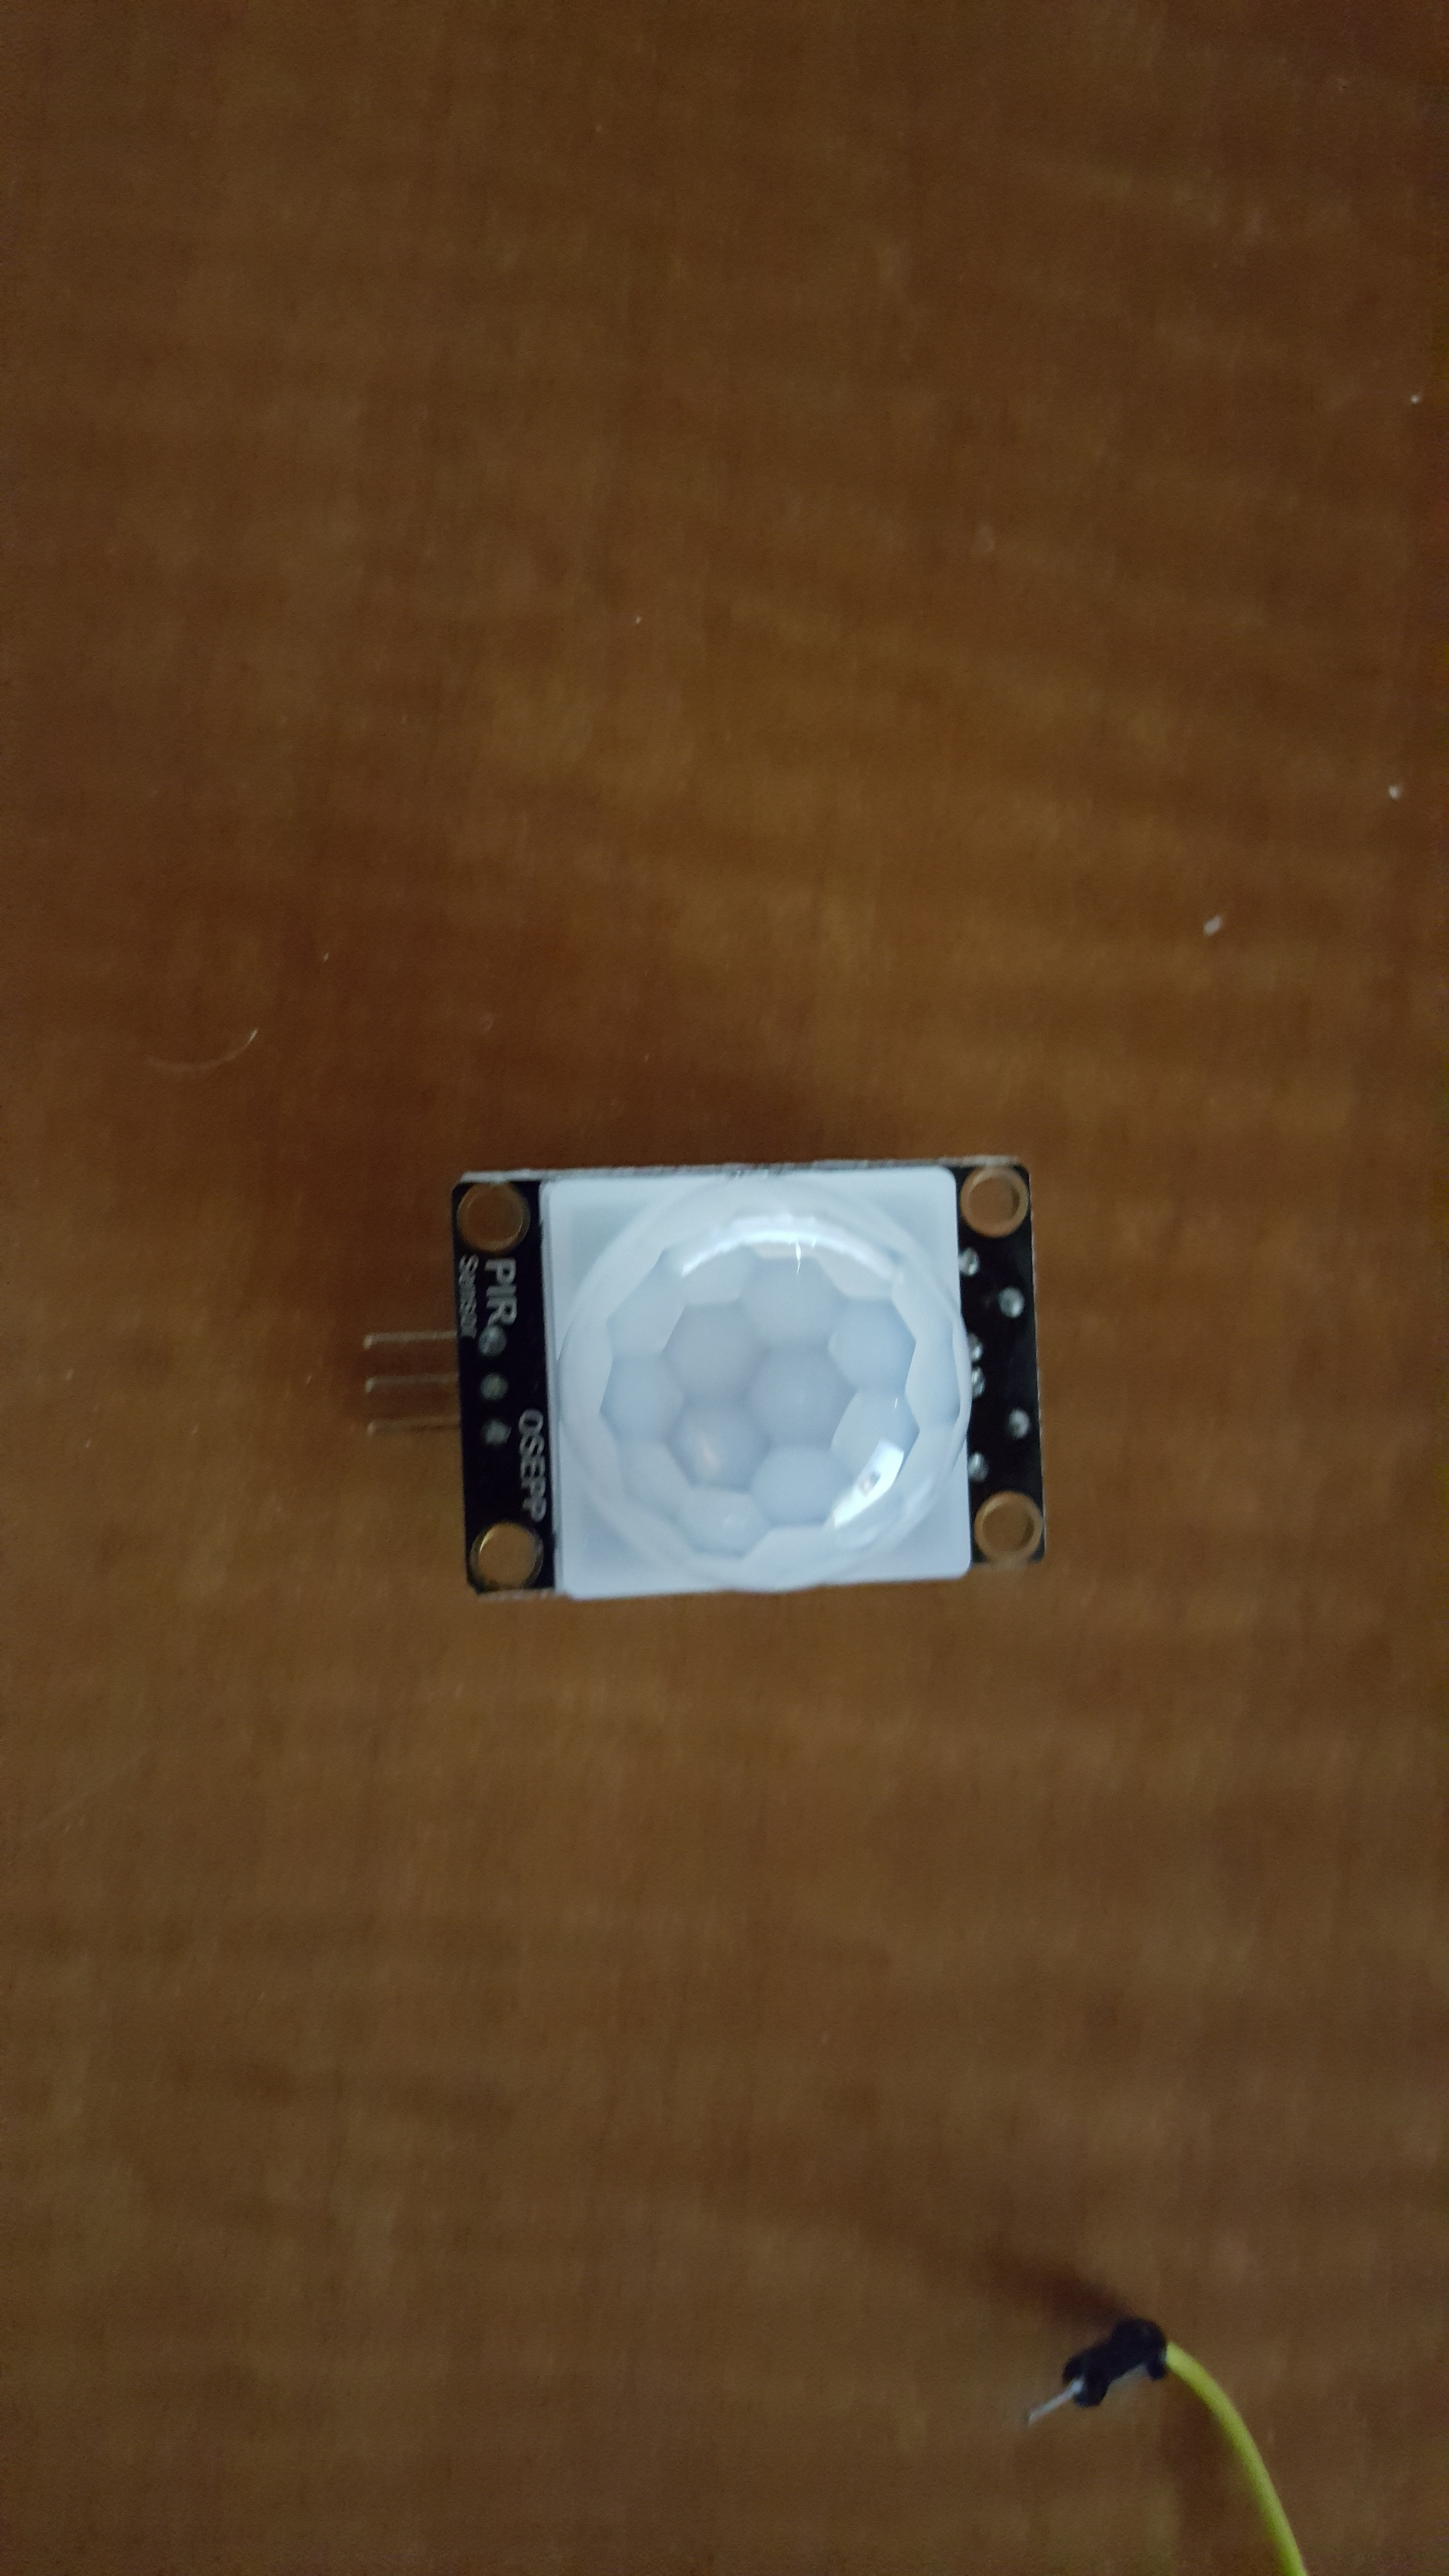
After we take our sensor out of the package, we can see that it is fairly simple:
- Has the main sensor on the board
- 3 pins: Ground, Voltage In, Signal
It is important to note that this sensor is a DIGITAL sensor, unlike the Flame Sensor from our last project (
https://www.instructables.com/id/Arduino-Uno-Flame-... ), which is ANALOG.
Simply put:
An ANALOG sensor has a wave of different outputs/inputs
A DIGITAL sensor has (2) states - On and OFF
Think of your car radio/stereo:
The volume control knob INCREASES and DECREASES the volume through an ANALOG signal
The power button turns the stereo ON or OFF
Putting It Together - Mechanical
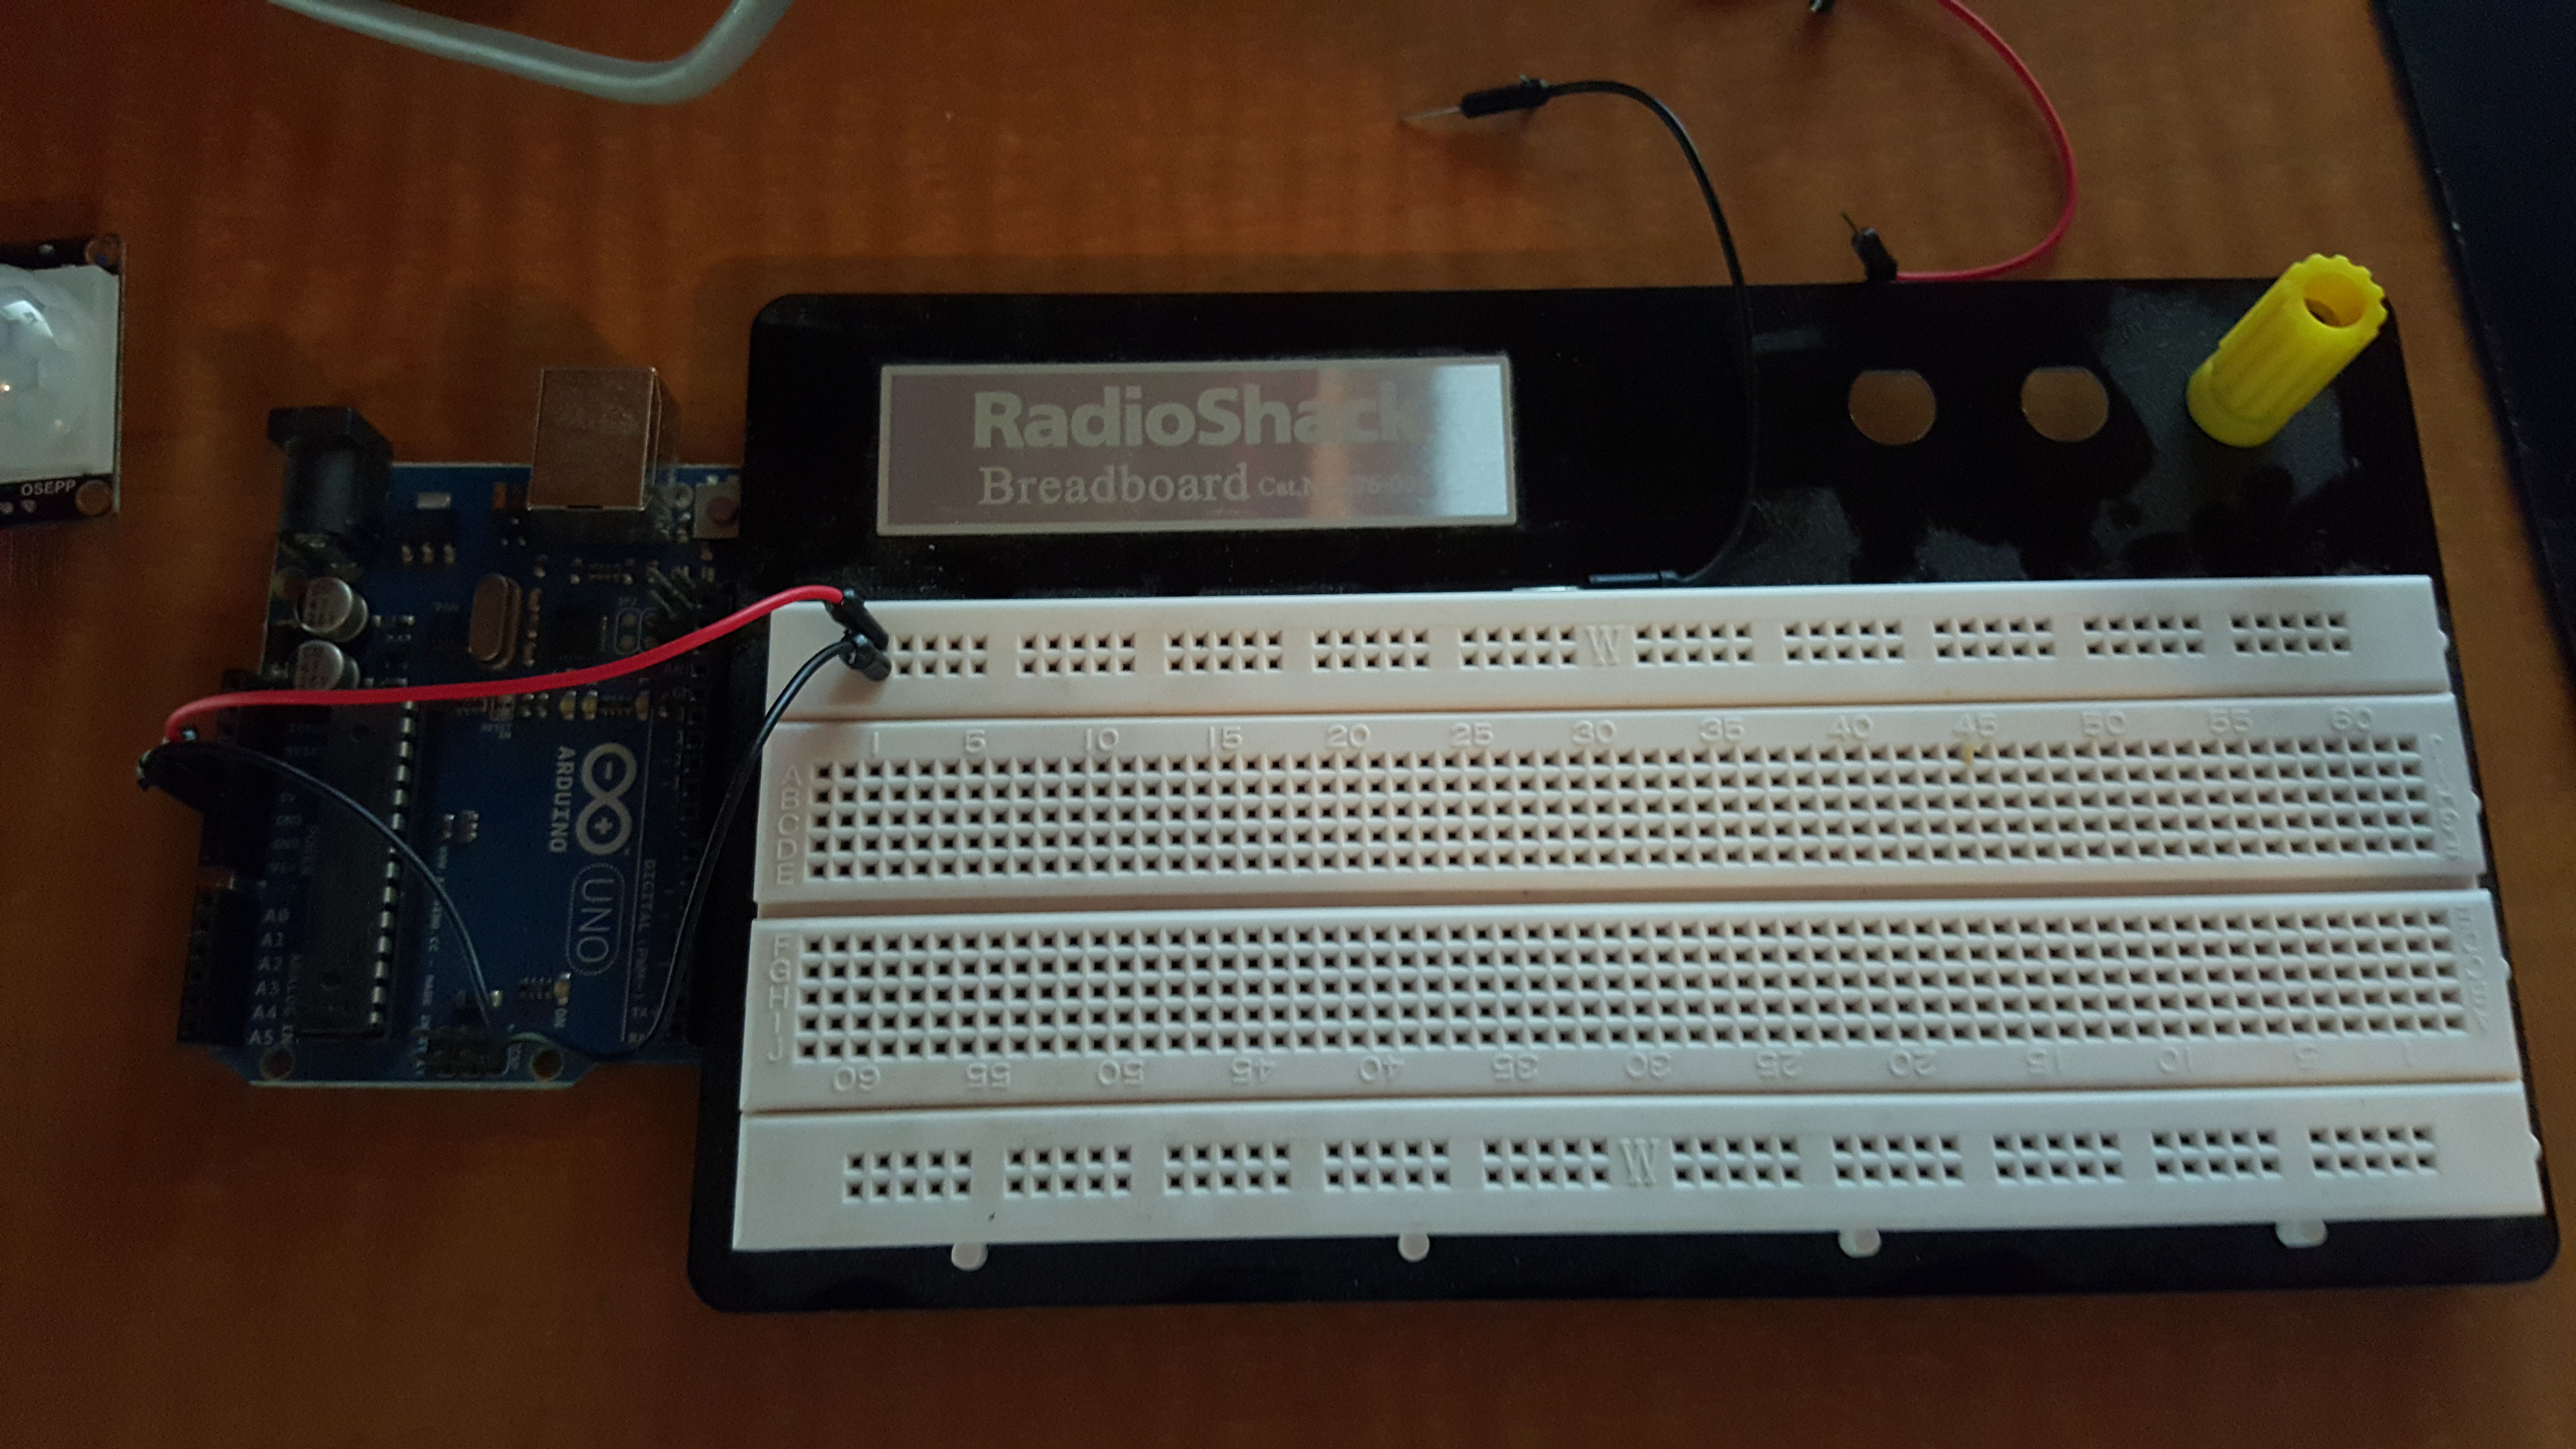
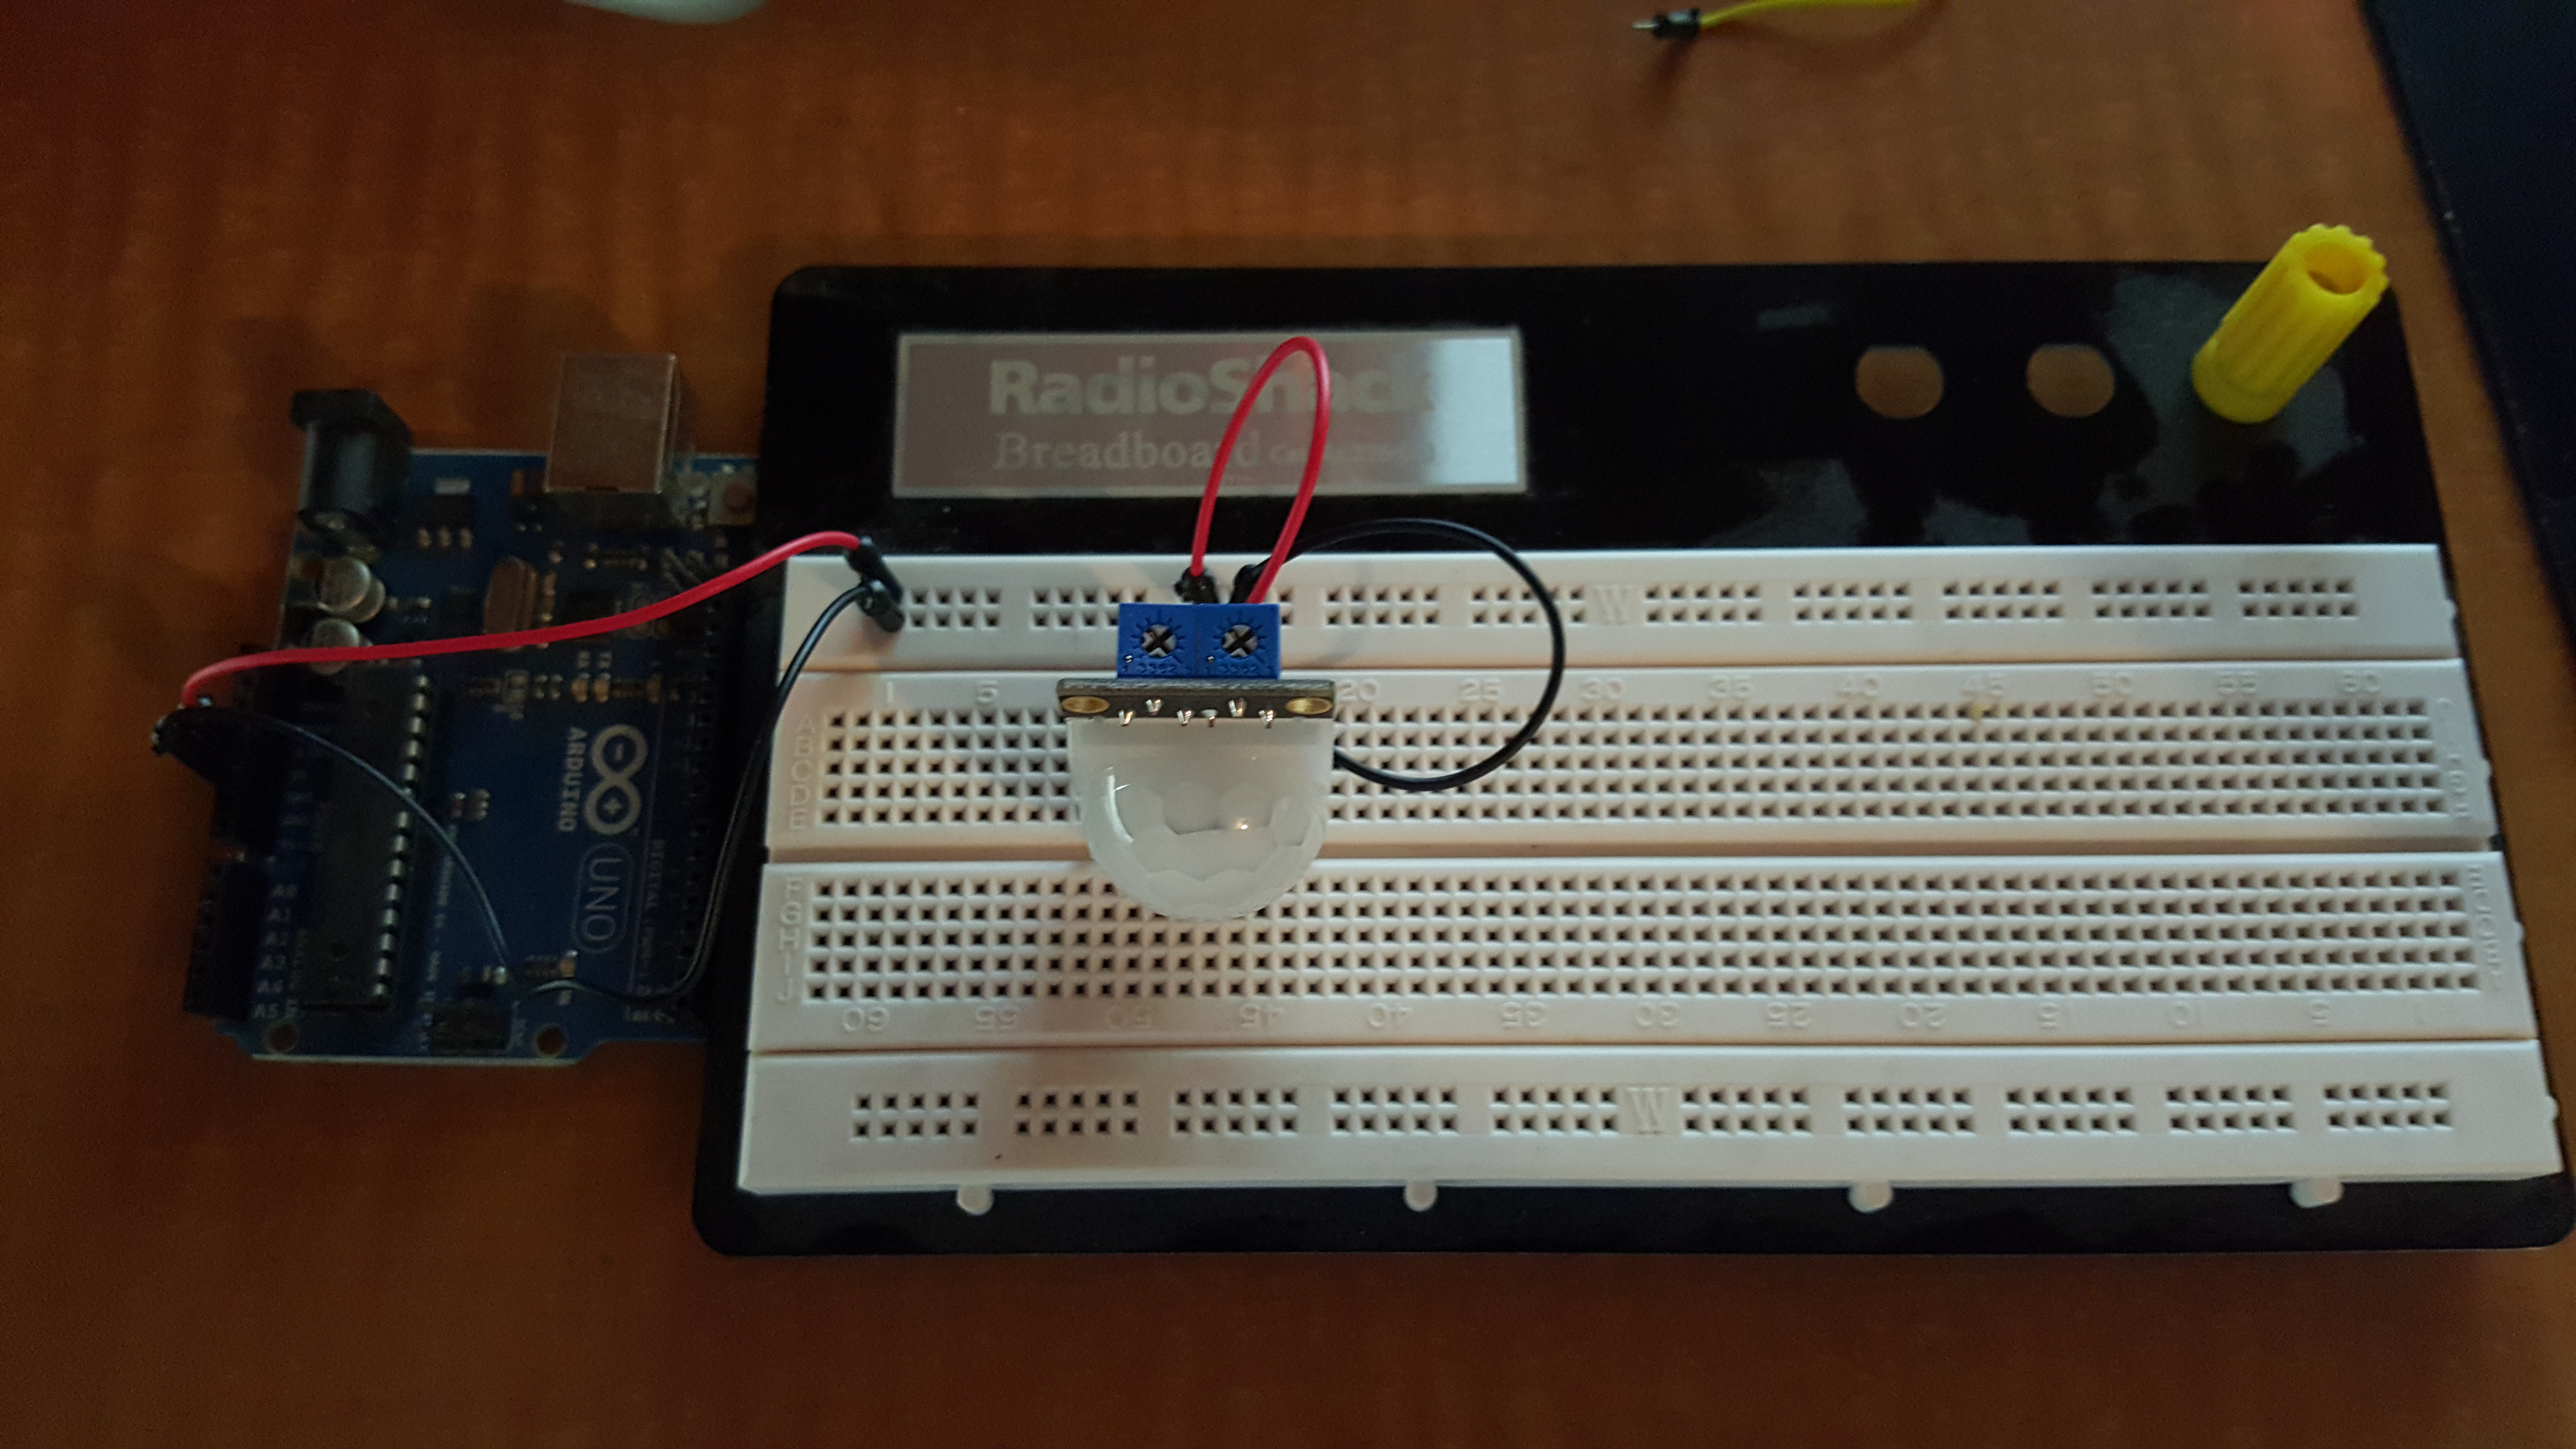
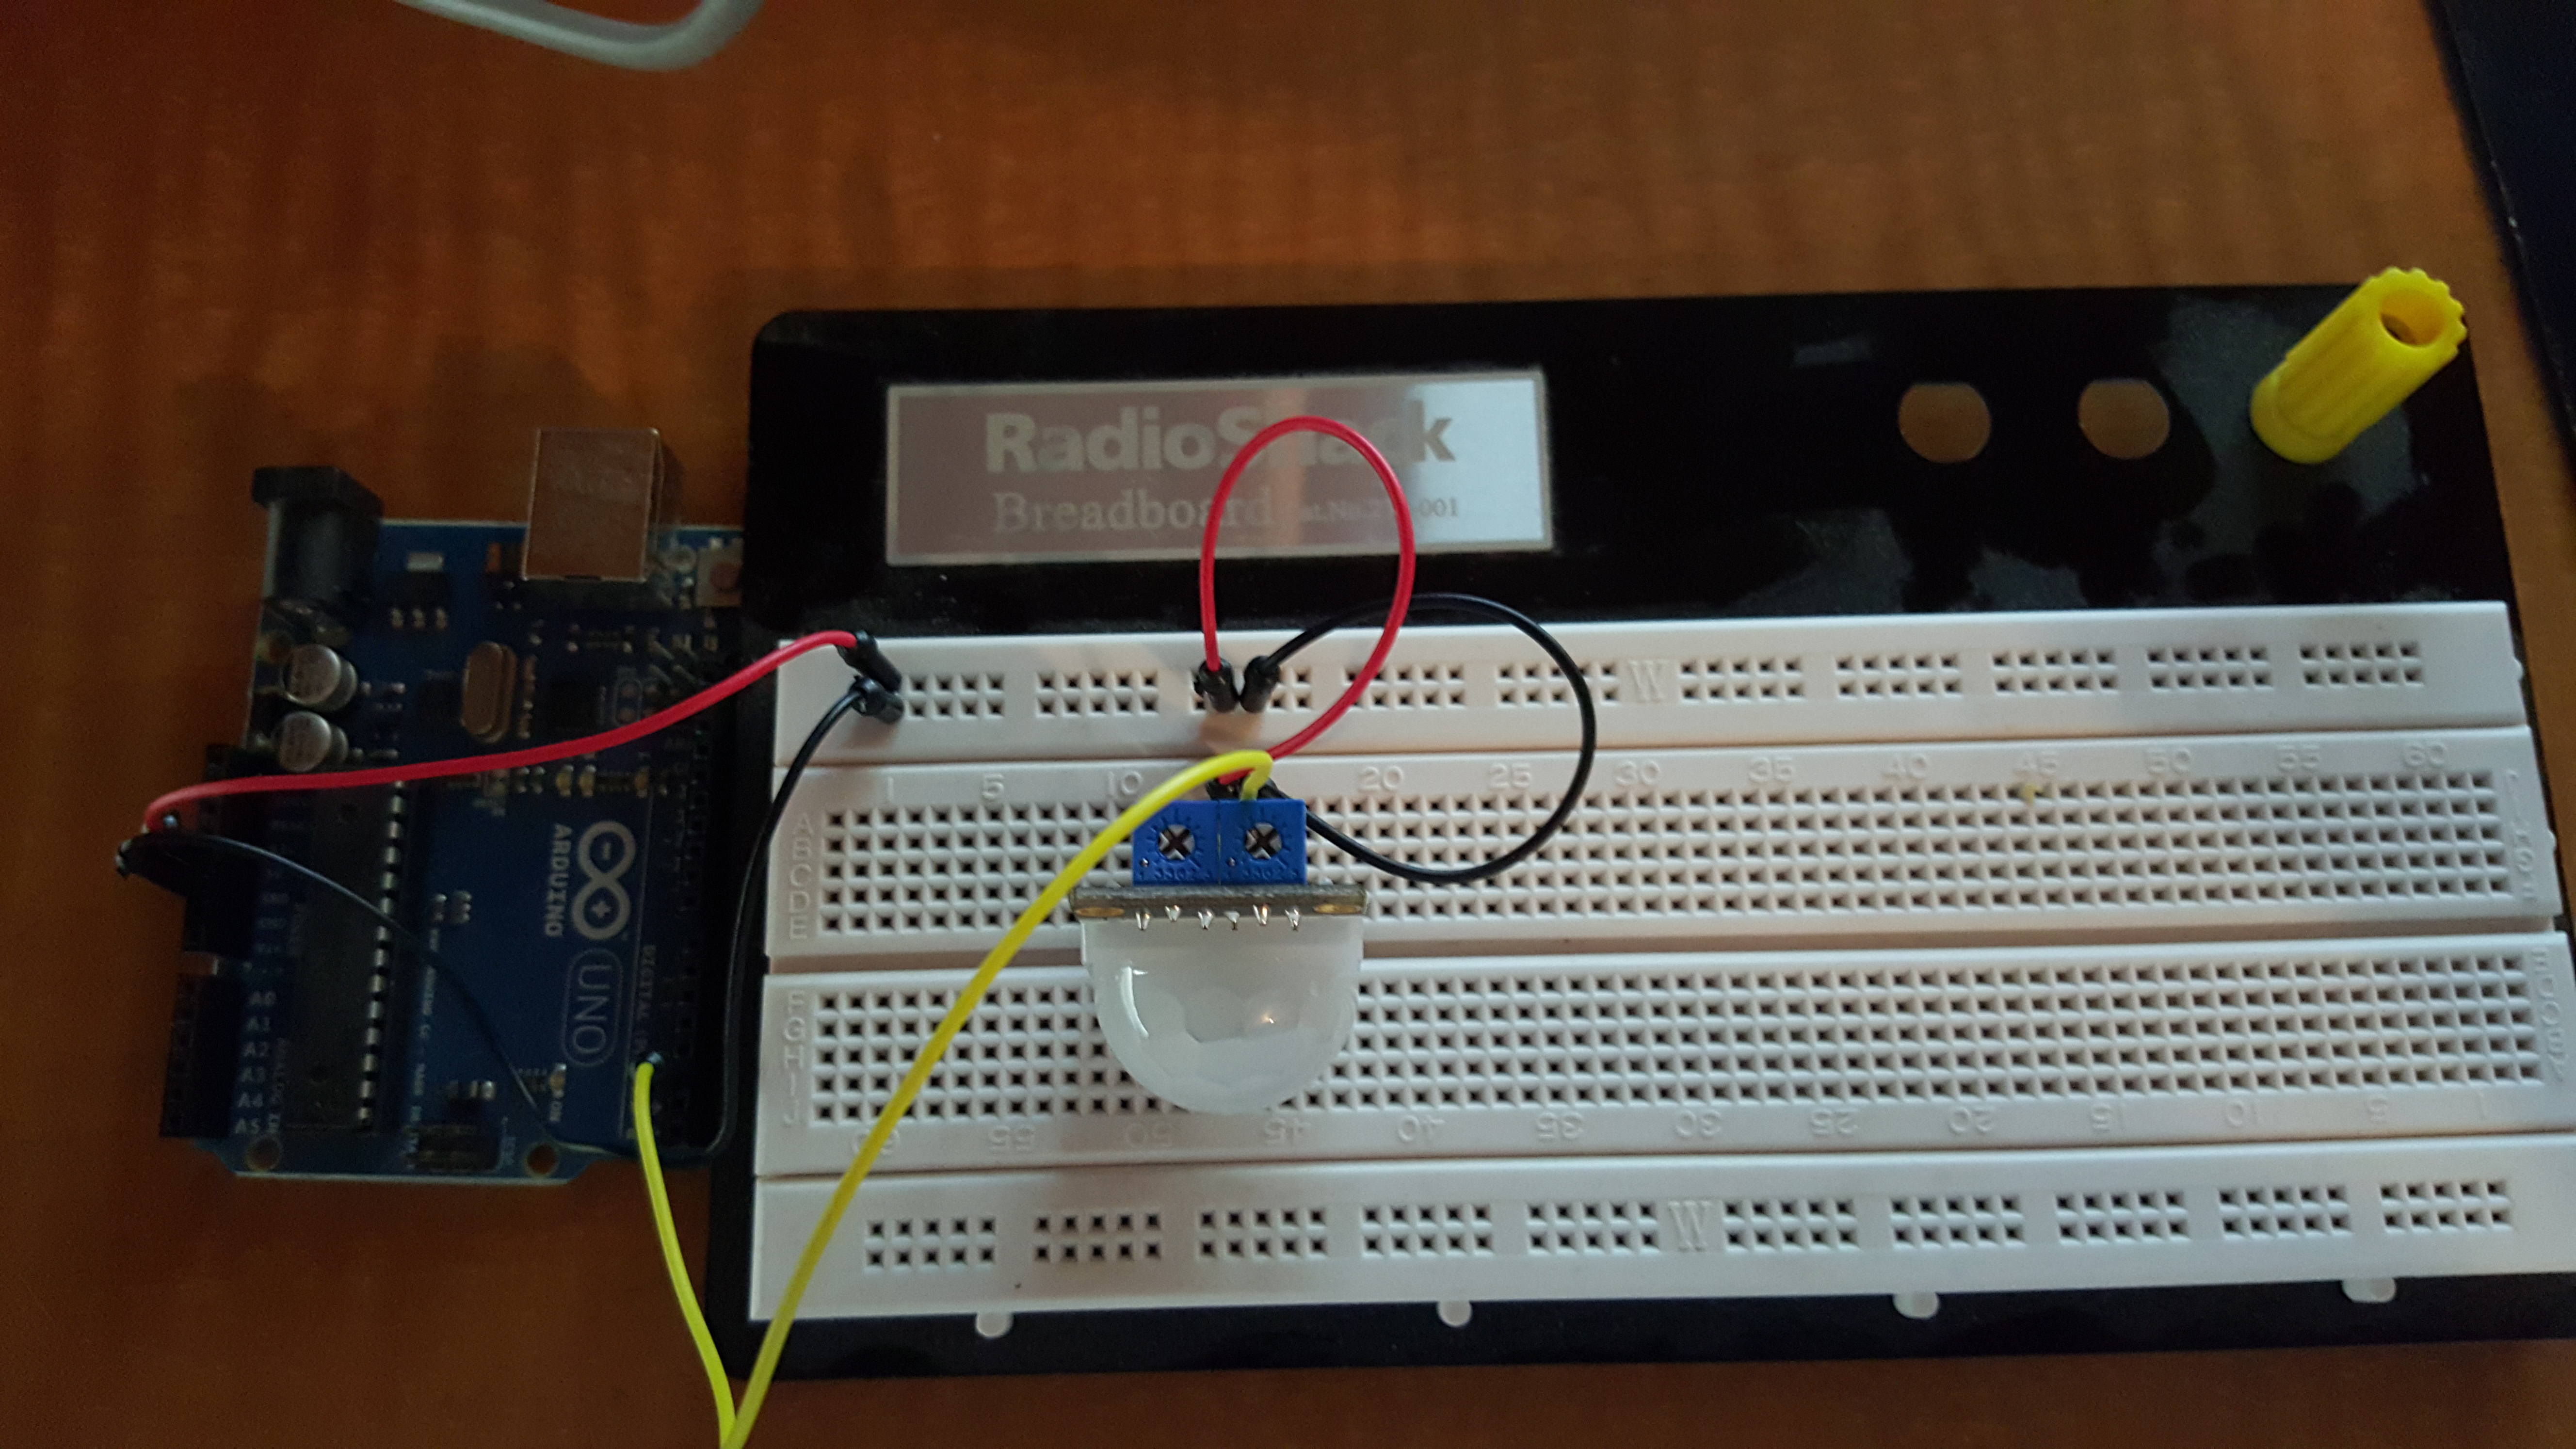
Now we will assemble our components.
First, I attach power from the Arduino Uno to the Bread Board
Next, I attach the sensor to the Bread Board and Jumper Positive and Negative power to it
Lastly, I jumper the Signal terminal to the Arduino Uno (I used Digital 2)
If I were building a circuit, I would not use so many jumpers; however, since this is mainly a trial run, I like to keep the power and sensor wiring as far apart as possible.
Let us look at the code next...
Putting It Together - Code Time
Here is a simple sketch I made to illustrate the use of the PIR:
int ledPin = 13; //Onboard LED
int inputPin = 2; //PIR Pin
int inputValue = 0; //Value for PIR sensor

void setup(){
  pinMode(ledPin, OUTPUT); //LED is OUTPUT
  pinMode(inputPin, INPUT); //PIR is INPUT
  Serial.begin(9600); //Serial COM
}

void loop(){
  inputValue = digitalRead(inputPin); //Read the PIR INPUT
  digitalWrite(ledPin, inputValue); //Write to LED
  Serial.println(inputValue); //Print in the COM
  delay(2000); //Wait 2 secs and LOOP
}
You can copy this code and upload it to your Arduino Uno.
When you run this code, and open the Serial Com (CTRL+SHIFT+M), you will notice that when everything around the sensor is still, the println command prints "0". If you move something around the sensor, the println command prints "1".
This is because, again, we are using a DIGITAL sensor. OFF/ON - 0/1
The LED turns ON with a 1 because the code interprets this as HIGH, and turns OFF with 0, because it is interpreted as LOW
Adding to It
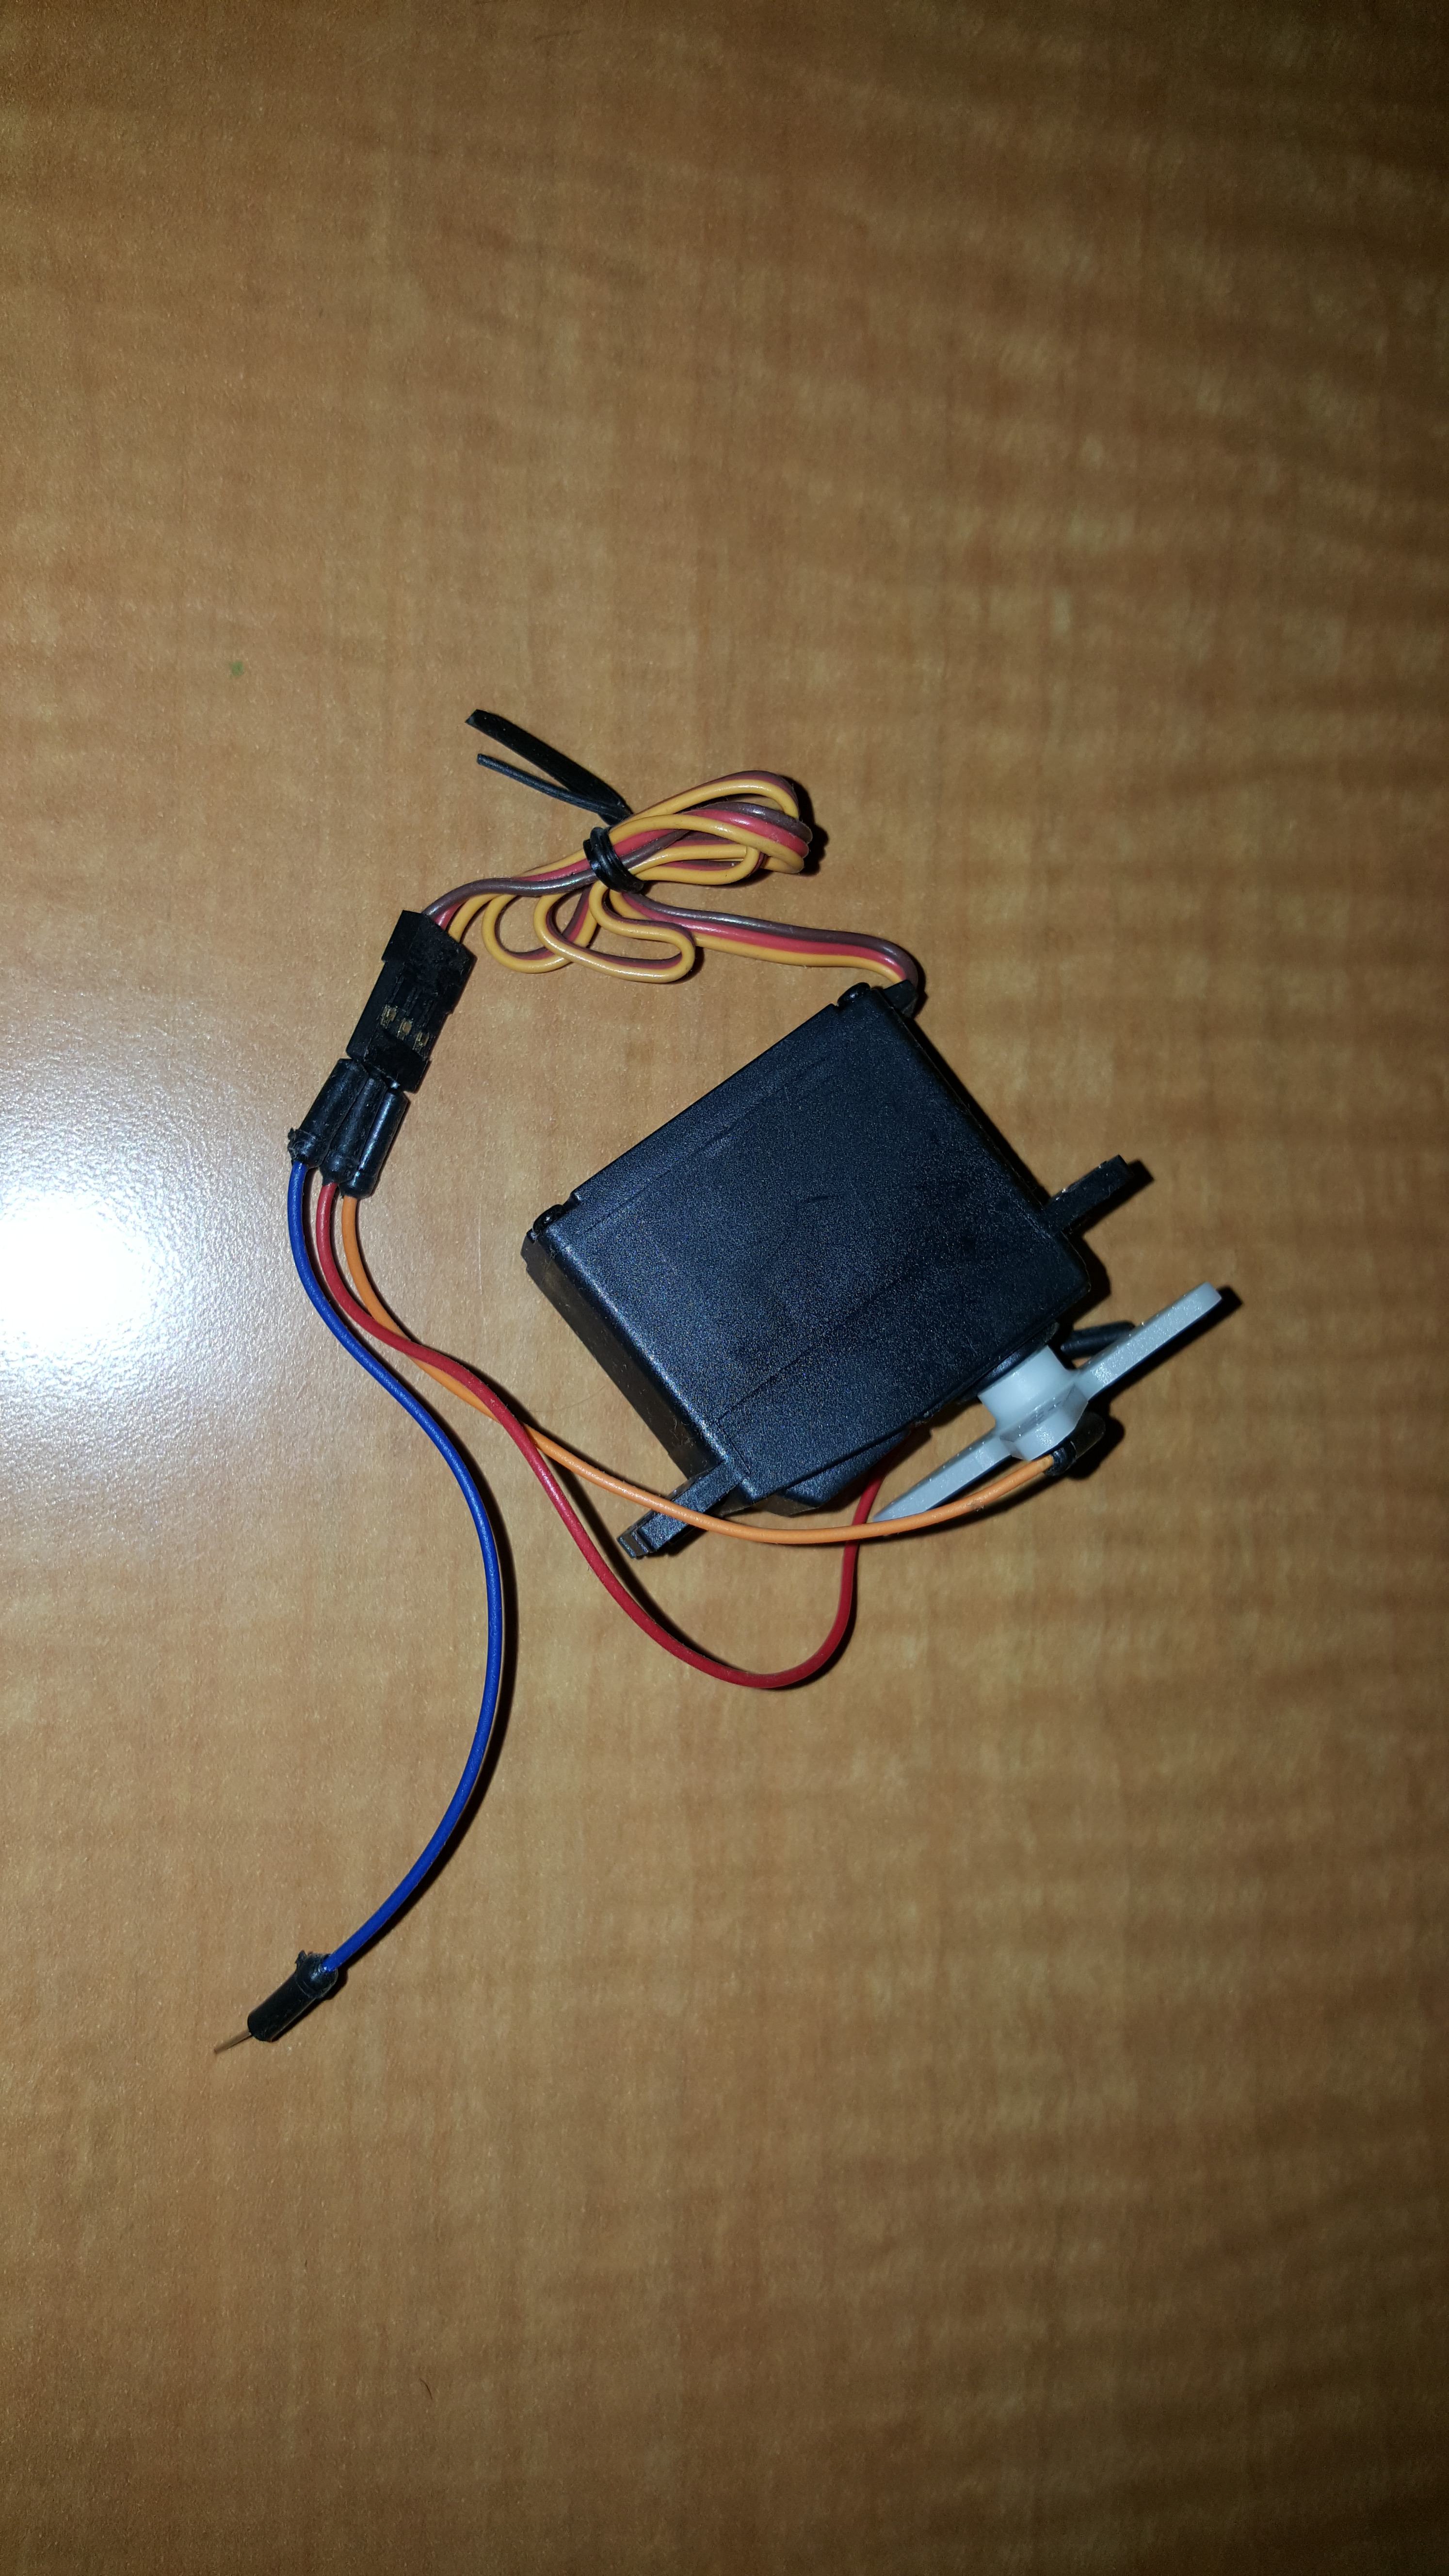
Now we will make it functional....
I added a SERVO to the wiring and connected its signal to DIGITAL PWN PIN 9
Then we alter the code to look like this:
#include <Servo.h>

int ledPin = 13;
int inputPin = 2;
int inputValue = 0;
Servo myServo;

void setup(){
  pinMode(ledPin, OUTPUT);
  pinMode(inputPin, INPUT);
  myServo.attach(9);
  Serial.begin(9600);
}

void loop(){
  inputValue = digitalRead(inputPin);
  digitalWrite(ledPin, inputValue);
  inputValue = map(inputValue, 0, 1, 10, 90);
  myServo.write(inputValue);
  Serial.println(inputValue);
  delay(2000);
}
We added the following:
We included the Servo.h library
Created an INSTANCE of the SERVO class called myServo
Attached our myServo to Pin 9
Mapped our PIR input from 0 to 1 to be 10-90 (10 degrees to 90 degrees)
Wrote the new value to the servo (moved the servo)
Printed our new value to the Serial COM
The Servo class takes care of most of the work behind the scenes. You can look up the Servo.h library at the Arduino website.
Watch It Work
After the new sketch is uploaded, you will see that the Servo turns 90 degrees when you move, and back to 10 degrees when at a stand still (no movement detected by PIR)
Please check this project out on my YouTube Channel:
If you like what you see, please comment/subscribe.
I am currently looking at more Sensor projects, as well as implementing what we have done into real world projects.