Arduino USB Keypad
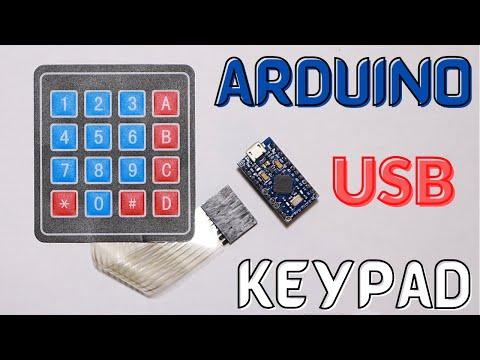
In this project, we'll use an Arduino Pro Micro to build a USB keypad. When you plug your Arduino into your computer, a message appears on your desktop stating that it has been recognized. After that, you may use the keypad in the same way you would a standard keypad. It features nine digits as well as four customizable keys. You may use notepad to see if each key is functional. I've configured the key "A" to open my YouTube channel and the key "B" to open notepad in this example. You can program the keys to any shortcut that you like. We utilize an Arduino Pro Micro for this project since it is one of the boards that has an ATmega32u4 chip, which is required for this project. You can also use an Arduino Leonardo.
This project can still be improved.
Supplies
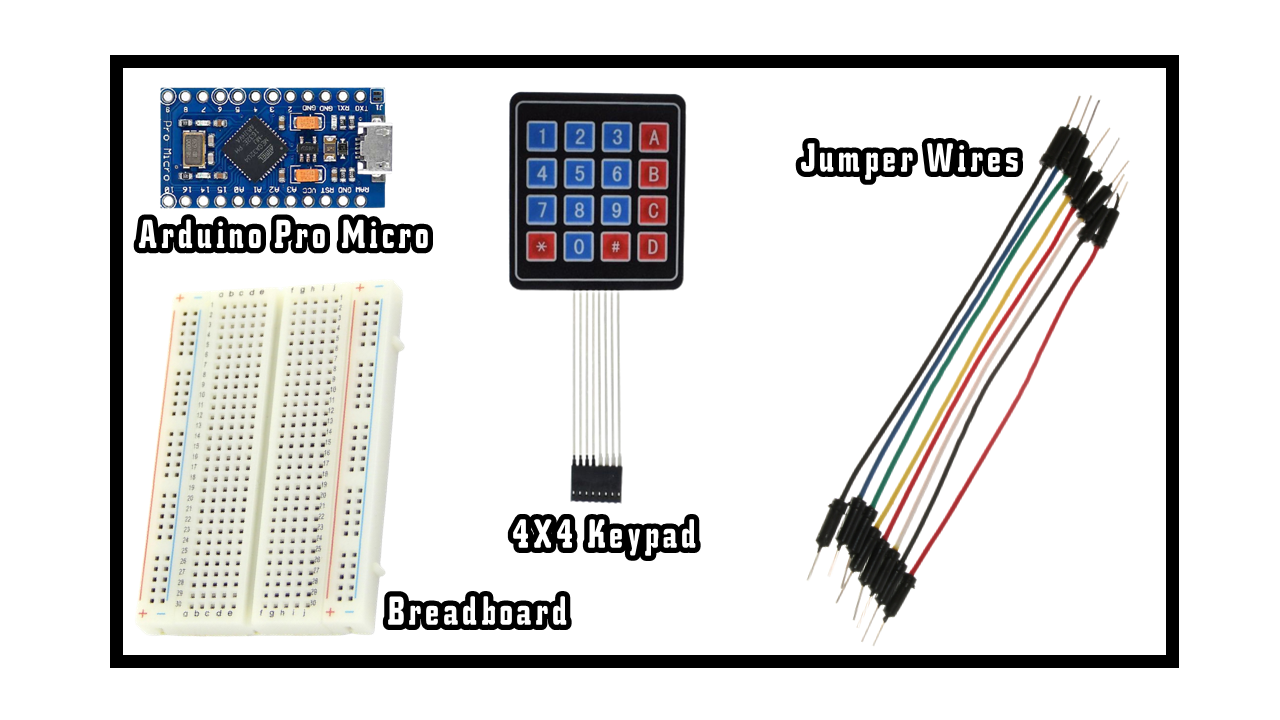
The components needed to make the project are:
Keypad Wiring
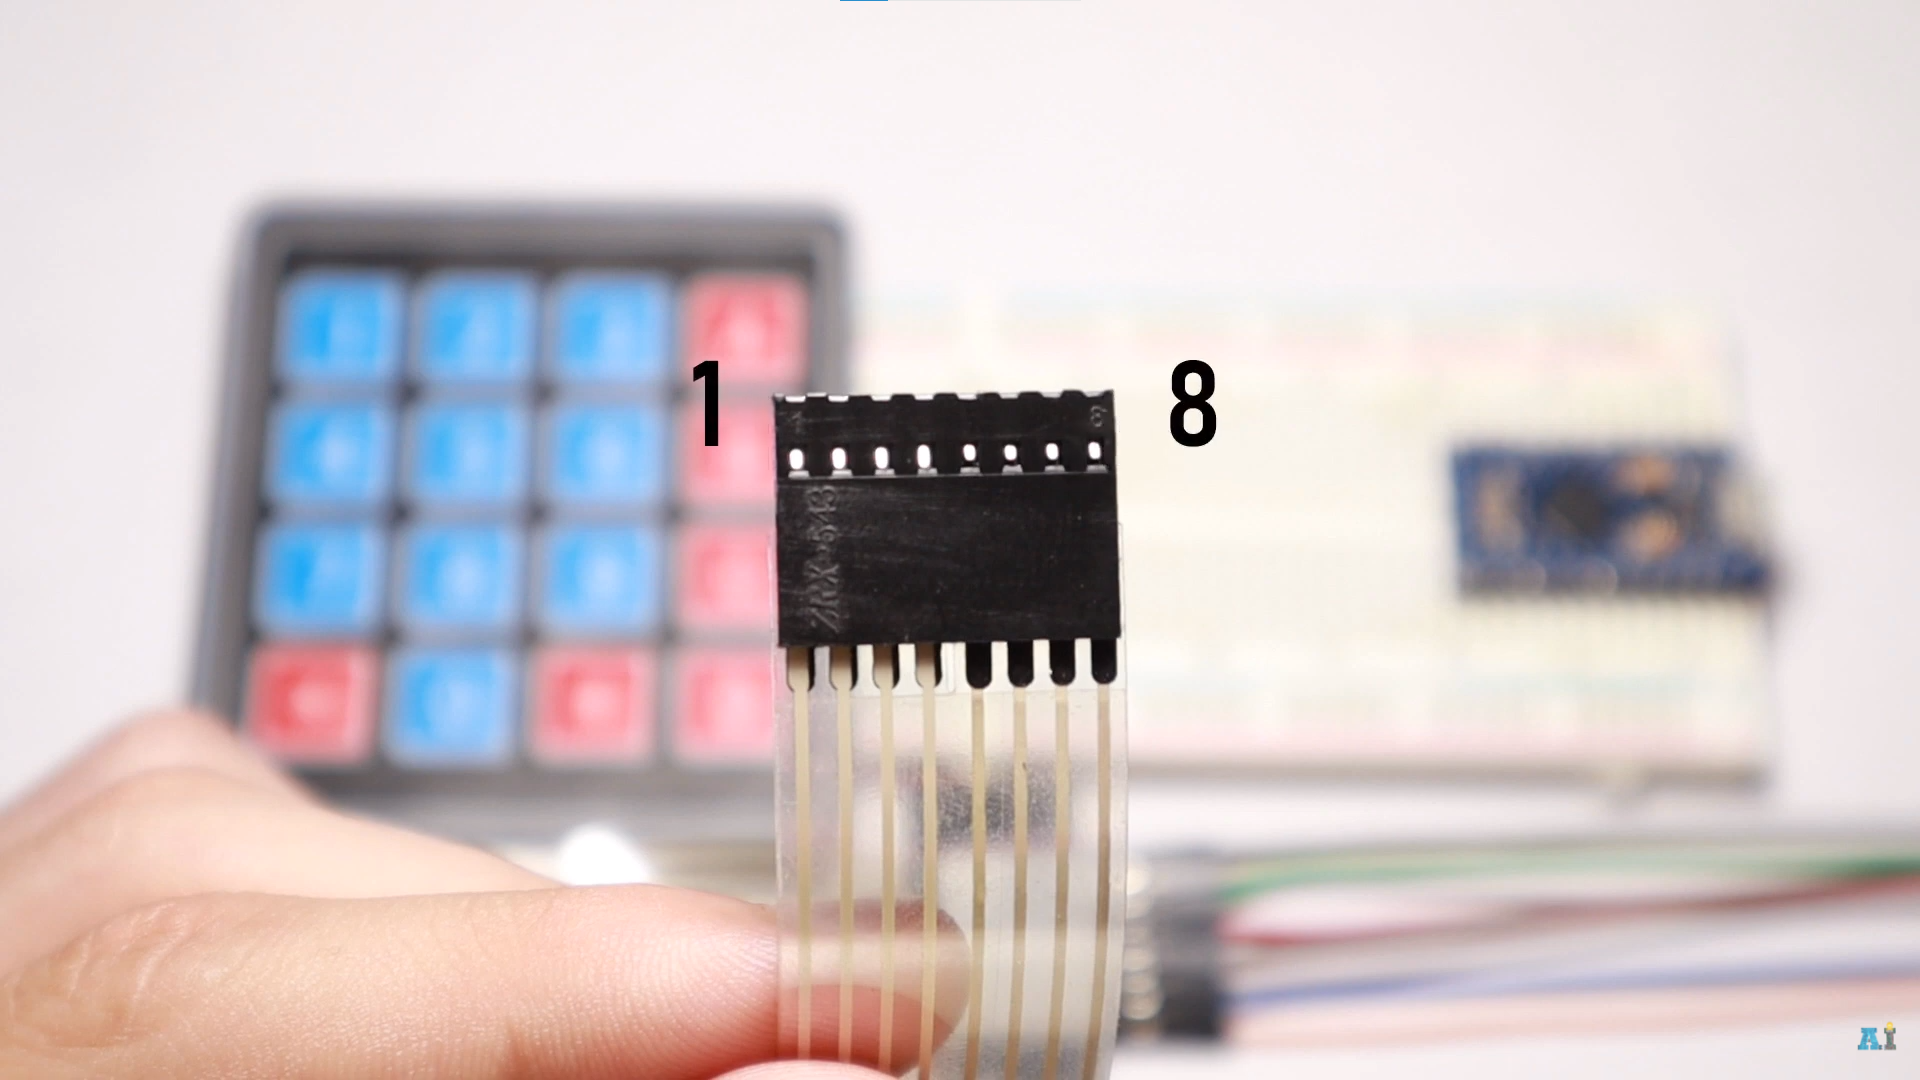
As shown in the image above, on the left side of the keypad is the number 8, and the right side is the number 1.
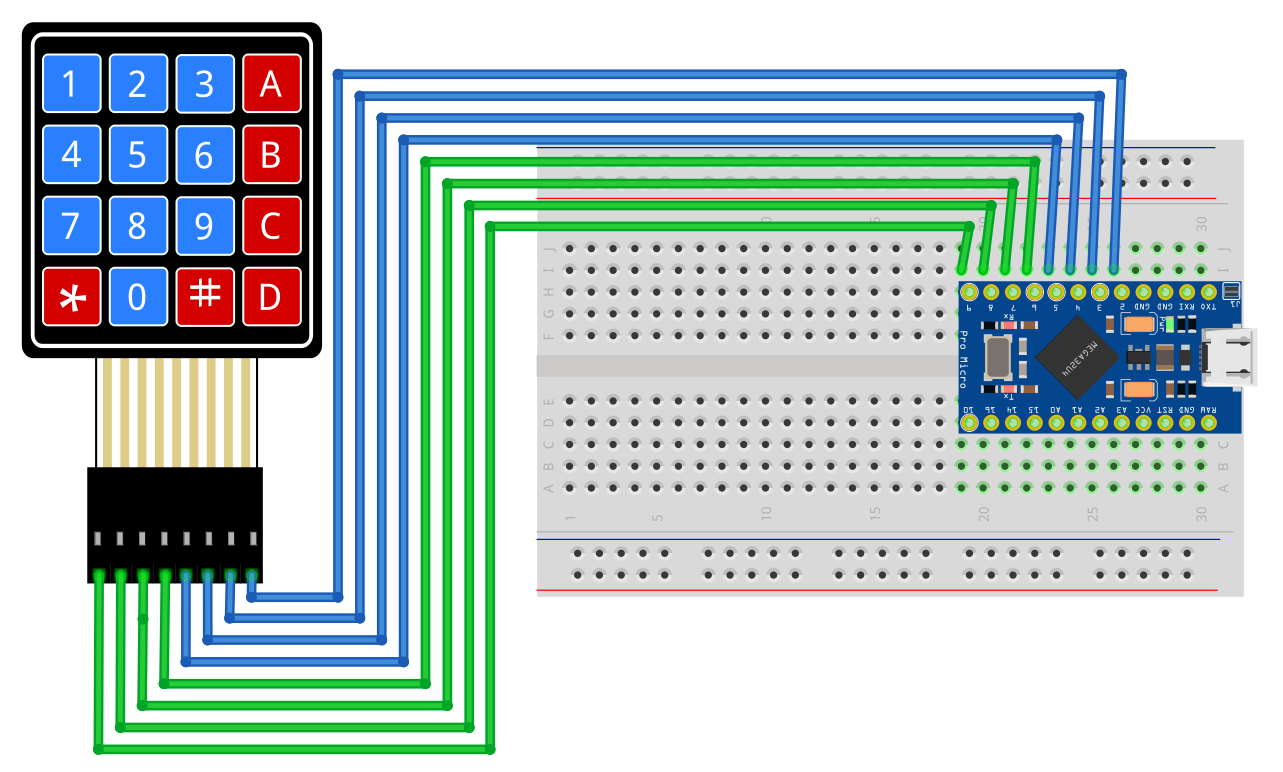
Connect the Keypad as following:
Arduino >> Keypad
D2 >> Keypad 1
D3 >> Keypad 2
D4 >> Keypad 3
D5 >> Keypad 4
D6 >> Keypad 5
D7 >> Keypad 6
D8 >> Keypad 7
D9 >> Keypad 8
Uploading the Program

Open the program on Arduino IDE. Once it is open, compile the sketch to see if it is clear of error and upload it. Make sure you have all the libraries download before you upload the program. You will need the Keypad Library by "Mark Stanley" in the library manager. After uploading the program, you can the keypad by pressing each key to see if they are functioning properly.
For more information about this, please visit my Patreon:
https://www.patreon.com/acedinventor
Setup Shortcuts
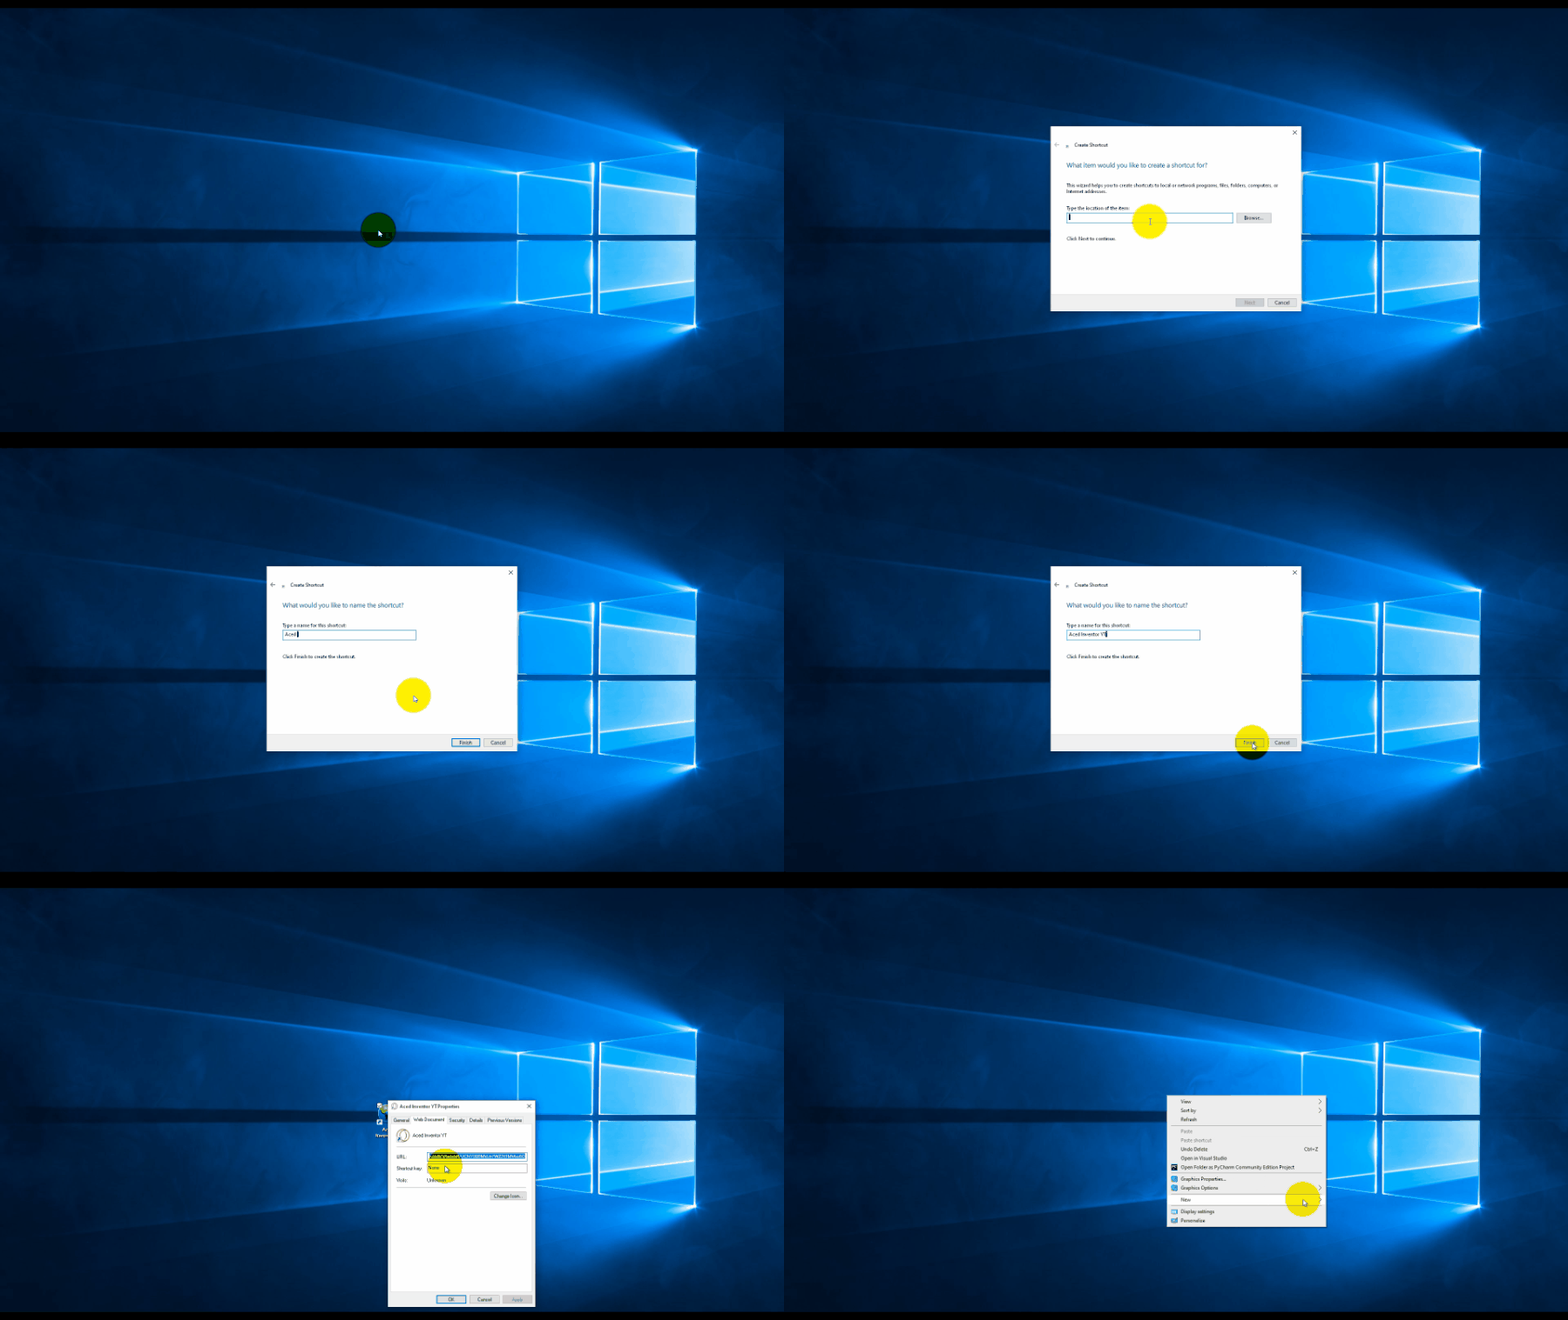
You can create up to four shortcuts. In the video above I show how to create the shortcuts and assign them a shortcut key.
Right-click on your desktop then go down to "shortcut". Then create your shortcut. Click on next. Now name your shortcut. Once it is named left click on the shortcut and go down to properties. Then assign the shortcut key to like to it.
Testing the Project
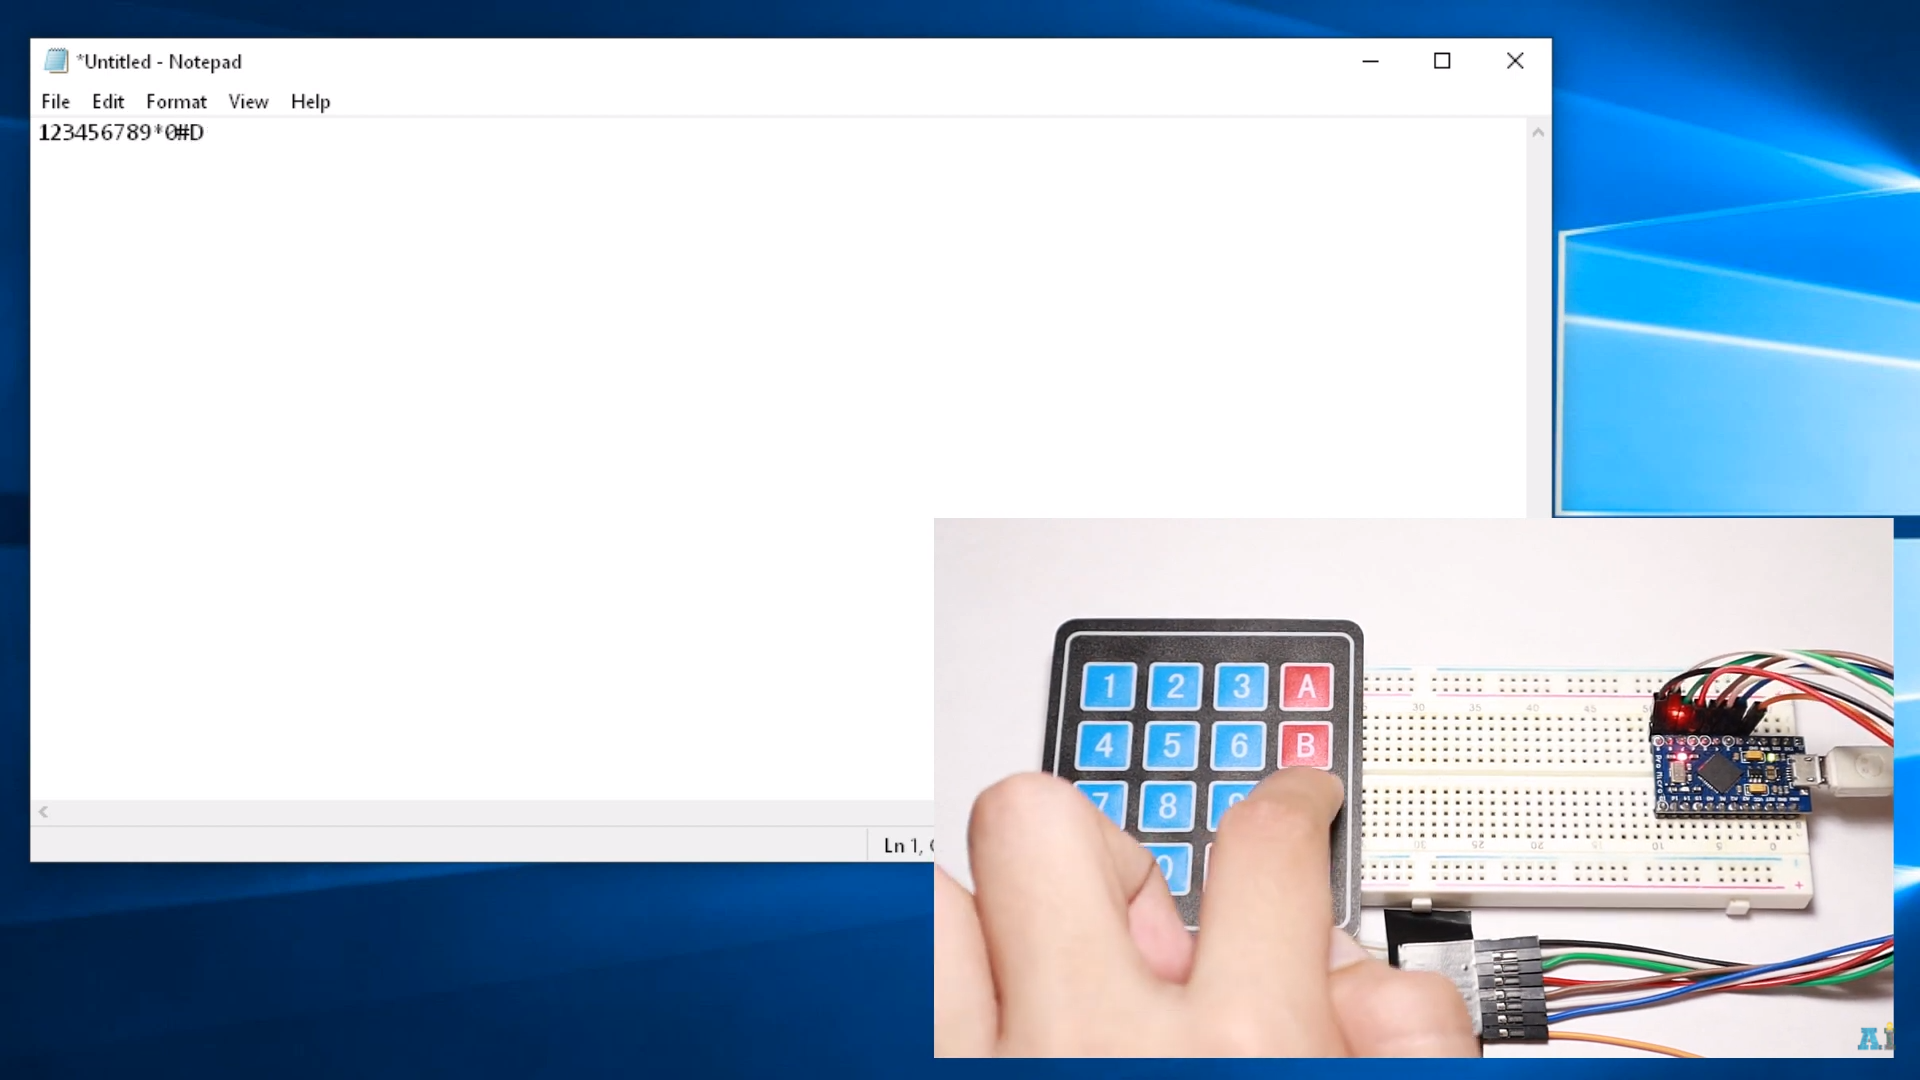
To test if the project is working properly, plug the Arduino Pro Micro into your computer. A notification pop up on your desktop indicating the device is recognized. As written in the code the key "A" is programmed to open my youtube channel and the key "B" is programmed to open notepad. So go ahead and press the key "B". The notepad will open up. You can press each key to test if it is working properly. Now you can press the key "A" and you will see my channel open up. You can program the keys to whatever shortcut you like.
If there is still something you don't understand, you can comment down below.