Arduino UNO Mini-Weather Station
by IgorF2 in Circuits > Arduino
18440 Views, 80 Favorites, 0 Comments
Arduino UNO Mini-Weather Station
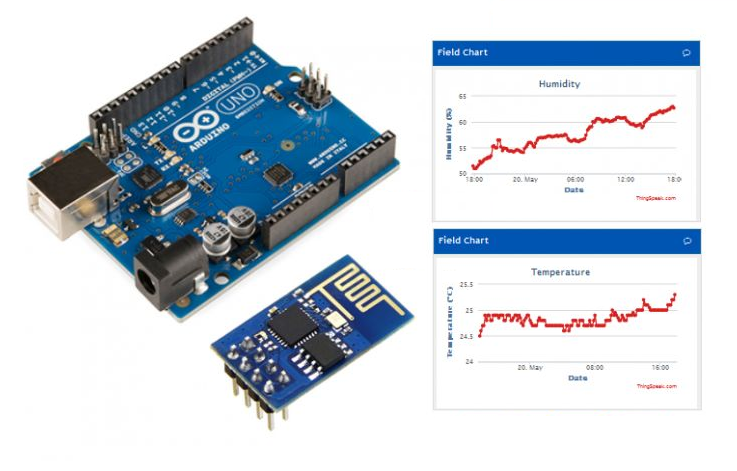

This is the first generation of my Arduino based mini-weather station with wi-fi connection, which is able to post data publicly online using ThingSpeak platform.
The weather station collects the following data related to the weather and environment using different sensors:
- Temperature;
- Humidity;
- Atmospheric pressure;
- Light intensity;
- UV index;
- Dust concentration.
The aim is to make a small and simple weather station, using open hardware.
Let's get start and have fun!
Electronic Components
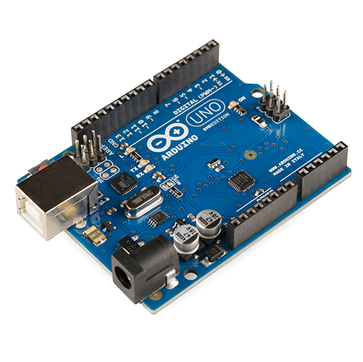
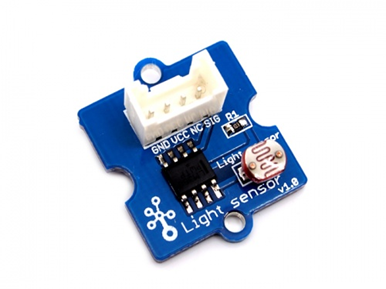
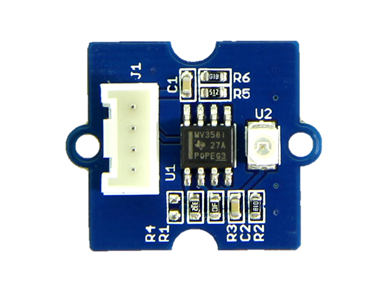
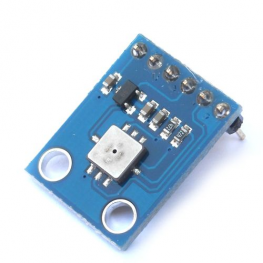
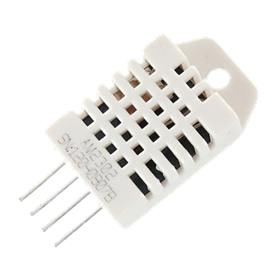
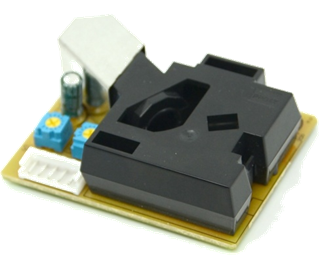
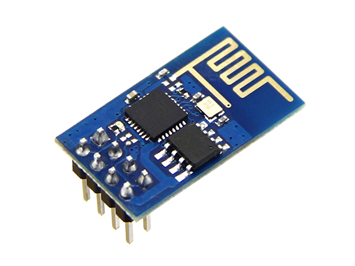
For this project you'll need the following components:
- Arduino Uno (buy)
- Grove light sensor (buy)
- Grove UV sensor (buy)
- Barometric pressure sensor (BMP085) (buy)
- DHT22 (buy)
- Grove dust sensor (buy)
- ESP8266 (buy)
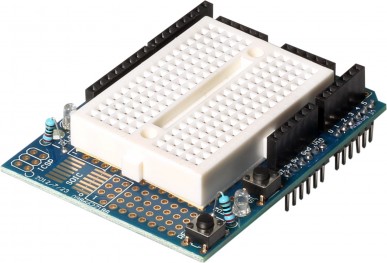
- Protoshield (for a more compact version) or an ordinary breadboard (buy / buy)
- 1 kohm resistor (x2)
- 10 kohm resistor (x1)
- 4k7 ohm resistor (x1)
- Some jumper wires
- A computer (for compiling and uploading Arduino code)
You won't need specific tools for the assembly of this project. All the components can be found online on your favourite e-commerce store.
The circuit is powered by the USB port (connected to a computer or a ordinary phone charger), but you may also add an external DC power supply or a battery connected to the Arduino power jack.
A case for the weather station circuit is out of the scope of this project.
Connecting the Parts
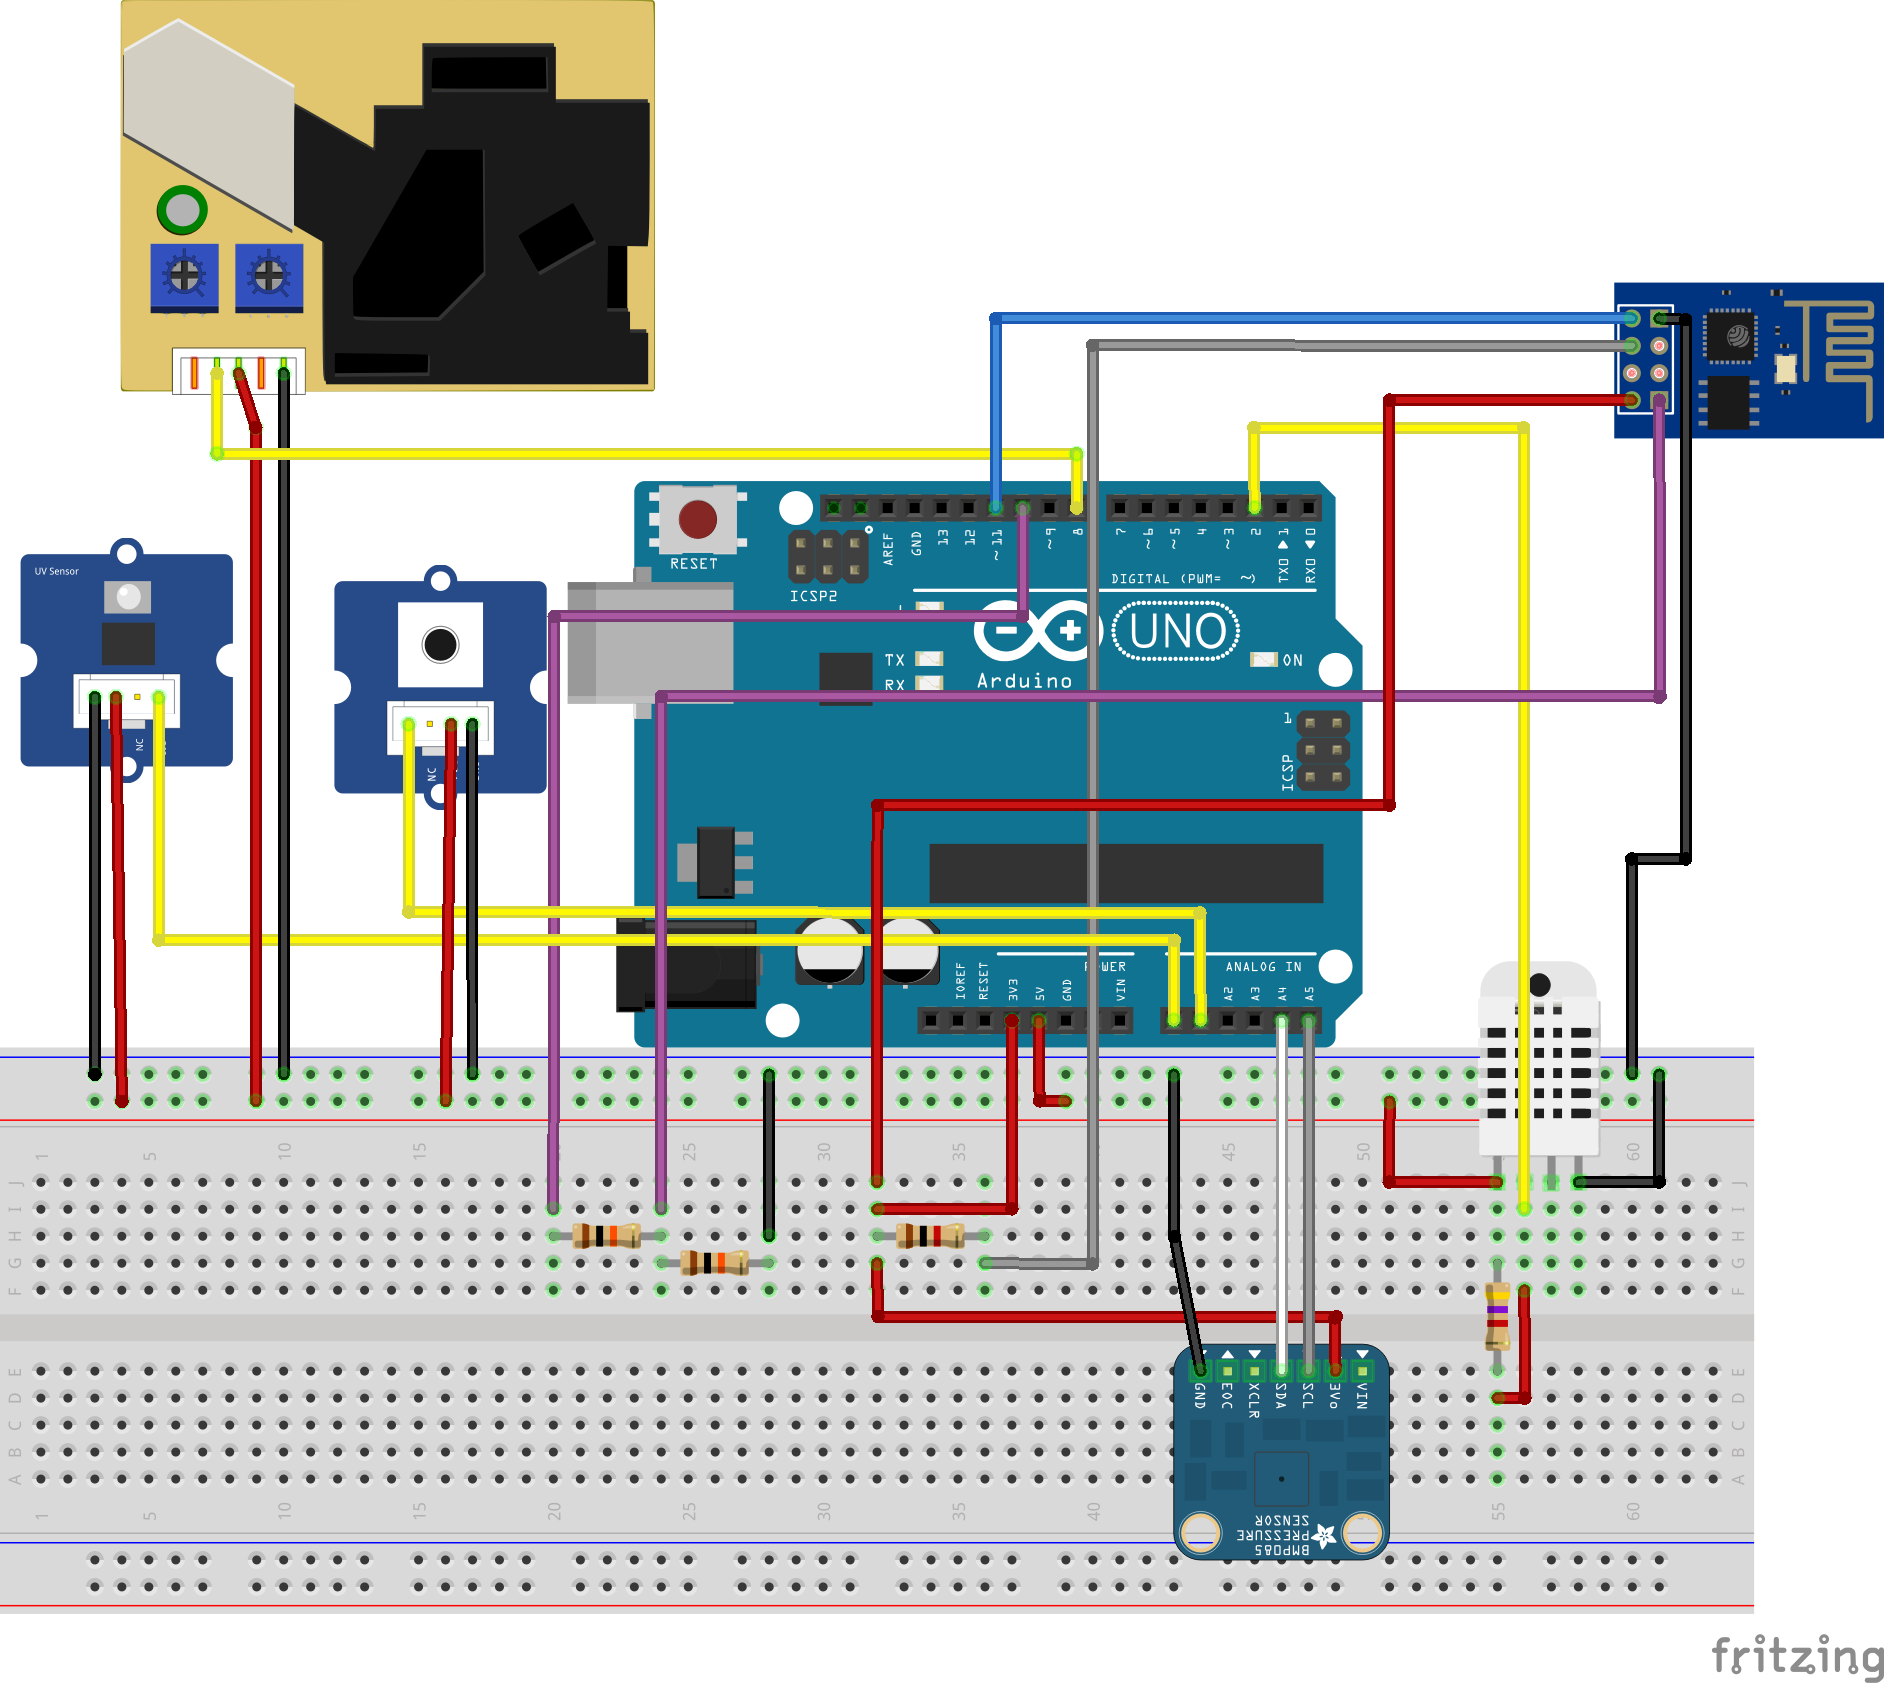
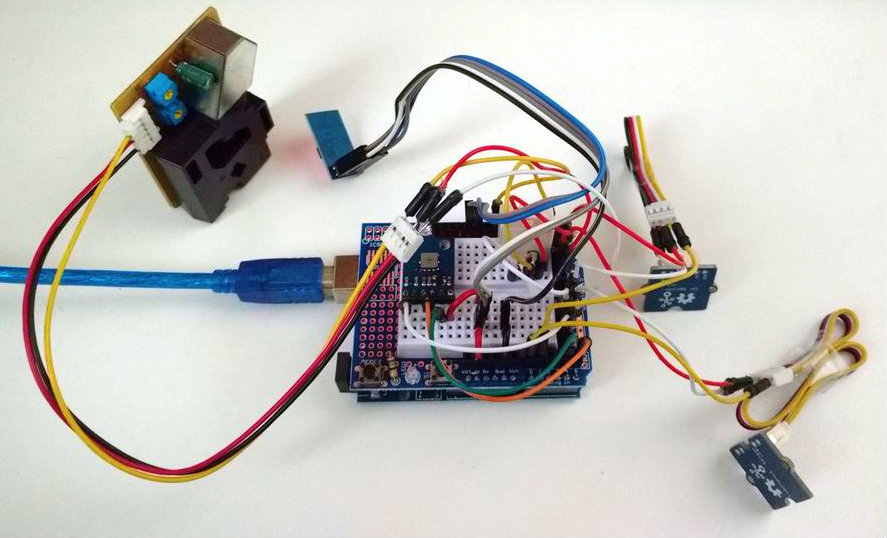
Connect all the componets according to the schematic. You'll need some jumper wires to connect each sensor to the breadboard. You might use a protoshield (for a more compact circuit), an ordinary breadboard, or design you own Arduino shield.
Plug the USB cable to the Arduino Uno board and proceed to the next step.
Downloads
Coding
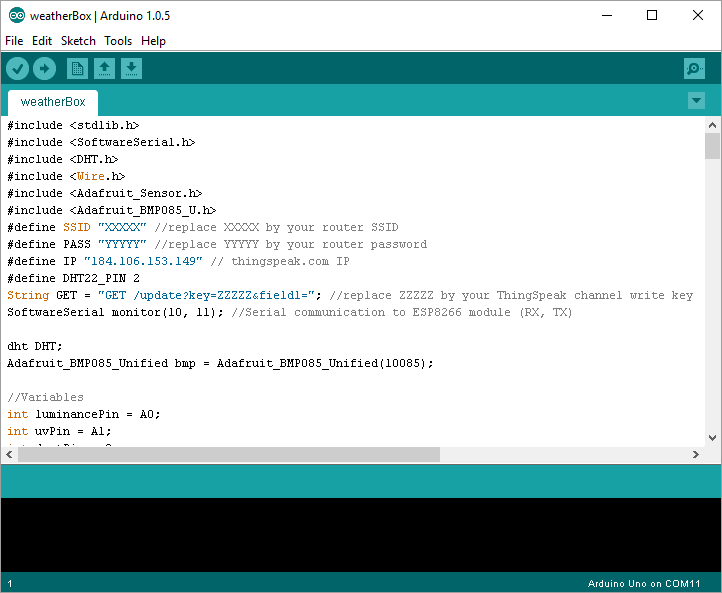
Assuming you have already installed the latest Arduino IDE, download and install the following libraries:
DHT22 library:
https://github.com/adafruit/DHT-sensor-library
Adafruit BMP085 library:
https://github.com/adafruit/Adafruit-BMP085-Library
For instructions on how to add the libraries to Arduino IDE, check the following Arduino guide:
https://www.arduino.cc/en/Guide/Libraries
Download Arduino code (weatherBox.ino). Replace XXXXX by your wifi router SSID YYYYY by router password and ZZZZZ by your ThingSpeak channel write API key (see how to obtain it on next step).
Connect the Arduino board to your computer USB port and upload the code.
Downloads
ThingSpeak Configuration

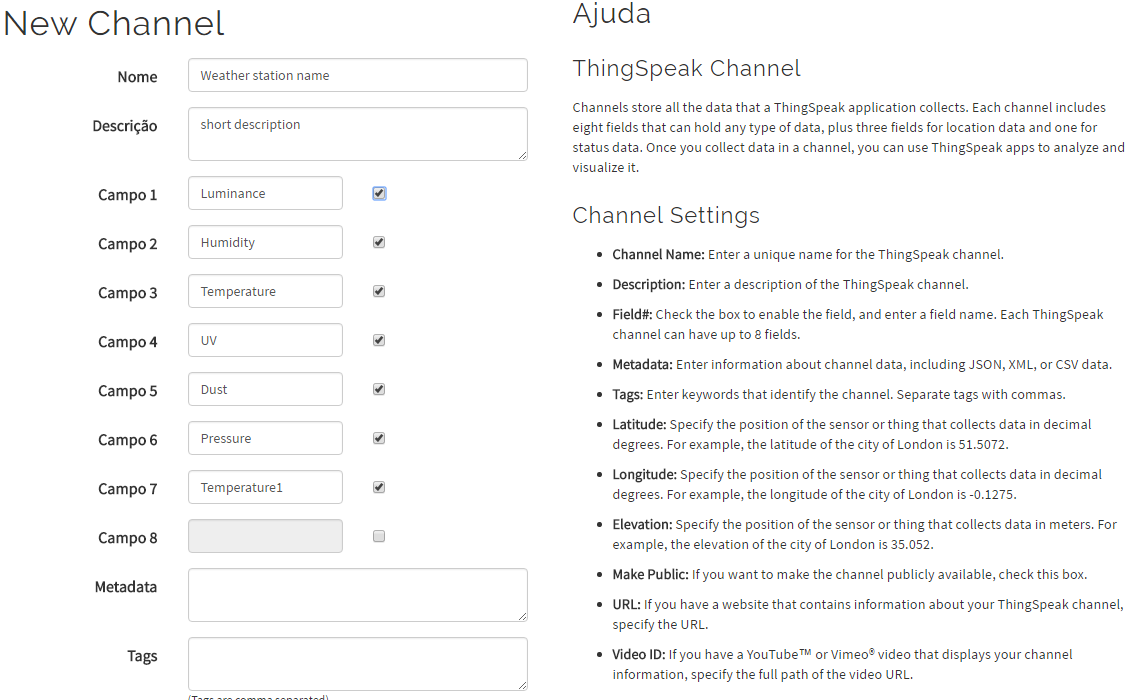
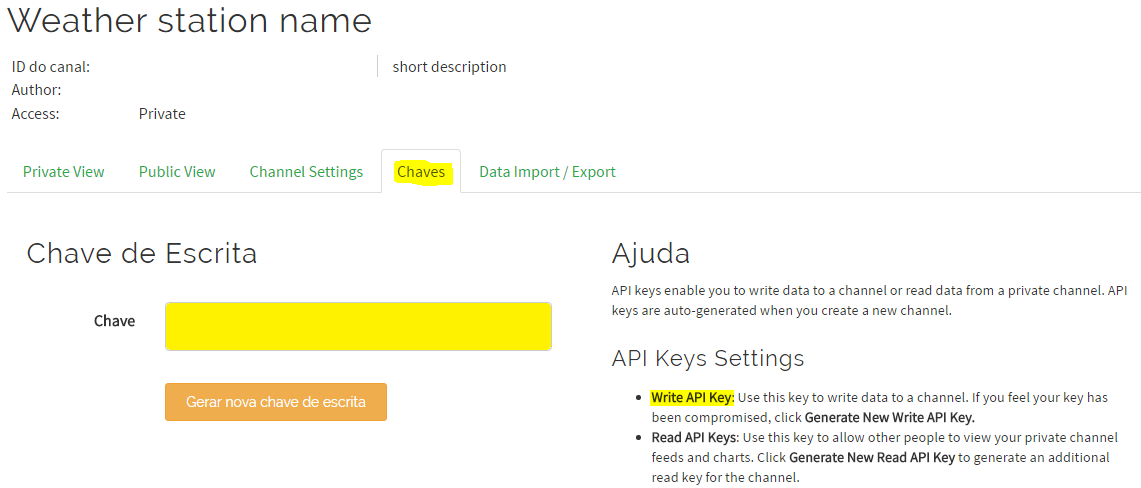
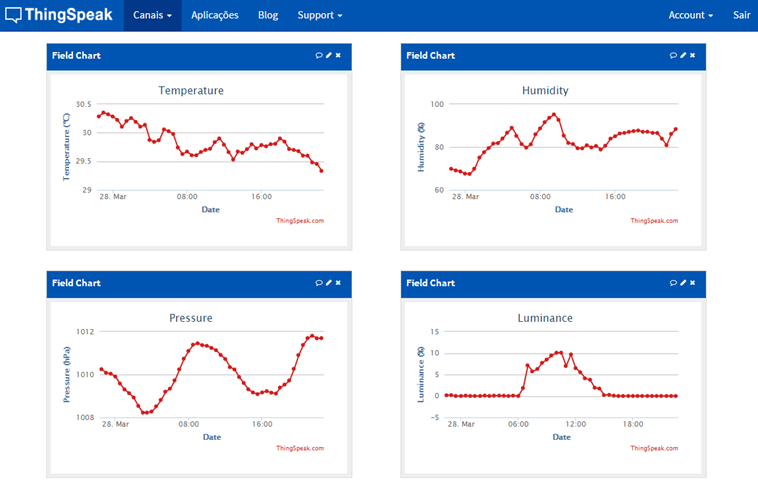
- Create a ThingSpeak account;
- Create a new Channel;
- Specify the name and description of your weather station. Assign the following channels and save the channel:
- channel 1 = light
- channel 2 = humidity
- channel 3 = temperature (from DHT22)
- channel 4 = UV index
- channel 5 = dust concentration
- channel 6 = pressure
- channel 7 = temperature (from BMP085)
- Copy API write key. It is used in the previous step in Arduino code;
- When the station is turned on, sensor values will be uploaded to the channel periodically. You may configure public and private visualizations of each variable.
Example of a public channel: https://thingspeak.com/channels/35540
Using Android App
You'll be able to visualize weather station data in any browser. But you might also check it on you Android based smartphone and visualize it whenever you want.
- Download and install ThingsView app from Google Play store on your Android device;
- On the app, insert your channel ID number and click add. You'll find the ID on your ThingSpeak channel configuration;
- The current values of each variable will be displayed in a graph;
- Have fun!