Arduino Touch Screen ITunes Control (ATSIC)
by koff1979 in Circuits > Arduino
14122 Views, 54 Favorites, 0 Comments
Arduino Touch Screen ITunes Control (ATSIC)
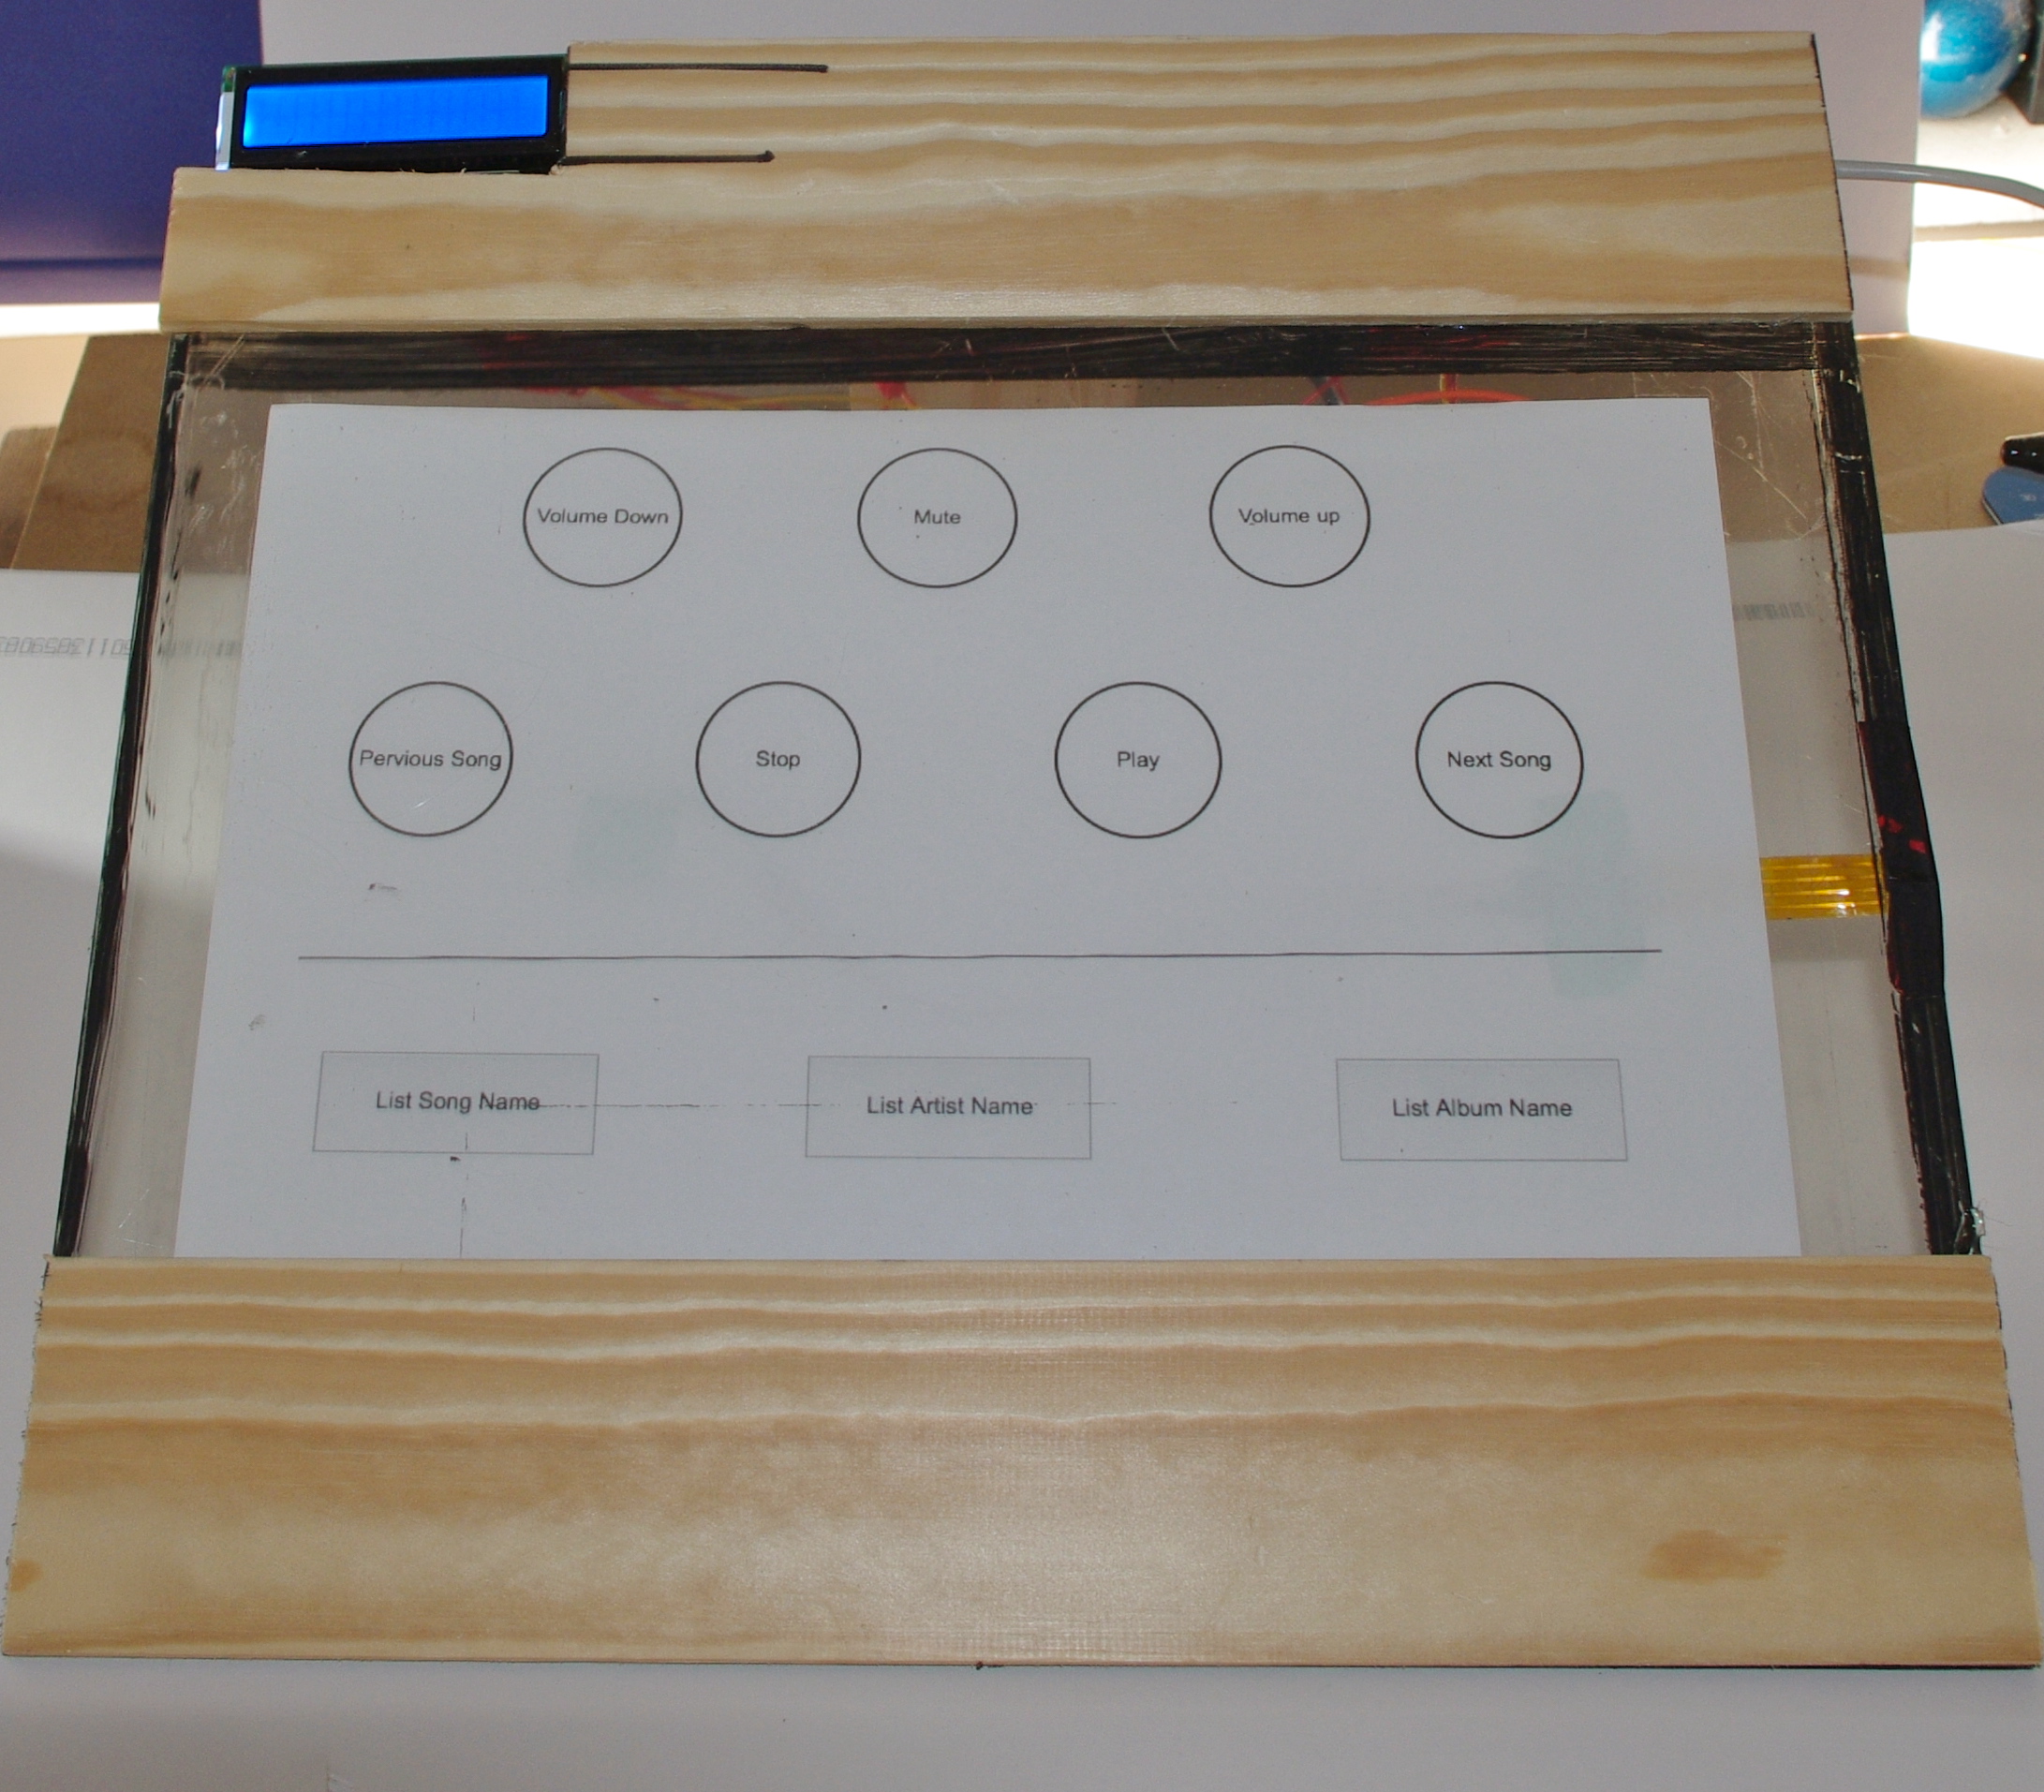
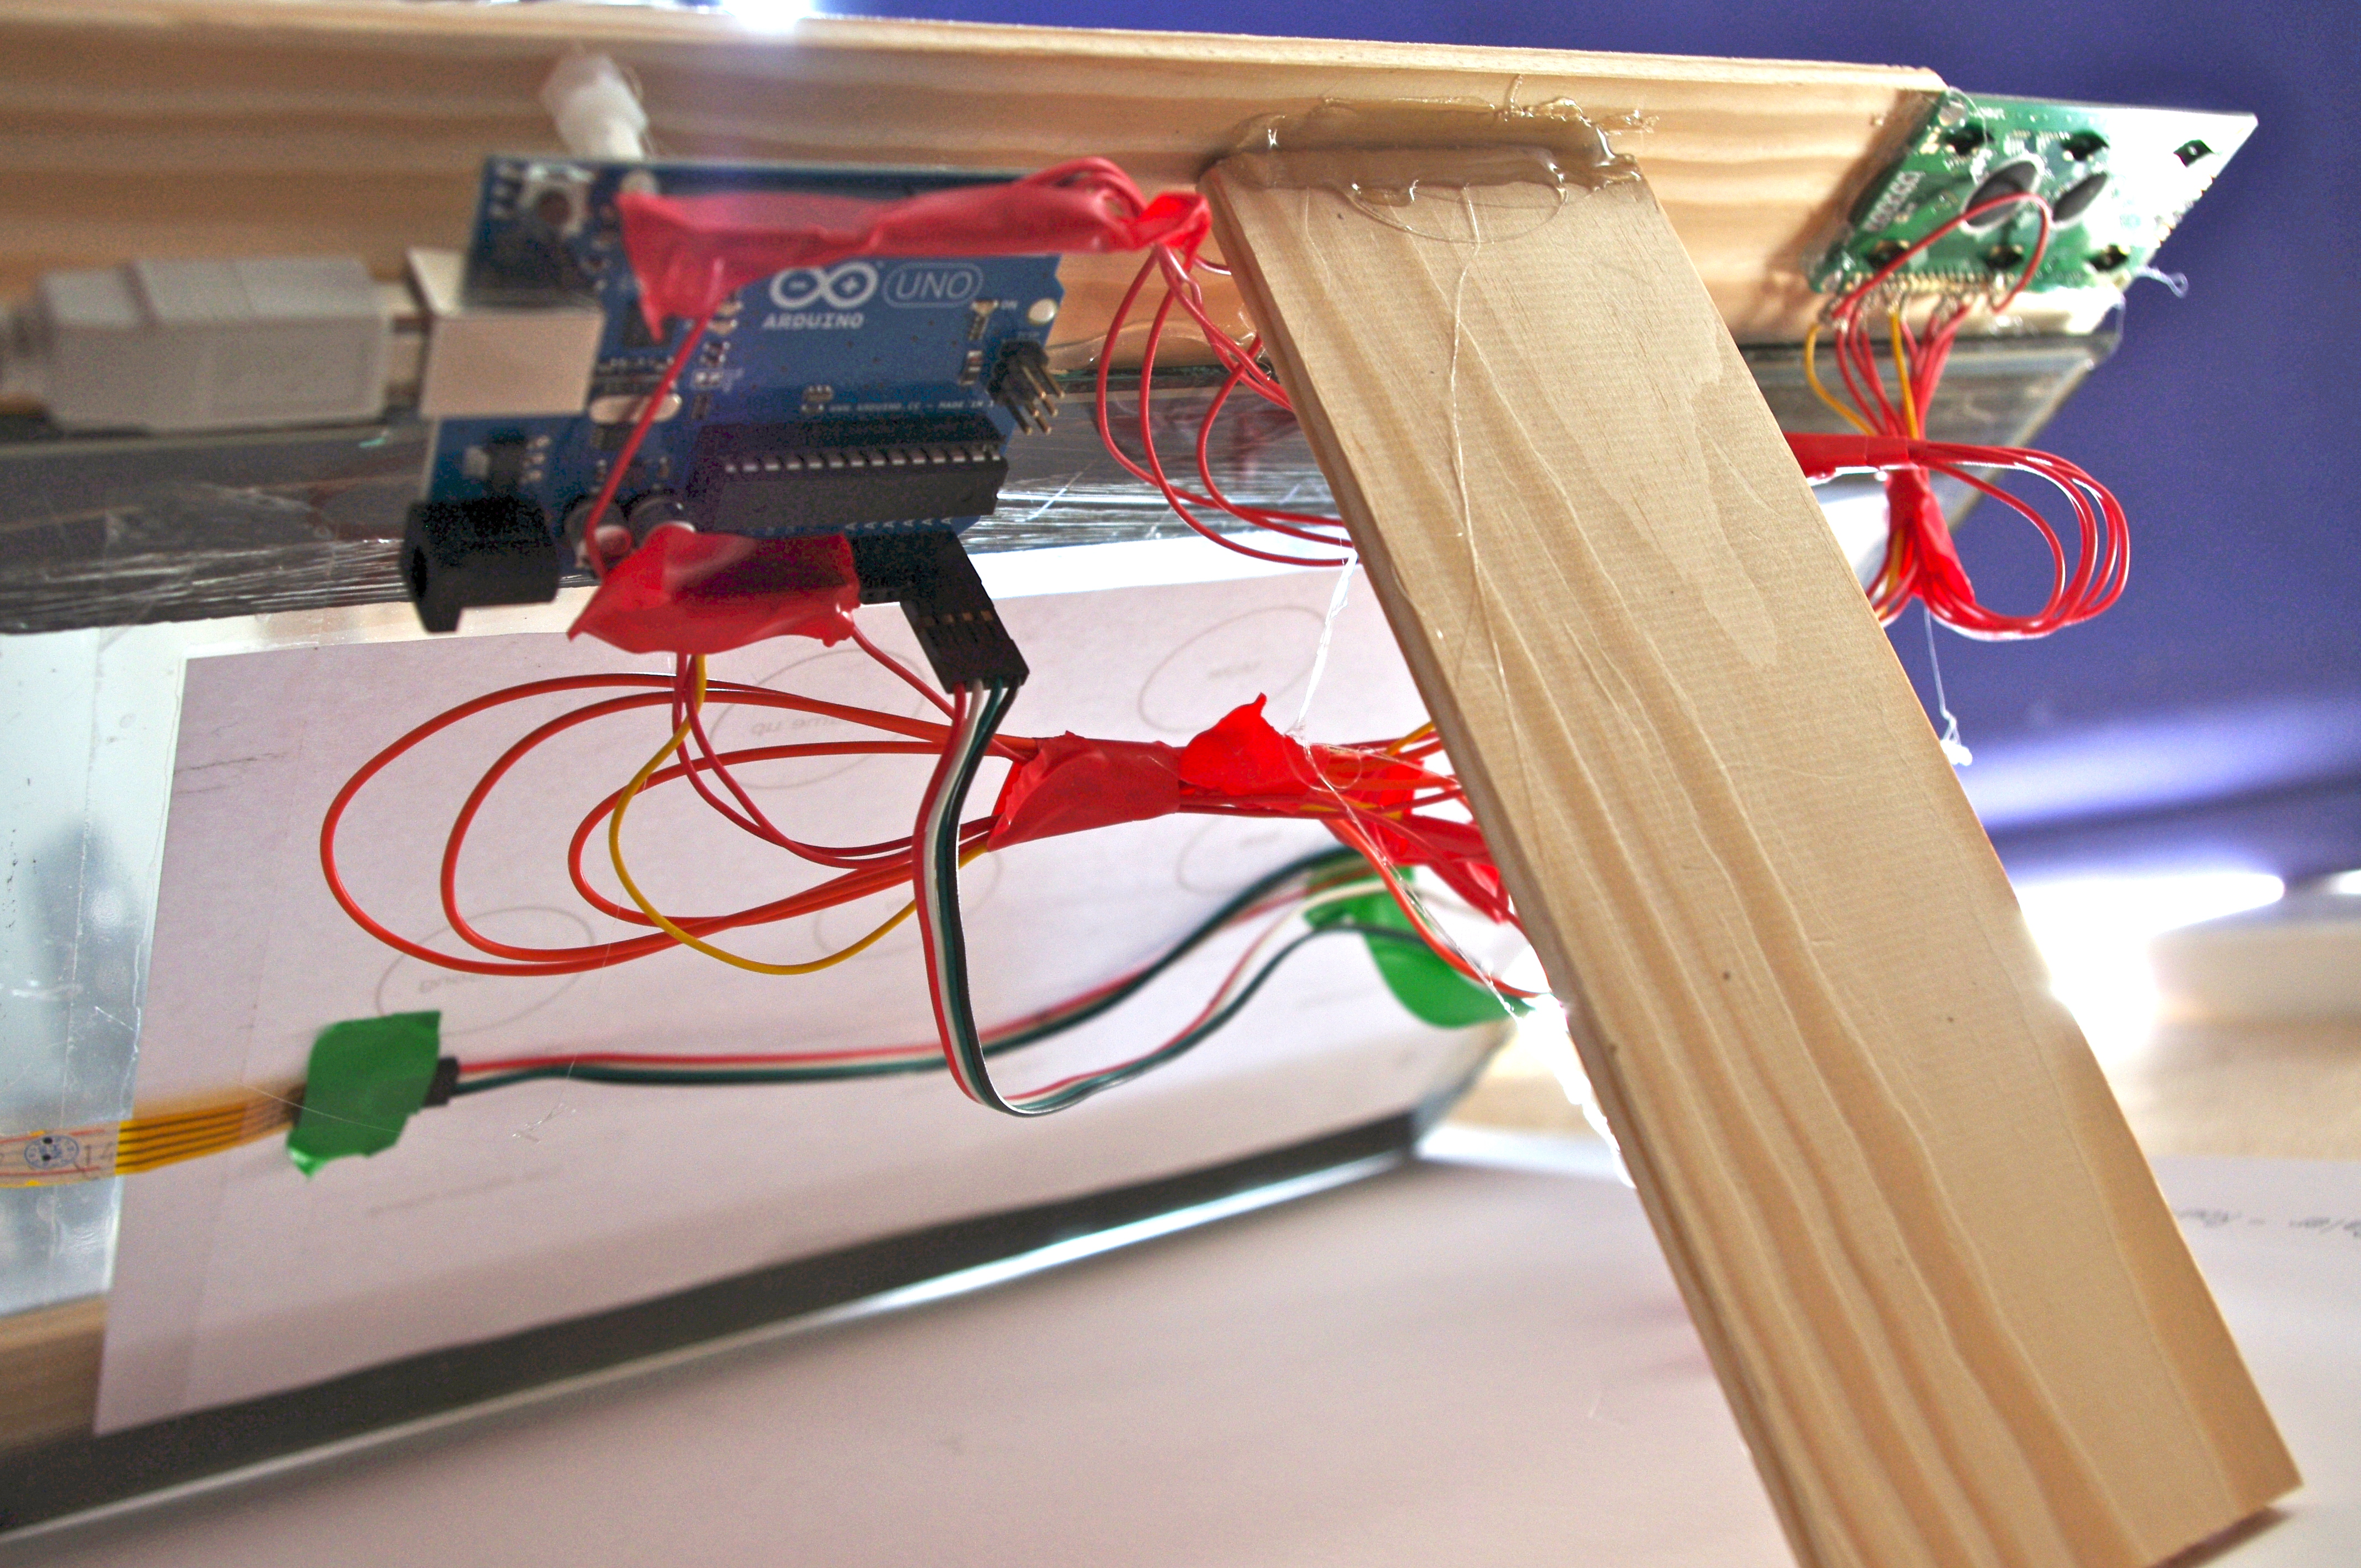
What I'm going to show you is how to make an iTunes control device using an Arduino and a touch screen.
The iTunes Control works by reading area's of the touch screen and send a letter to the computer via the serial port, which is monitored by an apple script which run a command based on the info it receive.
This is my first Arduino project, until I made this project I had never used one before, I found the Arduino amazing and easy to use. .
I've made this so I can have it on my work bench and control iTunes without having to have my computer or phone out where they might get damaged
Below is a video that gives a quick overview.
What You Need
A 4 wire touch panel - Link
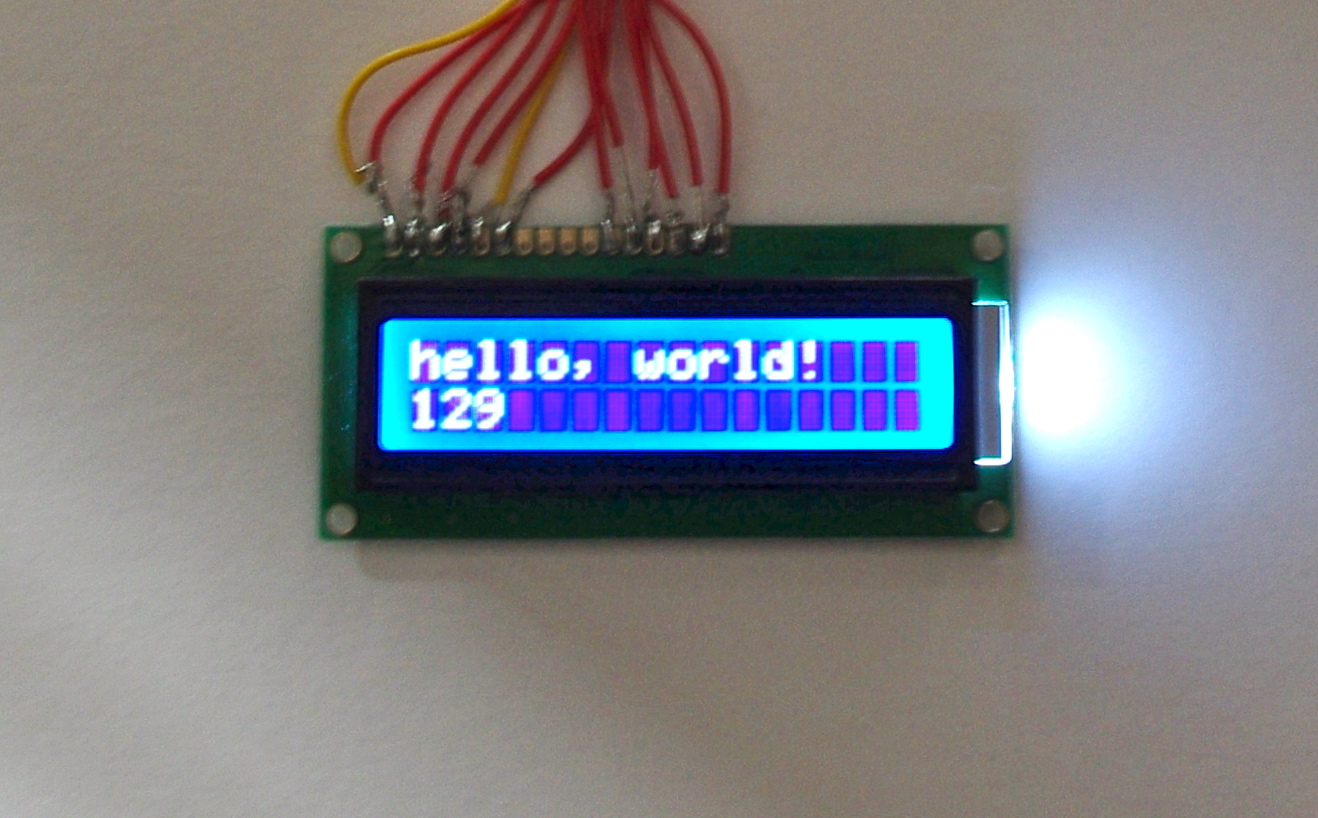
A LCD (Hitachi-compatible) - Link
An Arduino - Link
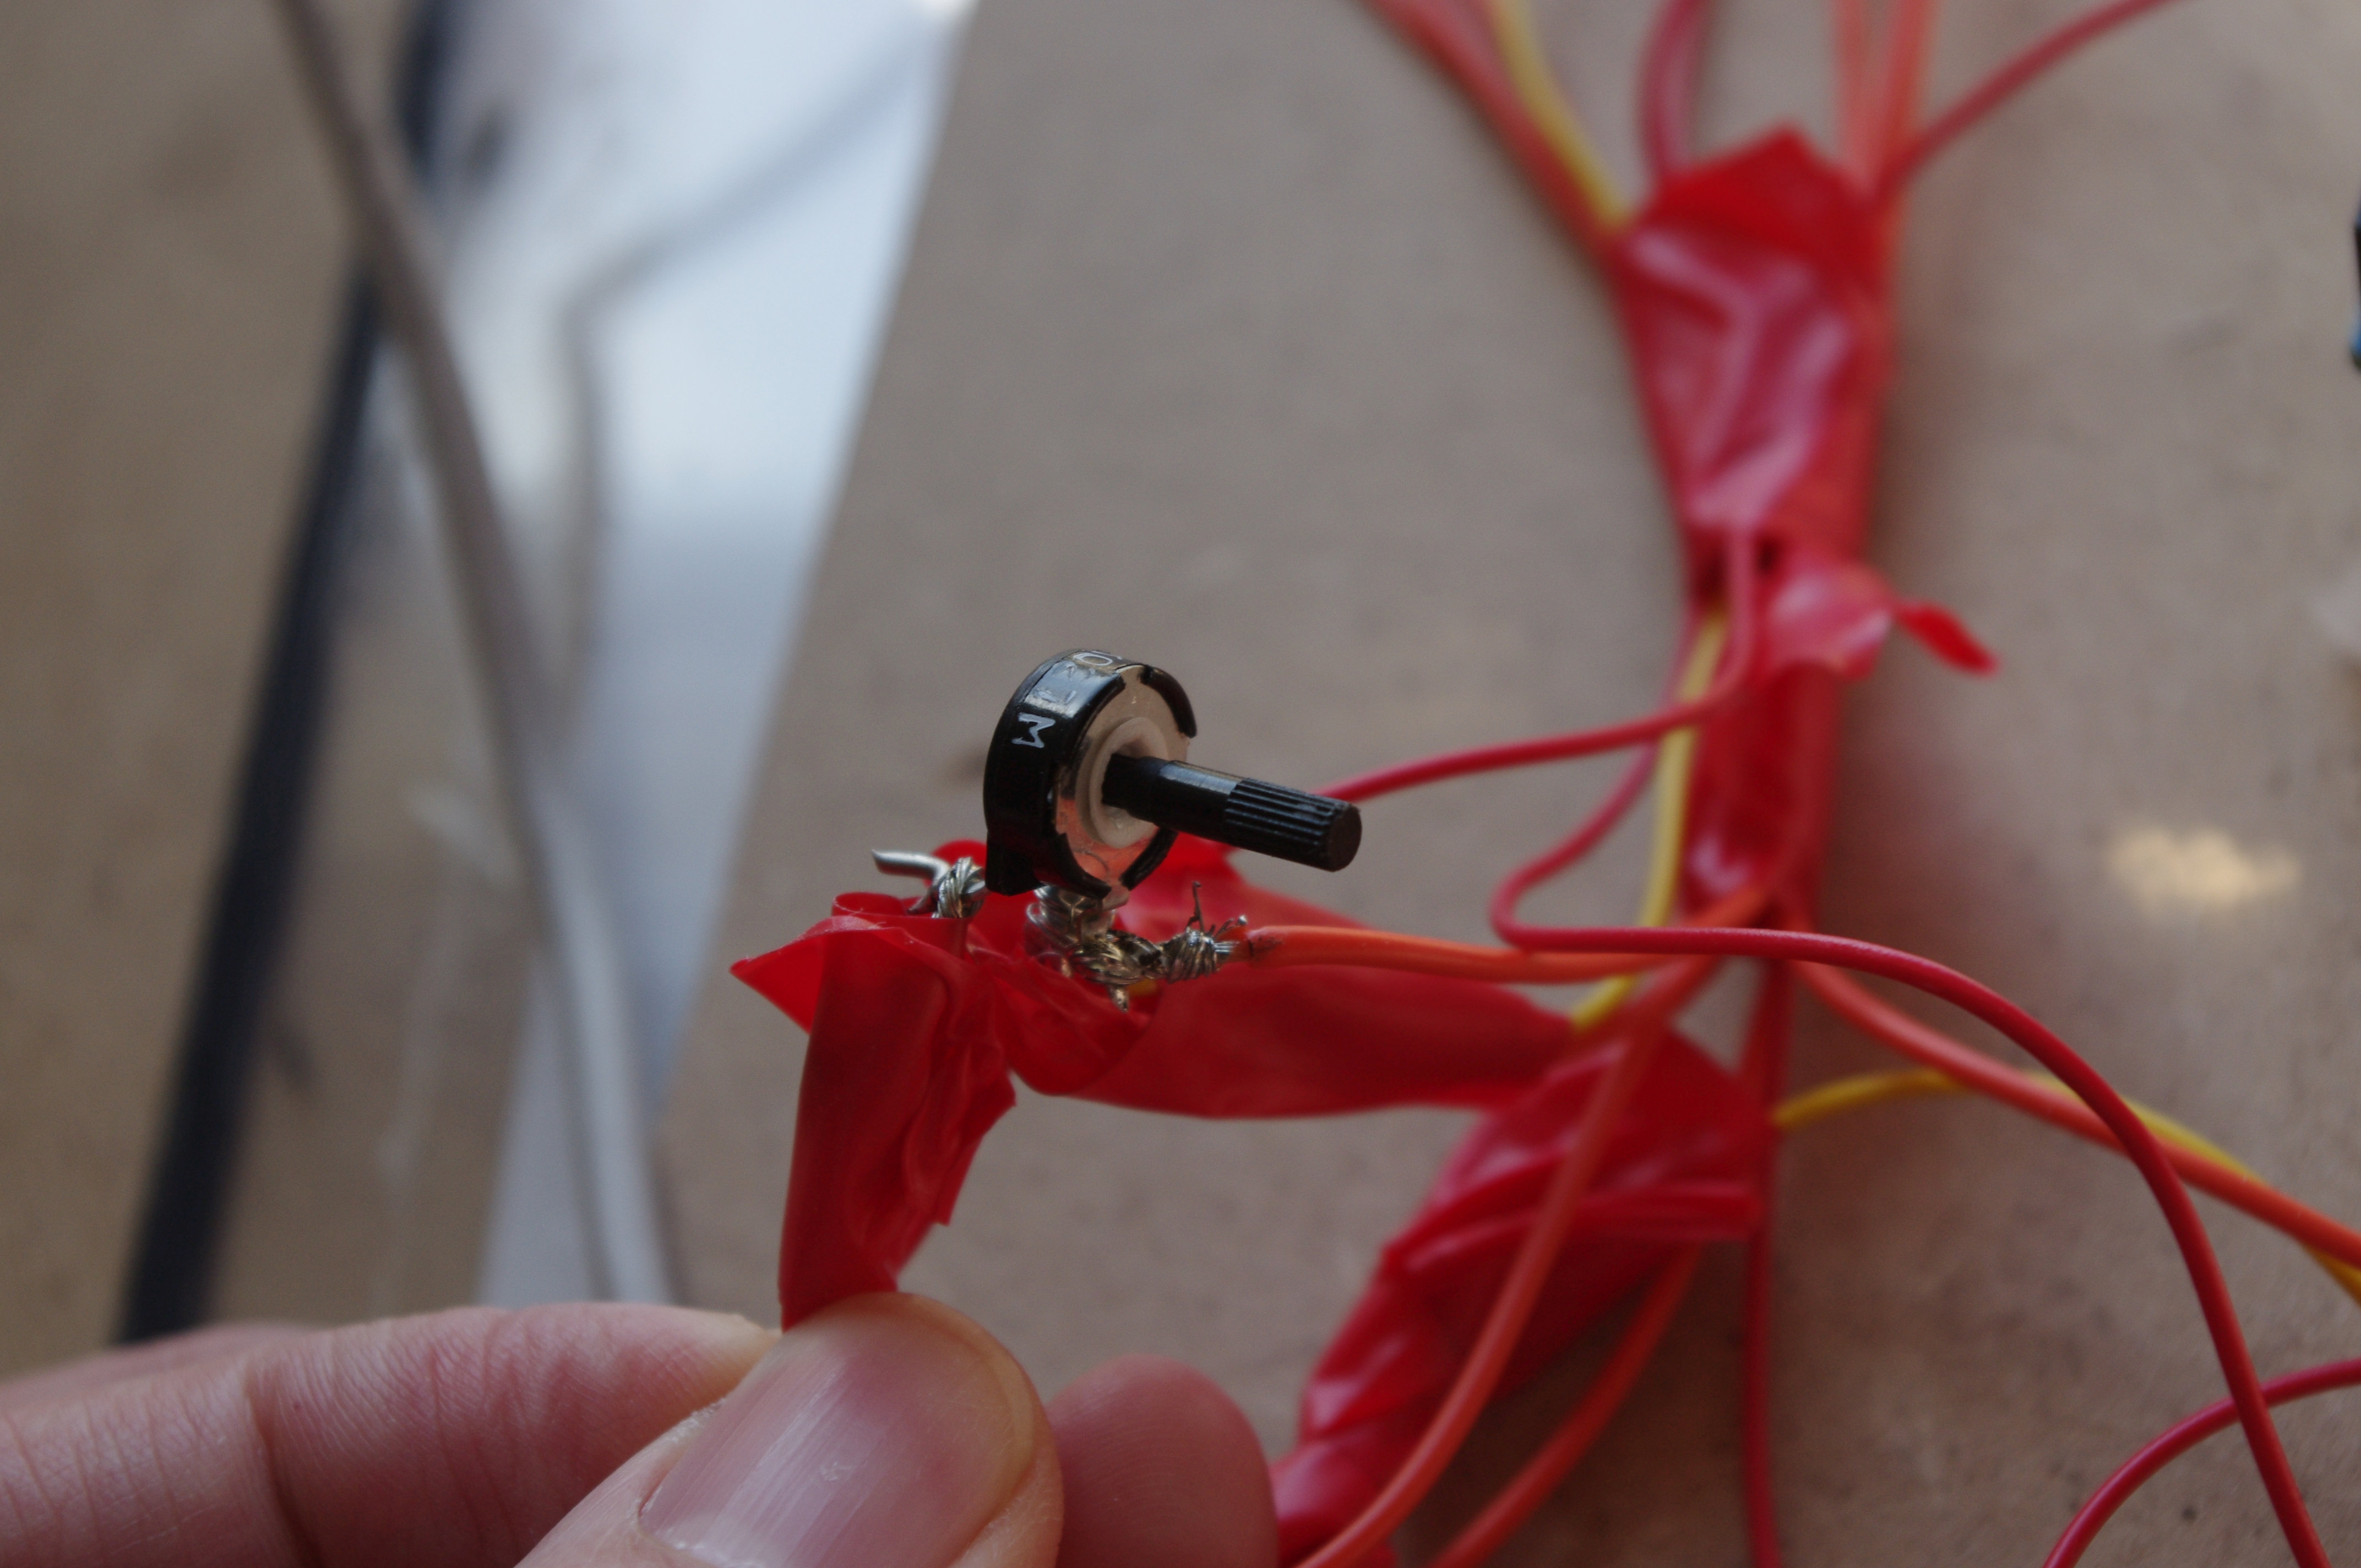
a 10K Potentiometers
Wire
A copy of SerialPortX
An Apple Mac (You should be able to make it work under windows but I haven't had time to write a windows script)
This Arduino Sketch
This Apple script
A copy of the iTunes control buttons
A LCD (Hitachi-compatible) - Link
An Arduino - Link
a 10K Potentiometers
Wire
A copy of SerialPortX
An Apple Mac (You should be able to make it work under windows but I haven't had time to write a windows script)
This Arduino Sketch
This Apple script
A copy of the iTunes control buttons
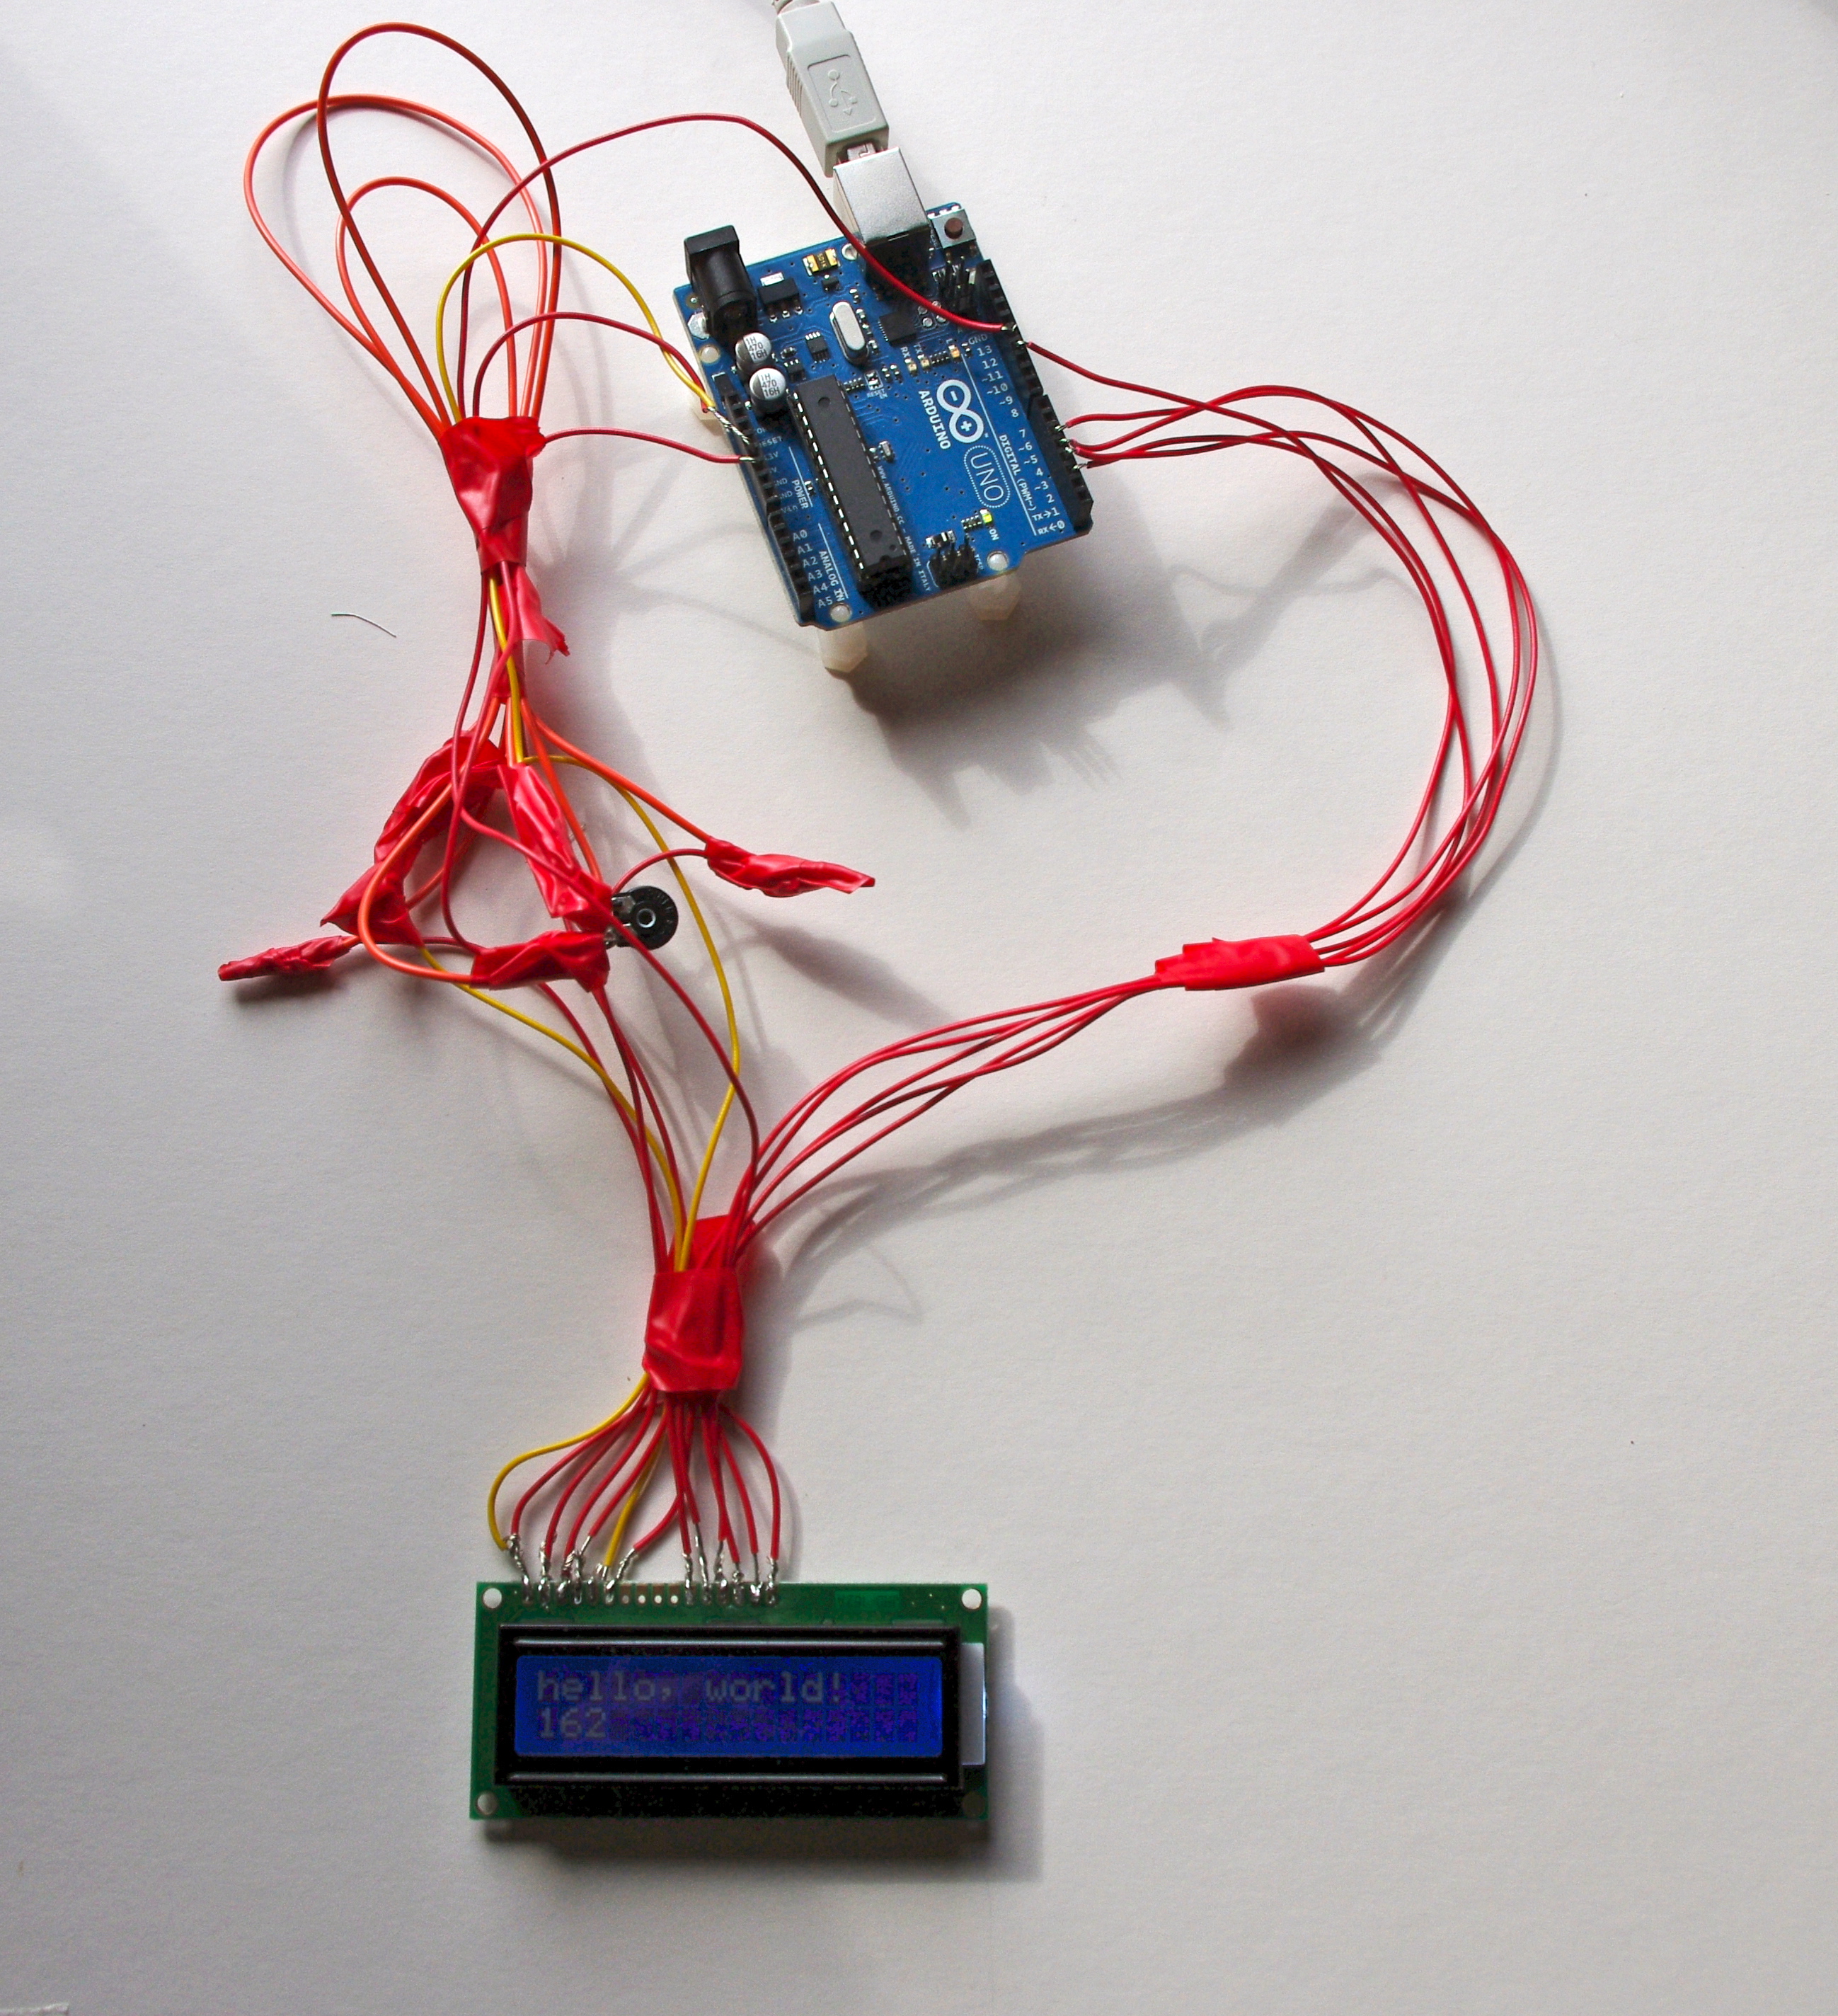
Wire Up the LCD
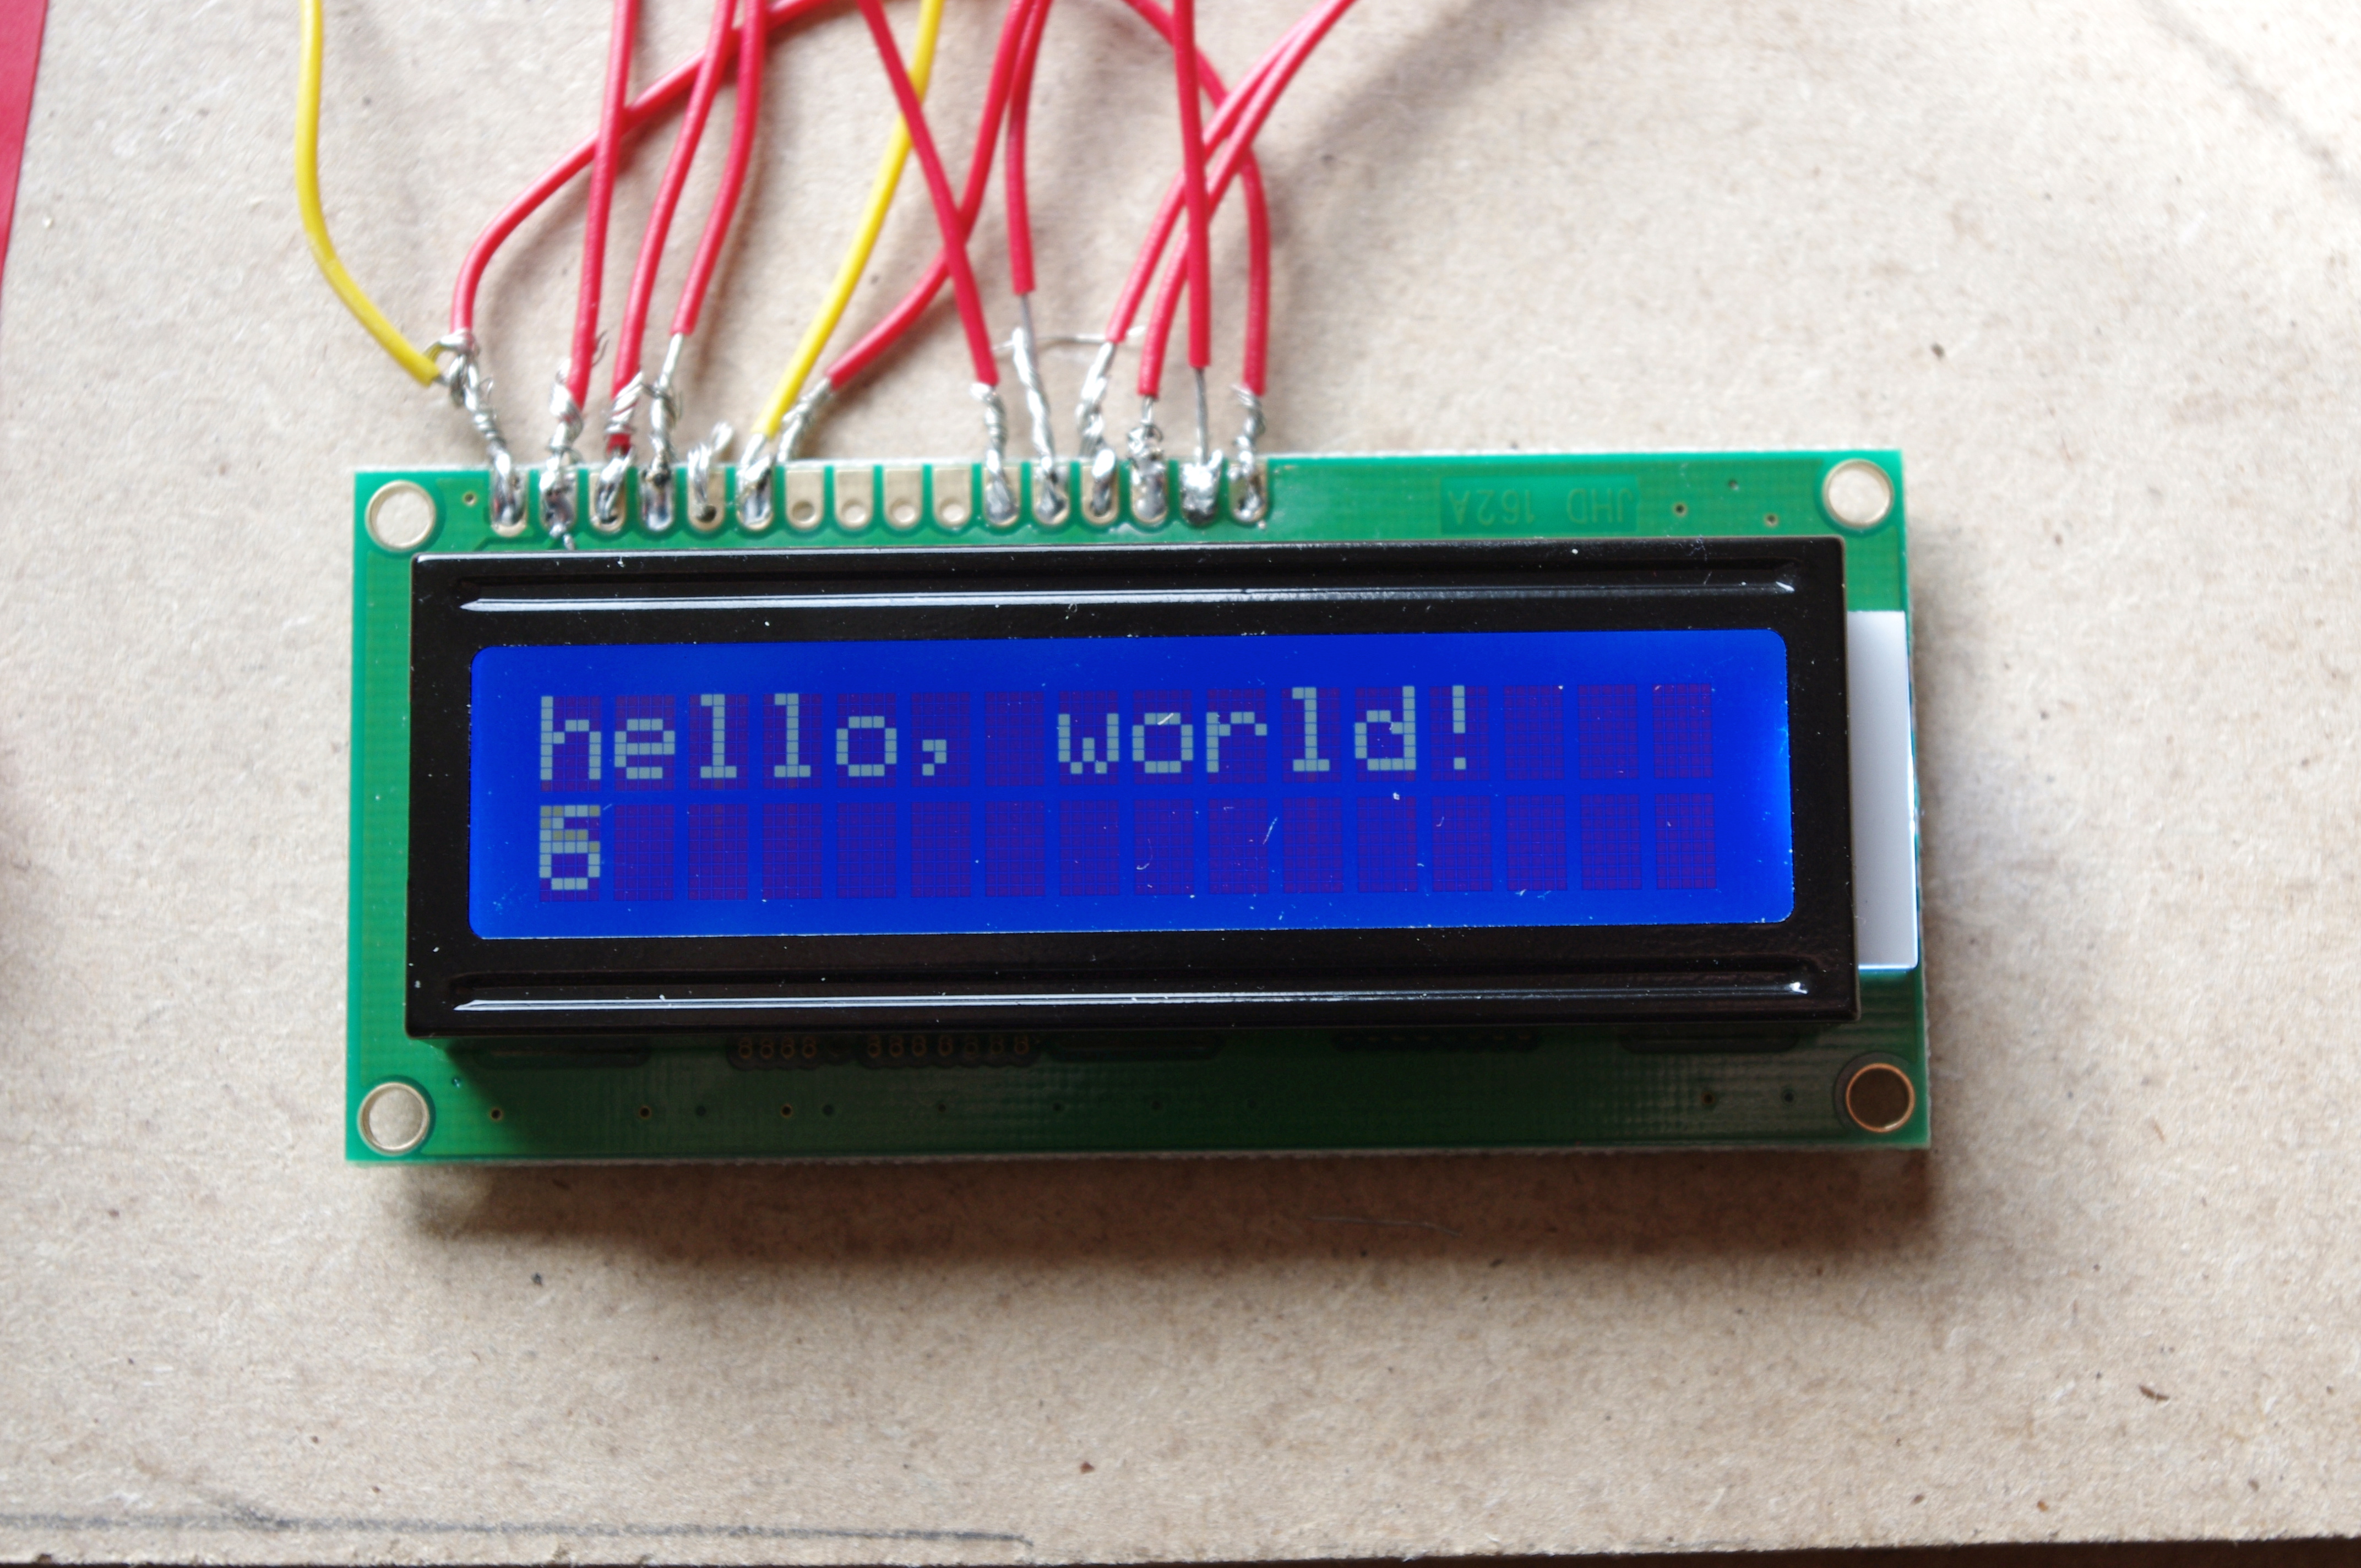

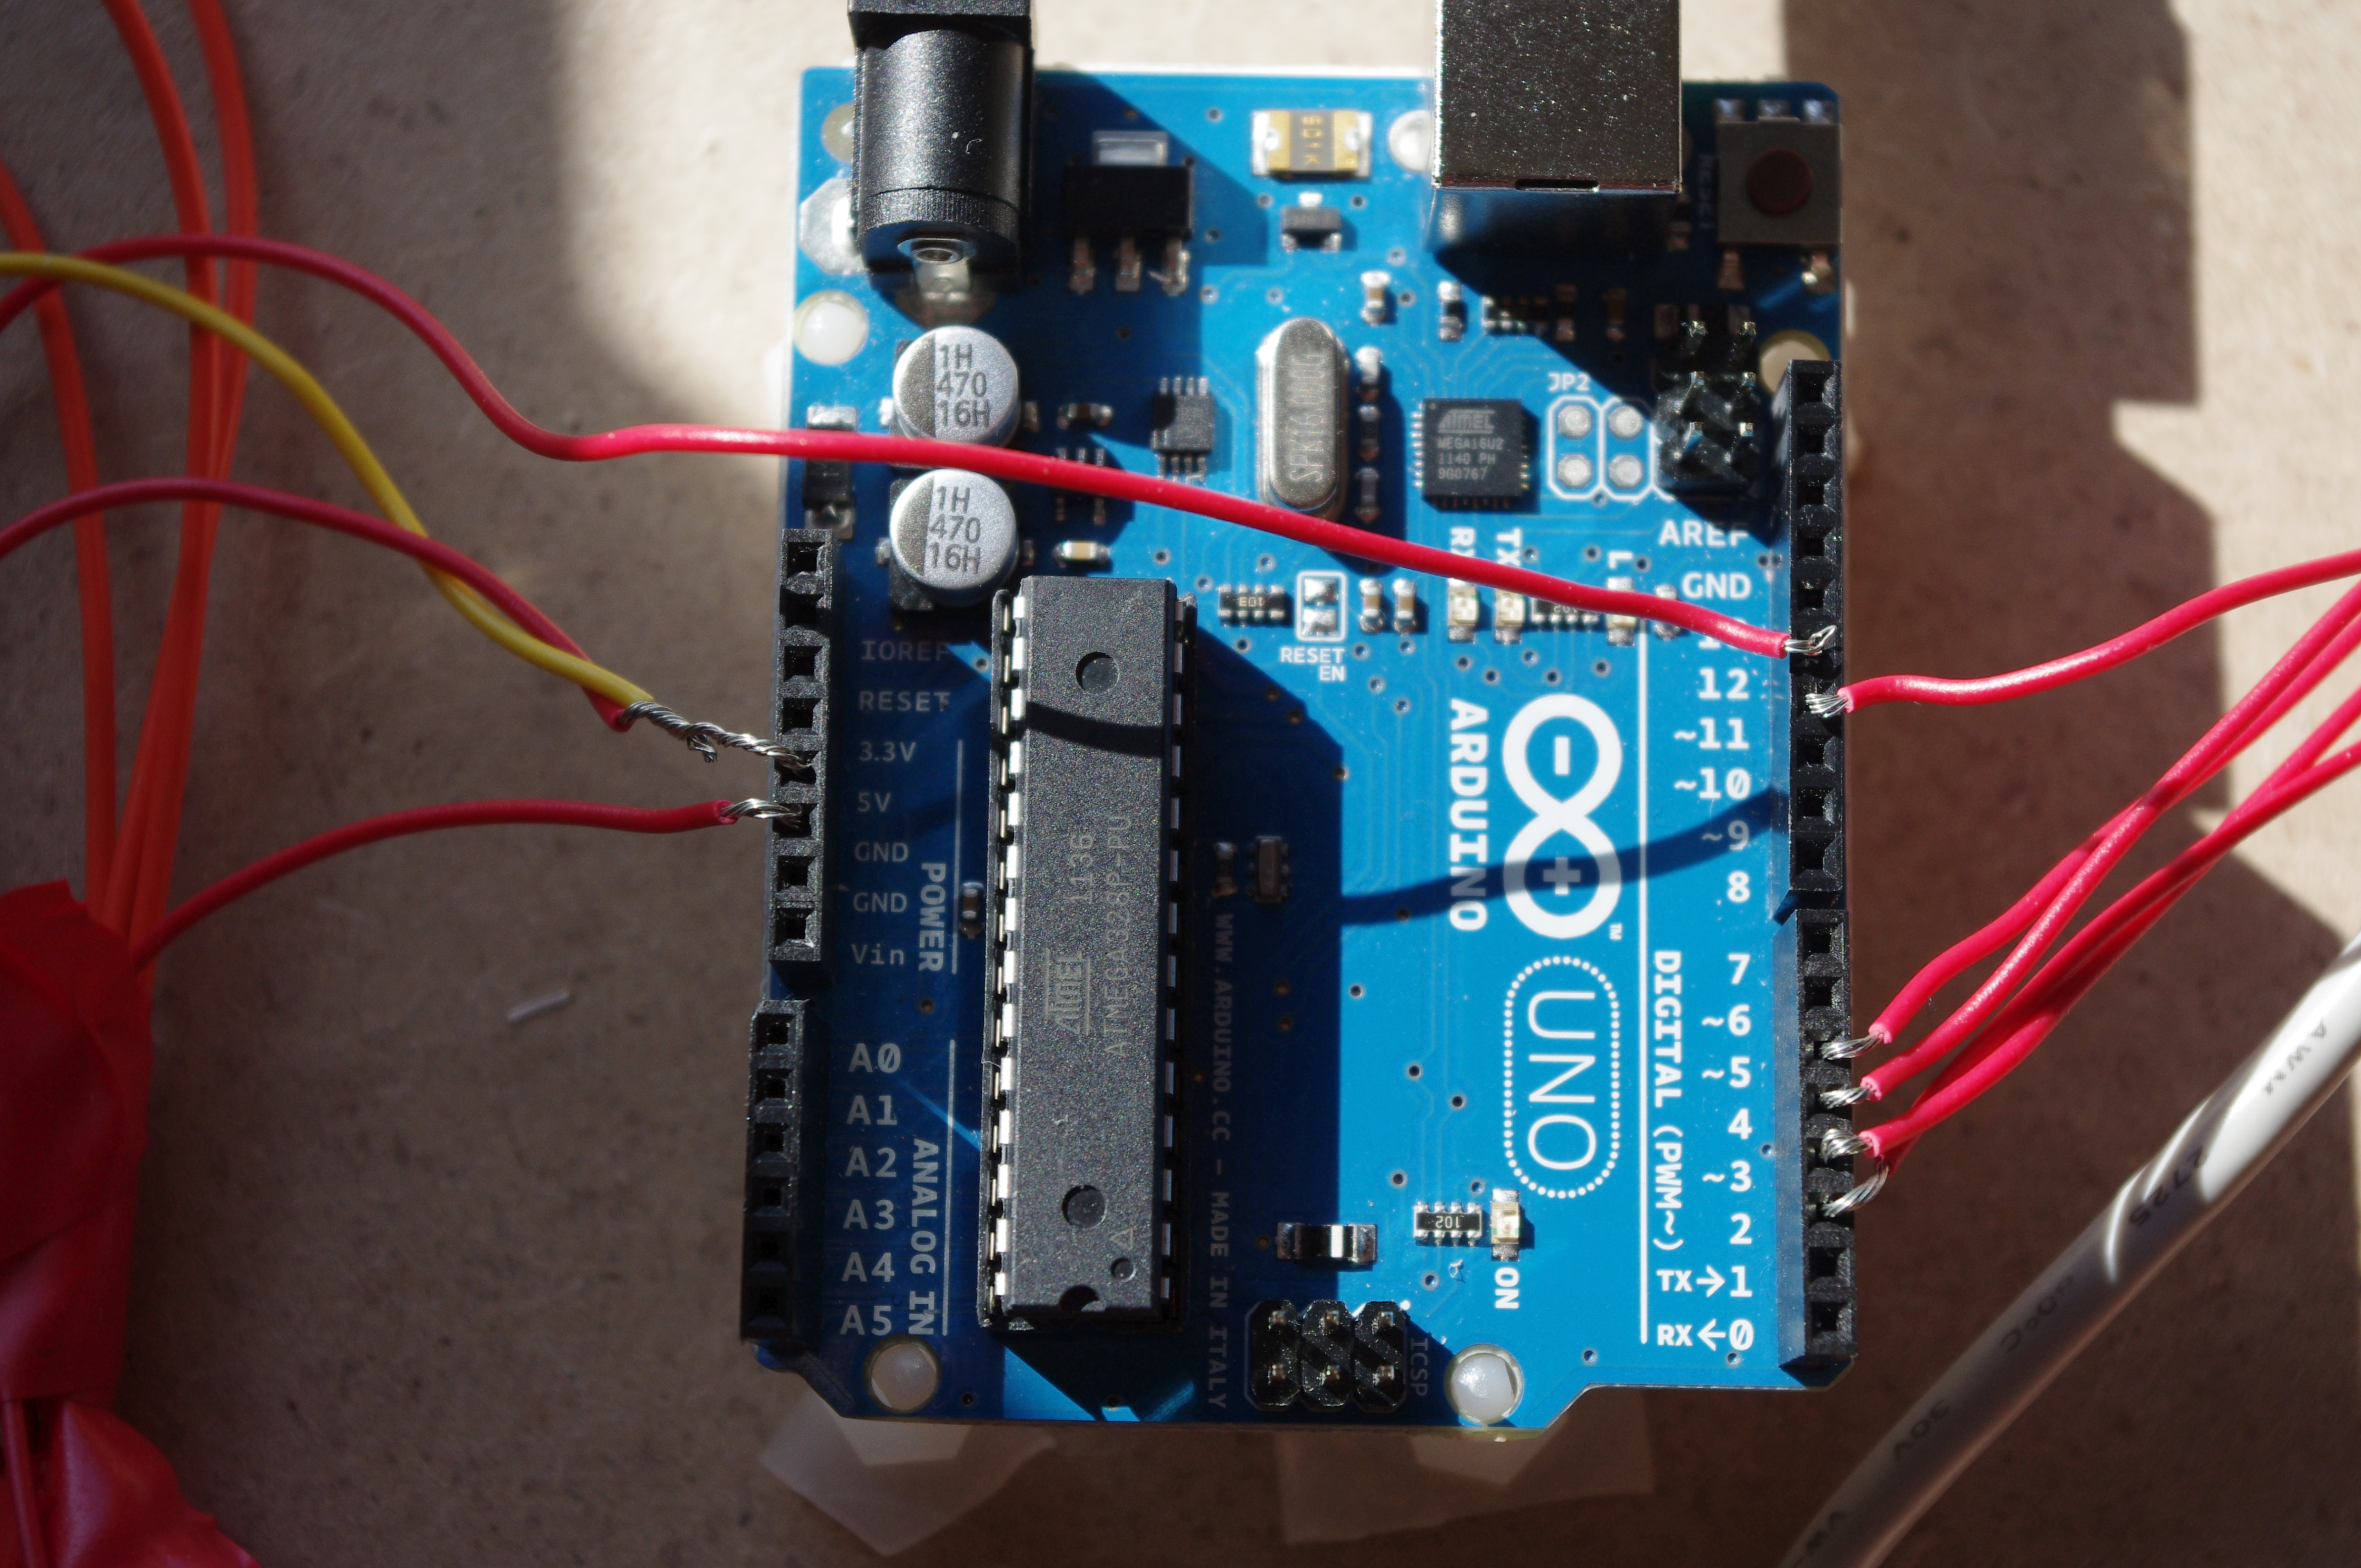
To wire up the LCD you need to connect
VSS to 10K pen and to 5v
VCC to 10K pen
VO to 10 k pen and to GND
RS to D12
RW to GND
E to D11
DB4 to D5
DB5 to D4
DB6 to D3
DB7 to D2
LED+ to 5v
LED- To GND
if you have a different LCD the wiring might be a little different if you have trouble, read the info at this link http://arduino.cc/en/Tutorial/LiquidCrystal
Wire Up the Touch Screen

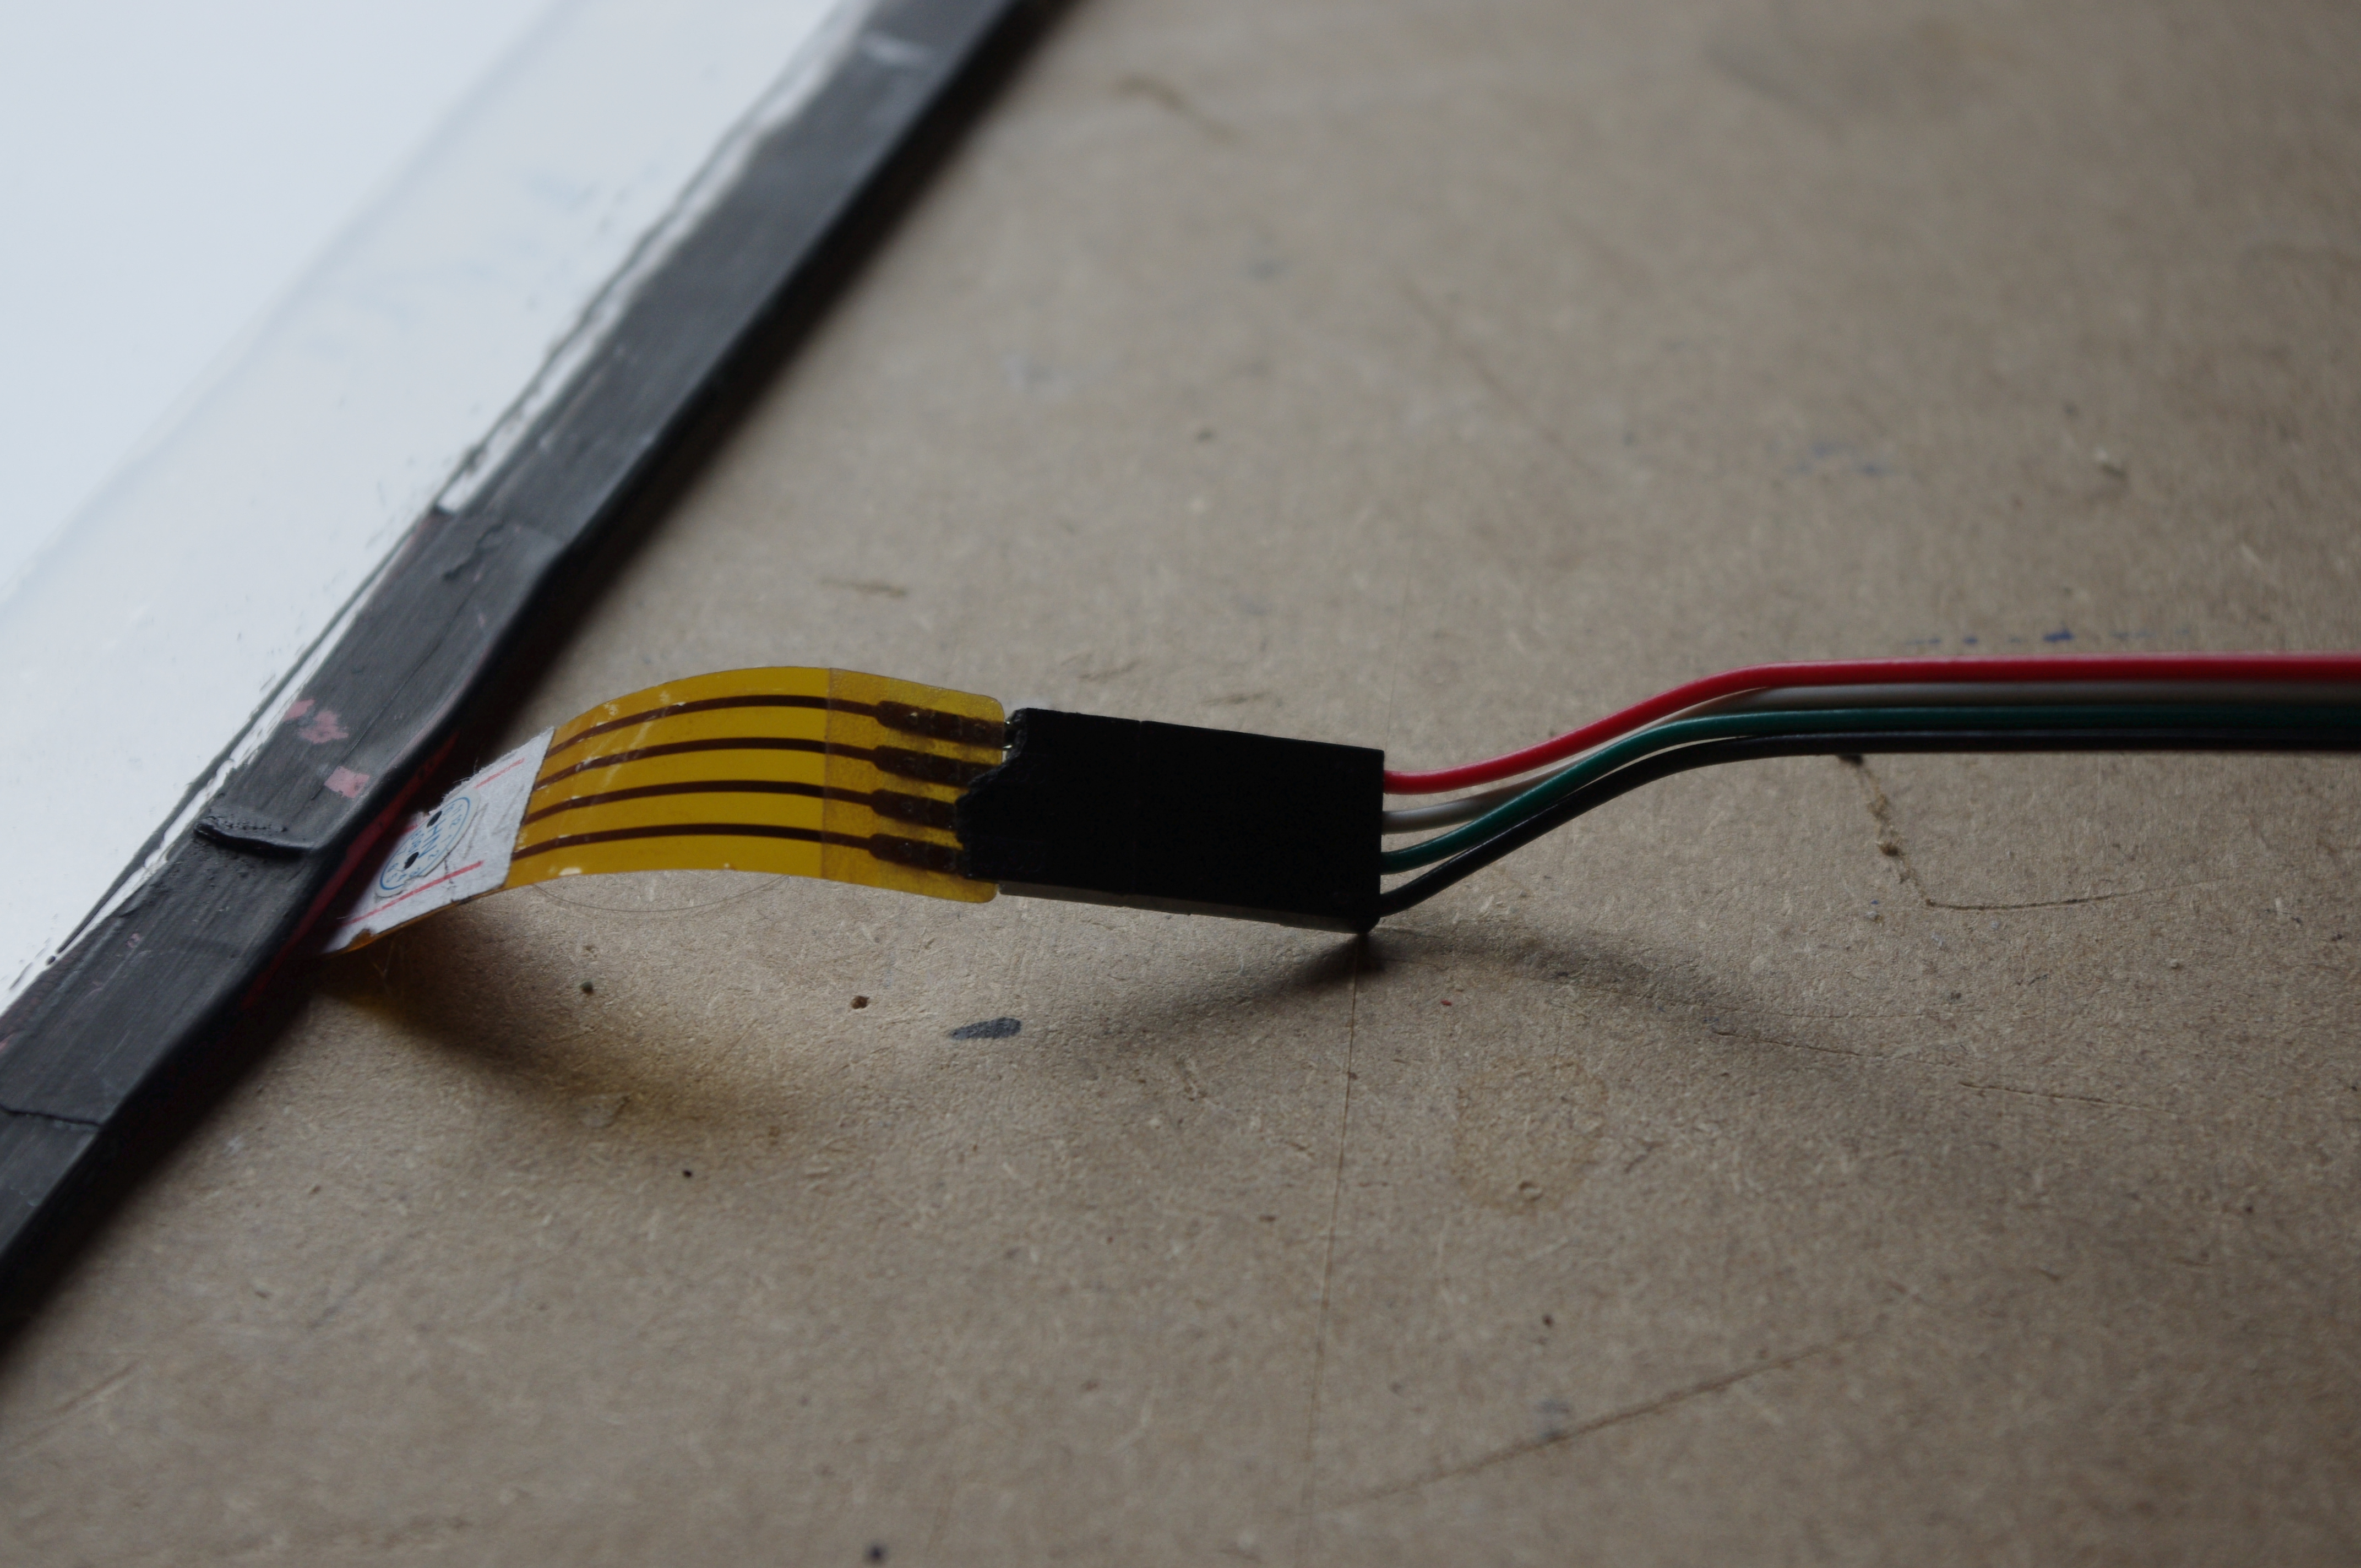
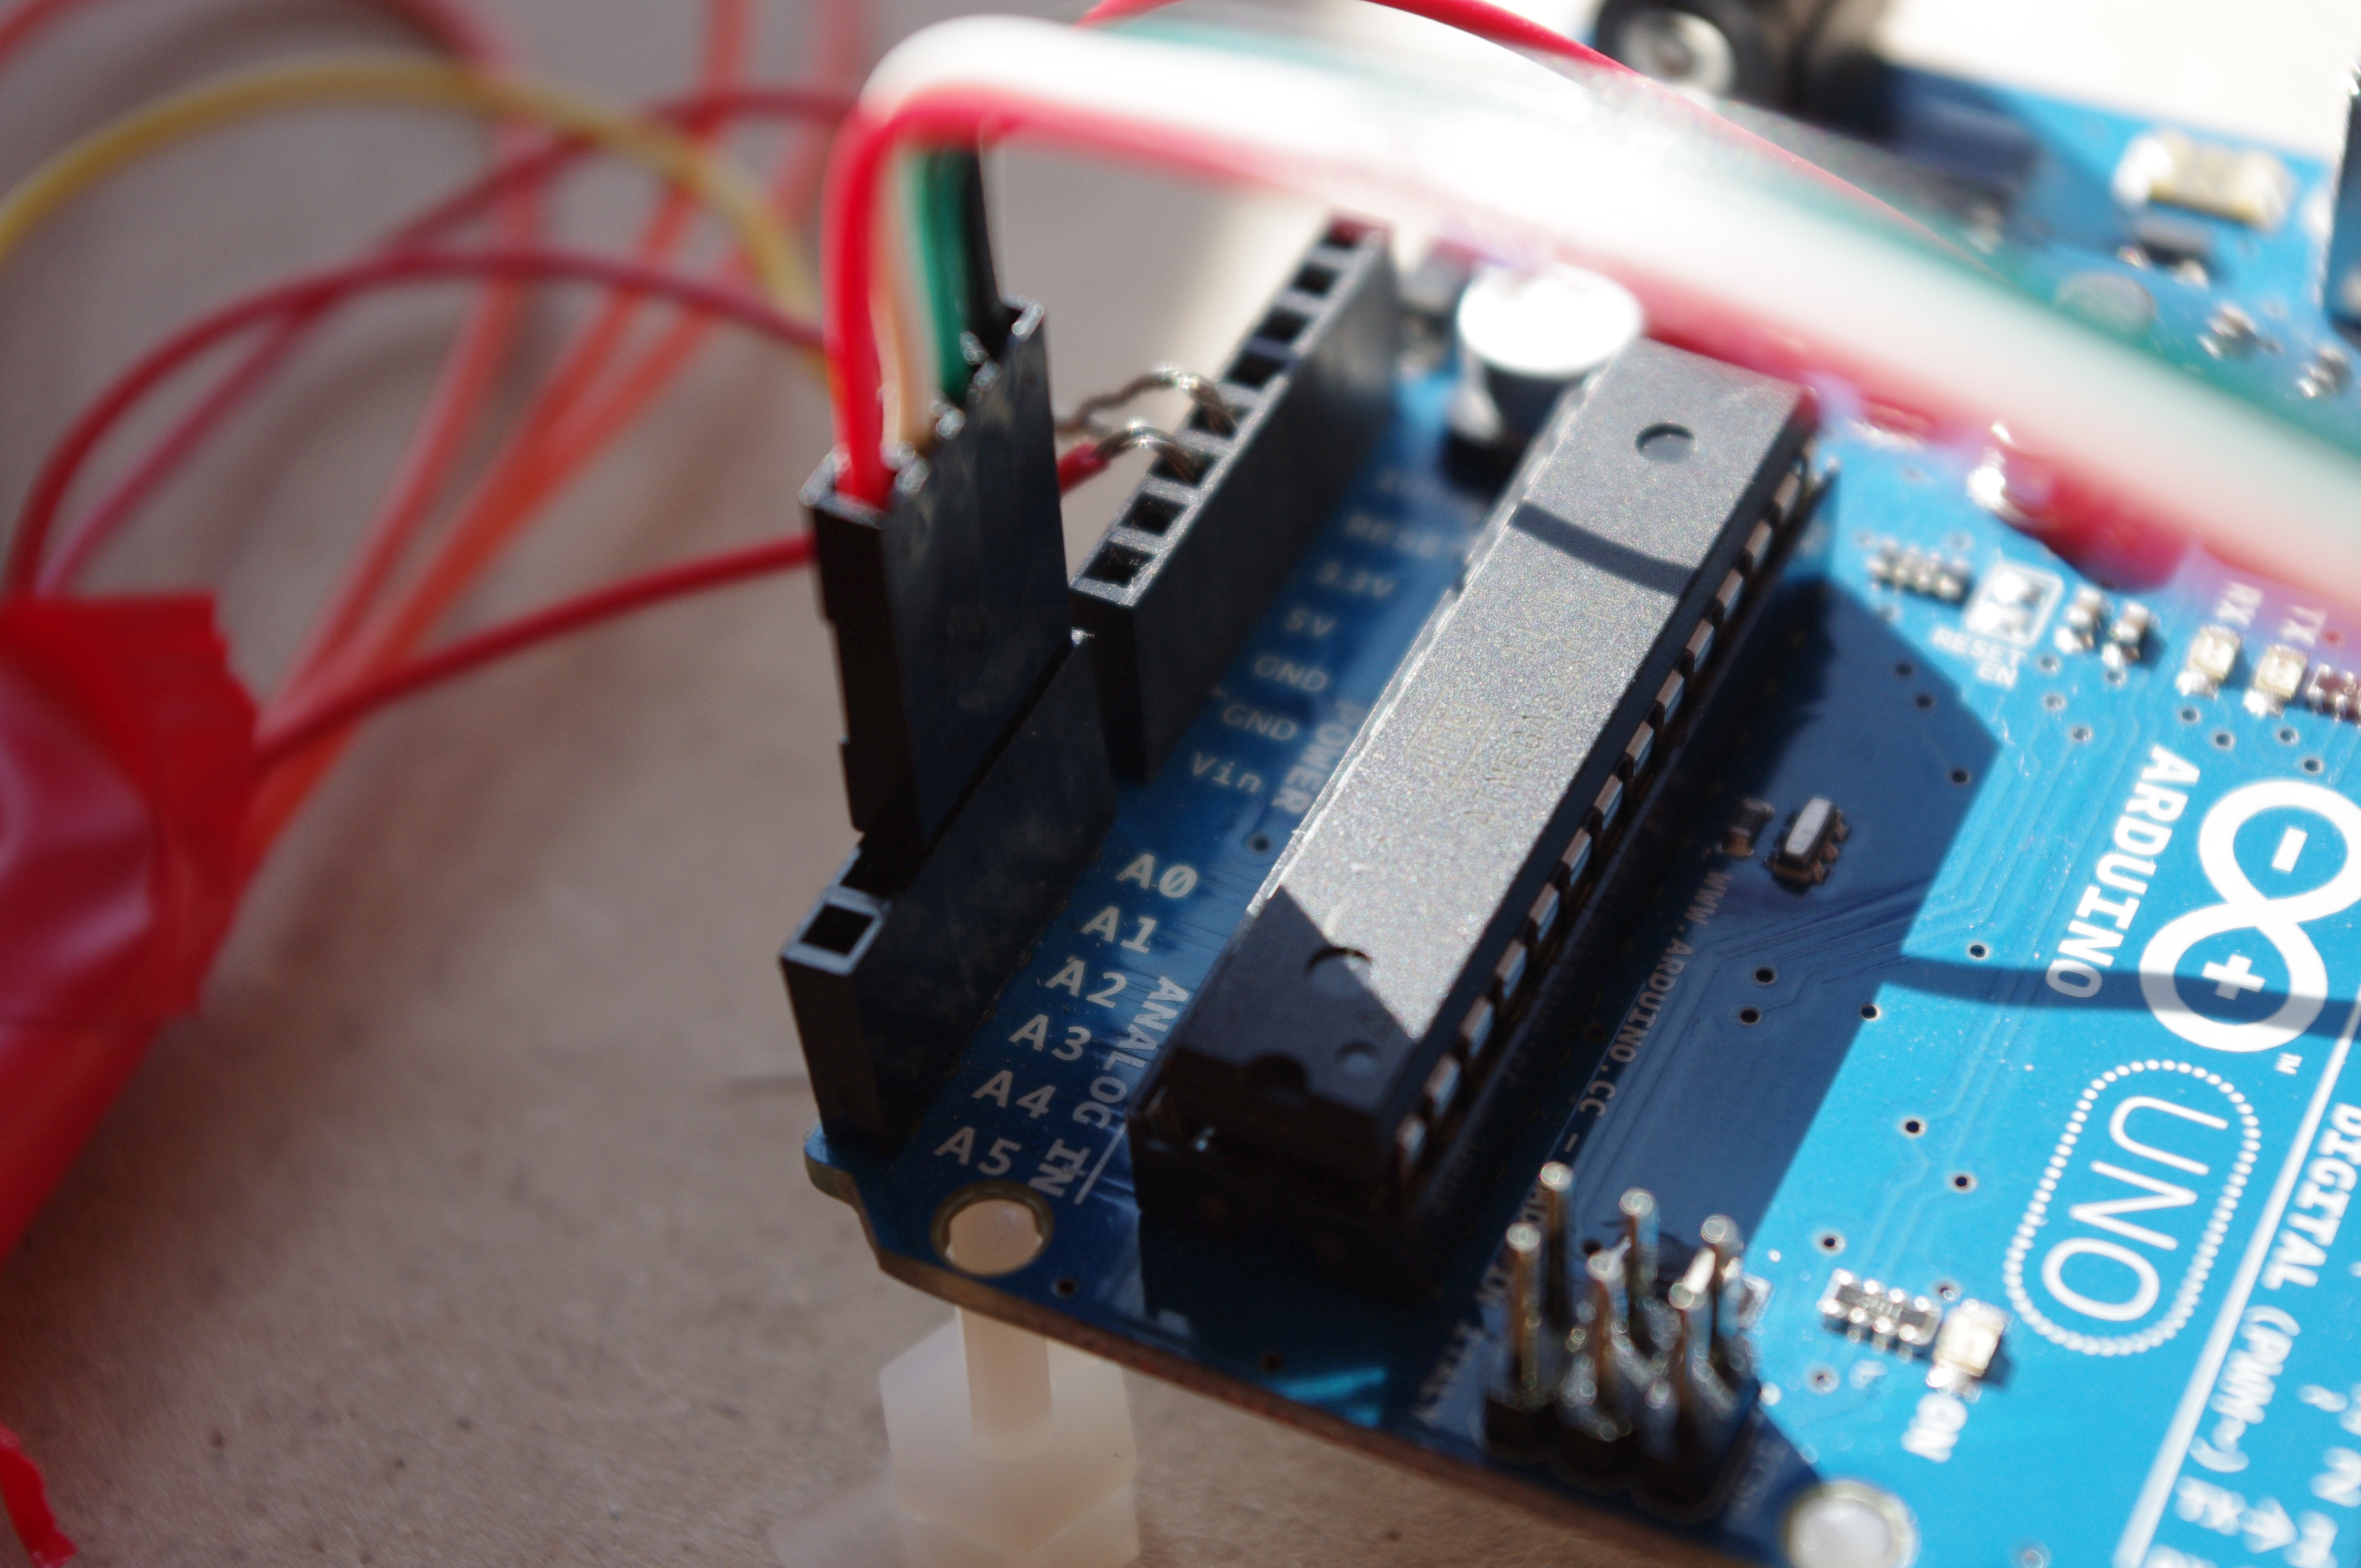
The wiring up of the touch screen panel is easy one end needs plugging in to the touch screen panel the other needs plugging in to the analog inputs on the Arduino
A0 to Black
A1 to Green
A2 to White
A3 to Red
The colour of your wires might differ
If you need more info check out this link http://www.practicalarduino.com/projects/touch-control-panel or http://bildr.org/2011/06/ds-touch-screen-arduino/
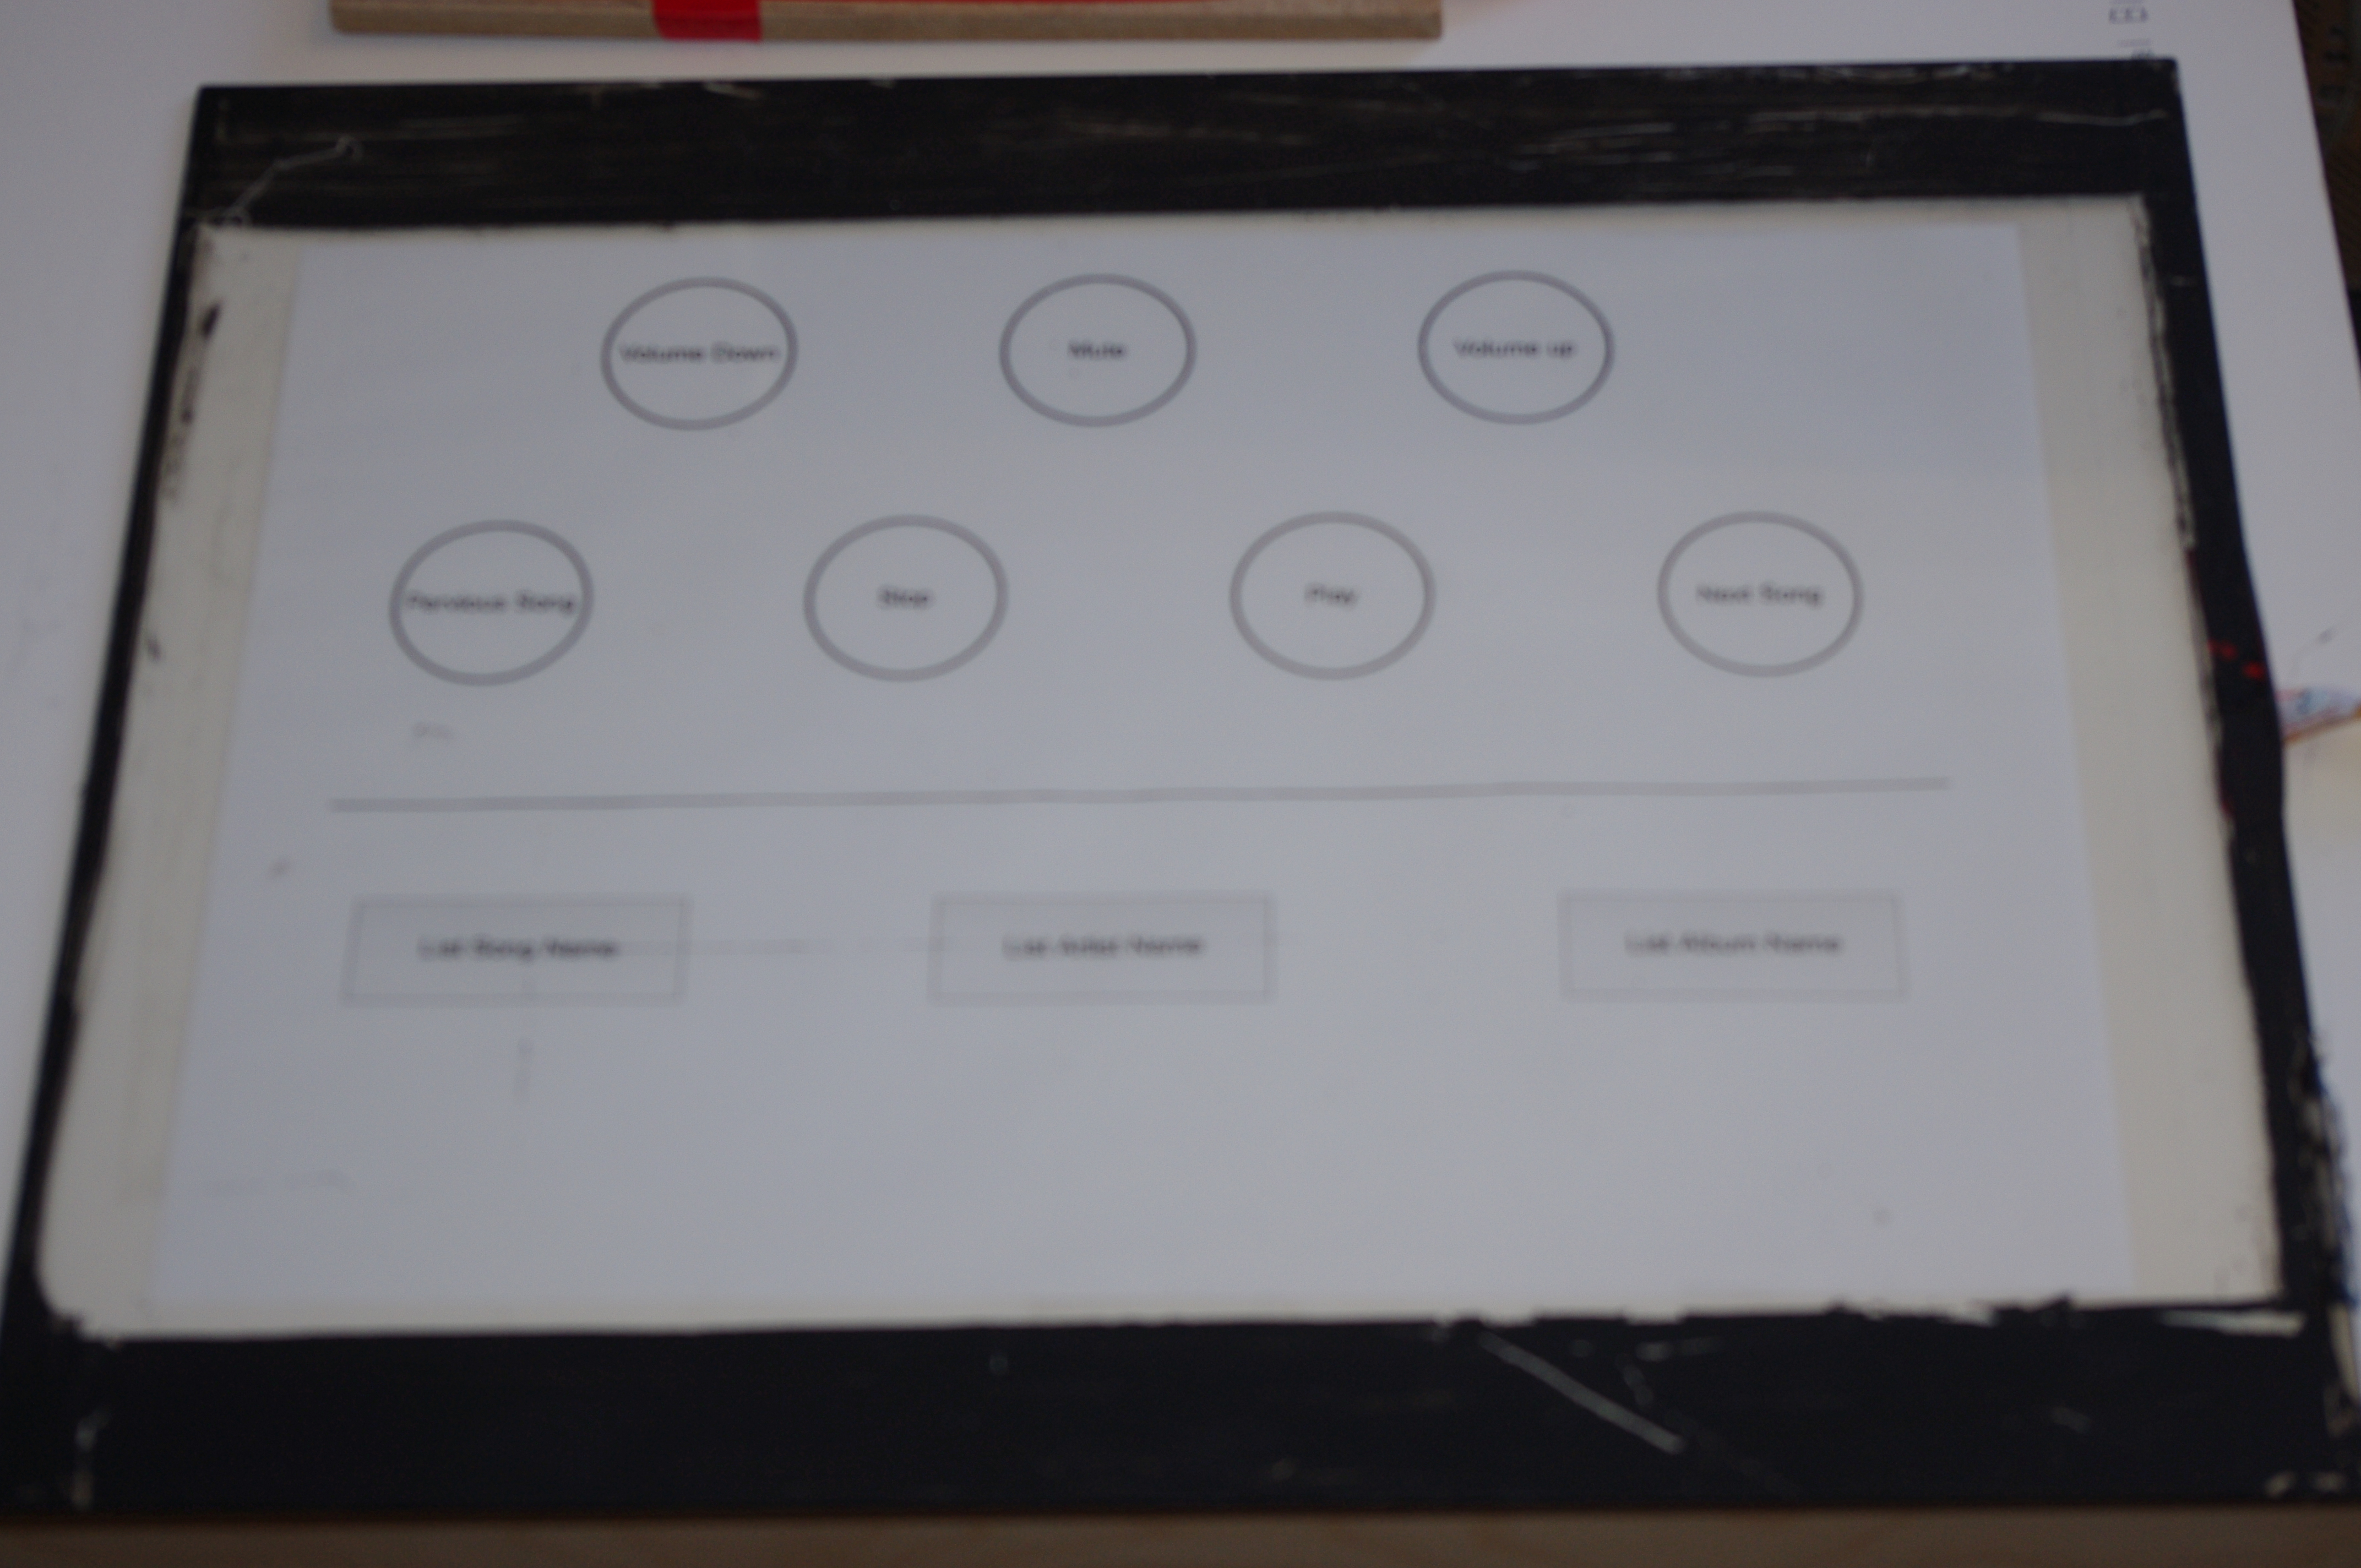
You'll need to print out a sheet with the controls on it you can download the one I used, once printed out it needs attaching to the back of the touch screen.
Configure
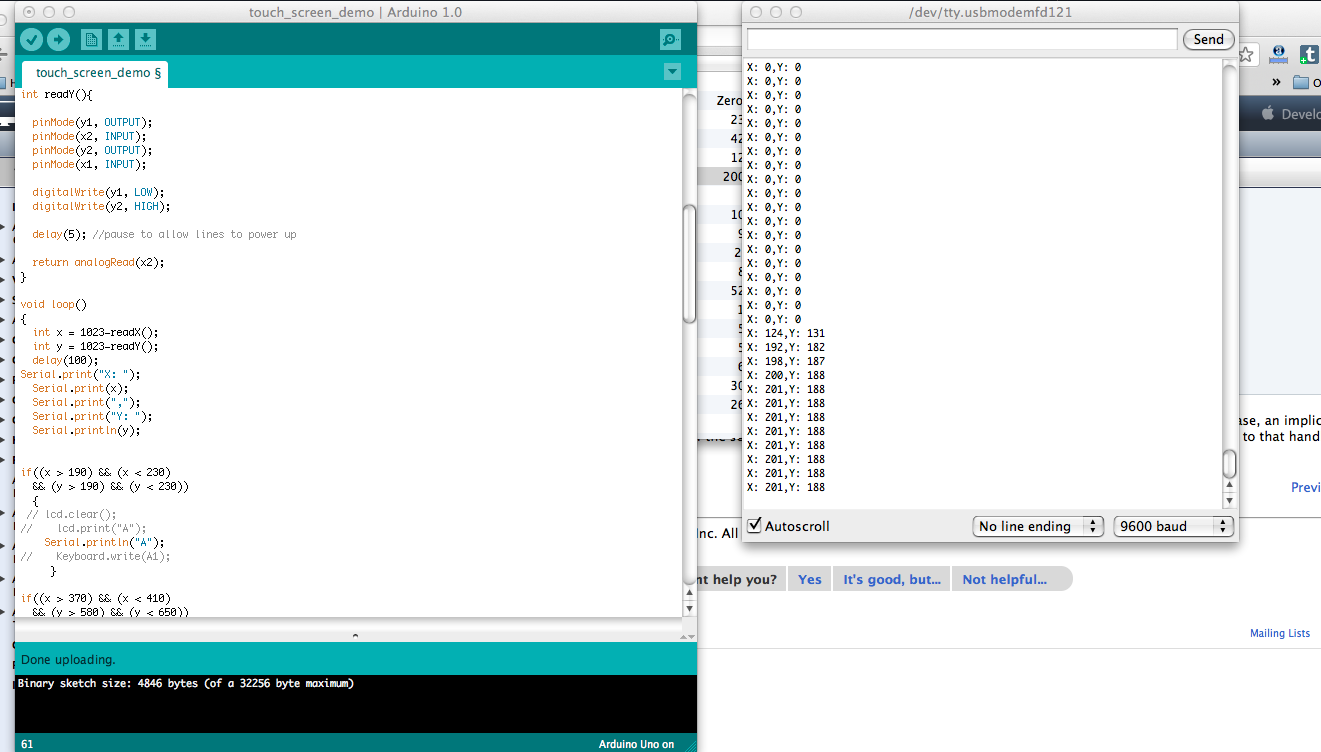
Now we have the touch screen and LCD setup we need to upload a program to the Arduino and Configure the touch screen panel
Once the program has been uploaded. Open up the serial monitor it will show the co-ordantes now you'll need to press down on each off the buttons make a note of the highest and lowest numbers. These numbers will need to be entered it to the Arduino program in the correct place.
Once all the buttons are setup you'll need to in serialportX, this will let the apple script talk to the Arduino.
Now you'll need to run the apple script this will read the info that comes from the serial port and then run a command based on what letter is received. It will also send info over the serial port.
With both the program and the applescript I'm proving as they are.