Arduino Thermostat for Window AC Unit (On the Cheap)
by Kris S in Living > Life Hacks
12806 Views, 32 Favorites, 0 Comments
Arduino Thermostat for Window AC Unit (On the Cheap)
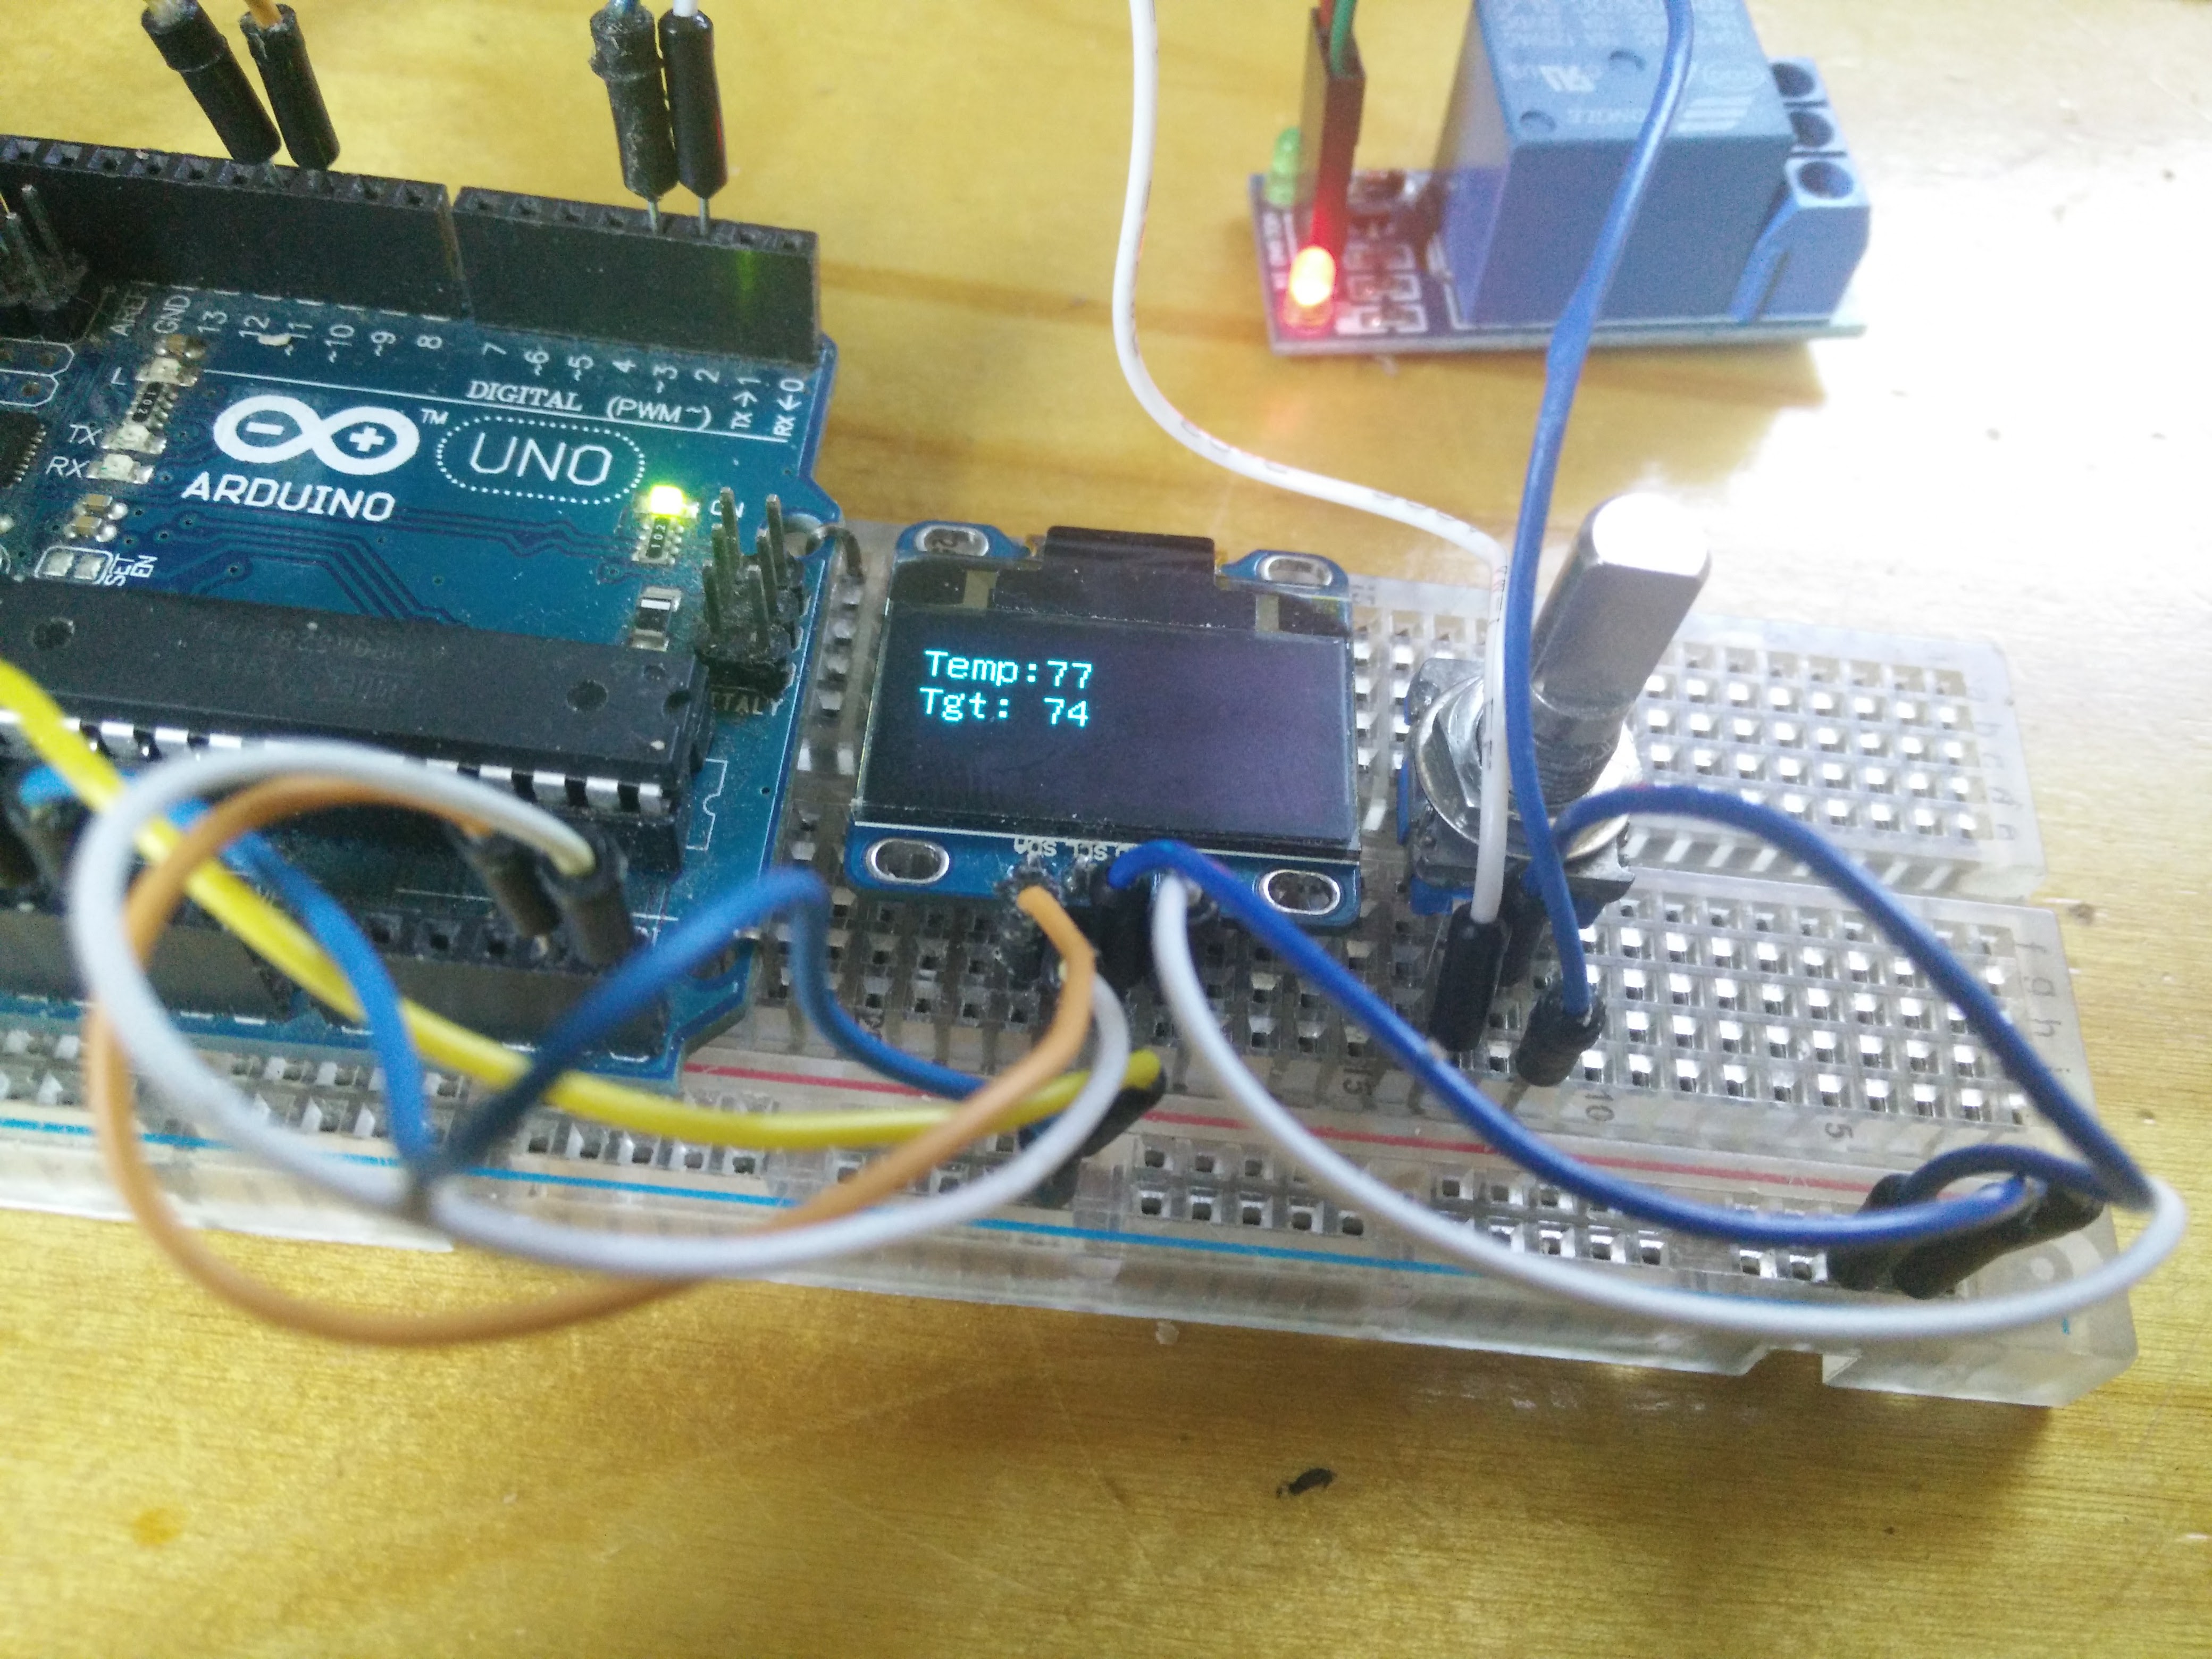
Do you get sick of your cheap piece of crap AC unit making things too cold, like I do?--but when you turn it off, the room gets too hot; dumb thing doesn't have a decent thermostat.
In this tutorial I will show you how to make a device that automatically regulates temperature, or that activates a device when the temperature reaches a certain point. This could be any device, but for example, I will be using an air conditioner in an upstairs bedroom.
Gathering Supplies
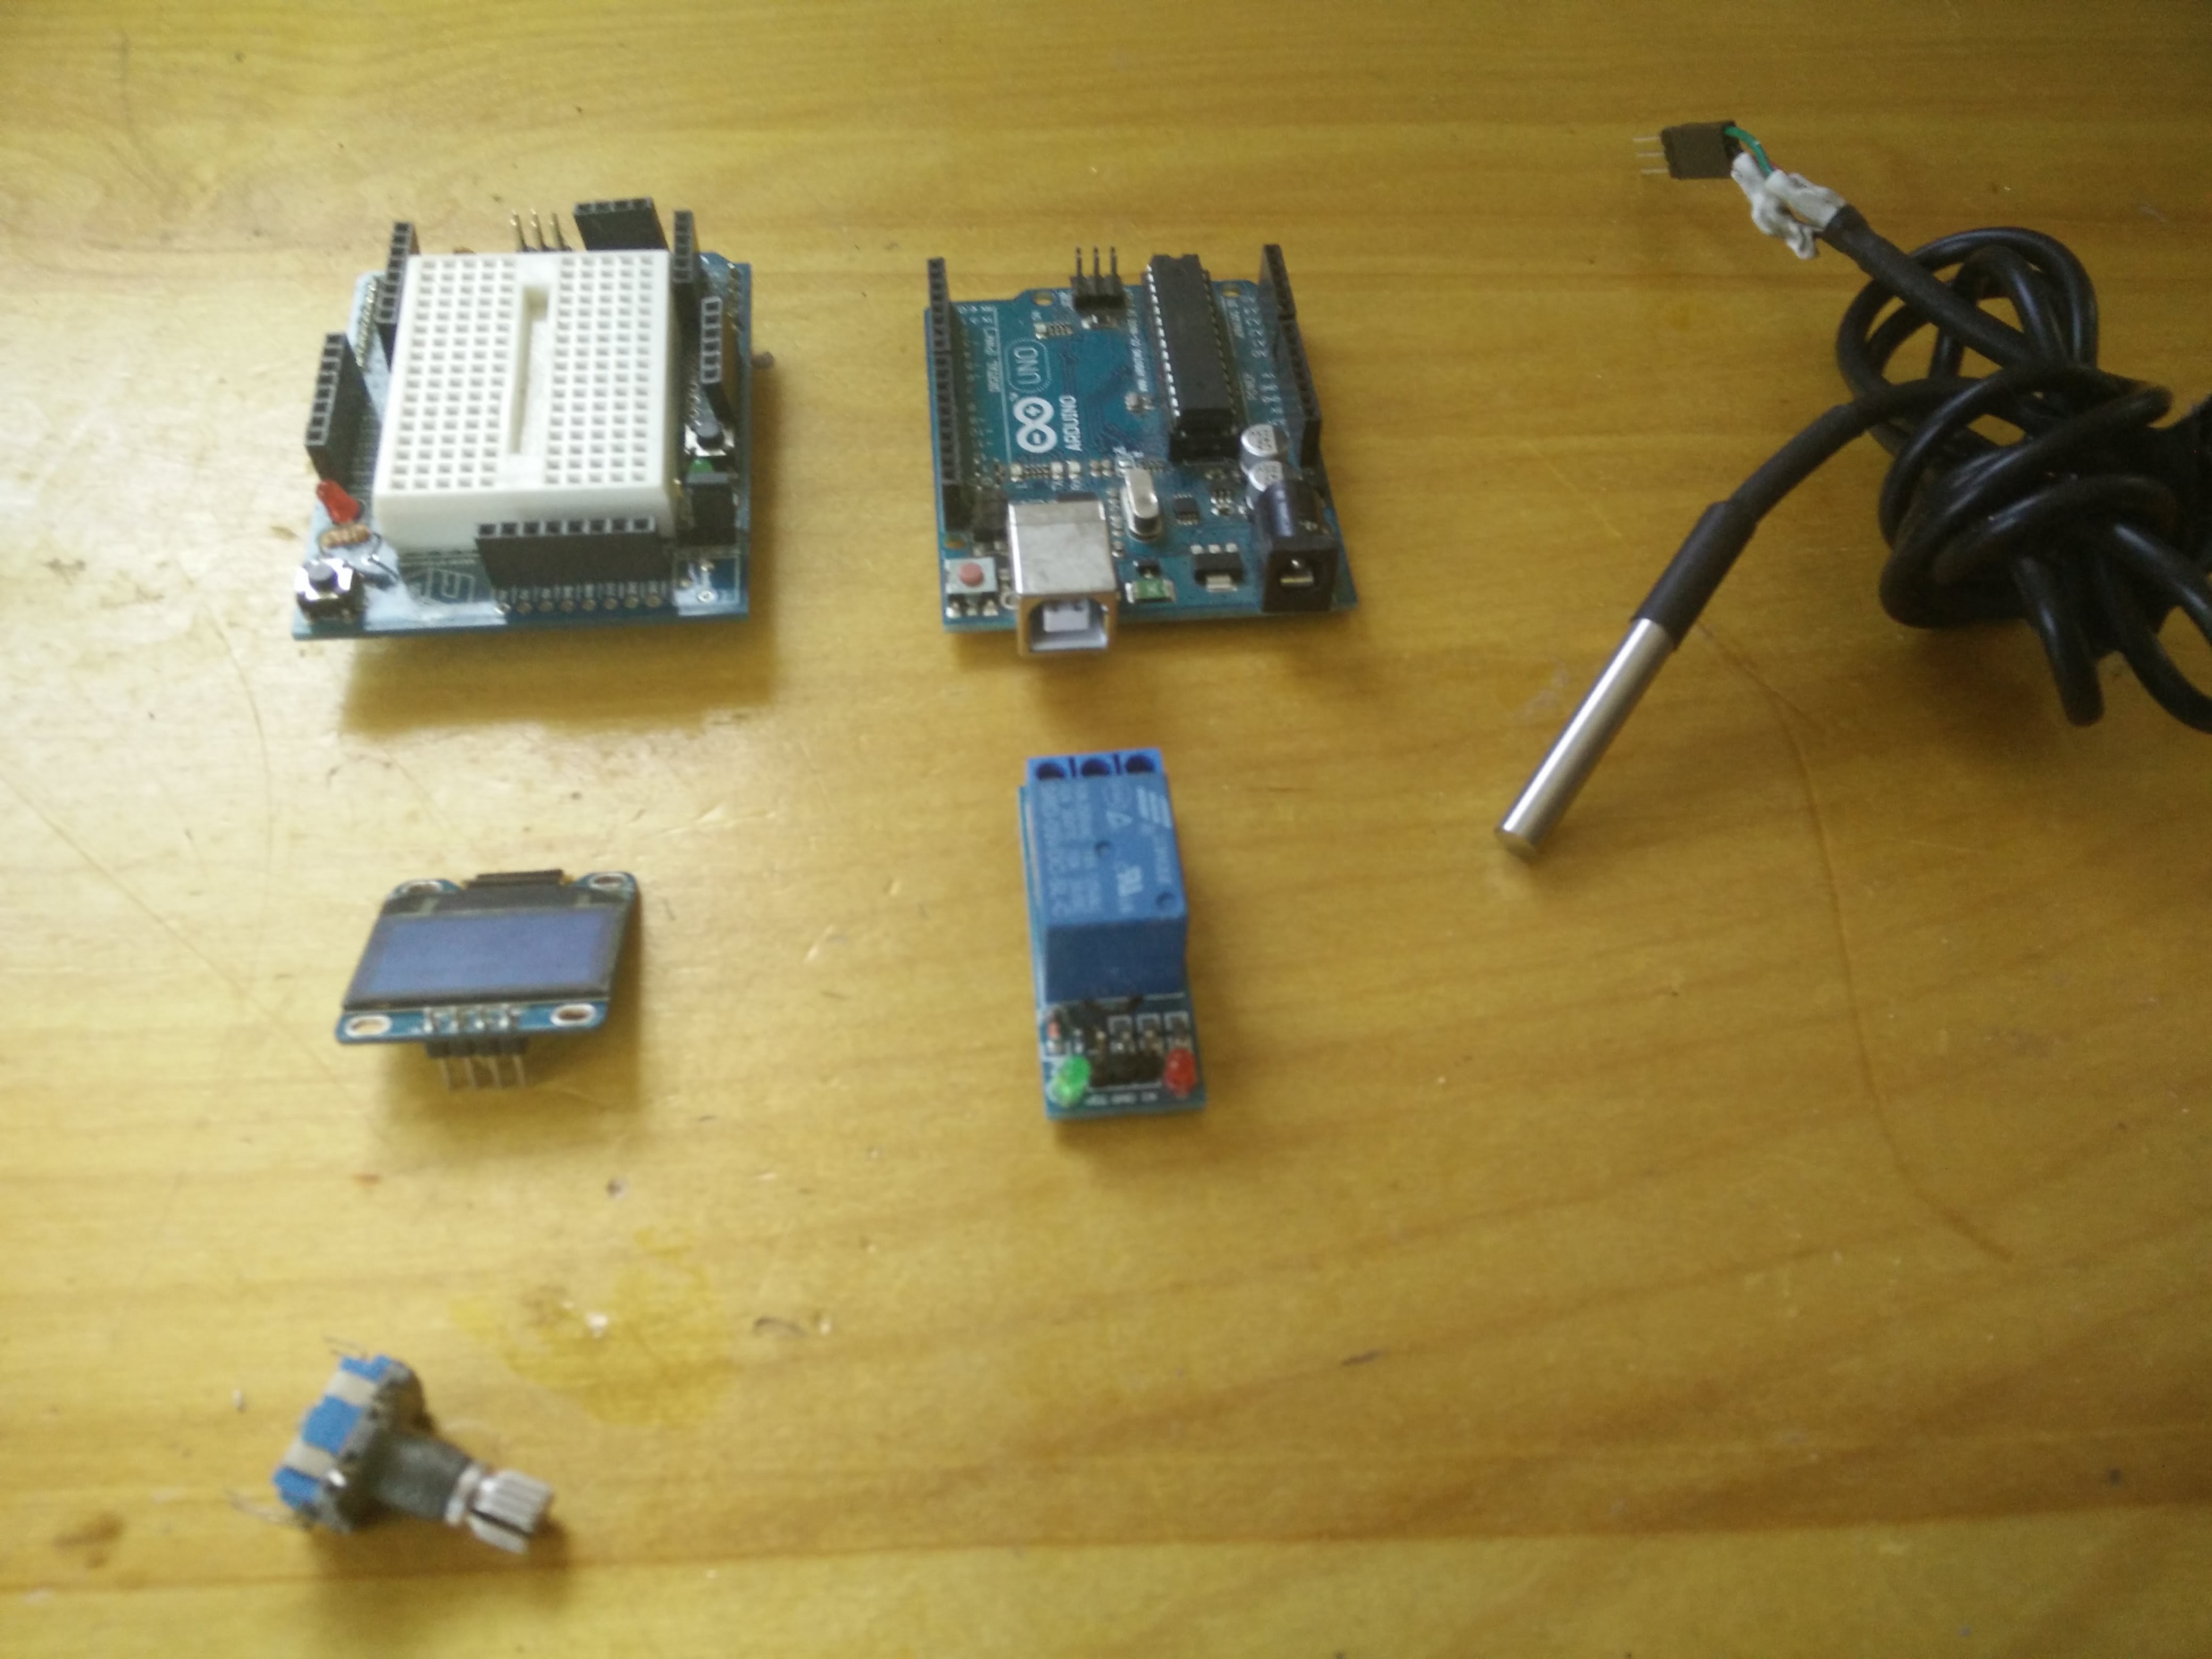
First things first. You will need some parts to get this project going, so head to your favorite electronics website and purchase the following:
1. Arduino --Doesn't need to be an Uno, but if you use a different board, some of the pins may change; I will cover that later.
2. Cheap arduino-compatible relay module--almost any type will work.
3. DS18B20 Temperature Sensor --A cheap ebay version will work just fine!
5. .96" i2C 128X64 OLED display (optional)--Make sure it is i2C and not SPI serial
// Not used -->> 6.C945 NPN transistor (Depending on the relay module used)
Time to Wire Things Up
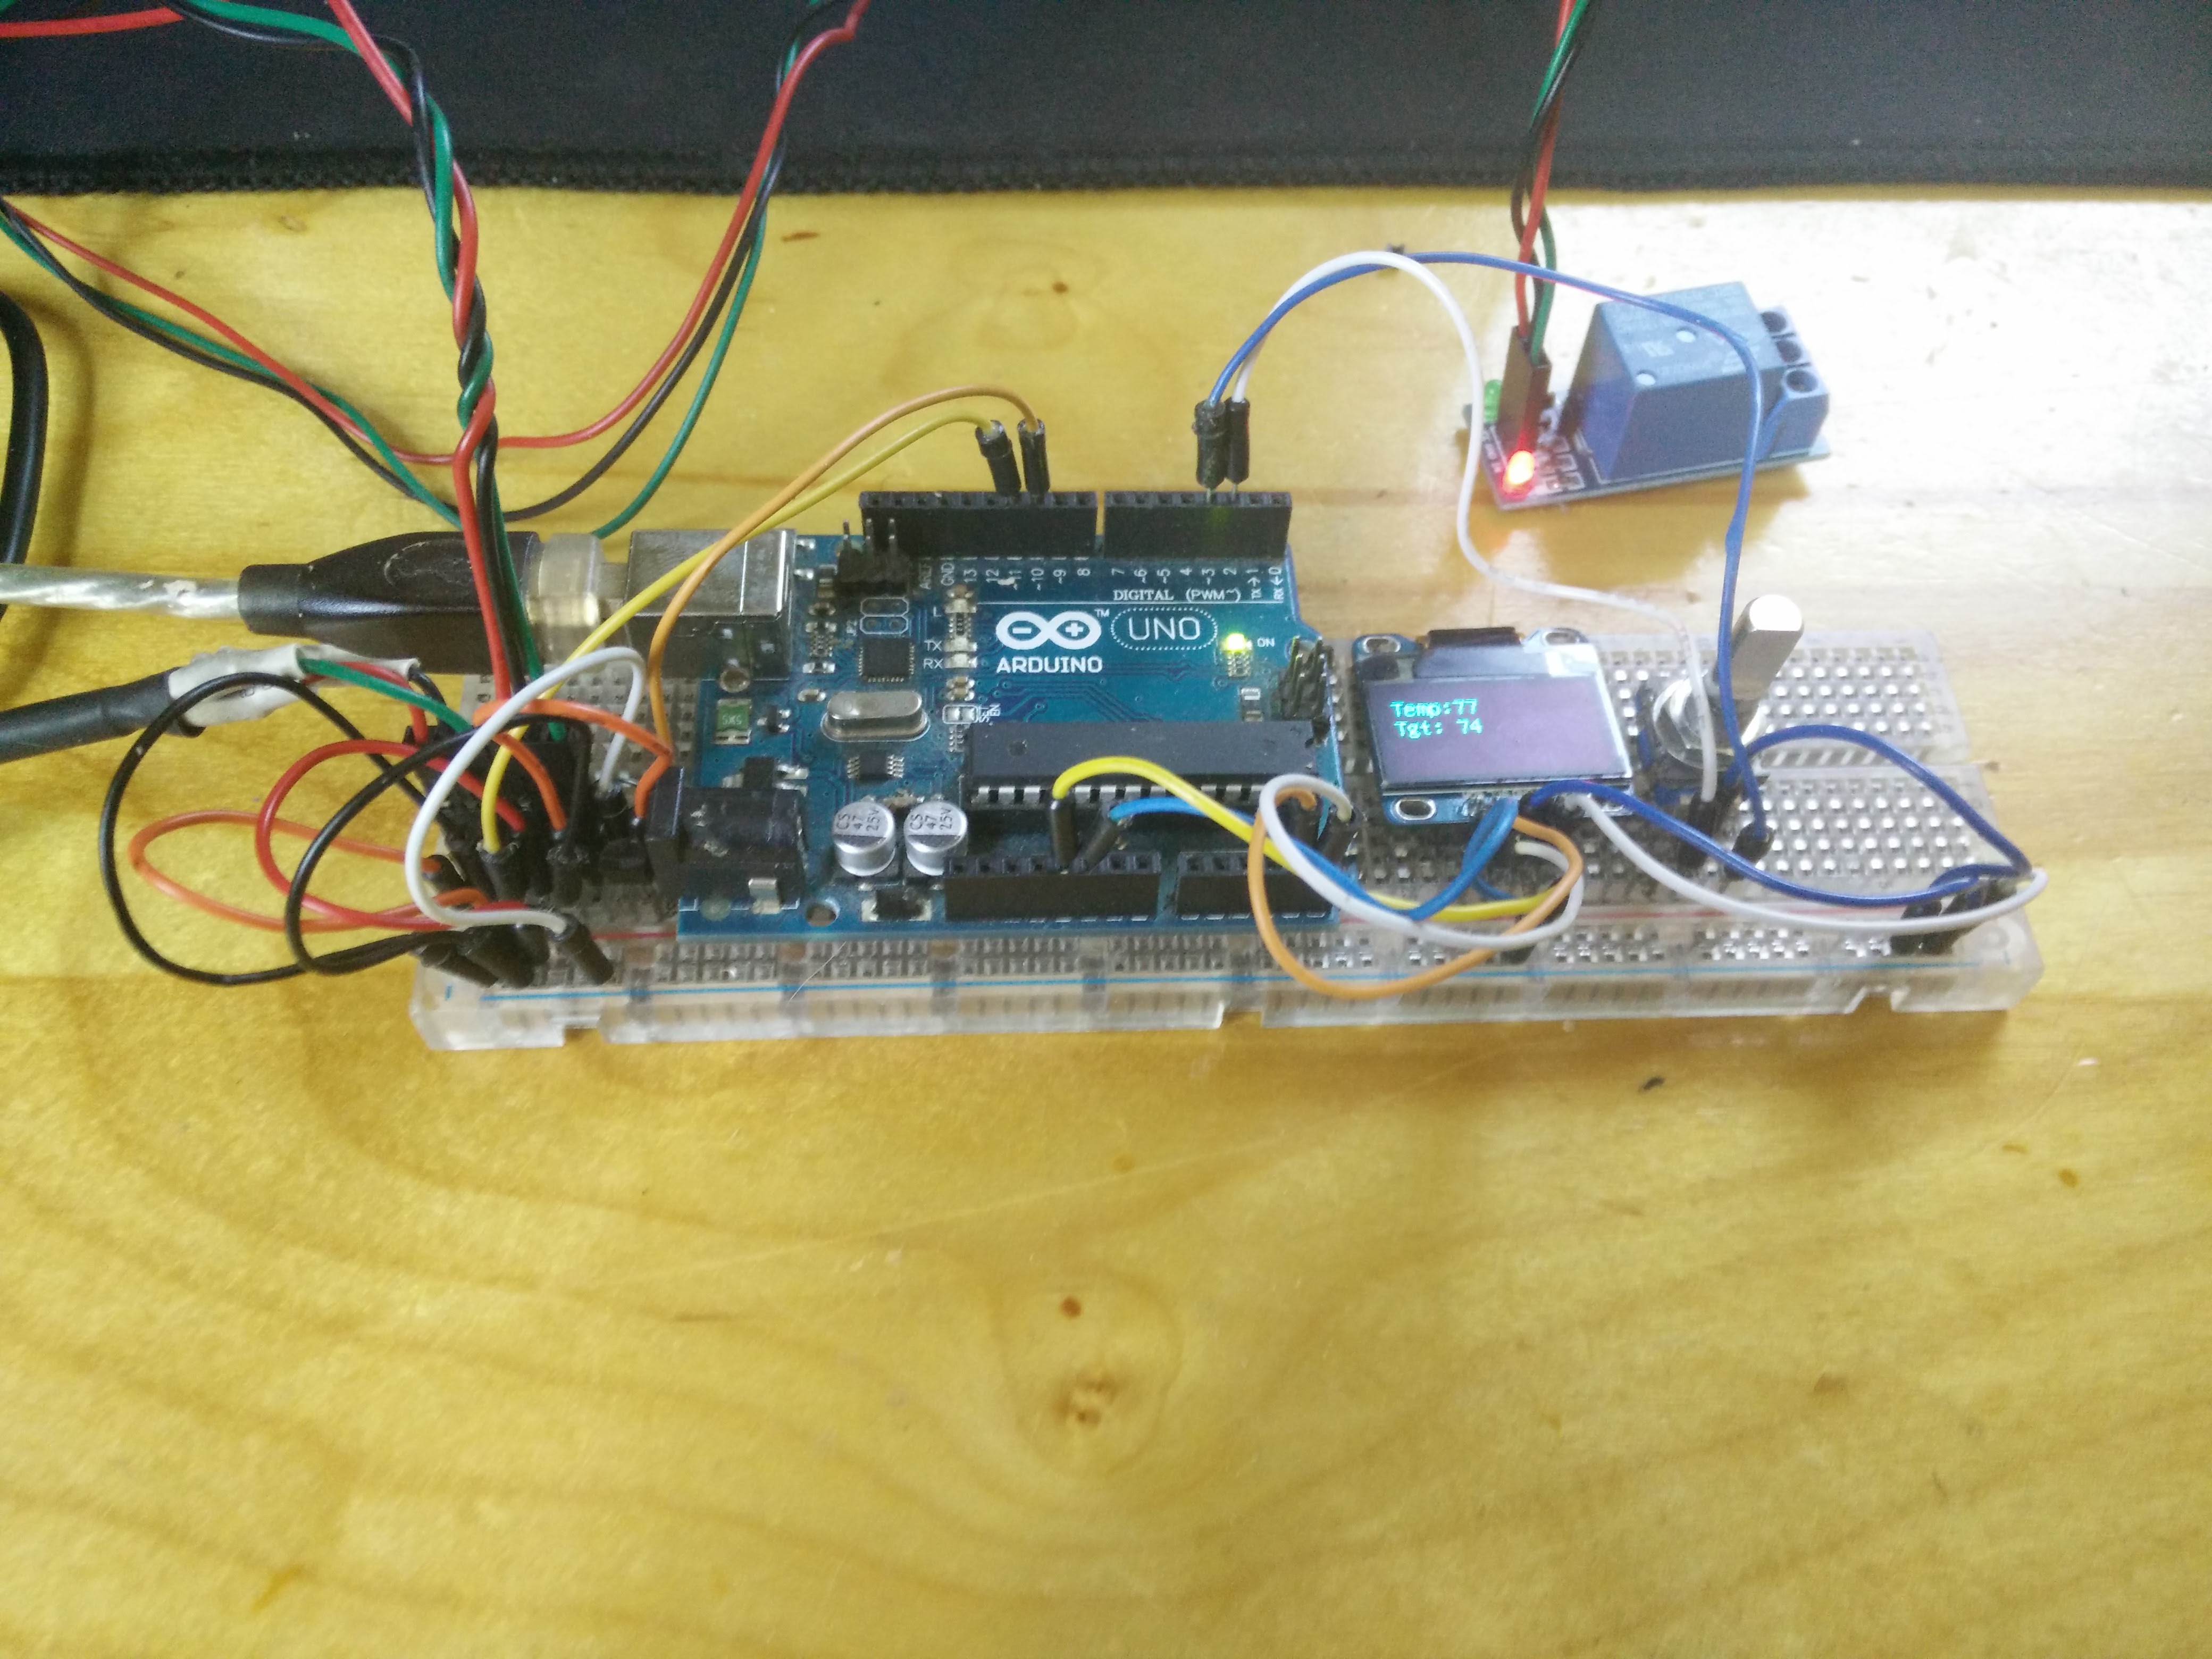
This is the tricky part, I will do my best to explain how everything is connected in the list below.
If this list is not clear, please let me know and I will change it.
Let's start with the encoder:
- Connect center encoder pin to ground
- Connect right encoder pin to arduino pin 2
- Connect left encoder pin to arduino pin 3
Next is the relay module:
- Connect ground to ground
- Connect trigger pin to ground (depending on the type you buy)
- connect 5V pin to arduino pin 10
Next is the DS18B20 sensor:
- Look at the schematic for the sensor you bought and find what the 3 pins are (wire color my change depending on manufacturer)
- Connect Vcc to arduino 5V out
- Connect ground to ground
- Connect data pin to arduino pin 11
Last is the is the i2C display (optional)
- Connect Vcc to Arduino 5V out
- Connect ground to ground
- Note that the next two pins will change depending on the arduino board you choose. Look at the arduino website to find SDA and SCL pins for each board respectively. For the arduino uno,
- Connect SDA pin to Arduino ANALOG pin 4
- Connect SCL pin to Arduino ANALOG pin 5
You should be good to go!
Upload Sketch to Arduino
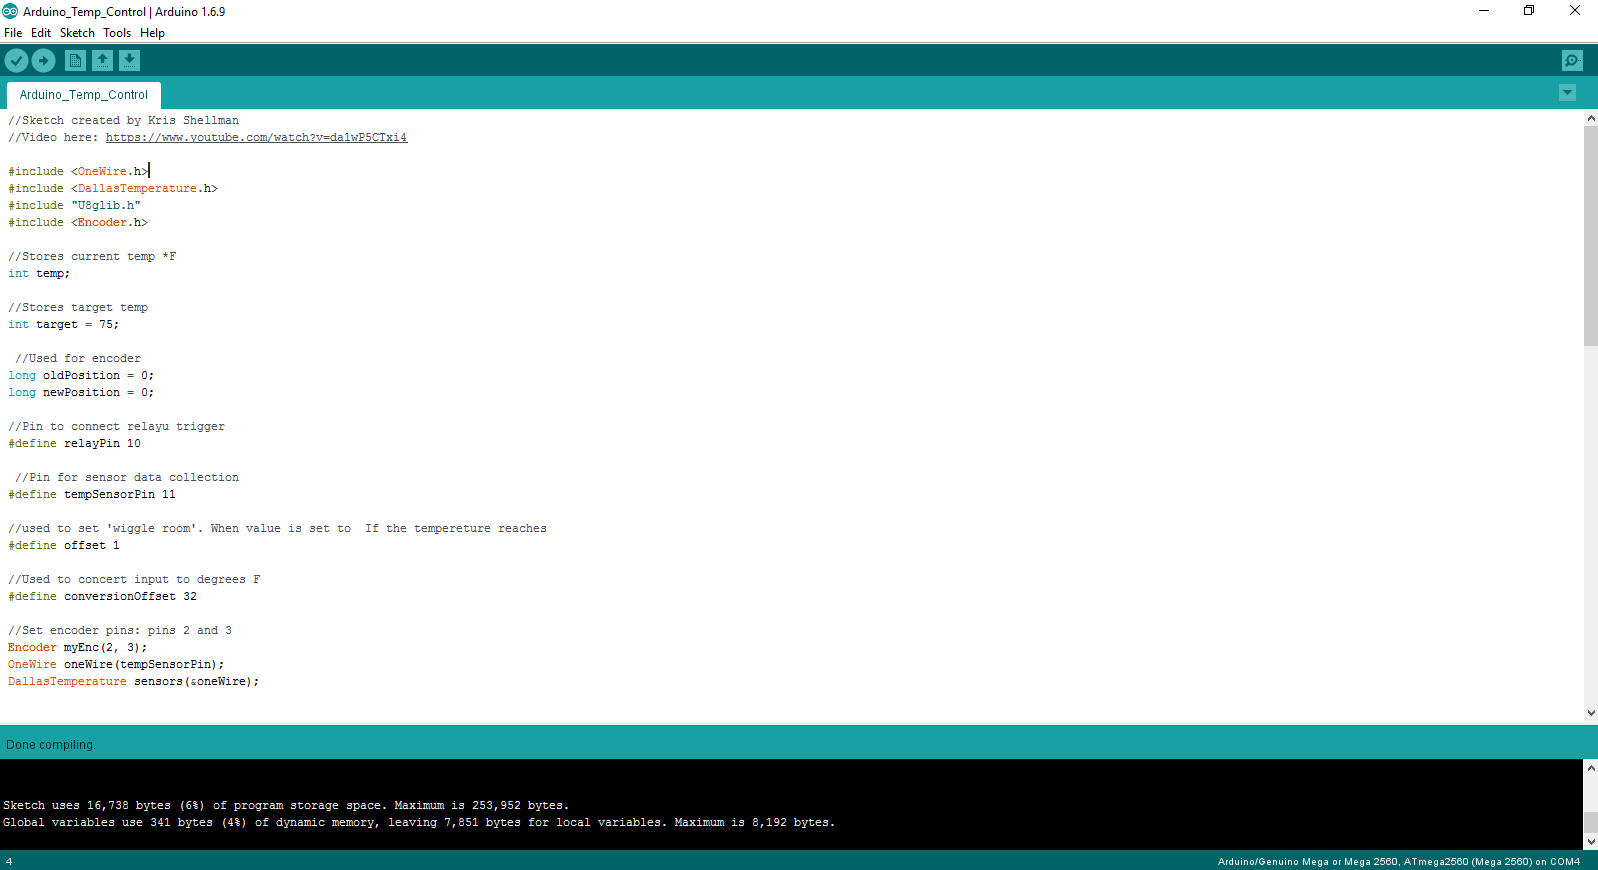
Now that you've got the supplies you need, download my sketch (code) from this link: https://app.box.com/s/bmd5umaz4qg1ekvrv5igott81pai...
You can find plenty of tutorials regarding uploading code to an arduino on the web, so I won't explain that here.
For the sketch to work, you will need to install 4 libraries:
- OneWire (To communicate with temp sensor)
- DallasTemperature (To understand temp sensor)
- u8Glib (To write text on i2C display)
- Encoder (To understand encoder input)
If you don't know how to install libraries, check out this instructable
If you have any troubles or questions, please ask in the comments below so that I, and others, can help you!
Pop That Switch!
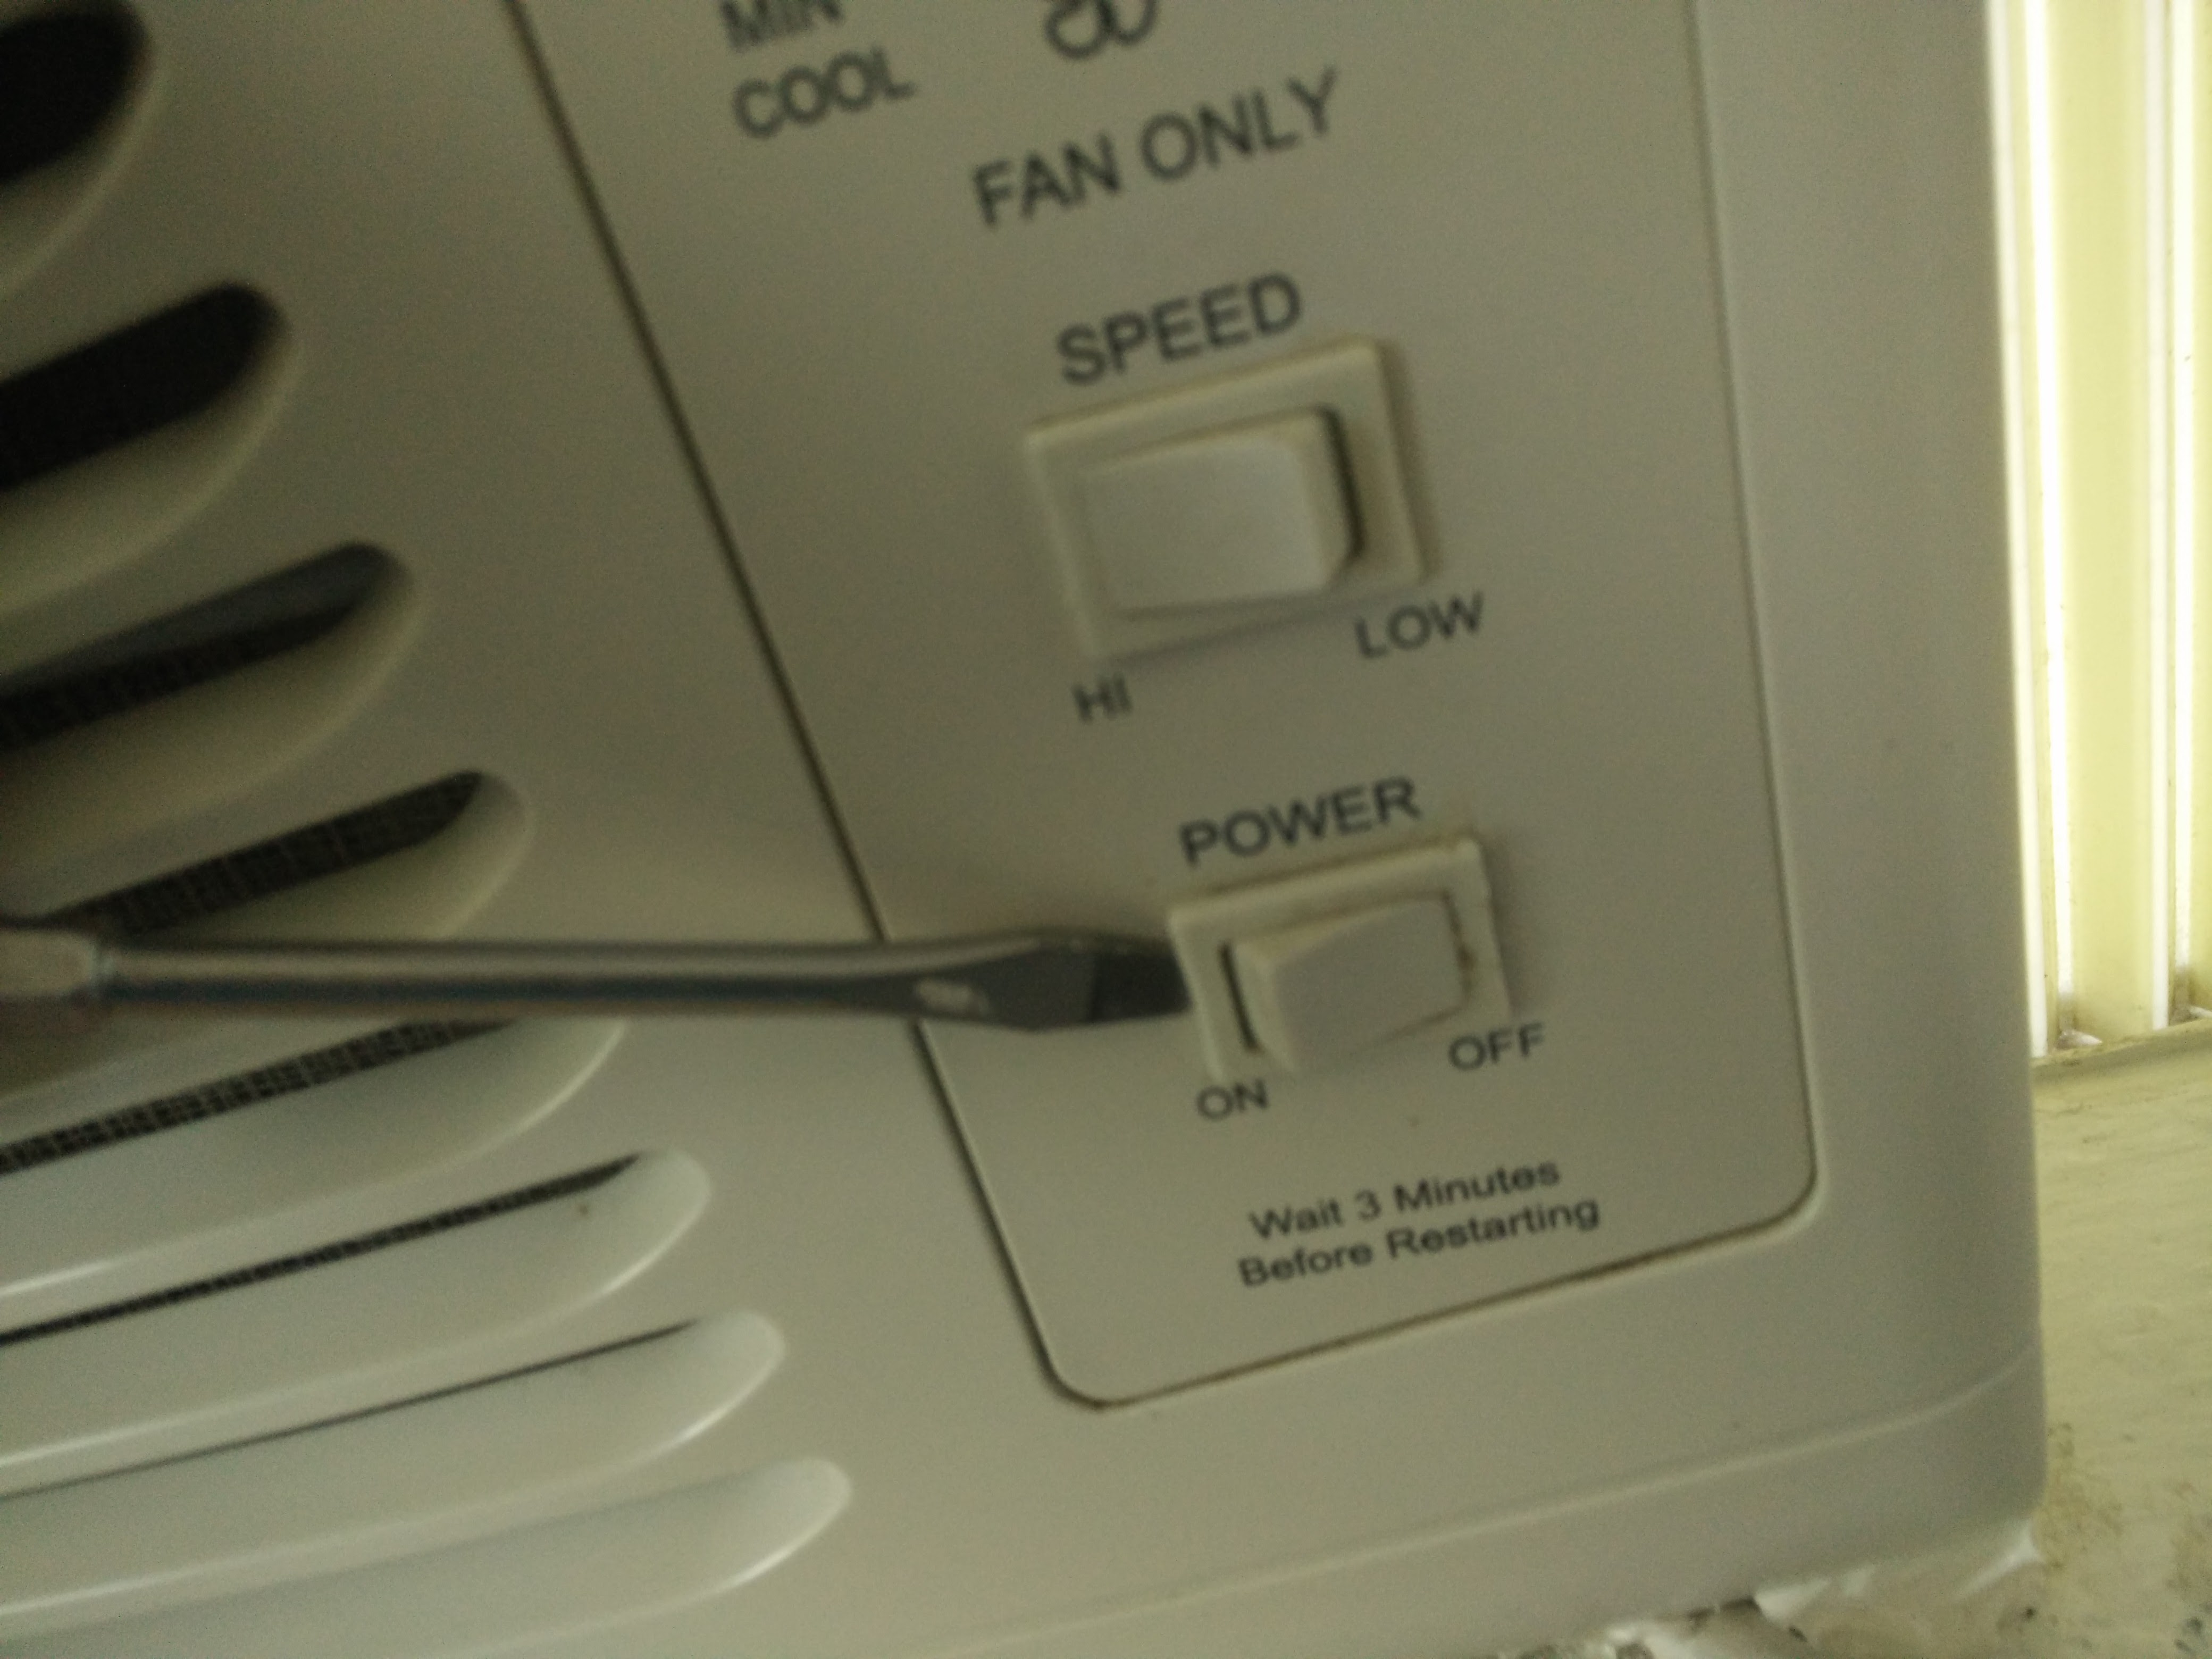
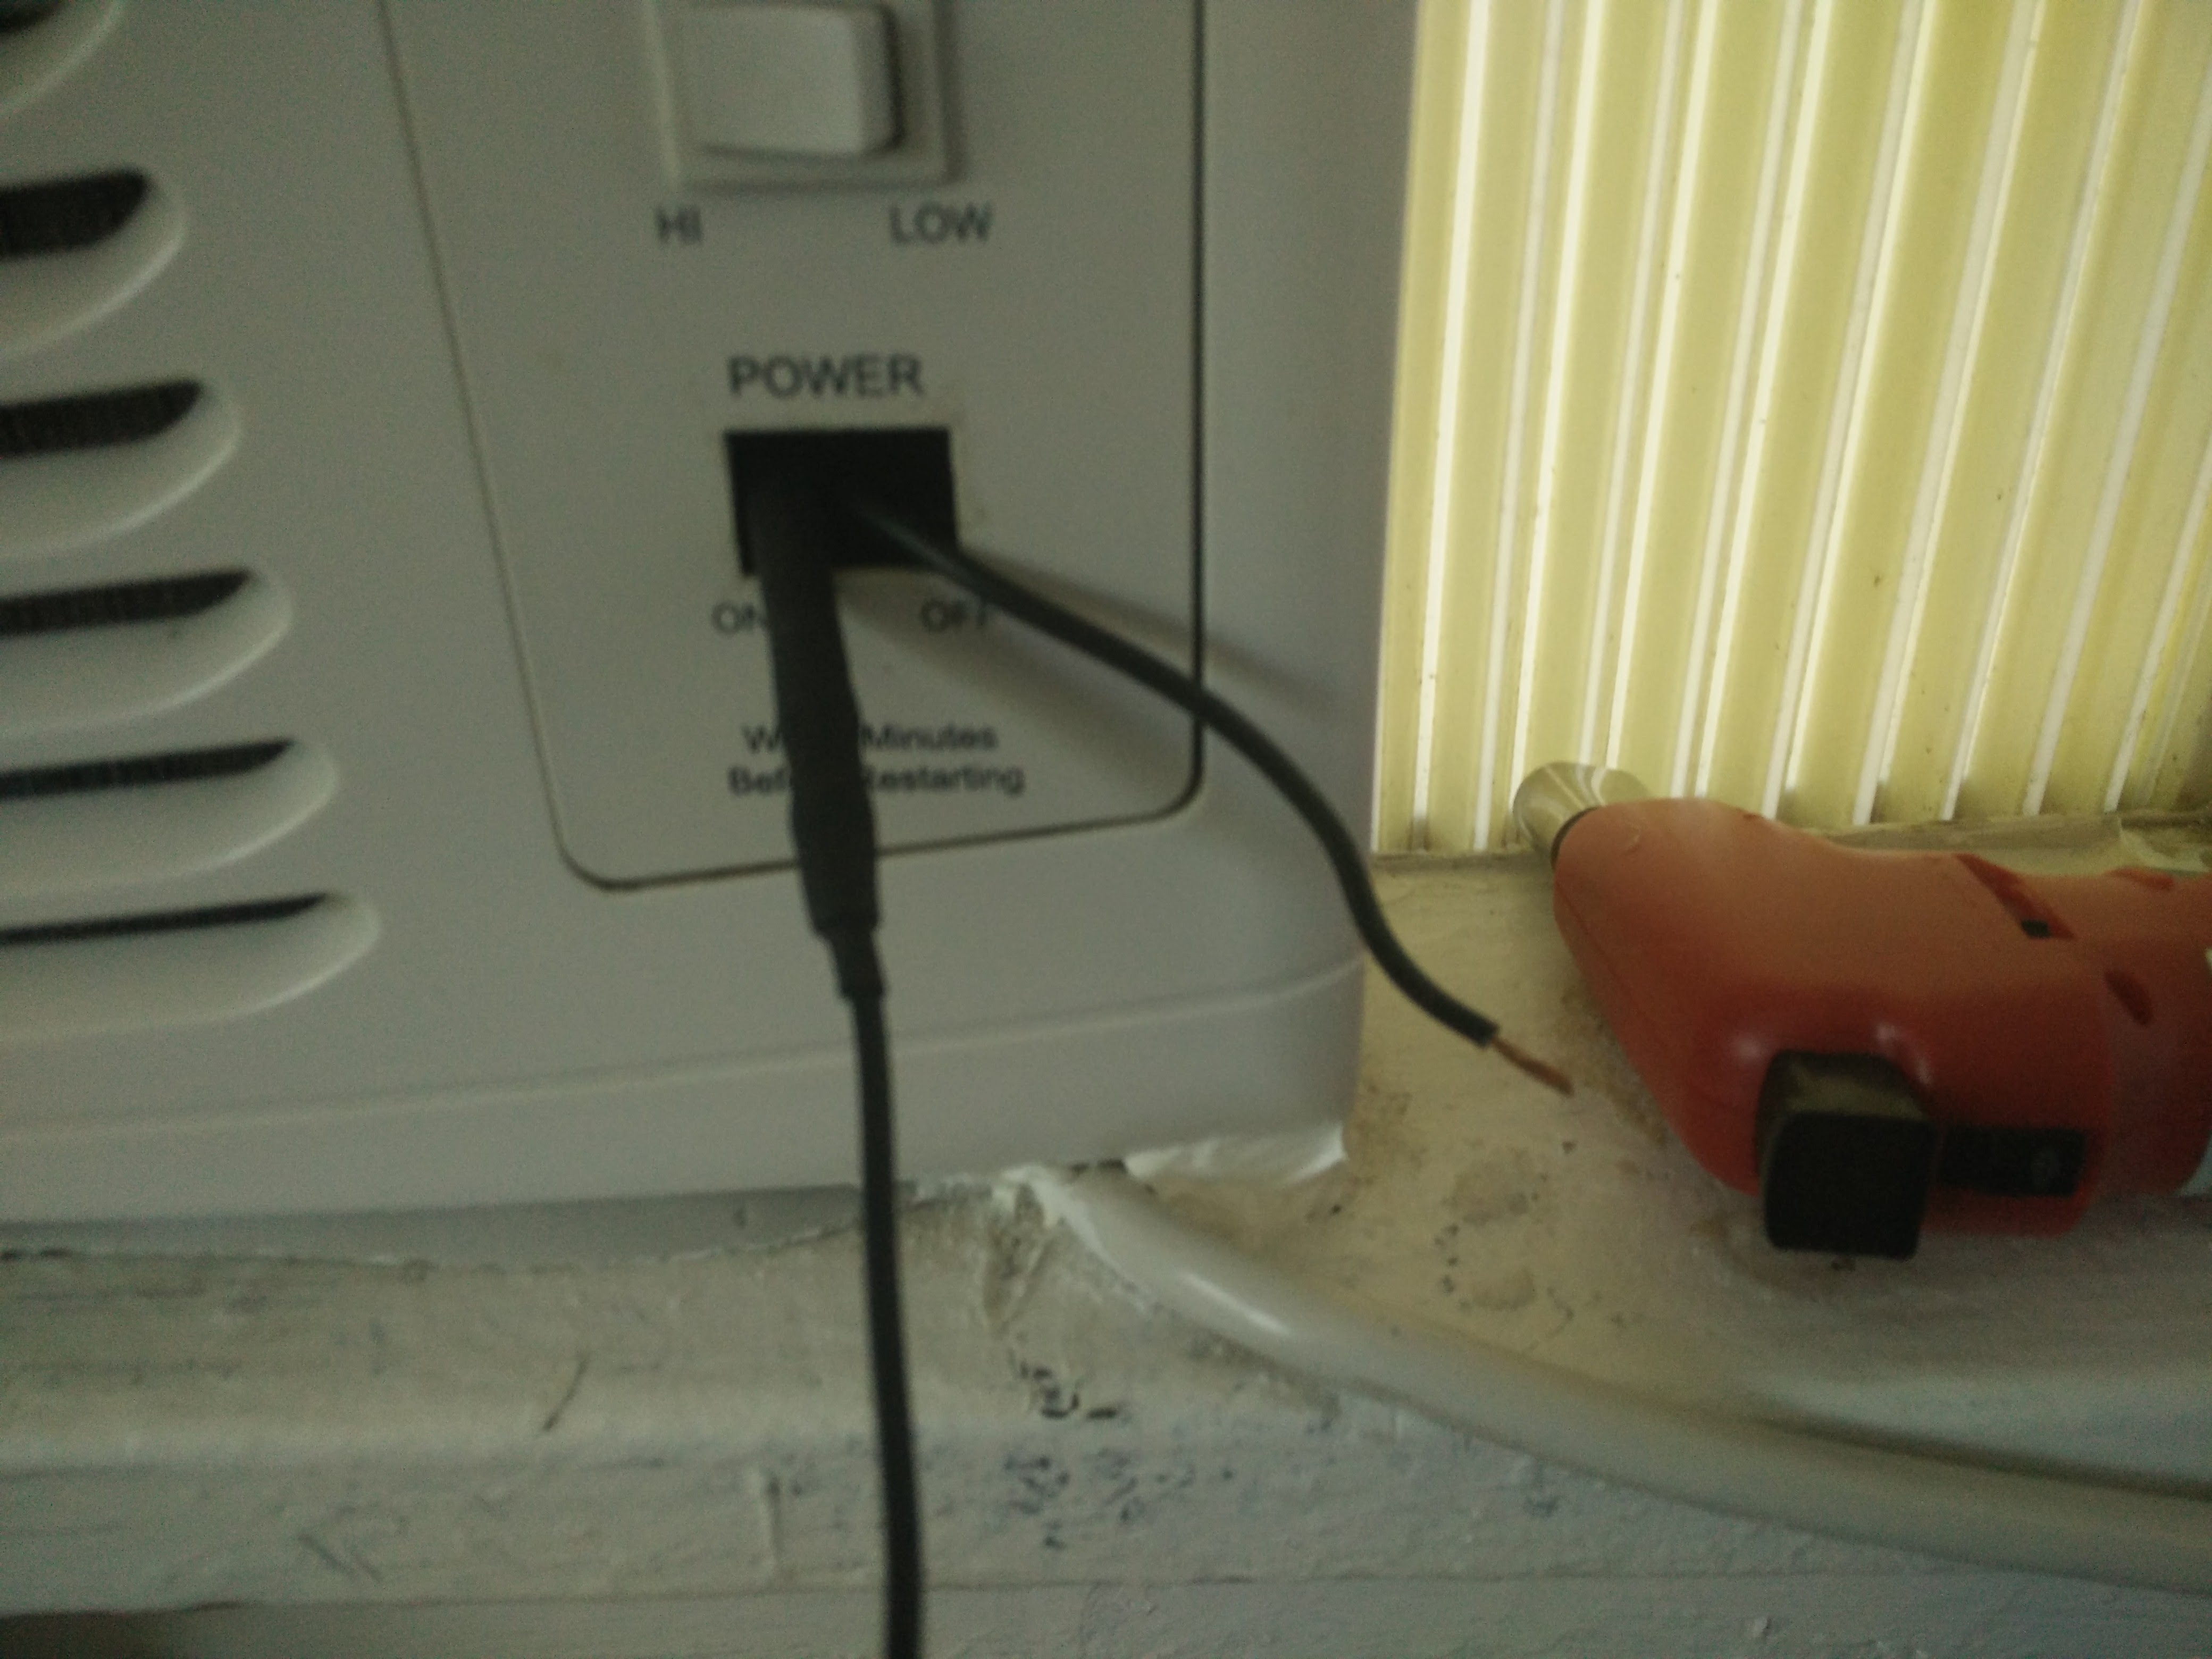
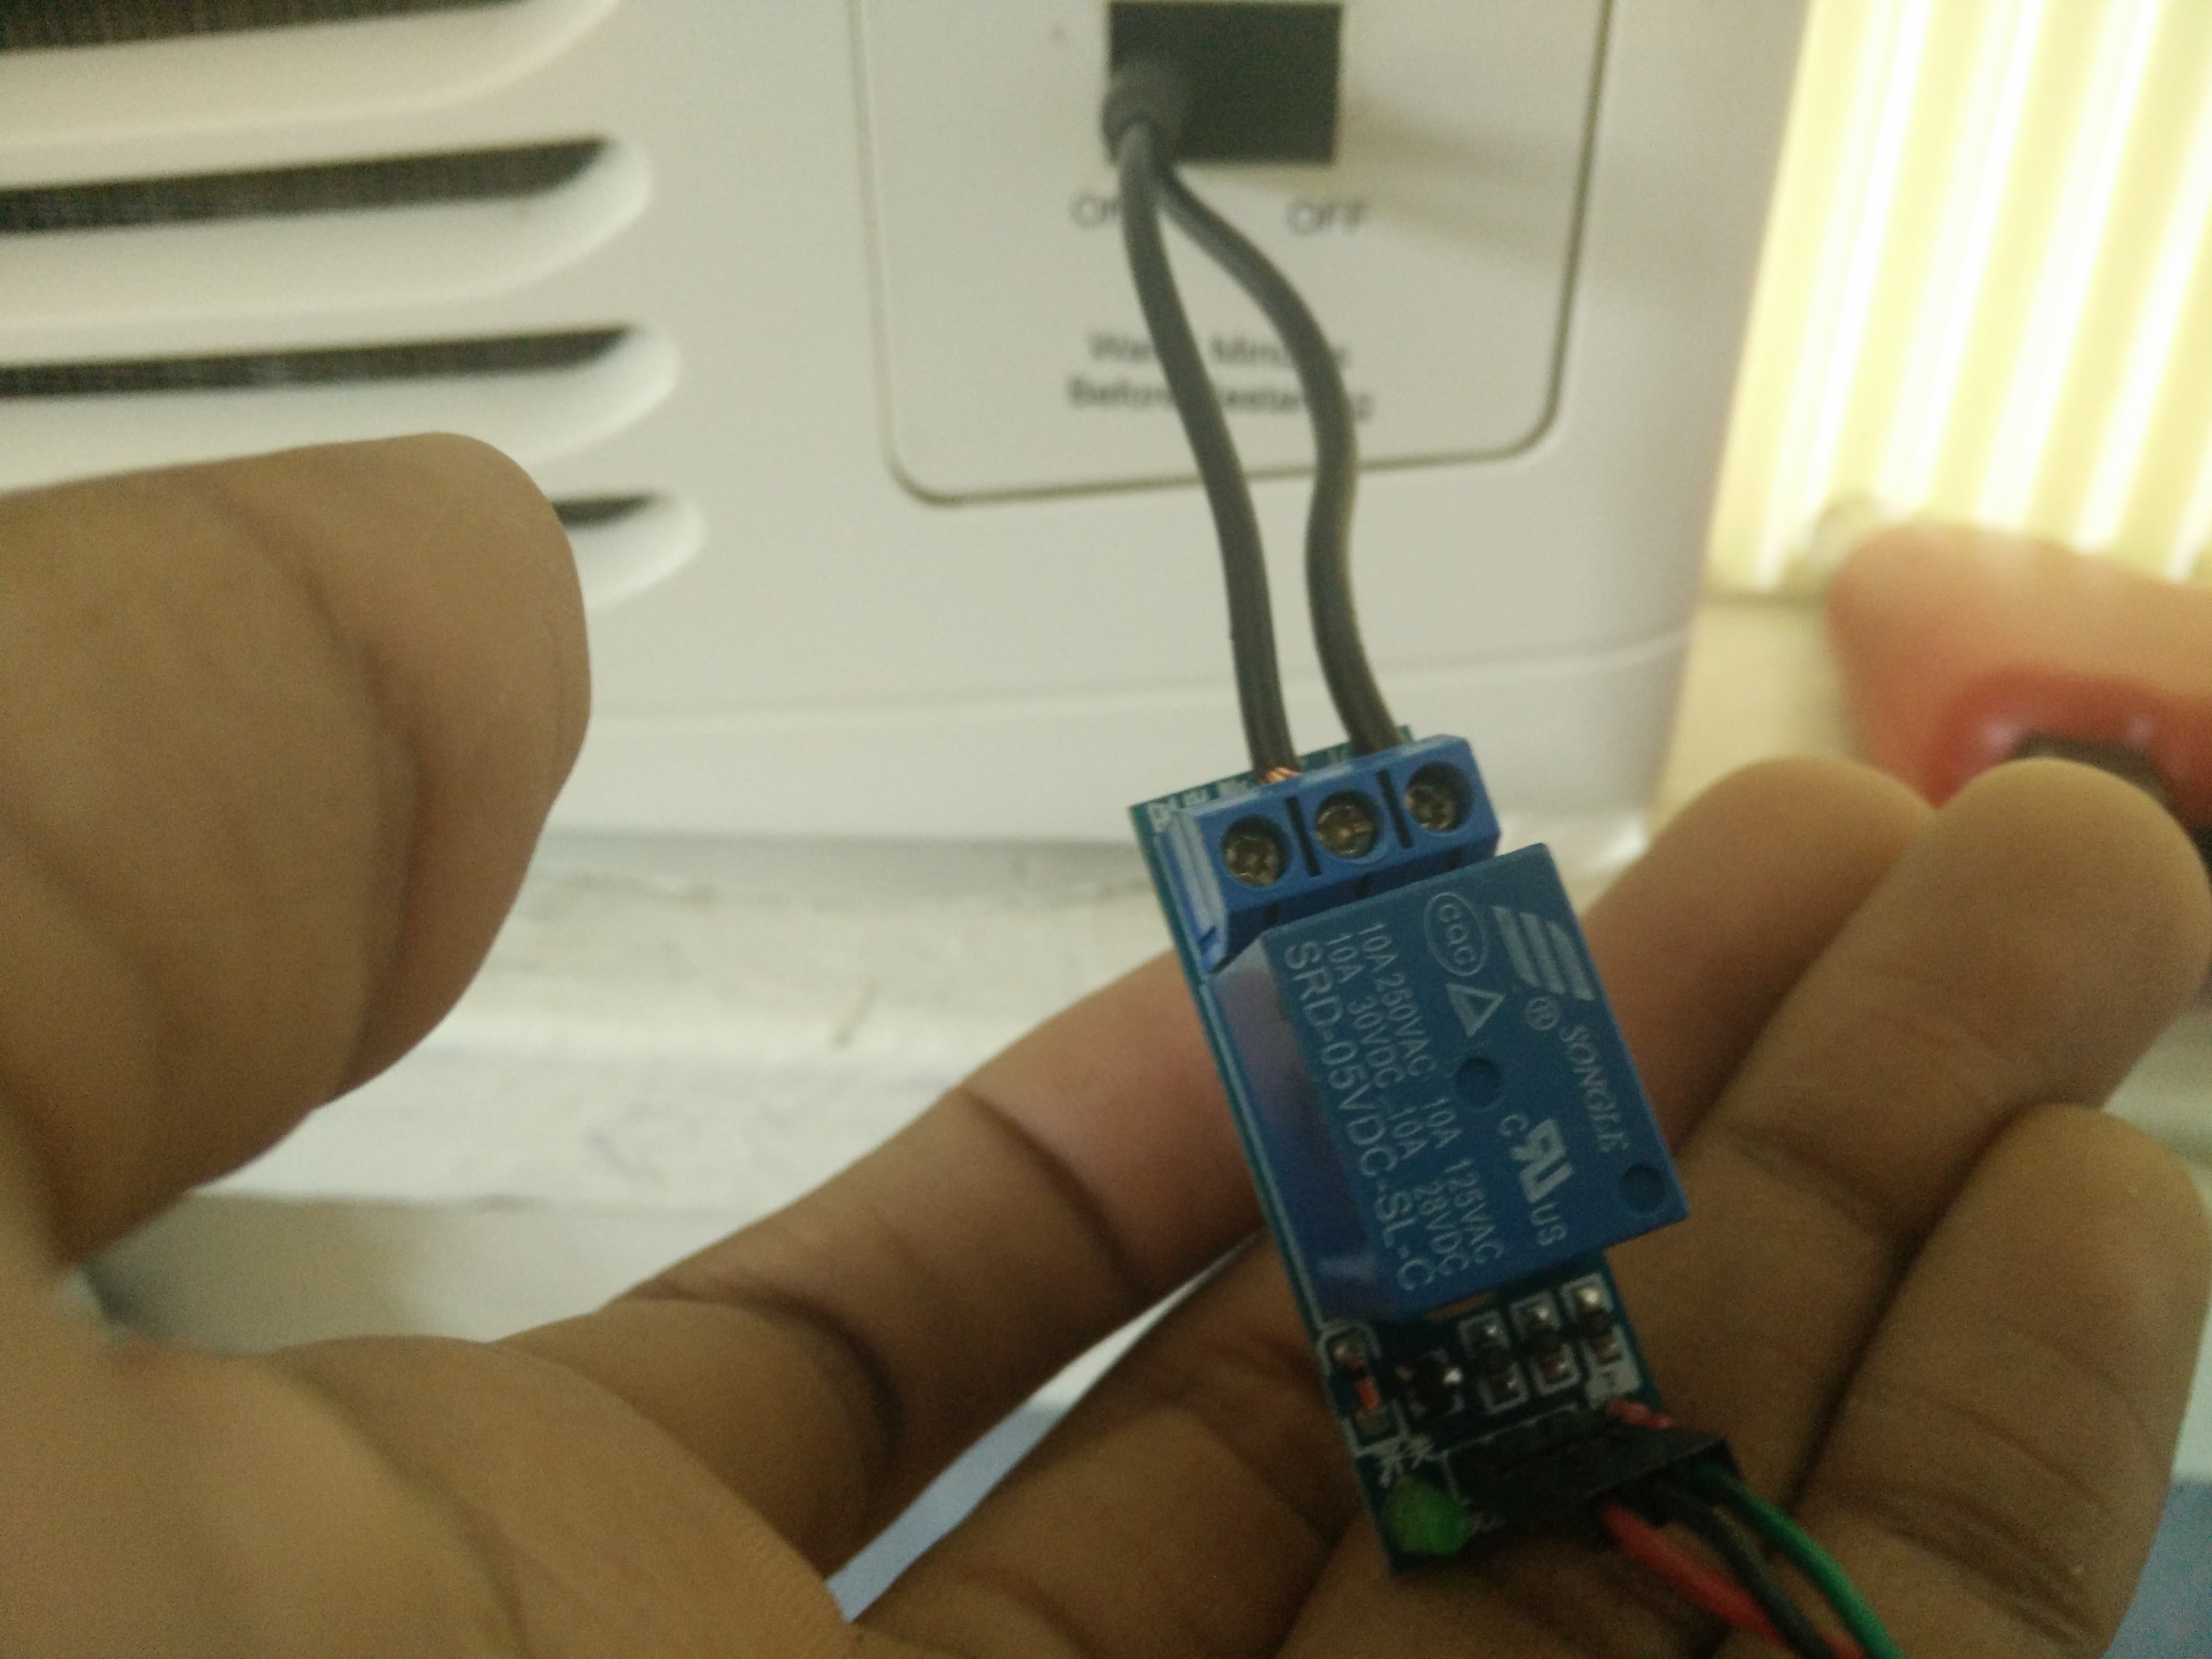
STOP! Unplug your air conditioner, then turn the switch to the ON position, the back to the OFF position before proceeding. The wires shown in this tutorial carry 120V AC current that will kill you until you're dead. Now is a good time to say that I am not responsible for any stupidity on your part. If you feel that you might kill yourself, please do some research on how to be safe with electricity before proceeding.
Now that's out of the way,
- Remove switch with screwdriver or other tool
- lengthen writes if necessary (using proper insulated crimp connections)
- clean and strip wires enough to connect the normally open side of the relay.
All Done!
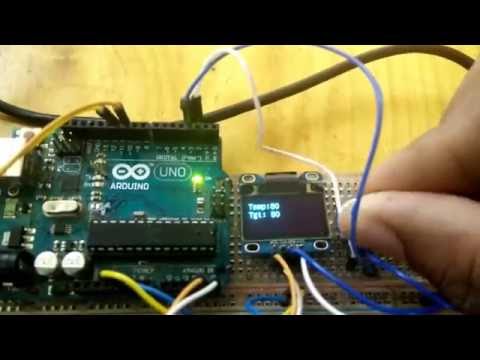
And now you're finished! Check out the video to see my setup in action. Also if you've followed the tutorial and tried it, please let me know and show me your end result!