Arduino Temperature Monitor and Real Time Clock With 3.2" Display
by educ8s in Circuits > Arduino
9579 Views, 29 Favorites, 0 Comments
Arduino Temperature Monitor and Real Time Clock With 3.2" Display
Dear friends welcome to another tutorial! This is Nick from educ8s.tv and today we are going to see how to develop this real-time clock and temperature monitor! Let’s get started!
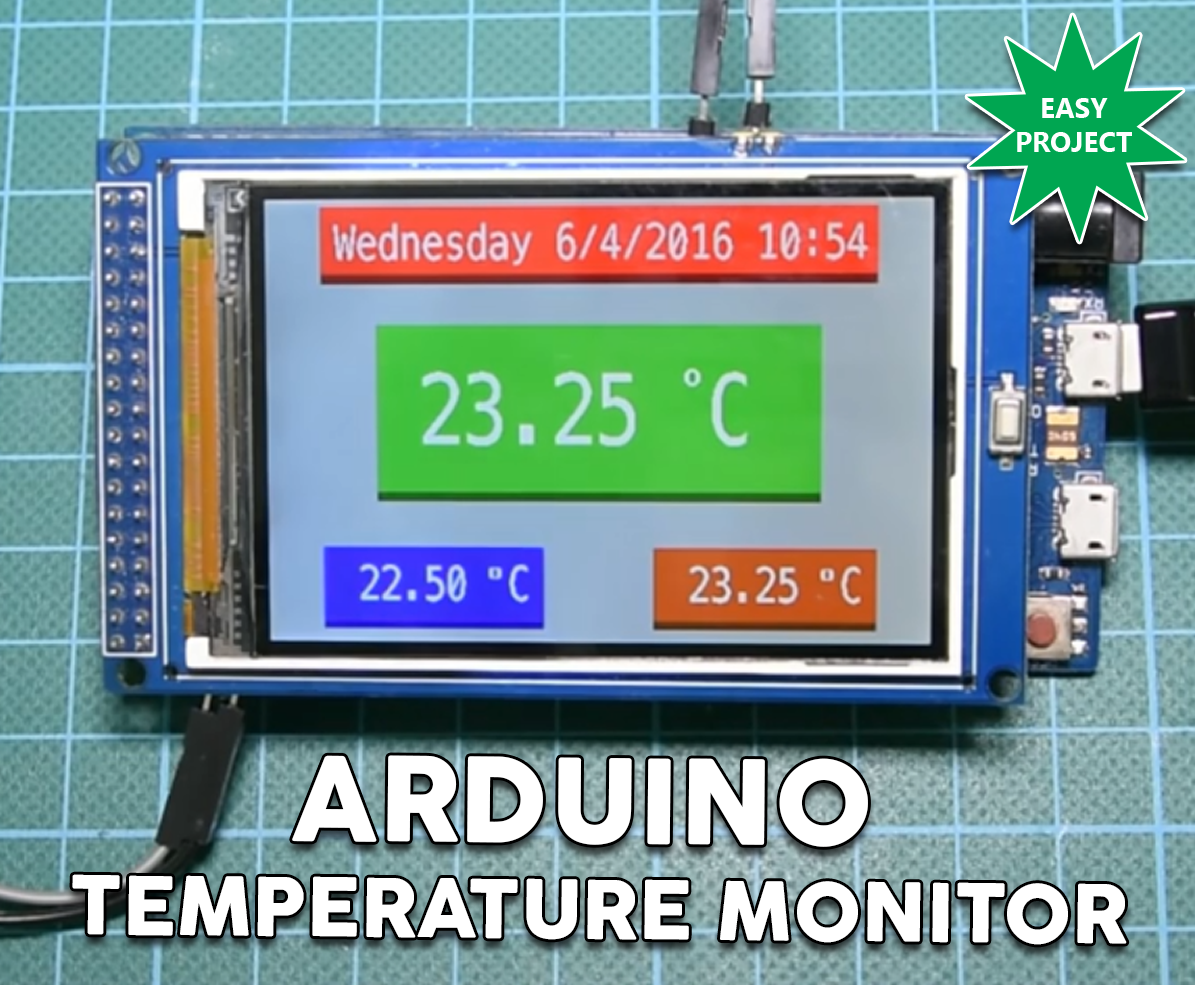
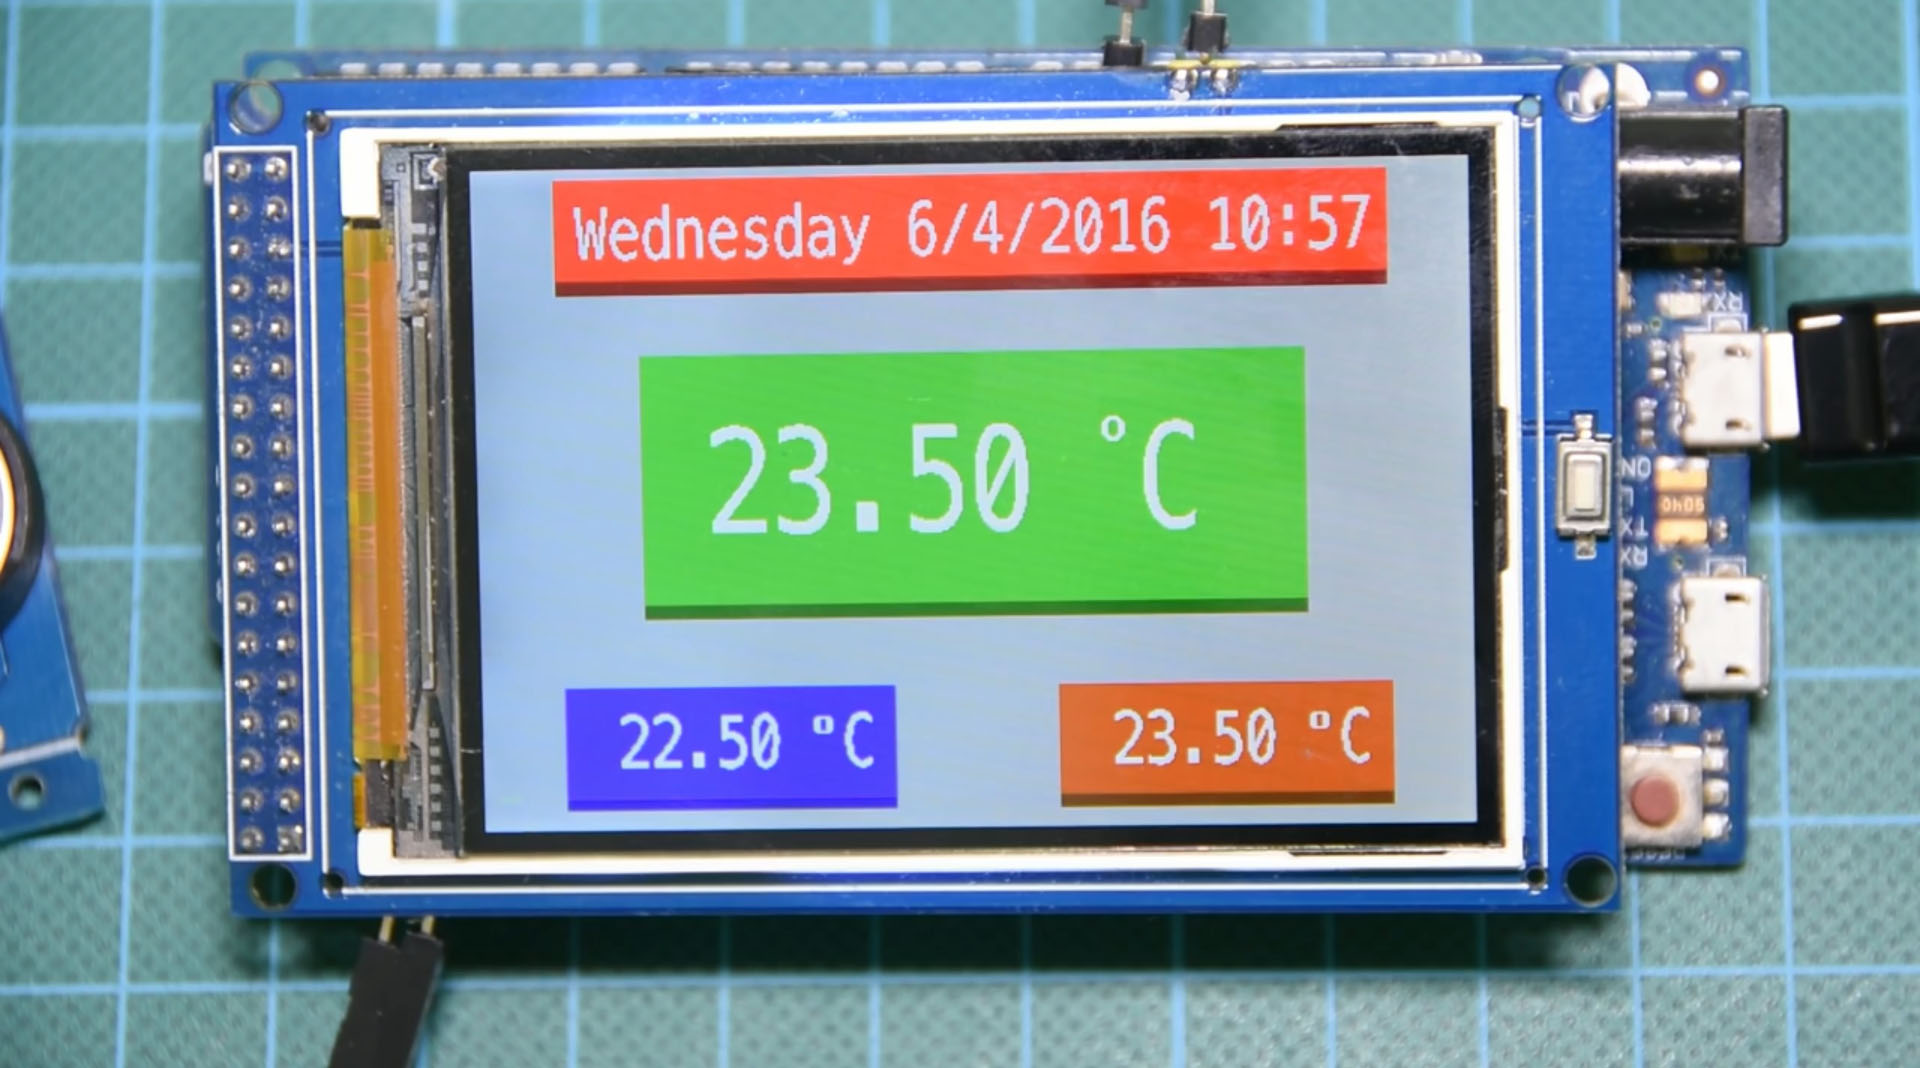
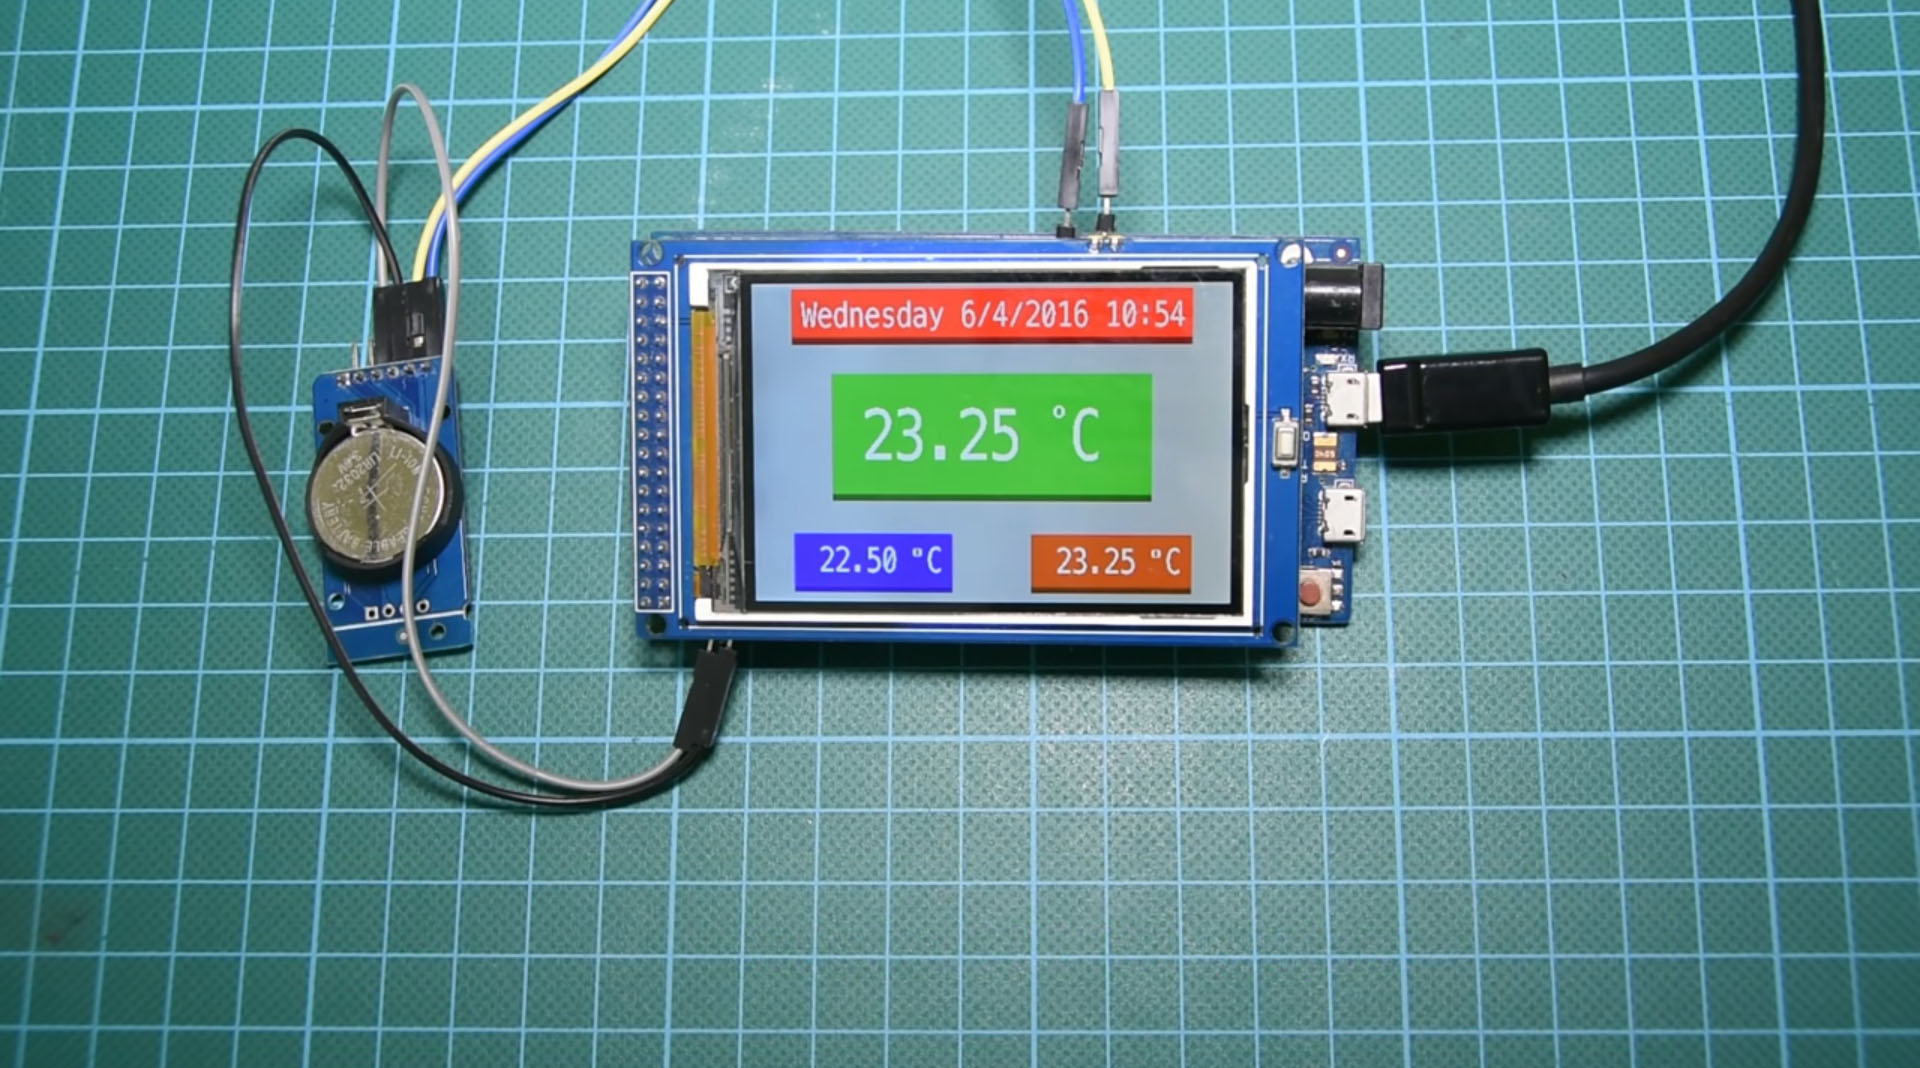
A few weeks ago, I tested this 3.2” color TFT display for Arduino with both Arduino Mega and Due. The display works fine, and I built a simple project with it. It is a temperature monitor and a real-time clock. As you can see at the top, we can see the current date and time, we can see the temperature right now, and at the bottom, the Arduino records the minimum and the maximum temperature that it has measured. I also tried to design a basic user interface just with simple shapes. As you can see everything works fine, and it is a very easy and useful project to build. Let’s see how to do it!
Get All the Parts
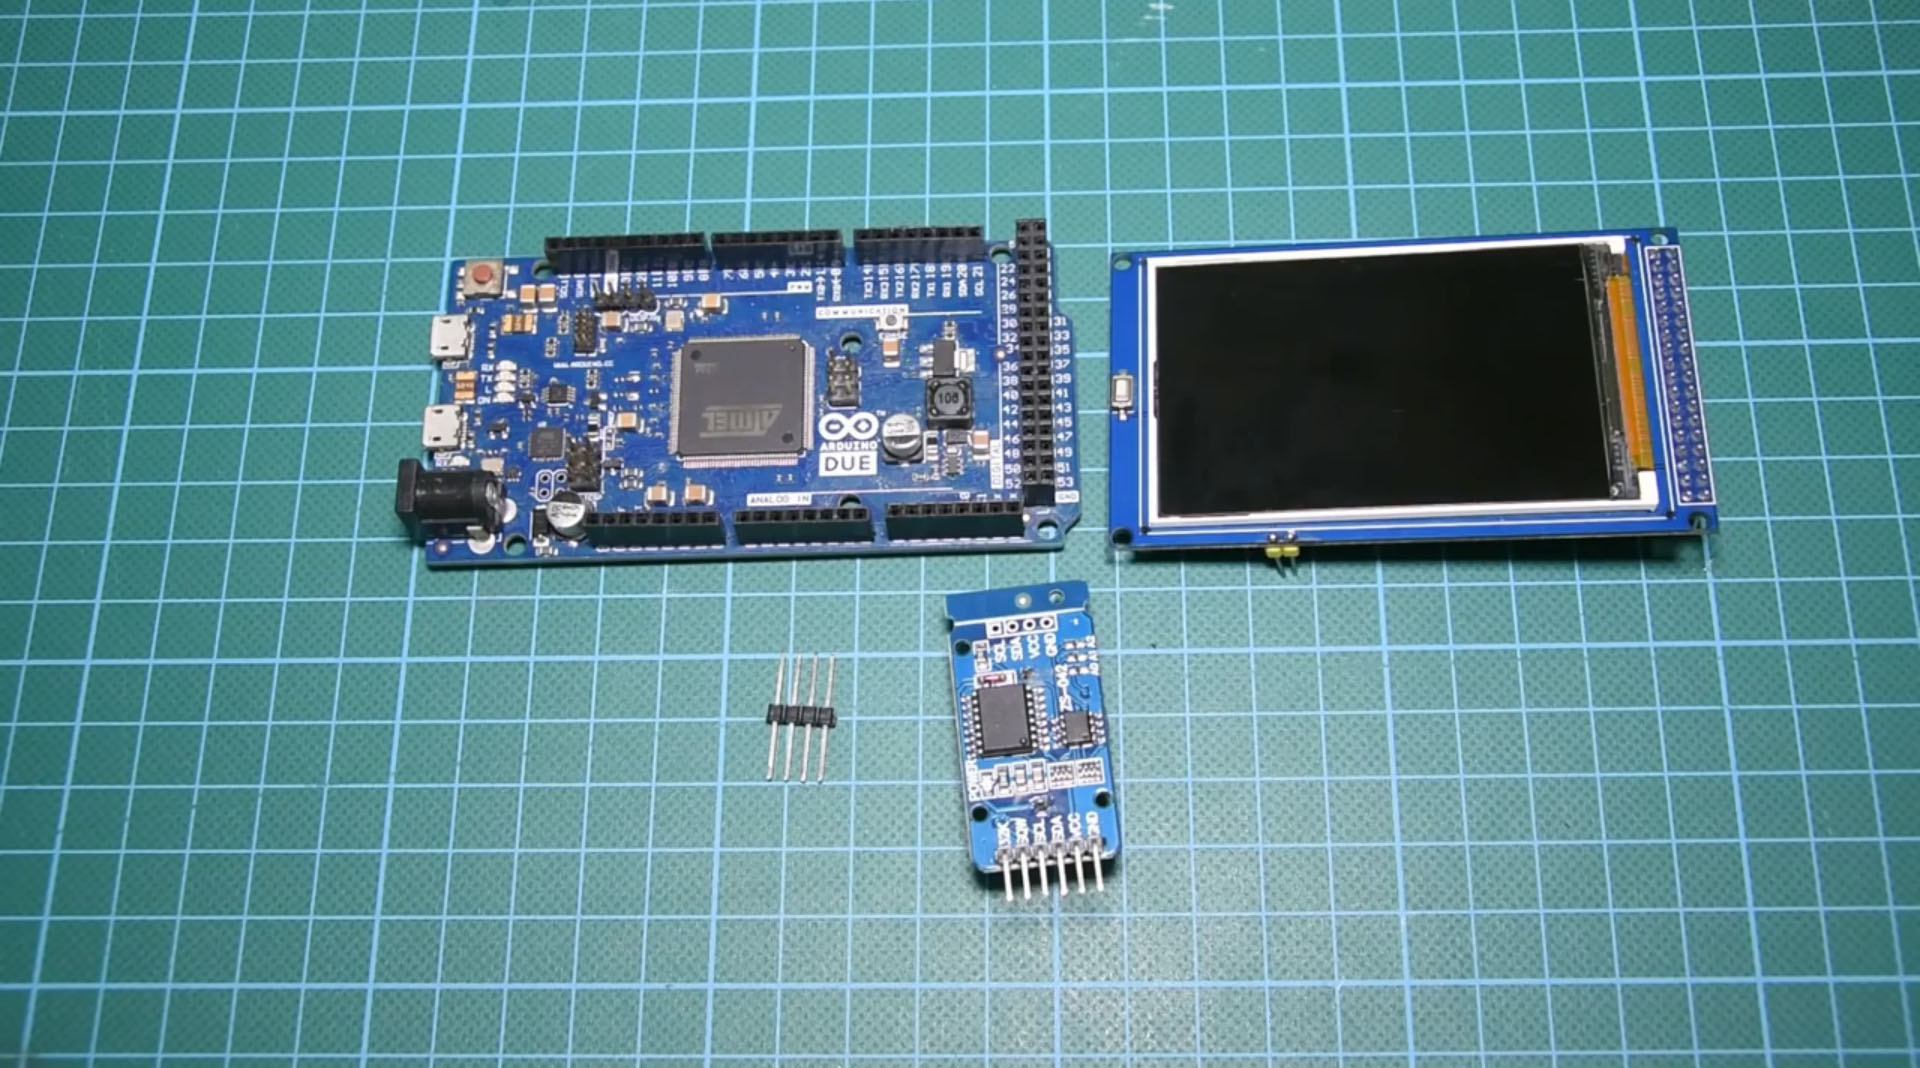
The parts needed in order to build this project are these:
- Arduino Due ▶ http://educ8s.tv/part/ArduinoDue
- A 3.2” Color TFT display ▶ http://educ8s.tv/part/32TFT
- DS3231 RTC module ▶ http://educ8s.tv/part/DS3231
- Male headers ▶ http://educ8s.tv/part/HeaderPins
- Wires ▶ http://educ8s.tv/part/Wires
The cost of the project is around 24$. You need around 14$ for the Arduino Due, 8$ for the display and about 2$ for the RTC module.
The DS3231 Real Time Clock Module
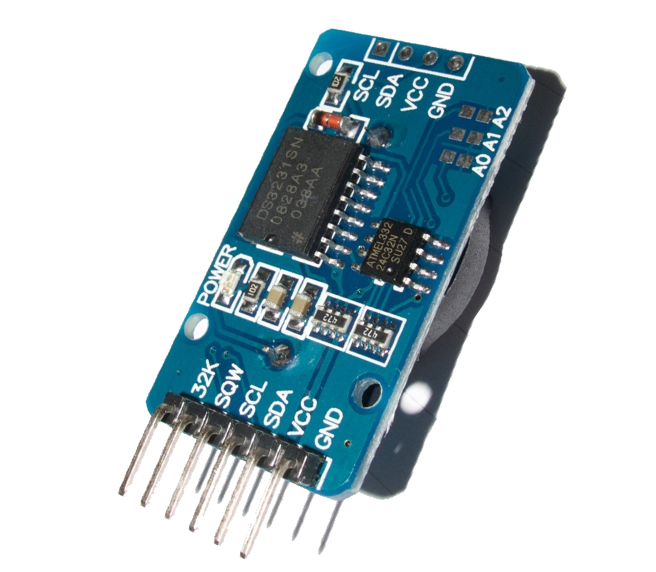
The DS3231 real time clock module is as its name suggest a Real Time Clock. Using its battery it can keep time for years since it has minimal power consumption.
The DS3231 is a low-cost, extremely accurate I2C real-time clock (RTC) with an integrated temperature compensated crystal oscillator (TCXO) and crystal. The device incorporates a battery input, and maintains accurate timekeeping when main power to the device is interrupted. The integration of the crystal resonator enhances the long-term accuracy of the device as well as reduces the piece-part count in a manufacturing line.
The RTC maintains seconds, minutes, hours, day, date, month, and year information. The date at the end of the month is automatically adjusted for months with fewer than 31 days, including corrections for leap year. The clock operates in either the 24-hour or 12-hour format with an AM/PM indicator. Two programmable time-of-day alarms and a programmable square-wave output are provided. Address and data are transferred serially through an I2C bidirectional bus.
The cost of the module is extremely low, it costs around 2$ including the battery!
Get it here ▶ http://educ8s.tv/part/DS3231
We are going to use it in order to keep time and get temperature readings from it!
The 3.2" Color TFT Display (HX8357C or HX8357B)
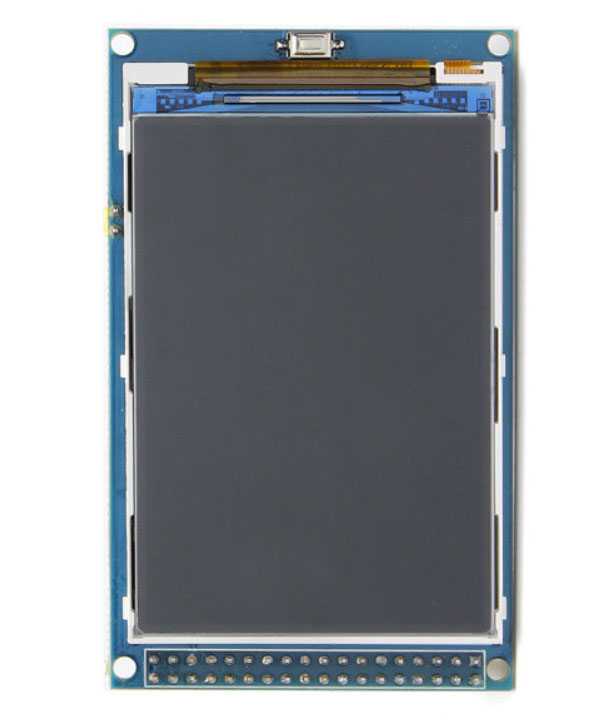
I always wanted to have a big display for my Arduino projects. So, a few weeks ago I decided to buy this 3.2 Inch color TFT display for Arduino Mega and Arduino Due because the price is so tempting! Less than 10$ for a 3.2’ color TFT display. With that price, you can’t go wrong.
Get it here ▶ http://educ8s.tv/part/32TFT
The display has a resolution of 480x320 pixels and has an SD card adapter on the back. I haven’t used SD card functionality so far. I will try to use it in the future. If you look carefully you can see that the display also uses a 3.3V regulator so it works fine with 5V and 3.3V logic levels.
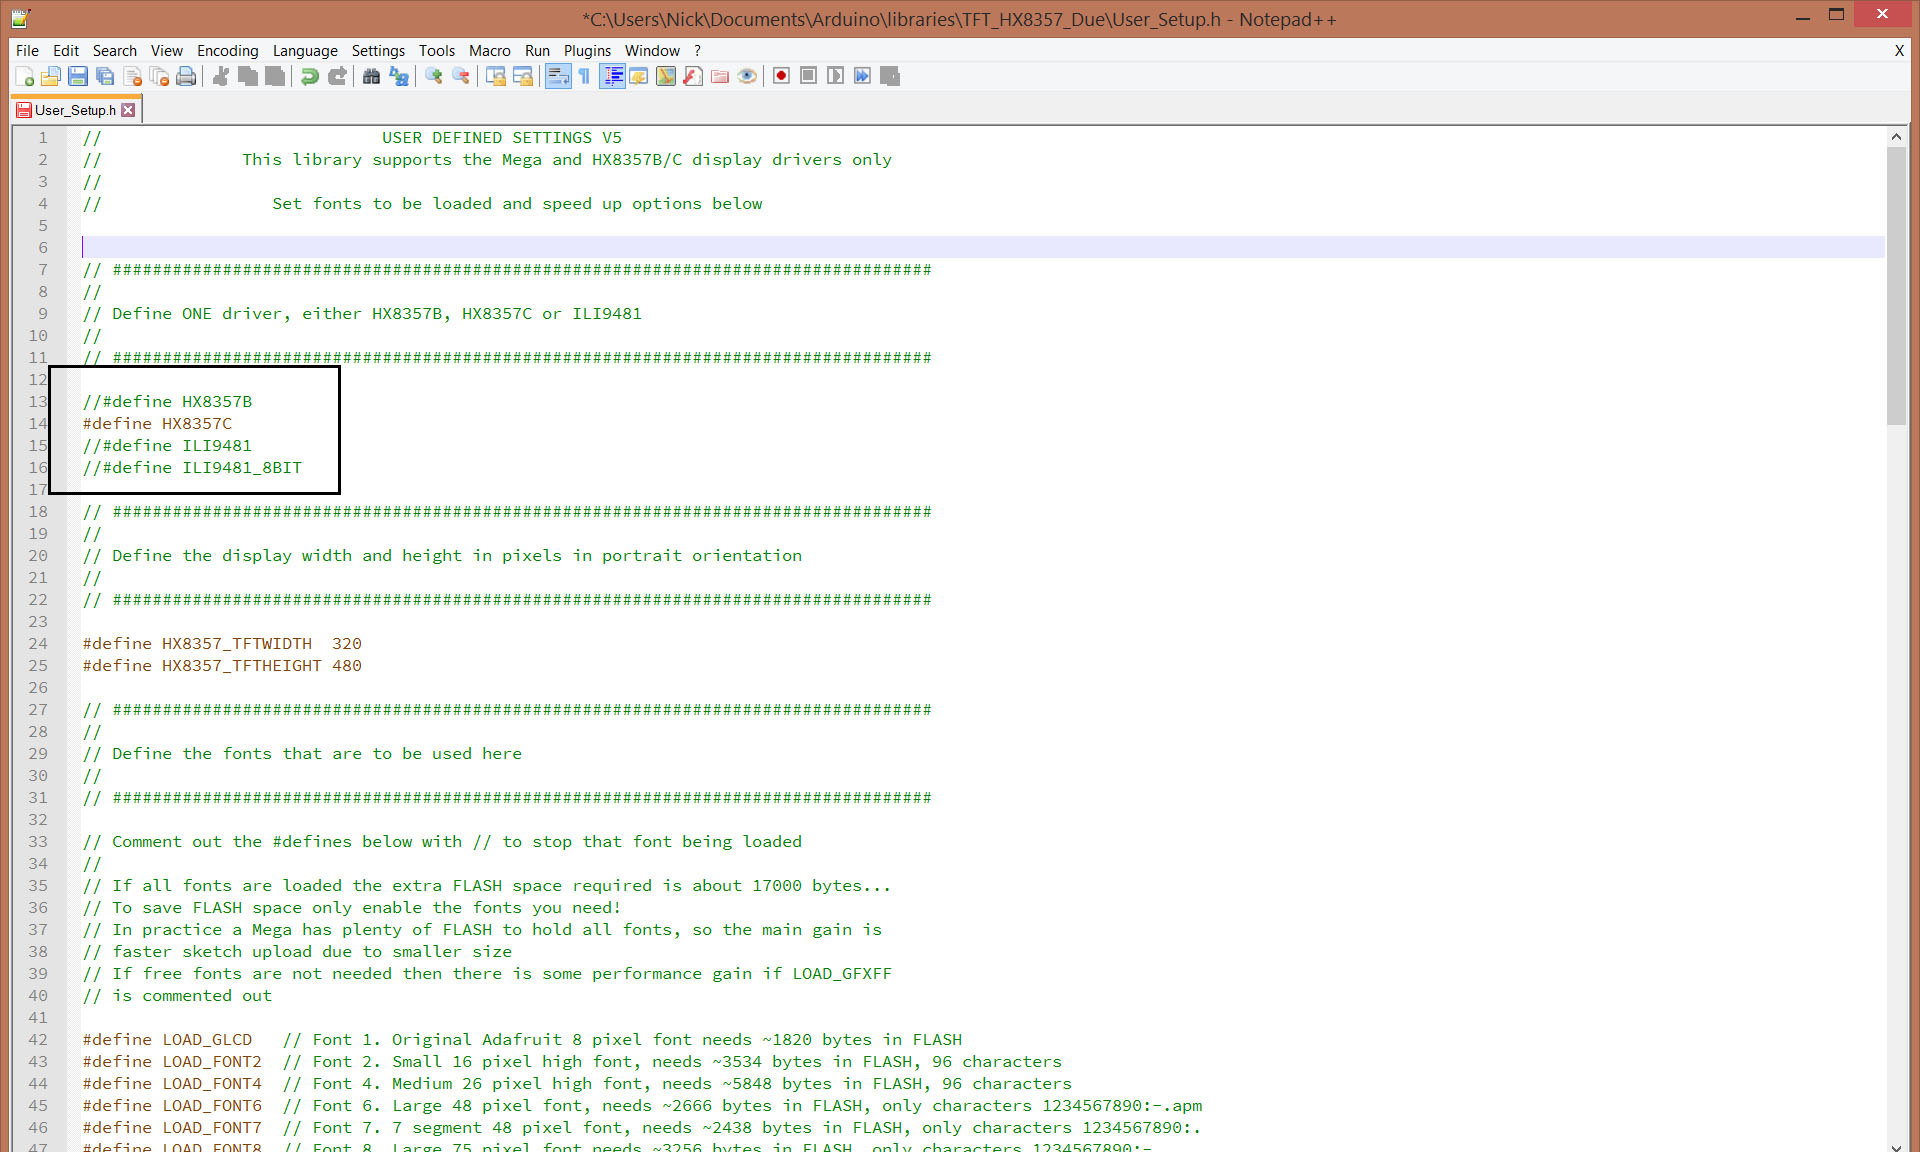
The display comes in two variations. One of them uses the HX8357C controller and the other one the HX8357B controller. Luckily we can use the same library for both of them.
DISPLAY Library: https://github.com/Bodmer/TFT_HX8357_Due
After downloading the library you have to open the User_Setup.h file comment line 13 and uncomment line 14 if the display you have is using the HX8357C driver, like mine.
Connecting the Parts
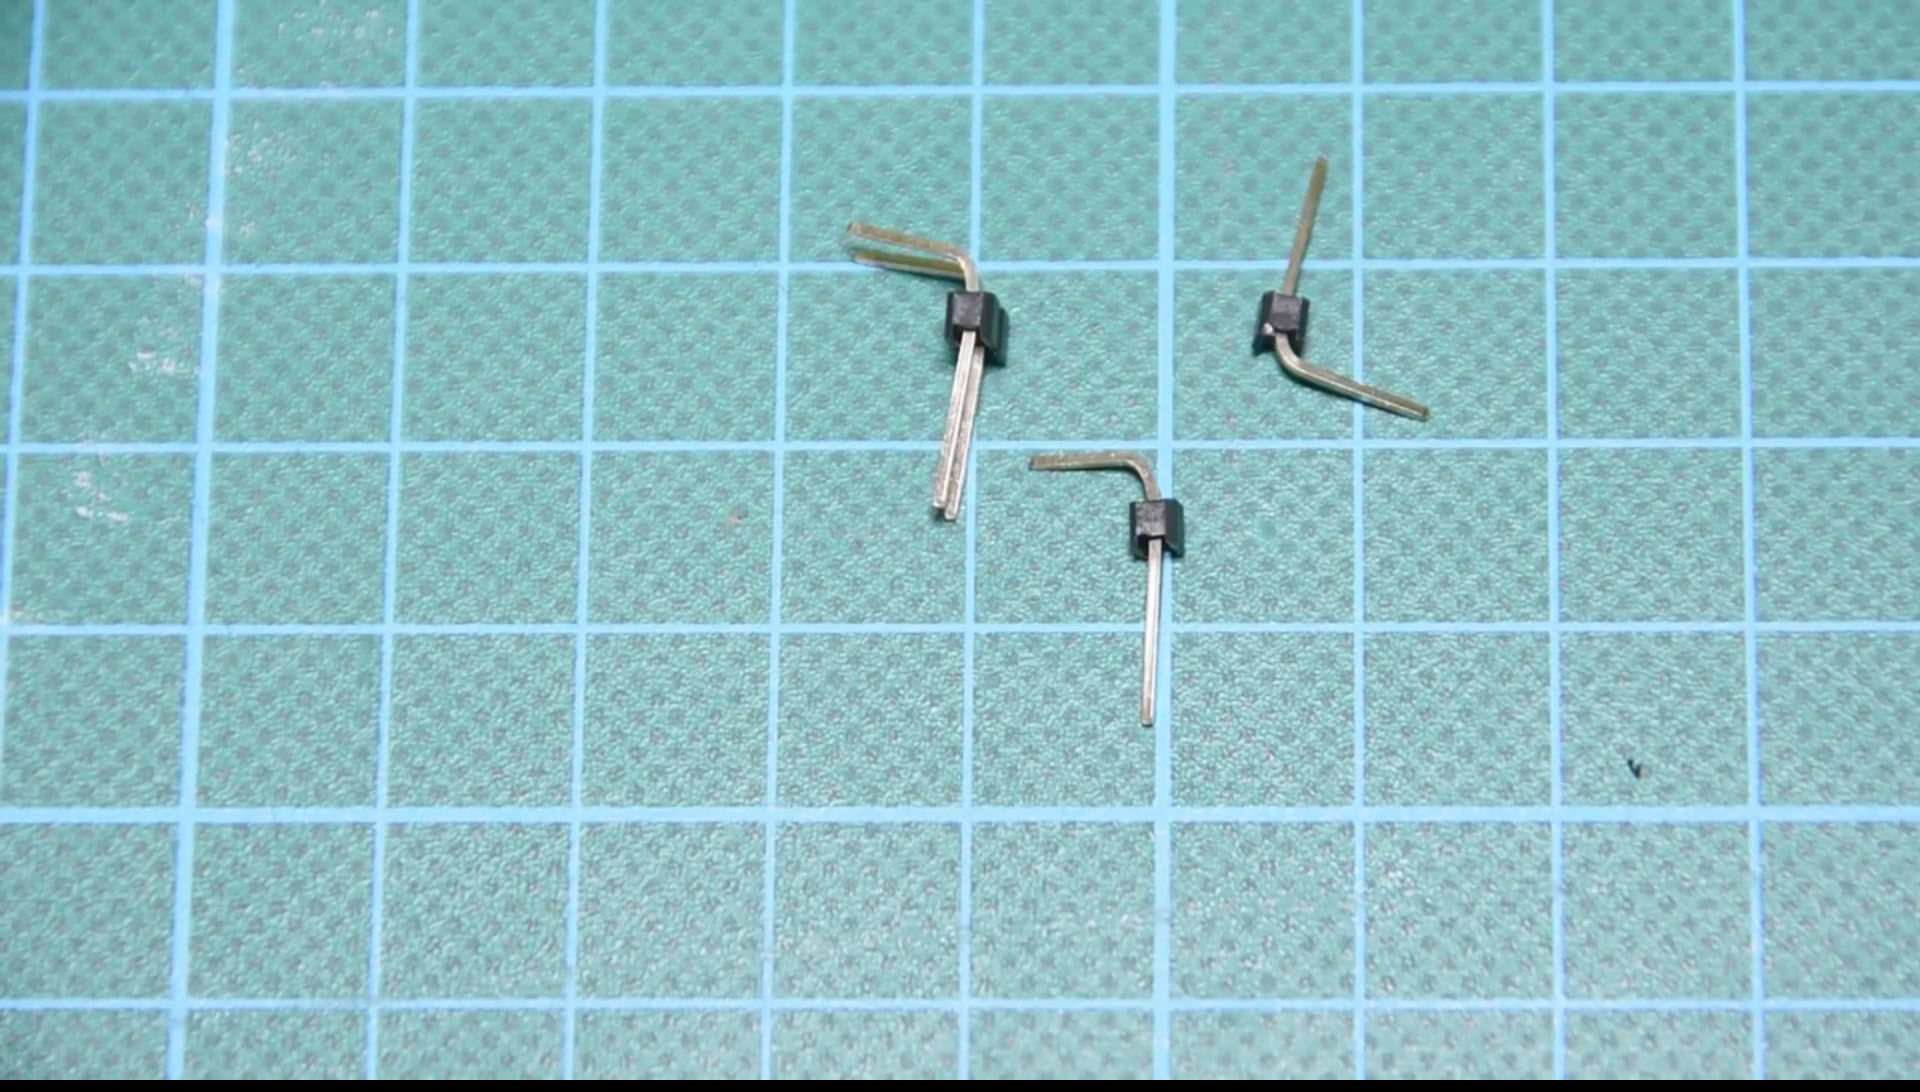
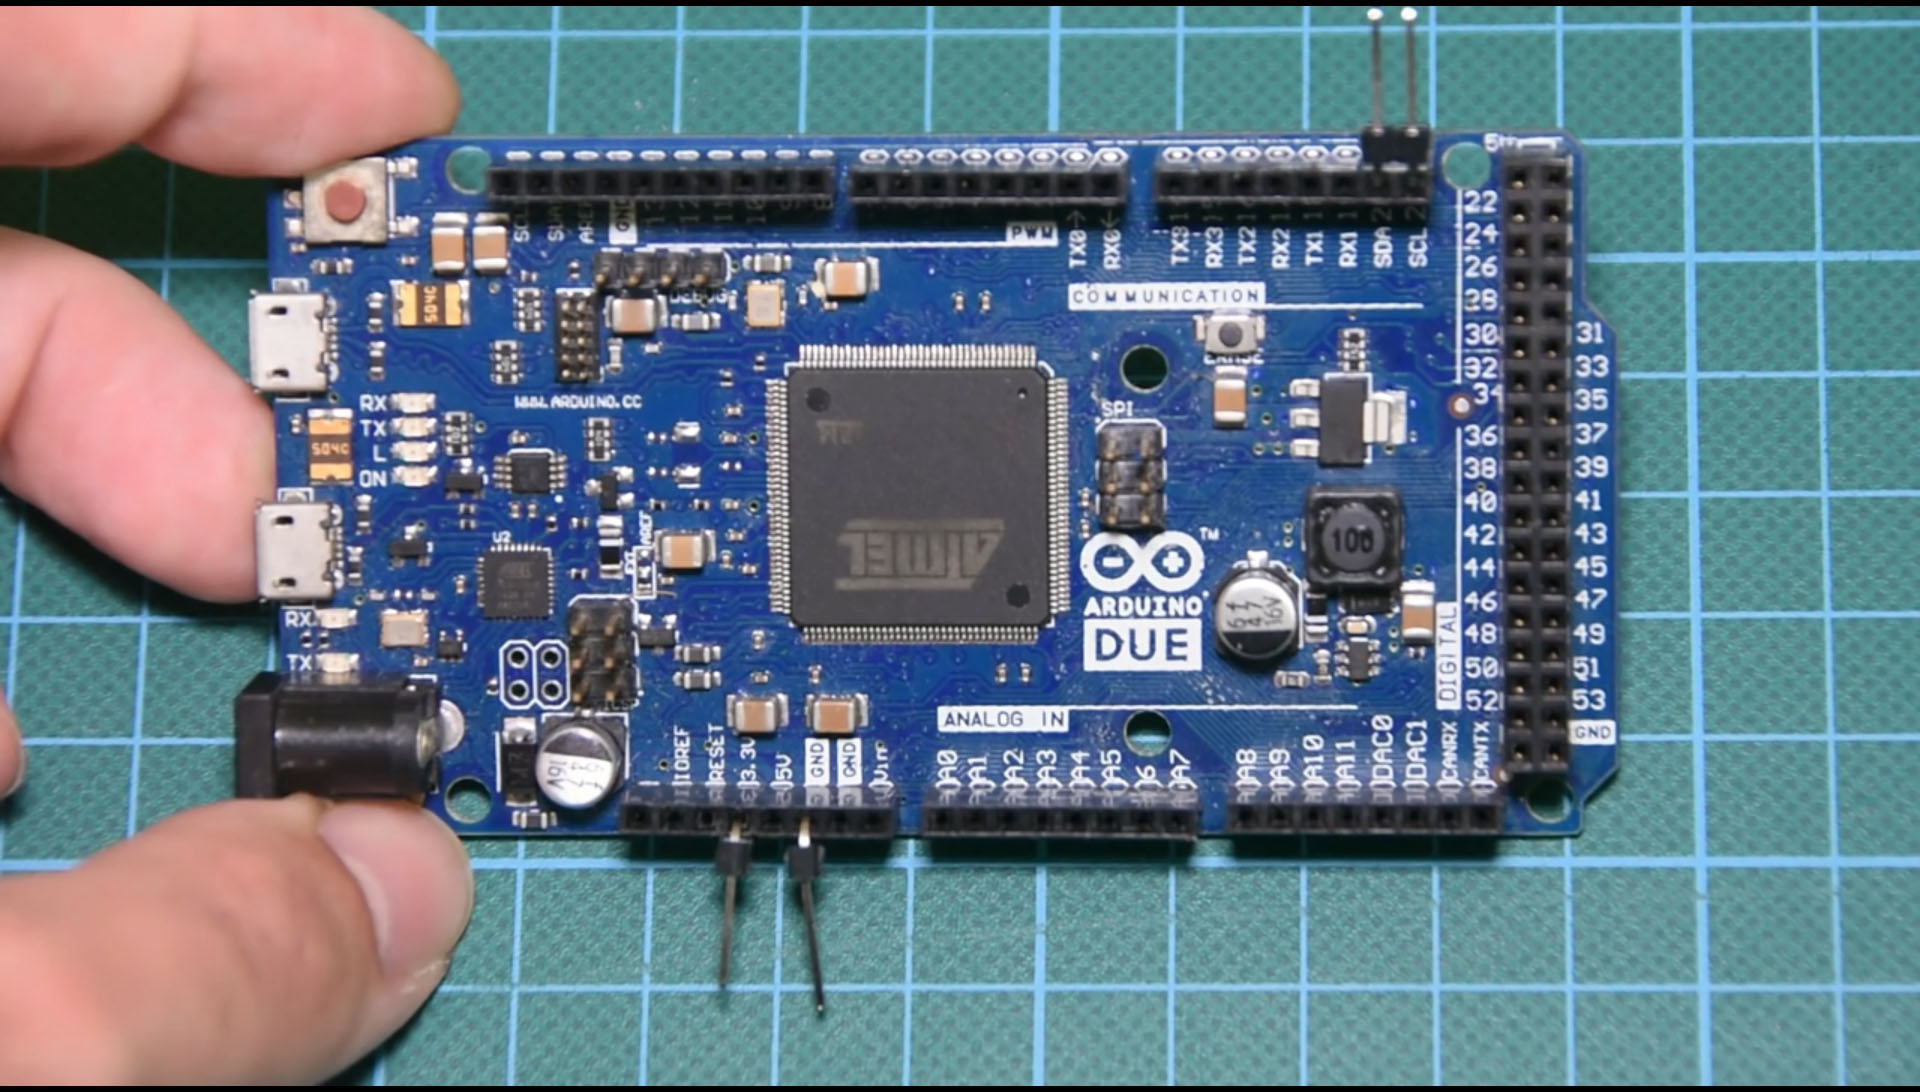
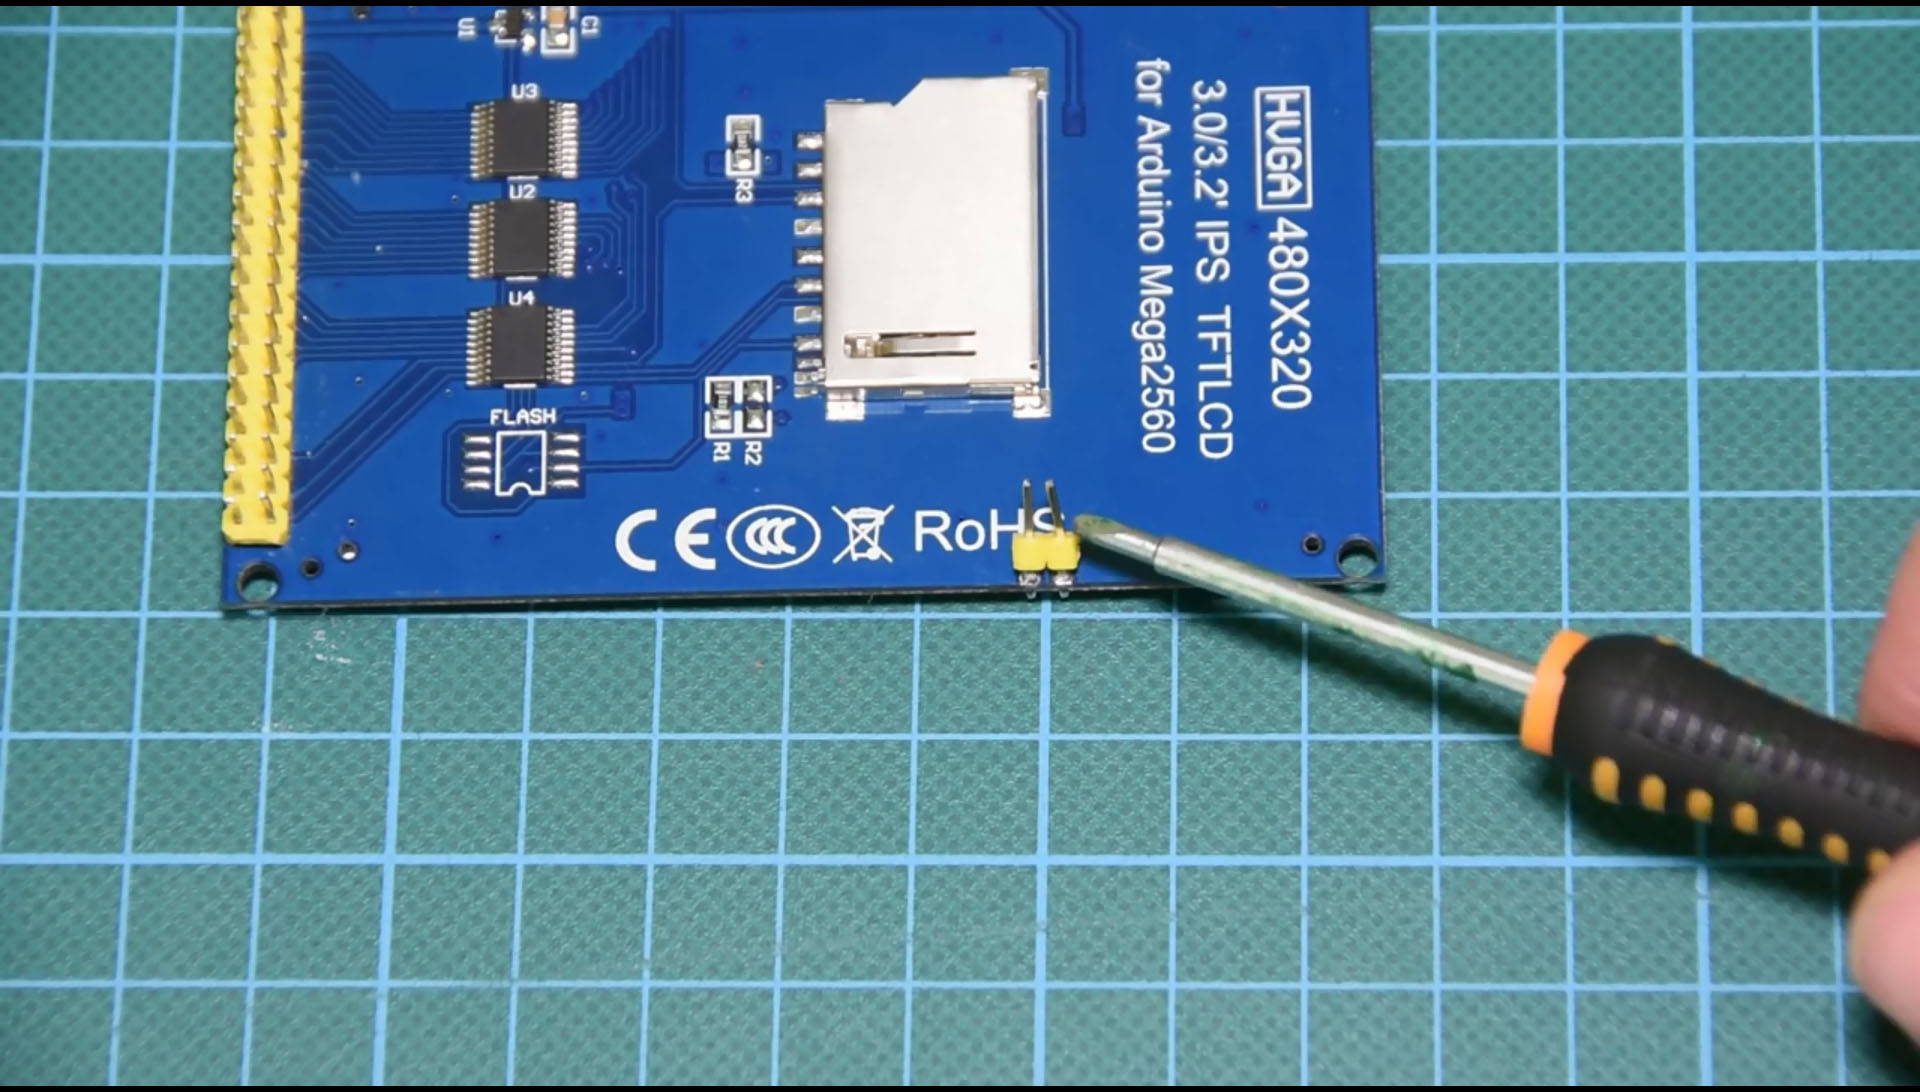
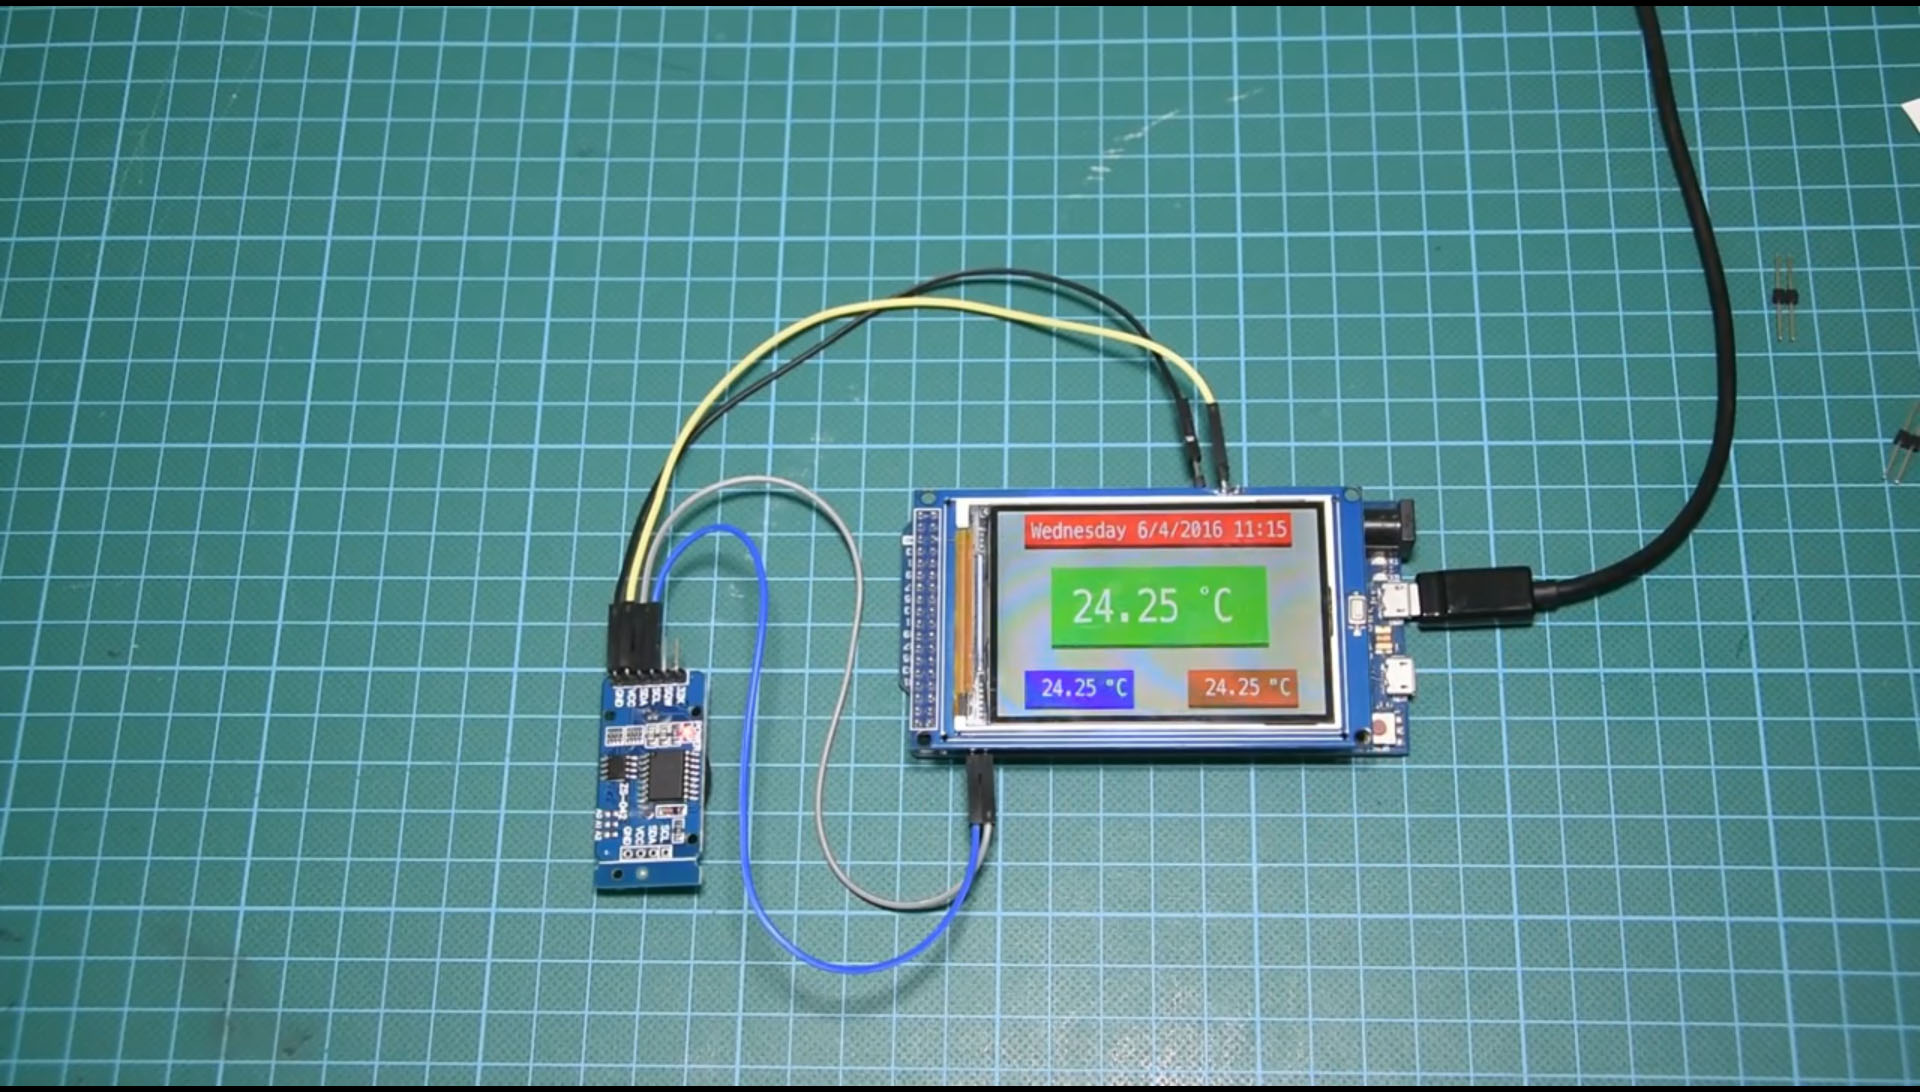
I am going to use the Arduino Due to build this project, although I could use the slightly cheaper but slower Arduino Mega. Arduino Due is much faster than the Arduino Mega and it has a lot of memory, that’s why I prefer it for this project.
At first, we have to connect all the parts together. I am going to use these male headers in order to connect the RTC module to the Arduino DUE.
We need four header pins. Two for power and two for the I2C interface. We bend them like this and we connect one to 3.3V pin of the Arduino Due board, the other to GND, and the other two to SDA and SCL pin of the board. With some female wires, we connect the module to the board. That’s it.
Now we can attach the display to the board. You don’t have to connect these two pins to the Arduino board so I will leave them floating.
Now we are ready to power up the project. As you can see, it works fine! It is that easy! Let’s now go to the computer to see the software side of the project.
The Code of the Project
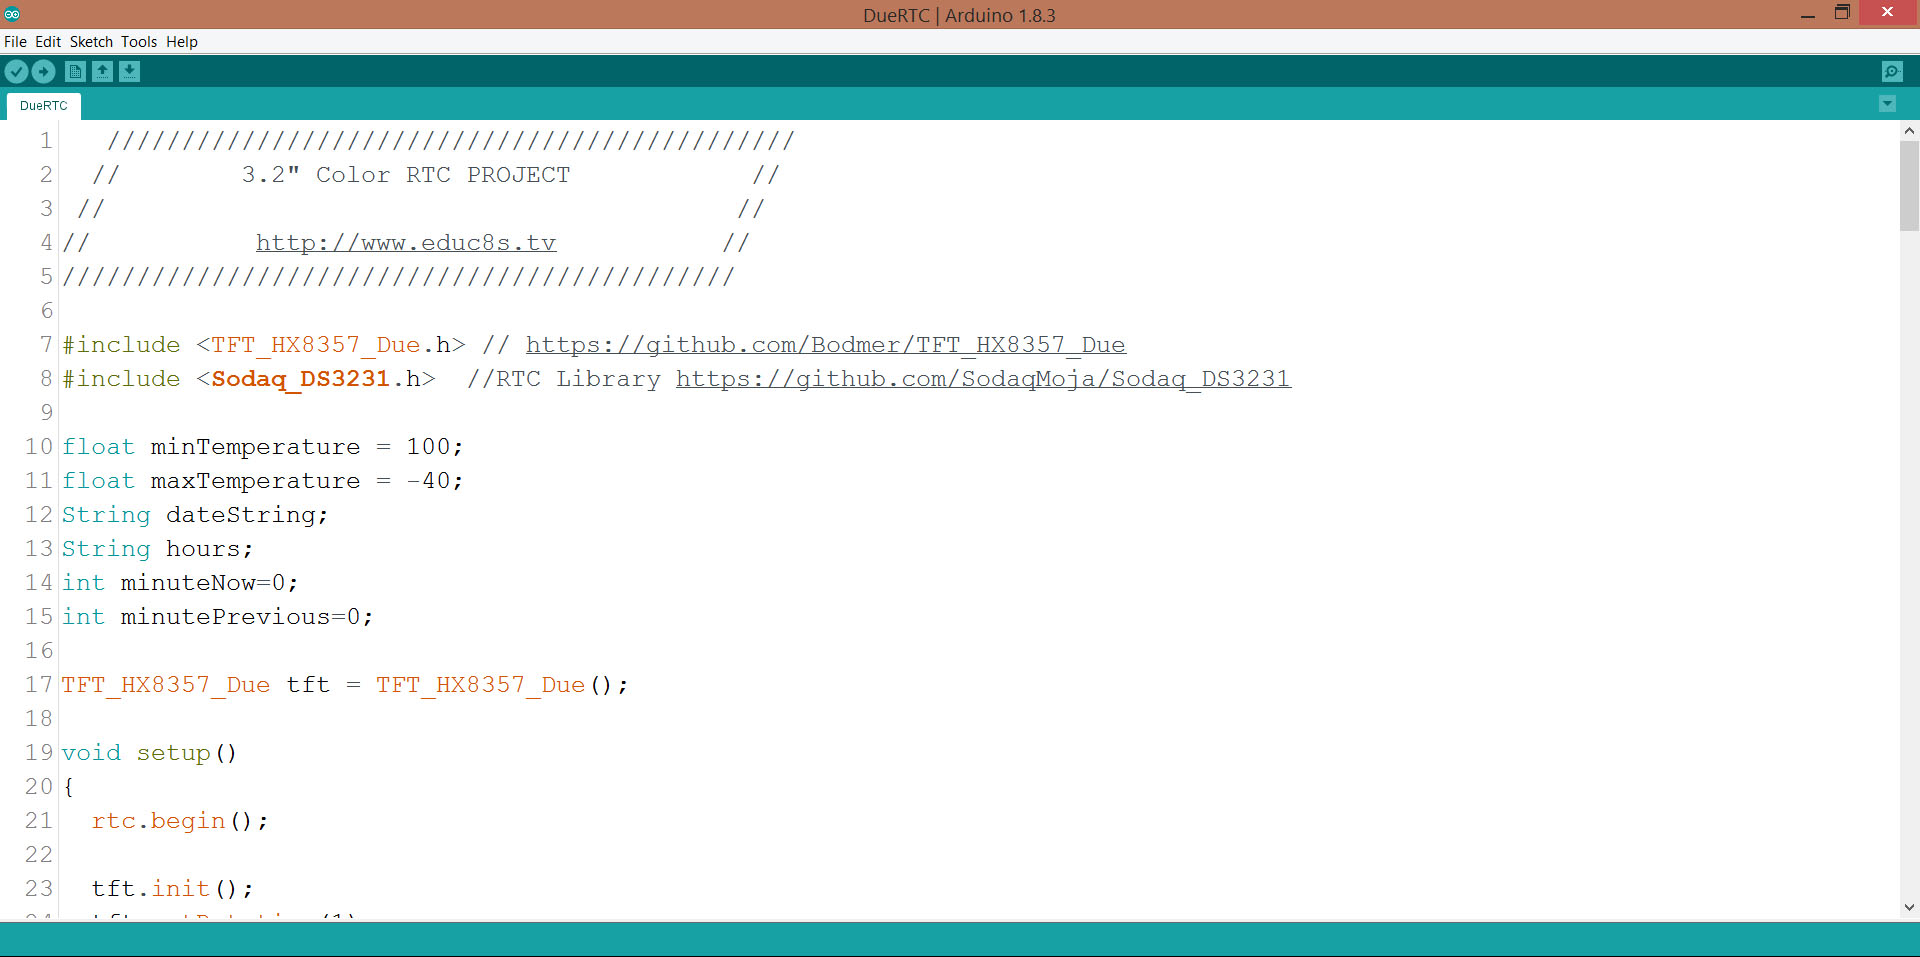
Now we are ready to take a look at the code.
We are using two libraries in this project:
Display Library ▶ https://github.com/Bodmer/TFT_HX8357_Due
DS3231 Library ▶ https://github.com/SodaqMoja/Sodaq_DS3231
You have to install them and then the project will compile just fine!
The first thing we have to do is to set the time to the real time clock module if it is not already set. In order to do it, enter the current date and time at the void setRTCTime function,
<p>void setRTCTime()<br>{
  DateTime dt(2016, 4, 4, 13, 56, 30, 1); // Year, Month, Day, Hour, Minutes, Seconds, Day of Week
  rtc.setDateTime(dt);
}</p>
uncomment the call to the function in the Setup function:
<p>void setup()<br>{
  rtc.begin();</p><p>  tft.init();
  tft.setRotation(1);
  tft.fillScreen(0xC618);
  delay(100);
  printUI();
  setRTCTime();
}</p>
and upload the program to Arduino. Now the time is set. But, then we have to comment the call of the setRTCTime function again and upload the program to Arduino once more.
<p>void setup()<br>{
  rtc.begin();
  tft.init();
  tft.setRotation(1);
  tft.fillScreen(0xC618);
  delay(100);
  printUI();
  //setRTCTime();
}</p>
As you can see the code of the project is simple. We just print the user interface and then display the date the time and the on it.
<p>void loop()<br>{
   float temperature = rtc.getTemperature();
   getAndPrintTime();
   printTemperature(temperature);
   if(temperature>maxTemperature)
  {
    maxTemperature = temperature;
    updateMaxTemperature();
  }
</p><p>if(temperature<minTemperature)</p><p>  {
    minTemperature = temperature;
    updateMinTemperature();
  }</p><p></p><p> delay(1000);</p><p>}</p>
You can find the code attached to this step. You can download the latest version of the code from the project's website here: http://educ8s.tv/arduino-real-time-clock-32/
Downloads
Final Thoughts

As you can see with a few lines of code and with very low cost we can build a very useful project. I am going to work more on this project since it will become an advanced weather station, with more sensors, graphs and wifi capabilities.
Since the Arduino Due is very fast and has a ton of memory I think it is the ideal Arduino board to use. What do you think about this project? How do you want to see it evolve?
Please post your comments or ideas in the comments section below.