Arduino Sound Sensor Switch
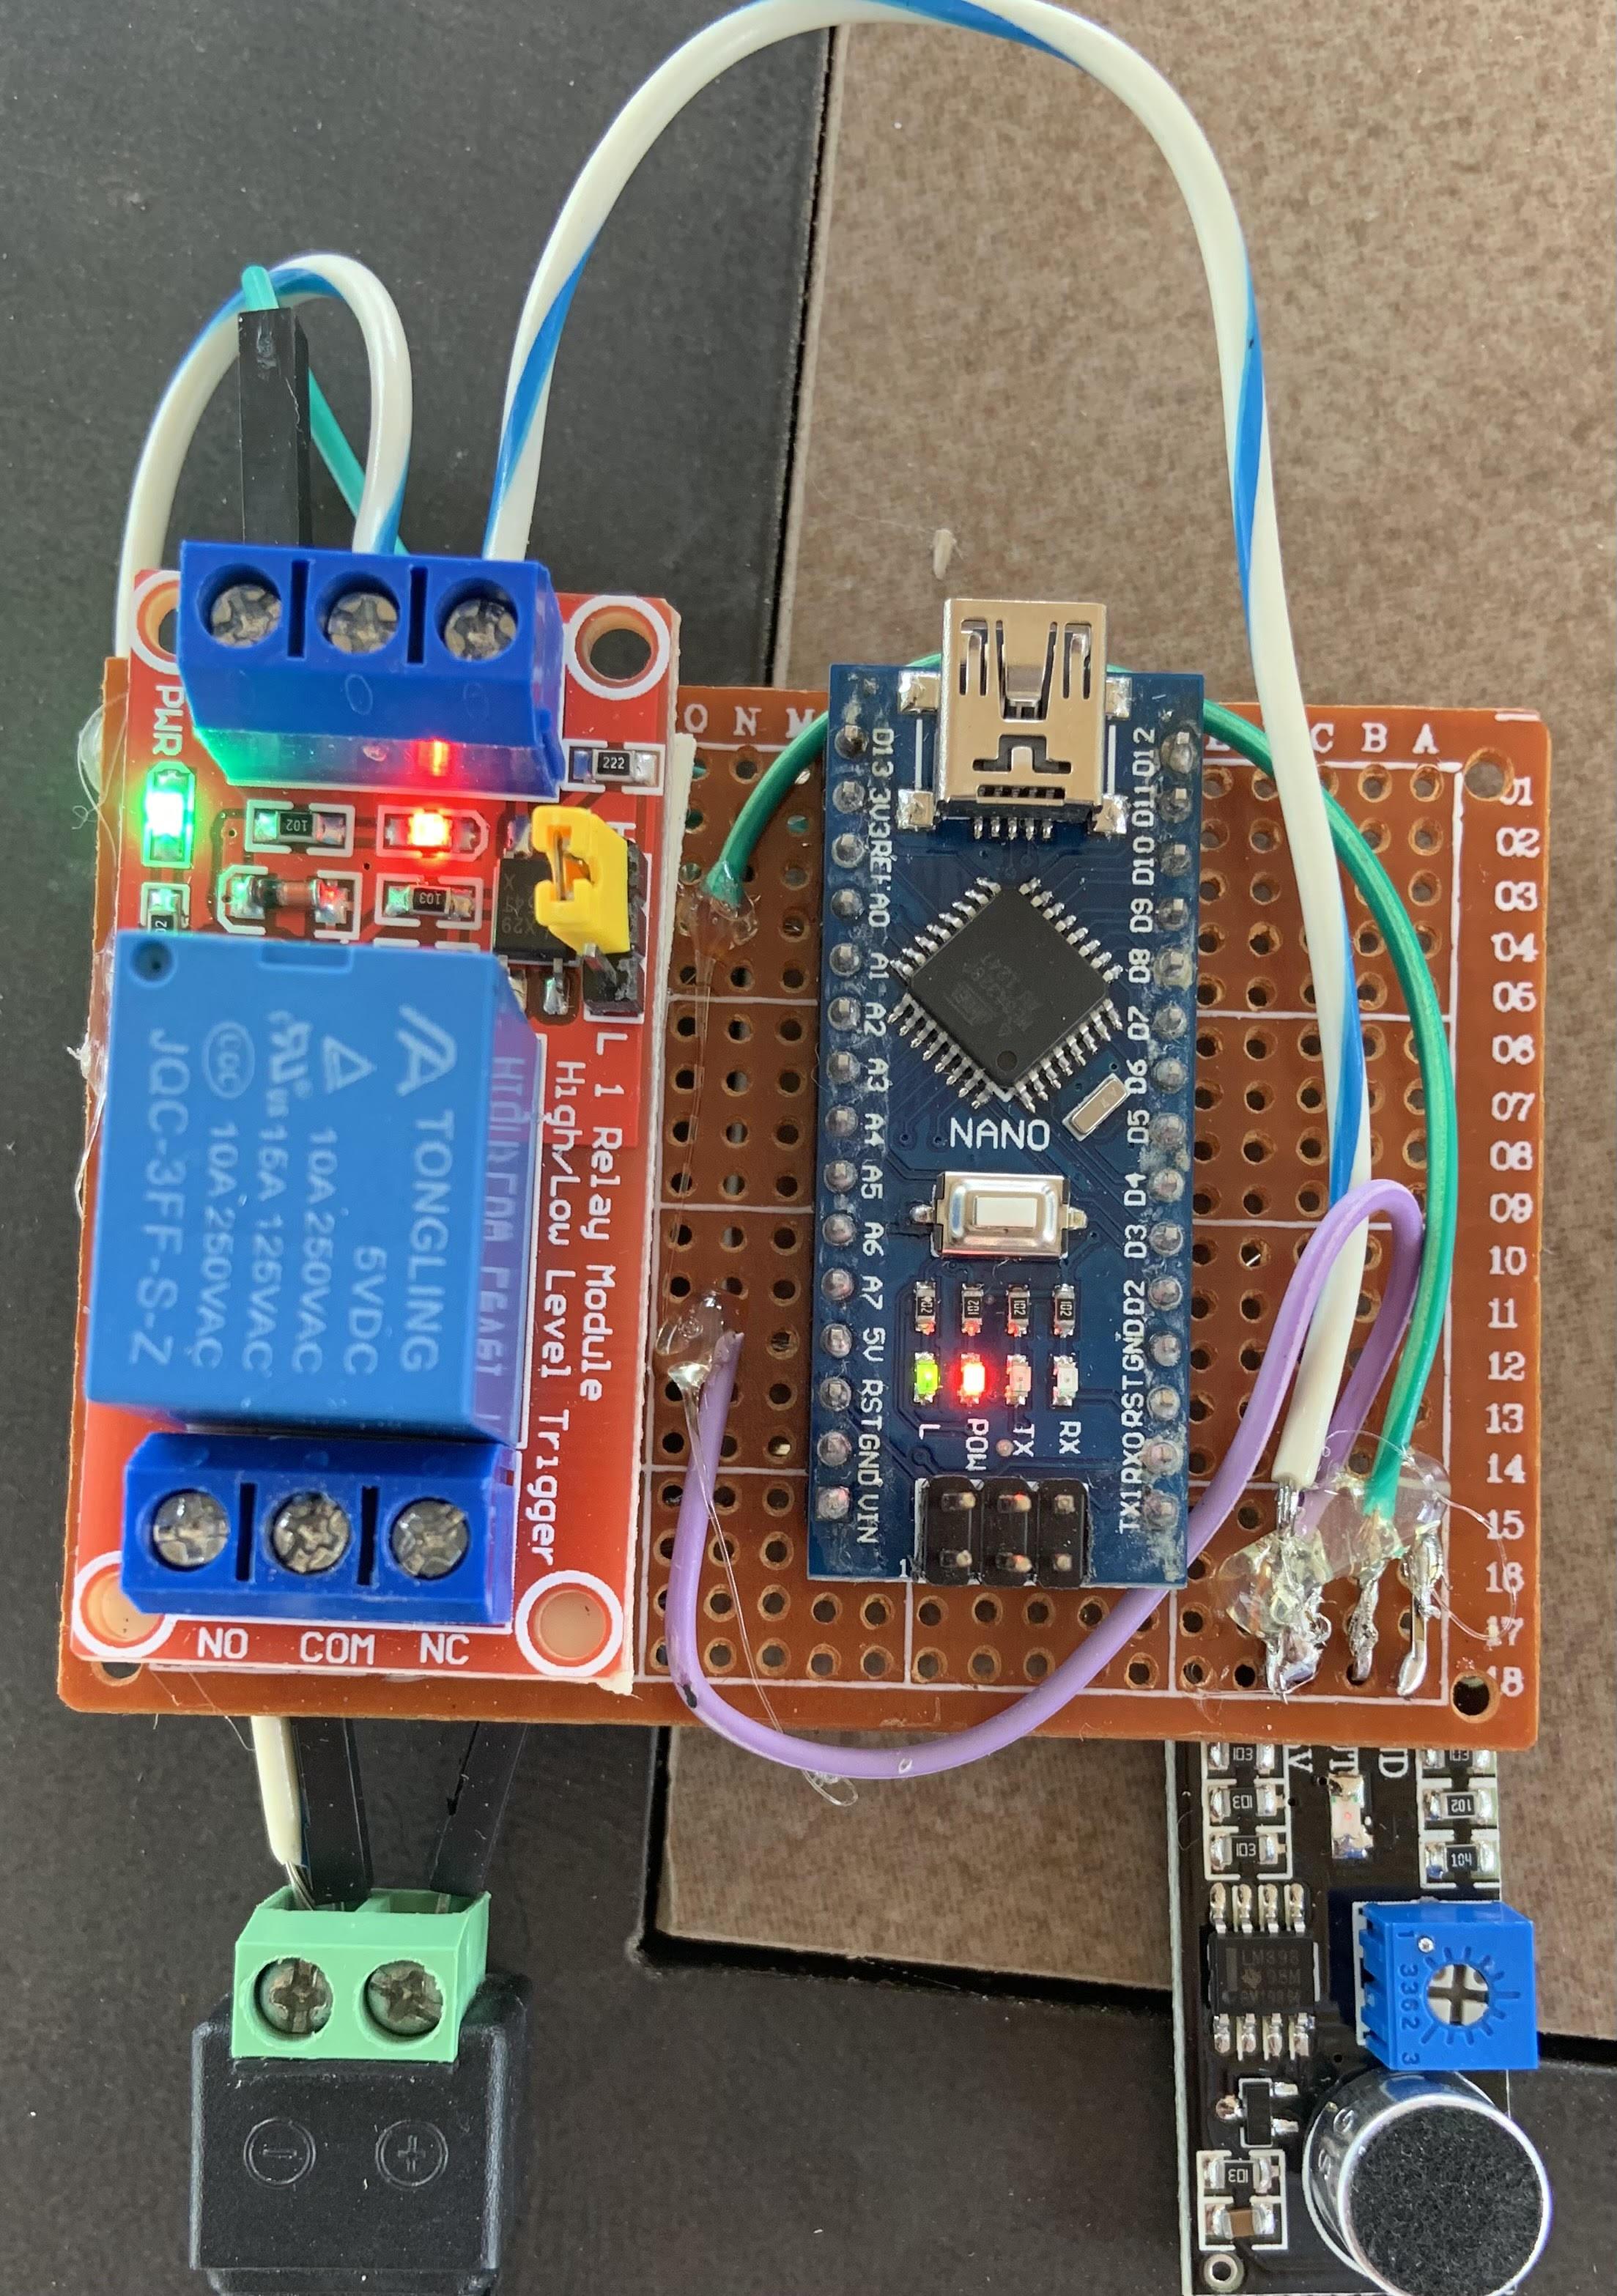
An arduino sound sensor switch is a cool way to turn on & off the lights or any other electronic entertainment. There are many clap switches out there, I thought it would be cool to do it with an arduino. Imagine snapping your fingers and having the lights or even the TV turn on and off whenever.
Before I proceed I must warn you, this project involves with 120 vac, which can be dangerous if not properly handle with caution, it can cause sparks and fire. Be really cautious when making the connections double check everything.
STEP 1: PARTS LIST
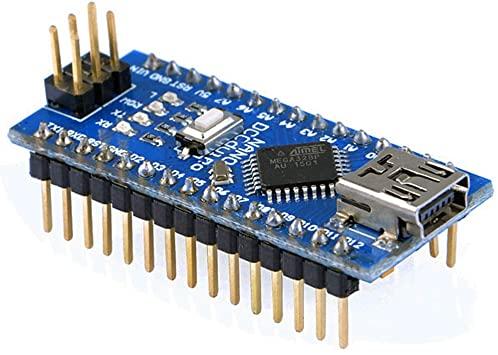
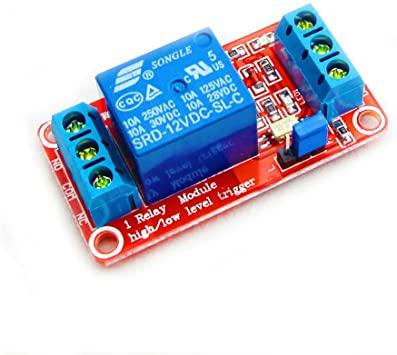
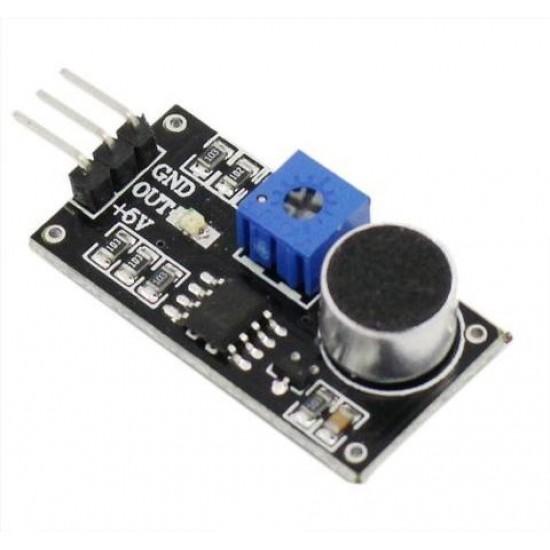
Any Lamp or electronic plug device
Arduino Nano
12v Power Supply
LM393 Sound Detection Sensor https://www.amazon.com/Detection-Microphone-Ardui...
5v Hiletgo One Channel Relay https://www.amazon.com/HiLetgo-Channel-optocoupler...
Optional :
Blank circuit board
Tools :
Soldering gear
Heat gun or lighter
Double sided Tape
Hot glue
STEP 2: Download and Run the Code
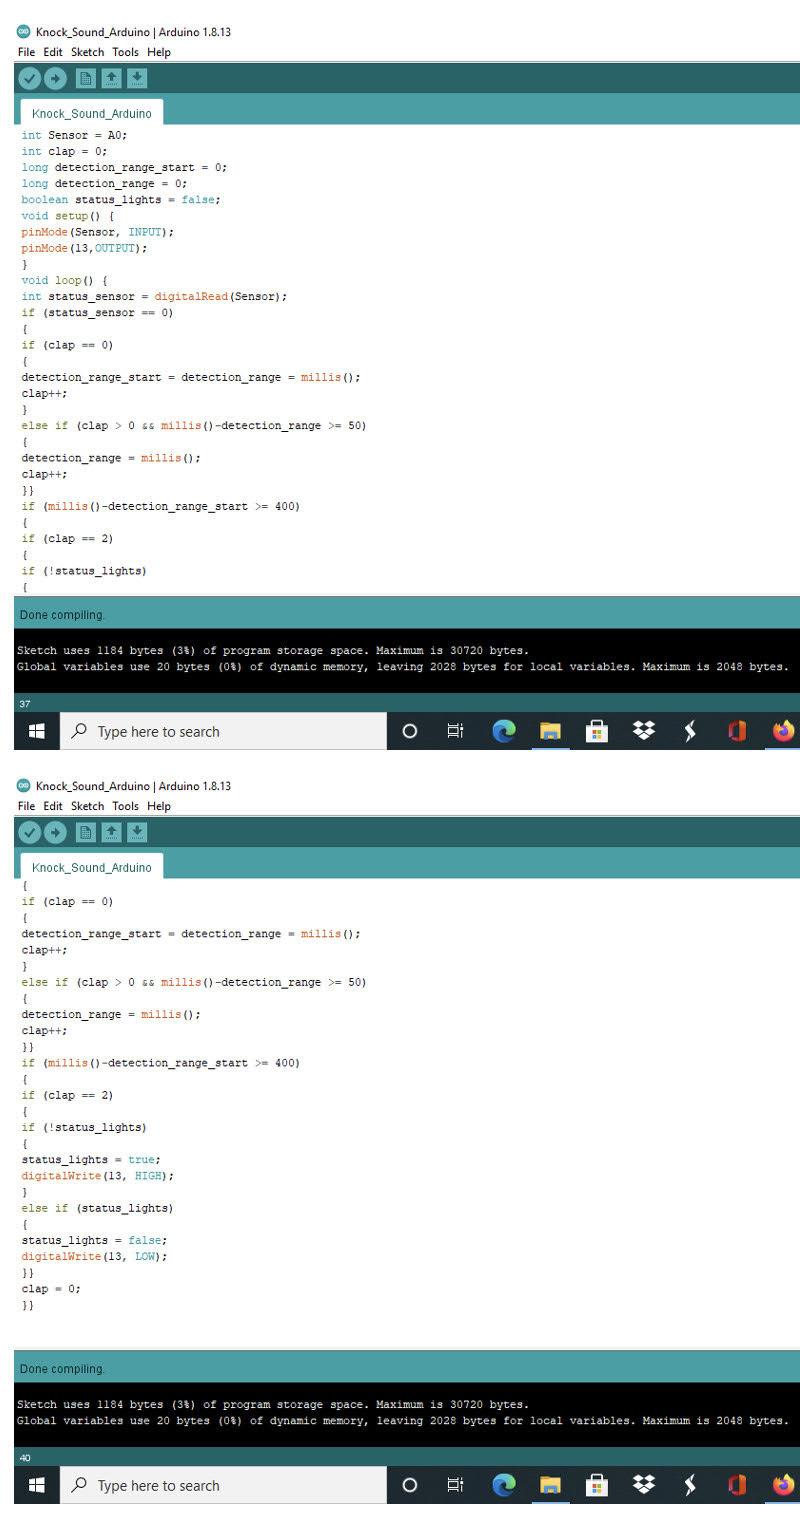
int Sensor = A0;
int clap = 0;
long detection_range_start = 0;
long detection_range = 0;
boolean status_lights = false;
void setup() {
pinMode(Sensor, INPUT);
pinMode(13,OUTPUT);
}
void loop() {
int status_sensor = digitalRead(Sensor);
if (status_sensor == 0)
{
if (clap == 0)
{
detection_range_start = detection_range = millis();
clap++;
}
else if (clap > 0 && millis()-detection_range >= 50)millis()-detection_range >= 50)
{
detection_range = millis();millis();
clap++;
}}
if (millis()-detection_range_start >= 400)millis()-detection_range_start >= 400)
{
if (clap == 2)
{
if (!status_lights)
{
status_lights = true;
digitalWrite(13, HIGH);
}
else if (status_lights)
{
status_lights = false;
digitalWrite(13, LOW);
}}
clap = 0;
}}
After running and uploading the Code, hook up the connections in a breadboard and test it before soldering everything.
STEP 3: WIRE IT UP
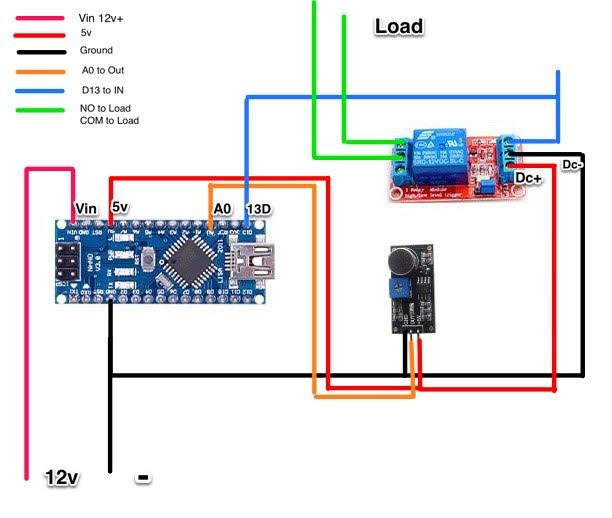
It is important to wire the Load of the electronic device last. You want your relay and arduino to work properly without any problems.
The sounds will be an input to the arduino, and D13 will be the output, the code is set up so with two loud noises such as a knock, a clap, or loud words will activate D13 to permanently stay on(HIGH) and two more loud noises will permanently make D13 turn off(LOW). D13 is connected to the relay which will allow a normally open or normally close connection from the load. Follow the first picture for the wiring
When running the tests, one of the problems I had was with the sound sensitivity.
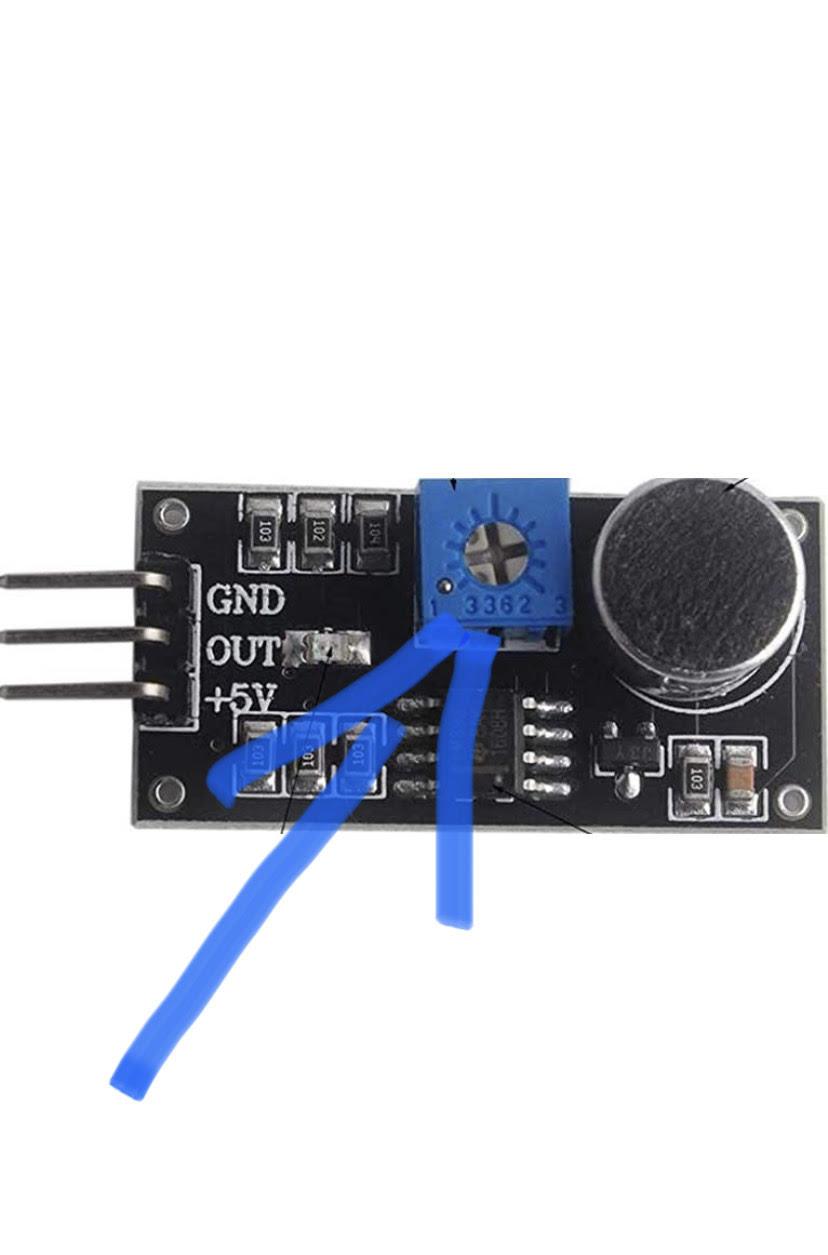
Make sure you calibrate the potentiometer in the sound sensor to your liking, you do this by turning the screw clockwise or counterclockwise, this will change the sound sensitivity of the system, as seen on the 2nd picture.
If you decide to make it permanent, you can add hot glue, double sided tape or screws to the relay. I used double sided tape to attach the relay to the circuit board, and hot glue to the exposed wires.
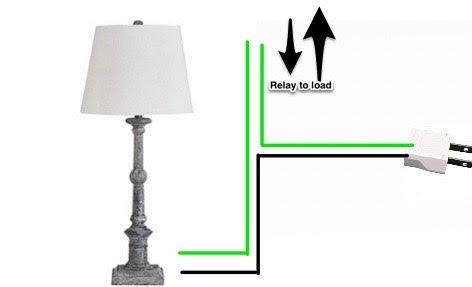
After making sure the relay responds to the sound commands. Wire the NO and COM to each lead of the lamp or the TV.
Take one lead and splice it in two, connecting one to COM and the other to NO or NC in the relay, like in the third picture.
CONCLUSION
Good luck, any questions, don't hesitate to ask.
The project only took me a few hours, because I was debating whether to take apart the 12v power supply and incorporate it in the circuit. You can create a seal box set up, but make some holes to allow the noise to reach the sensor.
Enjoy!! JC