Arduino Simple Flying Games by James Wu
by J_Wu9515 in Circuits > Arduino
190 Views, 0 Favorites, 0 Comments
Arduino Simple Flying Games by James Wu

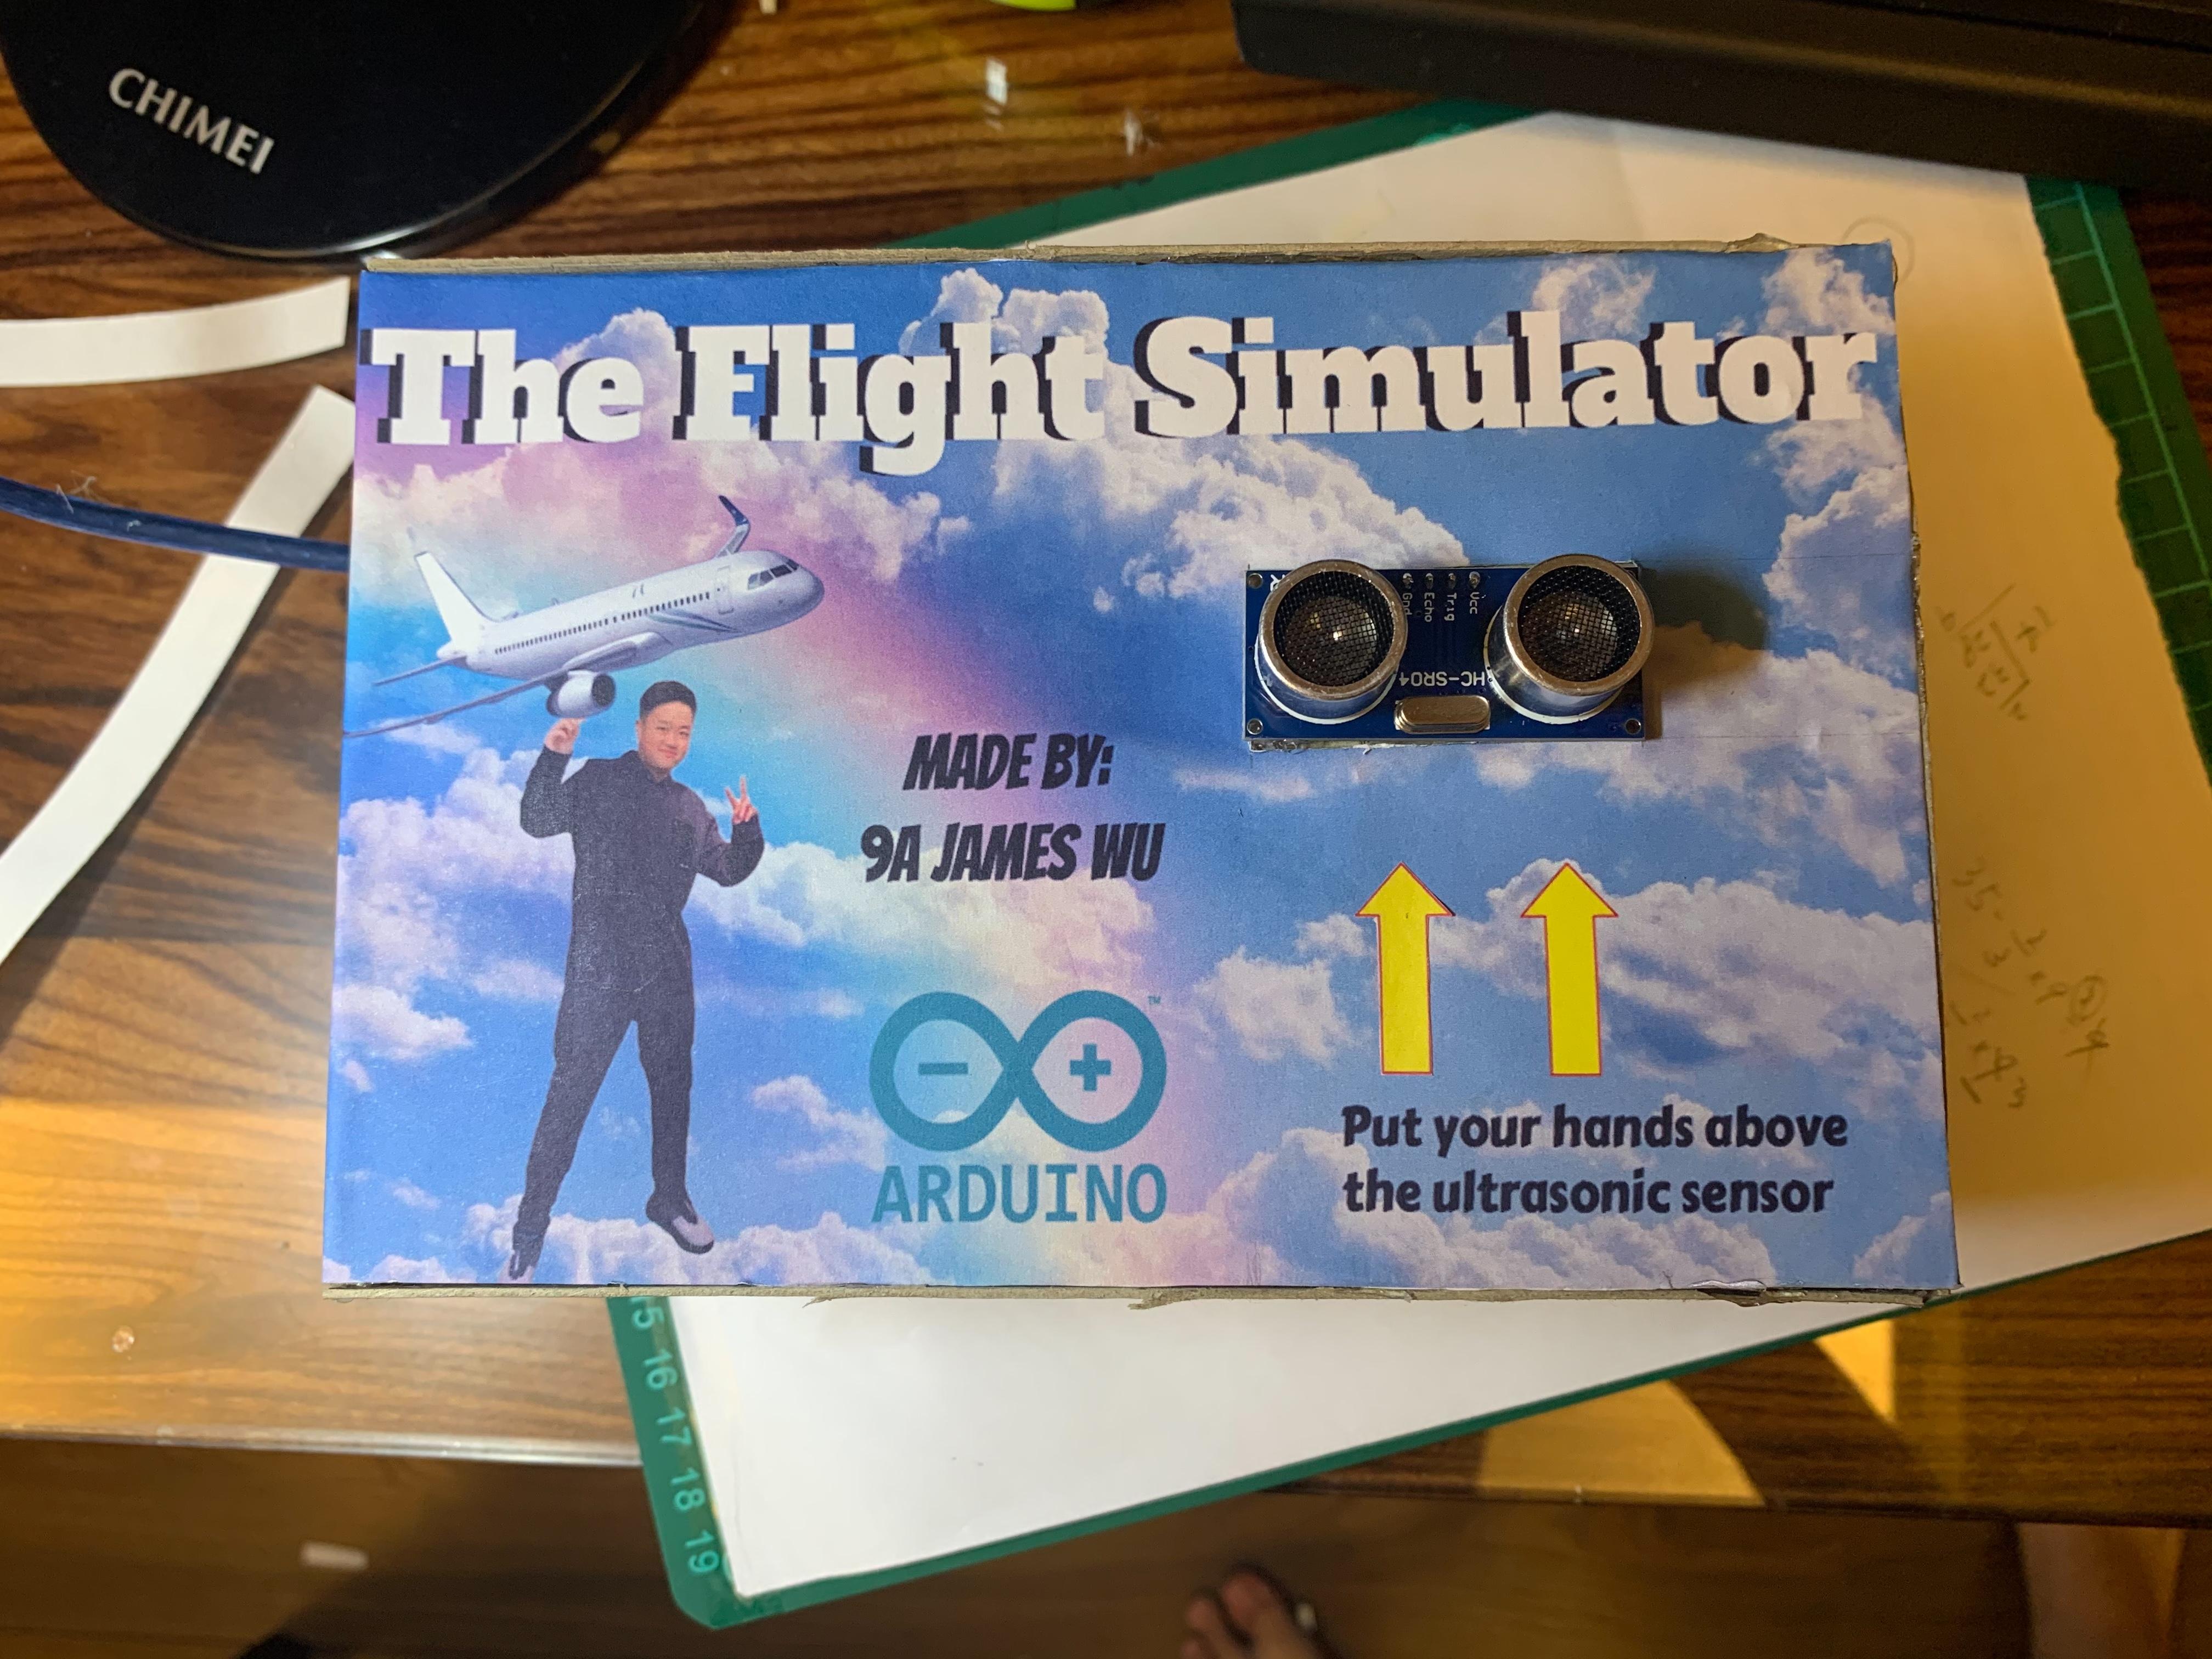
In this Instructable, we will see how to create a "link" between a Processing sketch with Arduino. For this project, I did a check on the design of (How to Control a Simple Processing Game With Arduino, by Yourk) and uses some of the information. I also add the decoration for this. In this example, an ultrasonic module will be used to control a plane in a simple game. You will need to follow the instruction, please enjoy!
Step 1: Materials
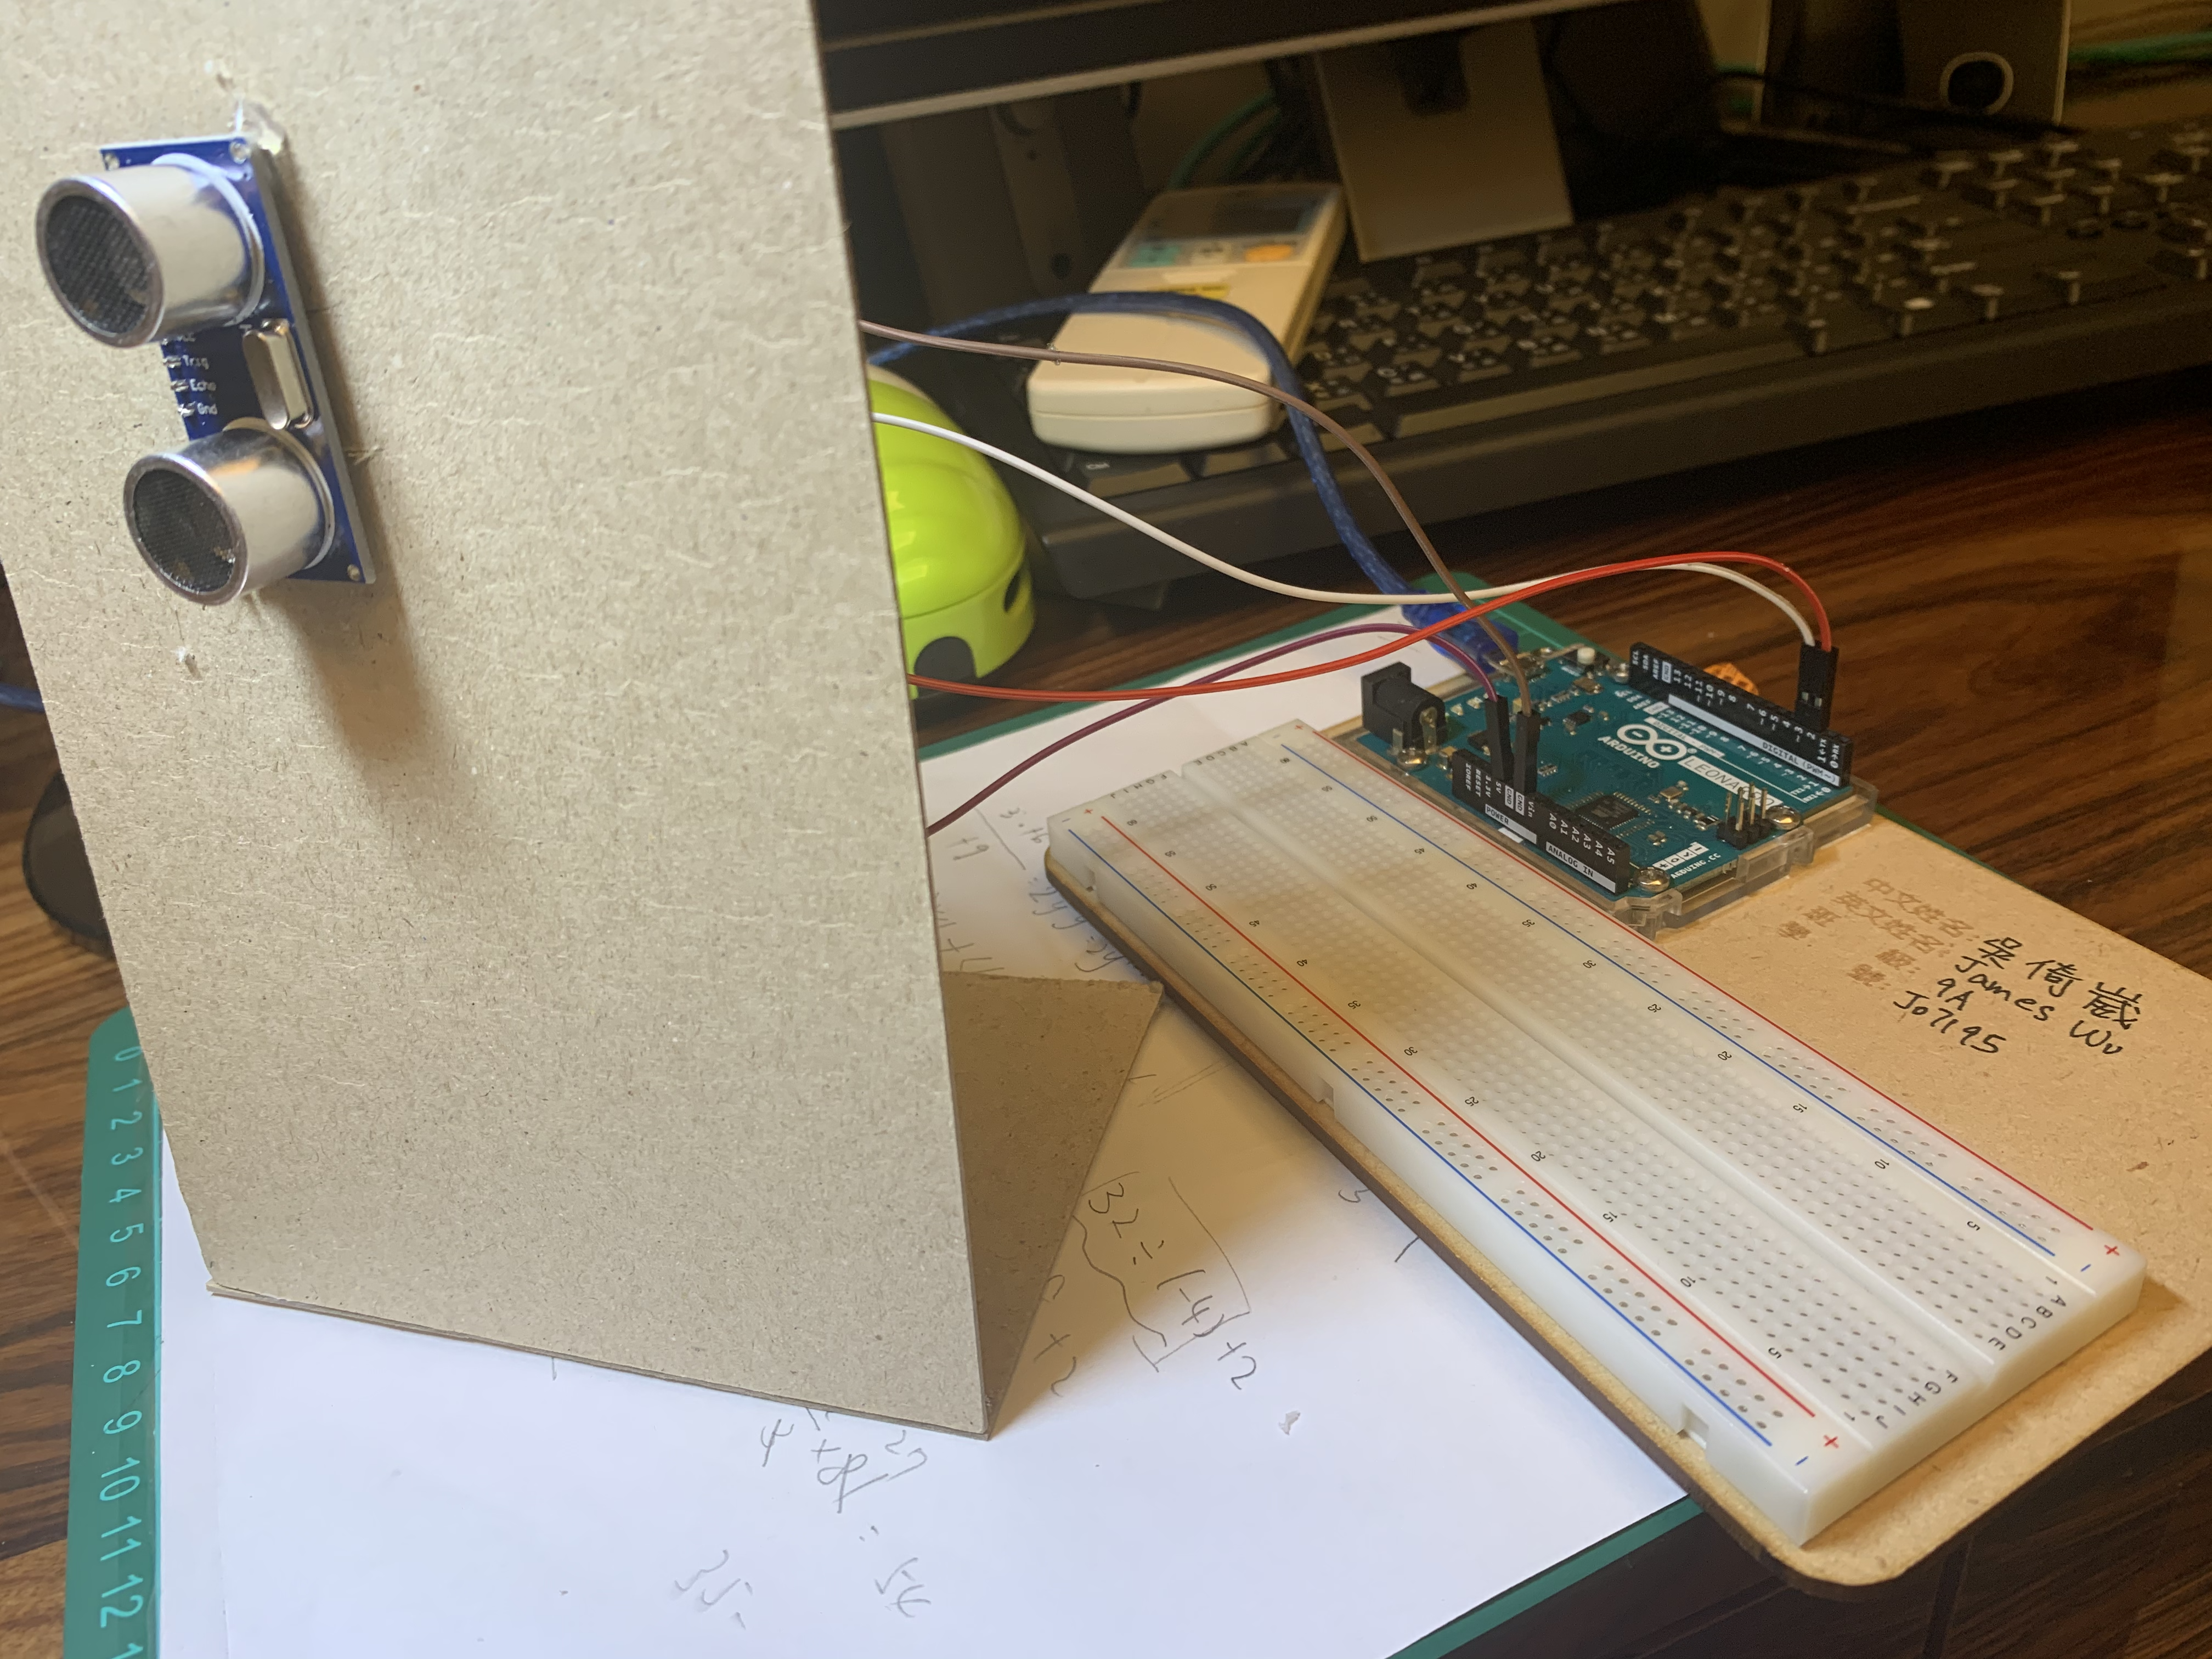
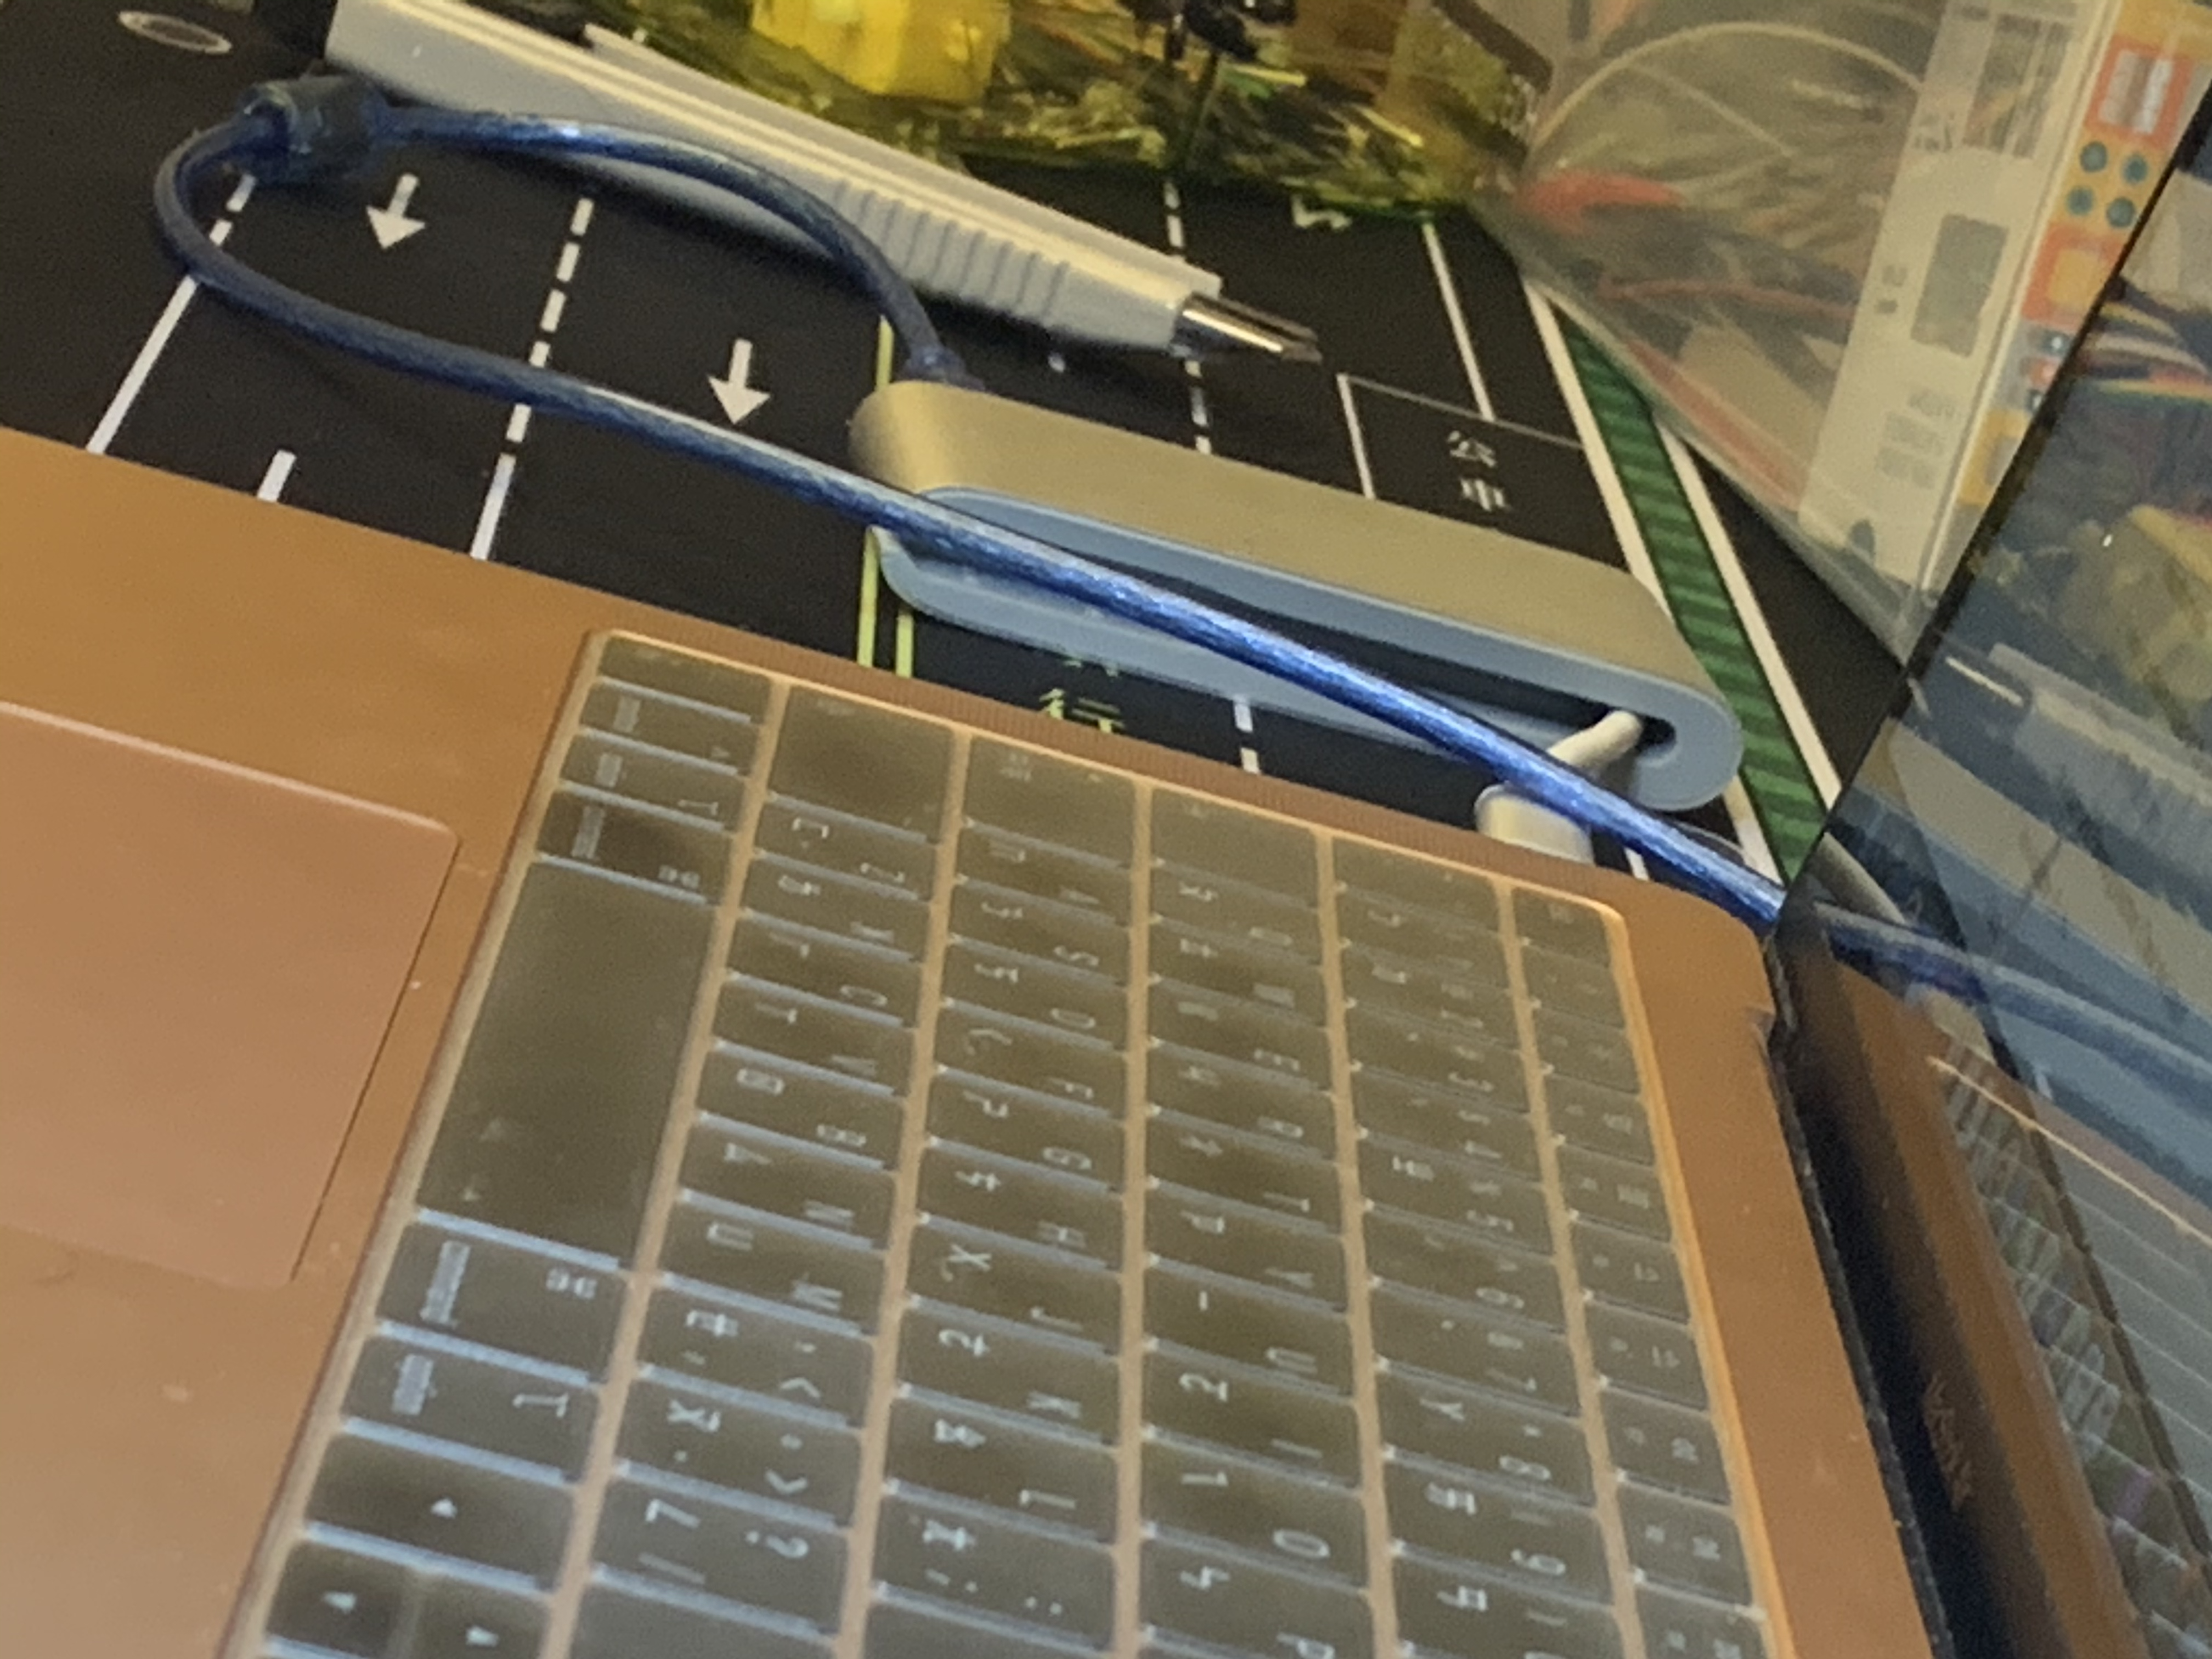
For the materials you will need to prepare: (Same as Yourk)
*an Arduino board (UNO in this example)
• an ultrasonic measurement module
• breadboard wires
• Arduino software installed on the computer (link here)
• Processing software (link here)
• the Arduino and Processing sketches (Check next steps)
More Additions: (By me)
• A laptop
• A USB line that can connect from UNO to computer
• CardBoard ( For covering the Arduino Board)
• Hot Glue gun (For making a cover)
• Transfer plug (If you using a MAC Book)
• Color pencil or things that you can be to decorate.
This project was originated by: https://www.instructables.com/How-to-control-a-sim...
Step 2: Arduino Wiring
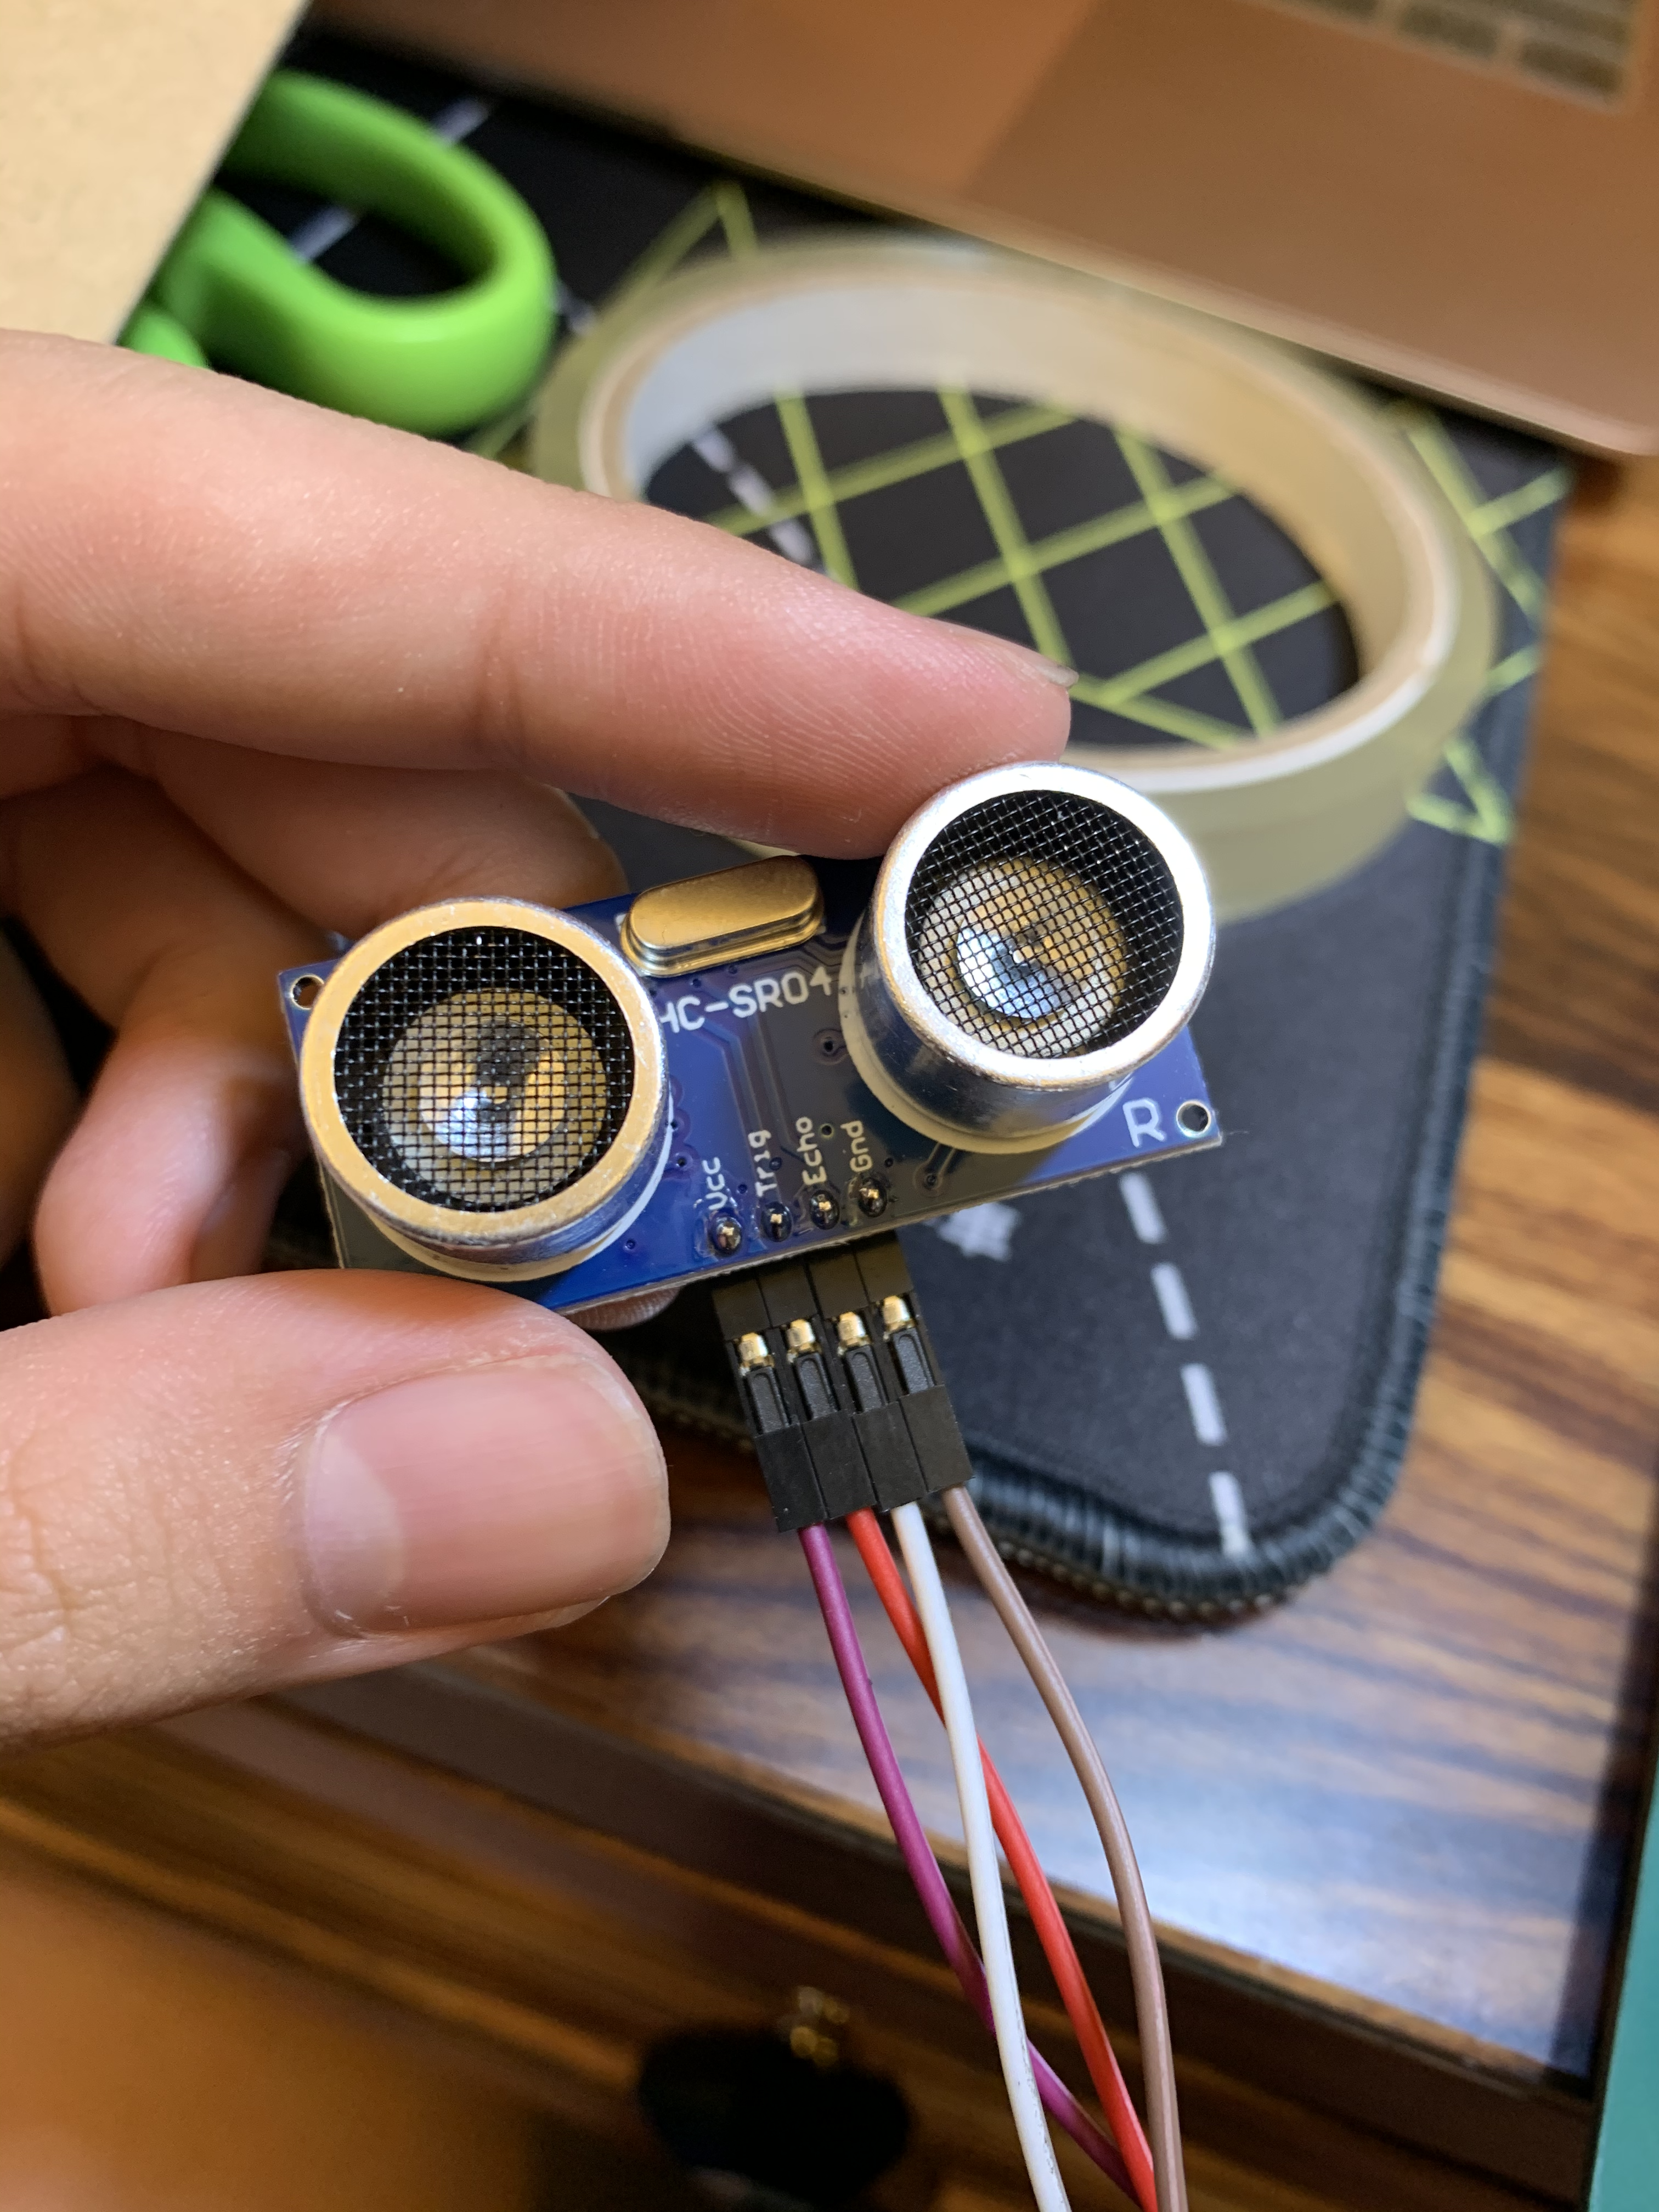
The ultrasonic module wiring:
Vcc -> to Arduino 5v
Trig -> Arduino pin 3
Echo -> Arduino pin 2
GND -> to Arduino GND
First, you download the Make sure to put the wire in the right spot, or you may break it
Downloads
Step 3: Coding


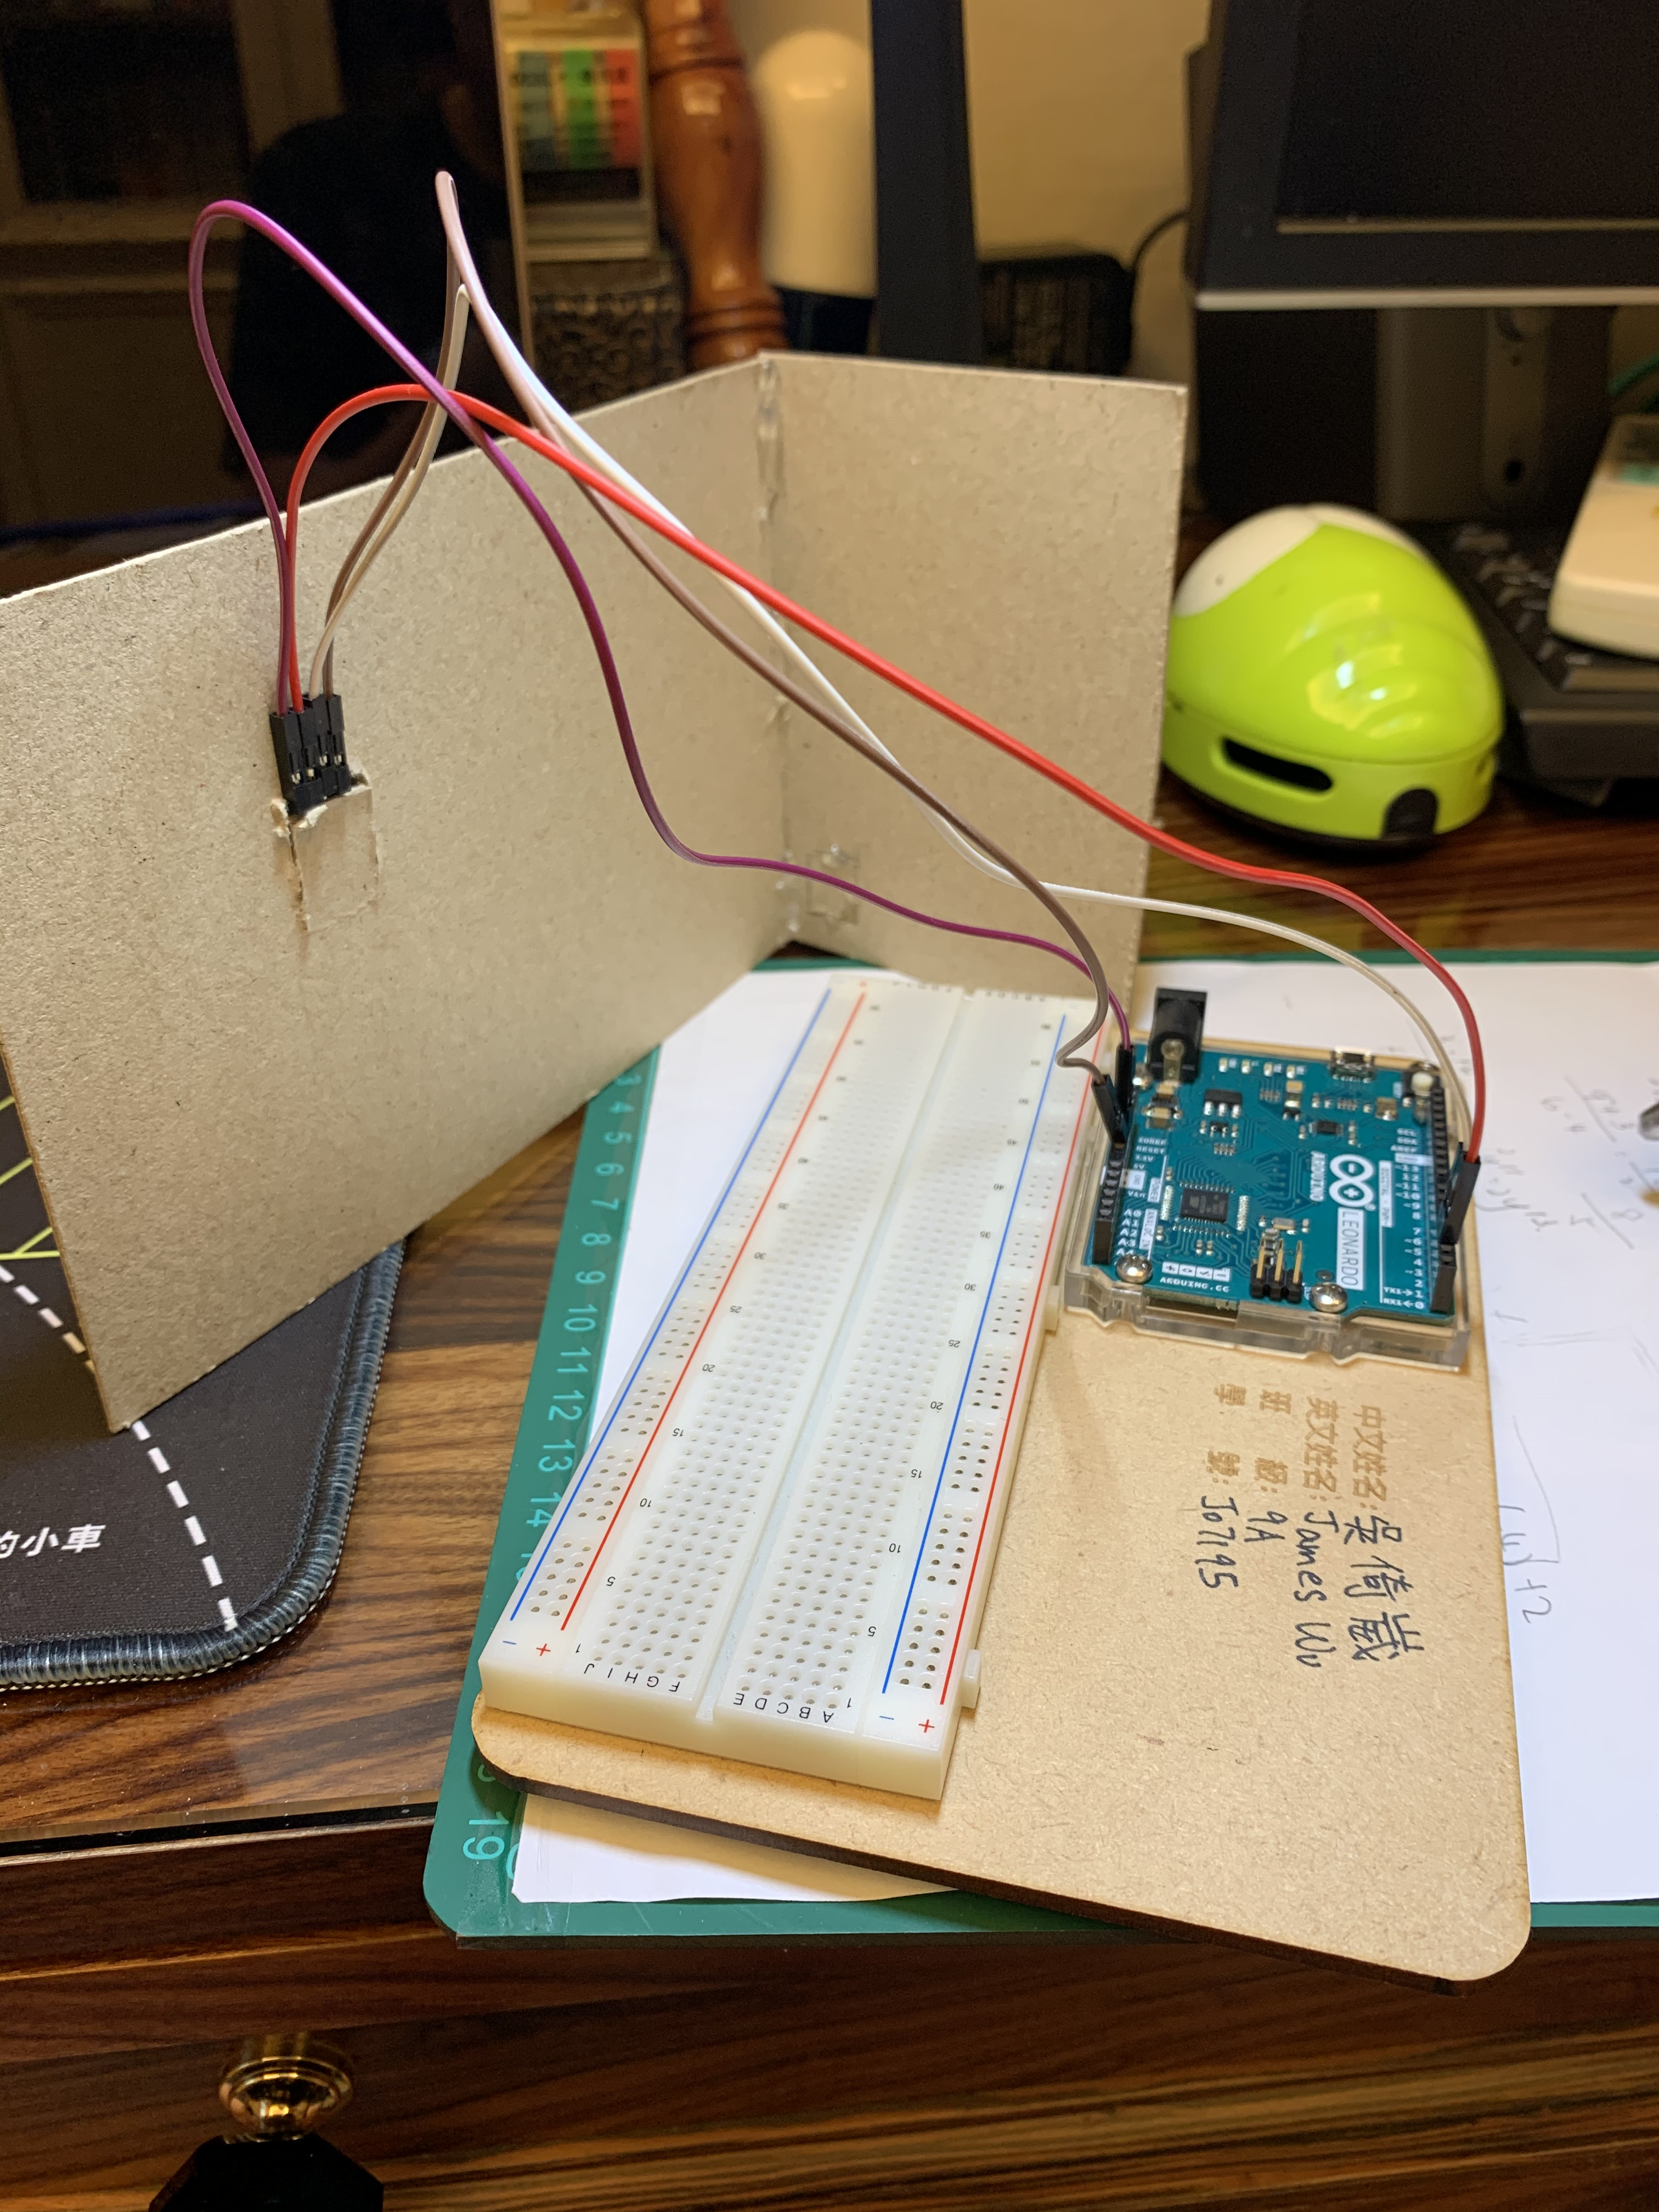
Check the wiring, and upload the code on the Arduino. Then open the Serial Monitor, and move your hand above the module. The serial monitor should display a list of numbers... The distance in cm between him and you hand. The origan
Download the link below to get the code of "Arduino'' and "Processing"
Step 4 : Things I Changed

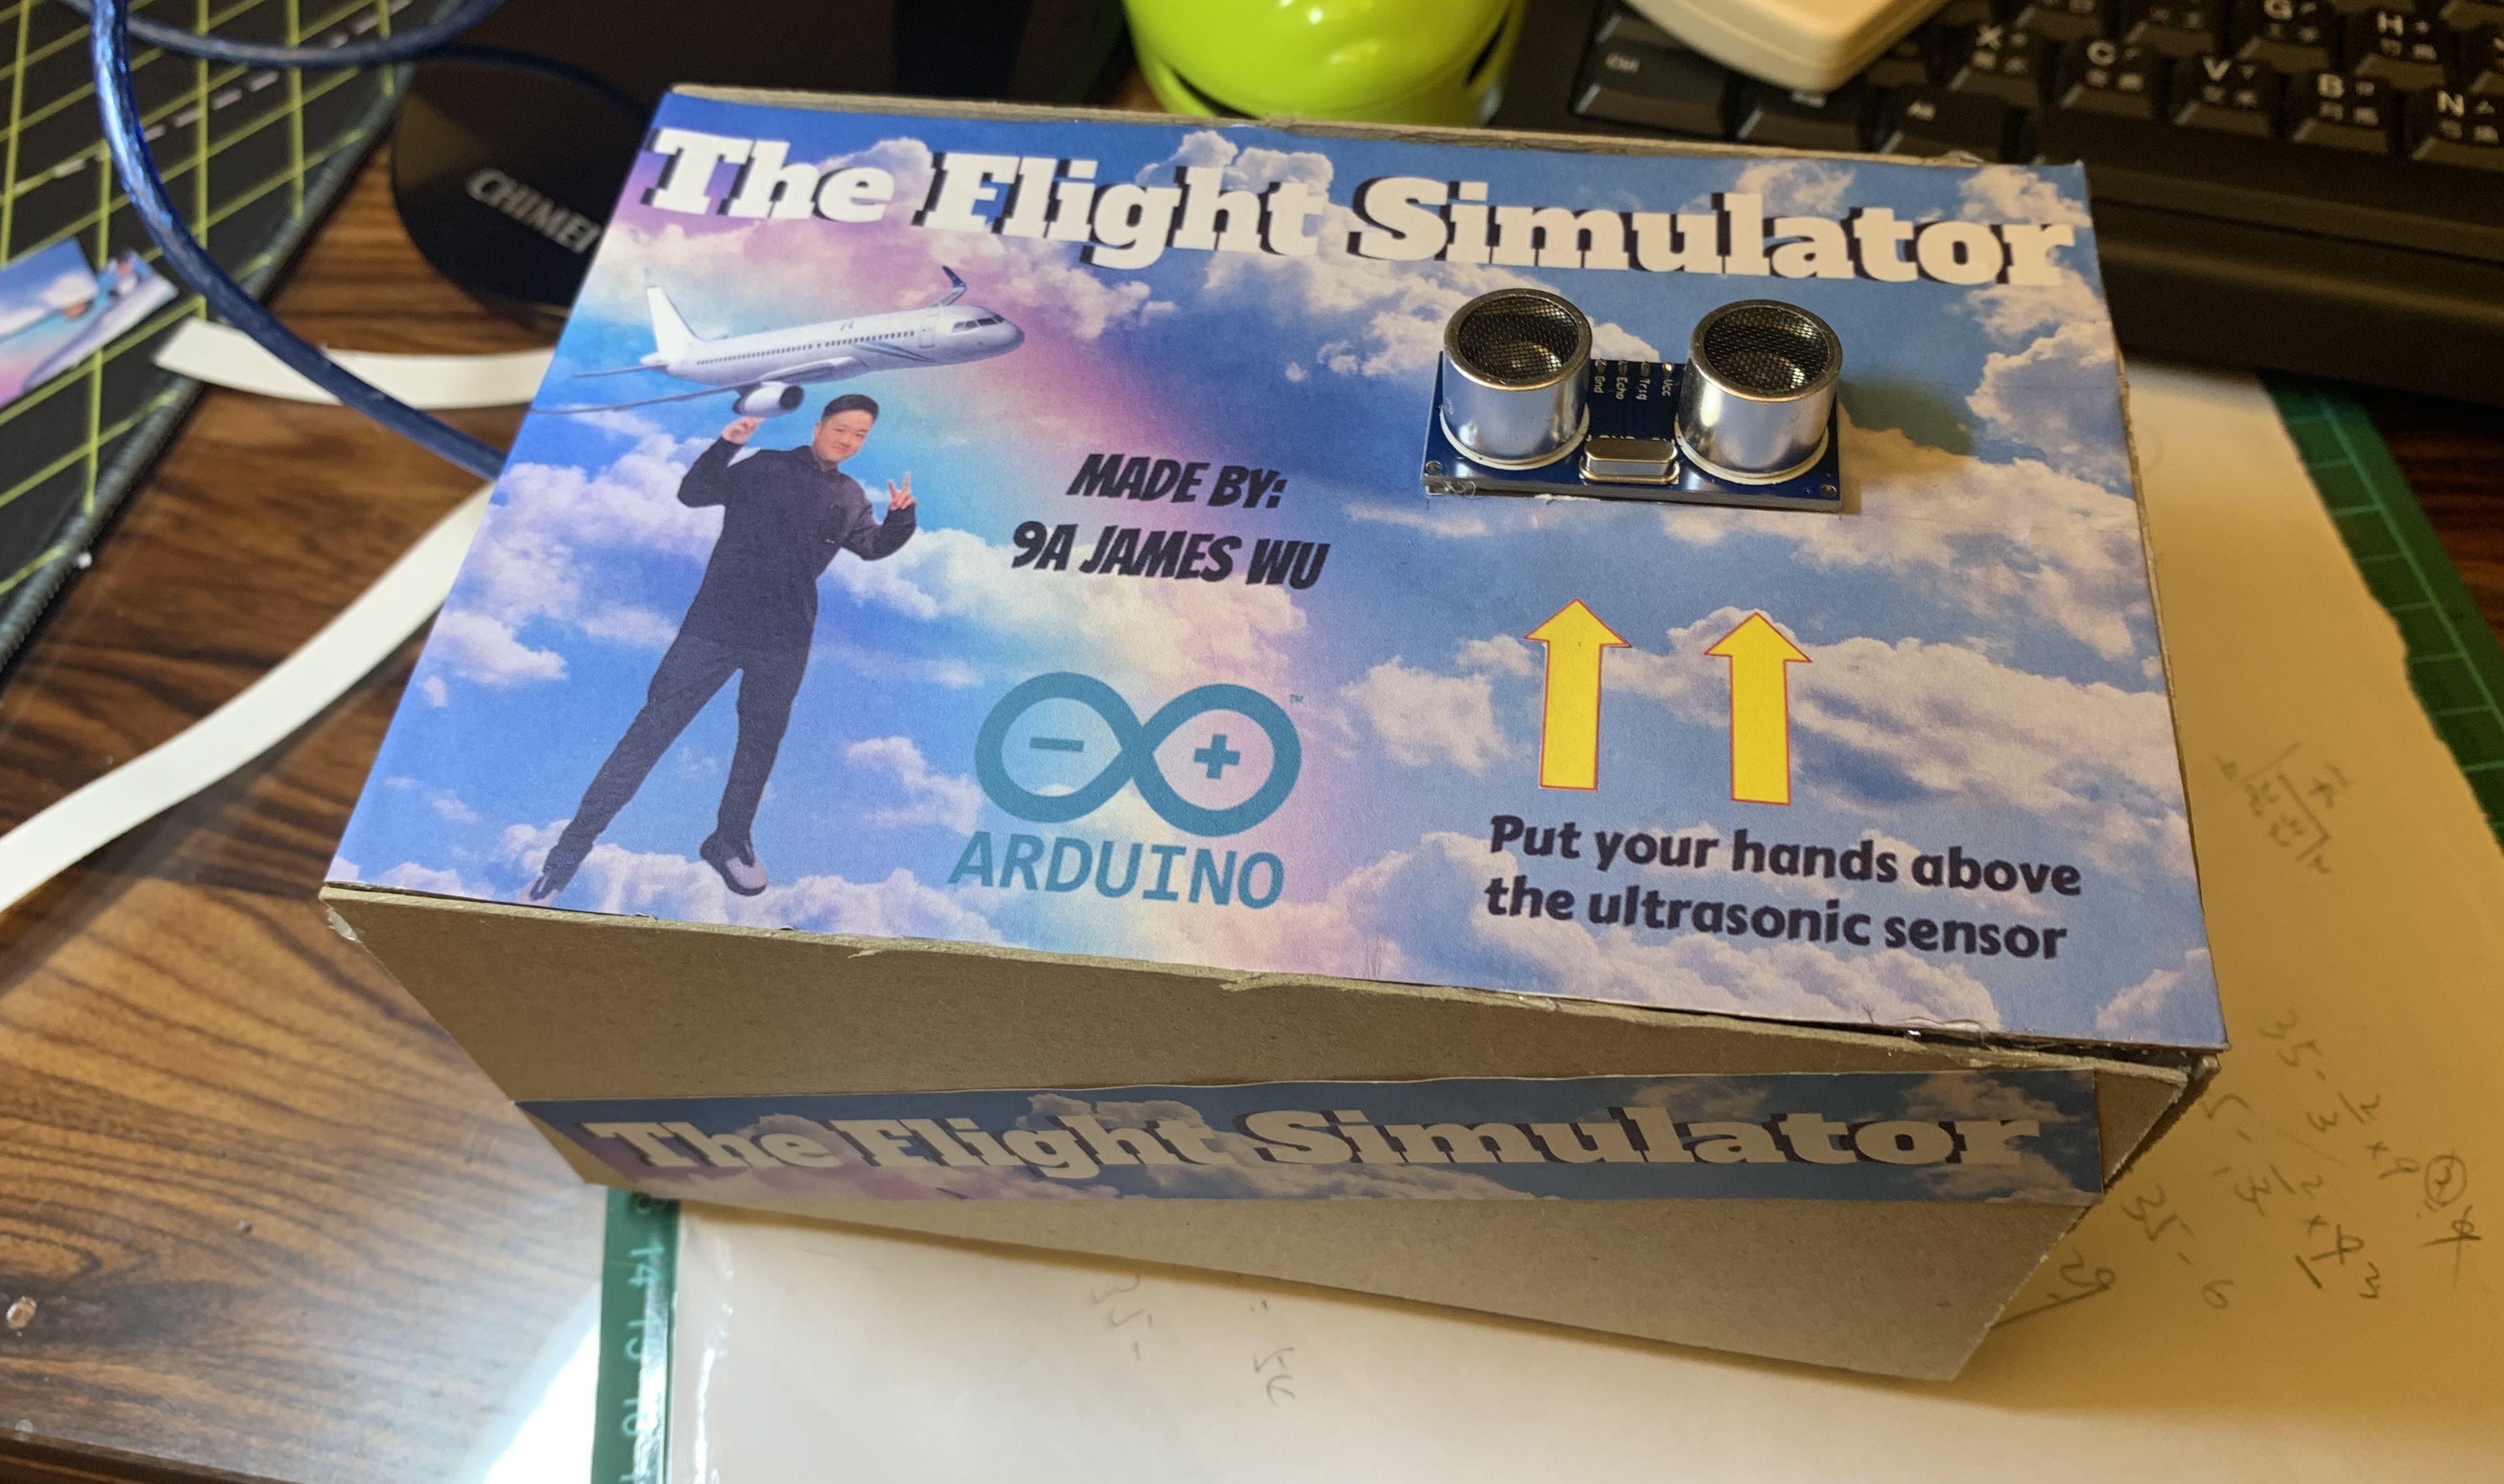
For this step, i did change something from the original, for here, I will list the things I add
*I cut the cardboard for the covering of the UNO, I also put some pictures for decoration.
* I changed the time of delate form 9600 => 9599
Step 5: Optional Step : How to Replace the Plane by a Picture
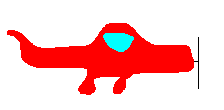

To replace it by a picture, you just have to replace the line coordinates by a picture call. So you have to load it first, and to make sure that the picture translates and rotates fine.
Check the attached ZIP file. It contains the new project file, with the new plane picture. More explanations are in the program. Just ask if you have additional questions.
The END, thank you.