Arduino Reaction Time Tester
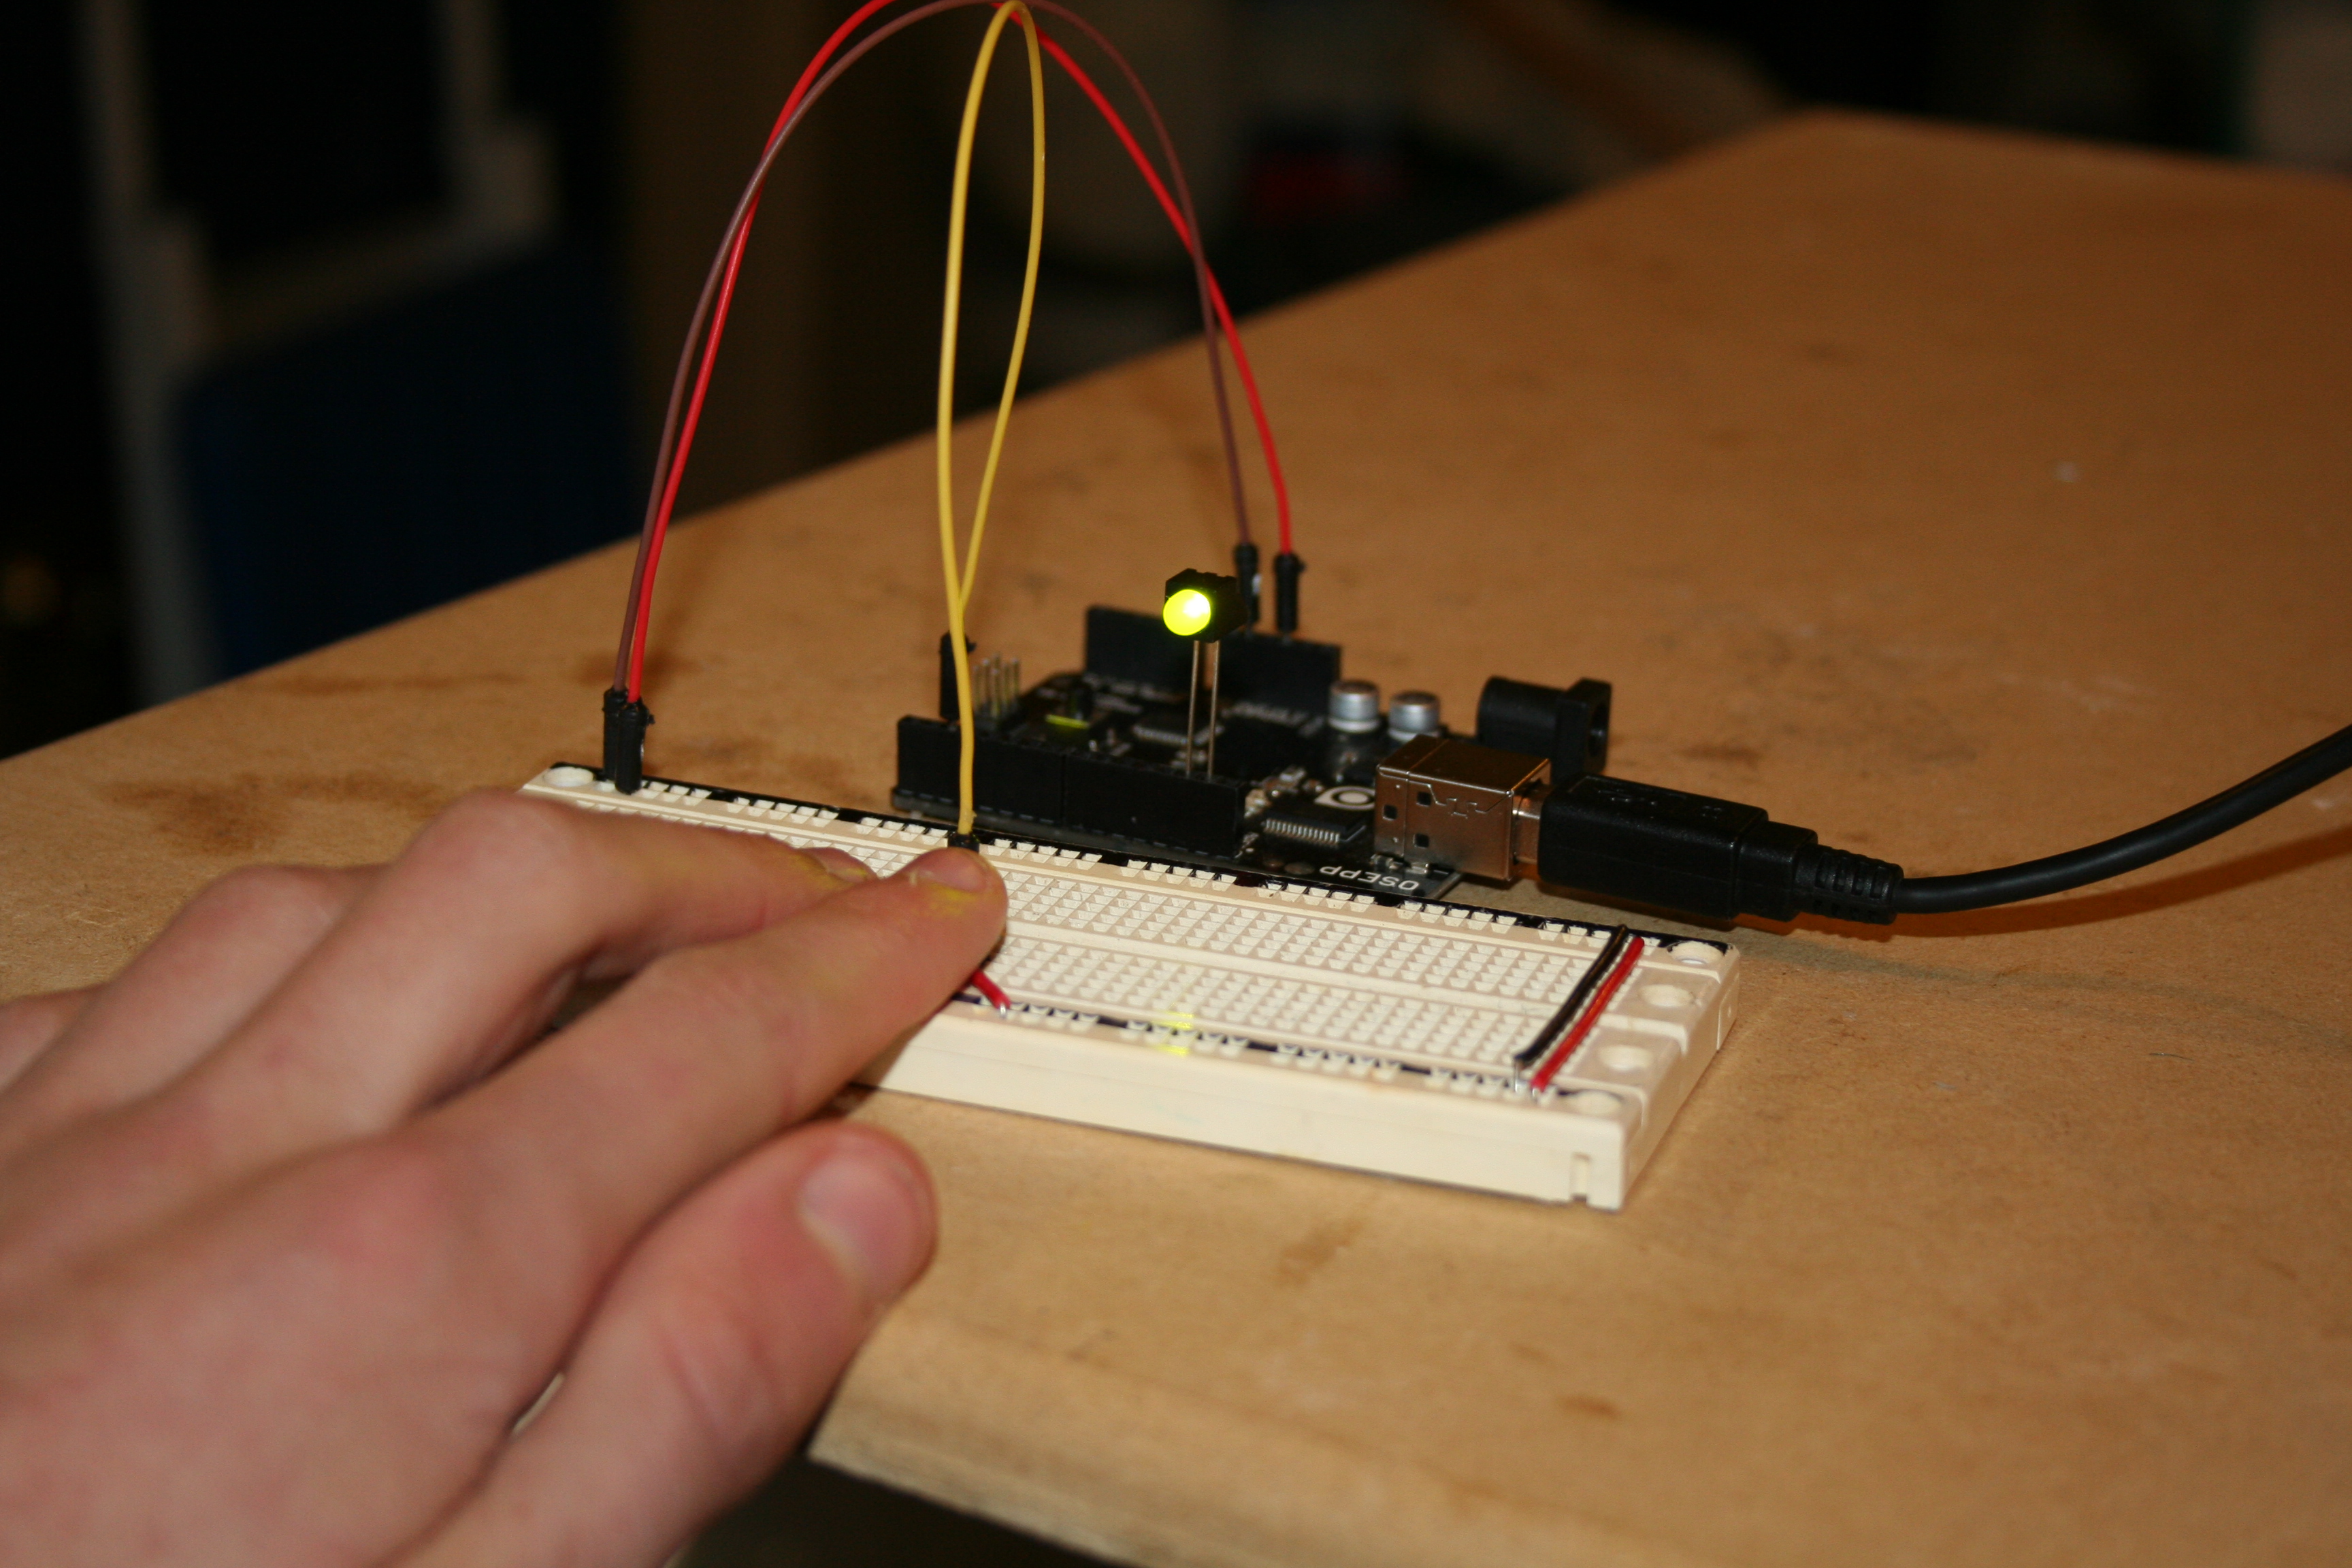
This is a simple reaction time tester. It will randomly turn on a L.E.D. and measure the time it takes you to press a button and then send the measurement to your computer.
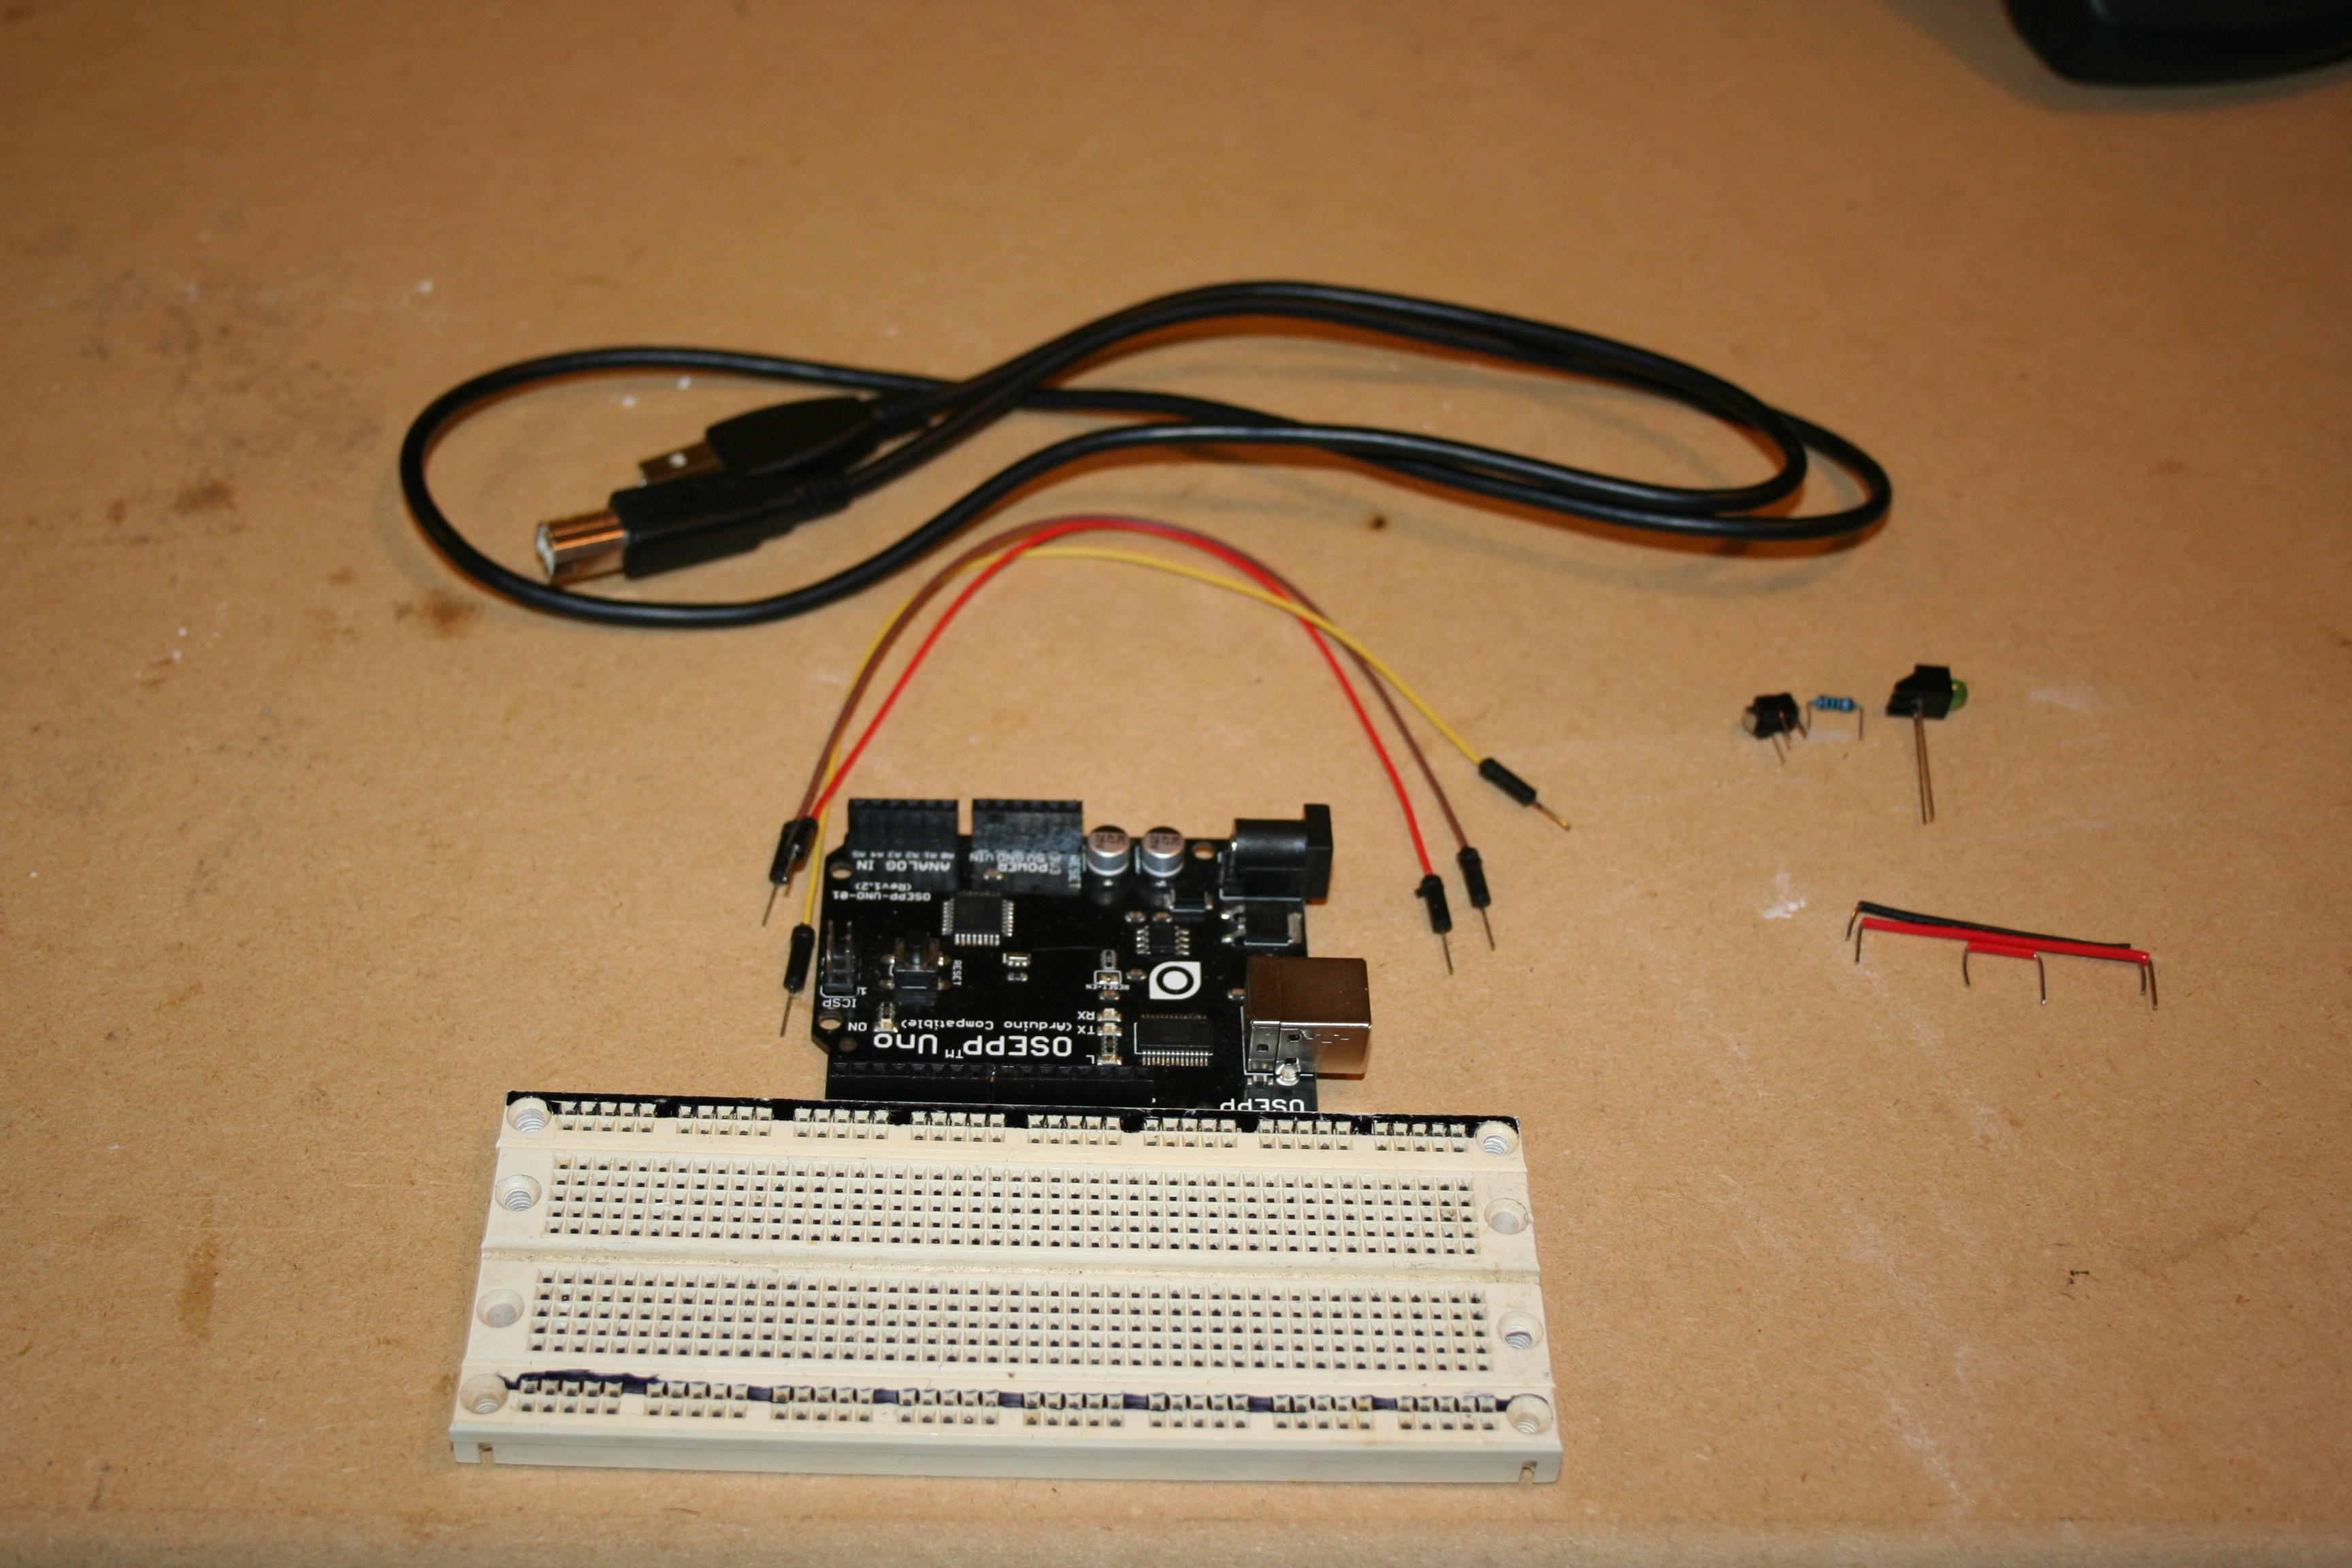
Materials
Making the Circuit
![IMG_1601[1].JPG](/proxy/?url=https://content.instructables.com/F8Q/CWYB/HCV9CAQ5/F8QCWYBHCV9CAQ5.jpg&filename=IMG_1601[1].JPG)
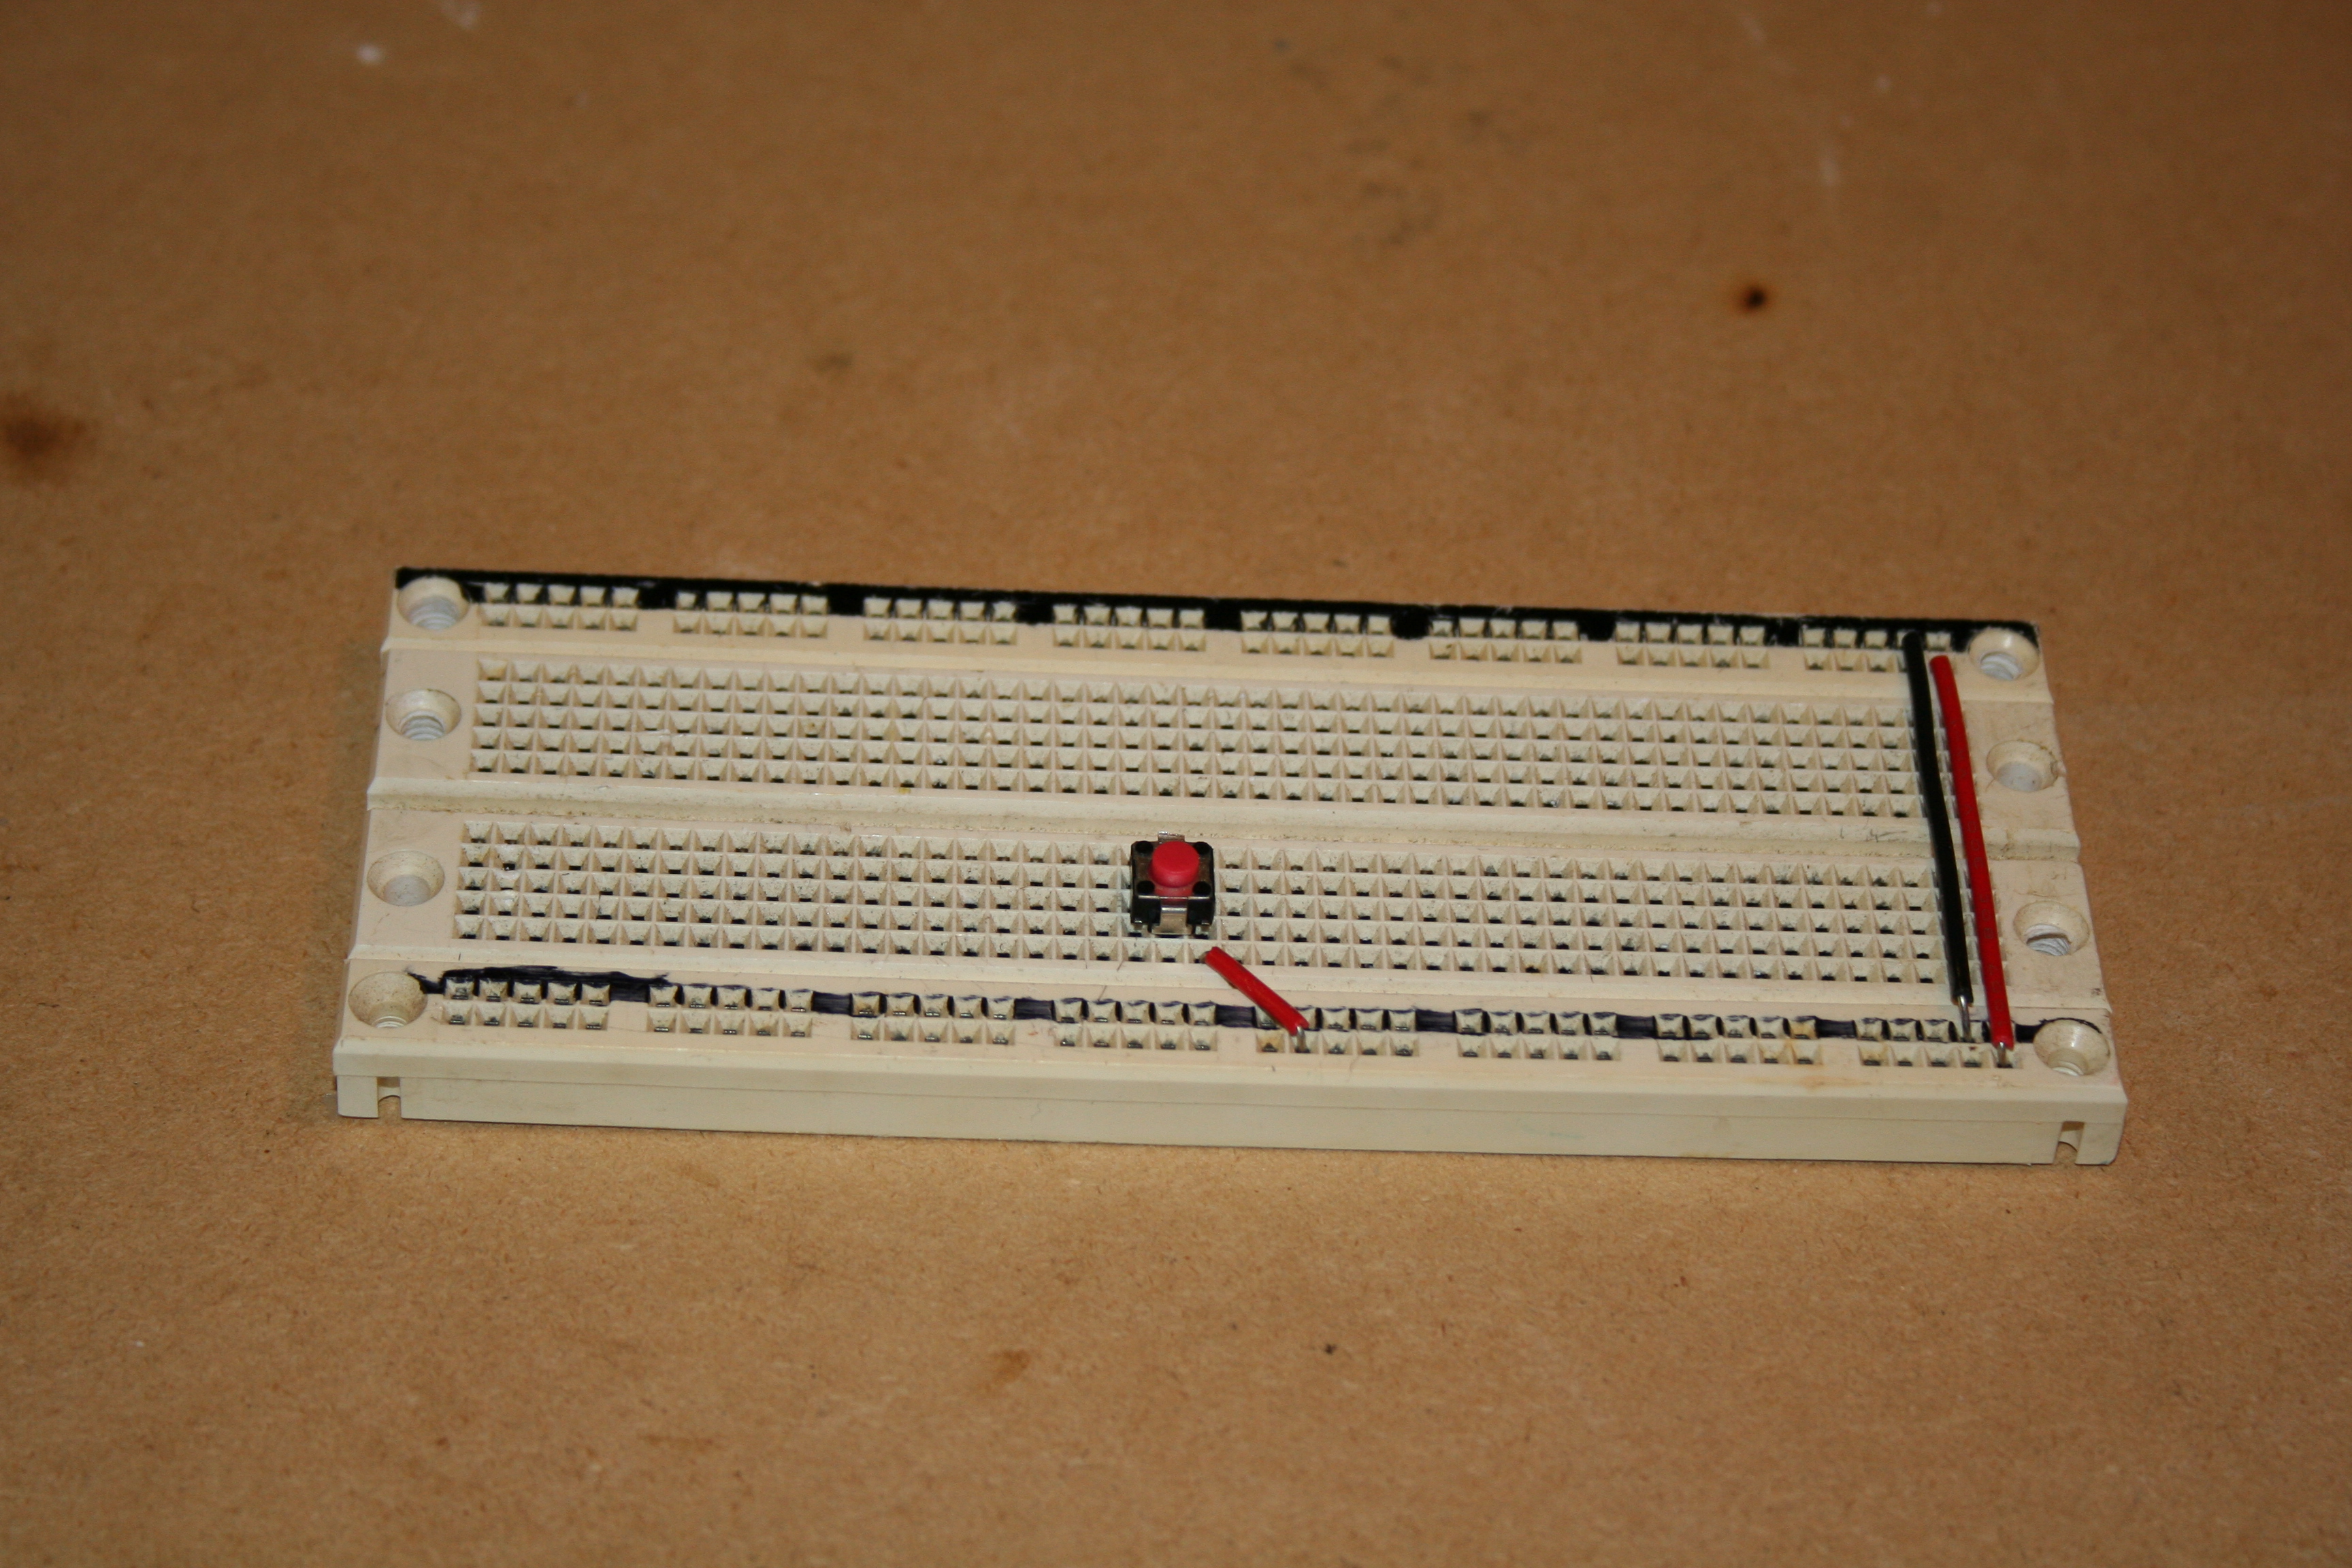
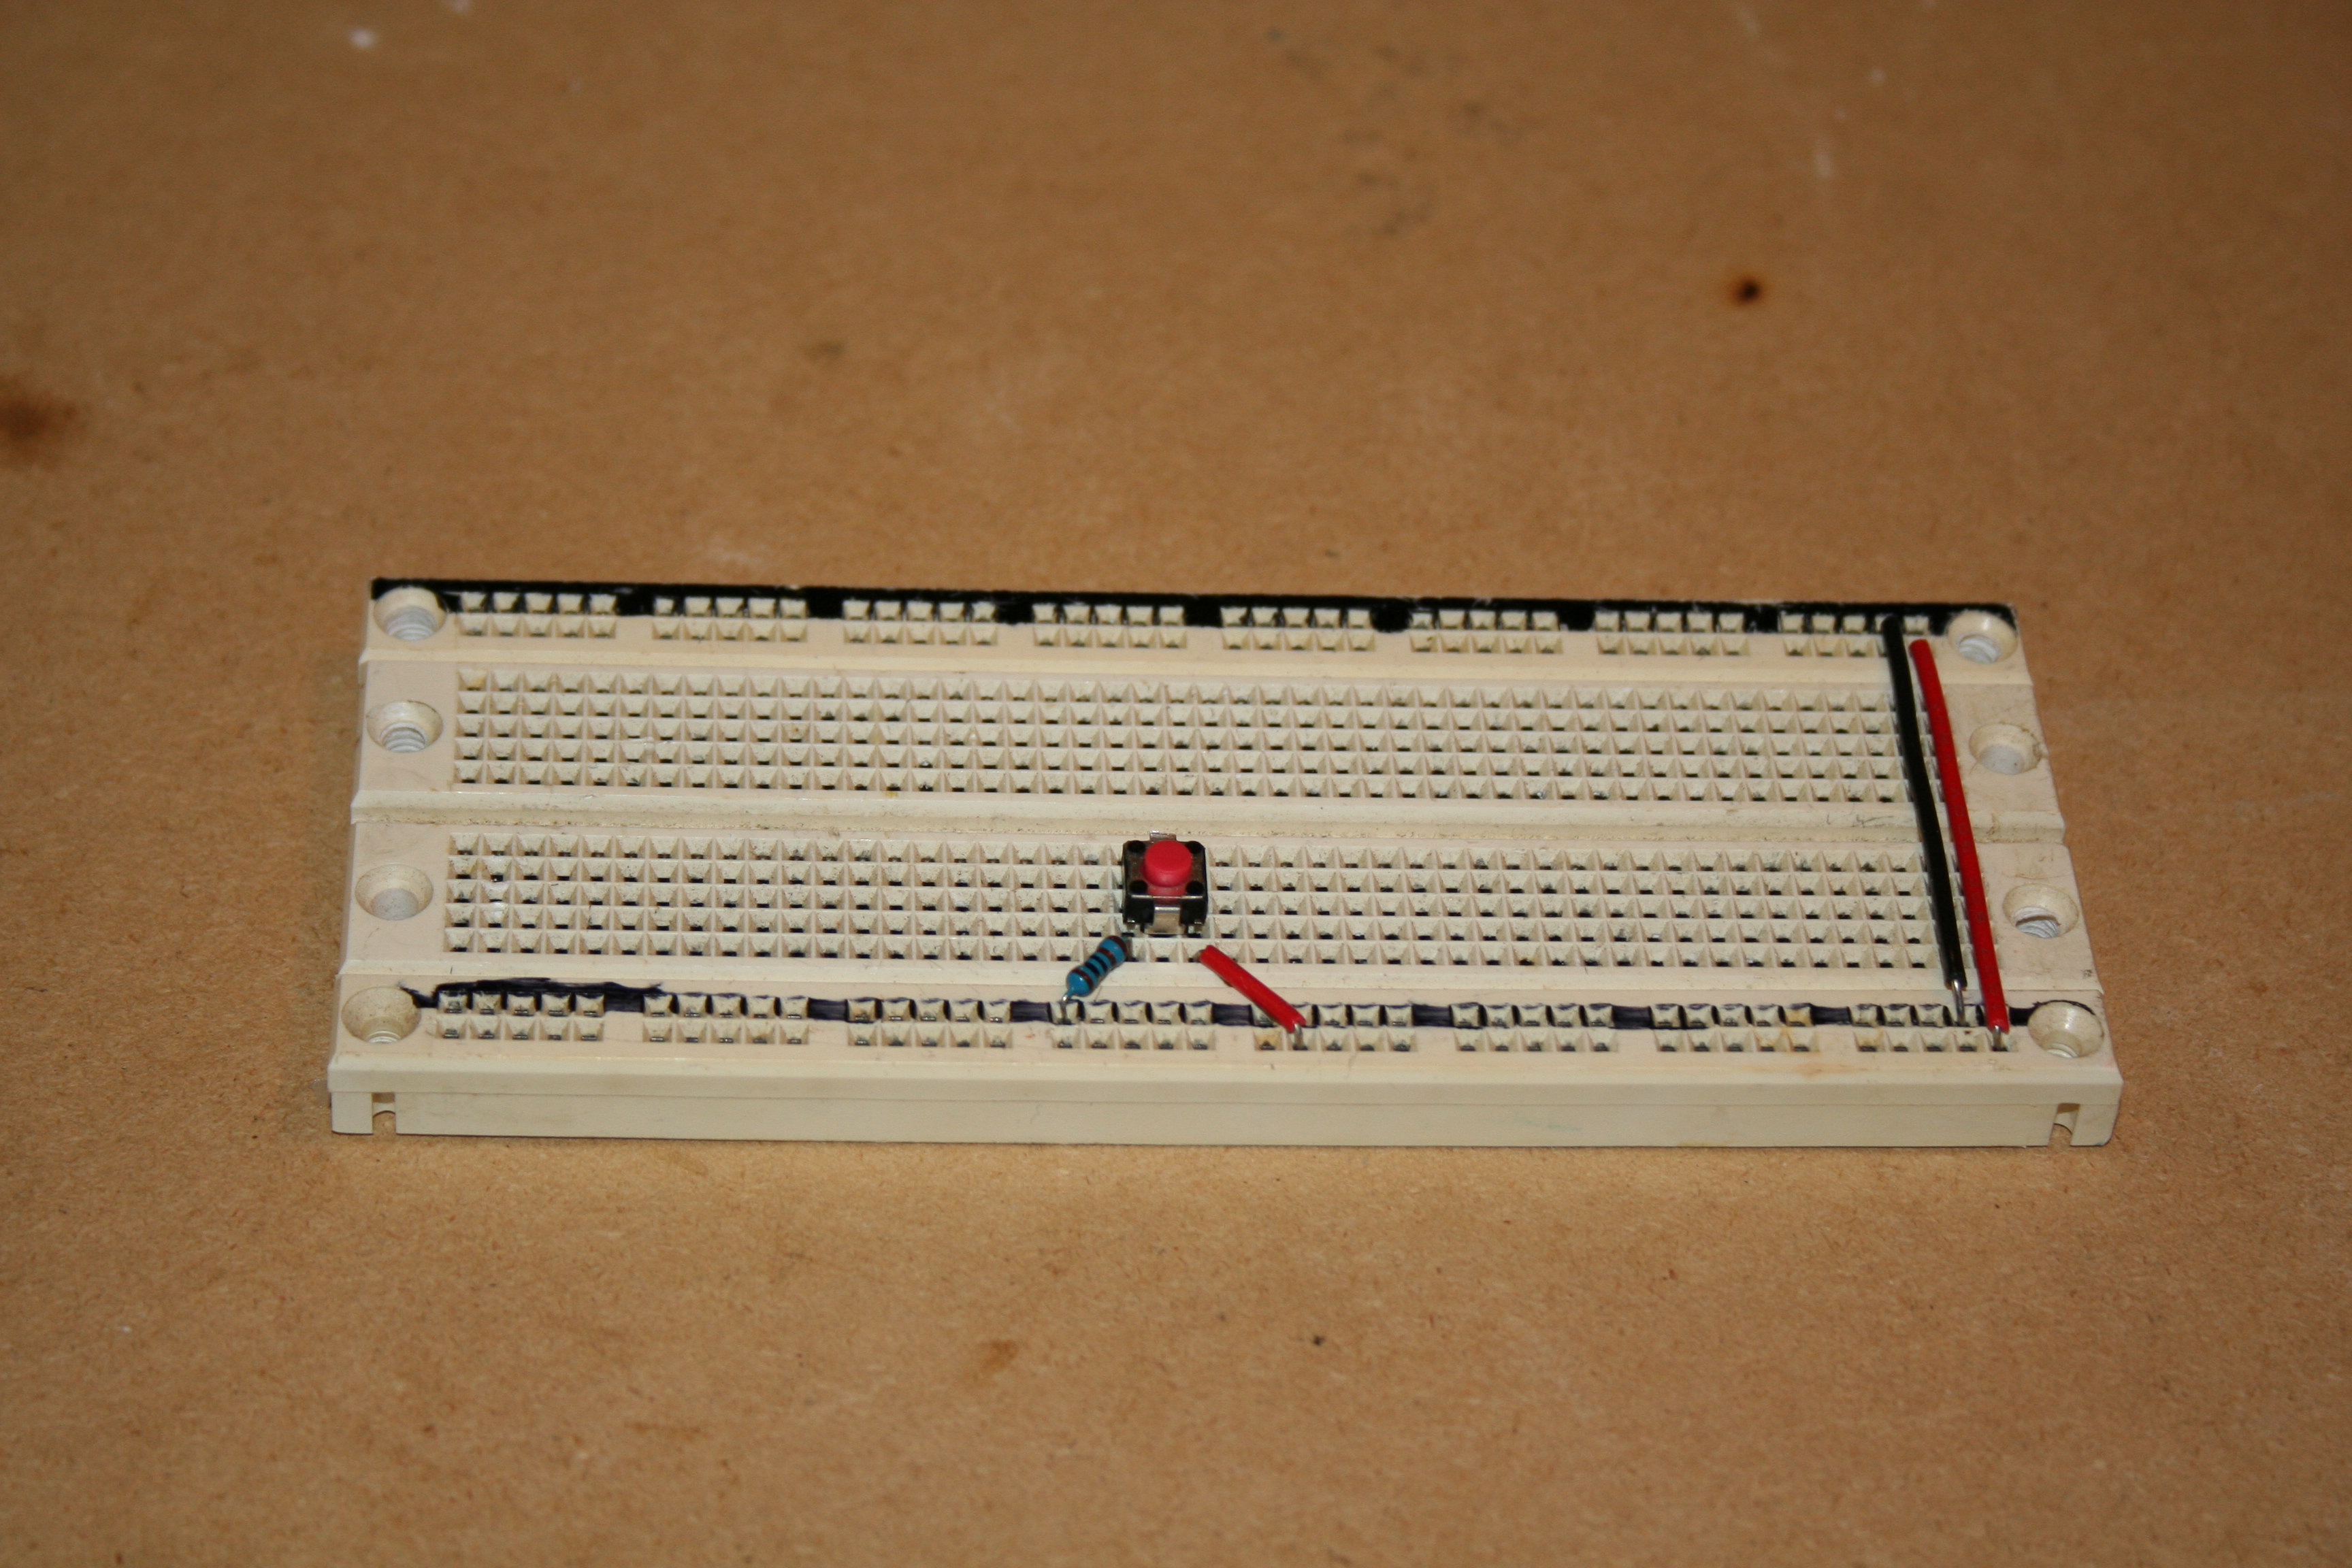
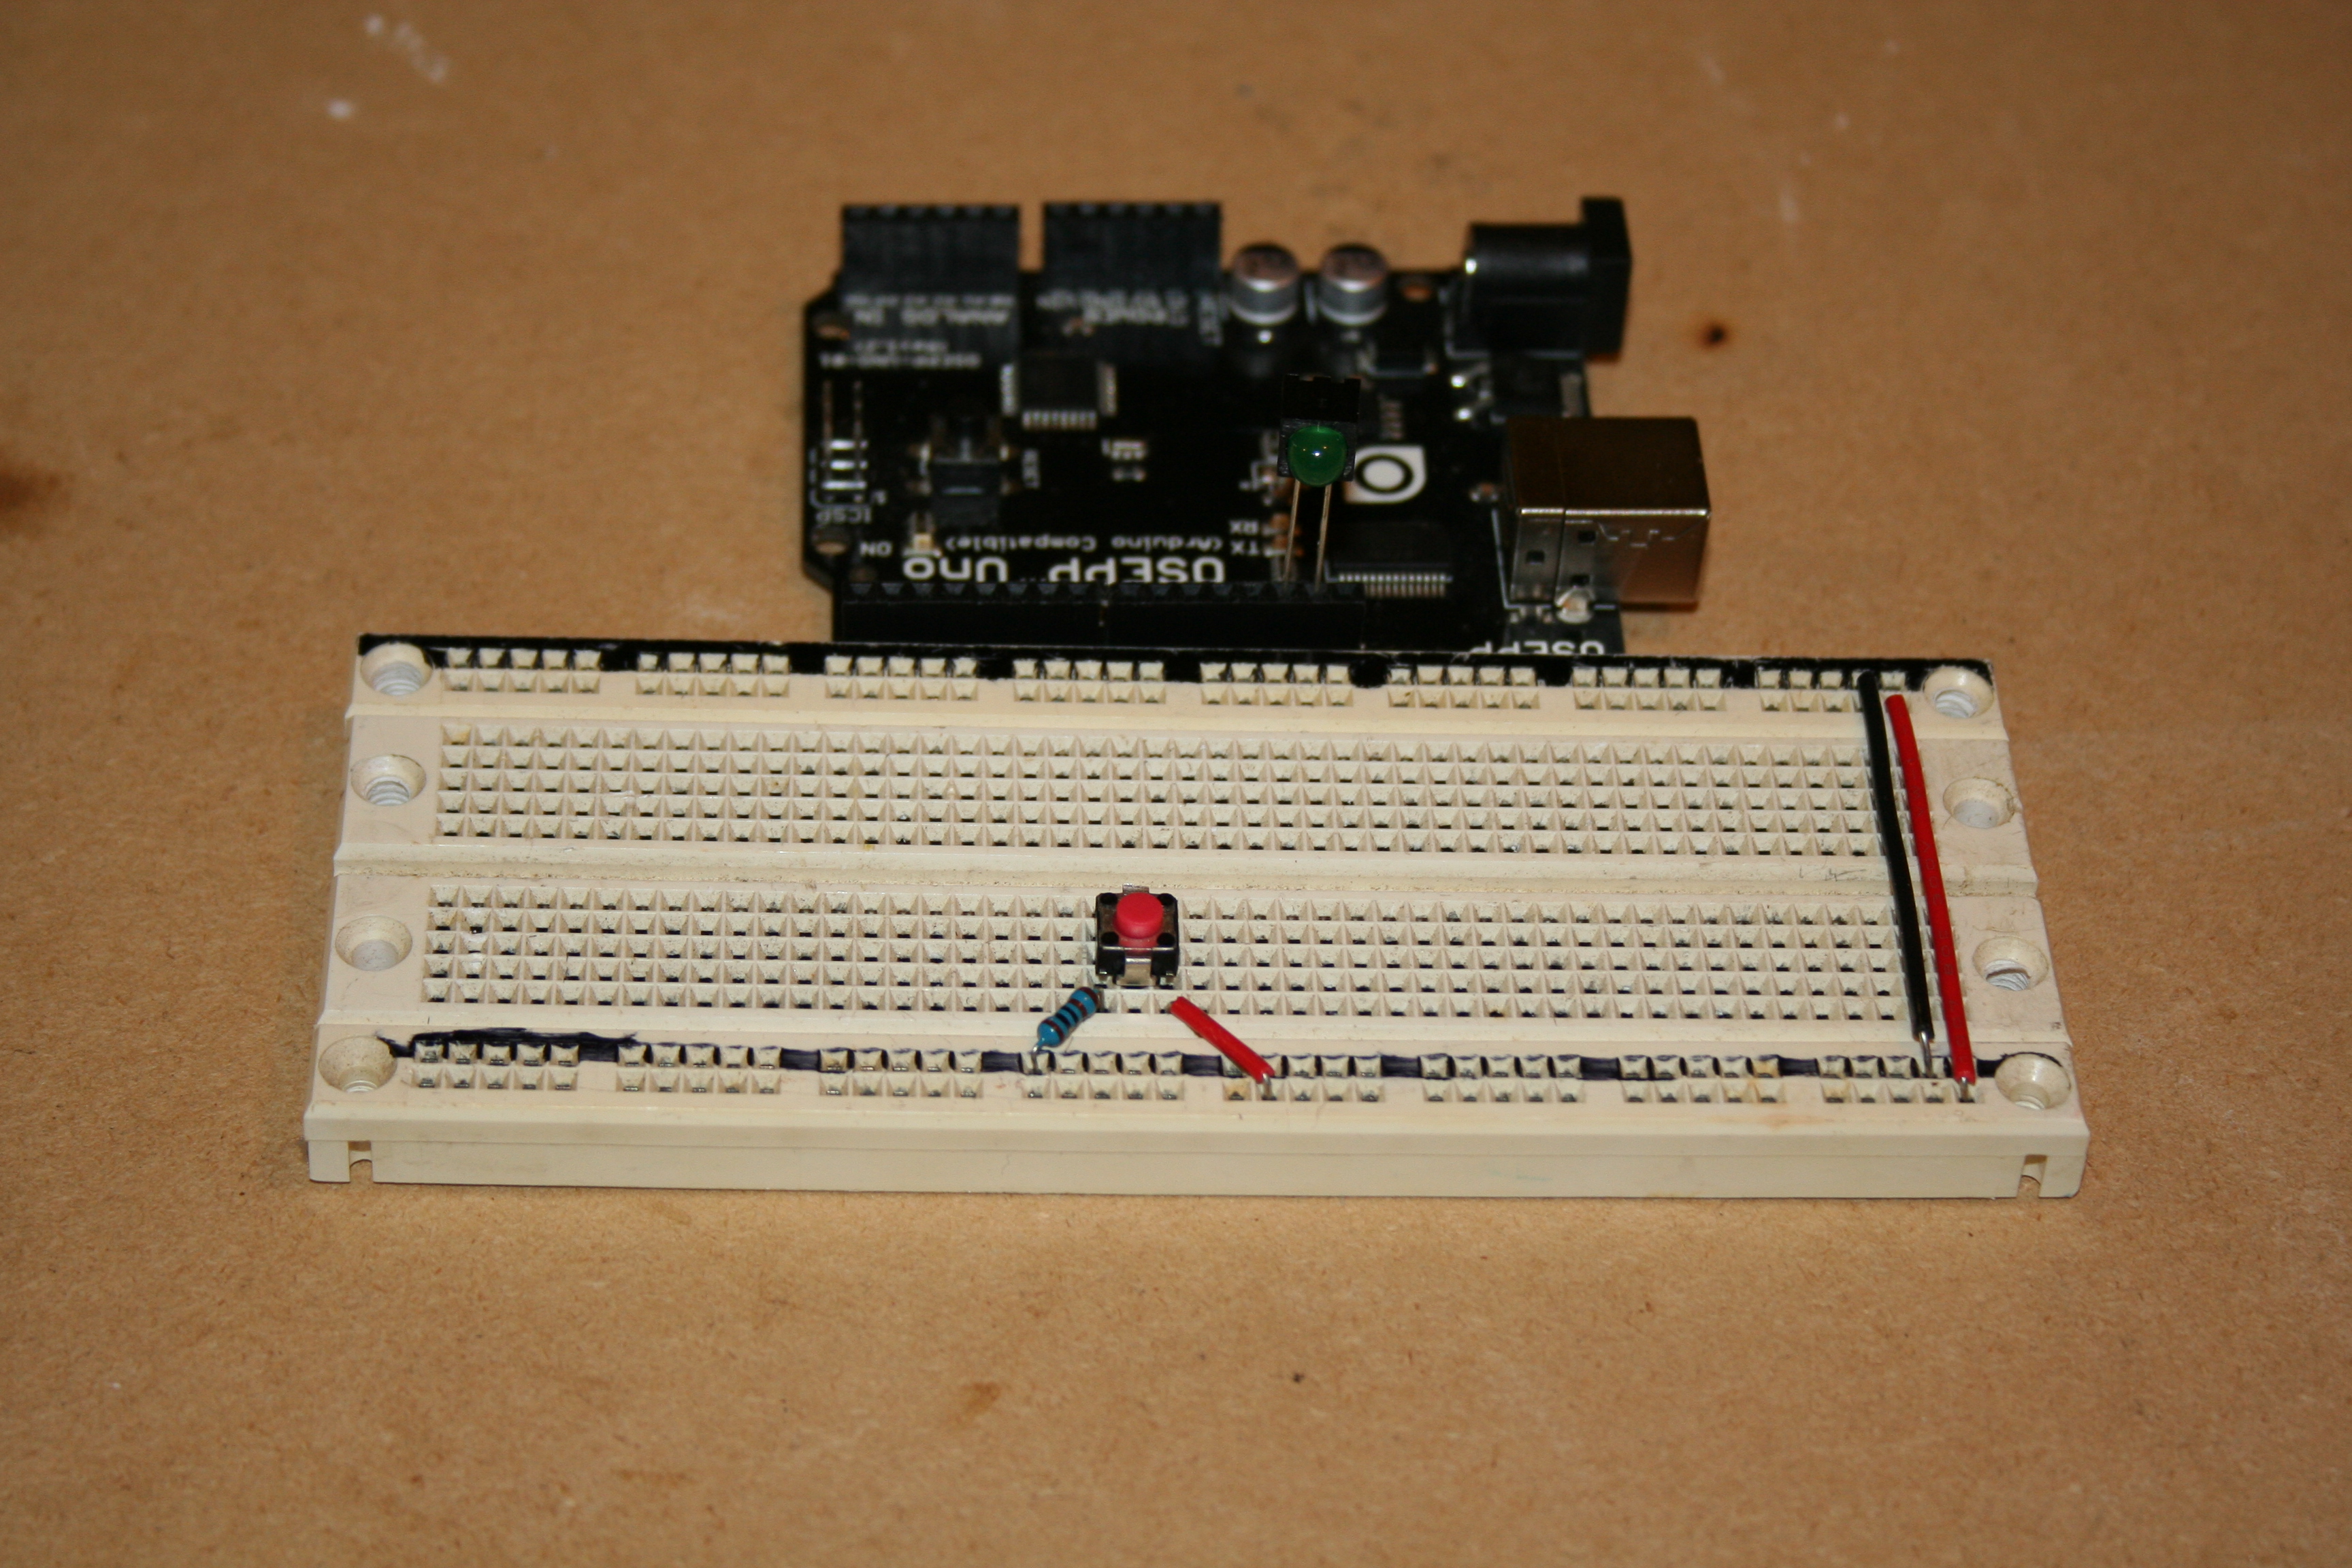
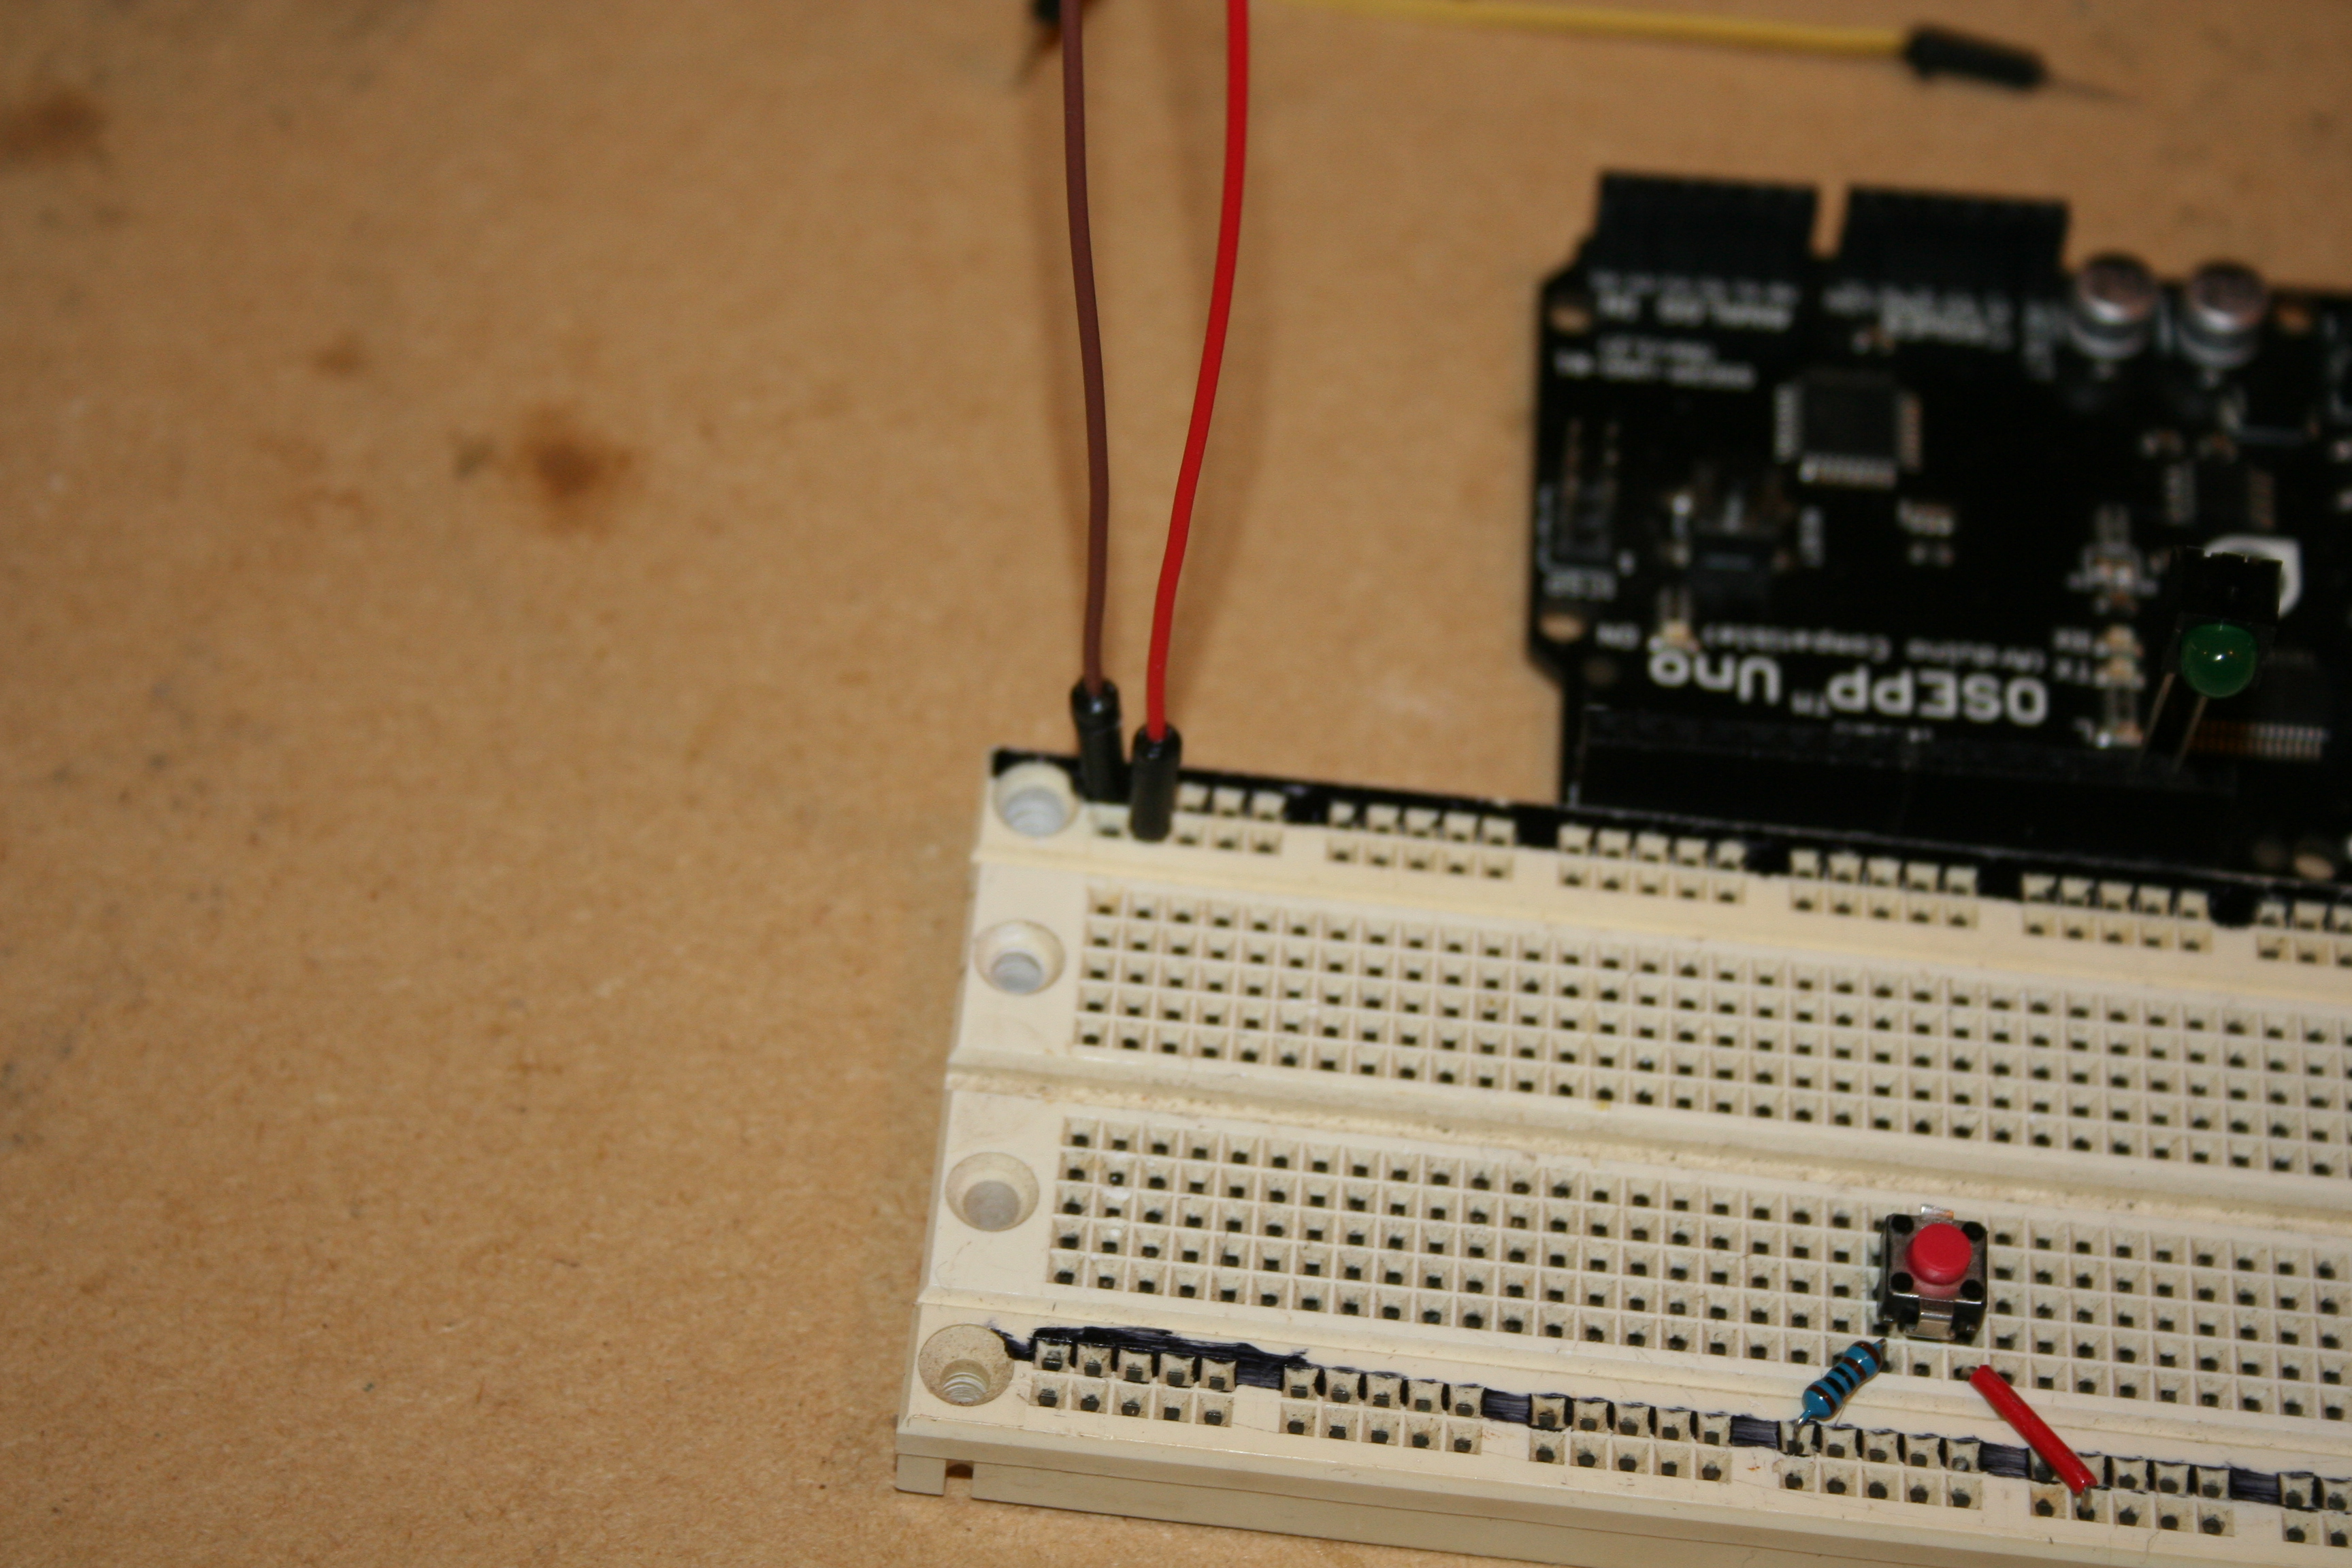
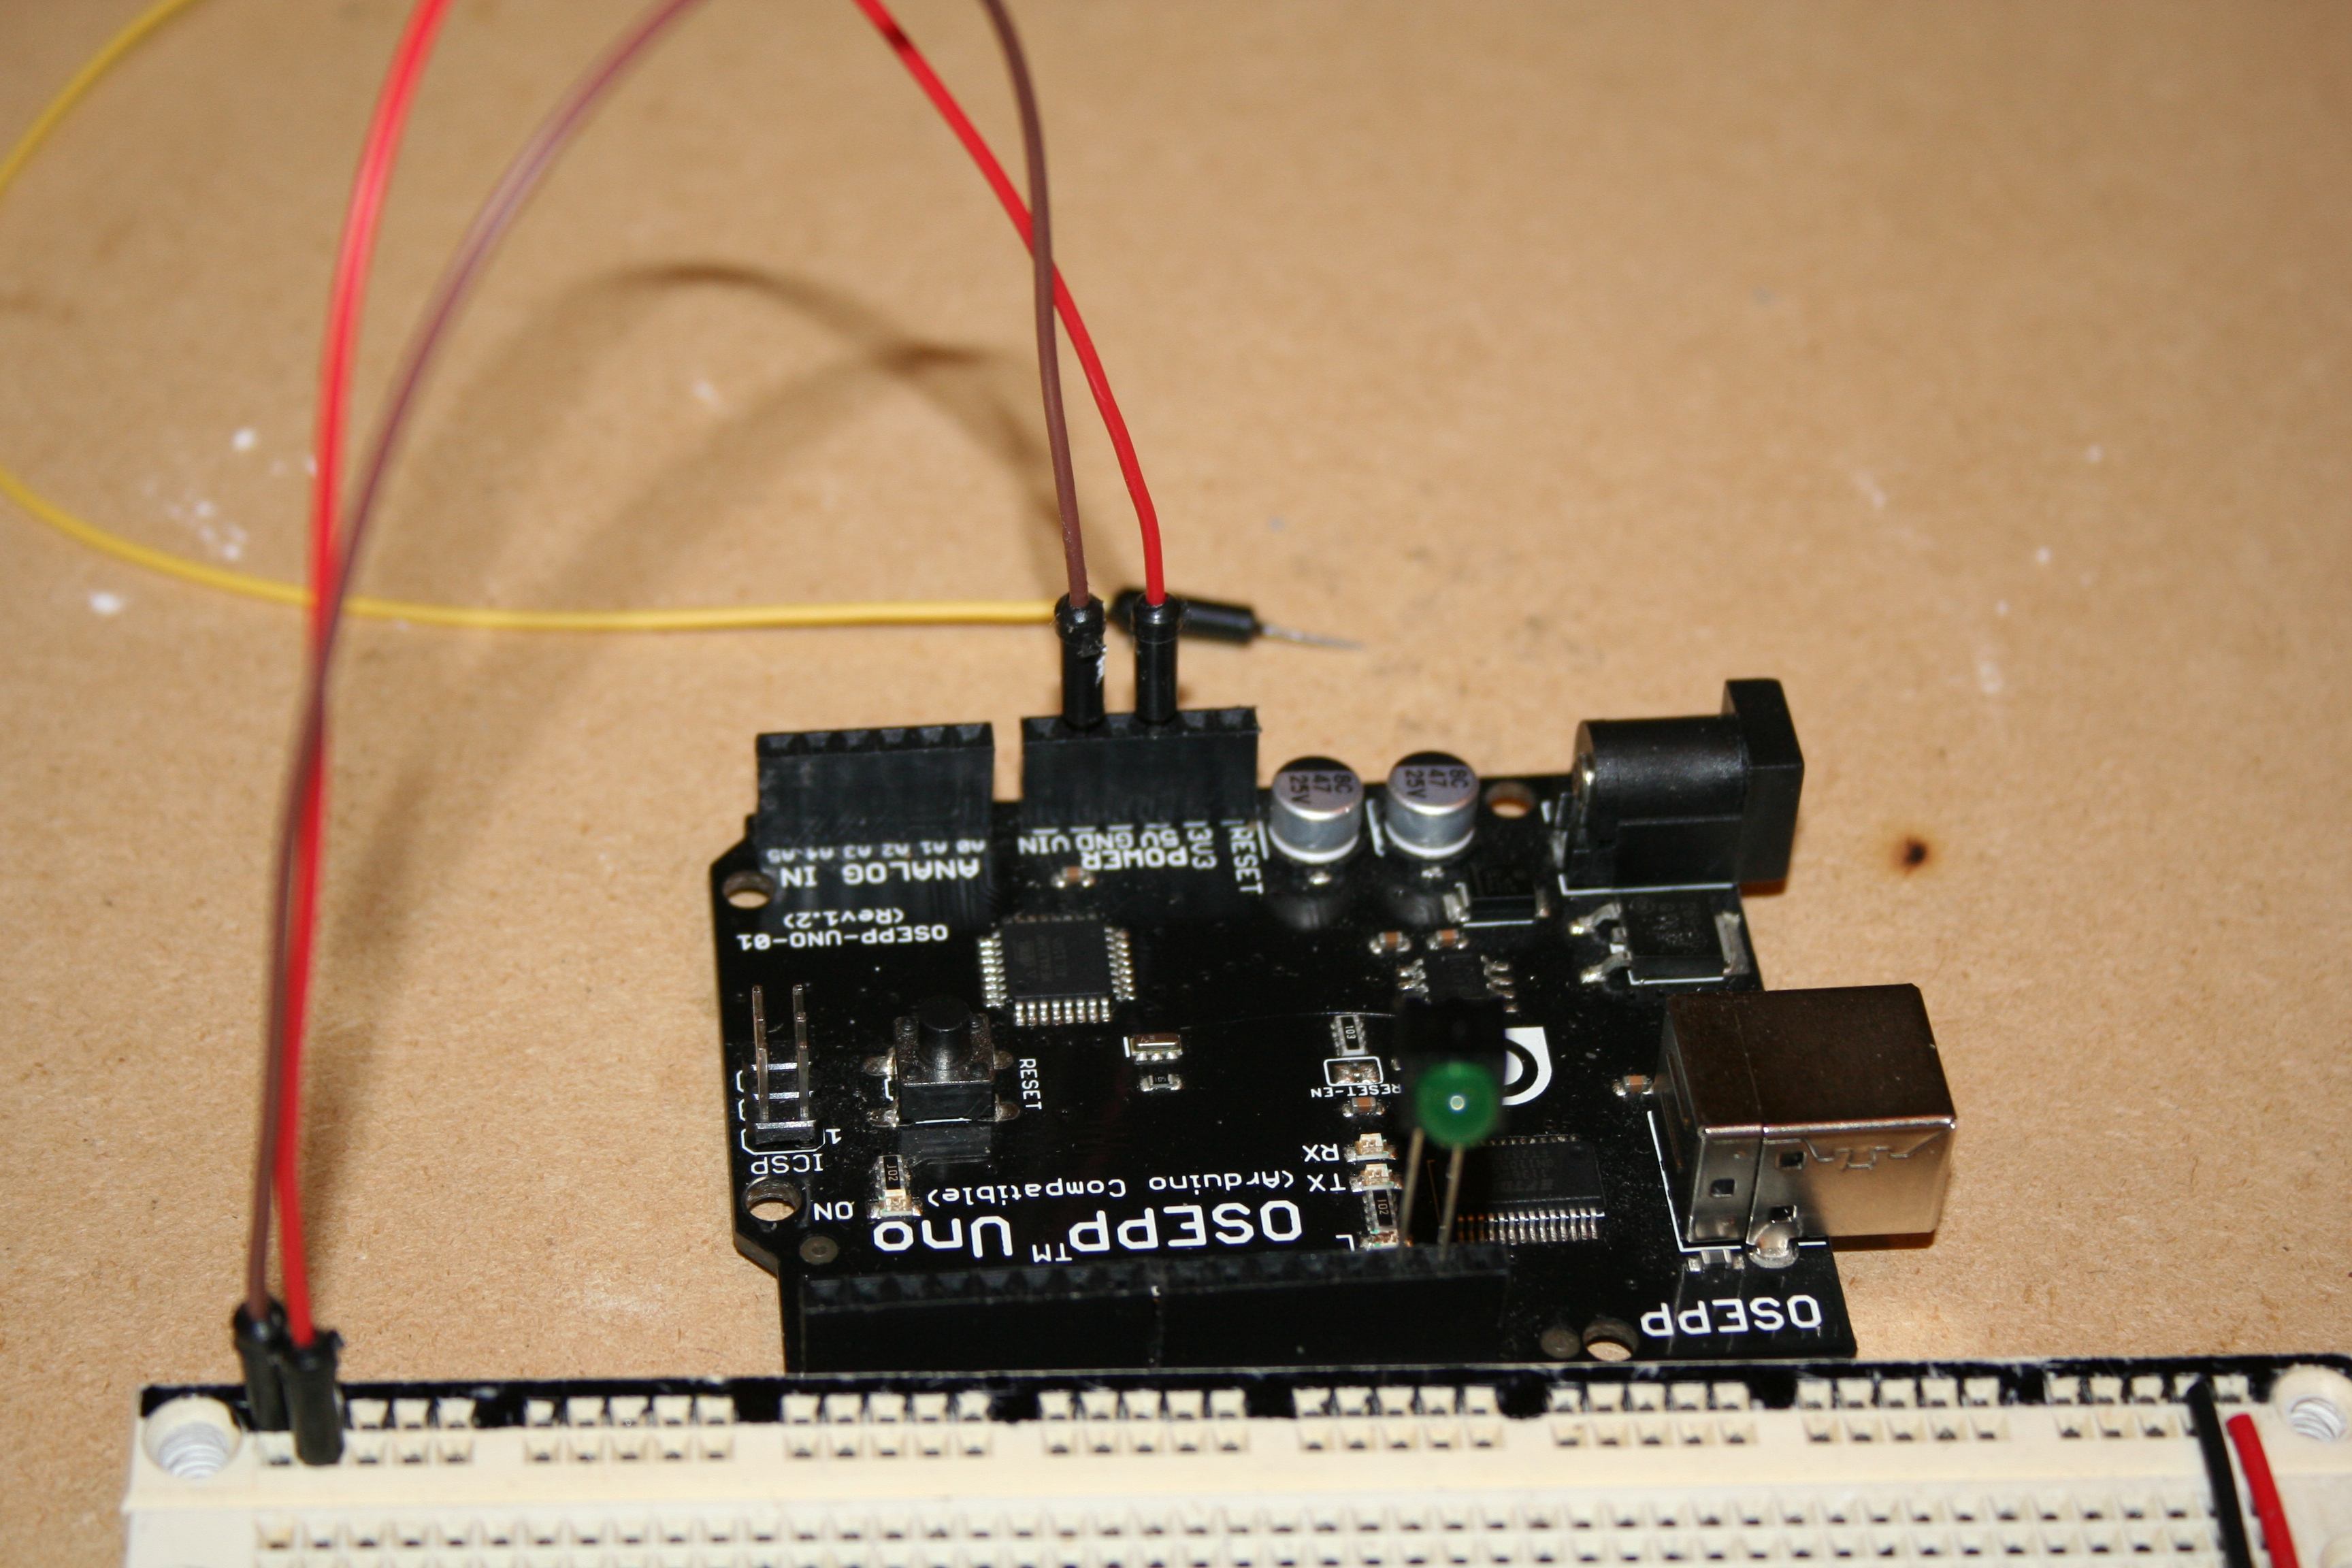
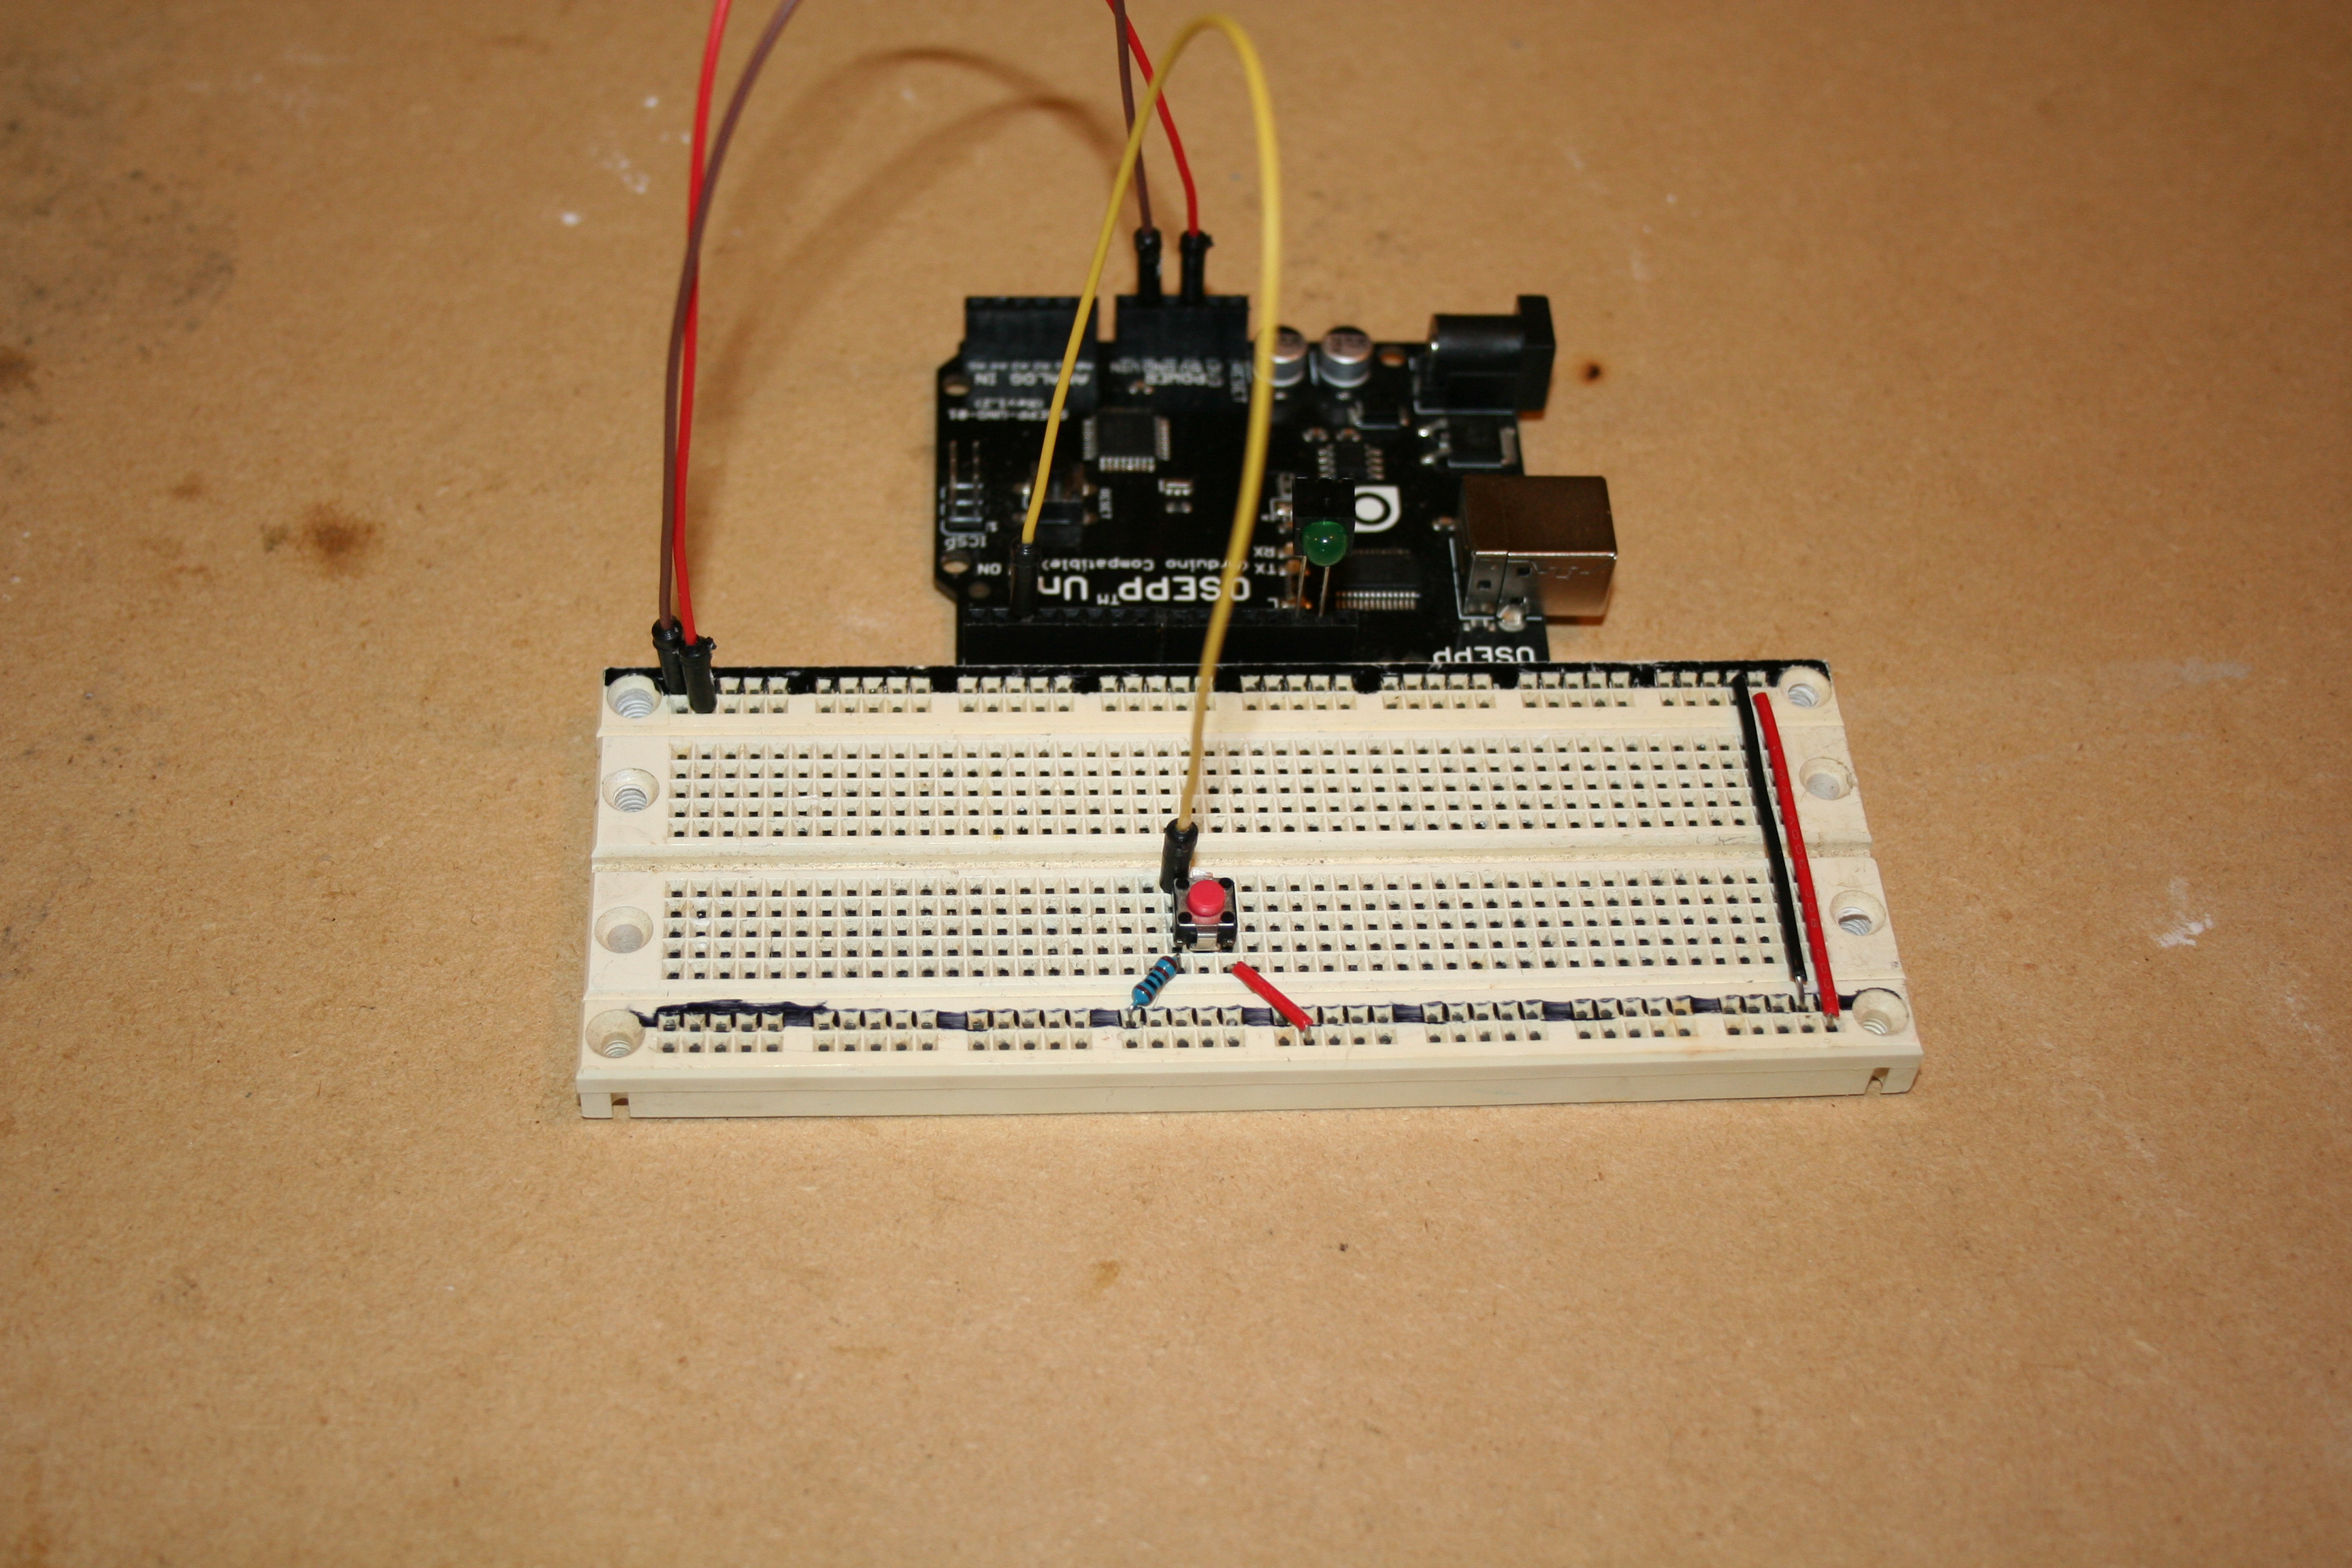
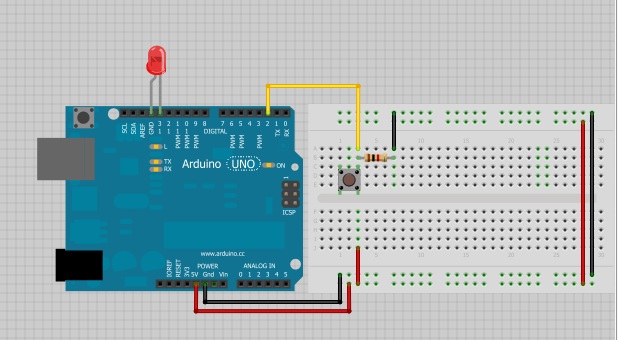
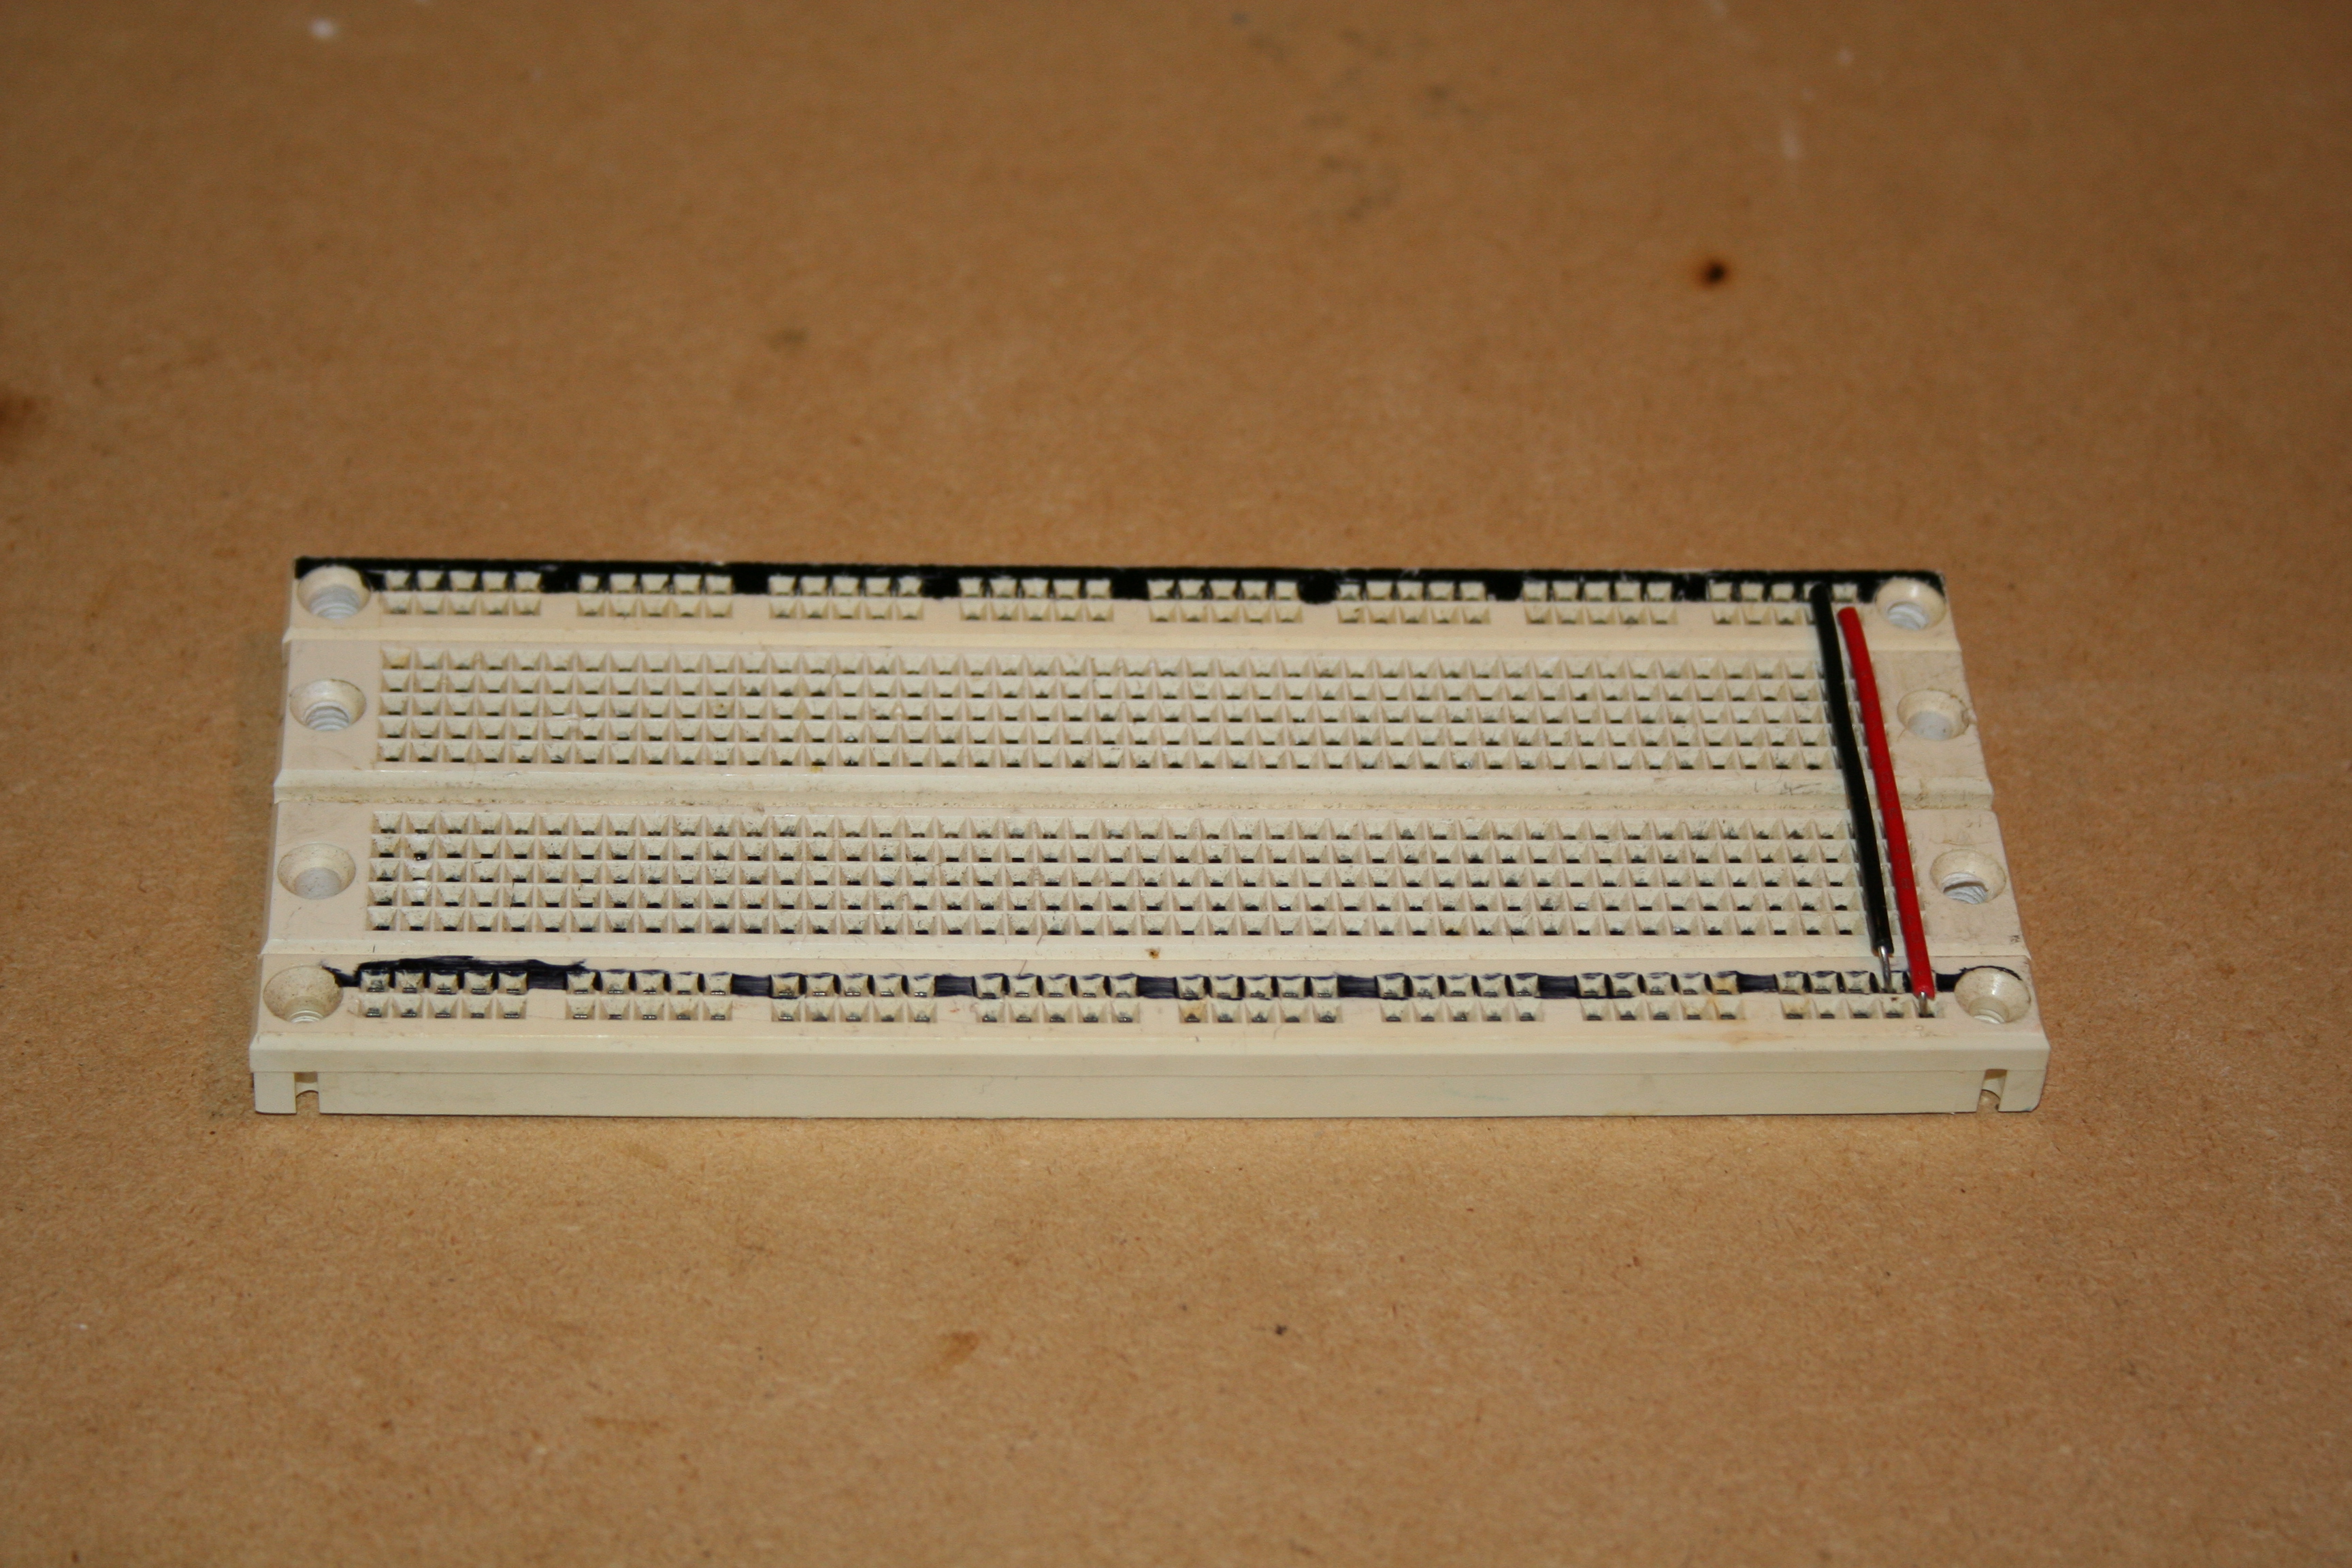
Start by connecting one leg of the button to the positive rail on the bread board. Next, add the 10K resistor between the other leg and ground. Then, add a led between pin 13 on the arduino and ground. After that, connect the negative rail on the bread board to the ground on the arduino and the positive rail to 5V. Finally, connect the leg of the push button with the 10K resistor to pin two on the arduino.
Upload the Sketch
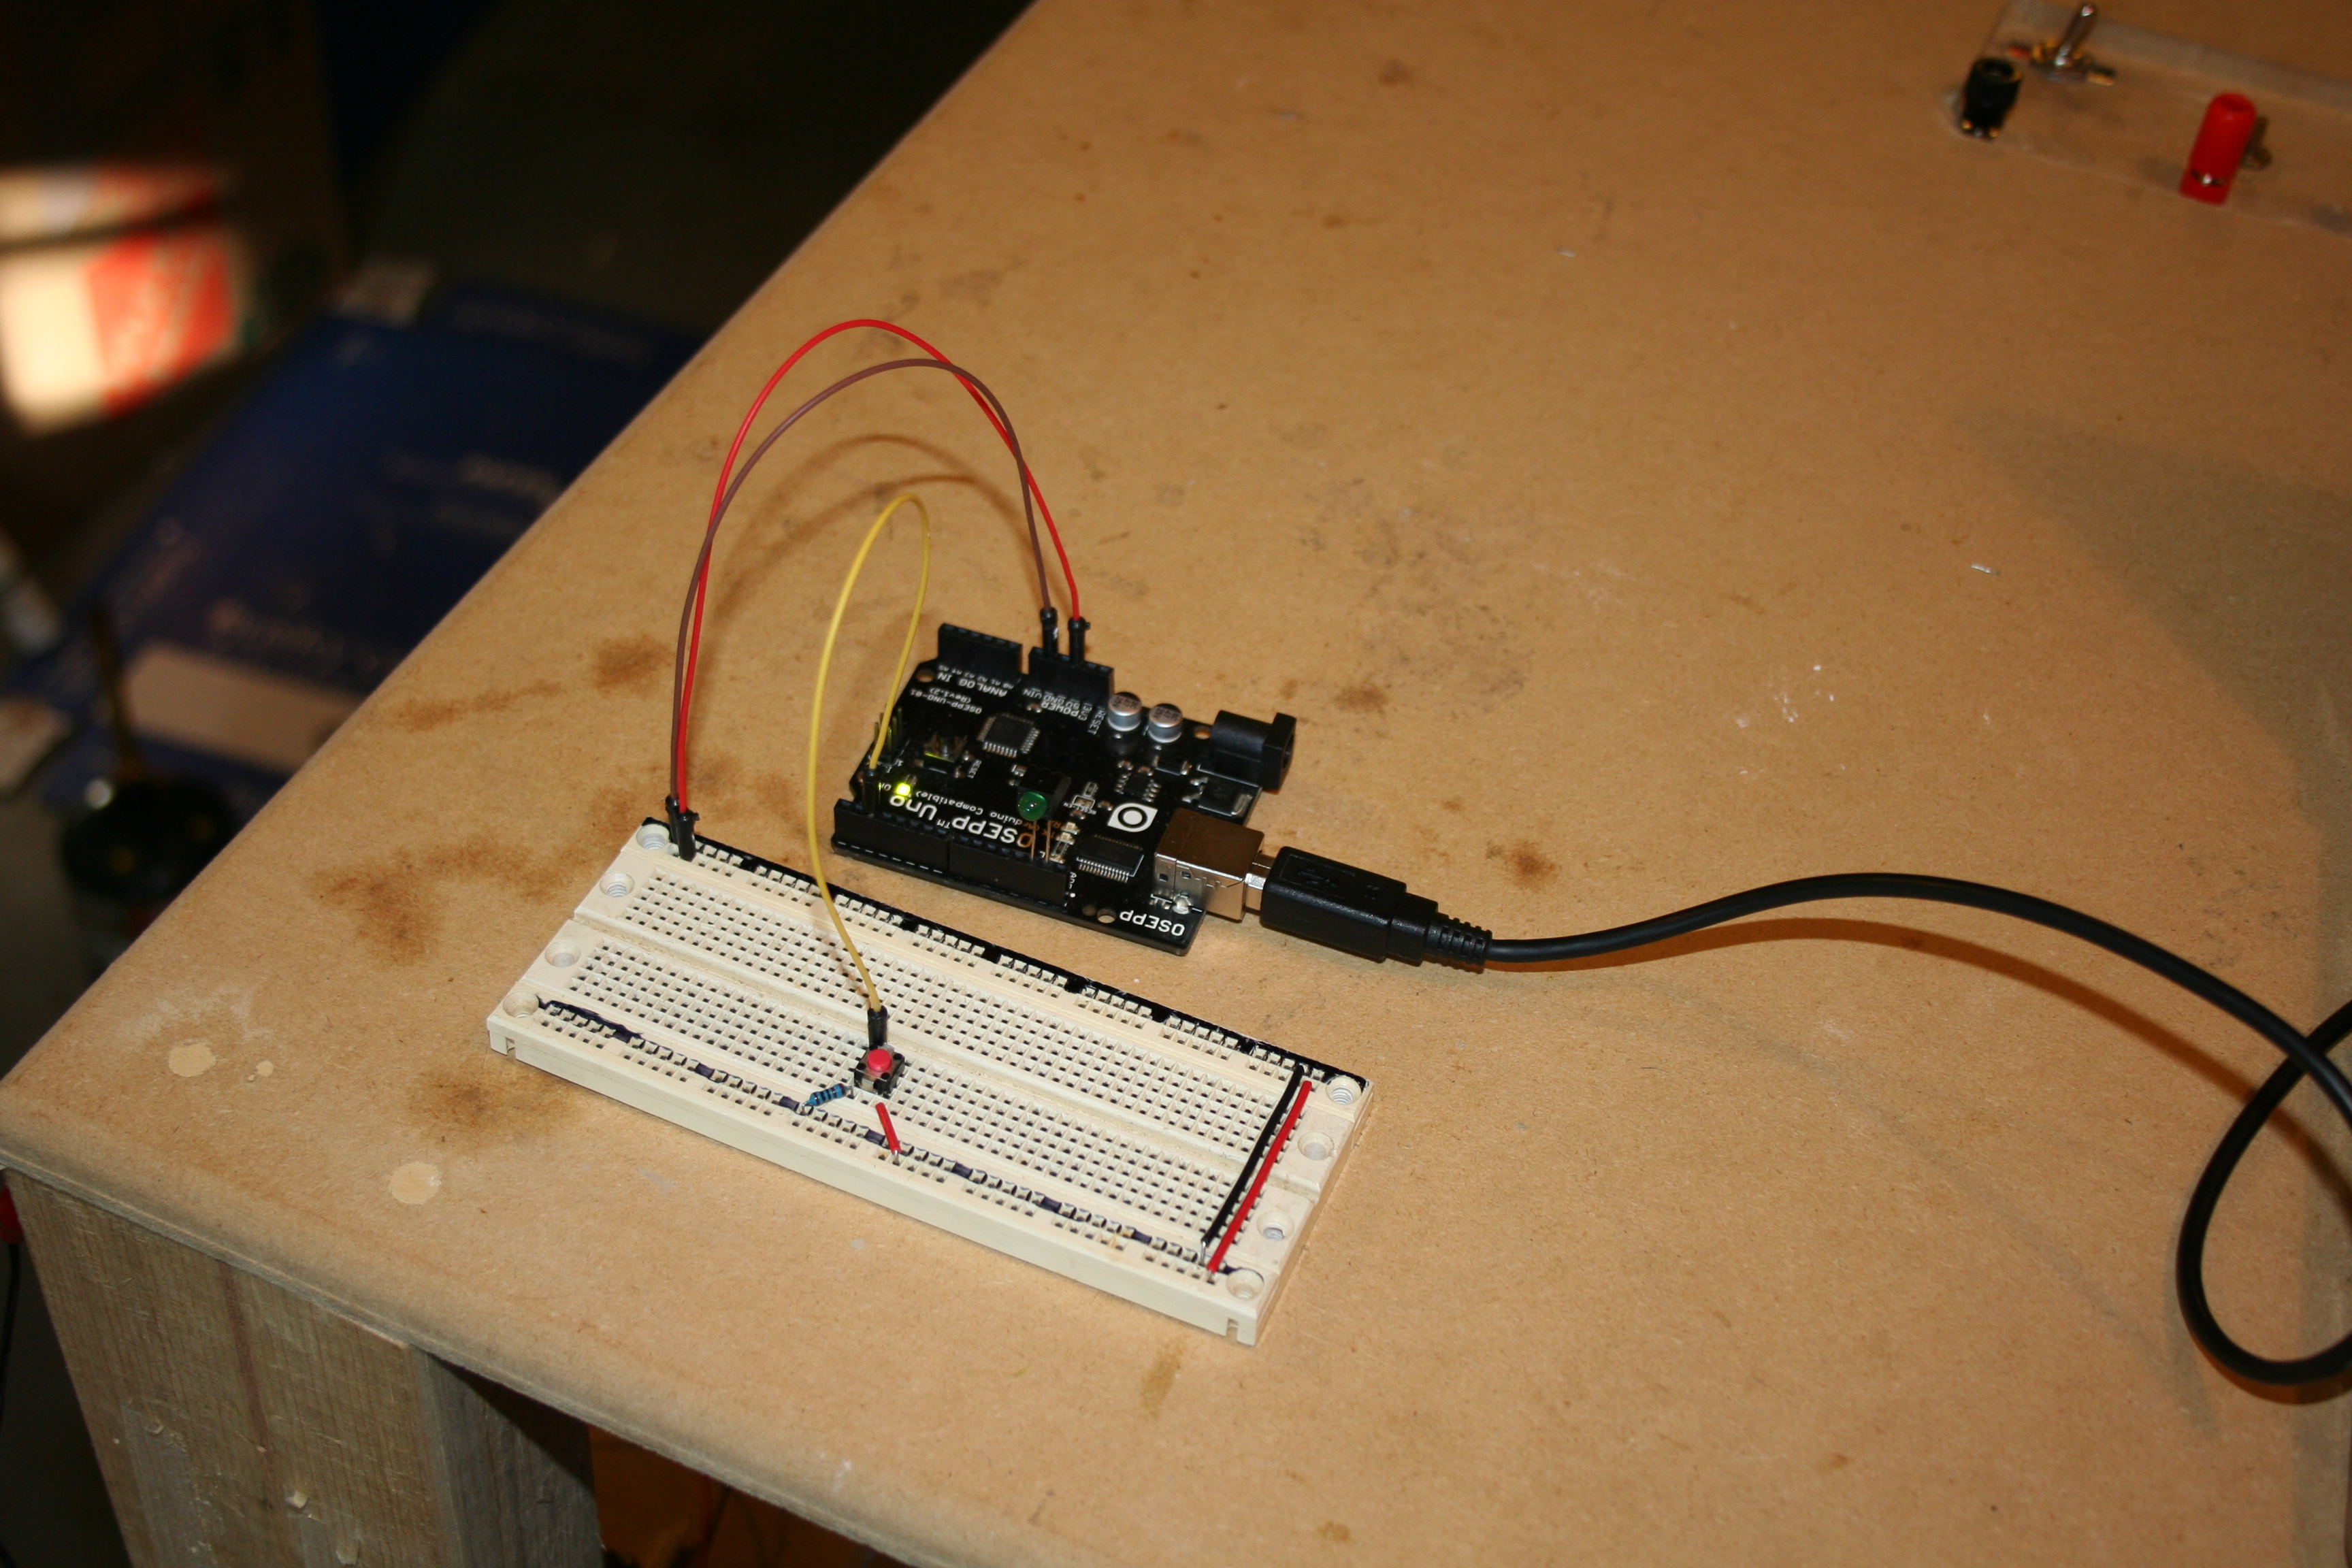
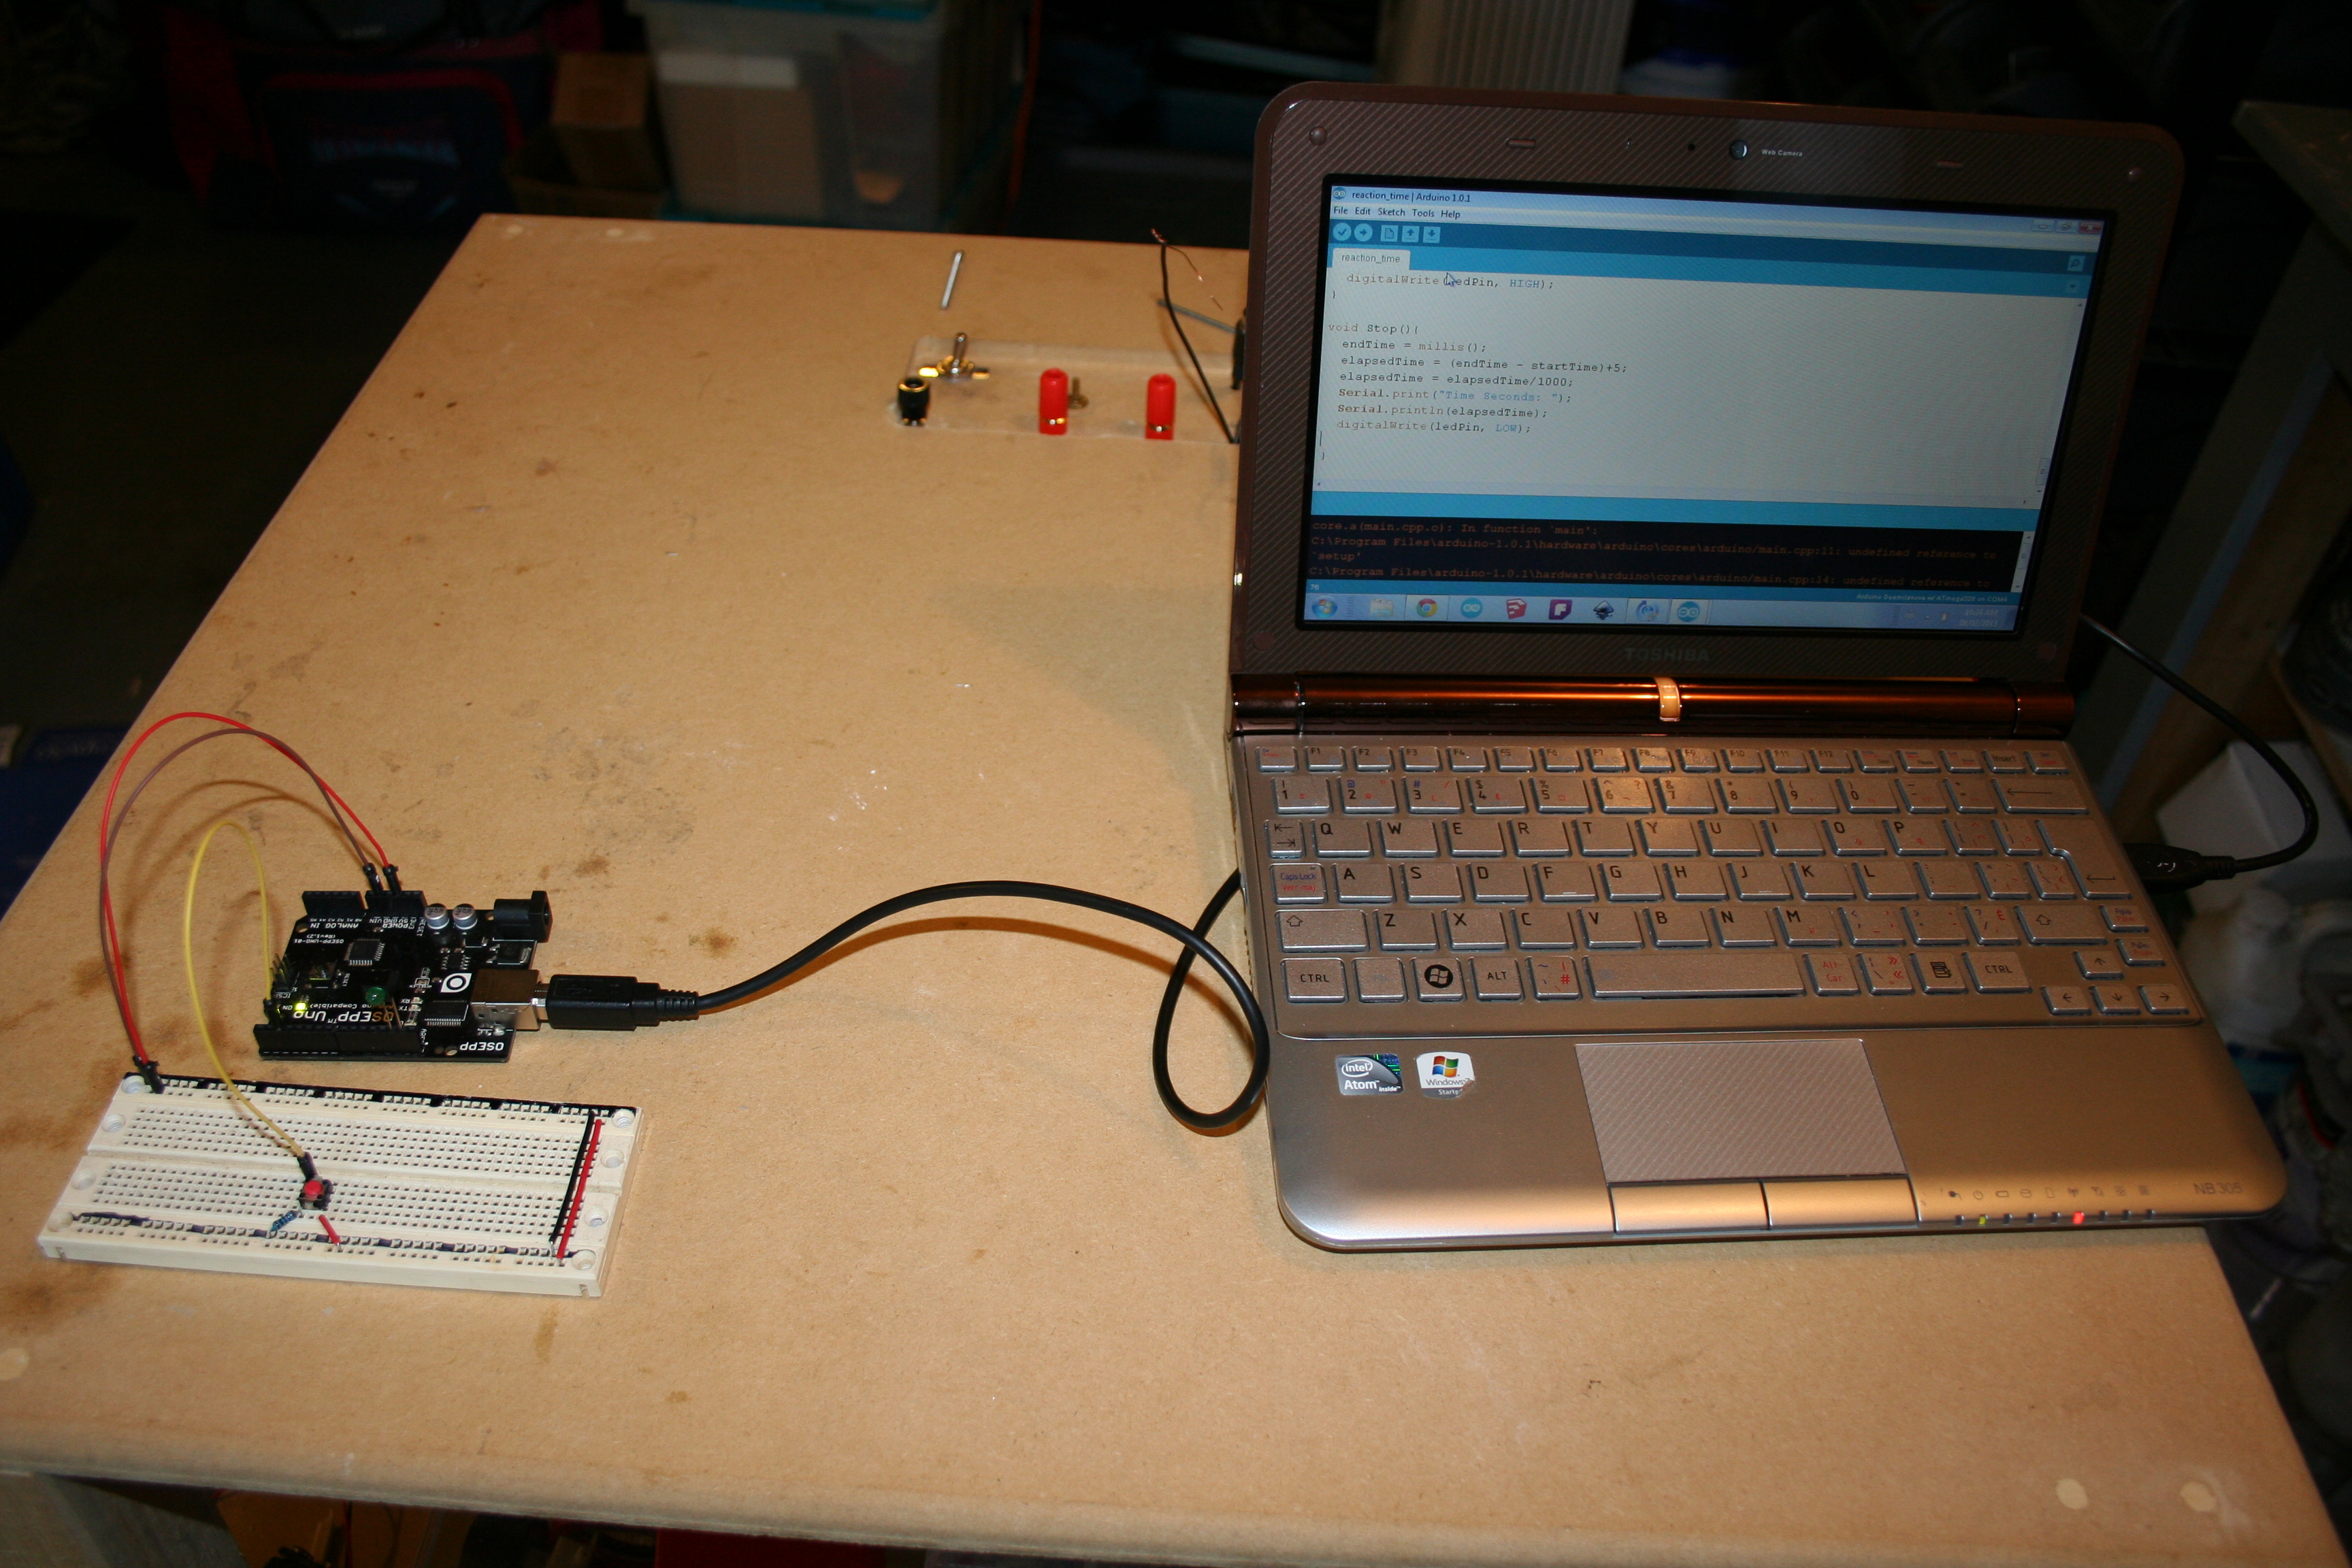
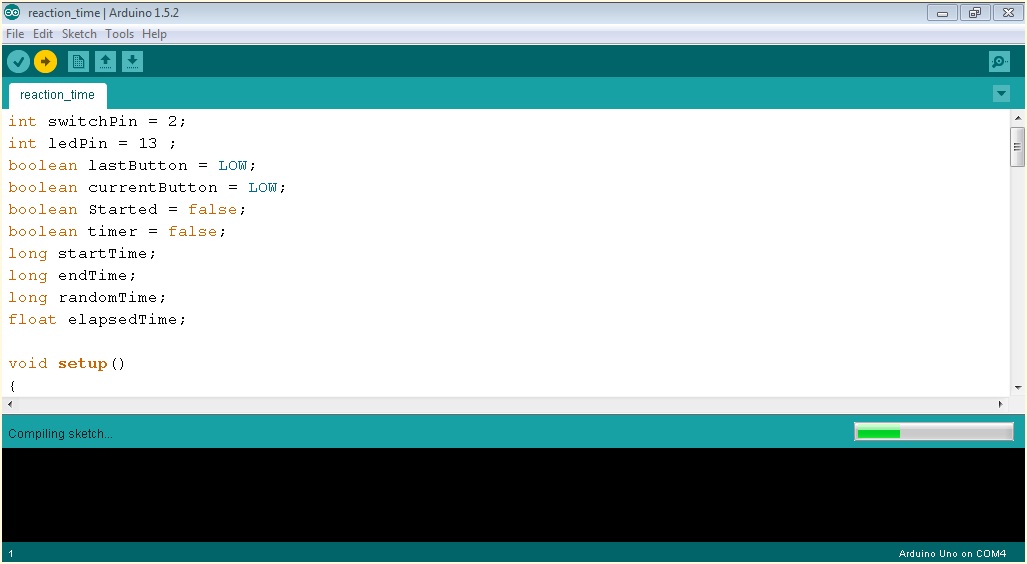
Copy and paste the sketch into arduino IDE and upload to the arduino.
int switchPin = 2;
int ledPin = 13 ;
boolean lastButton = LOW;
boolean currentButton = LOW;
boolean Started = false;
boolean timer = false;
long startTime;
long endTime;
long randomTime;
float elapsedTime;
void setup()
{
pinMode(switchPin, INPUT);
pinMode(ledPin, OUTPUT);
Serial.begin(9600);
}
boolean debounce(boolean last)
{
boolean current = digitalRead(switchPin);
if(last != current)
{
delay(5);
current = digitalRead(switchPin);
}
return current;
}
void loop()
{
currentButton = debounce(lastButton);
if(lastButton == LOW && currentButton == HIGH)
{
Started = !Started;
lastButton = HIGH;
}
lastButton = currentButton;
if(Started == true && timer == false)
{
Random();
timer = true;
}
if(Started == false && timer == true)
{
Stop();
timer = false;
}
}
void Random()
{
randomTime = random(4,10);
randomTime = randomTime*1000;
digitalWrite(ledPin, HIGH);
delay(100);
digitalWrite(ledPin, LOW);
delay(randomTime);
Start();
}
void Start(){
startTime = millis();
digitalWrite(ledPin, HIGH);
}
void Stop(){
endTime = millis();
elapsedTime = (endTime - startTime)+5;
elapsedTime = elapsedTime/1000;
Serial.print("Time Seconds: ");
Serial.println(elapsedTime);
digitalWrite(ledPin, LOW);
}
Test
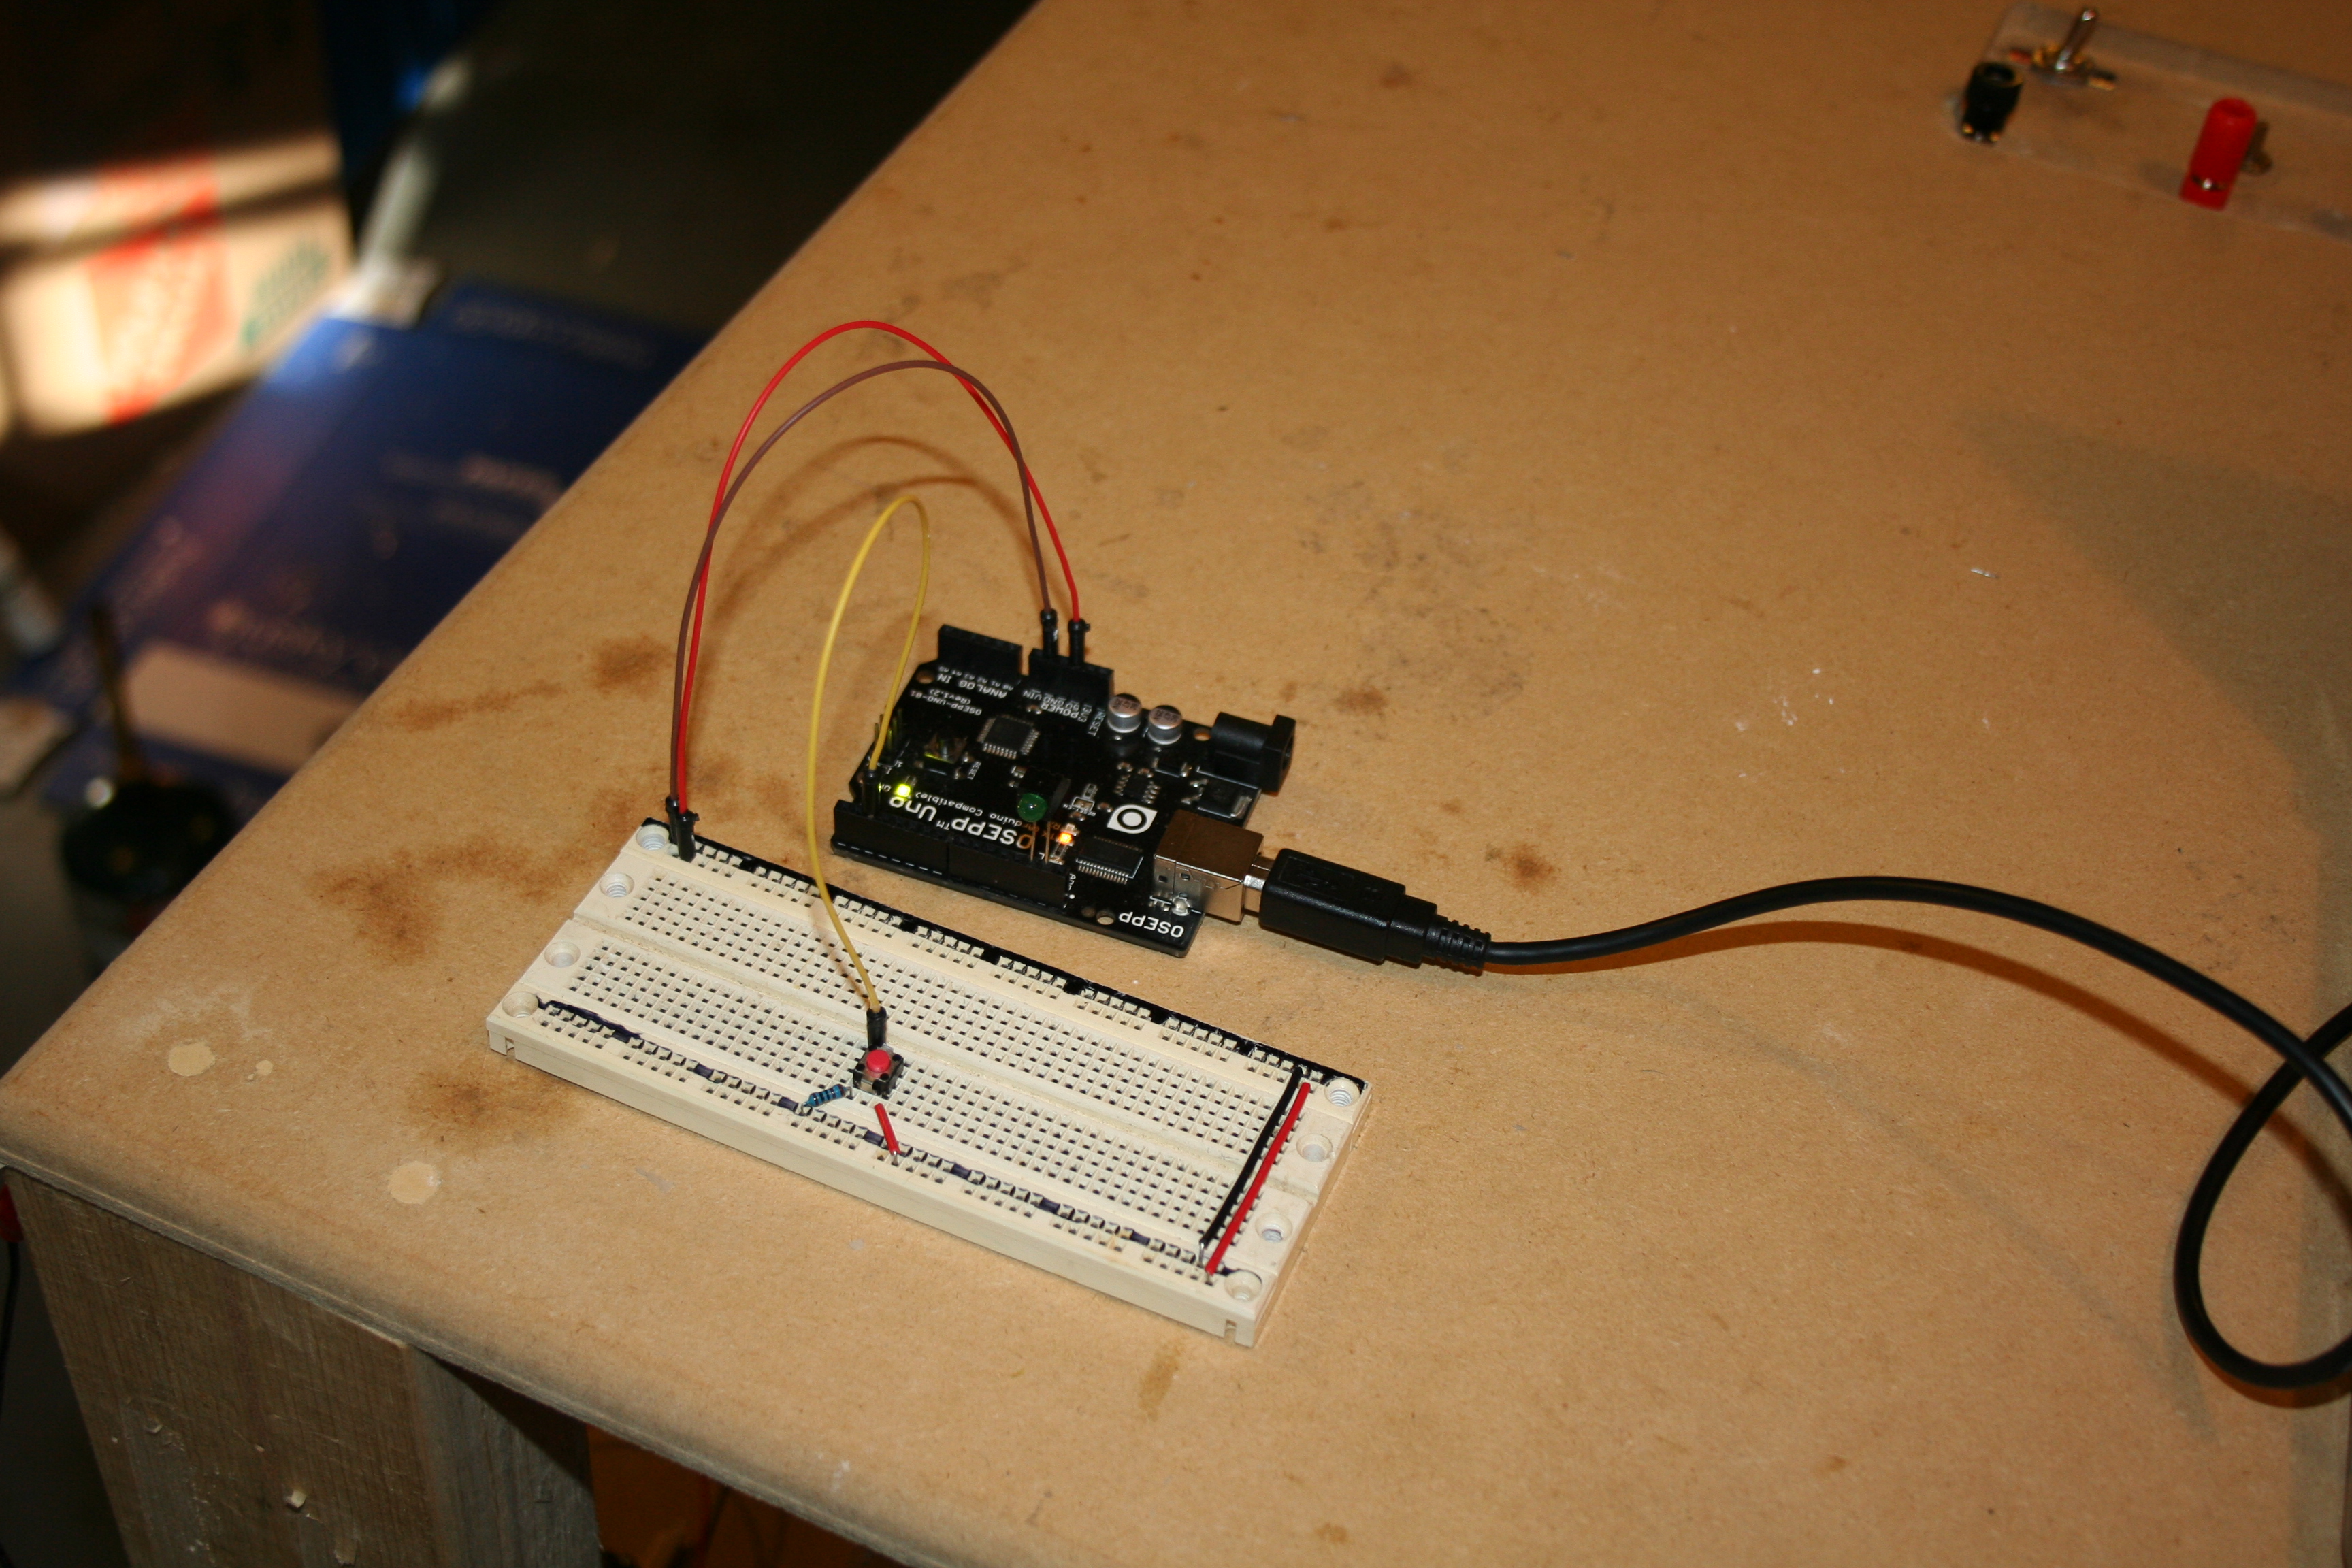


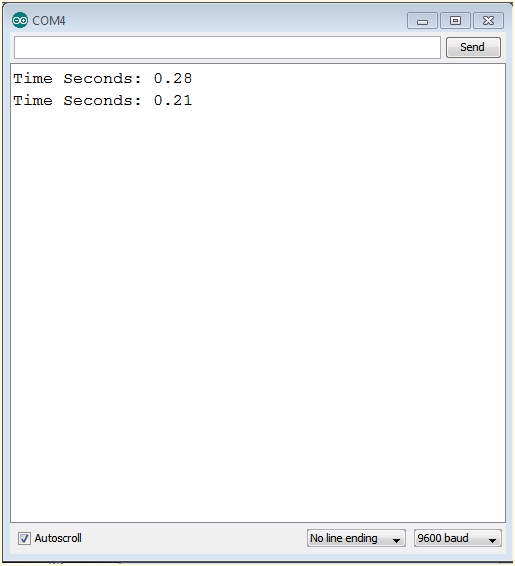
To use the reaction time tester, plug the arduino into your computer and open the serial monitor. Next, press the button, the L.E.D. should blink once, four to ten seconds later the L.E.D. should turn on. Finally, press the button and the elapsed time from the L.E.D. being turned on to the button being pressed will be displayed on the serial monitor.