Arduino RFID 'Smart Door' Tutorial
by petertran04 in Circuits > Arduino
1988 Views, 4 Favorites, 0 Comments
Arduino RFID 'Smart Door' Tutorial
By Peter Tran, 10ELT1
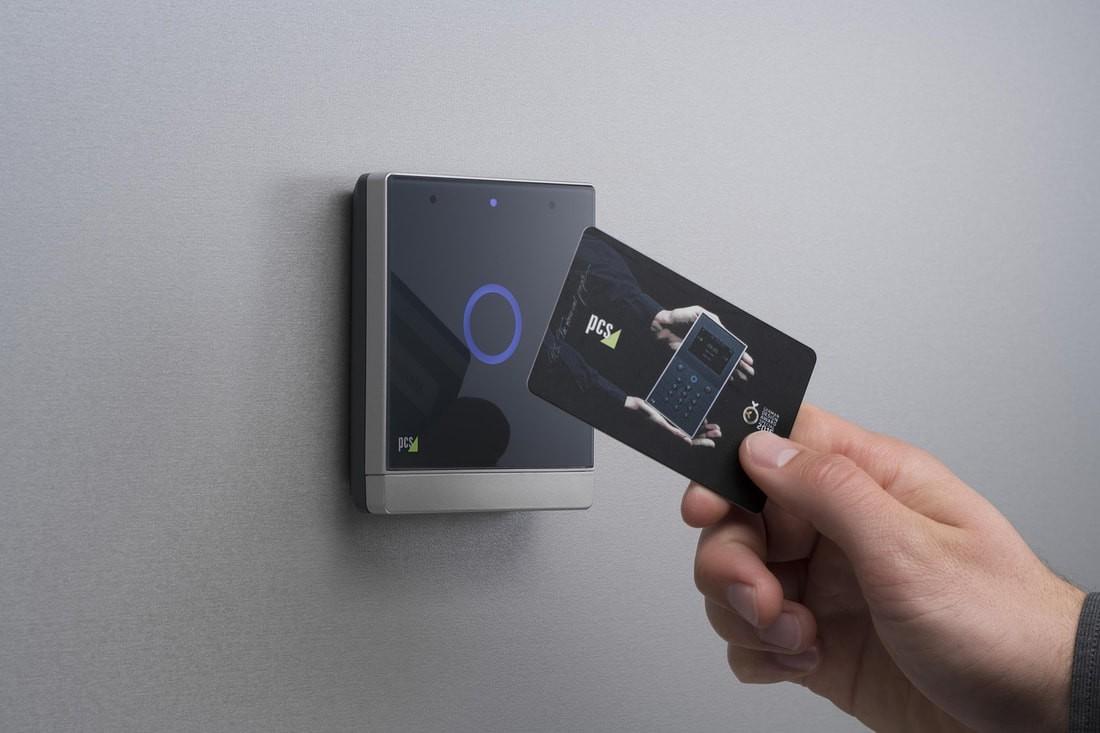
In this tutorial, you will work with an RFID reader module to unlock a micro-servo-powered door! Be sure you have the right access card to gain entry and not sound the alarm nor trigger the intruder lights.
You will be guided step by step and assisted with a 'Testing and Troubleshooting' guide and 'Real World Application' section at the end.
The code for this project is available at https://drive.google.com/drive/folders/1yVIvFhV17...
Please also download the necessary library for the RFID Sensor from https://github.com/AritroMukherjee/RFID
Downloads
Supplies
- Arduino UNO (or other compatible microcontroller)
- Prototyping Breadboard
- RFID Reader Module ((RFID-RC522) with RFID tags
- Micro Servo (9g)
- LEDs (Yellow, Green and Red)
- Piezo Buzzers
RFID Theory
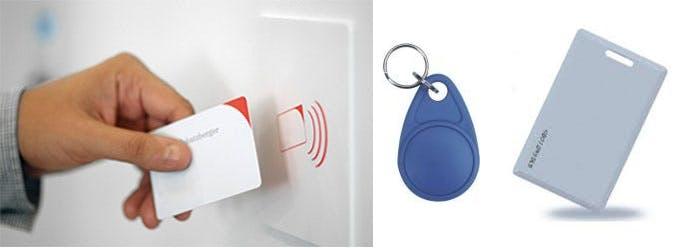
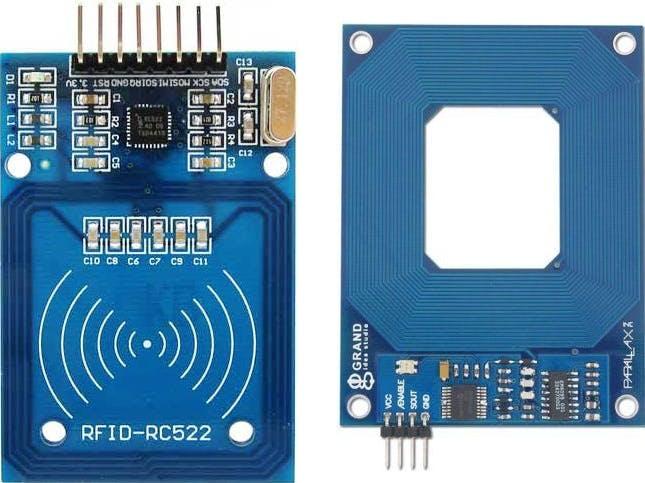
What is an RFID reader?
Radio Frequency Identification (RFID) tagging is an ID system that uses small radio frequency identification devices for identification and tracking purposes. An RFID tagging system includes the tag itself, a read/write device, and a host system application for data collection, processing, and transmission. In simple words, RFID uses electromagnetic fields to transfer data over short distances.
RFID is useful to identify people, to make transactions, etc. You can use an RFID system to open a door. For example, only the person with the right information on his card is allowed to enter. In this tutorial, we have multiple RFID tags, each with its own Unique Identification (UID) but only one card will be granted access.
RFID-RC522 Pin Layout
Pin 1: VCC, positive power (3.3v)
Pin 2: RST, reset
Pin 3: Ground
Pin 4: IRQ, interrupt pin used to wake up module when a device comes into range
Pin 5: MISO, basically communications IN
Pin 6: MOSI. basically communications OUT
Pin 7: SCK, used as a clock/oscillator
Pin 8: SS, used as serial input
Connecting the RFID Module
- Download the necessary library from the introduction section.
- Extract the contents from the zip folder "rfid-master" and add this library folder under the existing libraries of Arduino.
- Restart Arduino IDE
- The Arduino Code is linked at the start of the tutorial. Compile the code and eliminate any errors.
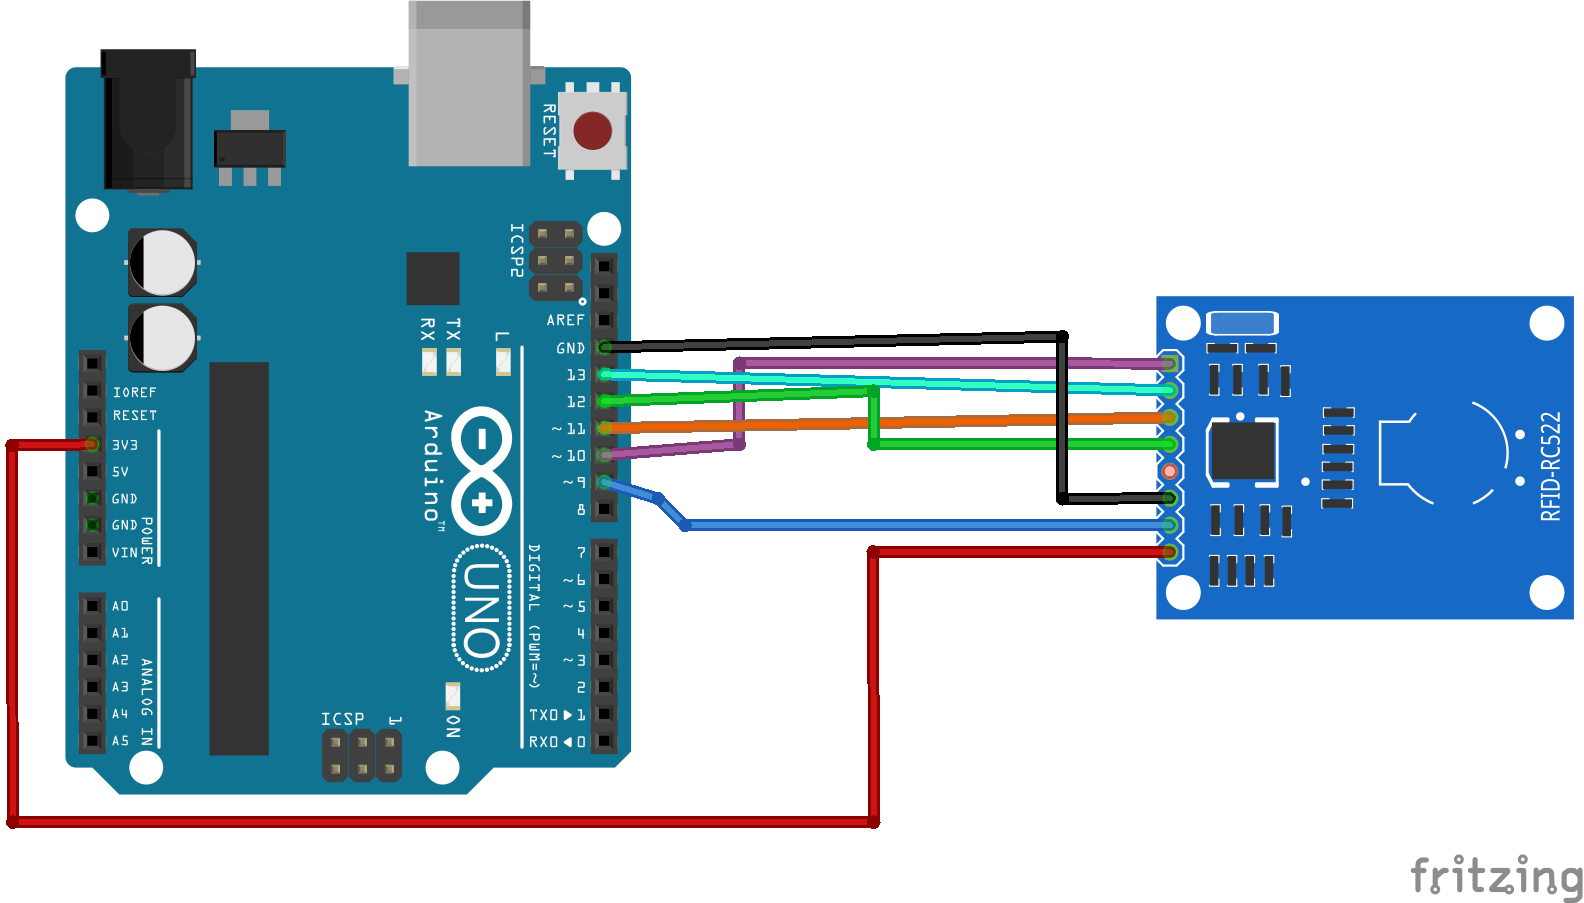
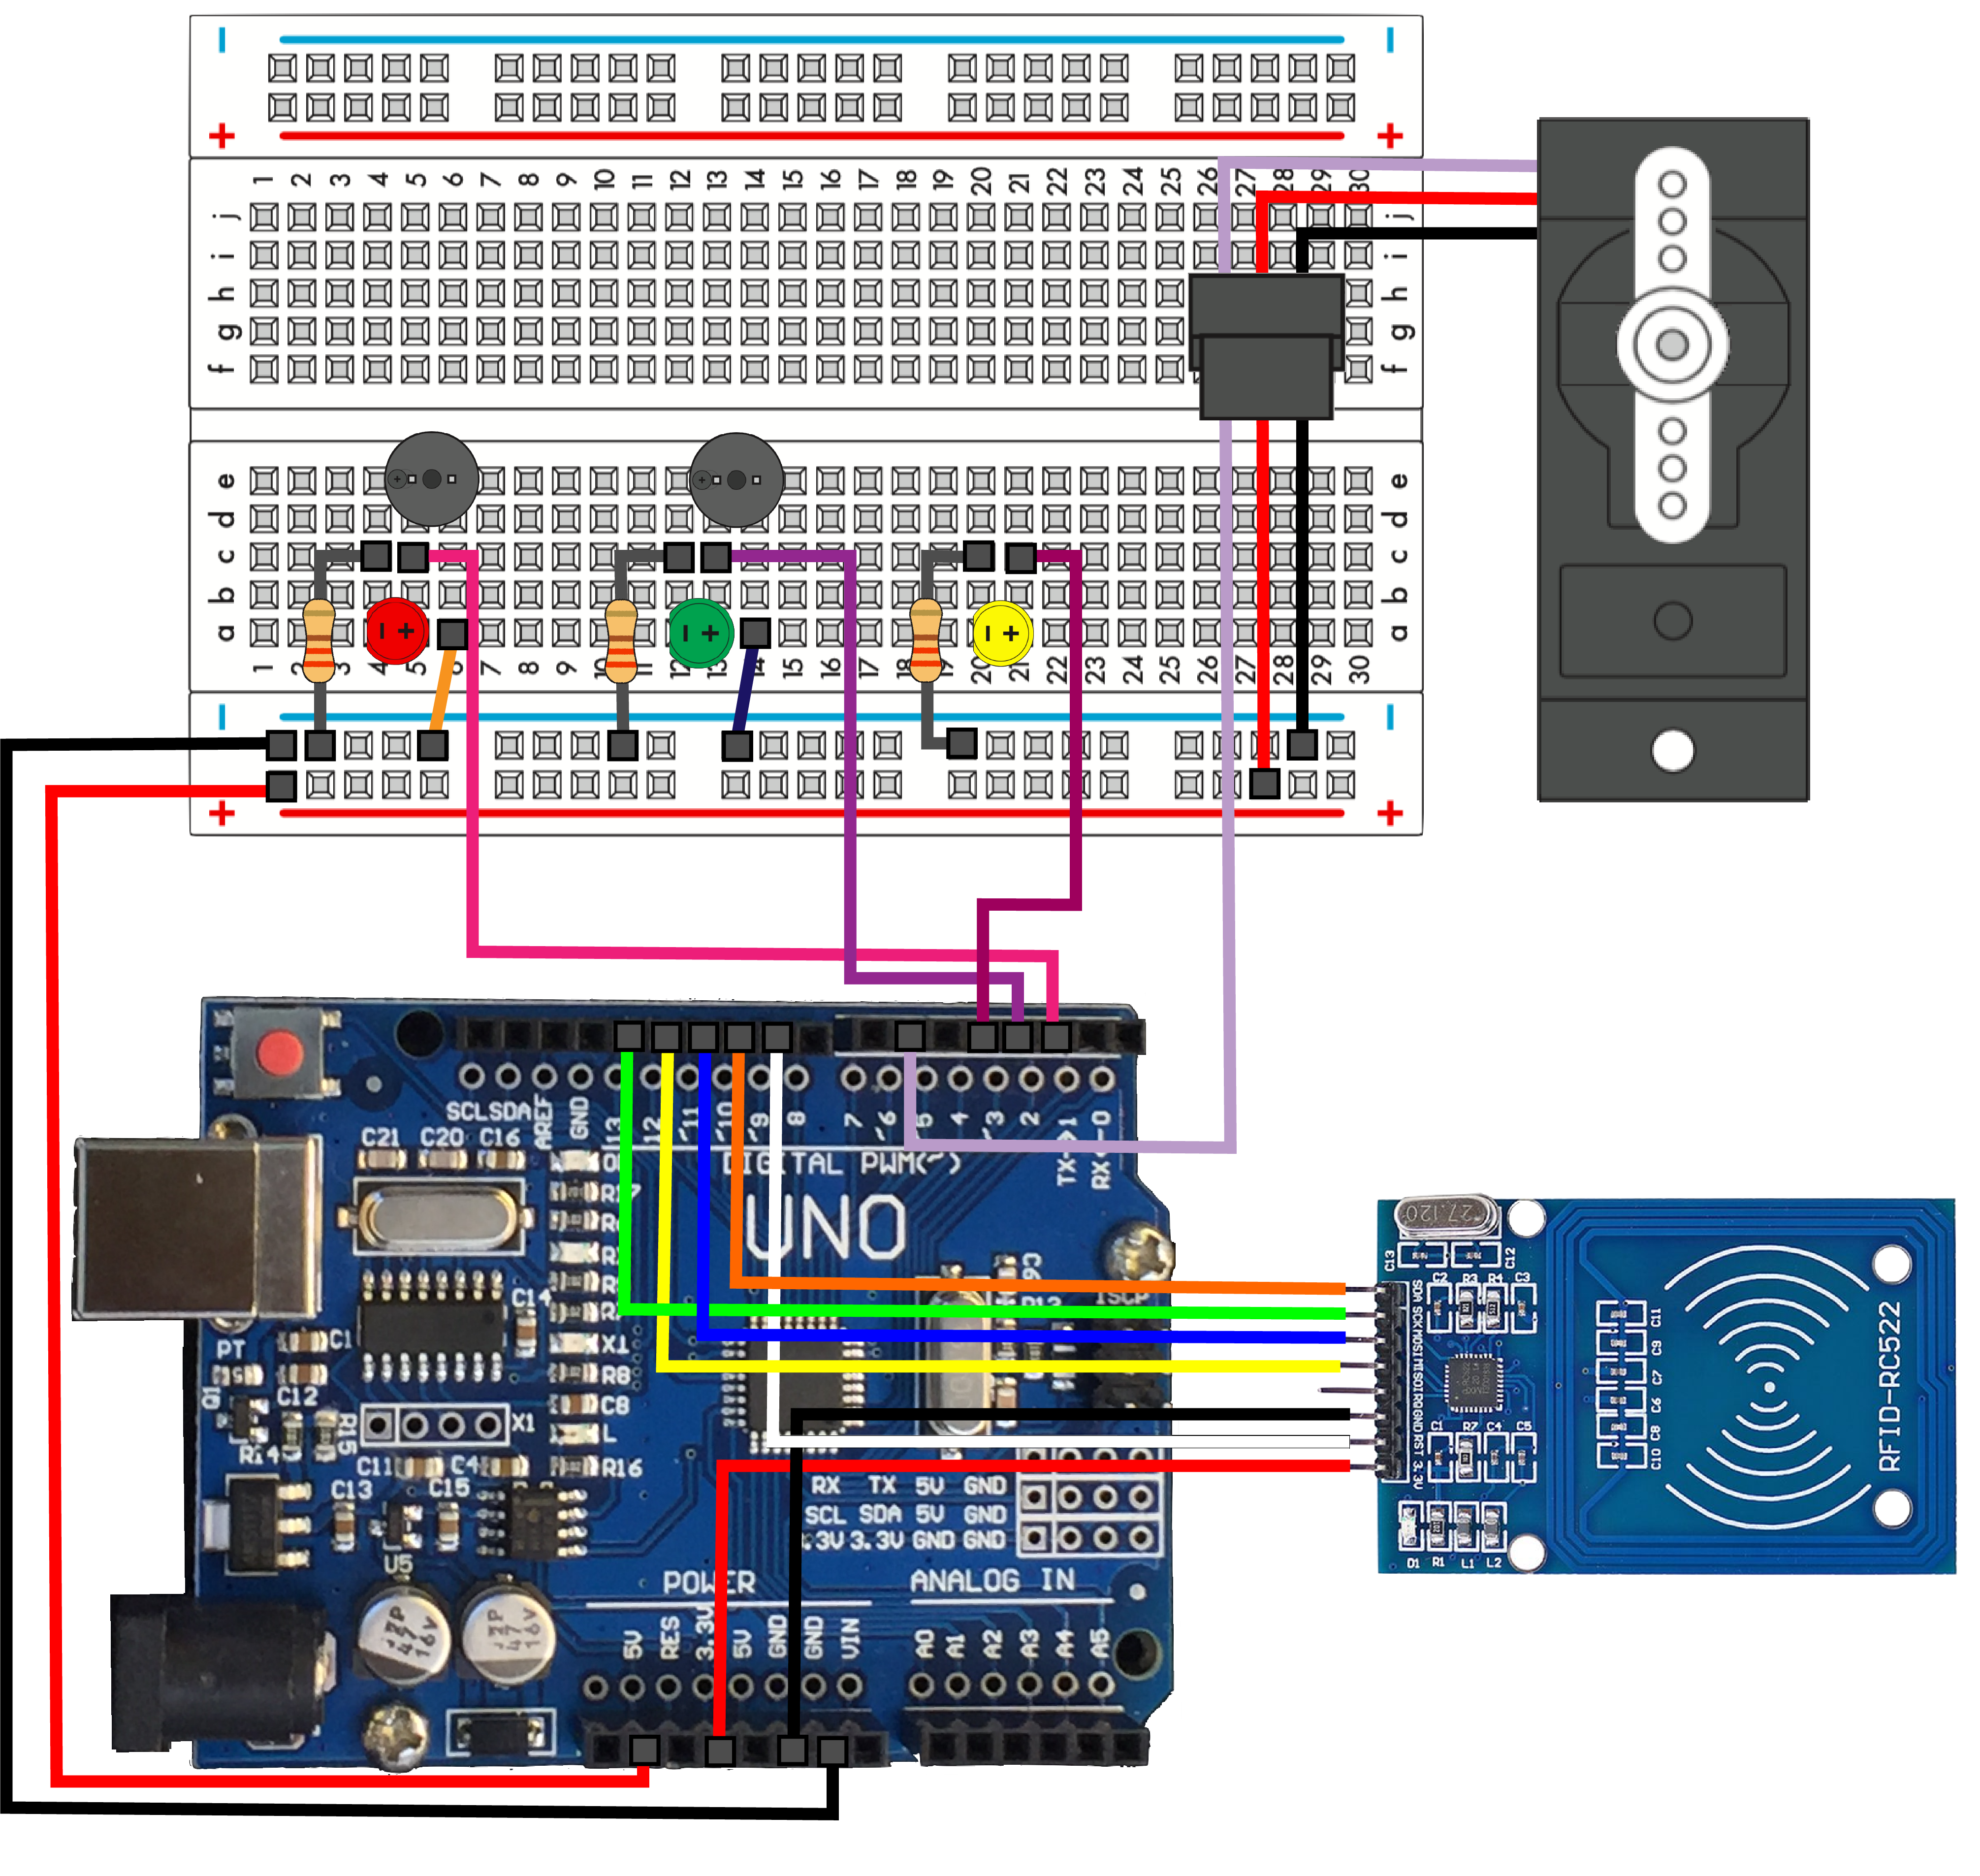
- Connect the Arduino UNO with the RFID reader. Refer to the pin wiring below, as well as the schematic diagram above for easy reference.
Pin Wiring from RFID-RC522 to Arduino Uno
SDA------------------------Digital 10
SCK------------------------Digital 13
MOSI----------------------Digital 11
MISO----------------------Digital 12
IRQ------------------------unconnected
GND-----------------------GND
RST------------------------Digital 9
3.3v-----------------------3.3v (DO NOT CONNECT TO 5v)
Reading Data From RFID Tag
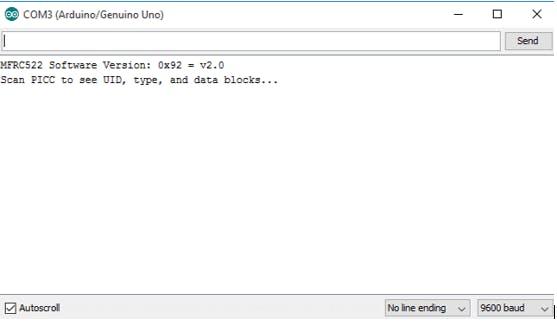
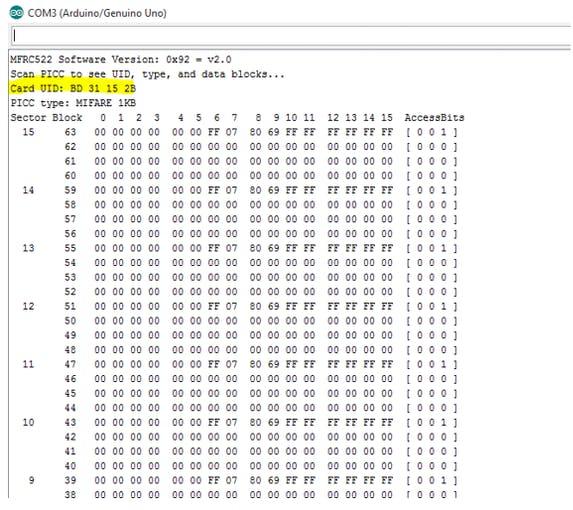
- Go to File > Examples > MFRC522 > DumpInfo and upload the code. This code will be available in Arduino IDE (after installing the RFID library).
- Open serial monitor and you should see something like the left figure above.
- Approximate the RFID tag to the reader.
- The information that can be read from the tag is listed in the right figure above. The yellow highlighted text is the RFID tag's Unique Identification (UID), note it down for later.
Downloads
Testing the RFID Reader
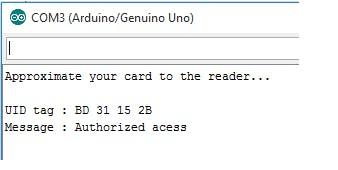
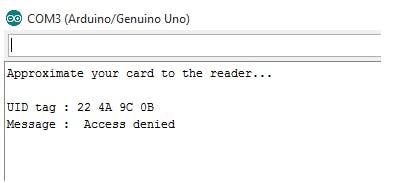
- Insert the UID into the Arduino code where required (near the 'Authorised Access' section).
- Approximate the tag you’ve chosen to give access and you’ll see the authorised message.
- Approximate another tag with a different UID and you'll see the denial message.
- Refer to the 'Testing and Troubleshooting' section if you experience any issues.
Micro Servo, LEDs and Buzzers
Micro Servo
- Connect a micro servo as per instructions on page 49-52 of the SparkFun SIK Guide (Version 3.2).
- The PWM pin of the servo should connect to pin6 on the Arduino.
- Refer to the reference code linked in the introduction titled "RFID_wITH_SERVO.ino" and the schematic above.
Refer to the 'Testing and Troubleshooting' section if you experience any issues.
LEDs and Piezo Buzzers
- Install the LEDs and Piezo Buzzers with reference to the above diagram.
- Use the code "RFID_WithServo_and_Lights.ino"
- Refer to the 'Testing and Troubleshooting' section if you experience any issues.
Testing and Troubleshooting
Testing
- The yellow LED should only be lit when no tag is being scanned.
- When an authorised RFID tag is used, the green light should flash twice with two beeps
- When a non-authorised RFID tag is used, the red light should flash three times with three beeps
Troubleshooting
- LED not lighting up: reverse the polarity of the LED by turning it around. The LED may have also blown.
- Program not uploading: Change the serial port in tools>serial port>
- Servo not twisting: Even coloured wires are shockingly easy to plug incorrectly.
- Servo still not working: don't forget to connect power (red and brown wires) to +5v and ground
- Servo just twitches: use an external power supply,
Real World Application

RFID can be easily integrated into almost any security application, making this prototype very useful and appropriate for immediately real-world application. A similar model where an authorised RFID tag can activate a servo which unlatches a door can be used in:
- office buildings
- apartments
- hotels
- library seminar room check-ins
- hire/rental cars
Some further advantages of RFID are:
- Difficult to copy or hack. A radio signal can’t be “copied,” and the signal itself can be encrypted so other devices can’t decipher the data.
- Customizable and programmable. An RFID key card can be programmed to open only specific doors (or only one) for a specific amount of time. (Hotels use keycards to authorize their guests only to access their hotel room and the fitness centre, set to stop working the morning of checkout.) This system allows management to restrict employee access only to specific authorized areas of the facility for certain amounts of time.
- Anonymous. With no identifying marks on the key card, only the authorized user and the computer may know which door(s) the card will unlock.
- Easily deactivated. If a keycard is lost or stolen, the system can easily deauthorize its identification signal — or the card may simply be allowed expire.
- More cost-effective security. When physical keys are lost or compromised, the lock must be changed to restore security. When a key card is lost, it can be deauthorized, making it effectively disposable. No need to change the lock
Some disadvantages of RFID are:
- RFID systems are often more expensive than barcode systems
- RFID tags are usually larger than barcode labels
- Tags are application-specific, no one tag fits all
- Possibility of unauthorized reading of passports and credit cards
- More than one tag can respond at the same time