Arduino Presentation Helper
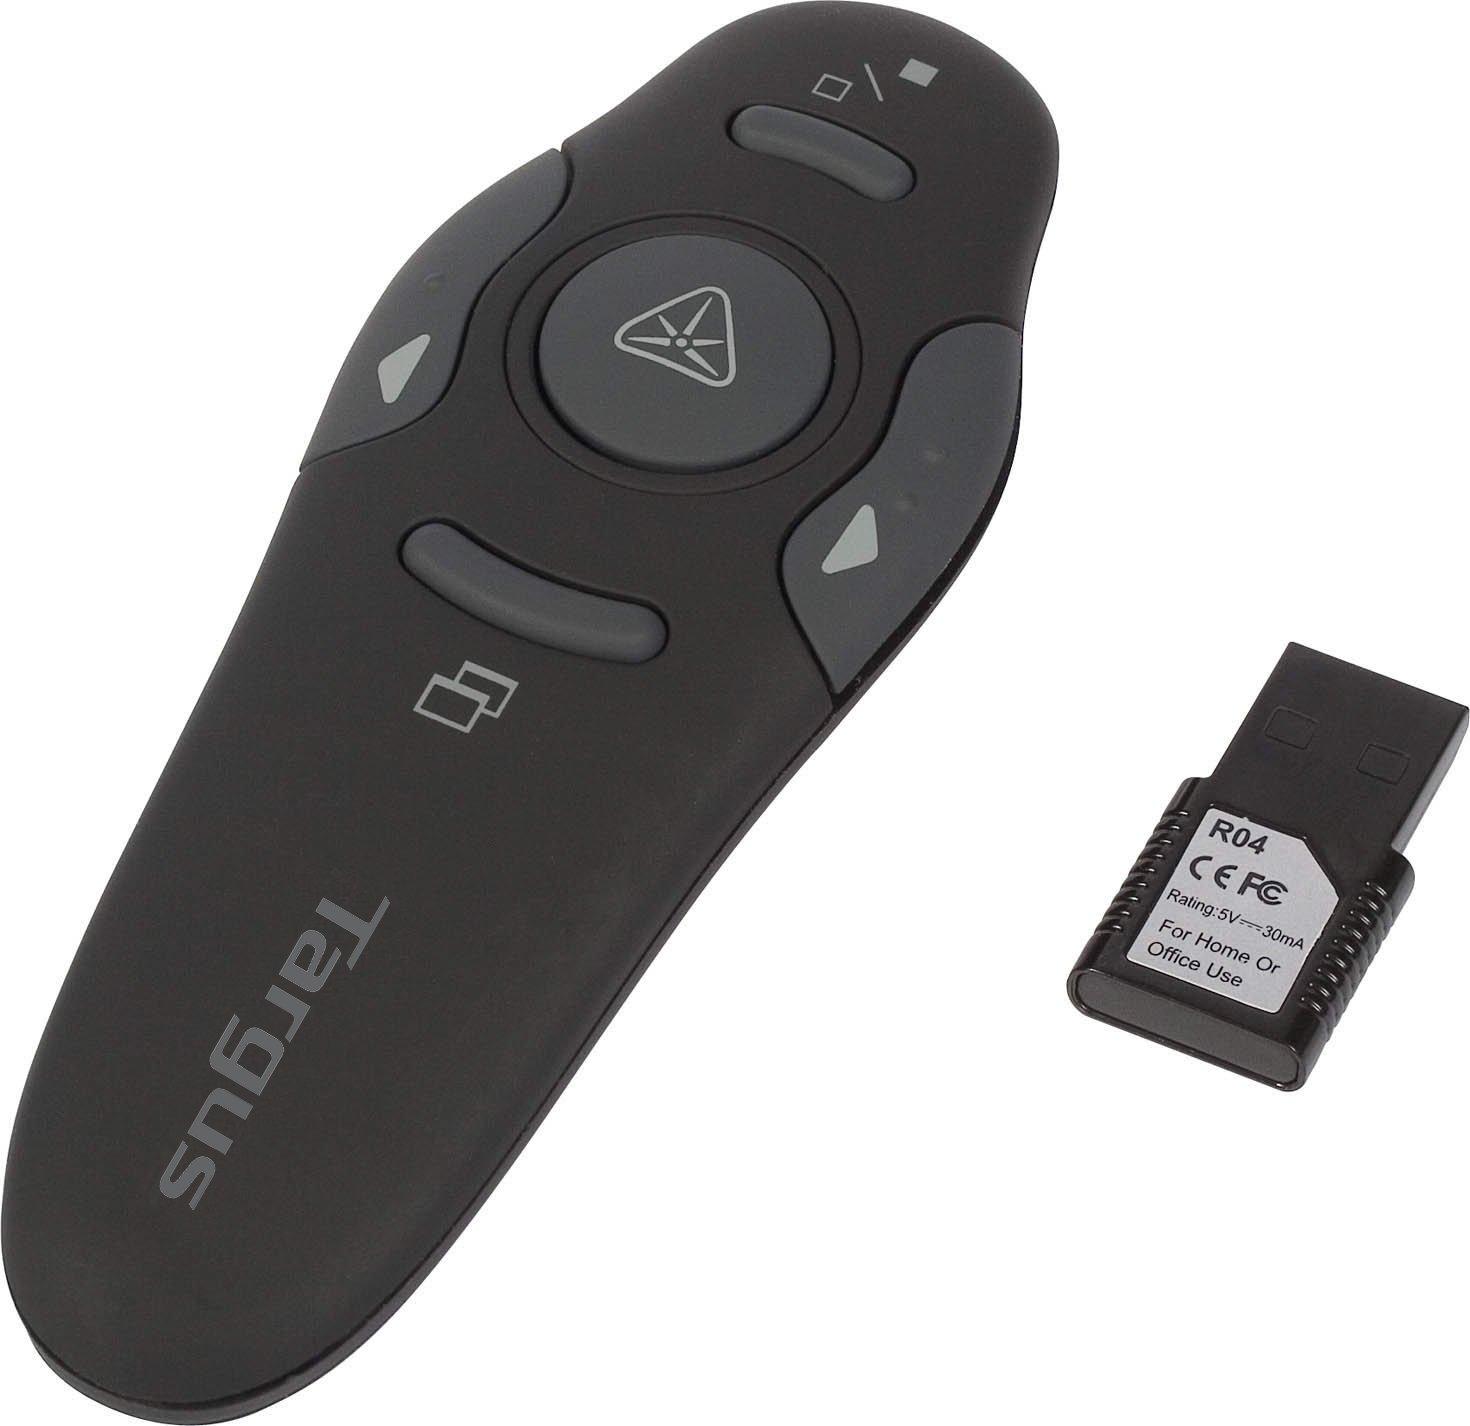
- Introduction to my product
- The picture above might might be just like what you are thinking of when thinking about presentation pointers, they are commonly used worldwide for ppt presentations so that the user will not need to control the slides directly from the interface provided by the computer. But when we think of those tools people commonly use, there are always a certain group of people excluded from using such a convenient tool. In my design, I made a product that can be used for presentations and the user can step on it to go to the next slide.
- How does my product work?
- My product is extremely simple. First, you will need to connect the Arduino board with the computer through a cable. Second, open the ppt slide. Third, start your presentation!!! Fourth, if you want to go to the next slide, you can step on the box and it will trigger the mouse to click once and bring you to the next slide.
- Scenarios of using my product
- 1. Since people without hand have no hand for holding a presentation pointer, if they want to present, they can use my product to go to the next slide with their legs by stepping on it.
- 2. Salesman that uses both hand for the demonstration of their product. They will need to use my product in order to point to a specific part of the product they are introducing and simultaneously, using the slides for further elaboration and explanation.
- 3. Musician or magician when presenting. Most musician uses both hand when for example when playing the violin. If they want a background picture to best their presentation, they certainly cannot just stop and then press to the next slide. At this time, they can use my product for their convenience.
- 4. In class, when the subject teacher is trying to explain through an experiment, they will need my product. When demonstrating the experiment, they have no hands to spare. If ever they want to explain certain concept during the experiment through ppt presentation, they can use my product to help them progress in their teaching.
- Conclusion
- There are way more instances of use when you come to think about the limitations modern presentation pointer present. Through what I designed, people that have no hands to spare can still present comfortably and with ease.
- Possible problems and possible improvements
- In my product, you will need to use a cable and connect it to the computer. The distance that you can stay away from the computer is the length of the cable. For improvements, we can possibly establish a bluetooth connection with the computer for further a more convenient presentation.
Supplies Needed
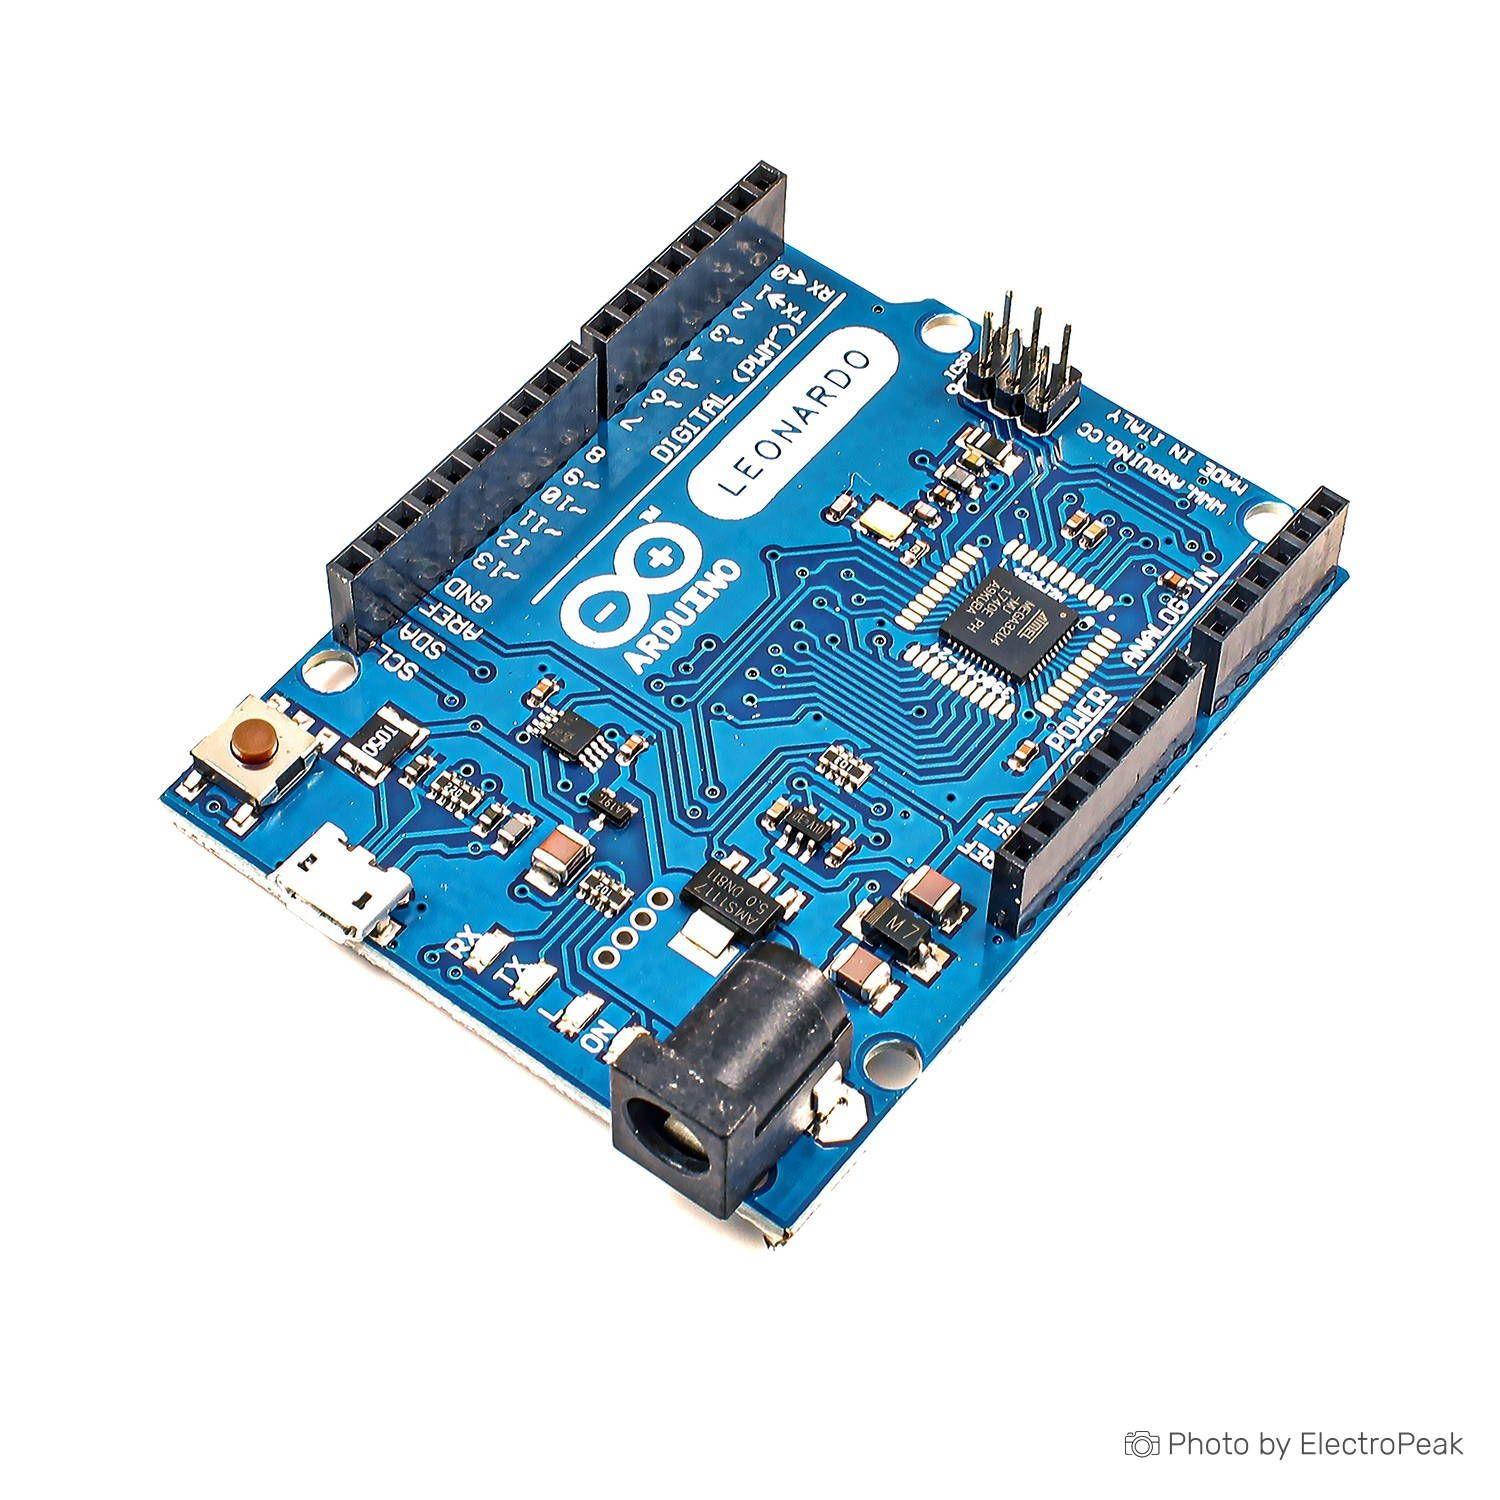

- Arduino Leonardo
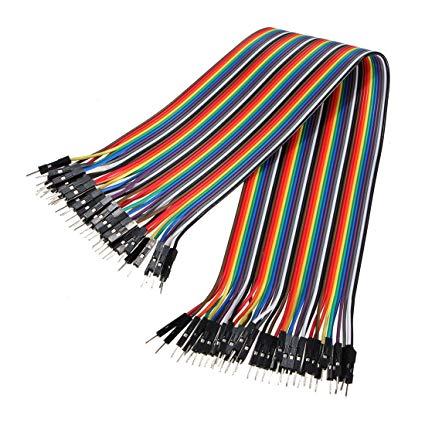
- Male to male Arduino Jumper Wires
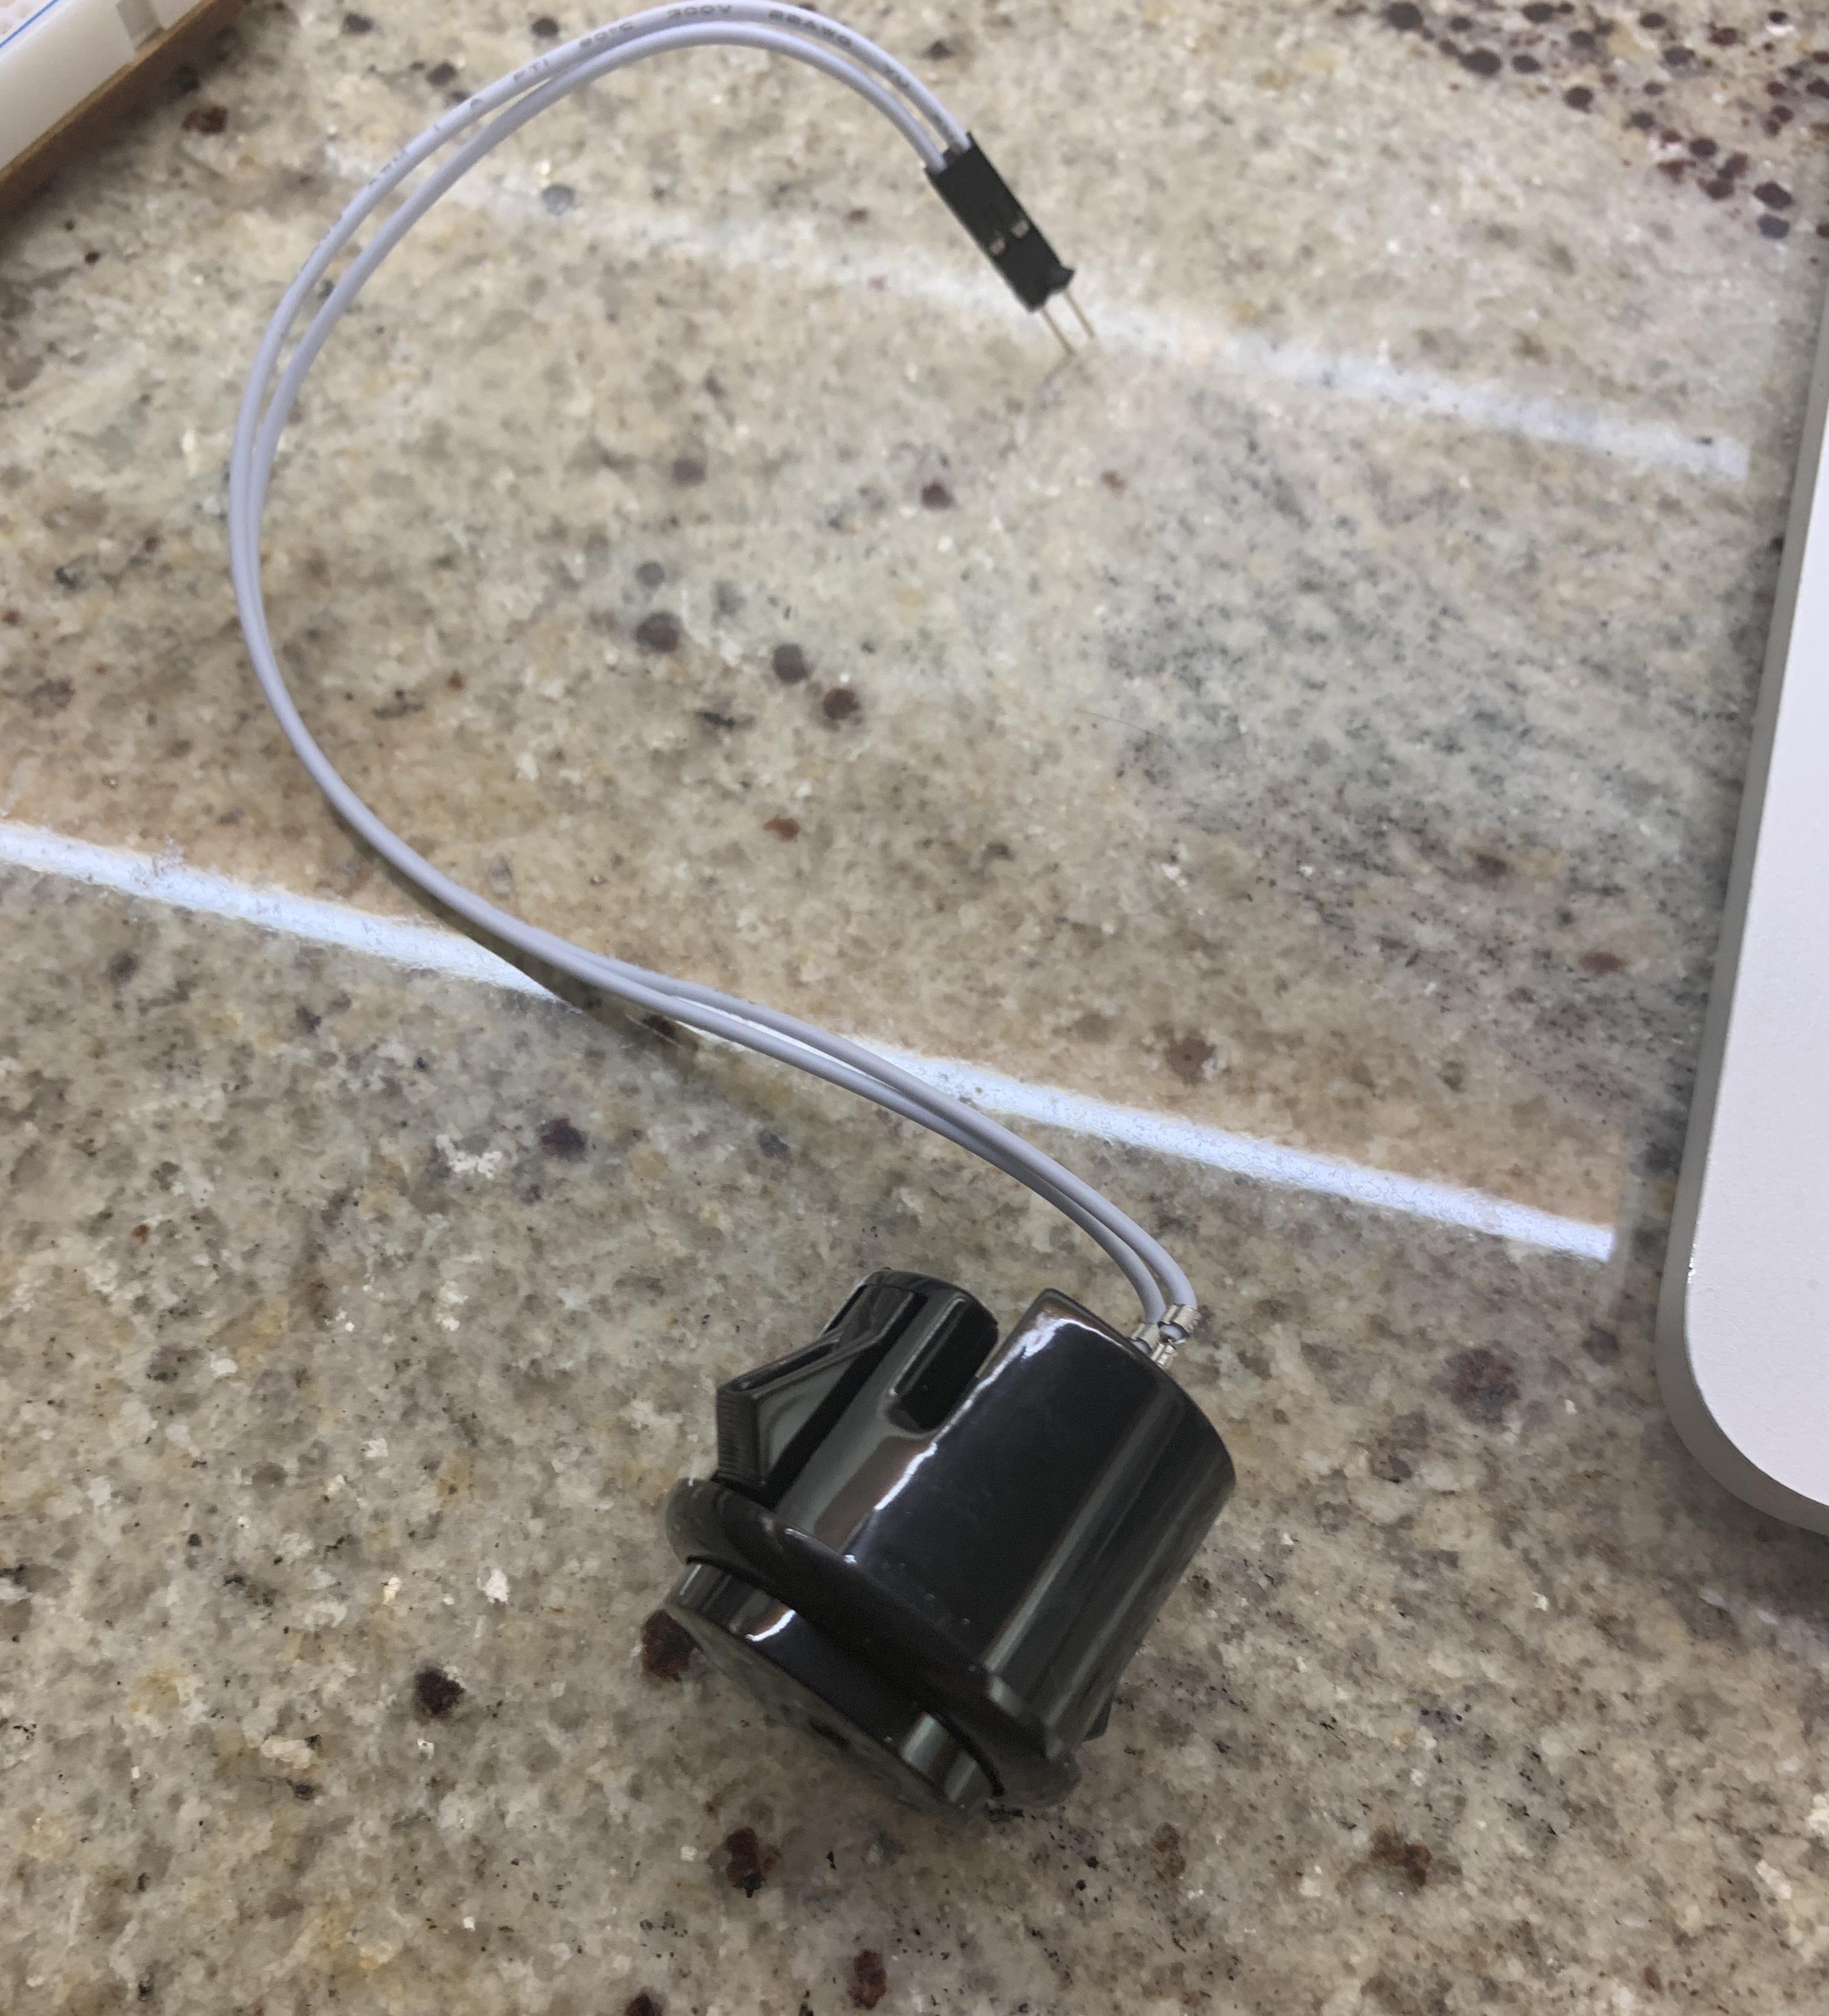
- Button
- Any box with the length of 23cm and width of 12 cm, in this example, I took a tissue box for my project.
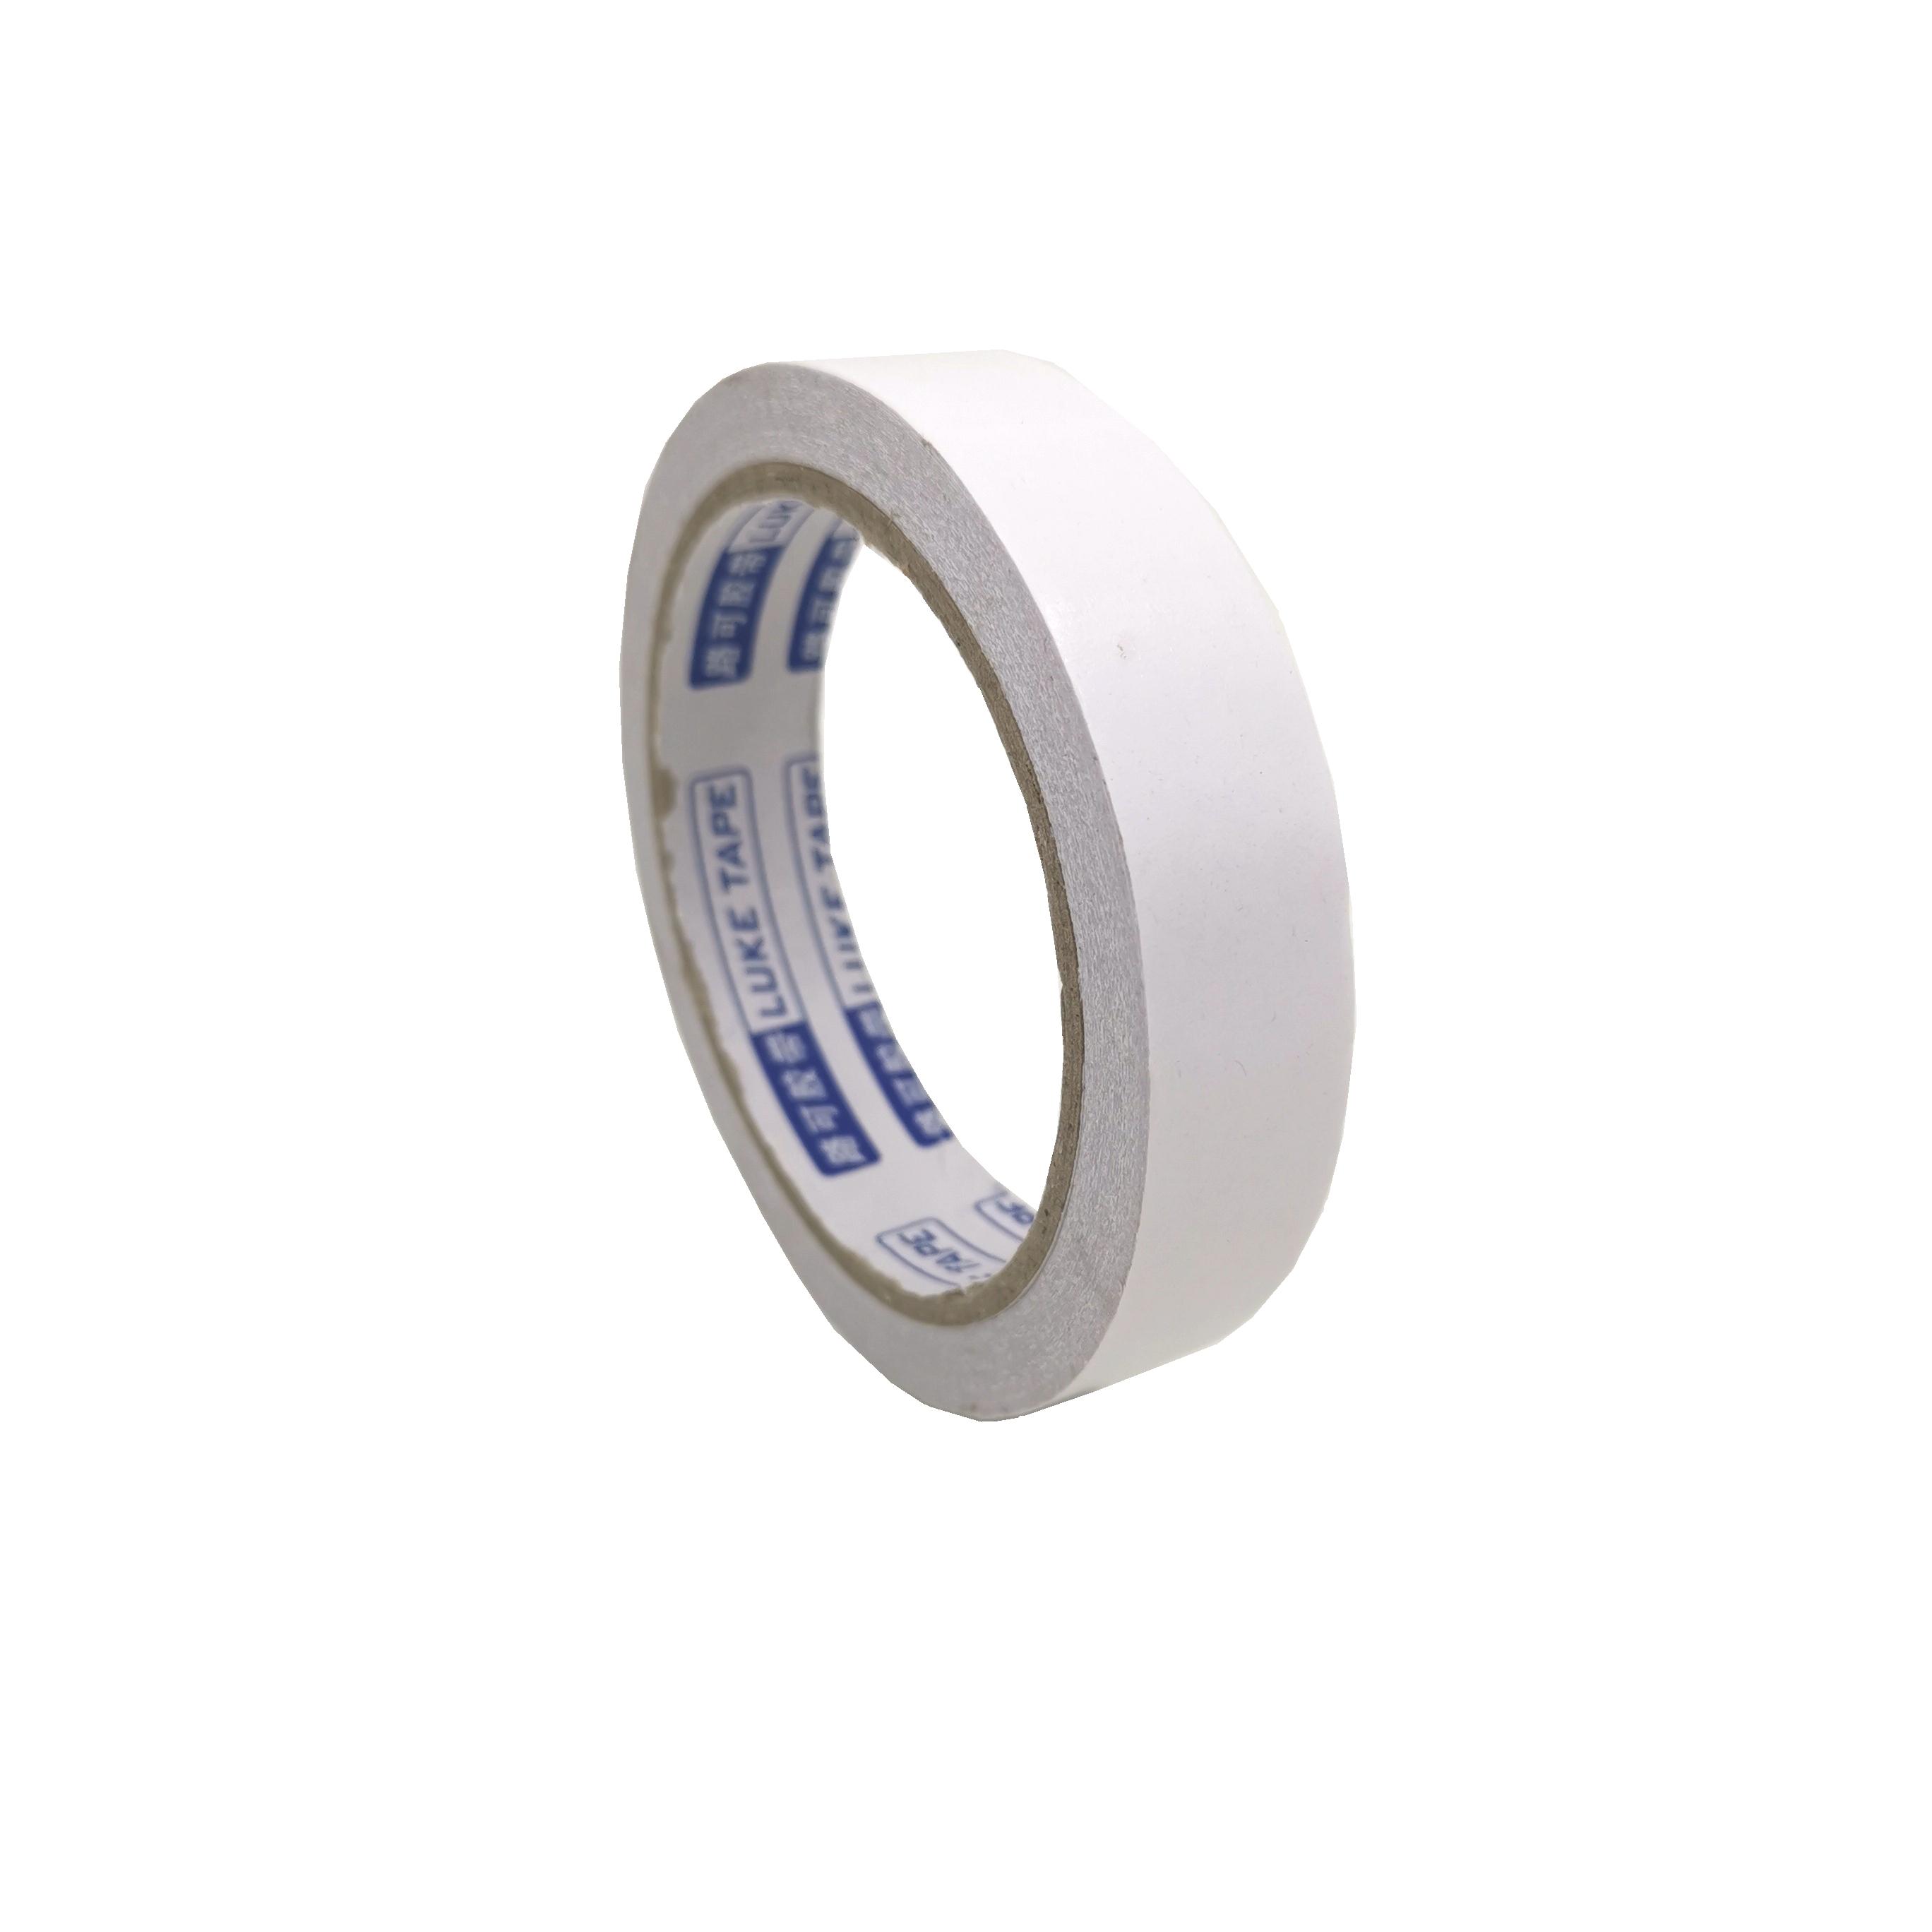
- double sided tape
Connecting the Circuit
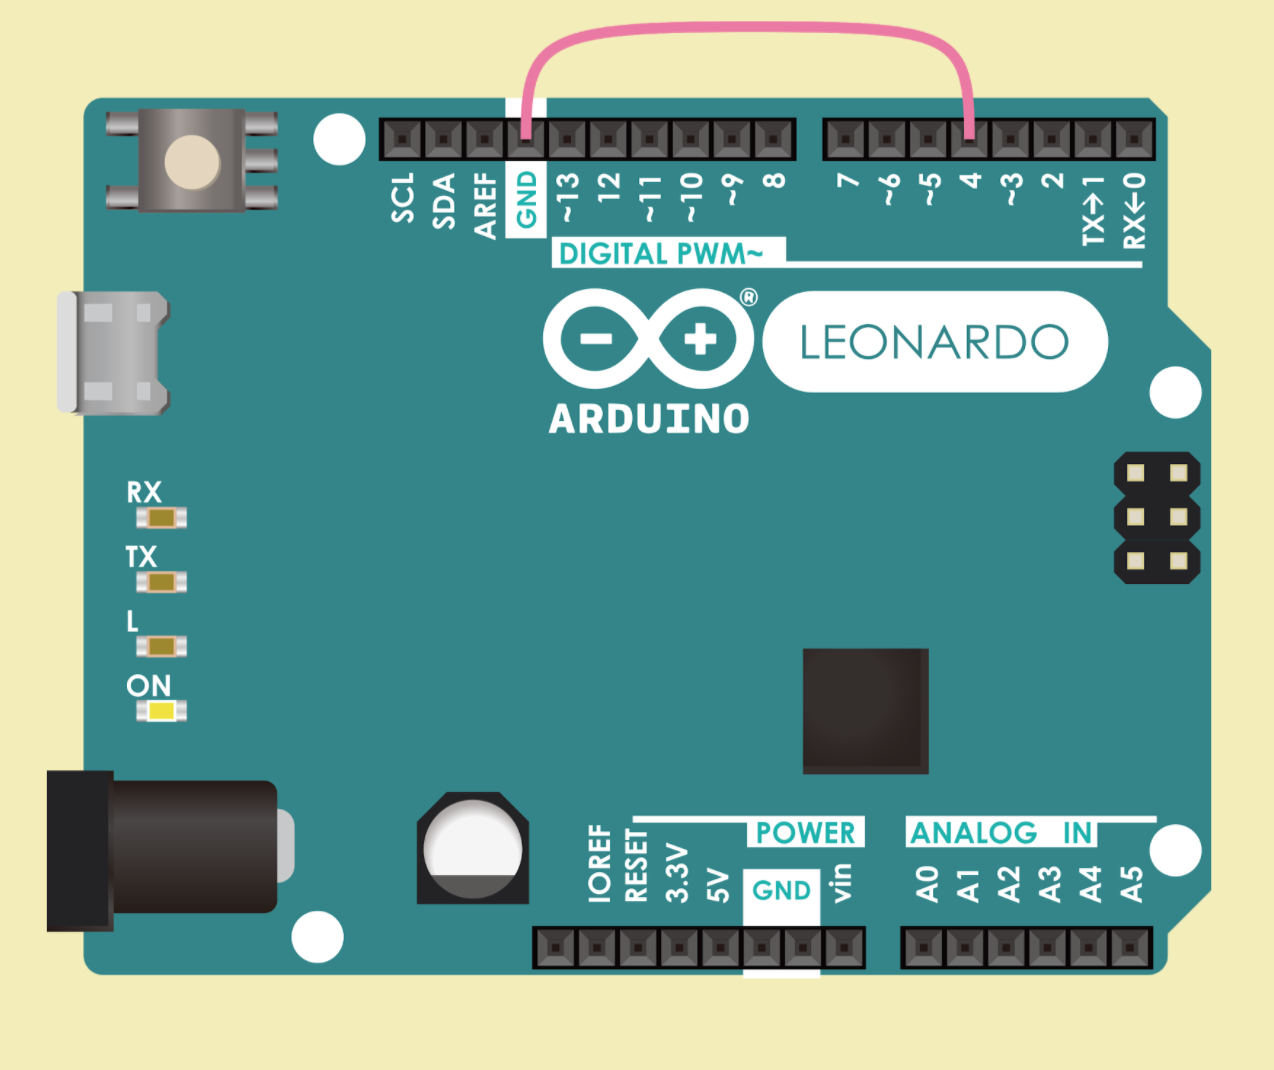
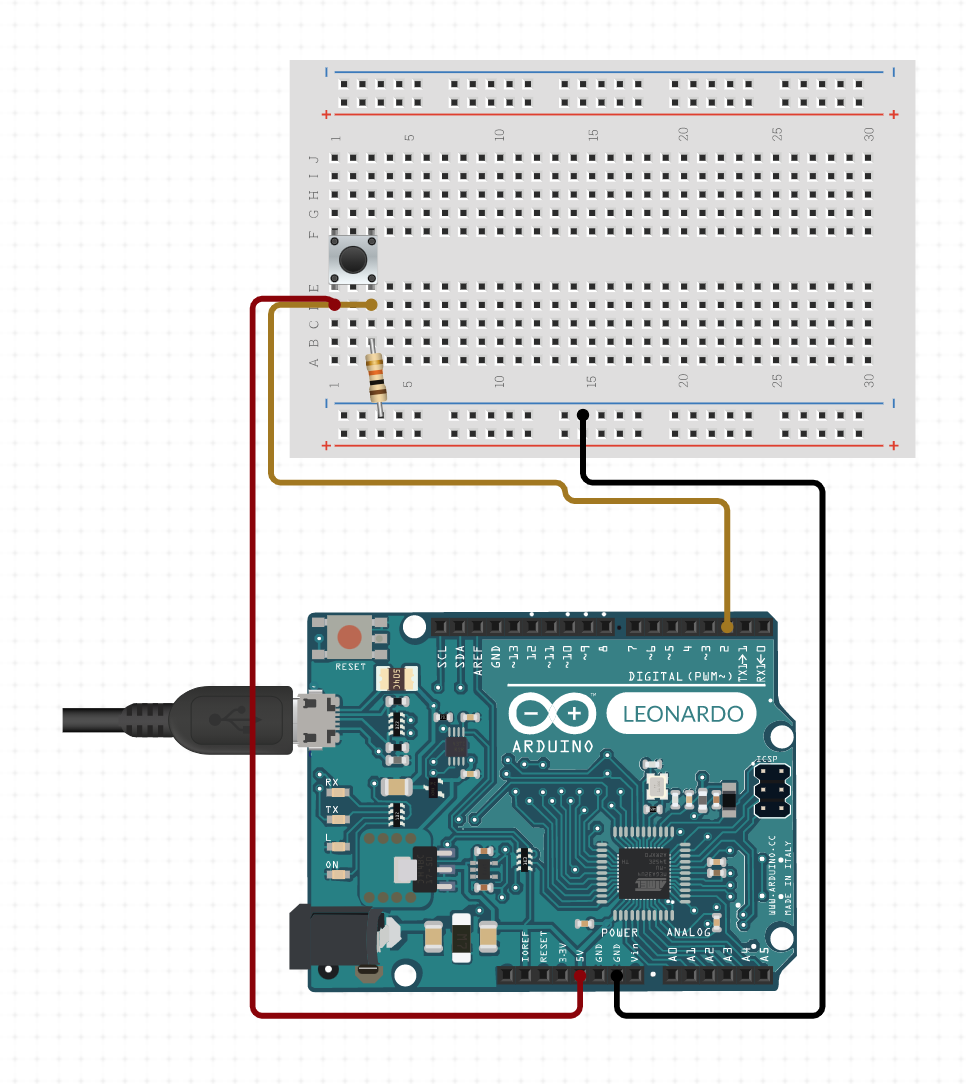
- connect D2pin 4 to gnd
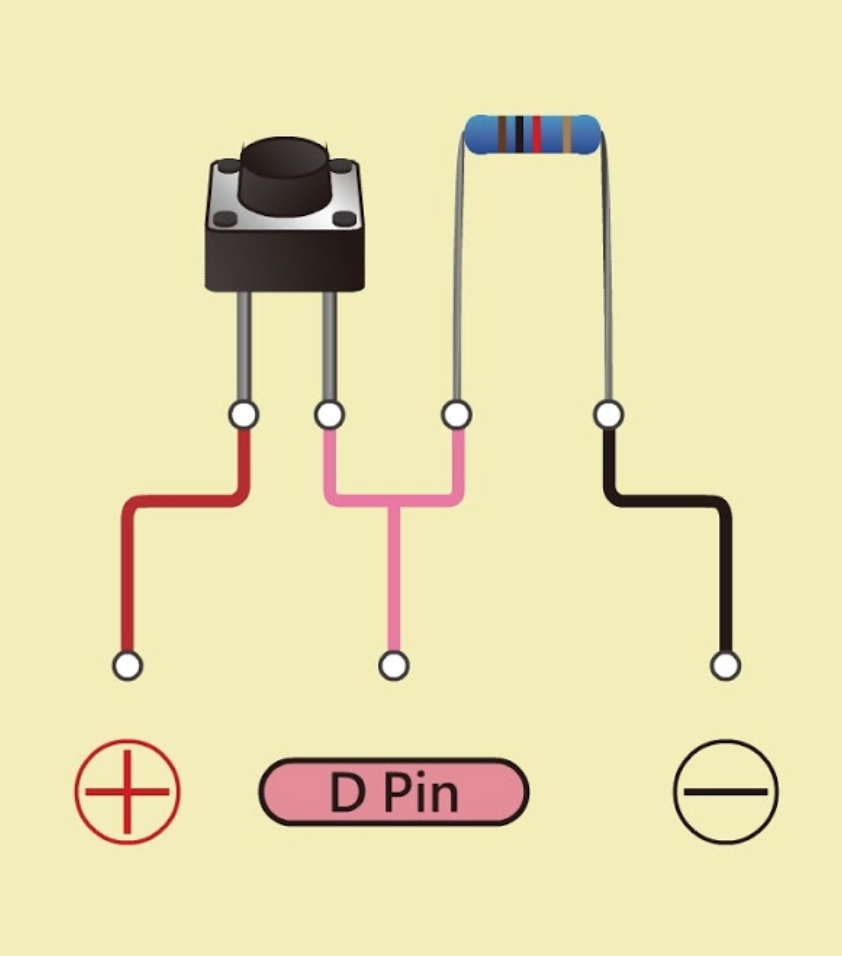
- Connect one of the two legs of the button to 5v and another leg to D-pin 2 and a resistor.
- Connect the resister to gnd.
- then the circuit is finished!
Clearing Everything Inside the Box
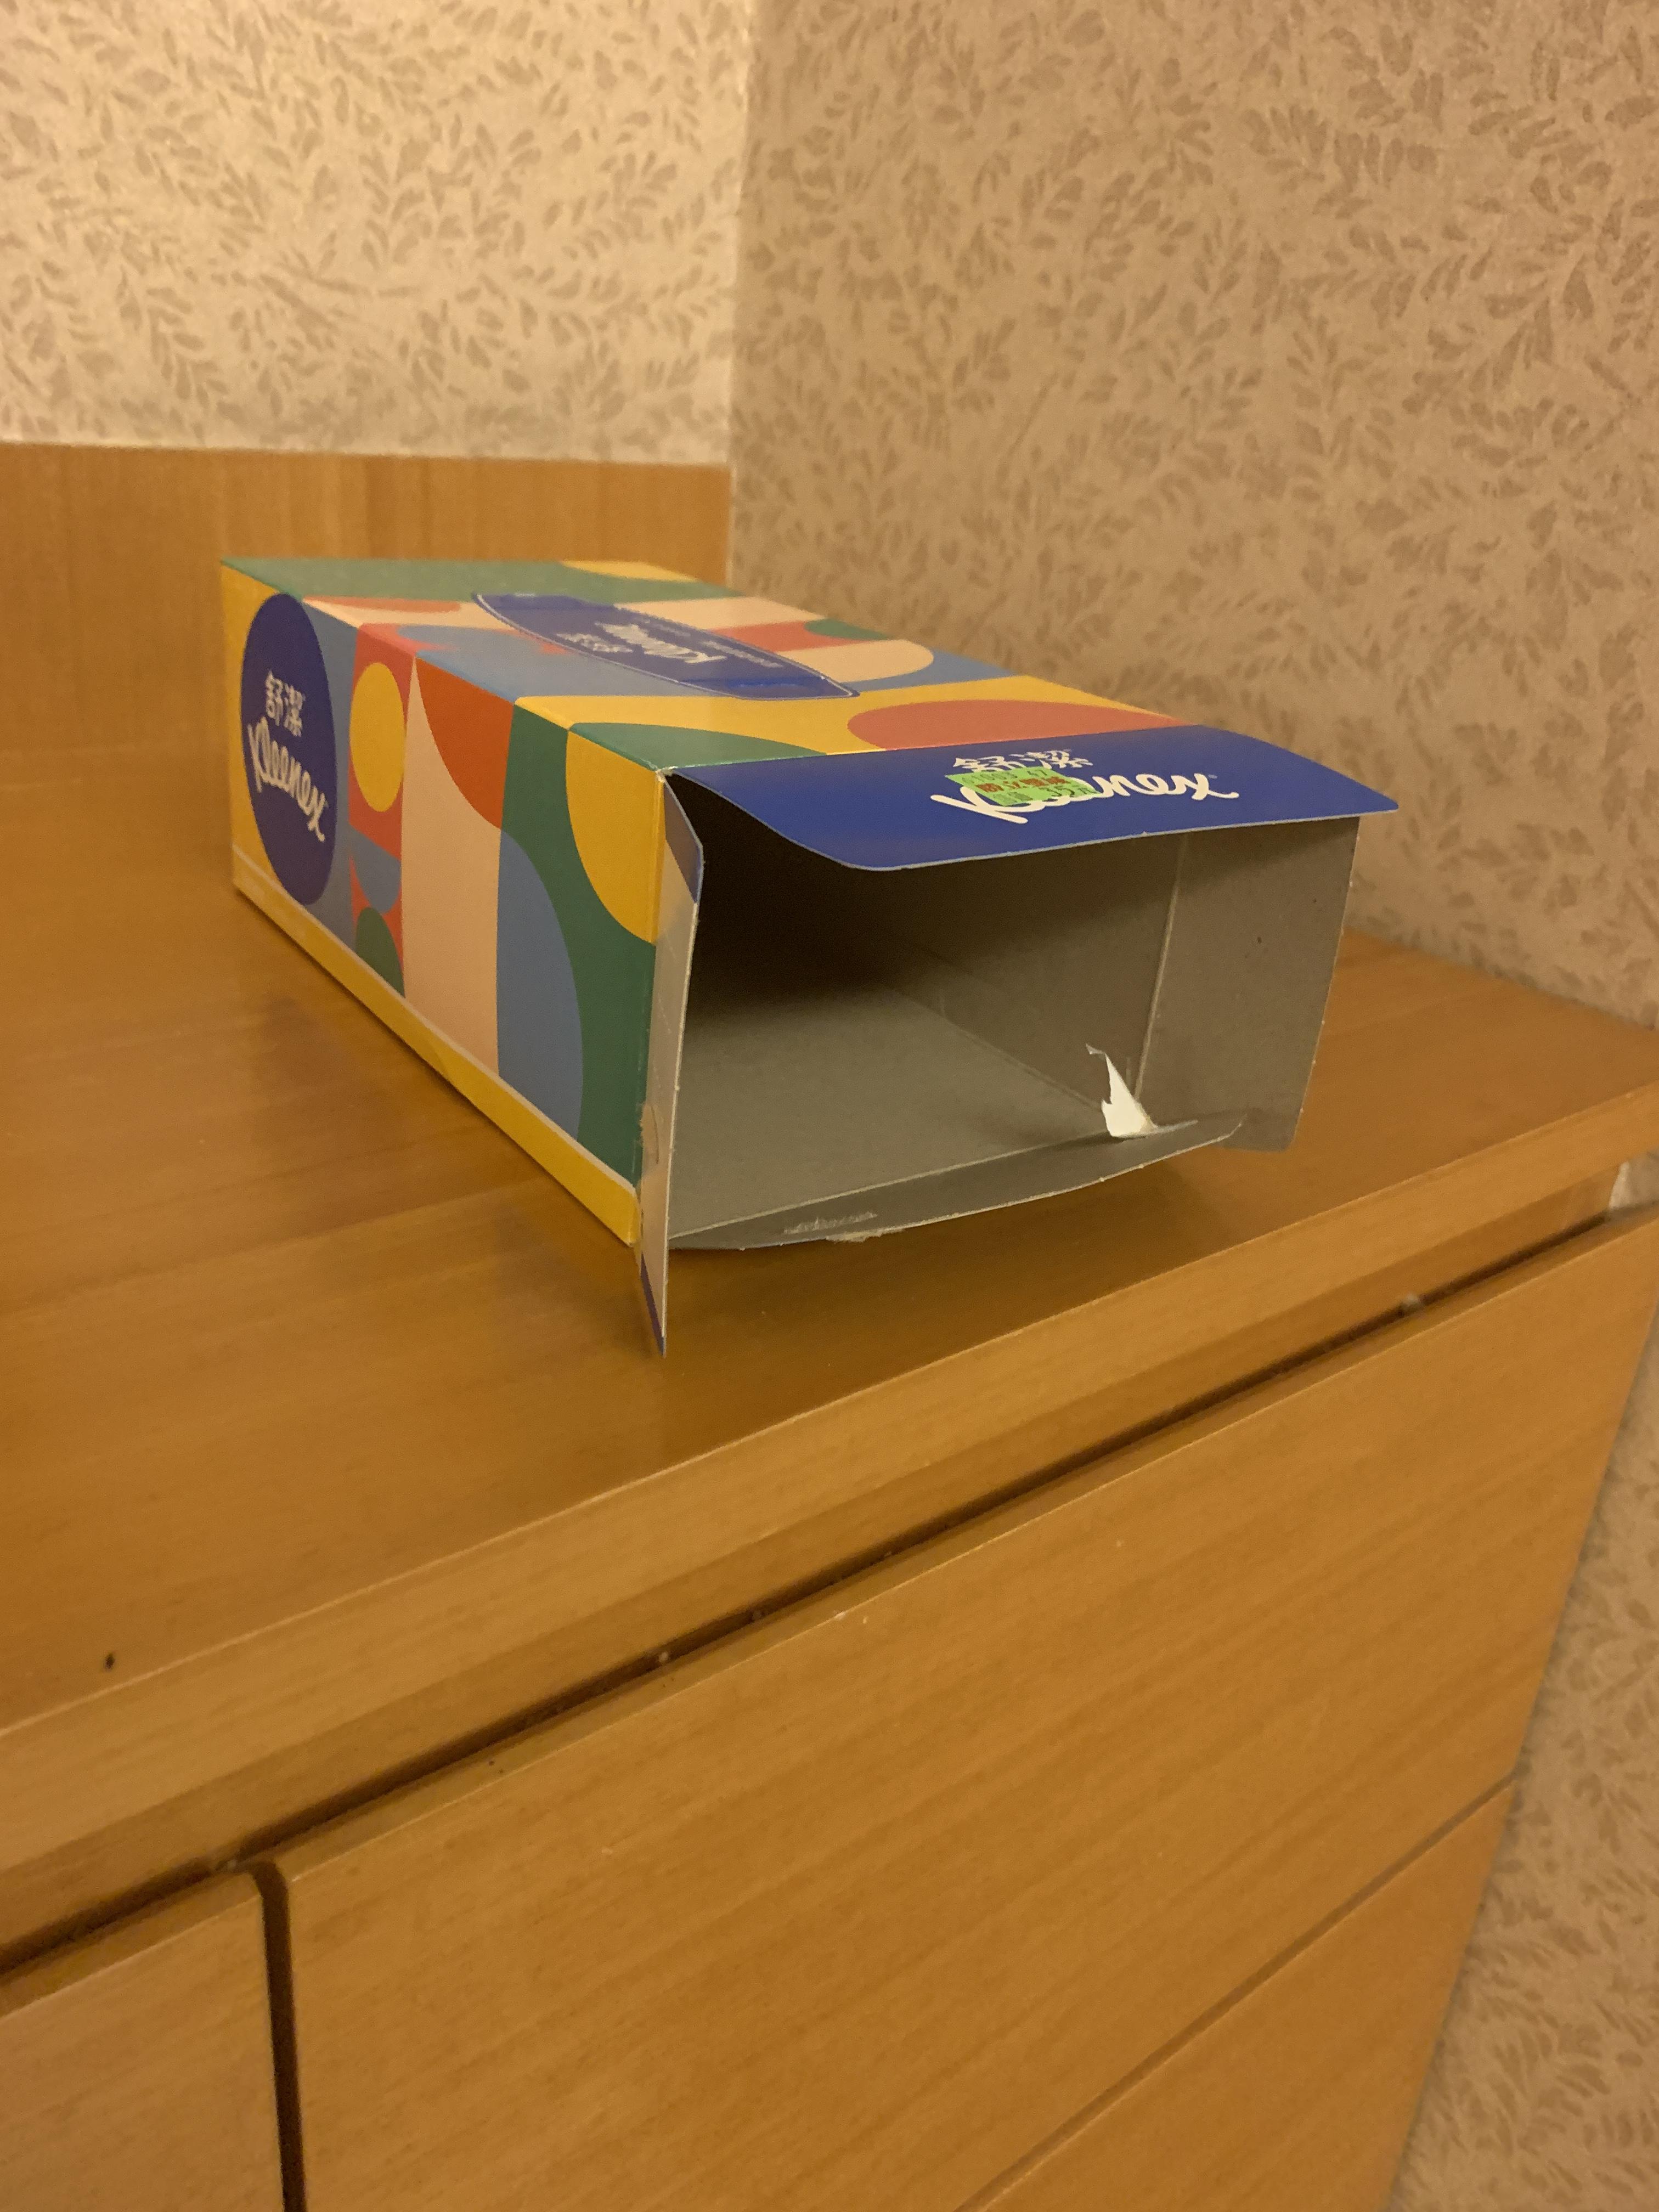
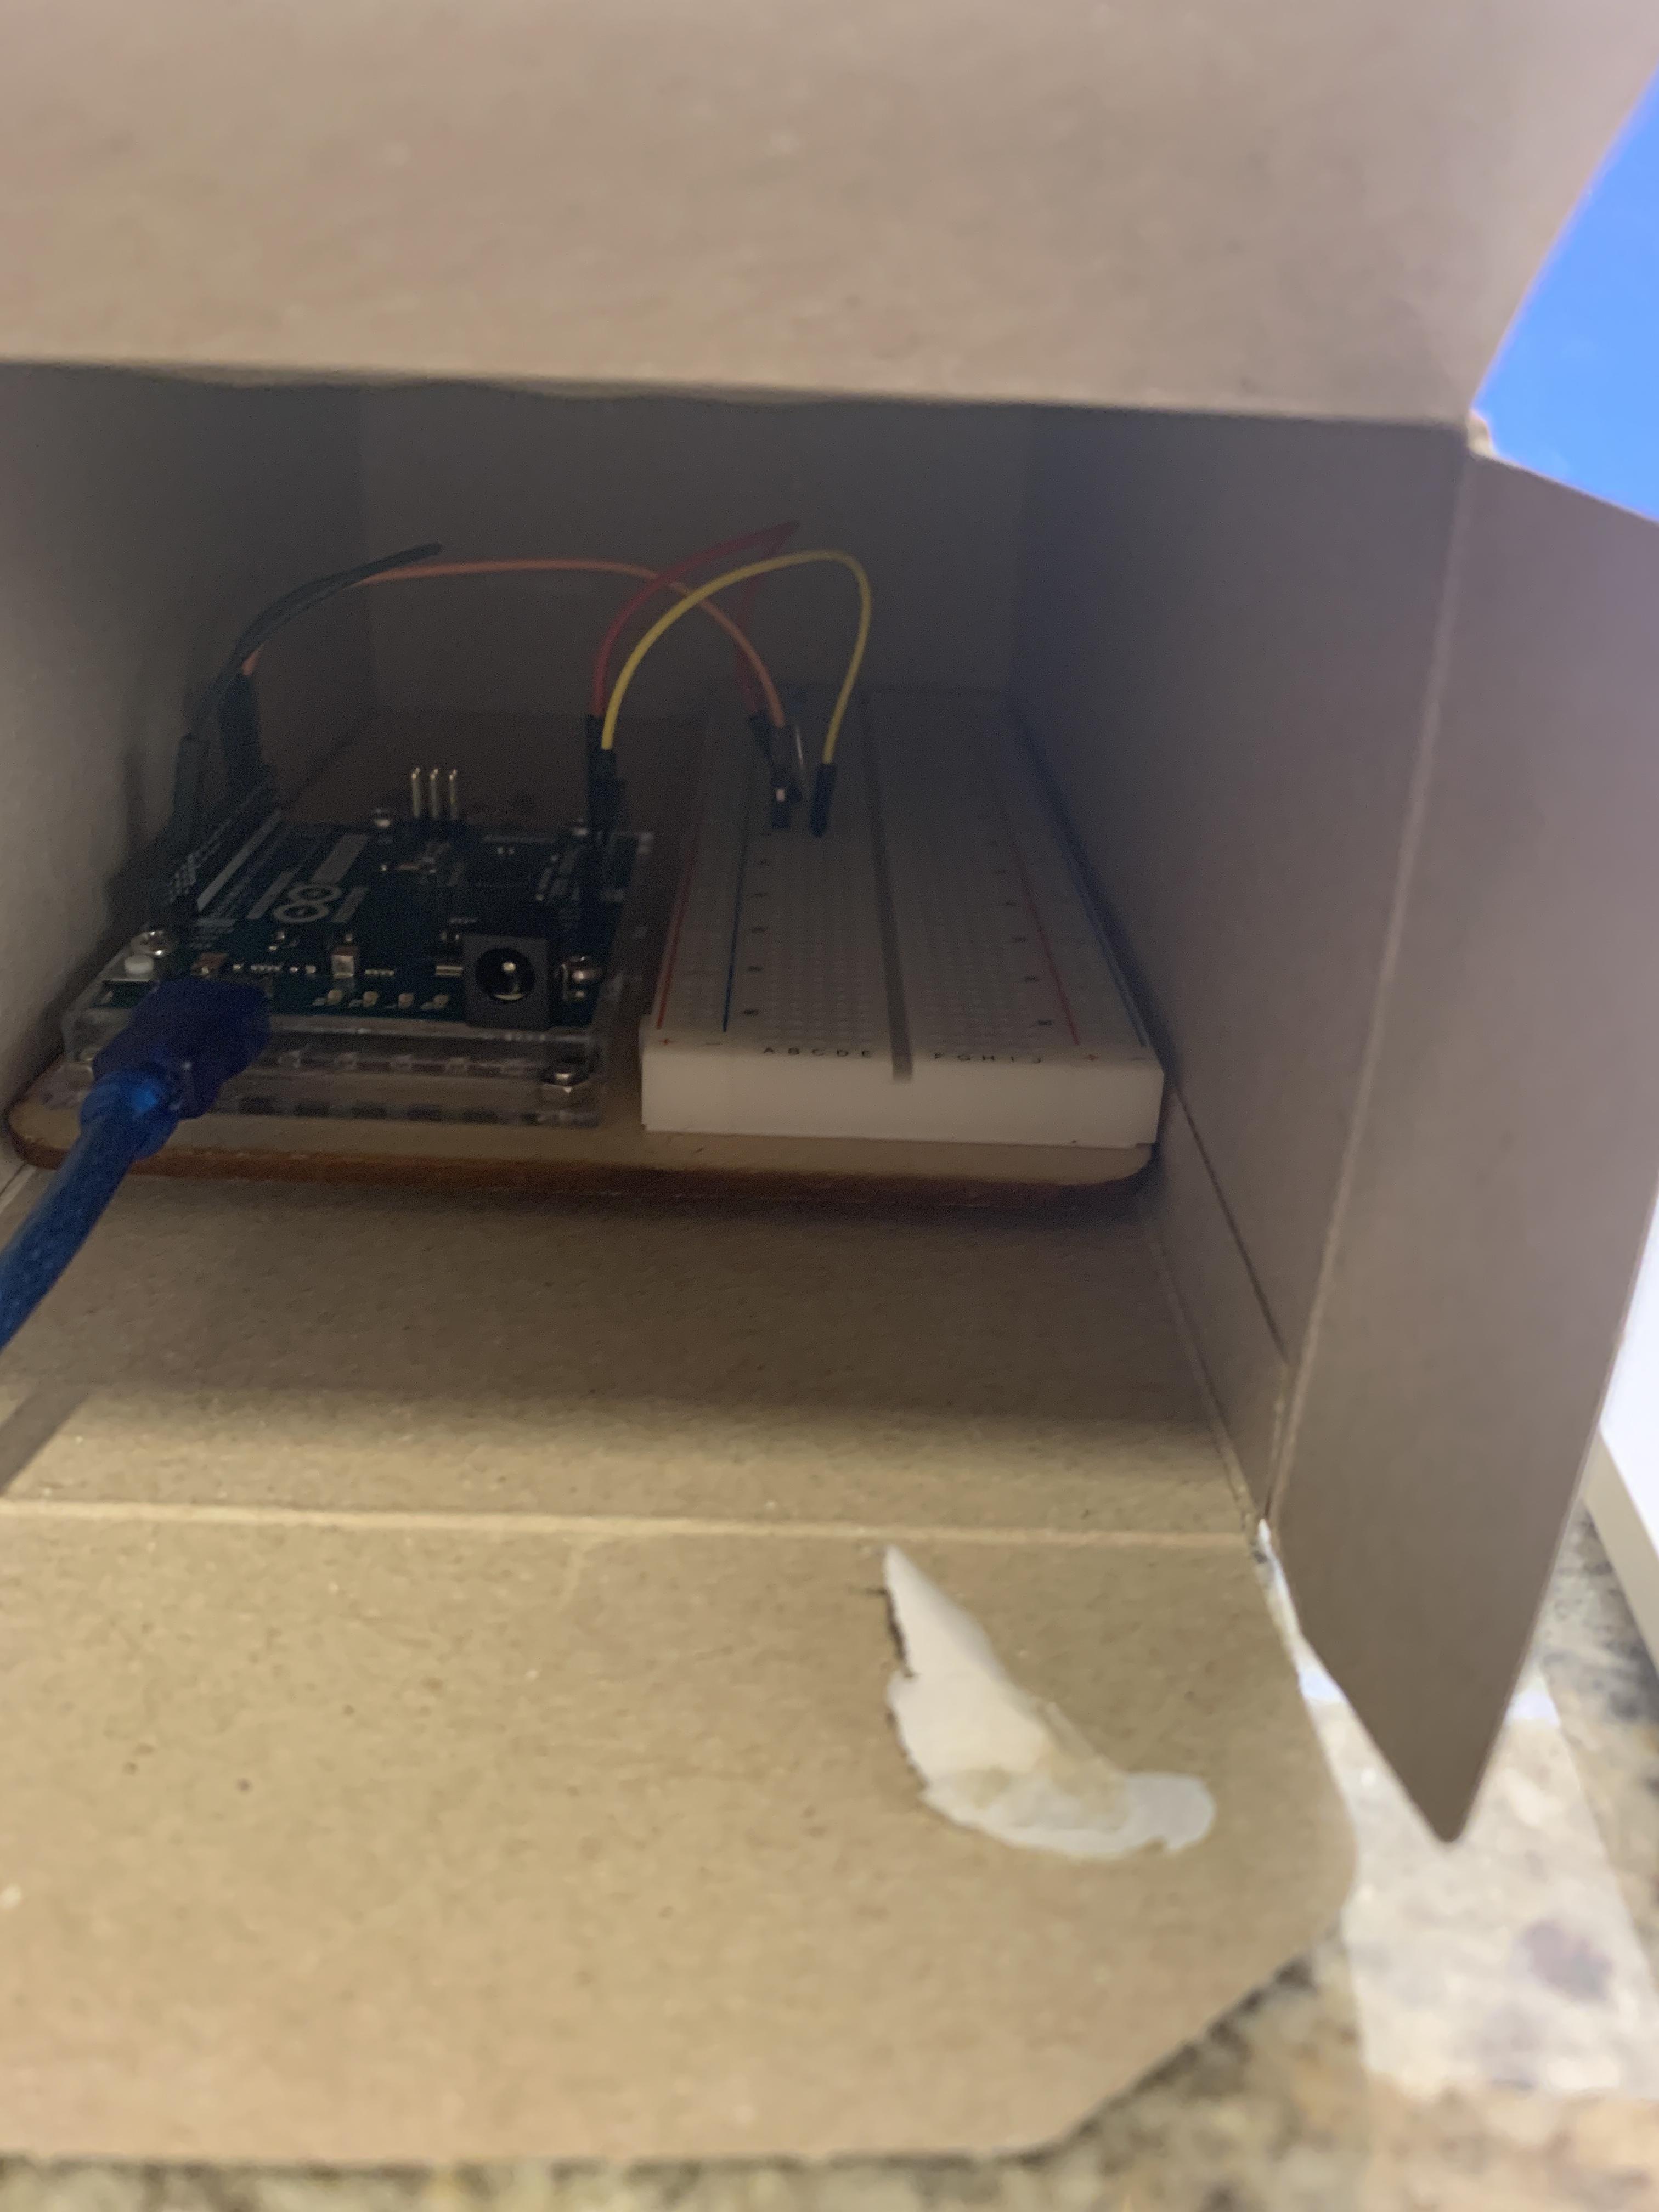
If you are using the packaging of tissue paper like me, you could first clear out everything inside, including the tissue papers. Then when you place your Arduino board in, it should fit perfectly.
Making a Stand for the Button
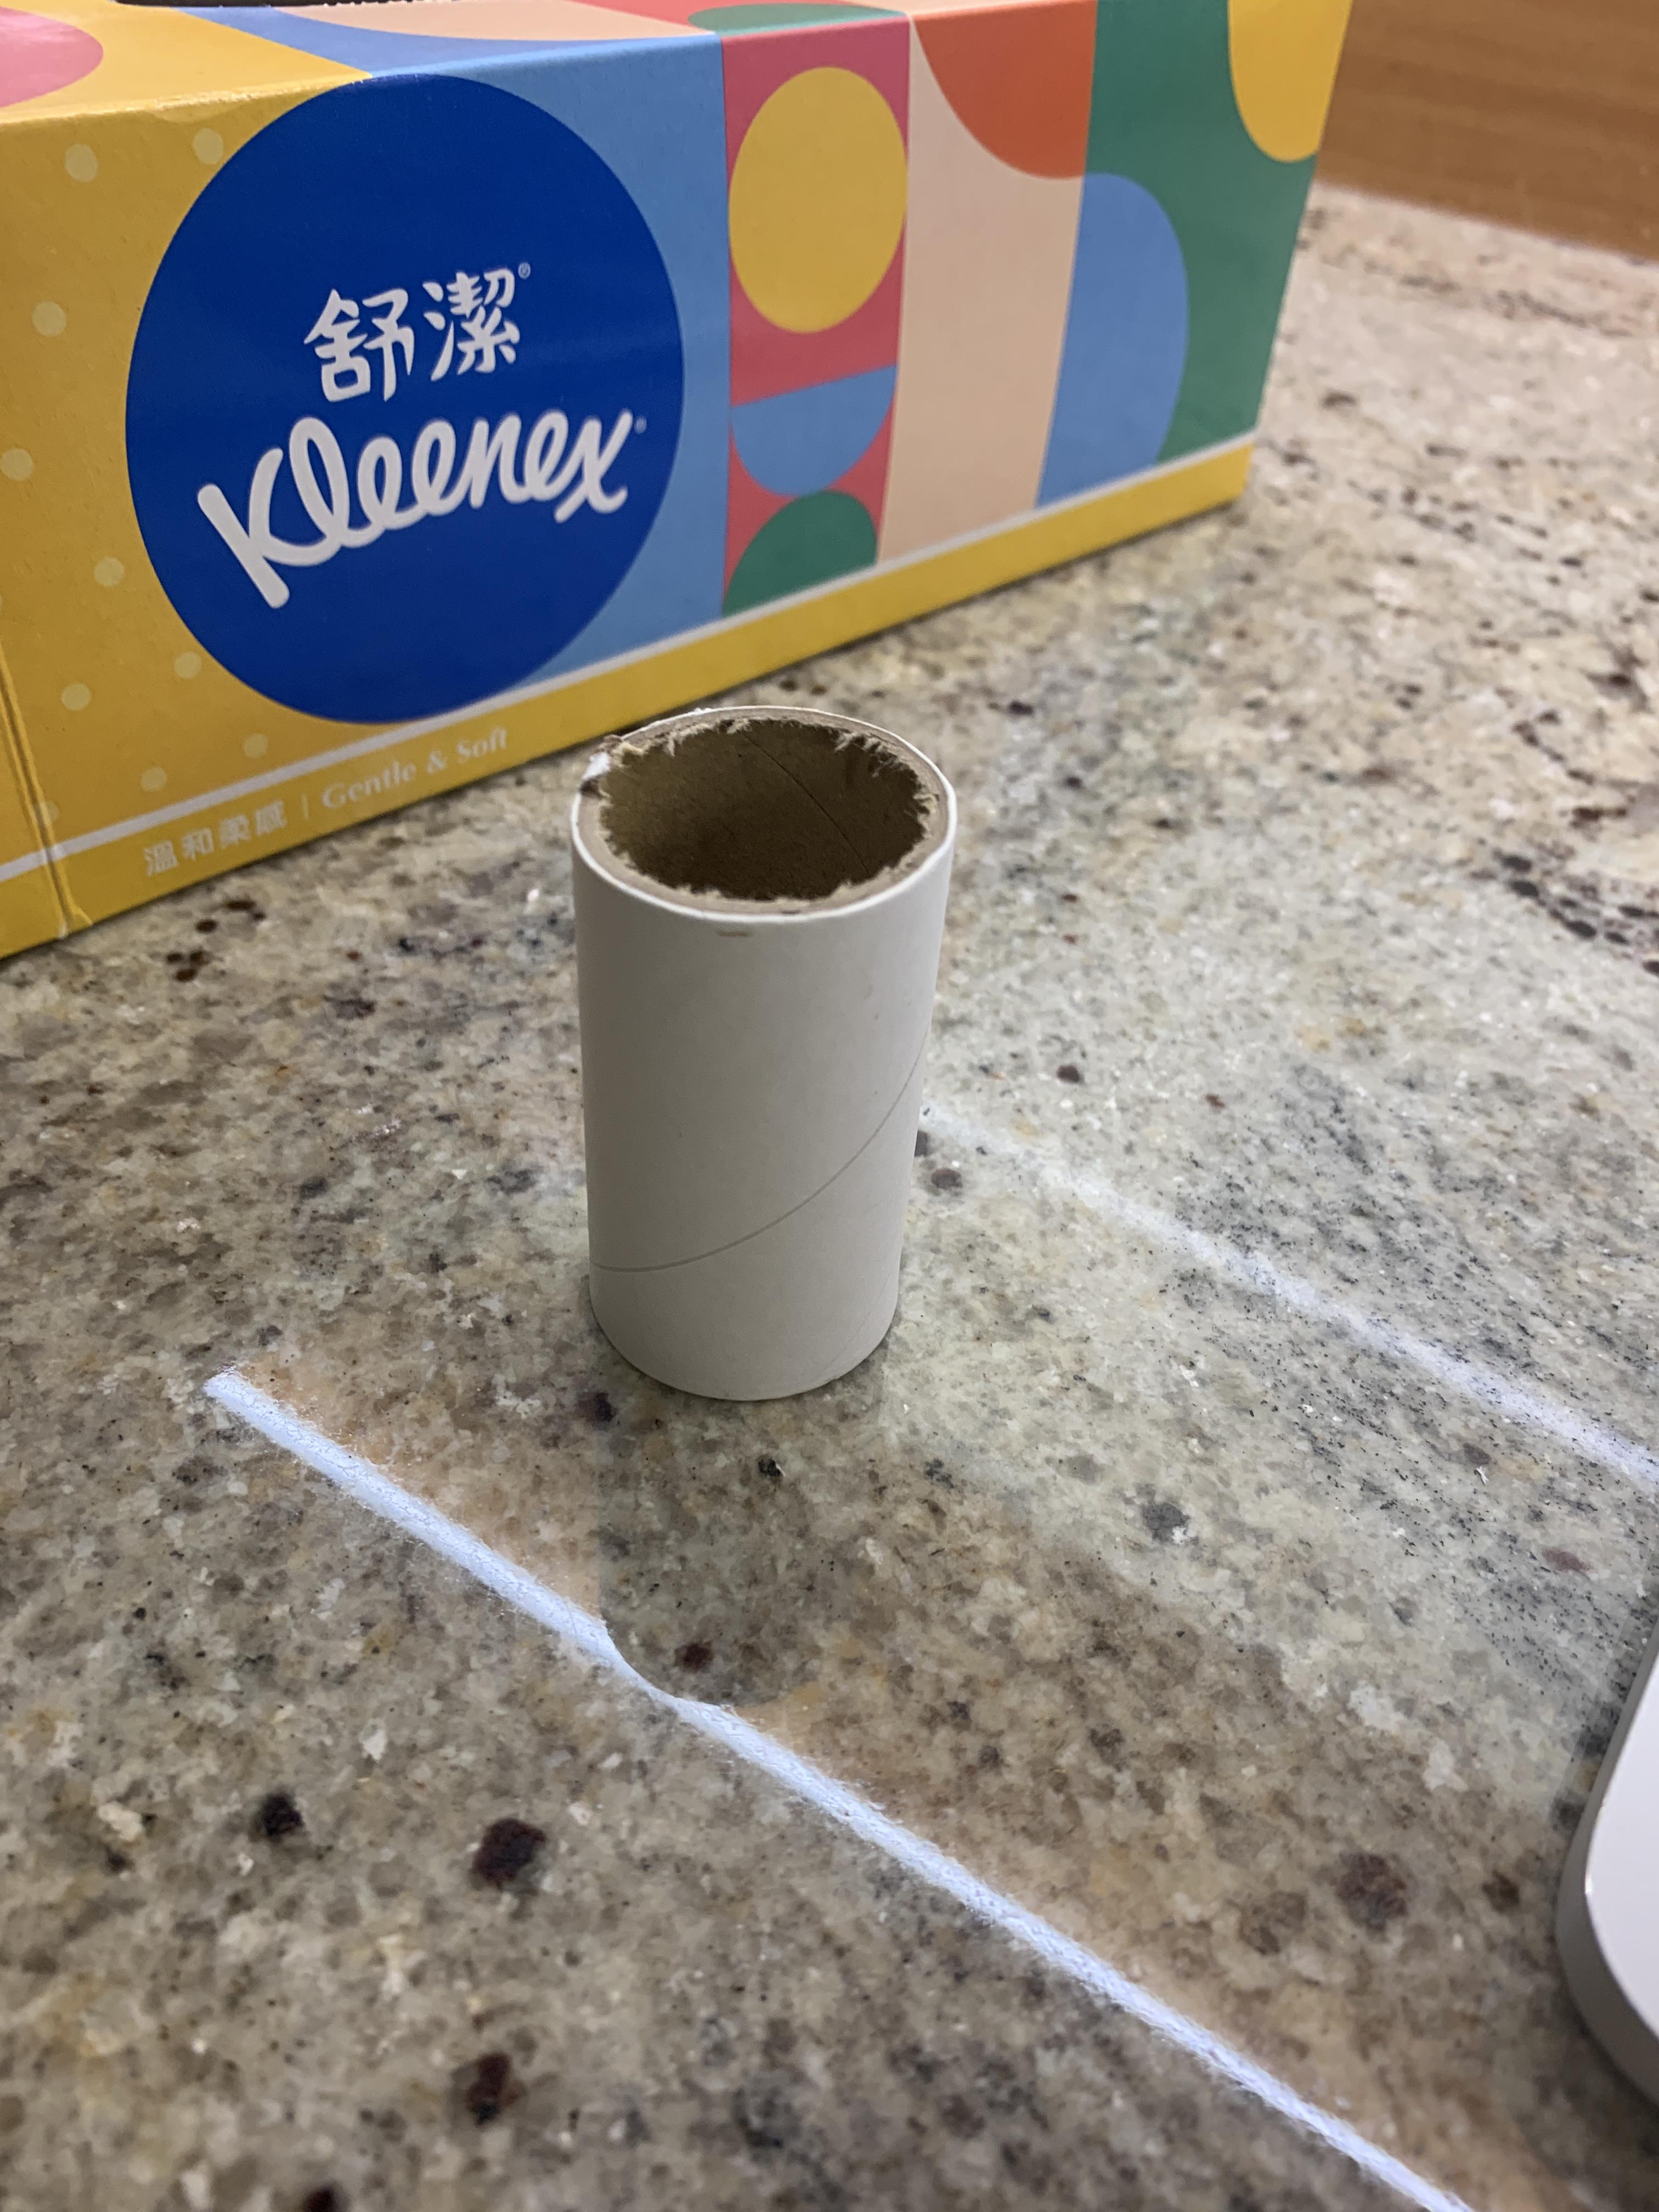
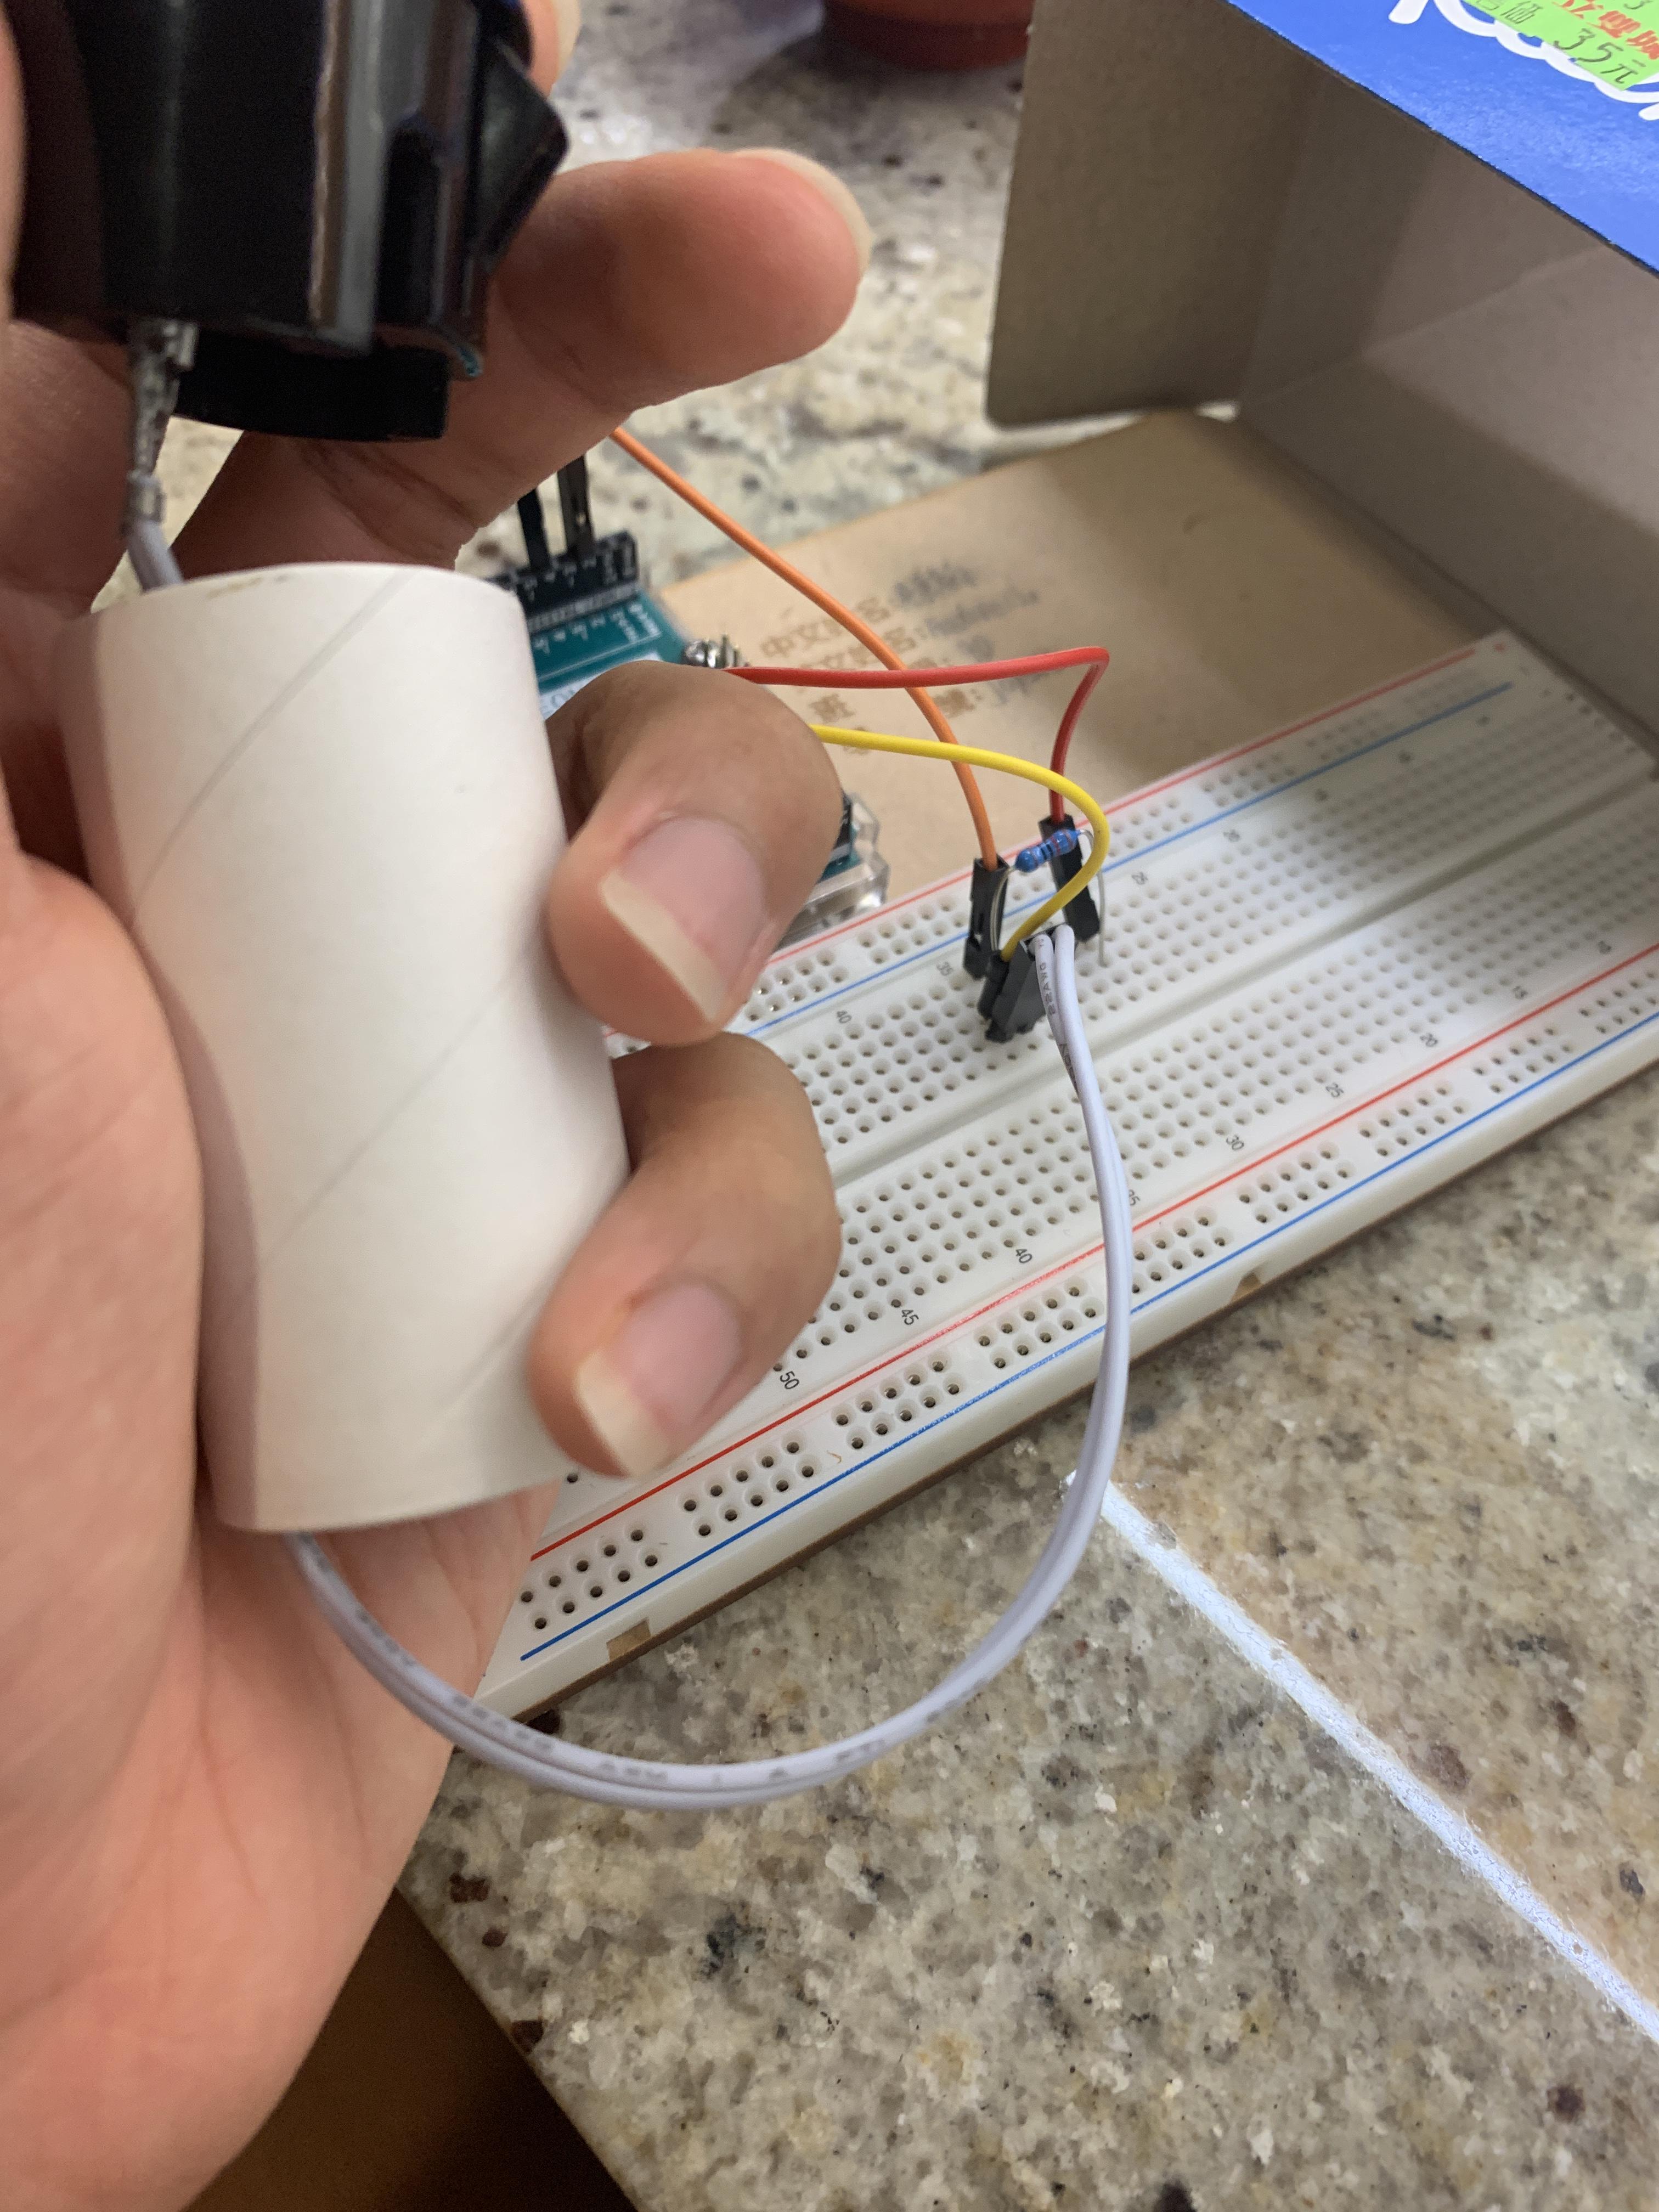
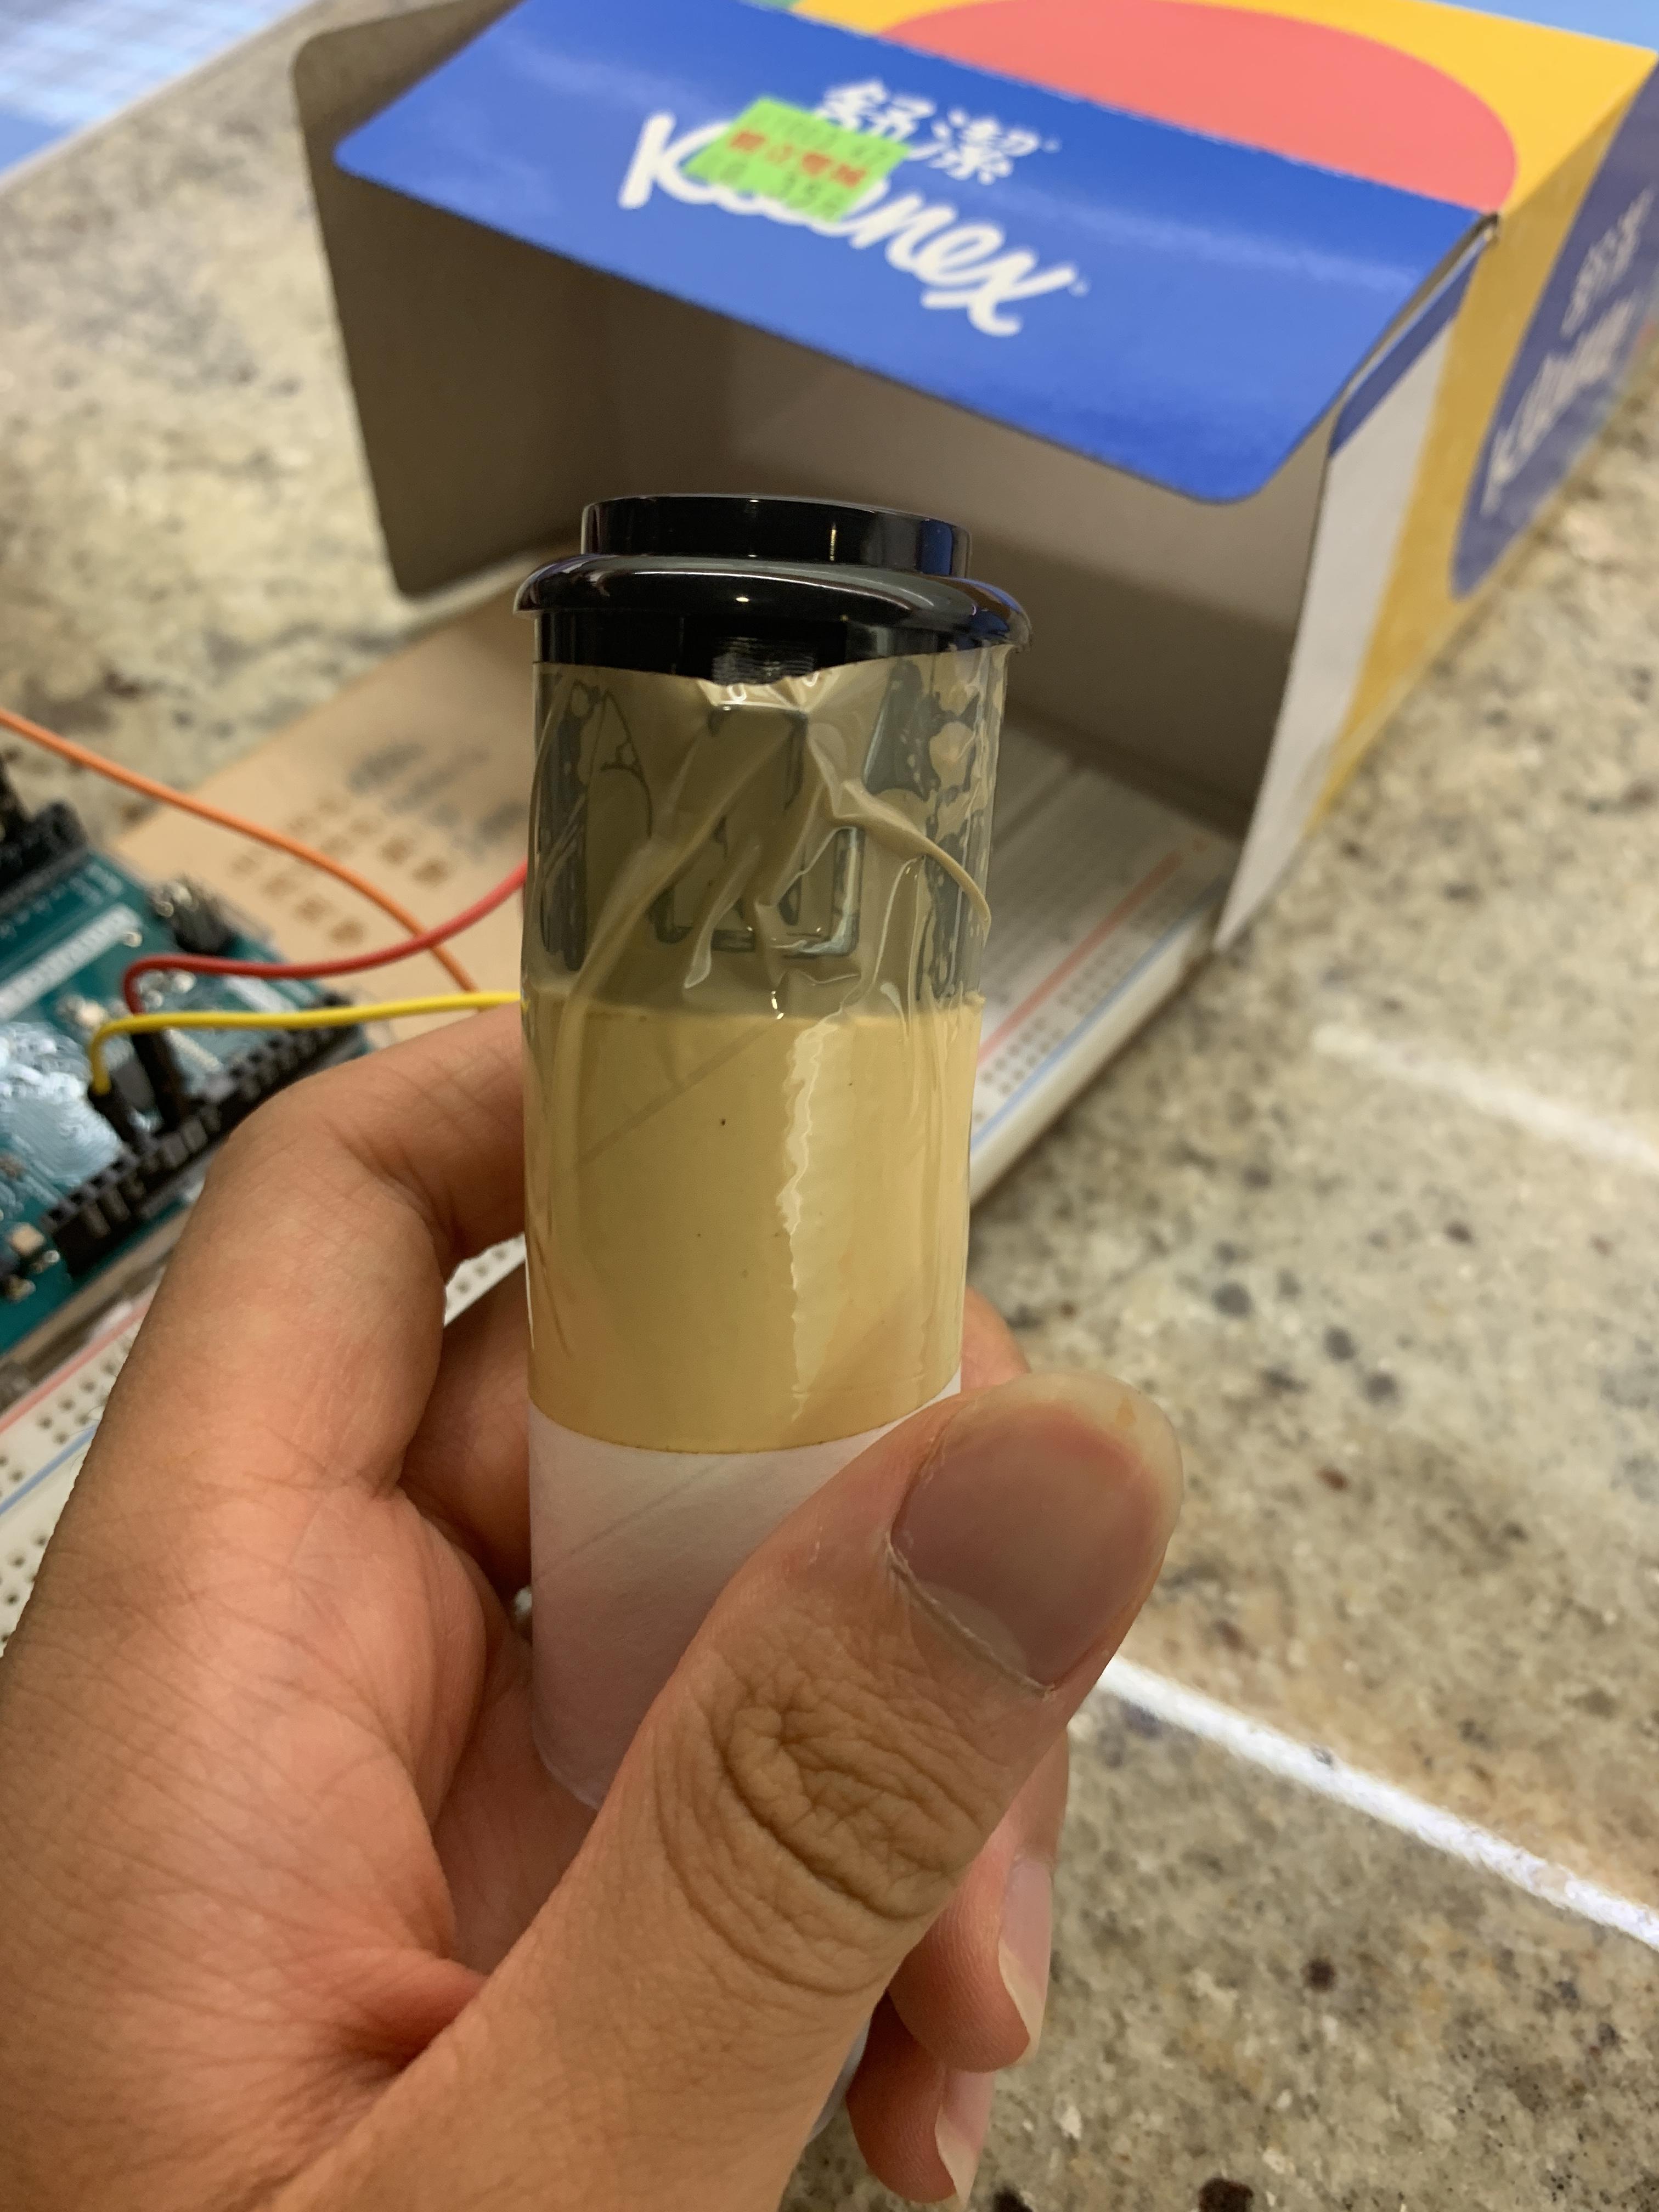
Then you will take the core of your paper towel to make the stand for the button. As long as the button can be placed on top of the stand, any dimension will be fine. But according to my own tissue paper wrapping, I decided to make my stand with a height of six centimeters.
Placing the Stand and Arduino Inside the Box
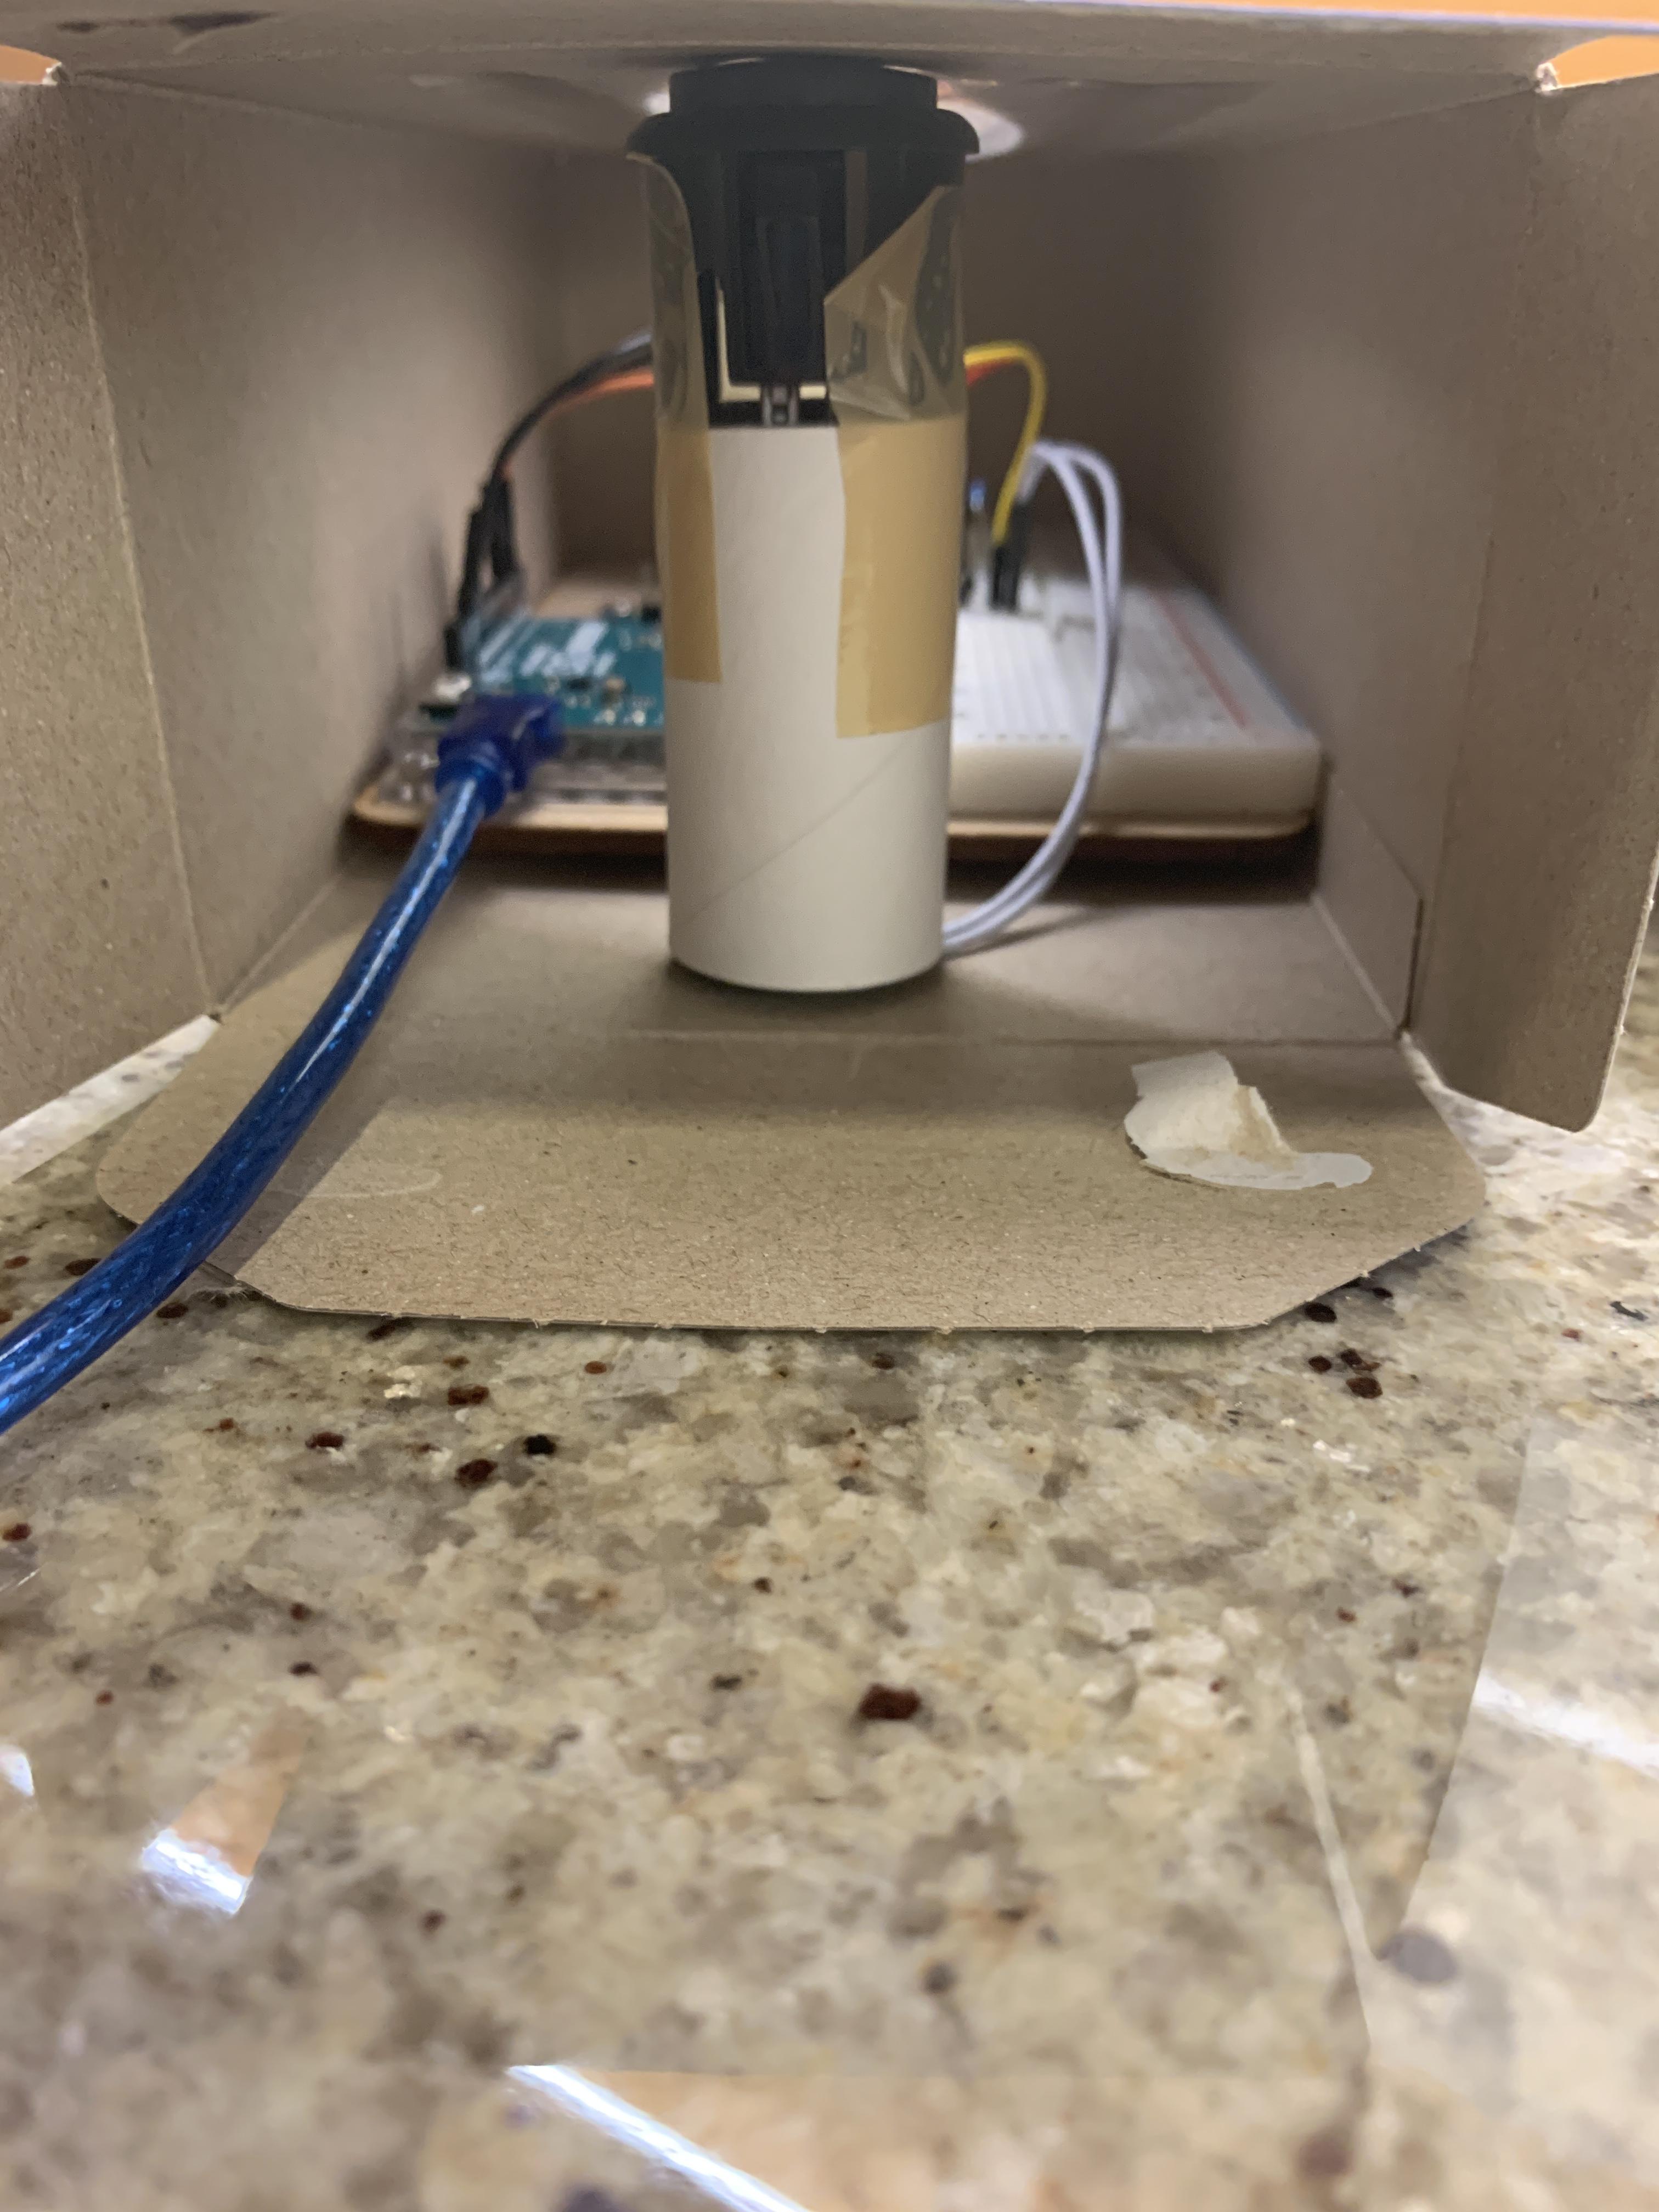
Now, you will place everything inside the box. Make sure that your Arduino is placed correctly and is not tilted or something. Then make sure that you button JUST touches the top of whatever container you are using so that we can actually detect whether or not the button is pressed. After making sure of all those, you will need double sided tape to stick the stand right on the box so it will not fall.
Finalizing the Box

Last but not least, you should cut the box to make sure that the cable can go right in. Dimension does not matter, what matters is the fact that you will need to make sure that the cables can get connected with your Arduino. Lastly, after all those, you can decorate the the product in whatever way possible and in what ever way you want it to look like.
My Code
#include <Mouse.h>
void setup(){  // put your setup code here, to run once:
  pinMode( 2 , INPUT);   // sets the digital pin as input
  Mouse.begin(); // initialize control over the mouse
}

void loop(){  // put your main code here, to run repeatedly:
  if (digitalRead( 2 )) {
    pinMode(4,INPUT_PULLUP);  //make pin 4 an input and turn on the pullup resistor so it goes high unless connected to ground
    if(digitalRead(4)==LOW){  // do nothing until pin 4 goes low
      Mouse.click(MOUSE_LEFT);
    }
    delay( 1000 ); // waits a few milliseconds
  }
}