Arduino-Powered Touch-Free Trash Can
by kendapharell in Circuits > Arduino
939 Views, 1 Favorites, 0 Comments
Arduino-Powered Touch-Free Trash Can
.png)
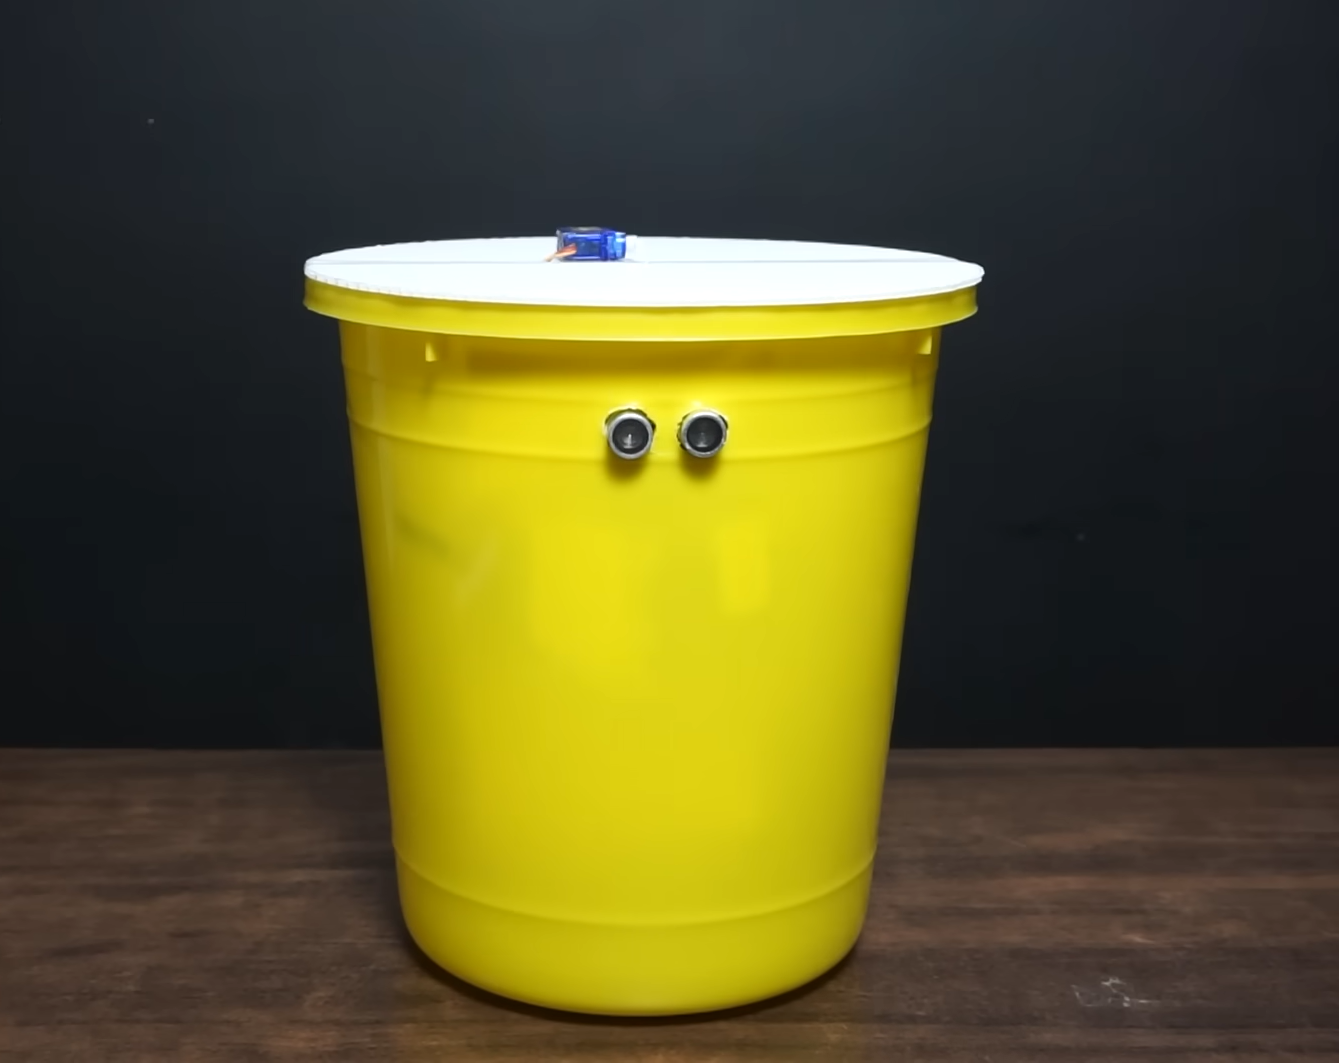
I created an Arduino-powered smart trash can for a hygienic solution. The lid opens automatically using a sensor, eliminating the need for physical contact. This not only adds convenience but also promotes cleanliness by reducing the spread of germs and ensuring a touch-free disposal experience. Follow the straightforward steps to assemble your own hands-free and hygienic trash can. I aim to simplify this instructable, ensuring that it's accessible to everyone. My goal is to make it easy for anyone to understand and build their own project.
Supplies
.png)
.png)
.png)
.png)
.png)
.png)
Supplies :
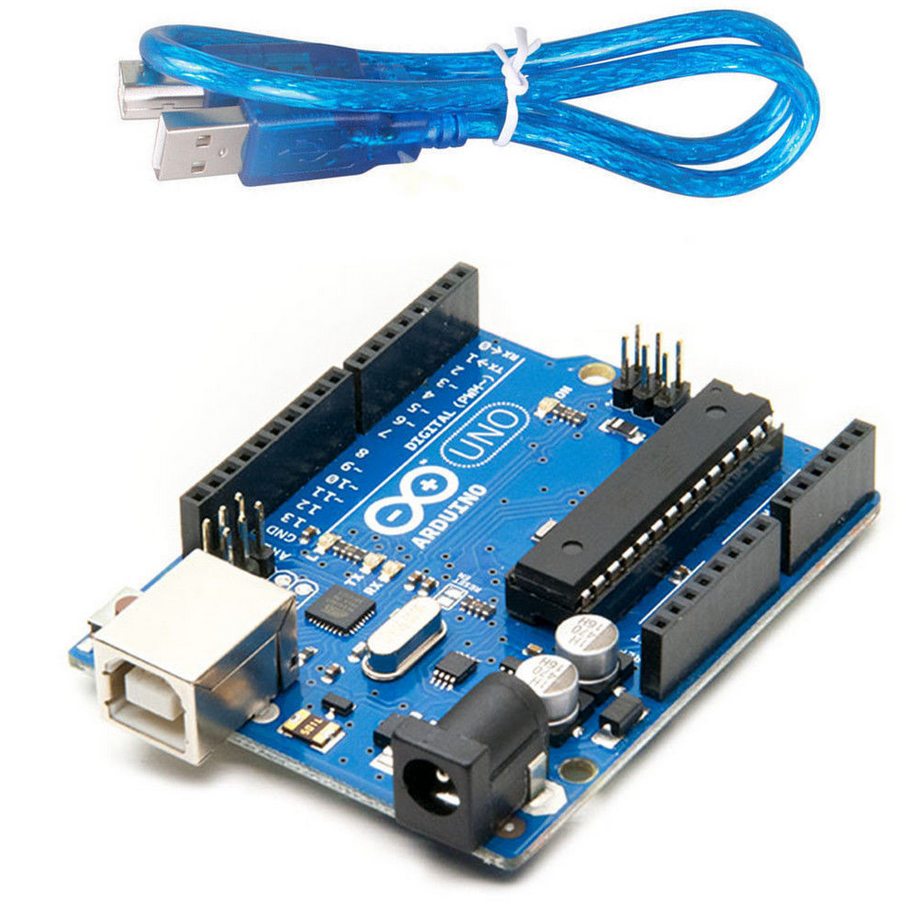
- Arduino board (e.g., Arduino Uno)
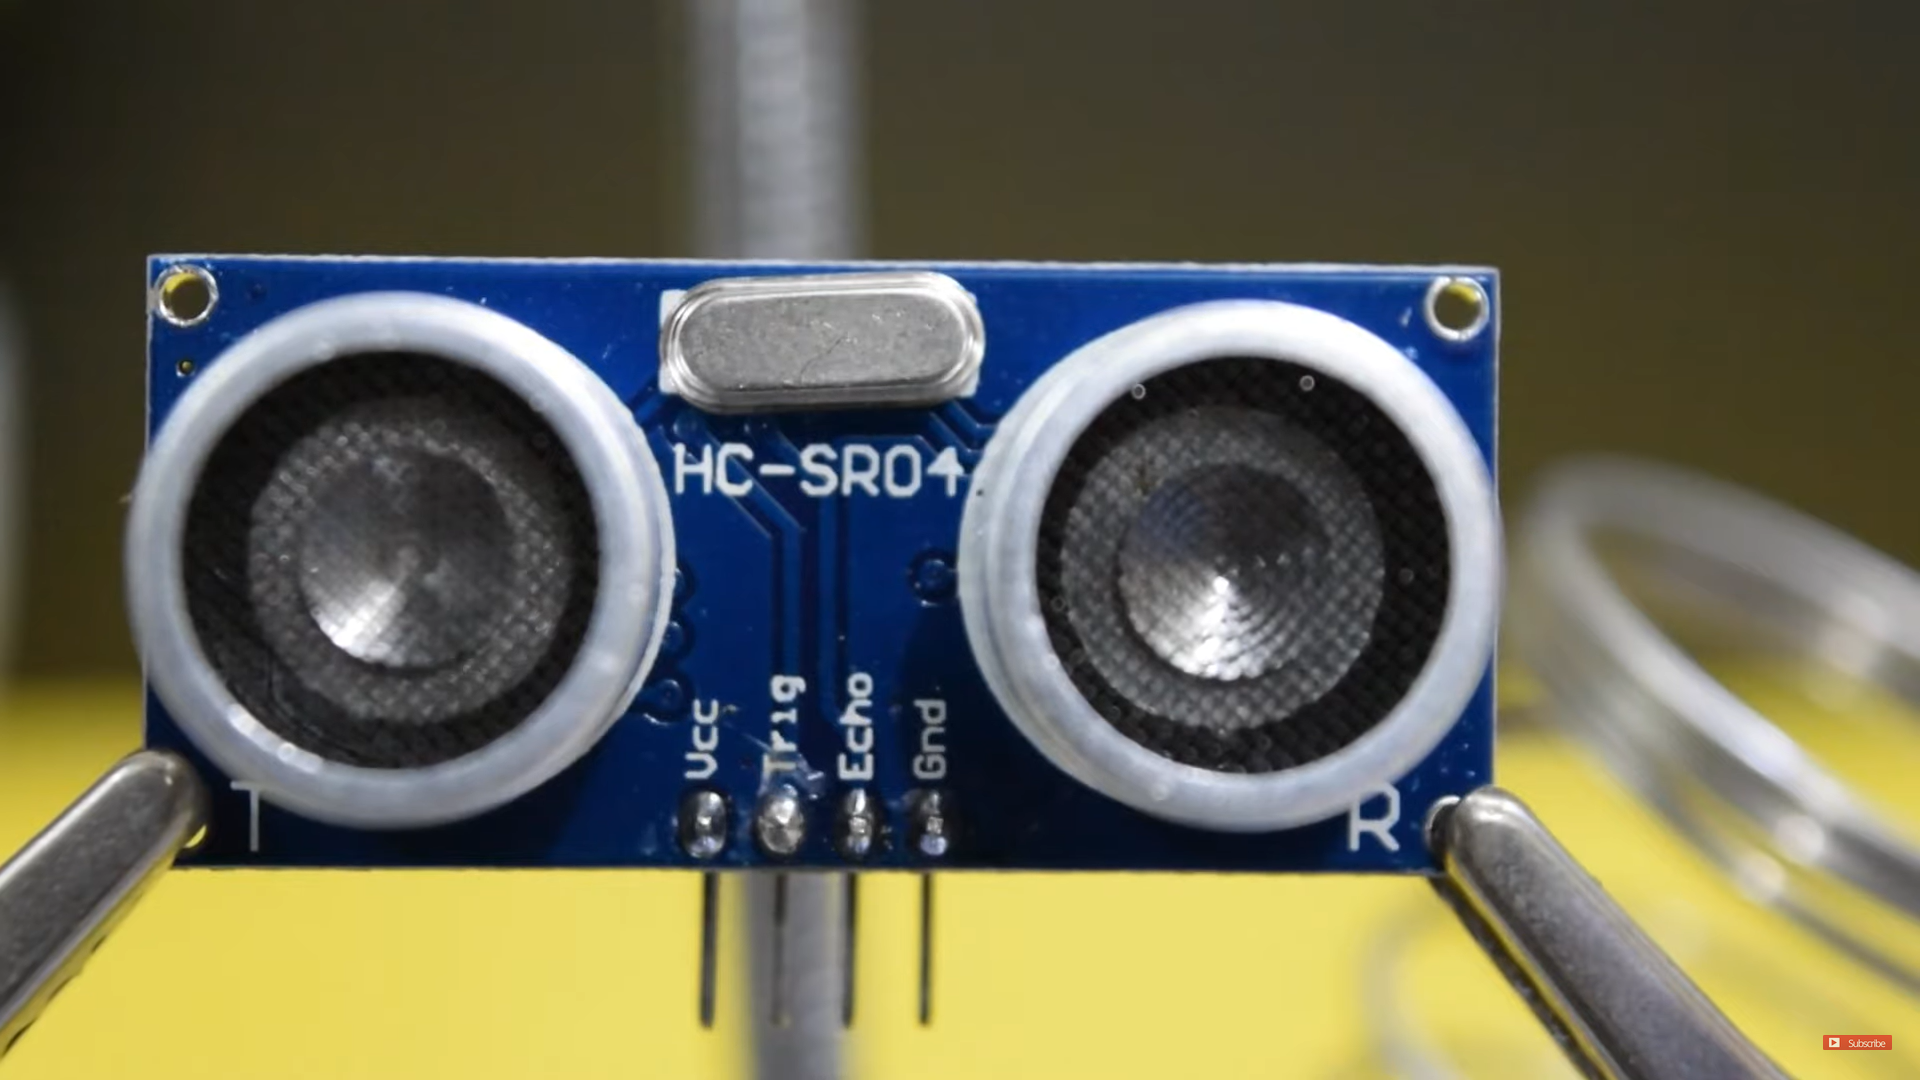
- Ultrasonic distance sensor (HC-SR04)
- Servo motor
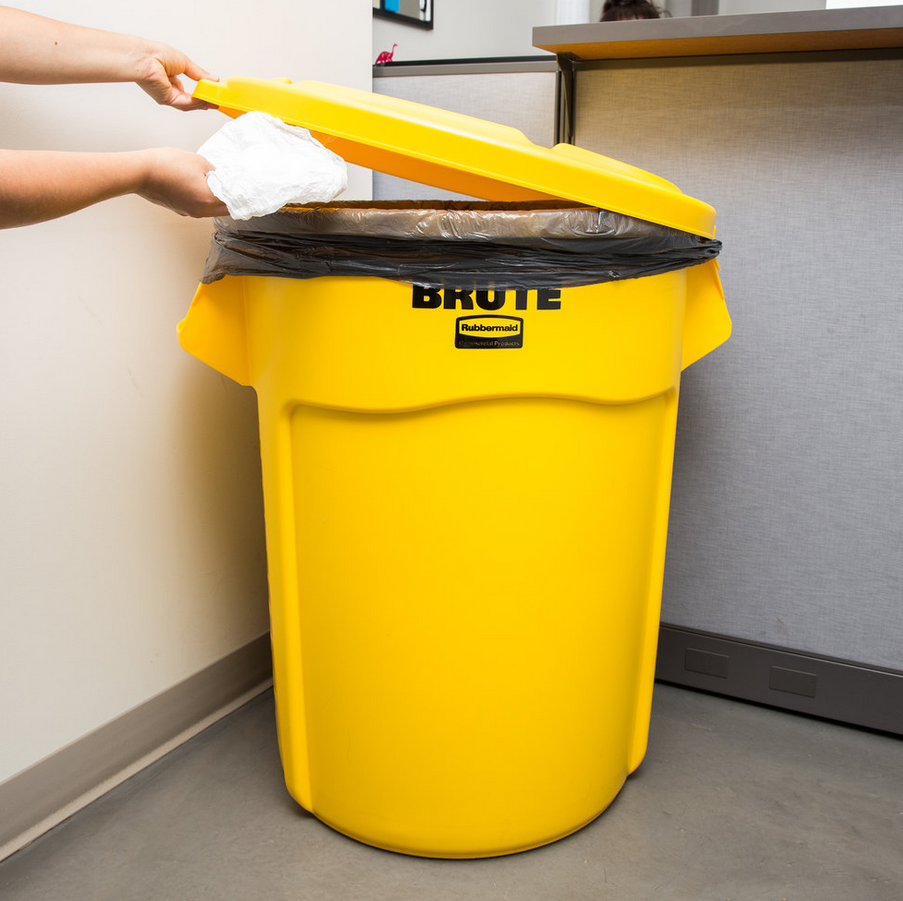
- Trash can with a lid
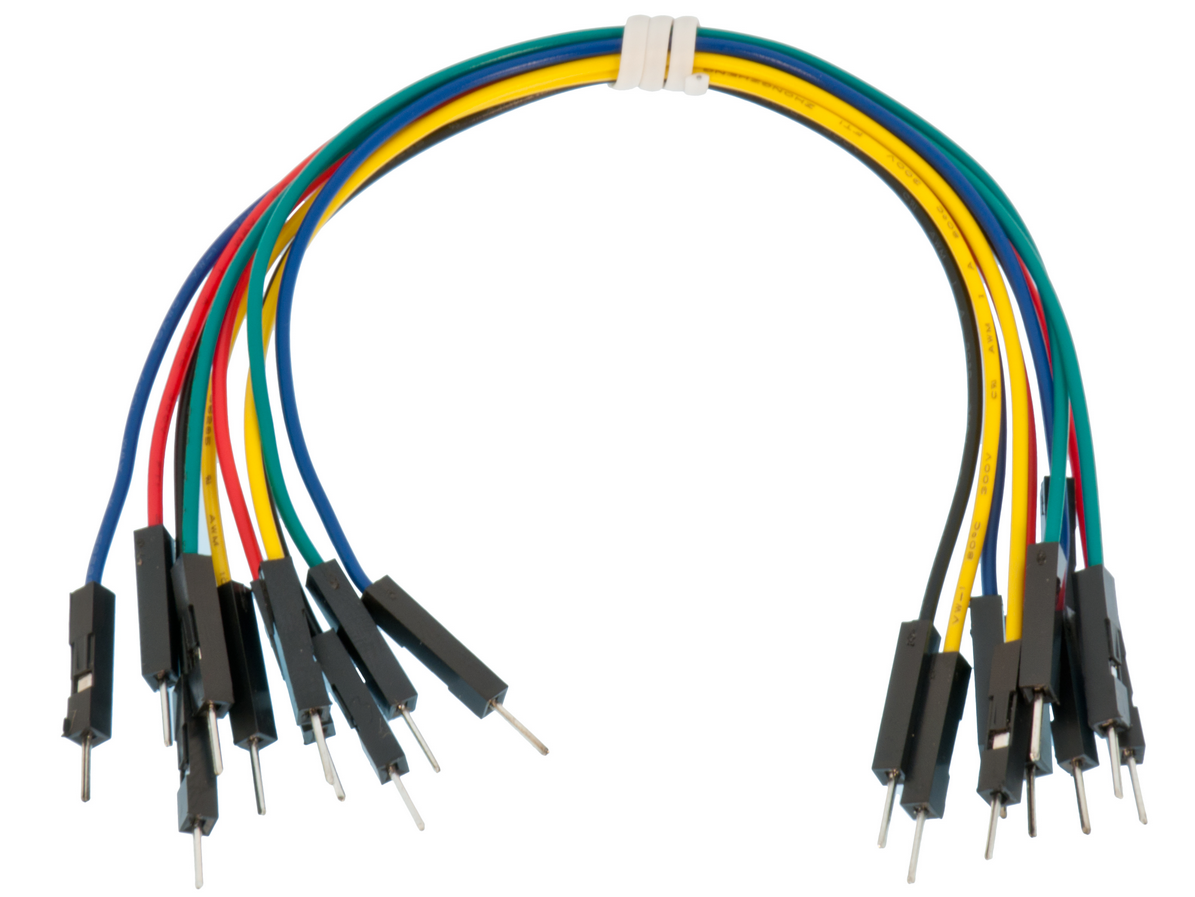
- Jumper wires
- Power source for Arduino (USB cable or battery pack)
Upload the Arduino Code
.png)
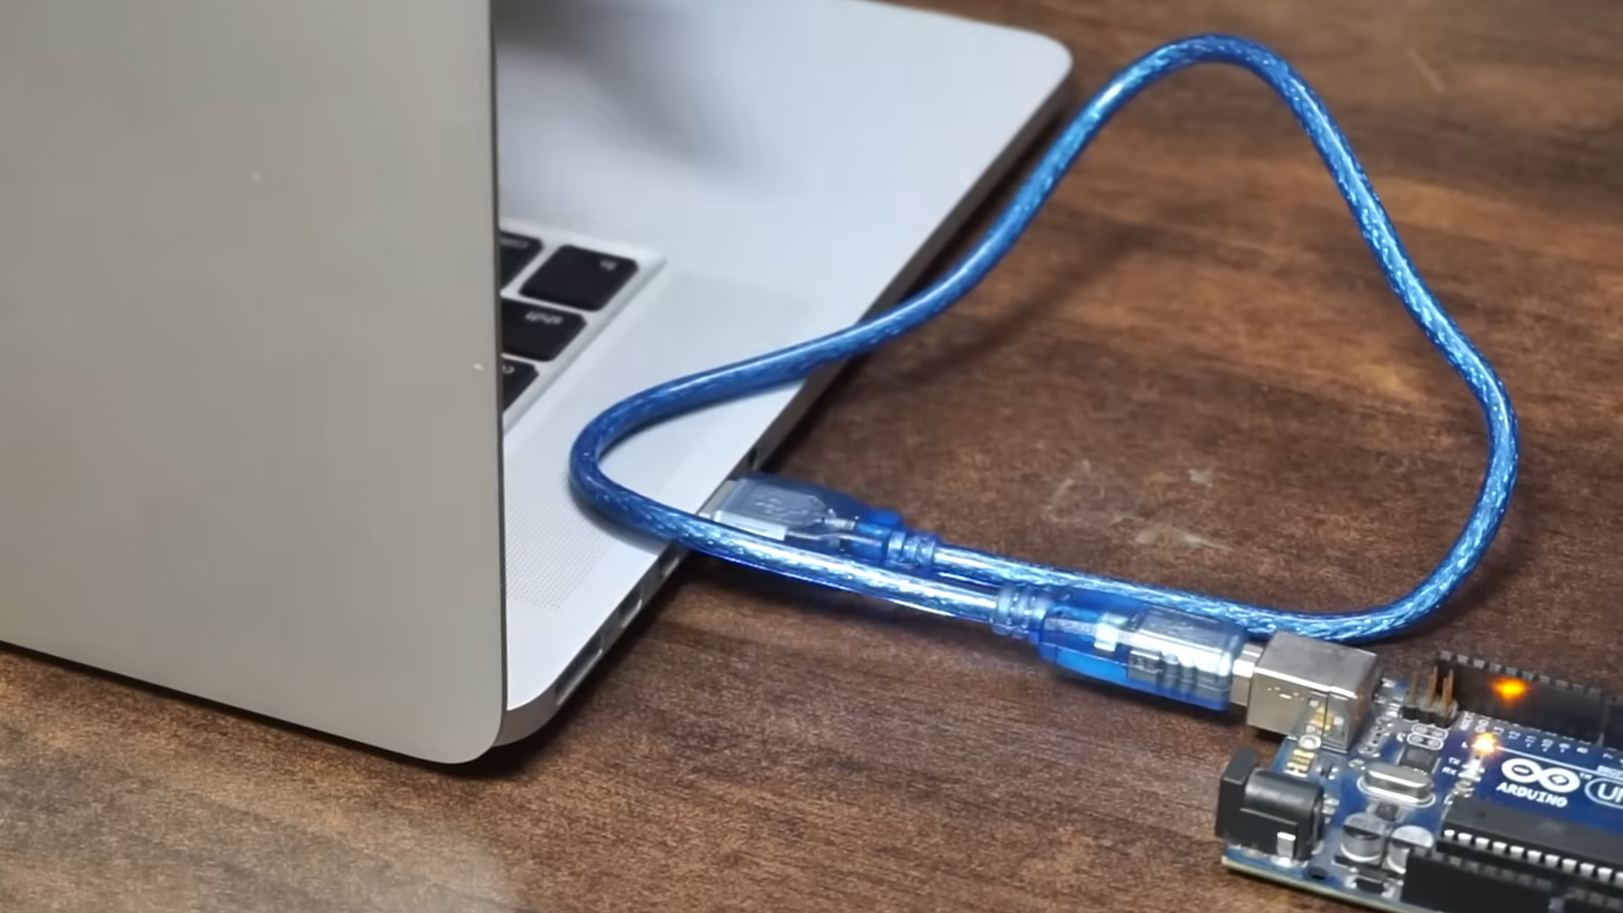
First, install the Arduino servo library and then Connect your Arduino board to your computer and Upload the code below
#include <Servo.h>   //servo library
Servo servo;
int trigPin = 5;
int echoPin = 6;
int servoPin = 7;
int led= 10;
long duration, dist, average;
long aver[3];   //array for average


void setup() {
    Serial.begin(9600);
    servo.attach(servoPin);
    pinMode(trigPin, OUTPUT);
    pinMode(echoPin, INPUT);
    servo.write(0);         //close cap on power on
    delay(100);
    servo.detach();
}

void measure() {
 digitalWrite(10,HIGH);
digitalWrite(trigPin, LOW);
delayMicroseconds(5);
digitalWrite(trigPin, HIGH);
delayMicroseconds(15);
digitalWrite(trigPin, LOW);
pinMode(echoPin, INPUT);
duration = pulseIn(echoPin, HIGH);
dist = (duration/2) / 29.1;    //obtain distance
}
void loop() {
  for (int i=0;i<=2;i++) {   //average distance
    measure();
   aver[i]=dist;
    delay(10);              //delay between measurements
  }
 dist=(aver[0]+aver[1]+aver[2])/3;

if ( dist<50 ) {
//Change distance as per your need
 servo.attach(servoPin);
  delay(1);
 servo.write(0);
 delay(3000);
 servo.write(150);
 delay(1000);
 servo.detach();
}
Serial.print(dist);
}
Assemble the Circuit Using Tinkercad
.png)
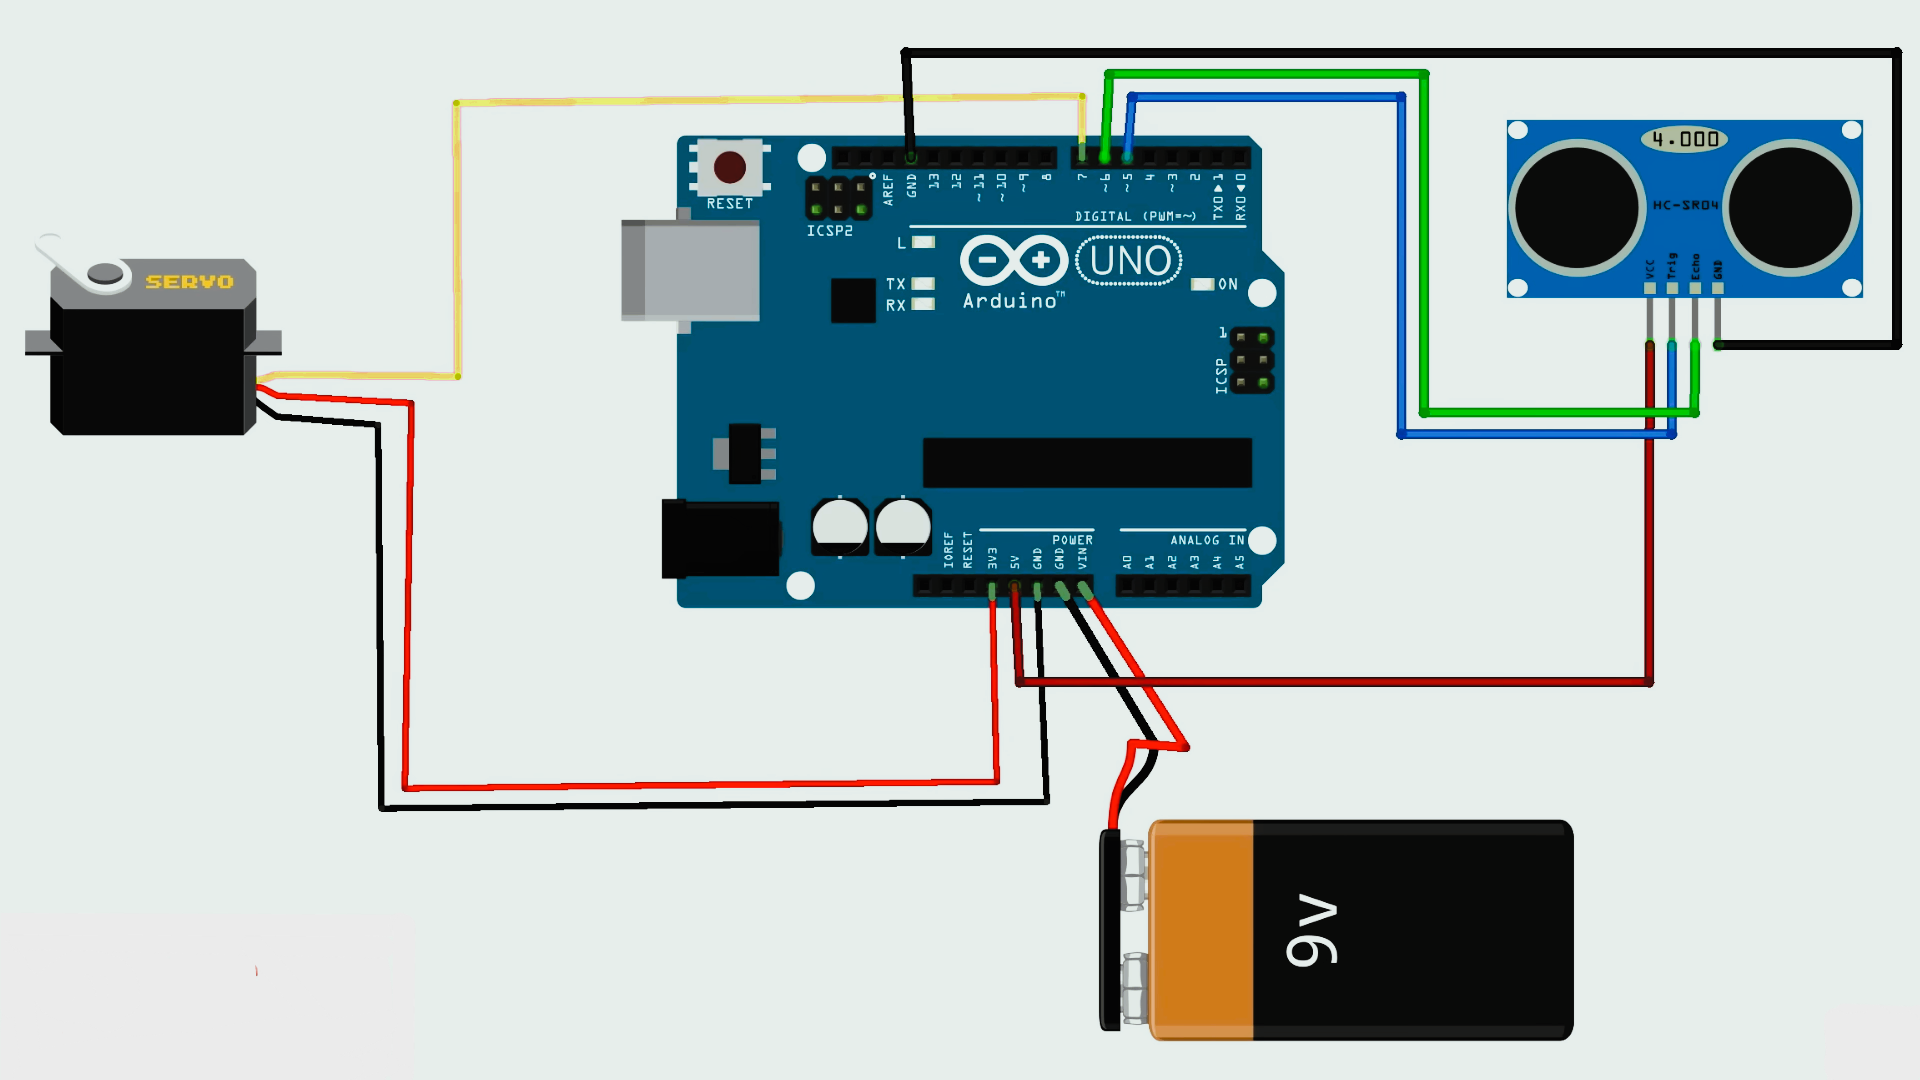
Ultrasonic Sensor:
- Connect VCC to Arduino's 5V.
- Connect GND to Arduino's GND.
- Connect Trig to Digital Pin 5.
- Connect Echo to Digital Pin 6.
Servo Motor:
- Connect the Yellow Pin to the Digital Pin 7.
- Connect Black to Arduino's GND.
- Connect Red to Arduino's 5V.
Power Supply:
- Connect Battery: Positive terminal to Arduino's 5V.
- Negative terminal to Arduino's GND.
Use the Circuit above I made in Tinkercad as a Guide
Build the Smart Trash Can
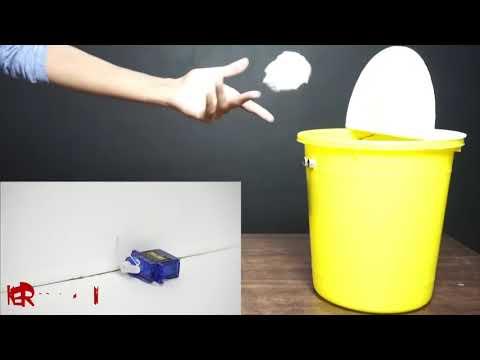
Utilize the tutorial video on my channel for step-by-step guidance in assembling the trash can. It will make the process even more straightforward.
Run the Trash Can
Congratulations on completing your auto trash can! You've just taken a step towards minimizing the spread of germs in your household.