Arduino Open Window Detector - for Winter
by DerGlorreiche in Circuits > Arduino
2247 Views, 6 Favorites, 0 Comments
Arduino Open Window Detector - for Winter
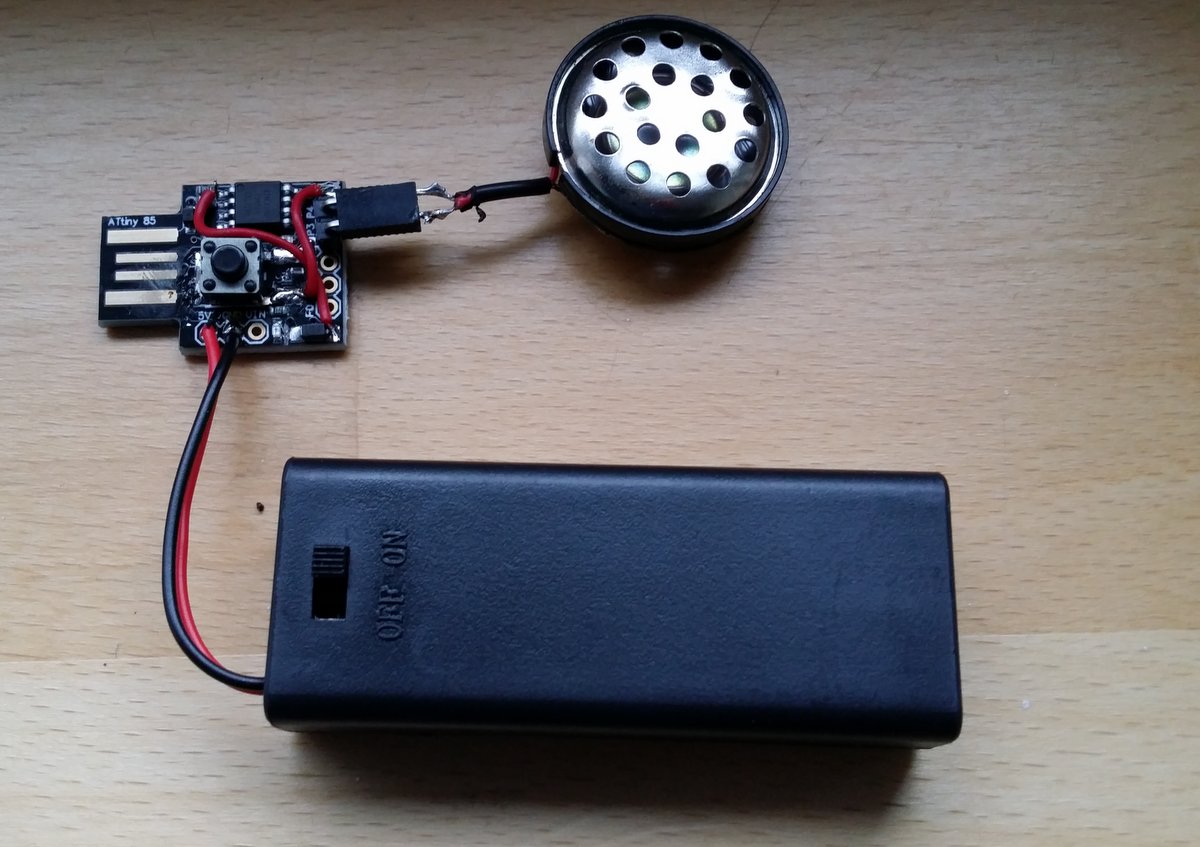
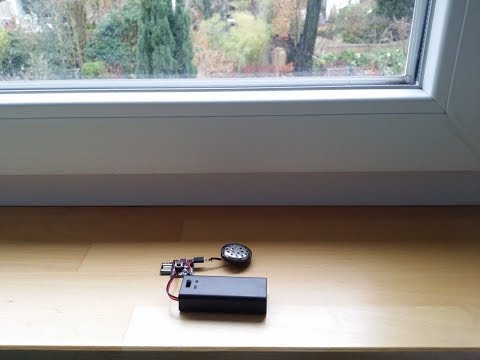
It is getting cold outside, but sometimes I need some fresh air in my rooms. So, I open the window, leave the room, close the door and want to come back in 5 to 10 minutes. And after a few hours I remember that the window is open... Maybe you know this or have children, which give you this experience.
My solution is the Open Window Detector. The battery will last for over a year, so just place it in autumn and remove it in spring.
Parts List
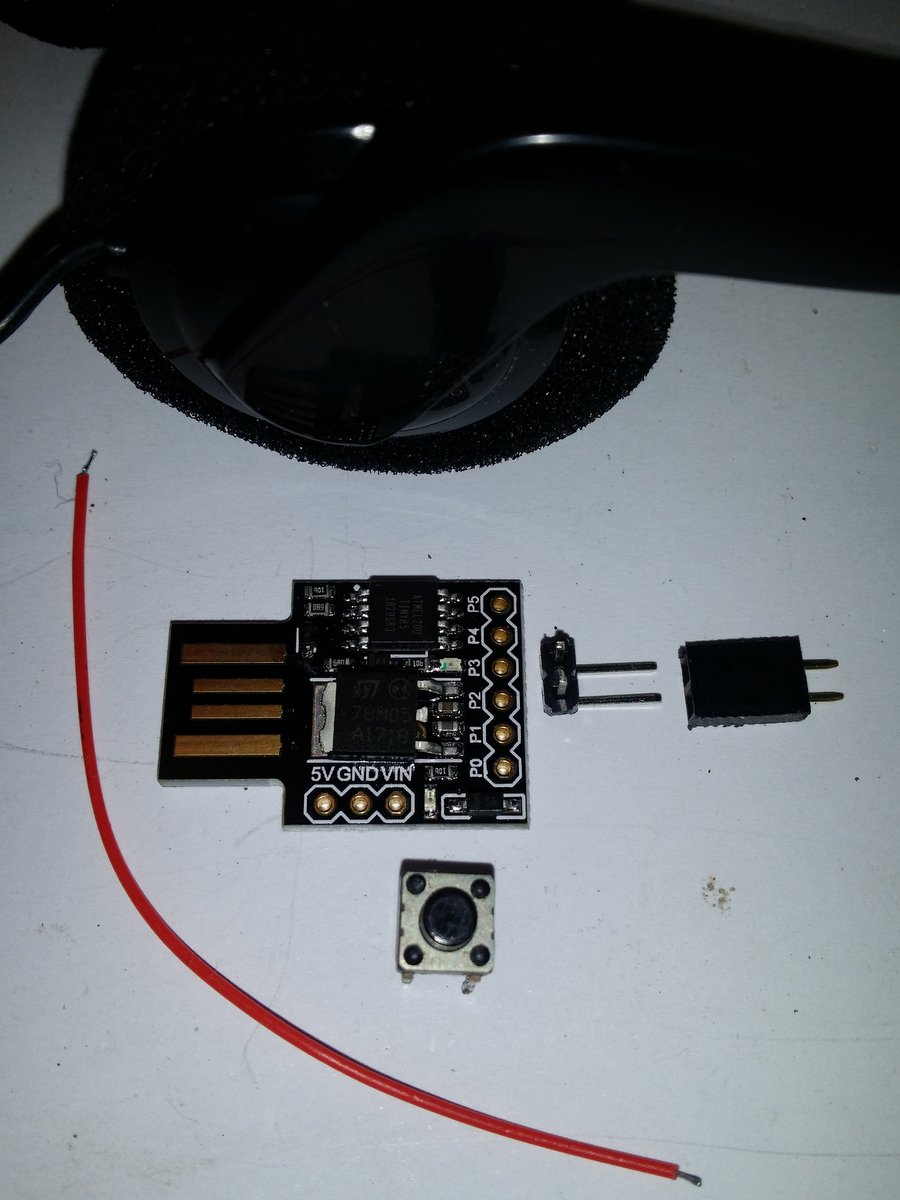
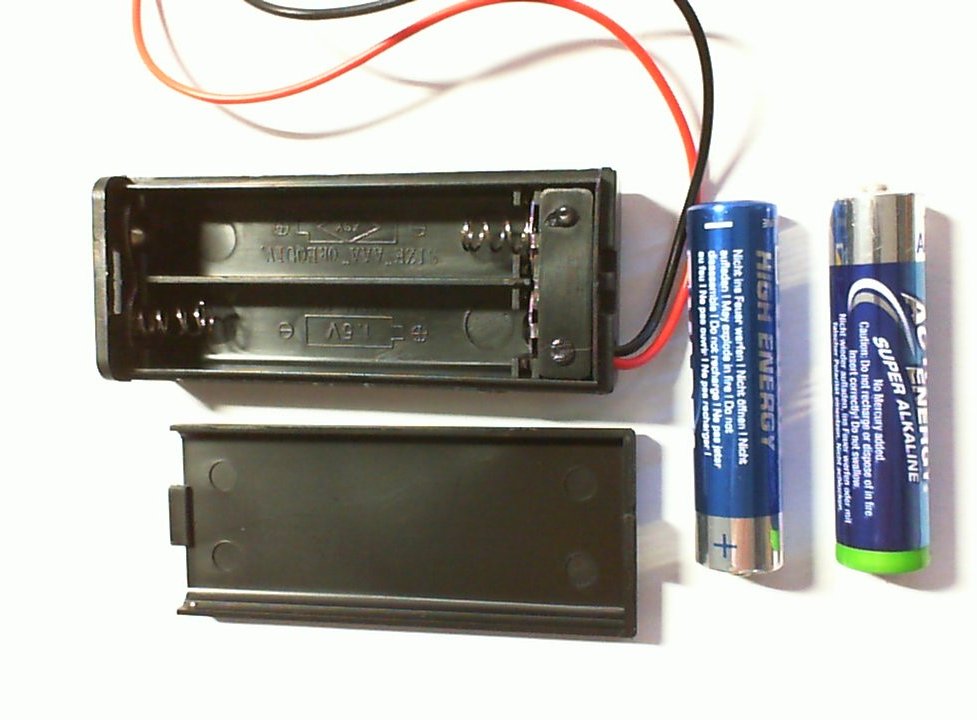
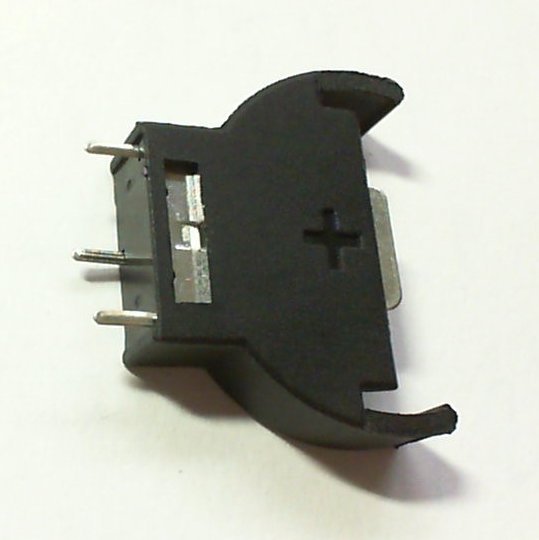
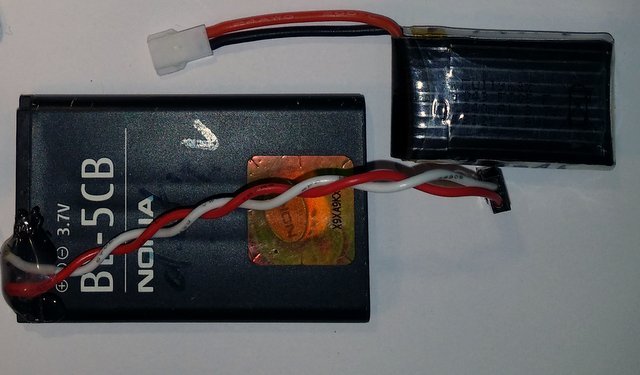
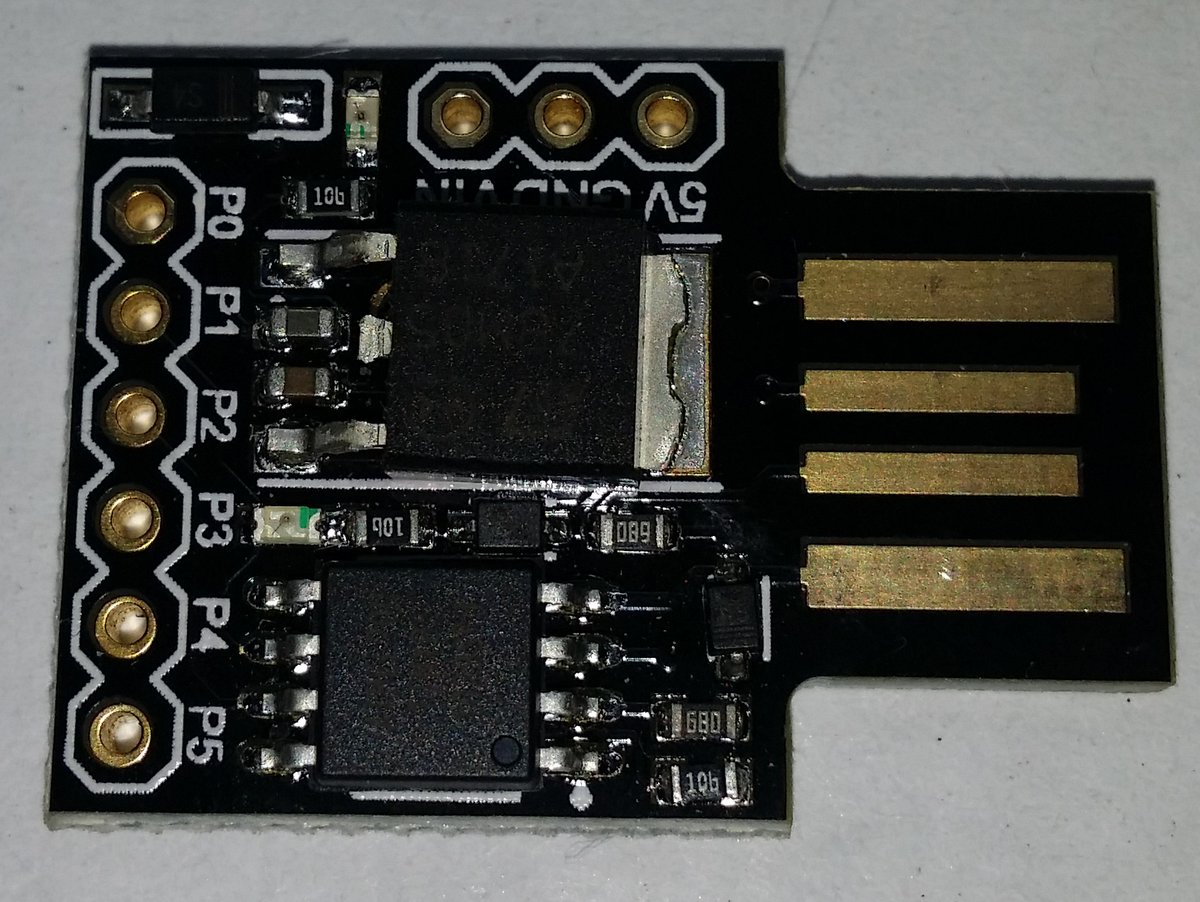
- Digispark board from eBay.
- Old headphones or buzzer.
- Tiny button for reset.
- Connectors for speaker - otherwise it is not possible to reprogram the board.
- Wire.
- For power supply you need:
- AAA battery case with on/off switch. You can even use worn out batteries, since the module will operate down to 2.4Volt.
OR
- Old Li-ion battery (even 30% capacity is sufficient for this purpose) and if you do not already have, a charger for Li-ion batteries from eBay.
OR
- A holder for CR2032 coin cell
AND
- 1A diode 1N4001 or equivalent -or whatever you have in this size- for reverse polarity protection.
Programming the Digispark Board
Driver installation
You must install the Digispark driver before you can program the Board. Download it here, open it and run "InstallDrivers.exe".
Installation of Arduino IDE
Install the Digispark board for the Arduino IDE as described in http://digistump.com/wiki/digispark/tutorials/connecting
Instead of http://digistump.com/package_digistump_index.json you must use http://drazzy.com/package_drazzy.com_index.json as Digispark board URL in Arduino File -> Preferences. In the Boards Manager install the latest ATTinyCore version.
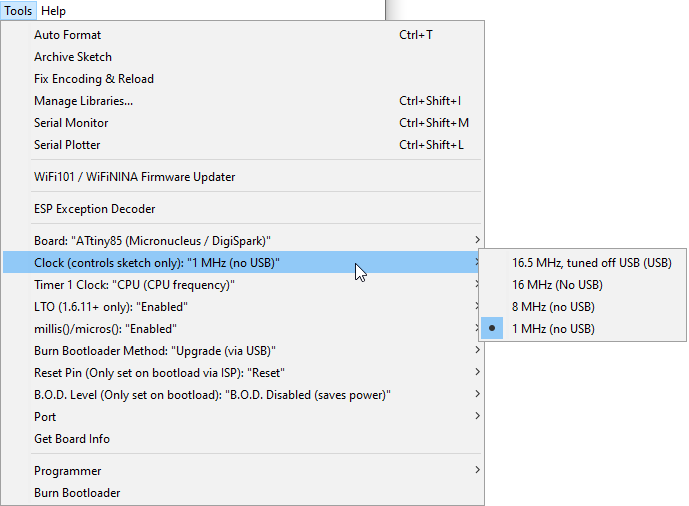
Since we want to save power, the board clock is 1 MHz so you must choose ATTinyCore->ATtiny85 (Micronucleus / DigiSpark) as board in the Tools menu and set the clock to 1MHz (no USB).
Compile and upload the program to the board
Install the Arduino library ATtinySerialOut and select the OpenWindowsAlarm example with File -> Examples -> Examples from Custom Libraries -ATtinySerialOut -> OpenWindowAlarm
OR
In the Arduino IDE create a new sketch with File/New and name it "OpenWindowAlarm". Copy the code from OpenWindowAlarm.ino.
Compile and upload it. Keep in mind, that upload will not work, if the speaker is connected.
If everything works well, the built-in LED of the Digispark will blink 5 times (for the 5 minutes alarm delay) and then start flashing after 8 seconds with an interval of 24 seconds to signal each temperature reading.
Power Reduction
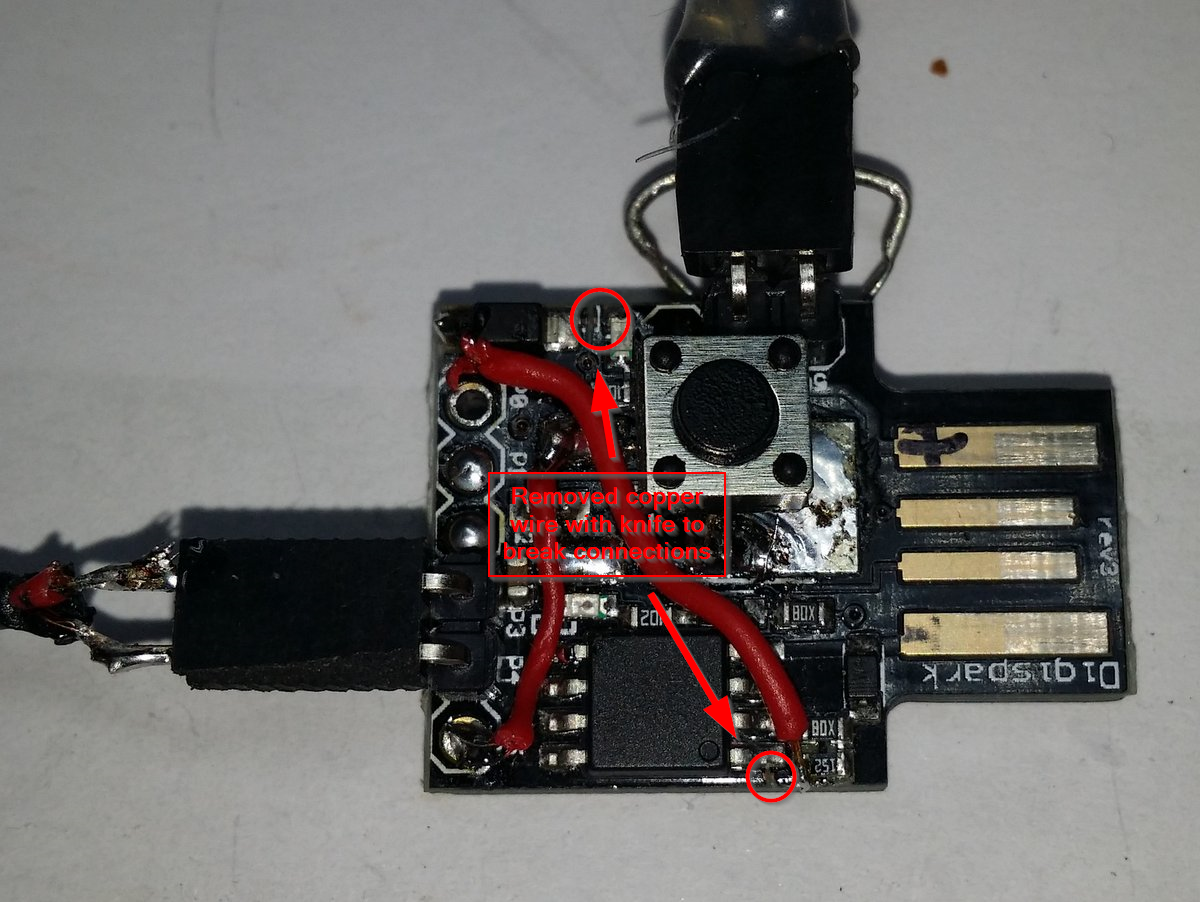
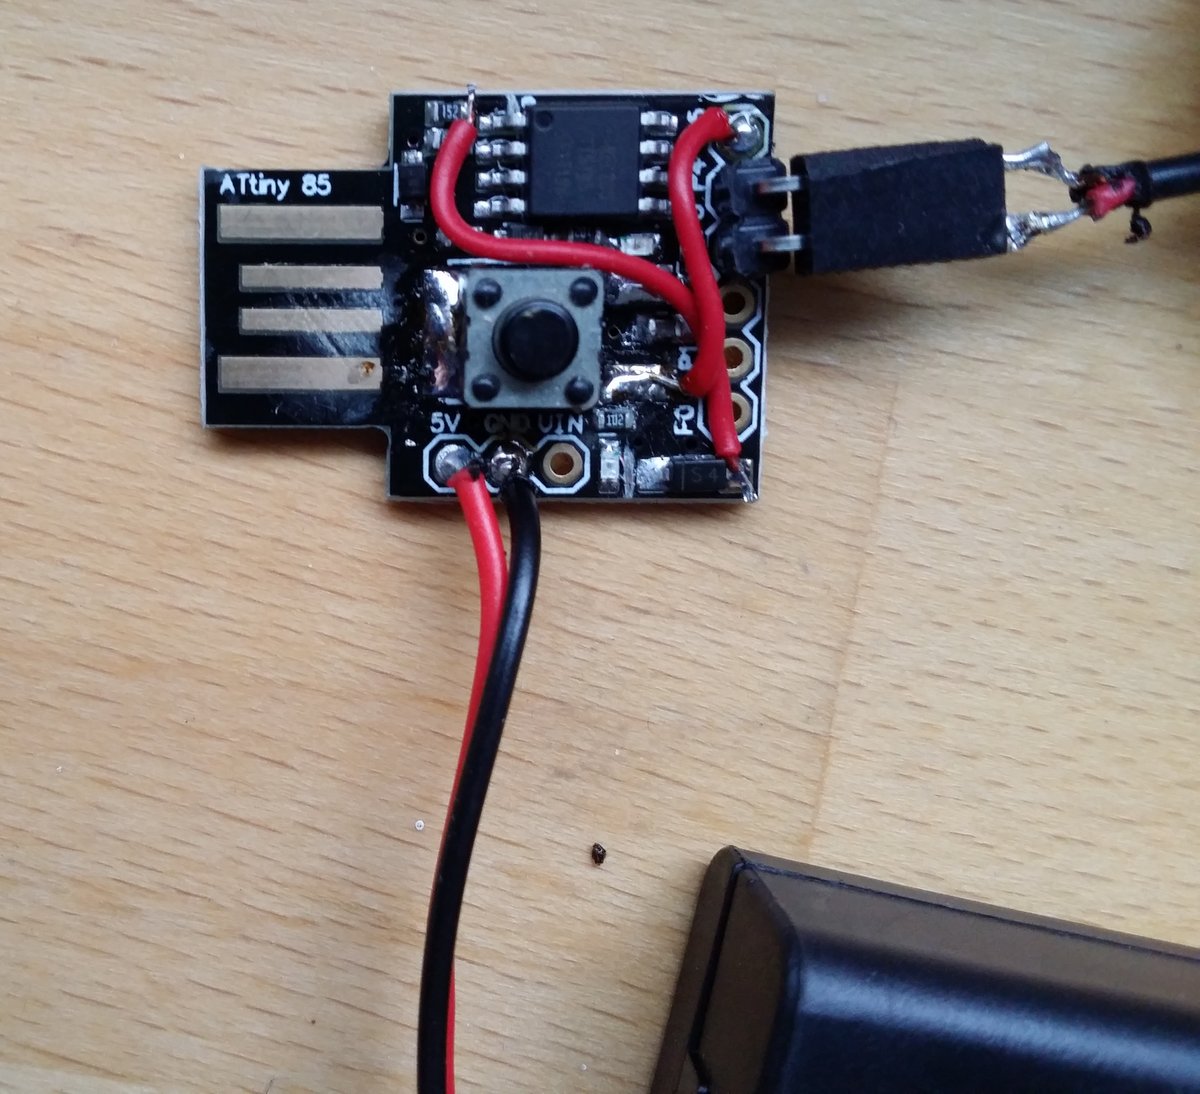
Our Digispark board uses 2.8 mA at 3,0 volt. With 2 AAA batteries (1000mAh) it will run for 15 days. But it is possible to reduce power consumption down to 26 µA in 3 Steps.
- Disabling the power LED by breaking the copper wire that connects the power LED to the diode with a knife or removing / disabling the 102 resistor saves 1.2 mA.
- Removing the VIN voltage regulator saves 1.2 mA.
- Disconnecting the USB Pullup resistor (marked 152) from 5 Volt (VCC) saves the remaining 0.4 mA. Disconnect it by breaking the copper wire on the side of the resistor that points to the ATTiny. This disables the USB interface and in turn the possibility to program the Digispark board via USB. To enable it again, but still save power, connect the resistor (marked 152) directly to the USB 5 volt that is easily available at the outer side of the diode.
- The correct side of the diode can be found by using a continuity tester. One side of this diode is connected to pin 8 of the ATtiny (VCC). The other side is connected to USB 5 volt.
Now the USB pullup resistor is only activated if the Digispark board is connected to USB e.g. during programming and the board consumes 19 µA during sleep and 1.3 mA while running. To flash the internal LED, additional 1.2 mA is required. So we end up at around 26 µA average current.
If you reprogram the fuses, you can get 6 µA power consumption.
To reprogram the fuses, you need an ISP (which can be build with an Arduino) and a connecting adapter and you can use the this script.
The power reduction process is also explained in this instructable.
Reset Button
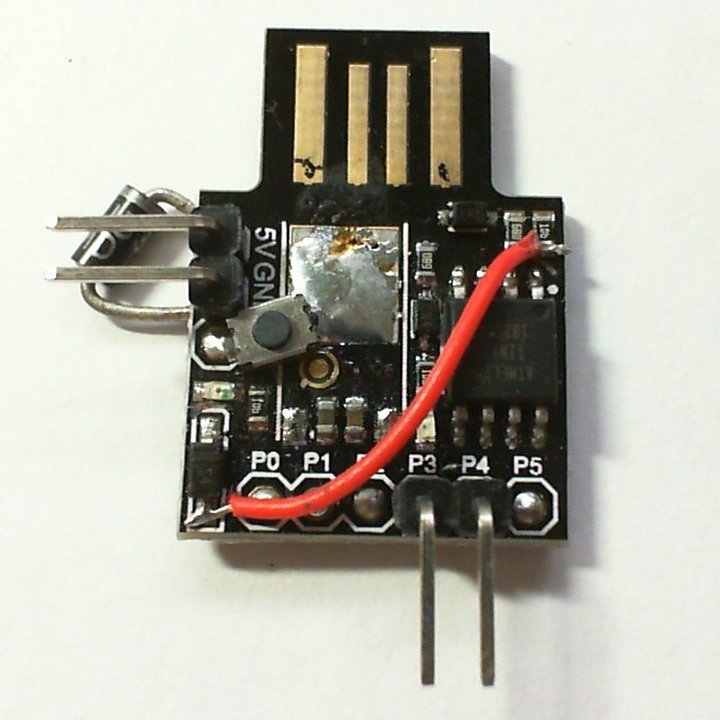
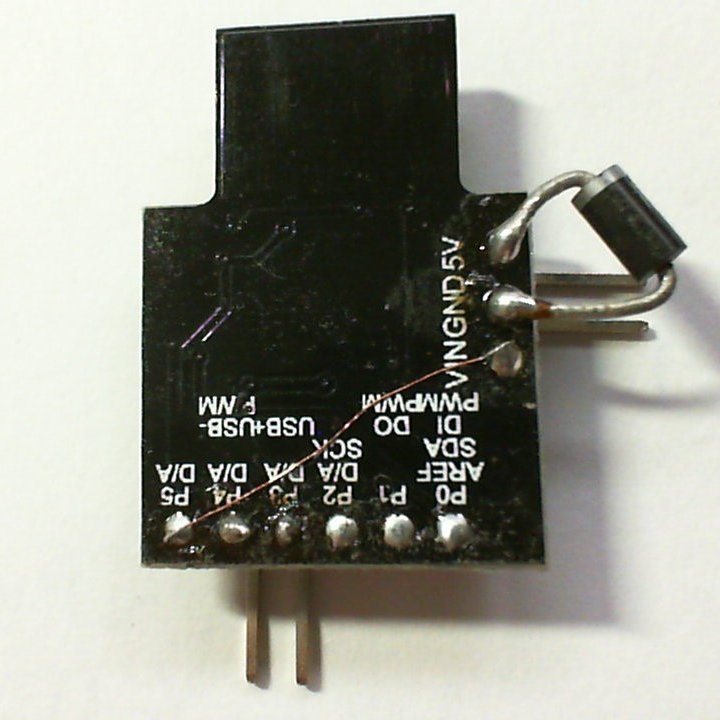
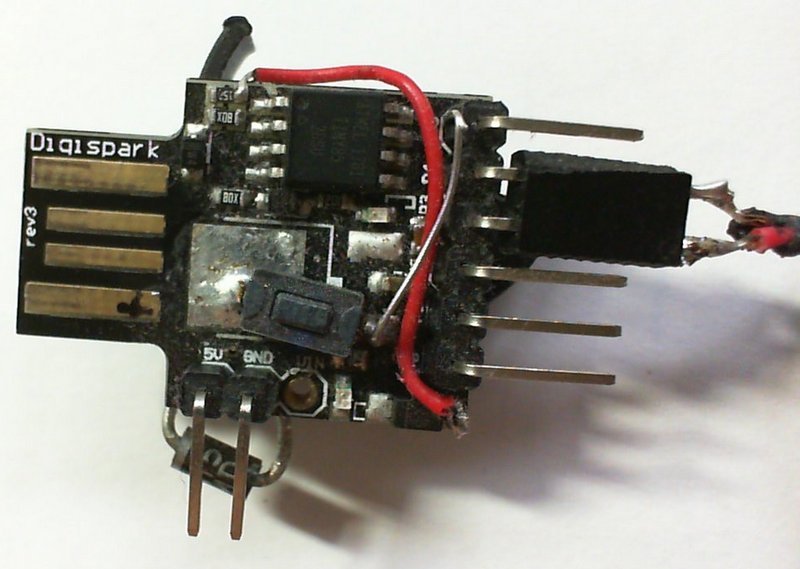
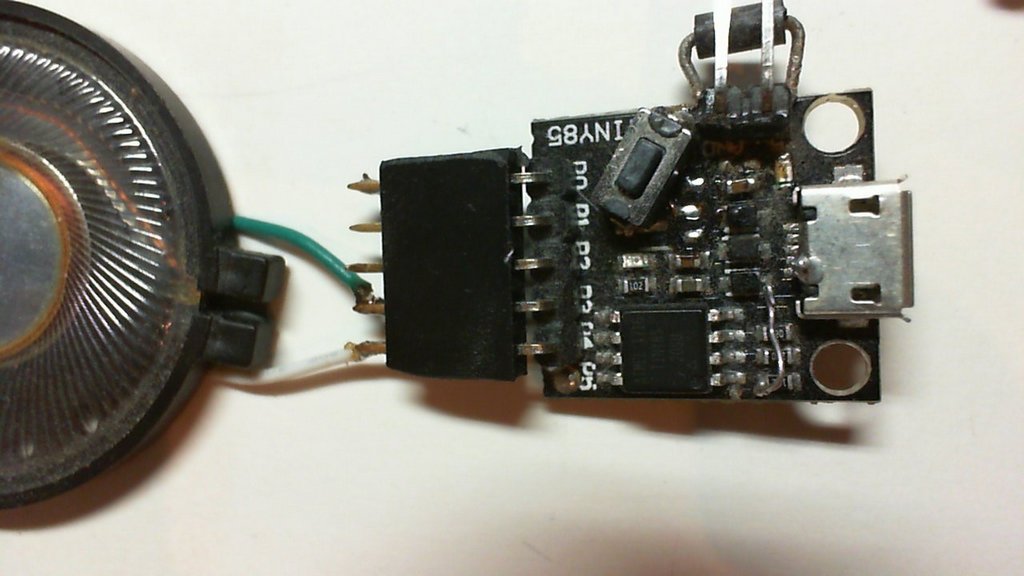
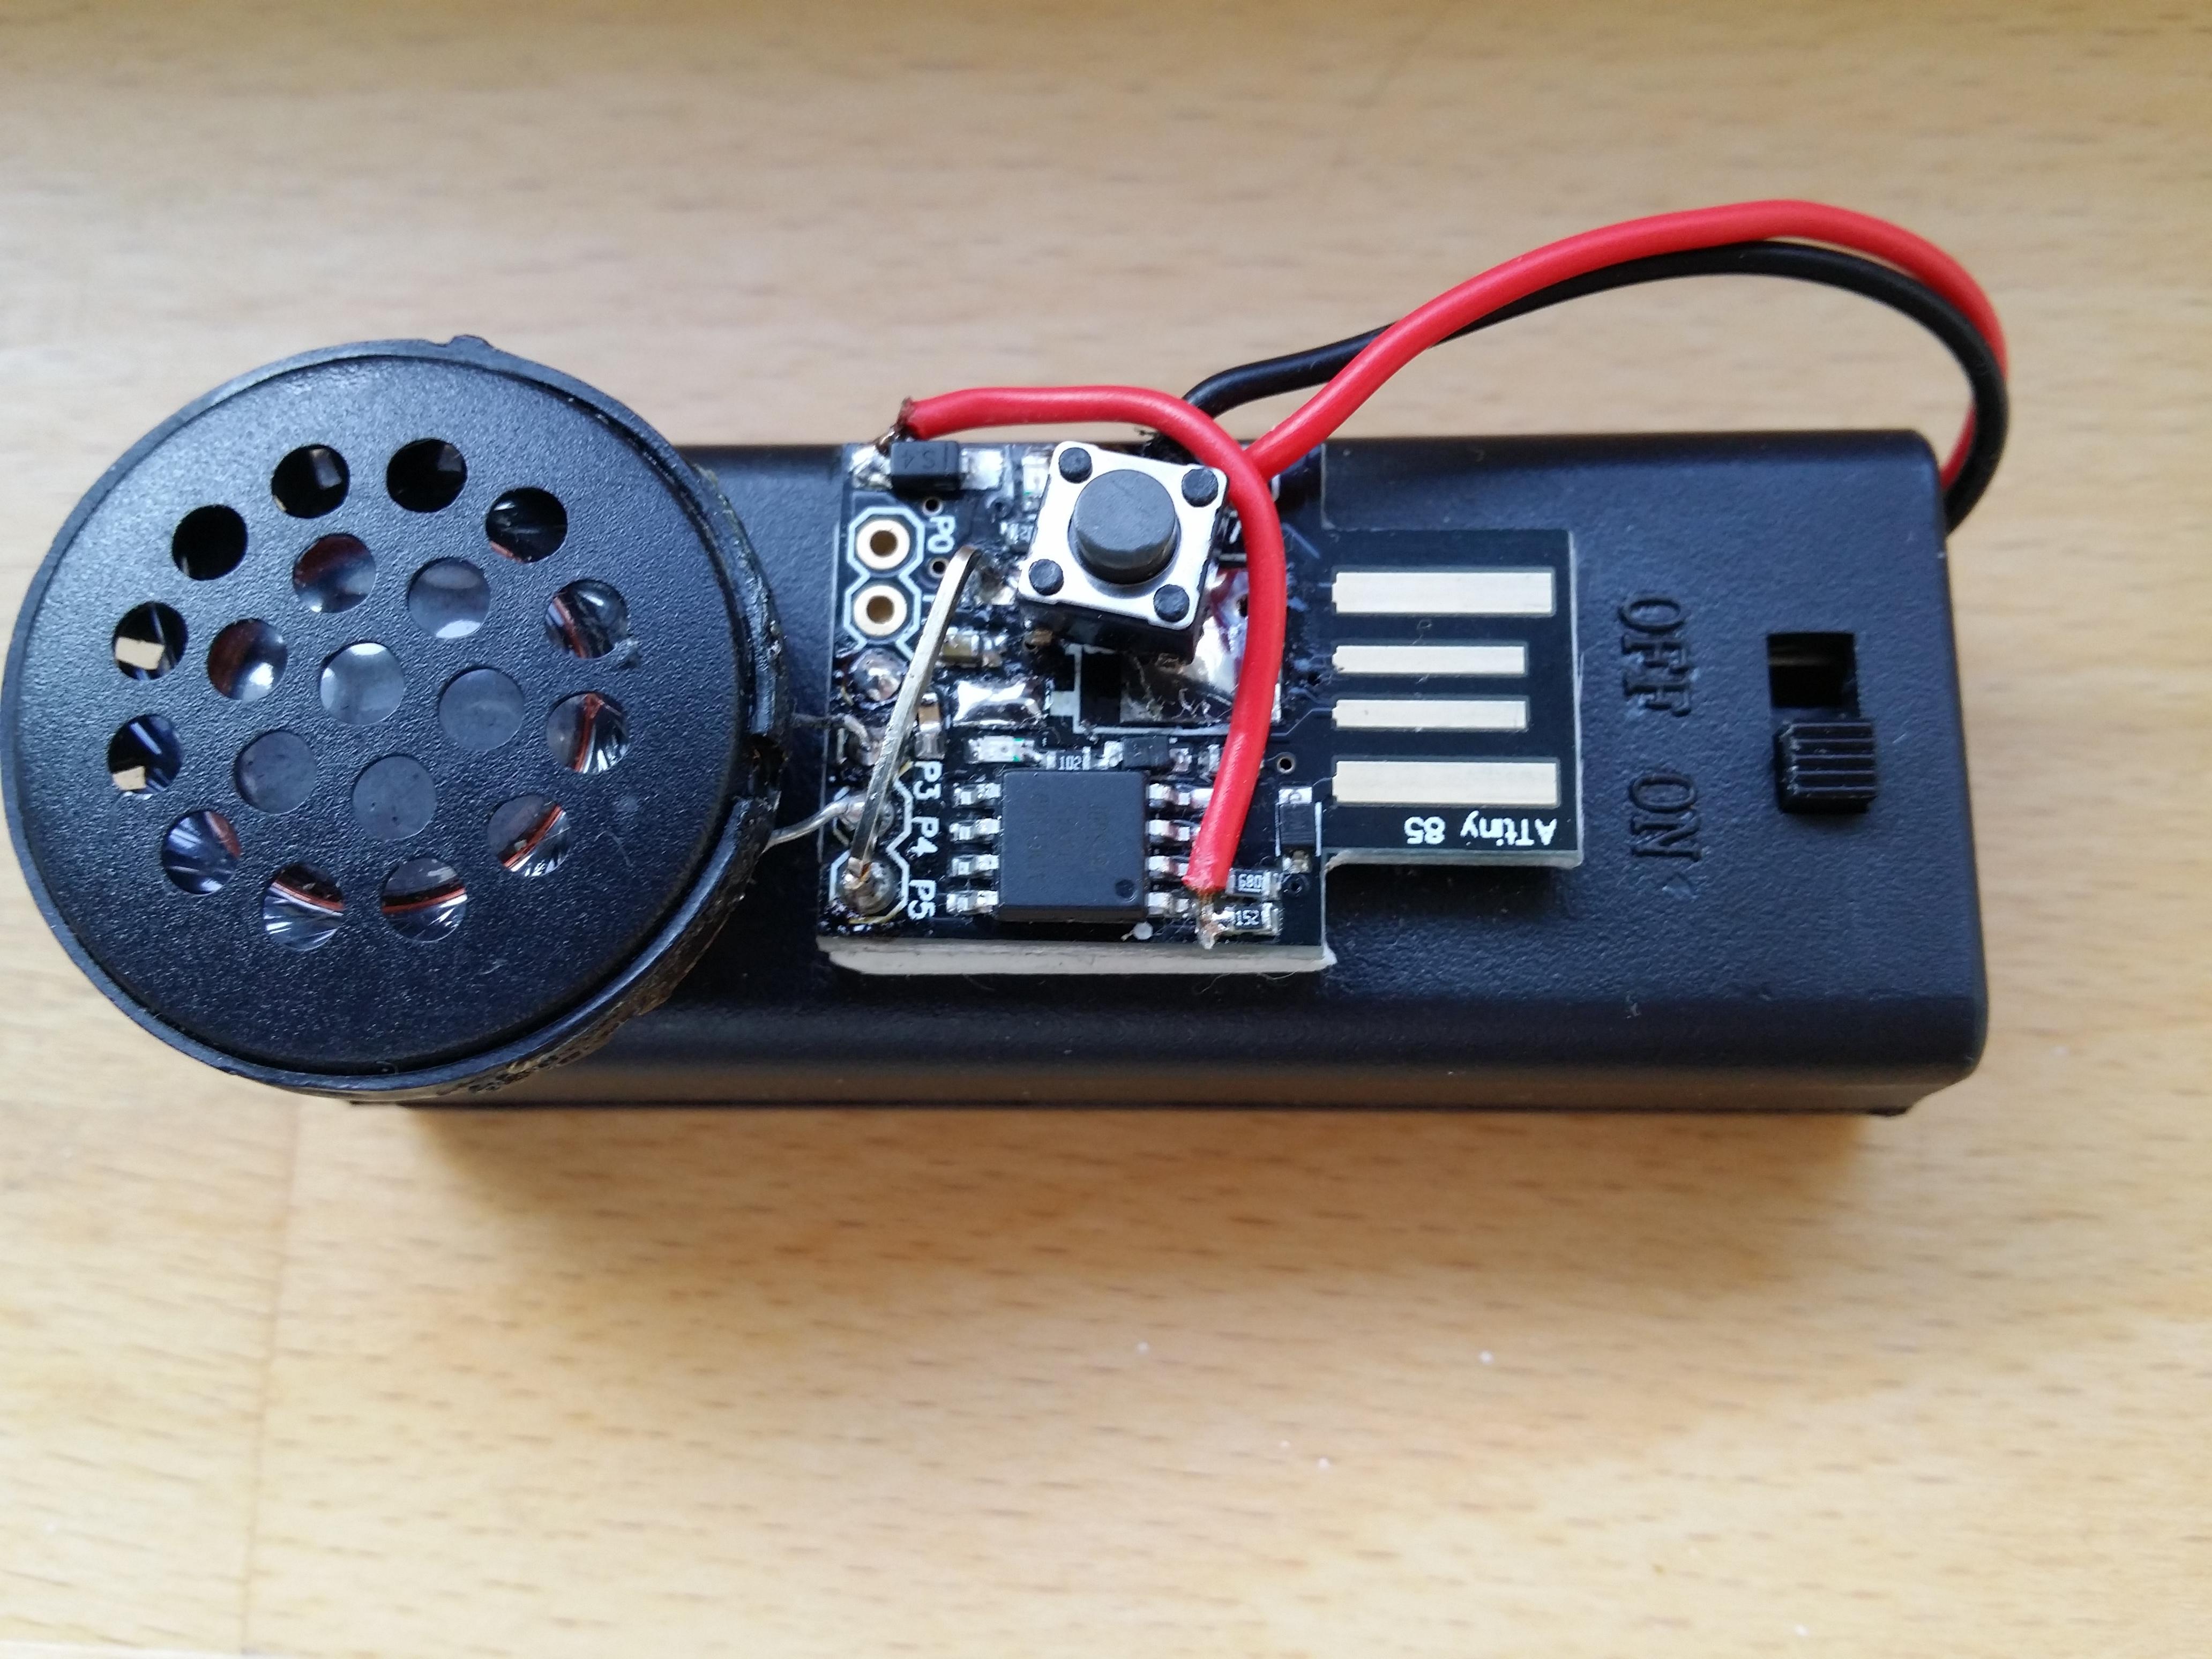
If you do not want to remove power to reset the alarm, connect a reset button between PB5 and ground. I did this by connecting the unconnected VIN copper surface to PB5 and soldering the reset button directly to the VIN pin hole and the big ground surface of the removed VIN voltage regulator.
If you want to get rid of the 5 seconds wait for USB connection after reset, you can change the micronucleus kernel on the ATtiny85. Download this repository, unzip it and run the 0_Upgrade-t85_recommended.cmd script. Then reload the OpenWindowAlarm application again with the Arduino IDE.
Speaker
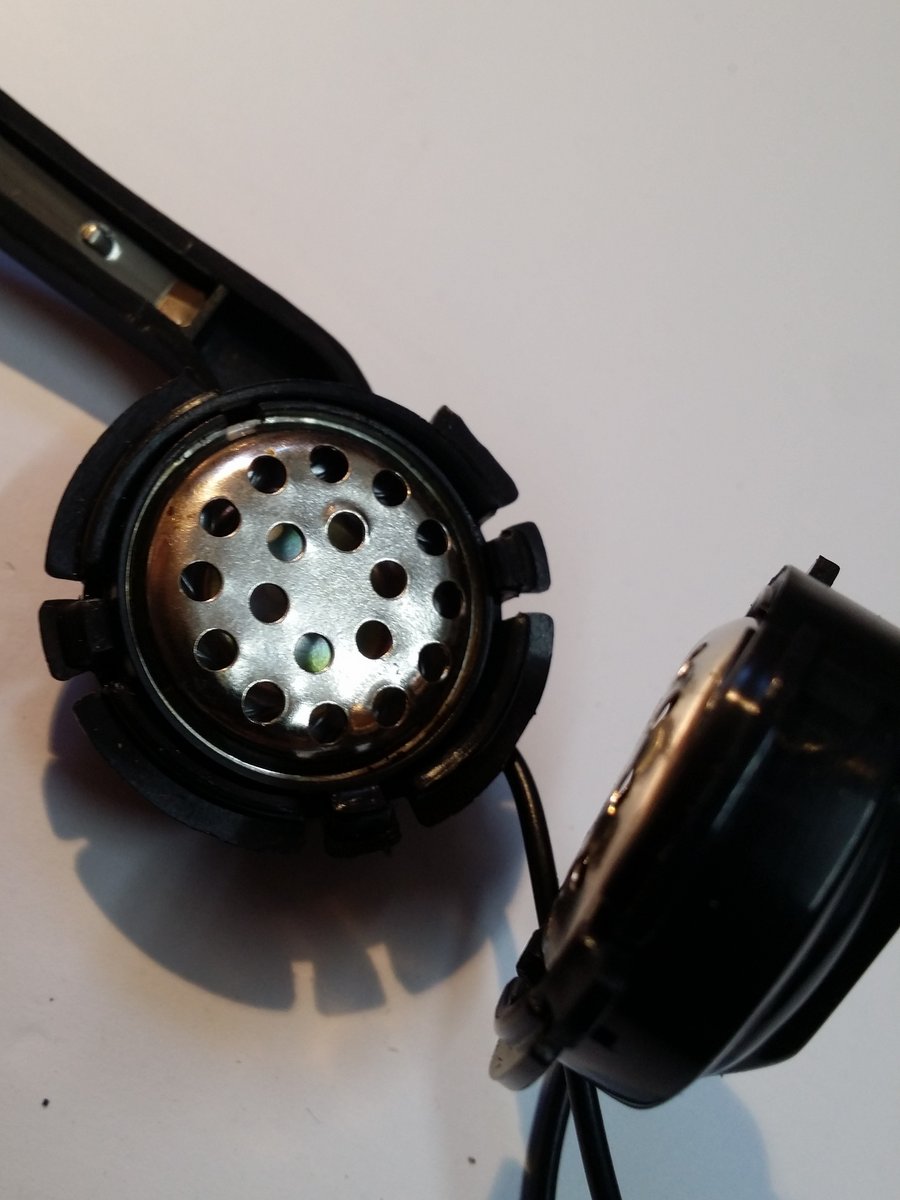
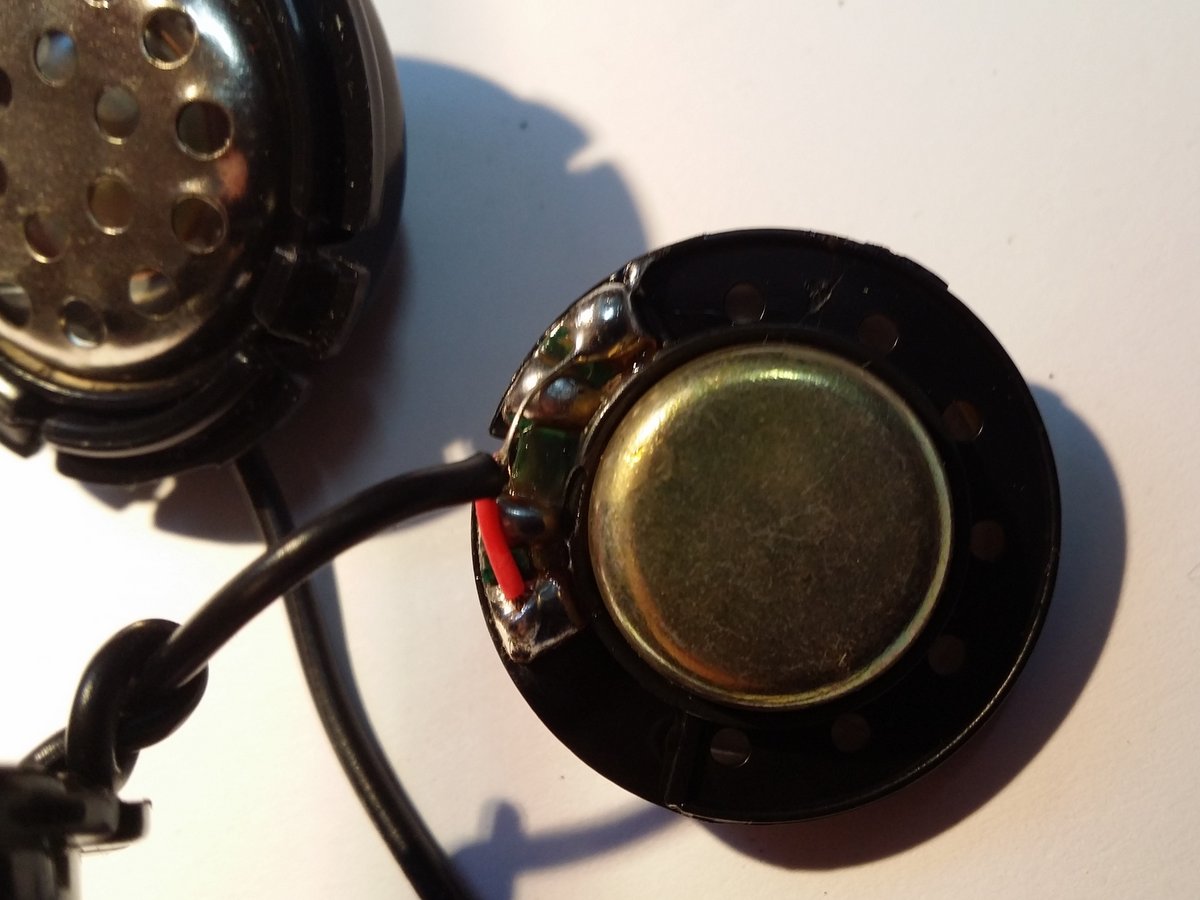
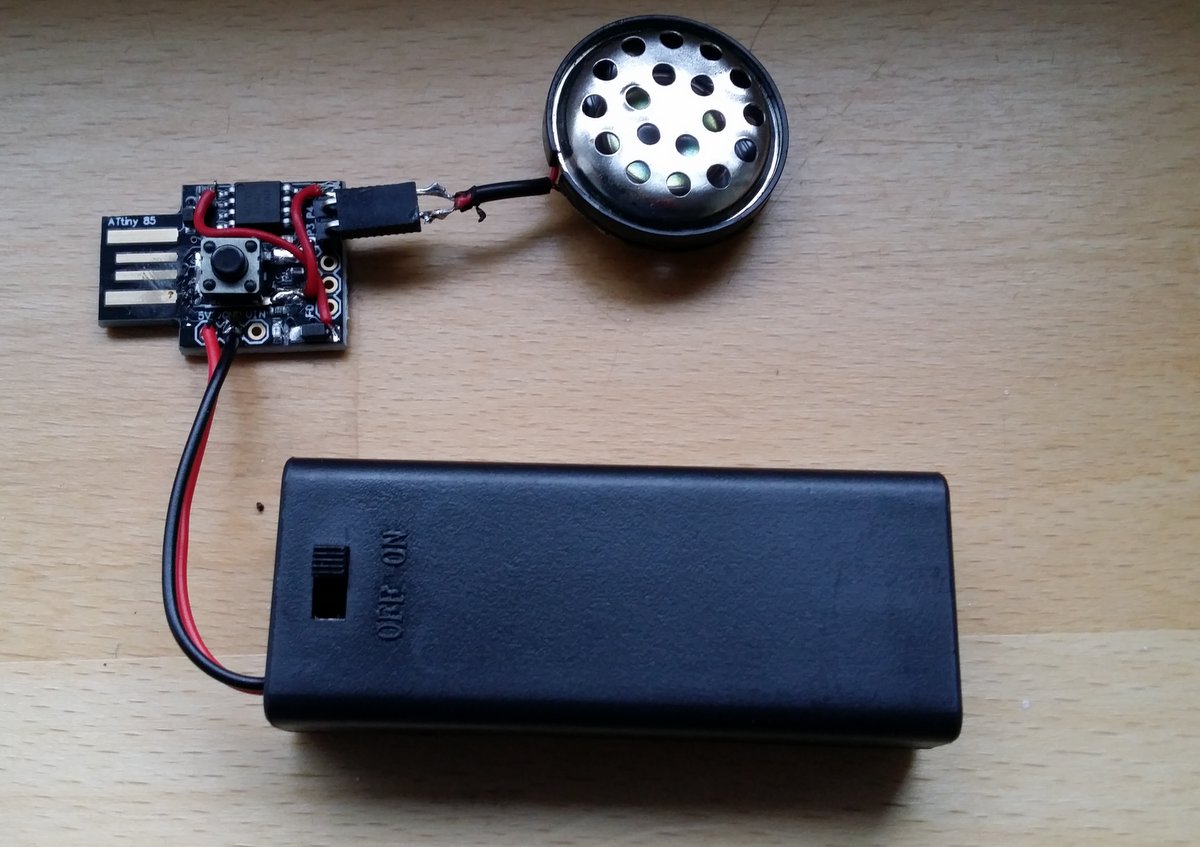
I disassembled an old headset and connected the male connector to the cable.
Operating
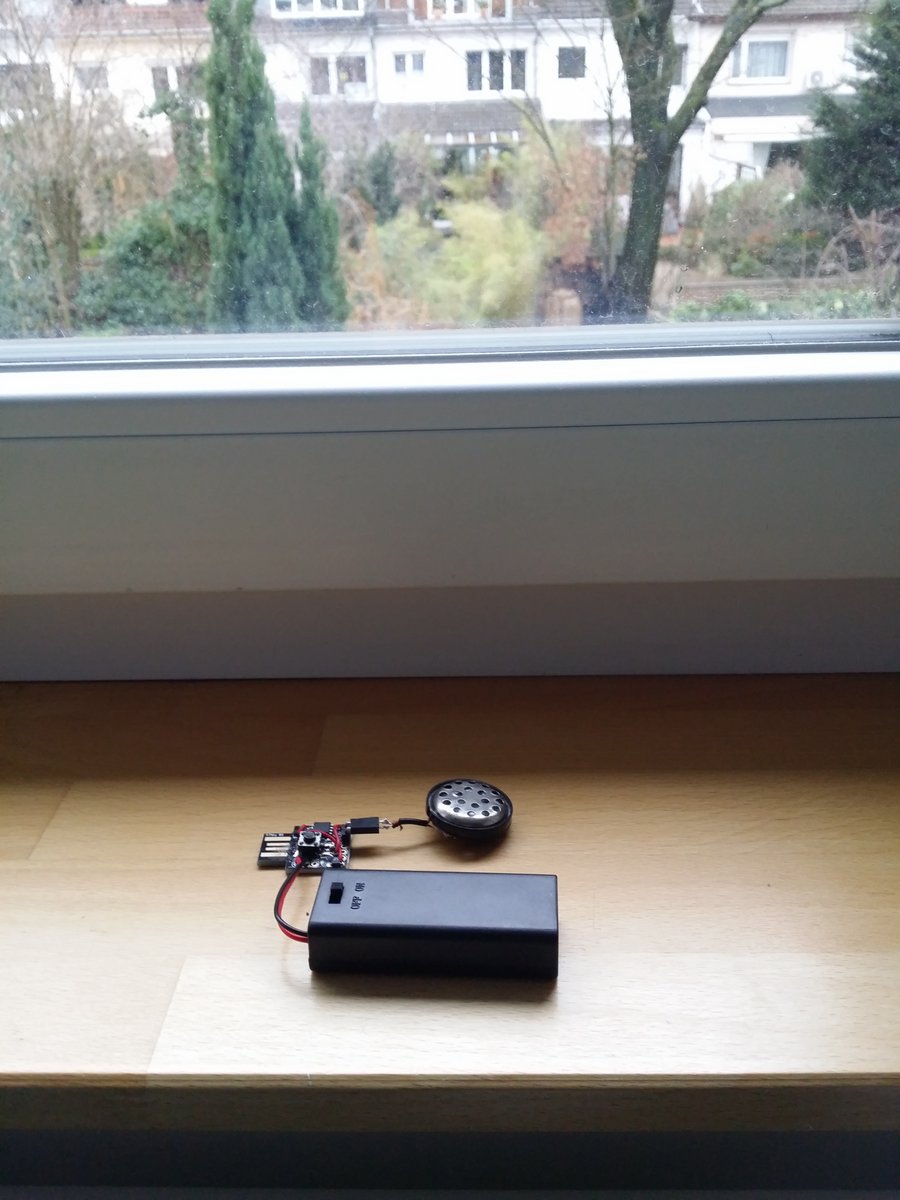
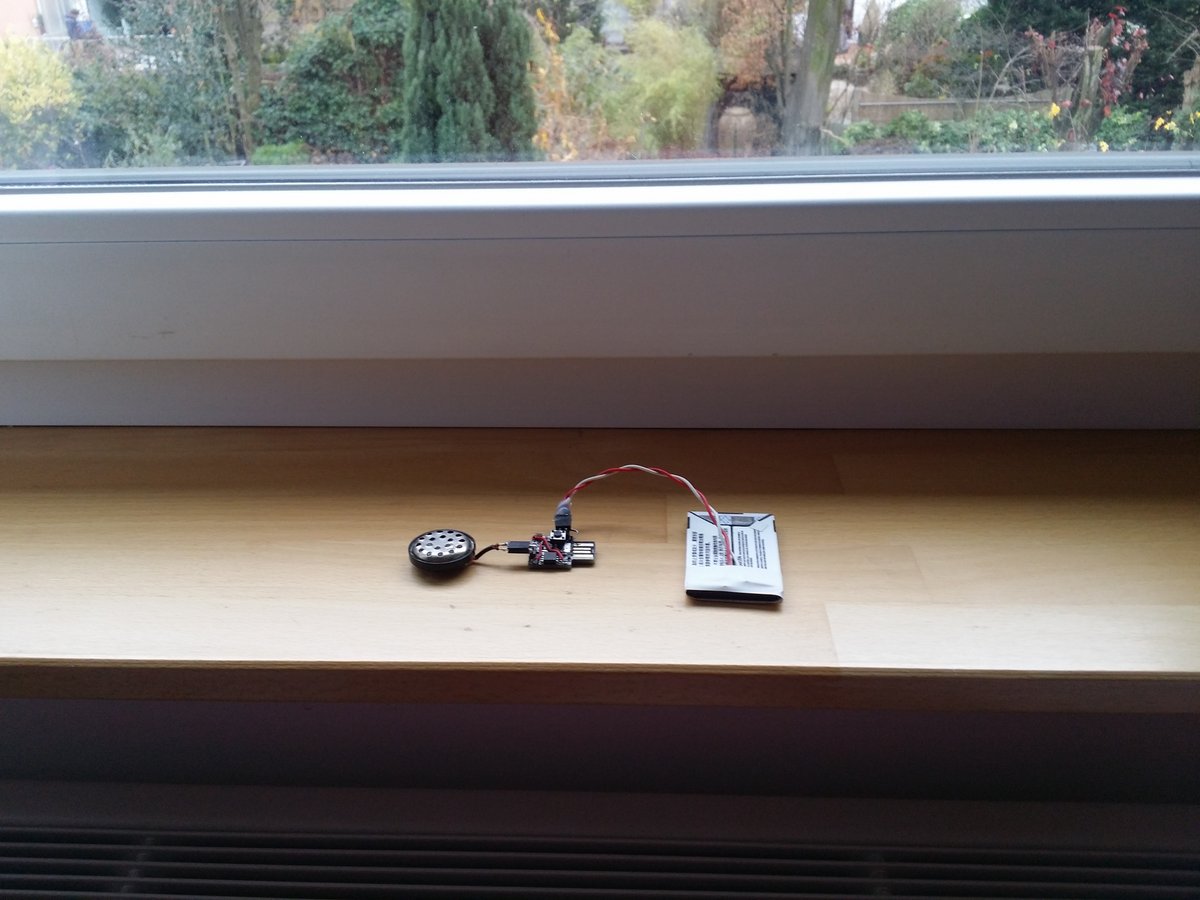
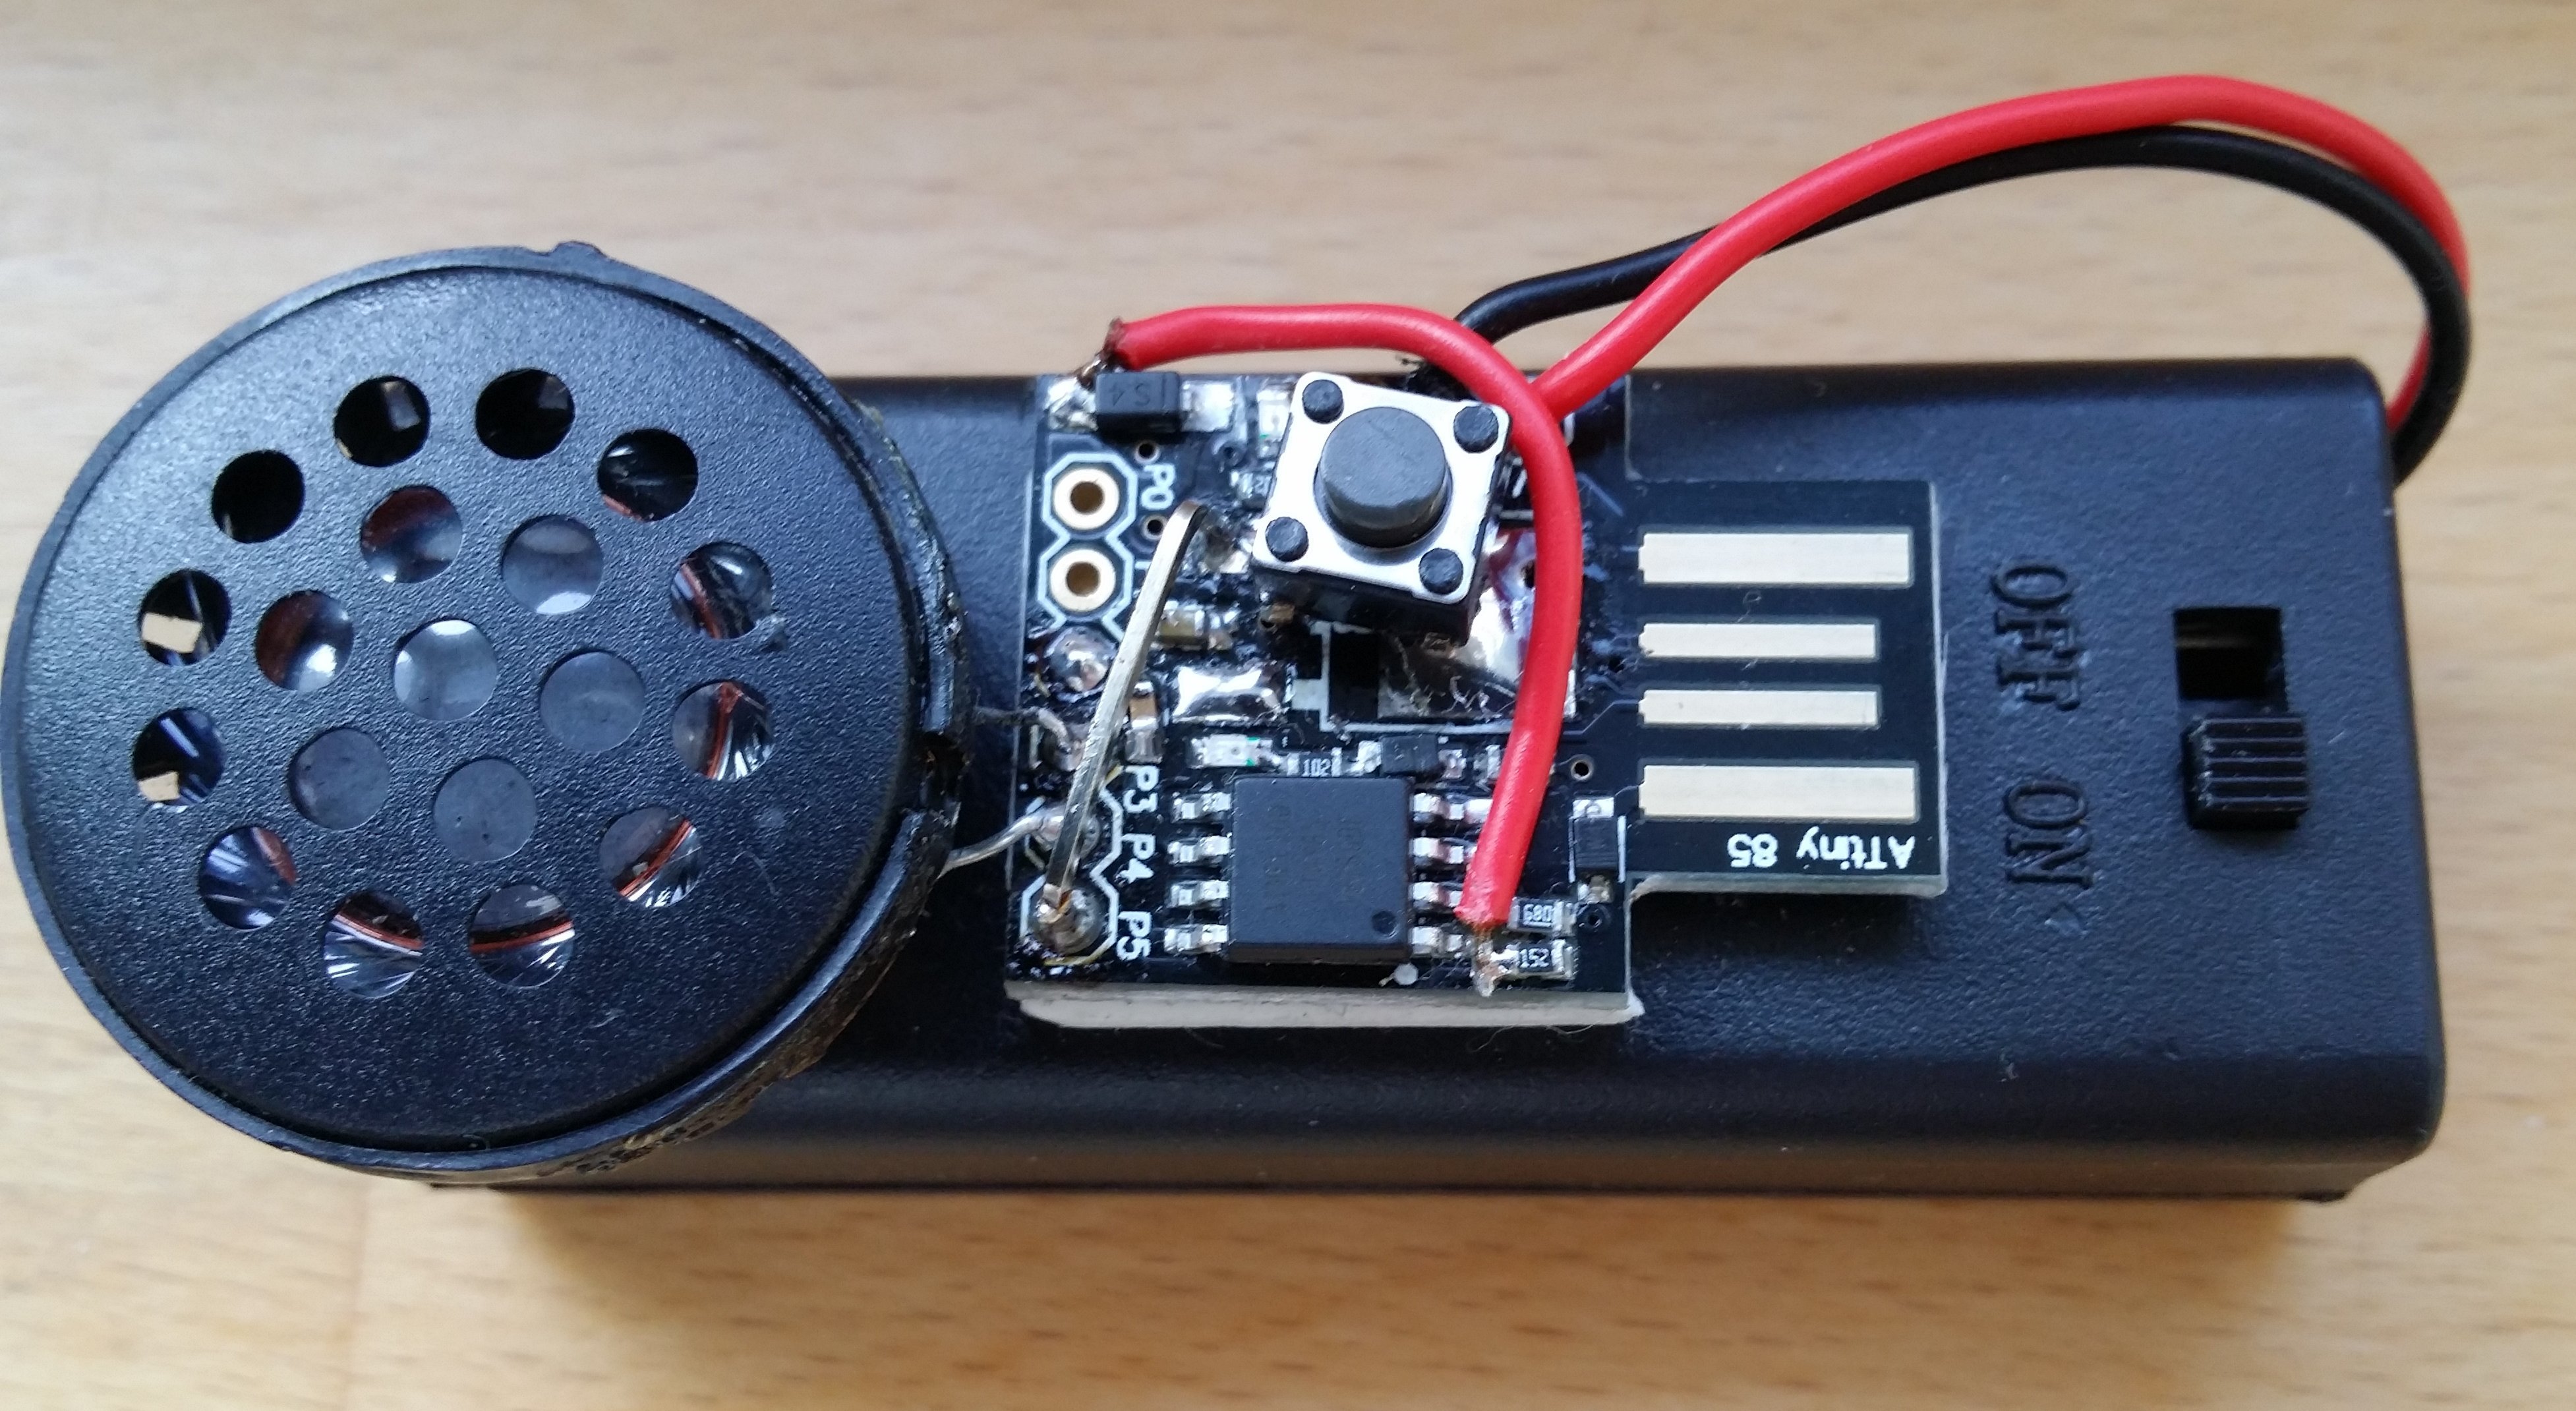
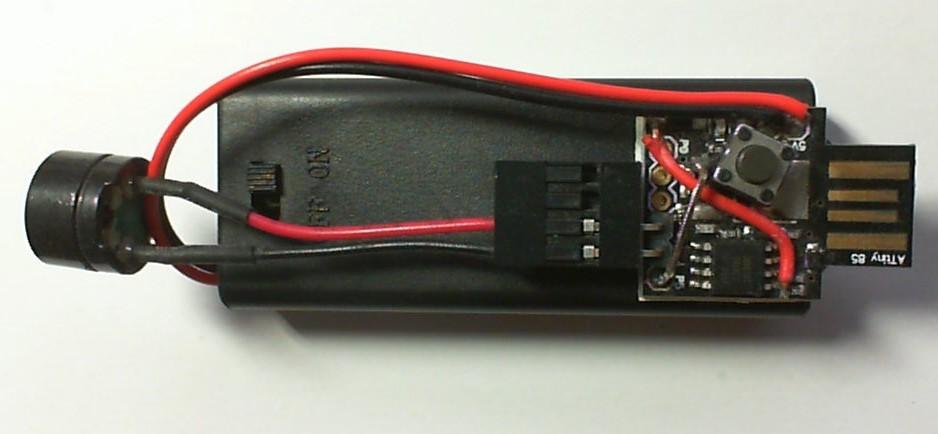
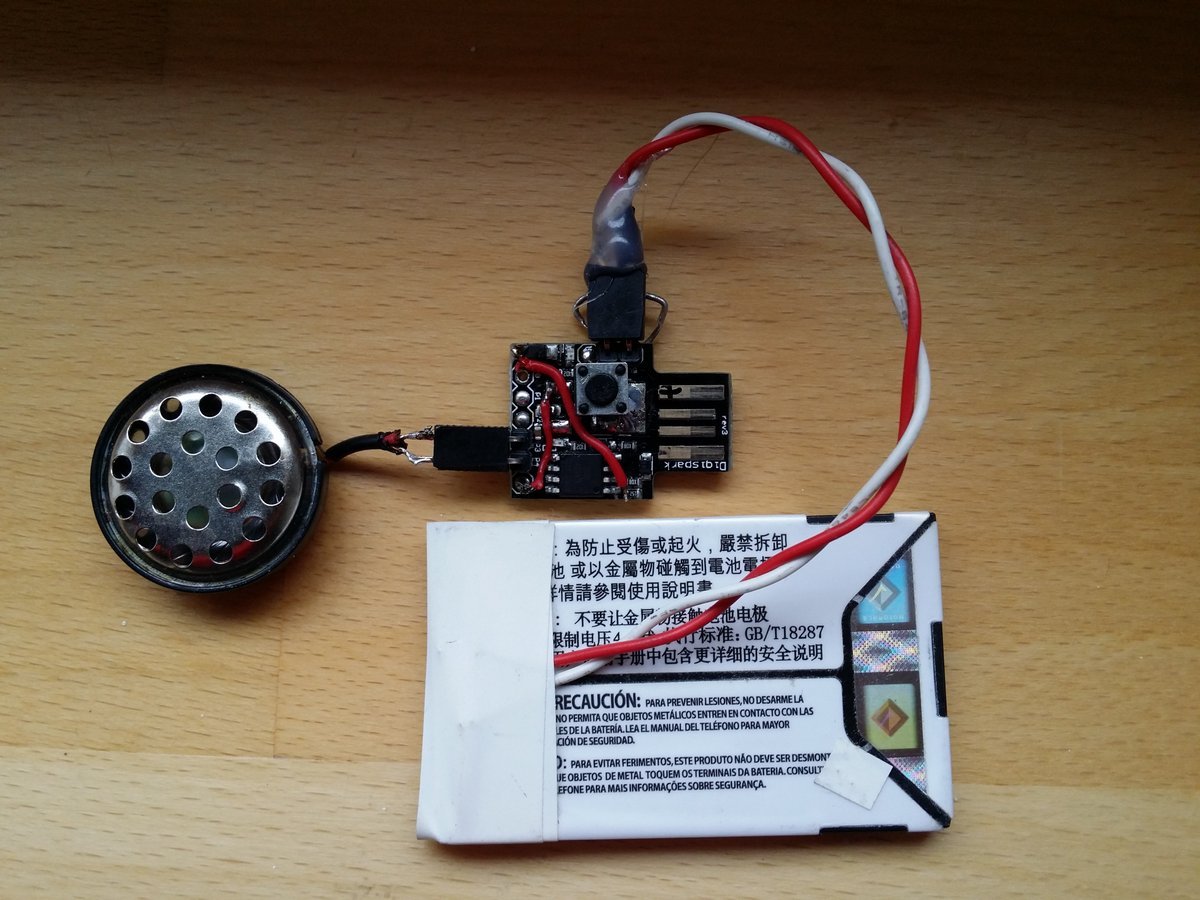
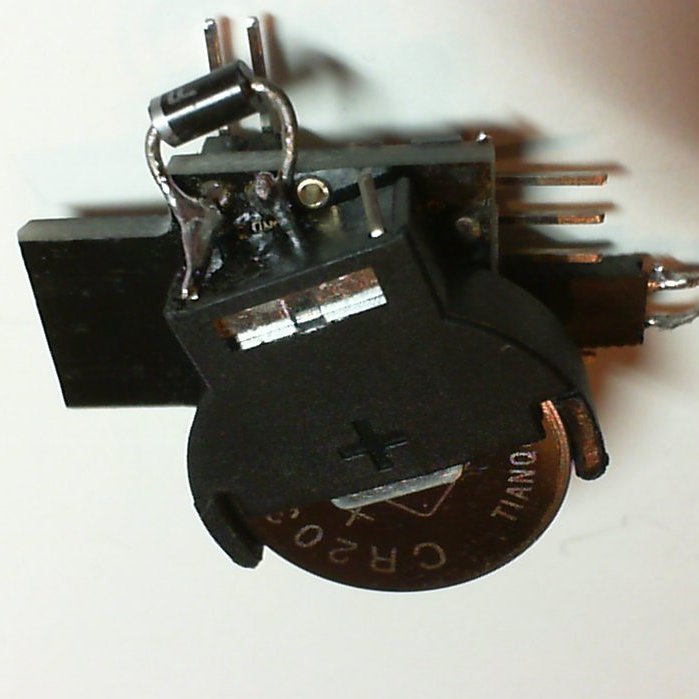
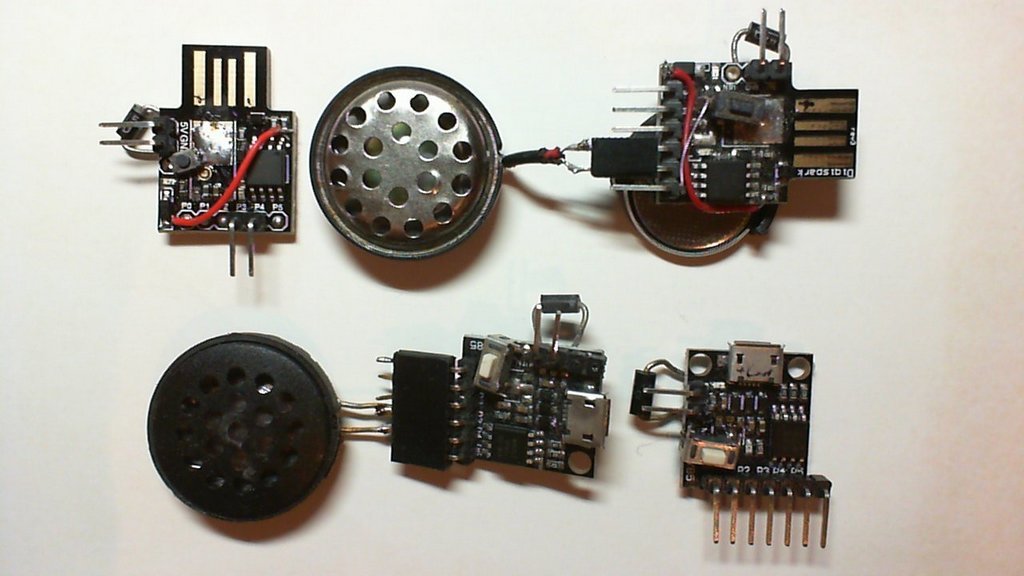
To use the board place it on a windowsill and connect it to a battery.
If the temperature on the sill is lower than the temperature where the board was originally located, it will wait for additional 5 minutes to intelligently adopt to the new start value.
You will then be alarmed, if you leave the window open for longer than five minutes.
Internal Operation
- An open window is detected after TEMPERATURE_COMPARE_AMOUNT x TEMPERATURE_SAMPLE_SECONDS (48) seconds of reading a temperature with a value of TEMPERATURE_DELTA_THRESHOLD_DEGREE (2) lower than the temperature TEMPERATURE_COMPARE_DISTANCE x TEMPERATURE_SAMPLE_SECONDS (192 -> 3 minutes and 12 seconds) seconds before.
- The delay is implemented by sleeping 3 times at SLEEP_MODE_PWR_DOWN for a period of 8 seconds to reduce power consumption.
- A detection of an open window is indicated by a longer 20ms blink and a short click every 24 seconds. Therefore, the internal sensor has a time of 3 minutes to adjust to the outer temperature in order to capture even small changes in temperature. The greater the temperature change the earlier the sensor value will change and detect an open window.
- OPEN_WINDOW_ALARM_DELAY_MINUTES (5) minutes after open window detection the alarm is activated.
- The alarm will not start or an activated alarm will stop if the current temperature is greater than the minimum measured temperature (+ 1) i.e. the window has been closed already.
- The initial alarm lasts for 10 minutes. After this initial period, it is activated for a period of 10 seconds with a increasing break from 24 seconds up to 5 minutes.
- Every VCC_MONITORING_DELAY_MIN (60) minutes the battery voltage is measured. Depending on the detected battery type at power up (see VCC_VOLTAGE_LIPO_DETECTION (3.6 volt)), a battery voltage below VCC_VOLTAGE_LOWER_LIMIT_MILLIVOLT_LIPO (3.55 volt) or VCC_VOLTAGE_LOWER_LIMIT_MILLIVOLT_STANDARD (2.6 volt) is indicated by beeping and flashing the LED every 24 seconds. Only the beep (not the flash) is significantly longer than the beep for an open window detection.
- After power up, the inactive settling time is 5 minutes. If the board is getting colder during the settling time, 4:15 (or 8:30) minutes are added to avoid false alarms after power up.