Arduino Obstacle Avoiding Robot
by arnavssgk4770 in Circuits > Arduino
521 Views, 0 Favorites, 0 Comments
Arduino Obstacle Avoiding Robot
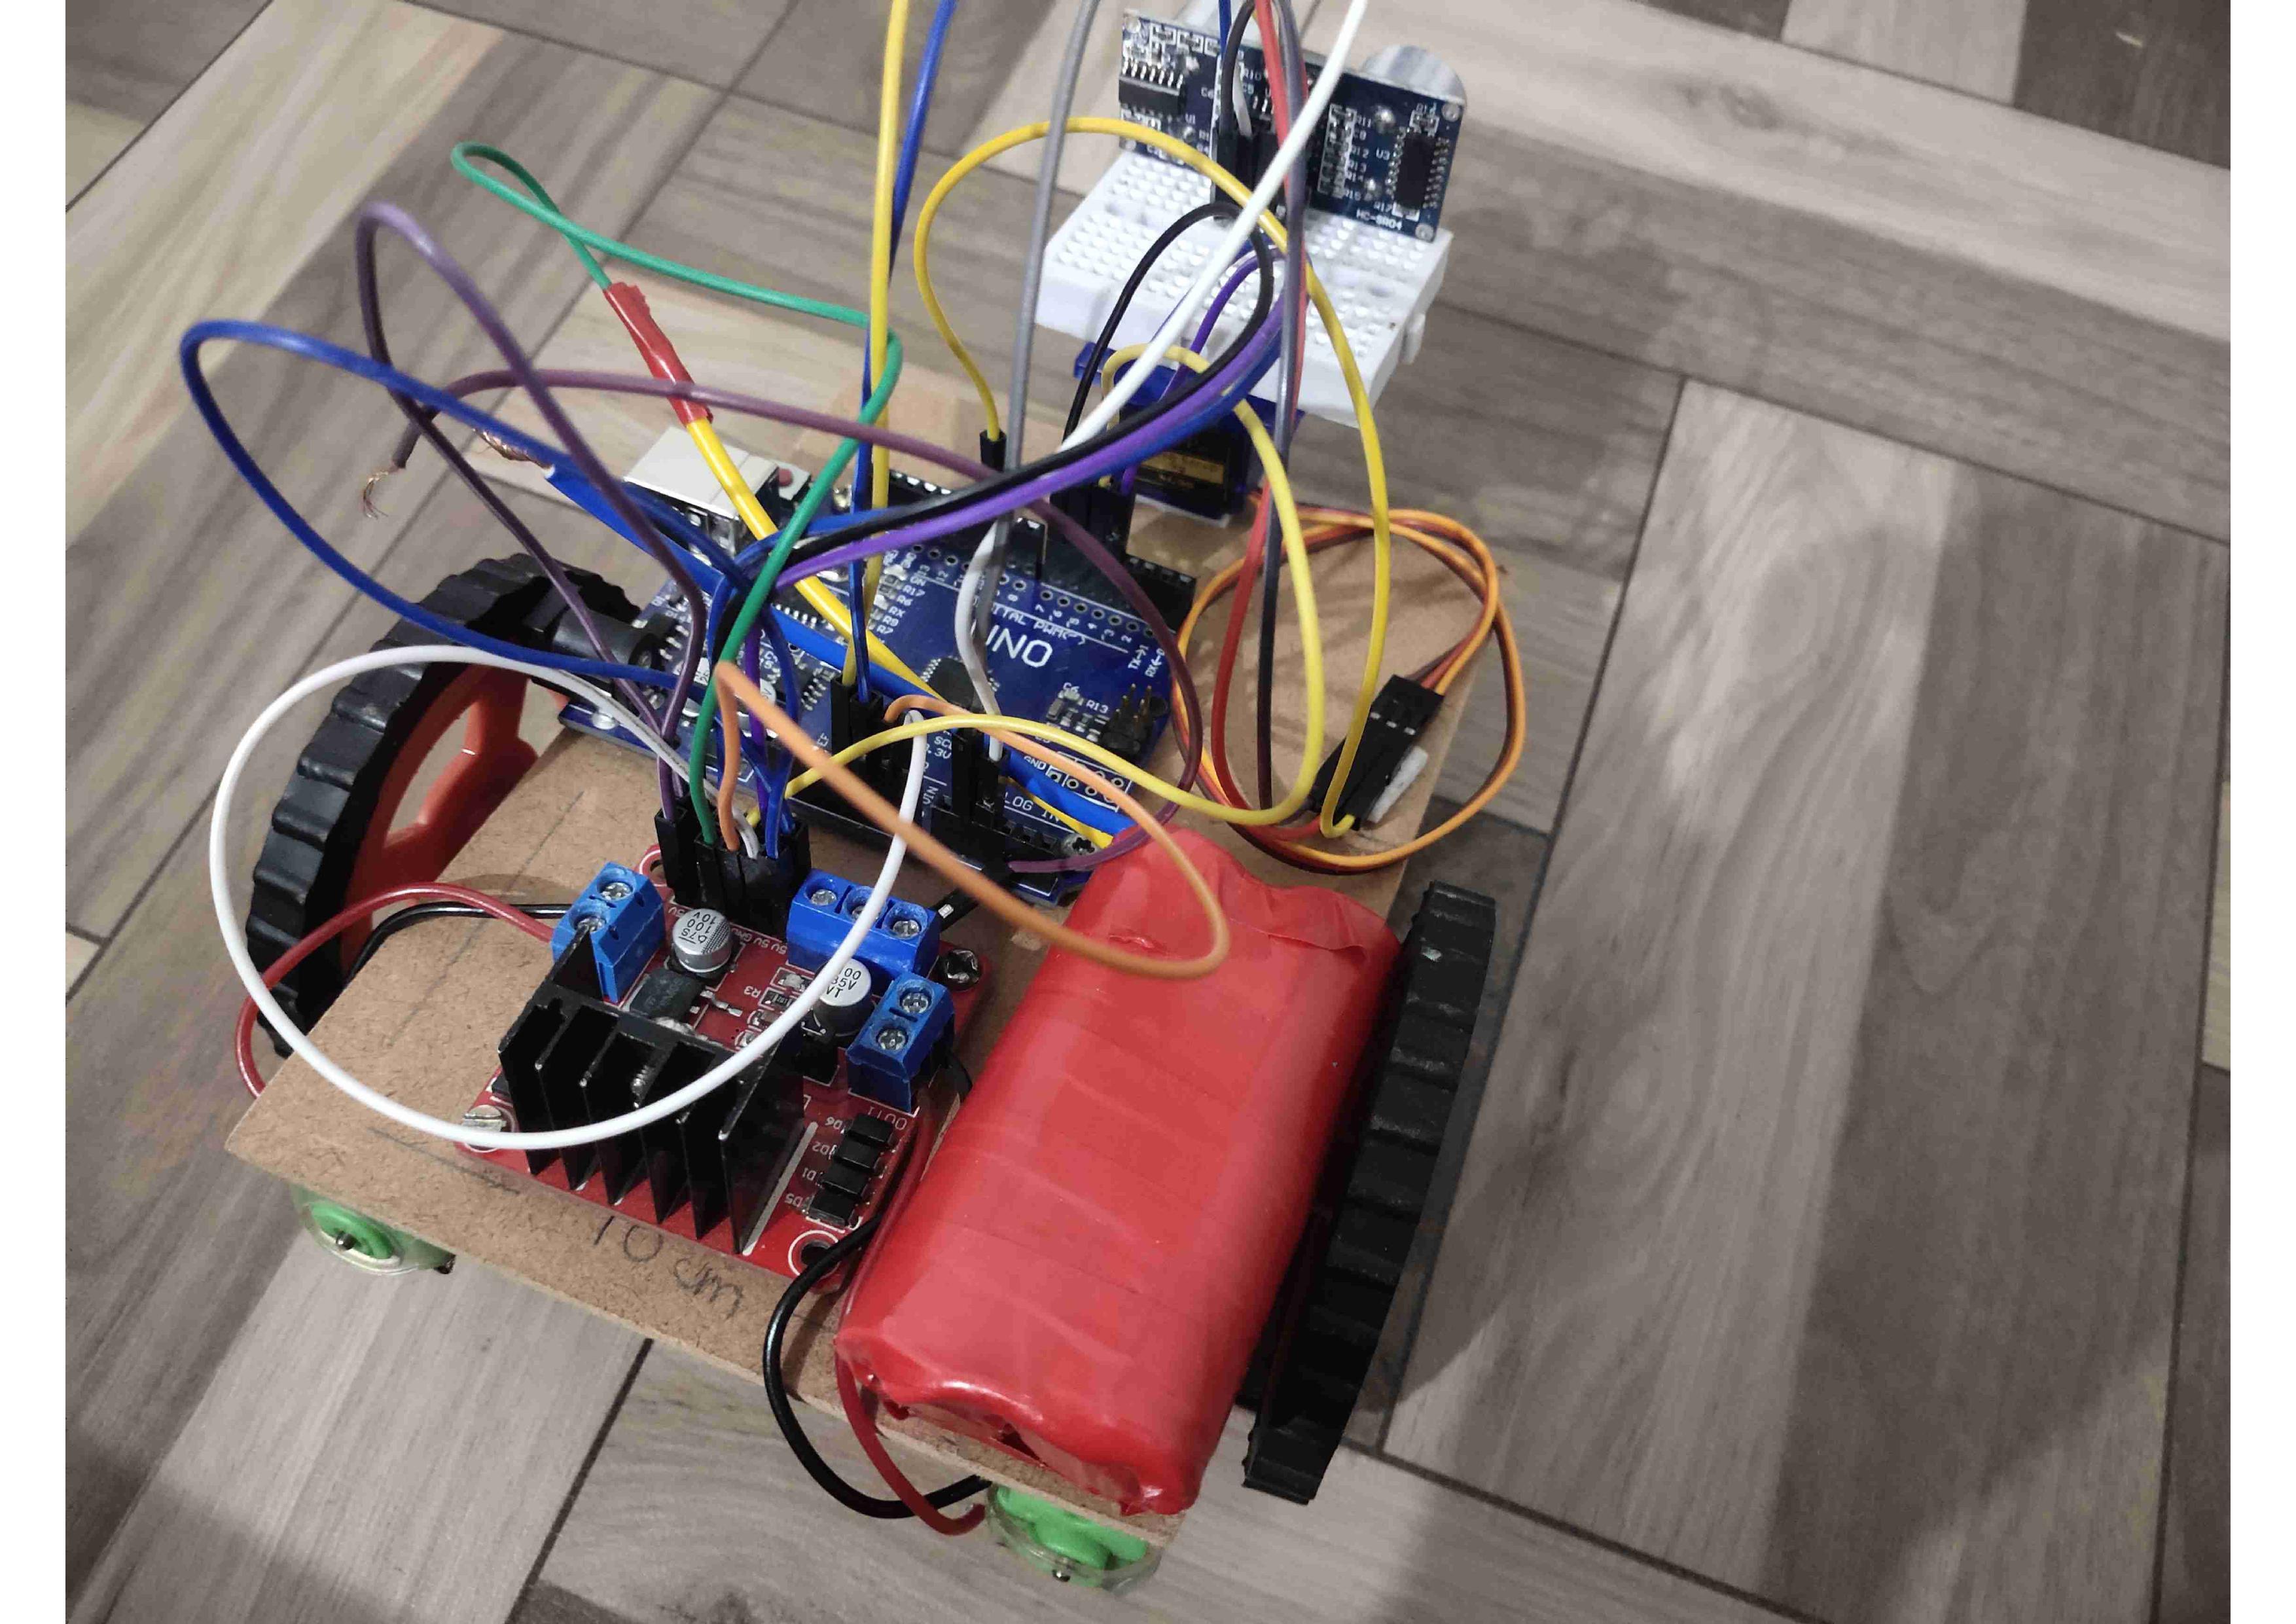
Hello Everyone,
In this instructable, I will instruct you how to make an obstacle avoiding robot step by step. I will use my all efforts to make these instructions clear and easy and I will also give you a tip on each step. This robot will avoid the obstacle and when any obstacle comes it will stop moving forward and goes some step backwards and look left and right and move to the best position.
Supplies
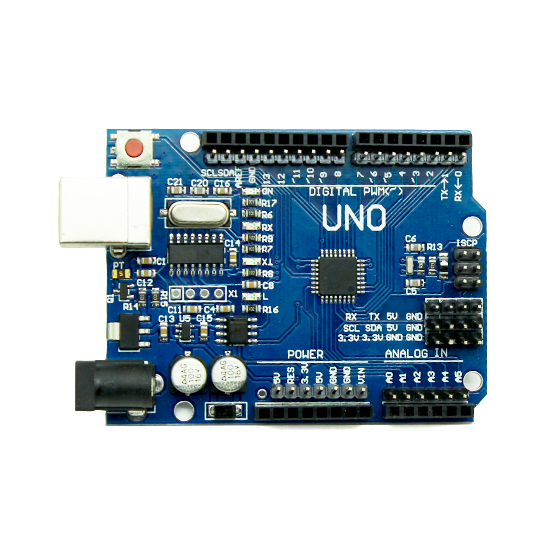
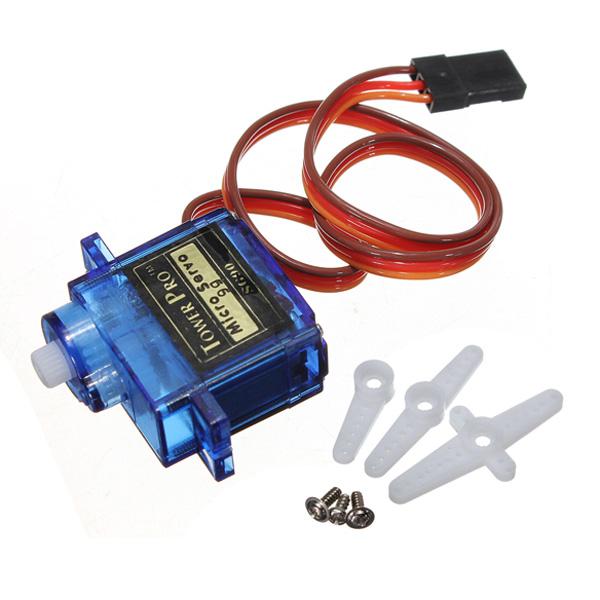
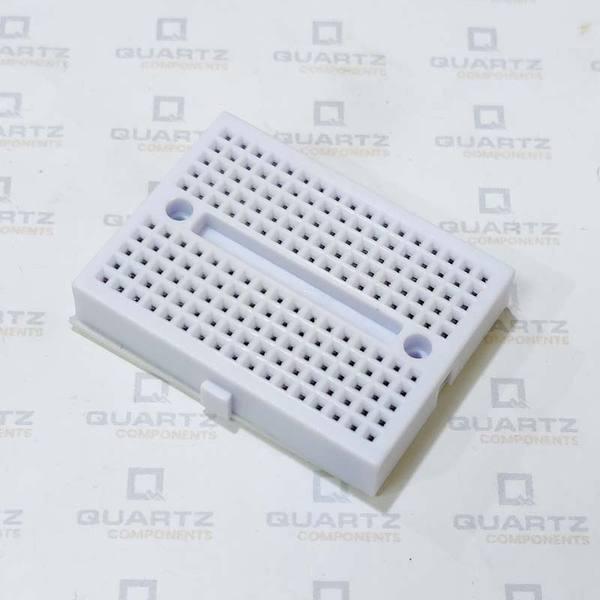
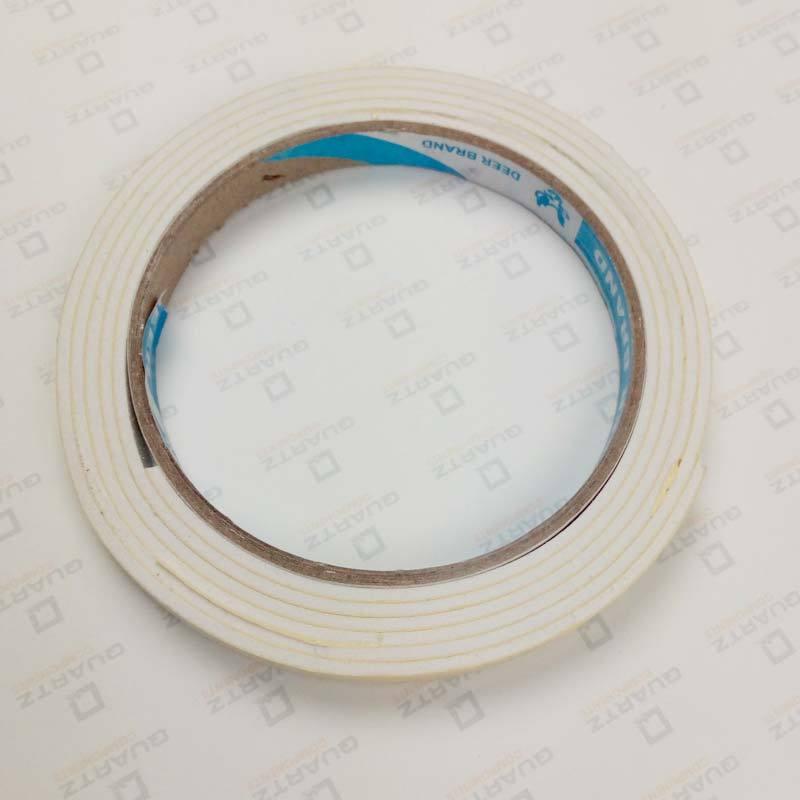
Arduino UNO: https://quartzcomponents.com/products/arduino-uno?variant=31898093846663
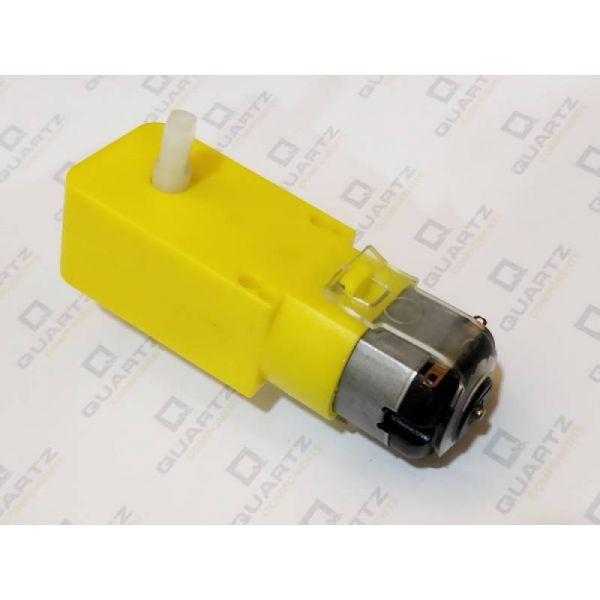
Dual Shaft DC Geared Motor 300 RPM (BO Motor) X 2: https://quartzcomponents.com/products/dual-shaft-dc-geared-motor-300-rpm?variant=31897794150535
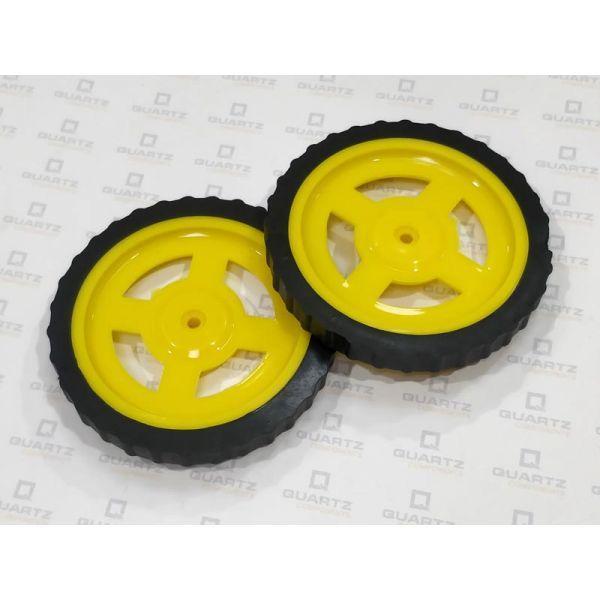
Geared DC Motor Wheel (Pack of 2): https://quartzcomponents.com/products/geared-dc-motor-wheel?variant=31898072842375
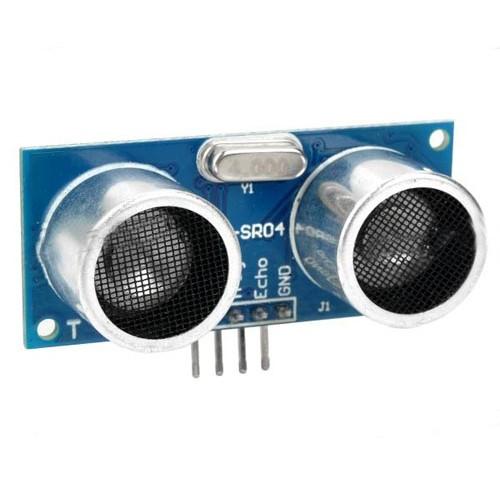
HC-SR04 Ultrasonic Sensor Module: https://quartzcomponents.com/products/hc-sr04-ultrasonic-sensor-module?variant=31897769410695
Tower Pro SG90 Servo Motor - 9 gms Mini/Micro Servo Motor: https://quartzcomponents.com/products/tower-pro-sg90-servo-9-gms-mini-micro-servo-motor?variant=31898074218631
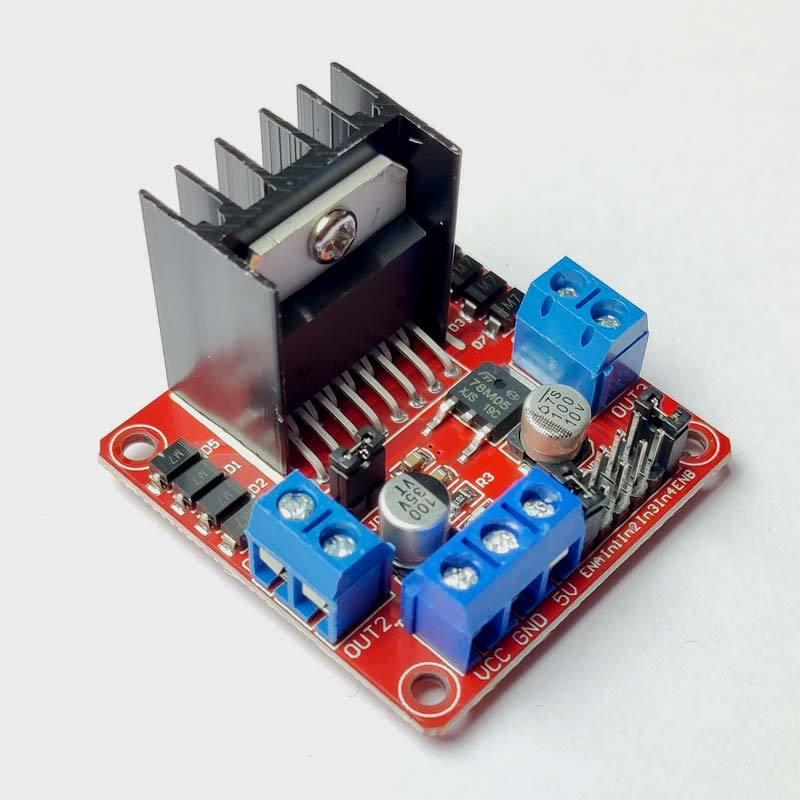
L298N 2A Based Motor Driver Module: https://quartzcomponents.com/products/l298n-2a-based-motor-driver-module?variant=32115009519751
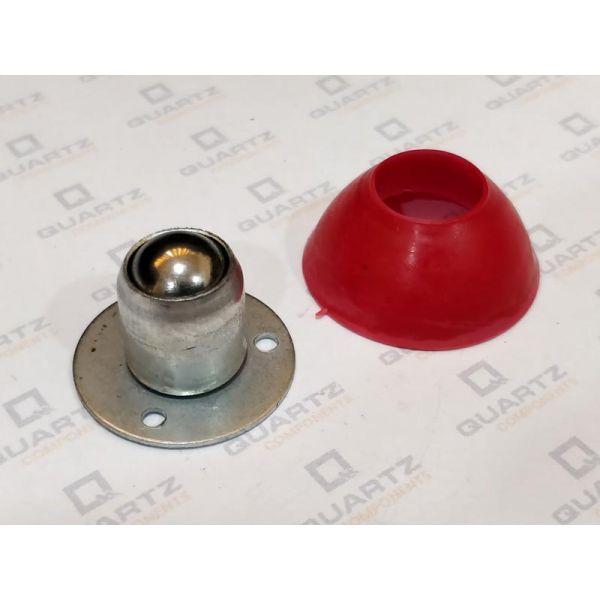
Castor Wheel: https://quartzcomponents.com/products/castor-wheel?variant=31898072252551
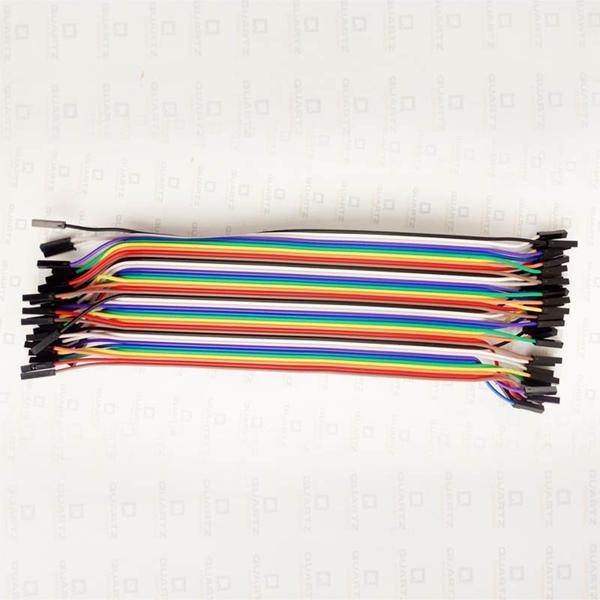
Jumper Wires: https://quartzcomponents.com/products/jumper-wire-combo-m-to-m-m-to-f-f-to-f?variant=35156414365849
White Sponge Double-Sided Tape: https://quartzcomponents.com/products/white-sponge-double-sided-acrylic-foam-adhesive-tapes?variant=35143670169753
Small Breadboard: https://quartzcomponents.com/products/syb-170-mini-solderless-prototype-experiment-test-breadboard-1?_pos=444&_sid=37f5ac07f&_ss=r
7.4 v battery (2 x 18650 battery in series ): https://quartzcomponents.com/products/18650-li-ion-1800mah-rechargeable-battery
Making of Chassis
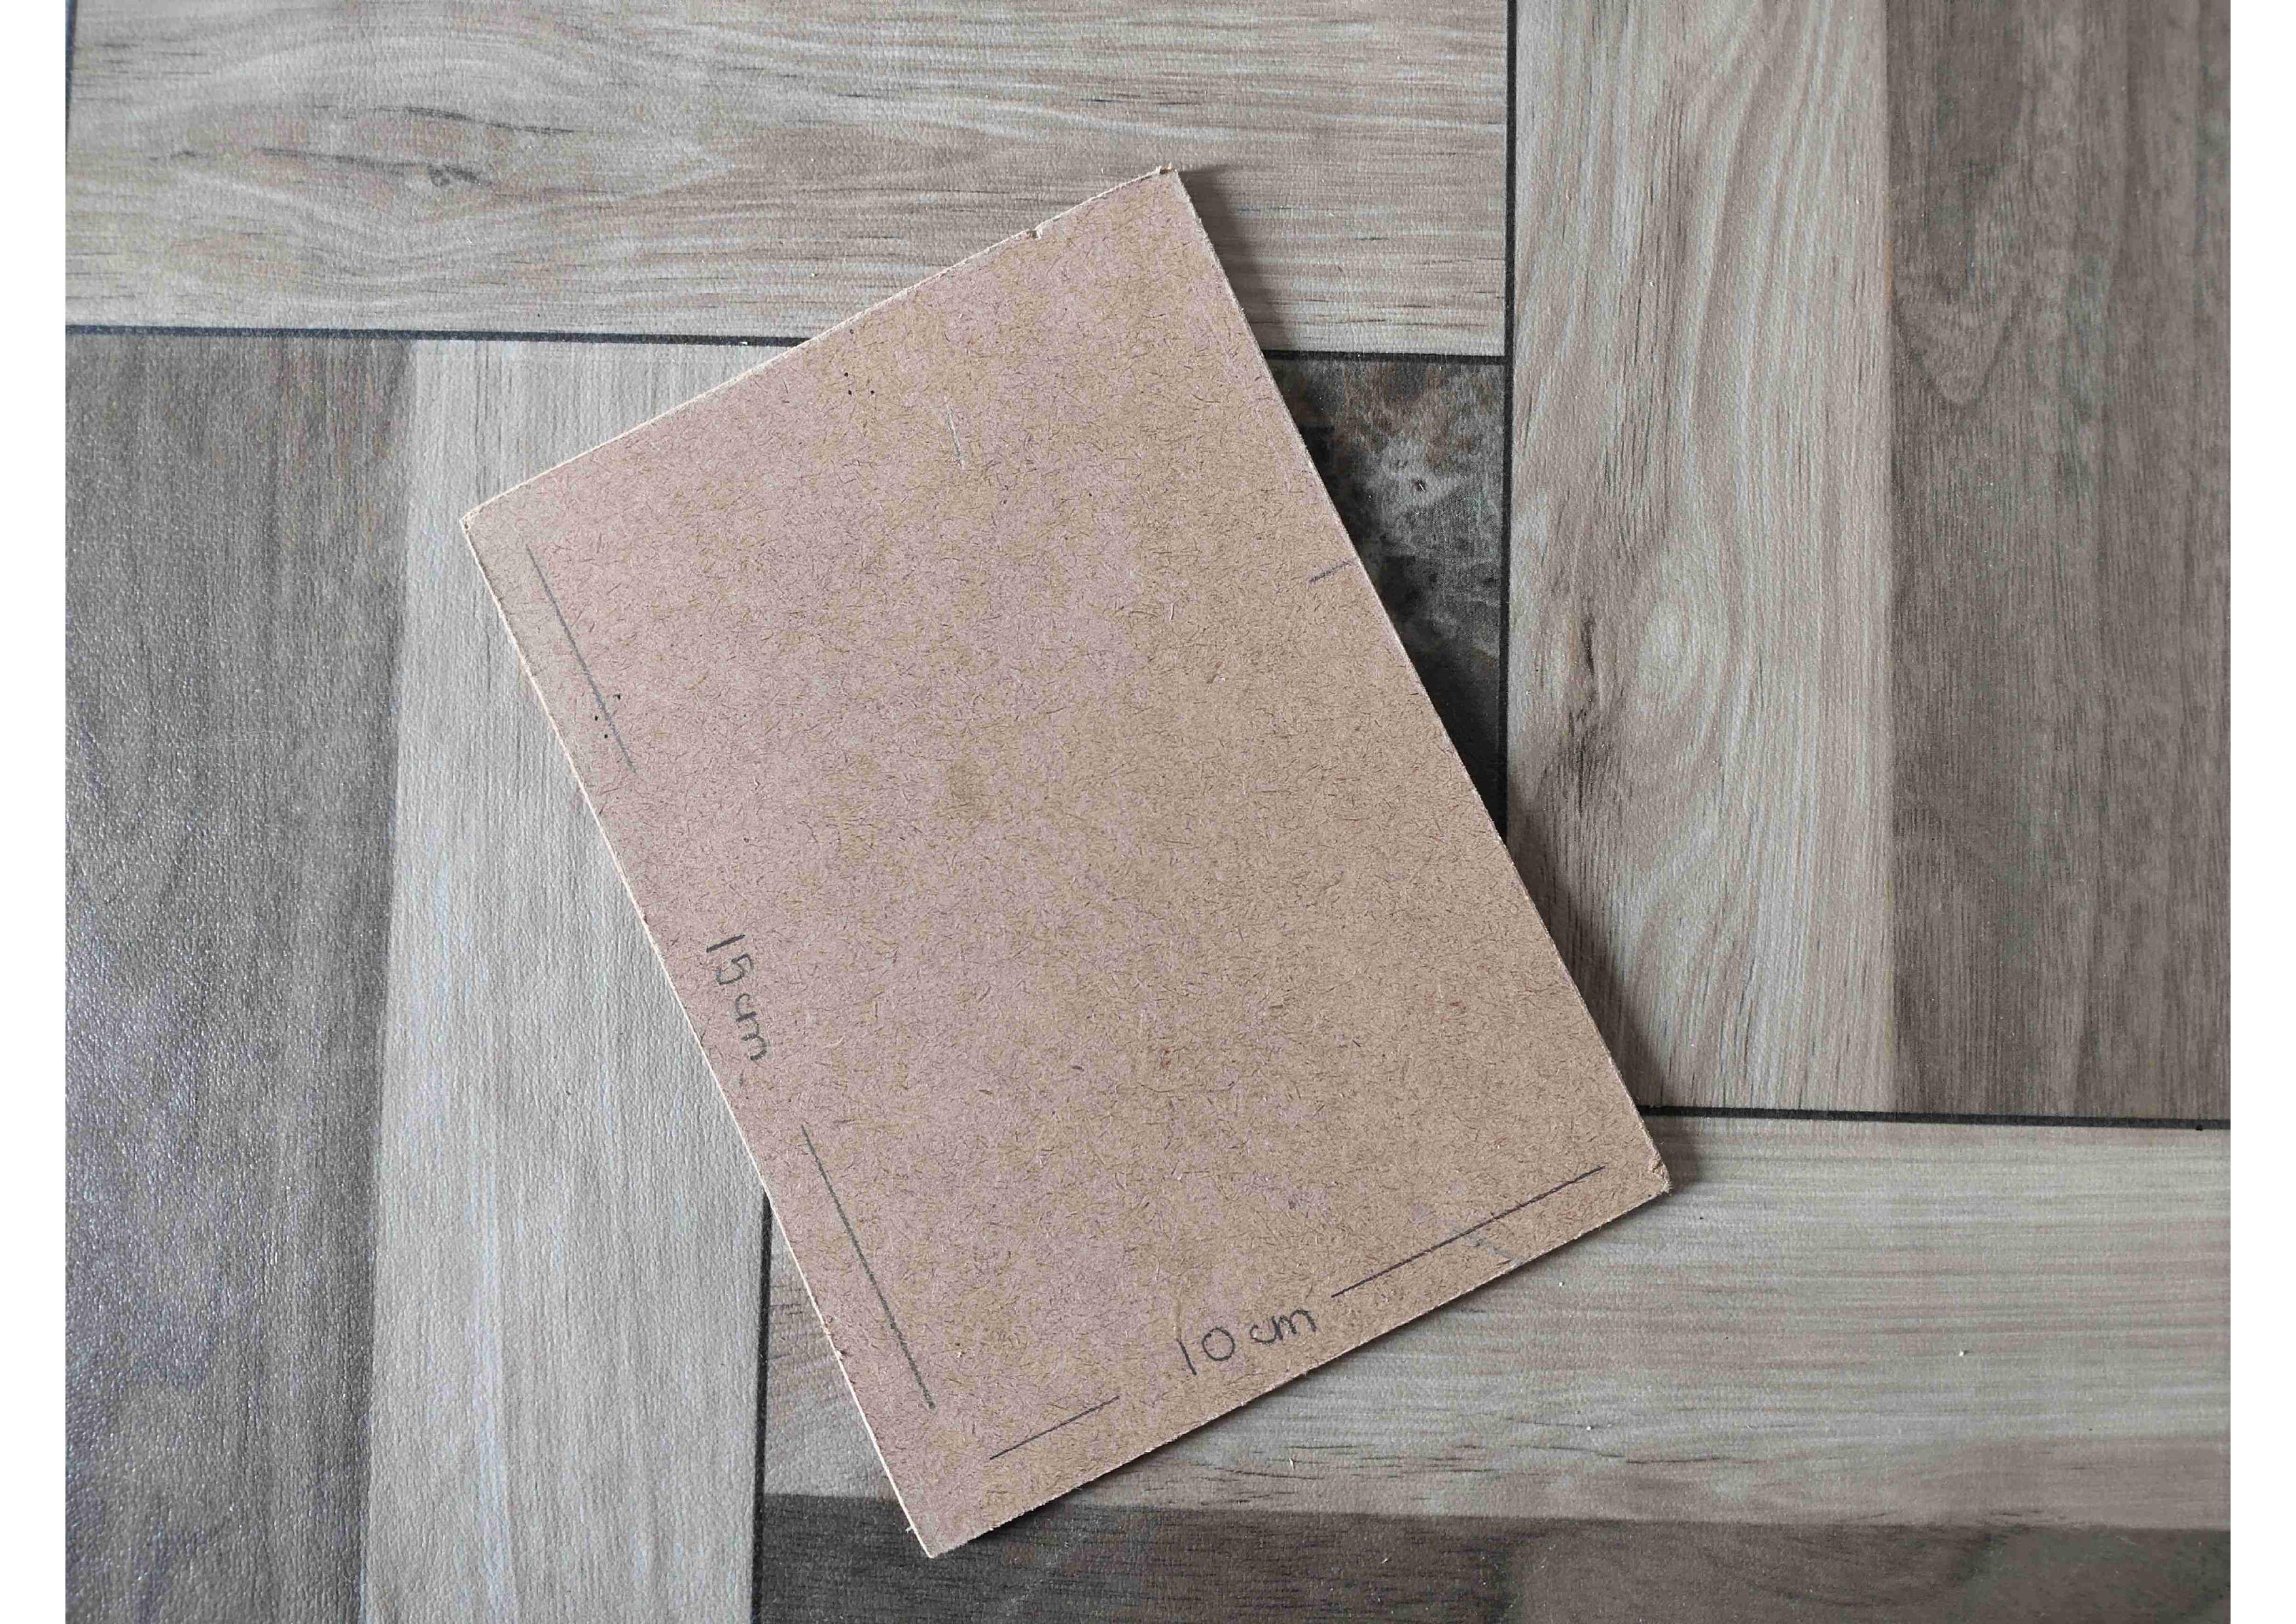
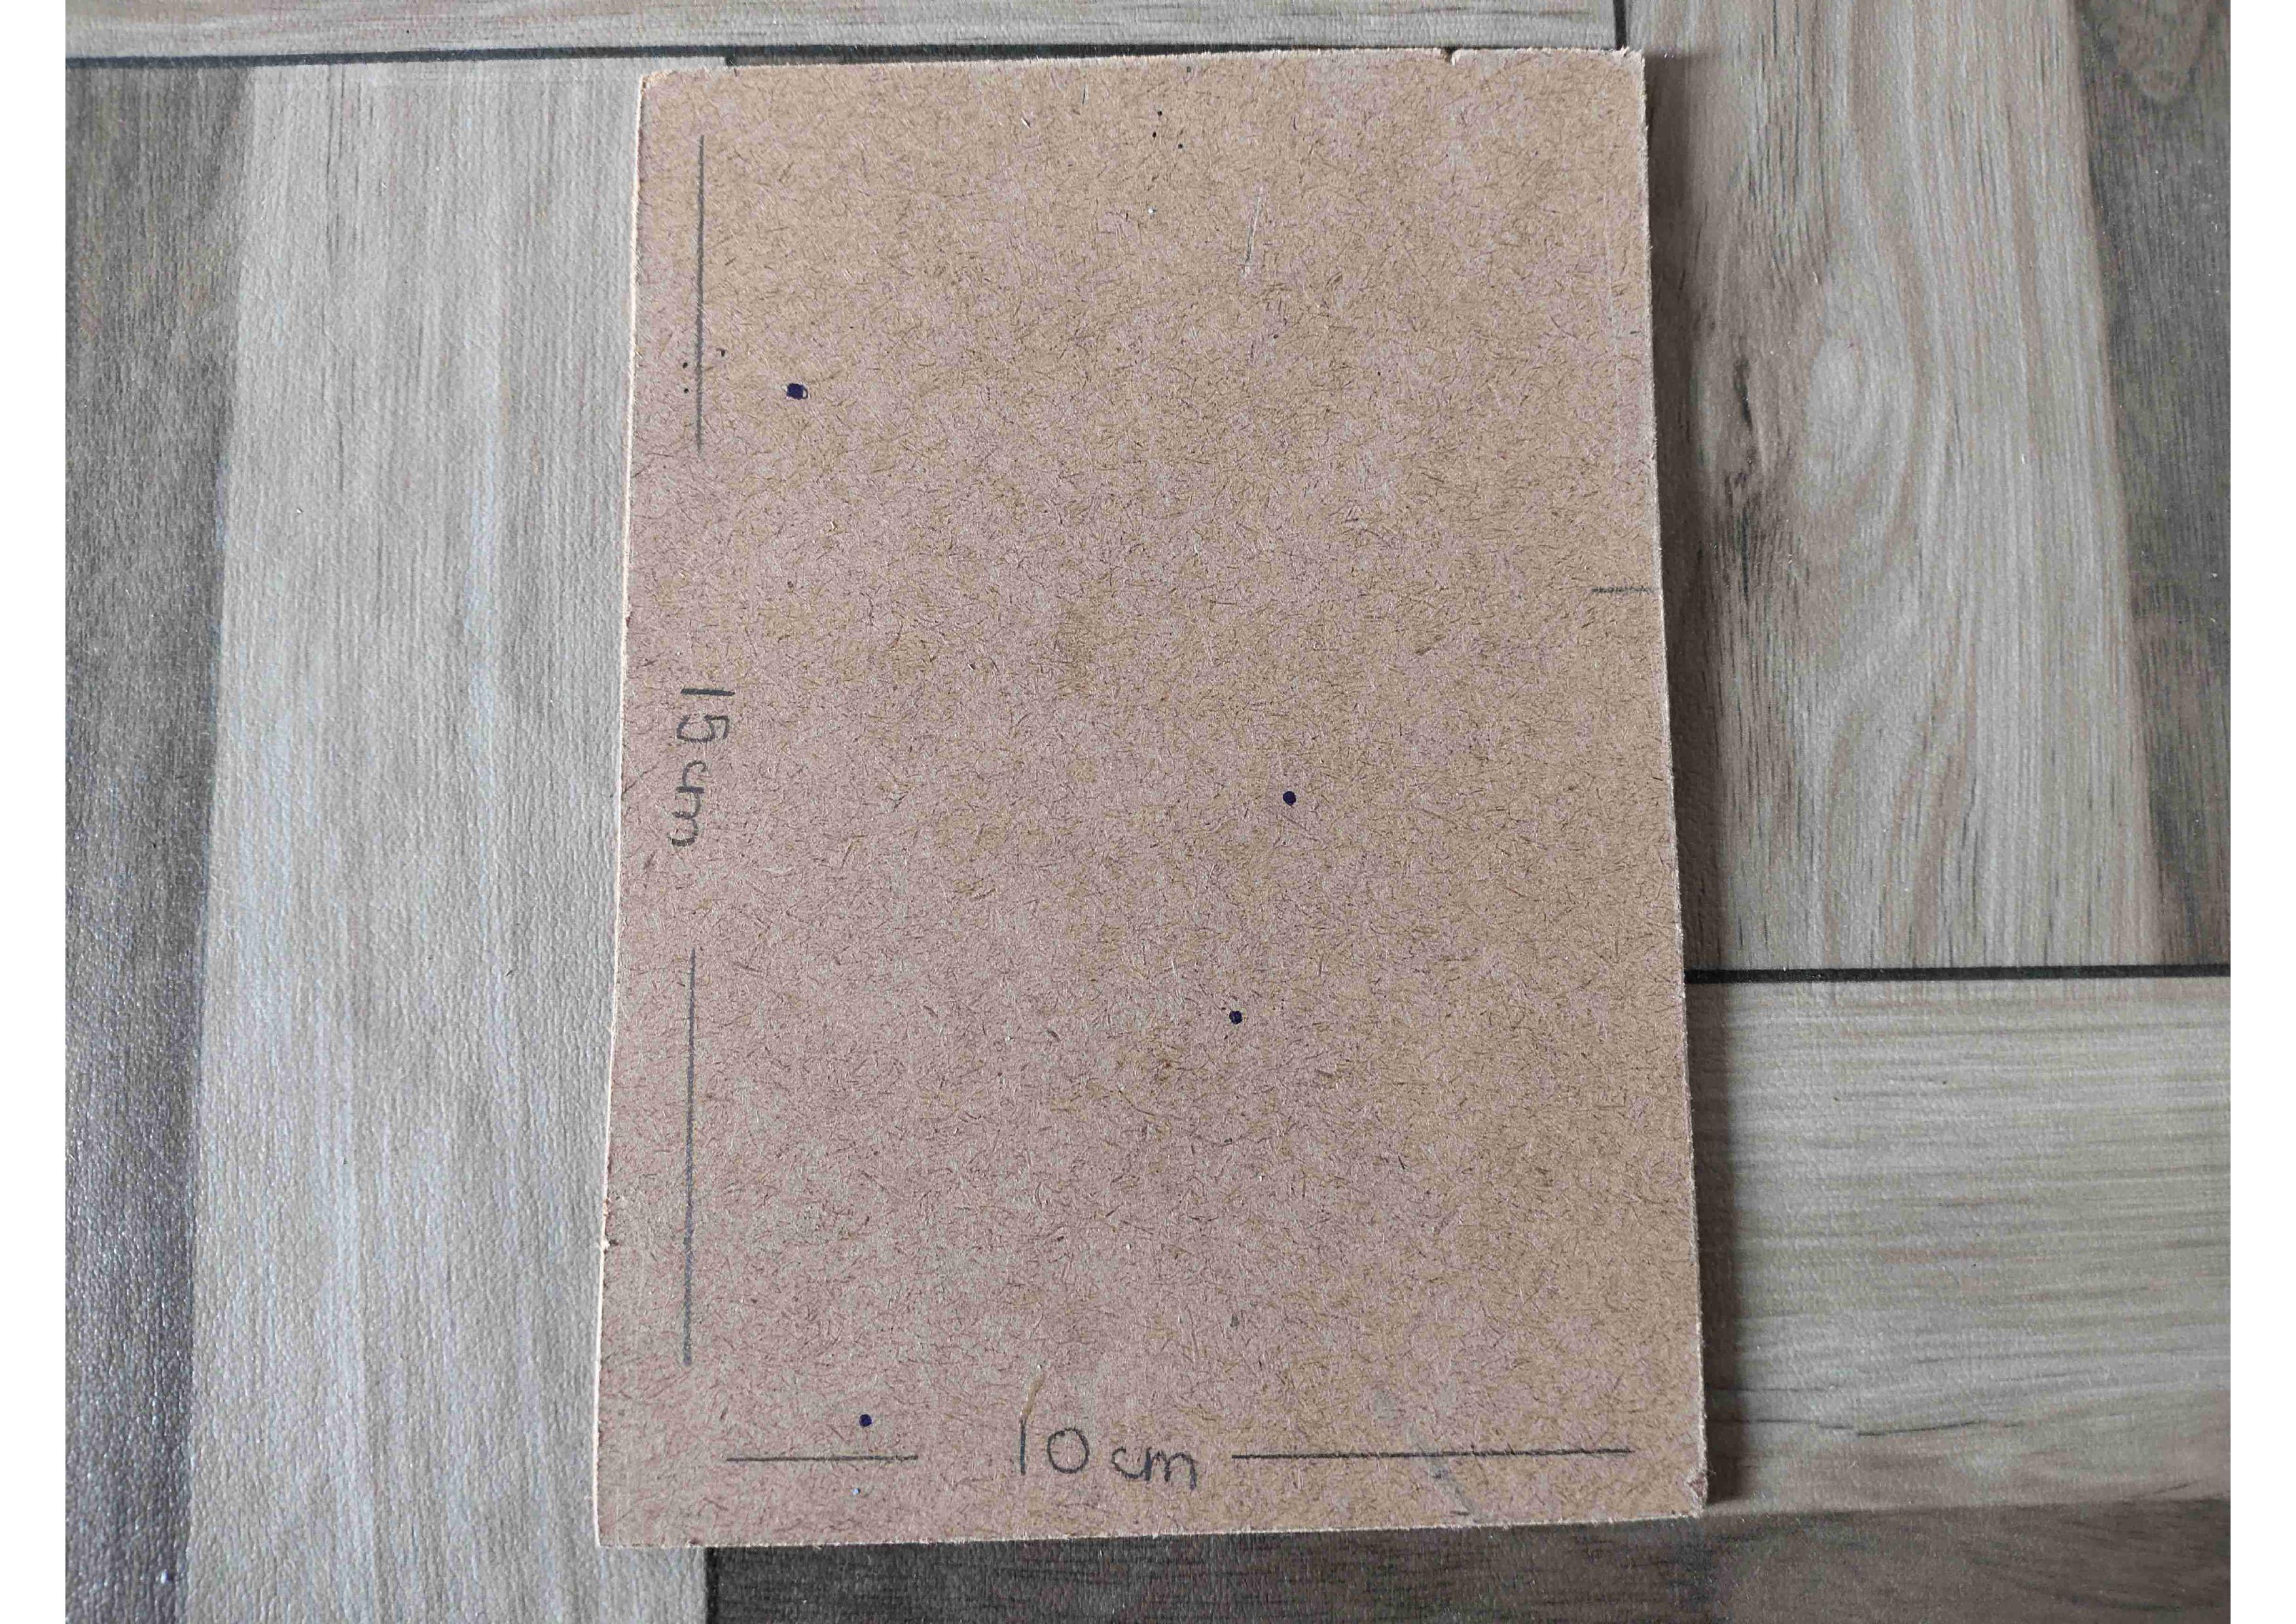
- Take a piece of MDF board and cut it with the size of 15cm x 10cm.
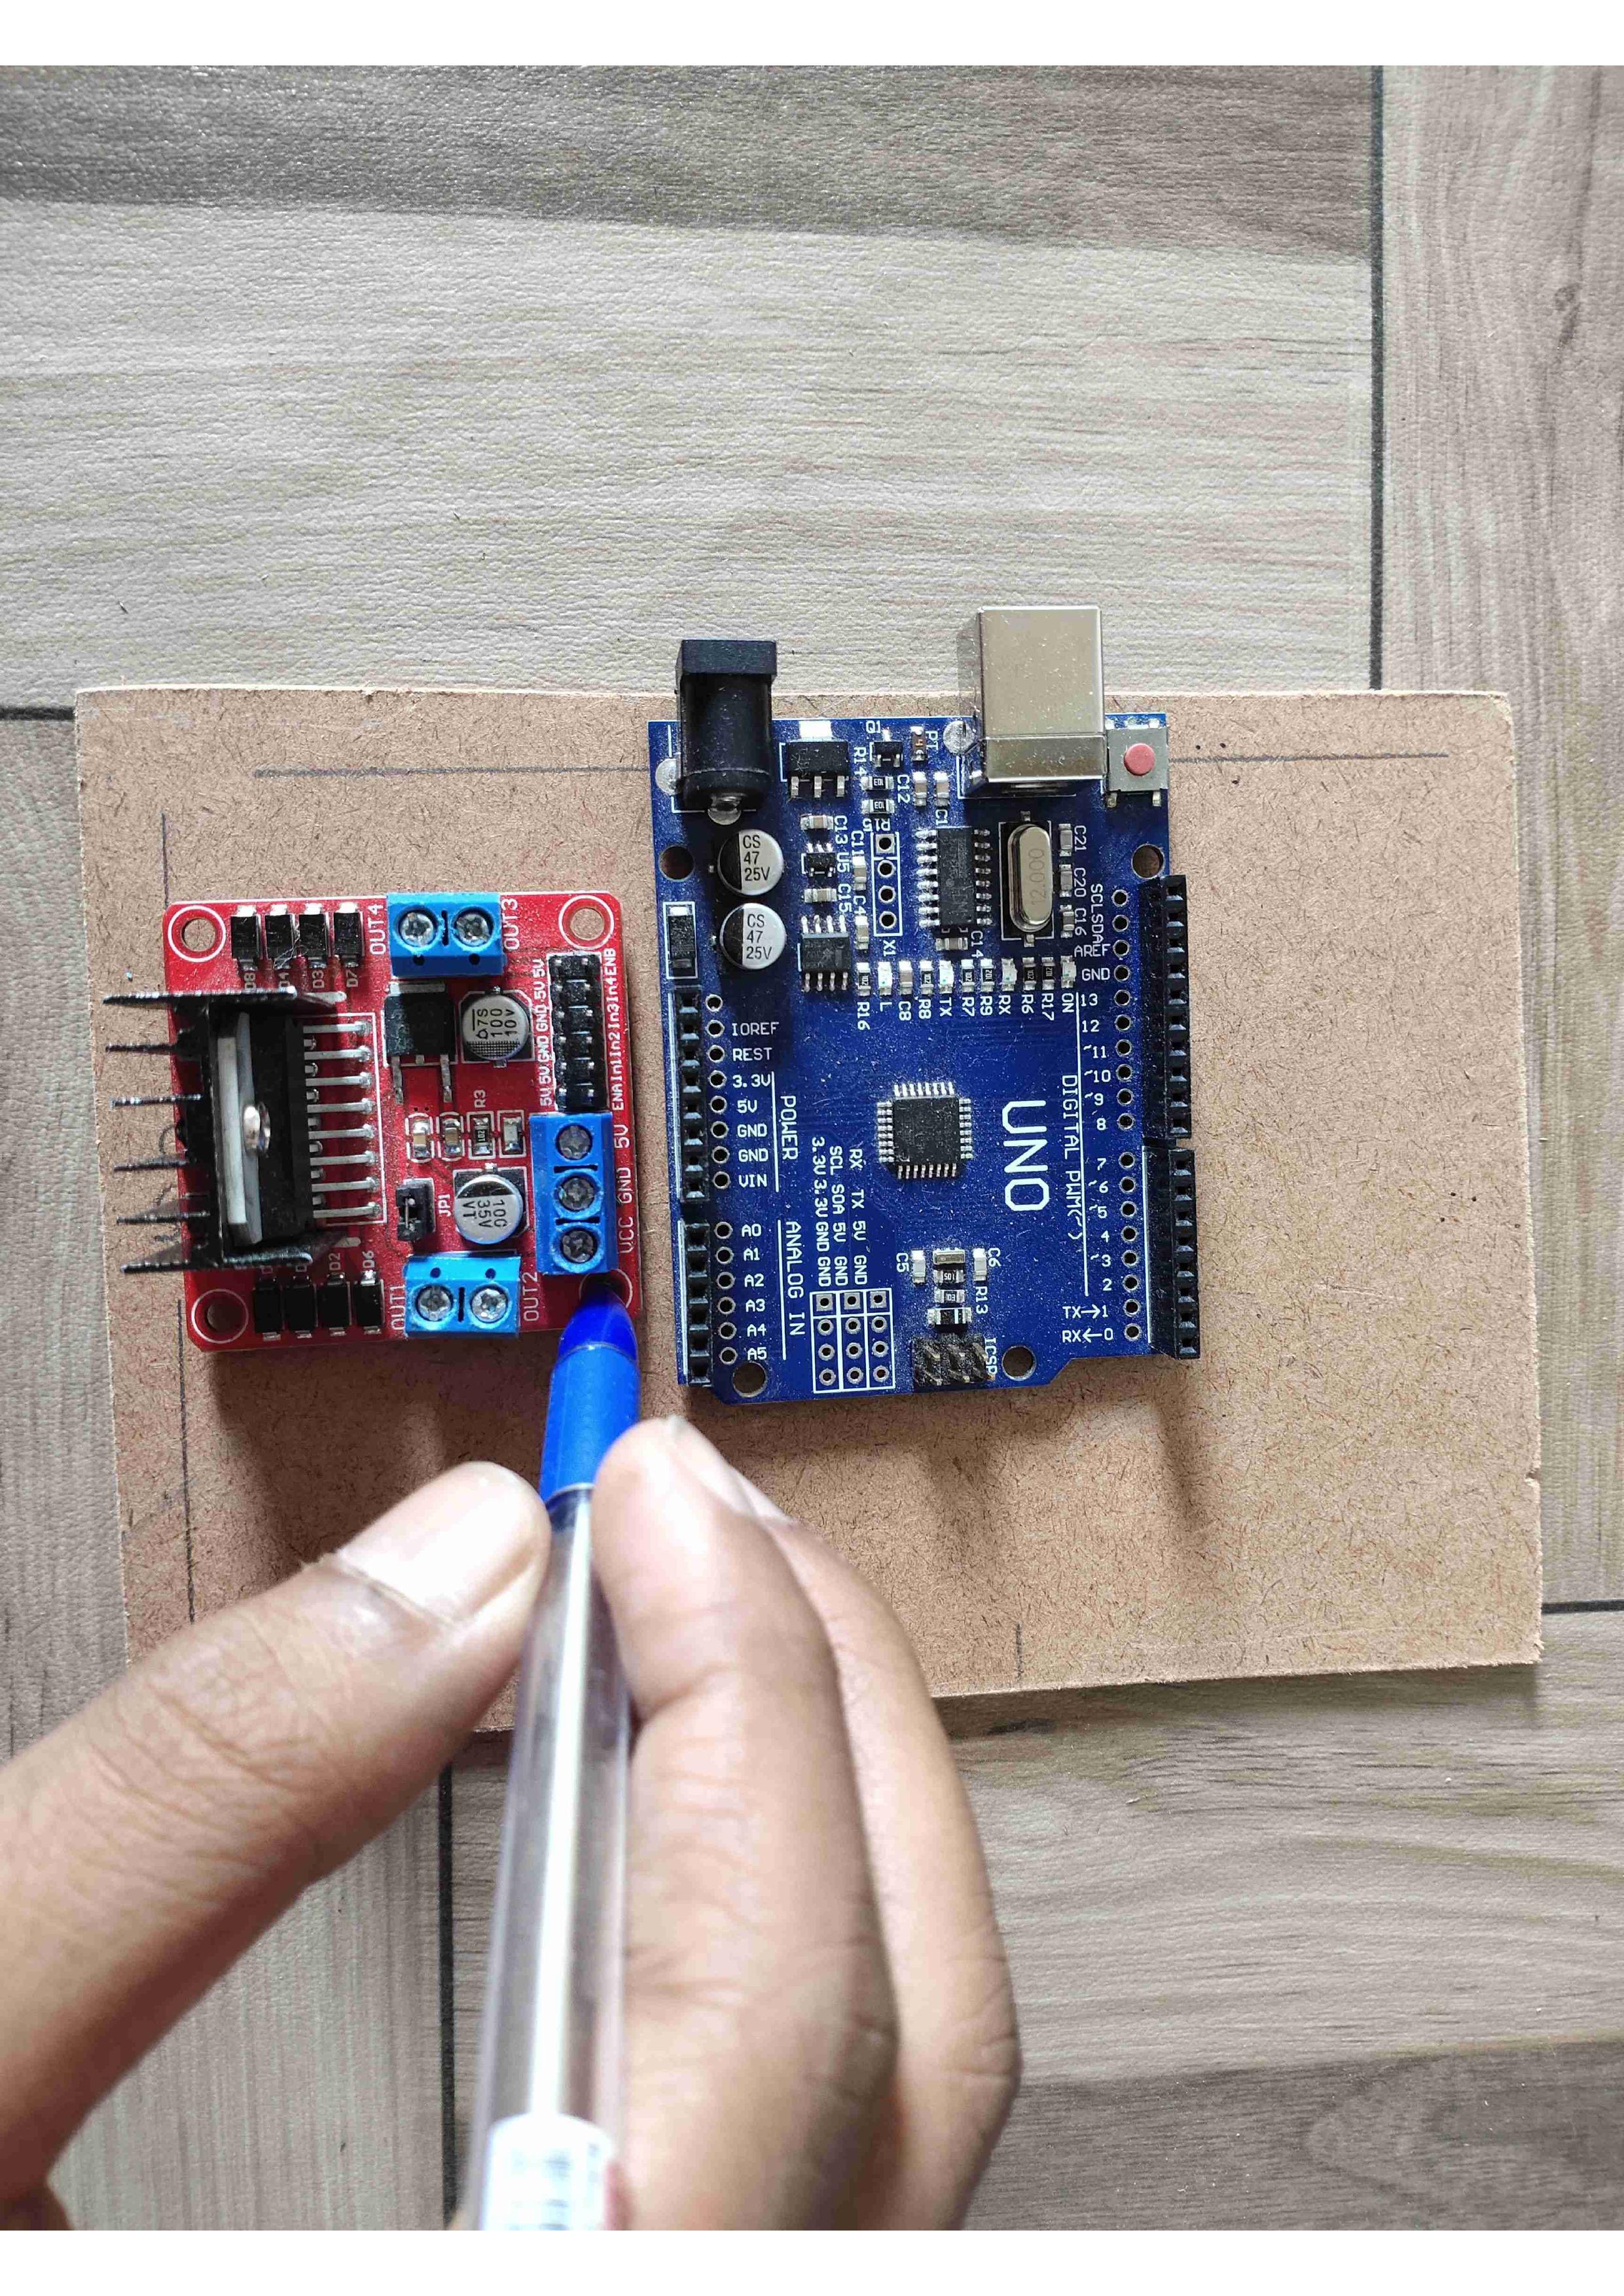
- Place the components and mark them for making the holes.
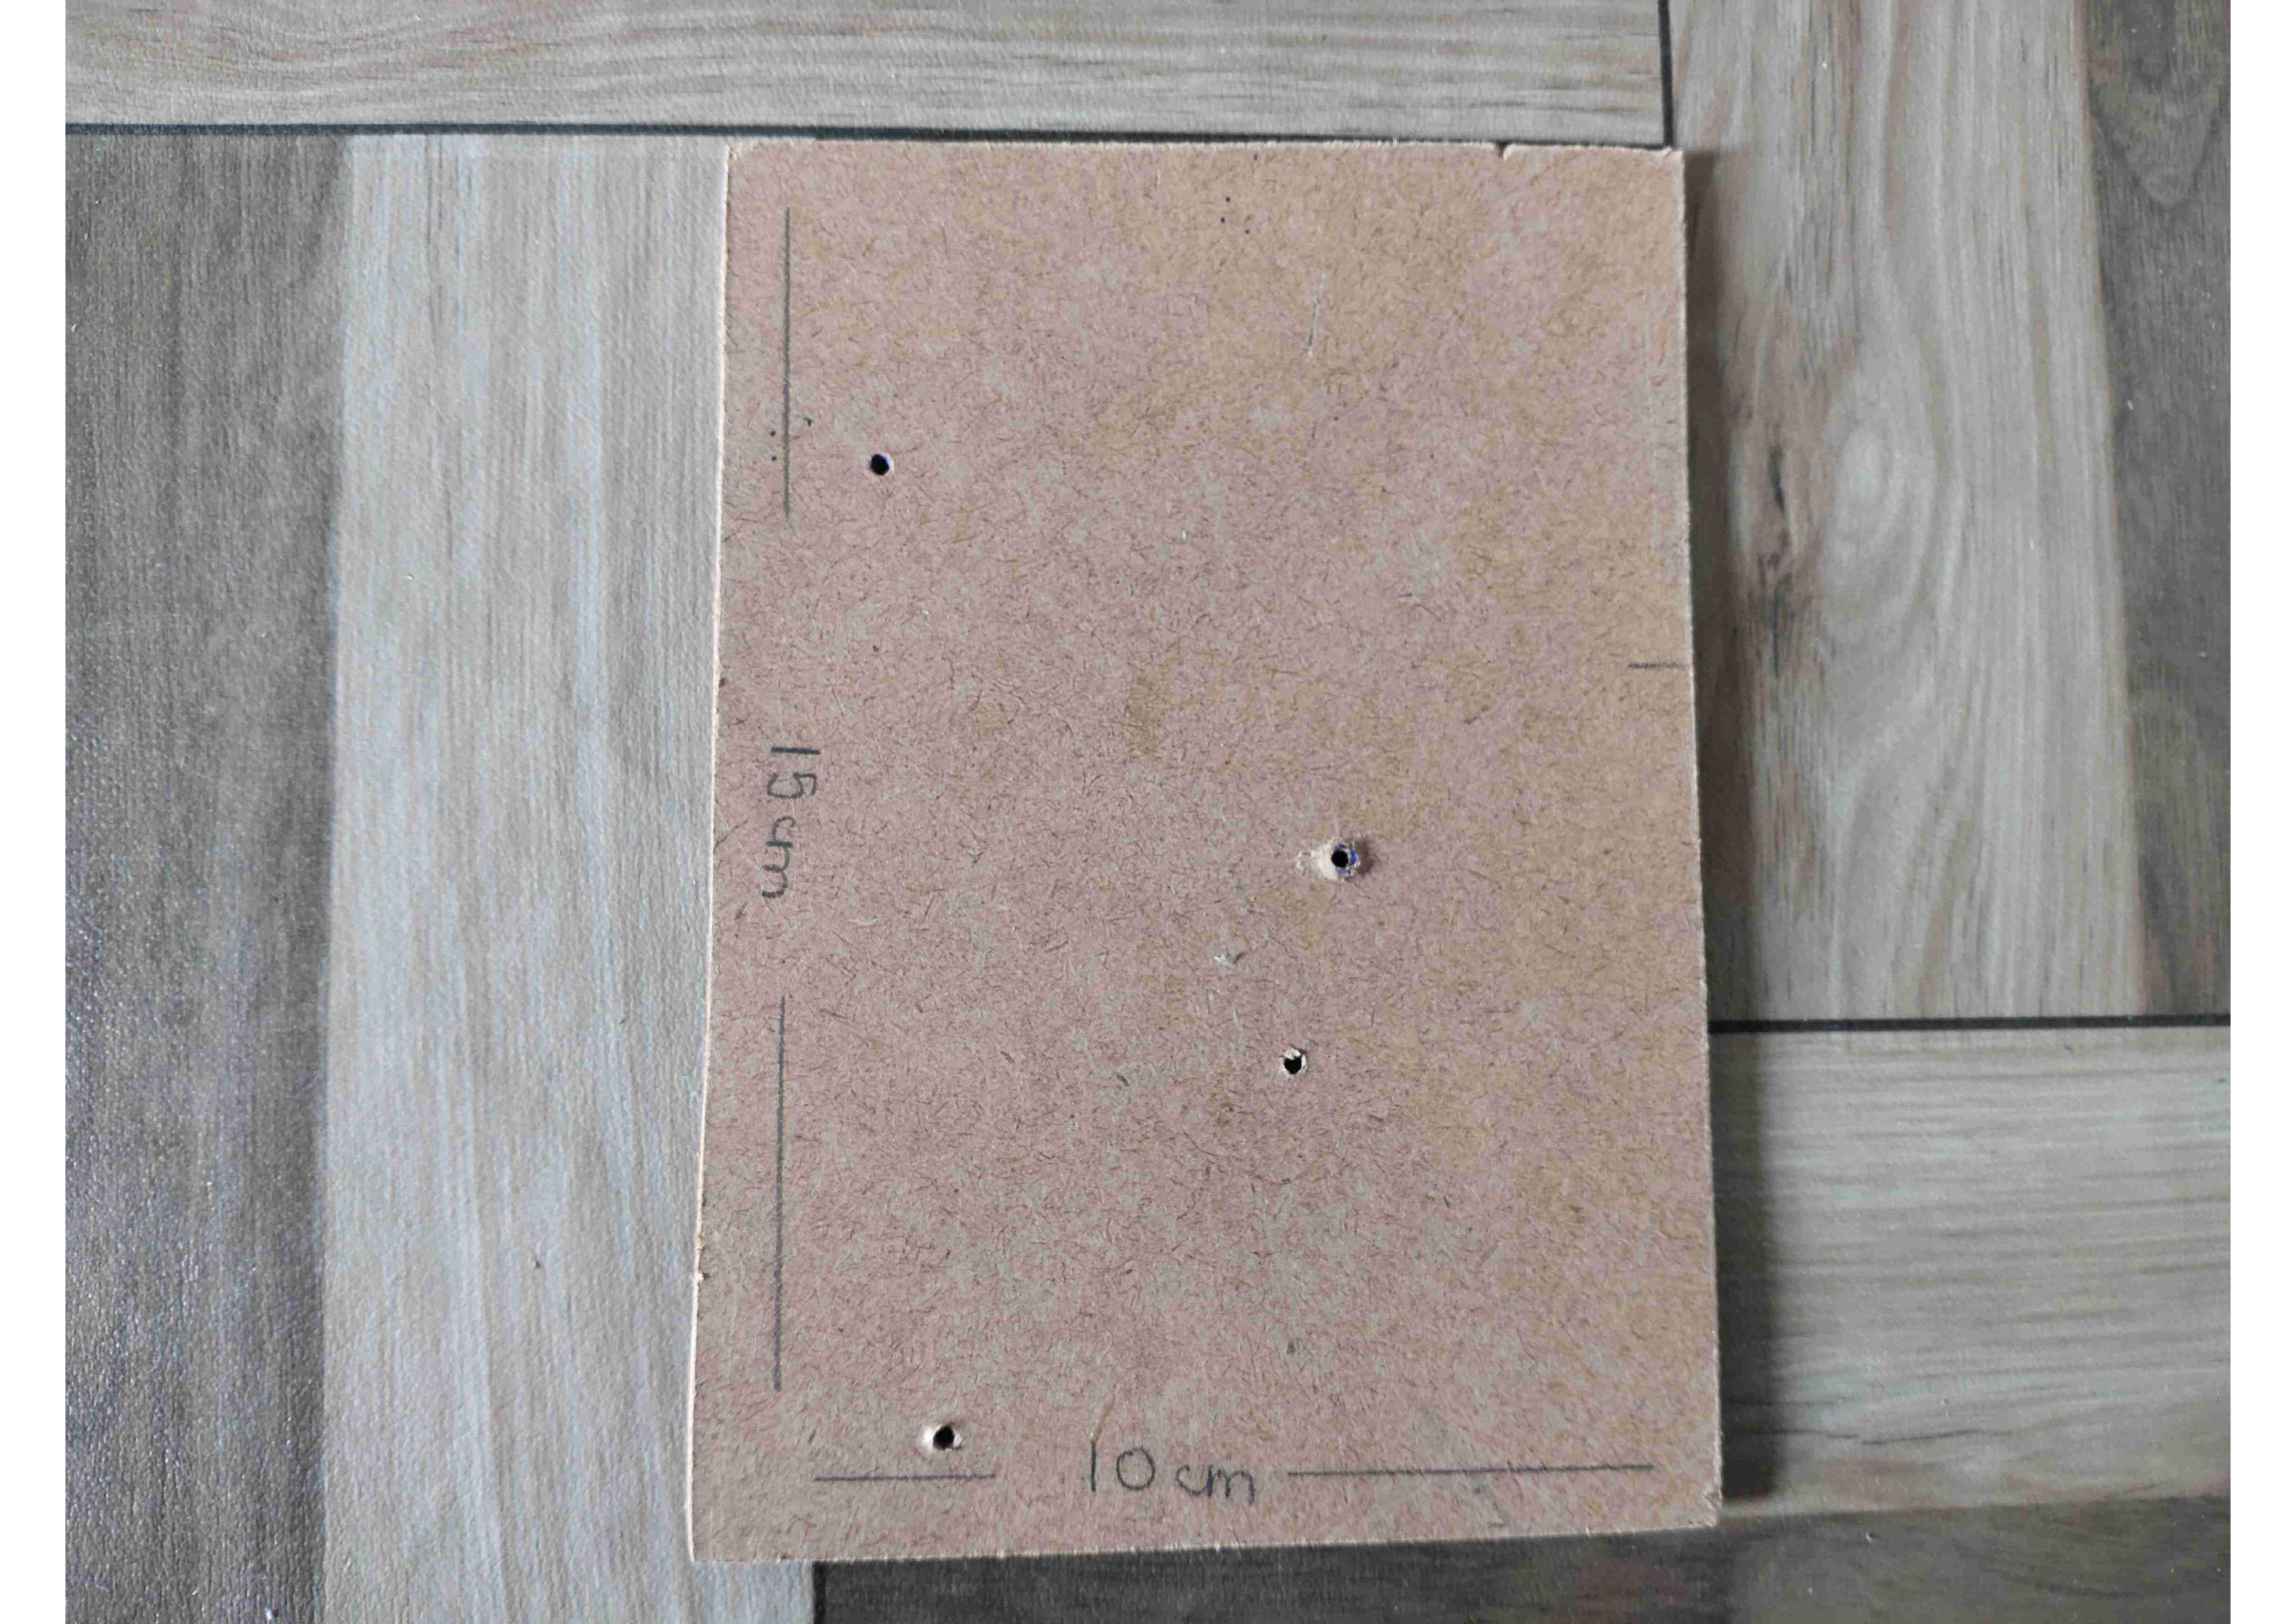
- Make a hole for screwing the components on the MDF board.
Tip: If you do not have the proper tool for making the hole, make a small hole with the tip of the compass and make it large with the help of a screw.
Assembling the Chasis
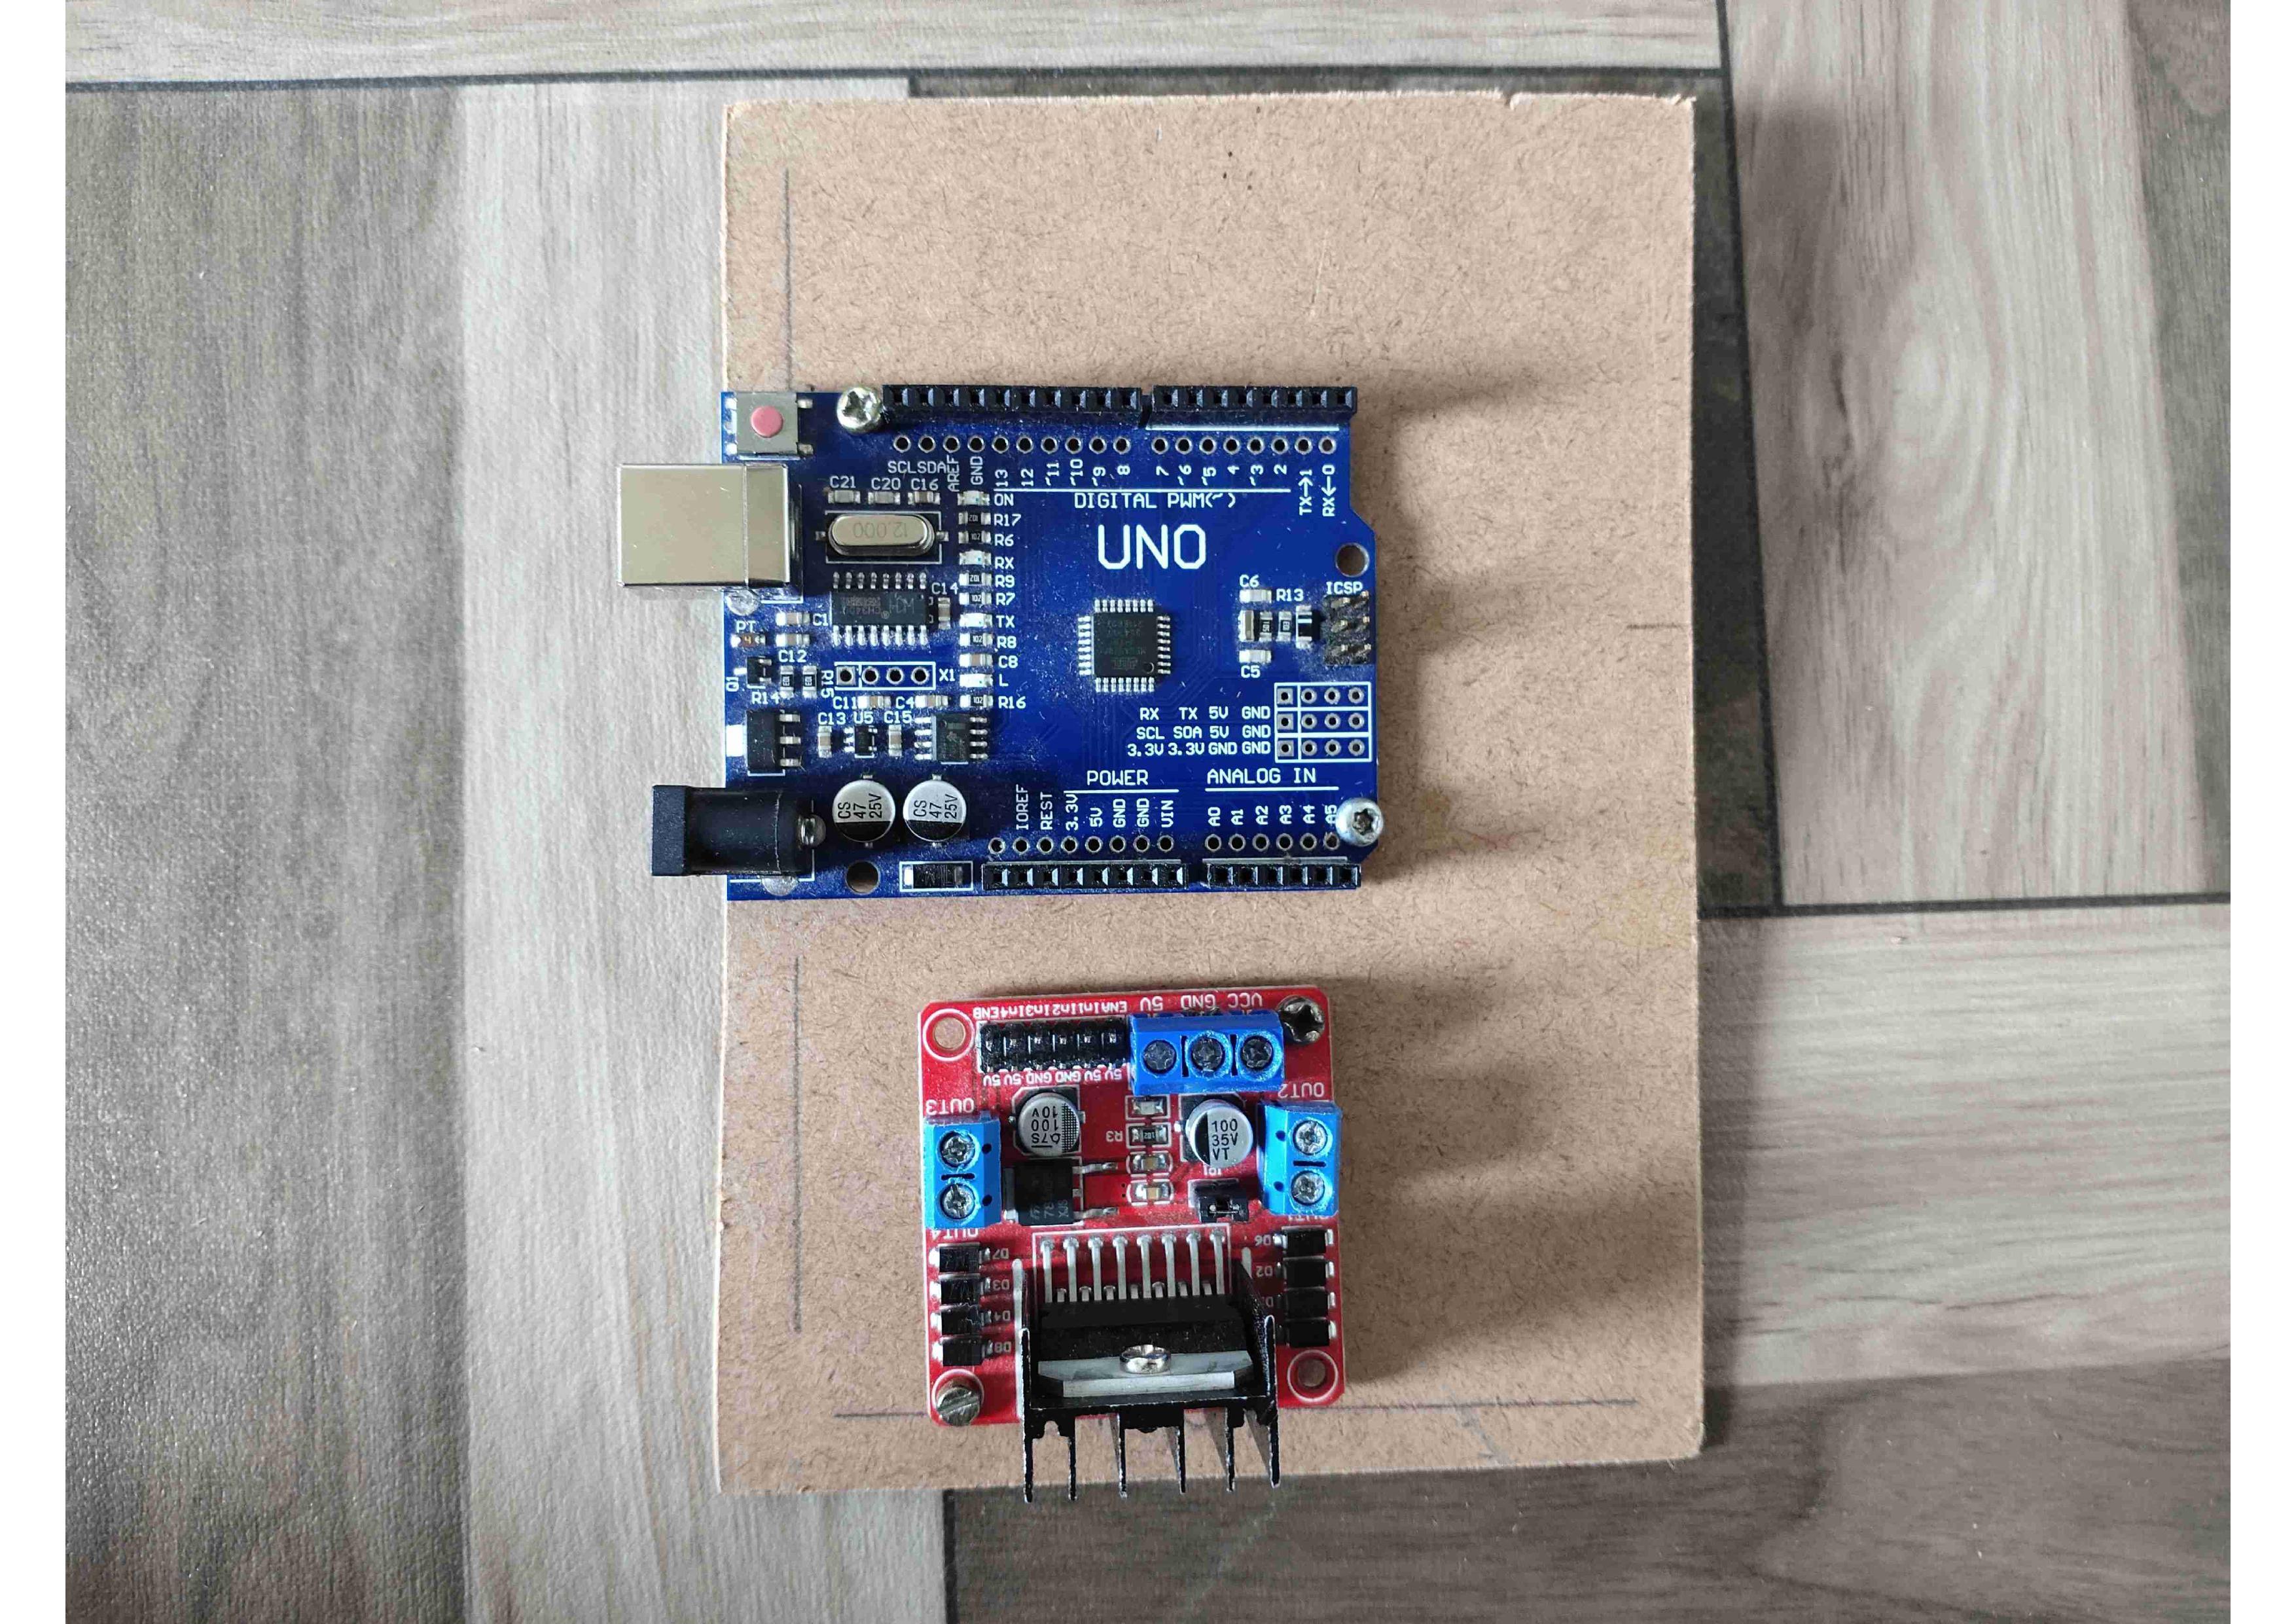
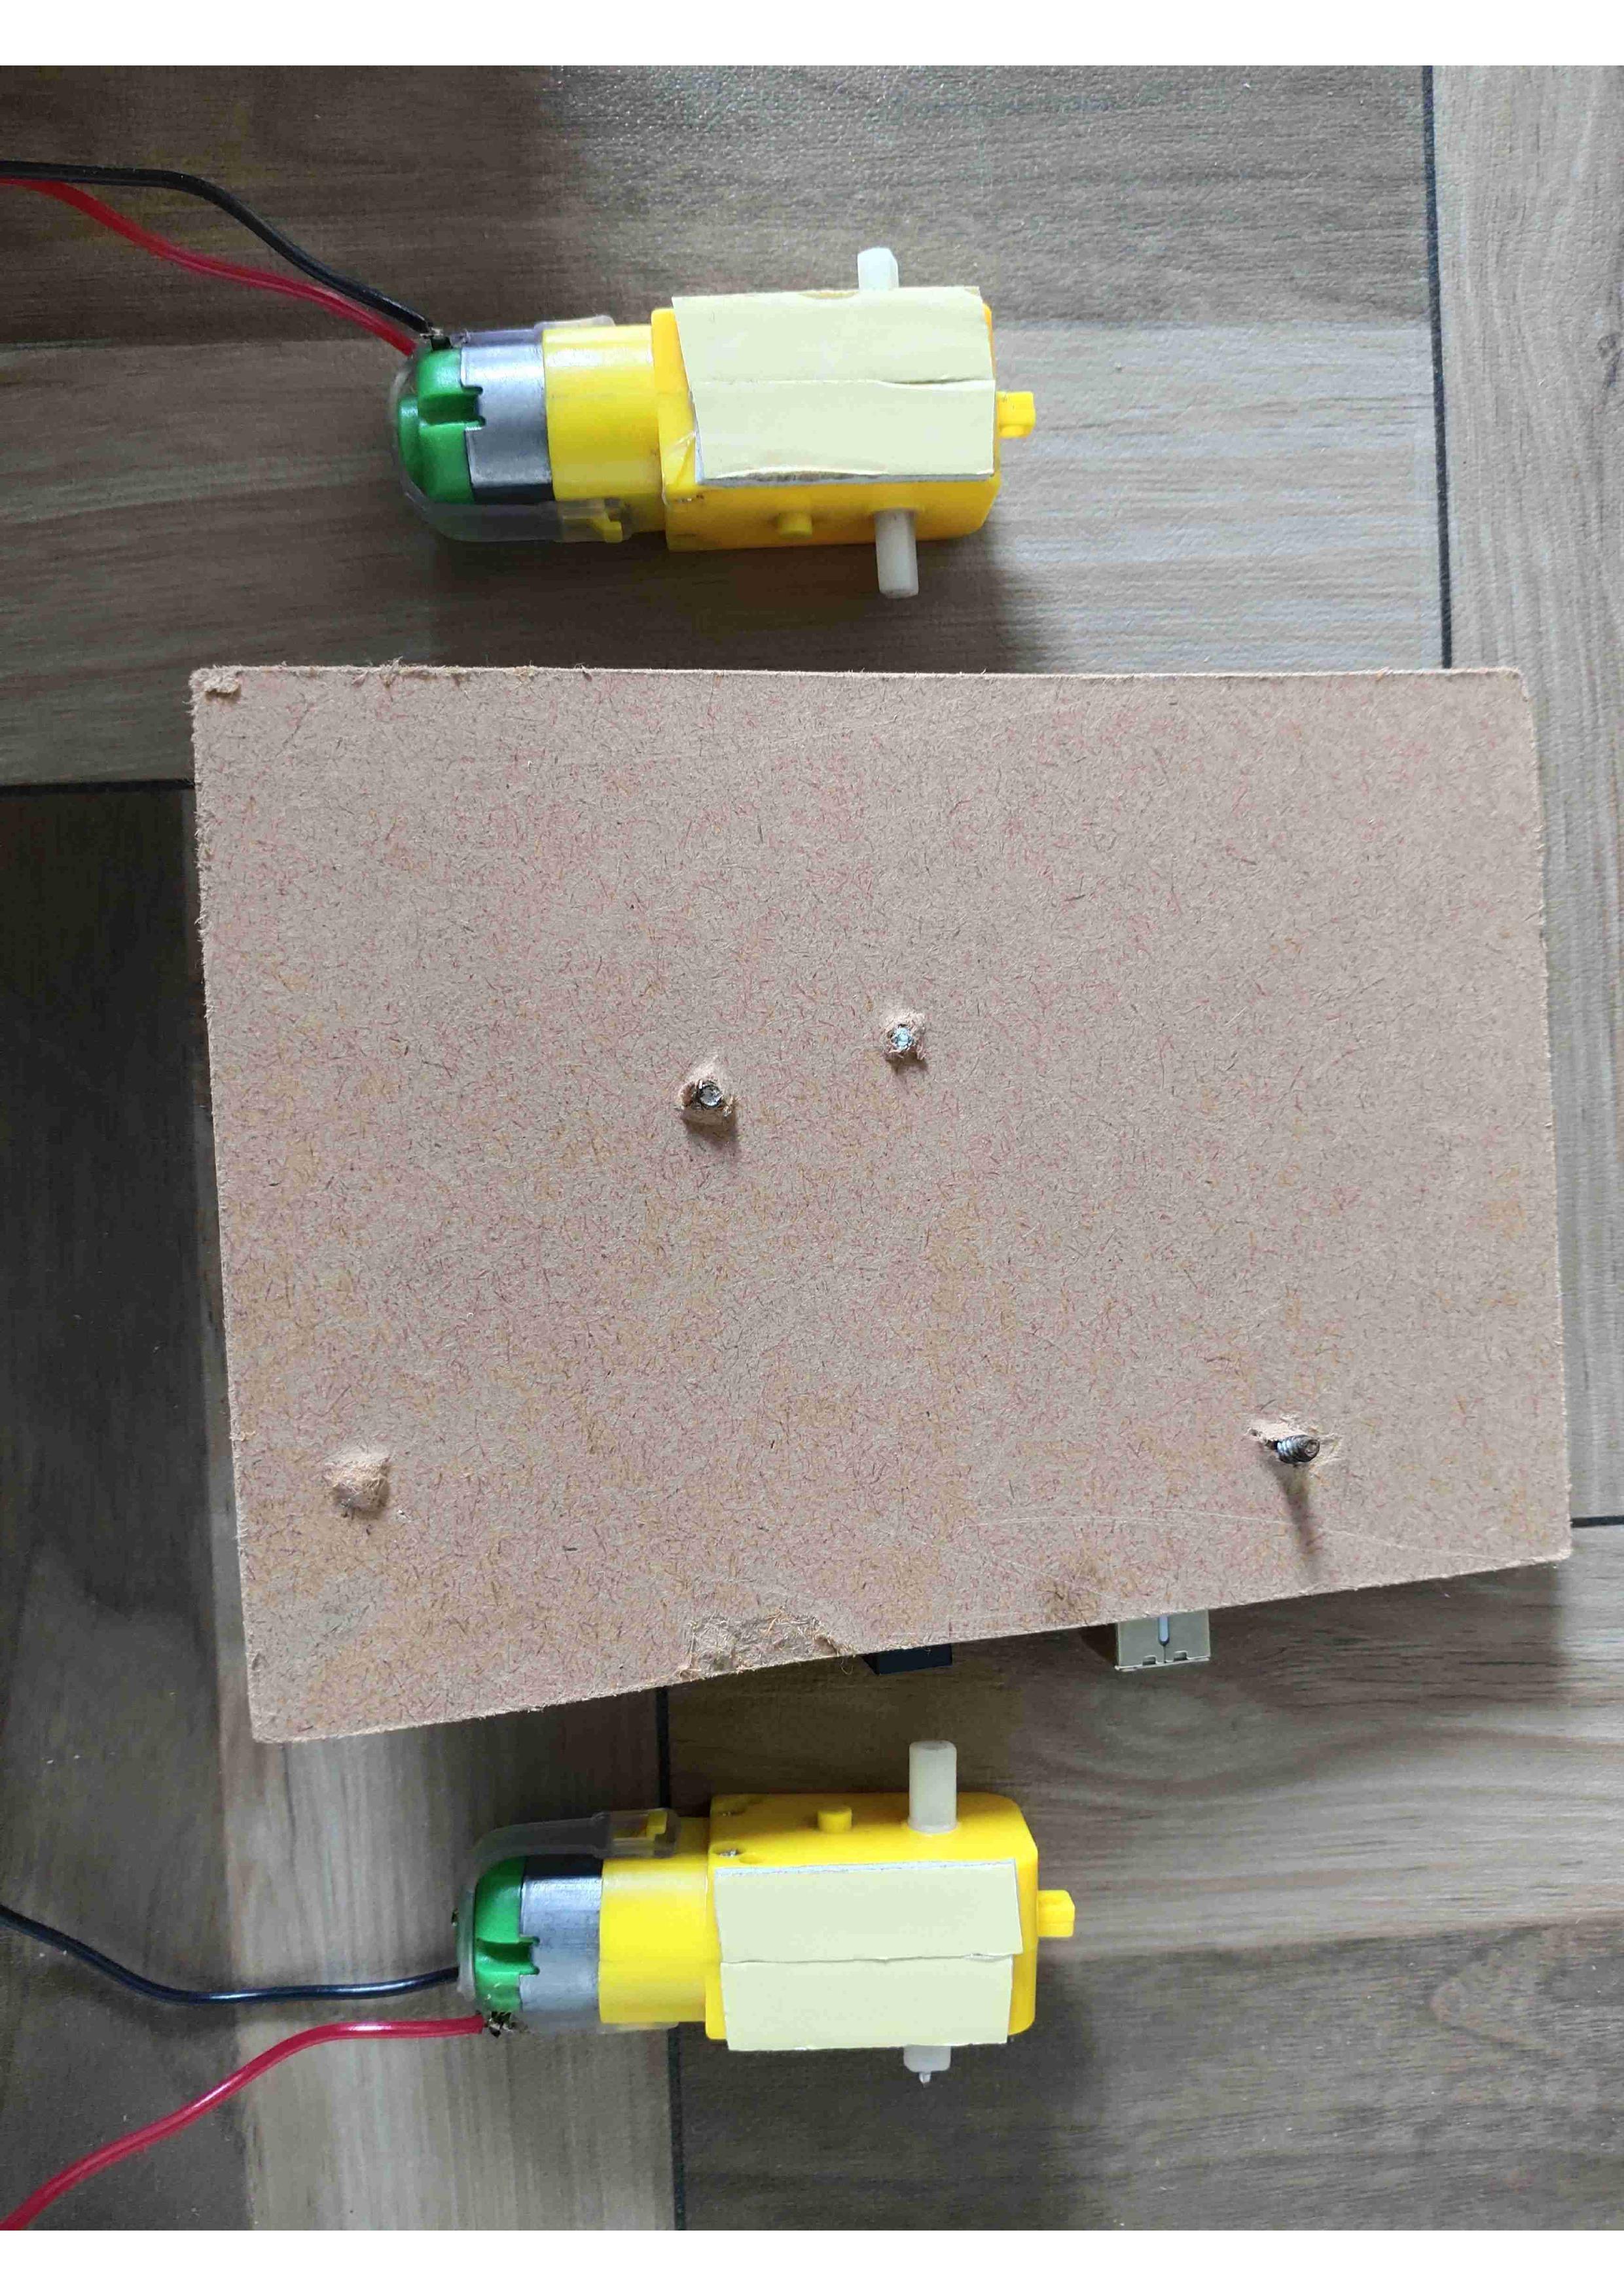
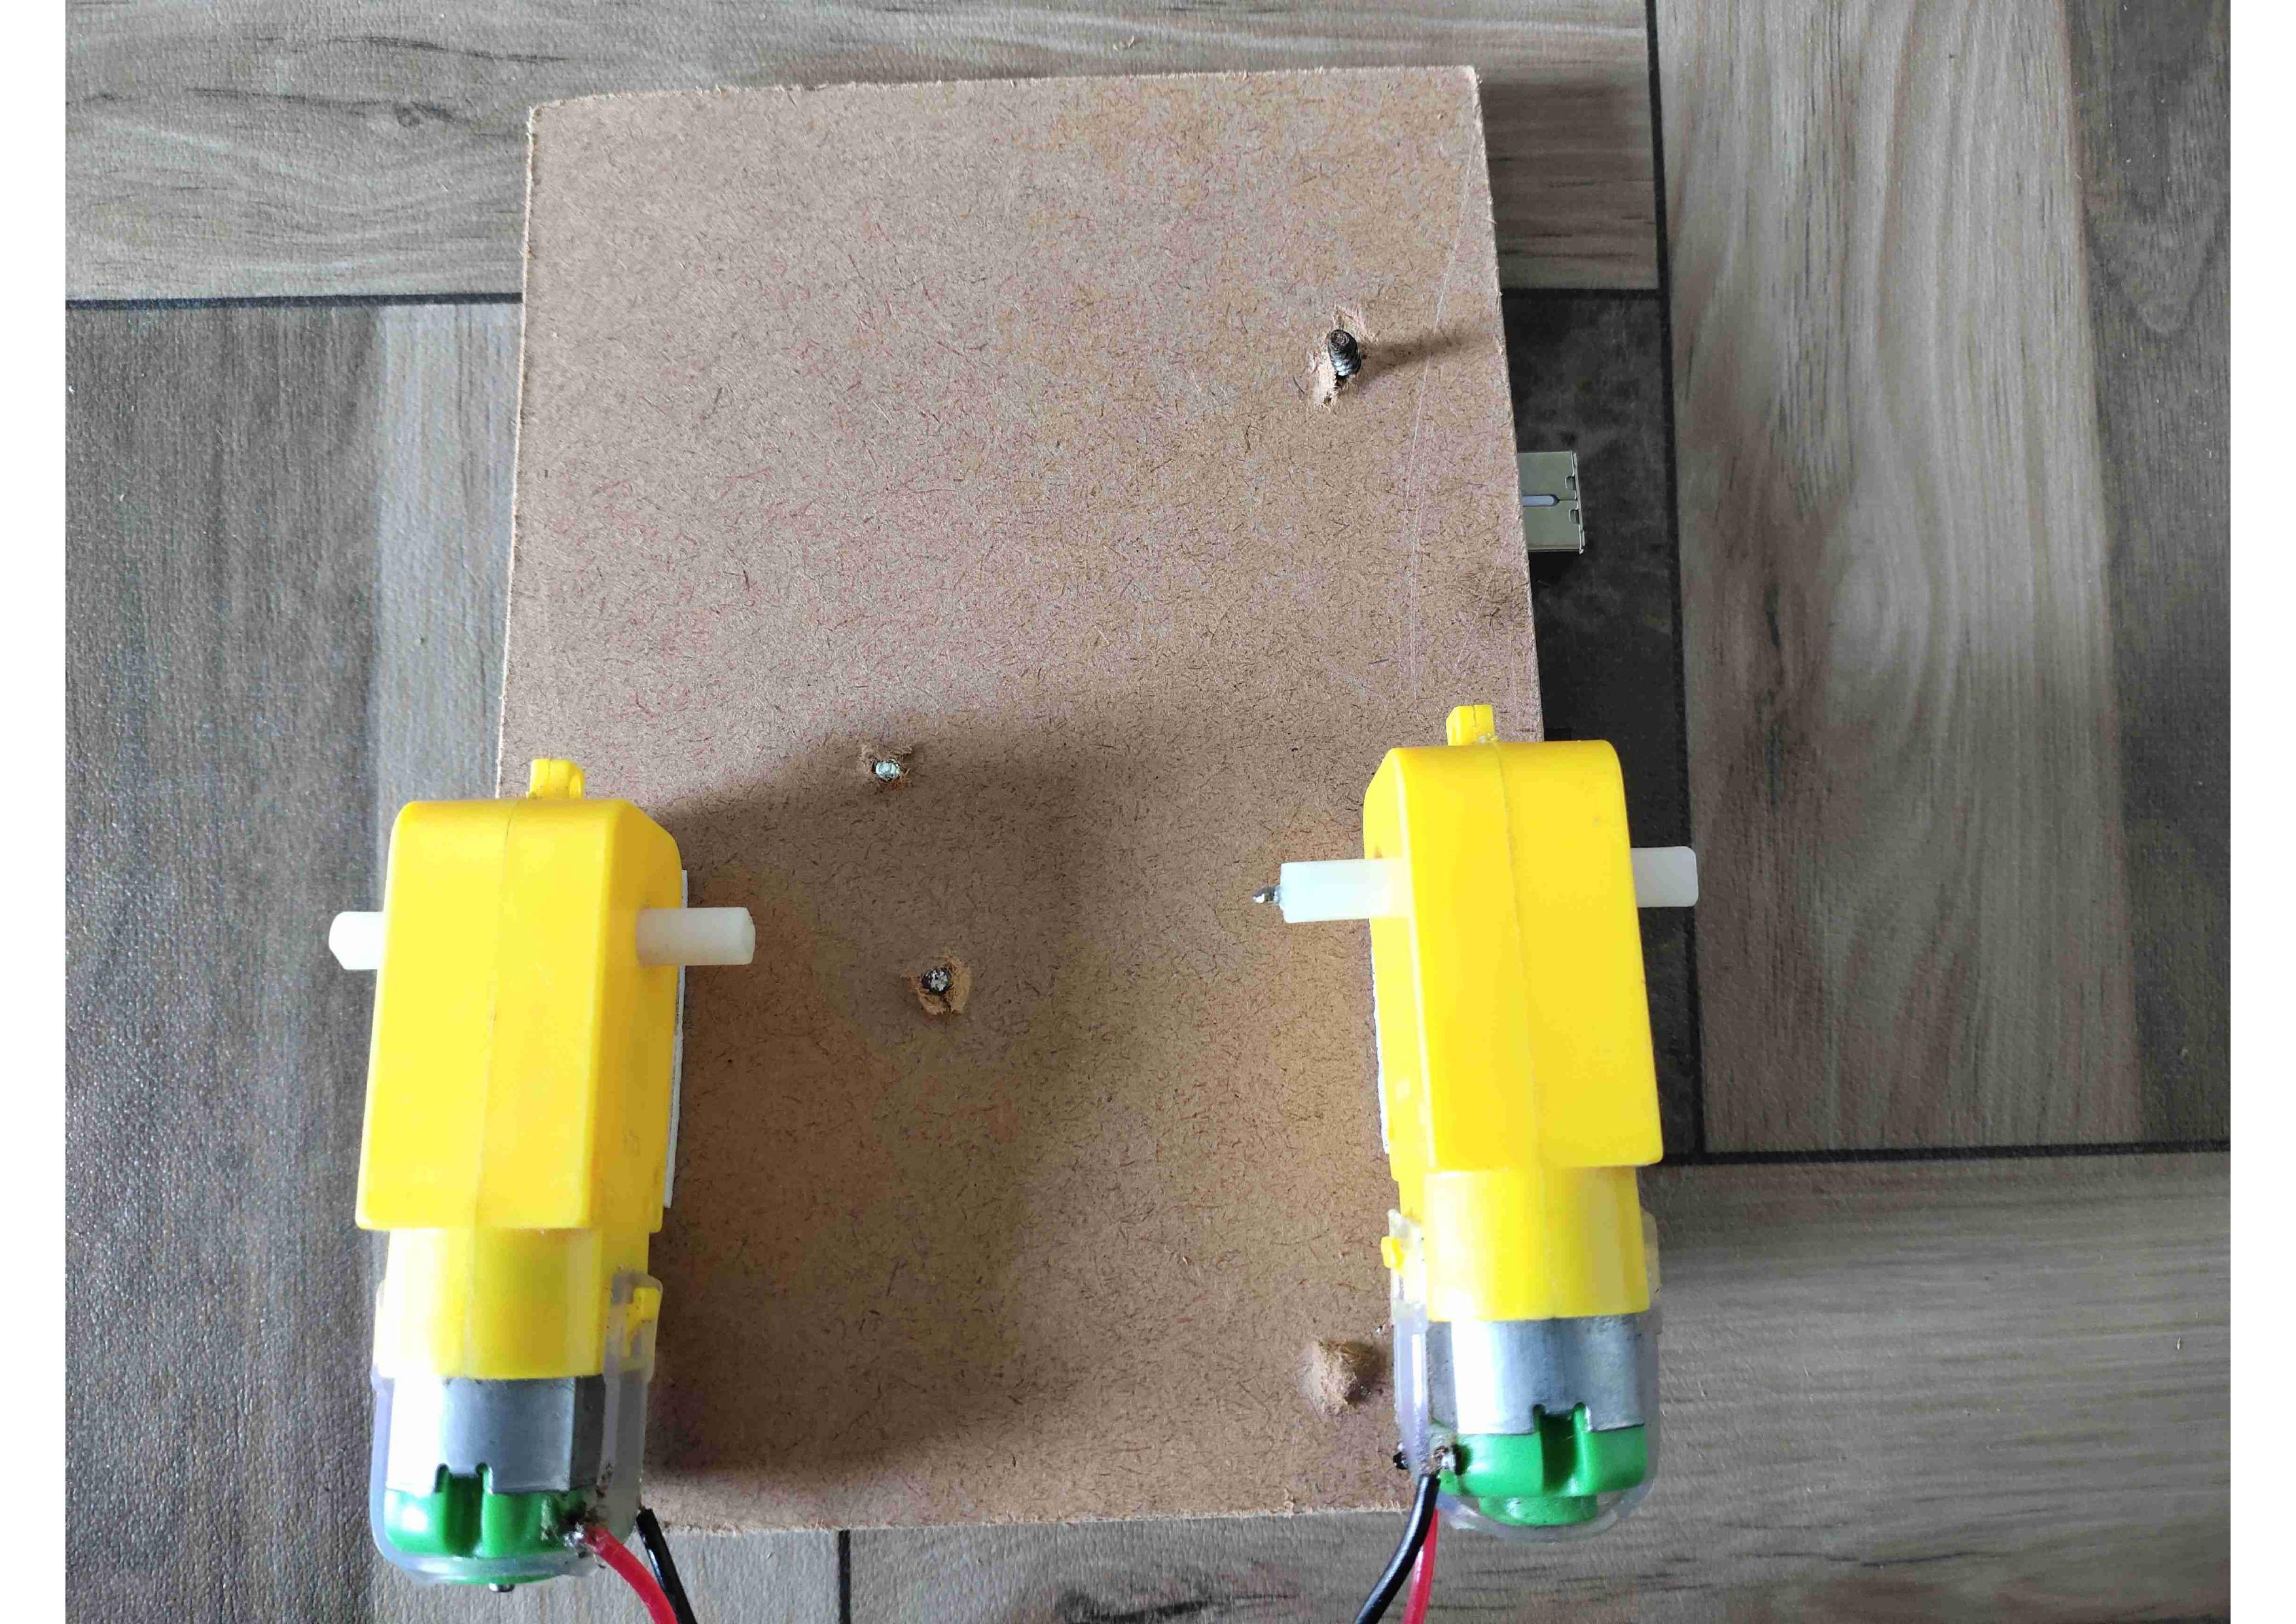
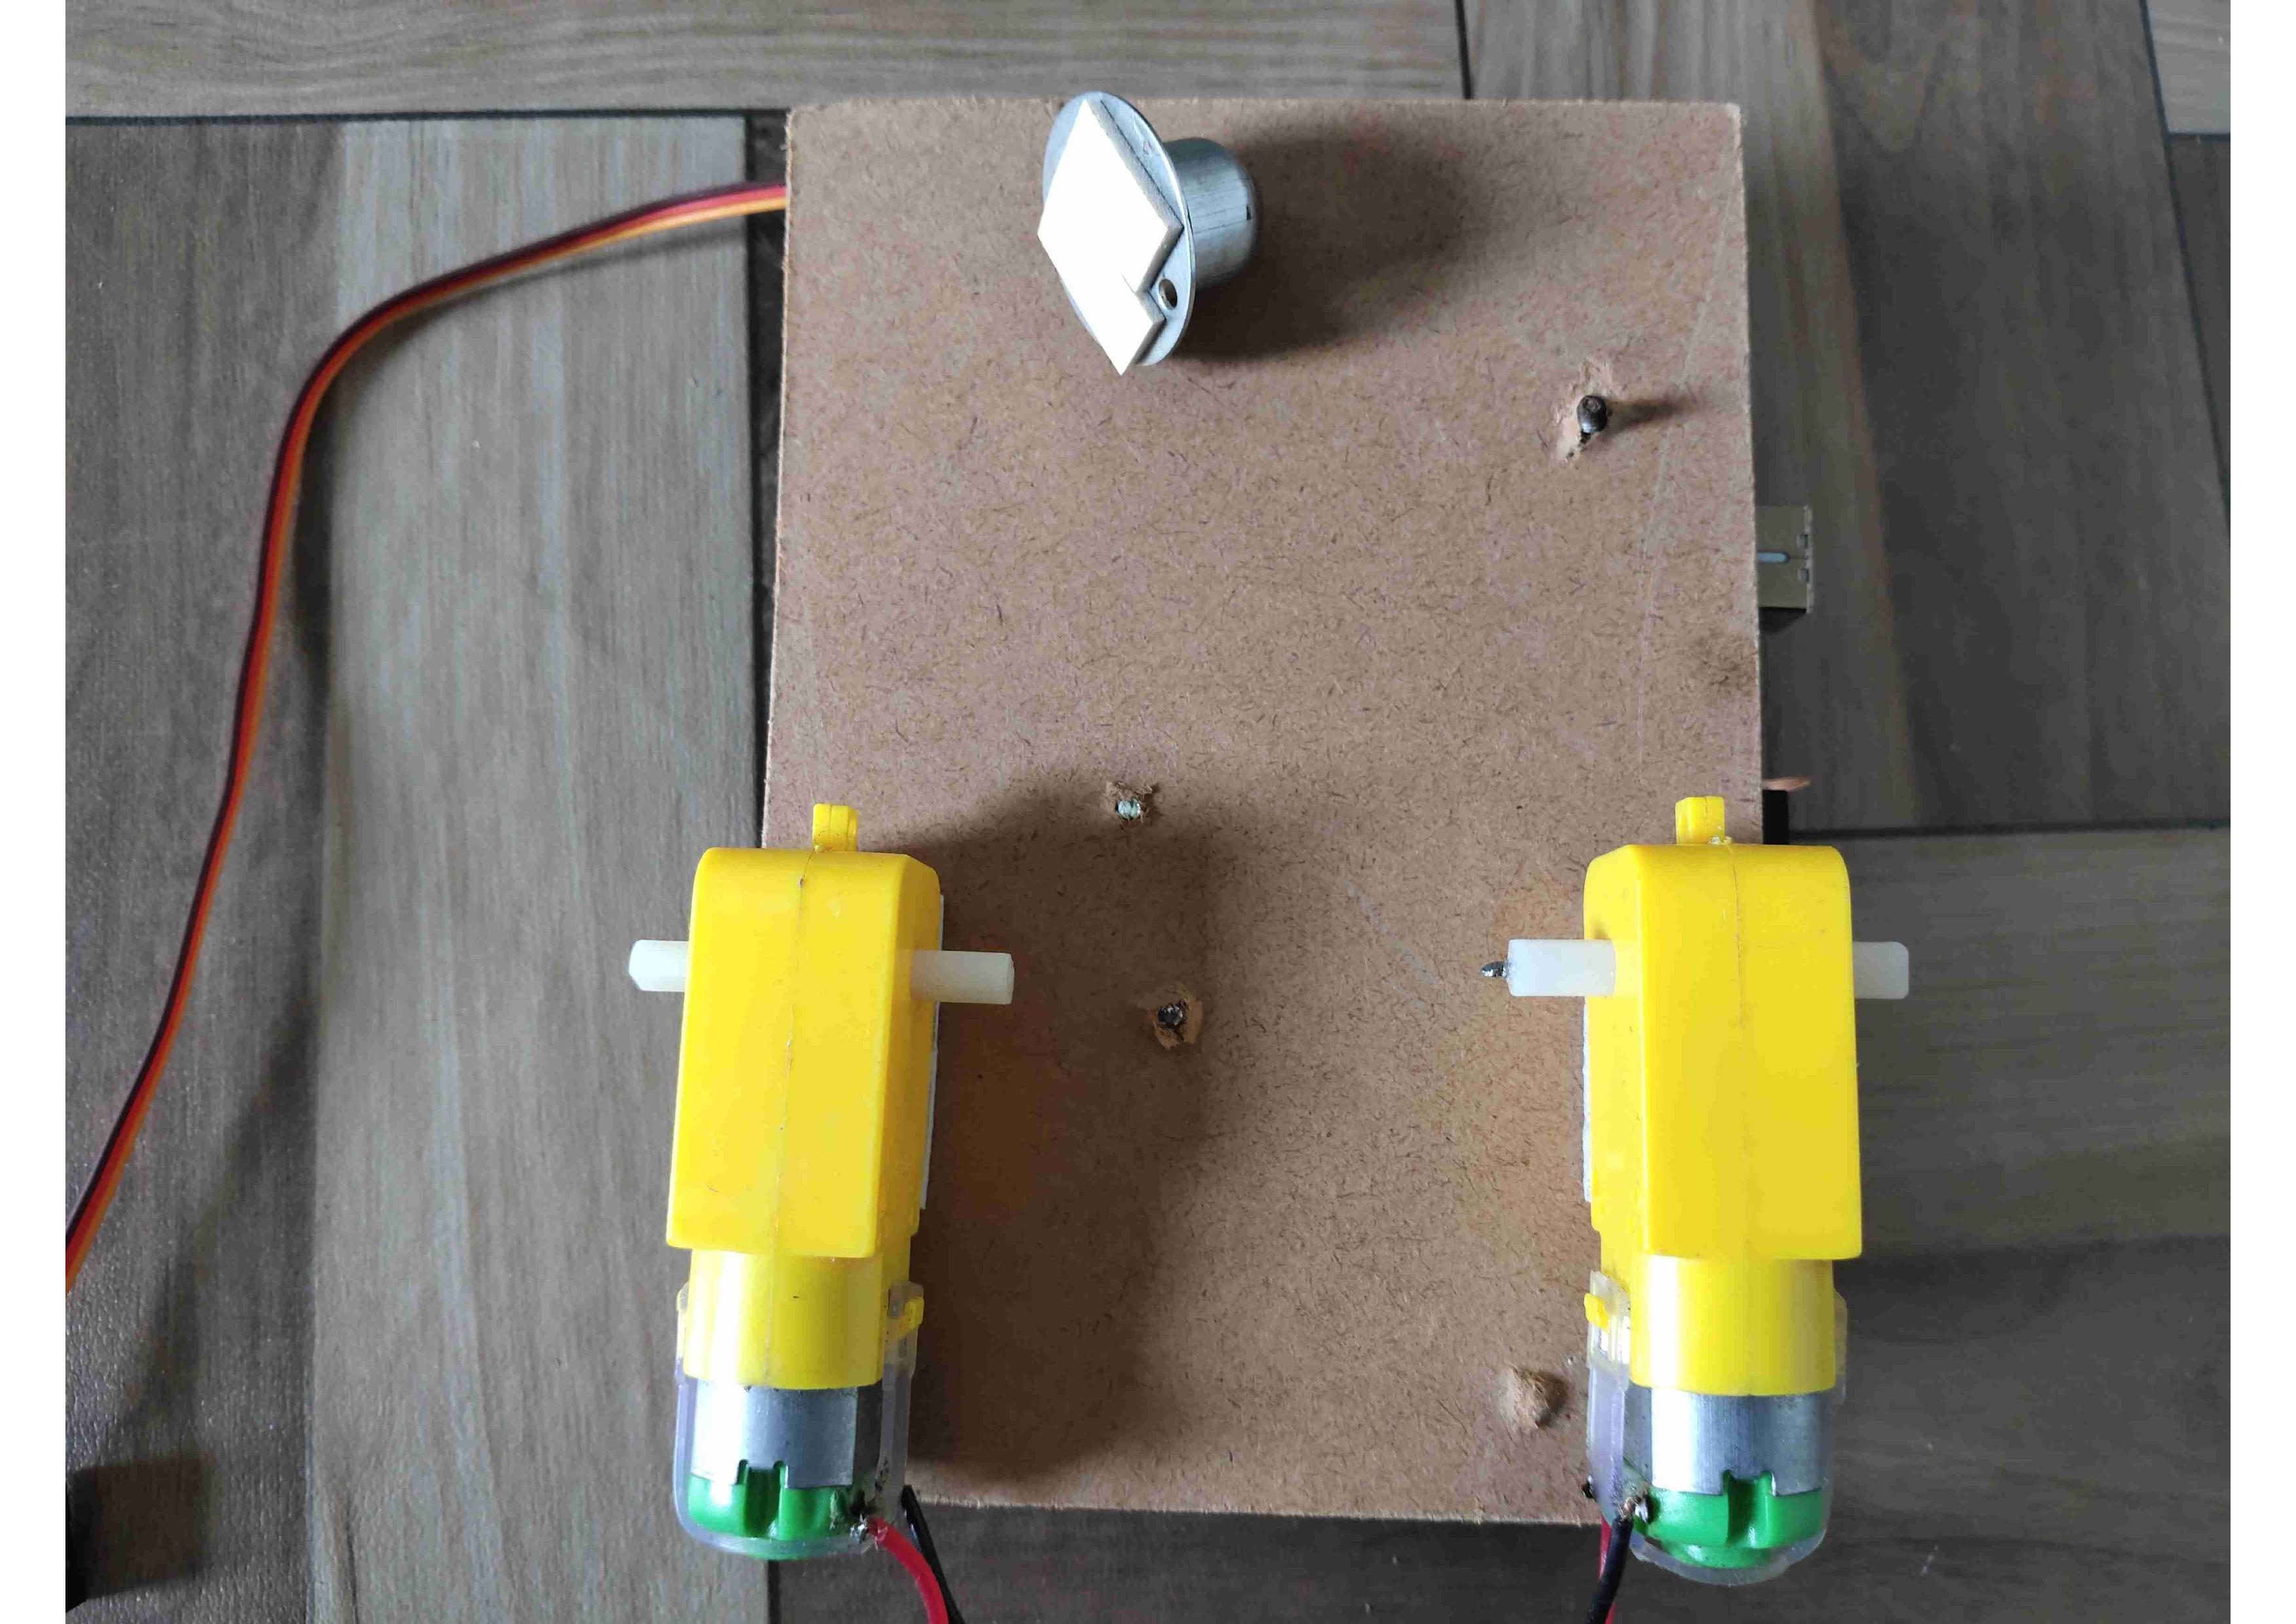
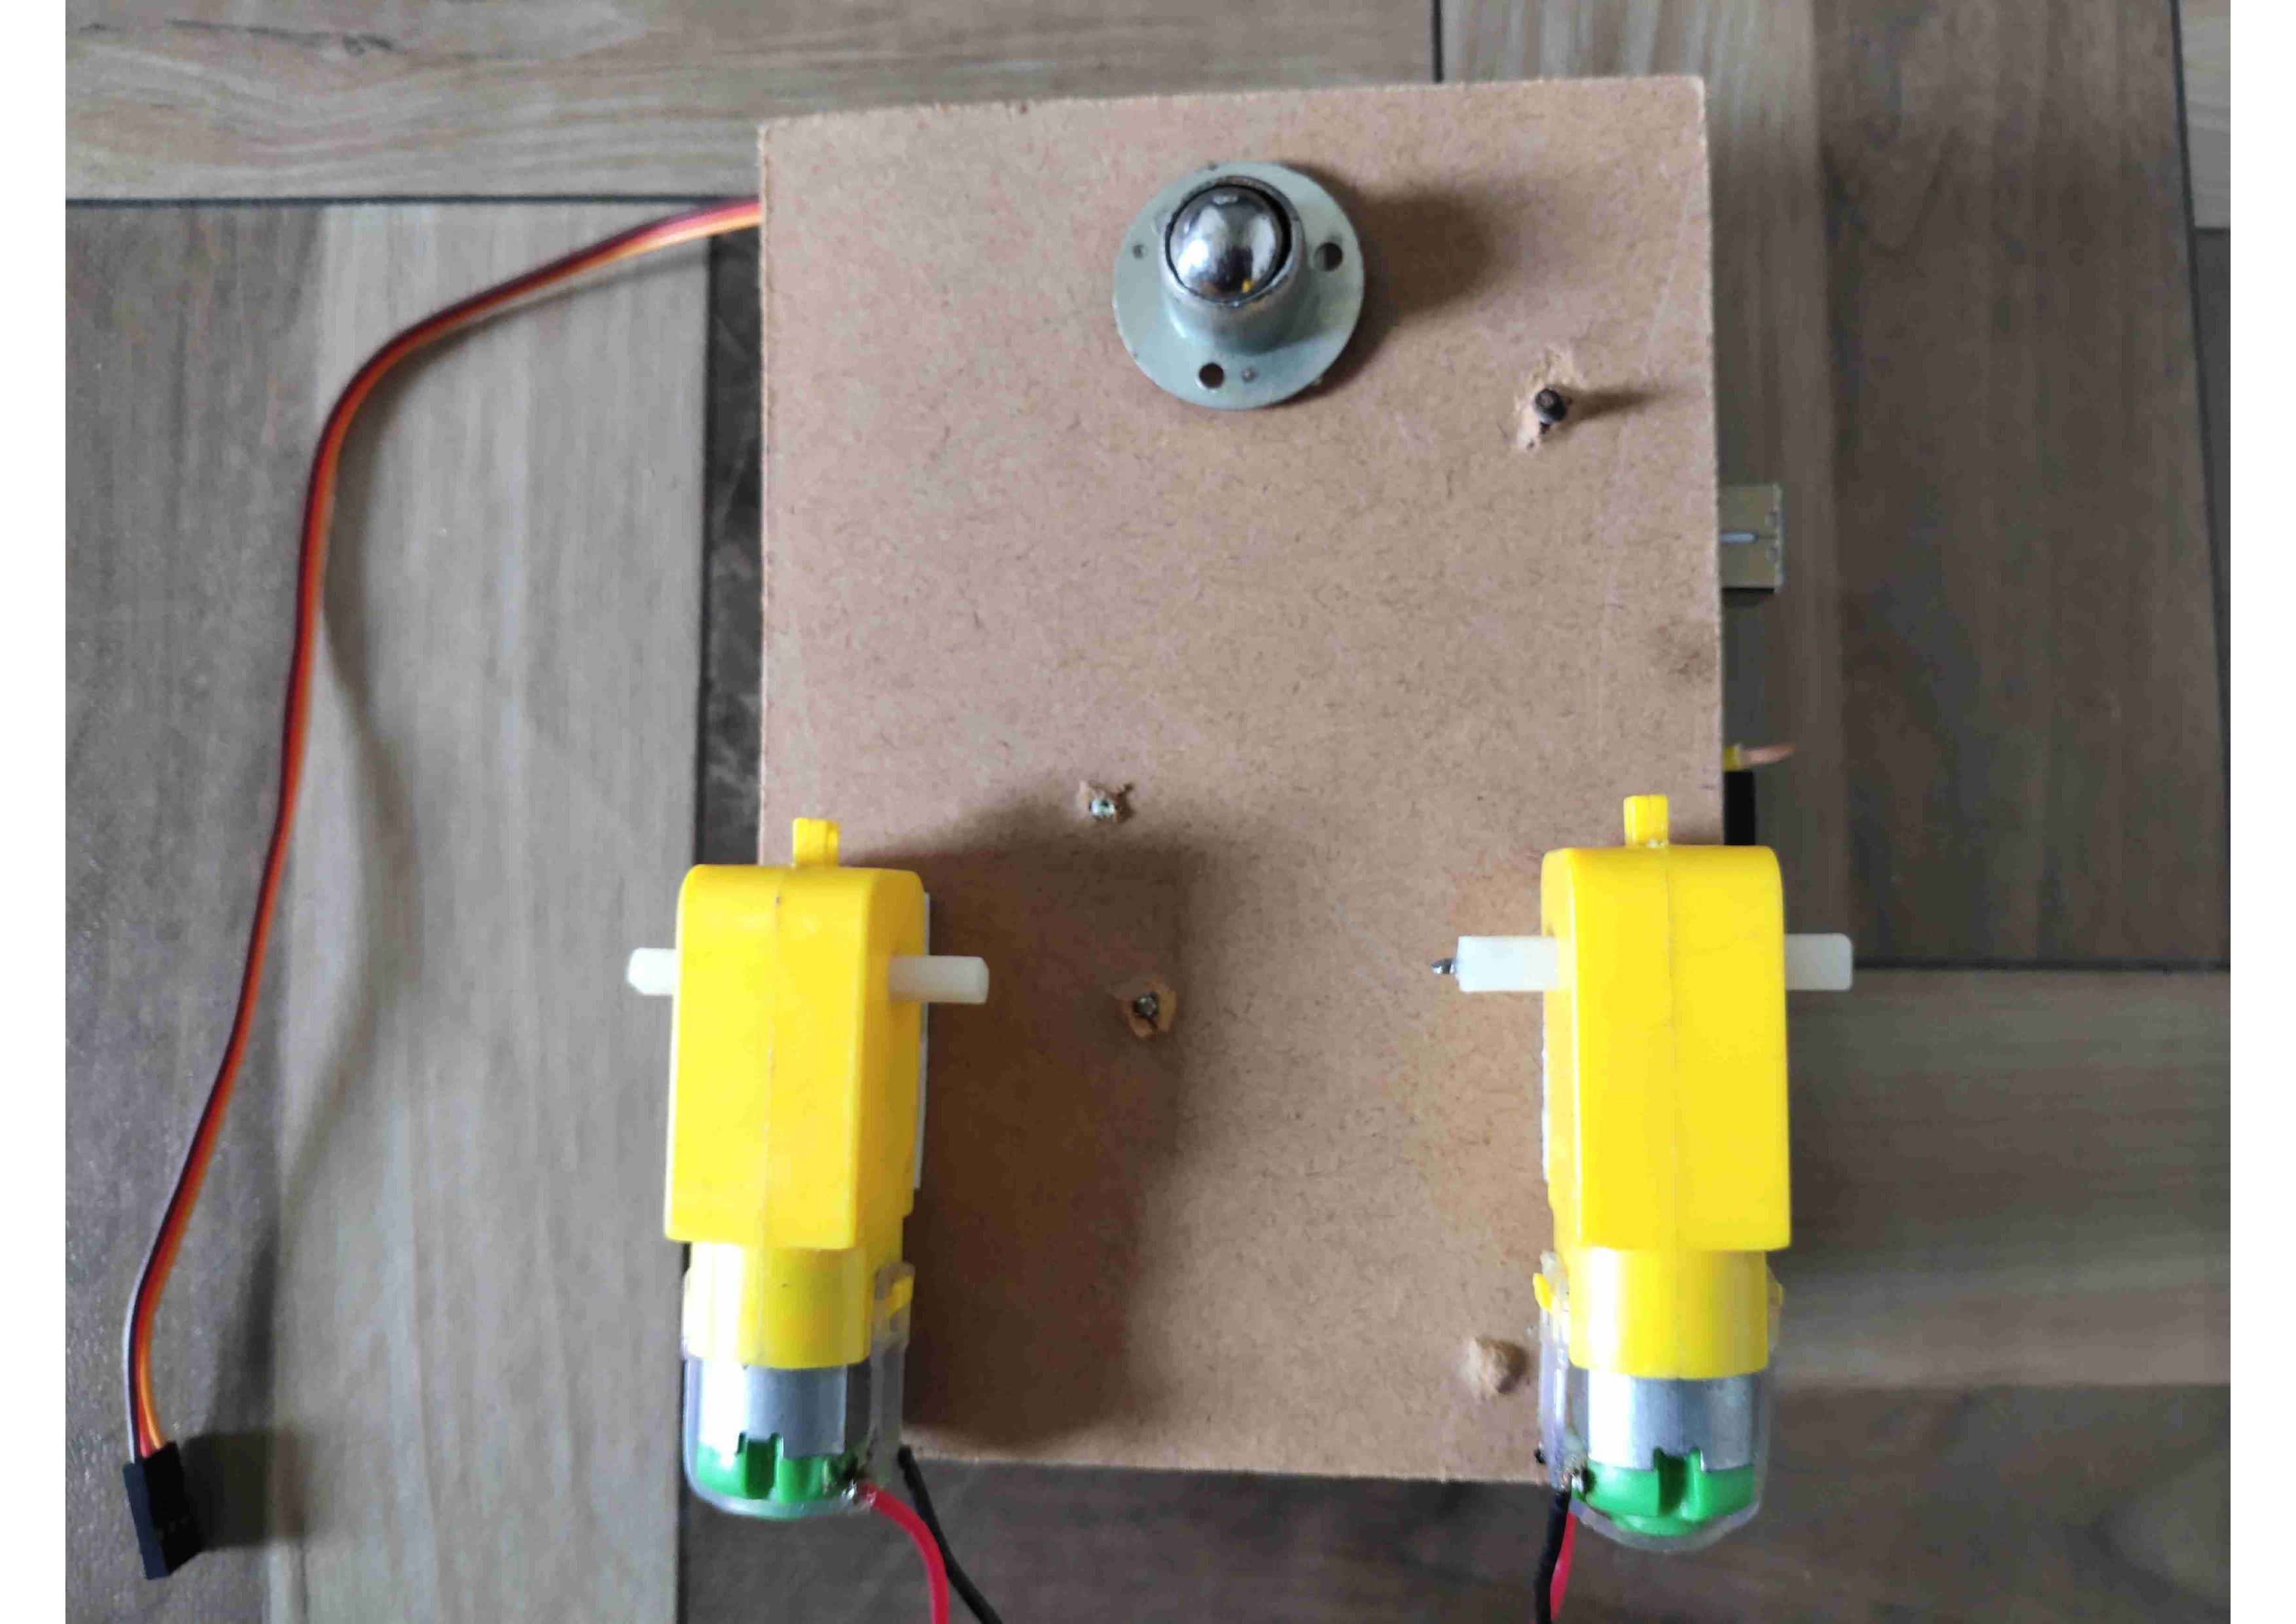
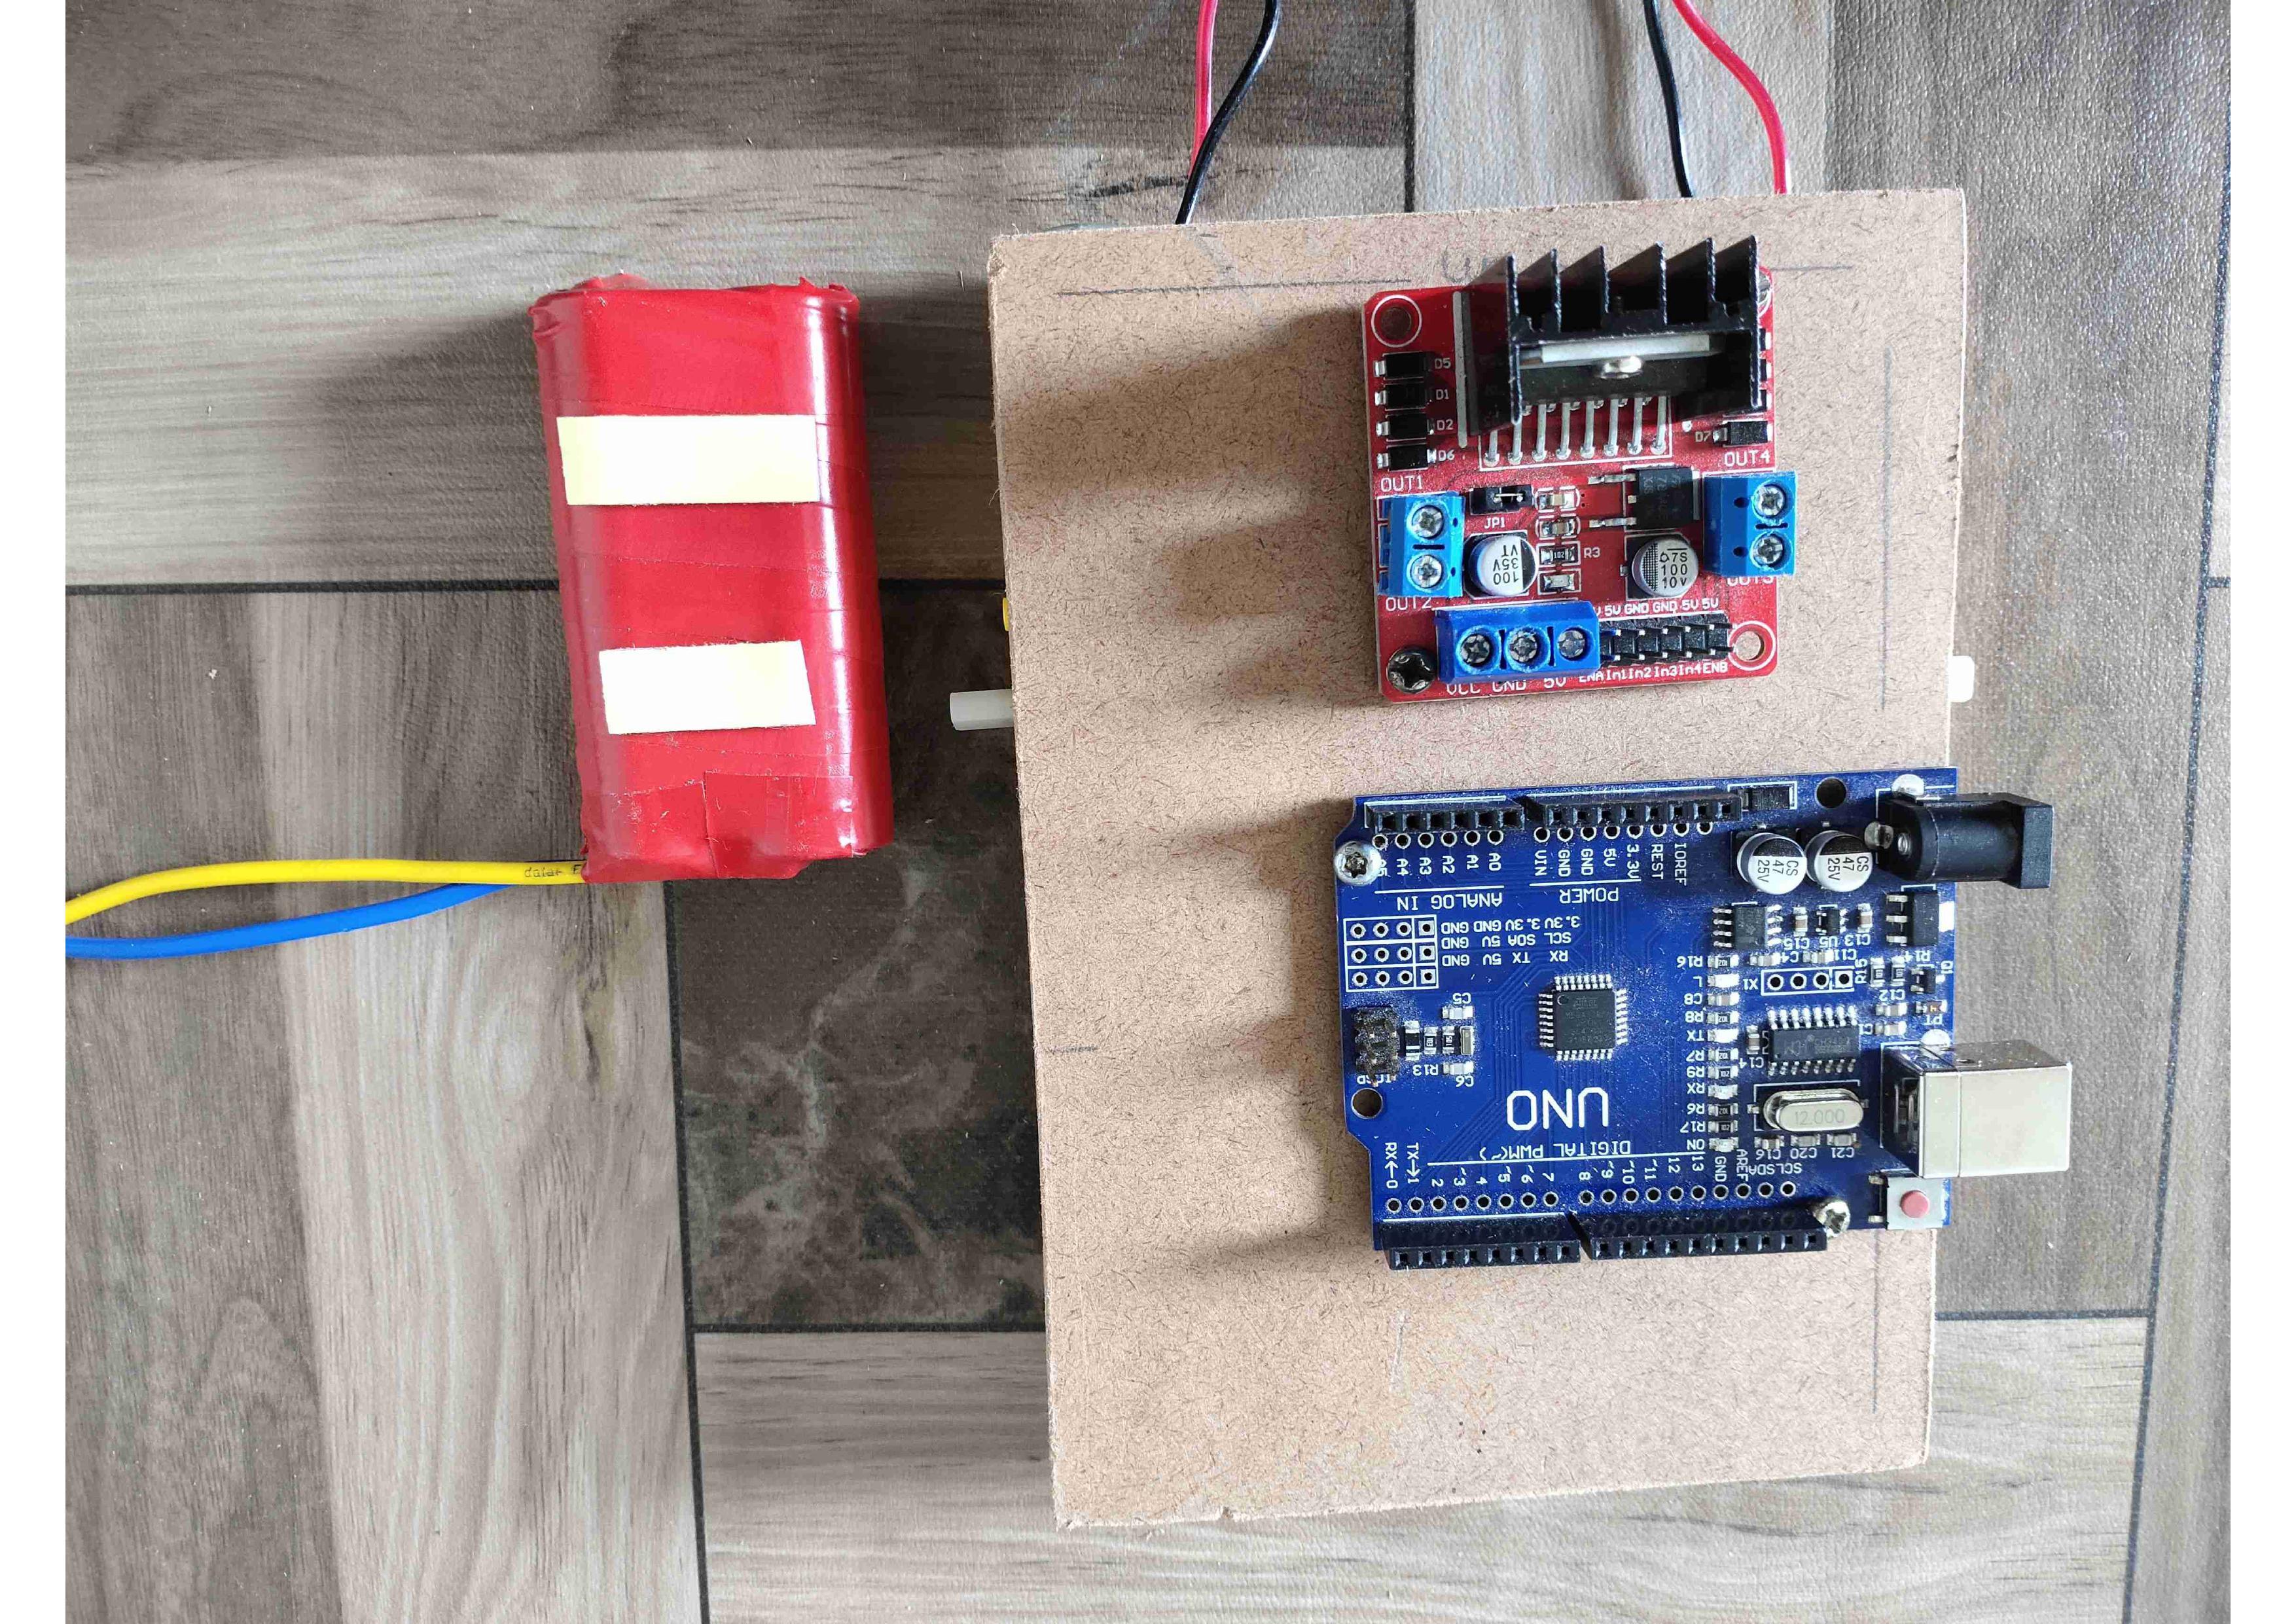
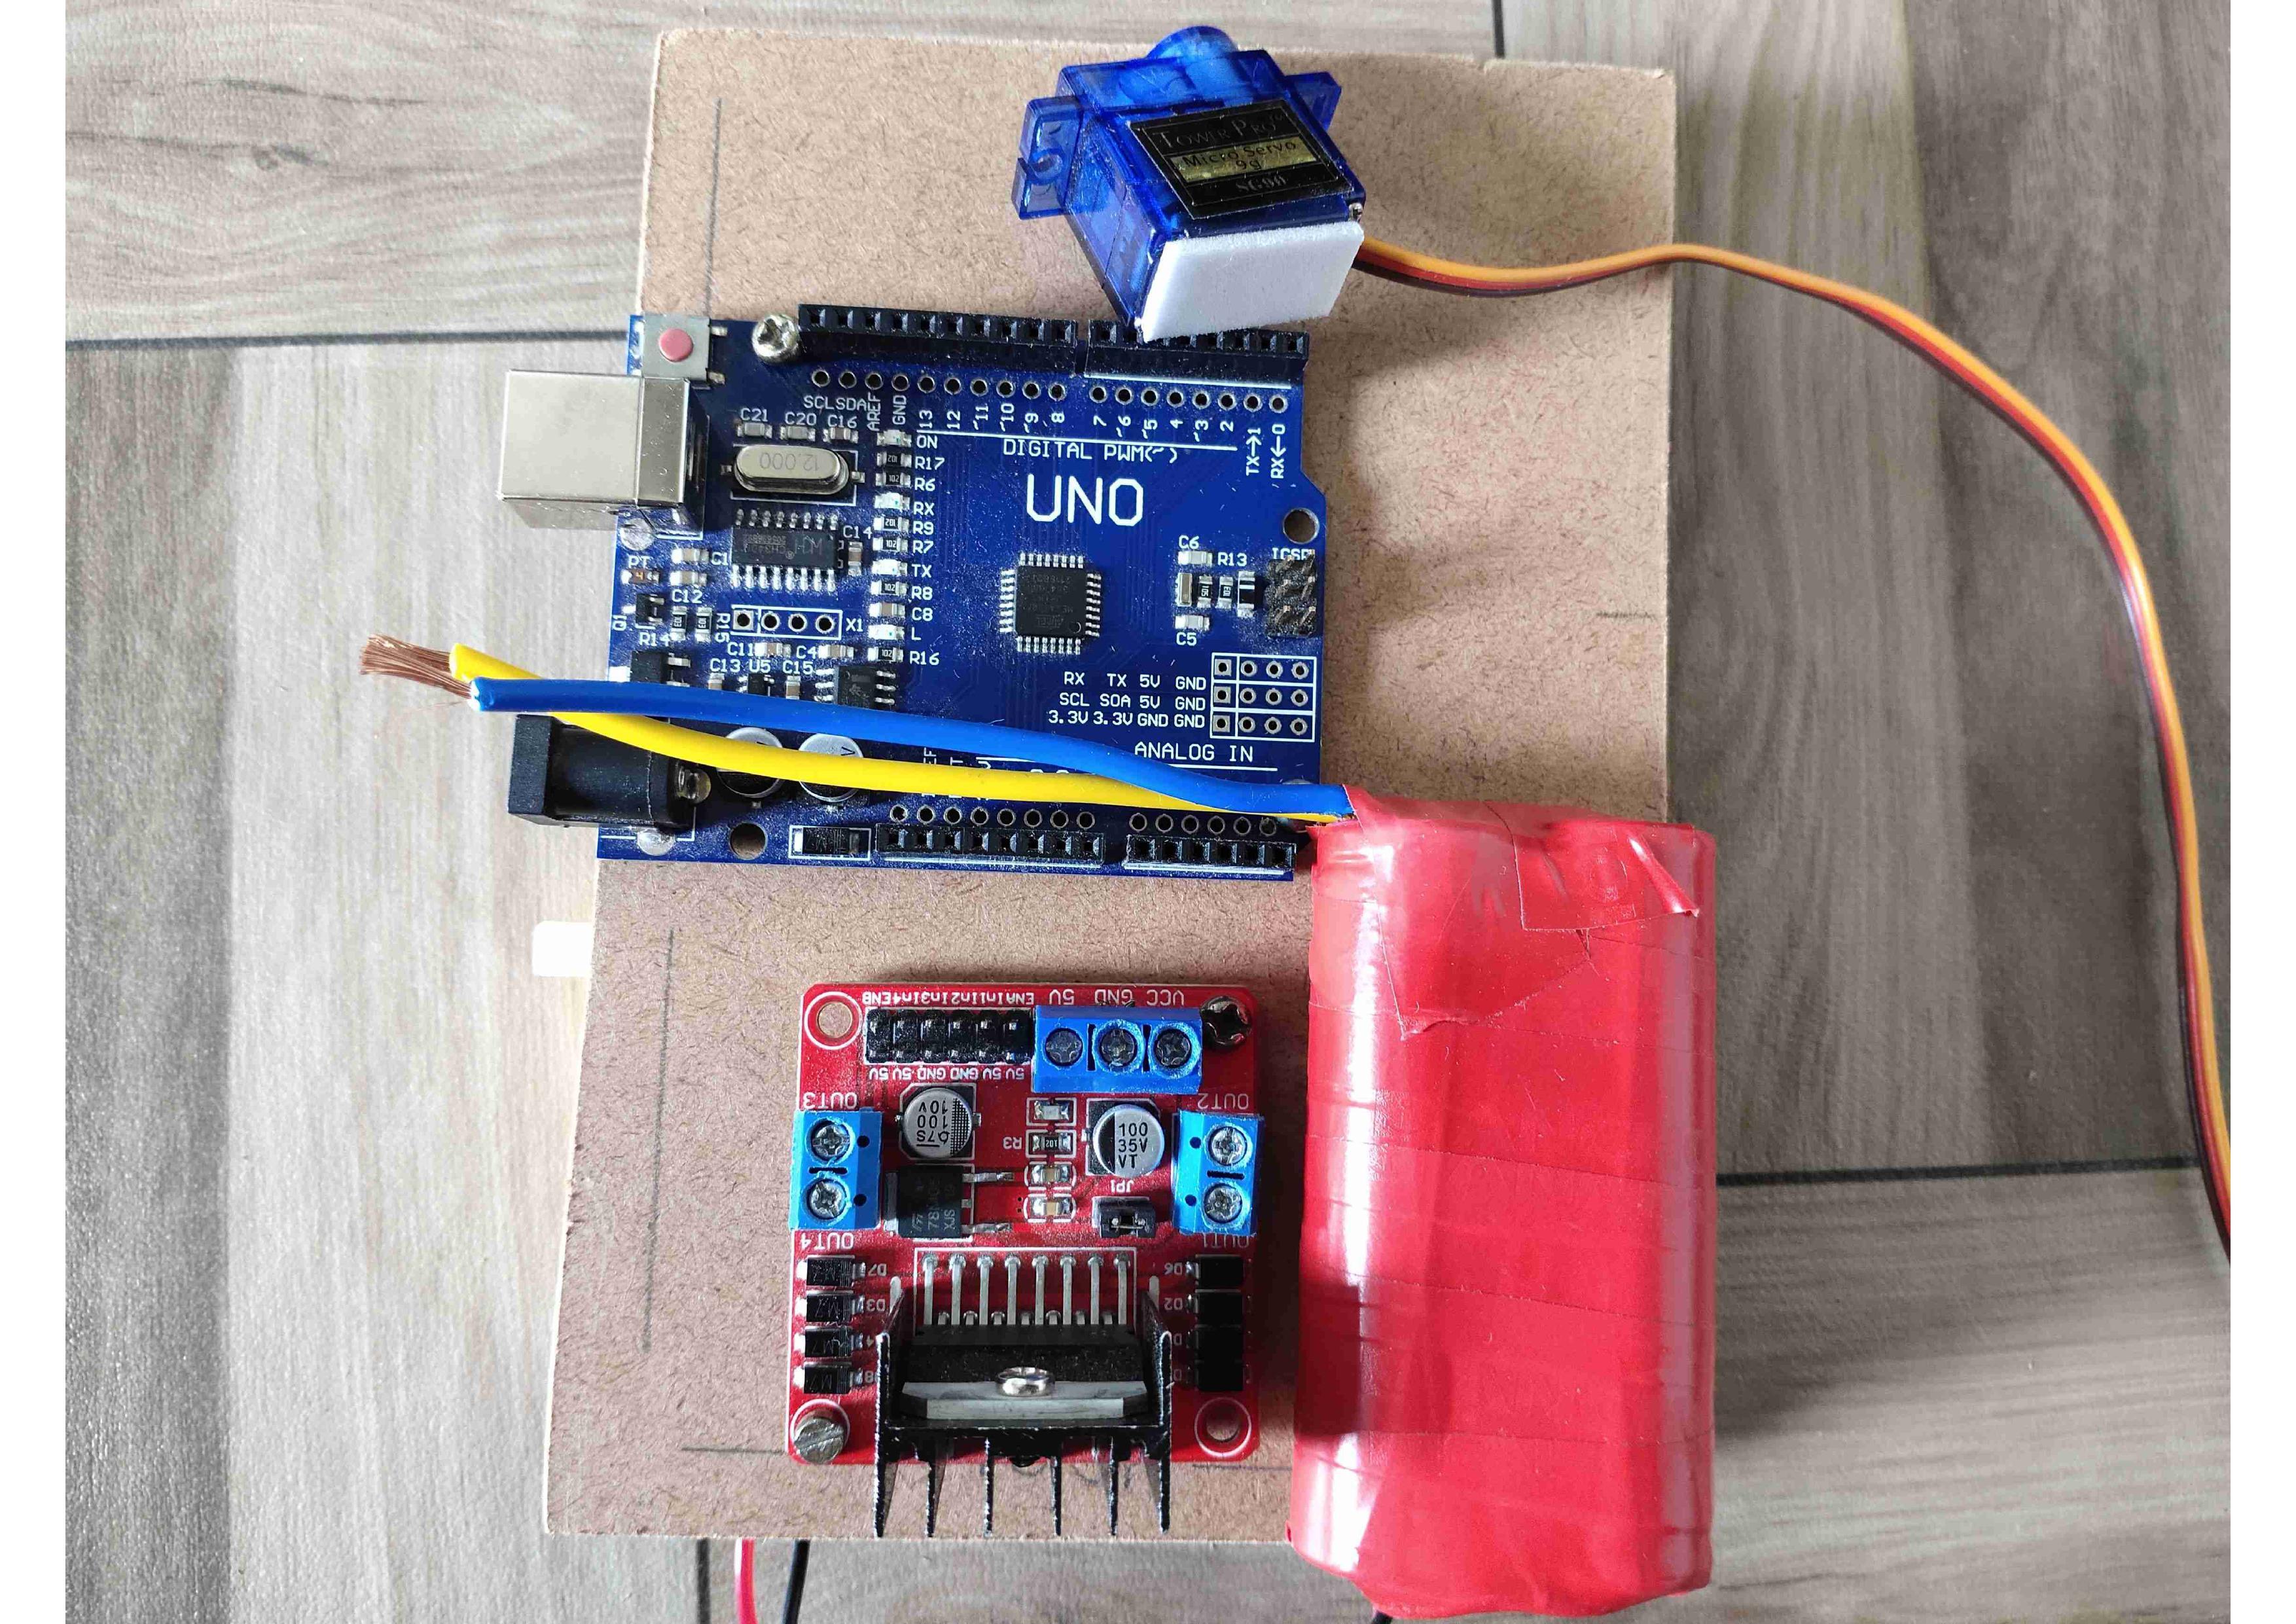
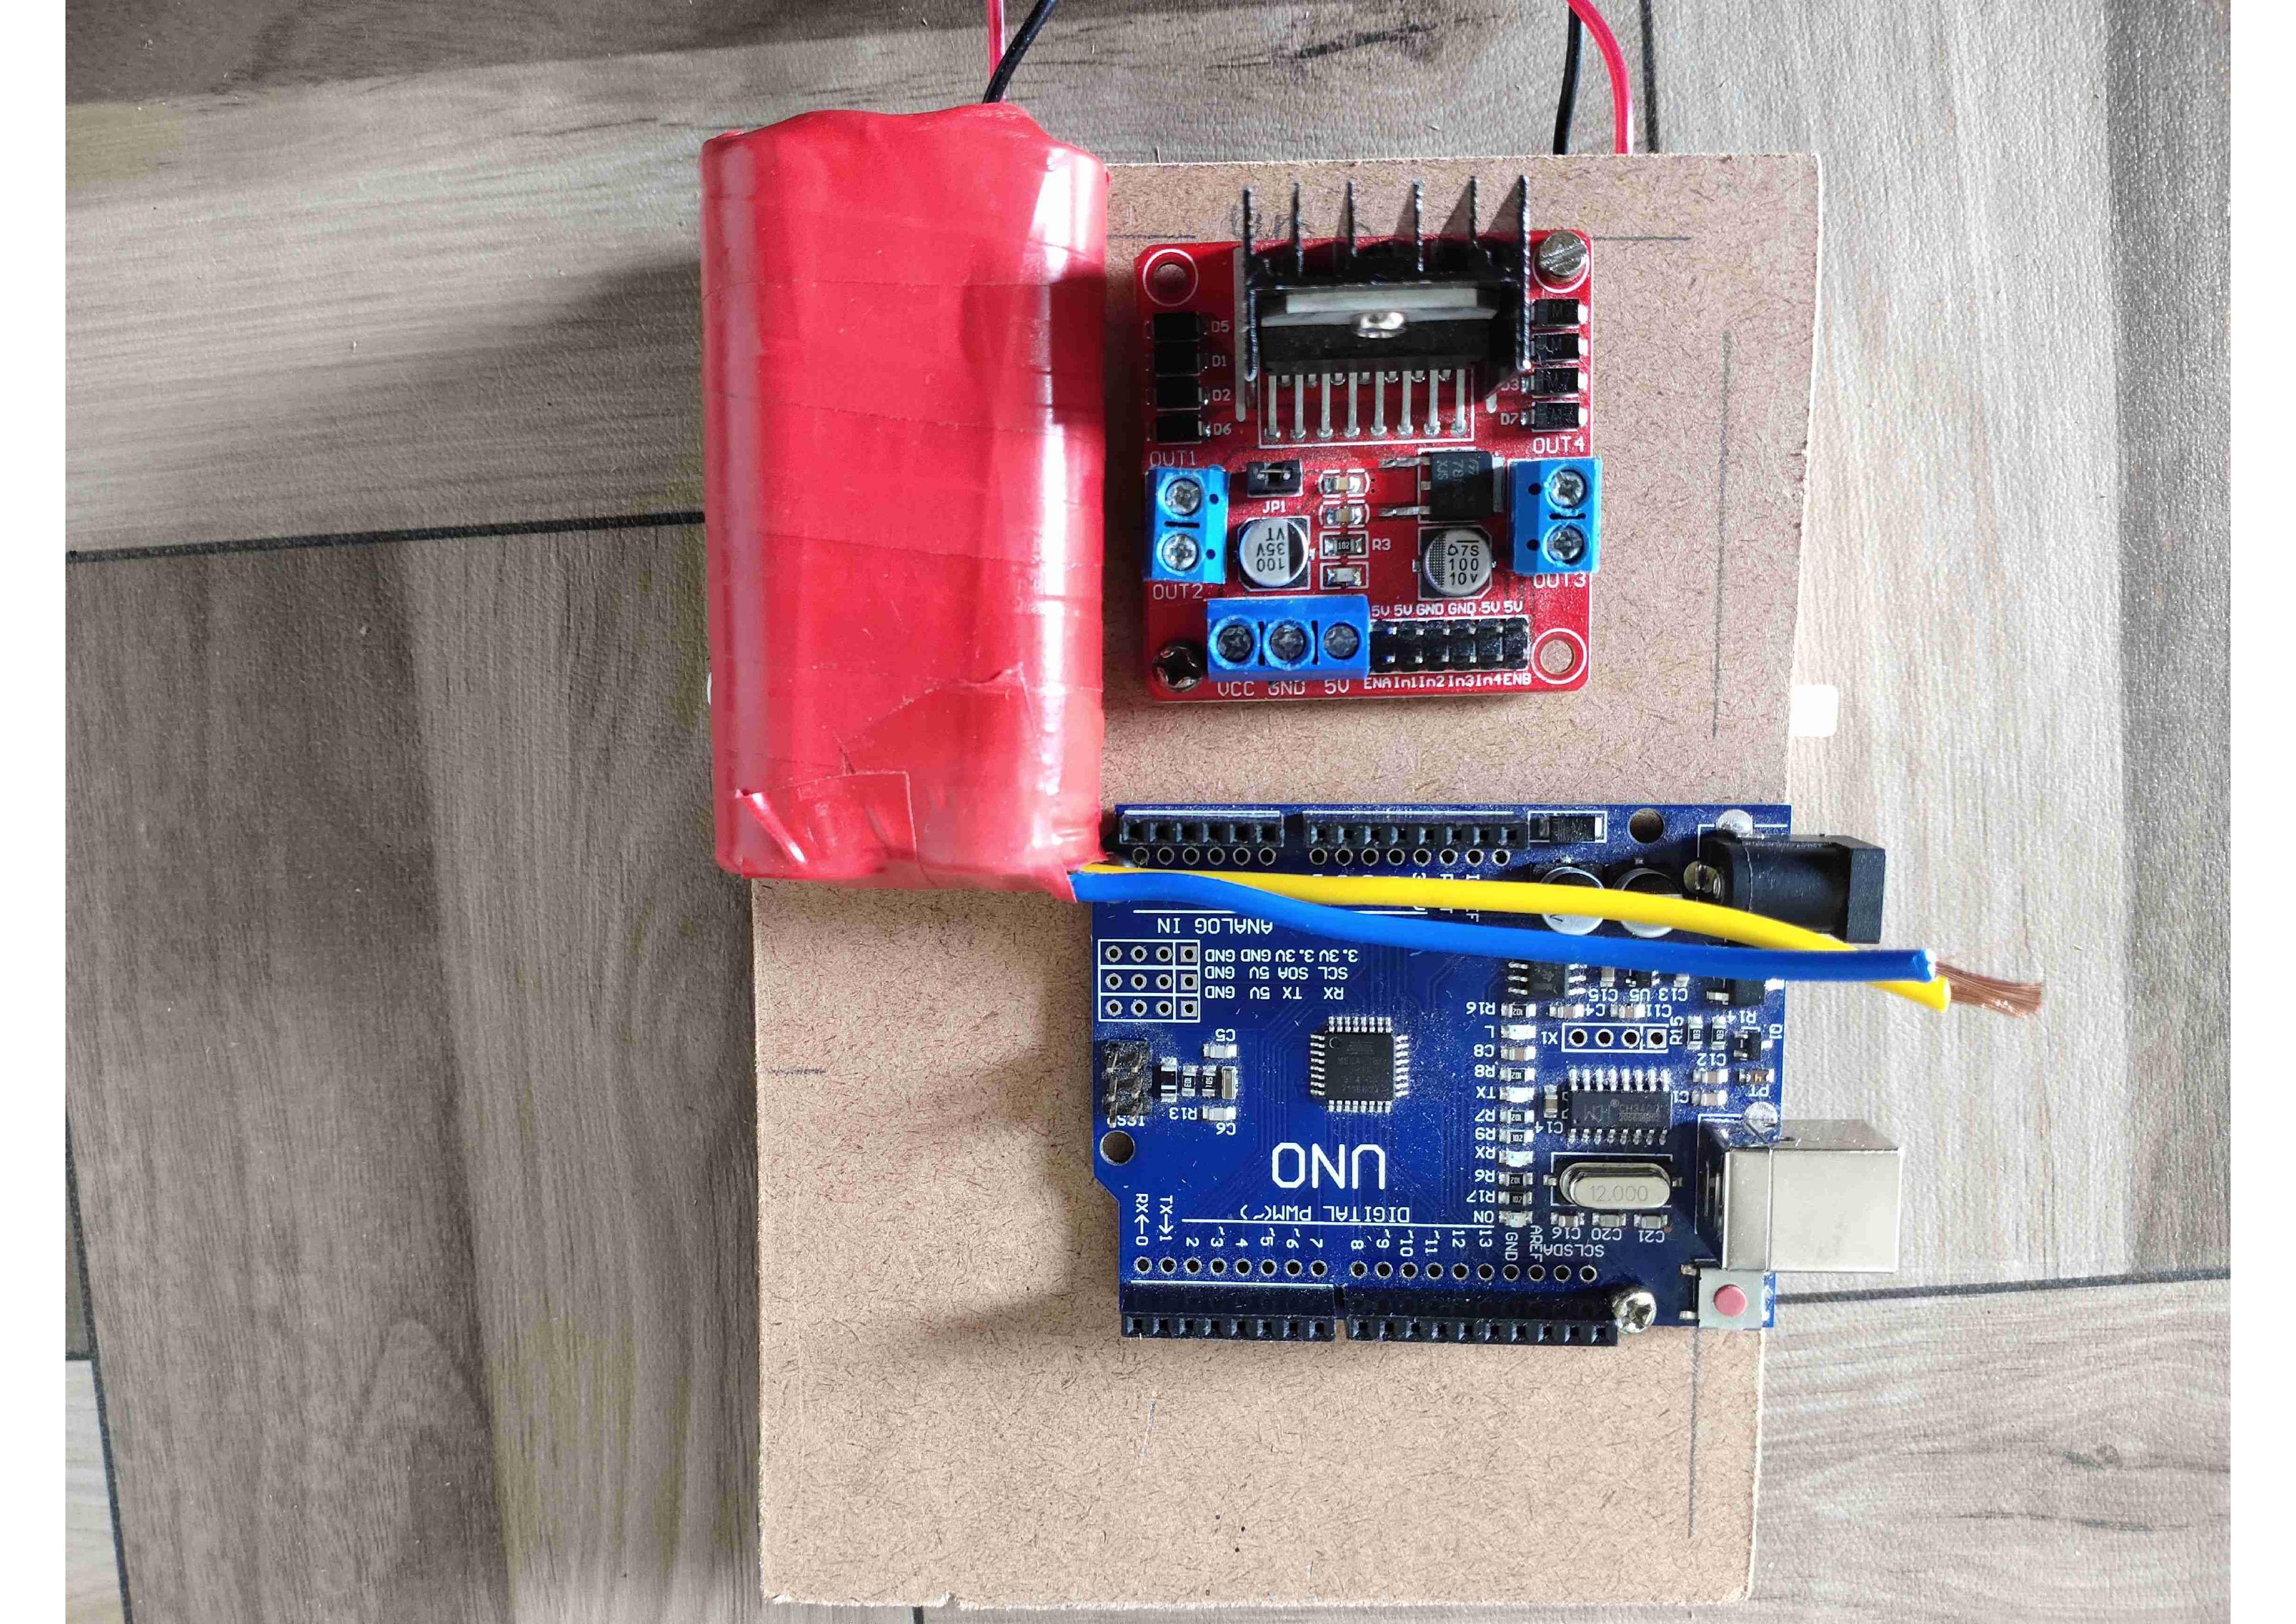
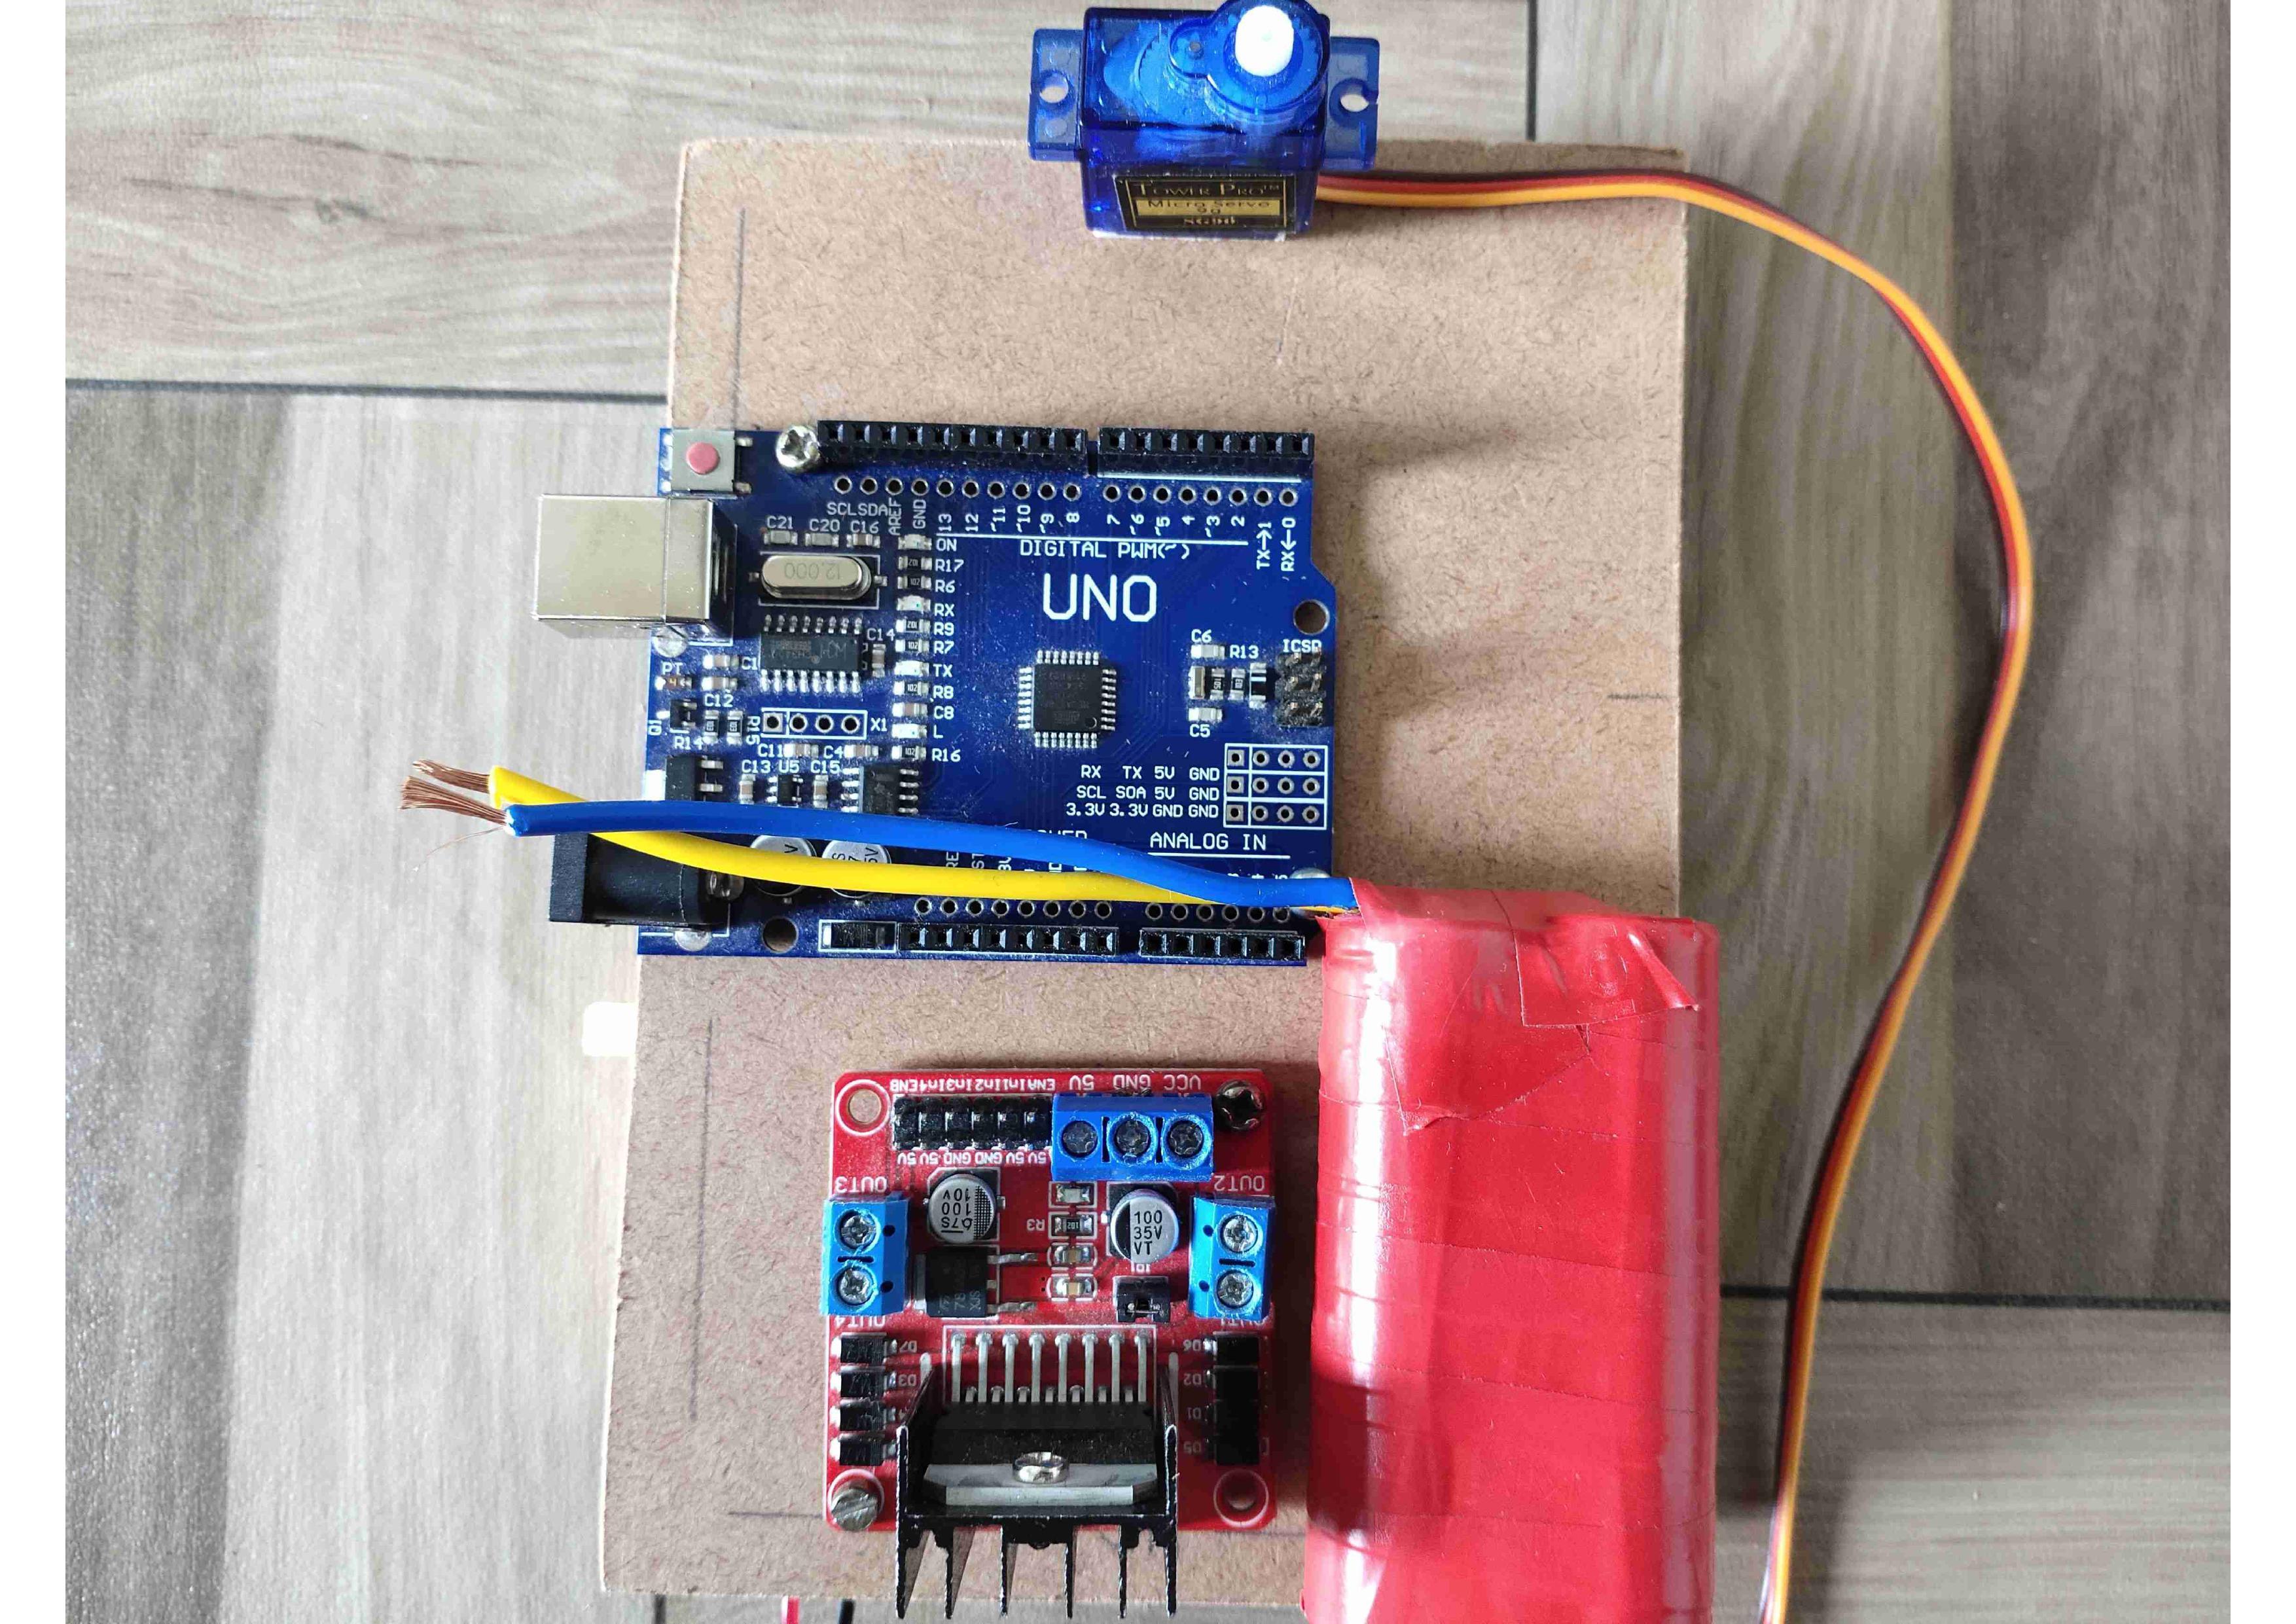
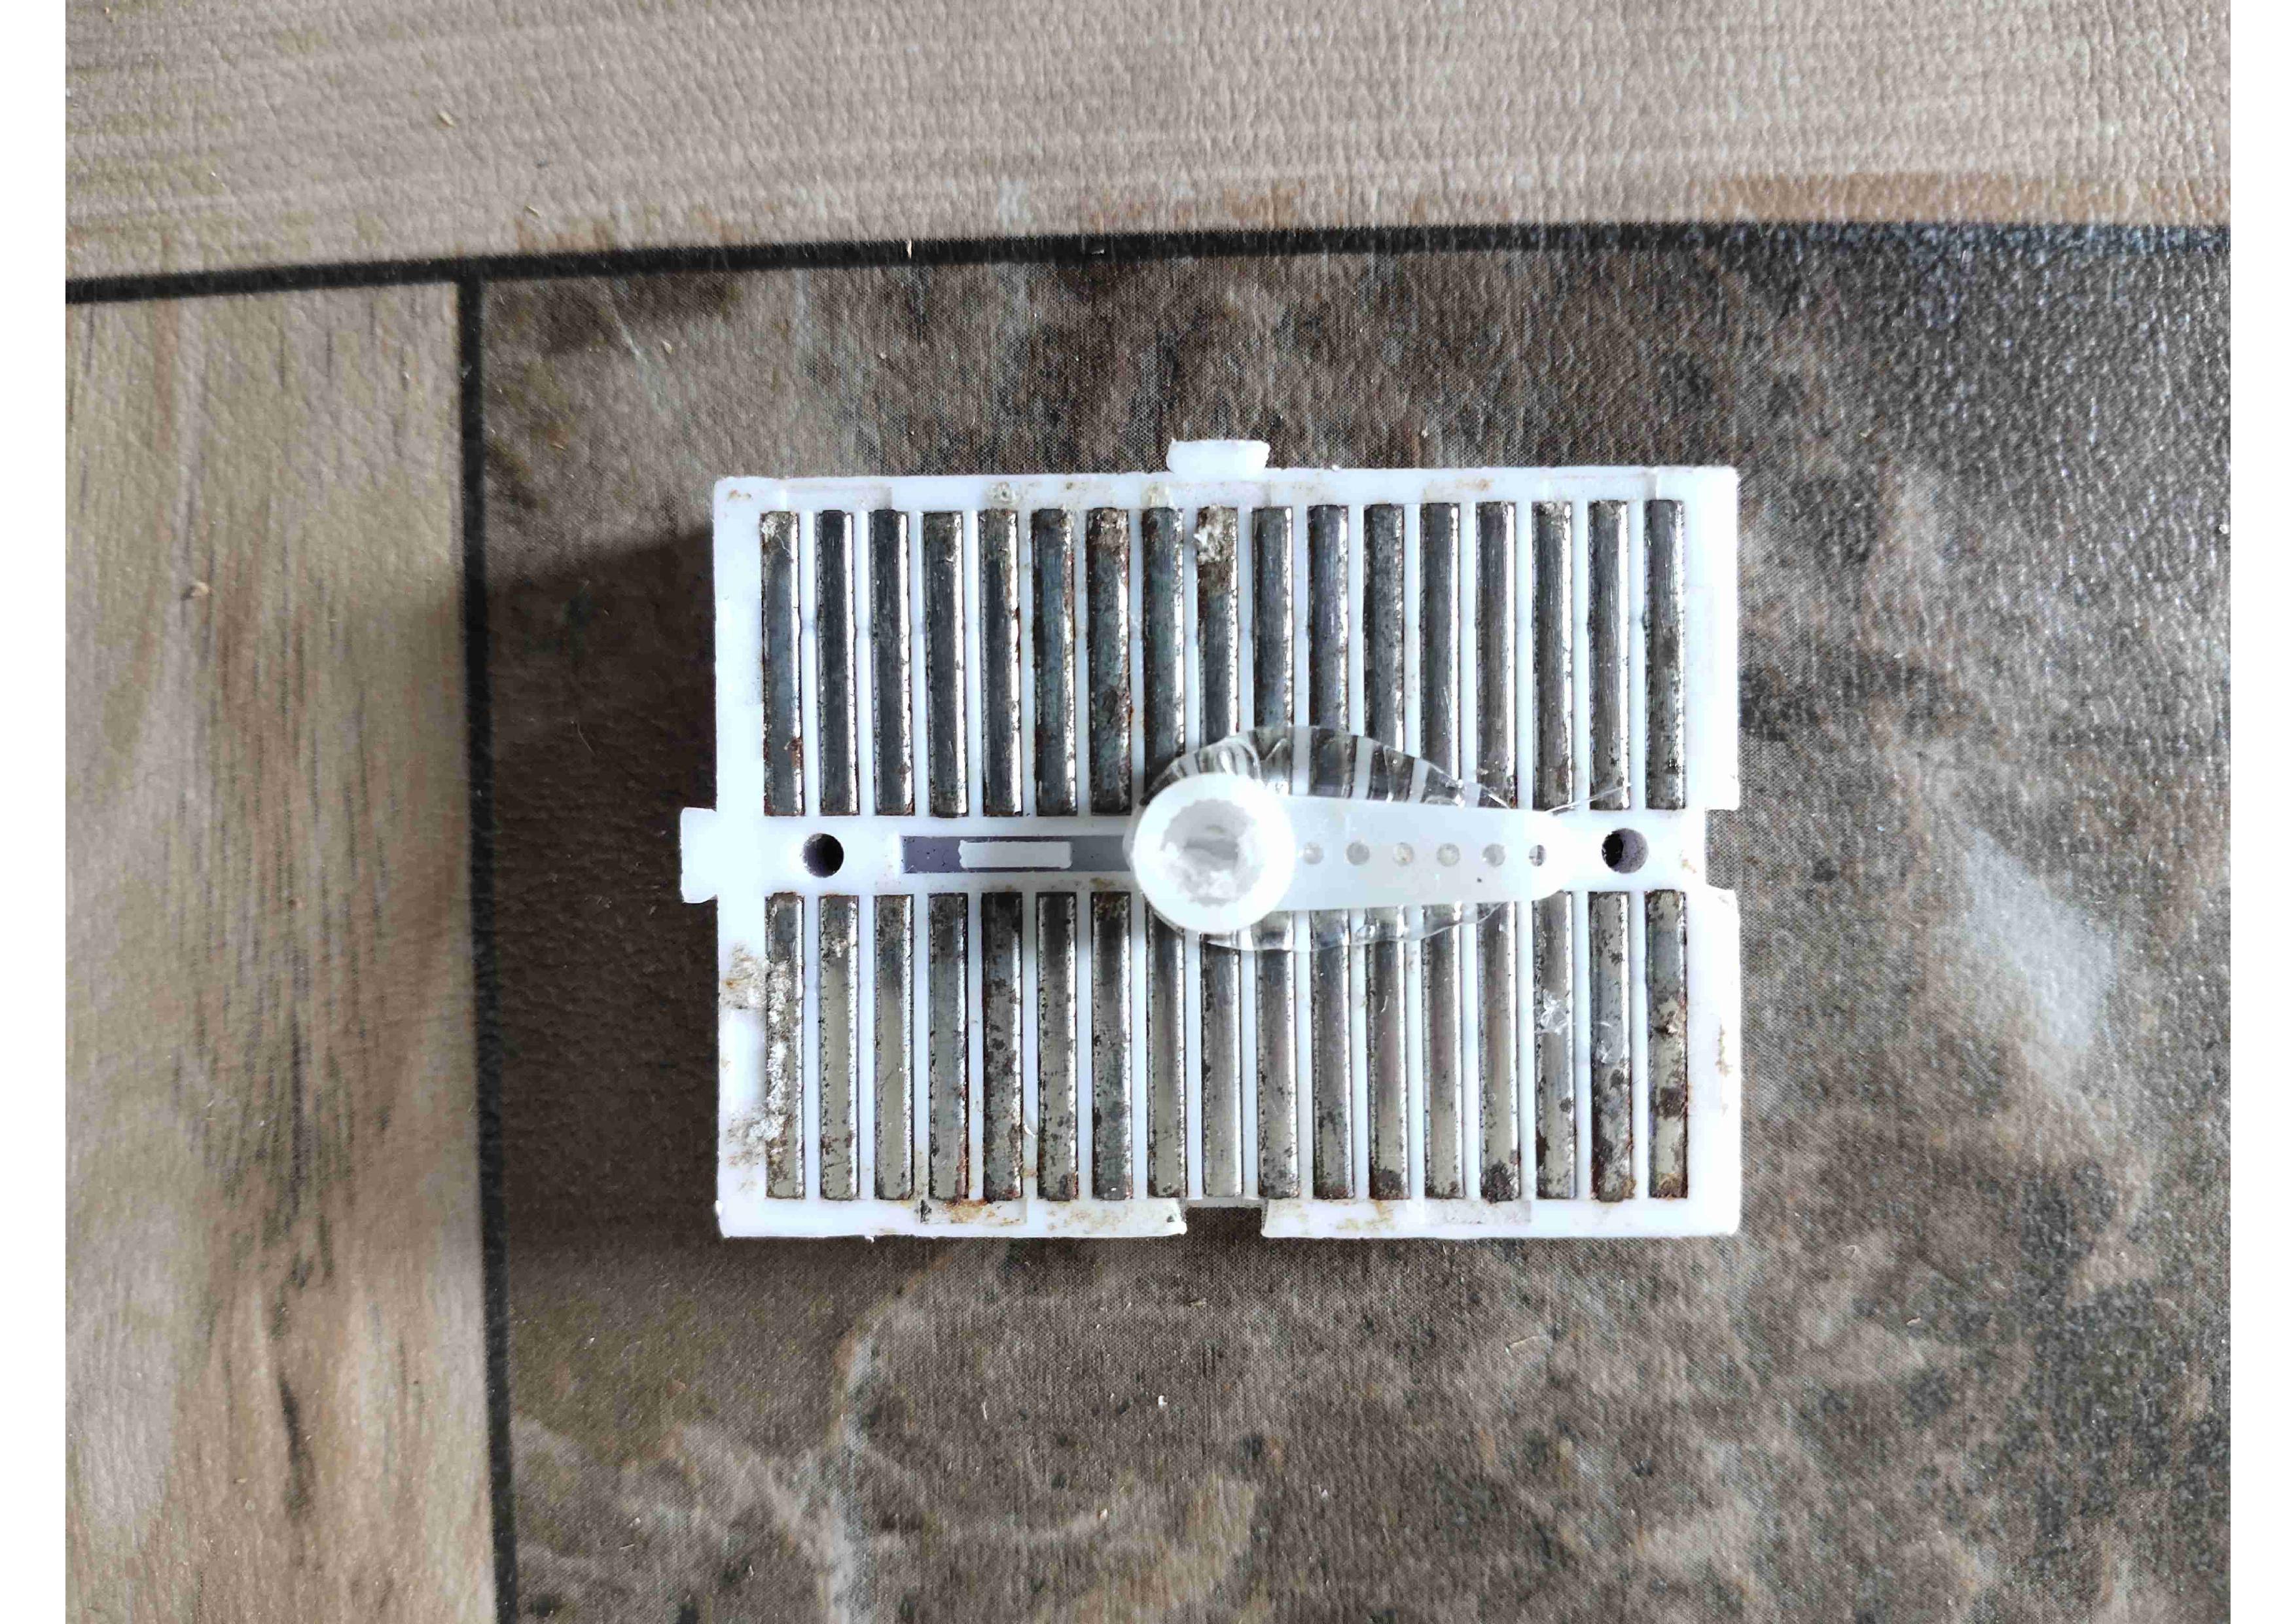
- Screw UNO and motor driver on chassis with help of screws.
- Stick the BO motor, Castor Wheel, Battery, and Servo motor in the chassis with double side tape as shown in the image.
- Stick the connector of the output shaft of the servo motor to the mini breadboard with a glue gun or super glue.
- Place the ultrasonic sensor on the breadboard.
Tip: Do not screw the UNO tightly on the chassis because it may damage the UNO.
Connections
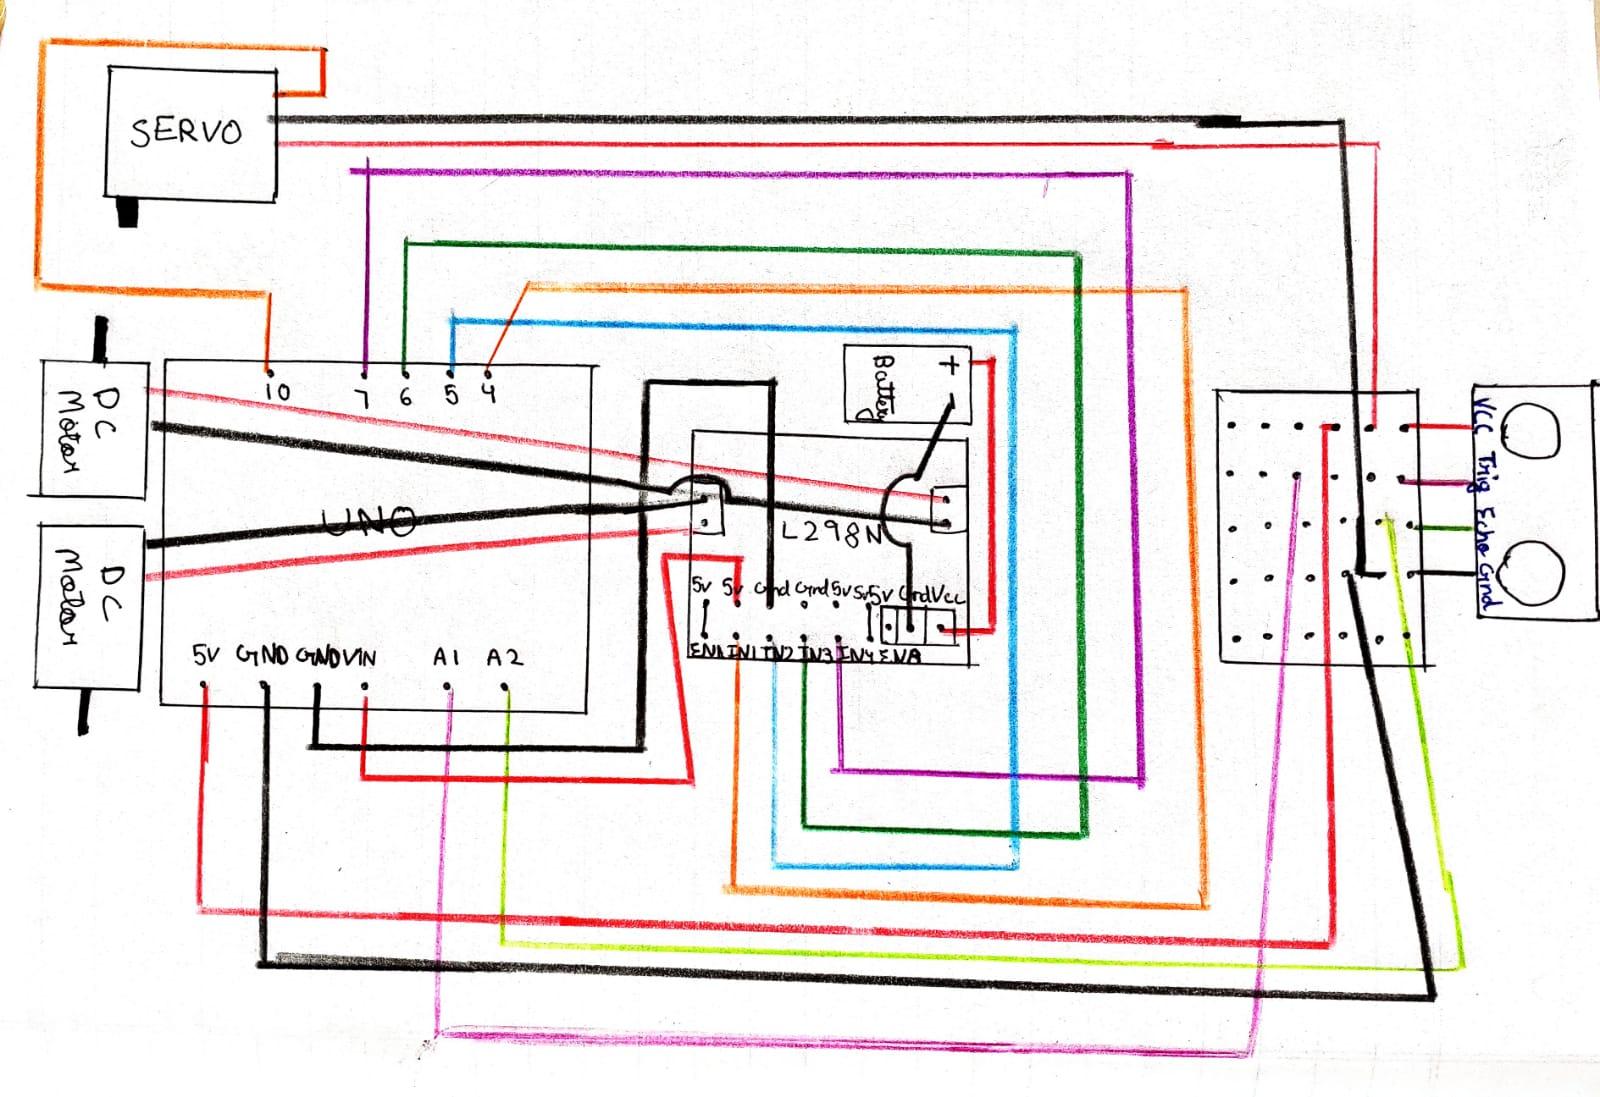
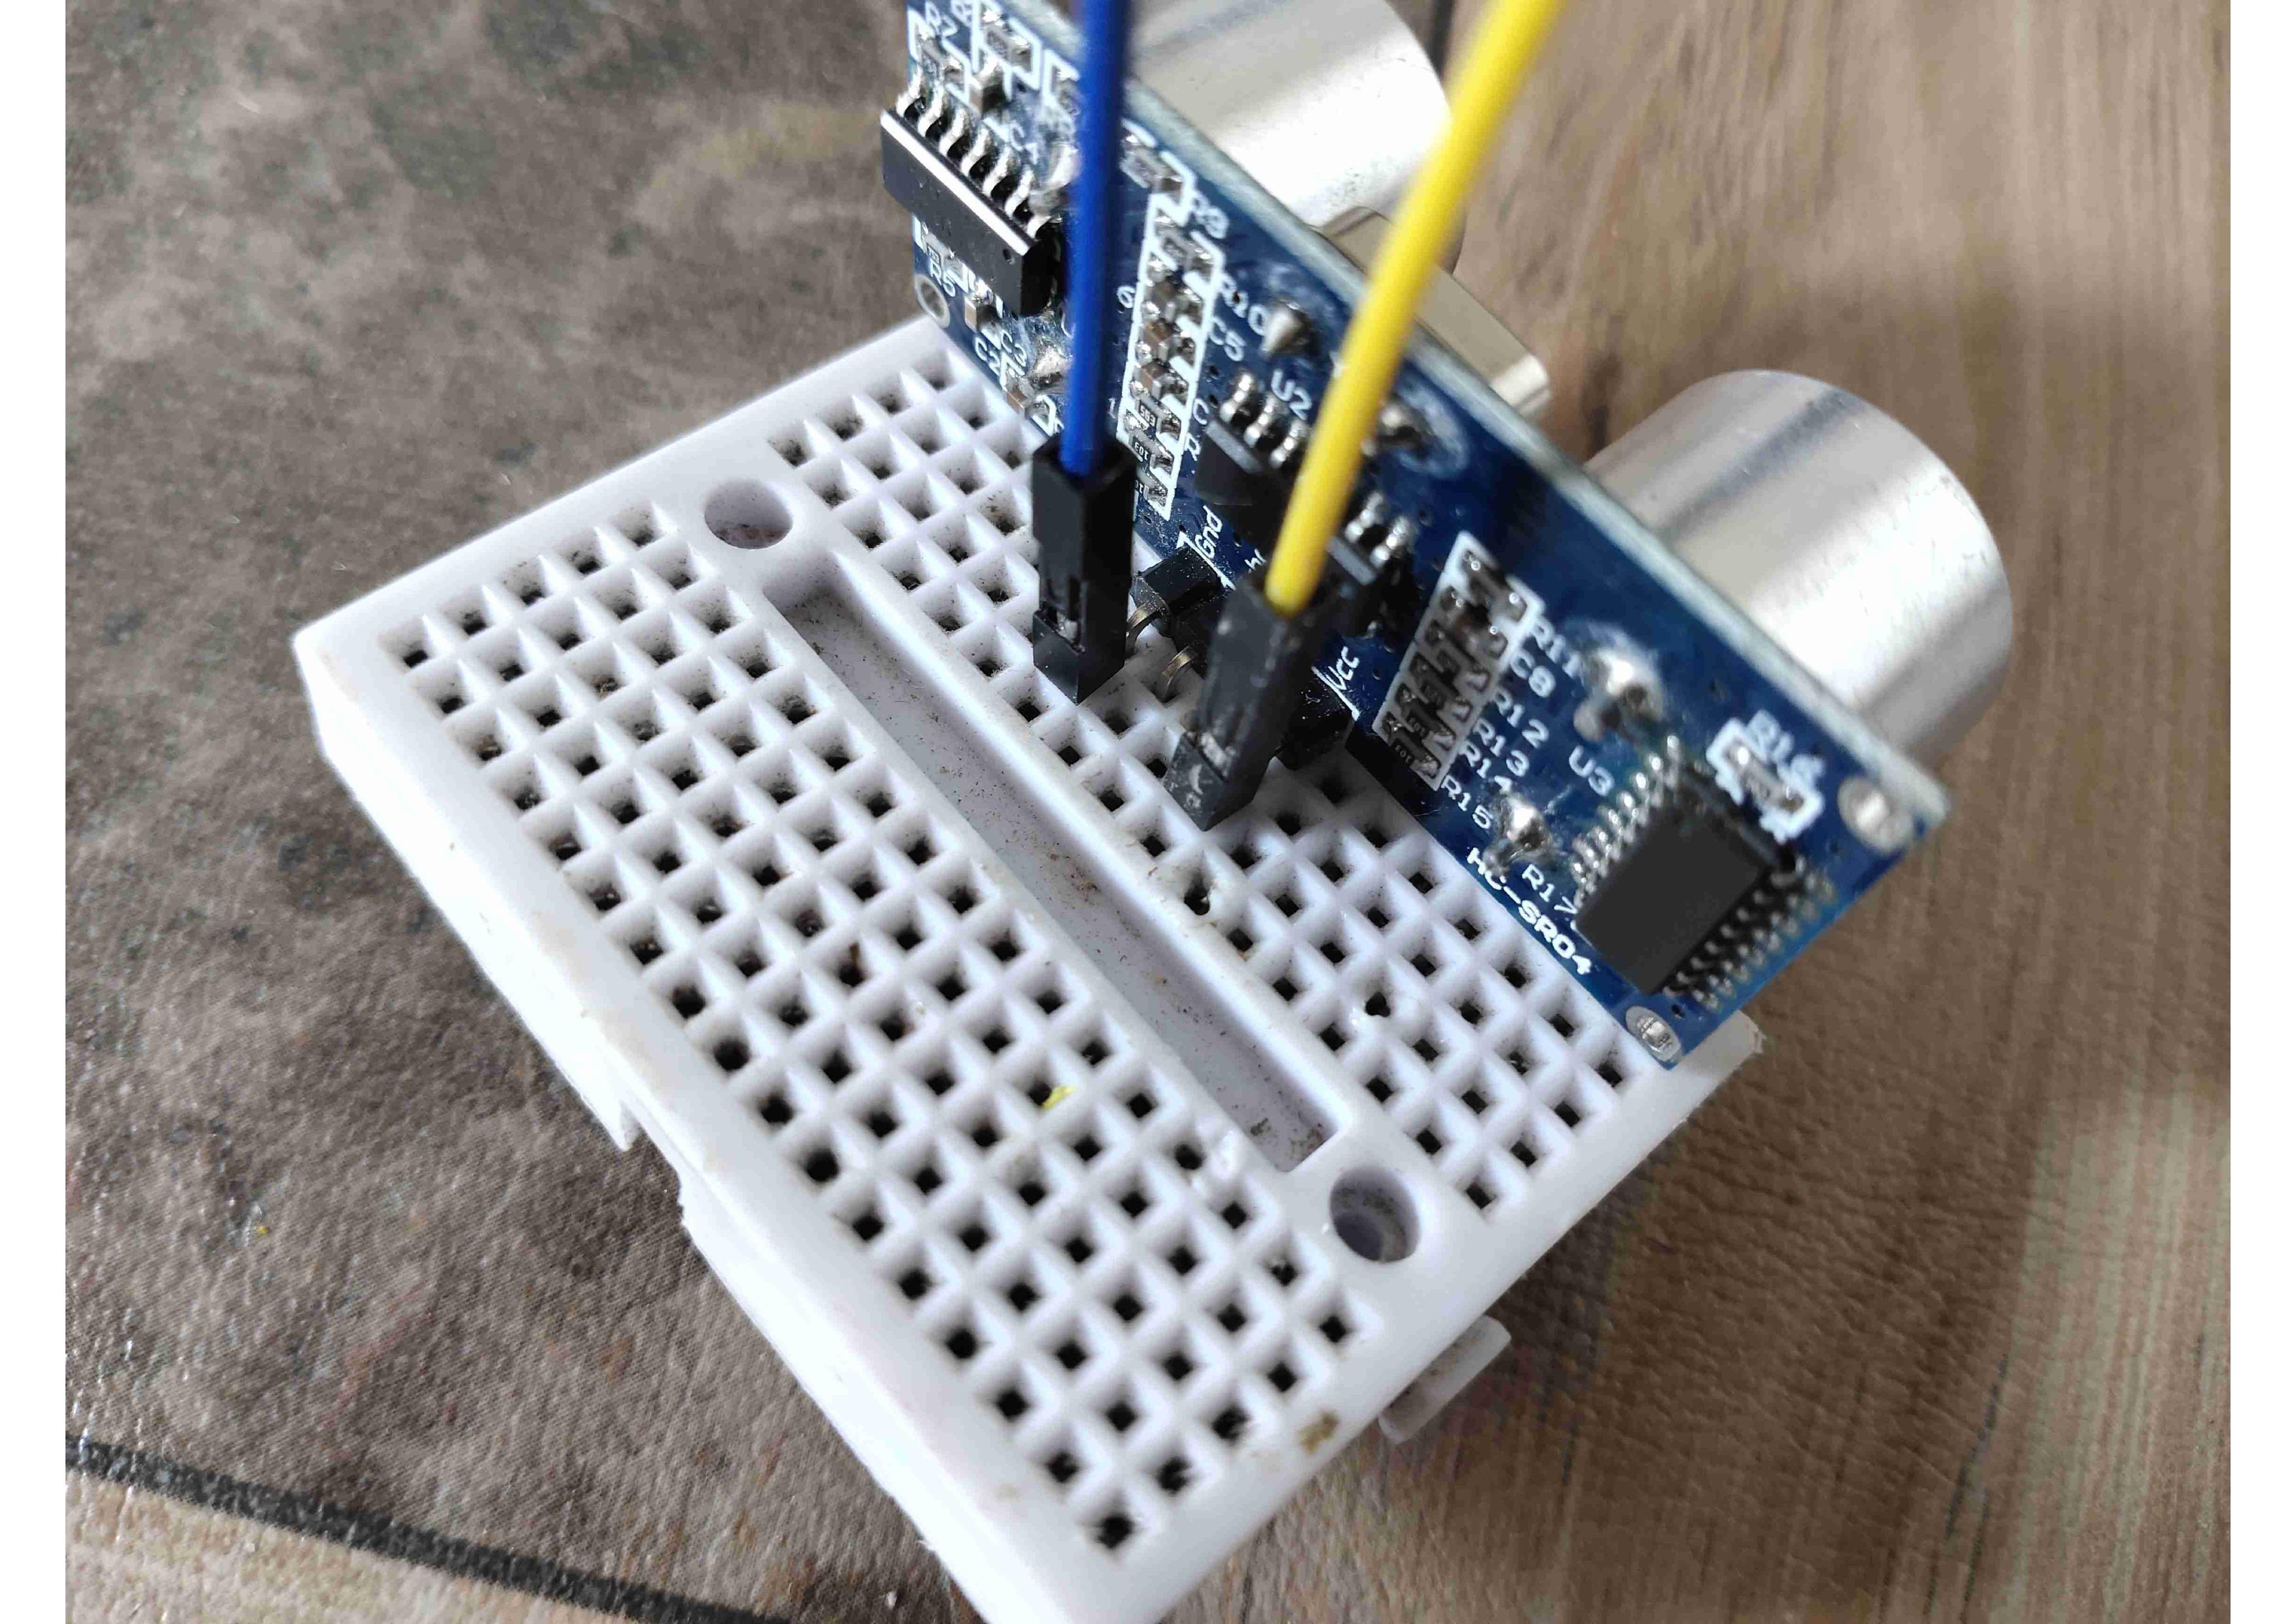
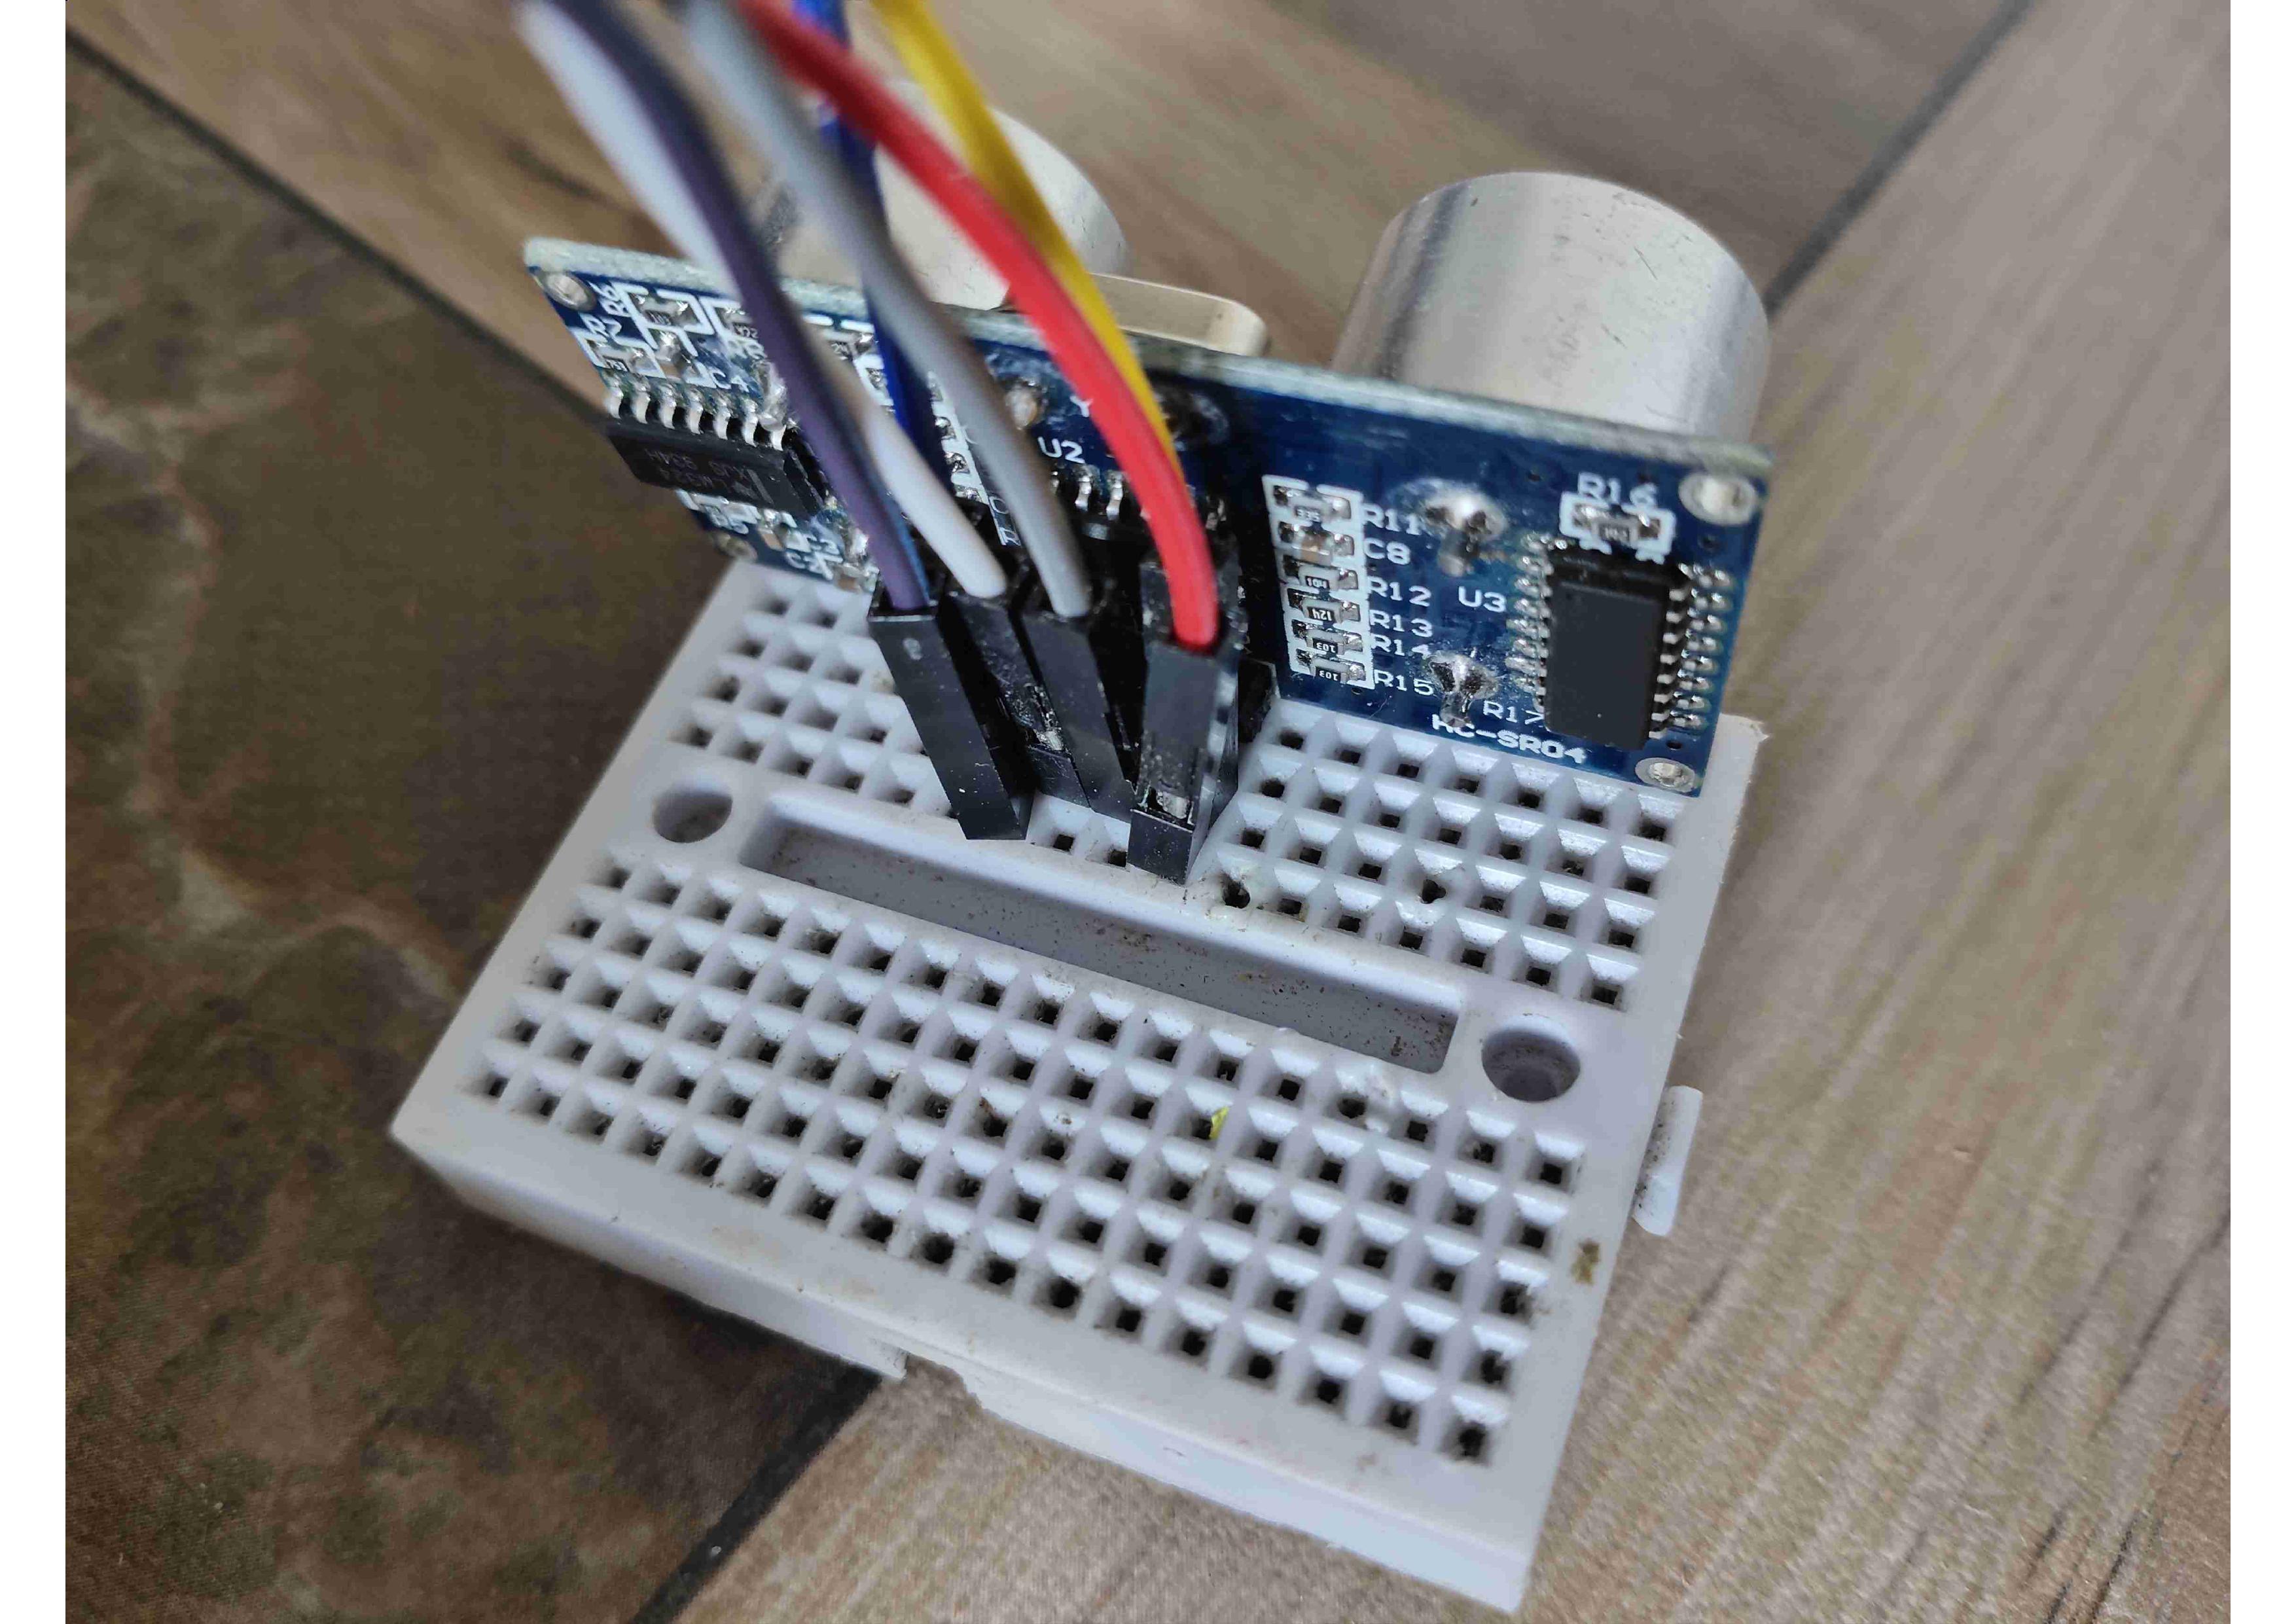
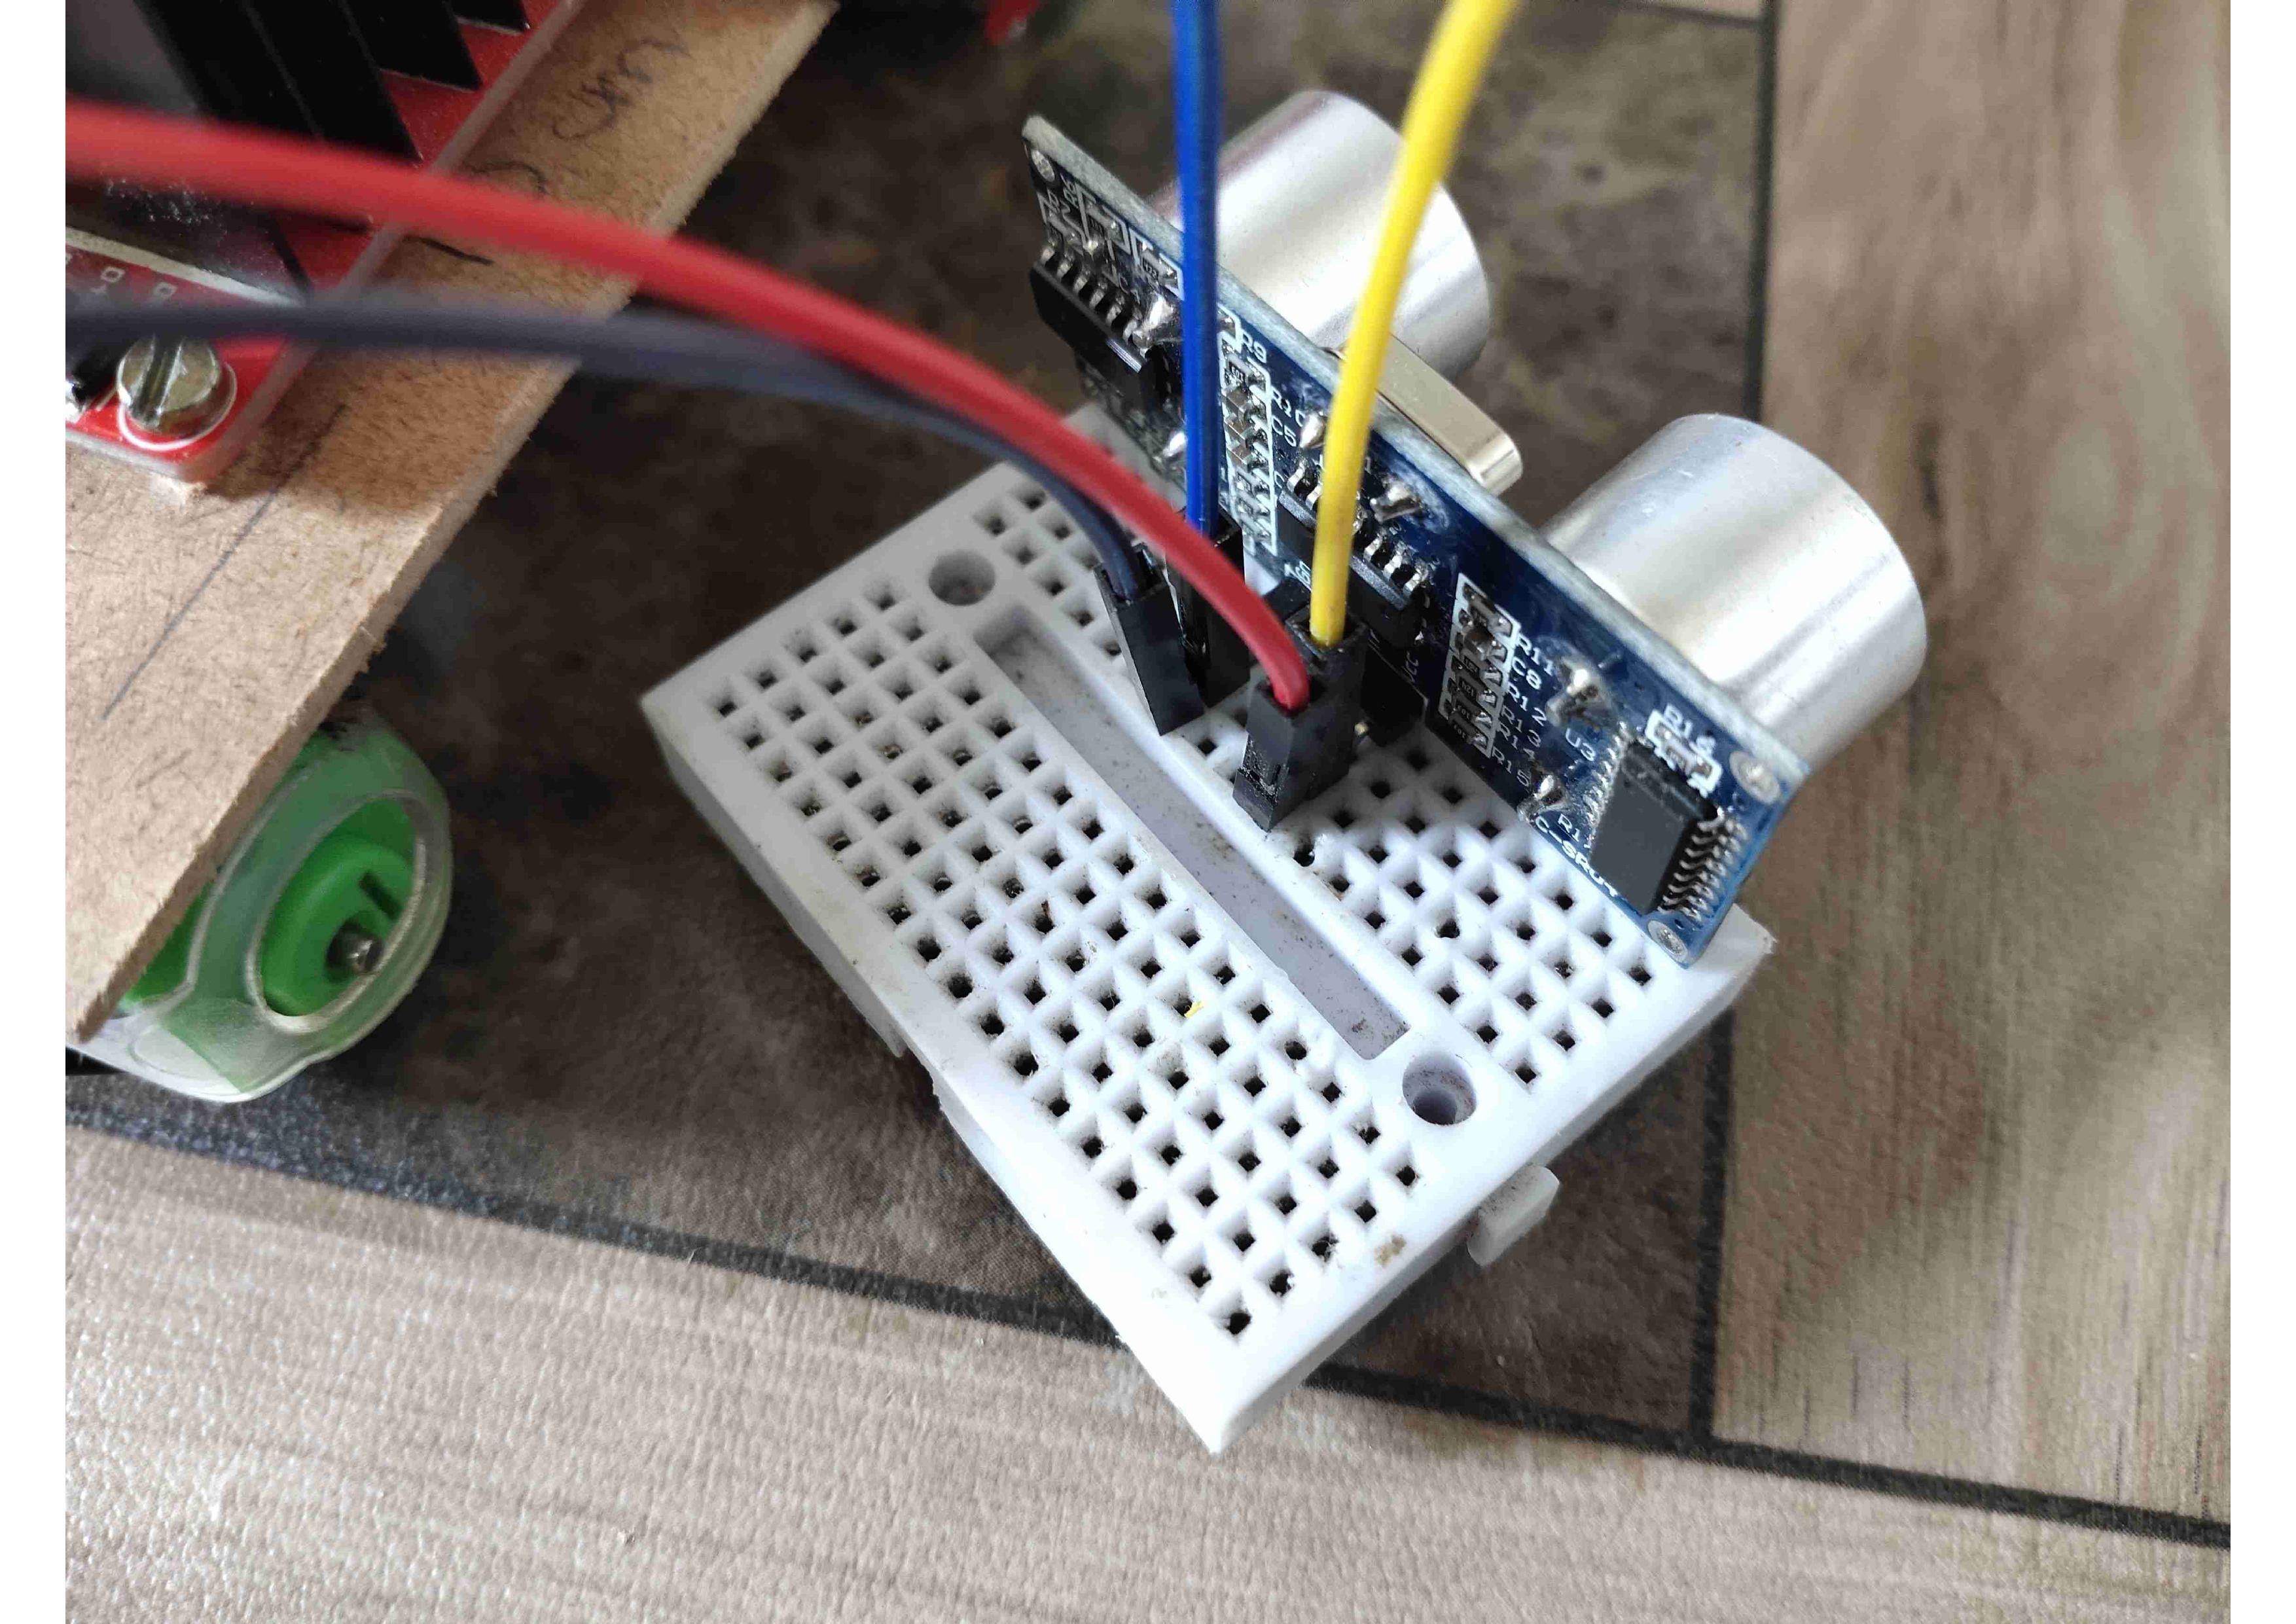
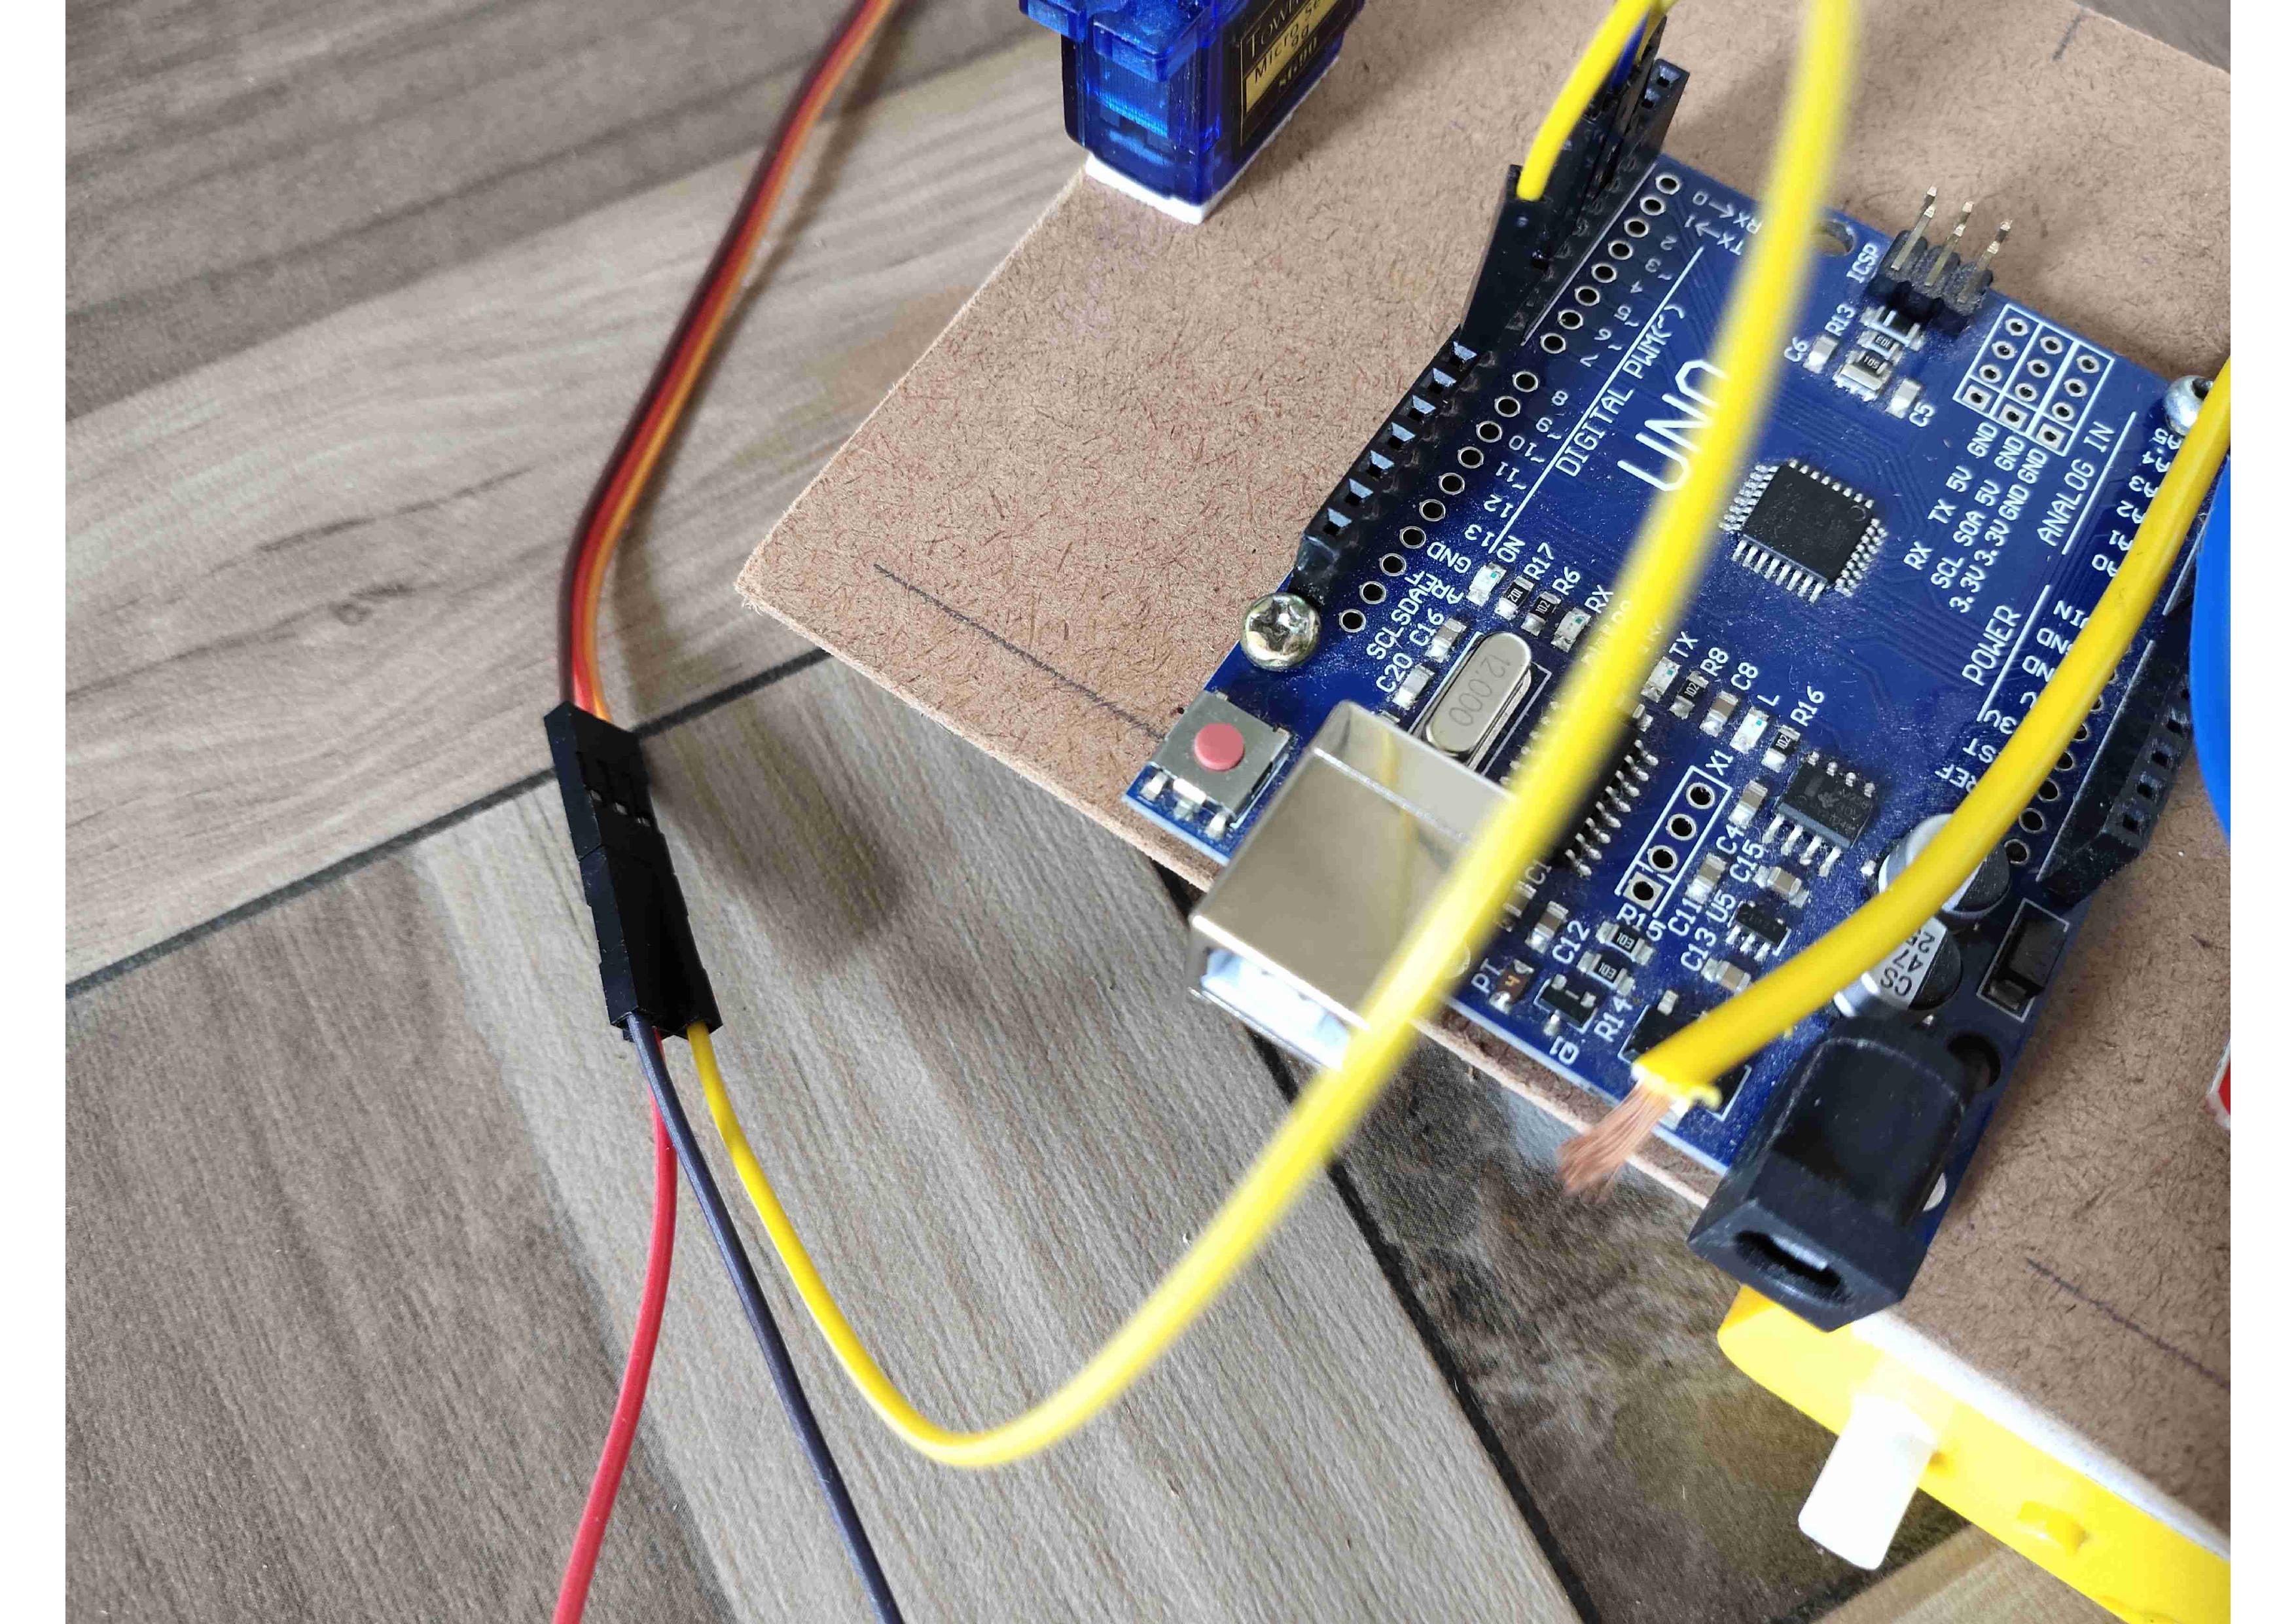
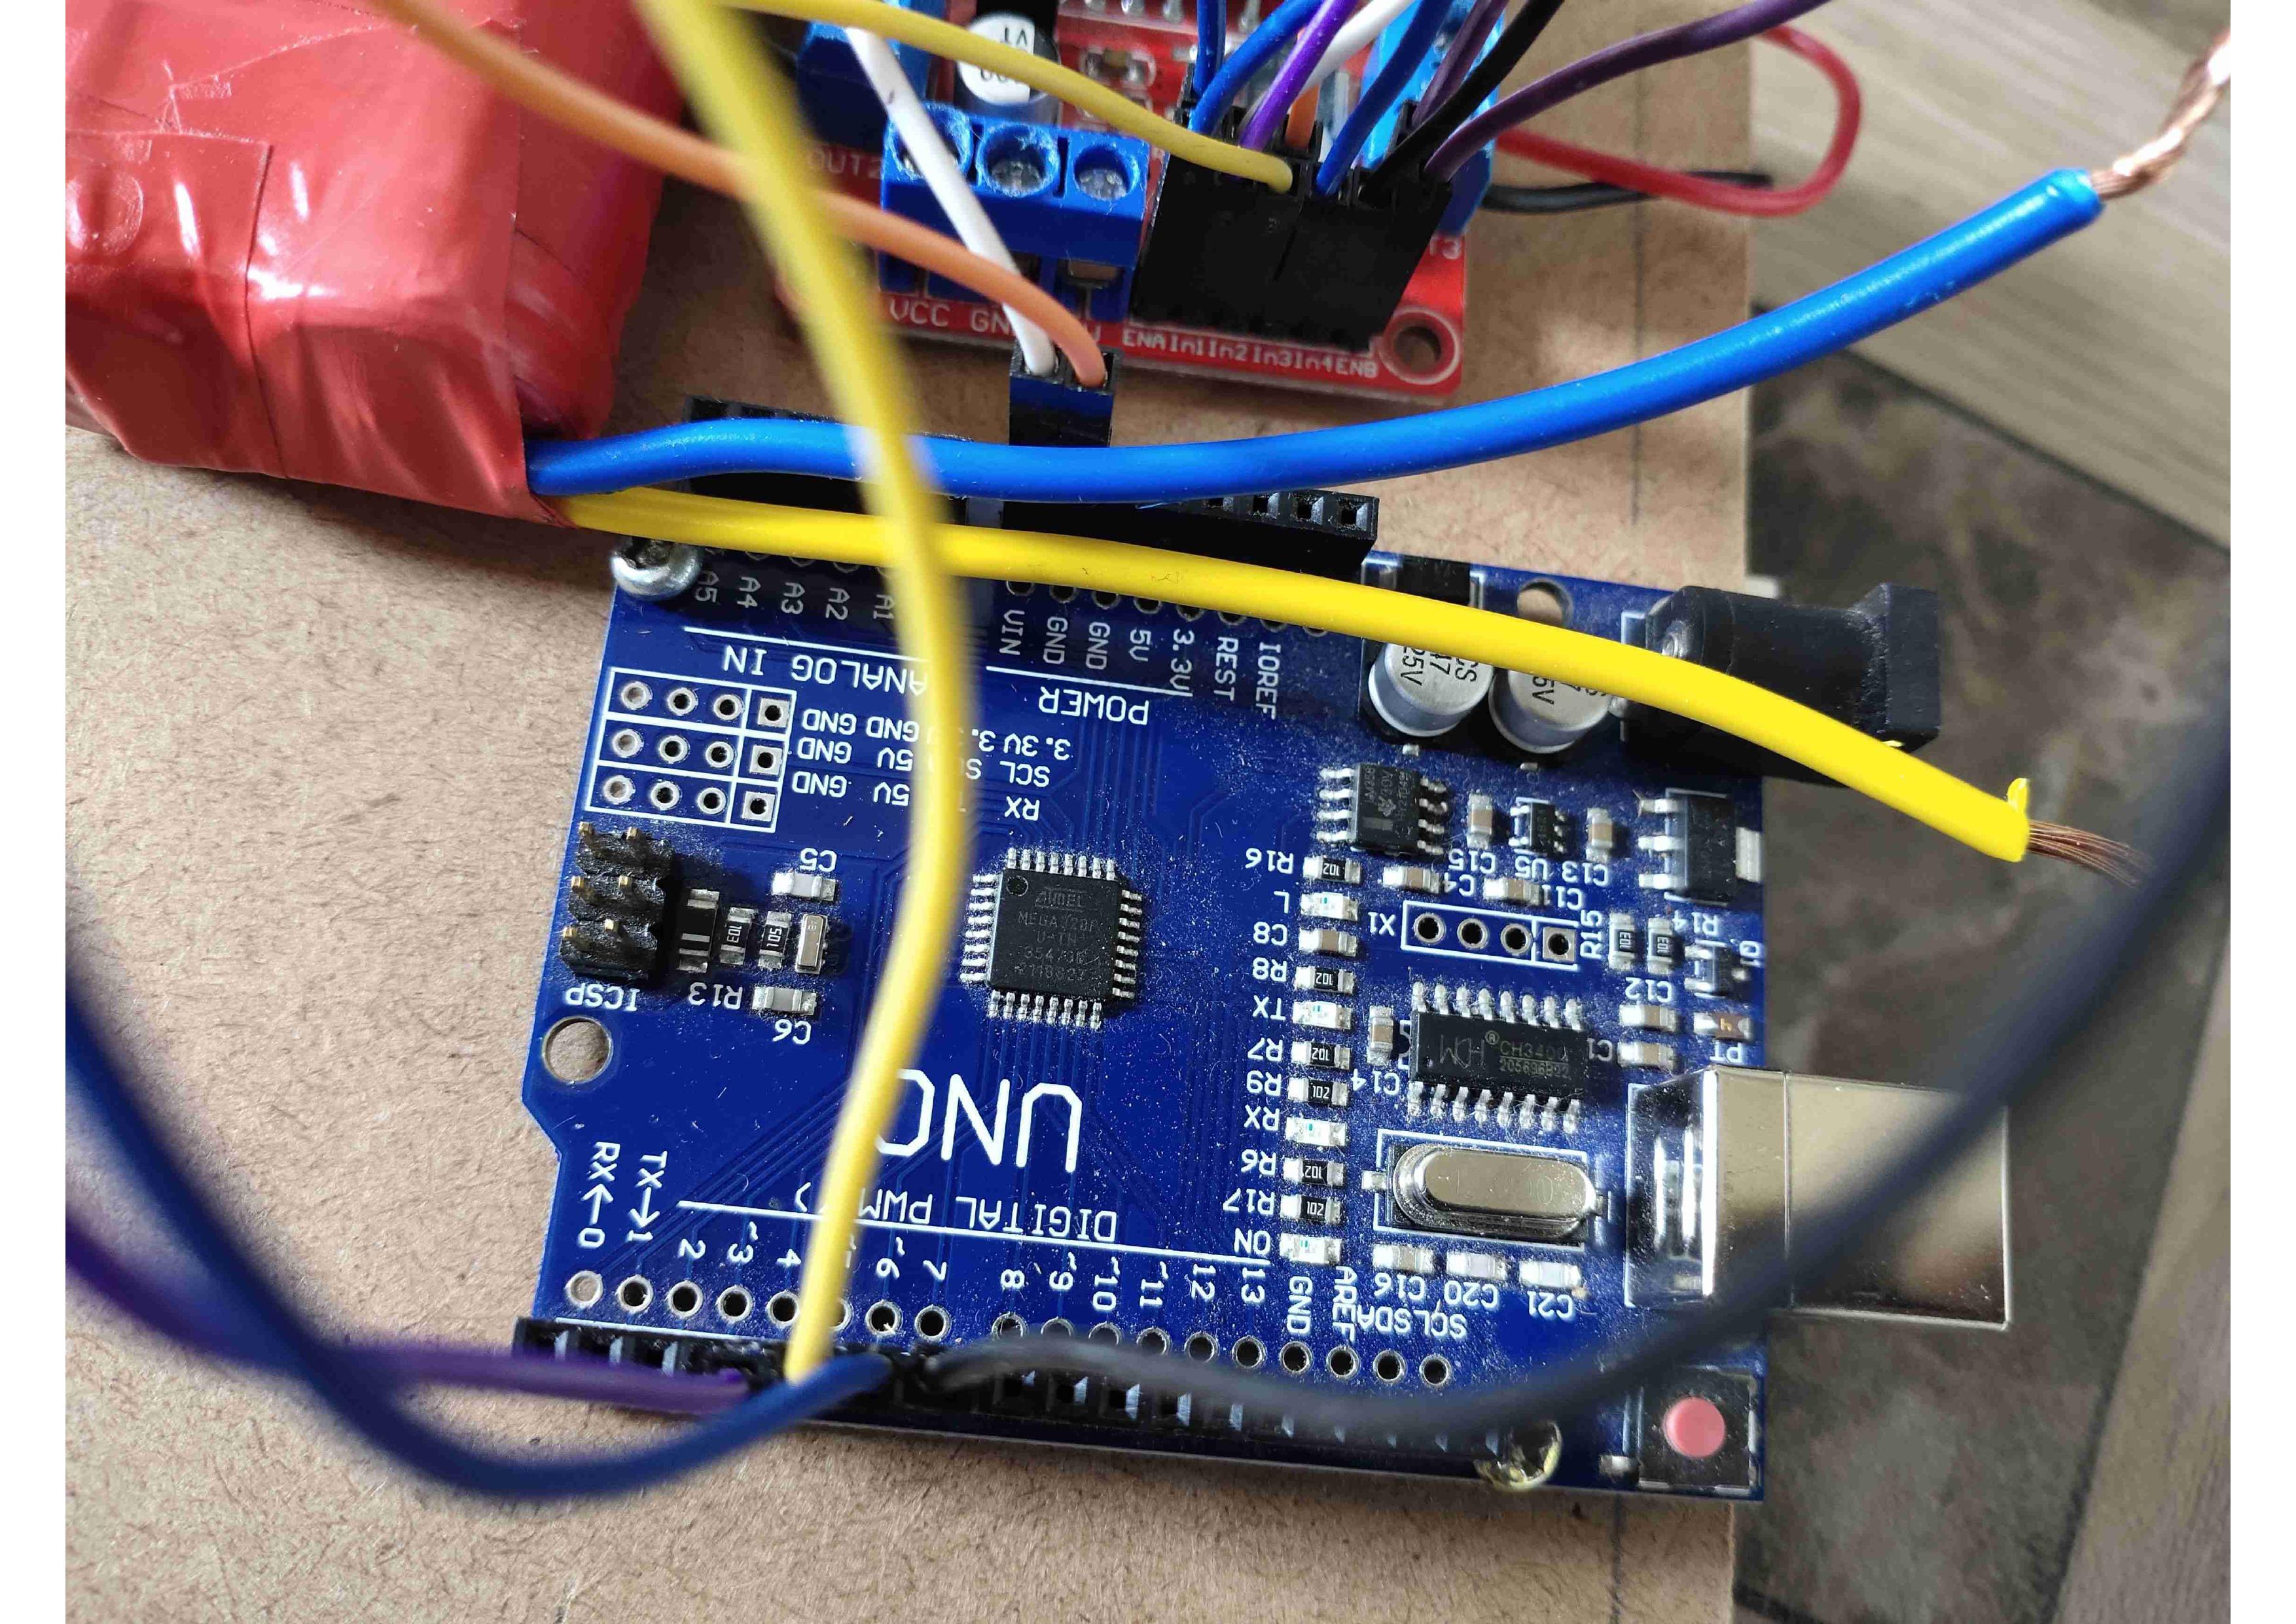
Now the main part of this robot has come I will write all the steps very clearly so you did not face any issue in connections. Refer to the circuit diagram for more clearance.
- Connect ENA and ENB to 5v of motor driver.
- Connect IN1 to pin 4 of UNO.
- Connect IN2 to pin 5 of UNO.
- Connect IN3 to pin 6 of UNO.
- Connect IN4 to pin 7 of UNO.
- Connect 5v of Motor Driver to VIN pin of UNO.
- Connect GND of Motor Driver to GND pin of UNO.
- Connect Servo orange wire to pin 10 of UNO.
- Connect Ultrasonic sensor Vcc, Trig, Echo, GND pin to pin 5v, A1, A2, Gnd respectively of UNO on the breadboard.
- Connect Servo red and brown wire to the same Vcc and GND pin of Arduino respectively in the breadboard.( If you are getting confused in this step refer to images.)
- Connect BO motors to the motor driver.
- Connect battery - directly to Motor driver and connect a wire in Vcc pin of Motor driver to use it as a switch by connecting and disconnecting the wire to Battery +.
Tip: Use red wire for + and black for - it will help you to do the connections easily.
Programming the Arduino Uno
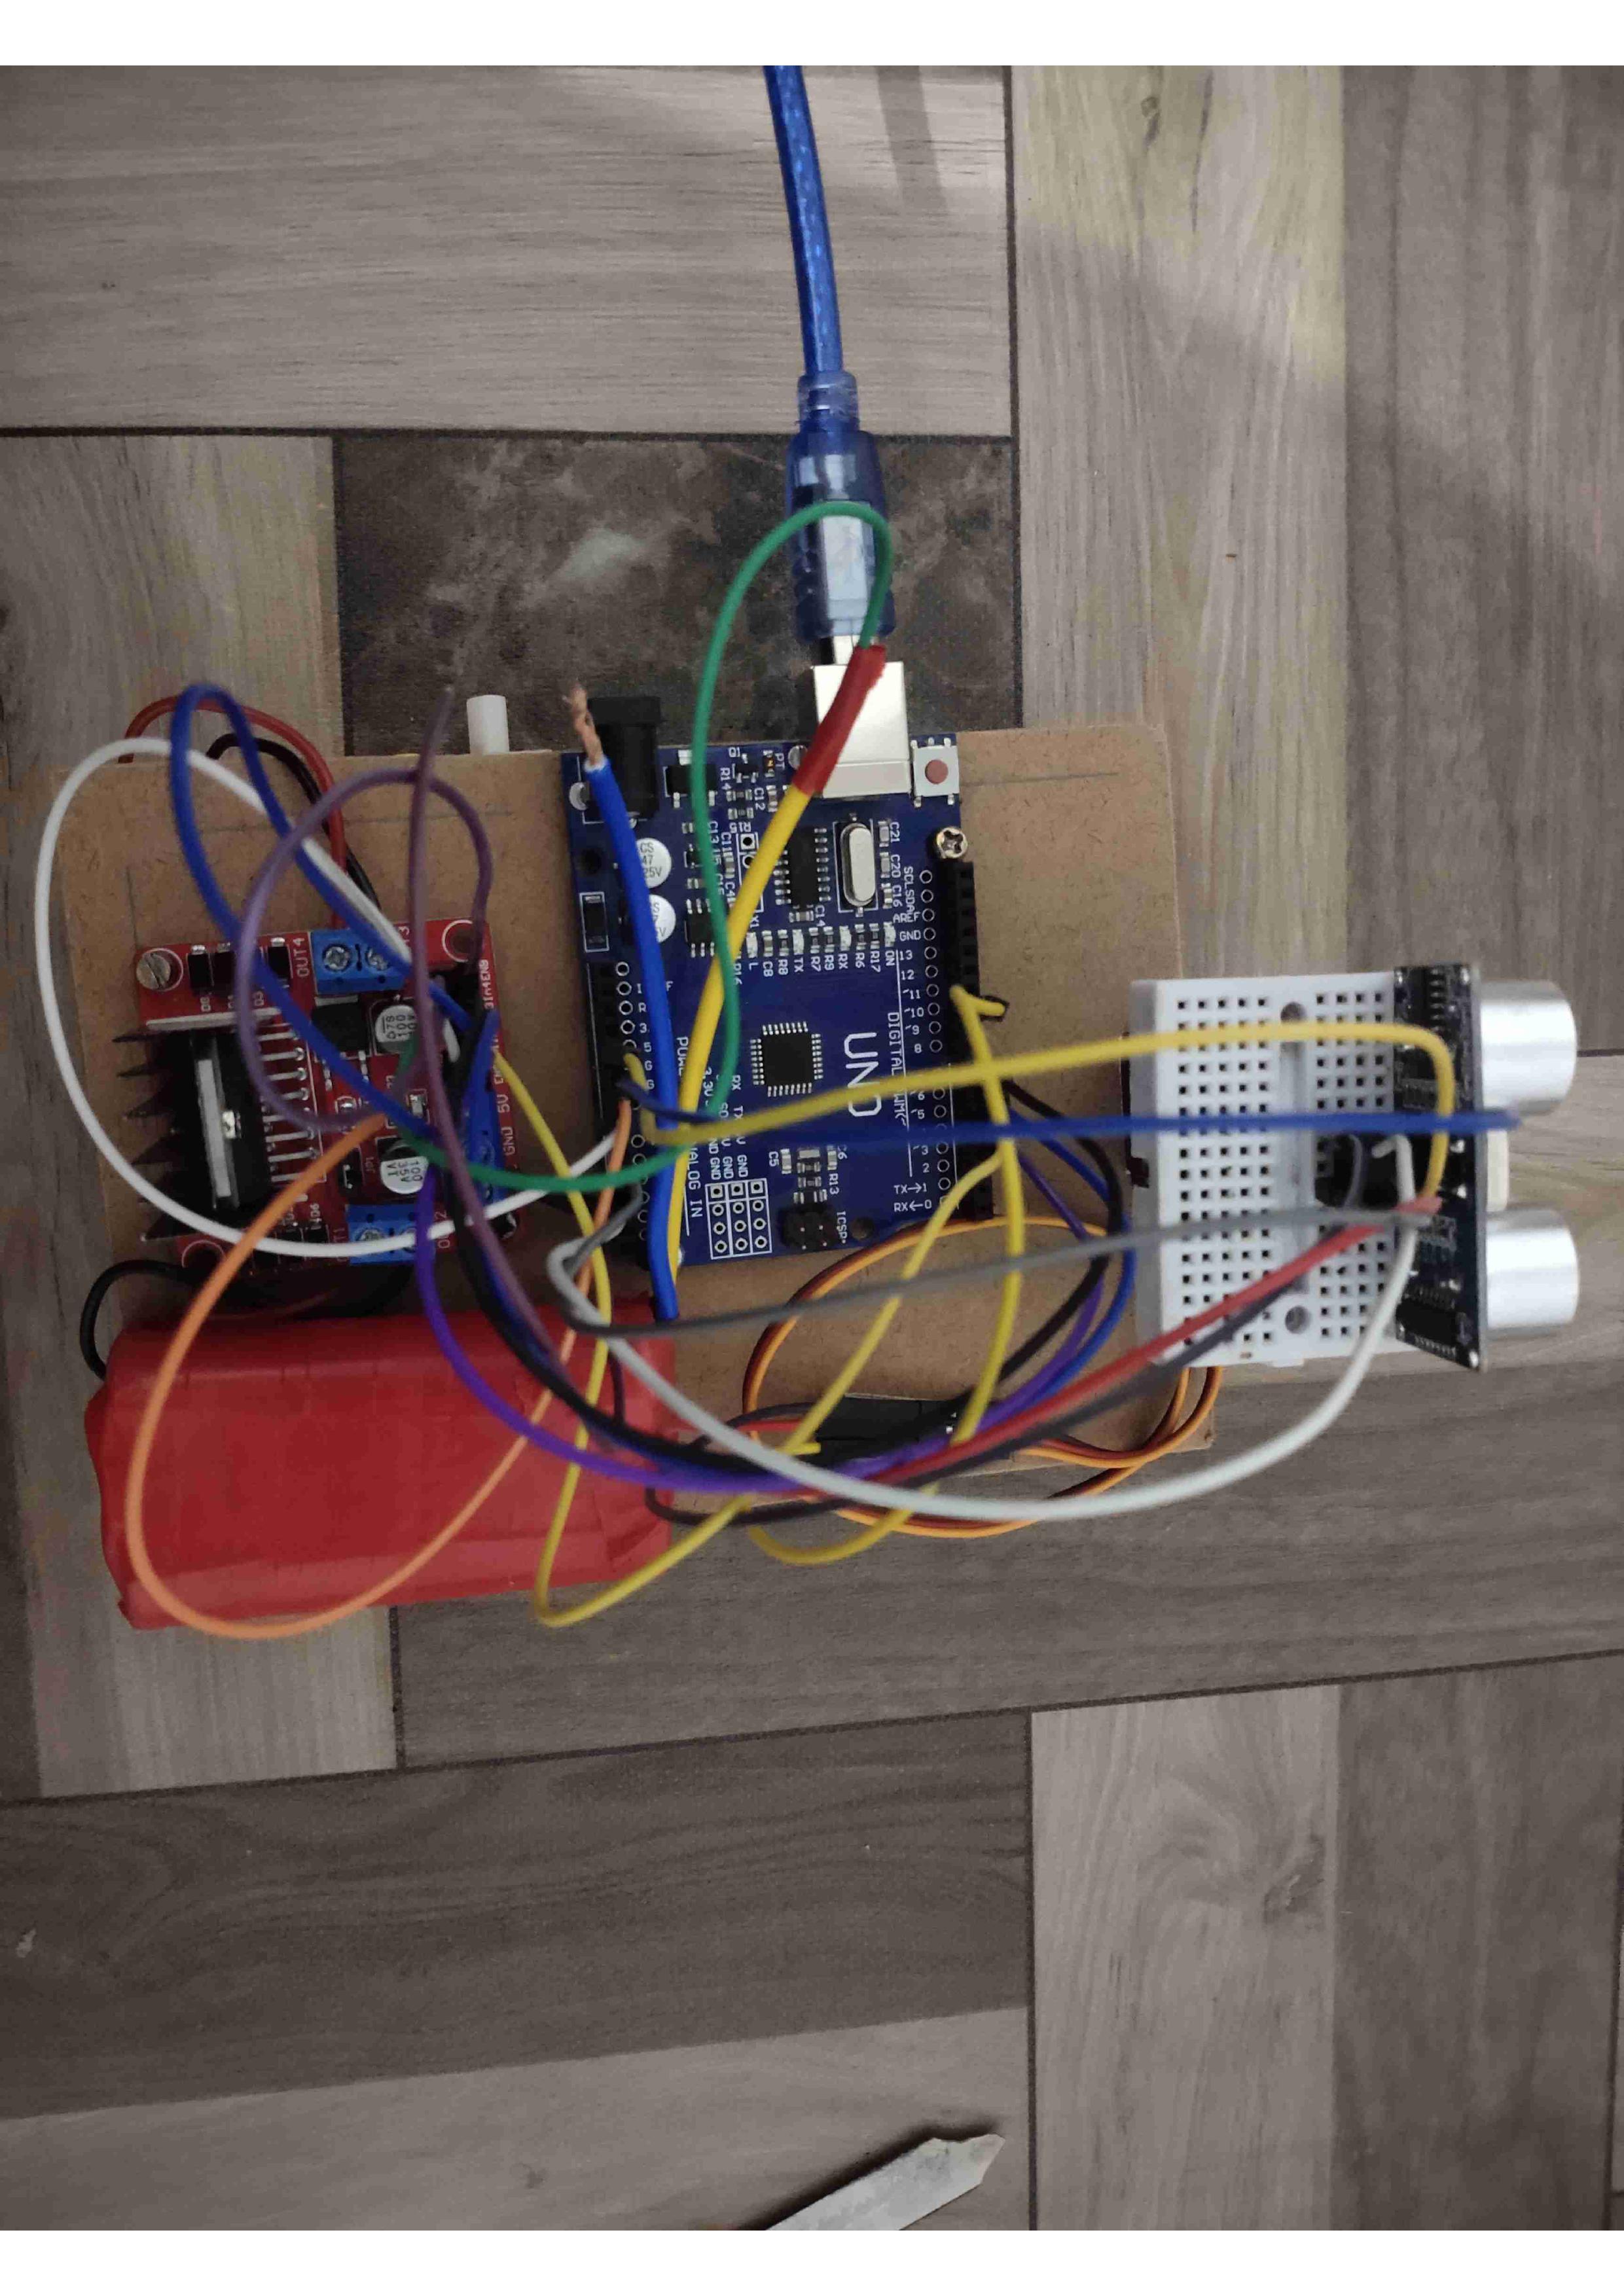
Download and Install the Arduino Desktop IDE
- Windows - https://www.arduino.cc/en/Guide/Windows
- Mac OS X - https://www.arduino.cc/en/Guide/MacOSX
- Linux - https://www.arduino.cc/en/Guide/Linux
Download the New ping library and extract it to C:\Arduino\libraries. You can also install this library directly from Arduino IDE. For installing the library from Arduino IDE go to Tools<Manage Libraries<Search for New Ping and install it.
- Paste the code in Arduino IDE and choose the correct port and programmer and upload it to UNO by programming cable of UNO.
Download the New Ping Library from https://bitbucket.org/teckel12/arduino-new-ping/downloads/NewPing_v1.9.1.zip
Tip: If you are getting an error in uploading the code try removing all the connected pins to UNO.
Downloads
Final Touch to Robot
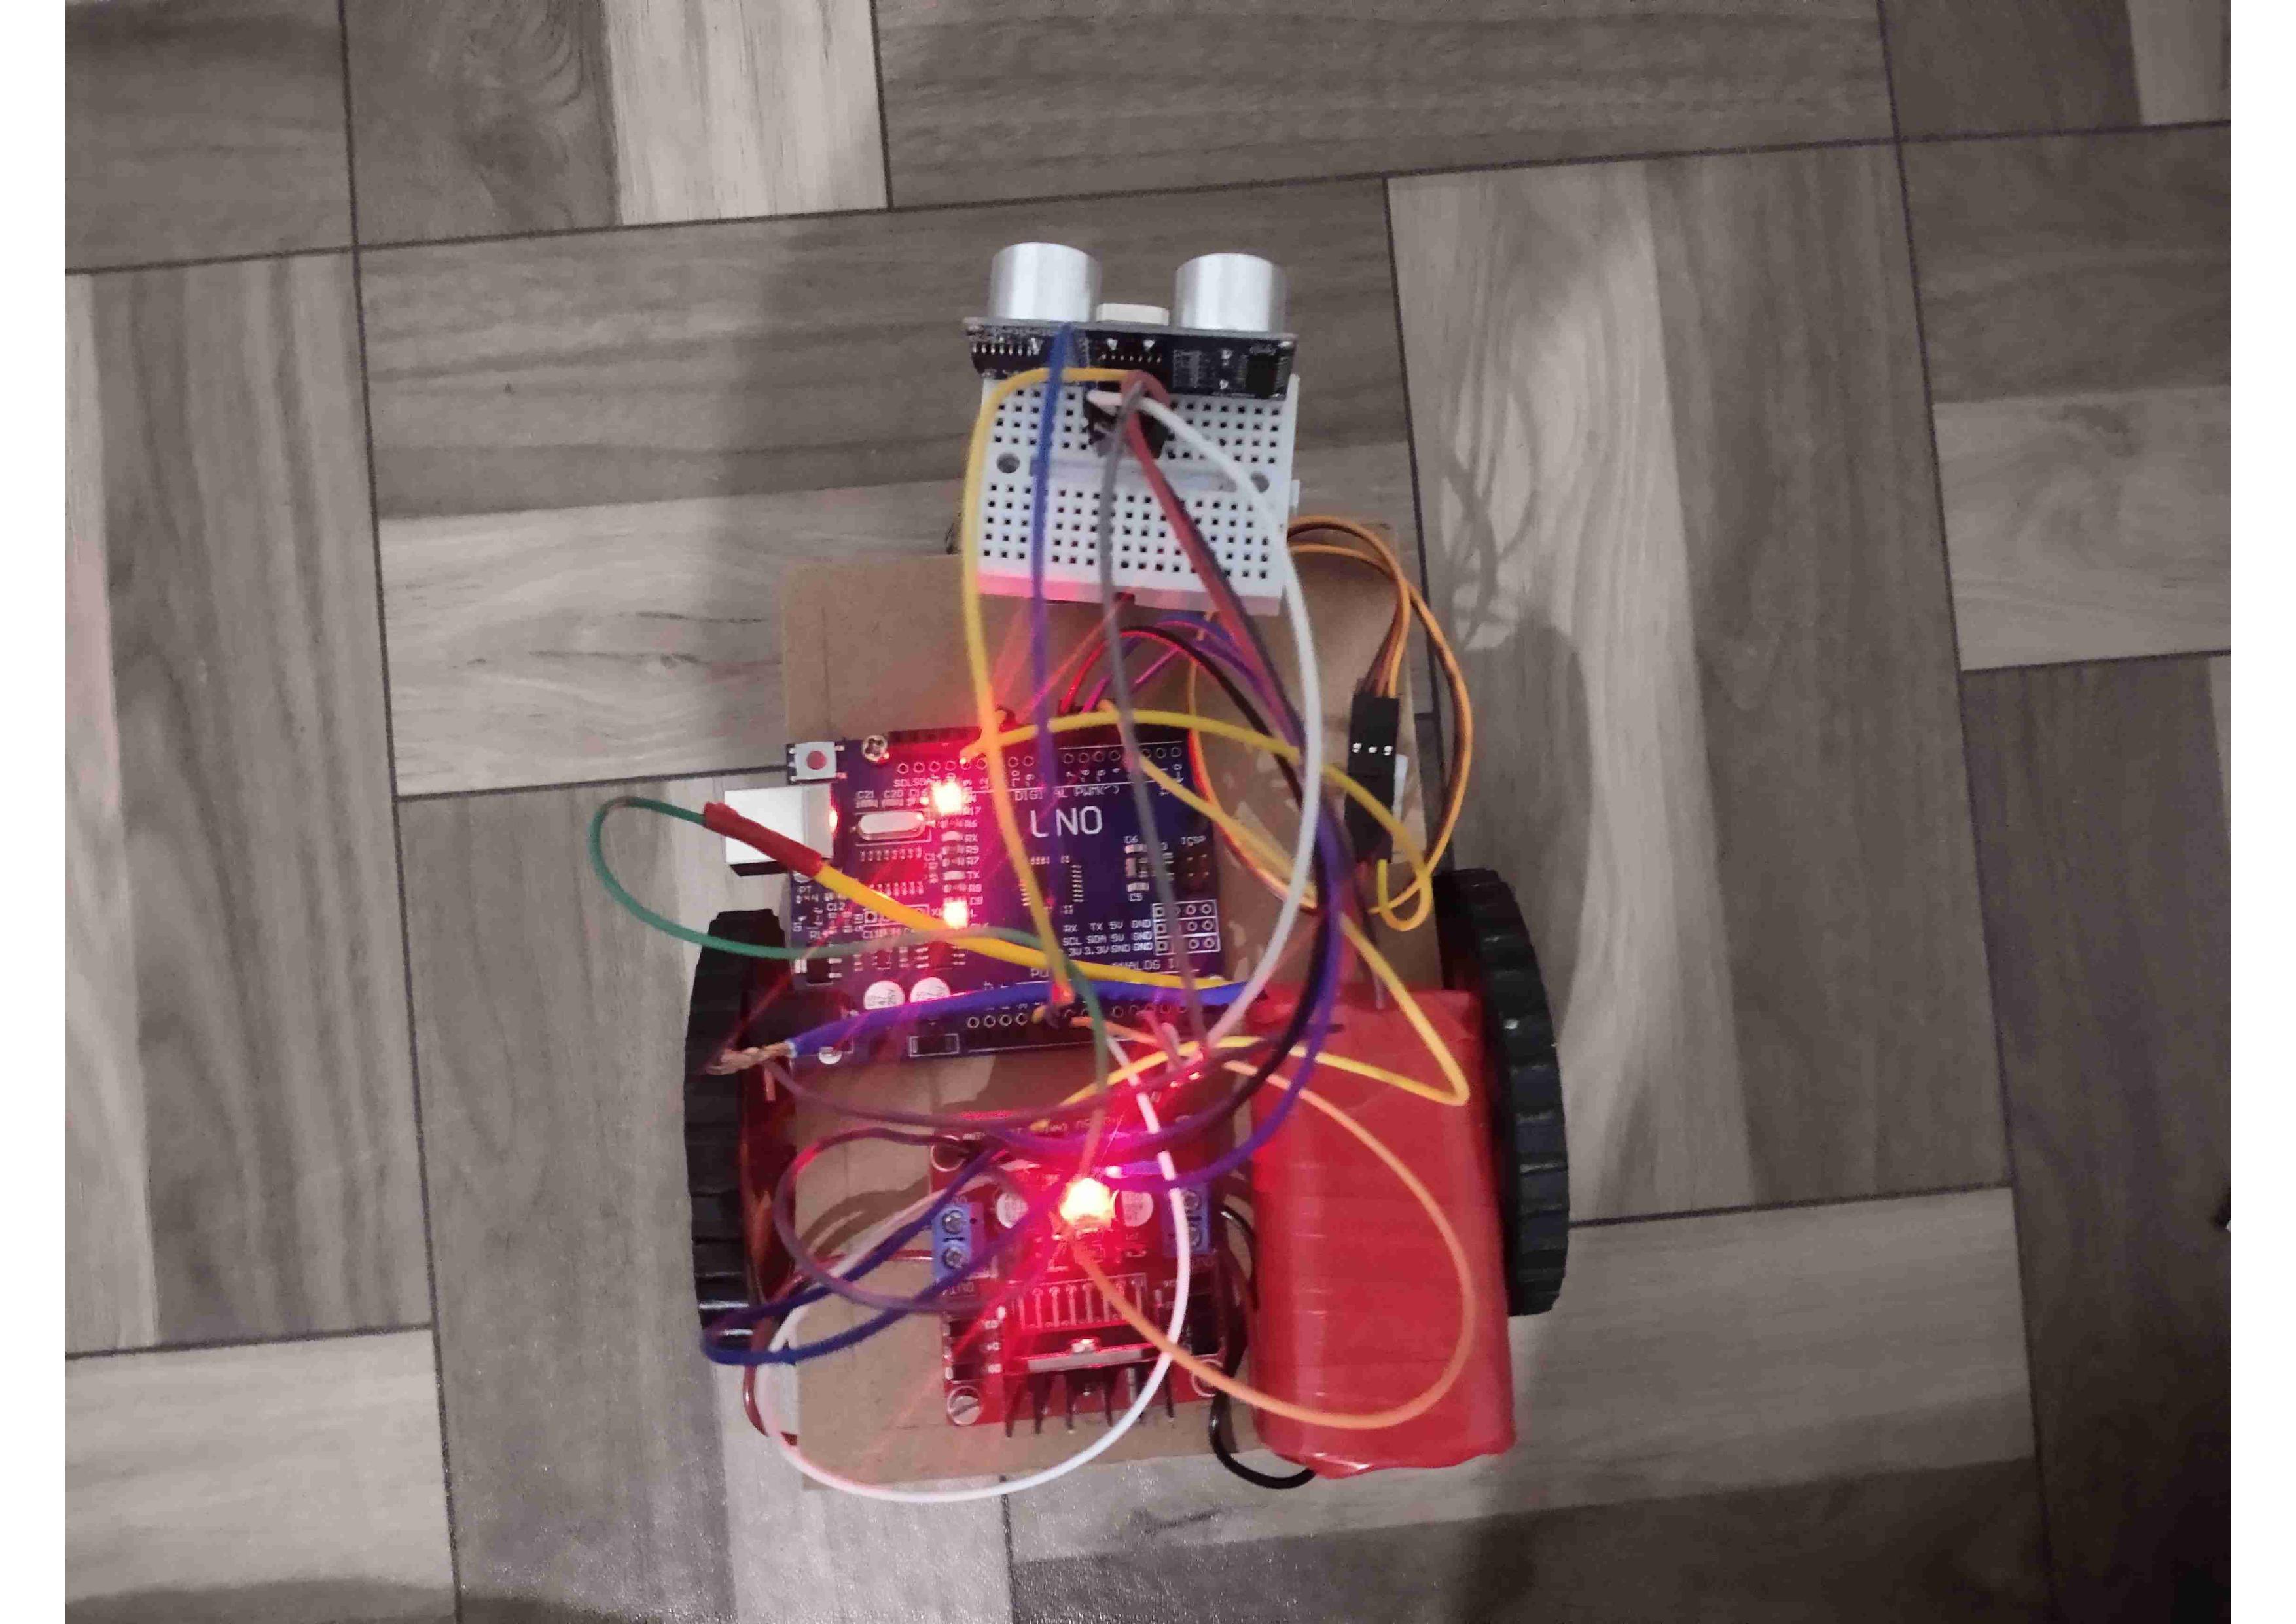
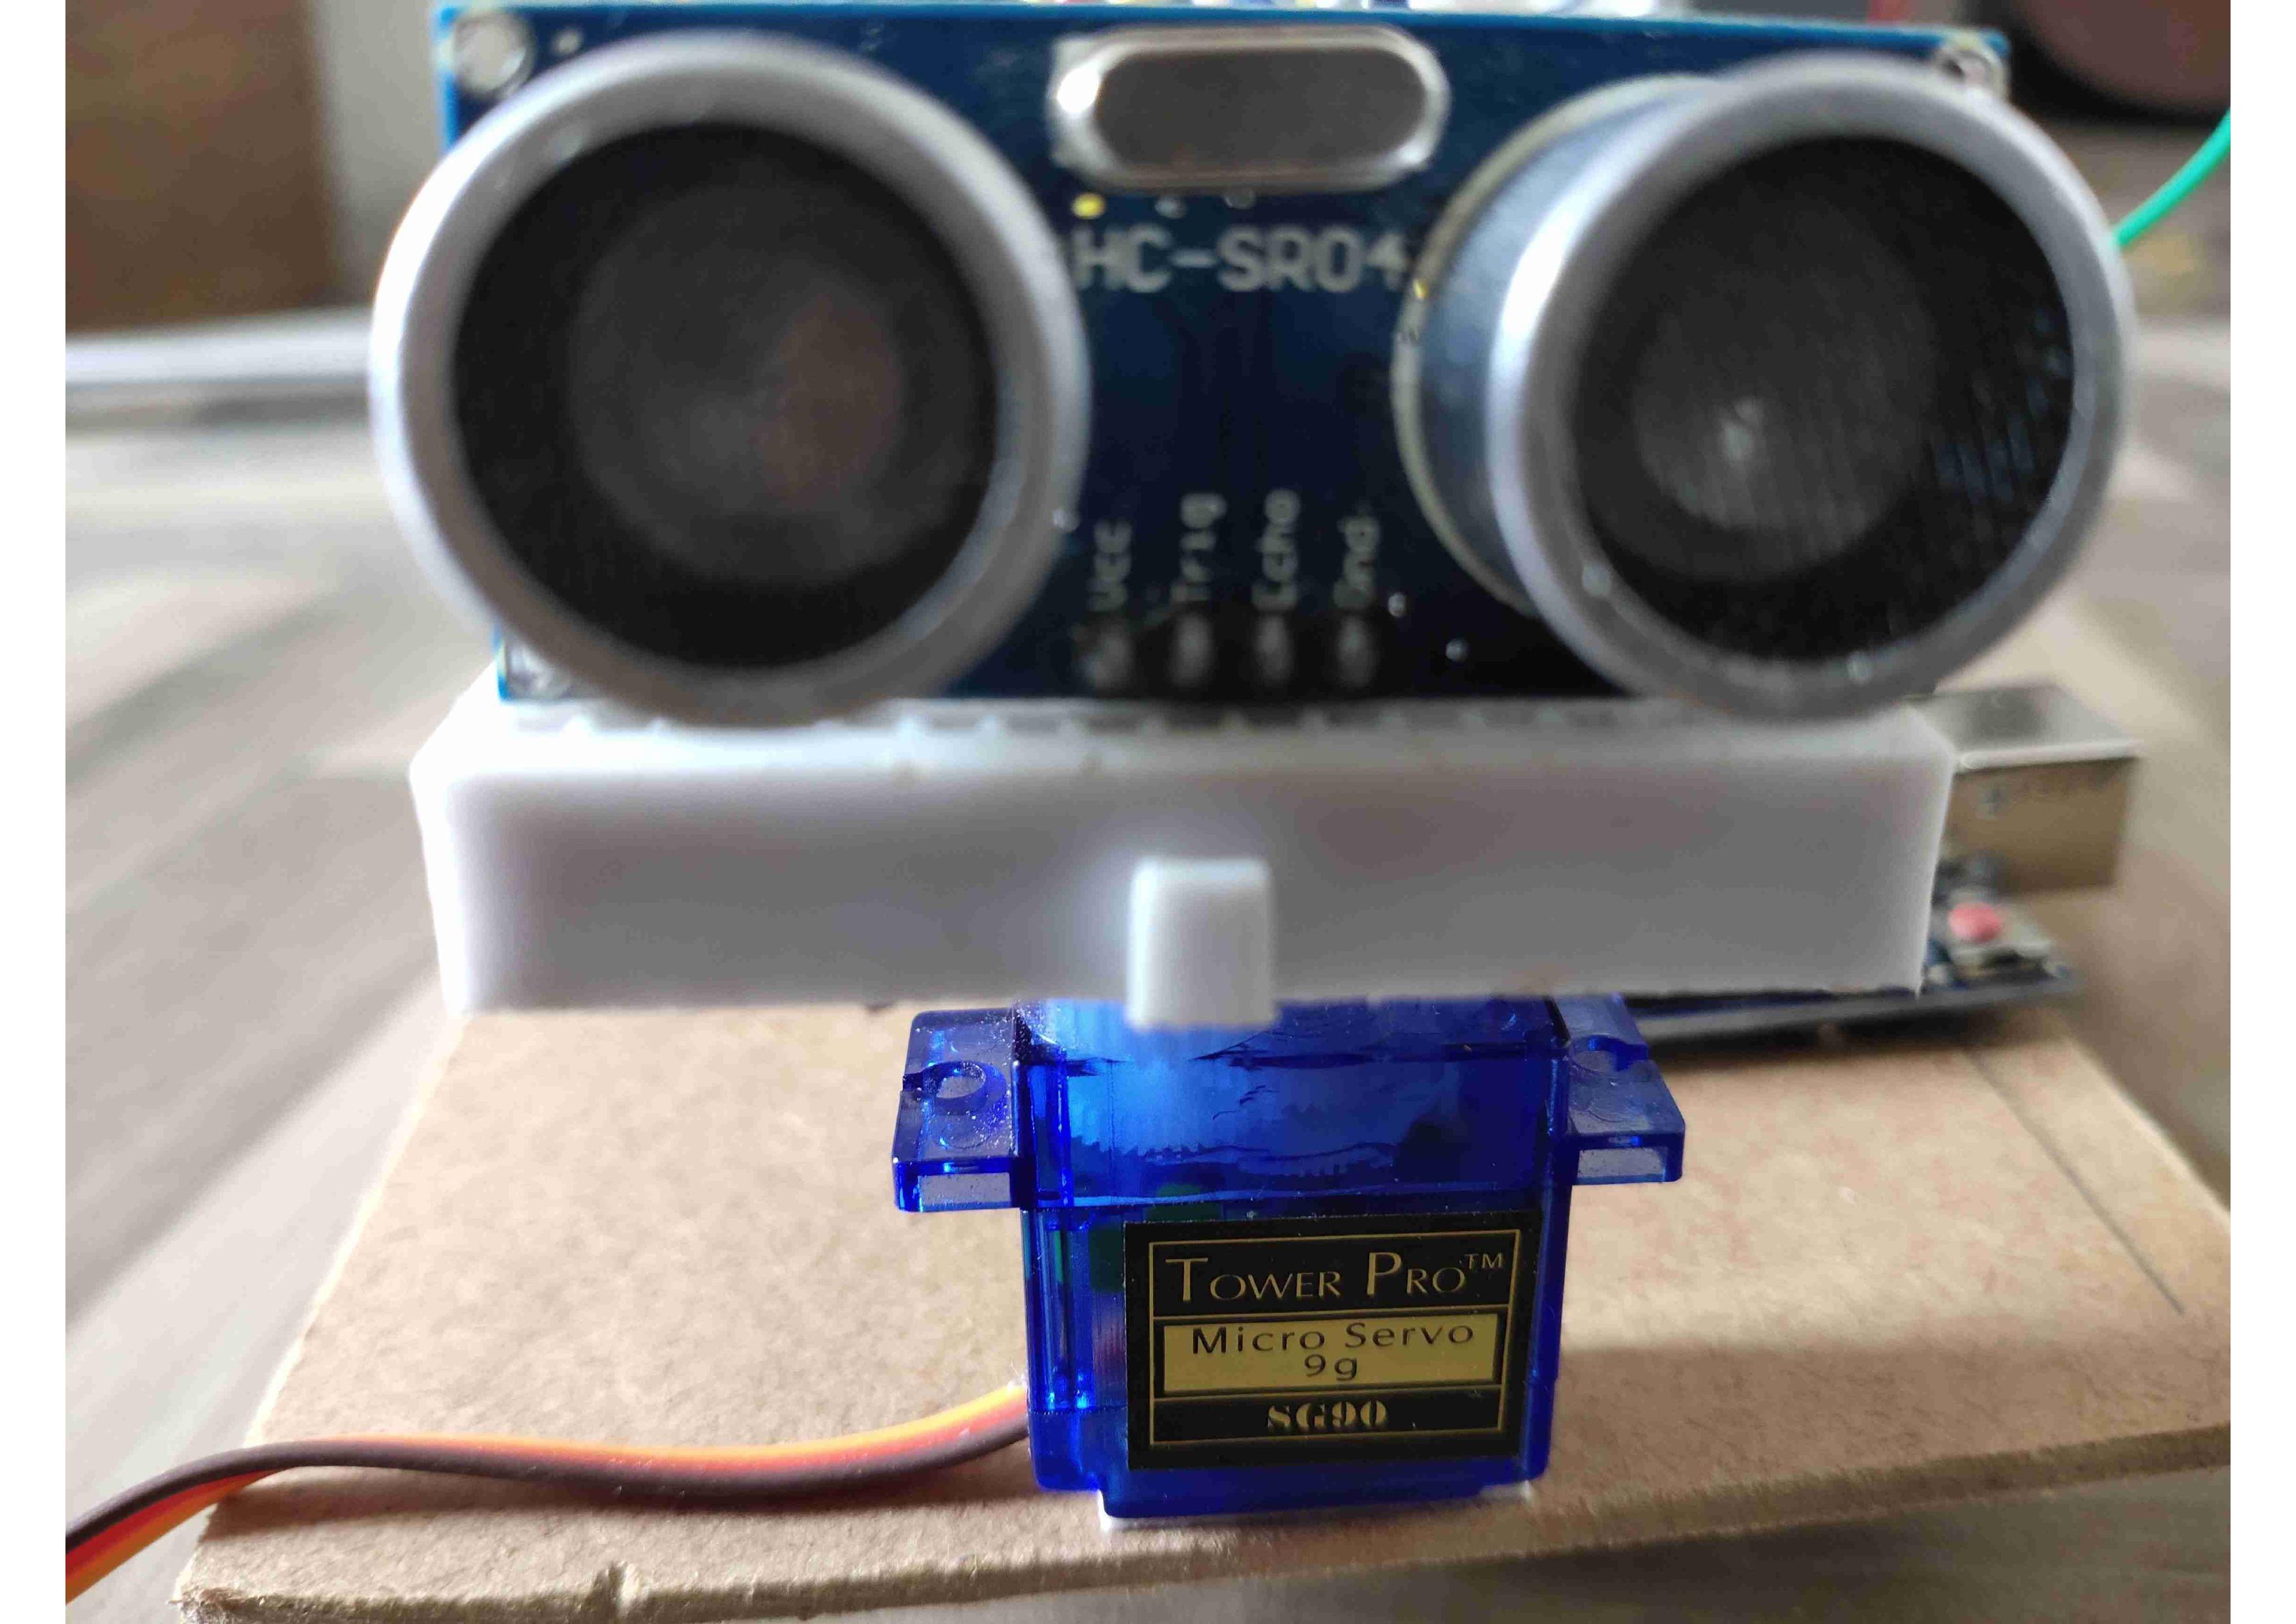
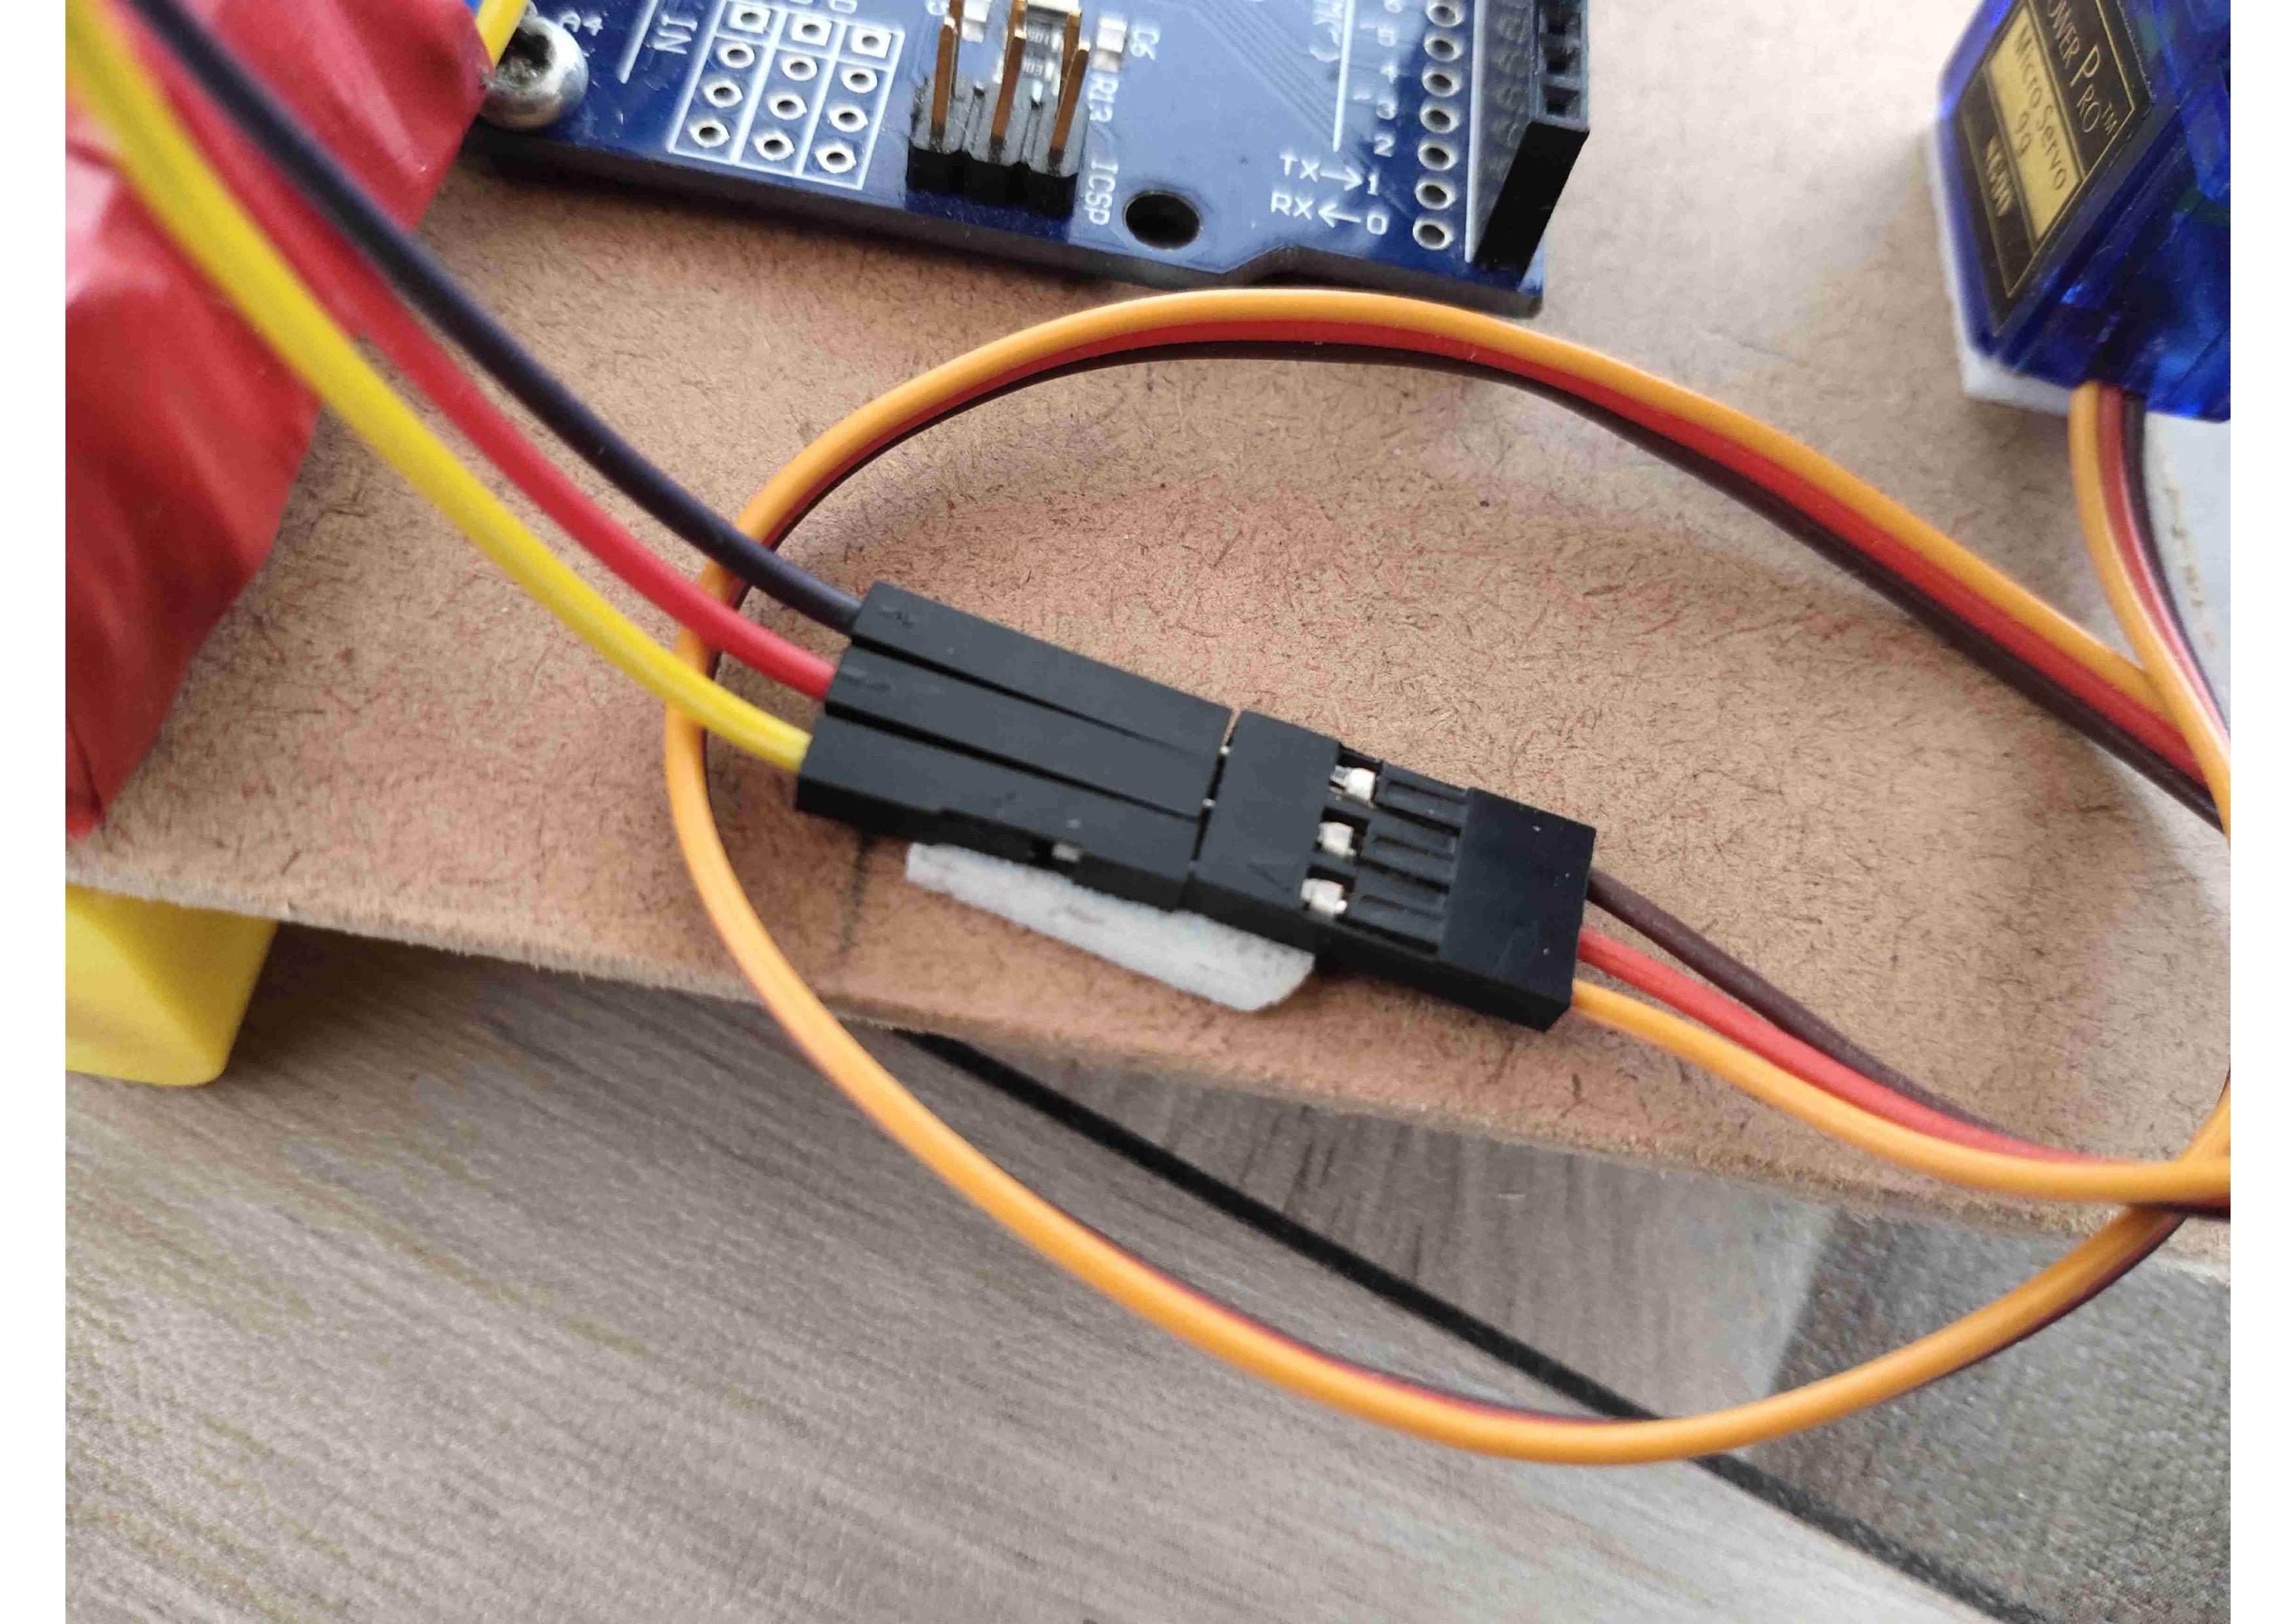
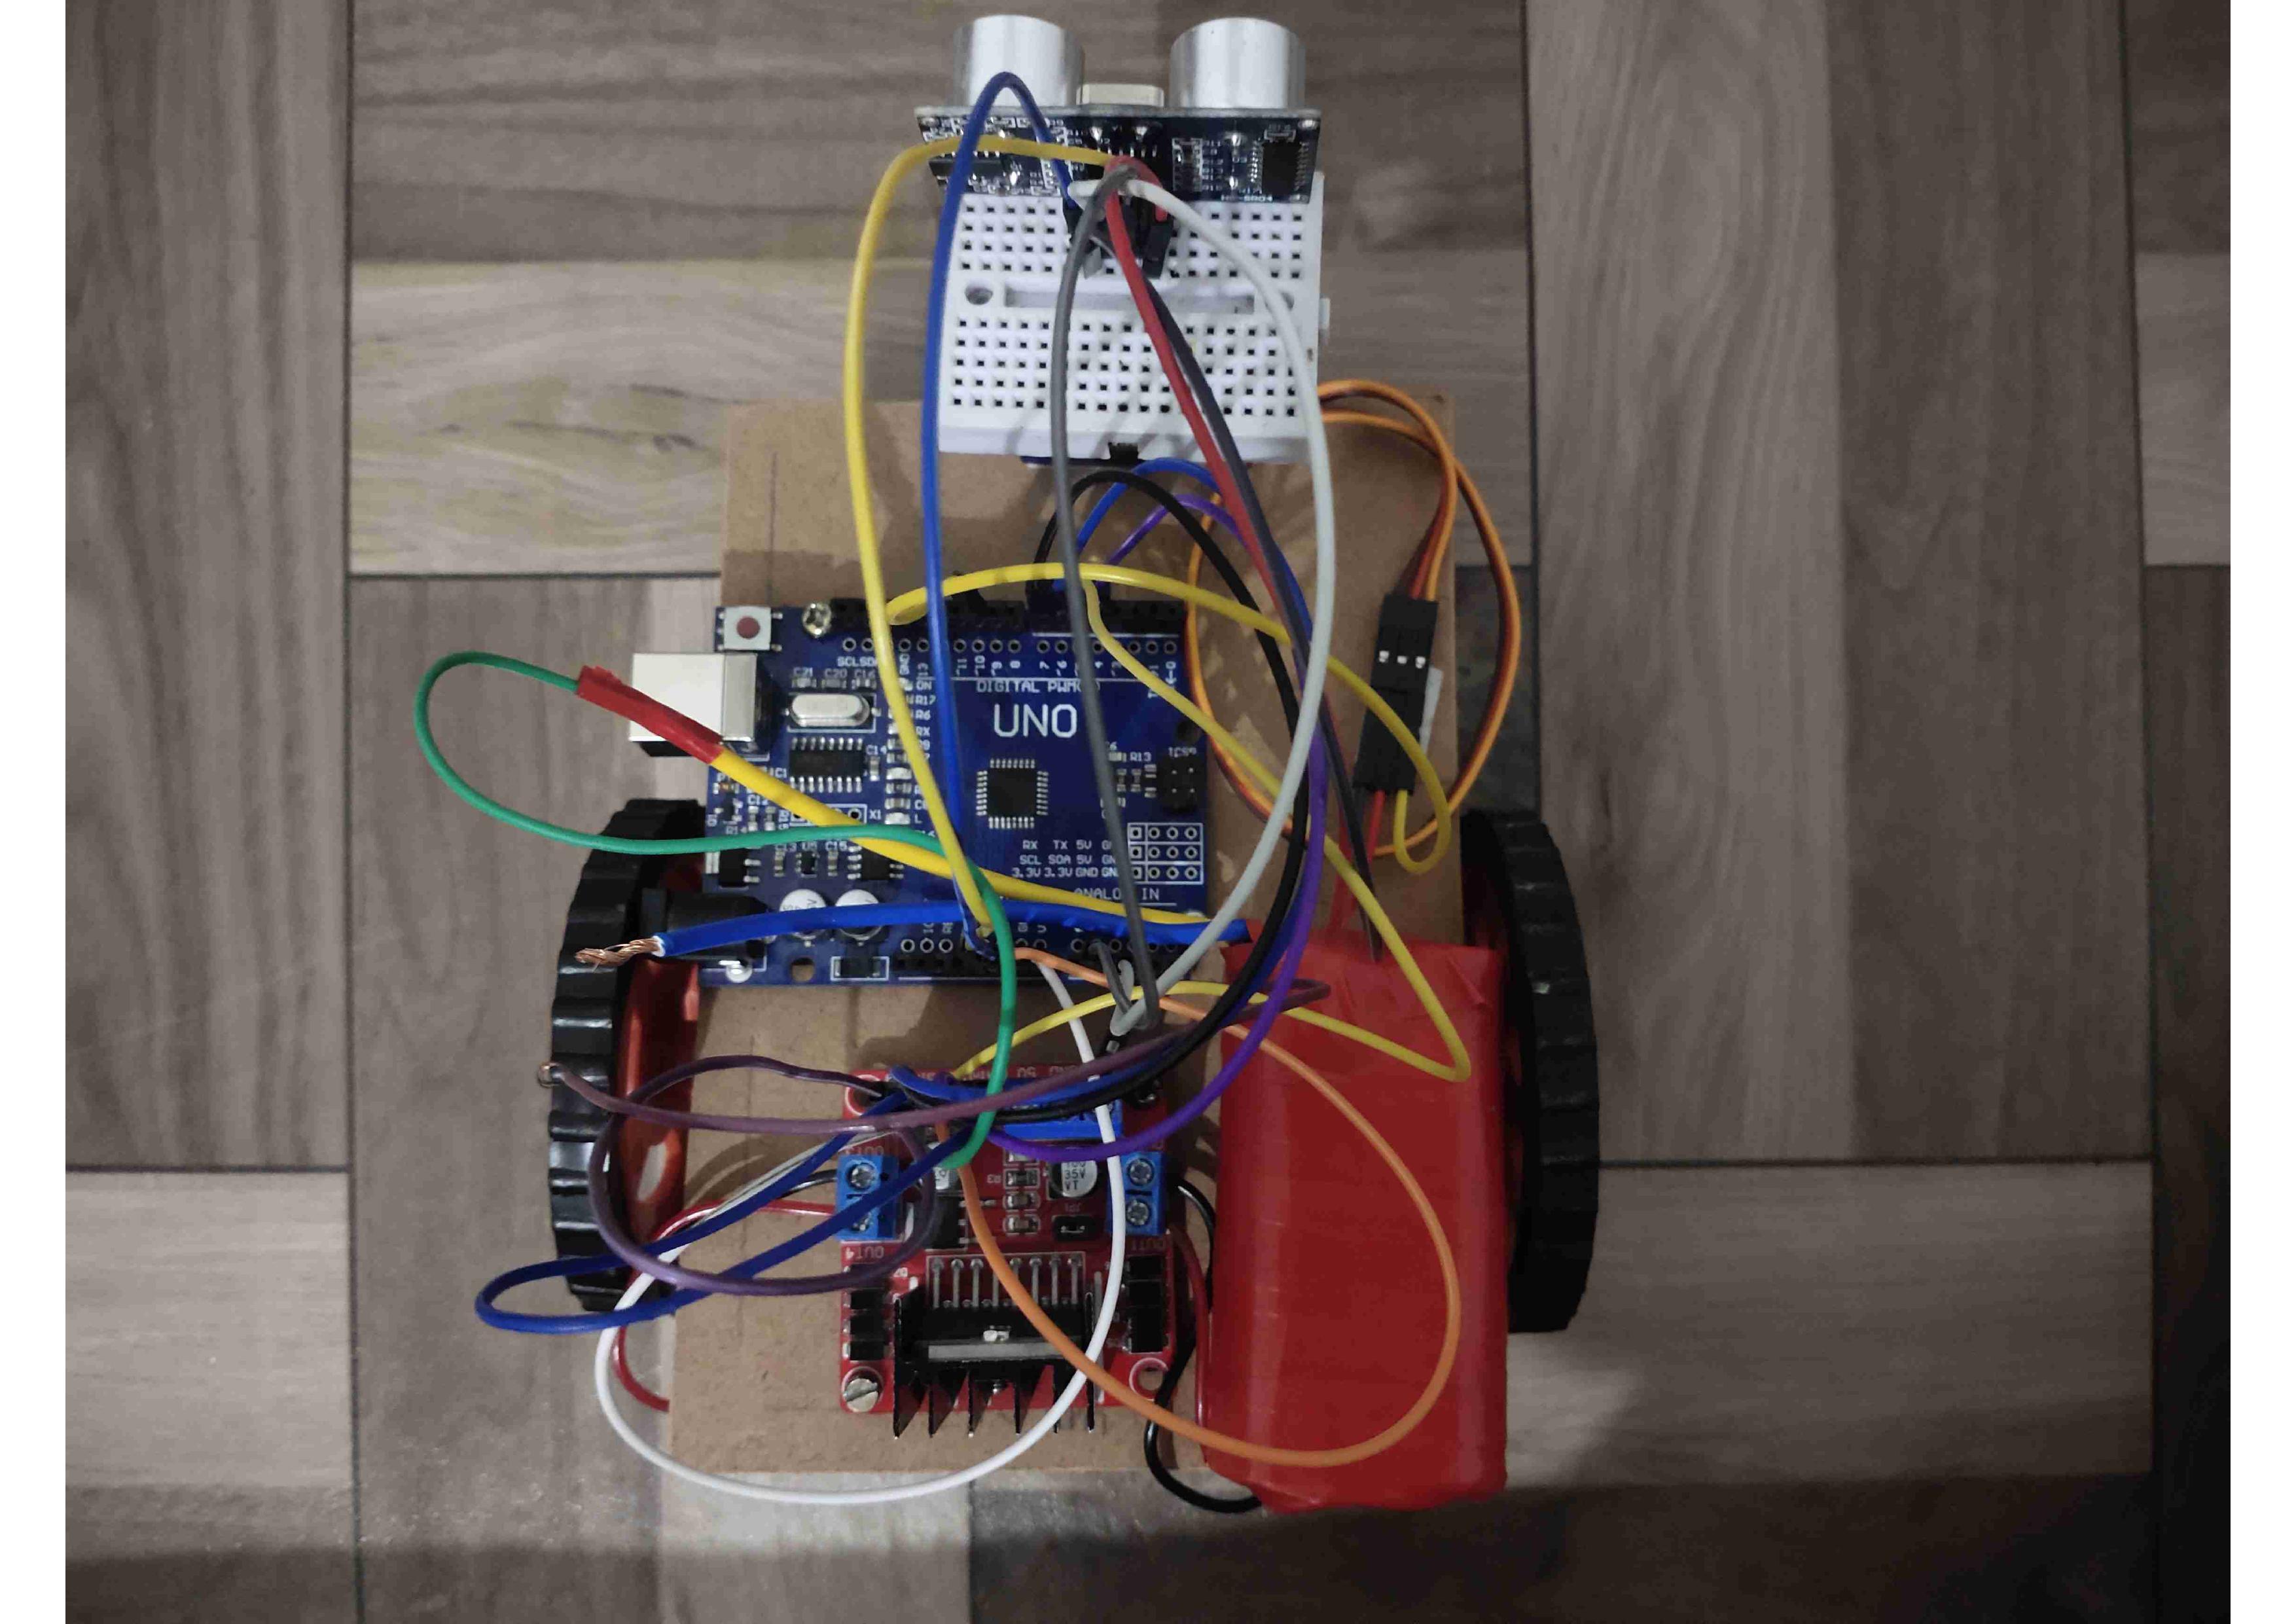
- Connect breadboard to the servo output shaft.
- Connect wheels to the motor.
- Stick the wires to the chassis by double side tape.
Enjoy!! Now your robot is ready to avoid obstacles. Have Fun!