Arduino Obstacle Avoidance Line Follower Robot Projects 2021
by MrElectroUino in Circuits > Arduino
34237 Views, 14 Favorites, 0 Comments
Arduino Obstacle Avoidance Line Follower Robot Projects 2021


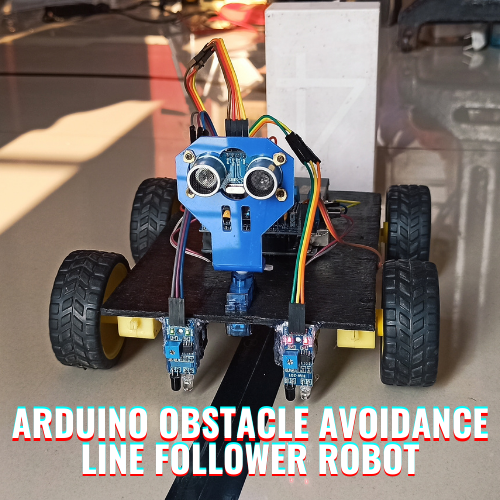
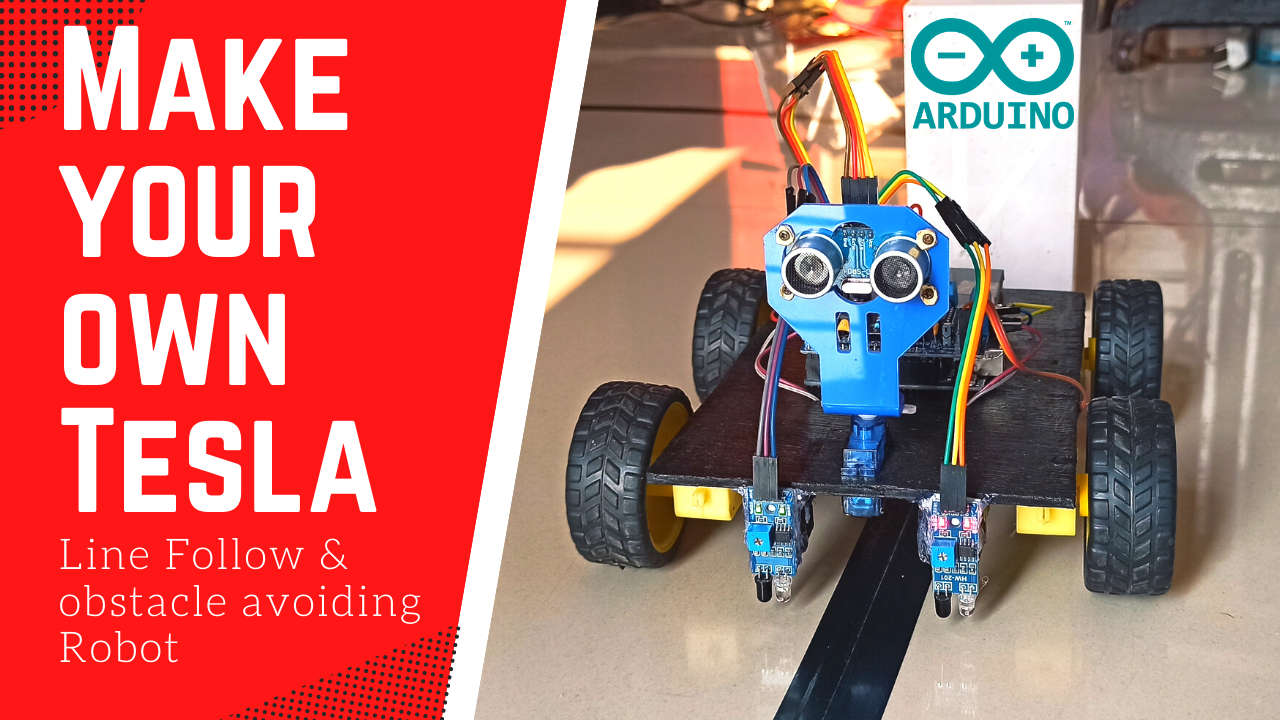
Arduino Projects: I will teach you how to make an obstacle avoidance line follower robot with Arduino. The Arduino smart car robot can follow the line with an IR sensor and obstacle avoidance with an ultrasonic sensor.
Supplies
- Arduino unoultrasonic sensor Hc-sr04 with case to obstacle avoidance.
- 2 x Ir Sensor for tracing the line.
- L293d motor driver shield for controlling the motor.
- Servo motor SG90.
- 4 x Bo motor with wheel.
- Wooden board 20 x 13
- Jumper wire9v battery
Circuit Diagram:

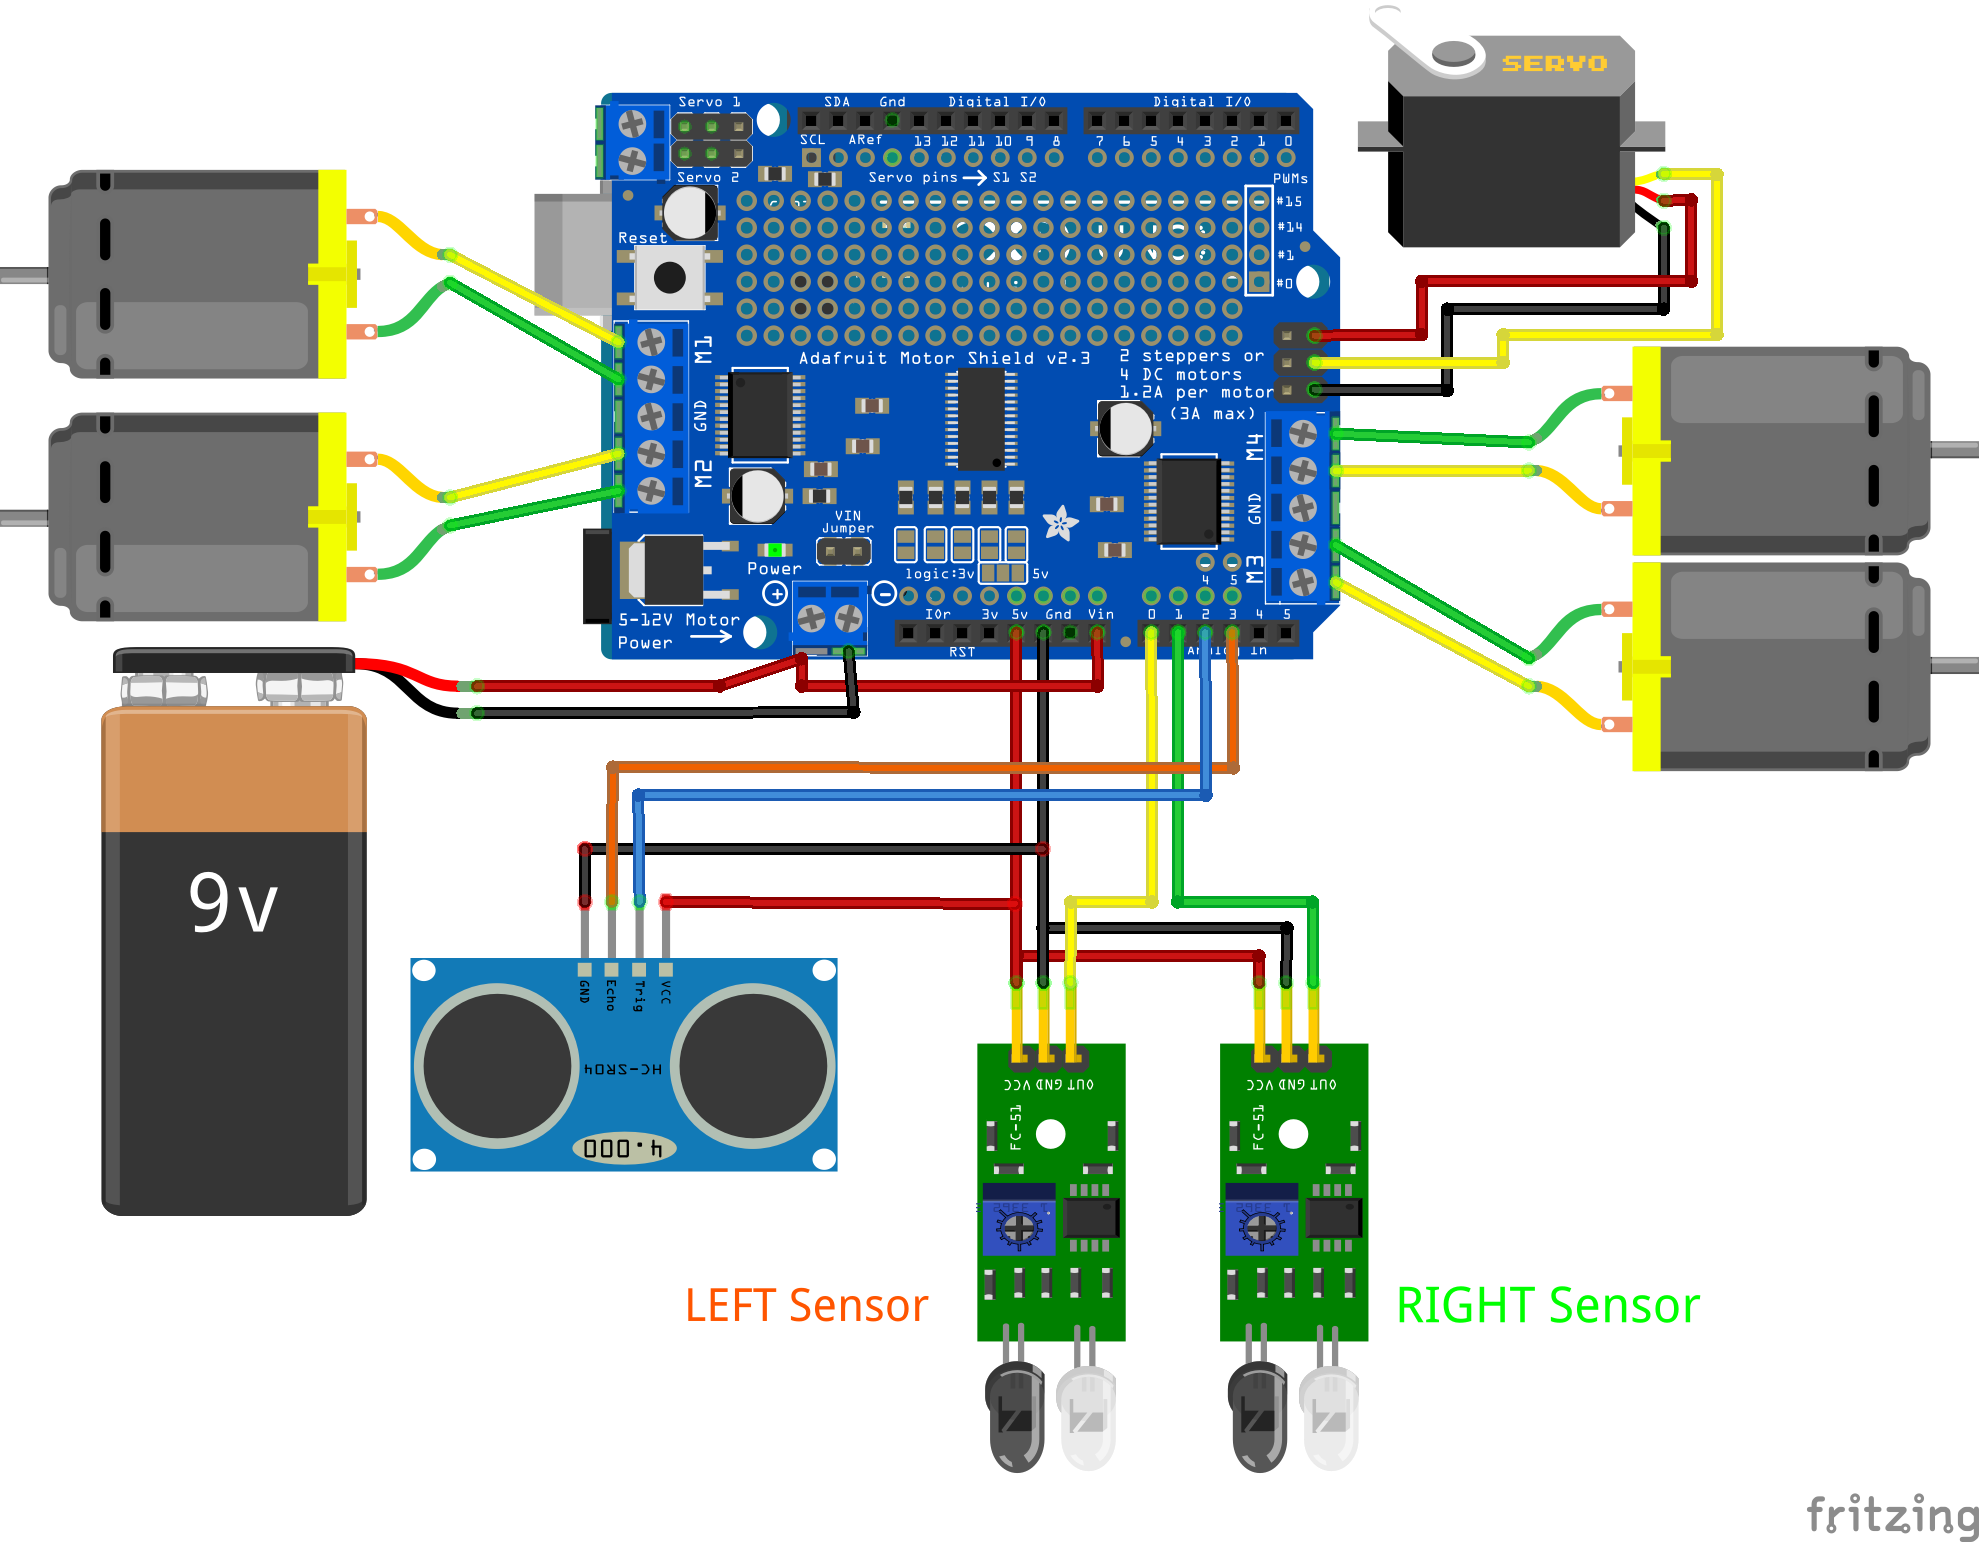
1. First attach a motor driver shield onto the arduino.
2. Now connect the bo motor's to the l293d motor driver shield.
Motor 1 to motor driver M1
- Motor 2 to motor driver M2
- Motor 3 to motor driver M3
- Motor 4 to motor driver M4
3. connect the IR sensor to motor driver.
- IR sensor OUT pin is connected to motor driver A0 pin.
- IR sensor GND pin is connected to motor driver GND pin.
- IR sensor VCC pin is connected to motor driver 5v pin.
Do the same for other IR sensor but make sure that OUT pin is connected to motor driver A1.
4. Connect the servo motor to motor driver servo1 slot.
5. Connect ultrasonic sensor to motor driver.
- Hc-sr04 TRIG pin to motor driver A2.
- Hc-sr04 ECHO pin to motor driver A3.
- Hc-sr04 5v pin to motor driver 5v.
- Hc-sr04 GND pin to motor driver GND.
*There is a mistake in the youtube video for connecting an ultrasonic sensor.
Now after Doing all the connections, it's time to upload the code.
Connect the Arduino uno to pc via USB cable and open the Arduino IDE, select the Arduino board, and com port from the tool menu after that upload the given code.
Coding for Arduino Obstacle Avoidance Line Follower Robot 2021
#include <NewPing.h>#include <Servo.h>#include <AFMotor.h>//hc-sr04 sensor#define TRIGGER_PIN A2#define ECHO_PIN A3#define max_distance 50//ir sensor#define irLeft A0#define irRight A1//motor#define MAX_SPEED 200#define MAX_SPEED_OFFSET 20Servo servo;NewPing sonar(TRIGGER_PIN, ECHO_PIN, max_distance);AF_DCMotor motor1(1, MOTOR12_1KHZ);AF_DCMotor motor2(2, MOTOR12_1KHZ);AF_DCMotor motor3(3, MOTOR34_1KHZ);AF_DCMotor motor4(4, MOTOR34_1KHZ);int distance = 0;int leftDistance;int rightDistance;boolean object;void setup() {Serial.begin(9600);pinMode(irLeft, INPUT);pinMode(irRight, INPUT);servo.attach(10);servo.write(90);motor1.setSpeed(120);motor2.setSpeed(120);motor3.setSpeed(120);motor4.setSpeed(120);}void loop() {if (digitalRead(irLeft) == 0 && digitalRead(irRight) == 0 ) {objectAvoid();//forword}else if (digitalRead(irLeft) == 0 && digitalRead(irRight) == 1 ) {objectAvoid();Serial.println("TL");//leftturnmoveLeft();}else if (digitalRead(irLeft) == 1 && digitalRead(irRight) == 0 ) {objectAvoid();Serial.println("TR");//rightturnmoveRight();}else if (digitalRead(irLeft) == 1 && digitalRead(irRight) == 1 ) {//StopStop();}}void objectAvoid() {distance = getDistance();if (distance <= 15) {//stopStop();Serial.println("Stop");lookLeft();lookRight();delay(100);if (rightDistance <= leftDistance) {//leftobject = true;turn();Serial.println("moveLeft");} else {//rightobject = false;turn();Serial.println("moveRight");}delay(100);}else {//forwordSerial.println("moveforword");moveForward();}}int getDistance() {delay(50);int cm = sonar.ping_cm();if (cm == 0) {cm = 100;}return cm;}int lookLeft () {//lock leftservo.write(150);delay(500);leftDistance = getDistance();delay(100);servo.write(90);Serial.print("Left:");Serial.print(leftDistance);return leftDistance;delay(100);}int lookRight() {//lock rightservo.write(30);delay(500);rightDistance = getDistance();delay(100);servo.write(90);Serial.print(" ");Serial.print("Right:");Serial.println(rightDistance);return rightDistance;delay(100);}void Stop() {motor1.run(RELEASE);motor2.run(RELEASE);motor3.run(RELEASE);motor4.run(RELEASE);}void moveForward() {motor1.run(FORWARD);motor2.run(FORWARD);motor3.run(FORWARD);motor4.run(FORWARD);}void moveBackward() {motor1.run(BACKWARD);motor2.run(BACKWARD);motor3.run(BACKWARD);motor4.run(BACKWARD);}void turn() {if (object == false) {Serial.println("turn Right");moveLeft();delay(700);moveForward();delay(800);moveRight();delay(900);if (digitalRead(irRight) == 1) {loop();} else {moveForward();}}else {Serial.println("turn left");moveRight();delay(700);moveForward();delay(800);moveLeft();delay(900);if (digitalRead(irLeft) == 1) {loop();} else {moveForward();}}}void moveRight() {motor1.run(BACKWARD);motor2.run(BACKWARD);motor3.run(FORWARD);motor4.run(FORWARD);}void moveLeft() {motor1.run(FORWARD);motor2.run(FORWARD);motor3.run(BACKWARD);motor4.run(BACKWARD);}
Watch This Video:

After the code was successfully uploaded.
You need to do two thing.
1. Check the motor running direction.
2. Calibrating the both IR sensor by rotating it potentiometer for tracking the black line watch the video if you getting any problem.
3. Connect the 9v battery and enjoy the Arduino obstacle avoidance line follower robot car.
Subscribe Us on Youtube:
If you like the projects keep support me by subscribing to youtube channel, like, share and comment any doubt.
Have a great day😇.....!
Topic :)
arduino self driving car 2021 arduino obstacle avoiding car arduino line follower with obstacle avoidance code arduino line follow robot 2021 arduino make your own tesla