Arduino OLED Clock Project Using DS1307 IC
by electronicGURU in Circuits > Arduino
1945 Views, 0 Favorites, 0 Comments
Arduino OLED Clock Project Using DS1307 IC

In this instructables we gonna learn how to make a digital clock using arduino , oled Display & ds1307 clock ic, so let's get started.
Gather Your Components
.jpg)
BUY PARTS :
BUY oled display:
https://www.utsource.net/itm/p/8673610.html
BUY DS1307:
https://www.utsource.net/itm/p/267251.html
BUY ARDUINO UNO:
https://www.utsource.net/itm/p/7199843.html
BUY ATMEGA328:
https://www.utsource.net/itm/p/6464453.html
/////////////////////////////////////////////////////////
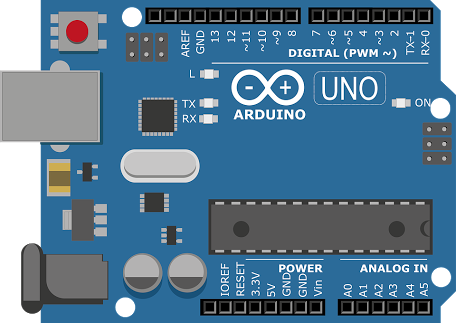
so to make this clock we gonna need few components & they are as given below :-
Items you'll need :- (affiliate links)-
Arduino Uno -https://www.banggood.com/UNO-R3-ATmega16U2-AVR-Module-Board-For-Arduino-Without-USB-Cable-p-1044808.html?p=LU070313923481201709
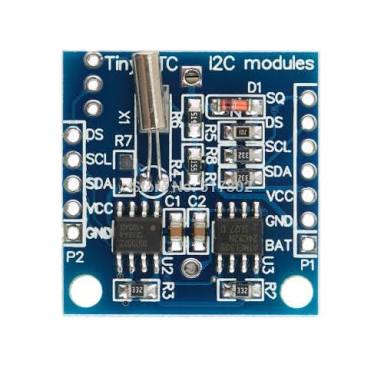
Clock Module DS1307 - https://www.banggood.com/Tiny-RTC-I2C-AT24C32-DS1...
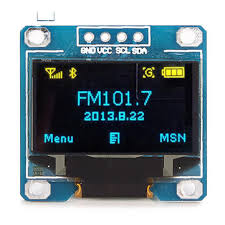
OLED DIsplay - https://www.banggood.com/1_3-Inch-4Pin-White-OLED...
https://www.banggood.com/0_96-Inch-4Pin-Blue-IIC-I...
https://www.banggood.com/3Pcs-Geekcreit-0_96-Inch-...
ATmega 328 - https://www.banggood.com/3Pcs-DIP28-ATmega328P-PU...
https://www.banggood.com/DIP28-ATmega328PPU-MCU-IC...
DS 1307 ic
https://www.amazon.com/5PCS-DS1307-SERIAL-512K-8-D...
- https://www.amazon.com/5PCS-DS1307-SERIAL-512K-8-...
/B019NCEZS8
https://www.amazon.in/gp/aw/d/B075Z3BH4G/ref=mp_s_...
-
1 - 32khz crystal oscillator
1- 16mhz crystal oscillator
2- 22pF capacitor
1- 100nF capacitor
2- 10k resistor
Some male female pin headers
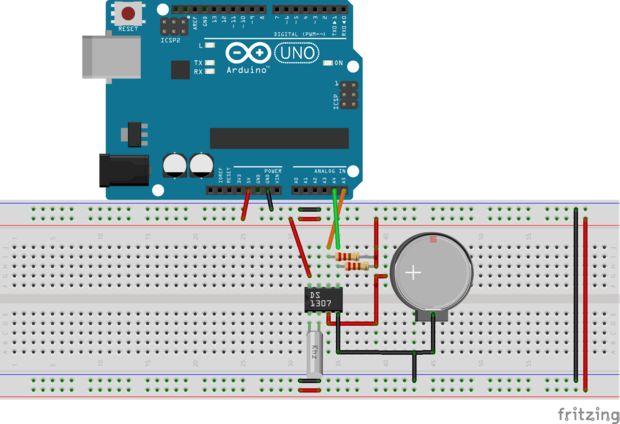
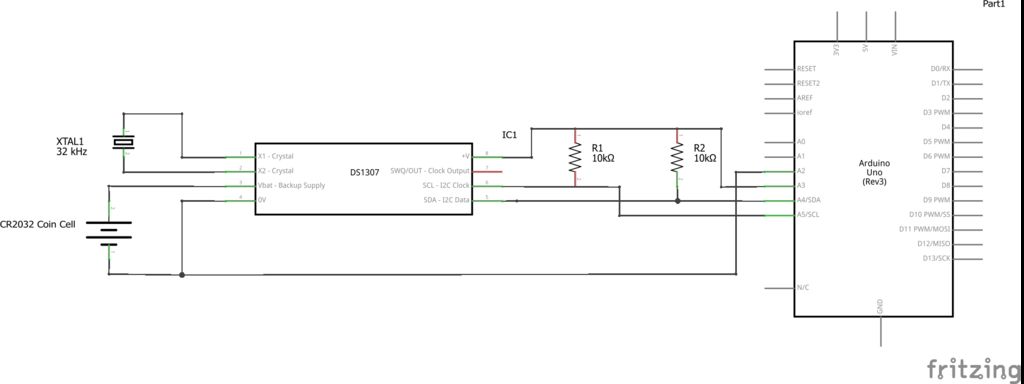
Test the Circuit
.jpg)
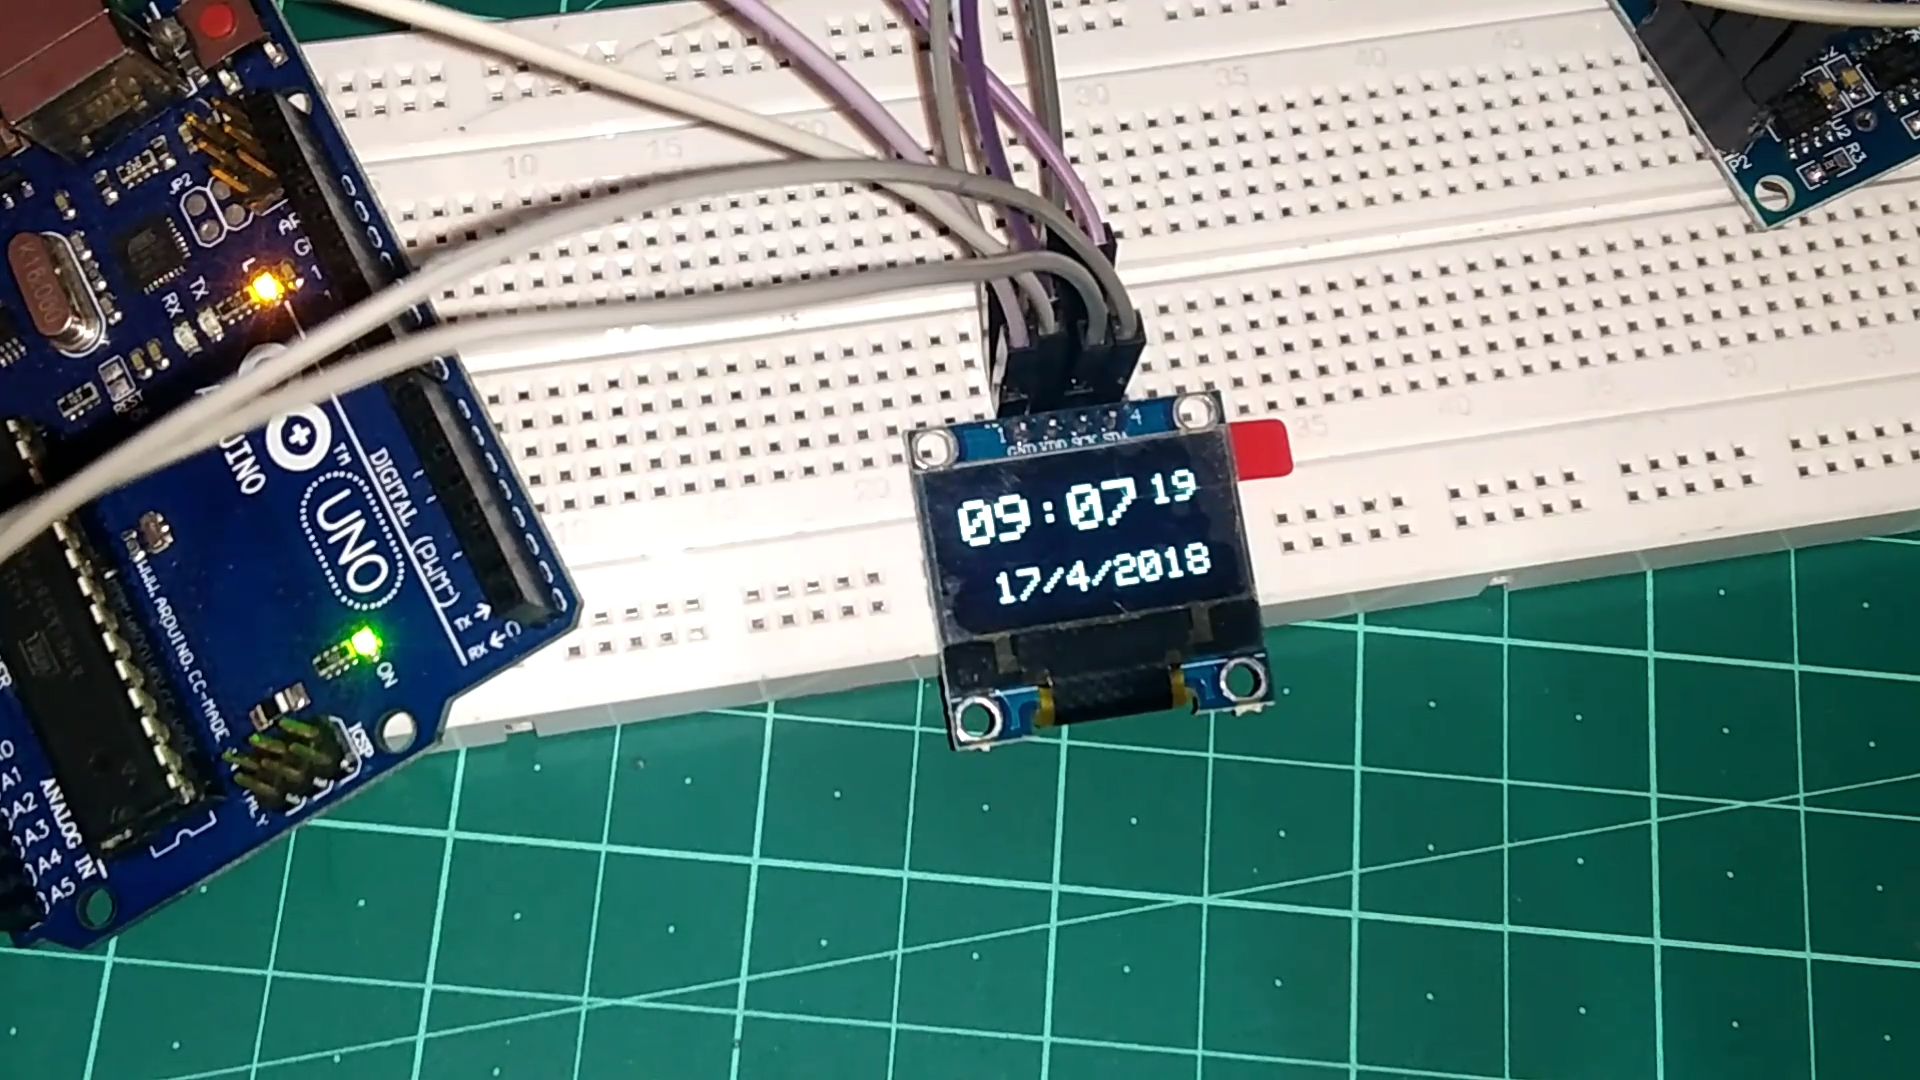
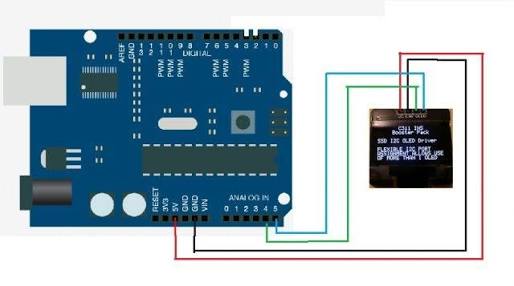
Now connect display & clock to the arduino according to schmatics & then run set time code from "DS 1307 RTC" library (make sure you installed it) then upload this given oled_clk code to the arduino & if everything is correct you'll get your clock on display.
Refer video for help.
Downloads
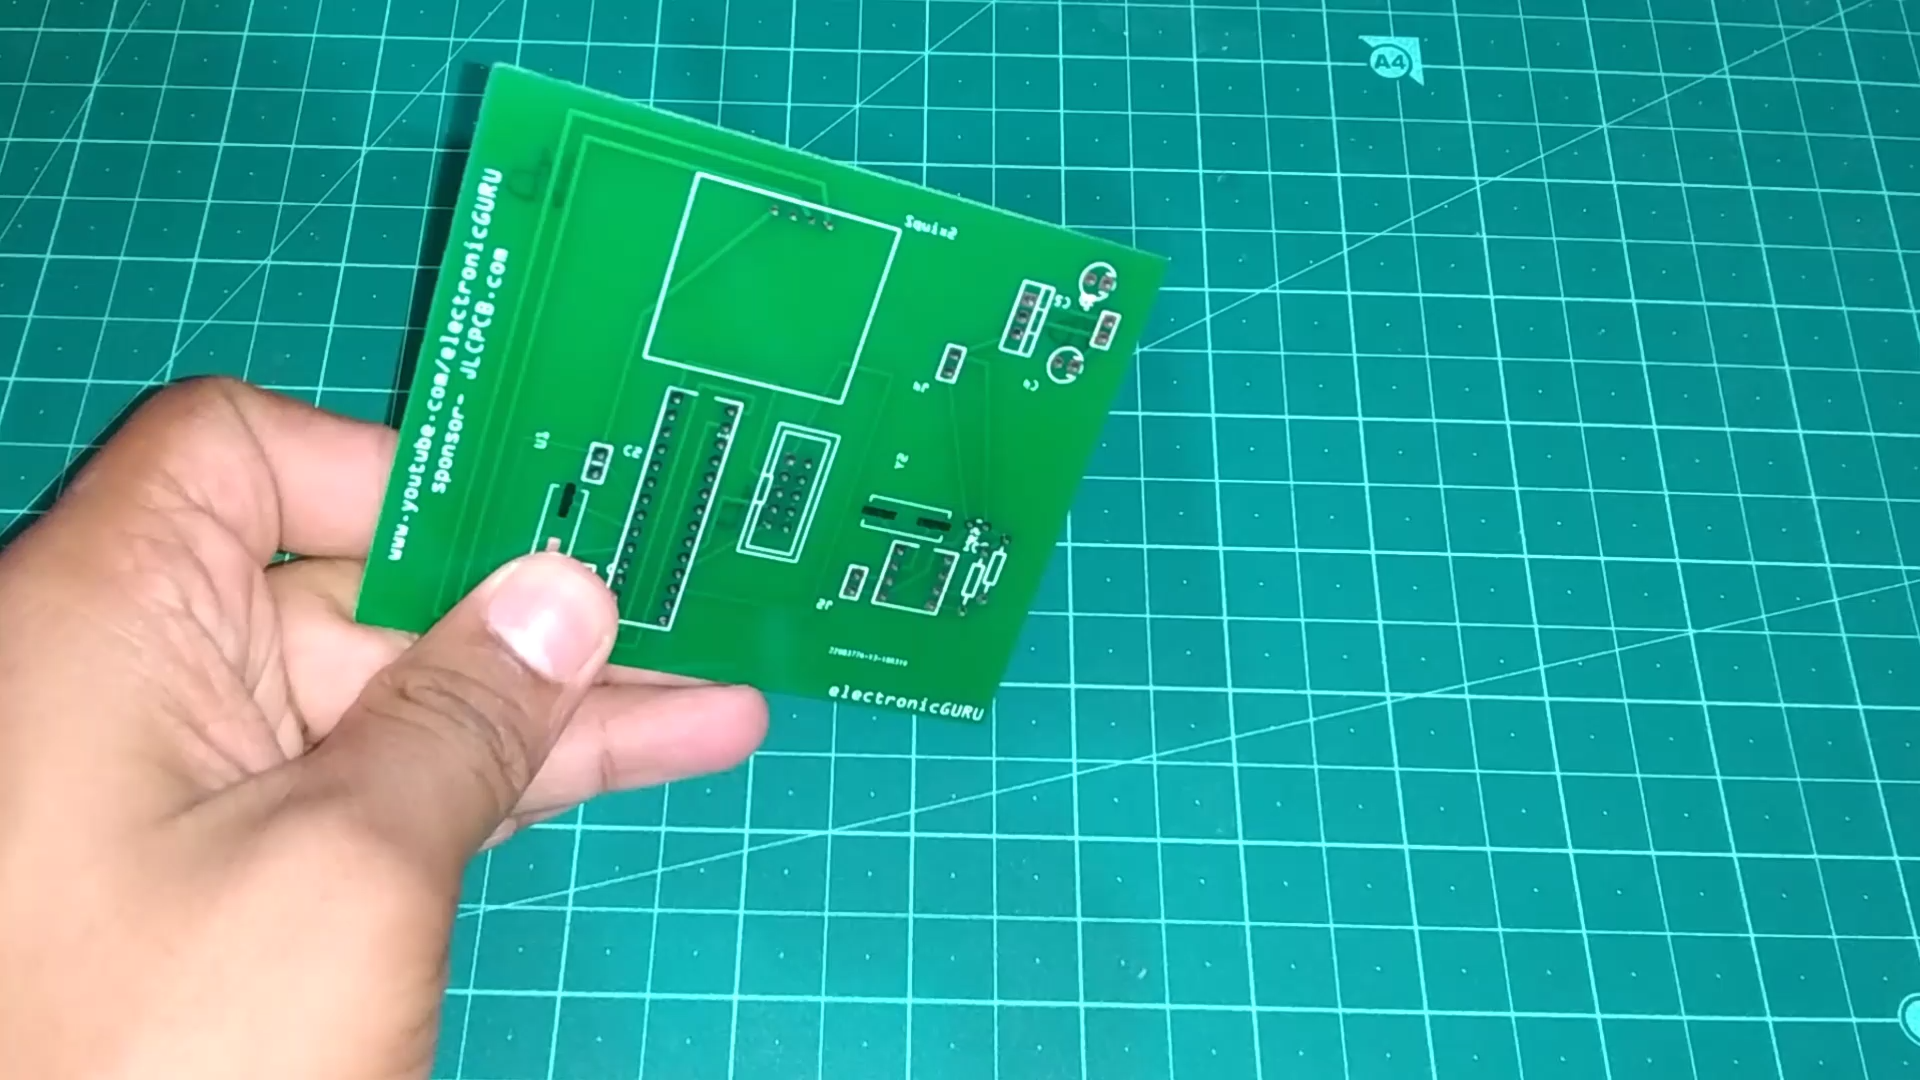
Design Your Own PCB
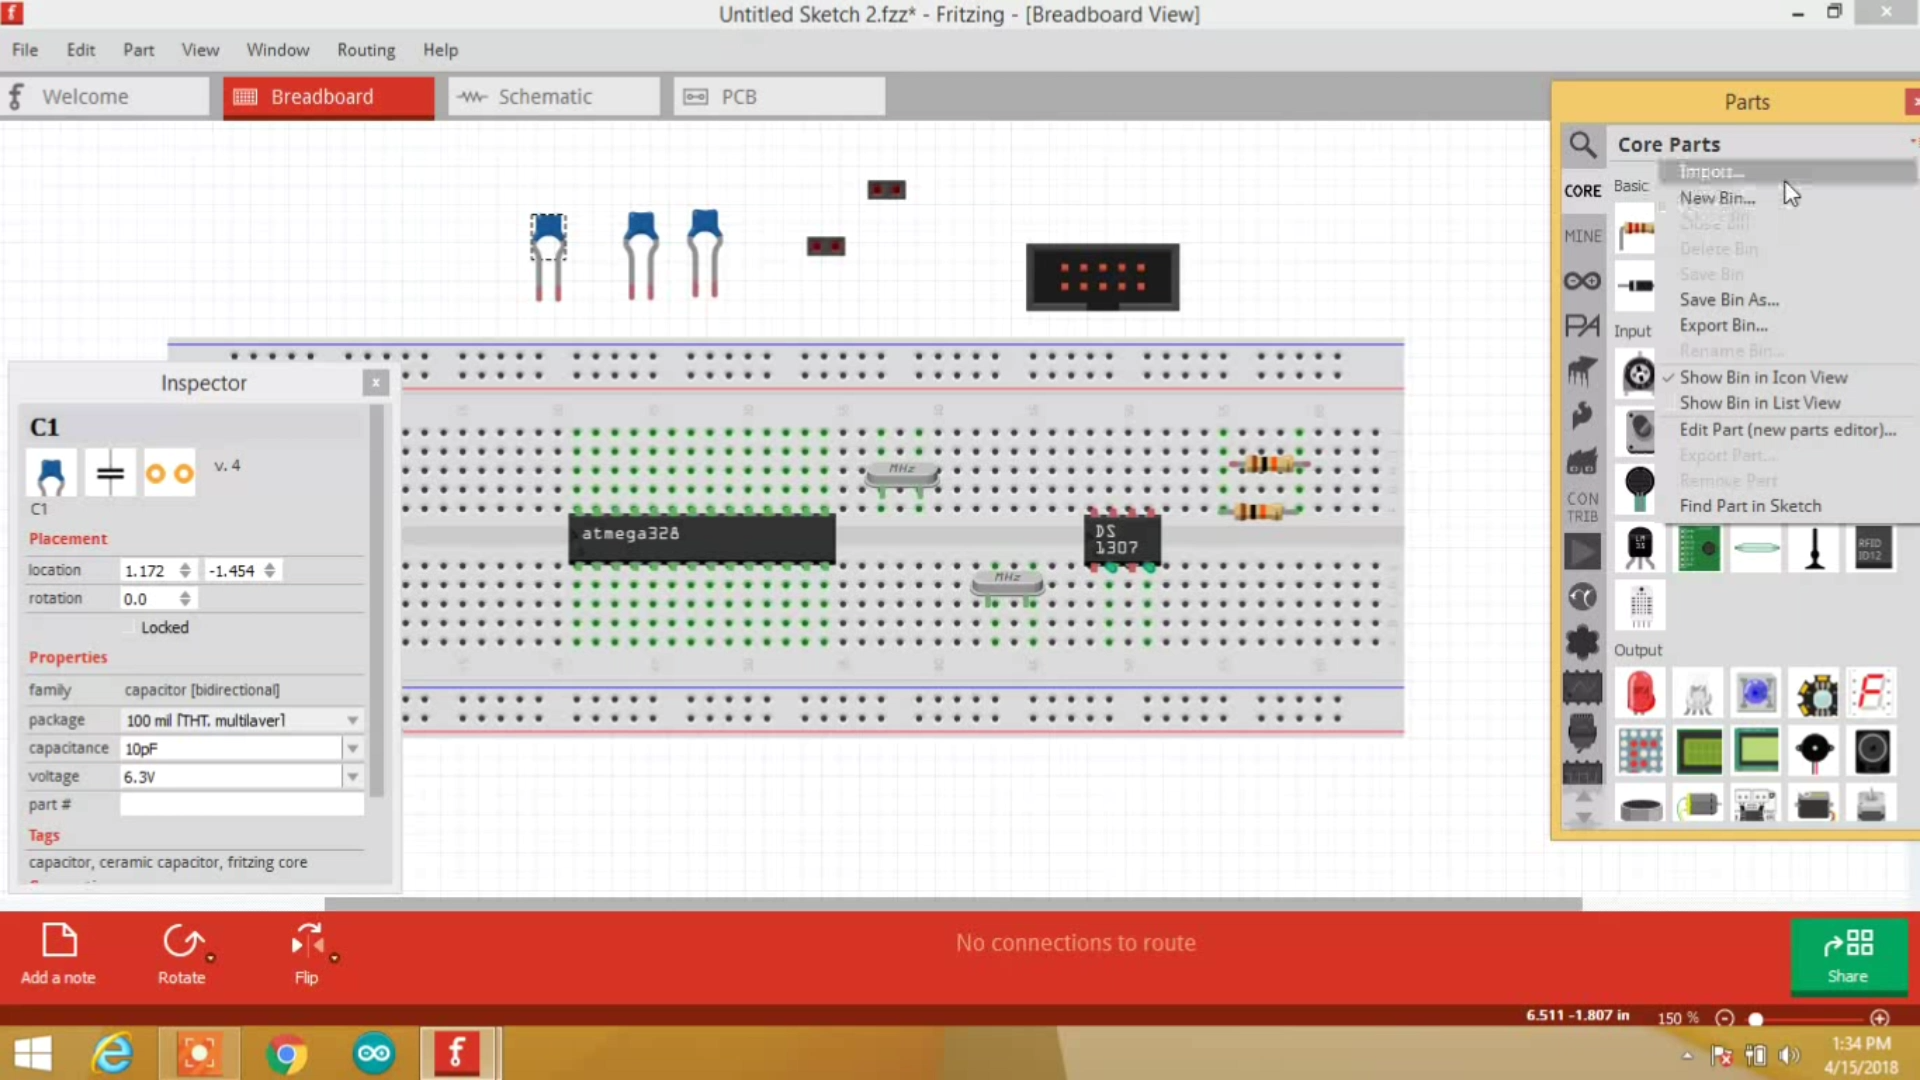
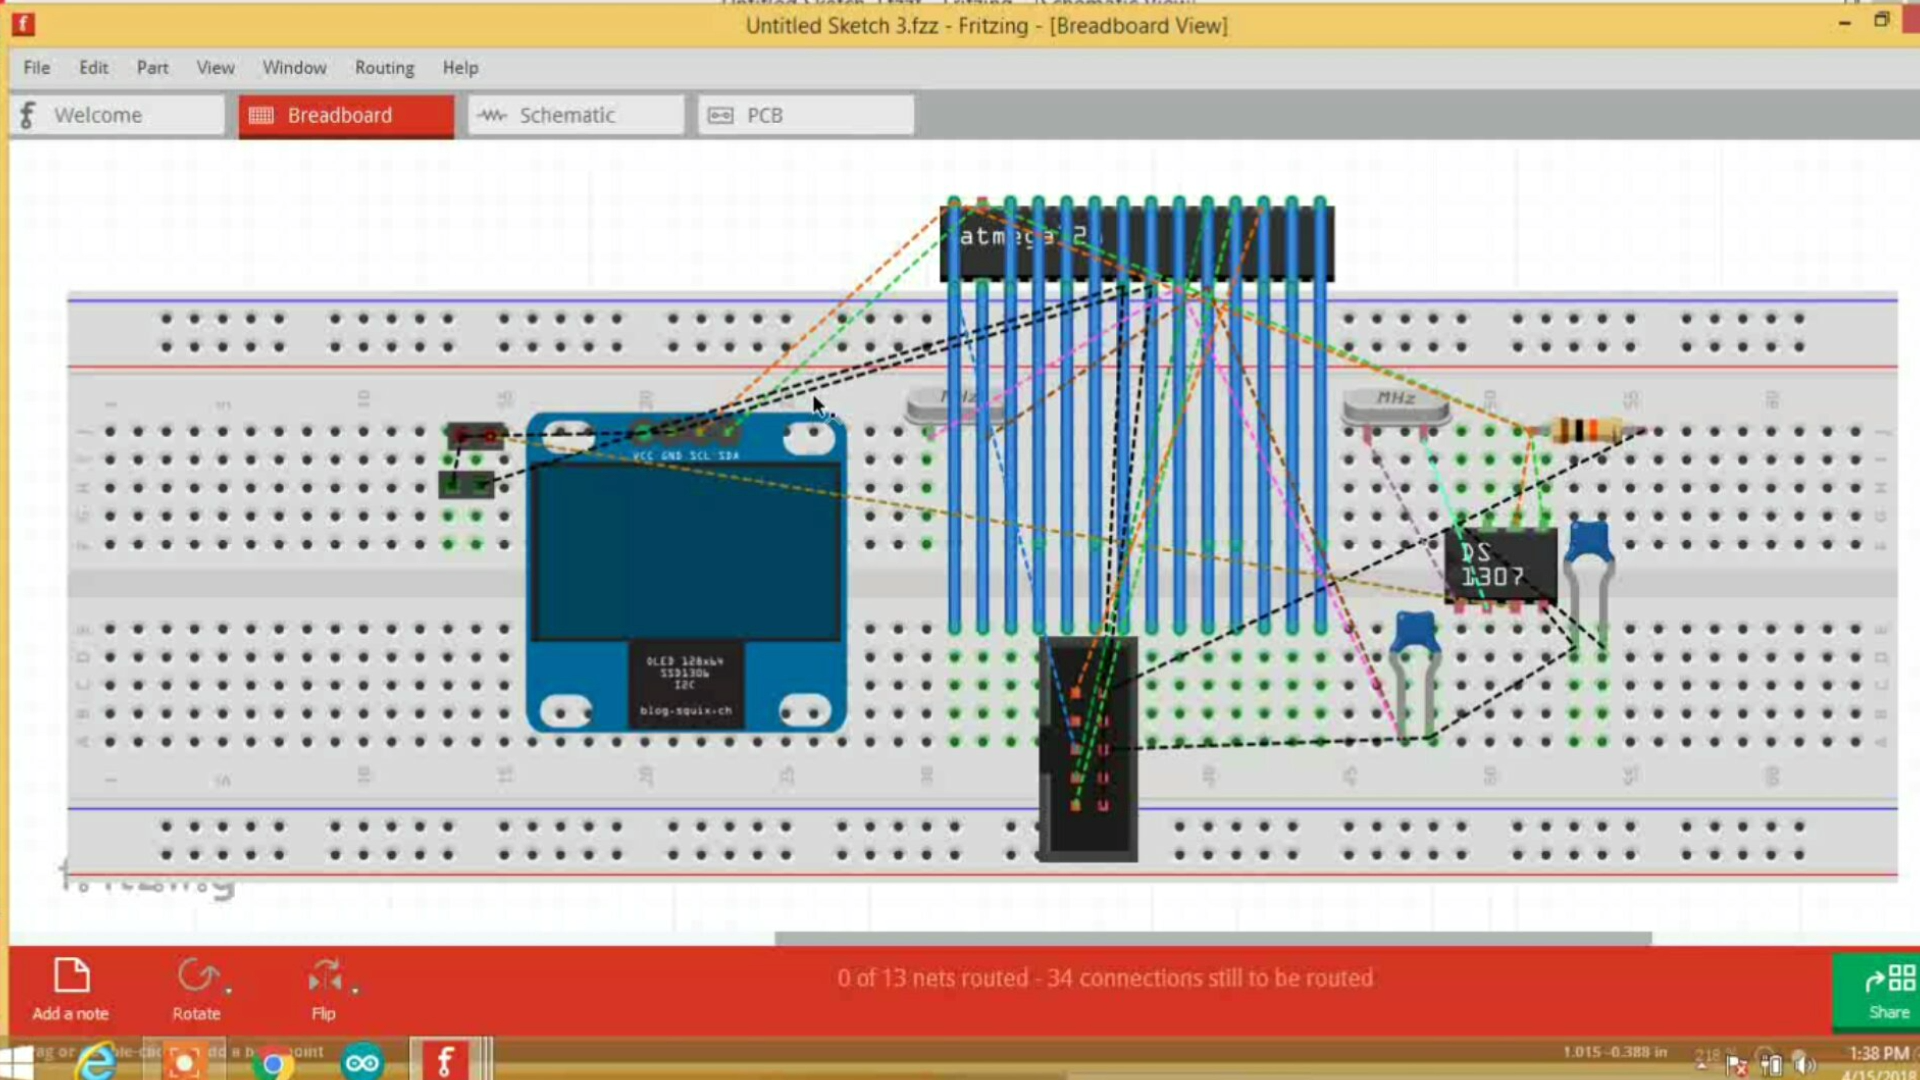
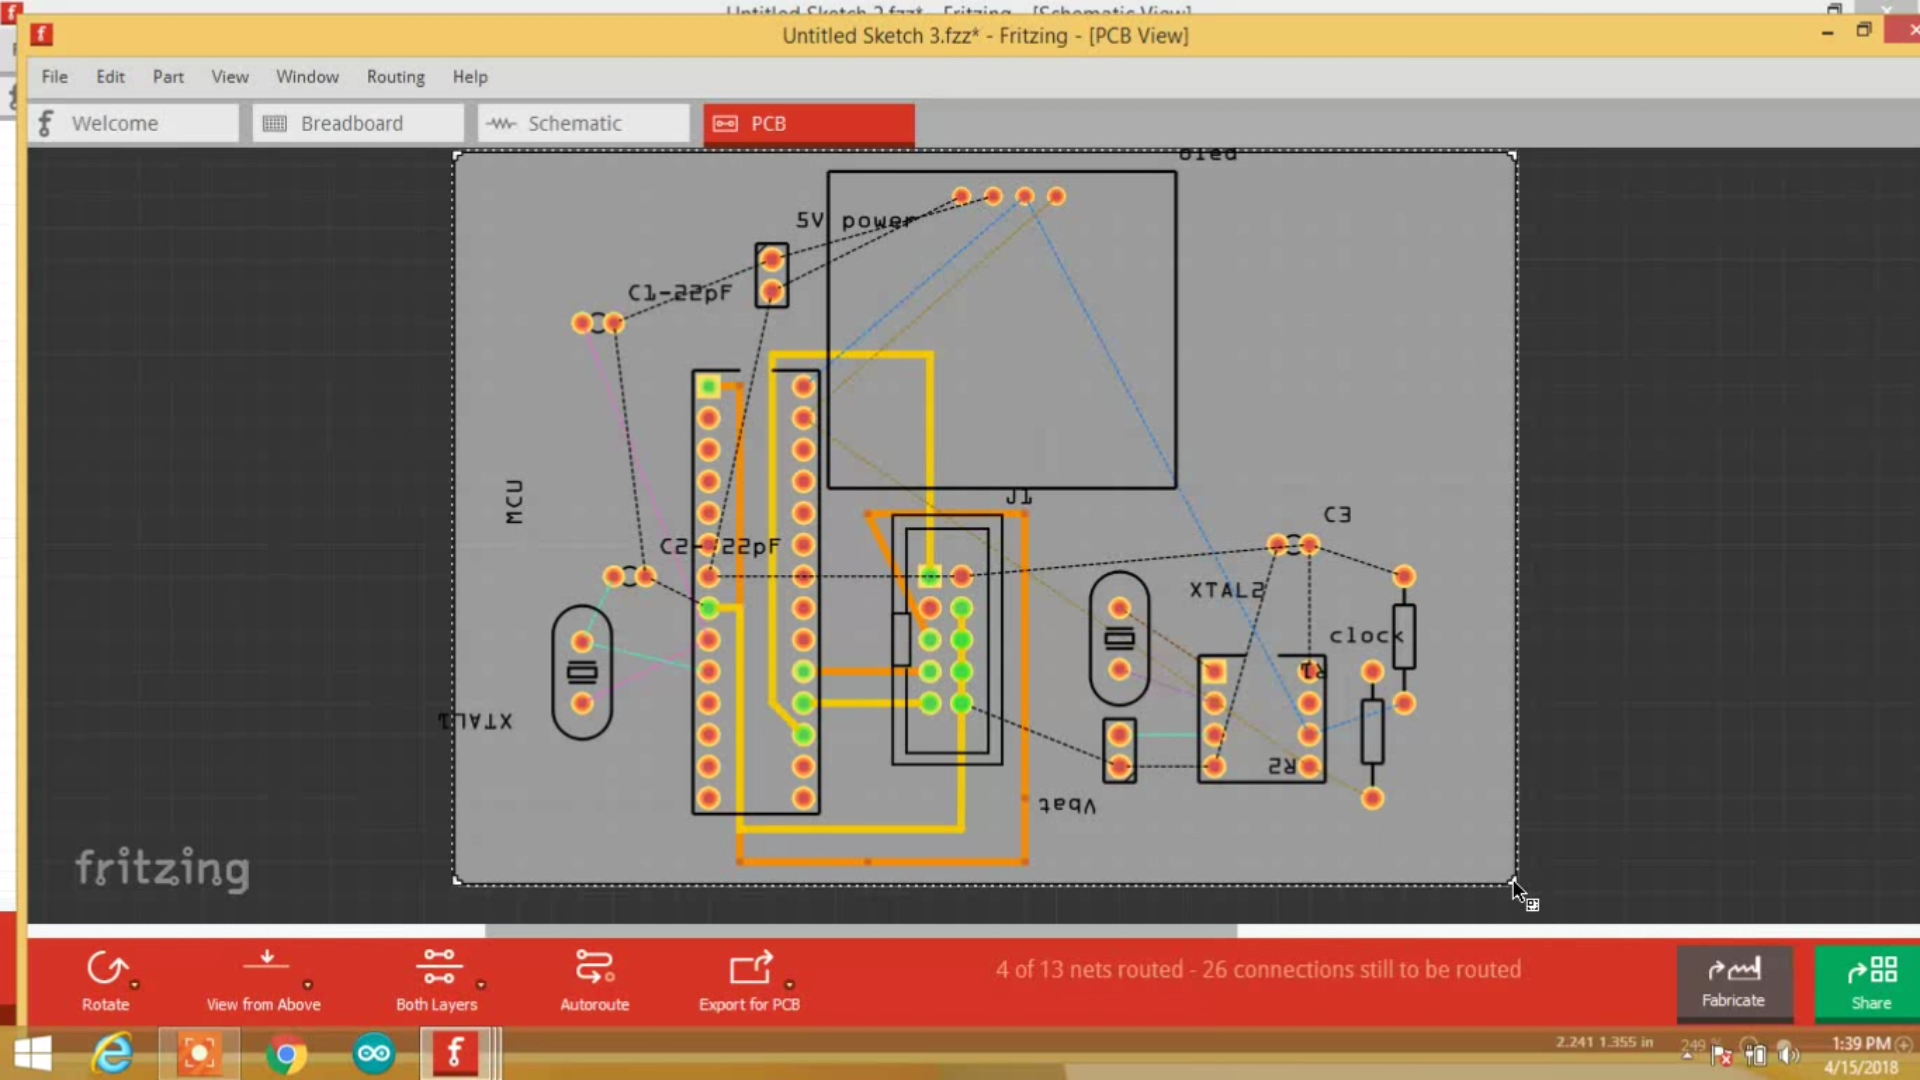
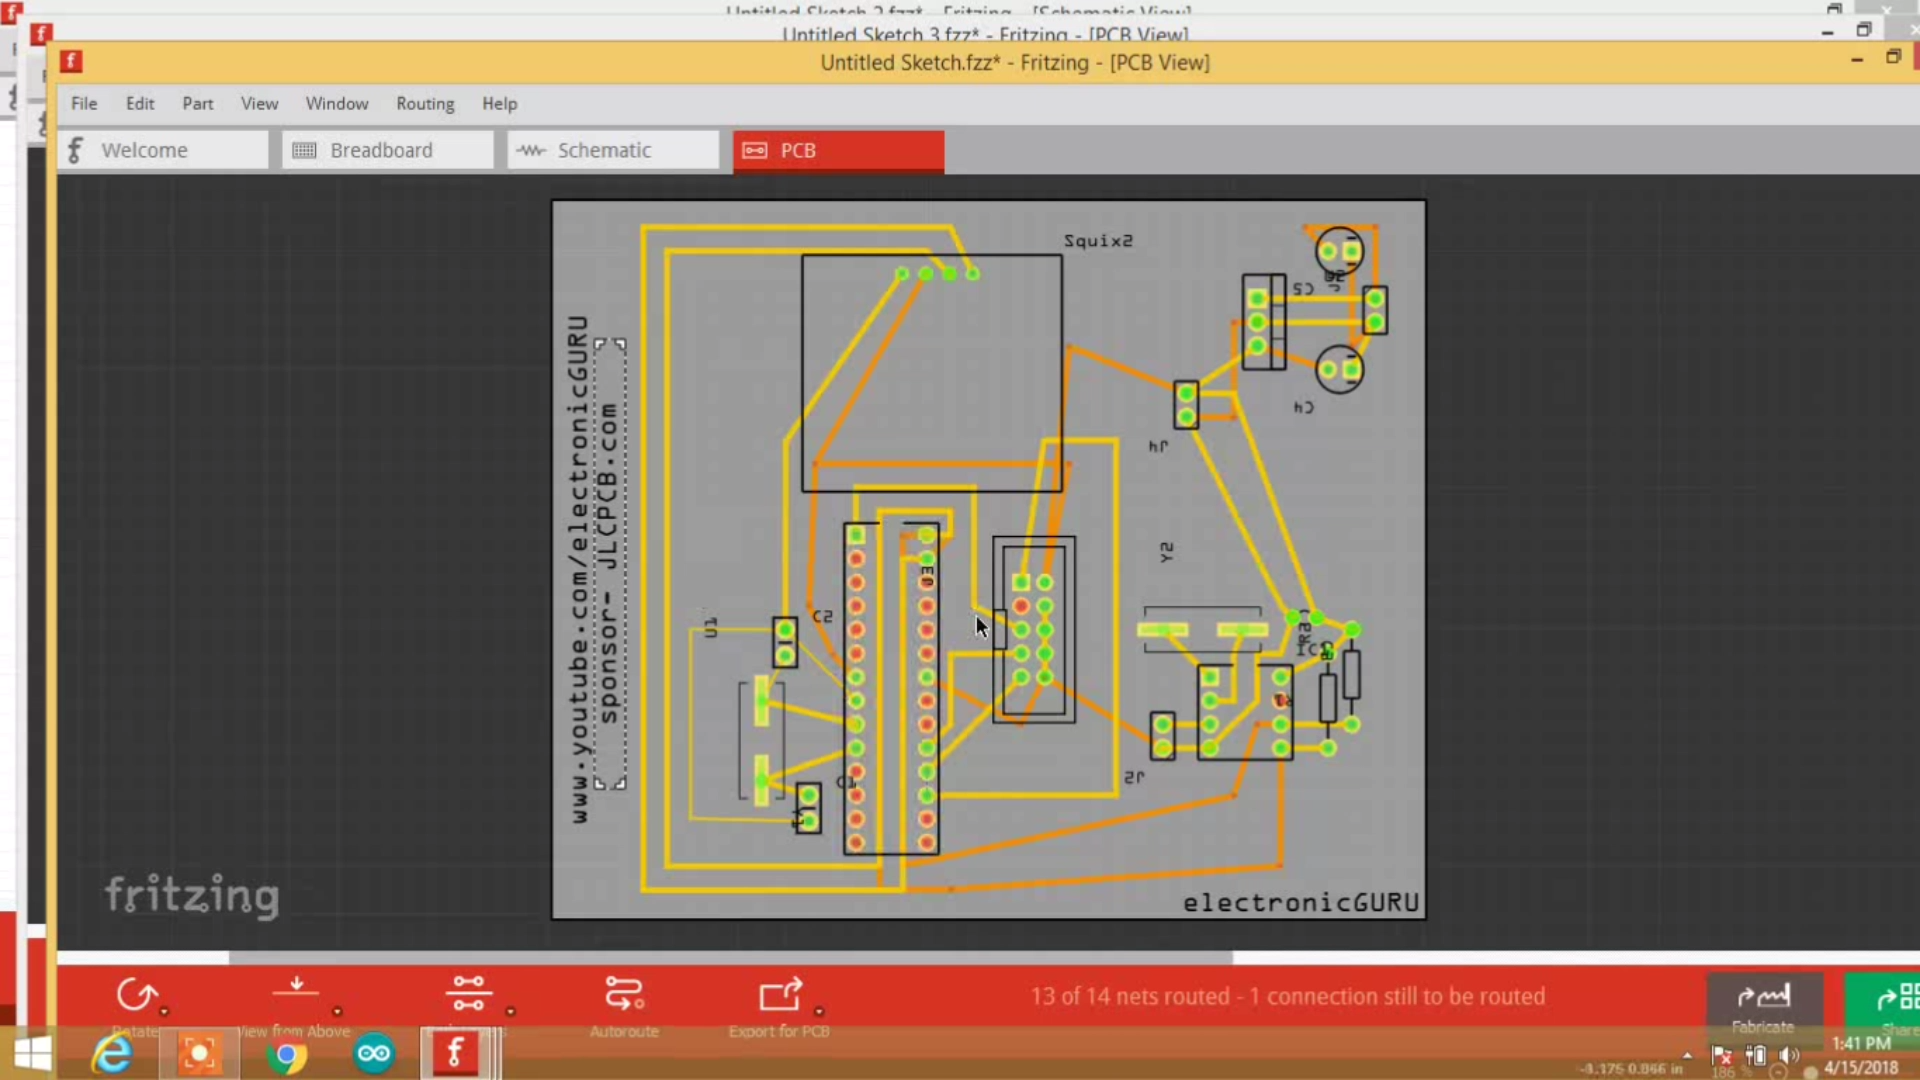
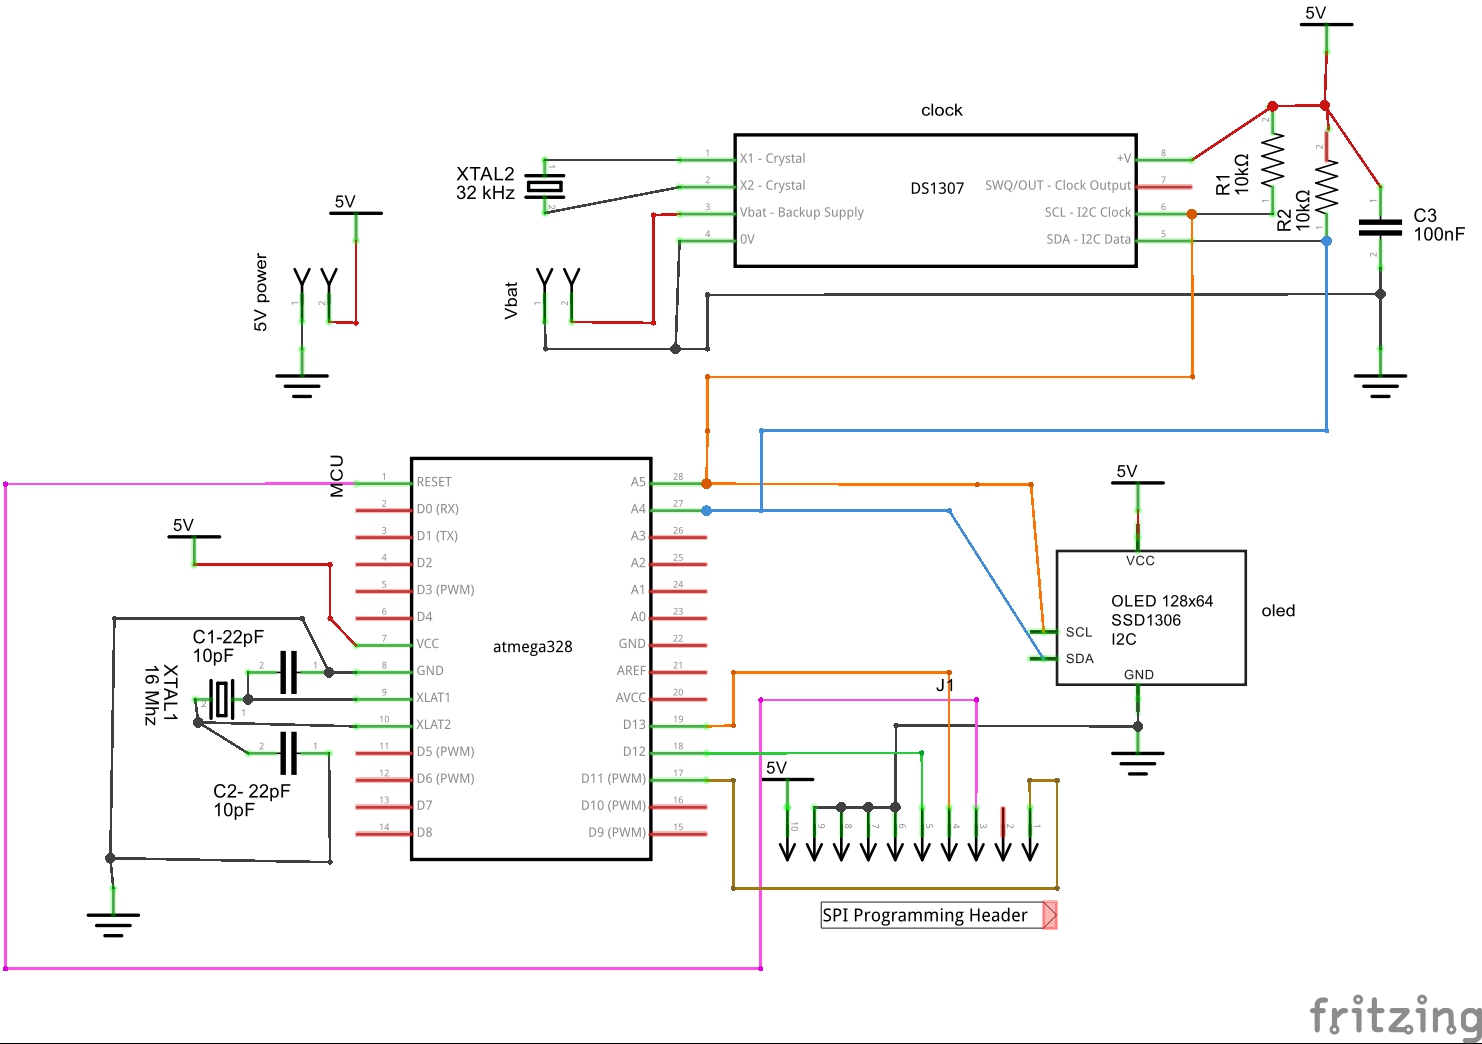

now we know the logic its the time to design our own pcb so open the fritzing & take atmega 328 ds 1307 oled Display & follow as i am doing in the video, design your own pcb using fritzing or any other software according to the given schmatics.
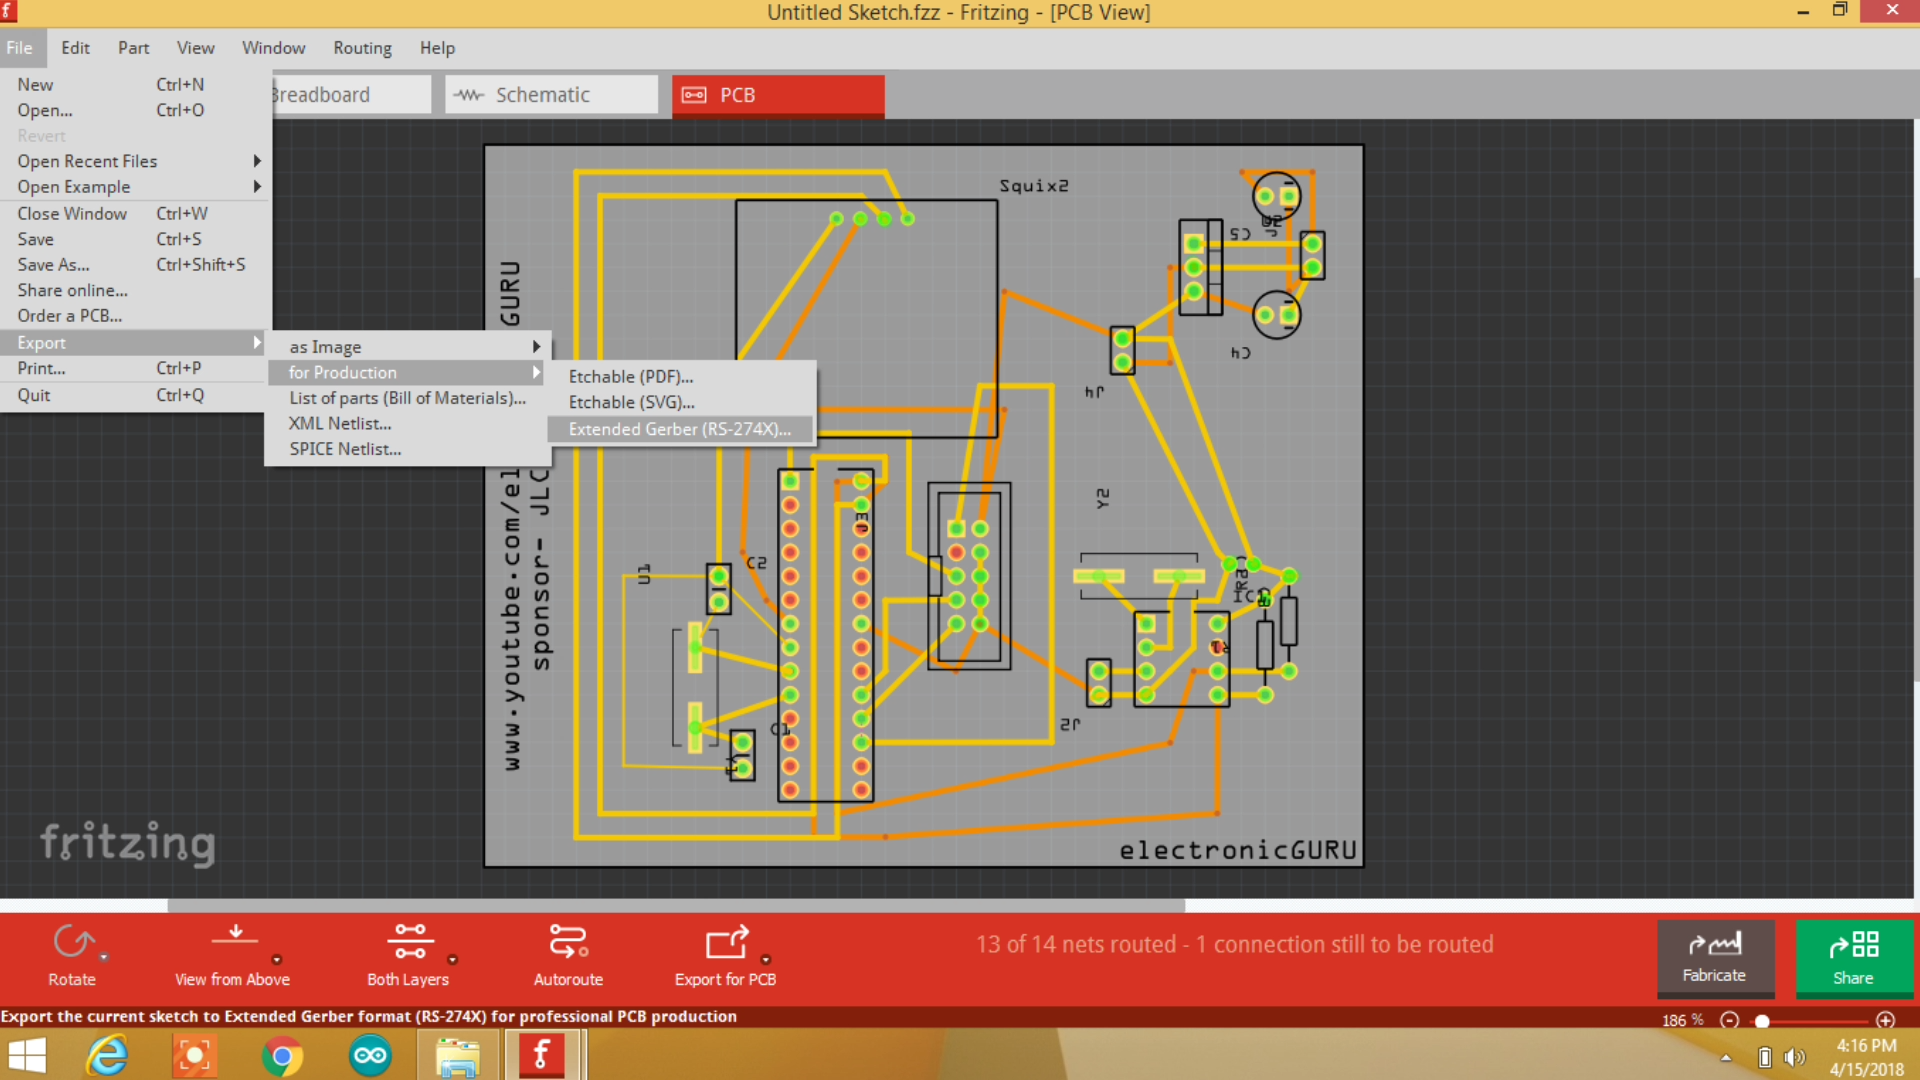
After designing PCB export the PCB as a gerber file.
Or you can avoid this step and download these files from link below -
https://github.com/shveytank/Arduino-OLED-Clock
Or
https://drive.google.com/open?id=14BdtXVaWiZ9VVJt5...
Refer video to avoid confusion.
Order Your Pcb
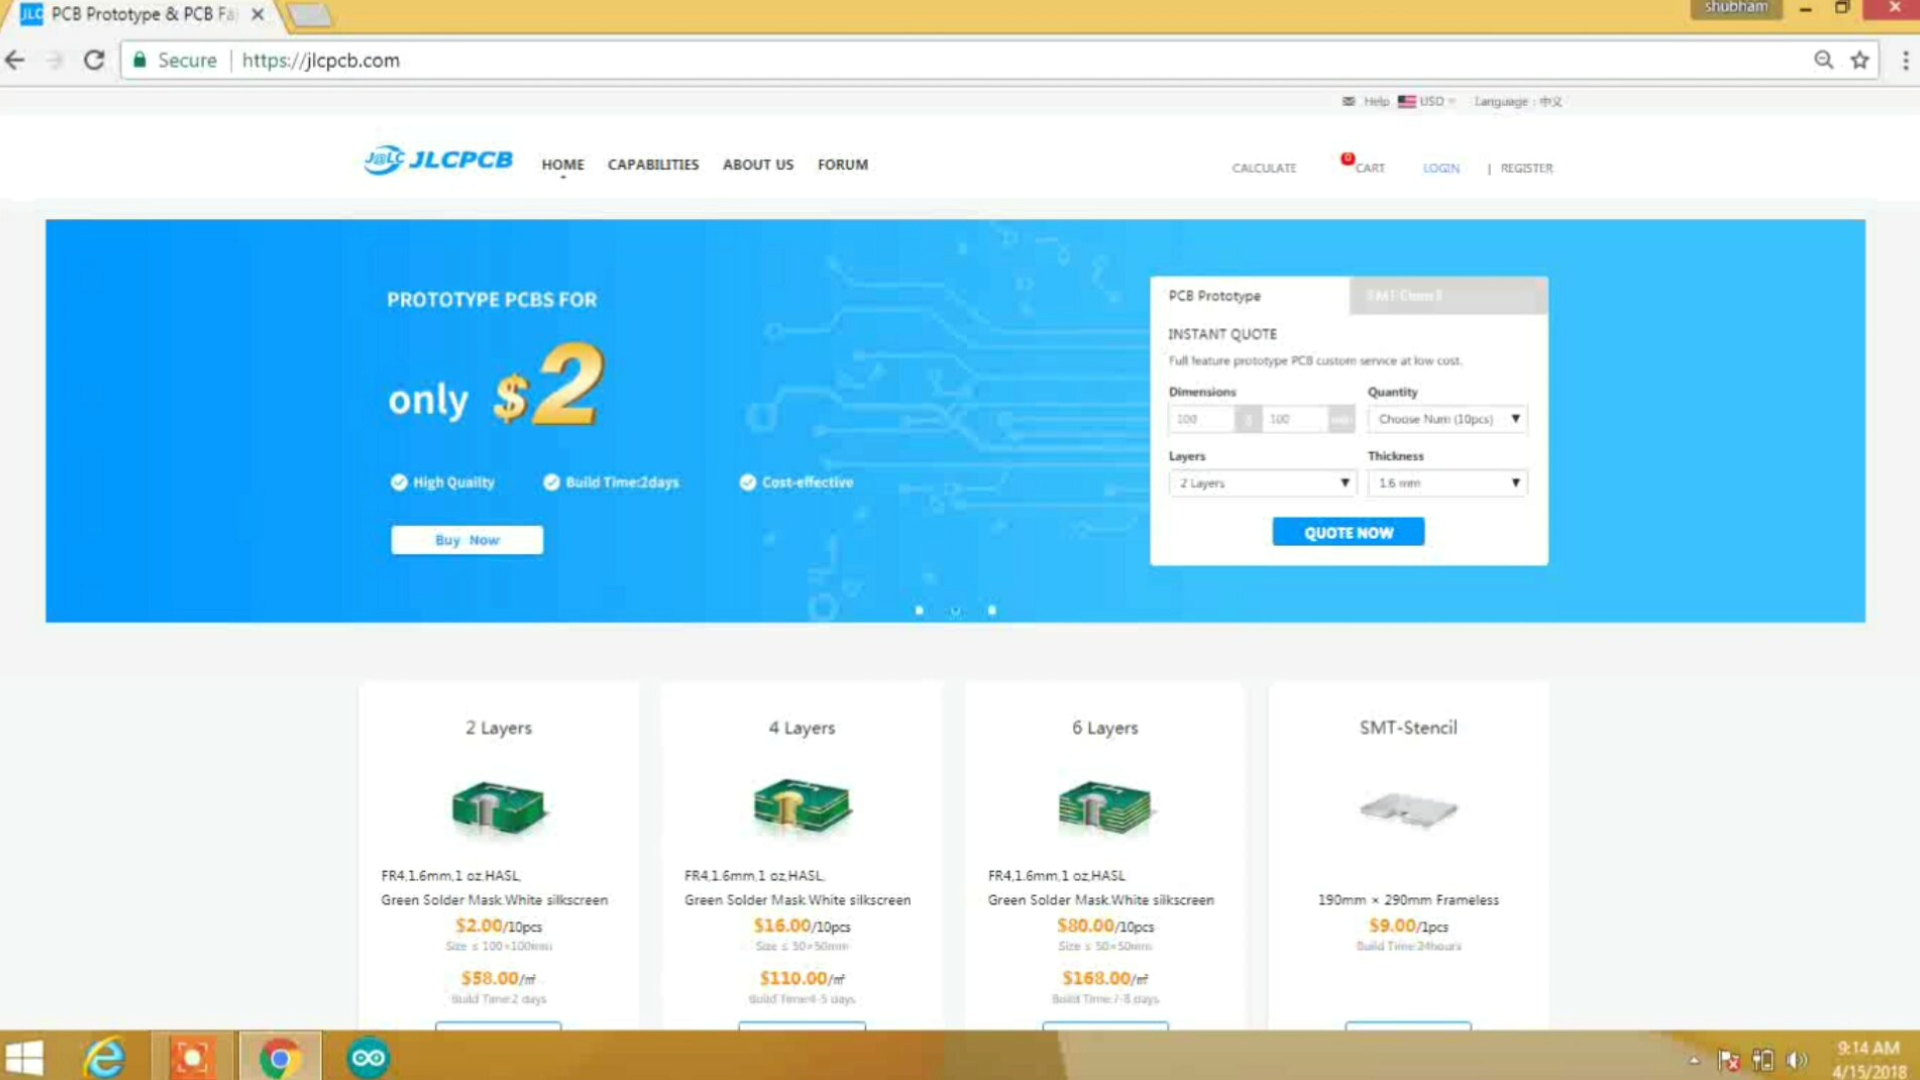
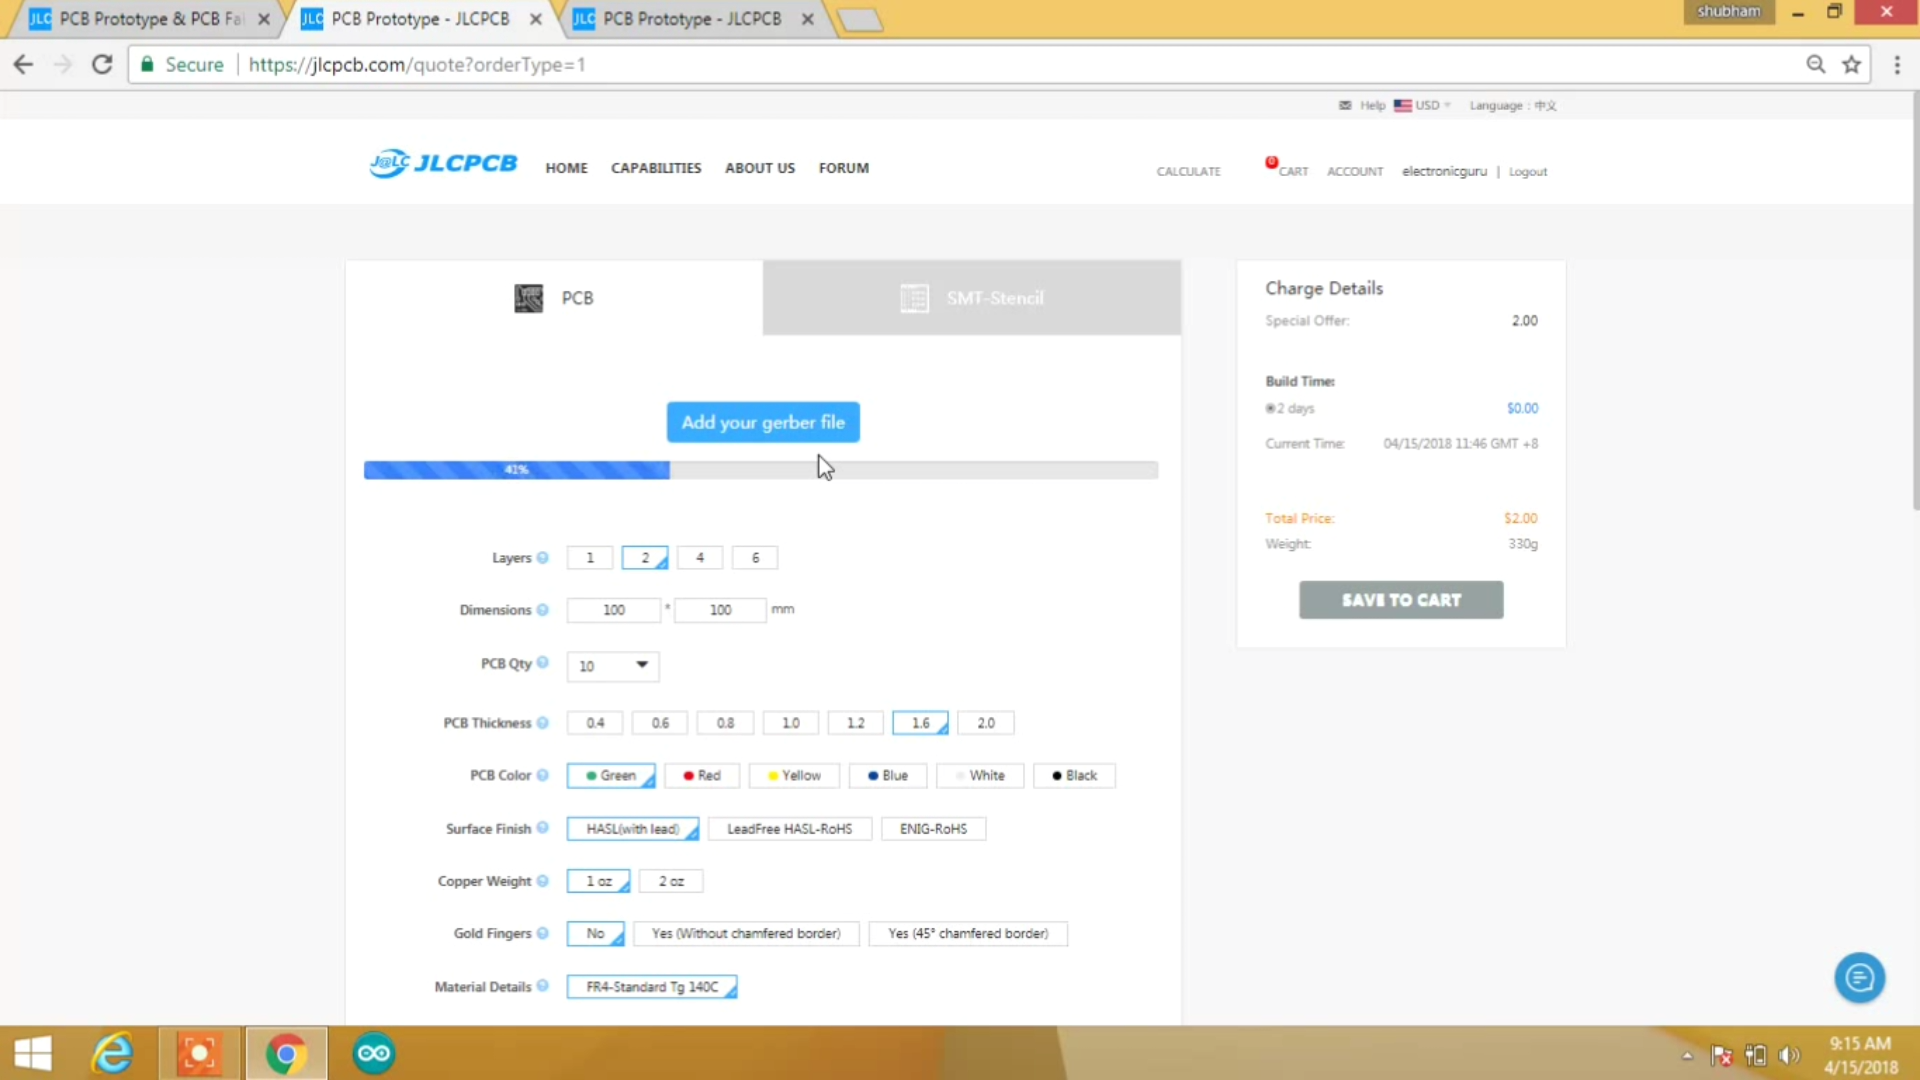
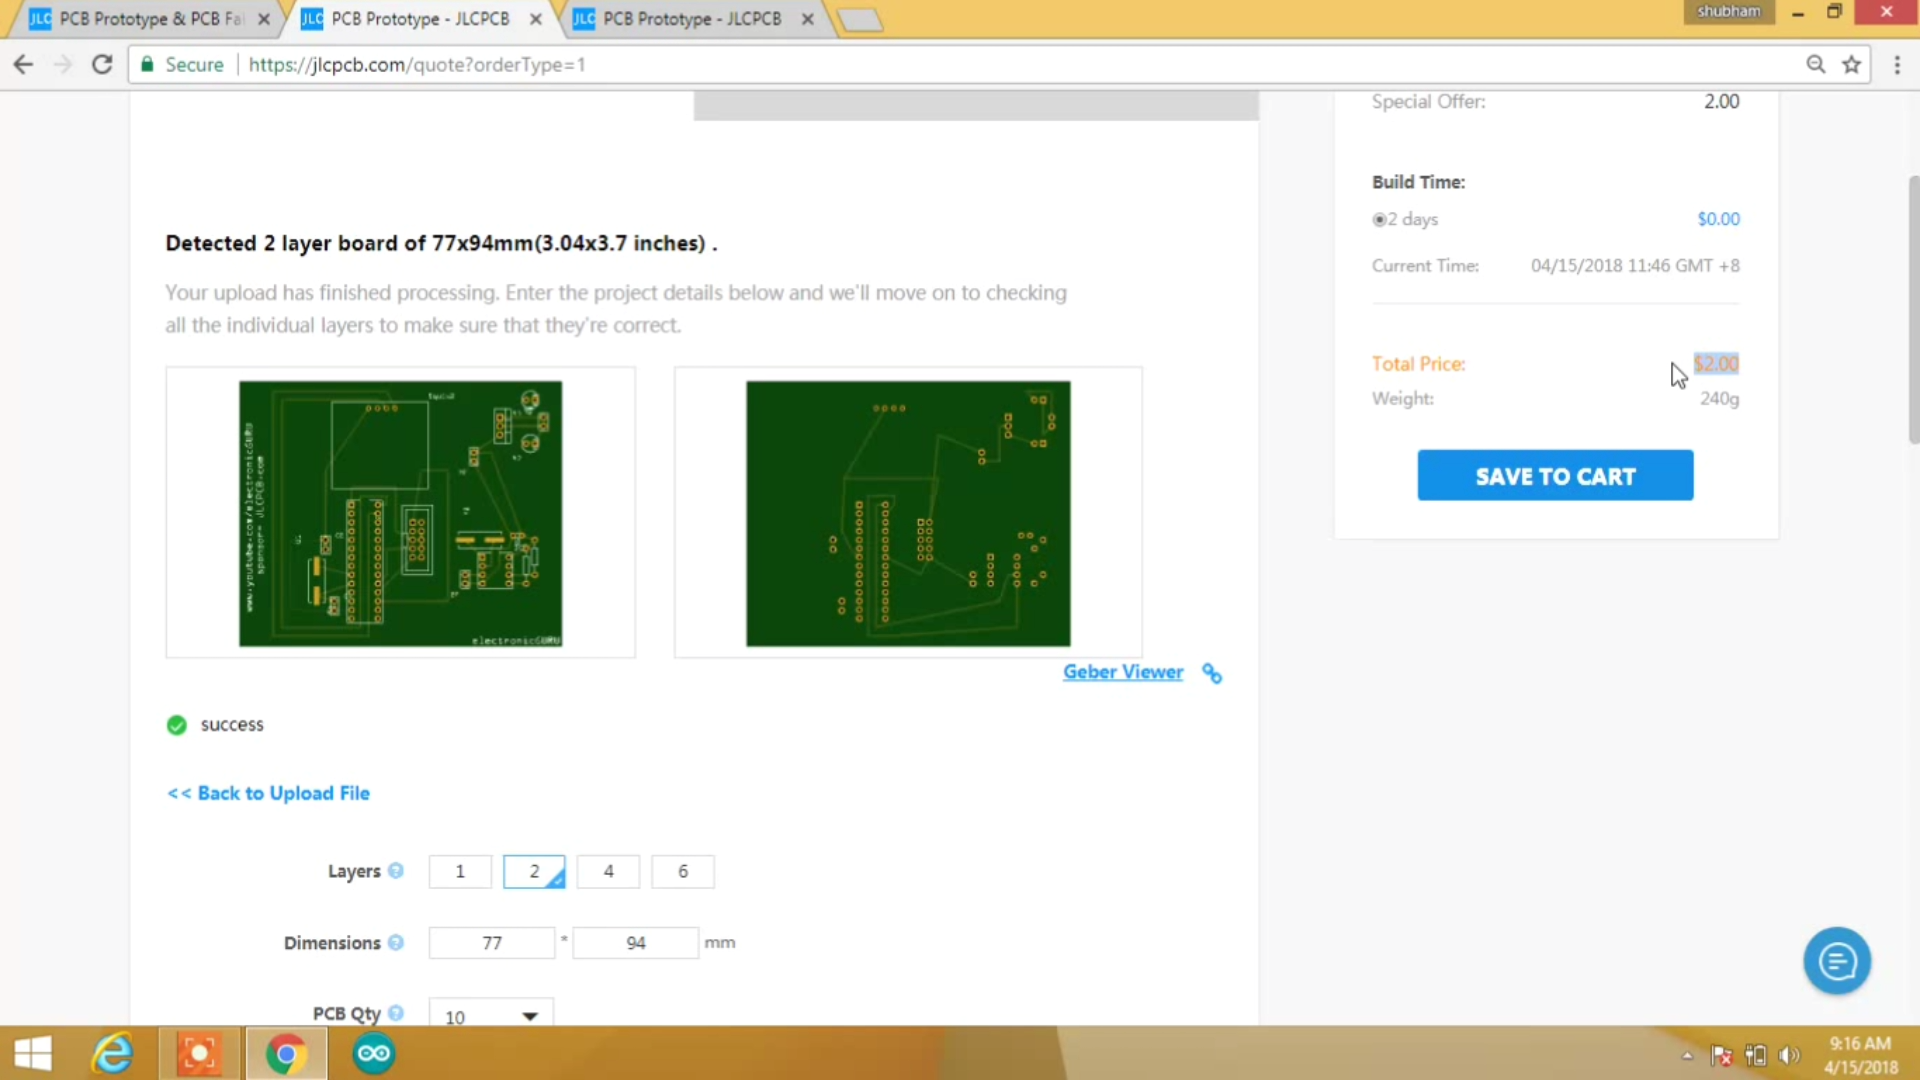
so in this step you have to order your pcb's using the gerber files you generated, open www.jlcpcb.com & upload your gerber files & you'll decent PCB just for 2$ .
Solder All the Components & Upload the Code
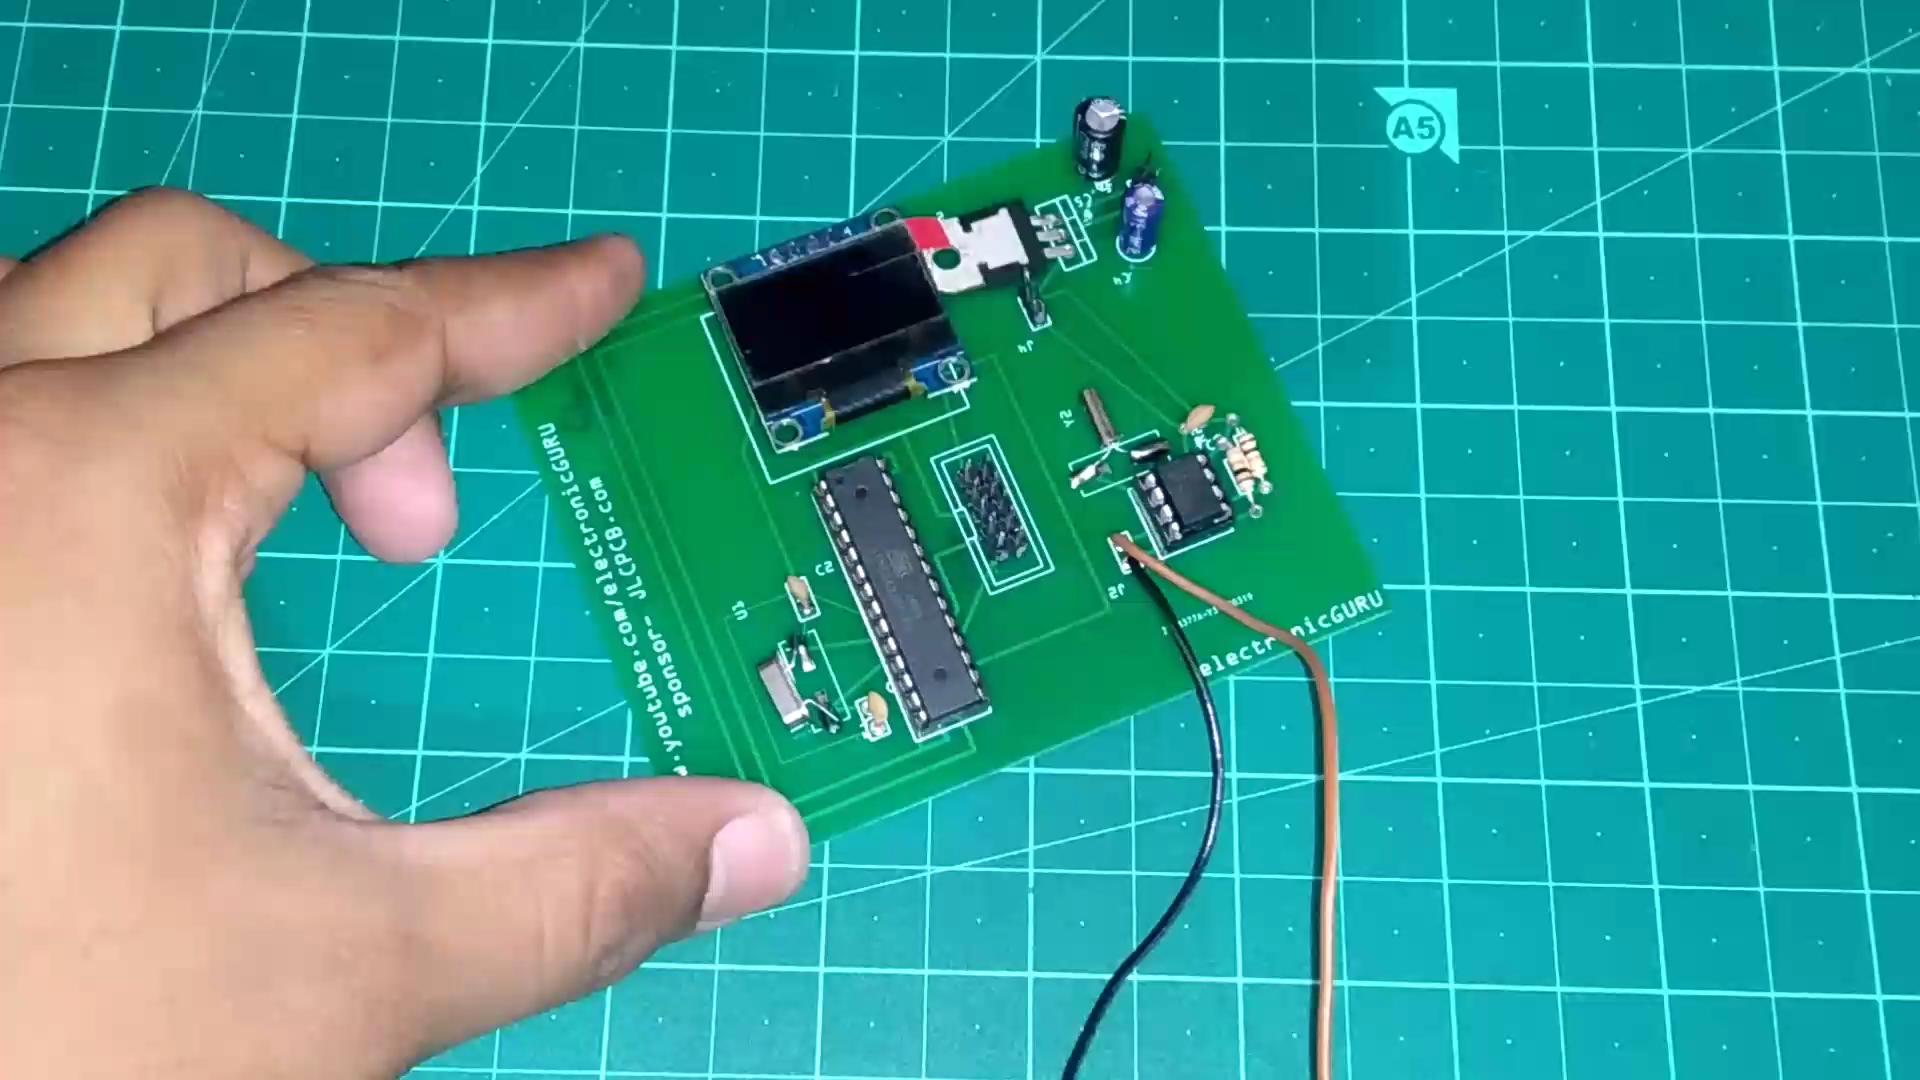
so as you have designed you pcb then solder all the components on the board & upload "set time" code then "oled-clk" code and you'll get a running clock.
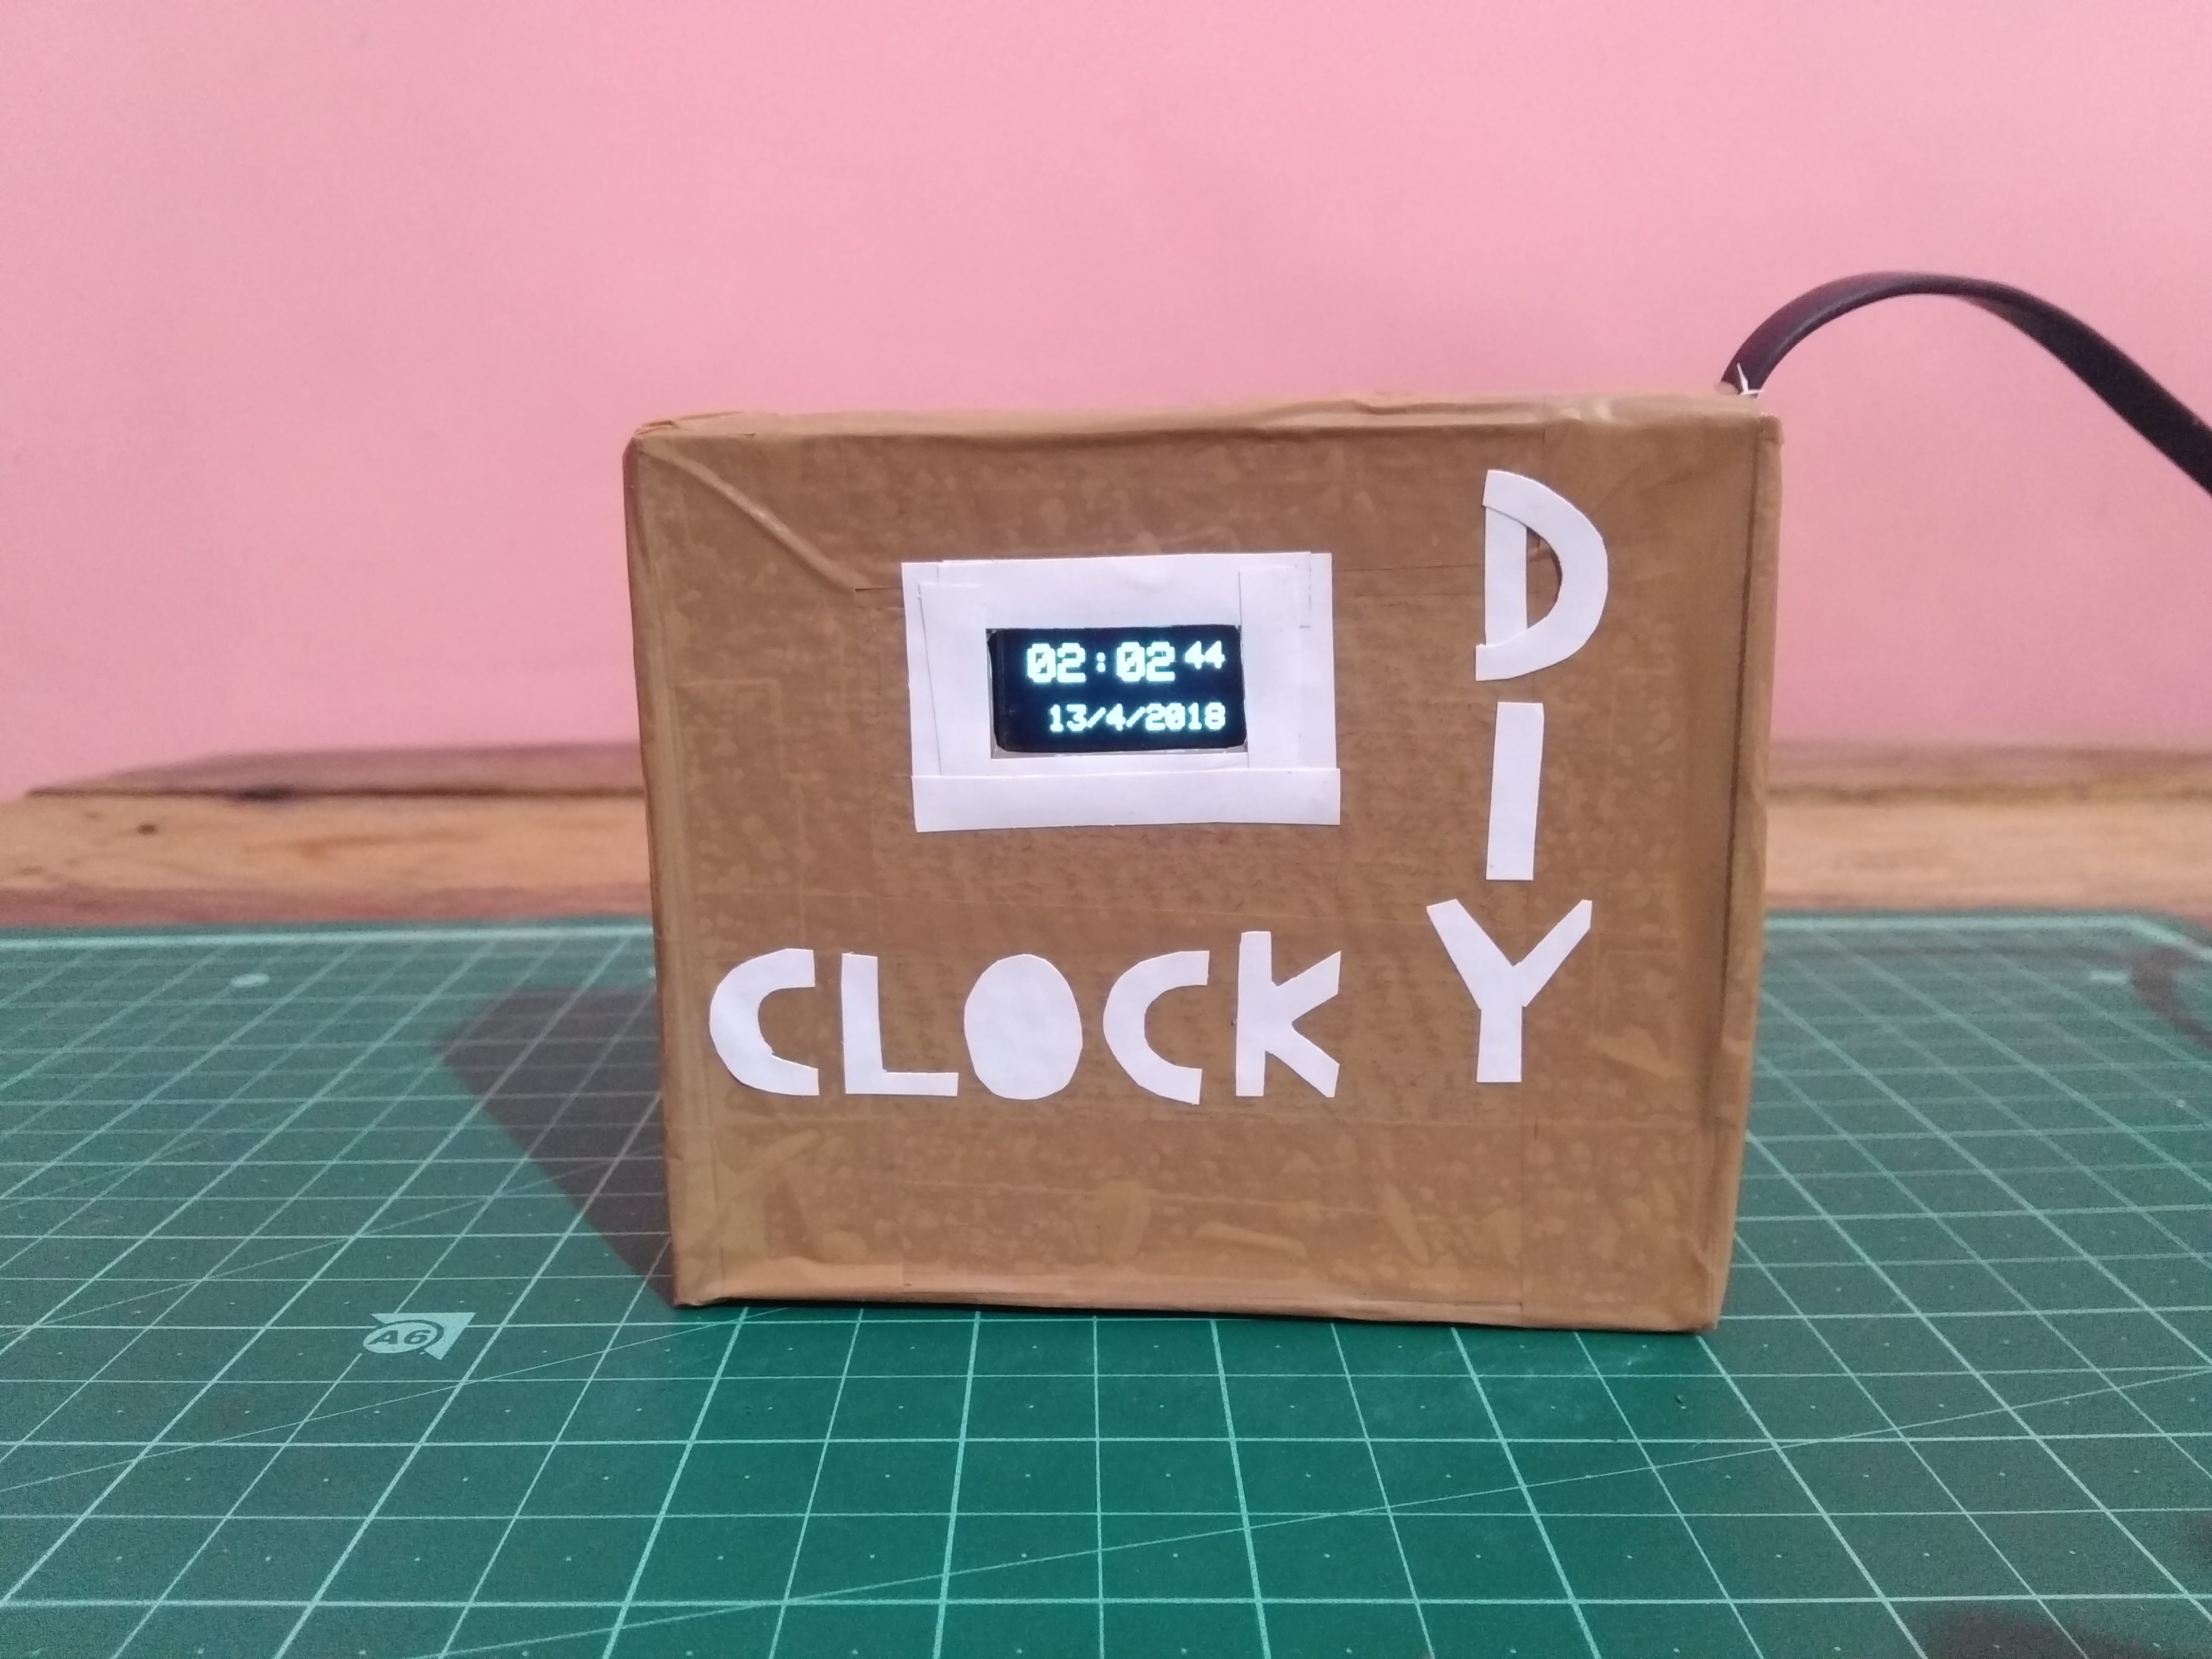
Final Step
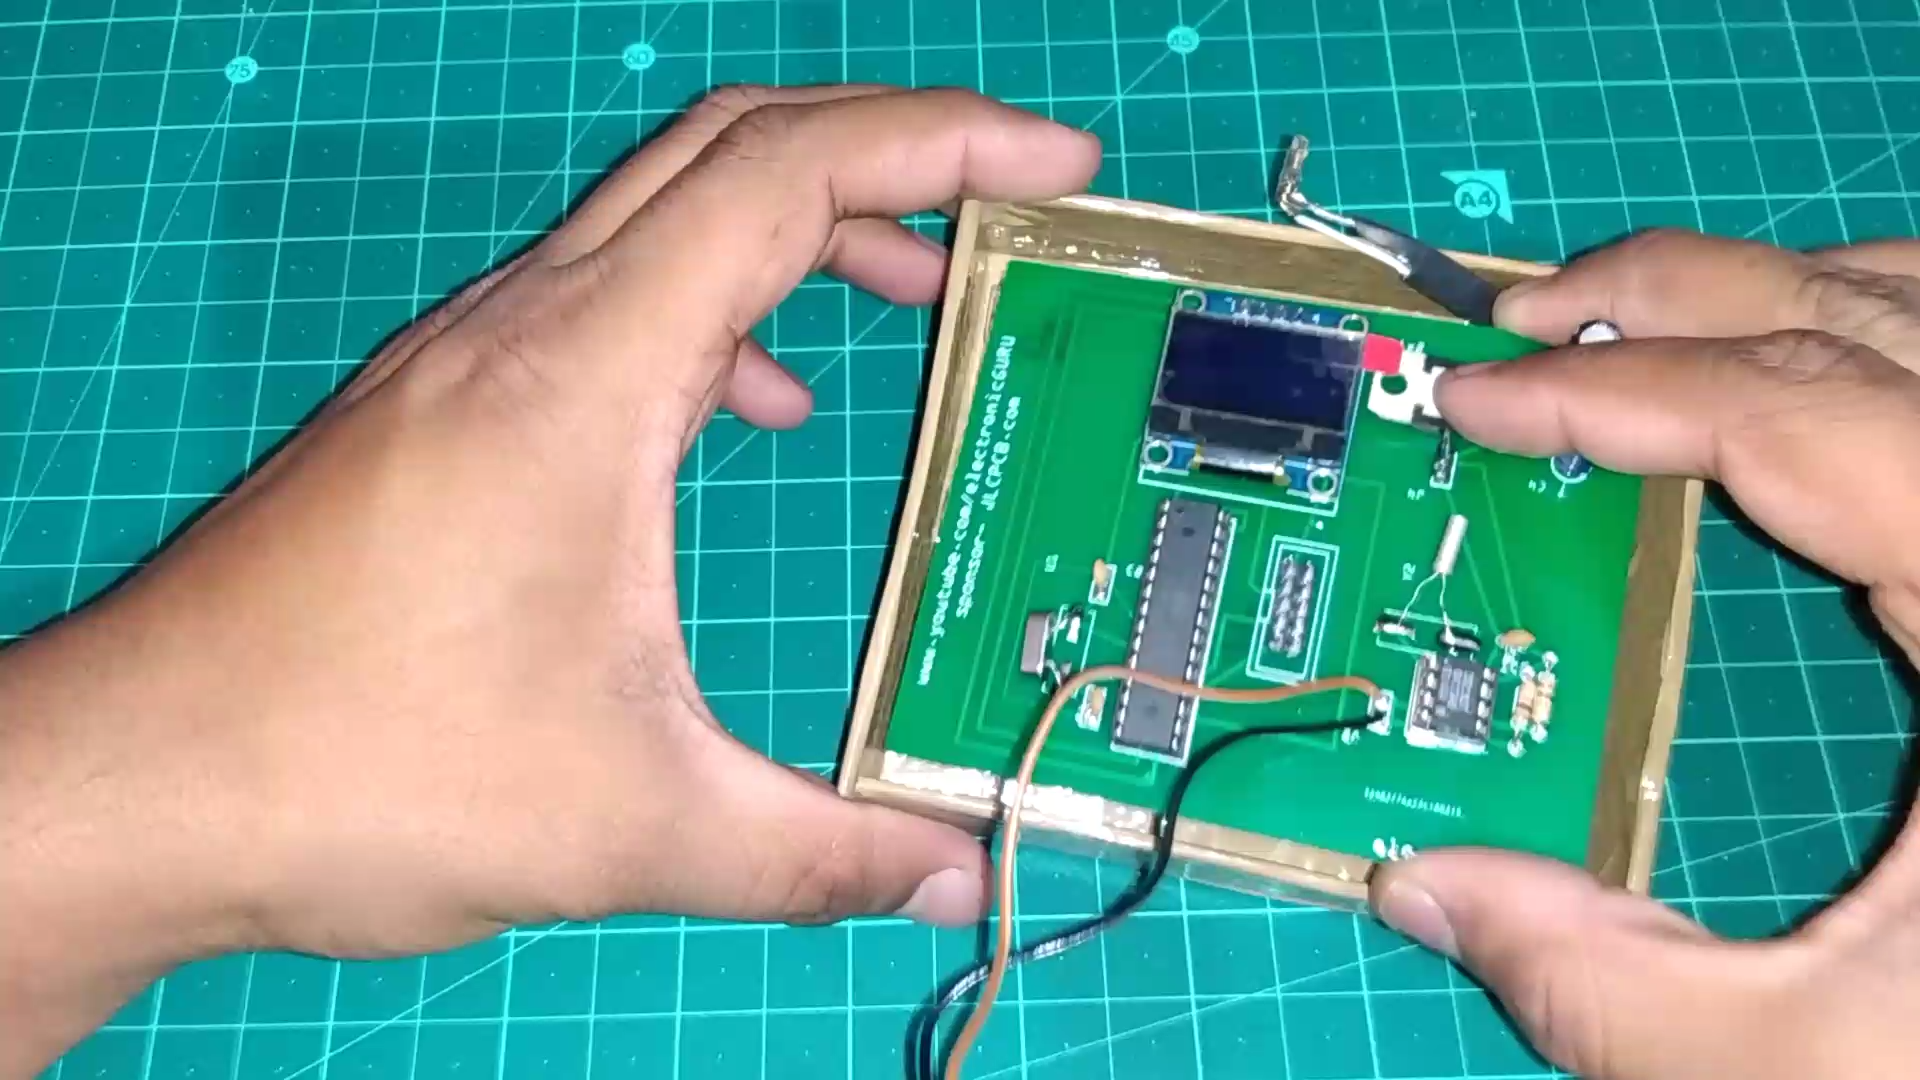


so in the final step we gonna place this clock board inside a box and the project is finished , so enjoy making your own clock.
Refer video for further help.