Arduino Network Clock Based on ESP8266
by greyli1987 in Circuits > Arduino
1720 Views, 4 Favorites, 0 Comments
Arduino Network Clock Based on ESP8266

Hardware
esp8266 01s
Arduino Uno
TM1637 4-bit digital tube
Software
Arduino IDE
NTP Service Introduction
NTP is the Network Time Protocol, which is used to synchronize the time of each computer in the network. esp8266 can also establish a connection with the NTP service to get real-time time.
In the world of computers, time is very important, for example, for such scientific activities as a rocket launch, the requirements of time uniformity and accuracy are very high, whether to follow the time of computer A or computer B? NTP (Network Time Protocol) is a protocol used to synchronize the time of each computer in a network. Its purpose is to synchronize the computer clocks to UTC, and its accuracy can reach 0.1ms in LAN, and 1-50ms in most places on the Internet.
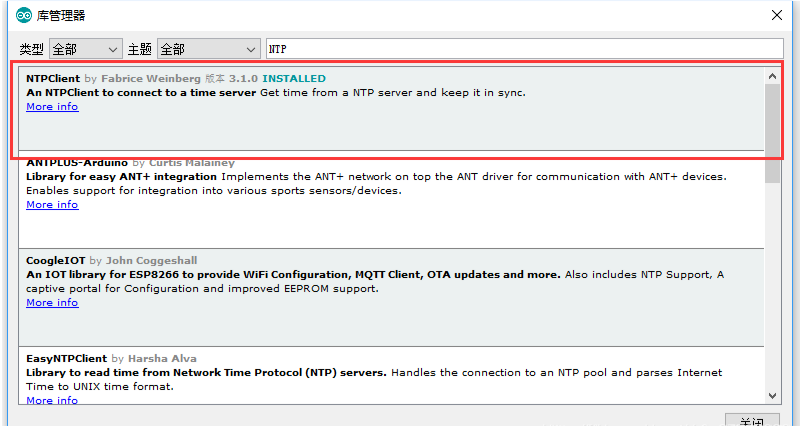
Installation of NTPClient Library

To use the NTP service, you need to install the NTPClient library first and press the combination Ctrl + Shift + I to call up the library management as shown below.
Wiring
ESP8266 Arduino UNO
3V 33.3V
GND GND
RX D2
TX D3
Digital tube Arduino UNO
VCC 5V
GND GND
CLK D11
DIO D12
ESP8266 Get Time
#include <NTPClient.h>
// change next line to use with another board/shield
#include <ESP8266WiFi.h>
//#include <WiFi.h> // for WiFi shield
//#include <WiFi101.h> // for WiFi 101 shield or MKR1000
#include <WiFiUdp.h>

const char *ssid     = "test";
const char *password = "12345678";

WiFiUDP ntpUDP;

// You can specify the time server pool and the offset (in seconds, can be
// changed later with setTimeOffset() ). Additionaly you can specify the
// update interval (in milliseconds, can be changed using setUpdateInterval() ).
NTPClient timeClient(ntpUDP,"ntp1.aliyun.com",60*60*8,30*60*1000);

void setup(){
  Serial.begin(115200);

  WiFi.begin(ssid, password);

  while ( WiFi.status() != WL_CONNECTED ) {
    delay ( 500 );
    Serial.print ( "." );
  }

  timeClient.begin();
}

void loop() {
  timeClient.update();

  Serial.println(timeClient.getFormattedTime());

  delay(1000);
}
Configure WiFi Password and Name
Need to set the router's password (Password) and name (SSID) so that the esp8266 can only access the Internet, as follows.
... ...
const char *ssid = "602"; // router name
const char *password = "602602602"; // router password
... ...
Calibrate Time Zone
Calibrate the time zone As the global time is different, so you need to calibrate the time, take Beijing time as an example, when creating the instance, see the calibration parameters can be passed in, the specific operation is as follows:
NTPClient
timeClient(ntpUDP, "ntp1.aliyun.com",60608, 30601000);
Arduino UNO
#include <TM1637.h>
// Digital tube configuration pins
#define CLK 11 //! Parameter clk - the number of digital pins connected to the module's clock pins
#define DIO 12 //! Parameter dio - the number of DIO pins connected to the module from the digital pins
TM1637 TM(CLK, DIO);//! Initialize a TM1637 object, set the clock and data pins.
#include <SoftwareSerial.h>
SoftwareSerial mySerial(2,3);//RX=2,TX=3
String comdata="";
void setup() {
  // put your setup code here, to run once:
  mySerial.begin(115200);
  Serial.begin(9600);

}

void loop() {
  // put your main code here, to run repeatedly:
  while(mySerial.available()){
    comdata += char(mySerial.read()); // read one char character at a time, and add them up
    delay(2);
  }
 if (comdata.length() > 0){
  String h=comdata.substring(0,2);
  String m=comdata.substring(3,5);
  int hour_=h.toInt();
  int minture_=m.toInt();
  TM.DNum(hour_,minture_,true);//show double numbers, the left two show the last two of num1; the left two show the last two of num2; piont whether to show the middle two points
  TM.show(true);// set the digital tube display to true display, otherwise not display
// Serial.println(minture_);
  comdata="";
 }

}
Effect


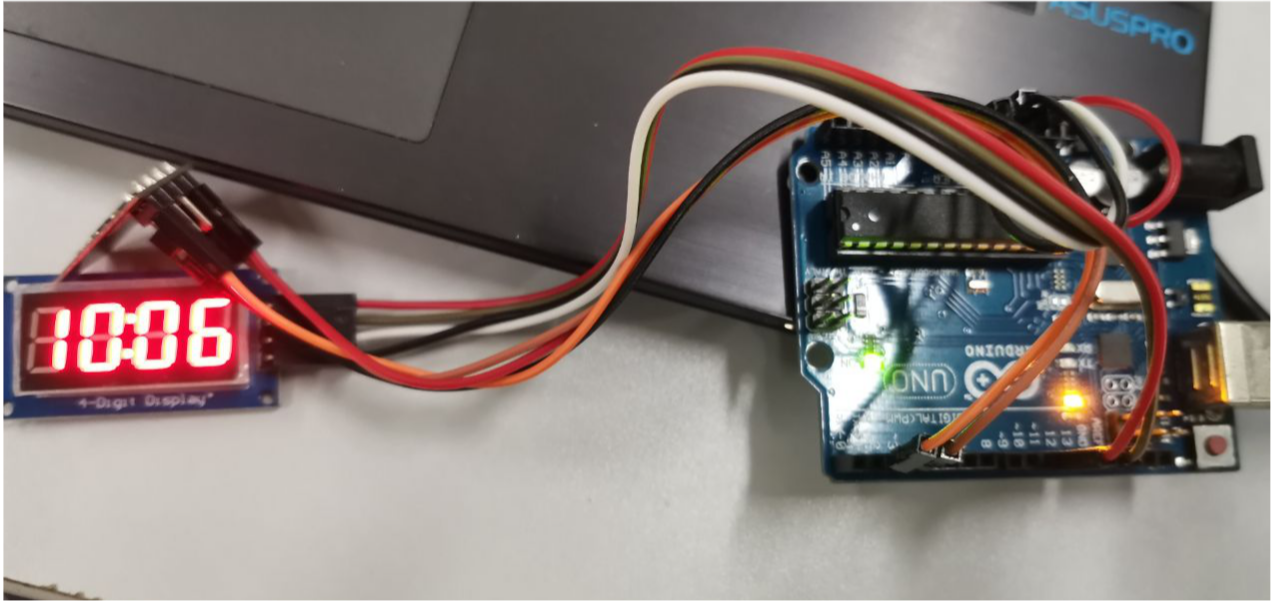
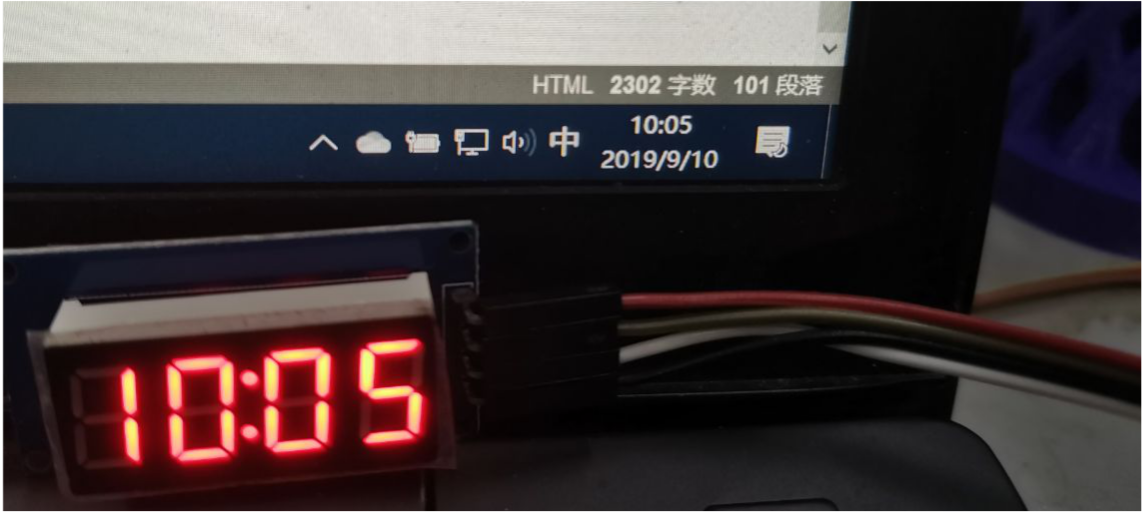
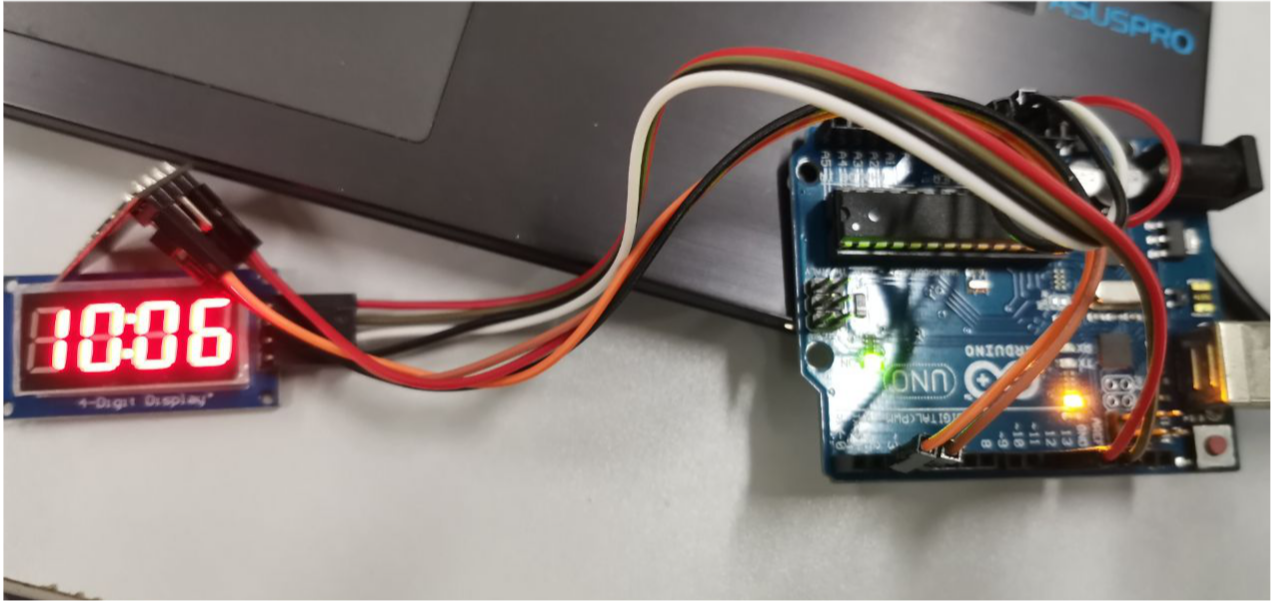
The effect is shown in the picture.