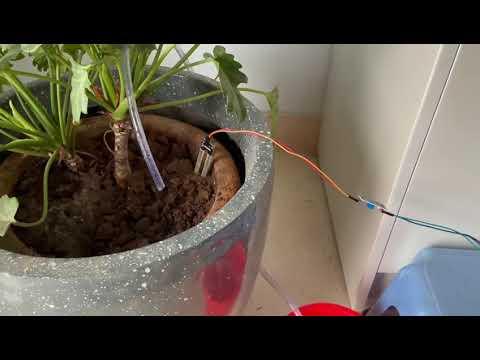
Arduino Moisture Detection in Soil
by RaghavMehta in Circuits > Arduino
417 Views, 3 Favorites, 0 Comments
Arduino Moisture Detection in Soil
This is a project used to reduce water wastage while watering plants.
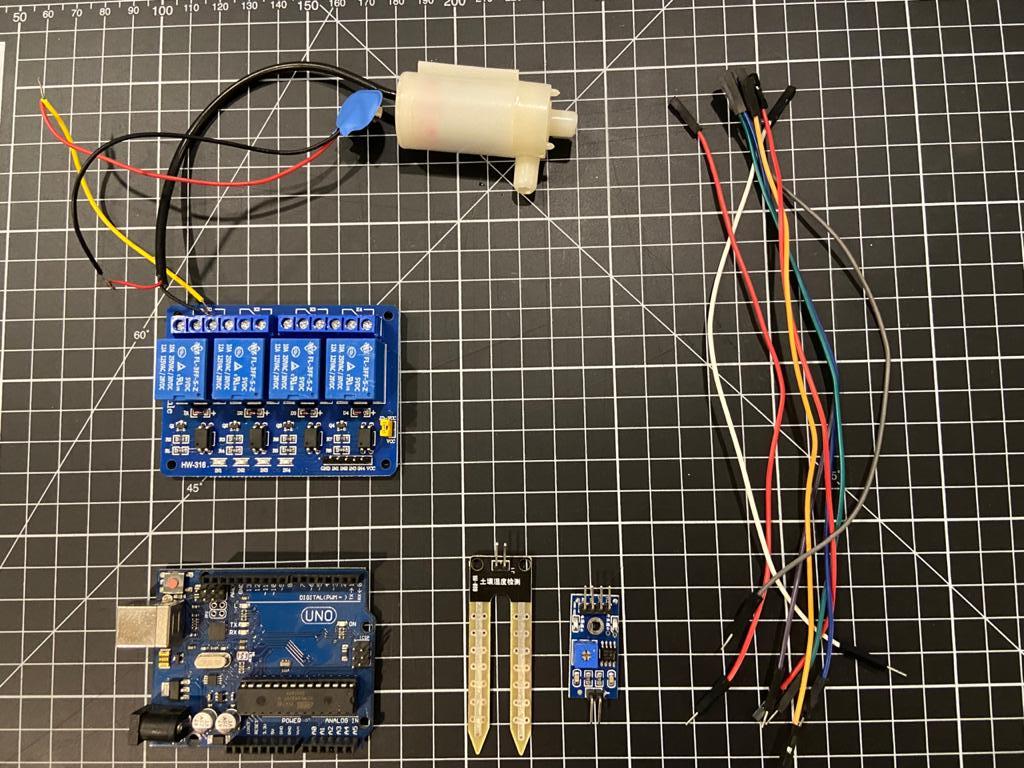
Components Required
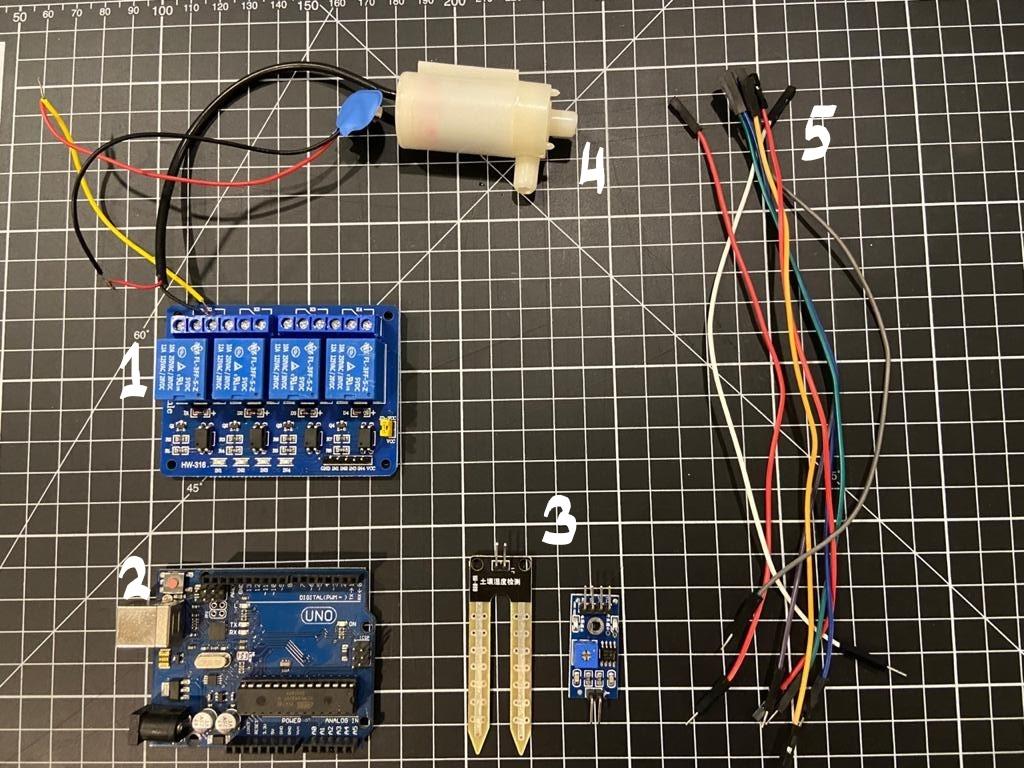
- Relay (x1)
- Arduino Uno (x1)
- Soil Moisture Sensor (x1)
- Motor (x1)
- Female to Female Jumper wire (x2), Male to Female Jumper wire (x6)
Connections
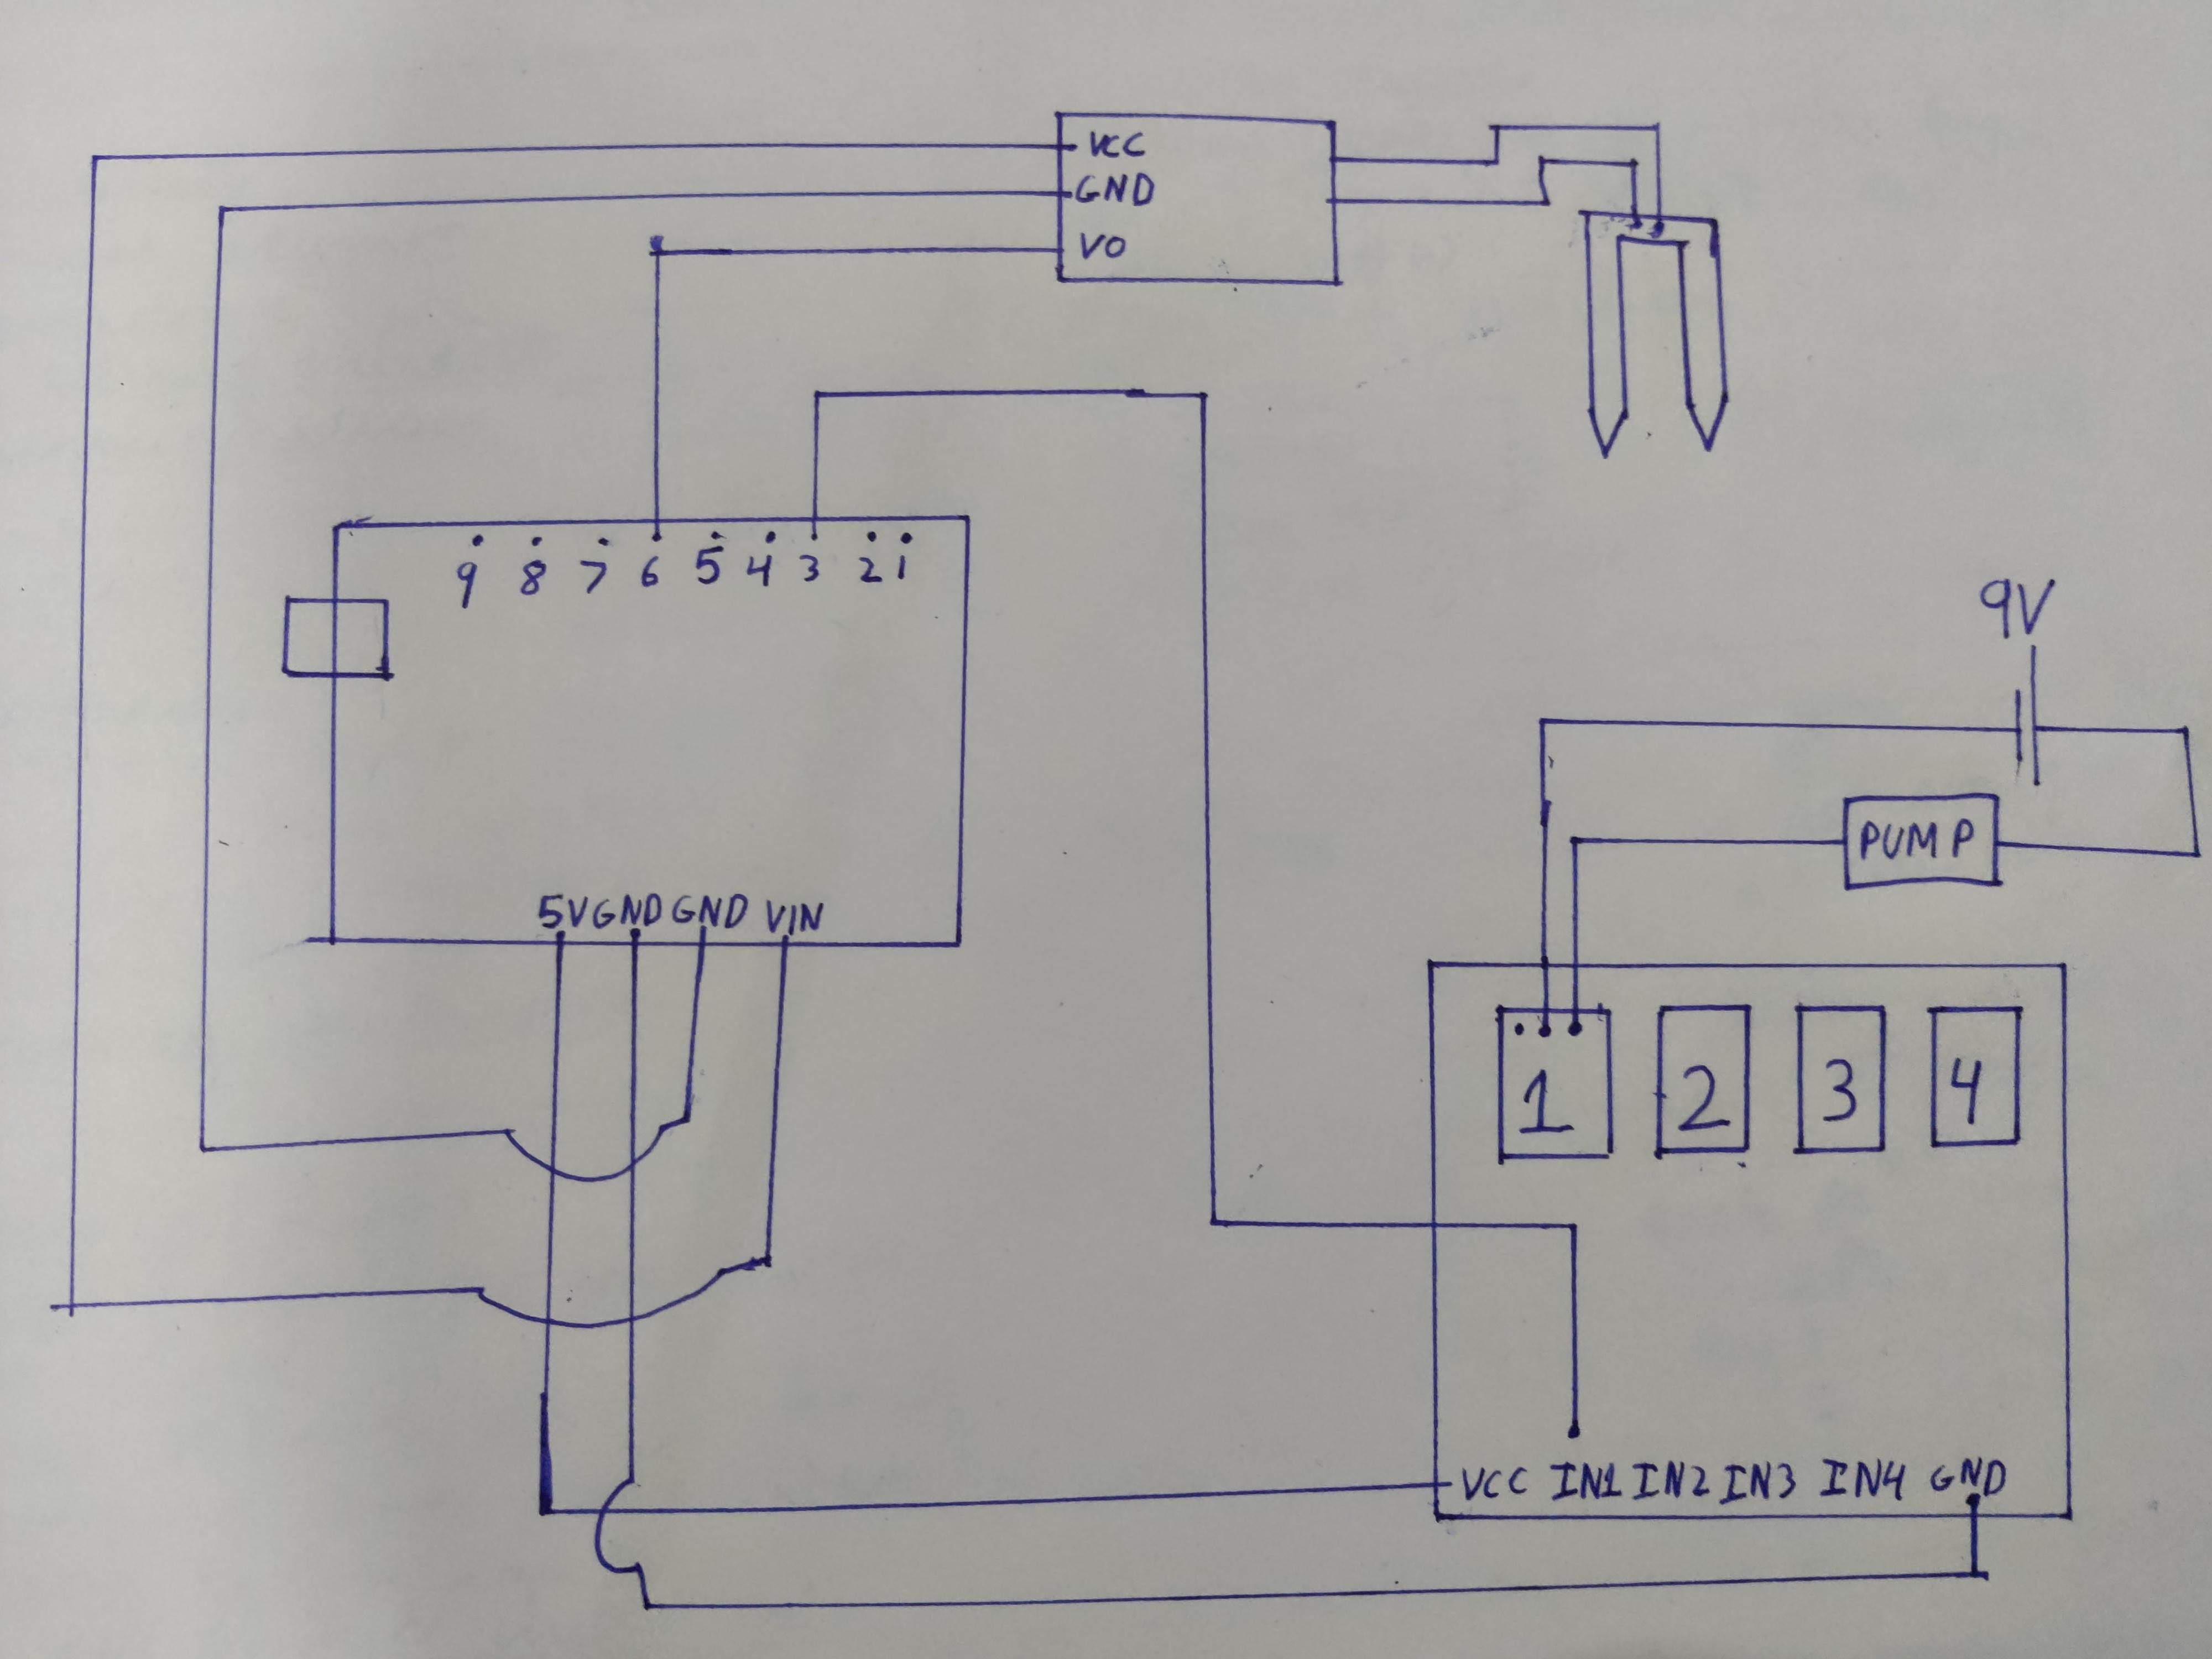
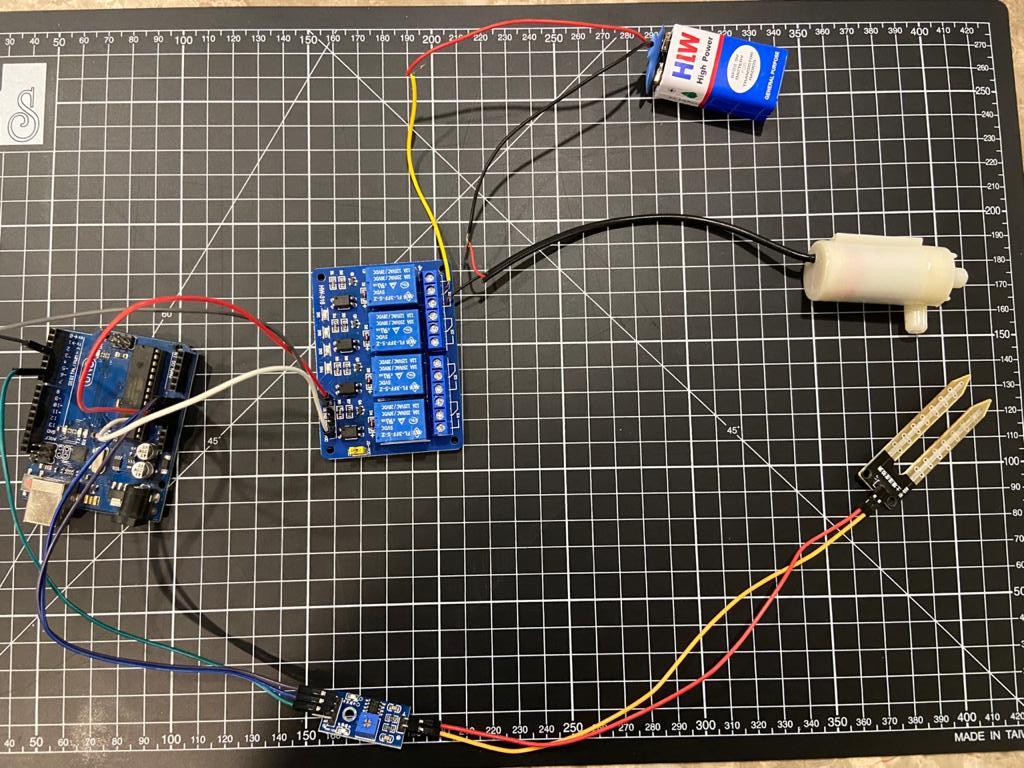
- Connect the two parts of the moisture sensor with each other using 2 female to female jumper wires.
- Connect three female to male jumper wires to the arduino:
- Connect 1 of the wires to the Ground slot of the arduino
- Connect another to V1n under Power slots.
- Connect the last wire to ~6 slot in Digital(pwm~)
- Connect the arduino with the relay using 3 male to female jumper wires.
- Connect the ground port on the relay with the ground port on the arduino
- Connect In2 of the relay with ~3 port under DIGITAL(pwm~) on the arduino
- Connect Vcc port of relay with 5v port under Power on the arduino
- Connect the wires of the motor in each slot of the relay.
Code
int w;
void setup() {
pinMode(3,OUTPUT);
pinMode(6,INPUT);
}
void loop() {
w= digitalRead(6);
if(w==HIGH)
{
digitalWrite(3,LOW);
} else {
digitalWrite(3,HIGH);
}
delay(400);
}
Process: How It Works?
Once the device is placed and switched on
- The soil moisture sensor detects the moisture in the soil.
- If it does not detect any moisture then, it sends a signal to the Arduino Uno.
- The Arduino Uno processes the signal and sends another signal to the relay.
- The relay switches on the motor to release provide water to the soil.
- Once the soil moisture sensor detects moisture, it sends signal back to Arduino to switch off the motor.
- The process repeats.
Results
