Arduino Light Intensity Lamp on TINKERCAD
by 757396 in Circuits > Arduino
4843 Views, 0 Favorites, 0 Comments
Arduino Light Intensity Lamp on TINKERCAD
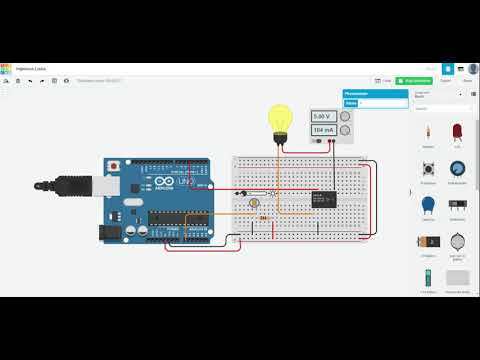
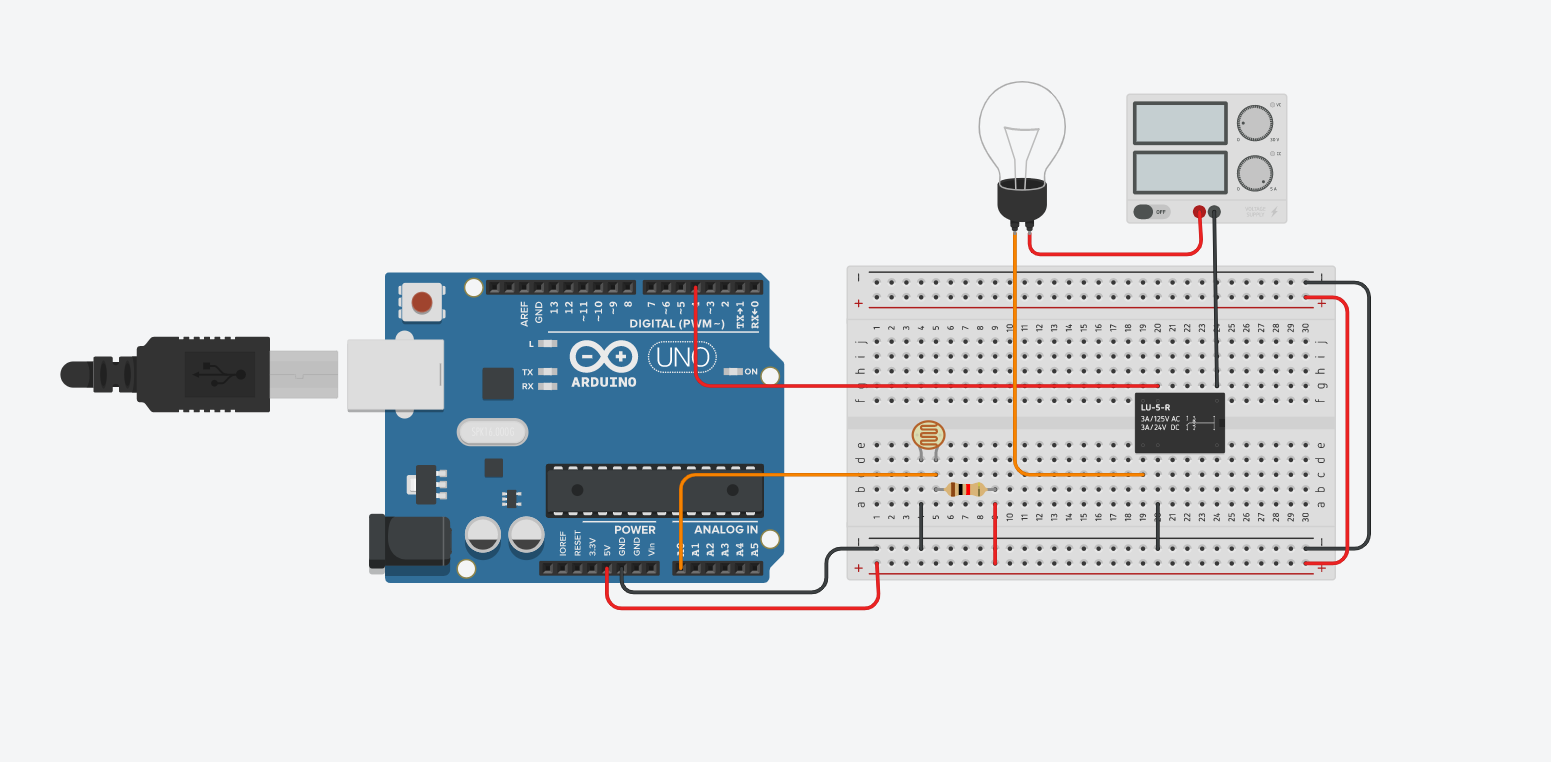
In this Instructable I will show you how to make an Arduino Light intensity lamp on TinkerCAD. What a light intensity lamp does is that when the photo resistor detects less light in a room or somewhere it will automatically turn on the light bulb and when it detects light it will turn off the light bulb to save energy.
Supplies
On TinkerCAD.com open a NEW circuit project and drag in the following items.
* LDR ( to detect the light/dark conditions)
* Arduino micro controller
* Light bulb
* Relay (since the light bulb takes 120 V and the Arduino only provides 5V)
* A power source
* Breadboard (optional but recommended)
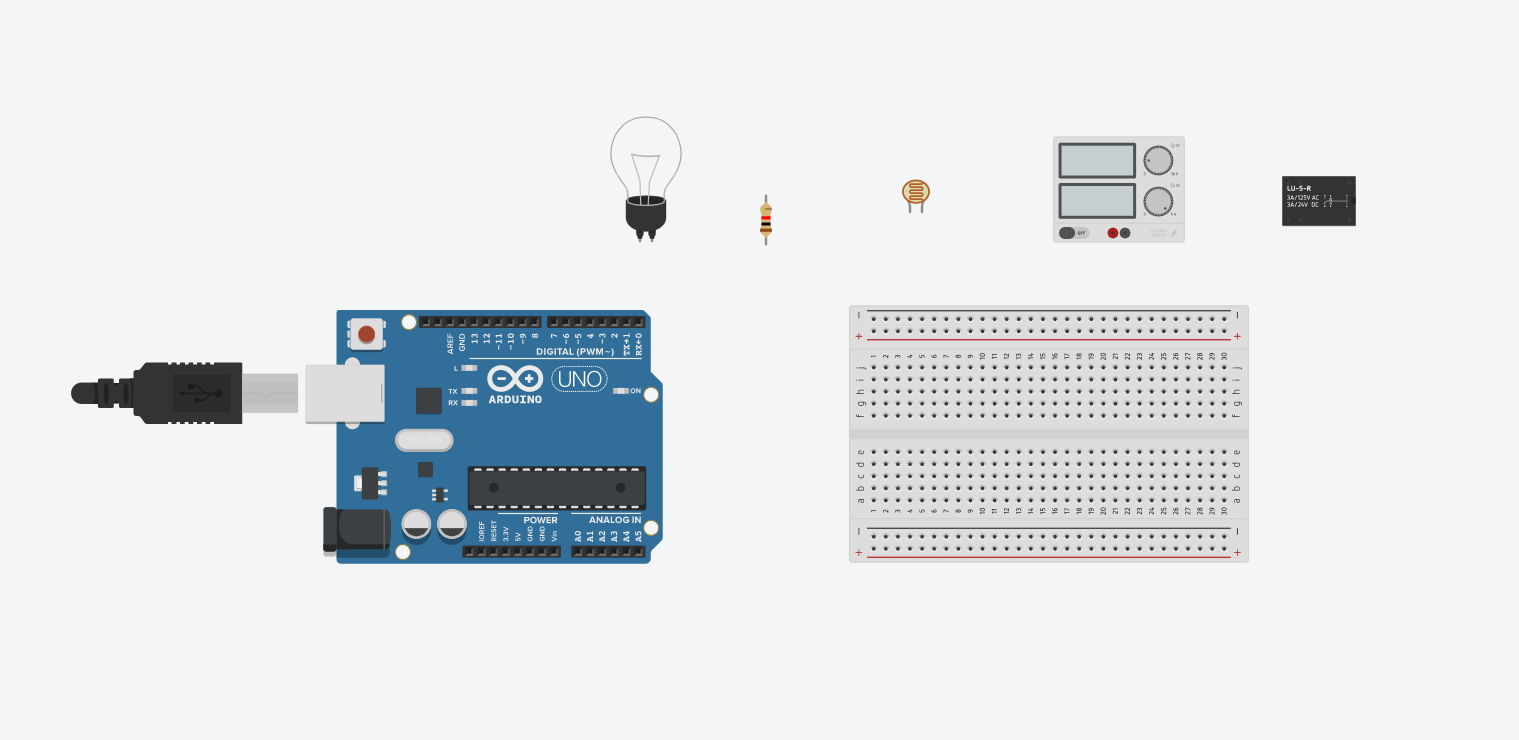
Drag All the Supplies in to the Work Space
Arrange All the The Parts Onto the Bread Board
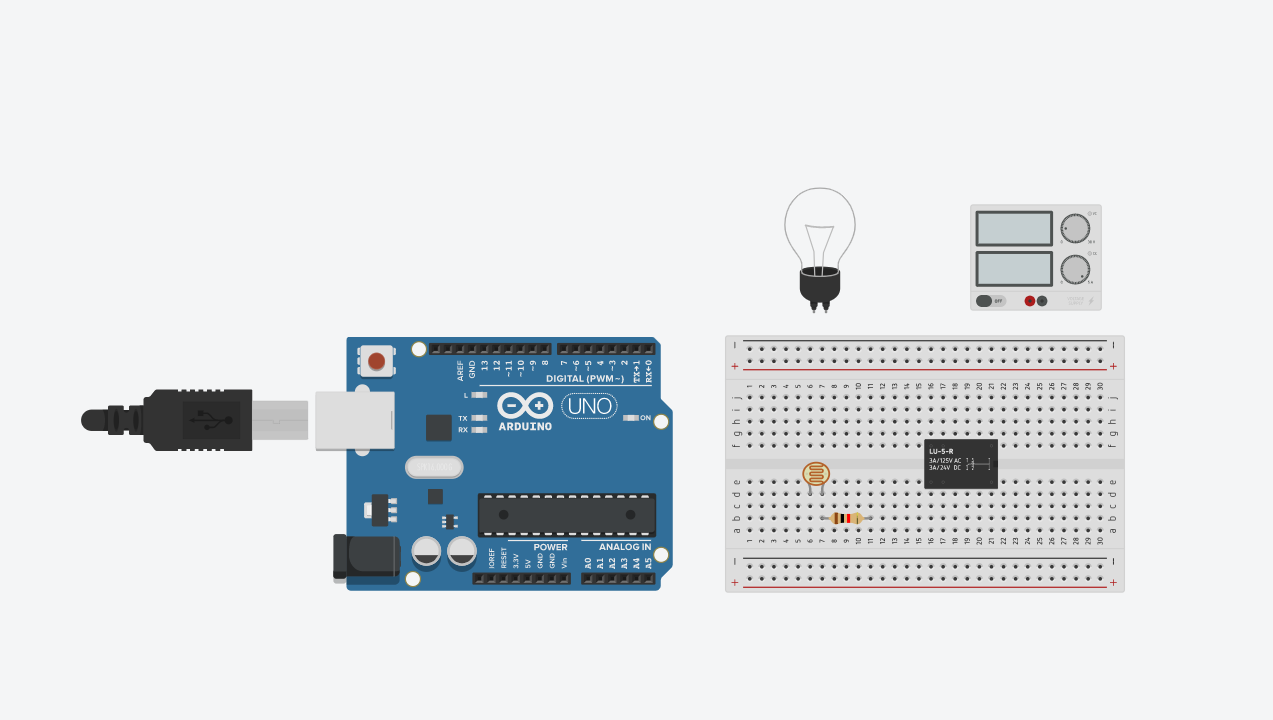
Arrange all the parts onto the breadboard in a similar fashion as it will help do the wiring much easier later on.
Connect Wires
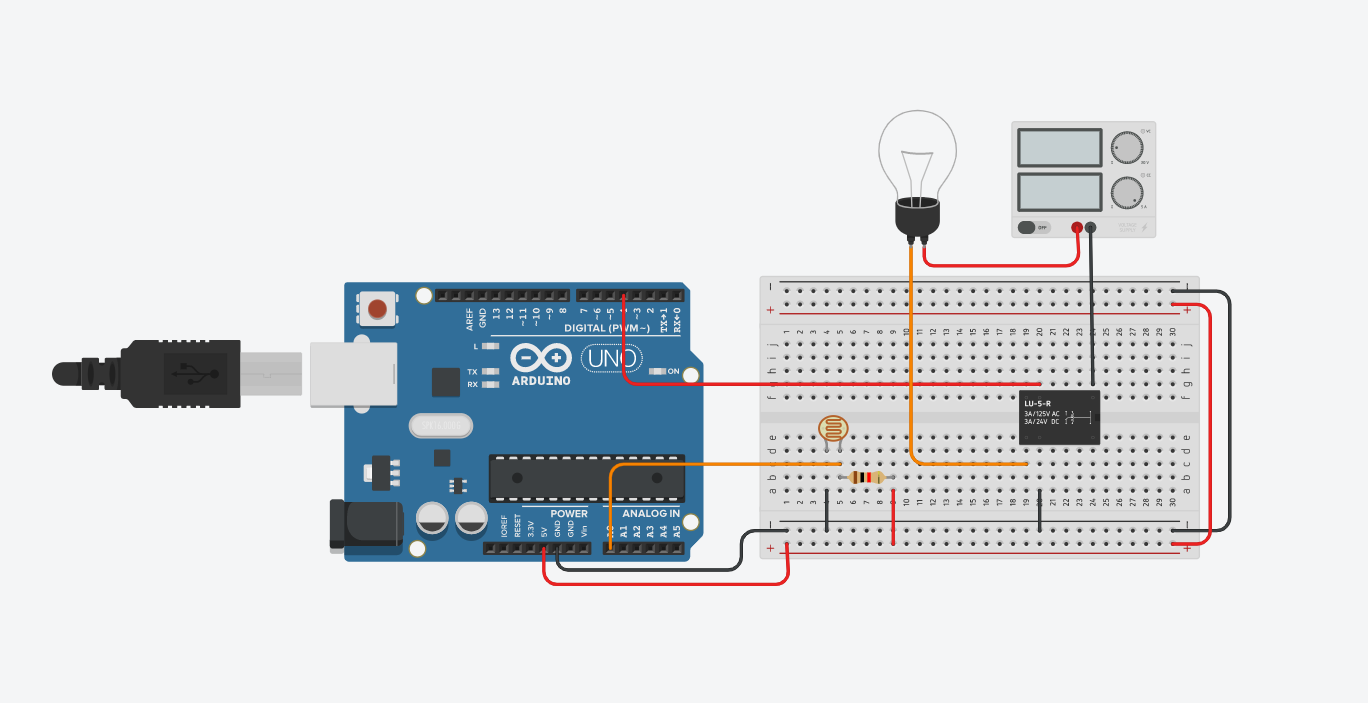
Connecting wires can be difficult but follow along and you see the magic you can create.
WIRING THE LIGHT BULB AND RELAY
Before doing anything connect the 5V power from the Arduino to the power rail and ground from the Arduino into the ground rail. Then connect the positive end of the power supply to terminal 2 of the light bulb. Take the ground end of the power supply and connect it to terminal 1 of the relay. Connect the ground end of the Light Bulb and Connect it to Terminal 7 of the relay. Make sure that terminal 8 is connected to the ground rail. then connect terminal 5 of the relay to any of the Digital pins.
WIRING PHOTO RESISTOR
Connect Terminal 1 of the Photo resistor to the ground rail. Connect terminal 2 of the Photo resistor to any of the analog pins ALONG with a 1000 Ohm resistor connected to the power rail.
Note *Power supply should be set to 5V's*
Code
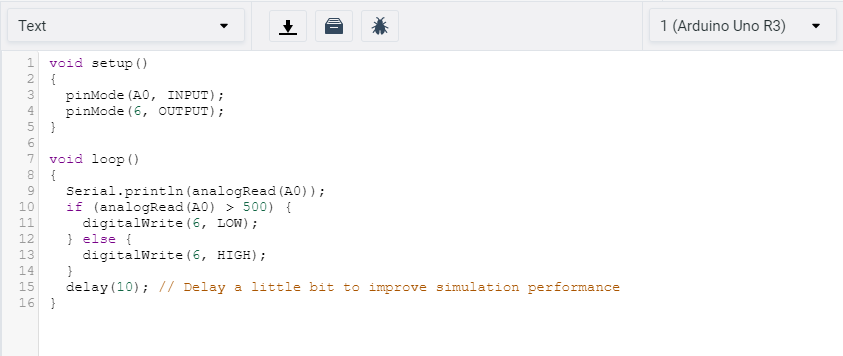
Lets start off by setting up our inputs and outputs under voidSetup()
pinMode(youranalogpin, INPUT):
pinMode(yourdigitalpin, OUTPUT);
Now that out inputs and outputs are setup now under voidLoop we can write the following code.
Serial.println(analogRead(A0));
if (analogRead(A0) > 500) { digitalWrite(6, LOW); } else { digitalWrite(6, HIGH); } delay(10);
}
what this code says is that then there is more light, more resistance is applied so that the light bulb will turn off and when there is less light, less resistance is applied which will turn on the light bulb. The delay is in place to make the simulation better.
Complete
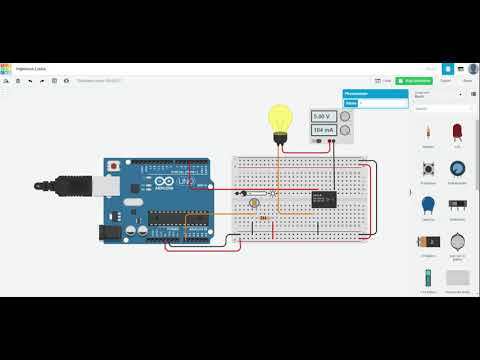
Congratulations you have now completed your Arduino Light Intensity Lamp. If you have to have an Arduino on hand along with the materials, you can make it in with real materials!