Arduino Leonardo Macro Keyboard (Modified)
by ItzEric in Circuits > Arduino
780 Views, 0 Favorites, 0 Comments
Arduino Leonardo Macro Keyboard (Modified)
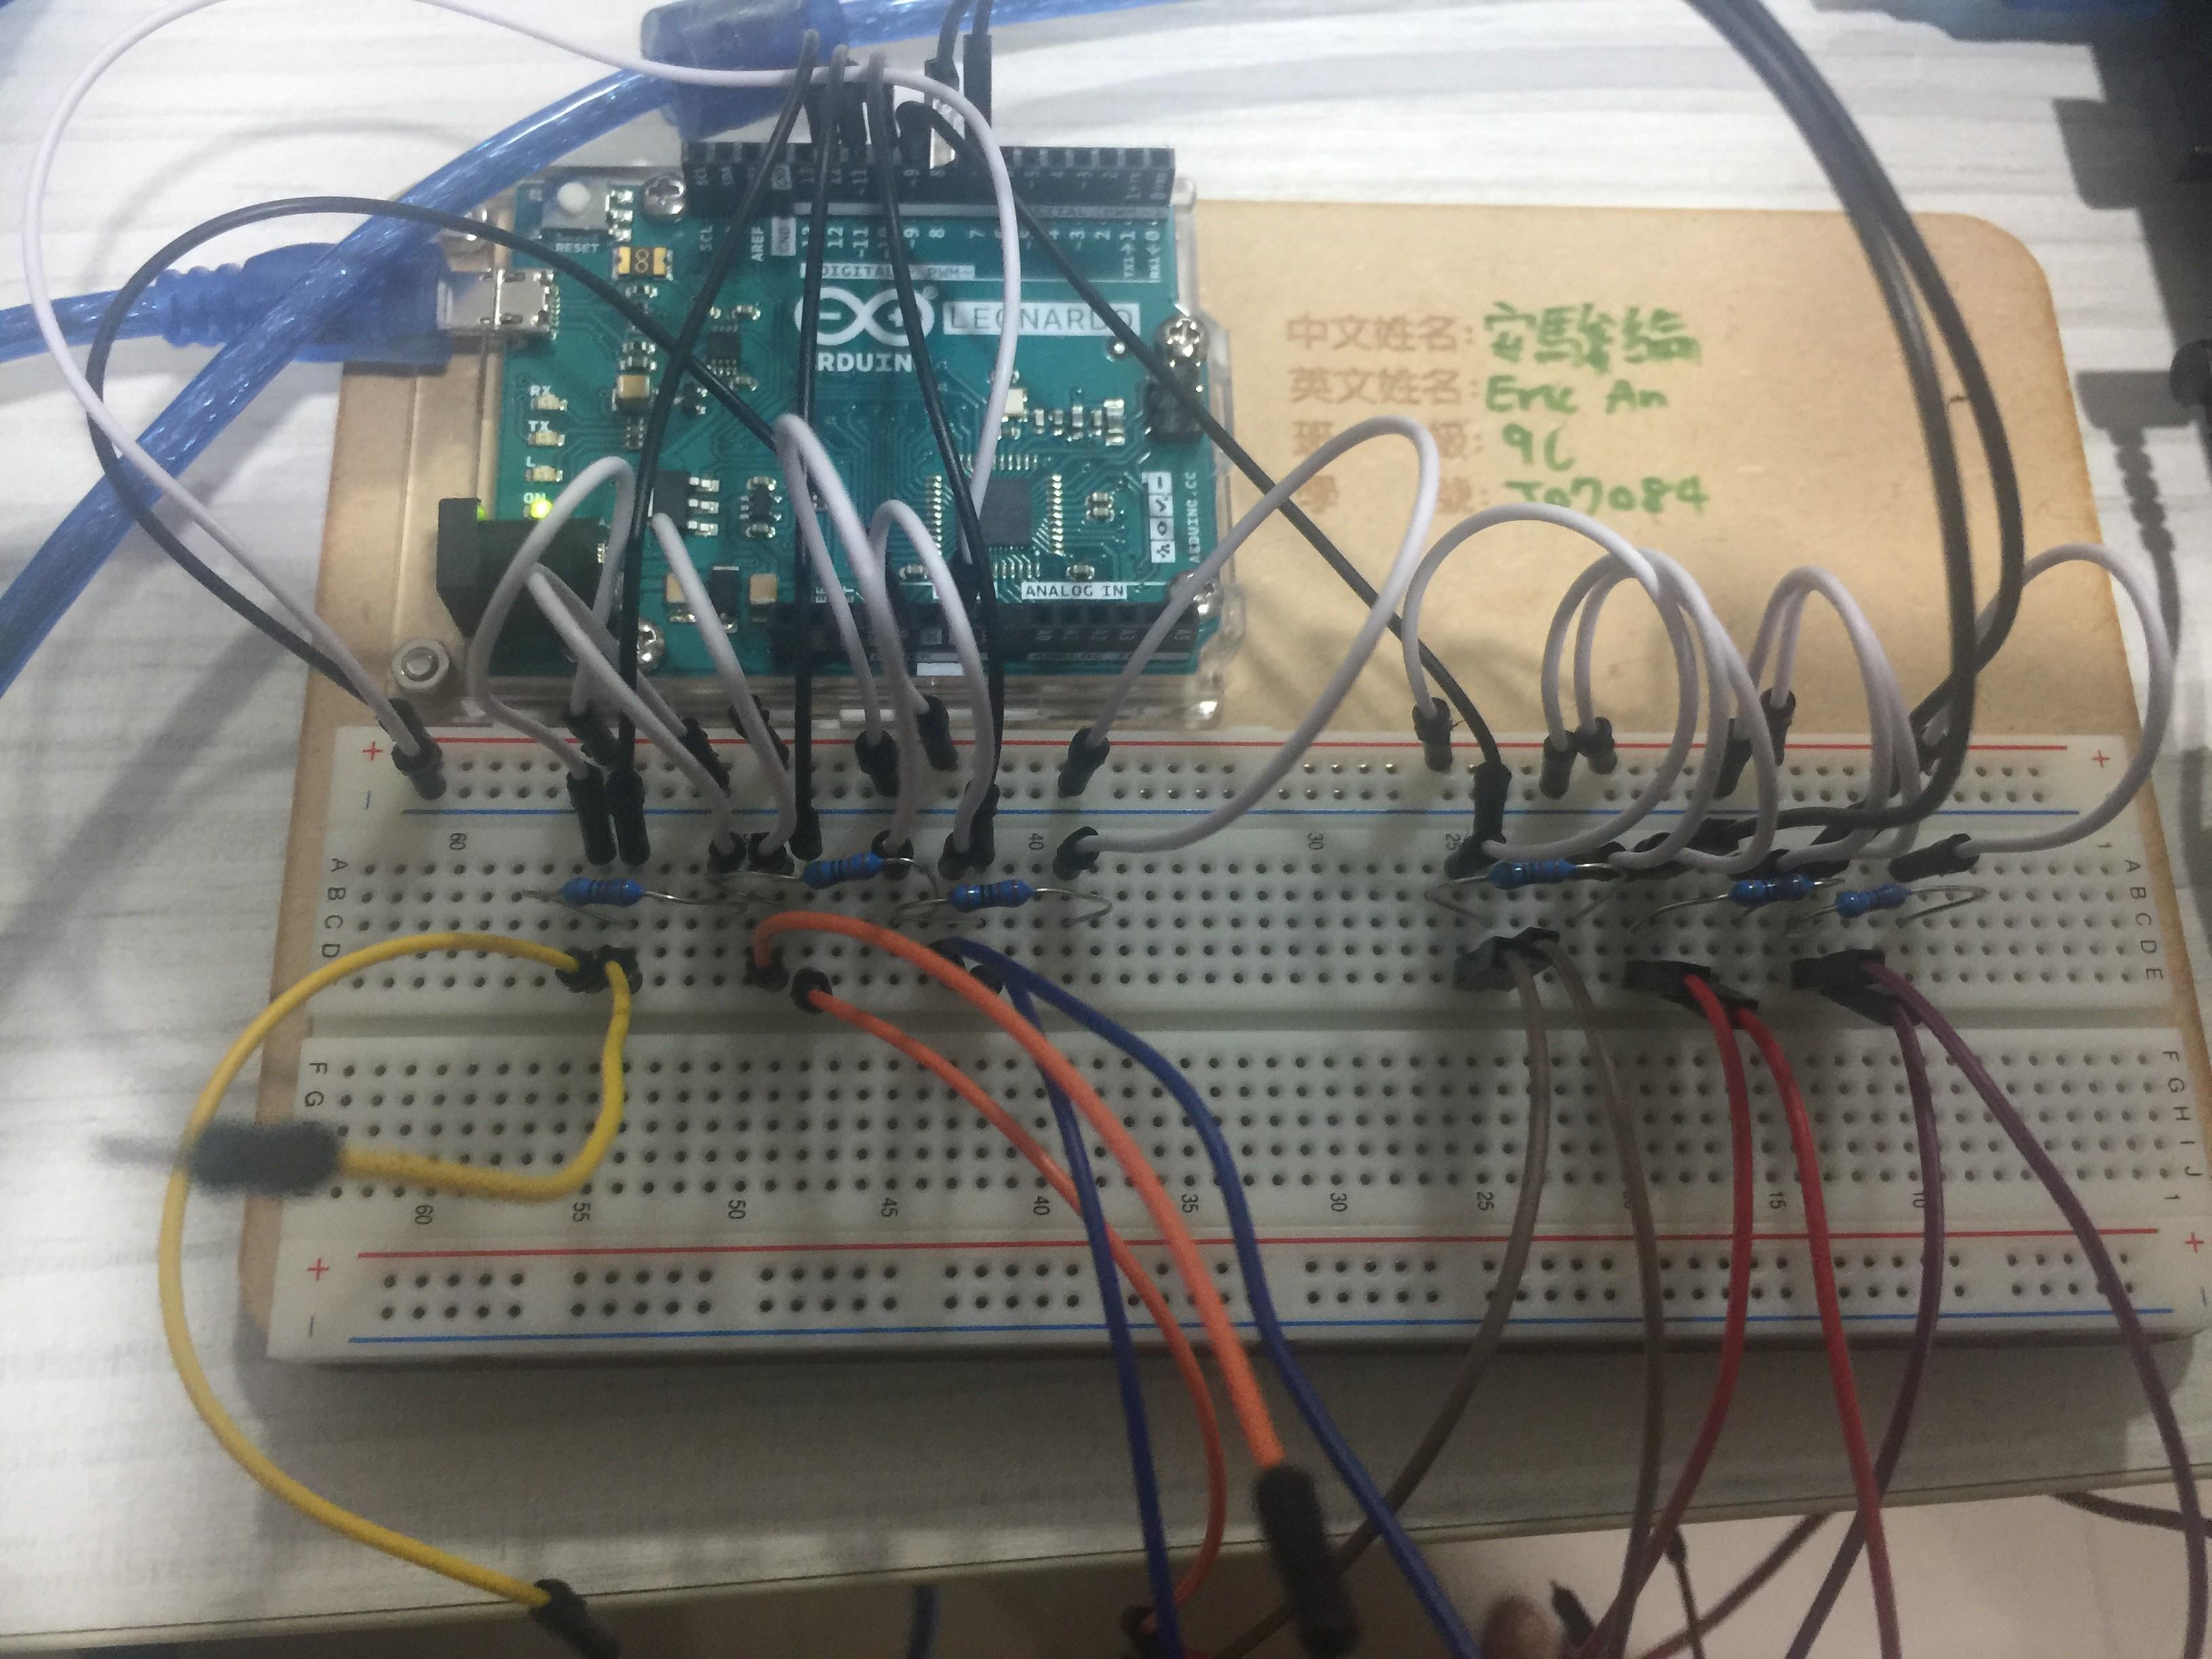
I made this modification since the previous person made it so that you need special buttons and an add-on board for his extra pins.
This is the link to the original idea by ConnorC44: https://www.instructables.com/Macro-Keyboard-With-Leonardo/
I modified to change the buttons into jumper wires connected to 10k ohm resistors, then change the code of pin 16 to pin 11, pin 14 to pin 12, and made it accessible to everyone who doesn't have the add-on board.
Since remembering all of the macros on a keyboard is hard, this circuit can help you with an easy and simple press on the wire to do the macro for you.
Who can benefit from this?
People I aimed for in this macro keyboard are new to the keyboard and don't know some macros, like copying, pasting, cutting, etc. My main target is for 5 - 6 graders, since that is usually the time that they got their hands on their first keyboards, and that's what happened to me, I don't know any macros, and with this, I can type faster during my 5 - 6 grade school life, when I was a beginner.
Materials Needed
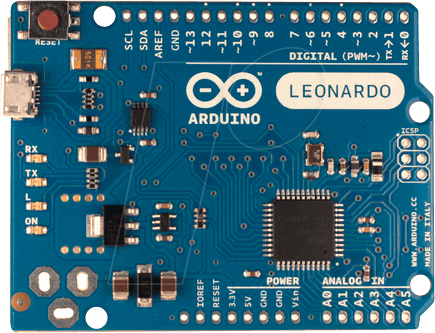
- Arduino Leonardo board
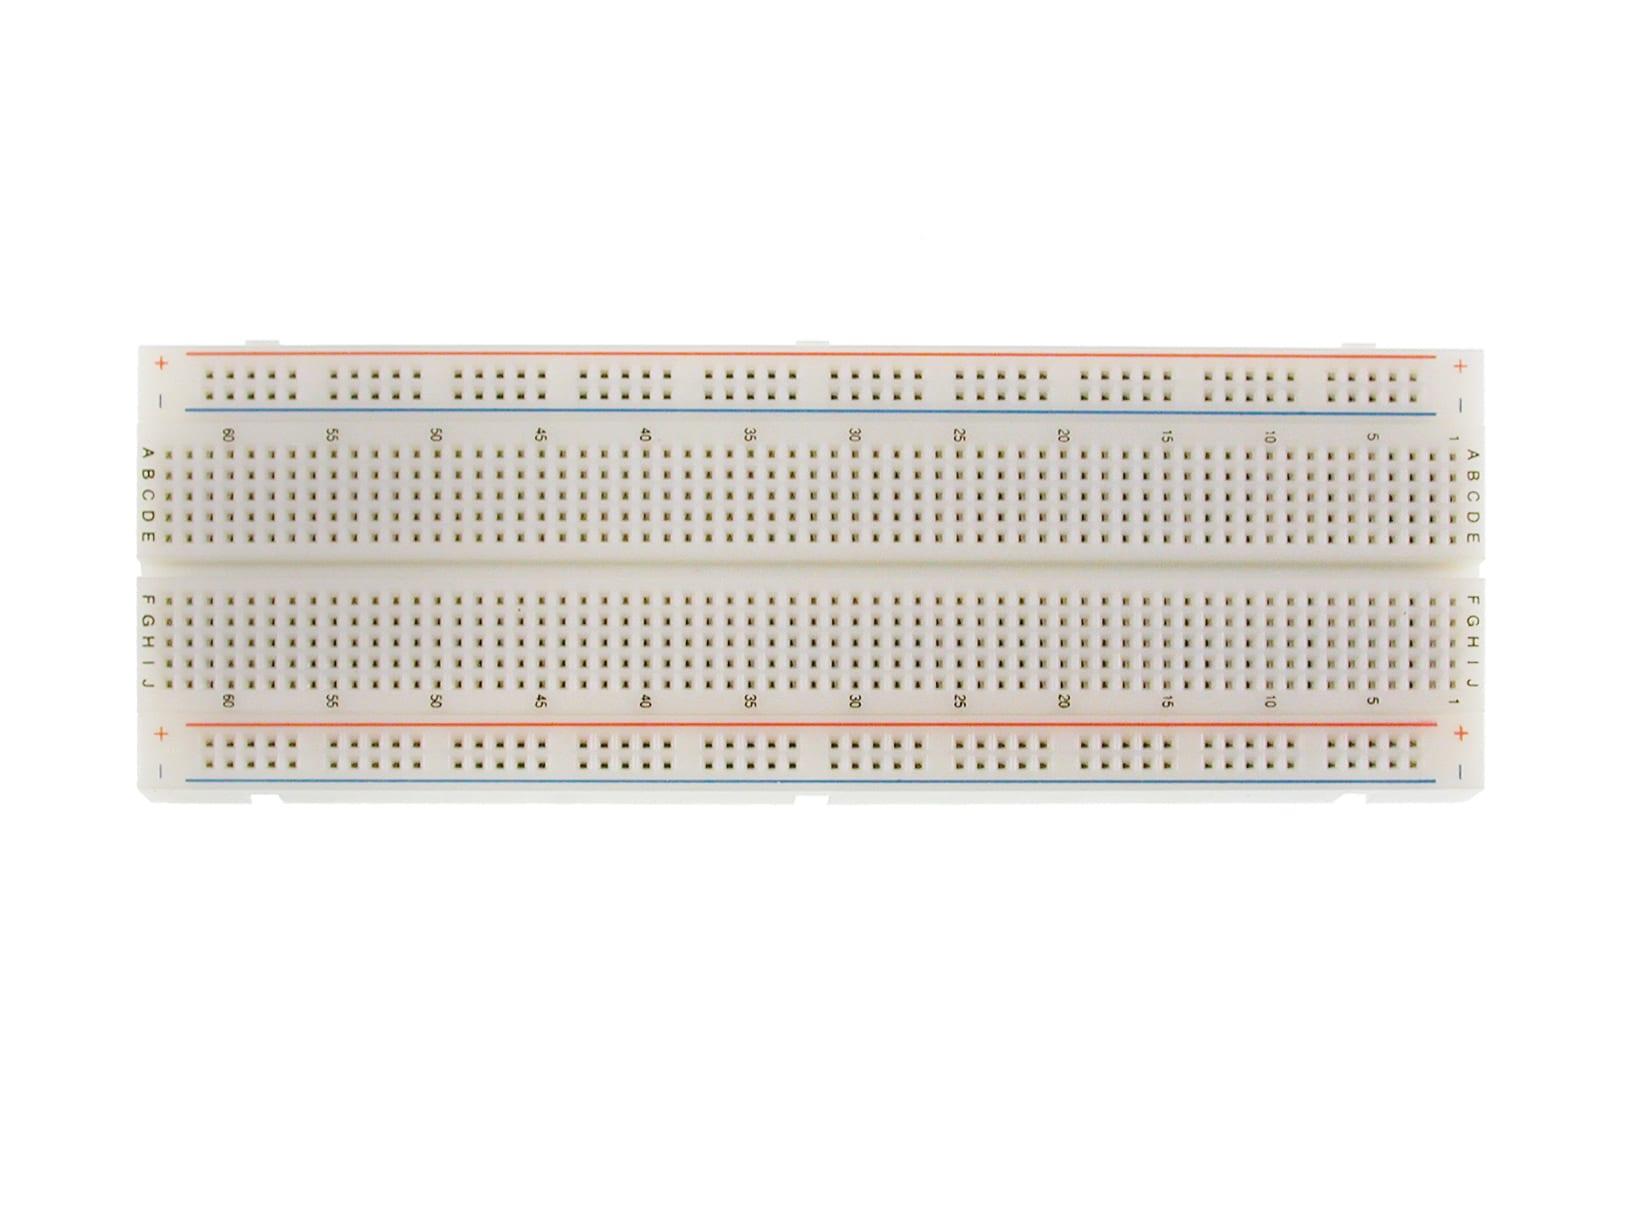
- Breadboard
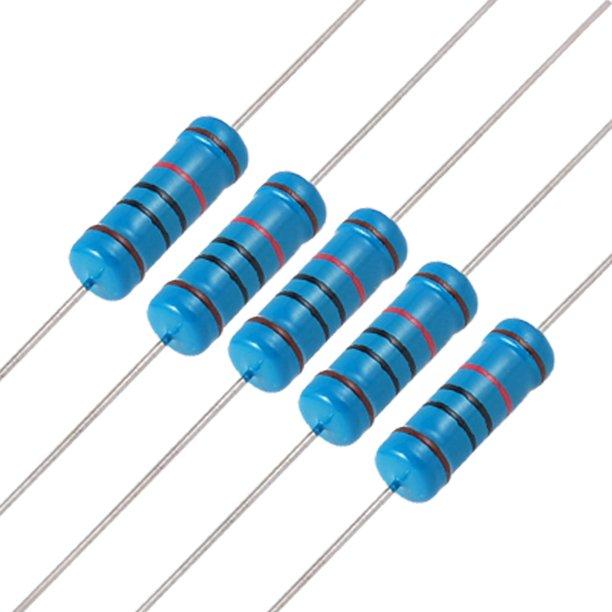
- 6 10k Ohm resistors
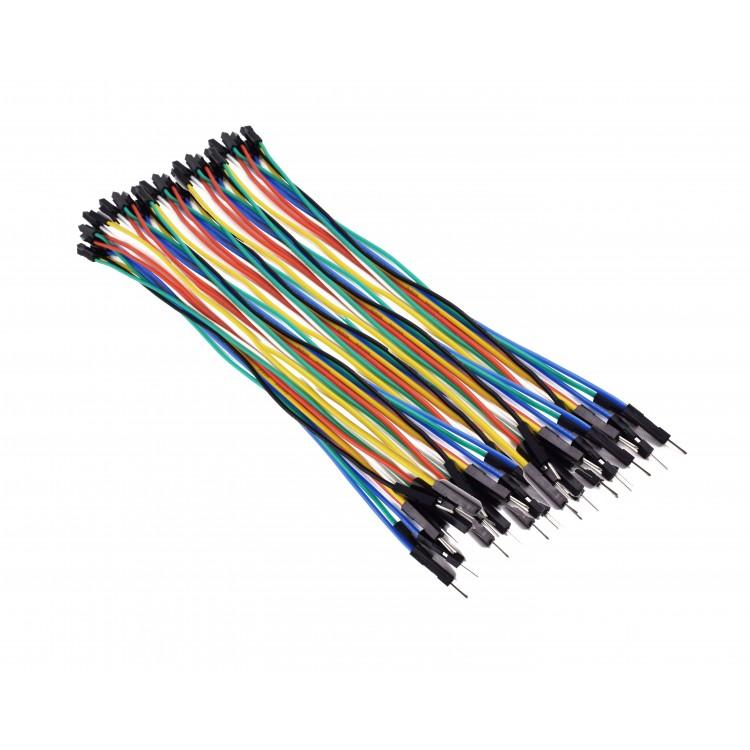
- 32 jumper wires
Wiring
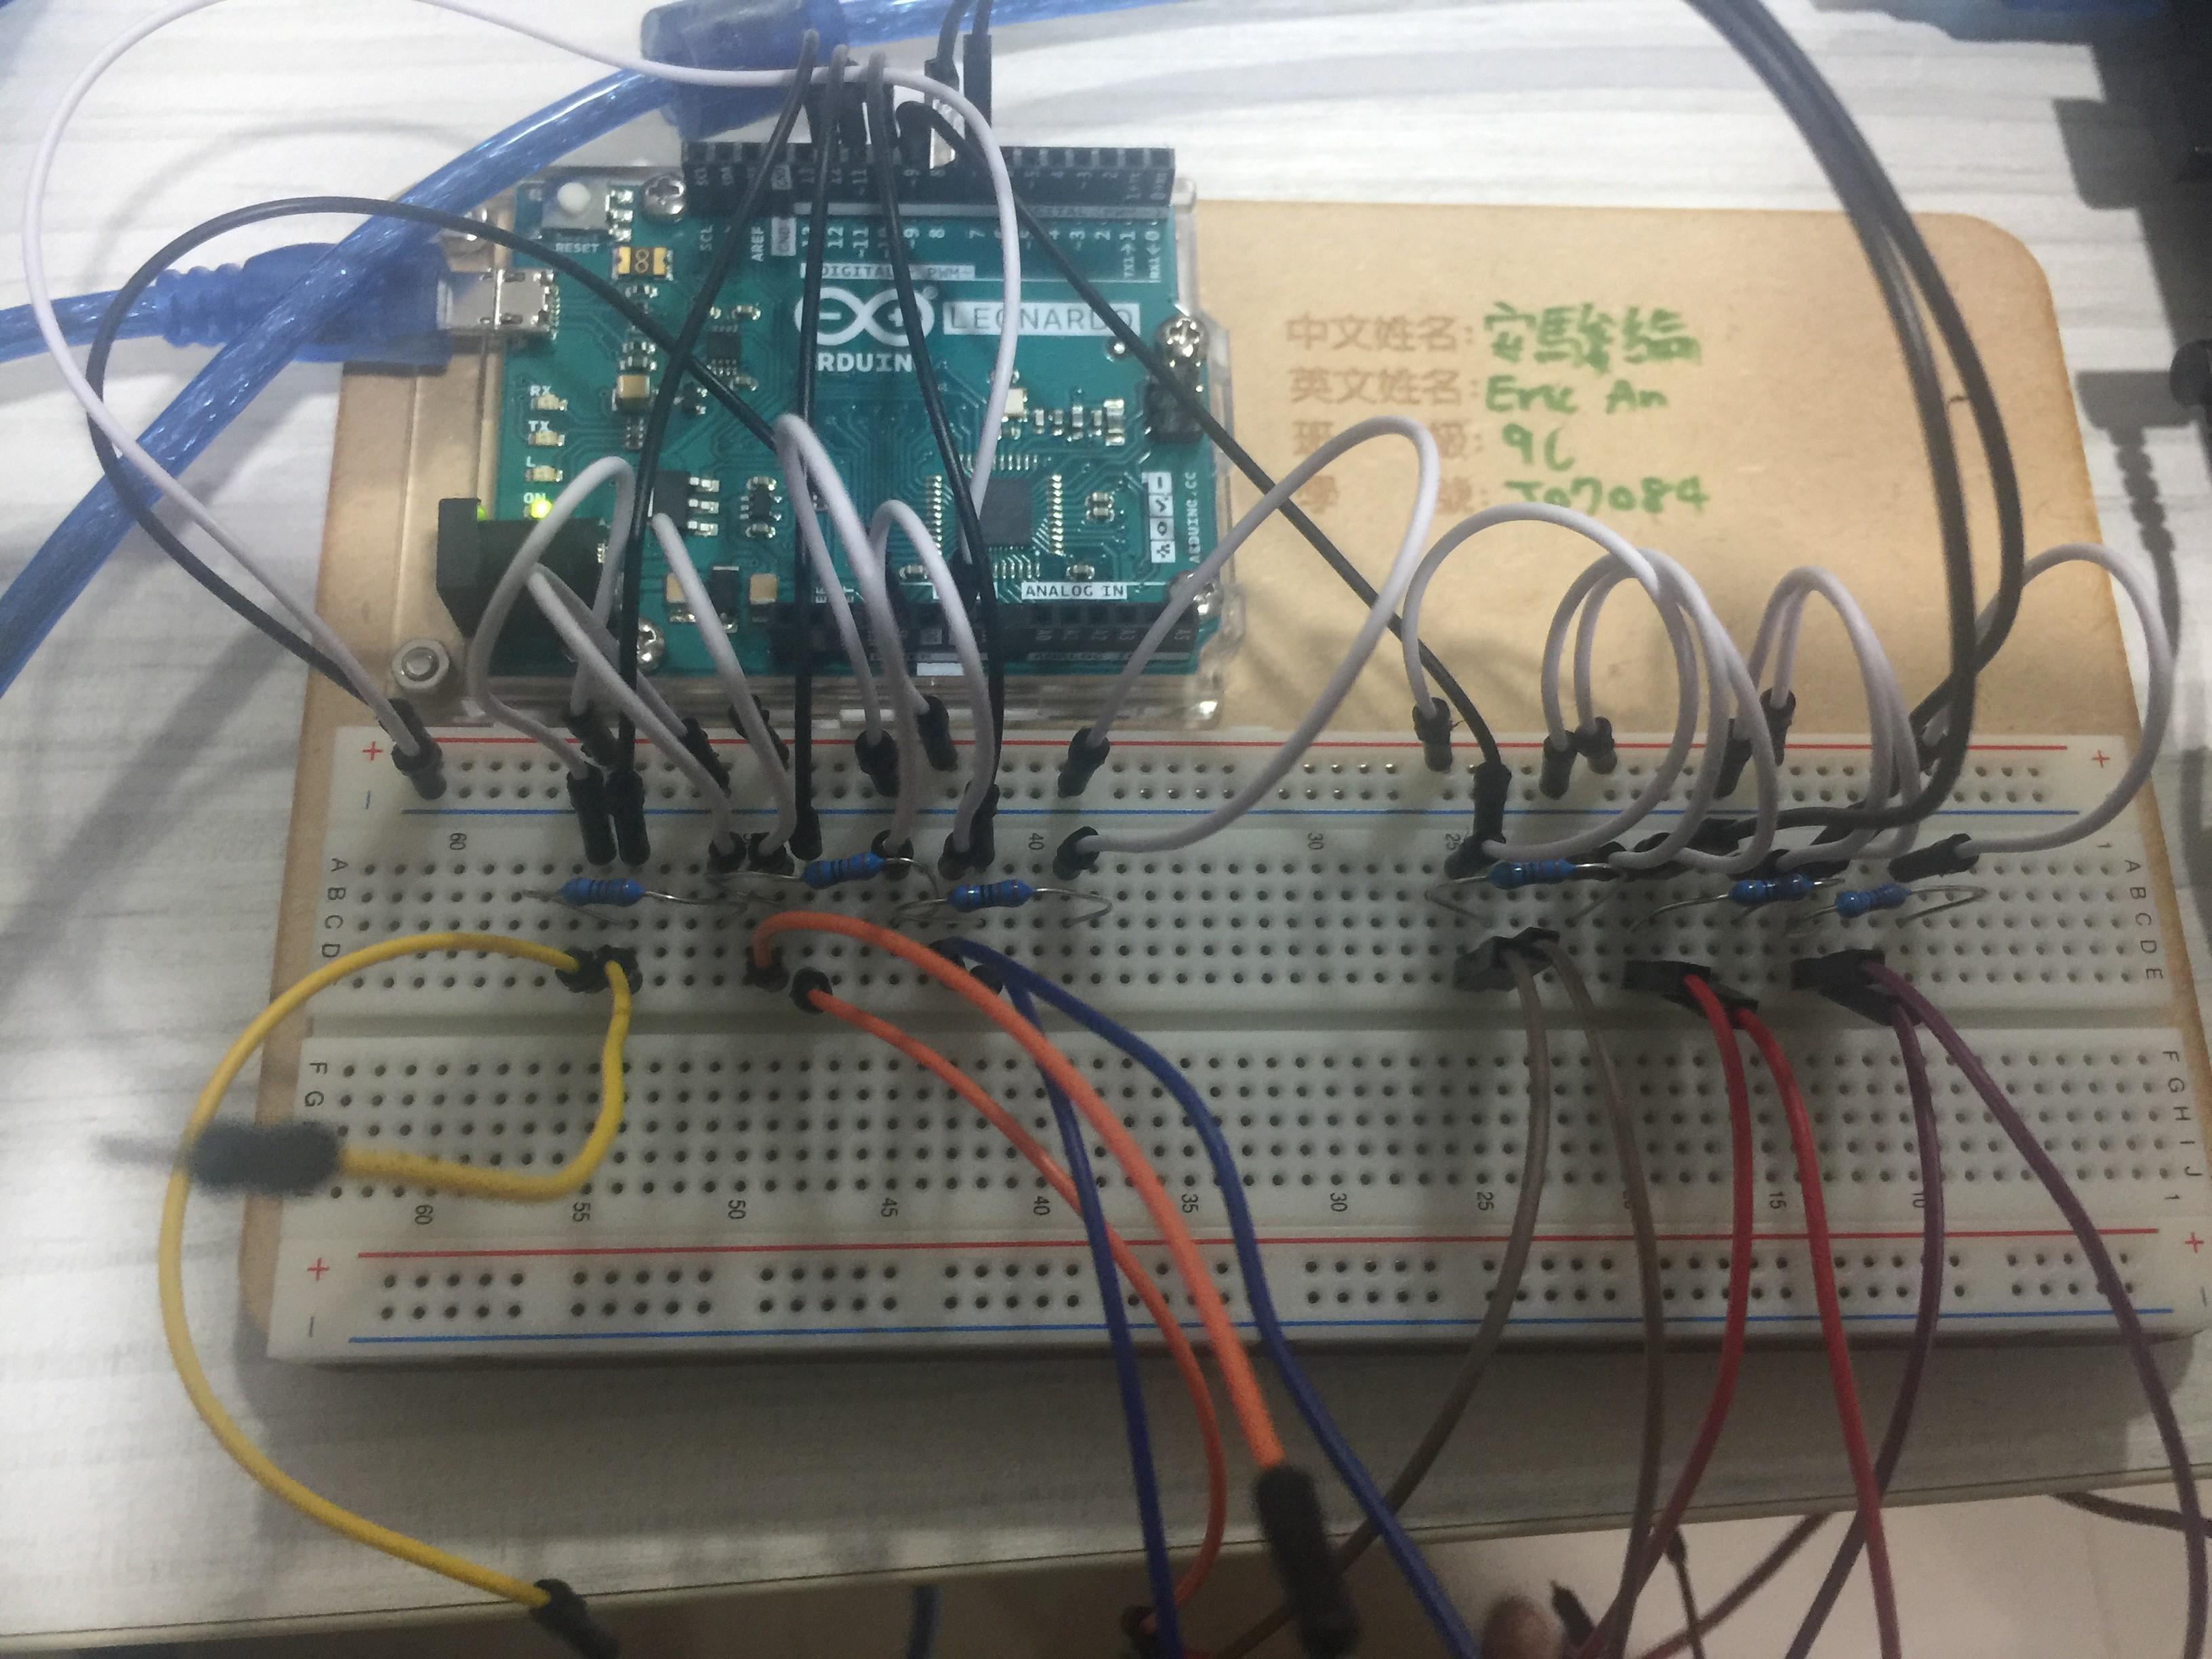
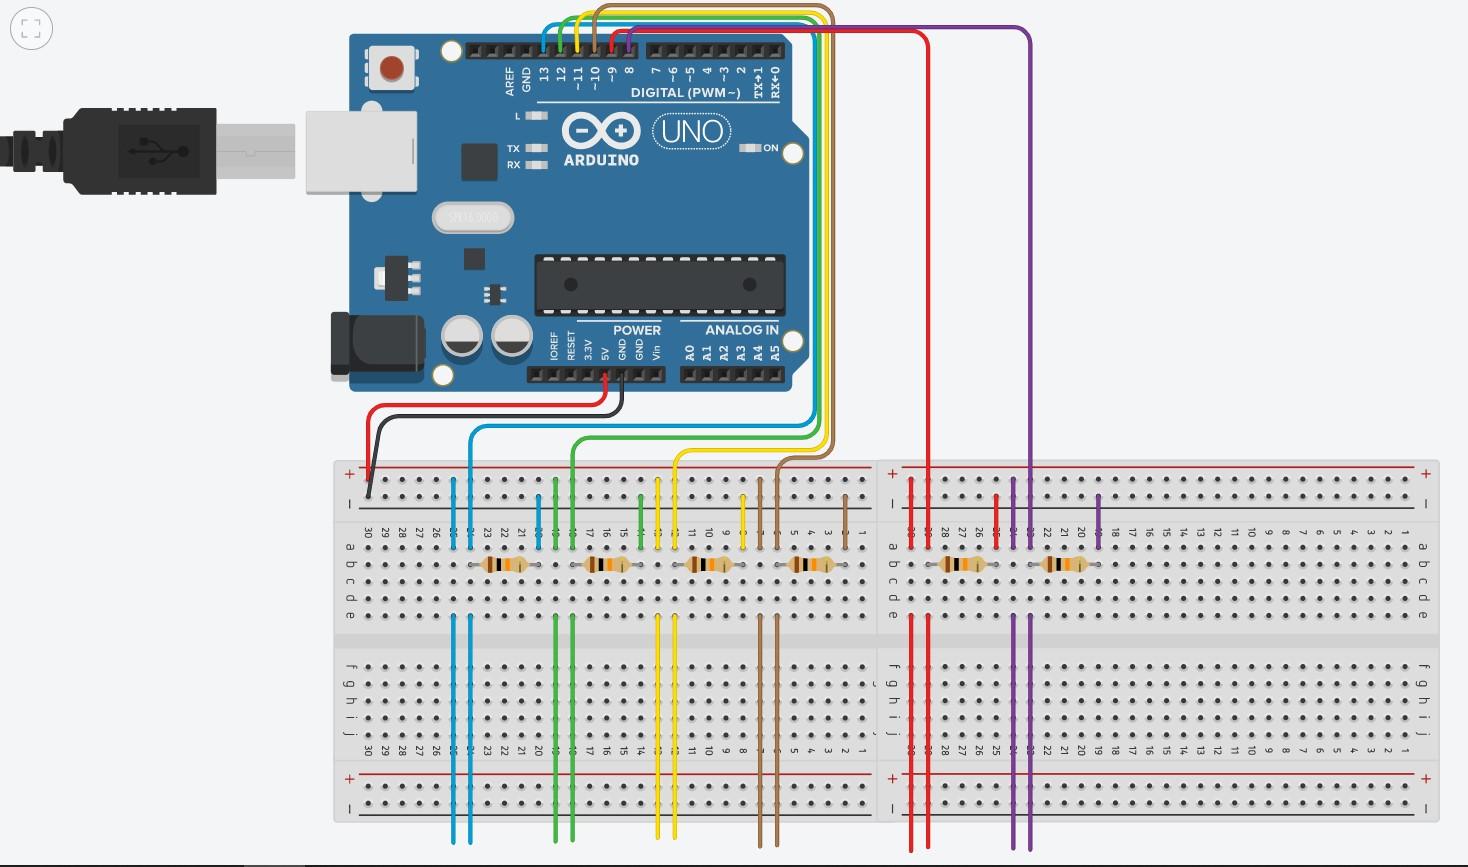
Set up the wires by this picture above, use the second image for reference.
Code
Here's the code: https://create.arduino.cc/editor/itzeric/458e4817-4bd8-4dd4-bcb4-cffb672cf066/preview
Or download it below
Downloads
Process of Creating
- Start the wiring
- Put in the code
- Plug the USB cable to Arduino Leonardo
- Make the two exposed wires touch to do the process indicated inside the description in the code
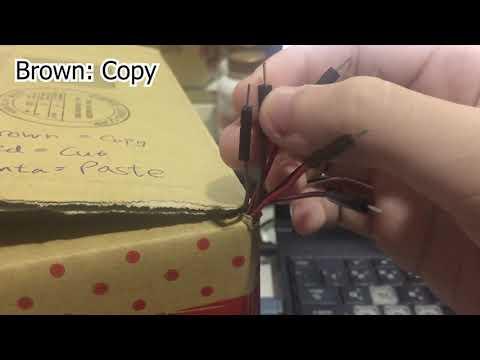
- Pin 7 is paste (Ctrl + v)
- Pin 8 is cut (Ctrl + x)
- Pin 9 is copy (Ctrl + c)
- Pin 10 is bold text (Ctrl + b)
- Pin 11 is italic text (Ctrl + i)
- Pin 12 is underline text (Ctrl + u)
- (optional) Change the code via personal requirements
Outer Shell
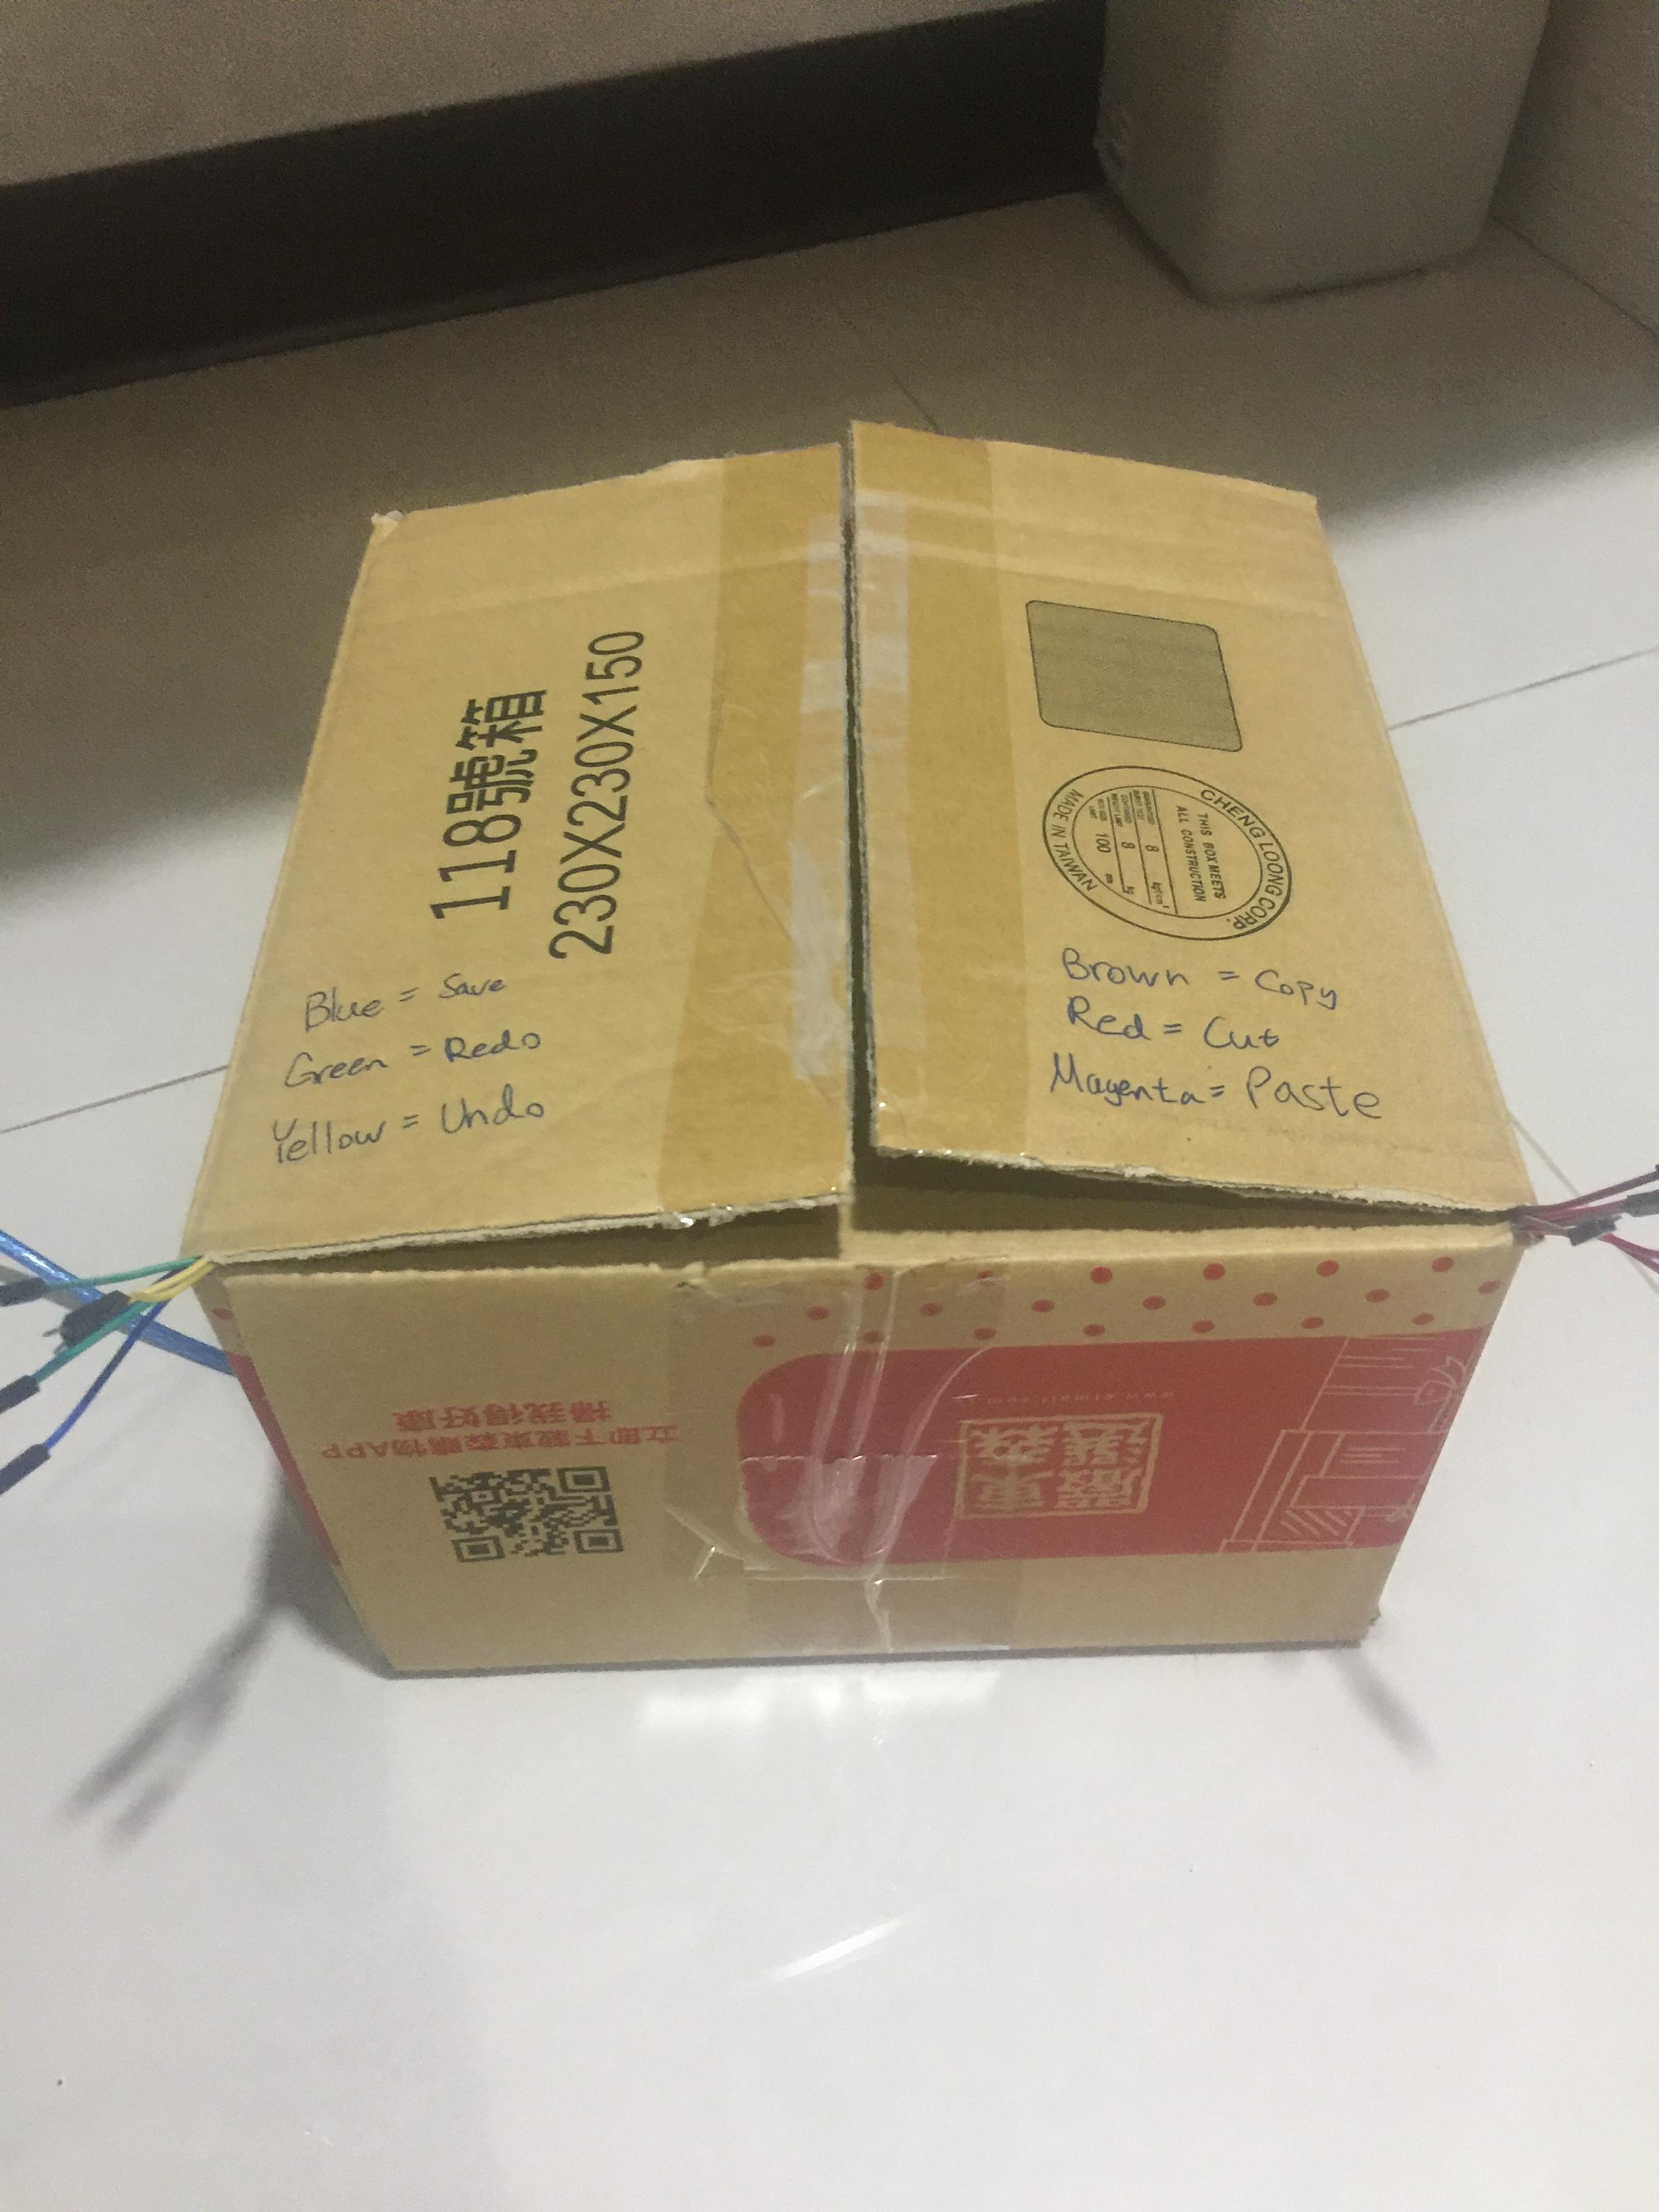
I've used a 23cm * 23cm * 15cm box to make the outer shell, but it can be smaller, the extra space reserved is for power banks, but I've carved a small hole so the cable can run into the Arduino board.
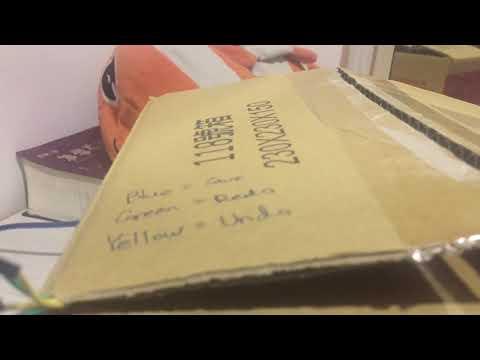
Original Video
Final Video
)