Arduino Leonardo MLA-8 Essay Formatting Machine
by Hong Jyun Wang in Circuits > Arduino
575 Views, 1 Favorites, 0 Comments
Arduino Leonardo MLA-8 Essay Formatting Machine
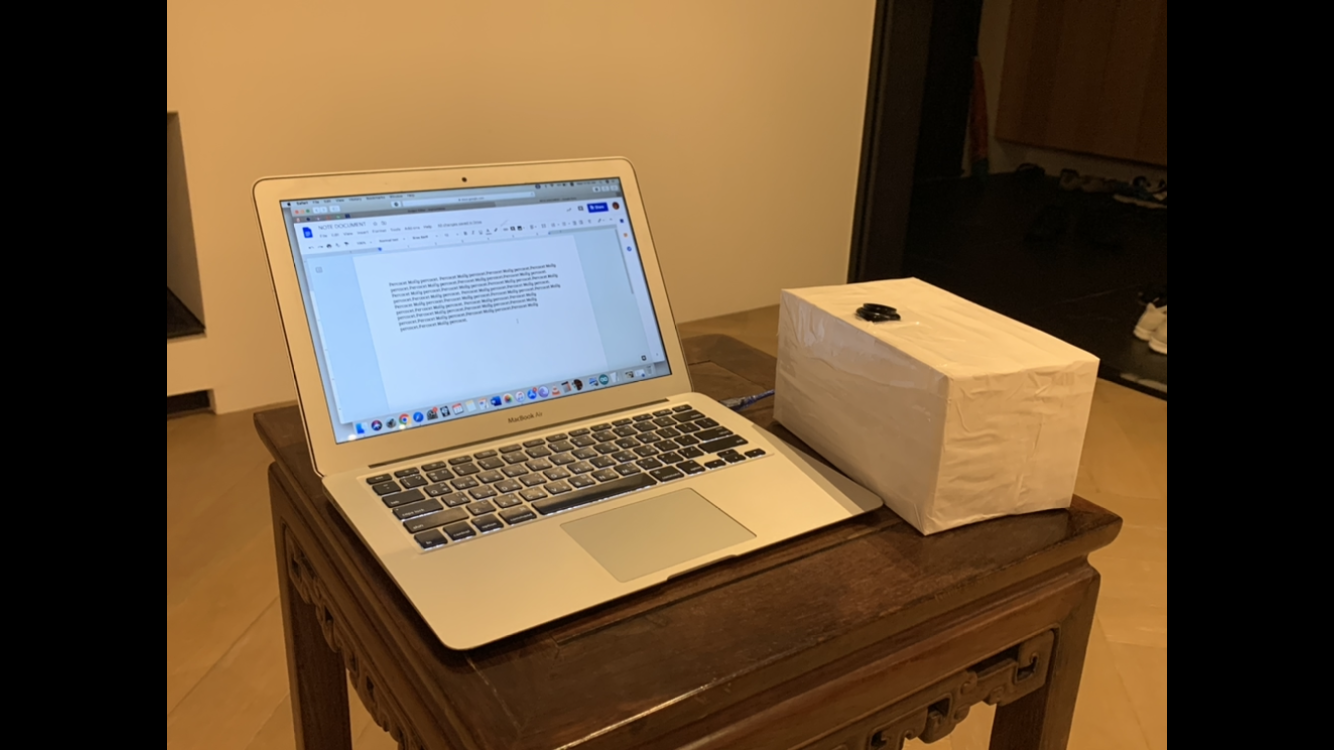
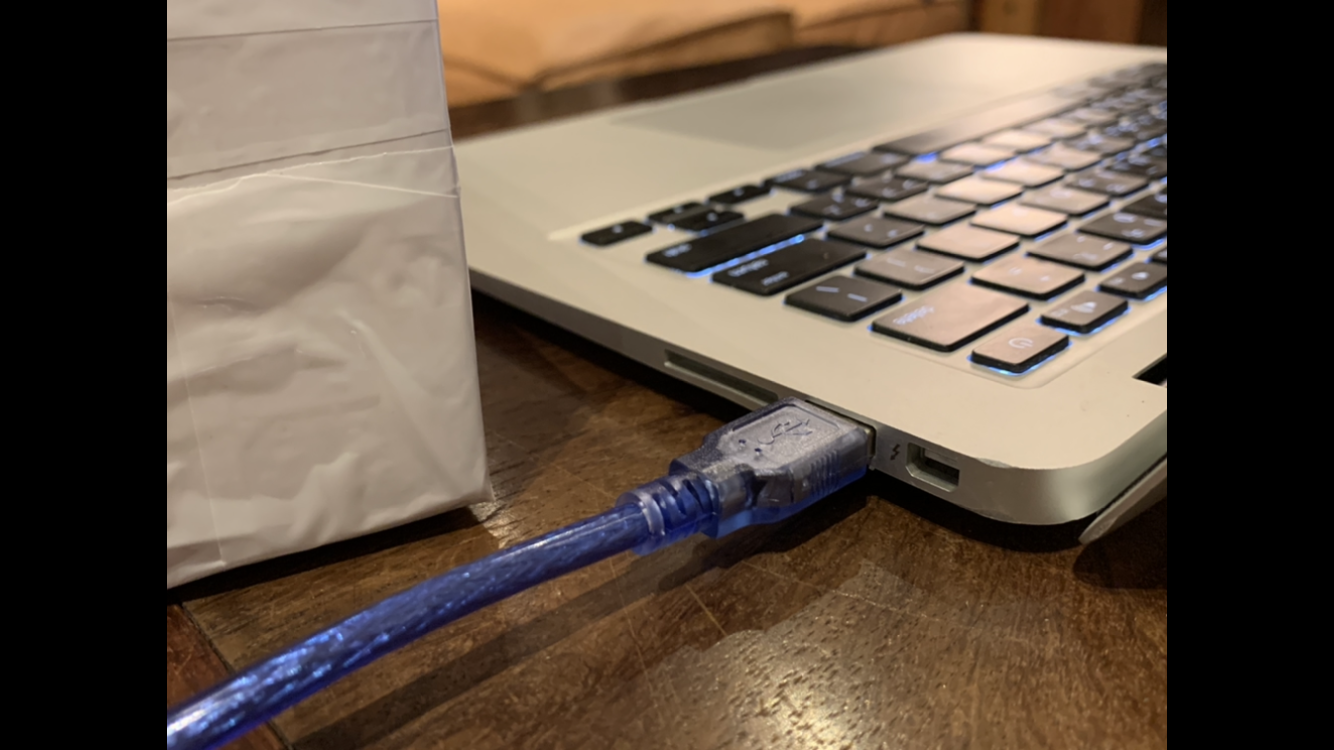
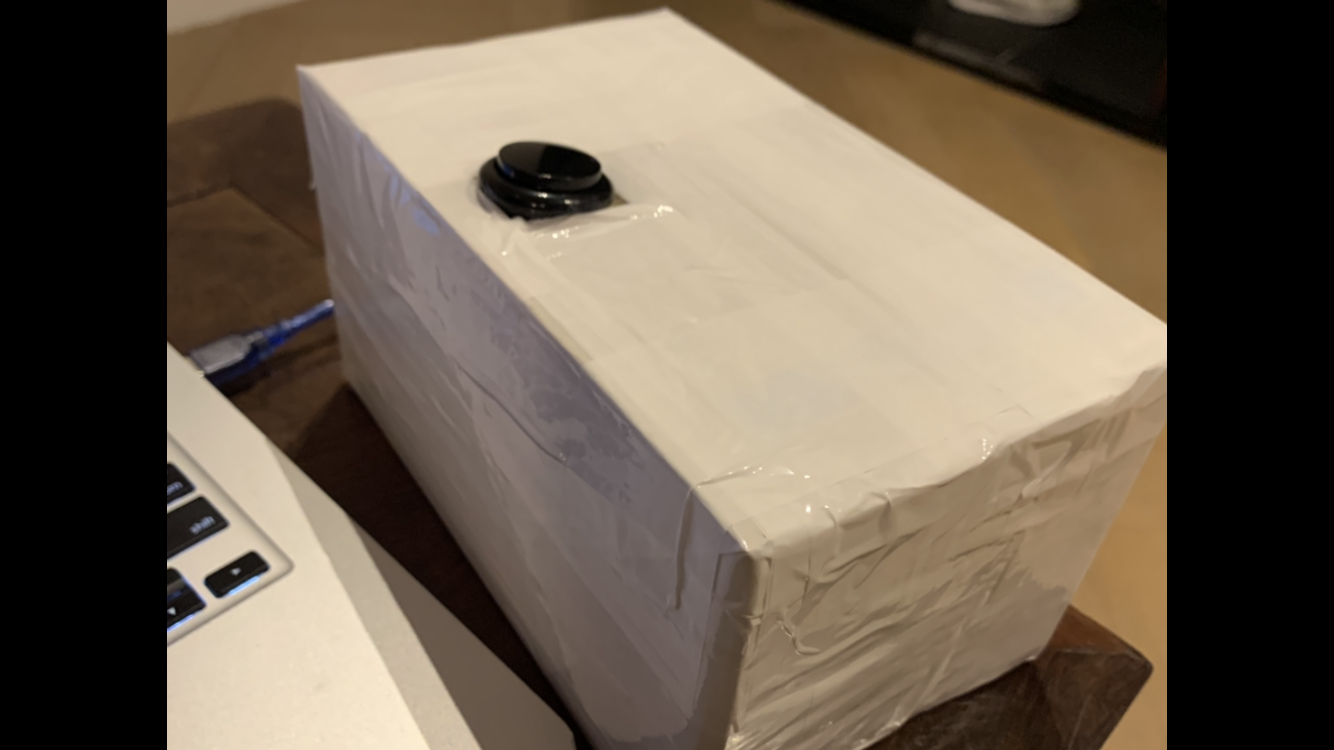
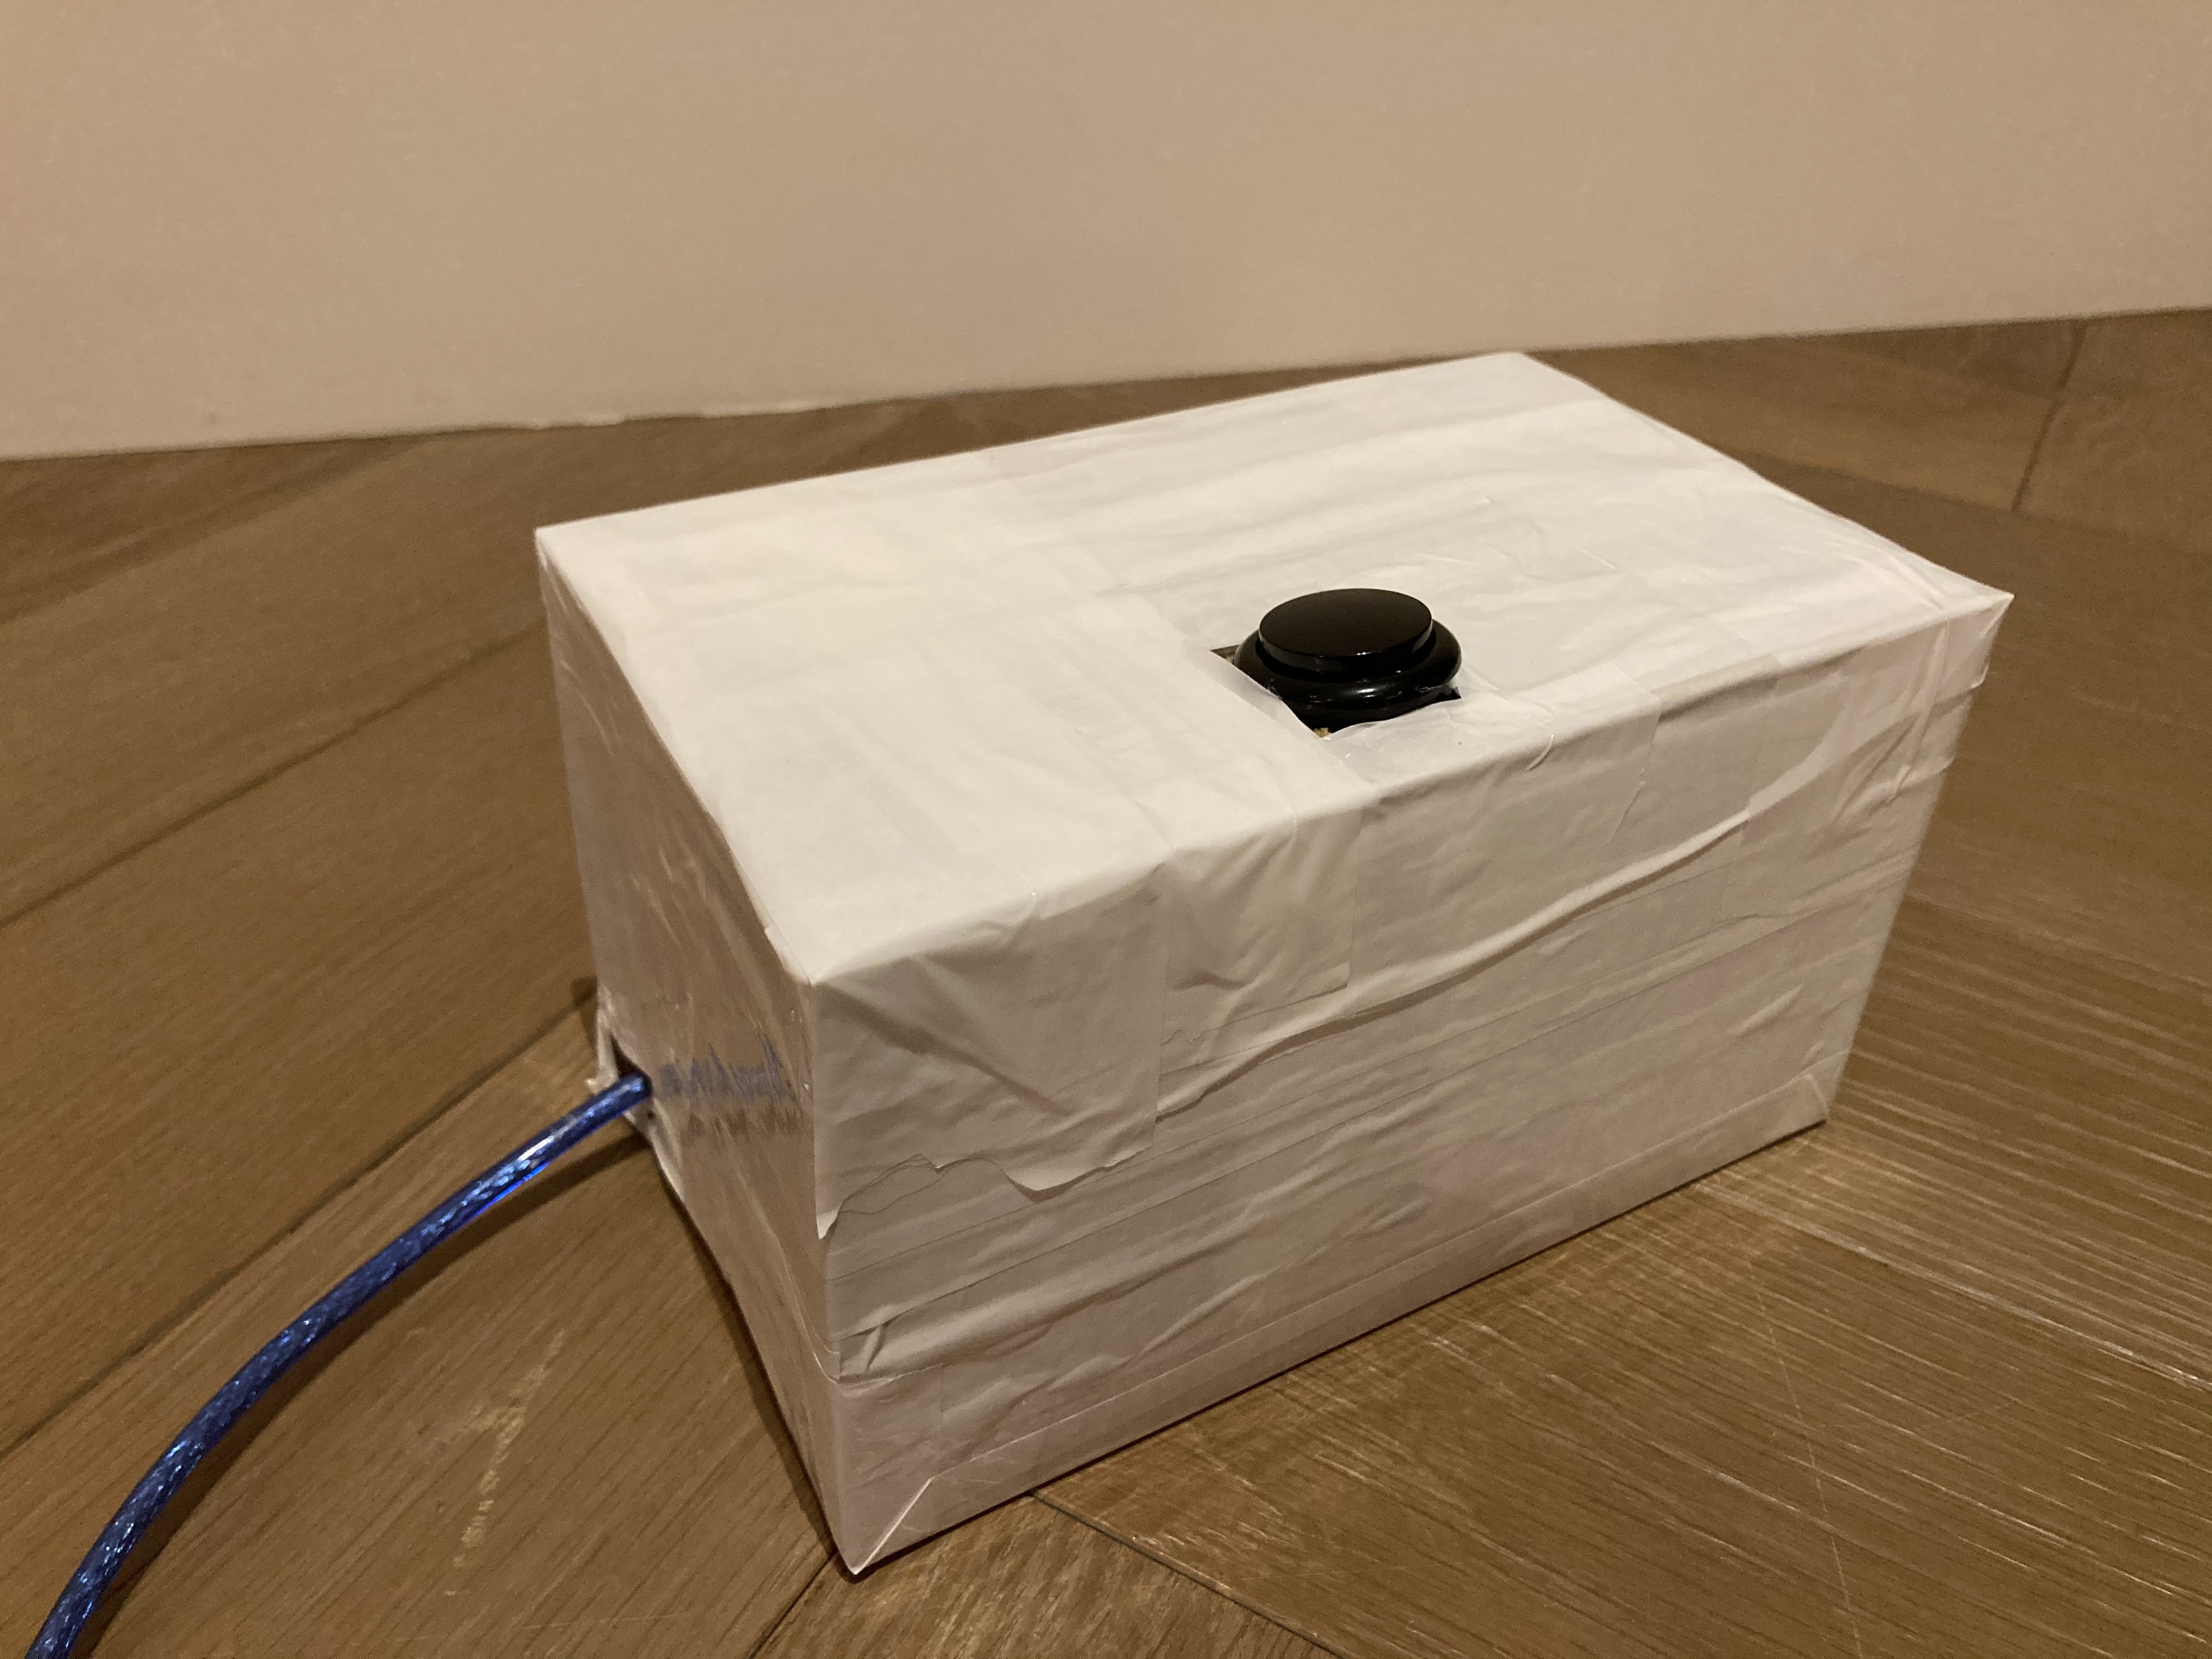
Ladies and Gentlemen, I present to you (Drumroll) The MLA-8 Essay Formatting Machine!
This amazing device is capable of transforming a google document's font, font size, and spacing into MLA-8 format while adding slots for you to enter the necessary information for a standard MLA-8 essay including: teacher's name, your name, subject name, date, and title.
Before you go on to start building your very own formatting device, please note its limitations and requirements.
Function Limitations:
- Does not set margins
- Does not add works cited page nor format your citations
- Applies Only to Google Document
- In case you didn't know, it does not write the essay for you
Device Requirements:
- Applies to a laptop (a keyboard)
- ONLY WORKS on Arduino LEONARDO or DUE
Now that we're all set, let's get into it!
Supplies
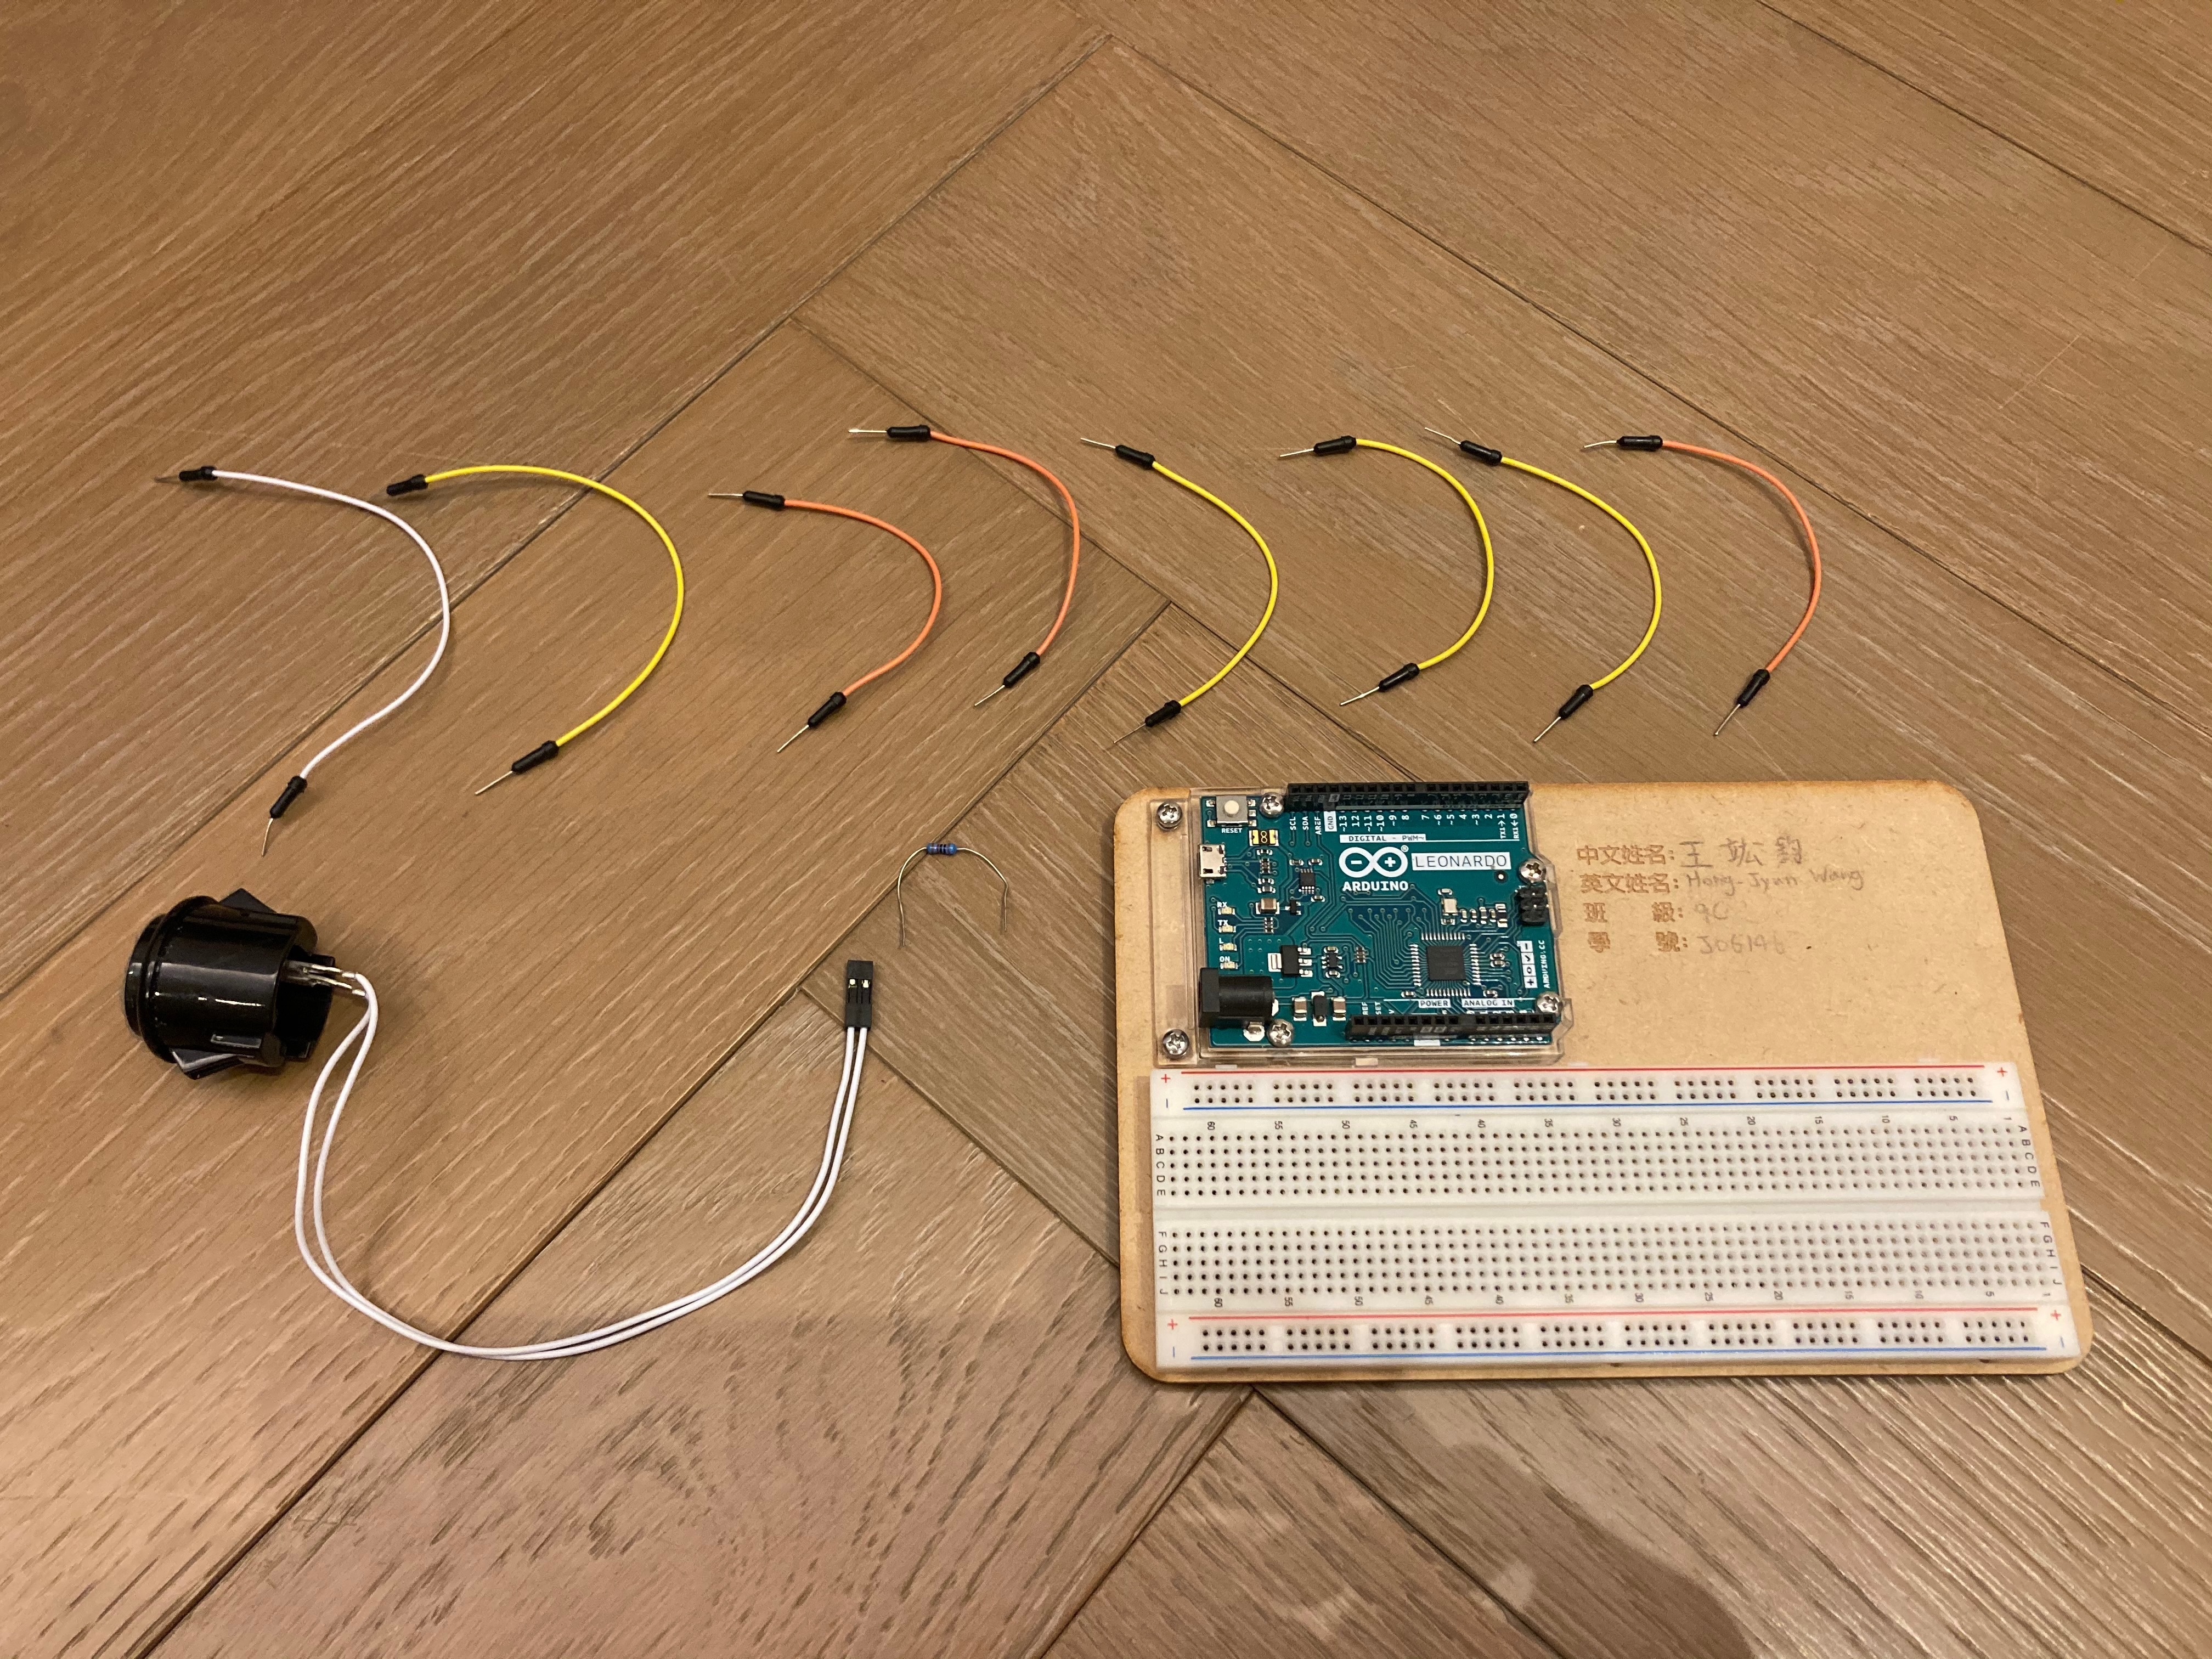
- 1x Arduino Leonardo or Arduino DUE board
- 8x male-to-male jumper wires
- 1x button
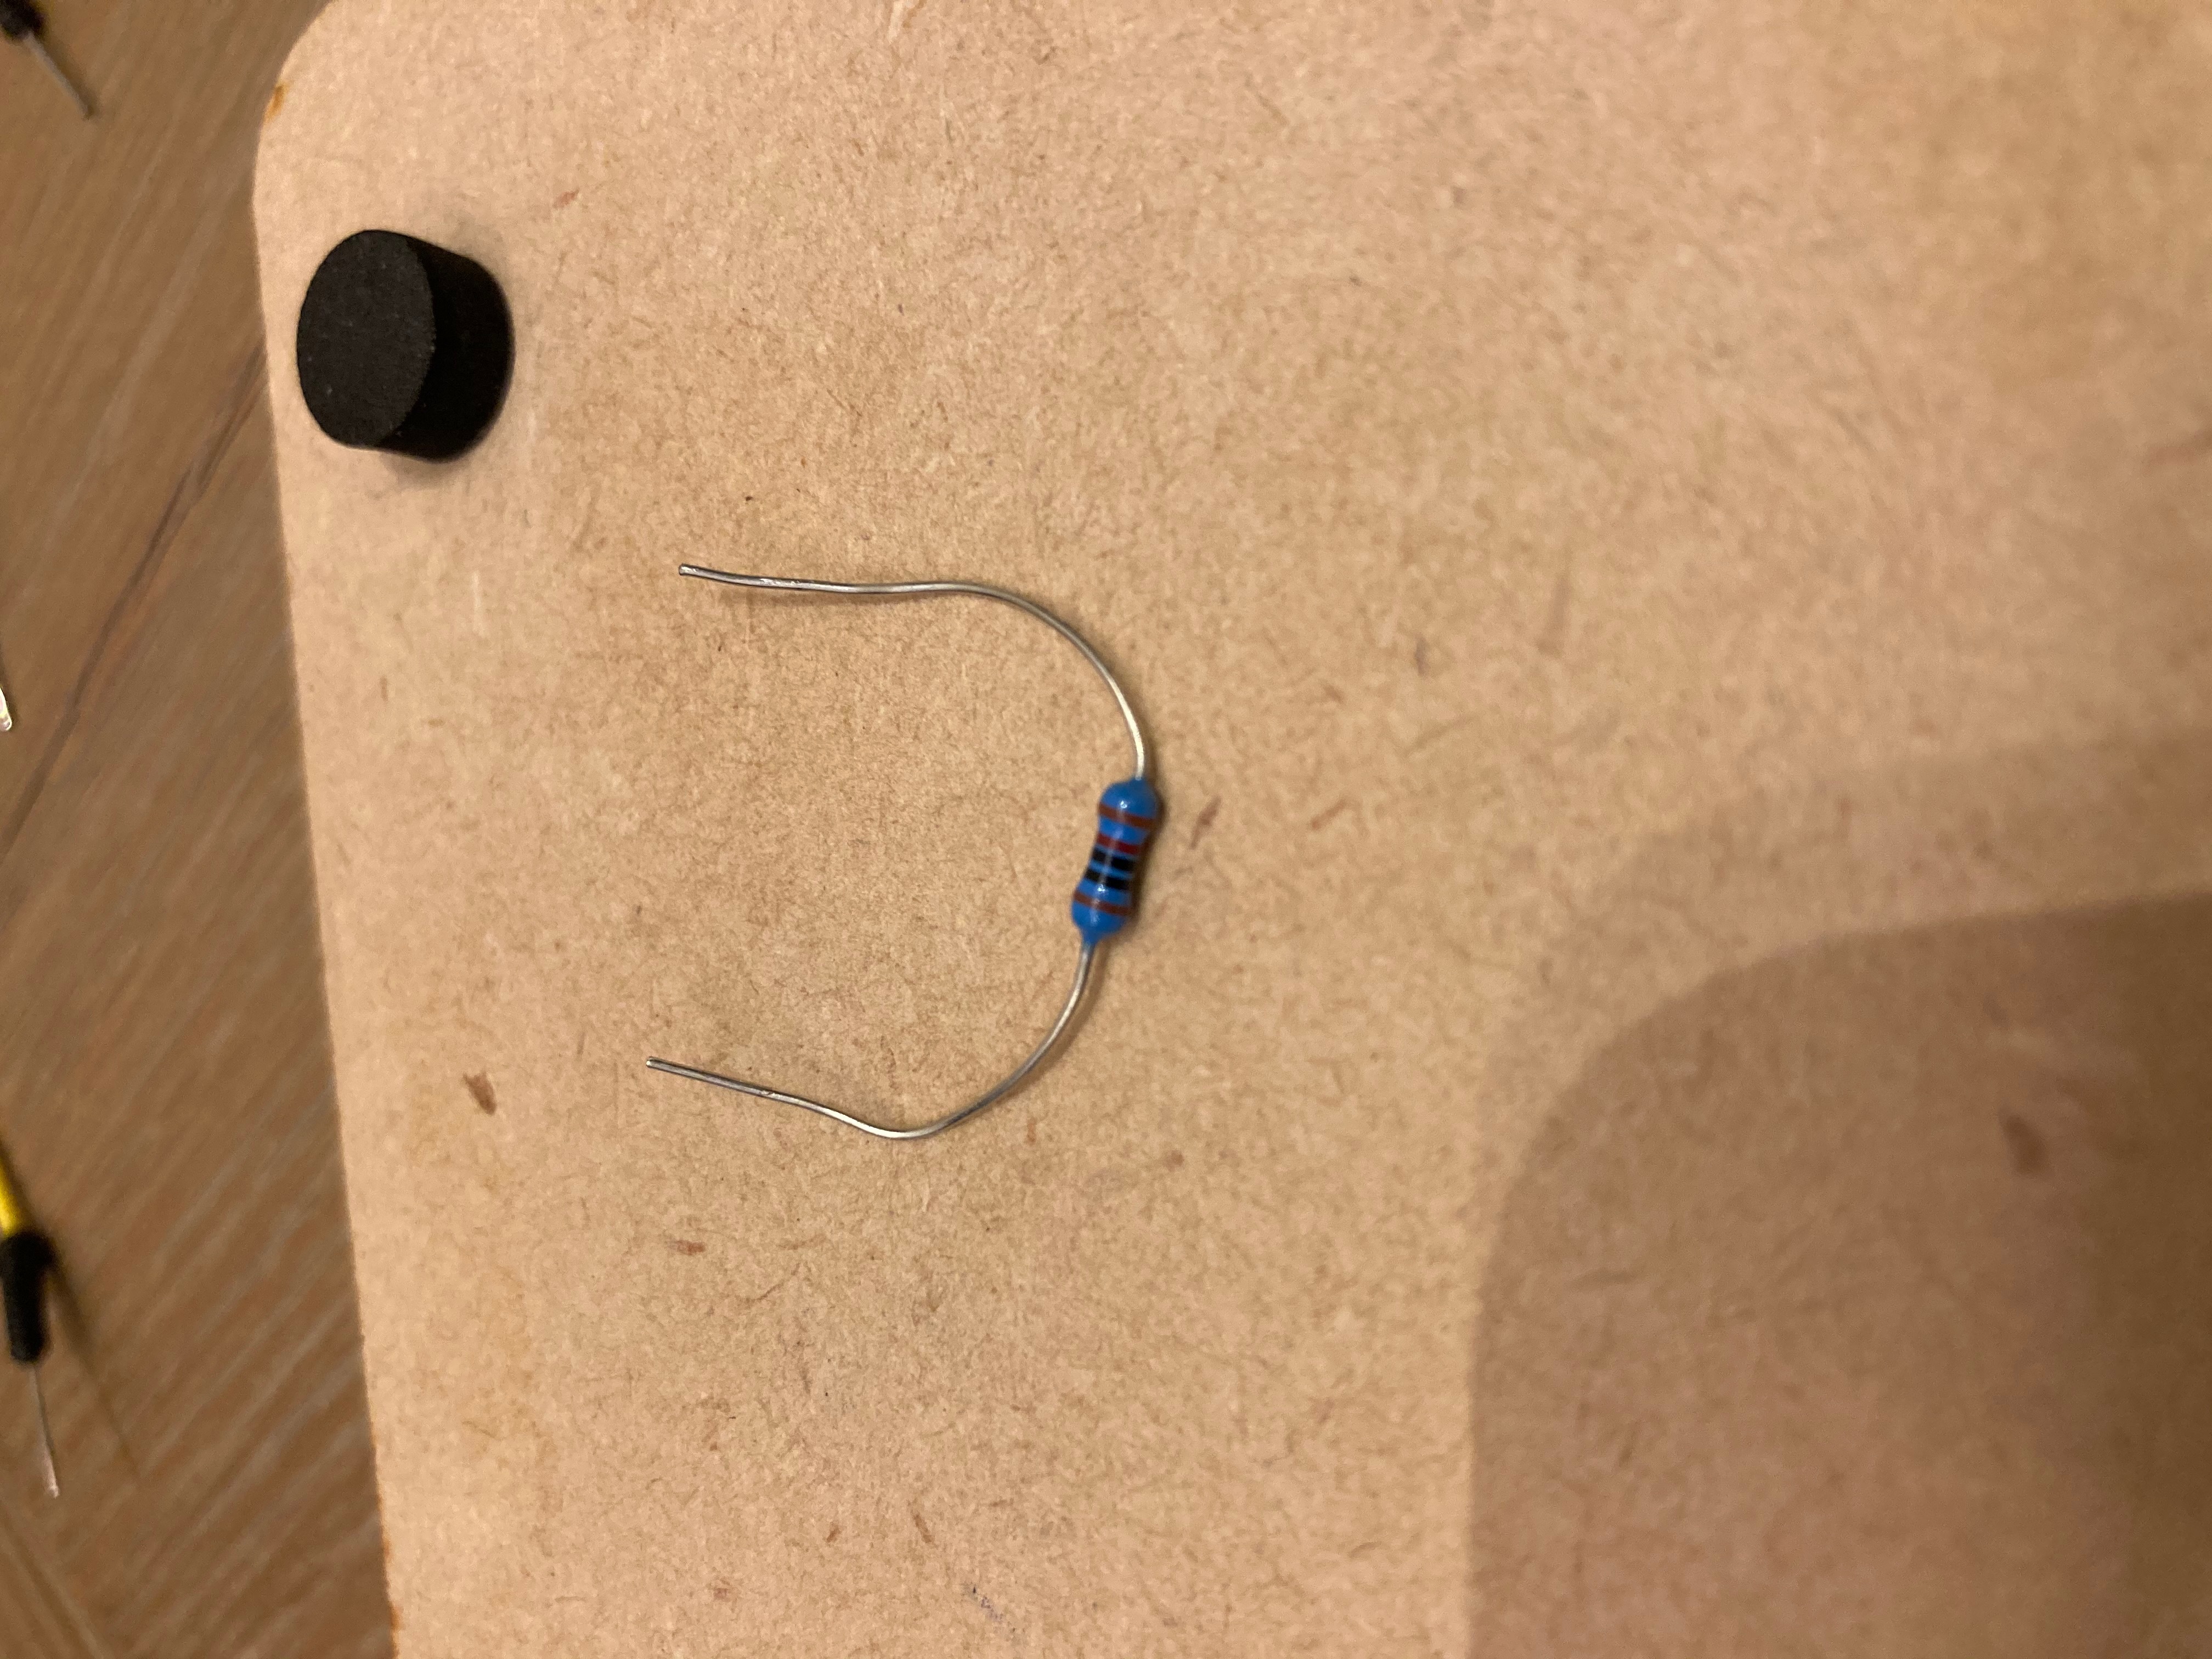
- 1x 1K Ω resistor (blue)
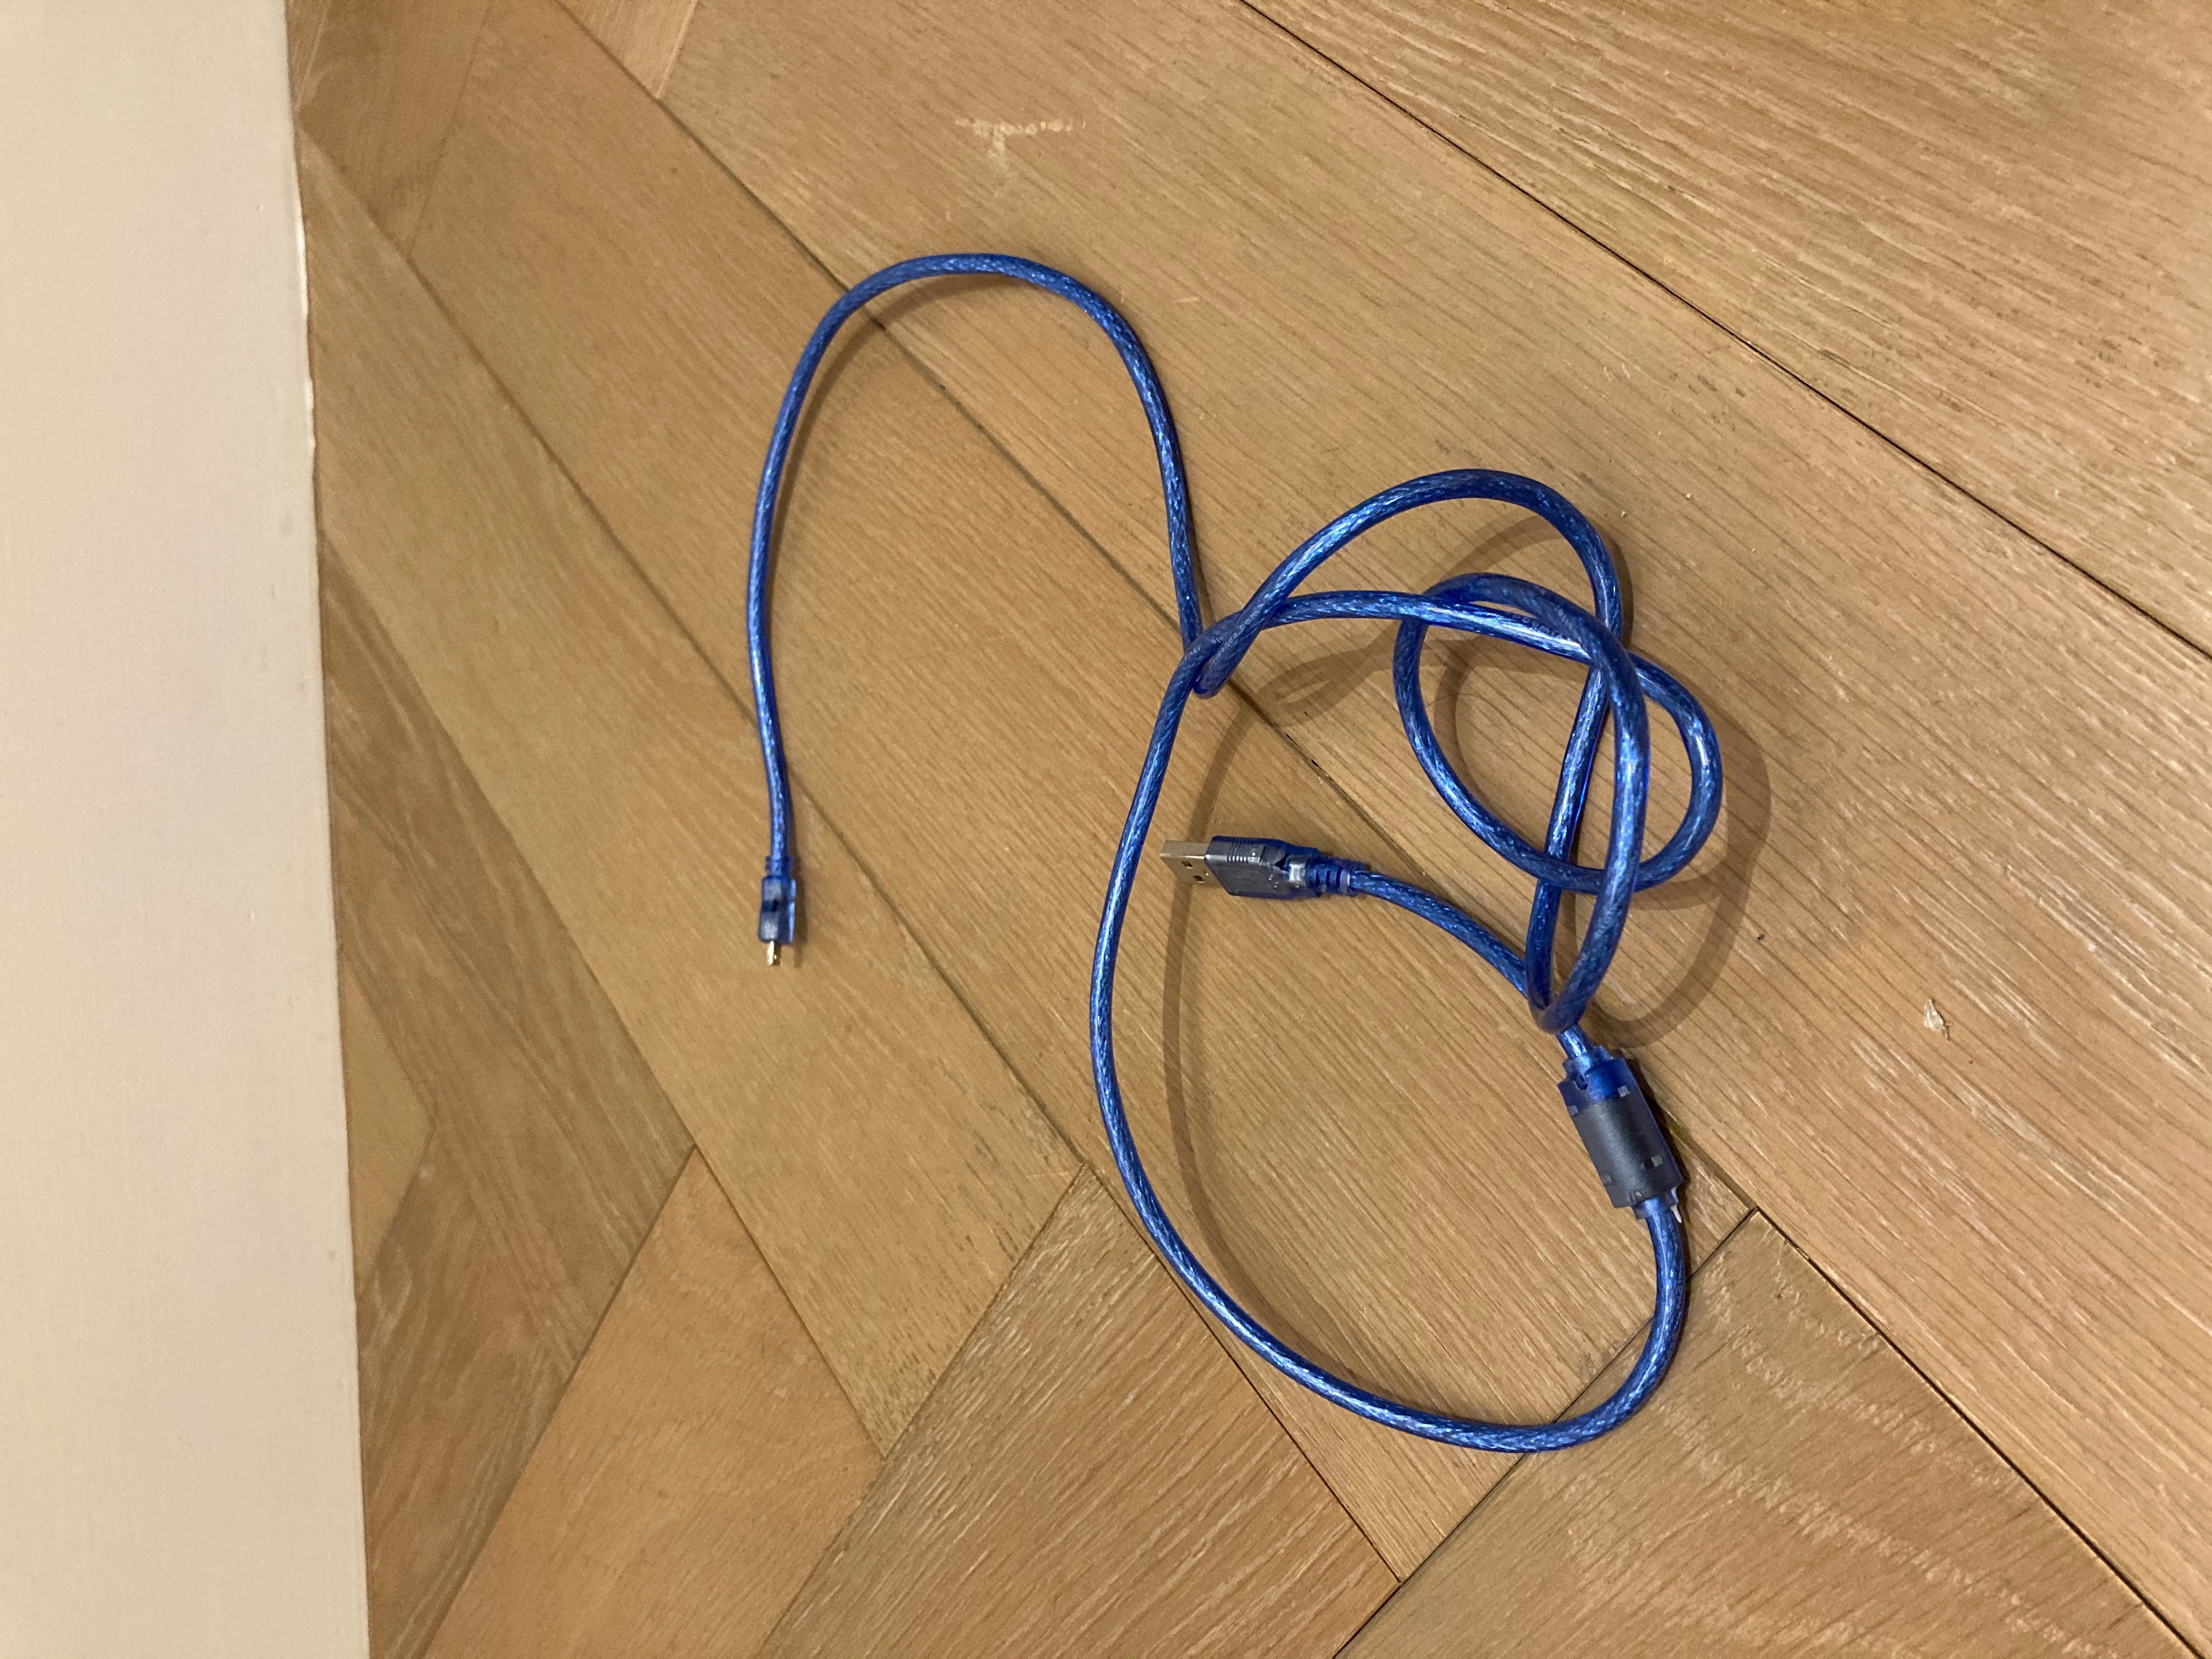
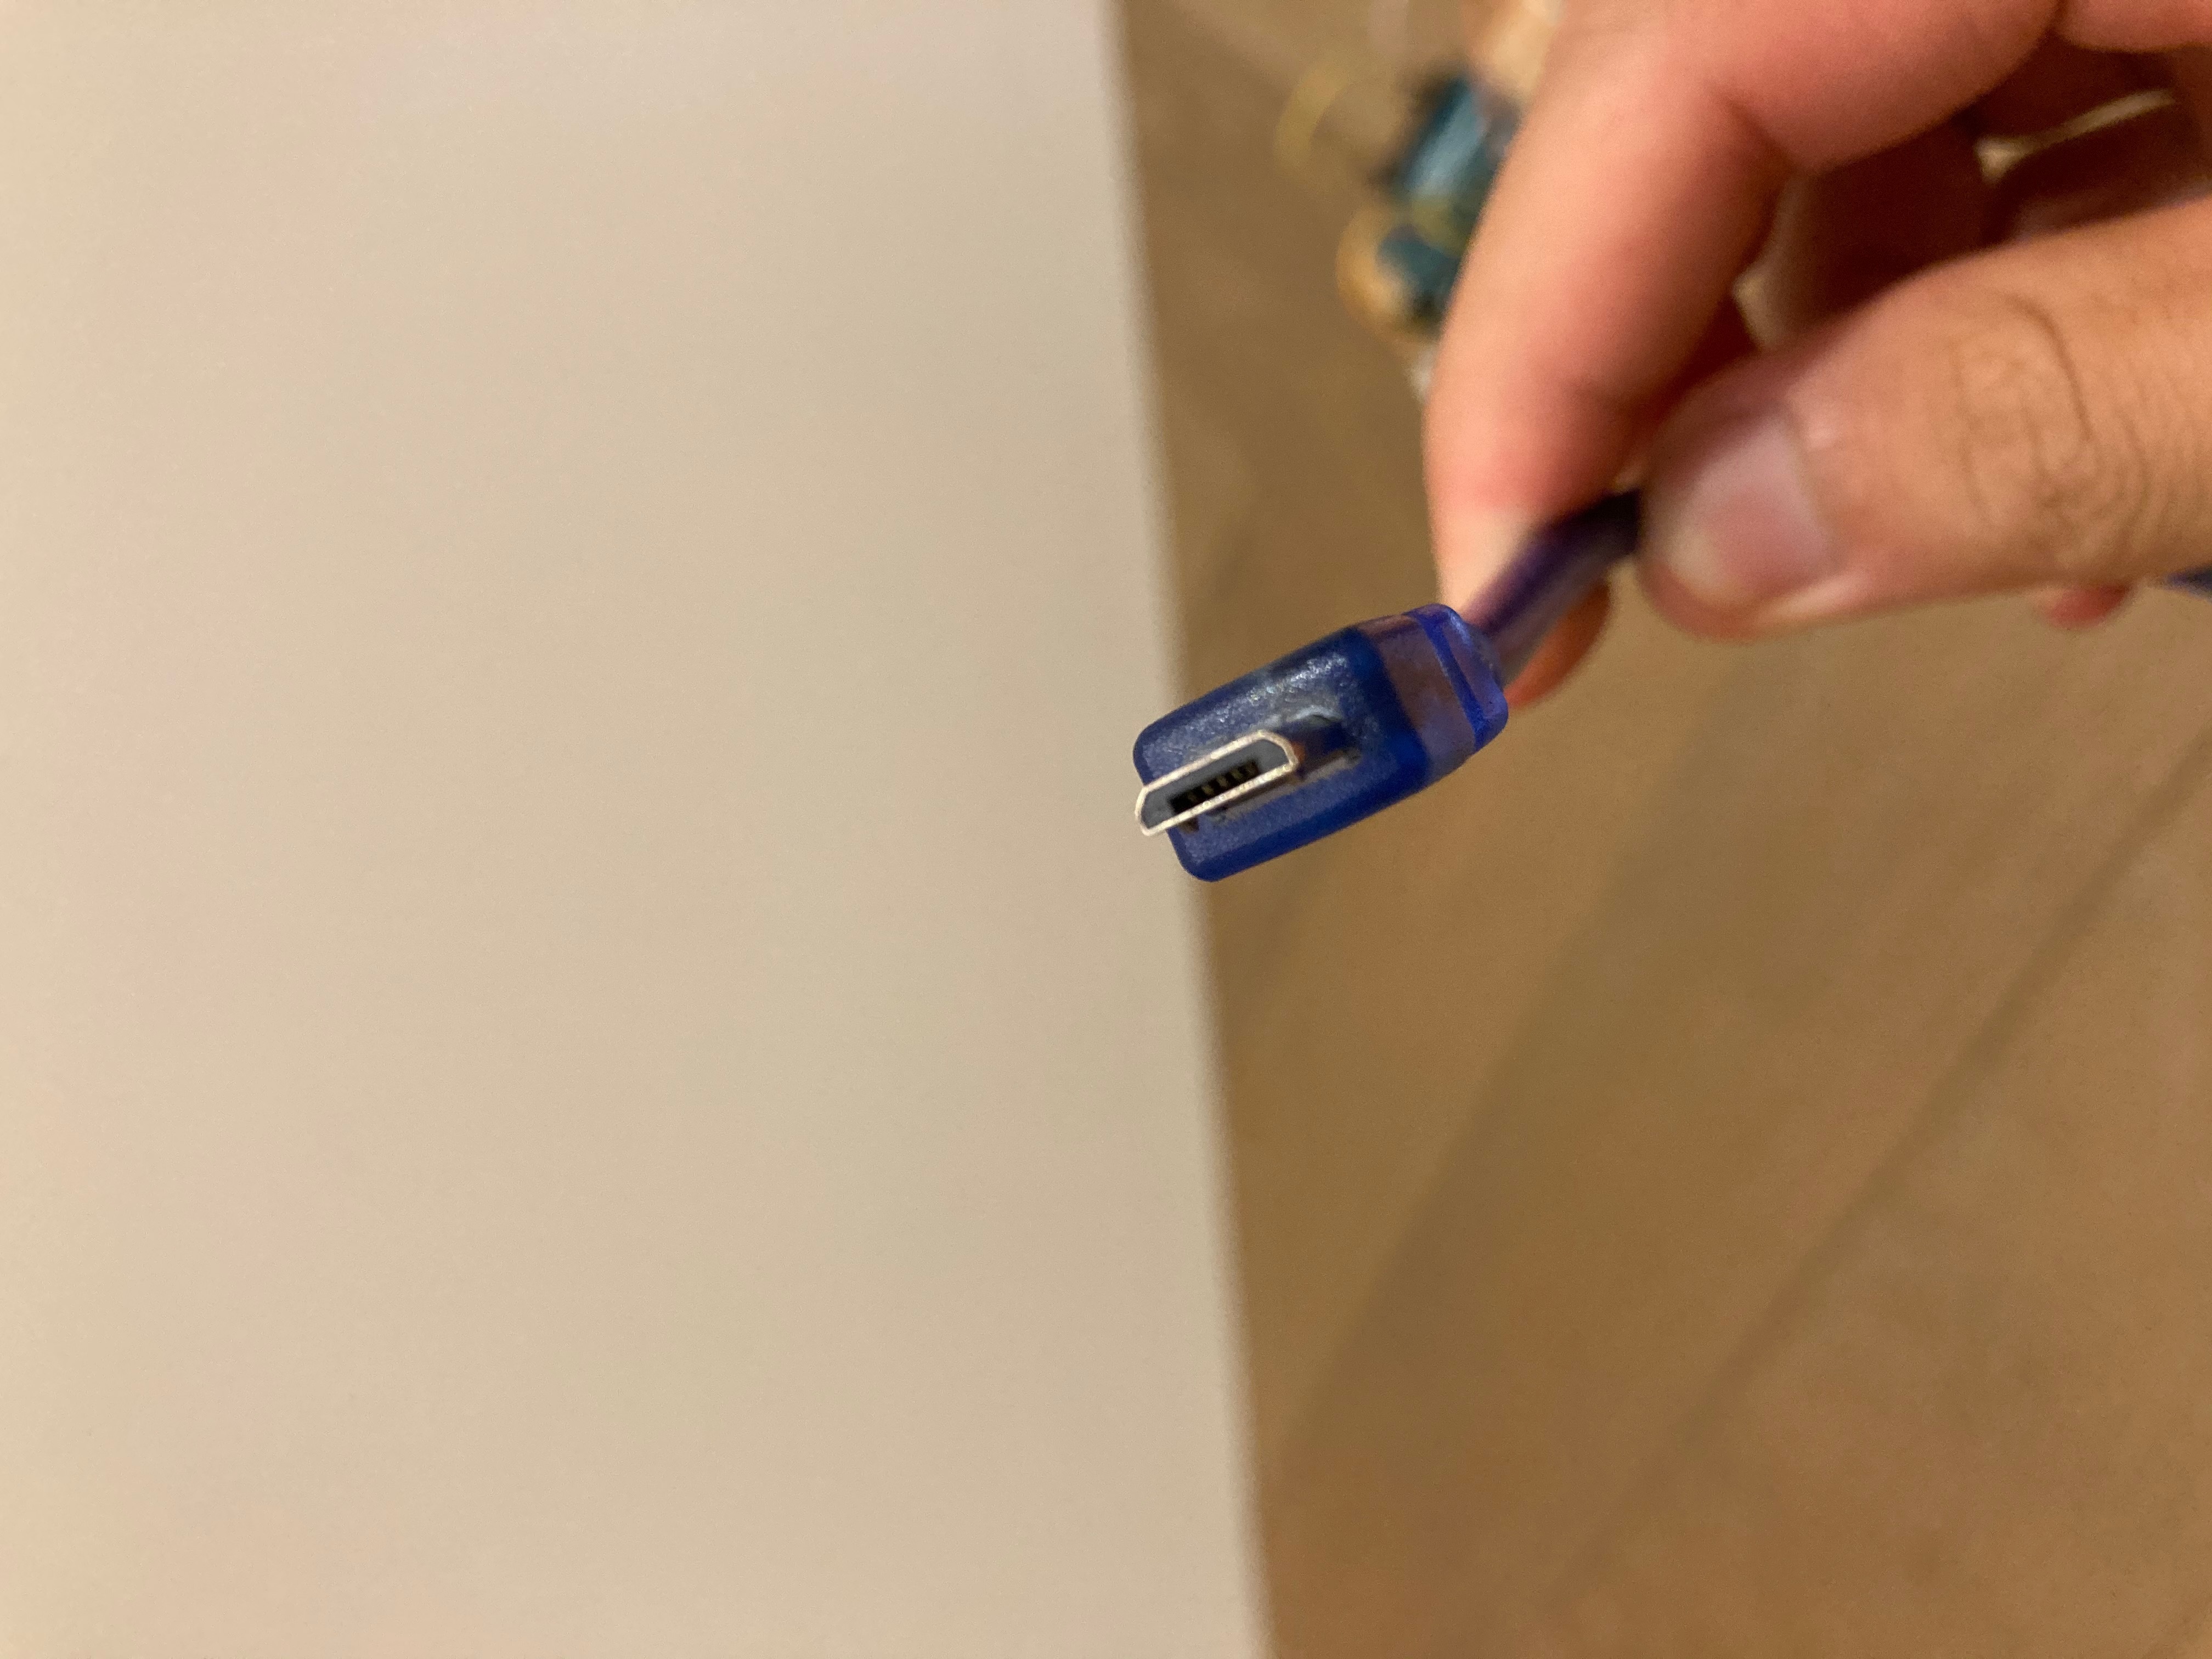
- 1x microUSB to USB cable
- Your laptop and your google document
- A 21*11.3*12.2 cm cardboard box (or any container of your choice as long as it is large enough to contain your Arduino board
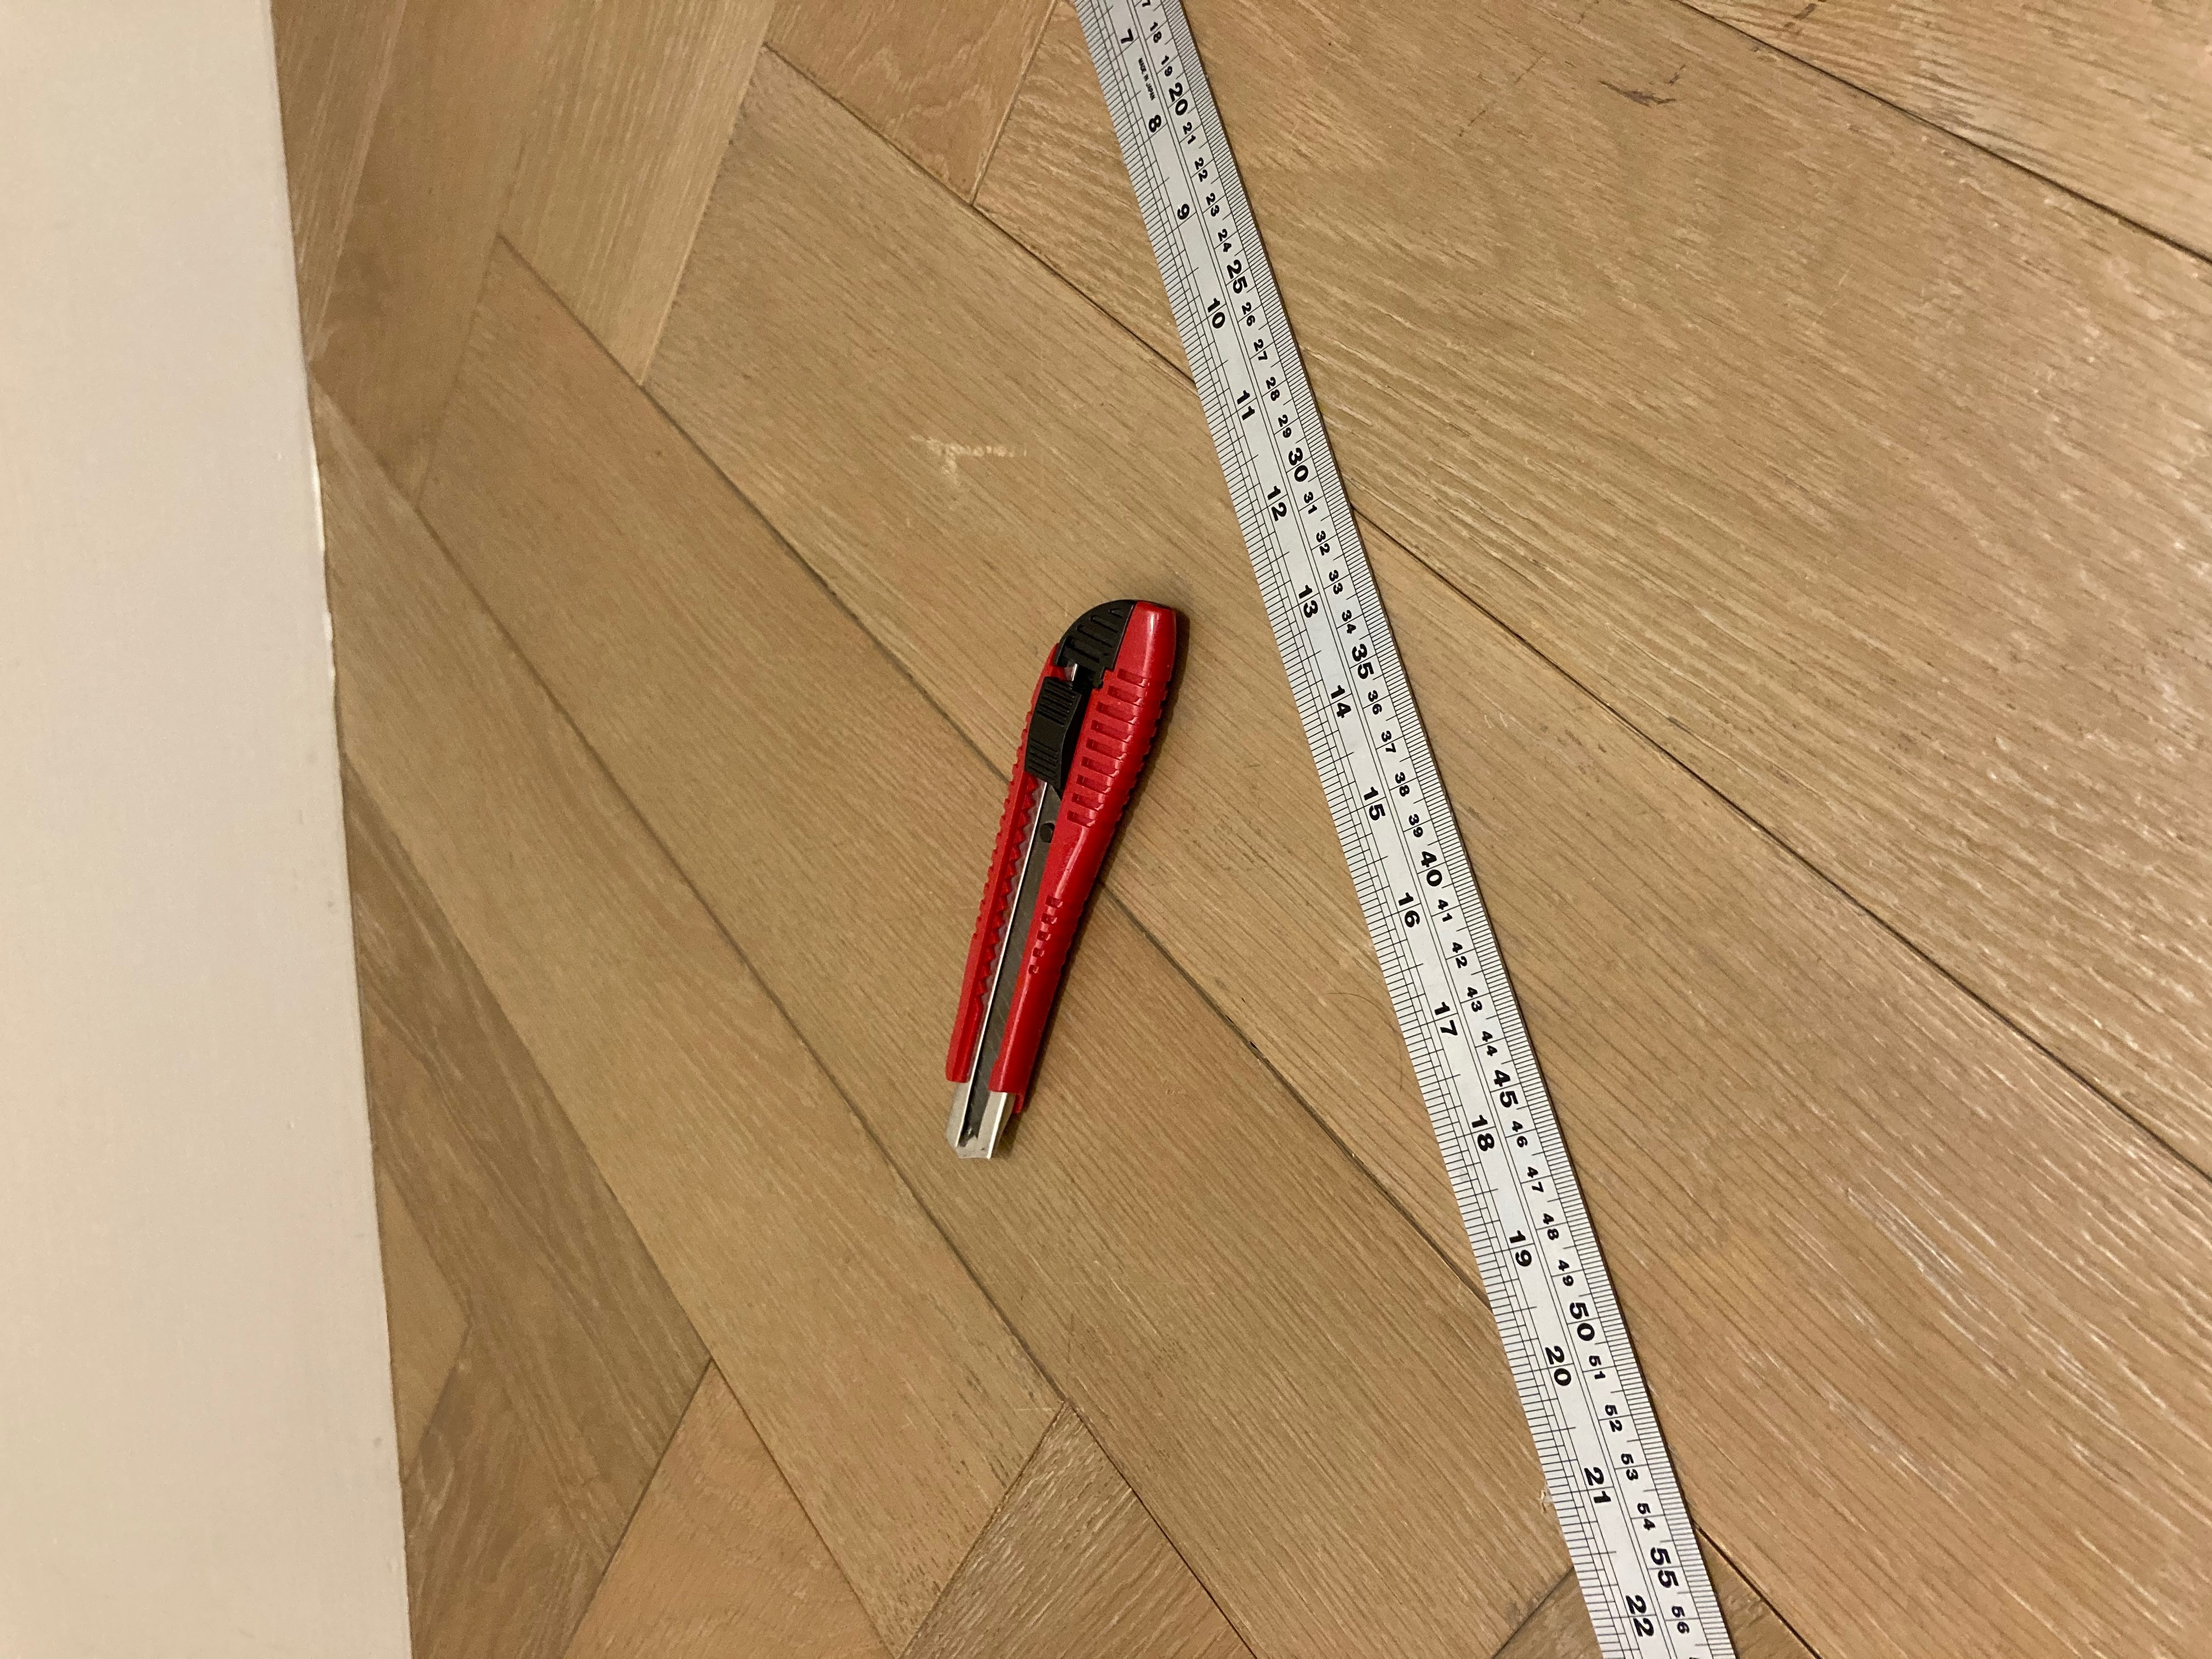
- 1x Utility Knife
- Probably a ruler if you want to measure the size of your board
- colored, decoration tape (which is not listed in the picture)
Setting Up Your Board
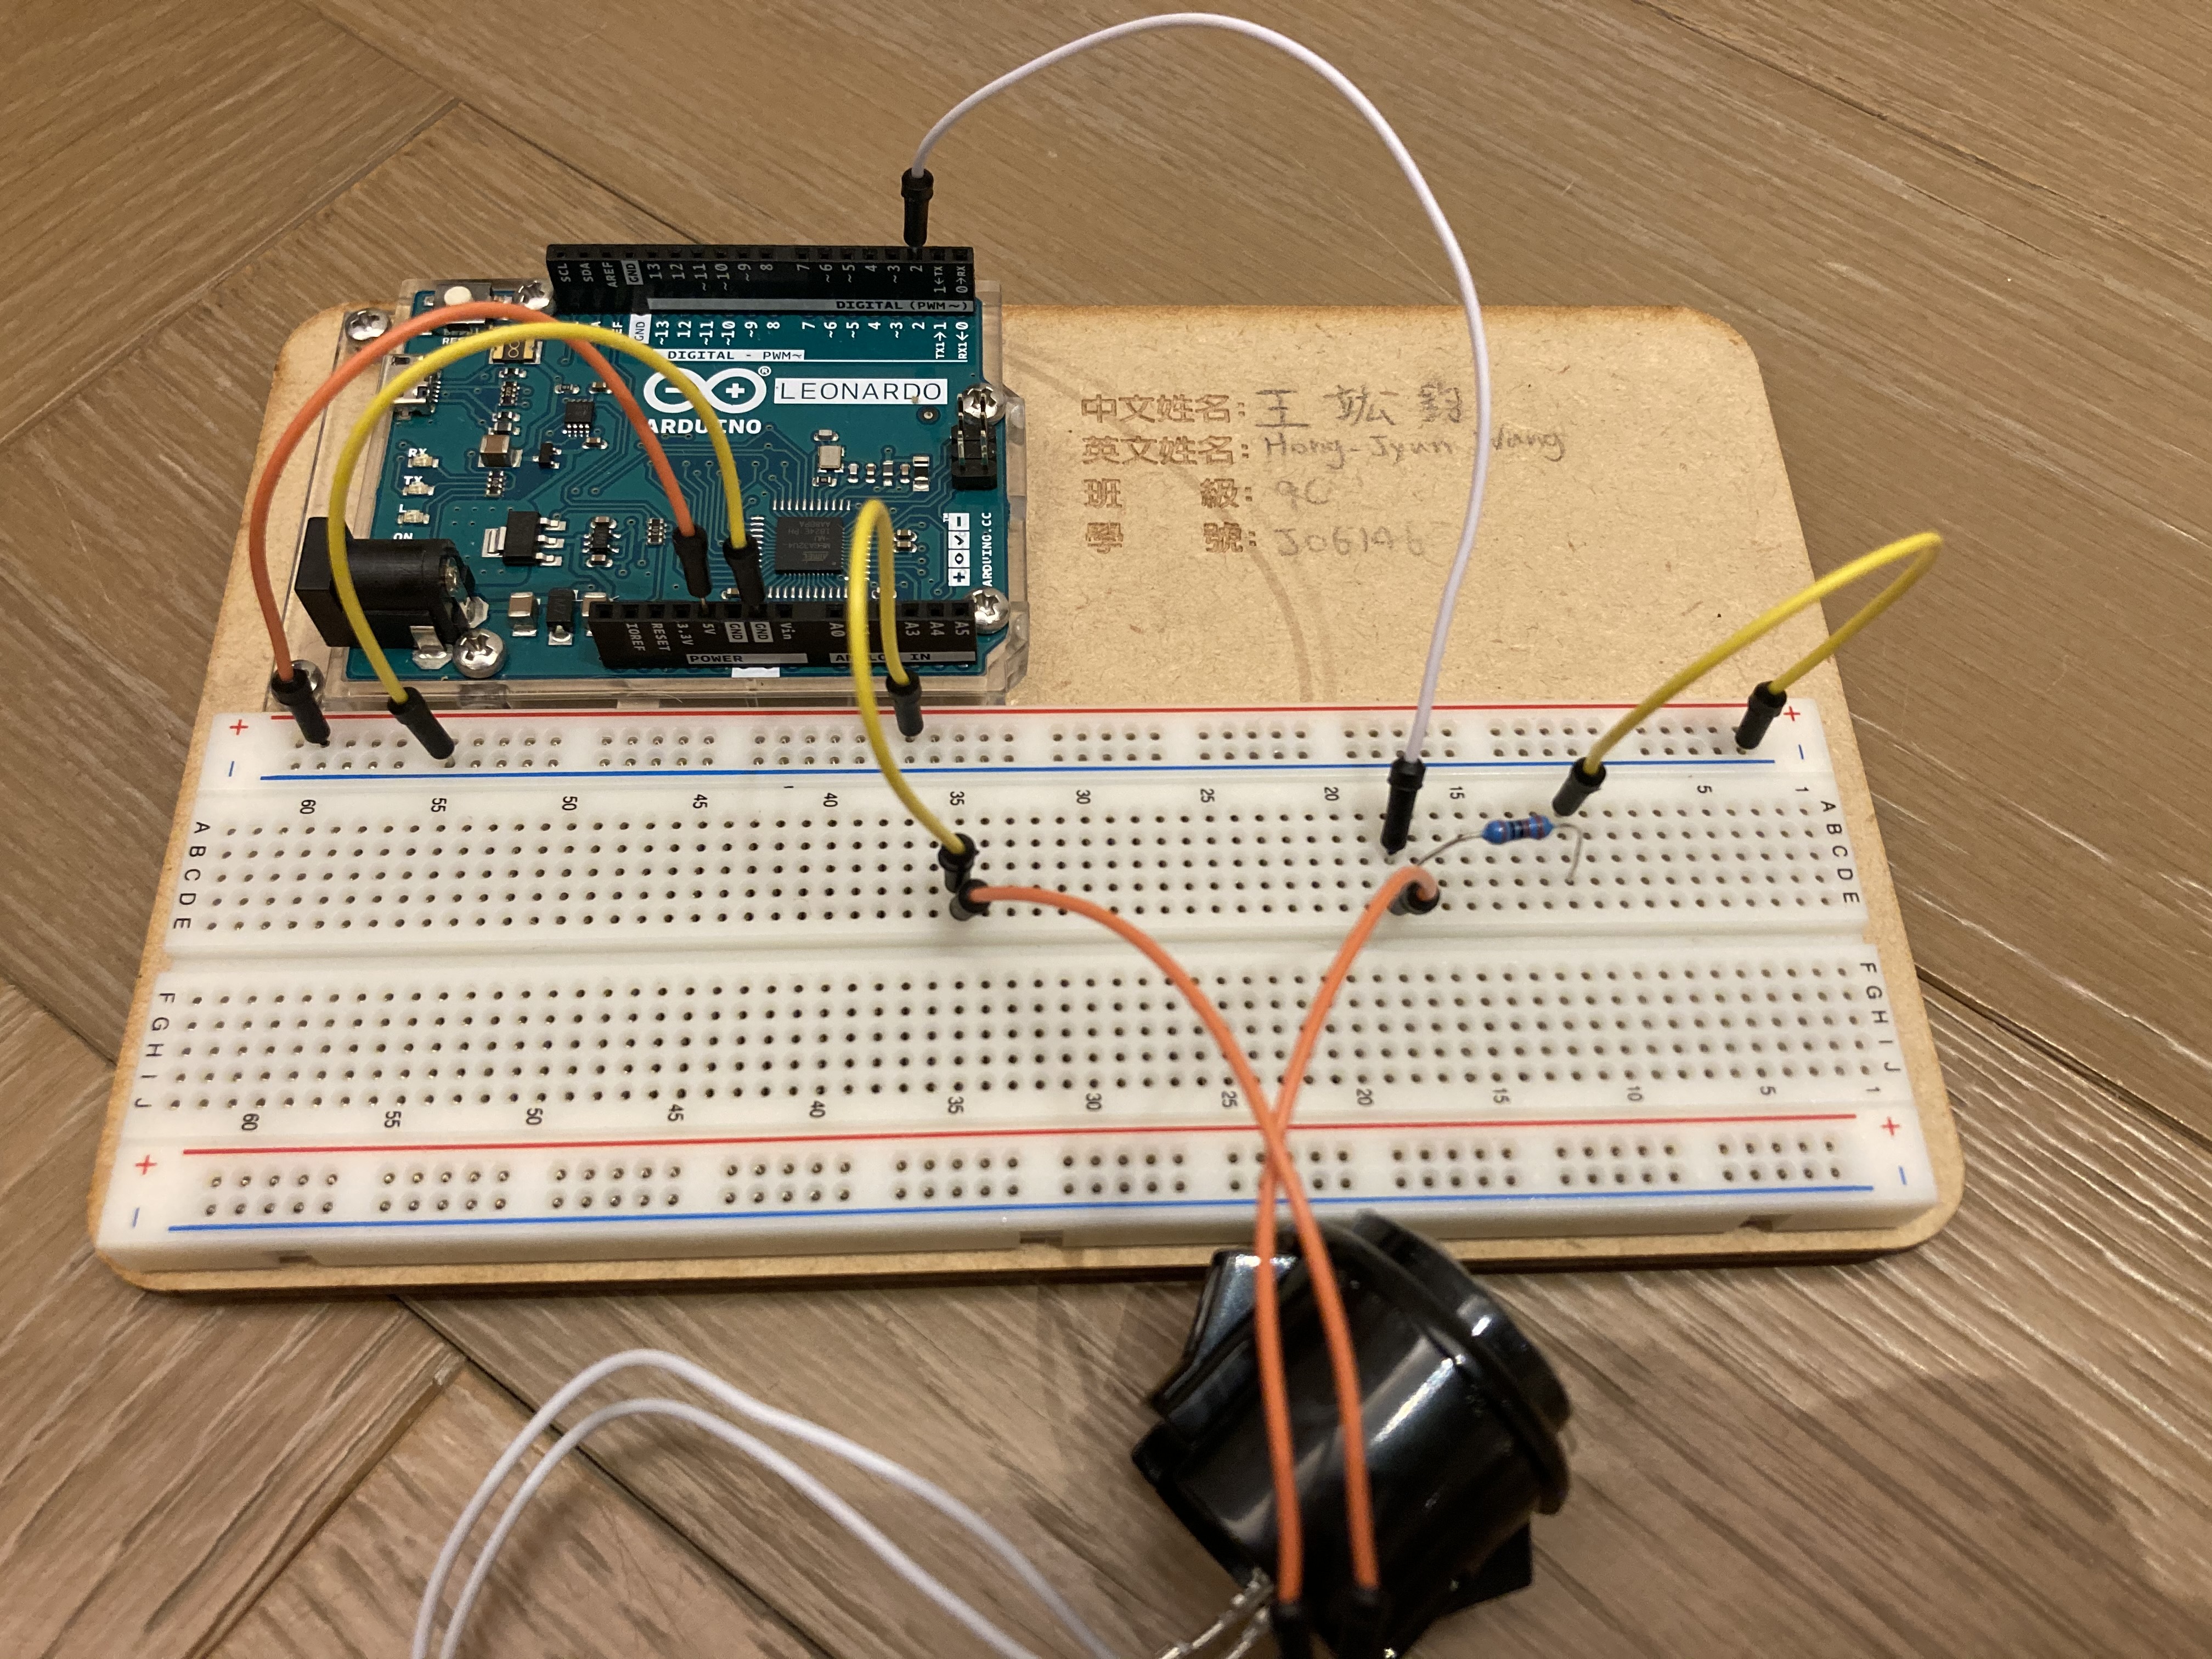
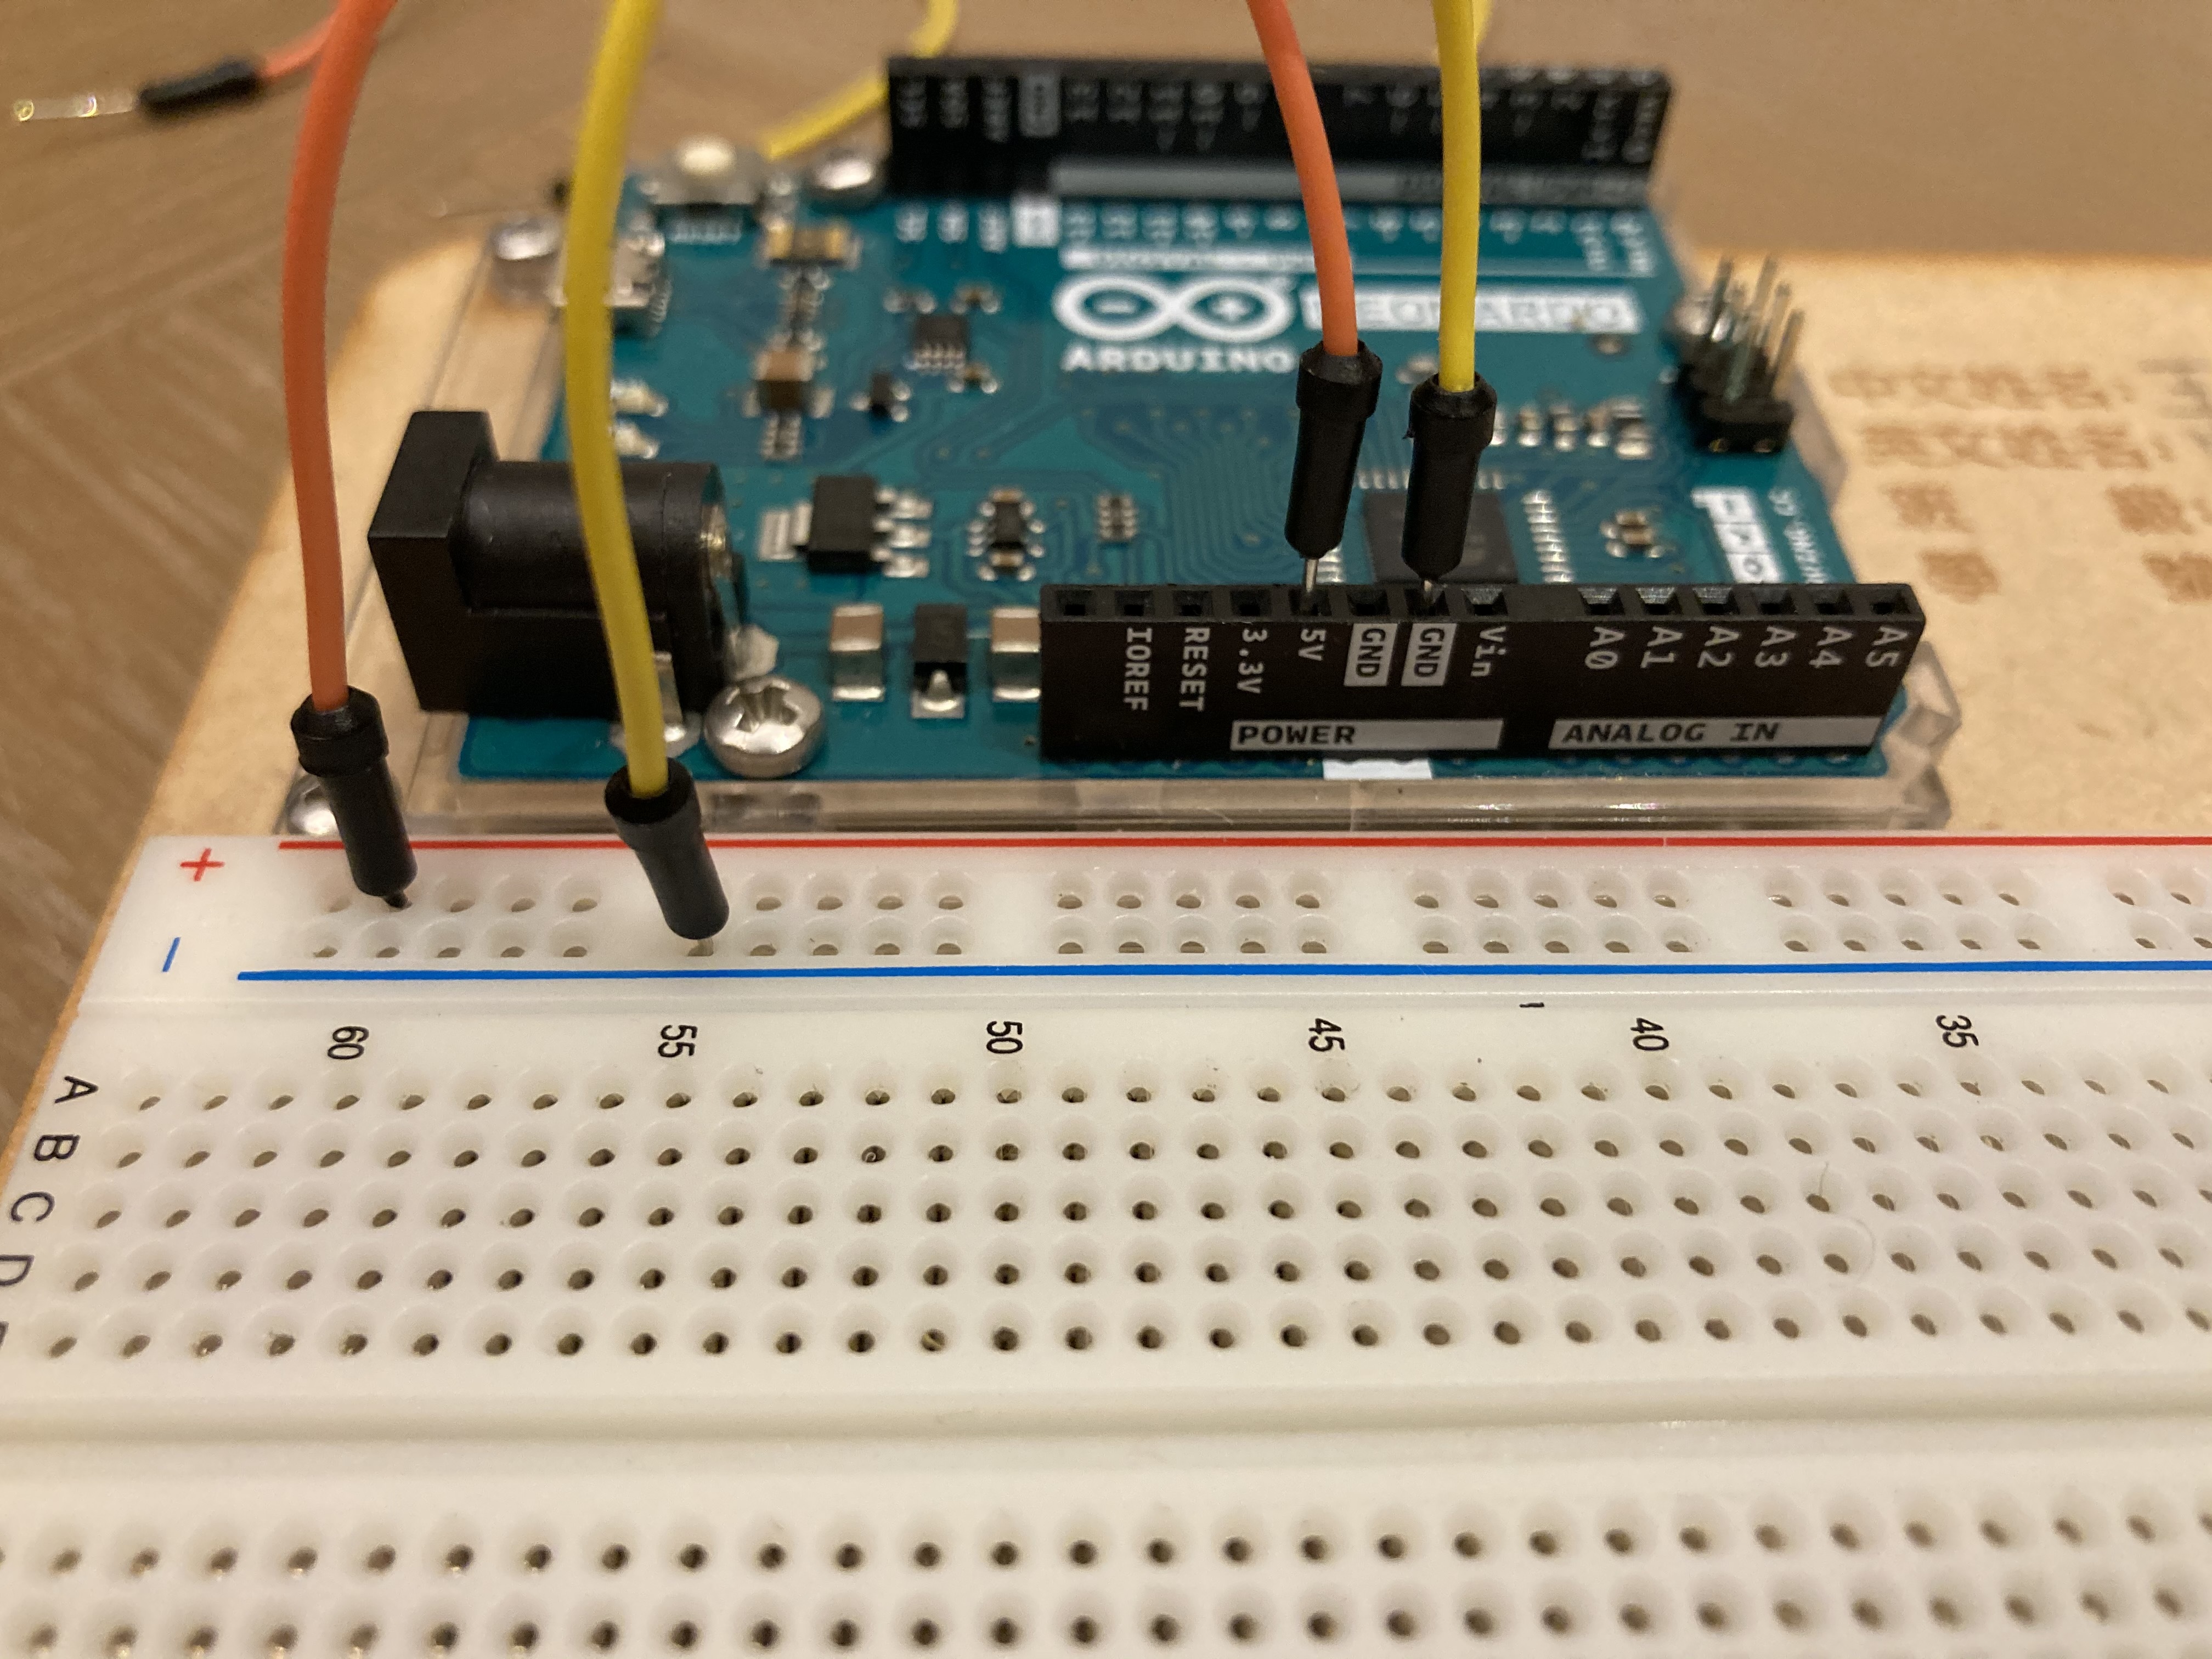
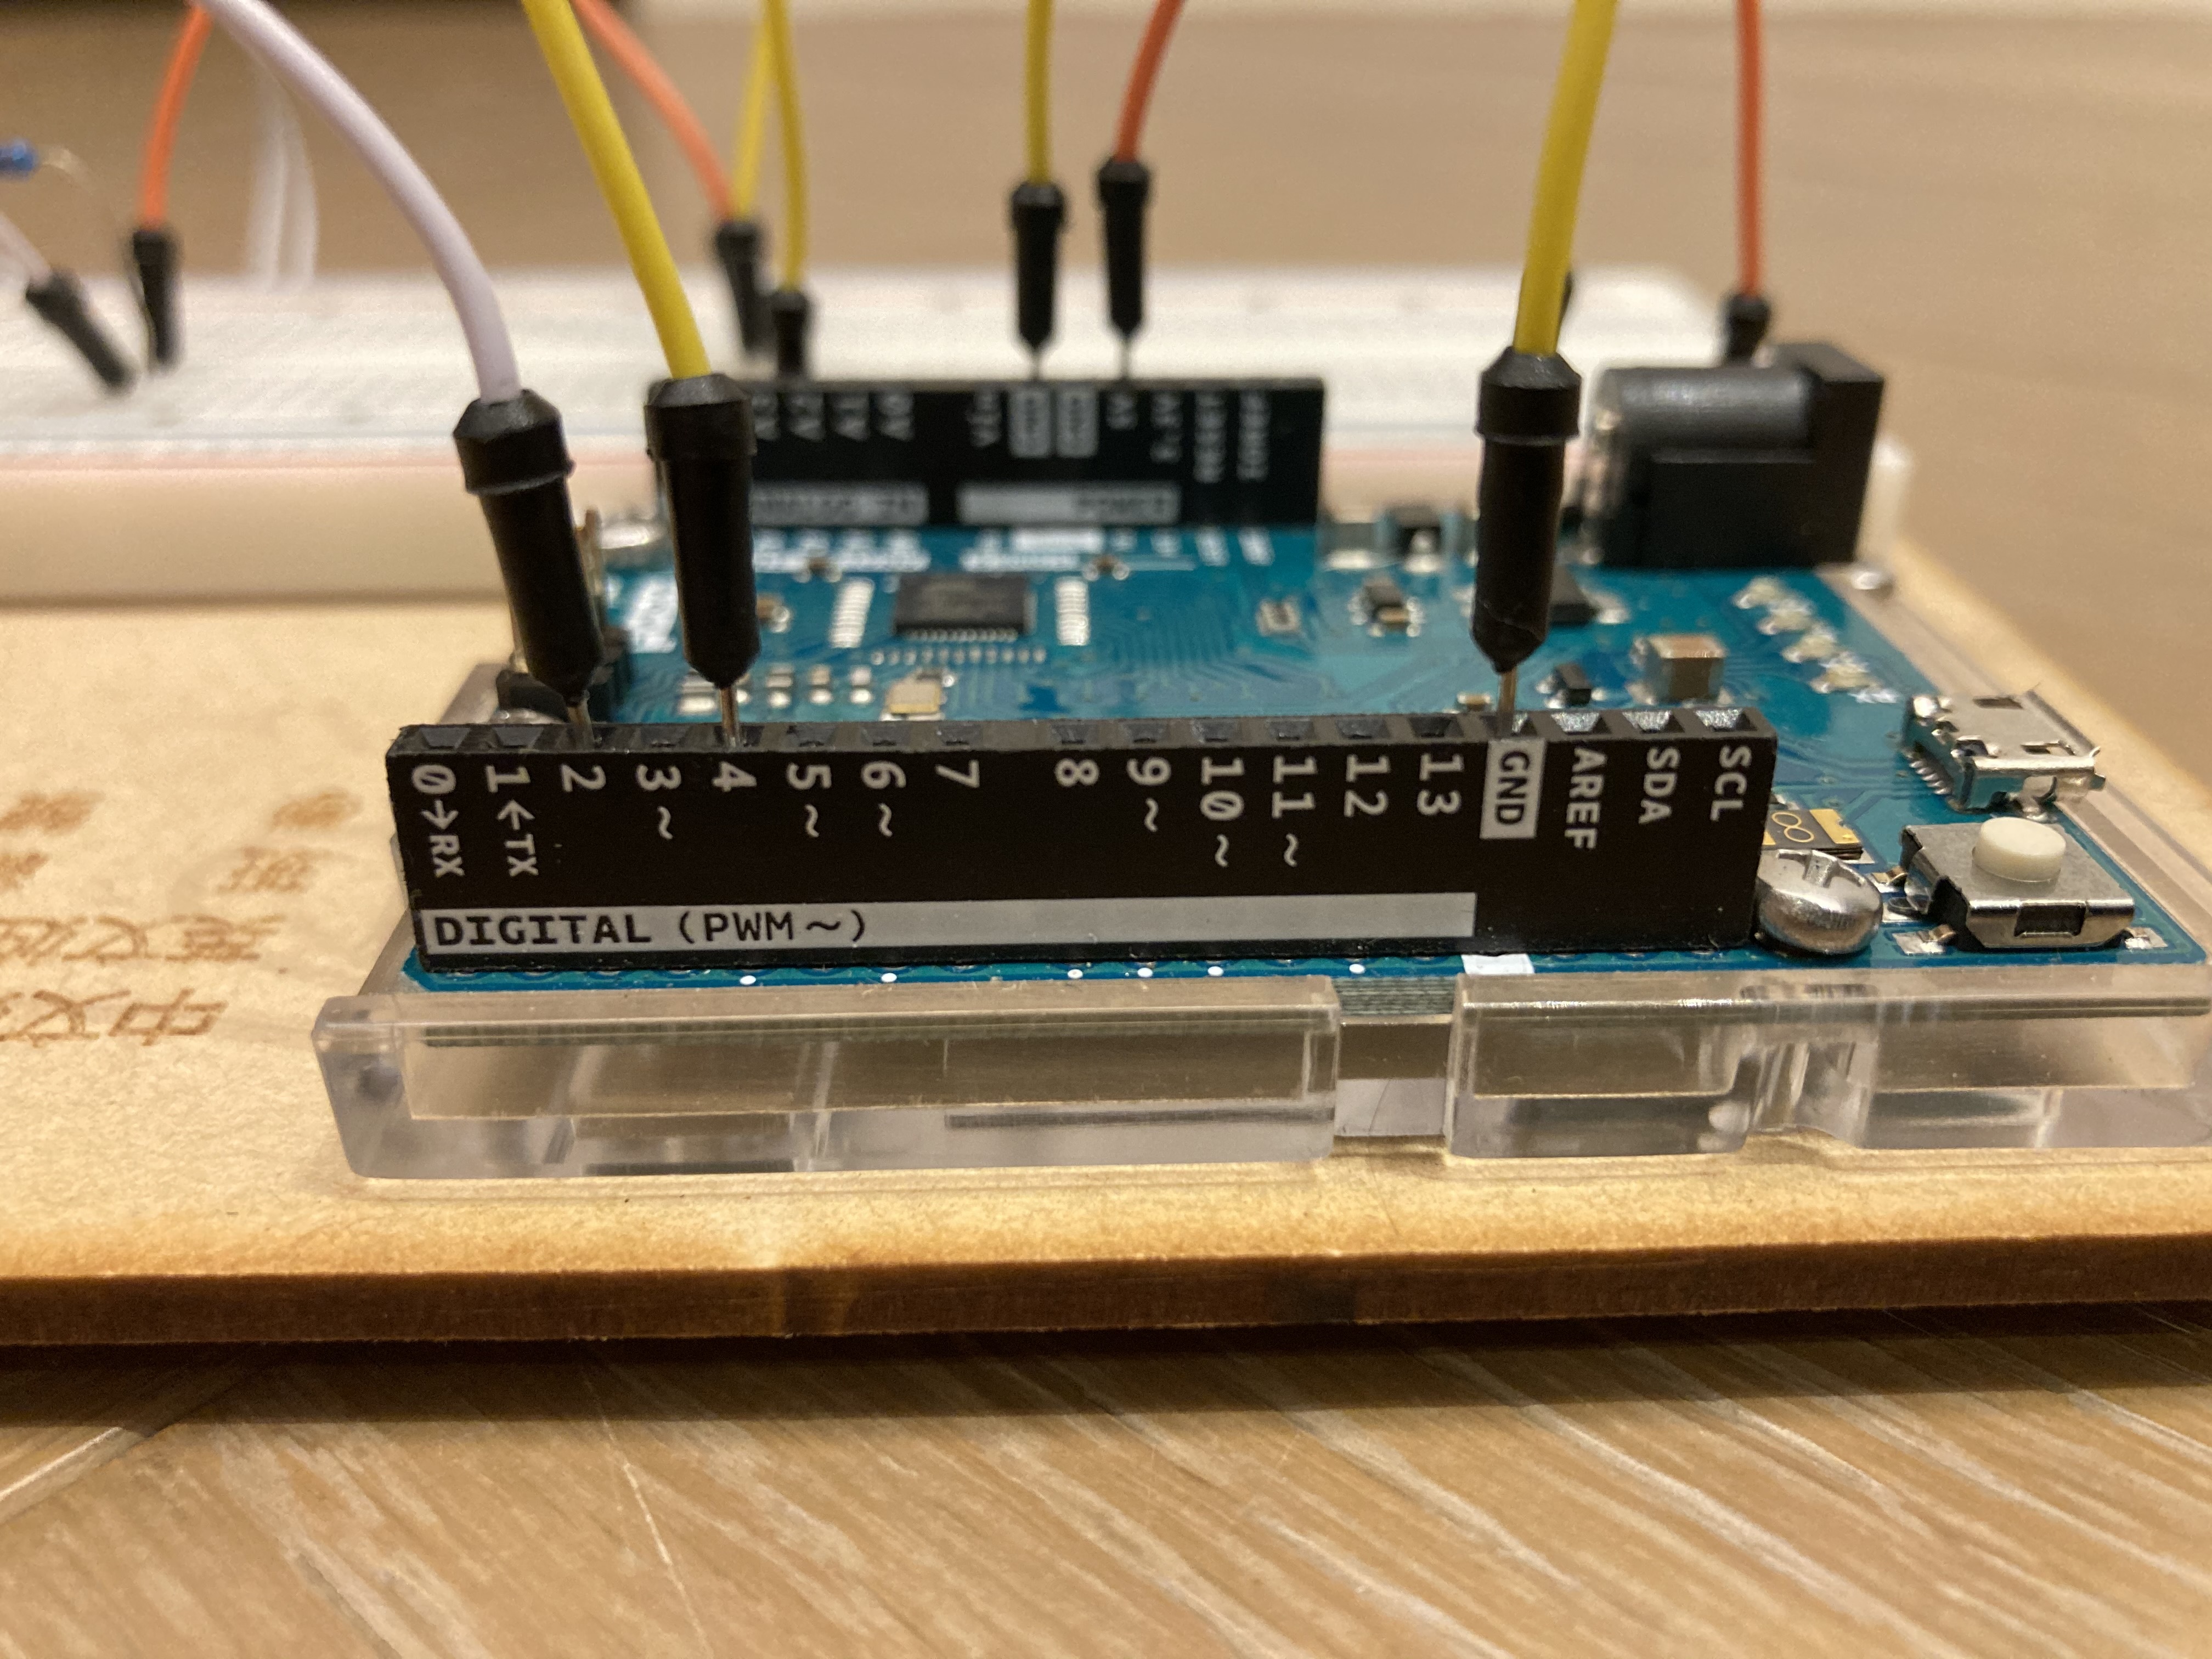
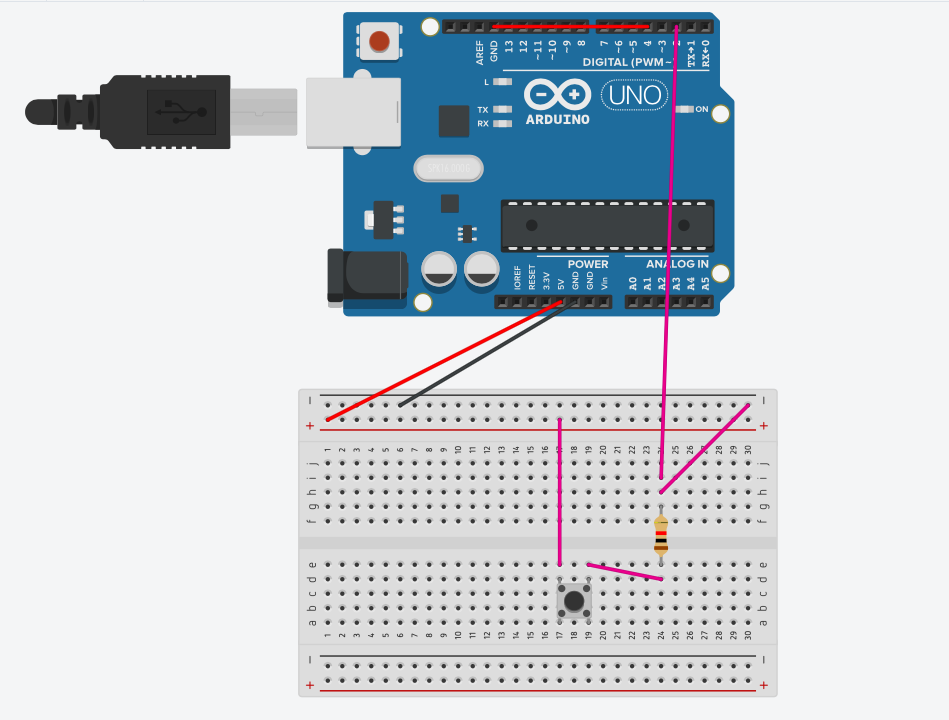
Set up your board according to the diagrams above. The pictures given differ from the diagram, but both work. I suggest connecting the board according to the diagram as it is more clear. One more thing to note is that the resistor drawn in the diagram is yellow but is still a 1K Ohm resistor. No mater the color, just make sure you have the resistor of the same capacity.
Points to check before you move on: - Make sure your GND is connected to your D4 pin (this turns the board into a keyboard) - Make sure the D2 pin is connected in the same row of the ending terminal of your resistor - Make sure your 5V is connected to your positive horizontal row and GND to the negative Note that you don't necessarily have to follow this setup. The diagrams and pictures are guides for beginners. If you have assembled an Arduino board before or understand the underlying mechanisms behind it, fell free to design your own layout (But still make sure the D4 is connected to the GND).
Finding Your Container
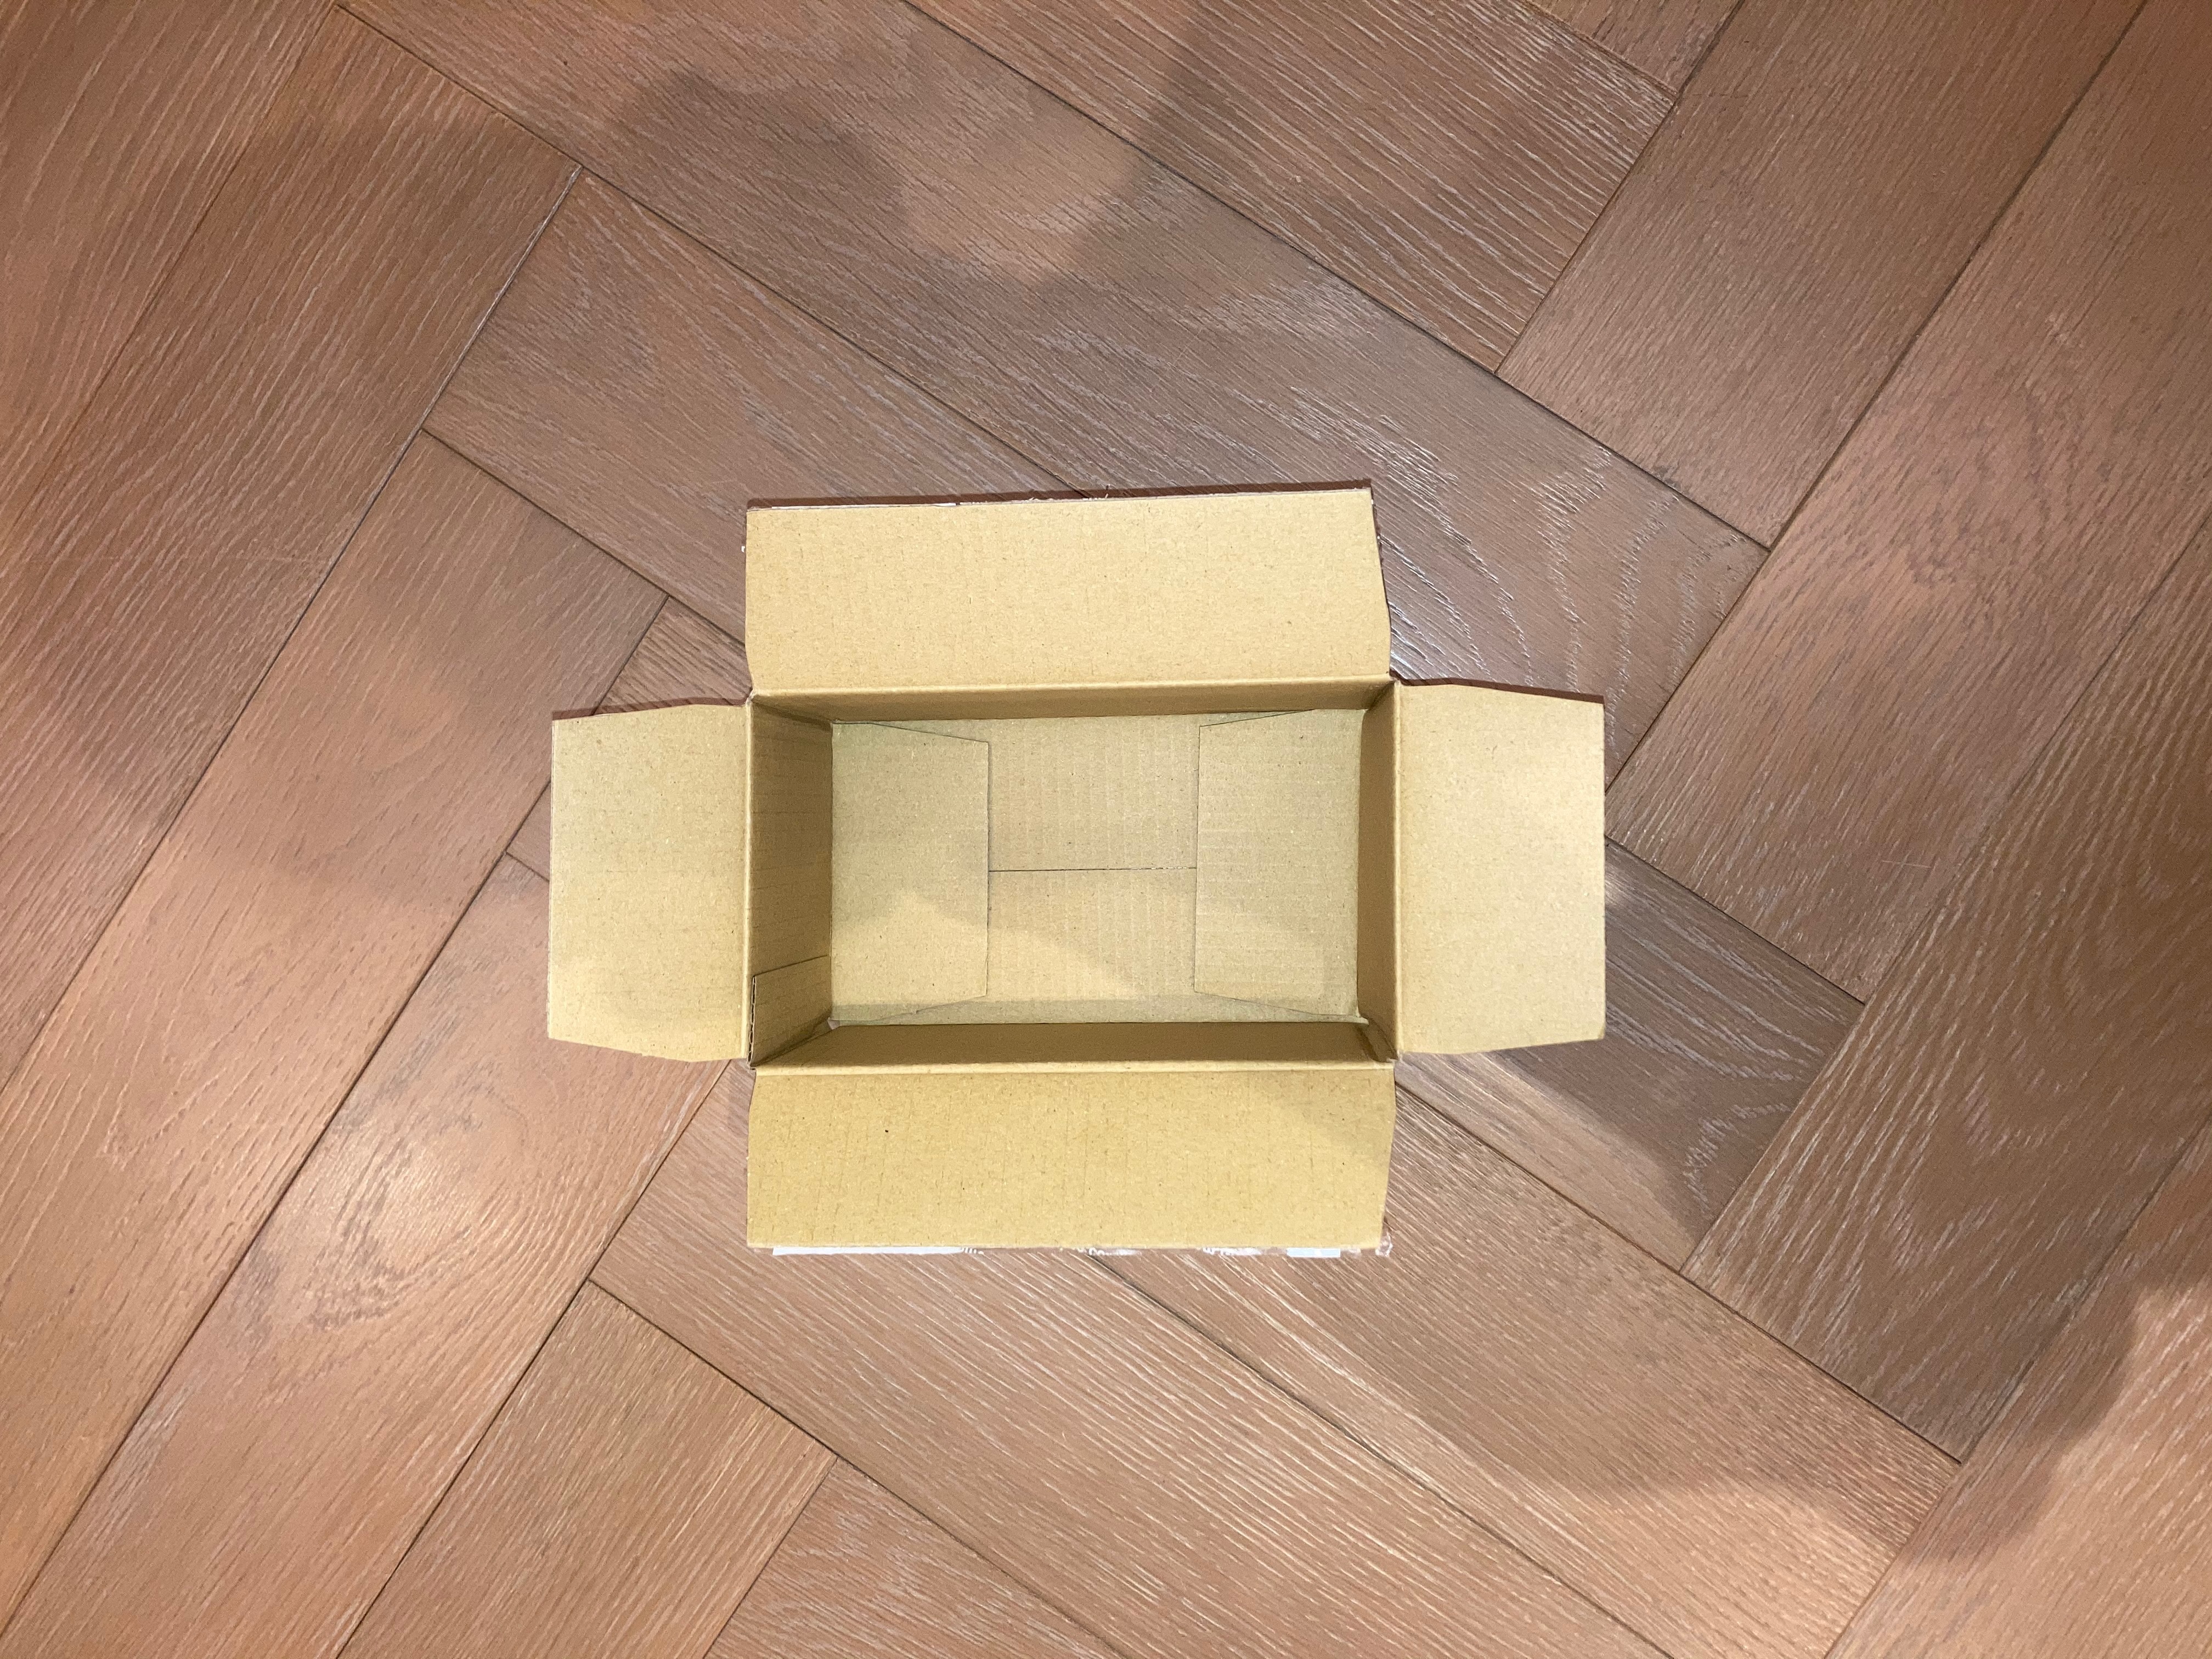
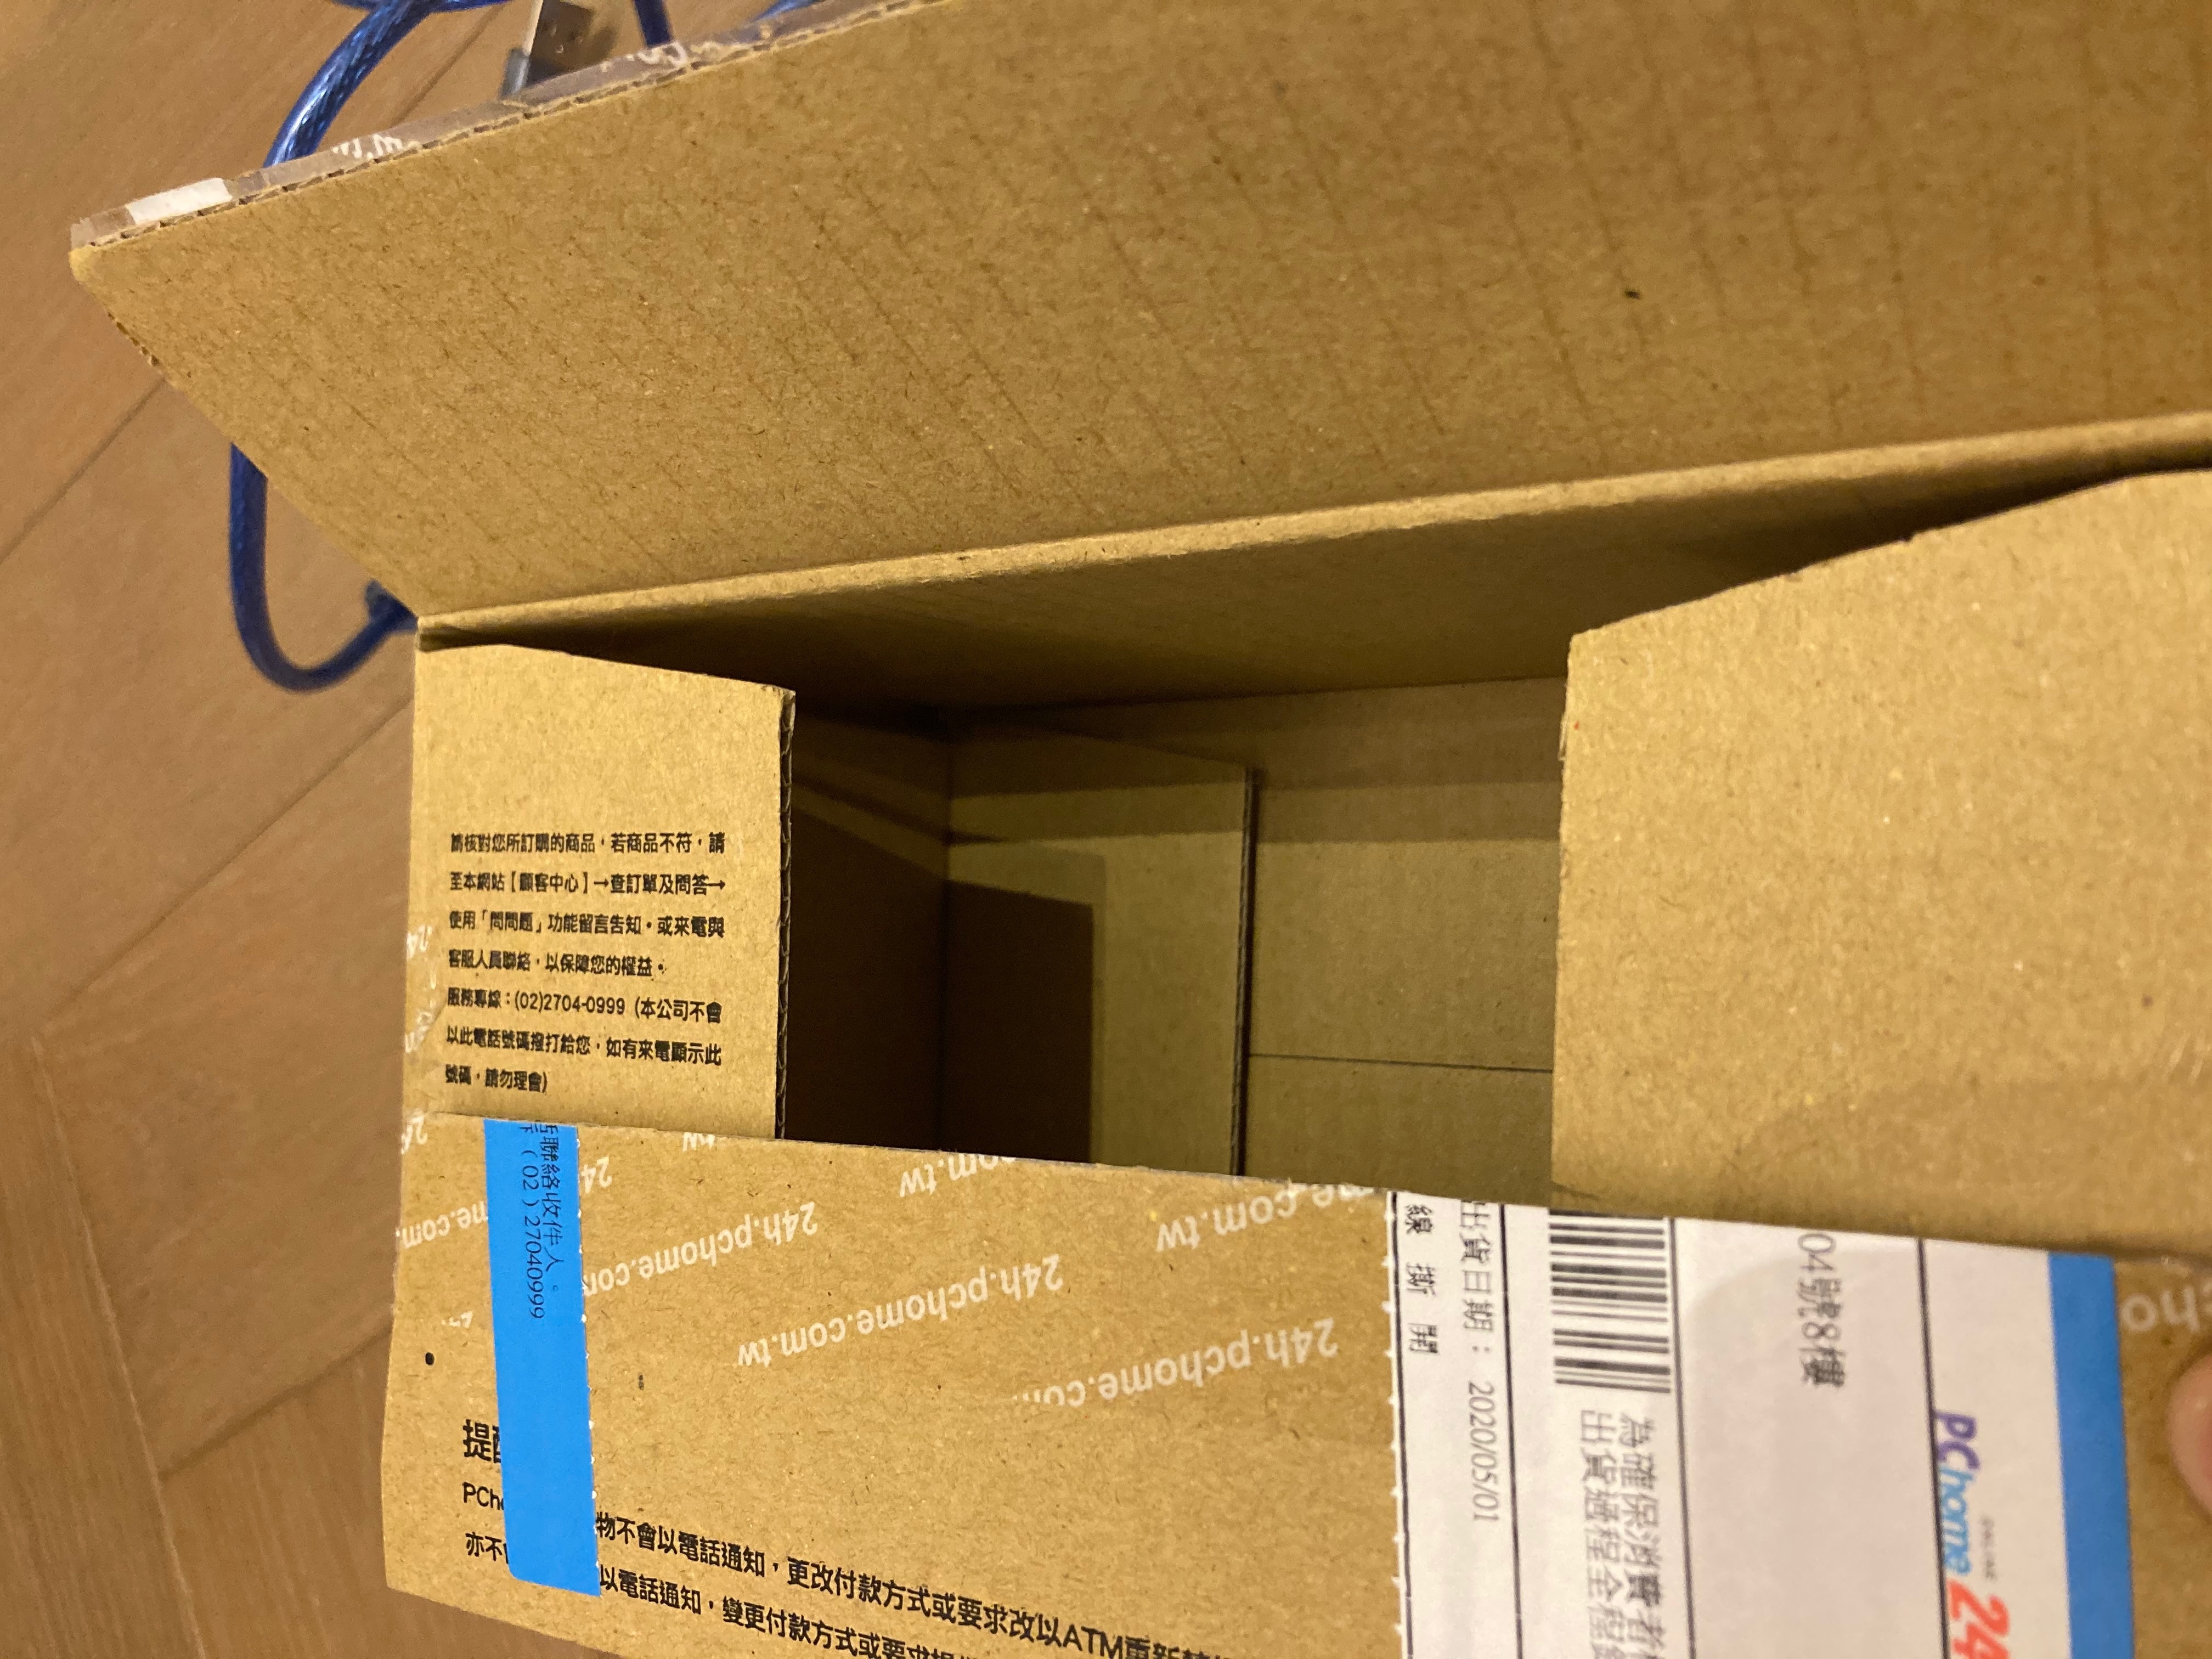
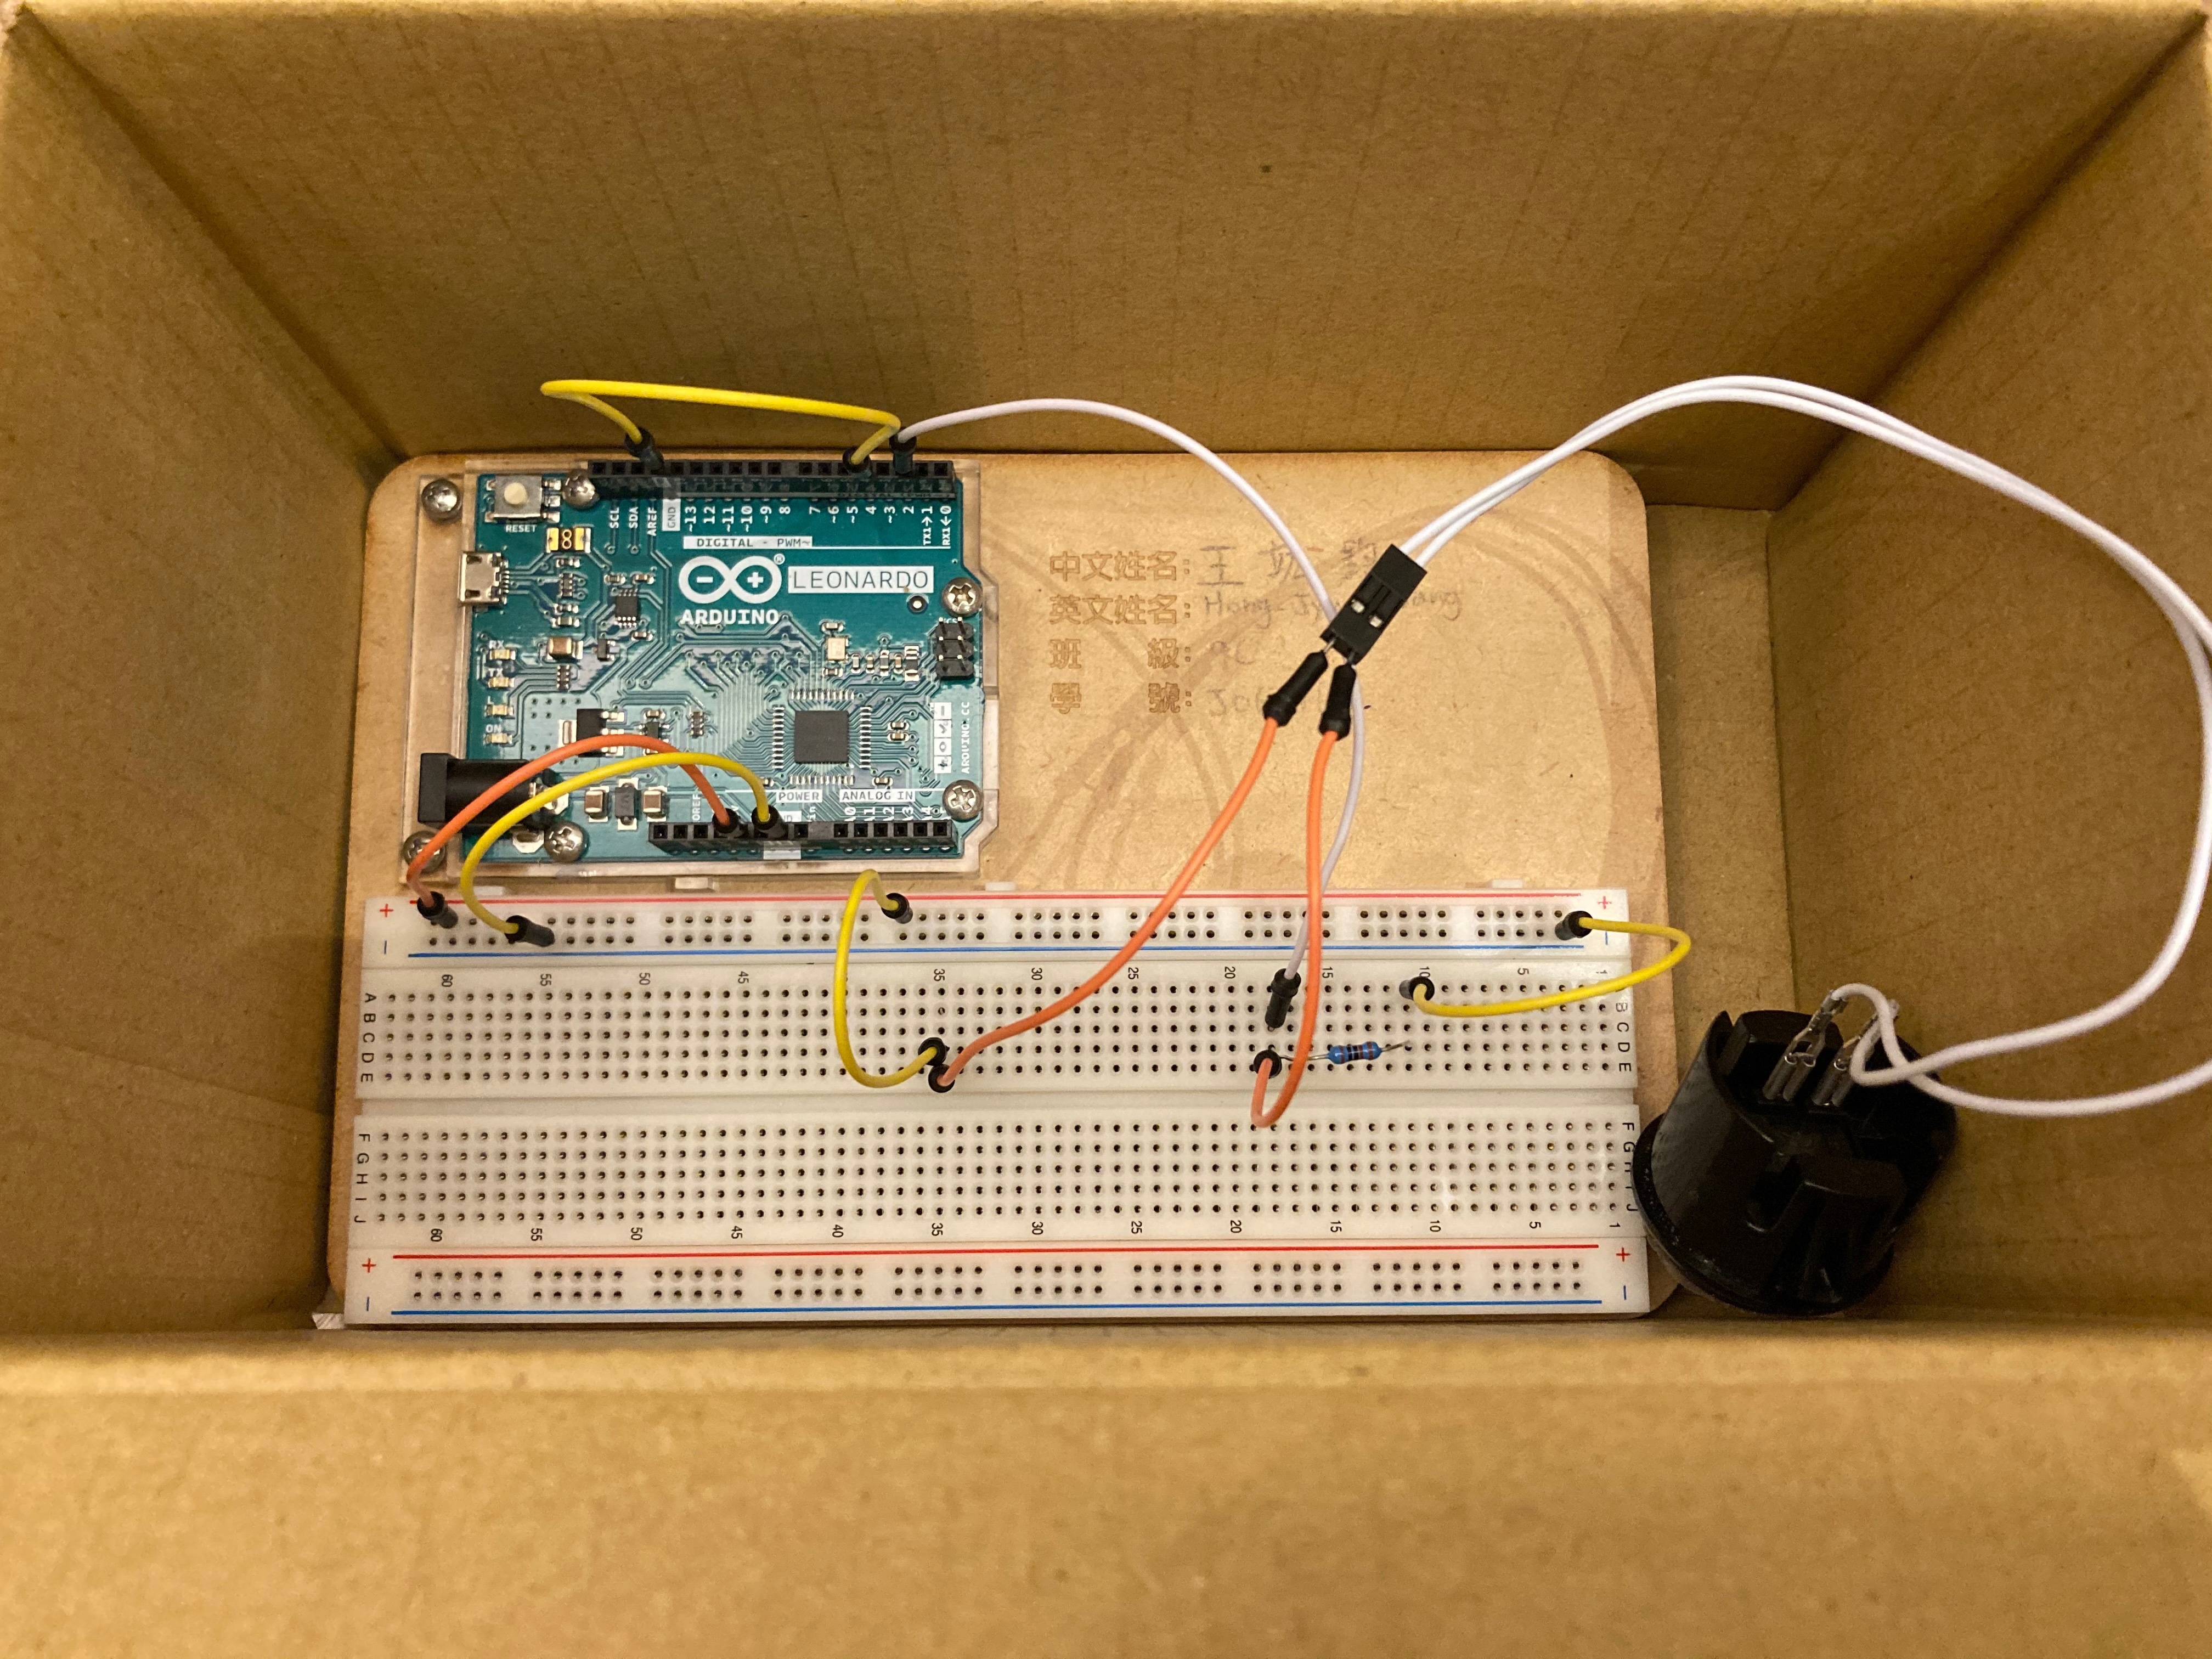
The following steps are completely OPTIONAL. You don't need a container for this to work. However, a container does serve as protection and improves the physical appearance of your device (depending on how well you do it, of course).
The container I used for my Arduino board is 20.2 x 11.5 x 12.3 cardboard box. I really suggest finding a box as it is much easier and saves cardboard. As long as your box is not too big for you and not too small for the board, it is o.k. The container I chose just happens to fit the board perfectly.
Carving Your Container
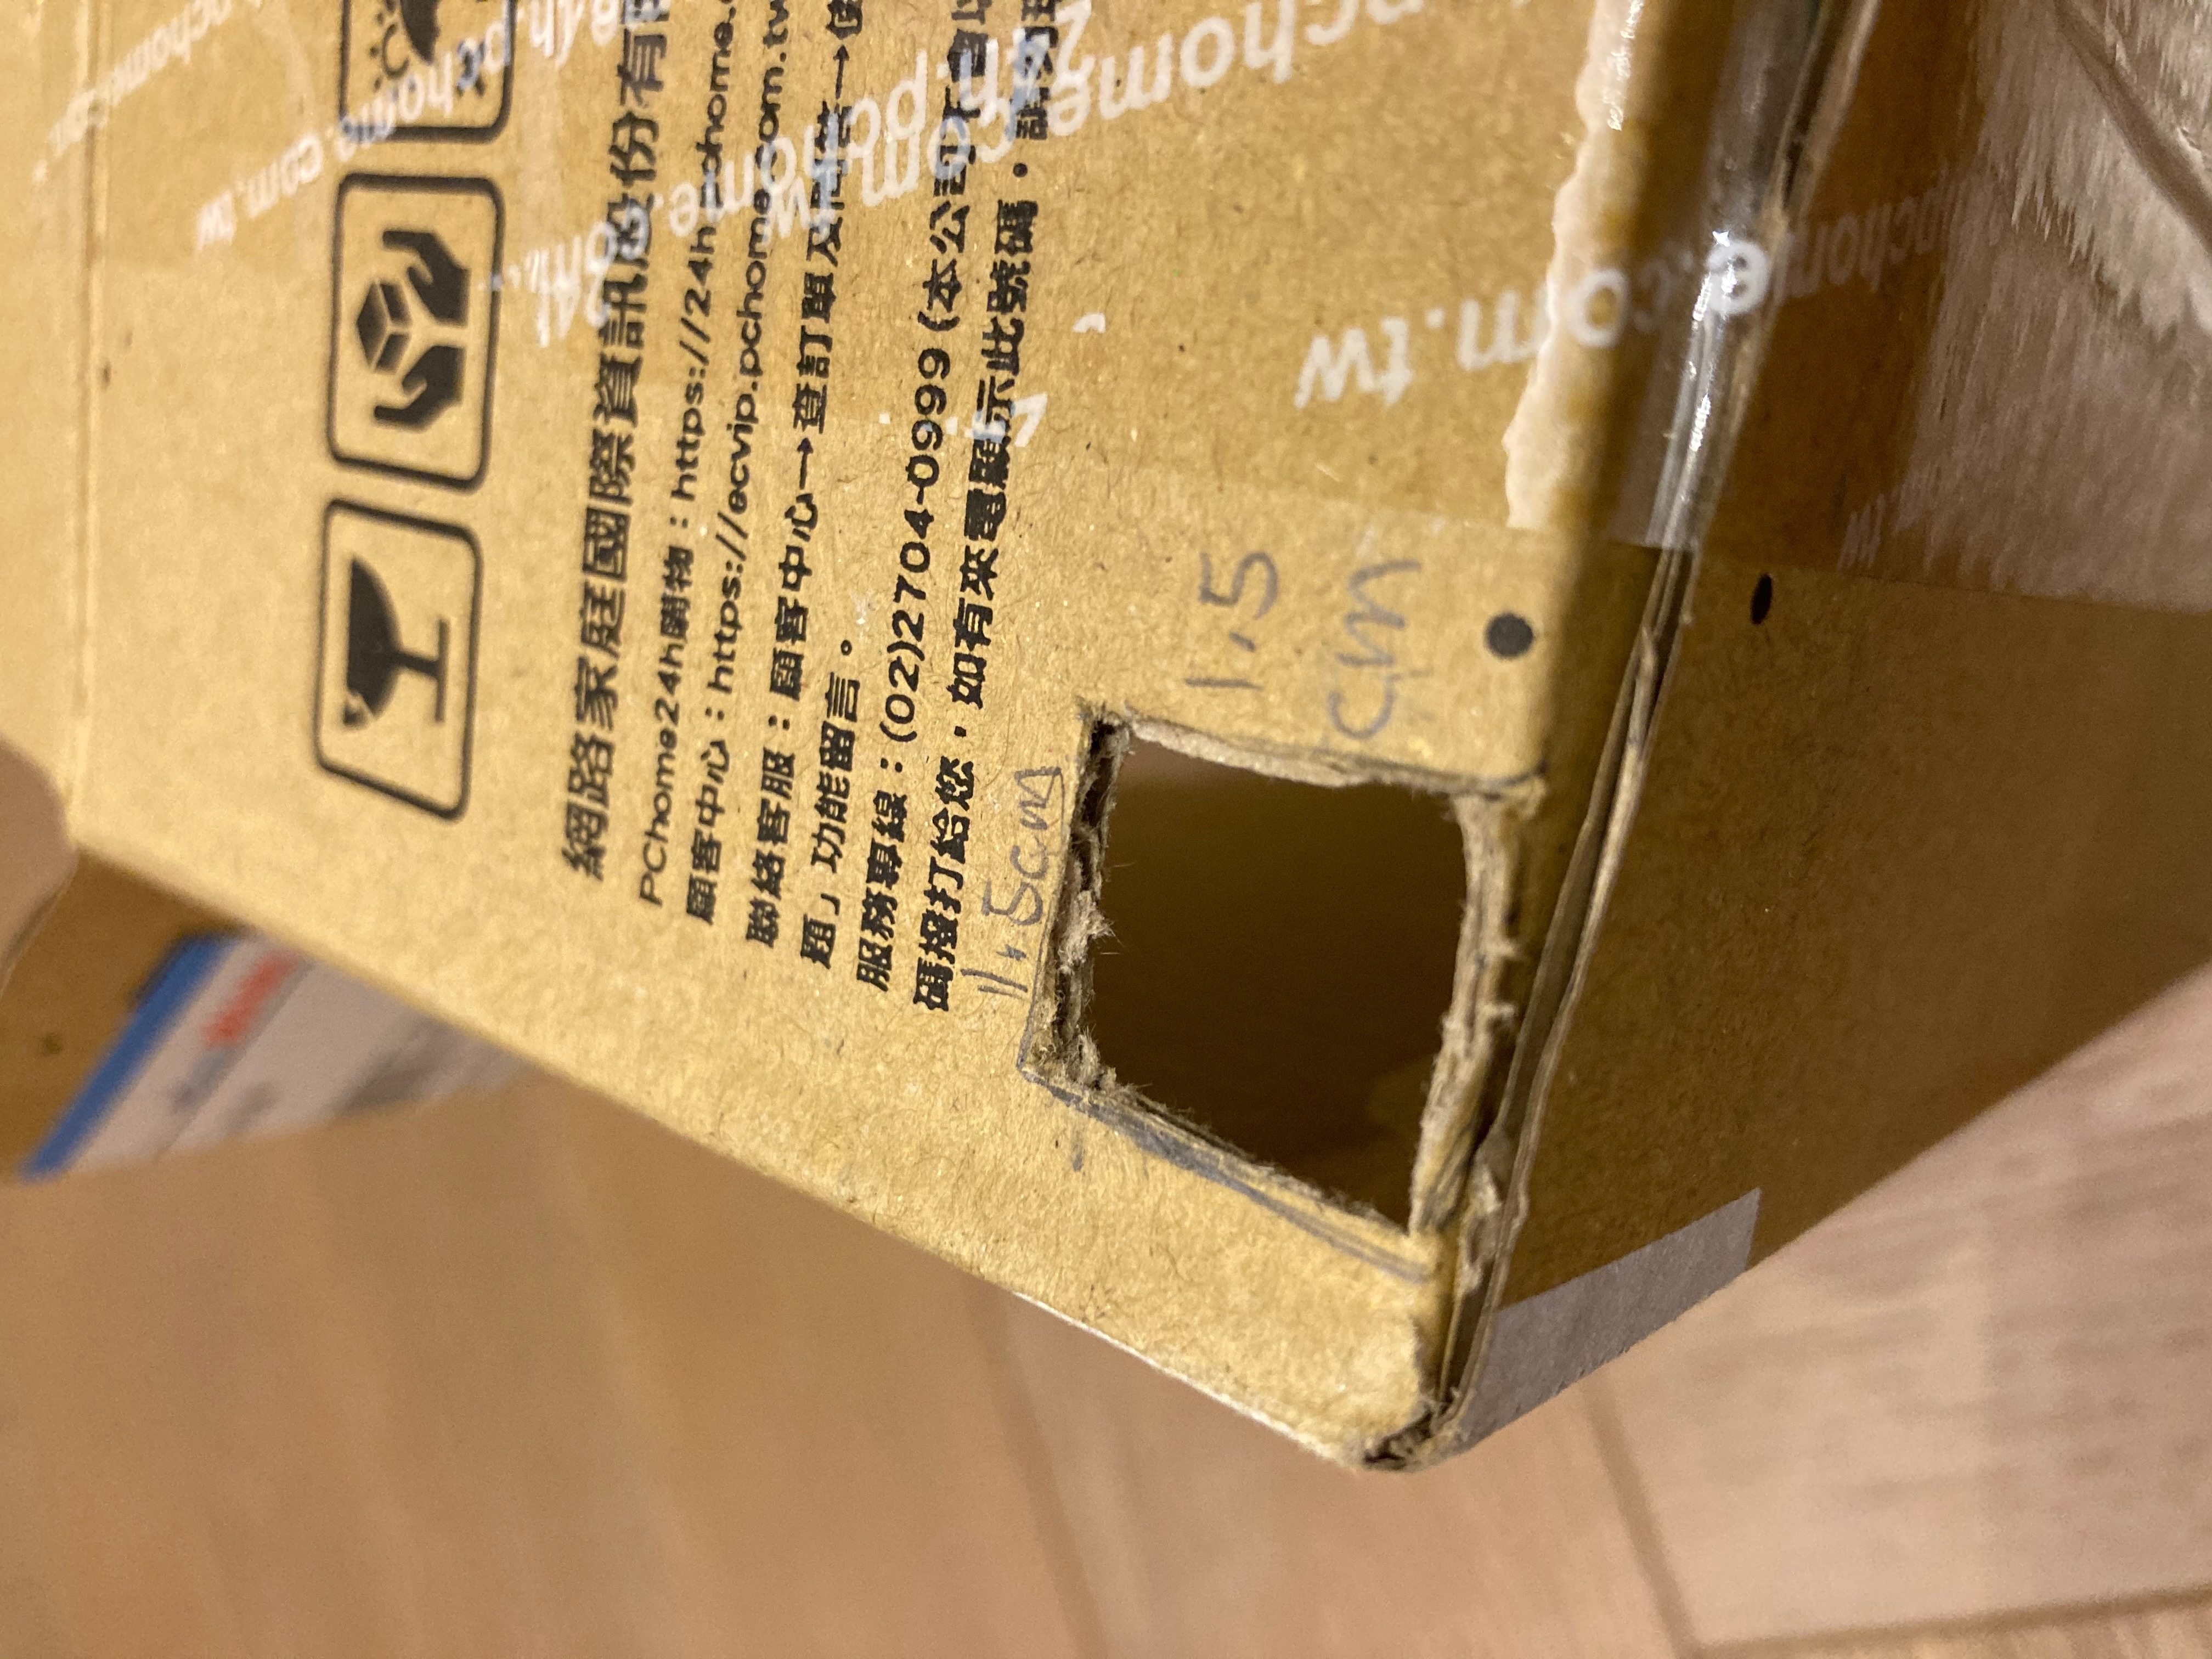
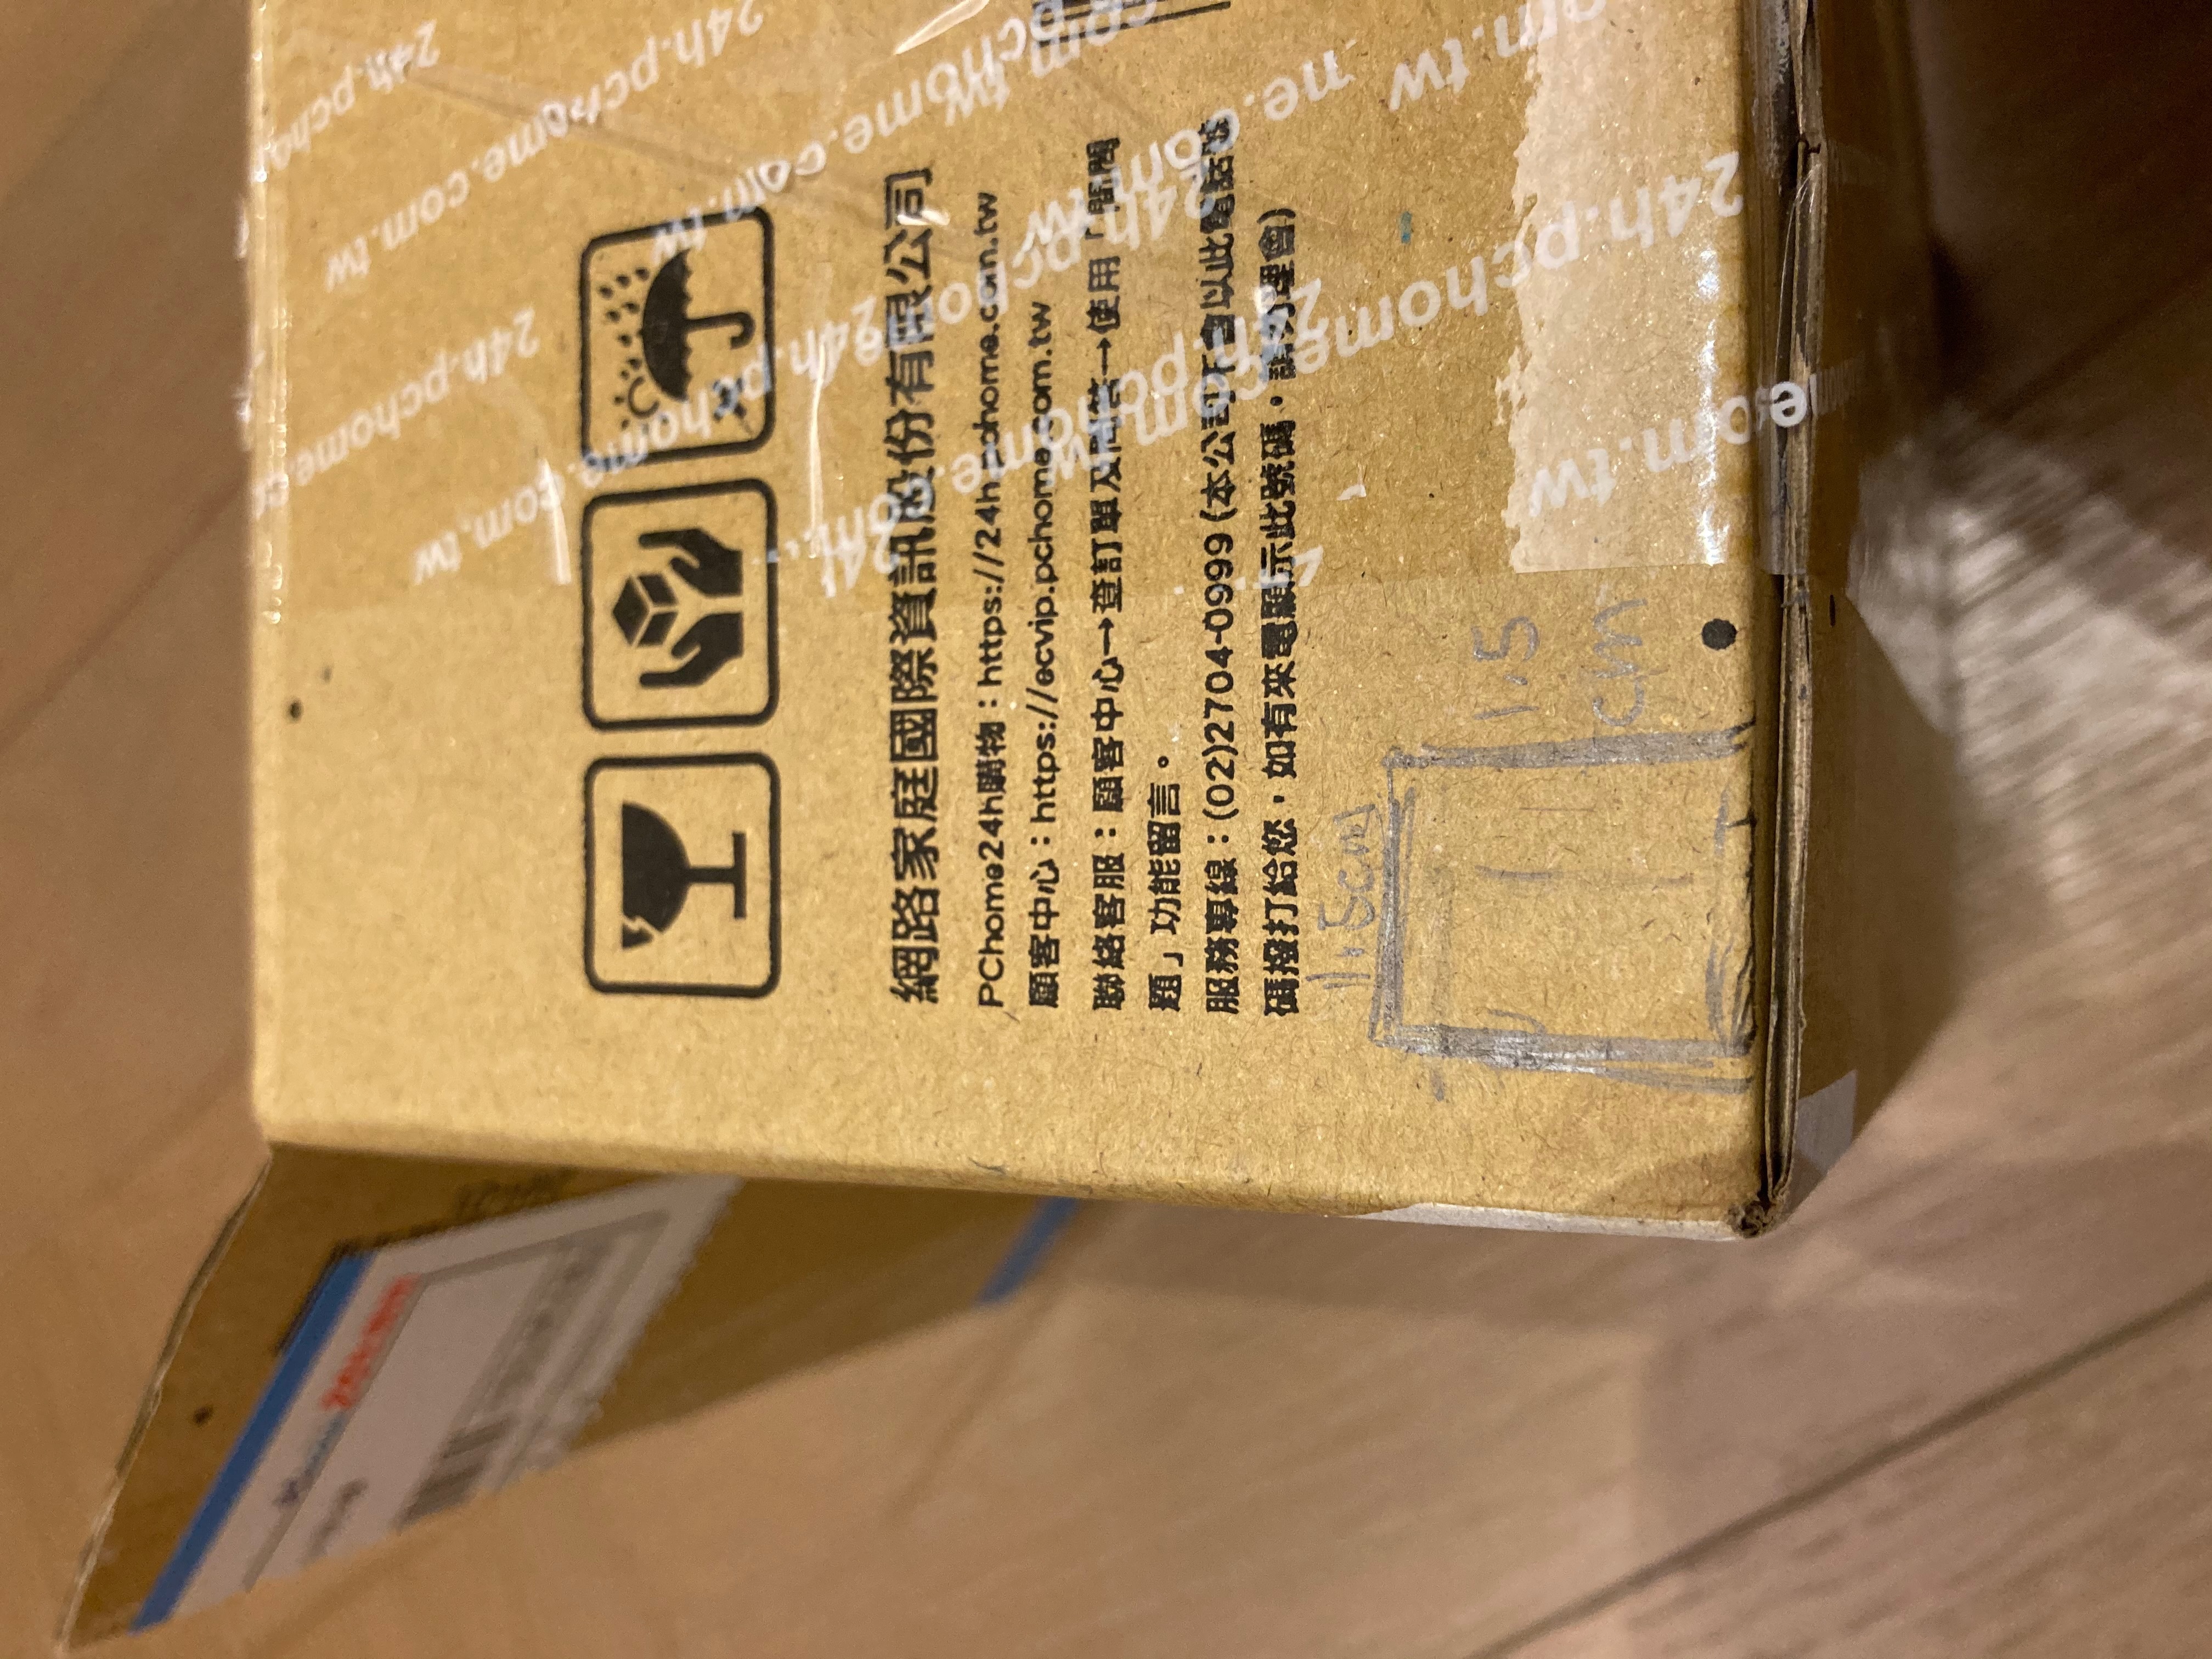
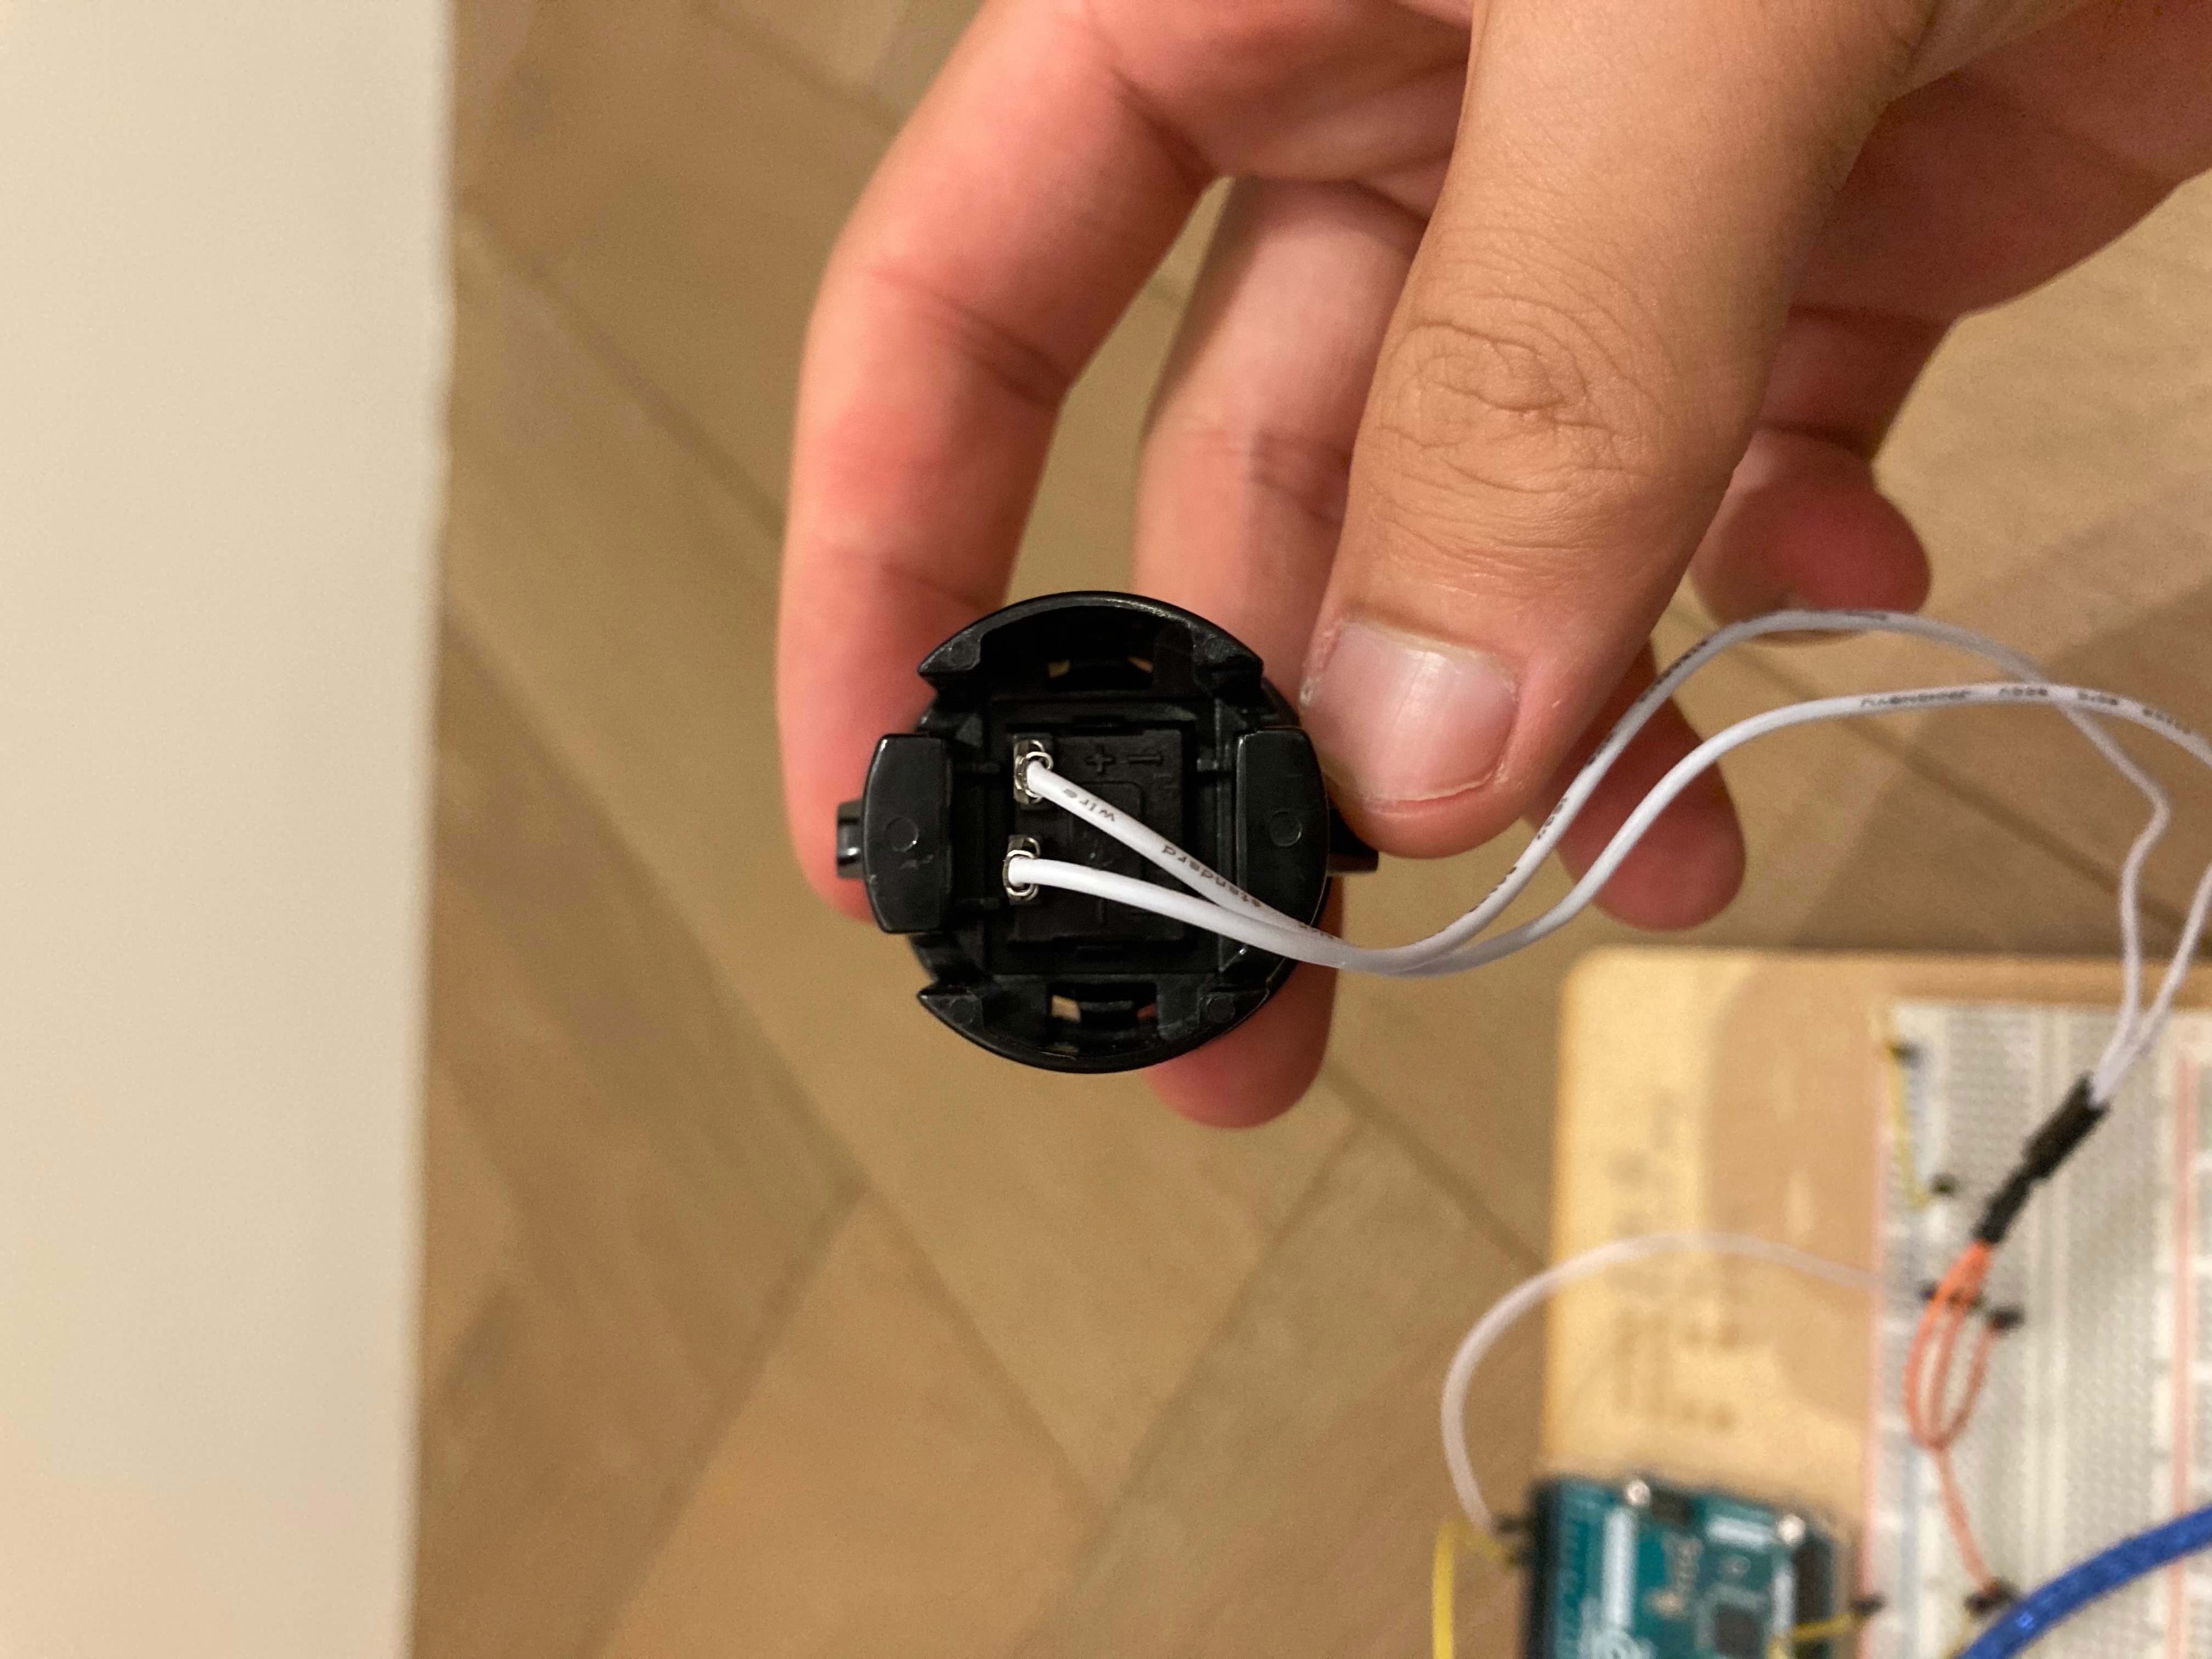
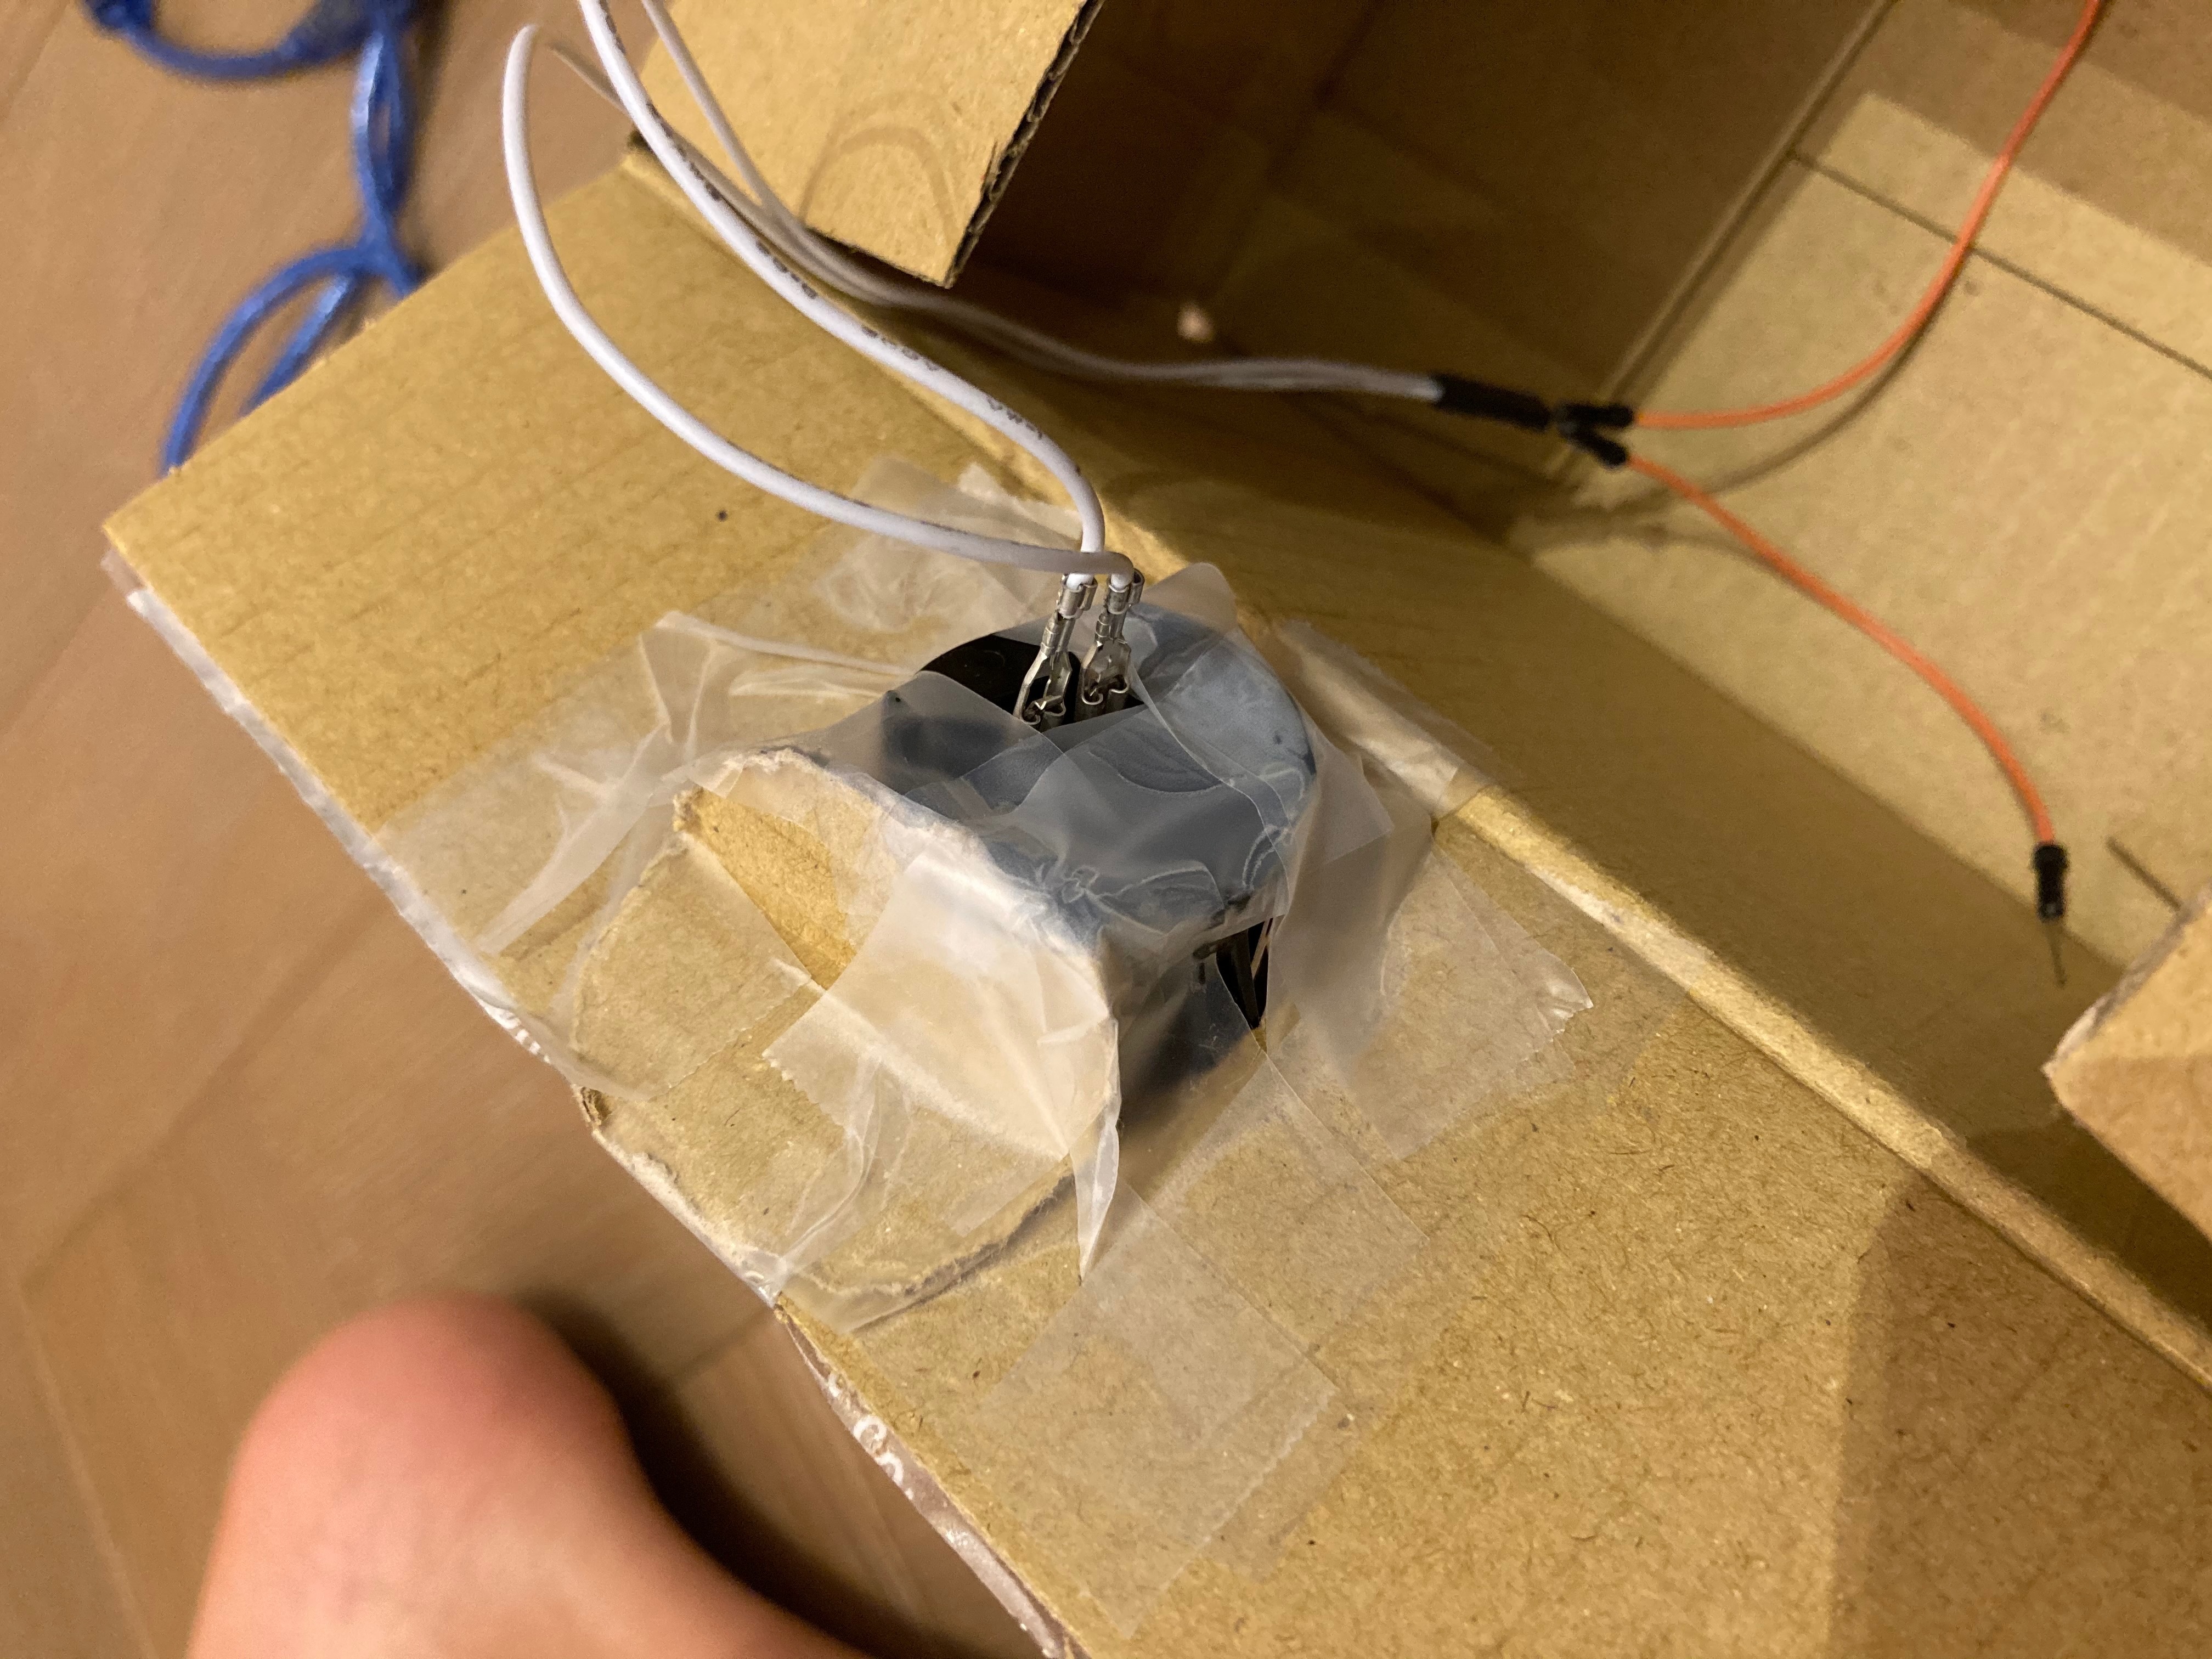
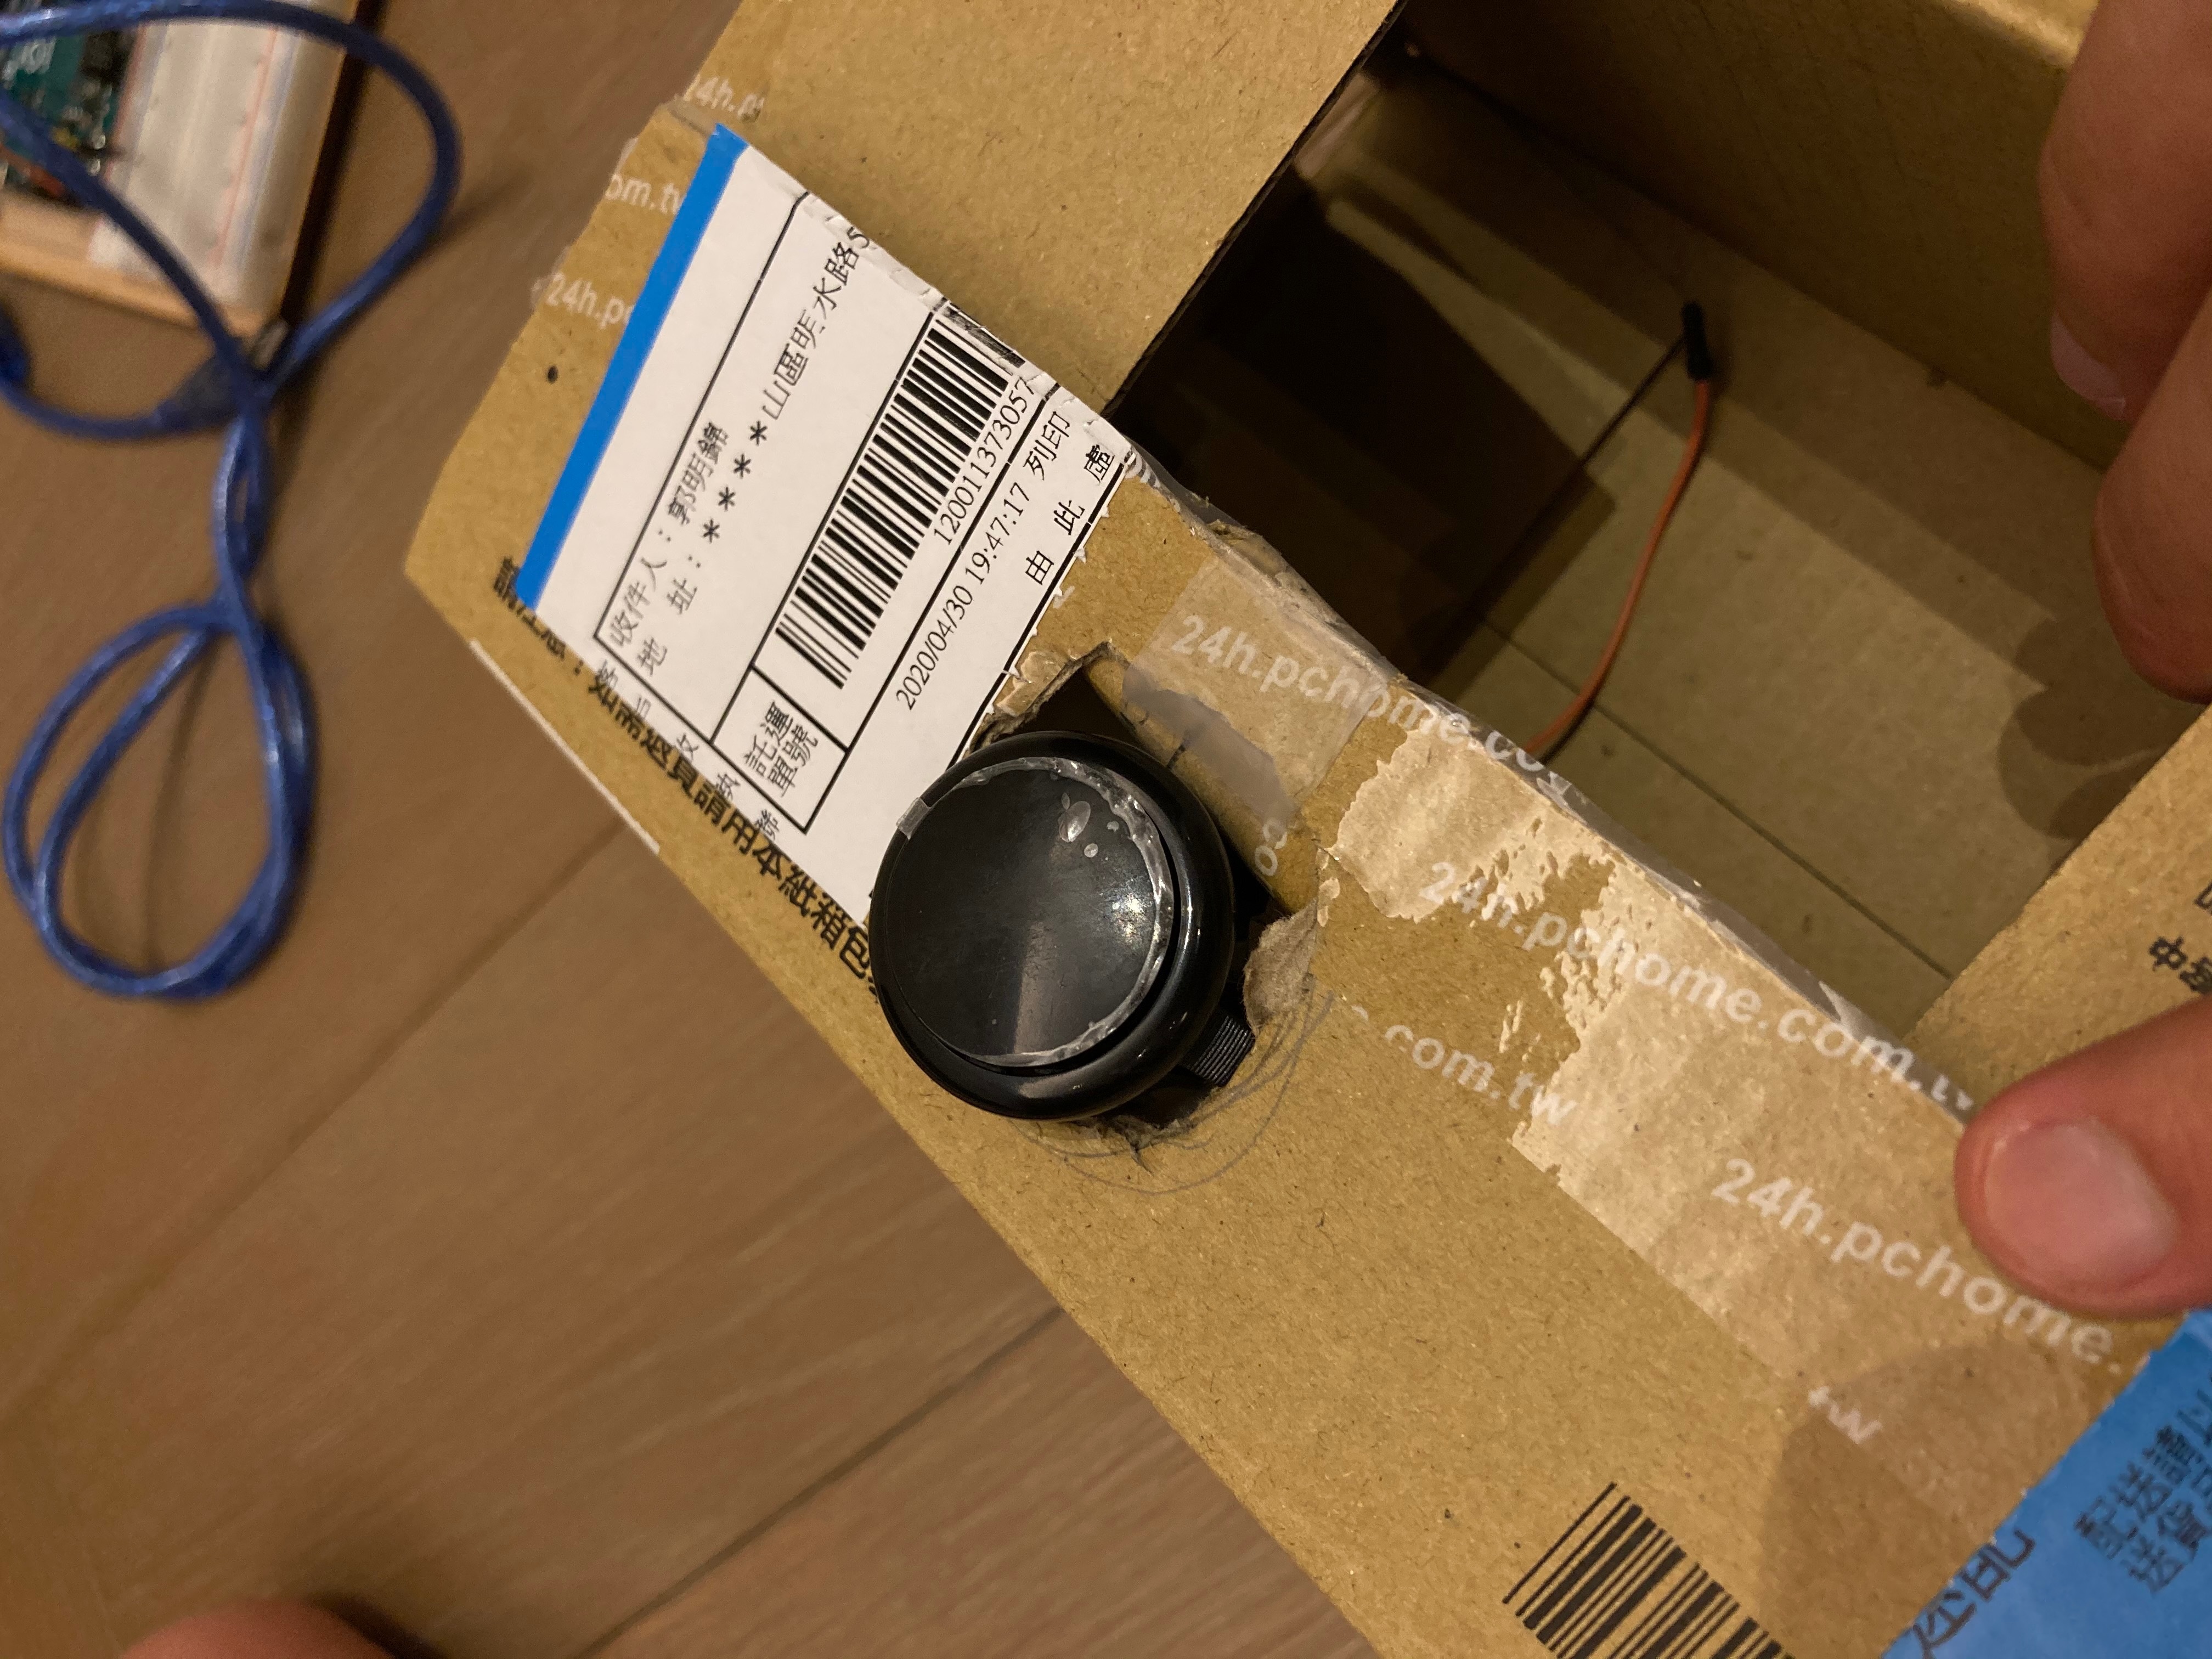
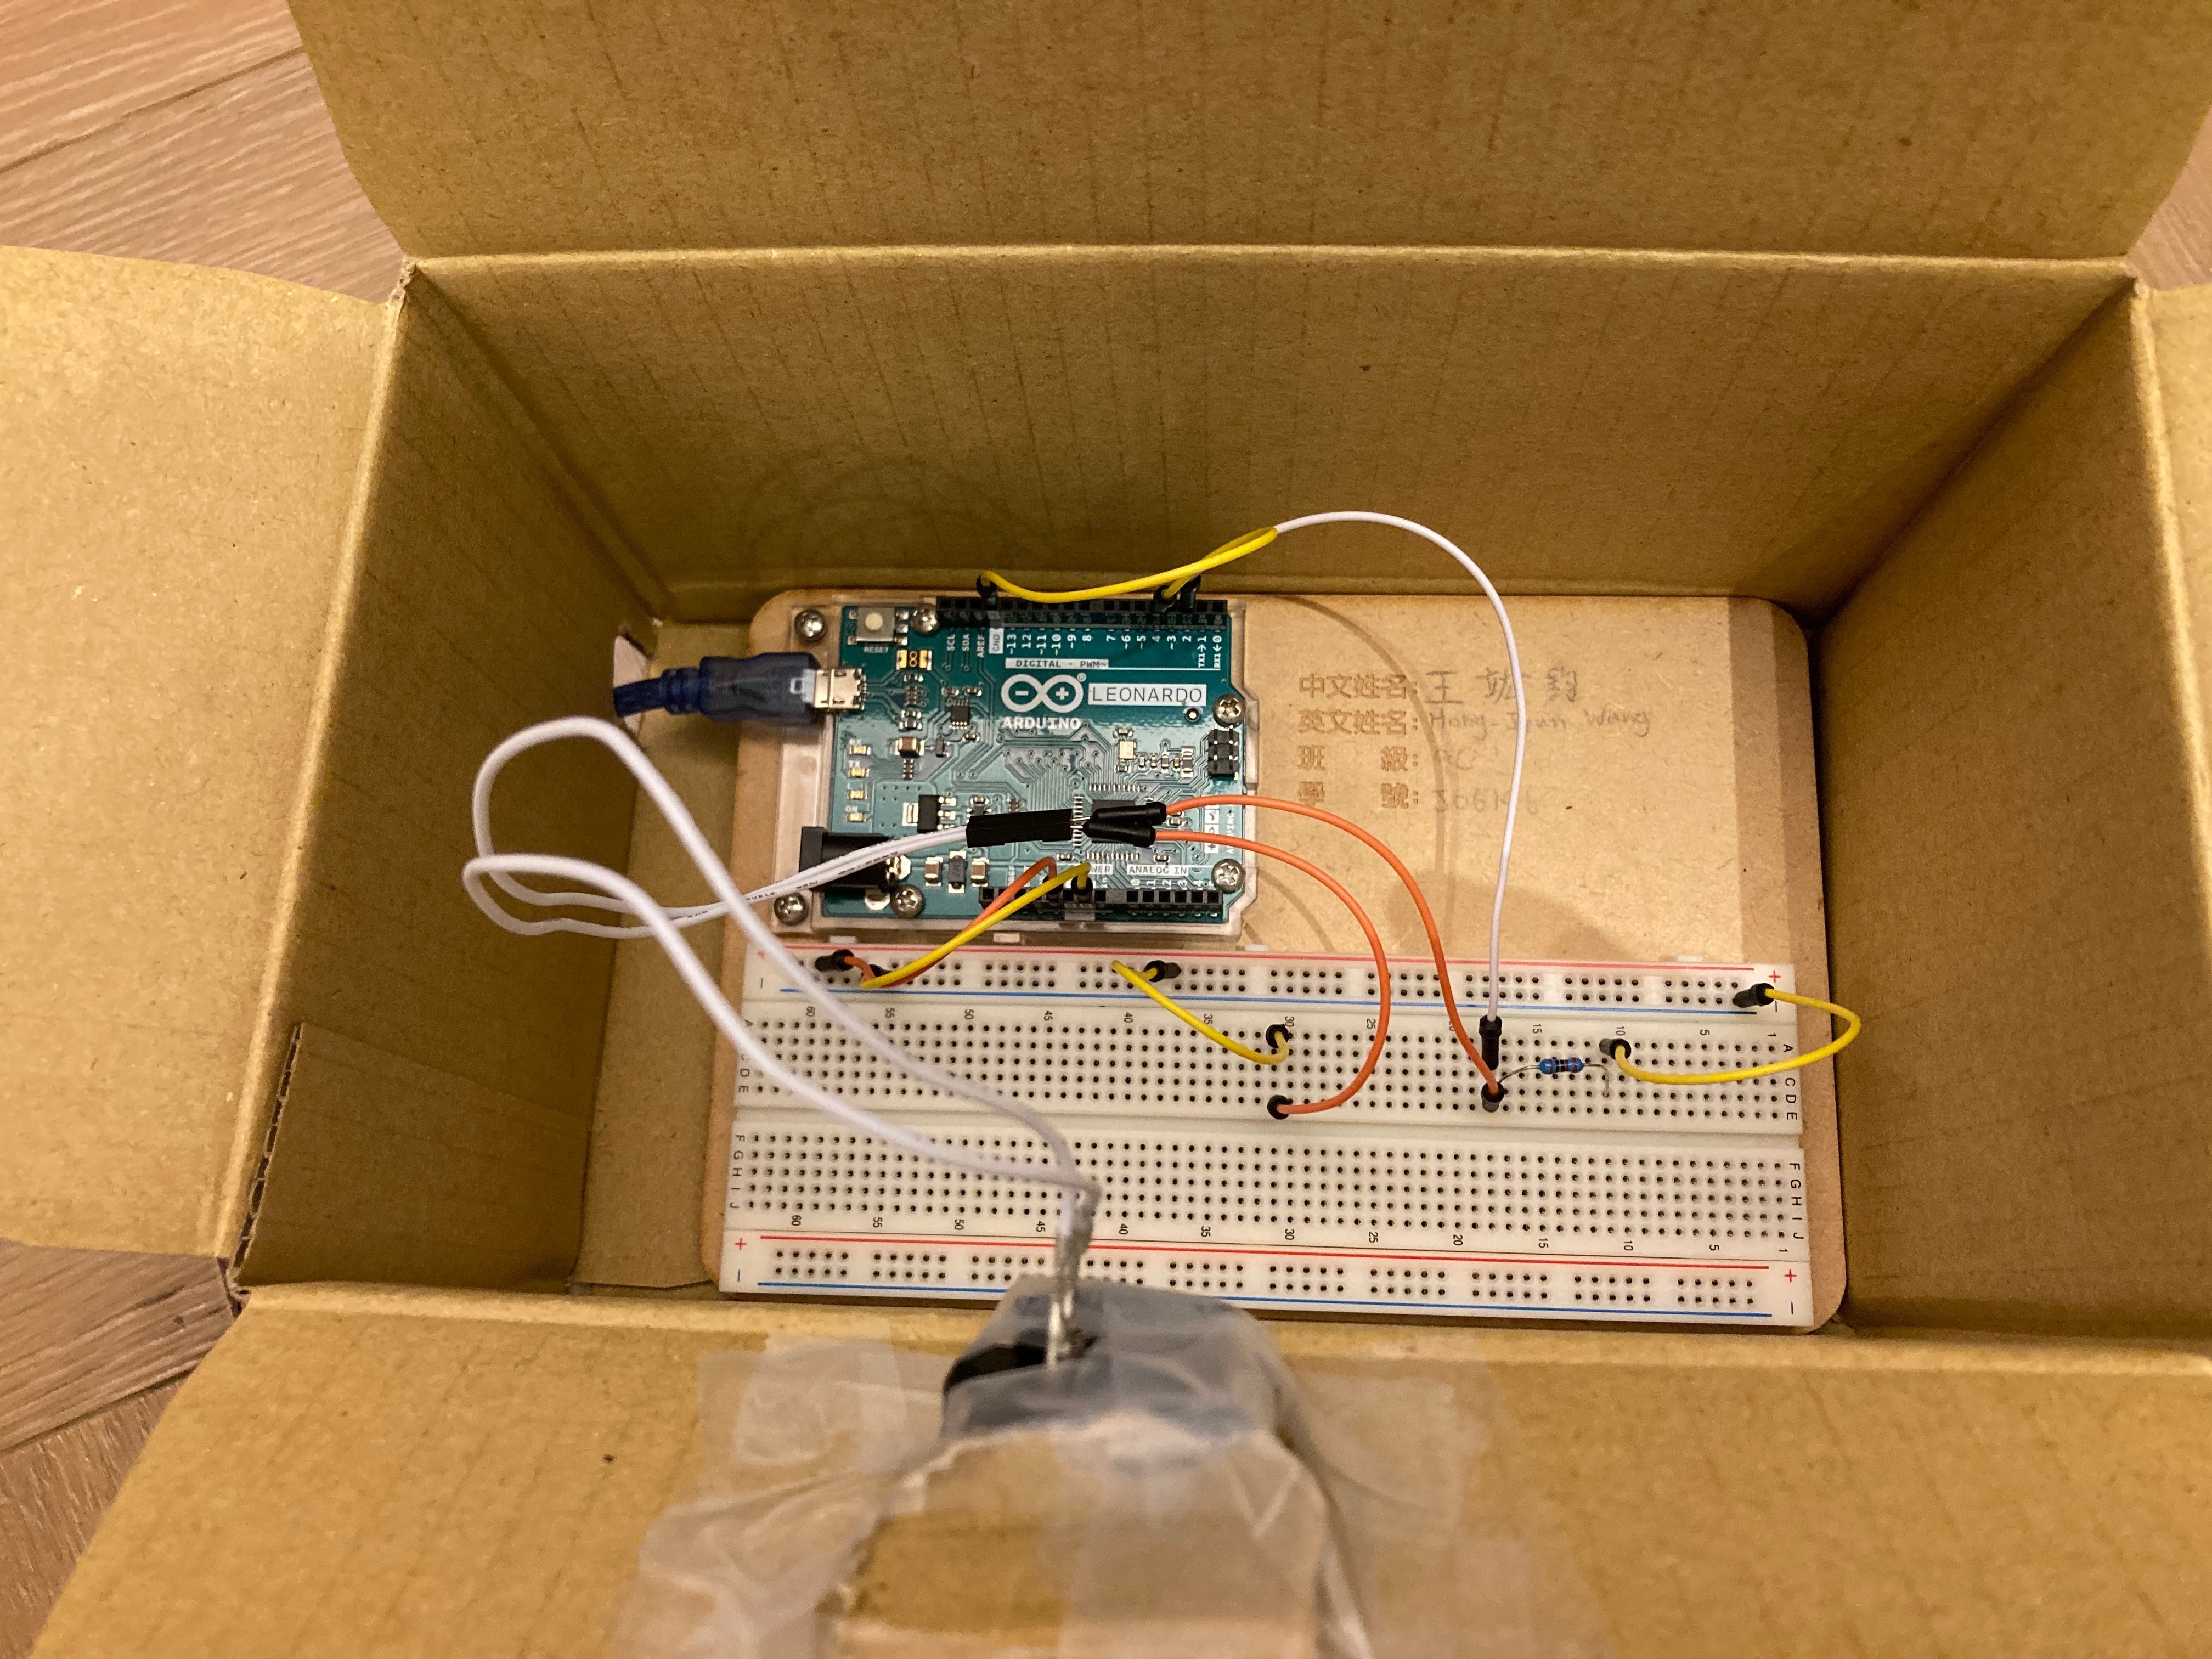
Your container requires two output holes, for the USB and the button. Therefore, you must carve a 1.5 x 1.5 square on one of the container's corners. Your must also cut a circular hole on the top of the container for your button. Since everyone's button is different, just cut the hole to a size identical to your button. Mine had a diameter of 3cm.
If you accidentally screw up the cutting (especially for the button hole), use what fell off from the cutting to make the hole more narrow, allowing the button to still fit into the hole. This is where tape is really useful, it solves all the problems. For the circular hole, simply fold the circular plate you cut off and tape it onto the hole to make it more narrow. I used a significant amount of tape for this. Tape solves everything. If it doesn't......
You're not using enough.
Wrapping Your Container
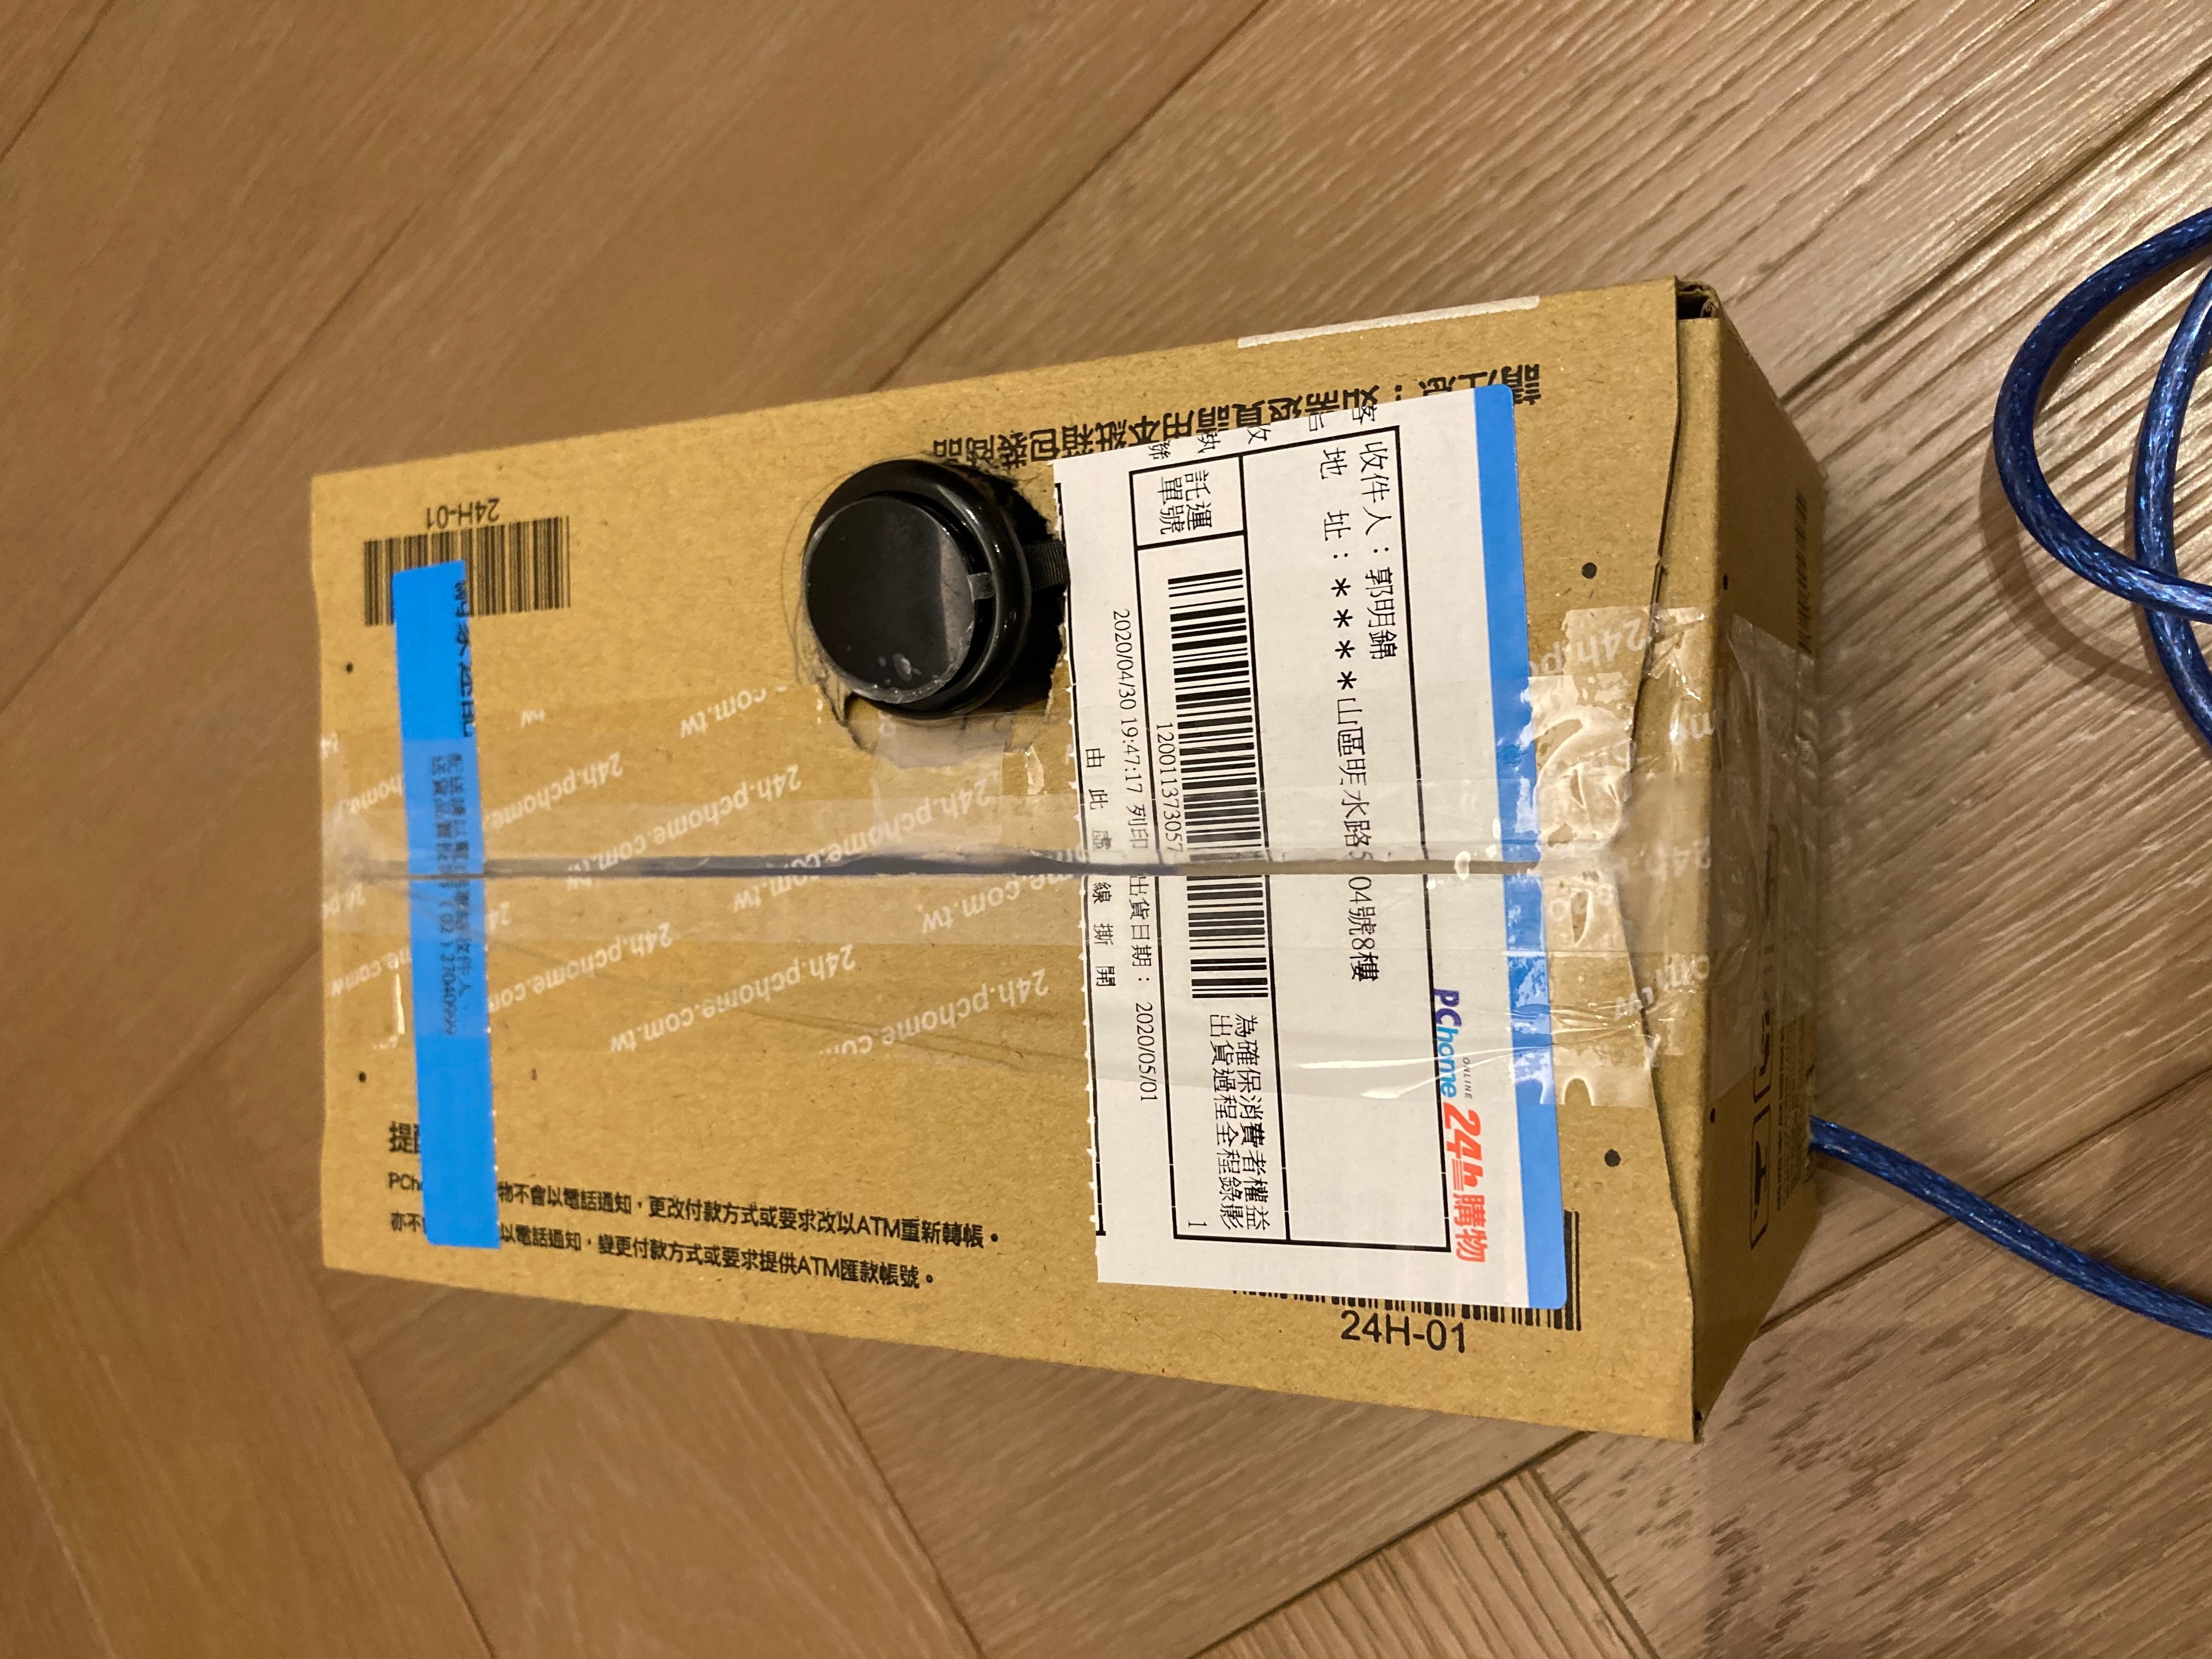
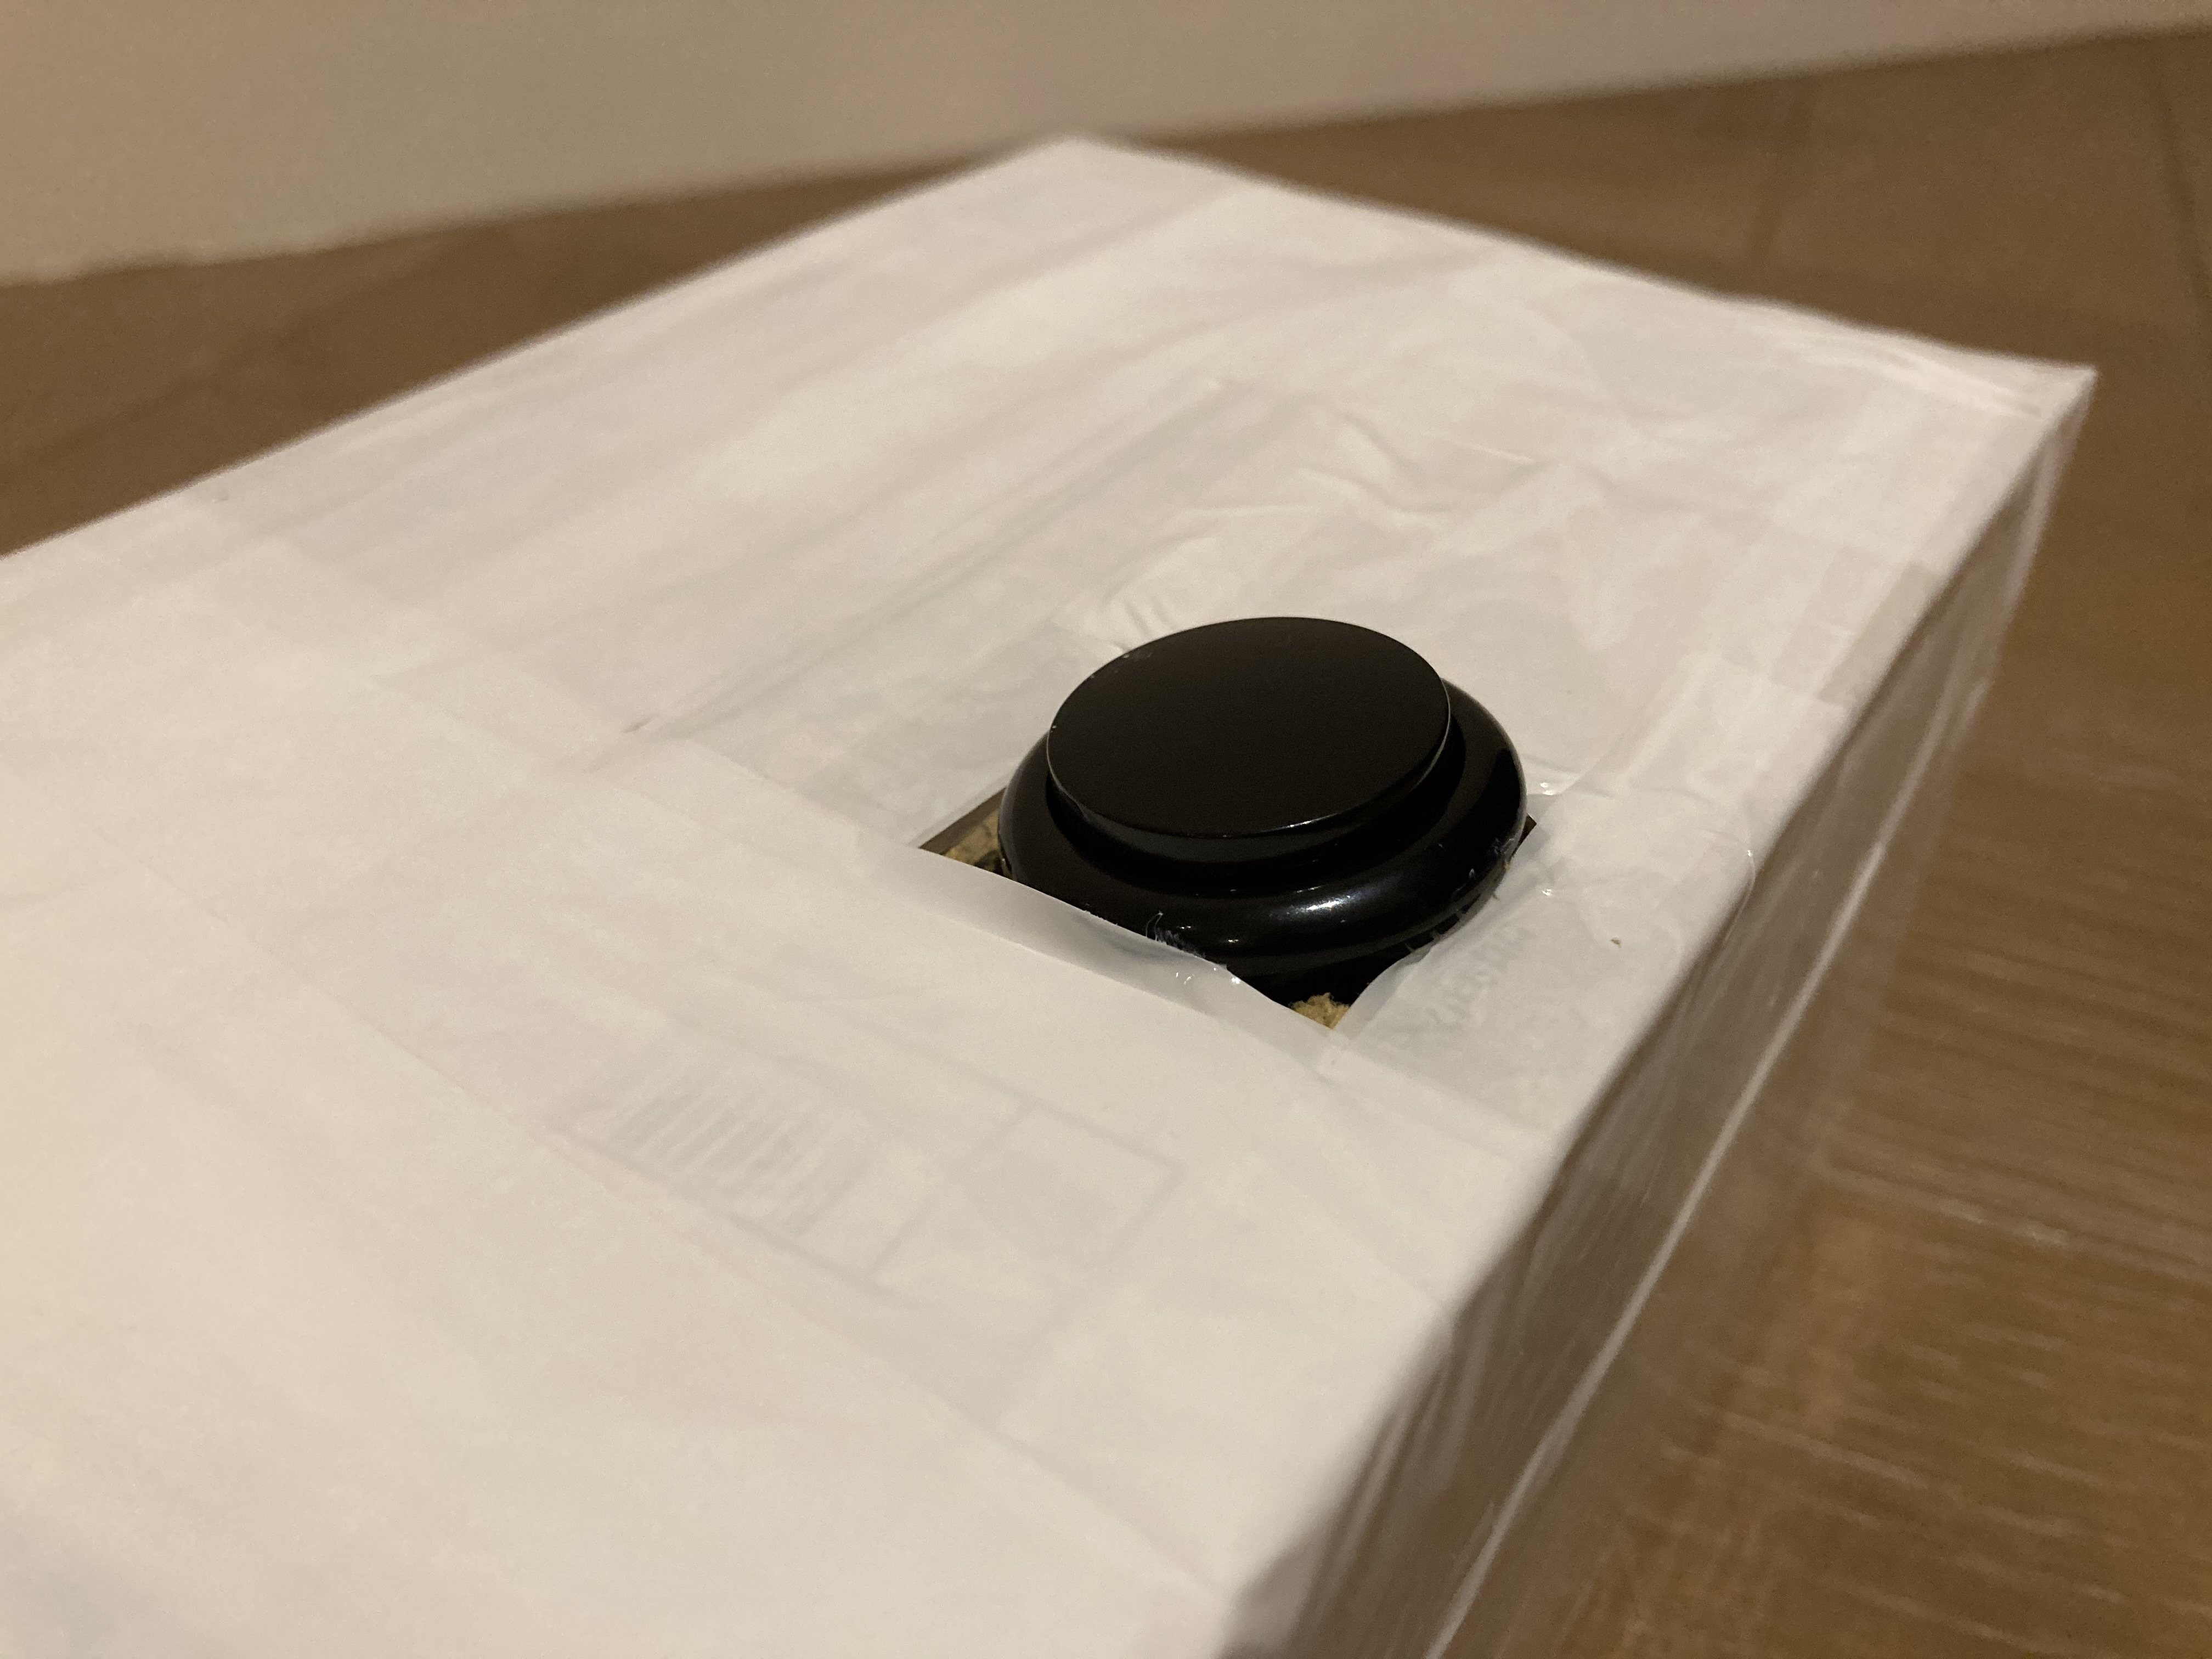
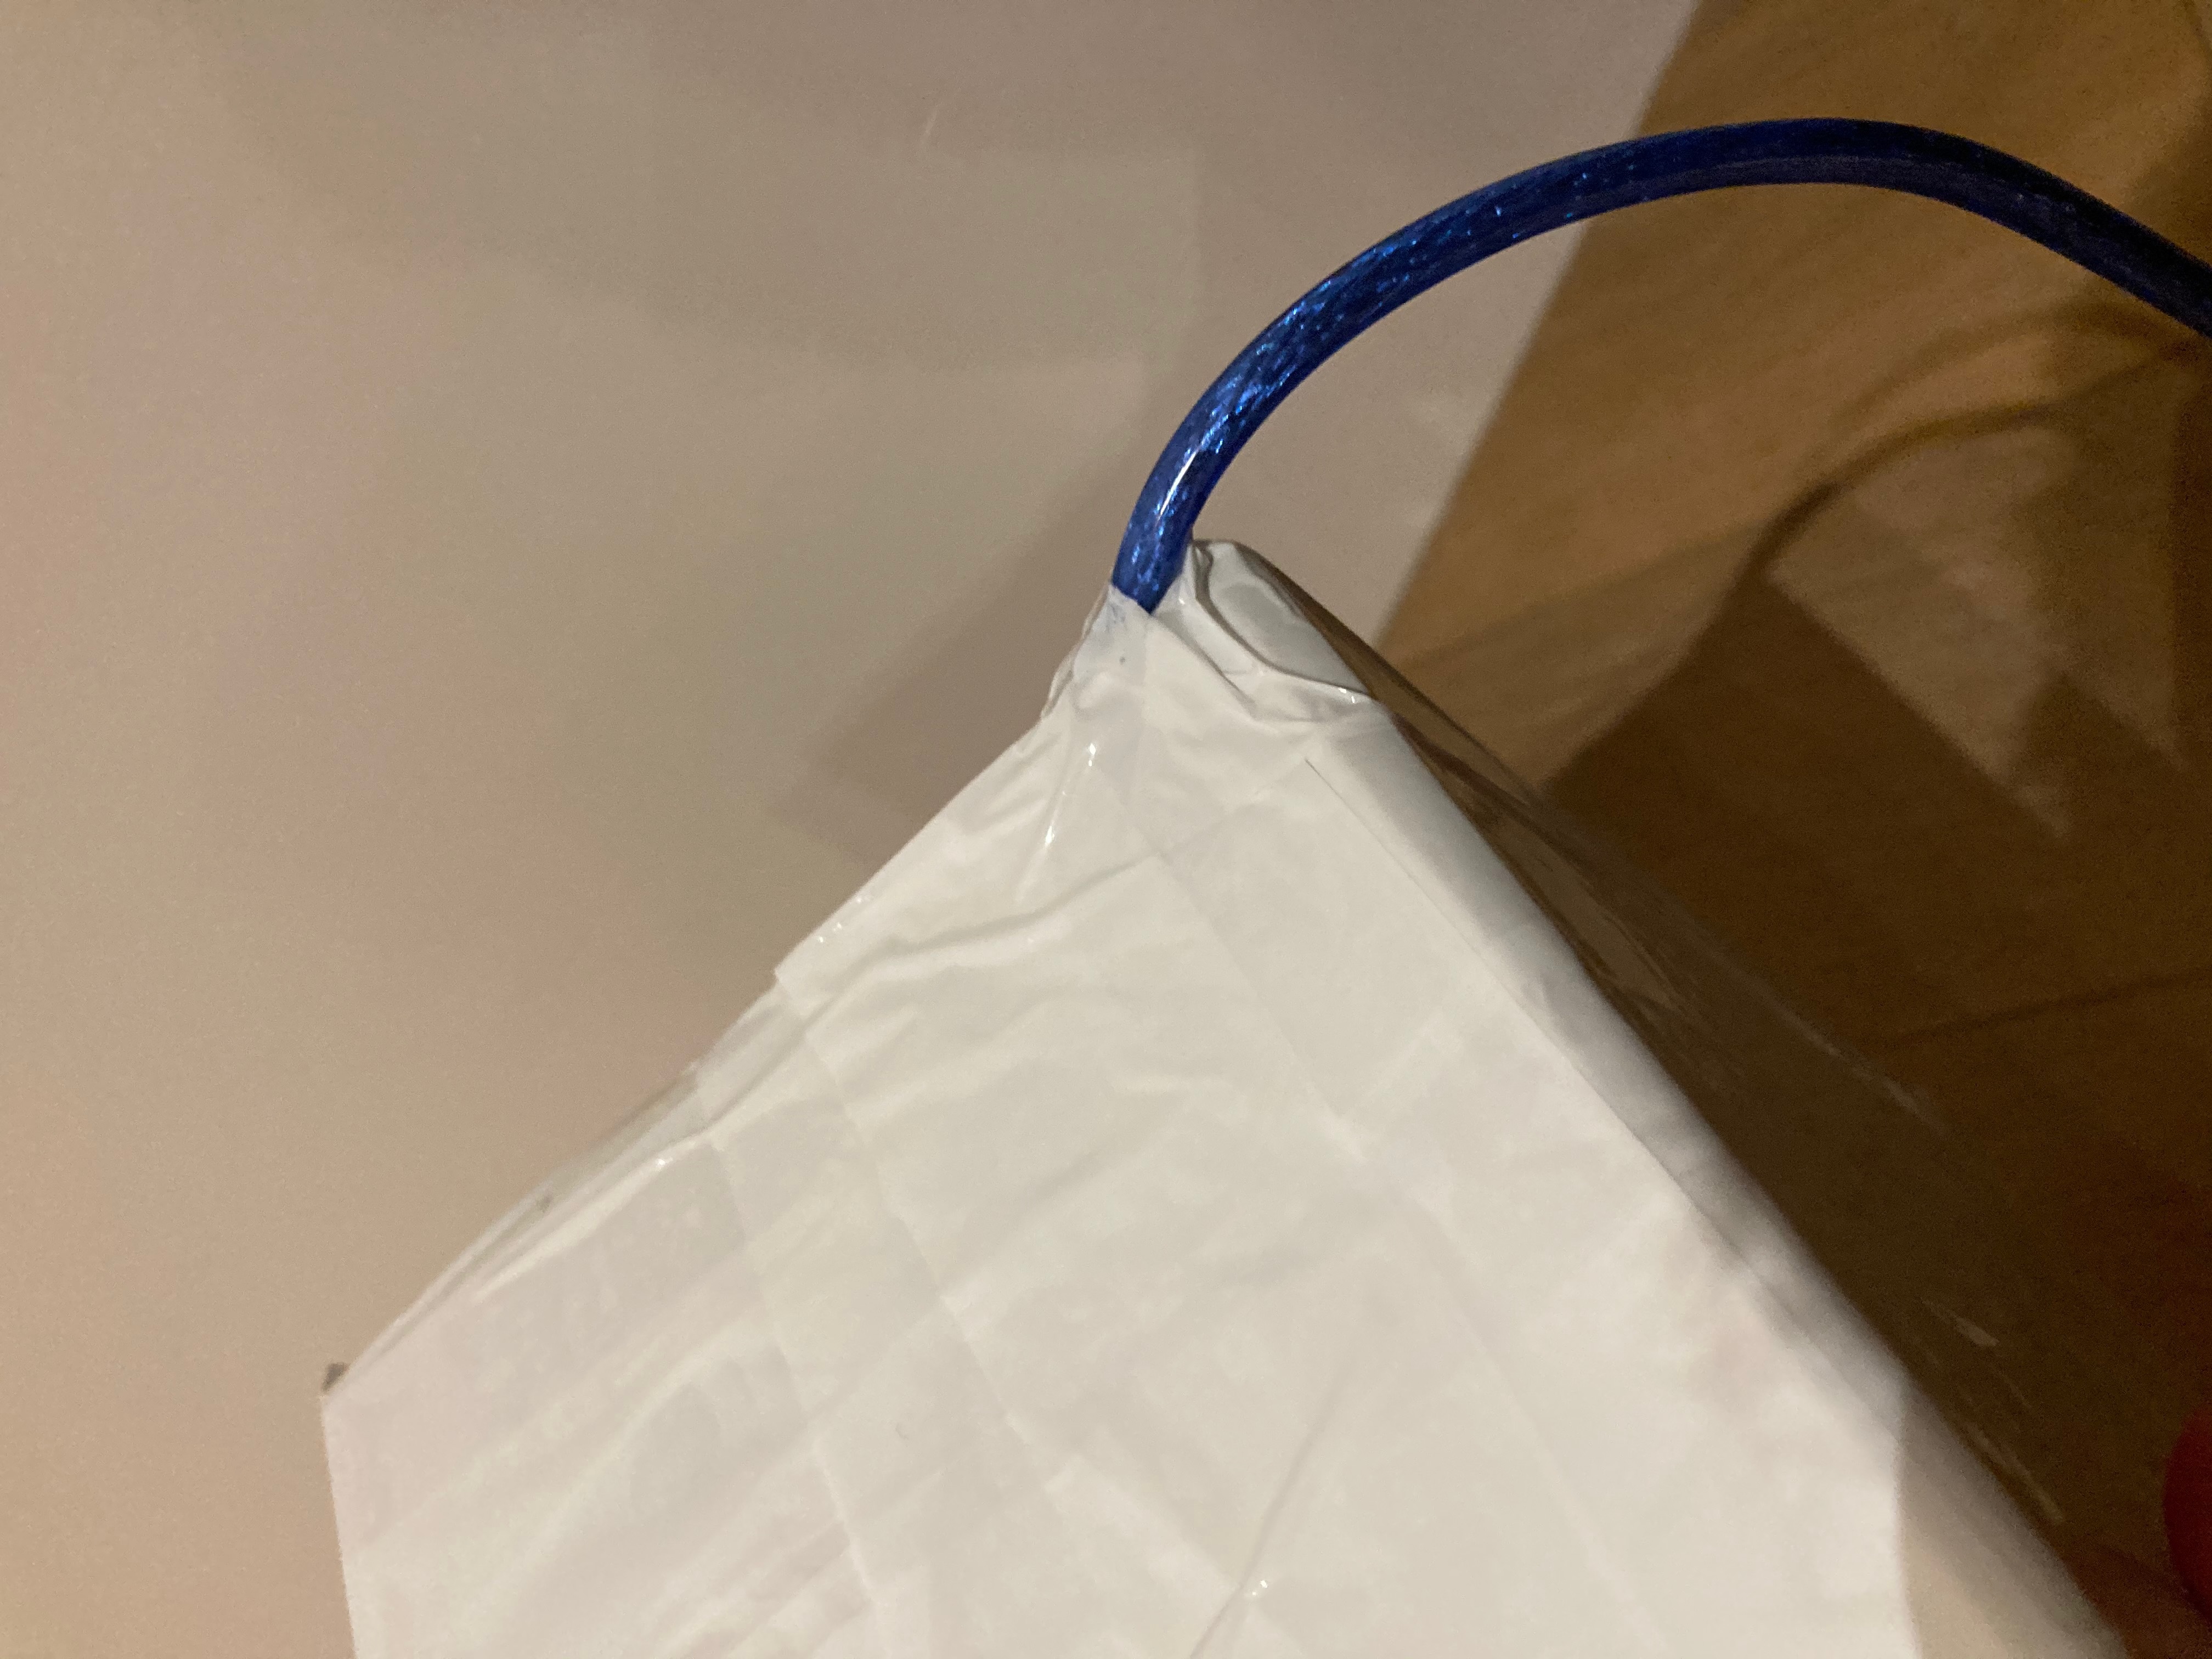
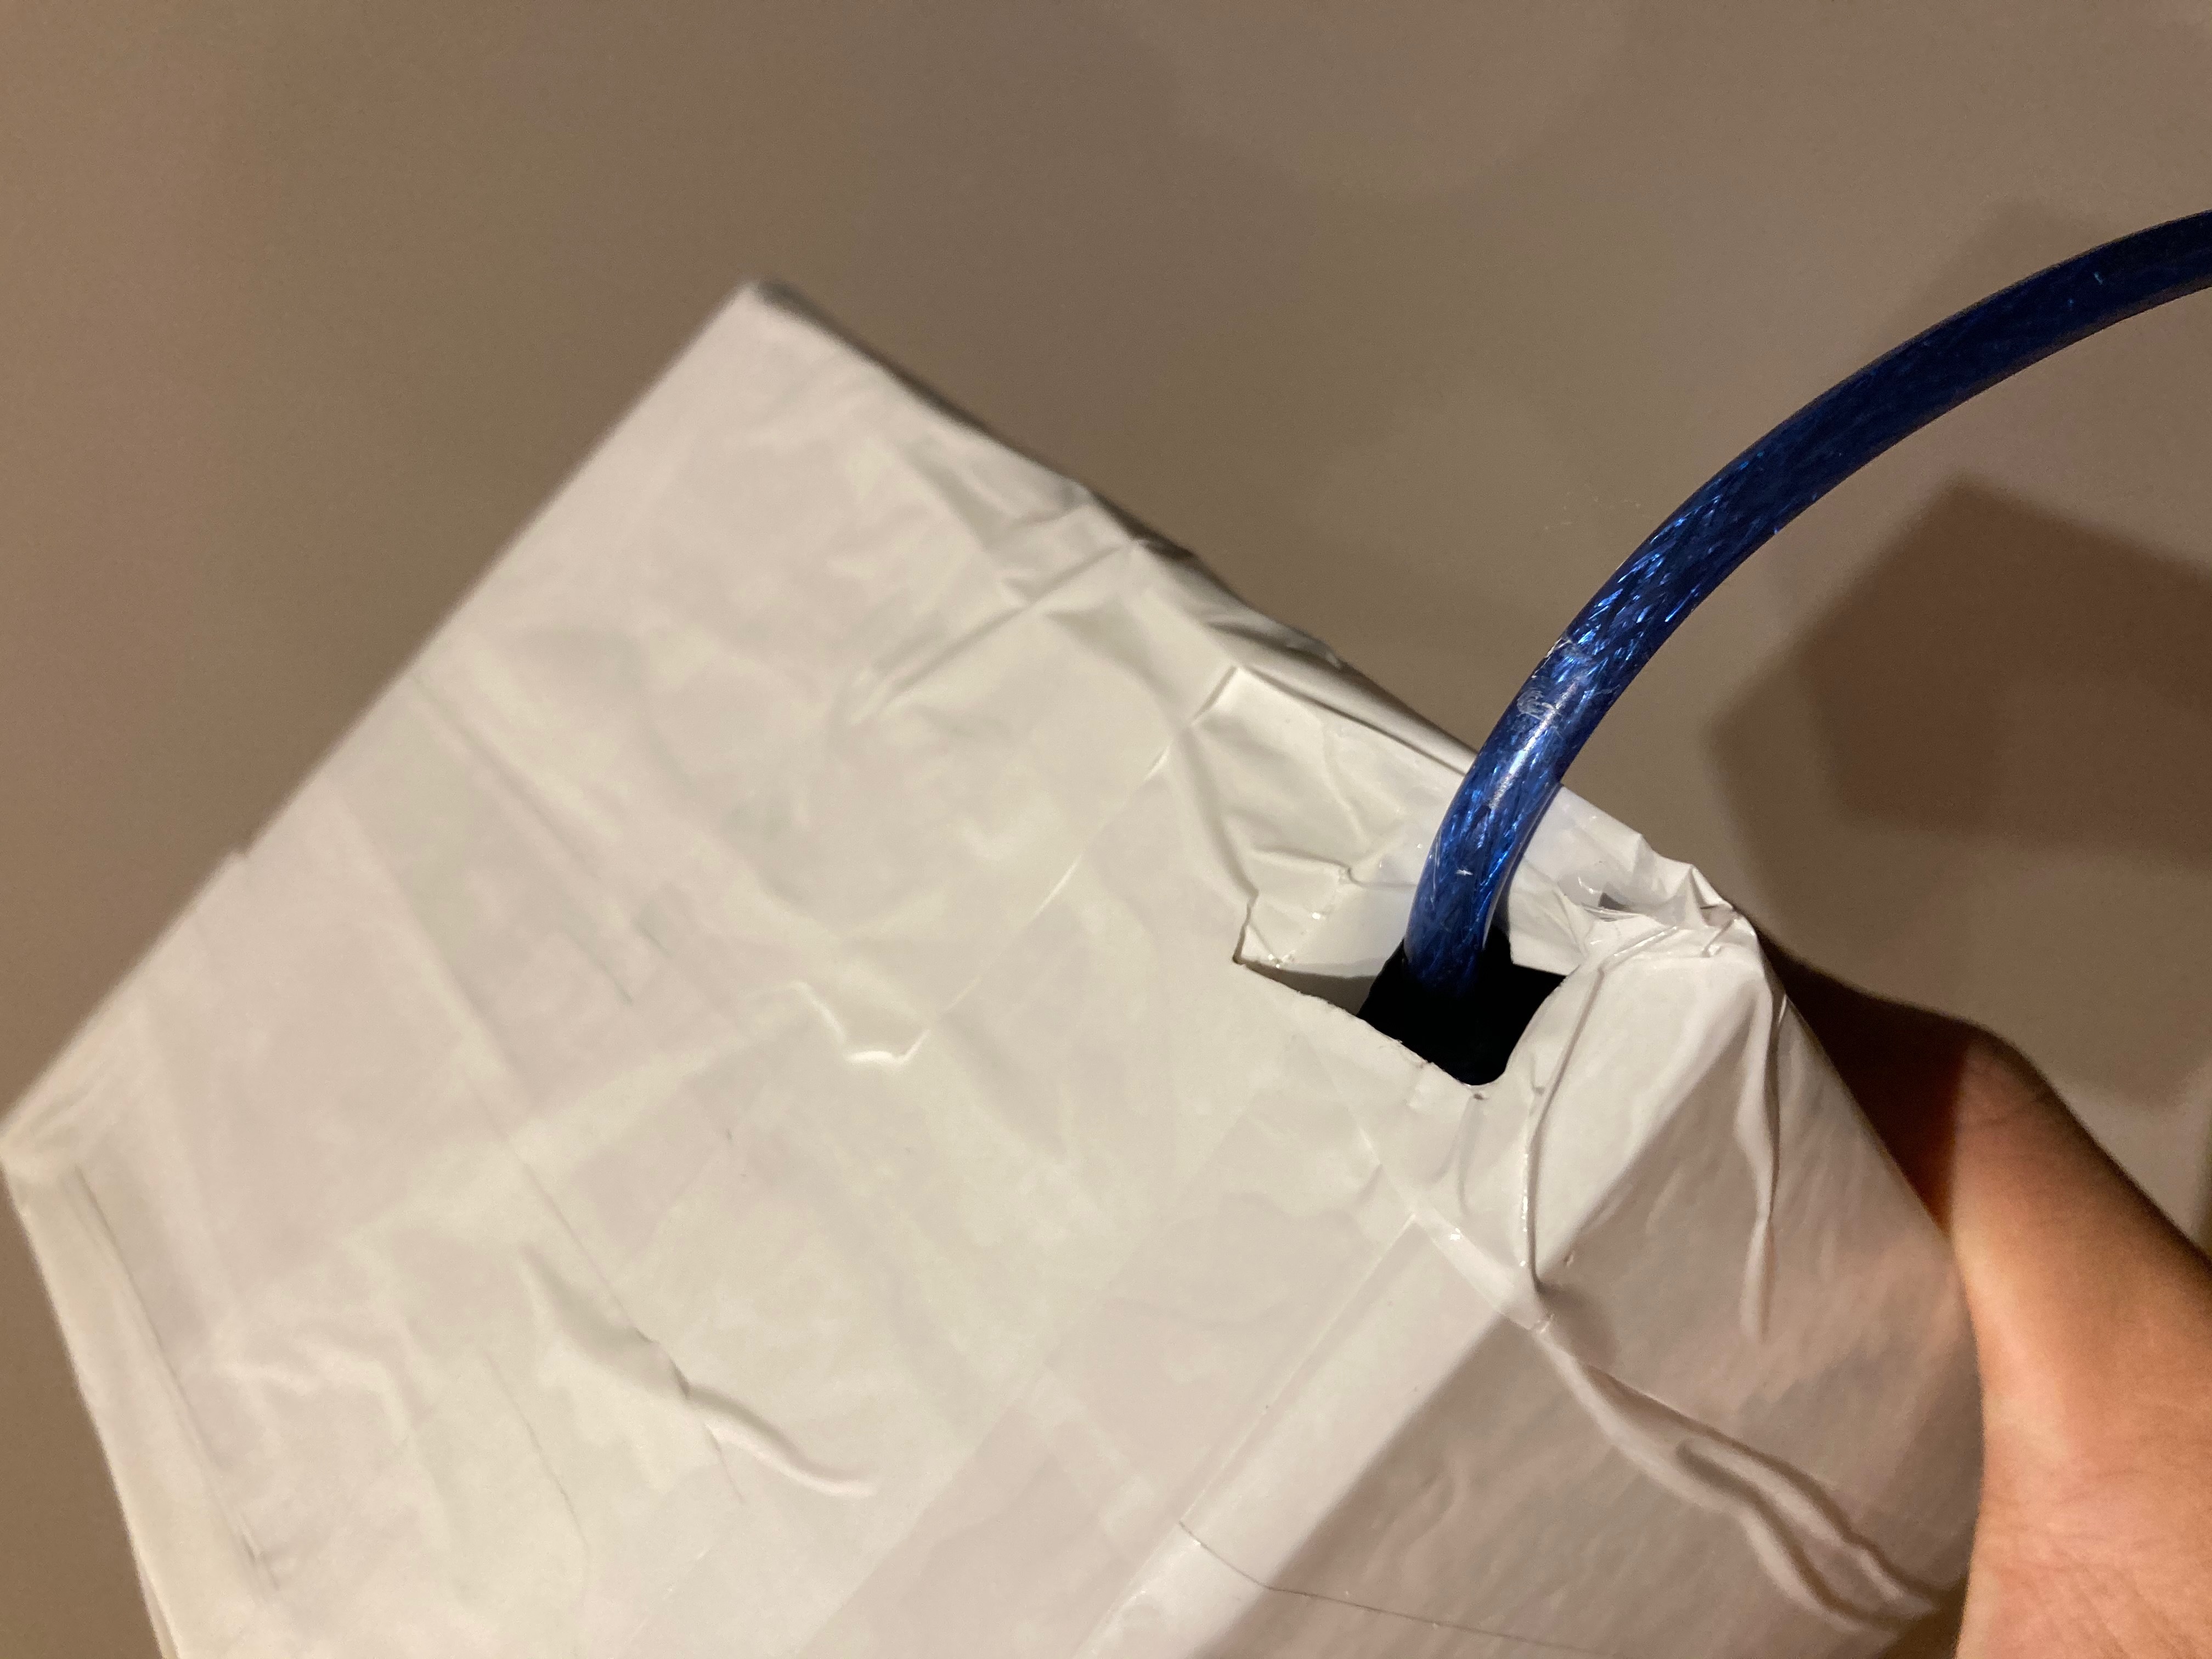
Alright, you're almost done. HANG IN THERE!!!!!!
First, seal the box with normal tape.
All you have to do now is to wrap the box with tape. First wrap the entire box around with your tape, don't care about the cable that's extending out. You can remove it before wrapping if you want but I didn't. Make sure you skip the button. After wrapping, cut the tape in the cable hole.
Adding Your Code
Insert this code to your programming software then upload it to your Arduino board.
Here's the embedded version.
Here's the link:
You're DONE!
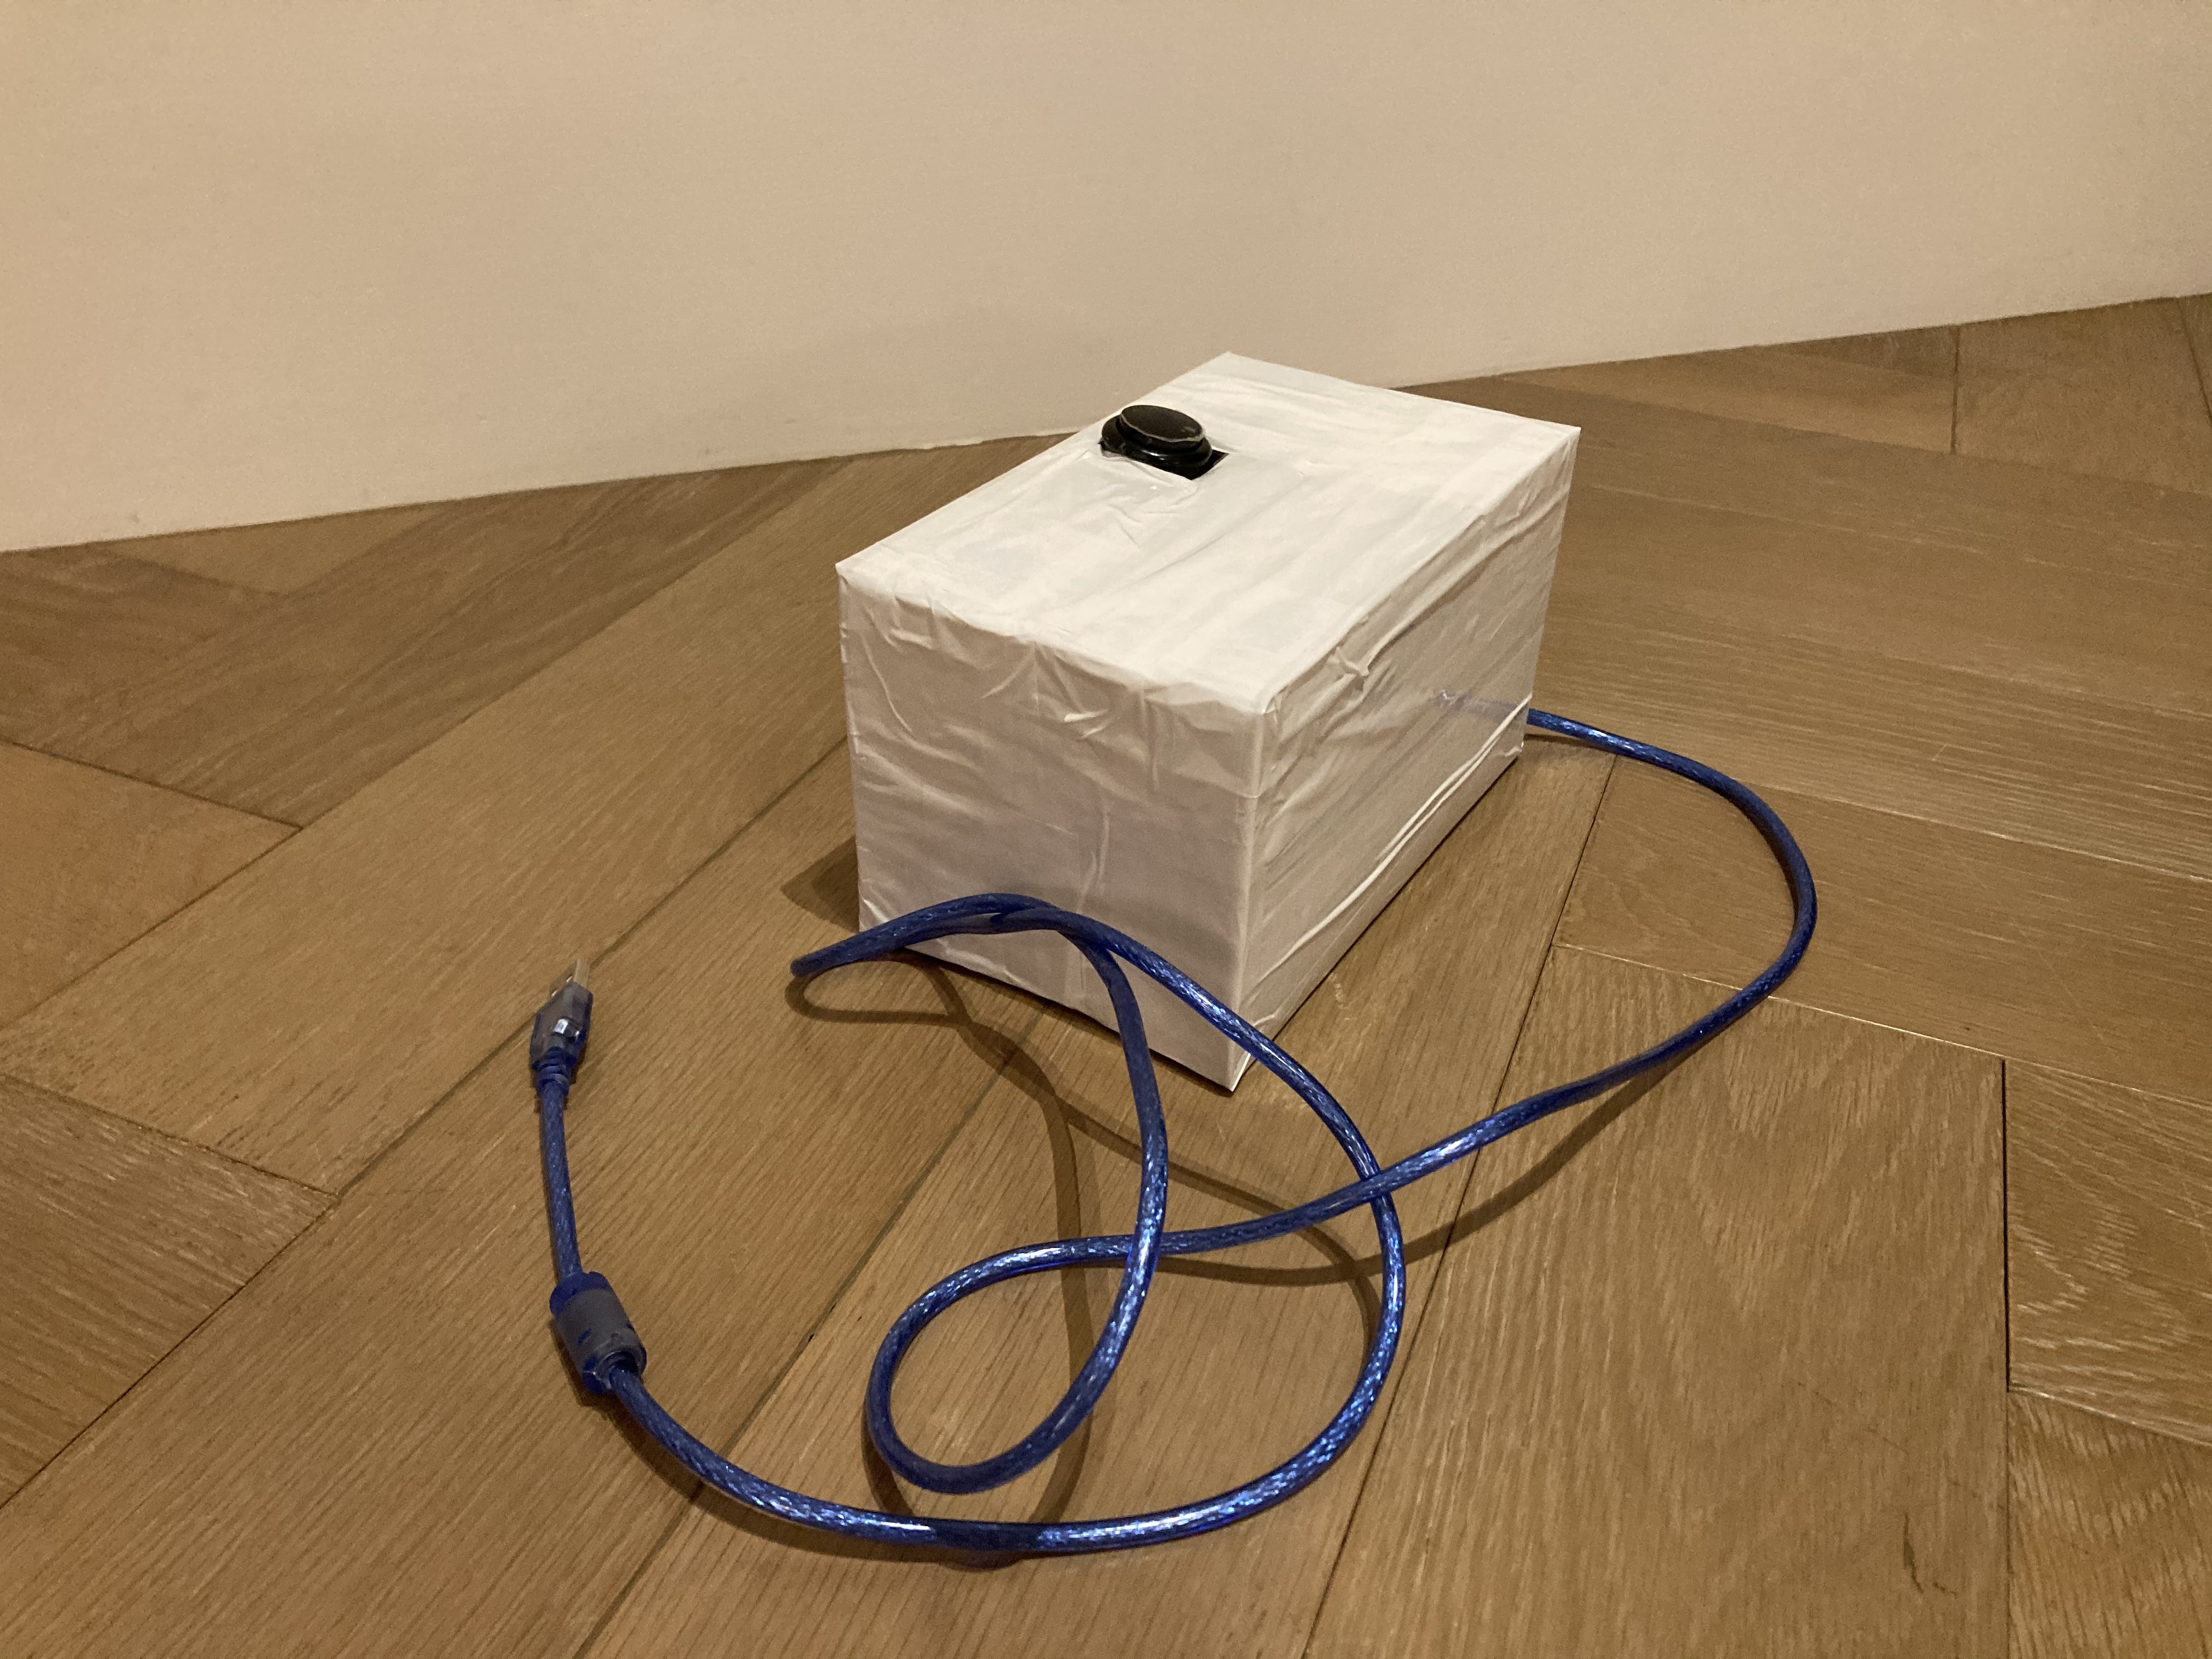
Boom! that's it. You've created your very own Arduino MLA-8 essay formatting machine!