Arduino LED Dice Lights
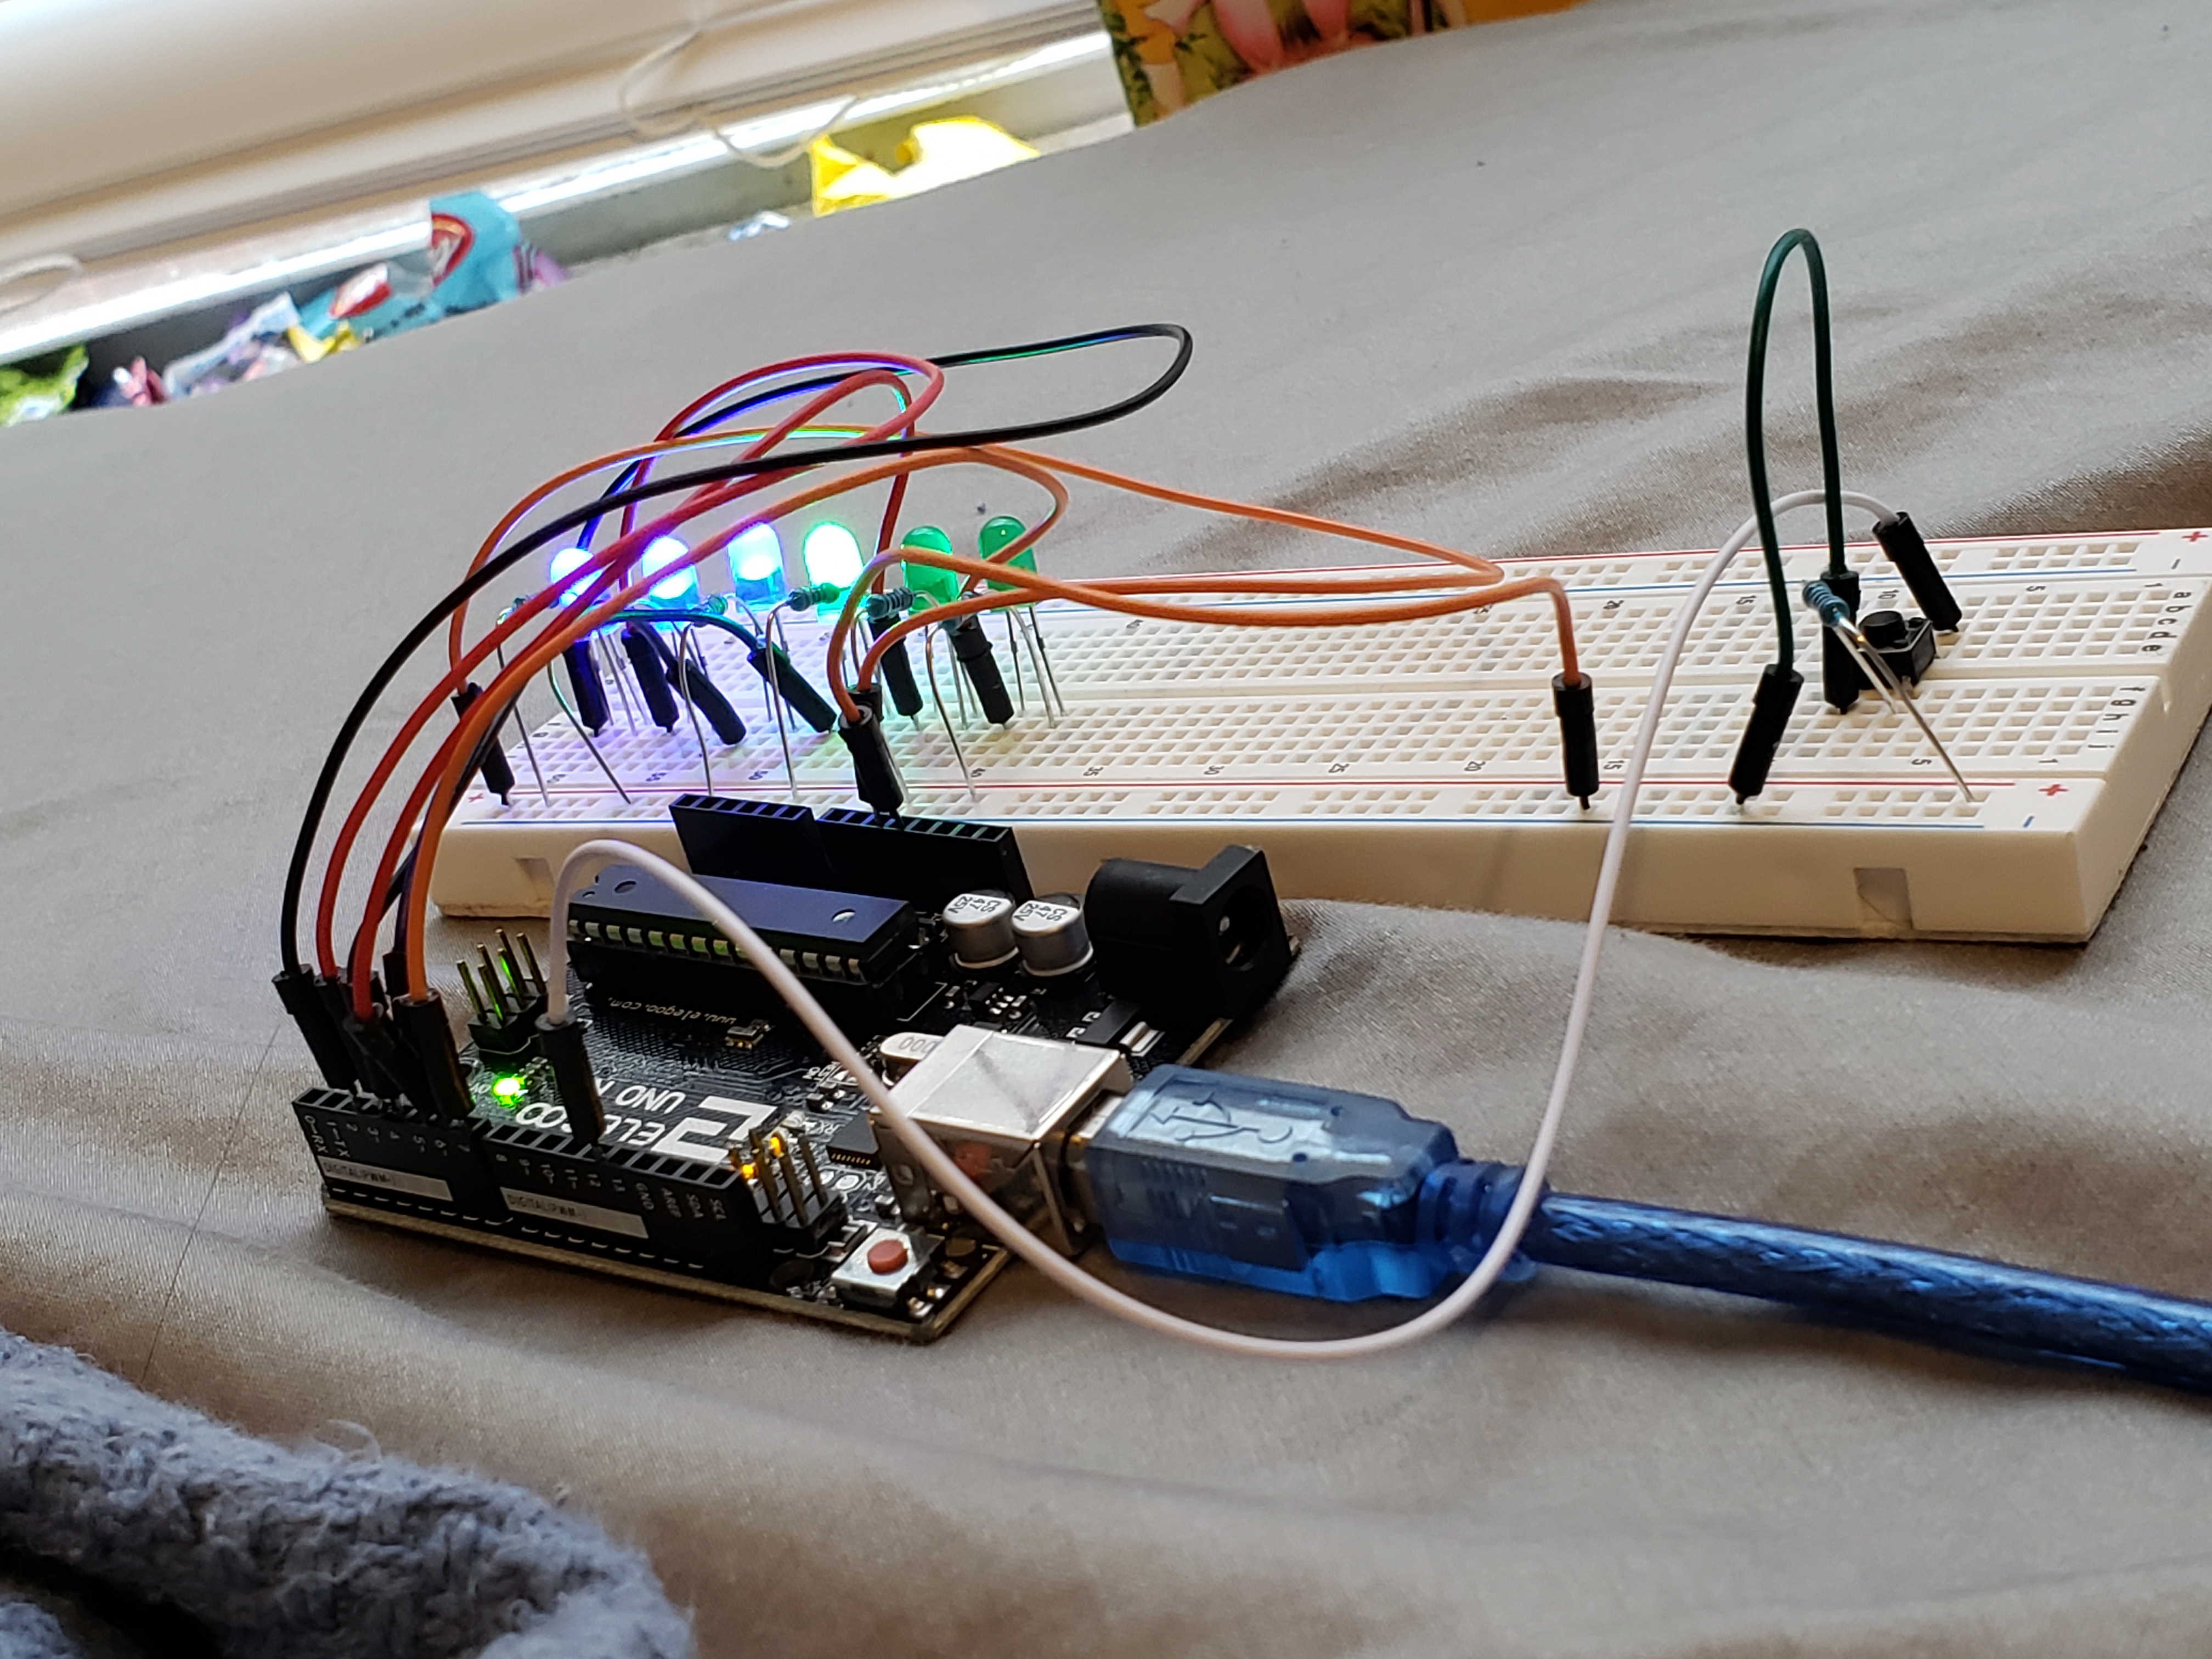
This is a project using an Arduino kit to make a flashy dice rolling light show! Pressing the button causes the lights to flash one at a time then a random number of lights remain lit. This is a pretty easy starter project for those who are just getting acquainted with Arduino.
Take Stock of What You've Got
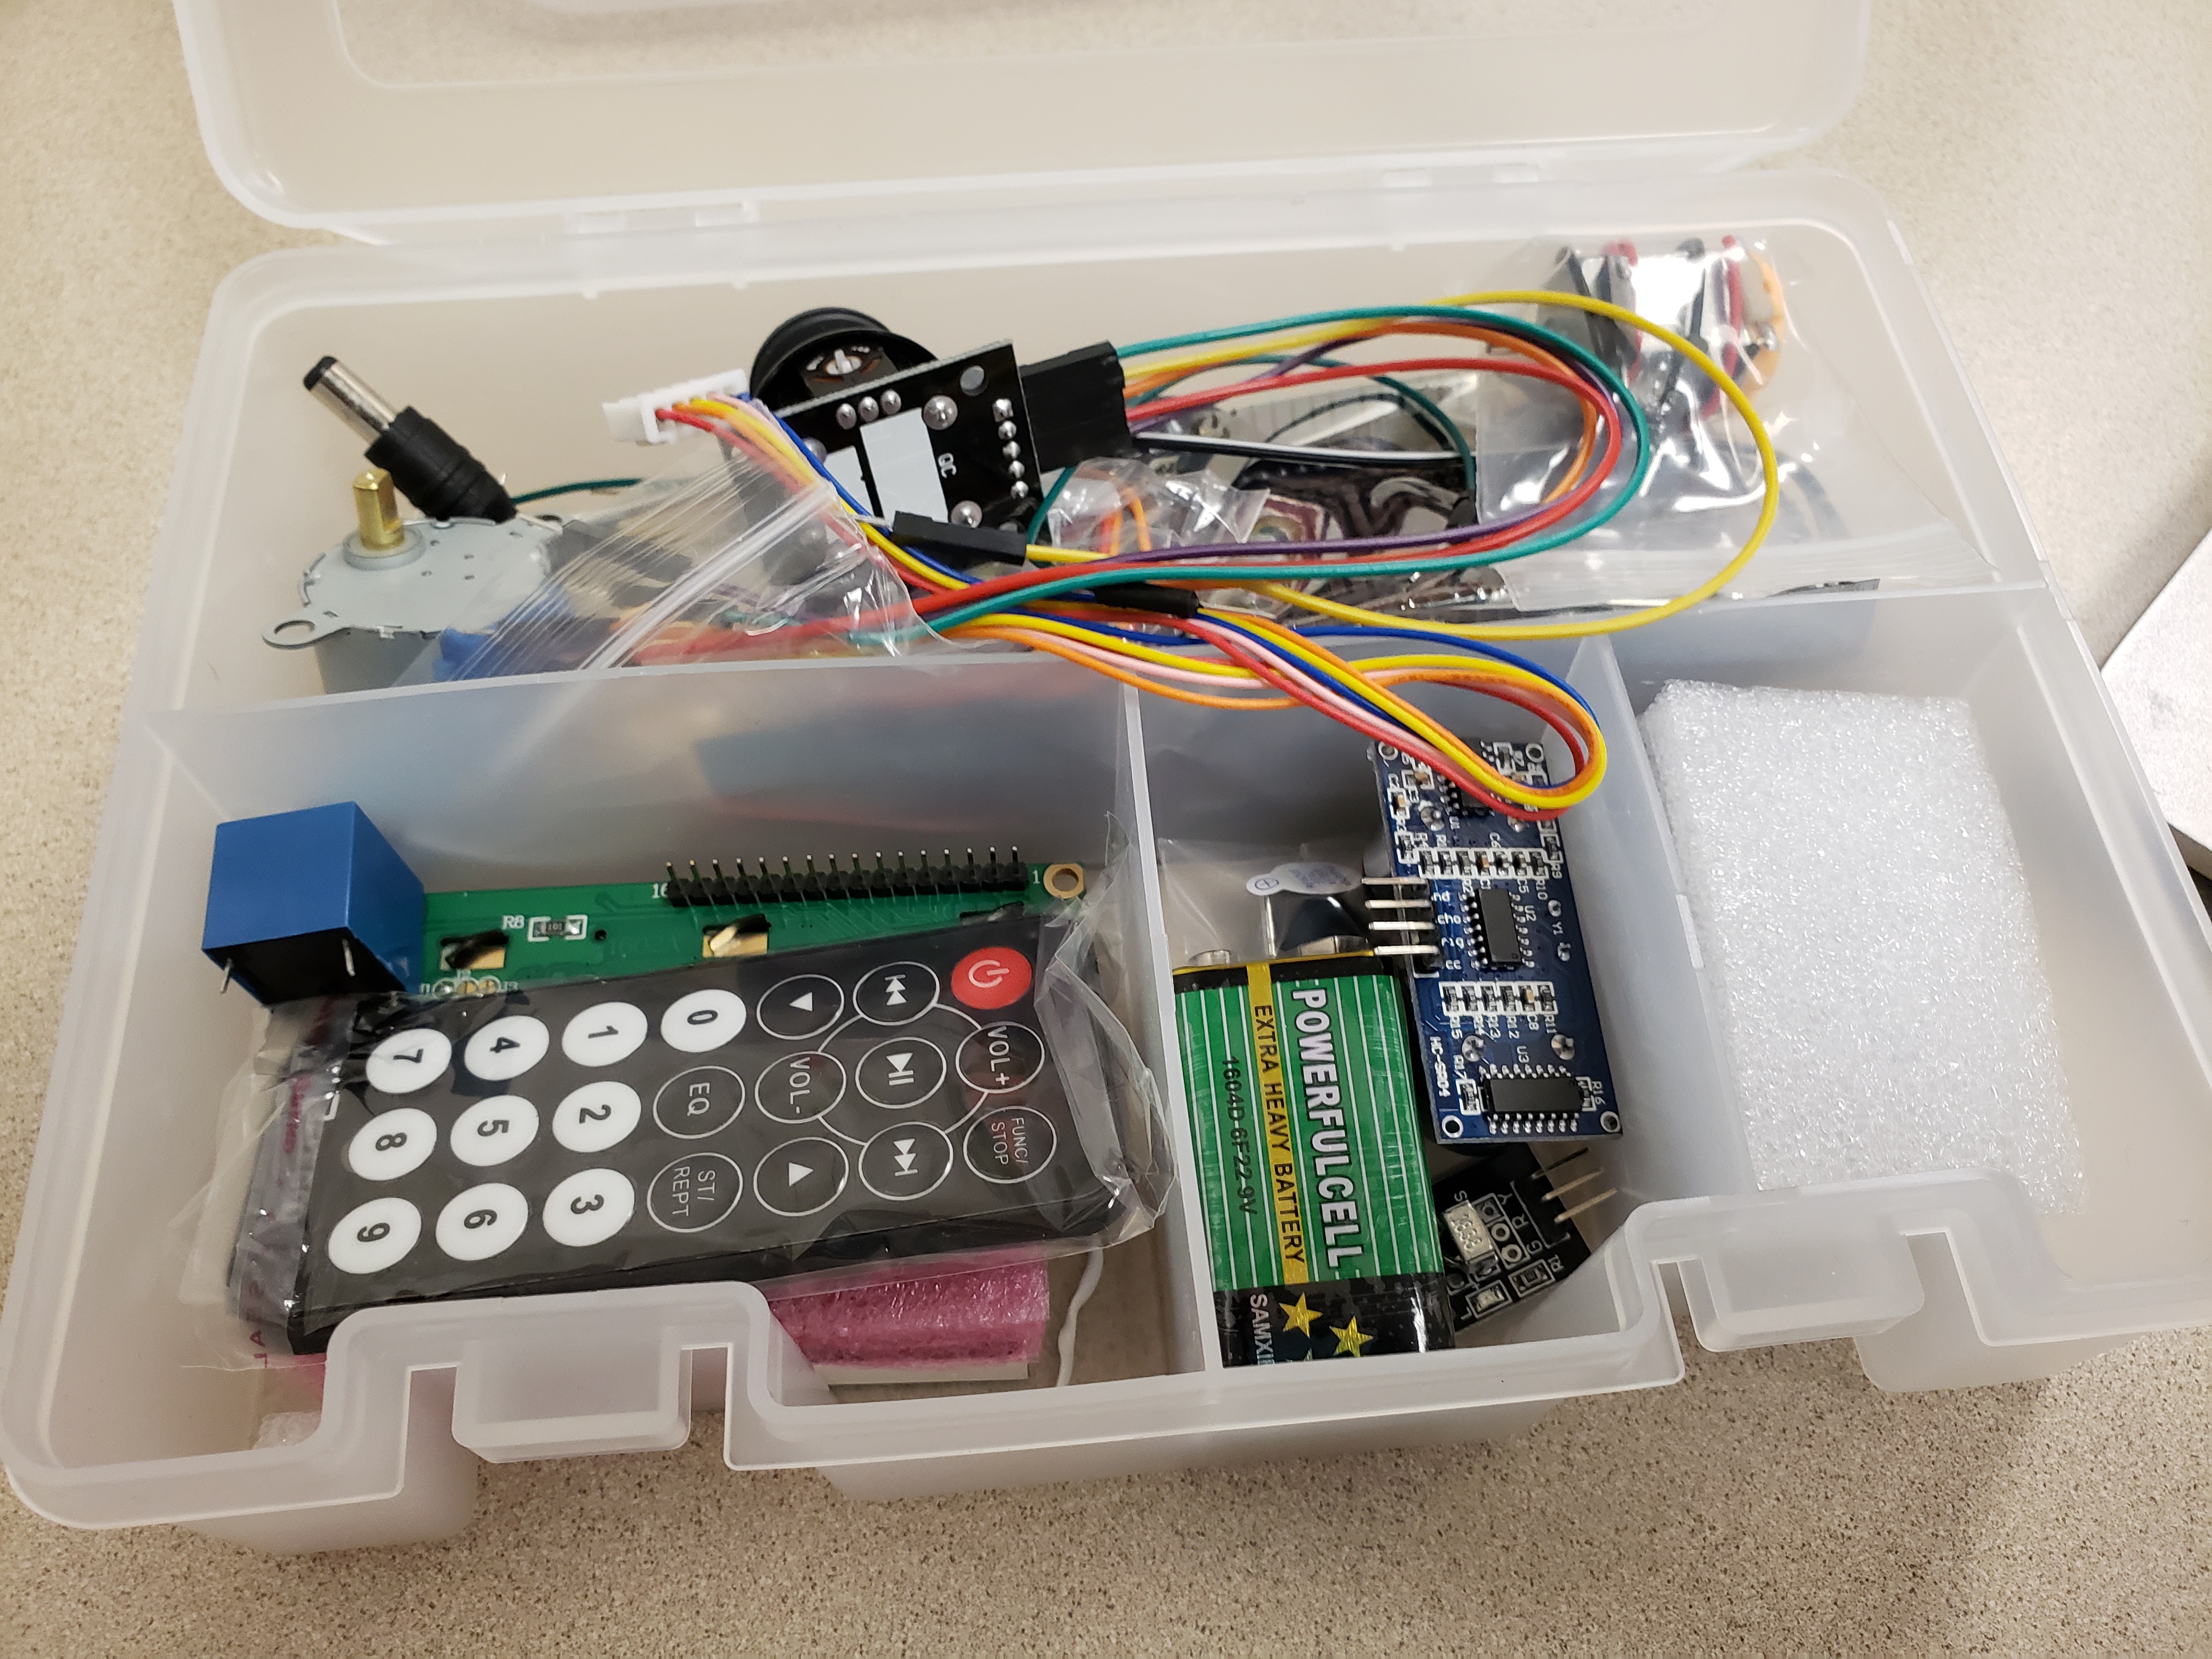
You will need.
- 1 Arduino board (The thing with the chips that looks like a motherboard)
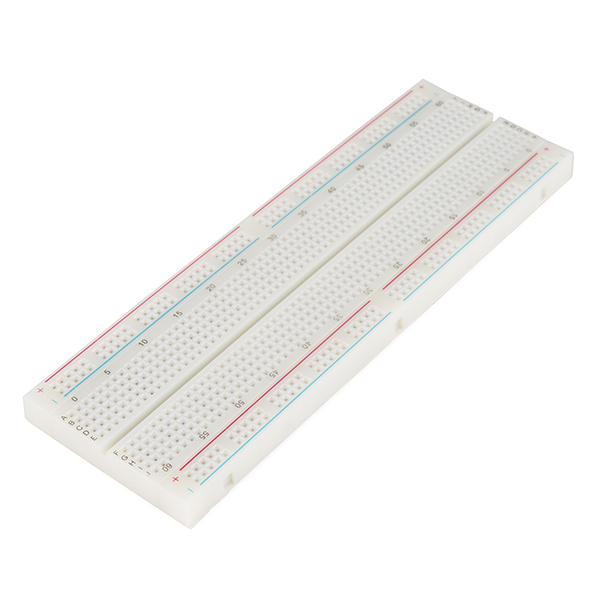
- 1 Breadboard
- 6 Generic LED's
- 1 PushButton switch
- 12 Jumper wires
- 1 1k ohm resistor
- 6 221 ohm resistors
Connect Components to the Breadboard
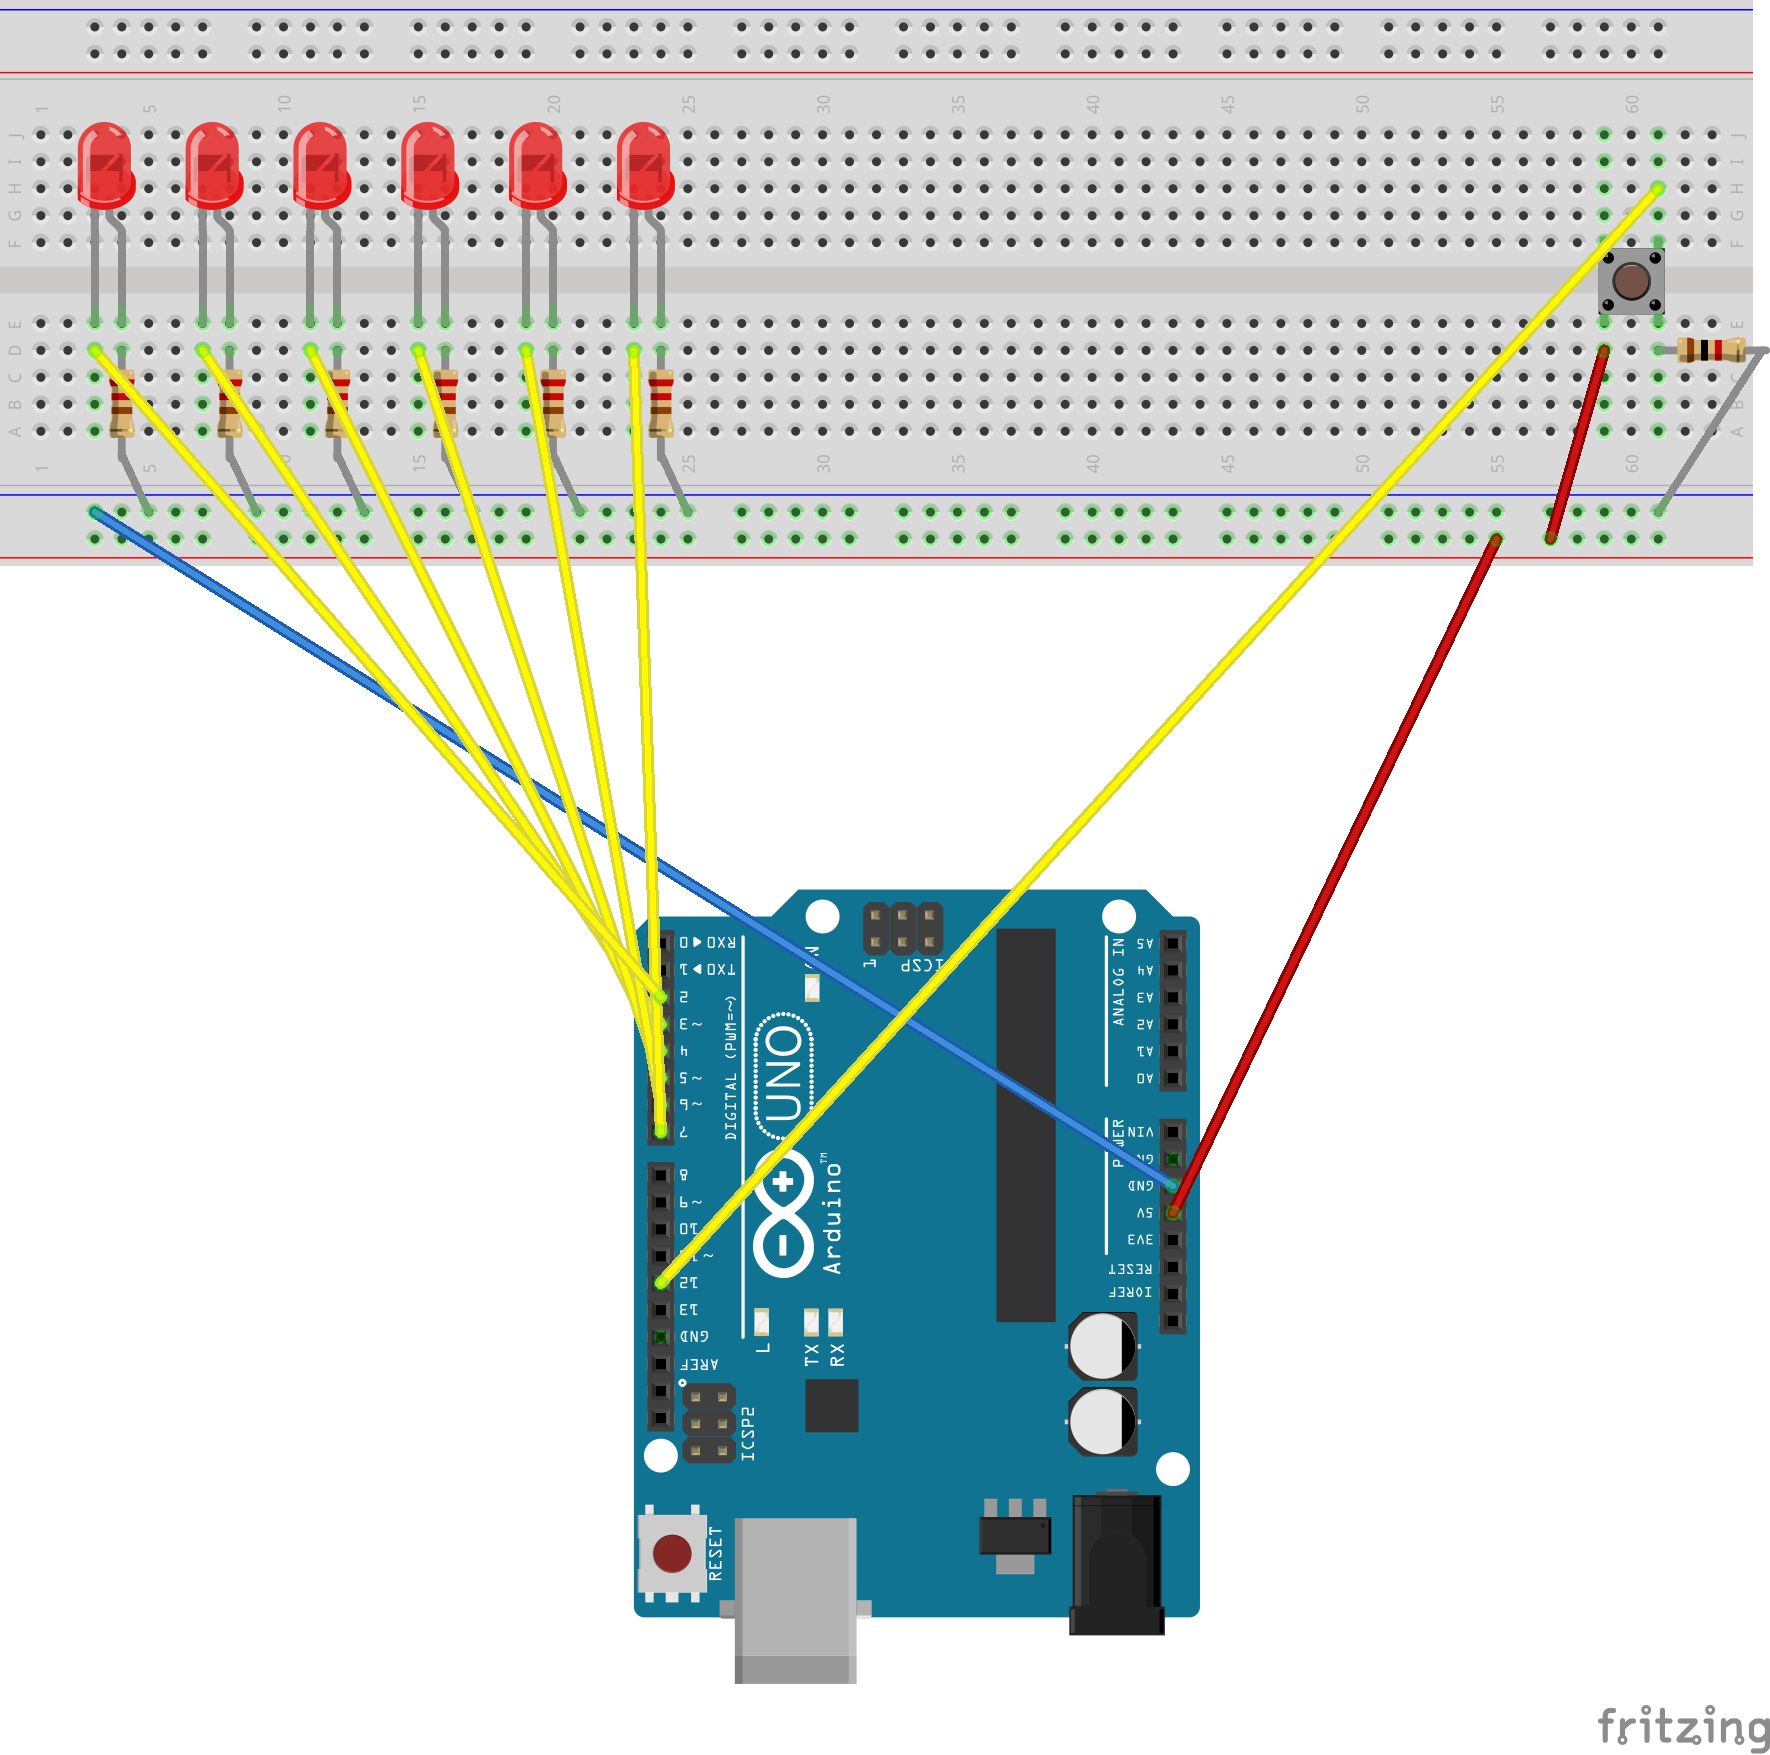
Using the image as a guide begin with:
- Connect the LED's to the breadboard.
- Next attach the 6 resistors to the same lines as the LED's to the positive line on the outer edge.
- Then do the same for the push button and it's resistor.
After that you can start to attach the jumper wires.
- Attach the first wire to the LED placed farthest to the left, but not on the same line as the resistor. Connect the other end of that wire to the slot on the Arduino board labeled 2.
- Follow the same step for the second wire, but attach it to -3
- Same for the next, but attach it to 4
- Same for the next, but attach it to -5
- Same for the next, but attach it to -6
- Same for the final wire, but attach it to 7
- On the same side as the resistor, but not the same line, attach a wire to the negative part of the bread board.
- Then attach a wire from the negative side of the board to the section labeled 5V
- On the far side of the button attach a wire so it connects to the section of the Arduino Board labeled 1
- Finally connect a wire from the positive side of the breadboard to the section labeled GND.
Add Code
.png)
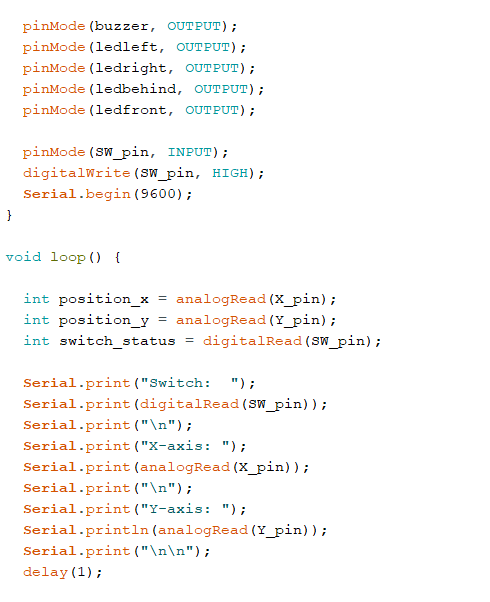
This is the code you need to run the system.
Arduino Dice :)
This example shows how to simulate throwing a dice with 6 LEDs.
The circuit: * 6 LEDs attached to consecutive digital pins (with 220 Ohm resistors) * Button switch connected to digital pin (see circuit on https://www.arduino.cc/en/Tutorial/Button)
Created 5 Jan 2017 By Esther van der Stappen This example code is in the public domain.
*
/ set to 1 if we're debugging #define DEBUG 0
// 6 consecutive digital pins for the LEDs int first = 2; int second = 3; int third = 4; int fourth = 5; int fifth = 6; int sixth = 7;
// pin for the button switch int button = 12; // value to check state of button switch int pressed = 0;
void setup() { // set all LED pins to OUTPUT for (int i=first; i<=sixth; i++) { pinMode(i, OUTPUT); } // set buttin pin to INPUT pinMode(button, INPUT); // initialize random seed by noise from analog pin 0 (should be unconnected) randomSeed(analogRead(0));
// if we're debugging, connect to serial #ifdef DEBUG Serial.begin(9600); #endif
}
void buildUpTension() { // light LEDs from left to right and back to build up tension // while waiting for the dice to be thrown // left to right for (int i=first; i<=sixth; i++) { if (i!=first) { digitalWrite(i-1, LOW); } digitalWrite(i, HIGH); delay(100); } // right to left for (int i=sixth; i>=first; i--) { if (i!=sixth) { digitalWrite(i+1, LOW); } digitalWrite(i, HIGH); delay(100); } }
void showNumber(int number) { digitalWrite(first, HIGH); if (number >= 2) { digitalWrite(second, HIGH); } if (number >= 3) { digitalWrite(third, HIGH); } if (number >= 4) { digitalWrite(fourth, HIGH); } if (number >= 5) { digitalWrite(fifth, HIGH); } if (number == 6) { digitalWrite(sixth, HIGH); } }
int throwDice() { // get a random number in the range [1,6] int randNumber = random(1,7); #ifdef DEBUG Serial.println(randNumber); #endif return randNumber; }
void setAllLEDs(int value) { for (int i=first; i<=sixth; i++) { digitalWrite(i, value); } }
void loop() { // if button is pressed - throw the dice pressed = digitalRead(button);
if (pressed == HIGH) { // remove previous number setAllLEDs(LOW); buildUpTension(); int thrownNumber = throwDice(); showNumber(thrownNumber); }
}
Push the Button!
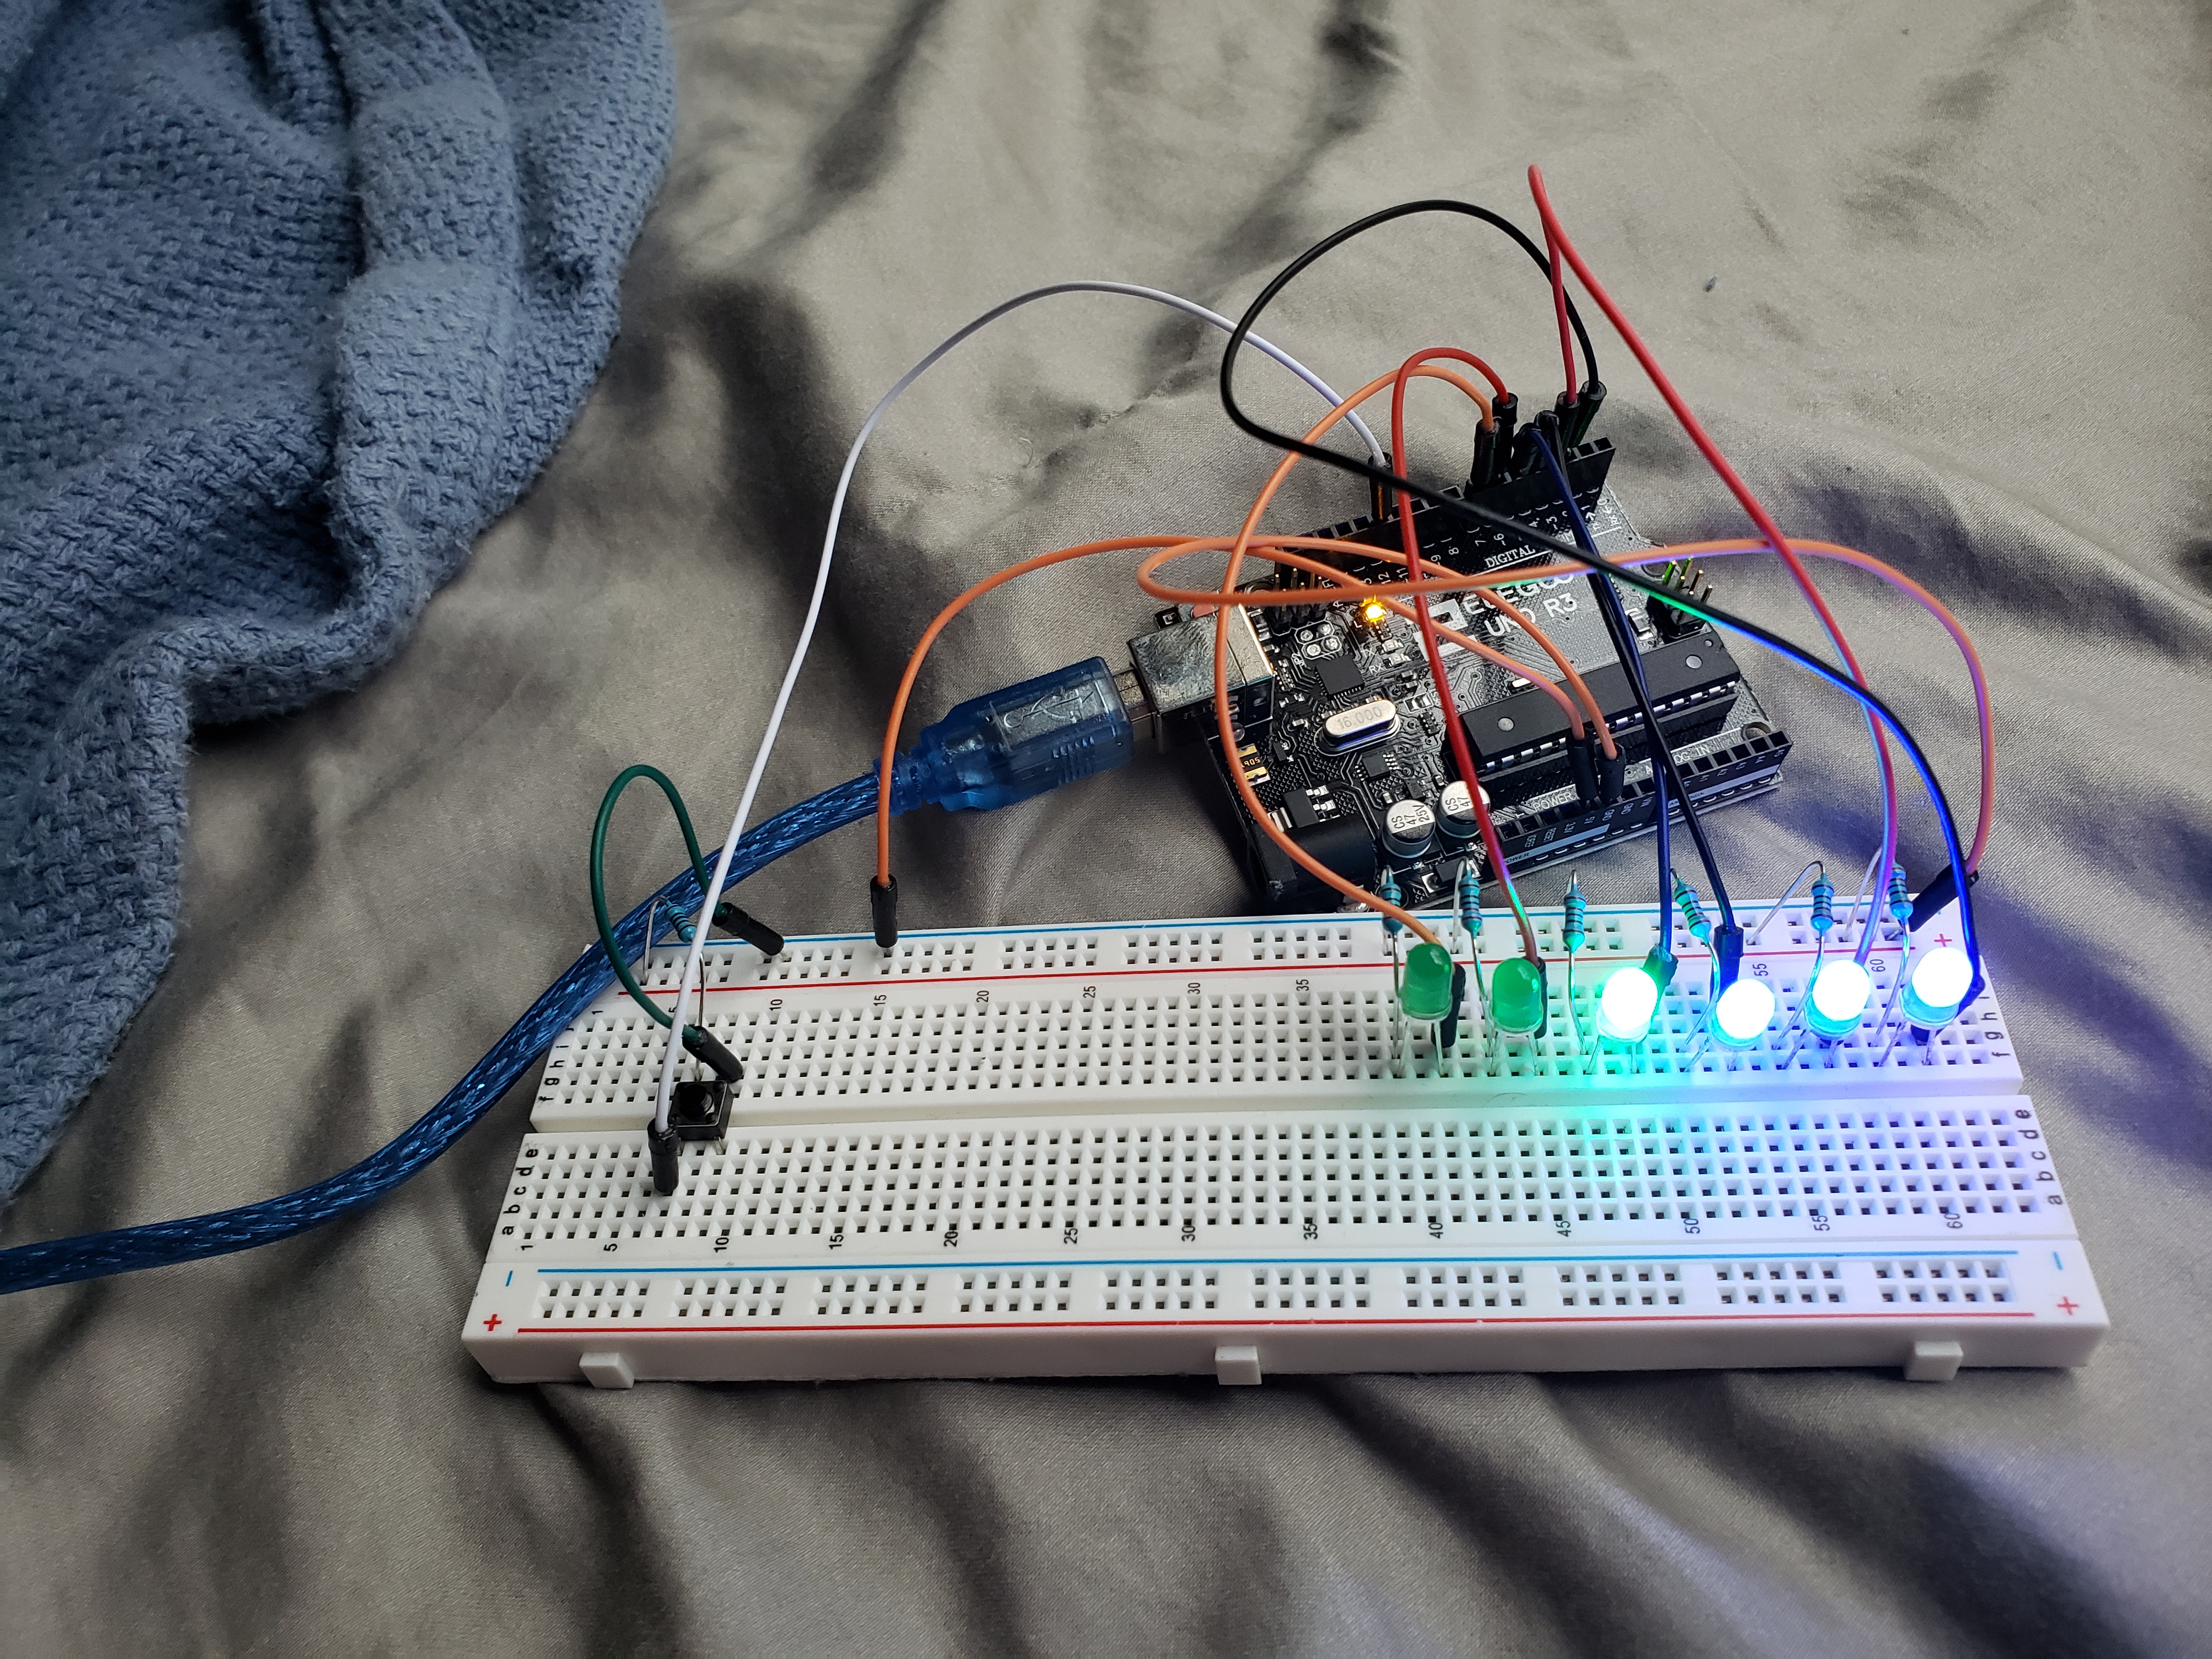
Your Project should be in working order!
Here's where I got this project from
https://create.arduino.cc/projecthub/EvdS/led-dice...