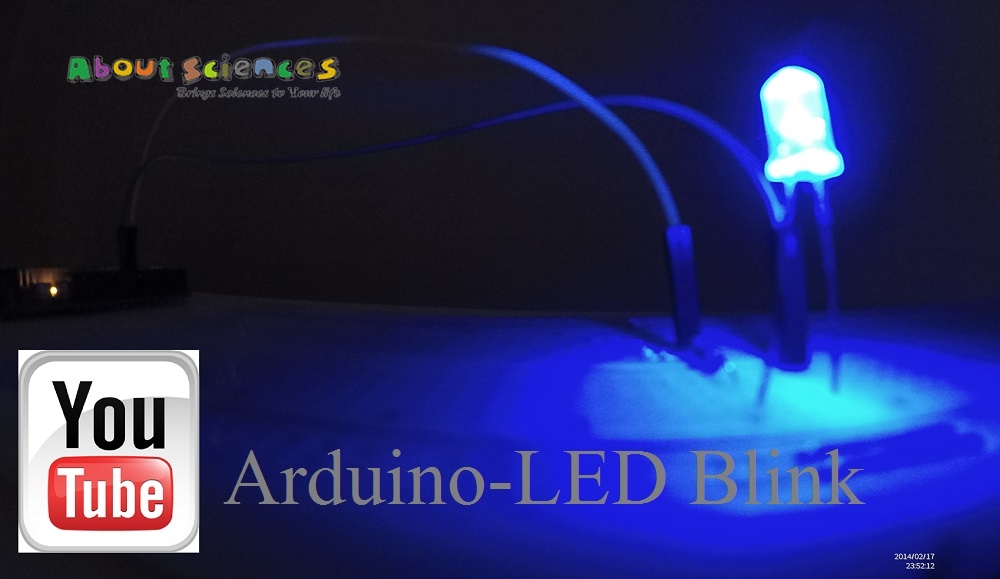
Arduino LED Blinking

In this tutorial, we will learn how to blink led using arduino.
Blinking LED is like a “Hello world” program for every beginner. You must want to start your first arduino project by “Arduino LED Blinking”. I have added the following video to make the Arduino project easier.
Overview
Light Emitting Diode (LED) has a good capability of blinking with no delay. It easily can respond with arduino signal. Only a few line code is required to blink an LED with required delay.
Components:
- 1x – Breadboard
- 1x – Arduino board with USB cable
- 2x – Male to male jumper wire
- 1x – LED (i used blue led)
- 1x – resistor(100 ohm/330ohm/1k anyone can be used)

Connect LED with arduino as shown in the schematic. During this, be conscious about LED polarity. That means LED will light up only when it is correctly connected to the power.
The tall leg is positive pin which should be connected to PIN12 of Arduino , other one should be to GND.
Arduino Code

Connect your Arduino board (UNO) with your personal computer.
Copy the following arduino code to Arduino IDE. Download IDE , If you don’t have it.
void setup()

{pinMode(12, OUTPUT); // Define digital pin 12 as an output.}

void loop()

{digitalWrite(12, HIGH);   // turn the LED on

delay(2000);              // light will remain ON for two seconds

digitalWrite(12, LOW);    // turn the LED off

delay(1000);              // light will remain OFF for a second}
Compile the code & upload it to the arduino board.
If successfully uploaded, Enjoy the blinking.If not uploaded, please check the port settings & arduino.
Visit our website to learn more arduino projects, https://www.aboutsciences.com