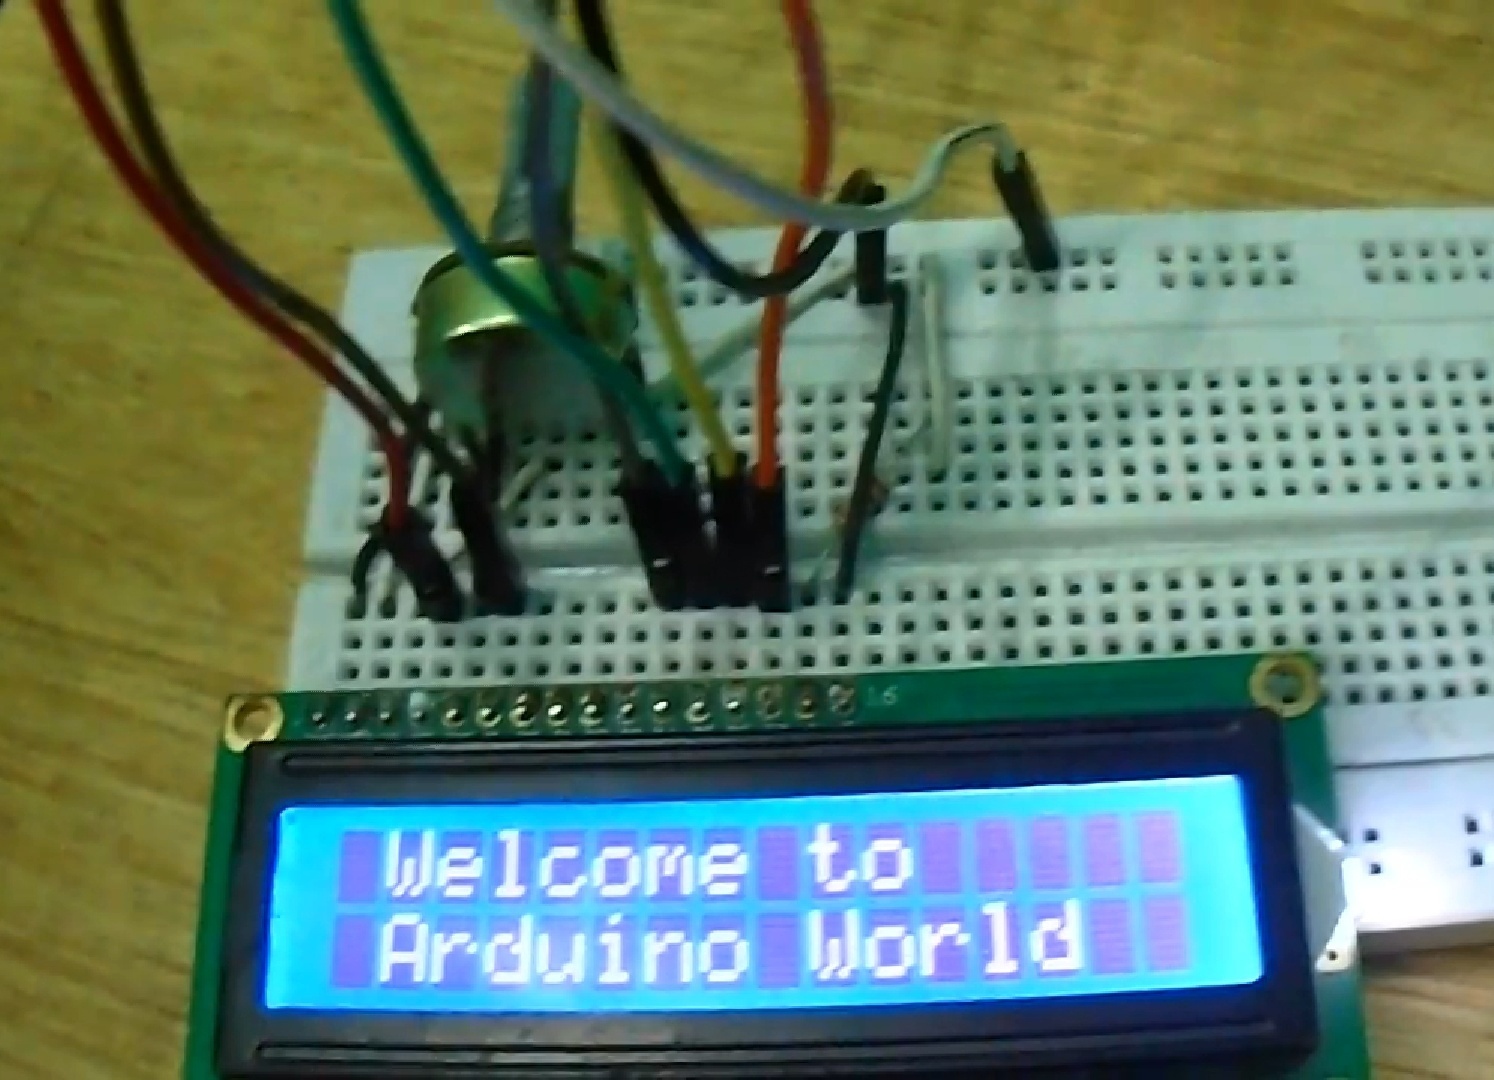
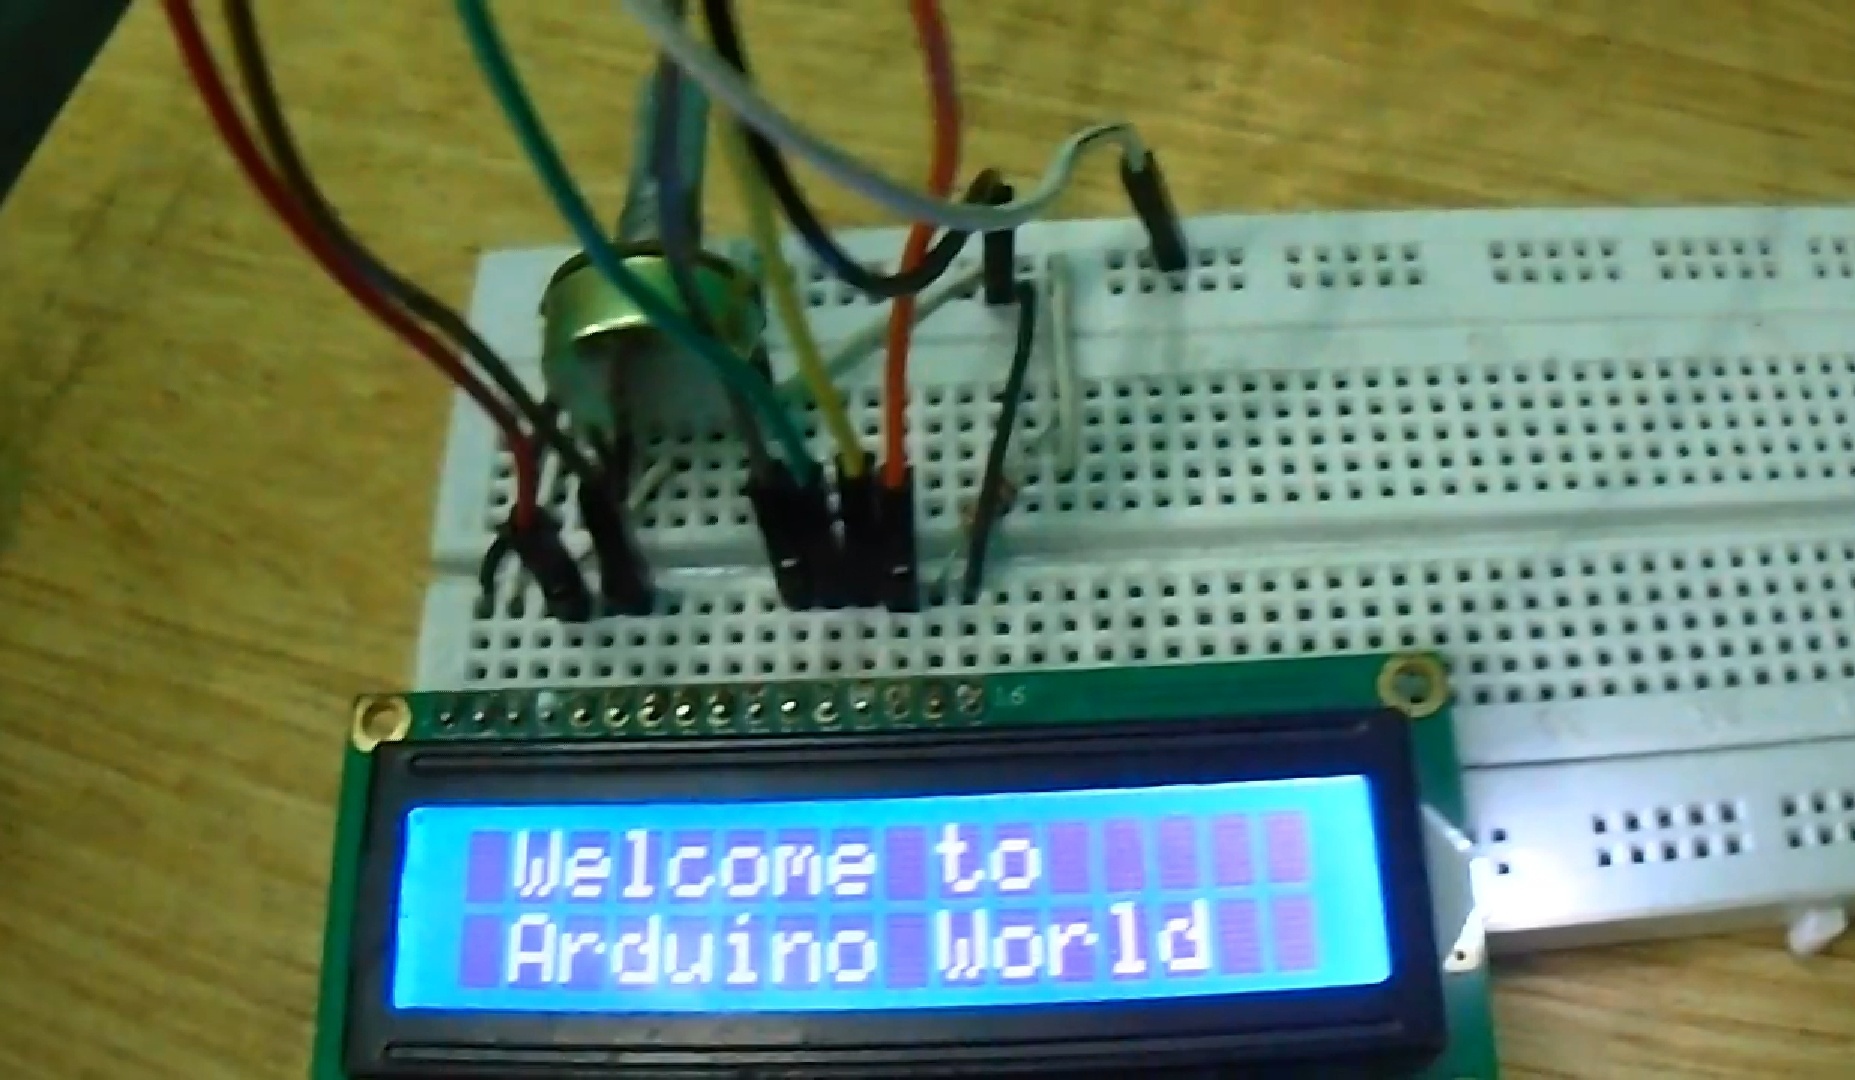
Arduino LCD 16x2 Tutorial | Interfacing 1602 LCD Display With Arduino Uno
by Utsource in Circuits > Arduino
6822 Views, 4 Favorites, 0 Comments
Arduino LCD 16x2 Tutorial | Interfacing 1602 LCD Display With Arduino Uno
Things You Need
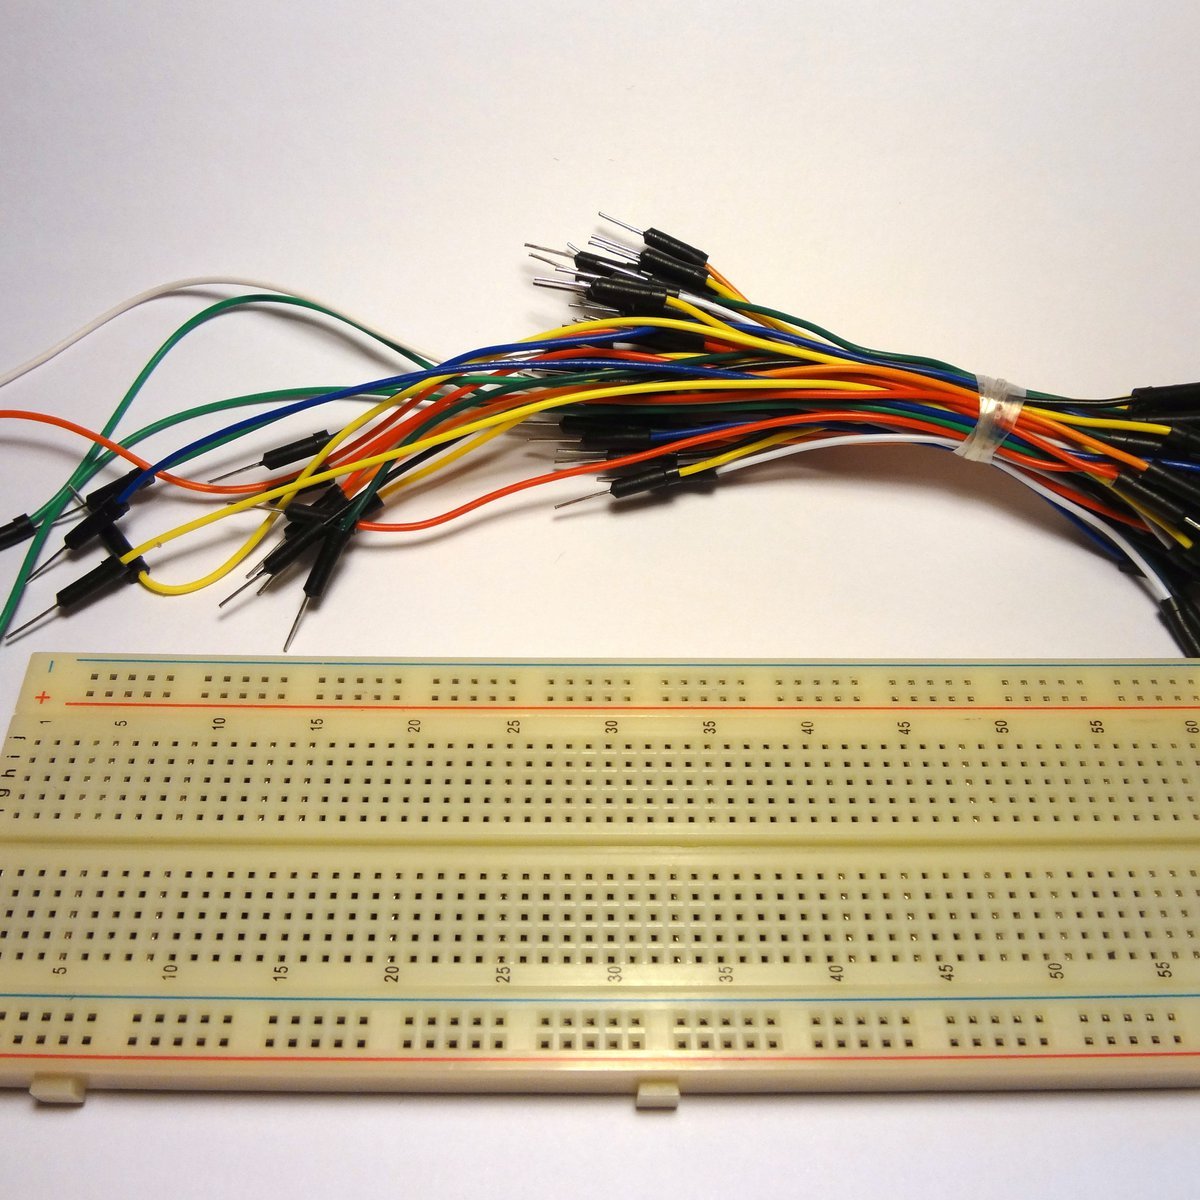
So for this instructables we will be needing following things :
16X2 LCD
220 ohm resistor
Pins of 1602 LCD Display
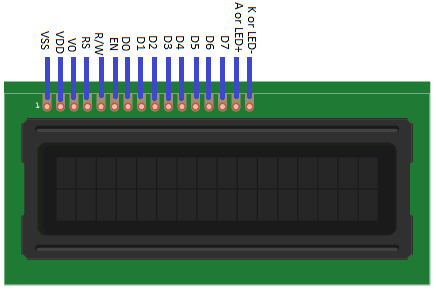
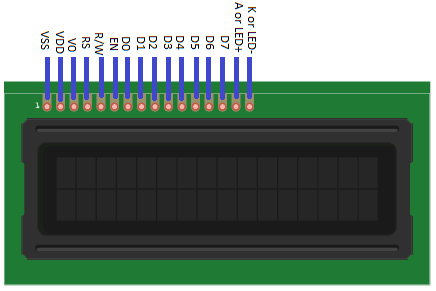
VSS: This is the ground pin.
VDD: This is the 5V pin.
V0: This pin controls the contrast of the LCD.
RS (Register Select Pin): This pin control where you are writing data in the LCD’s memory. There are two types of registers; Data register which holds what goes on the screen and the instruction register where the LCD looks for the next instruction.
R/W (Read/Write Pin): This pin selects the mode; Reading mode or Writing mode. Connecting it to ground will put the LCD in the read mode.
E (Enable Pin): This pin enables the writing to the registers.
Data Pins: There are 8 data pins (D0-D7). The high or low state of these pins represents the bits that you are writing to register in the write mode or the values you are reading in the read mode.
The last two pins are for the LCD back light. Some LCD’s have 16 pins and some have 14 pins. If you have a 14 pin LCD then it means that there is no back light.
A (LED+): This pin is the positive connection of the back light.
K (LED-): This pin is the negative connection of the back light.
Connections
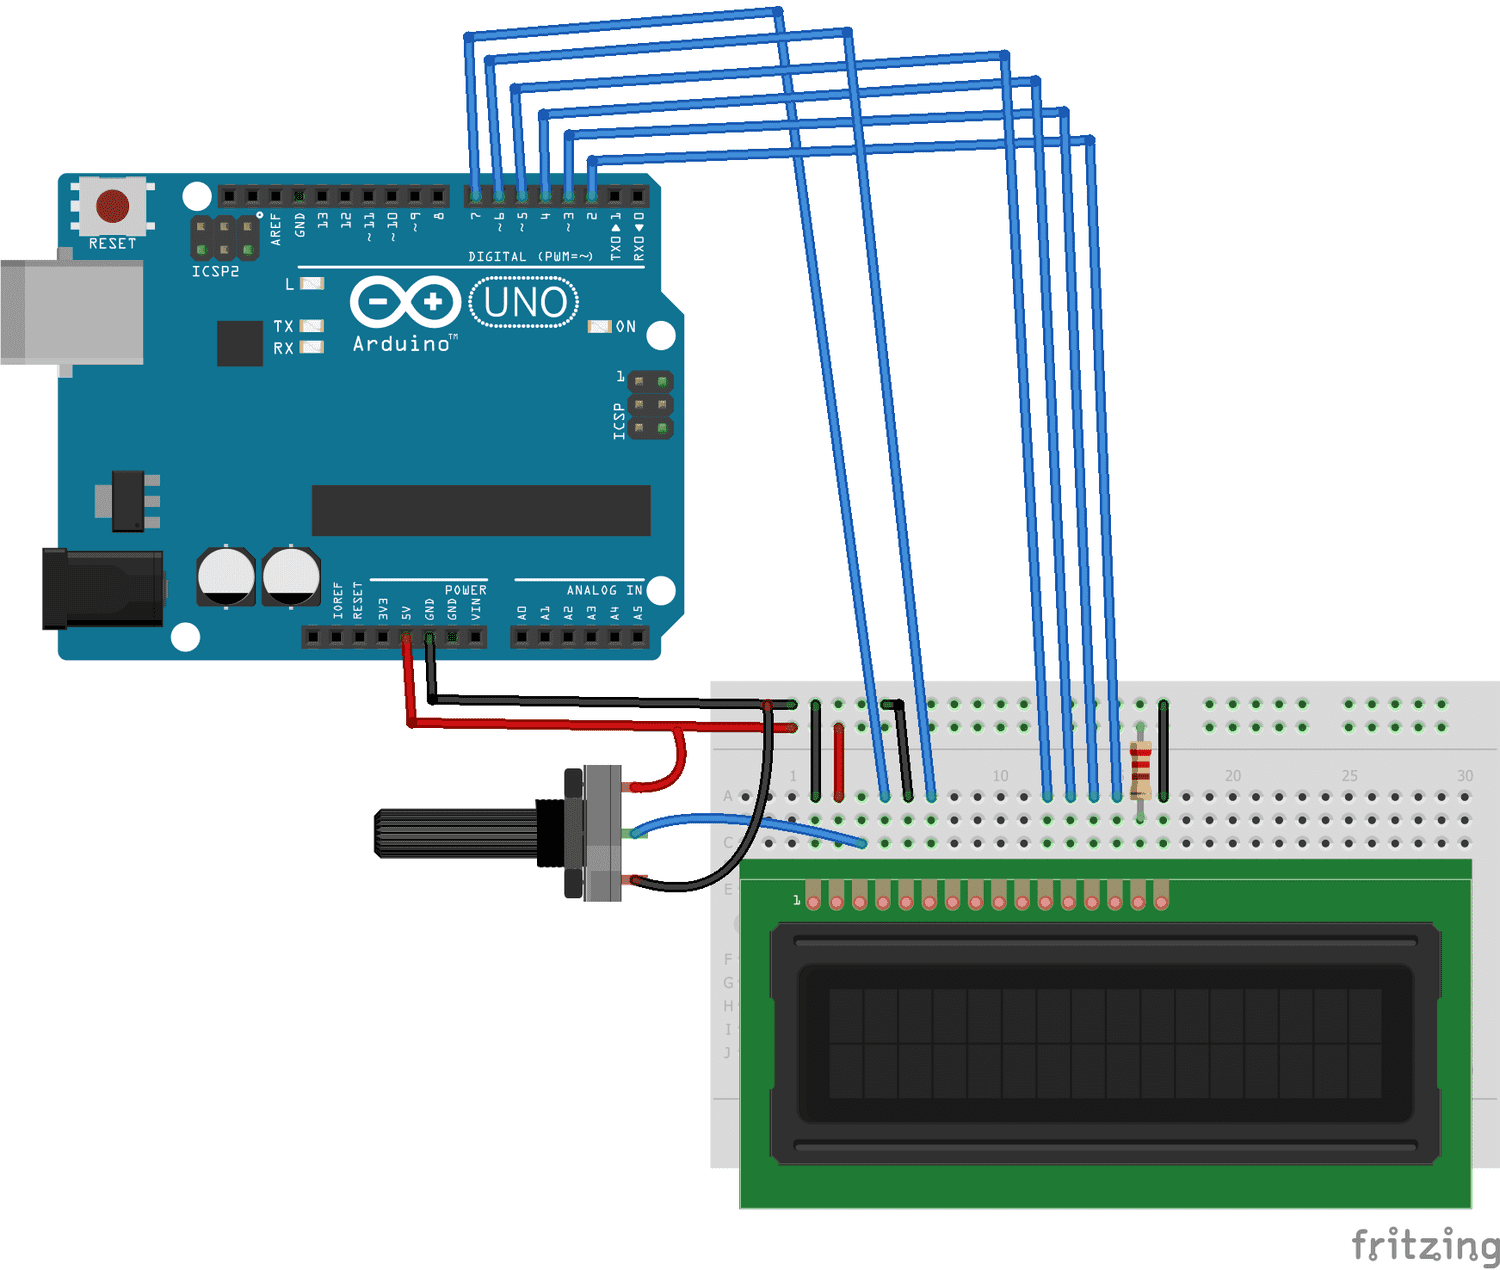
The LCD can be connected in the 4 bit as well as 8 bit mode. In the 4 bit mode we have to use only the 4 data pins while in the 8 bit mode we will have to use all the 8 data pins. You can do almost everything in the 4 bit mode, so in this example we are going to connect it in the 4 bit mode.
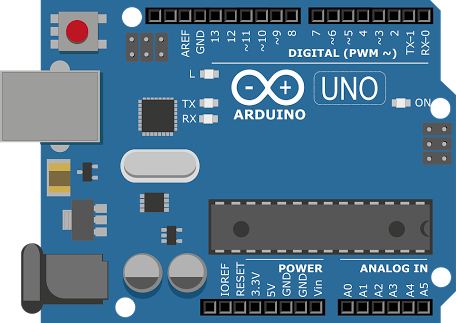
The connections of LCD with Arduino are as follows
16X2.LCD. Arduino Uno
VSS. GND
VDD 5V
V0 Middle of 10K potentiometer
Connectthe two ends of potentiometer to GND and 5V
RS. Pin 7
R/W GND
E pin 6
D4 Pin 5
D5. Pin 4
D6 Pin 3
D7 Pin 2
A To 5V through 220 ohm resistor
K GND
Code
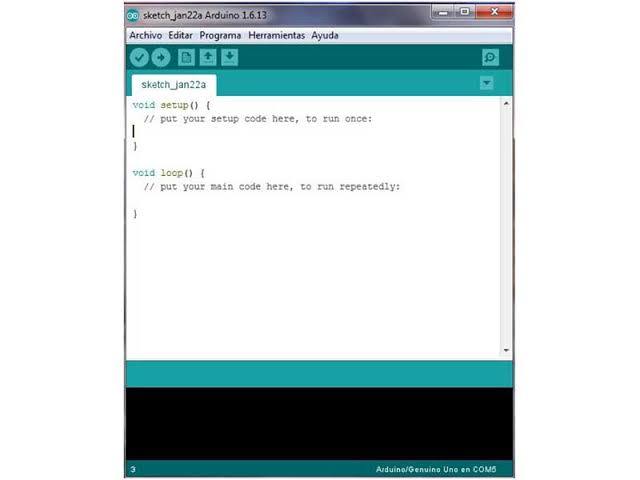.jpg)
Before uploading the code in the Arduino, you will have to download the library for the LCD. The library will have the built in functions which will help us to make the code simple. Download library from below link if you IDE shows error for display Library
LCD Library : https://github.com/arduino-libraries/LiquidCrystal
After downloading, extract it into the library folder of Arduino.
#include "LiquidCrystal.h" //Initializing the library for LCD
LiquidCrystal lcd(7,6,5,4,3,2); //Initializing the pins where we have connected the LCD
void setup() //Anything written in it will only run once
{
lcd.begin(16, 2); //Initializing the interface on the LCD screen
lcd.setCursor(0, 0);// set the cursor to column 0, line1
lcd.print(" Welcome to ");//print name
lcd.setCursor(0, 1); // set the cursor to column 0, line 2
lcd.print(" Arduino World ");//print name
}
void loop() //Anything written in it will run again and again
{
}
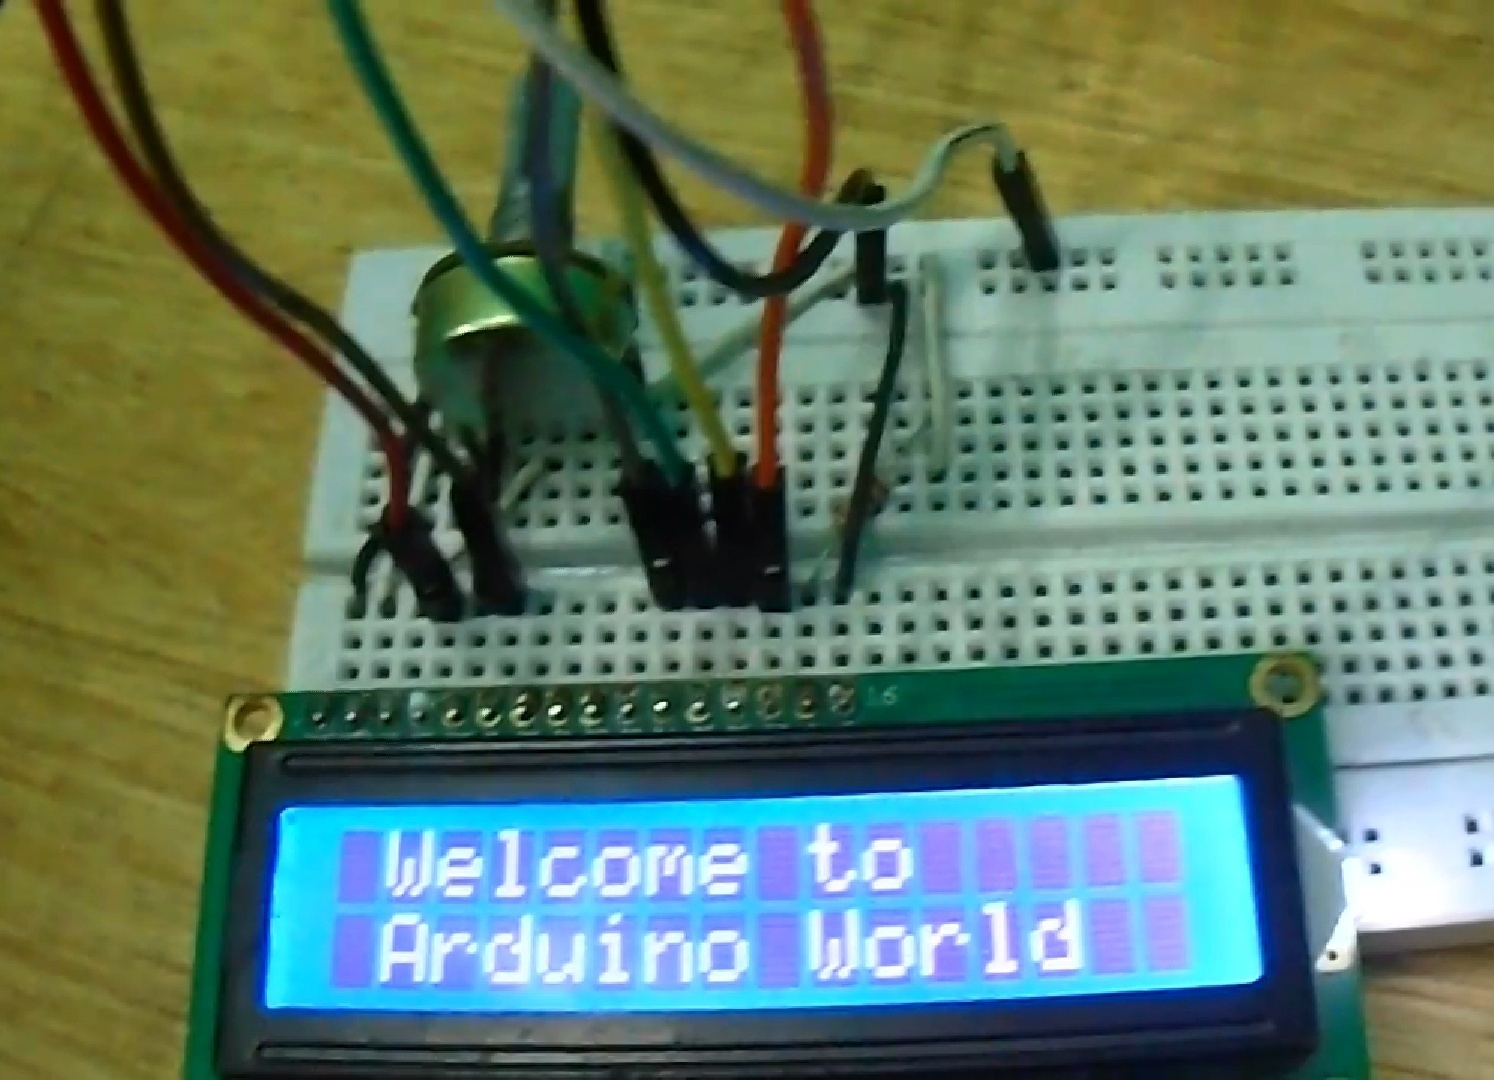
Output
