Arduino Invisible Screen 🤯
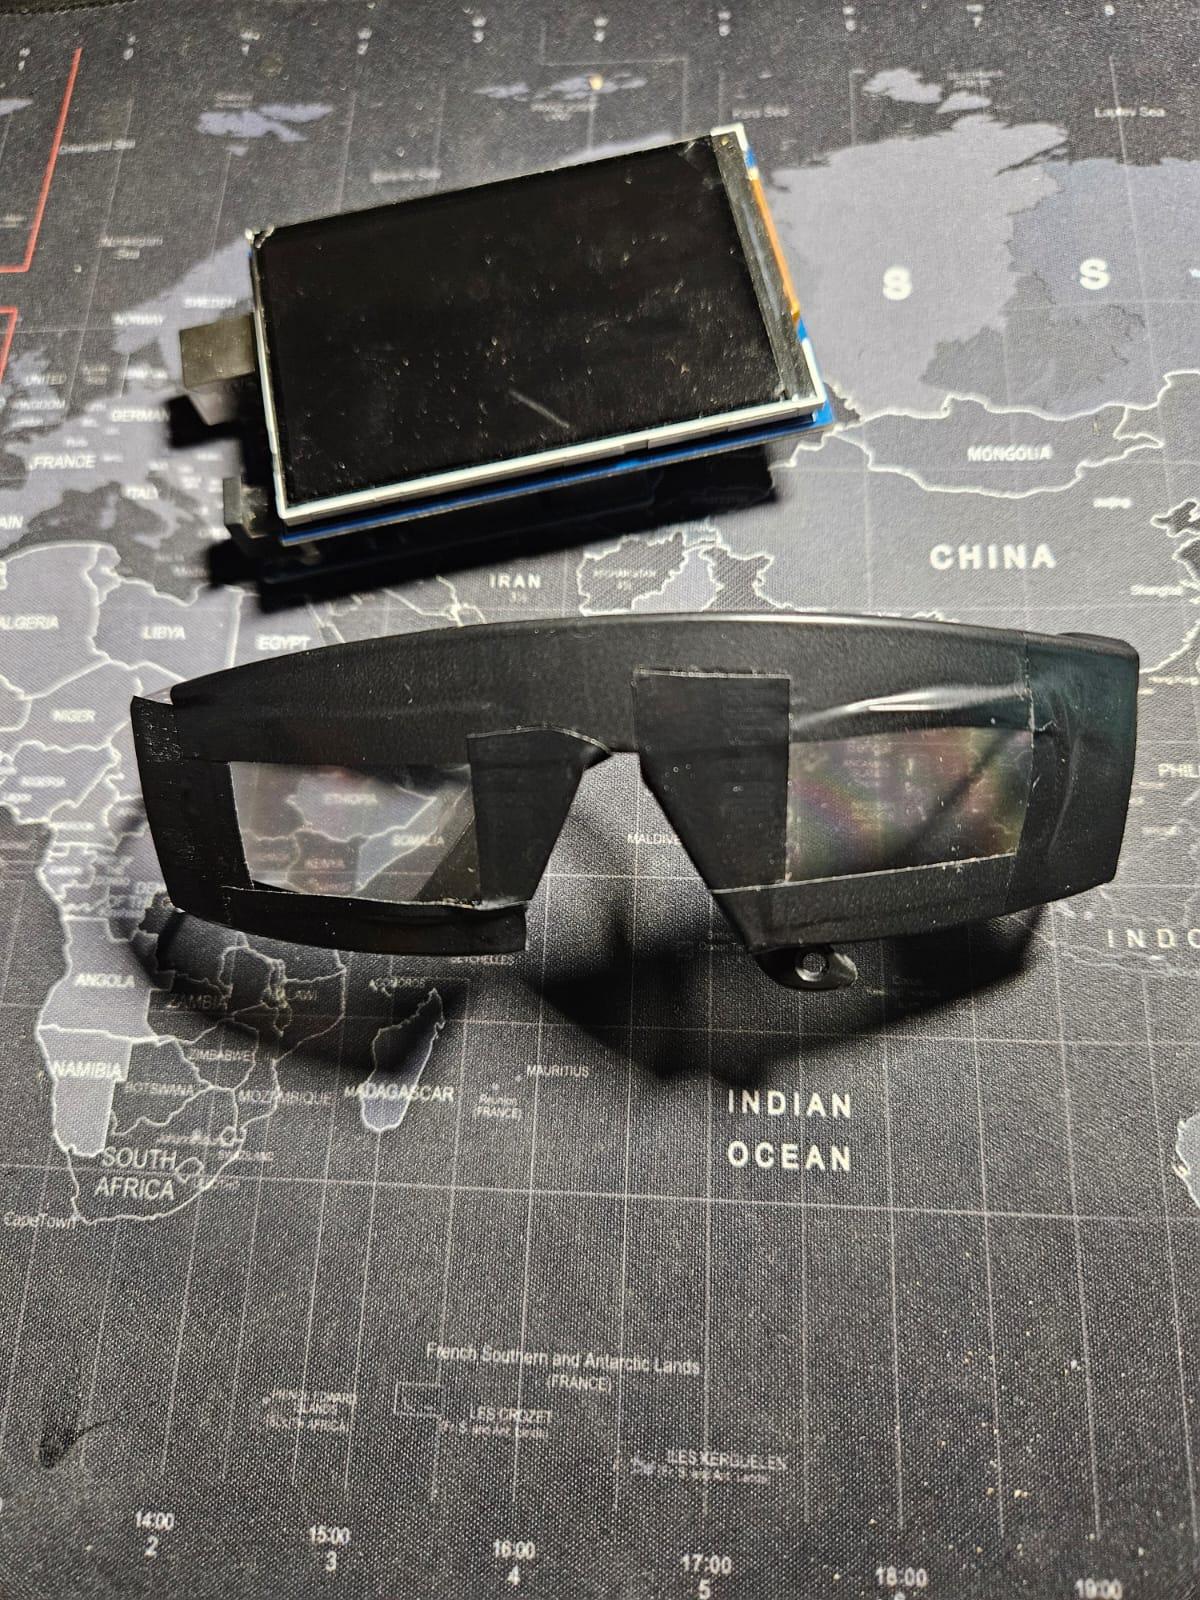
Have you ever thought about a screen which only you can see? It would provide you with maximum privacy. In this project, I will explain how to convert a normal LCD screen to an invisible screen and also make glasses for it.
Supplies
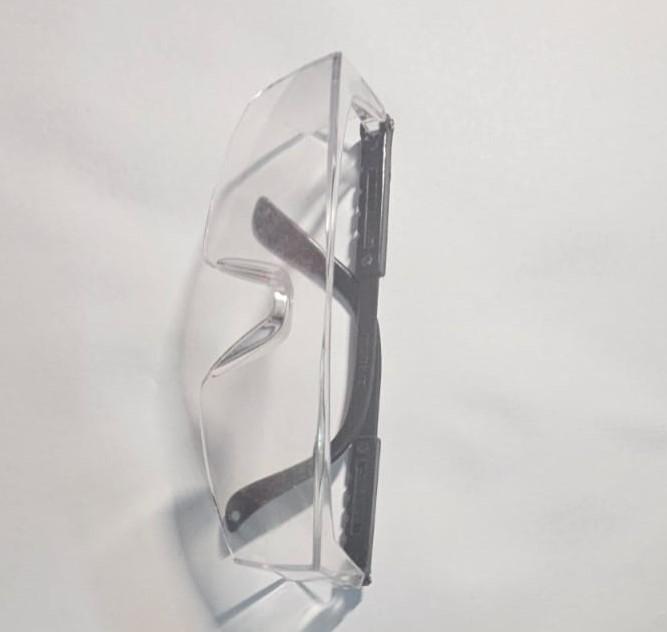
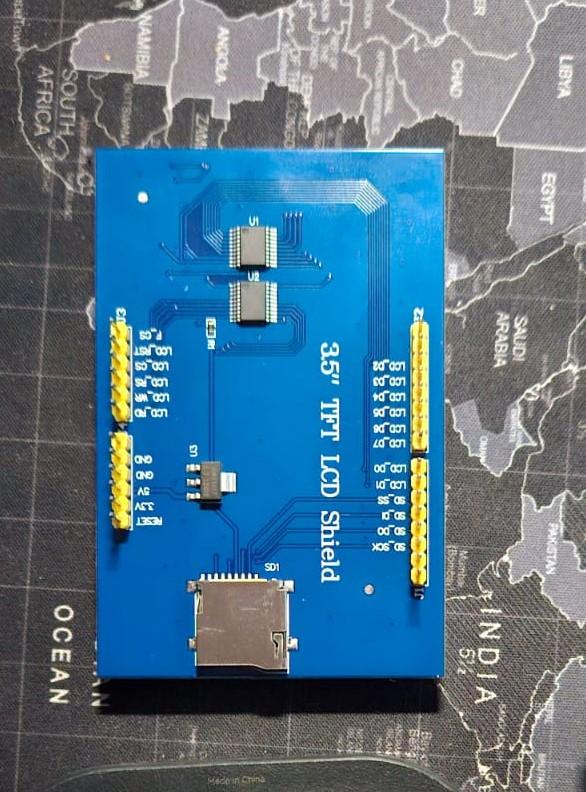
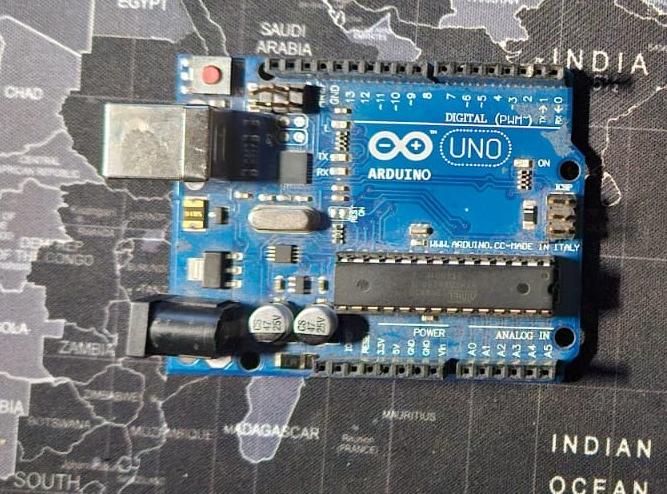
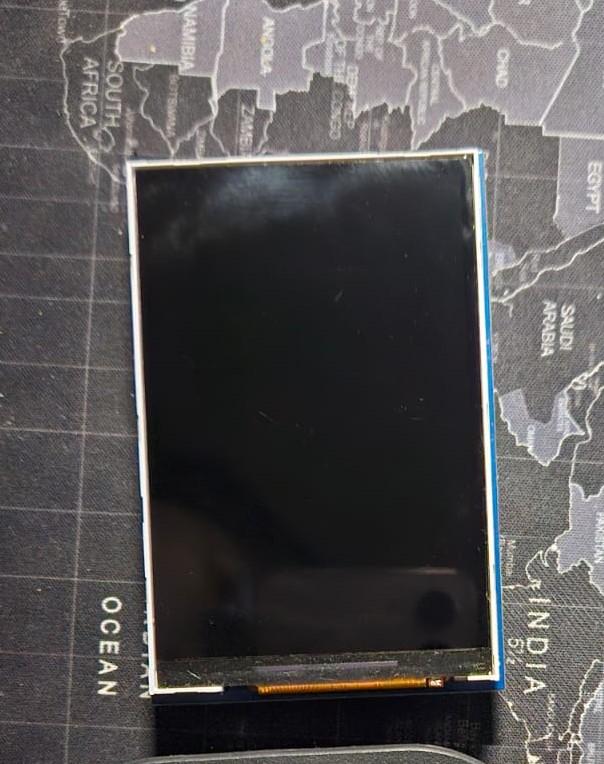
Stuff you need: -
Upload Code





Open Arduino IDE
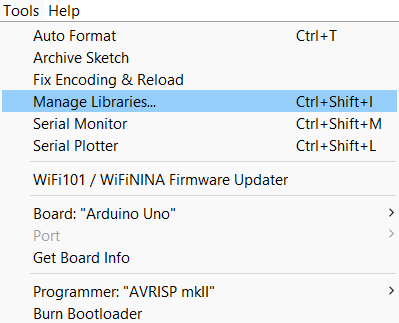
- Go to Tools on the toolbar
- Go to Manage Libraries...
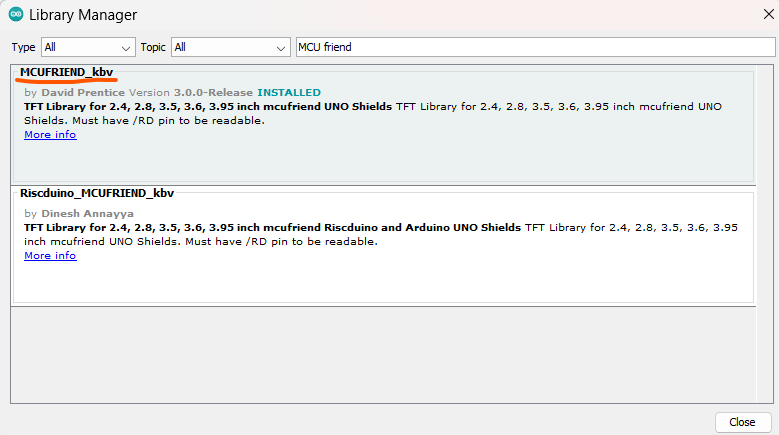
- Install MCUFRIEND_kbv library
- Now, go to File on the toolbar
- Go to Examples
- Find MCUFRIEND_kbv
- Select GLUE_Demo 480x320
- Upload the example code to your Arduino
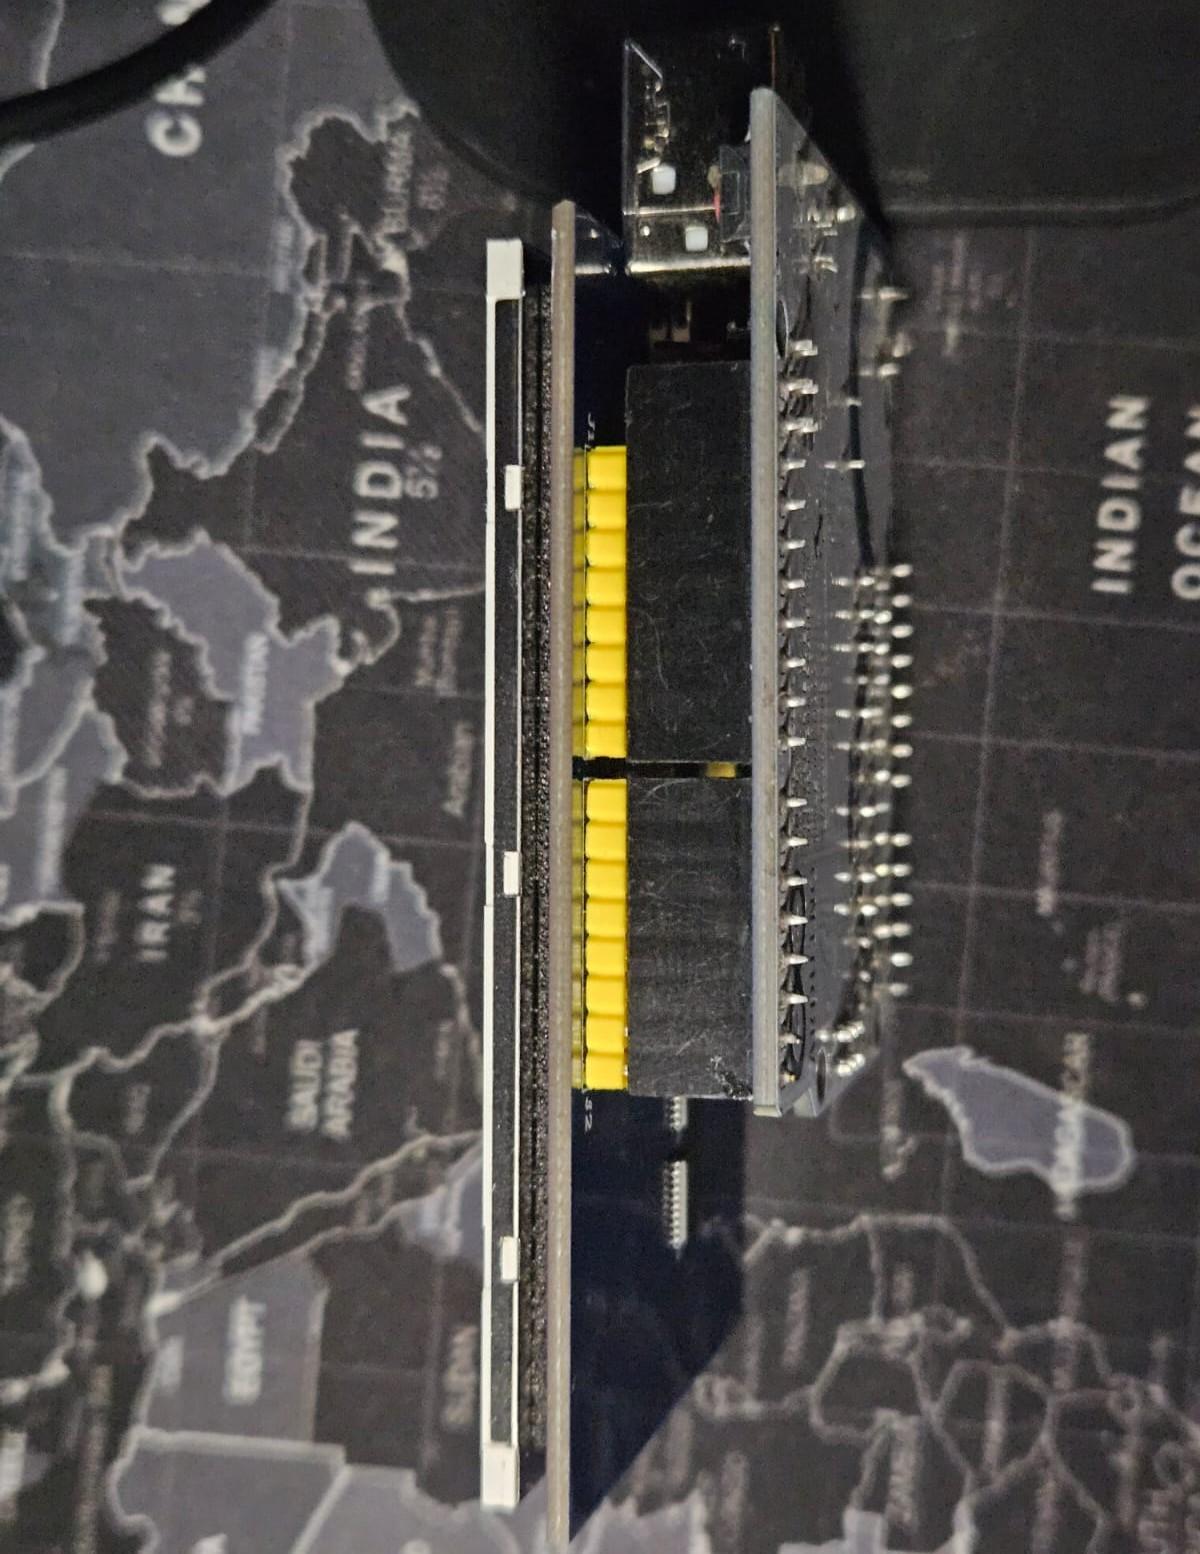
Connect the Shield to your Arduino. Picture given above.
Removing the Anti-glare
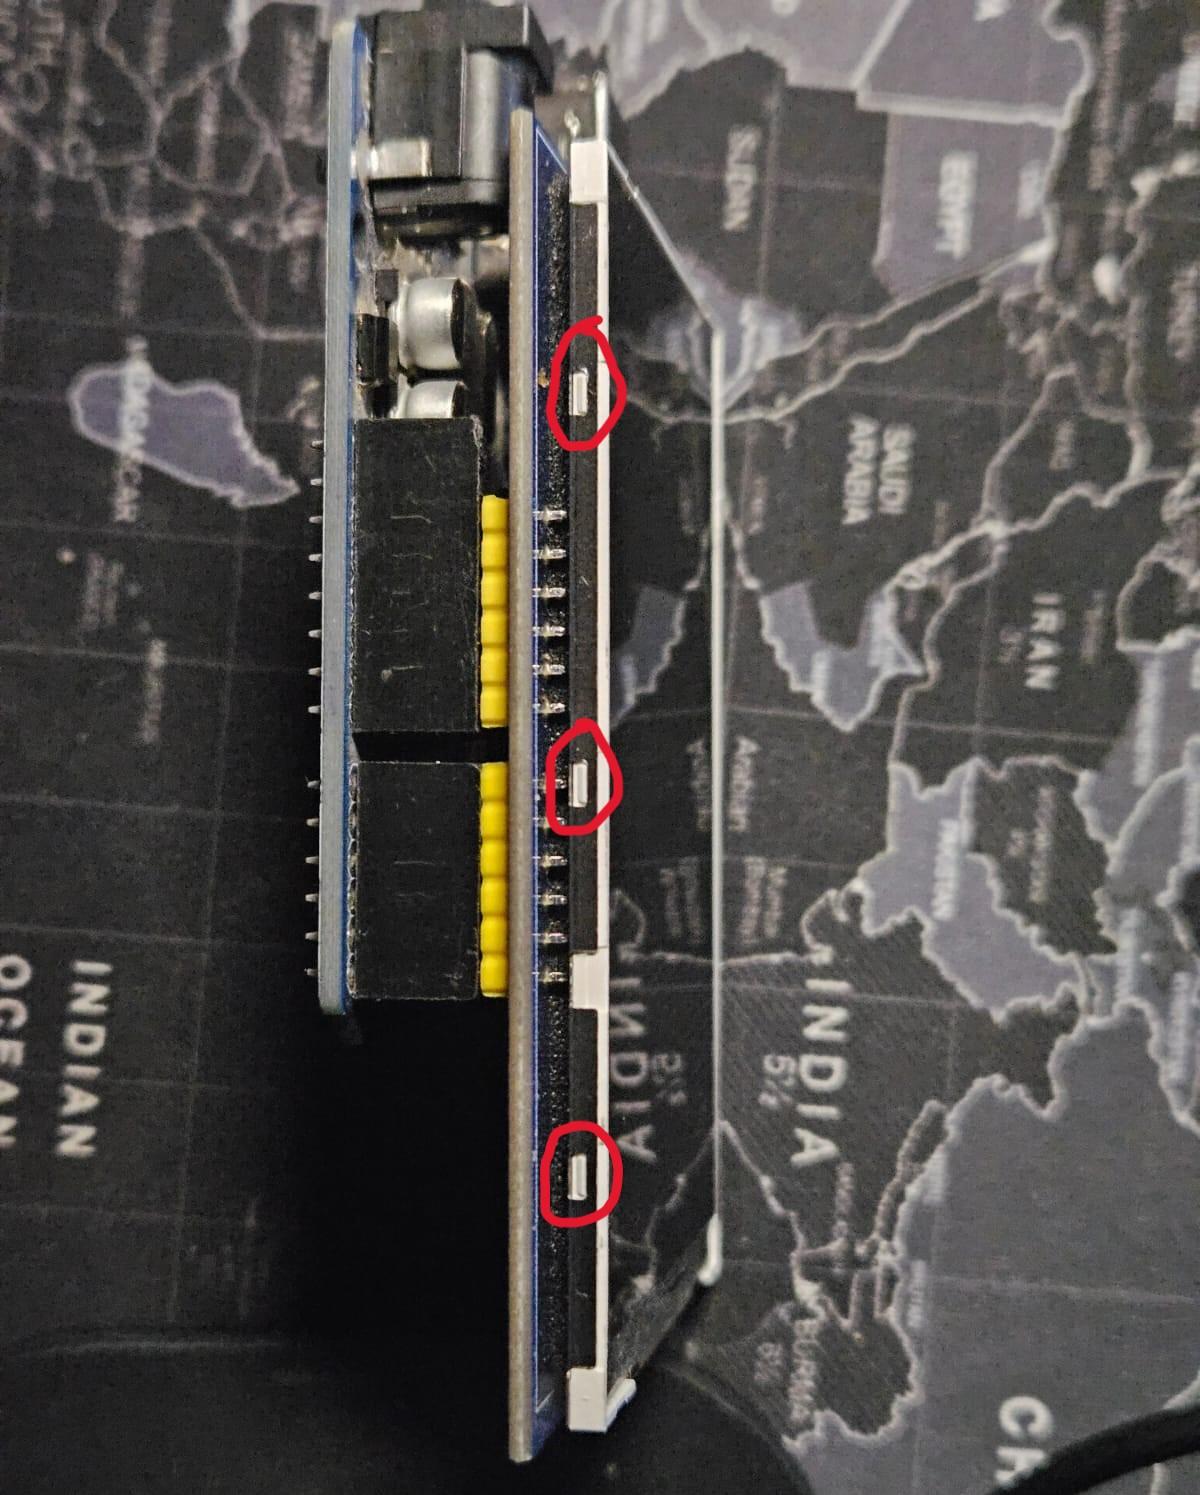
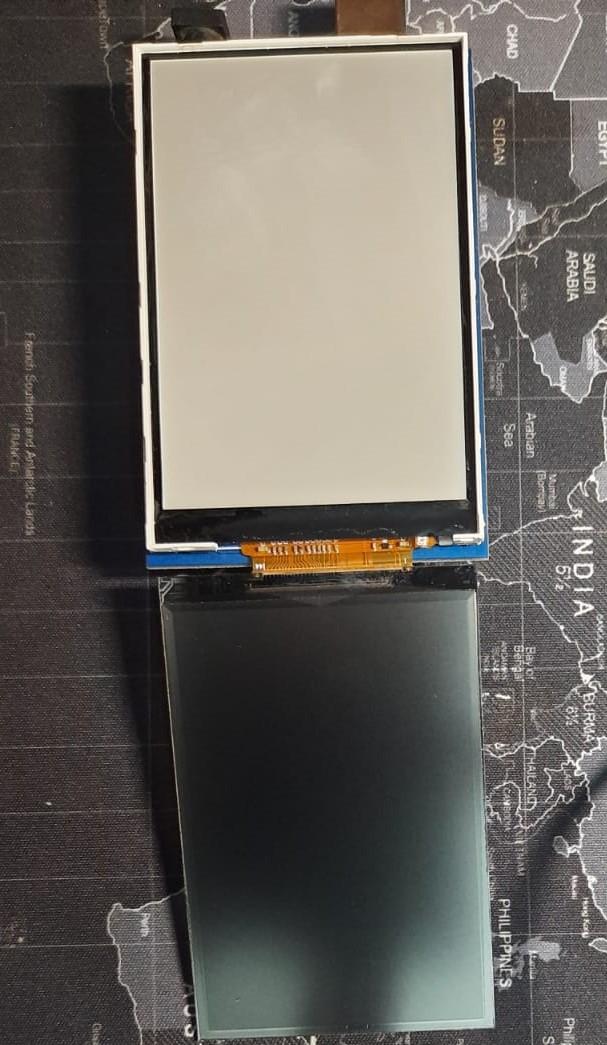
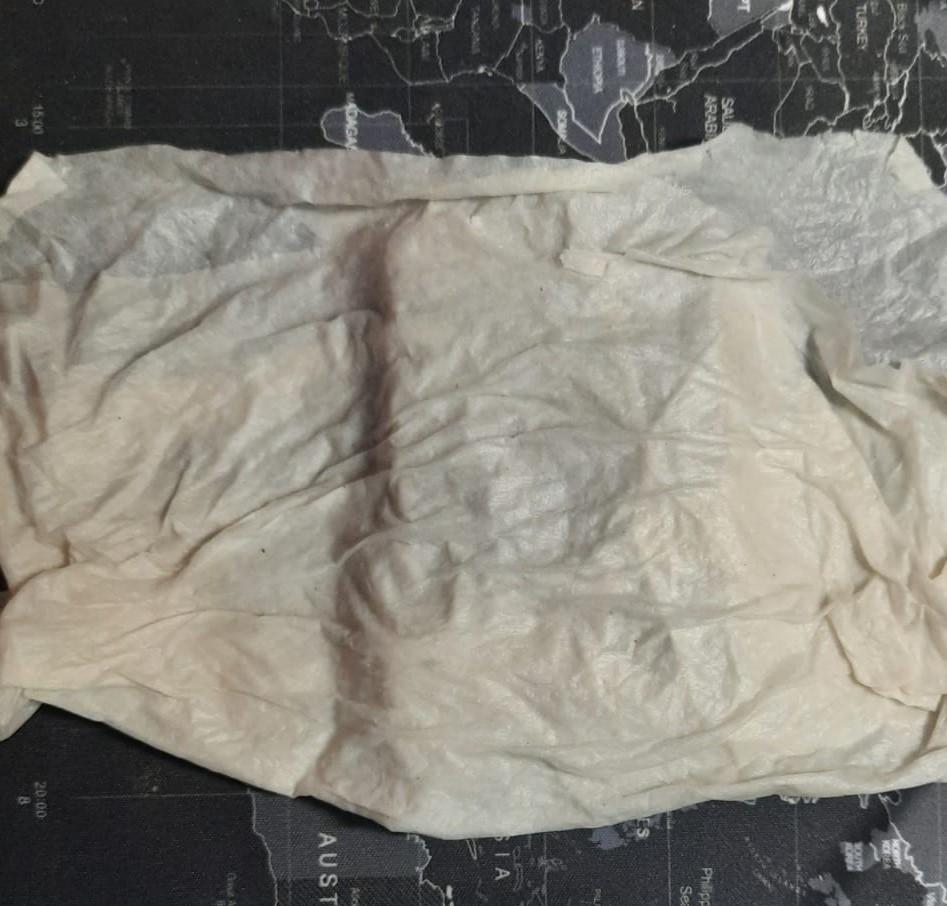
Now, you can see some areas marked in red in the image above, take a screwdriver and carefully take the screen out of the casing by detaching the metal holder from the screen. You should also remove the LED backlight (the white opaque sheet) and you will get a grey glass; this is your LCD screen. Keep the outer layer of the screen facing up. Then, take a wet cloth and place it over the screen for 2 hours. This will make the screen moist, and the adhesive will be easier to remove.
After 2 hours, you will be able to remove the anti-glare layer. This layer is on top of the polarizer, which we need to remove. Take a screwdriver and try to remove a thin transparent layer by peeling it from the corners. Be very careful and do it slowly.
The anti-glare film is a thin transparent sheet. It gives the screen a matte finish. After removing it, you can throw the film away.
Removing the Polarizer
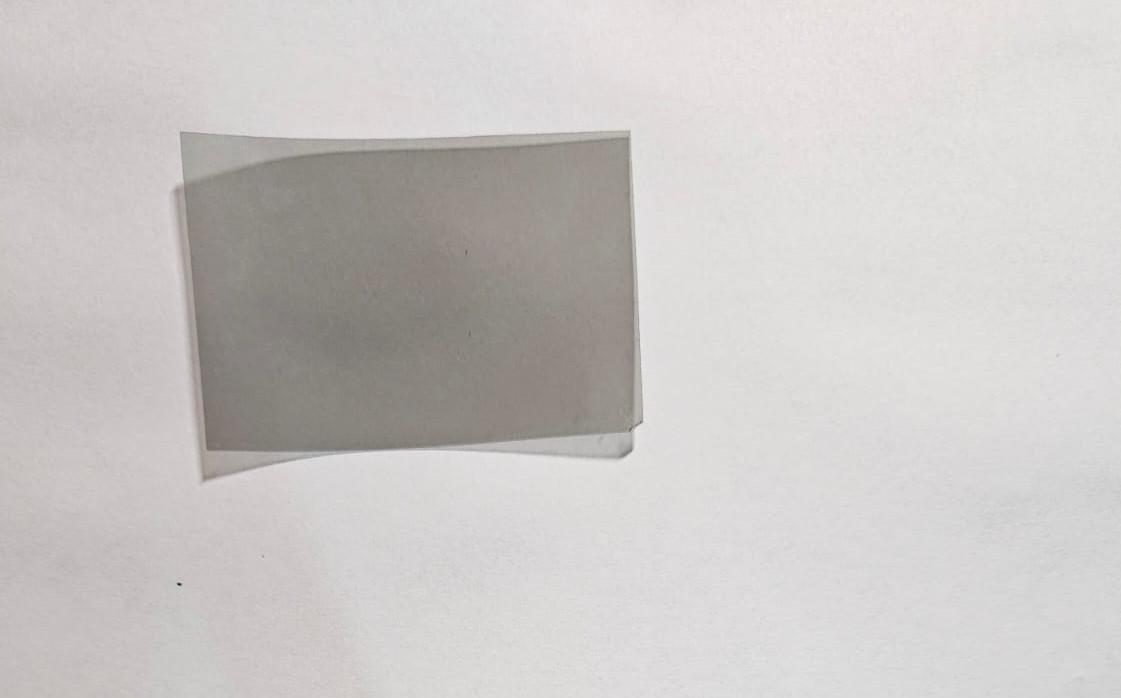
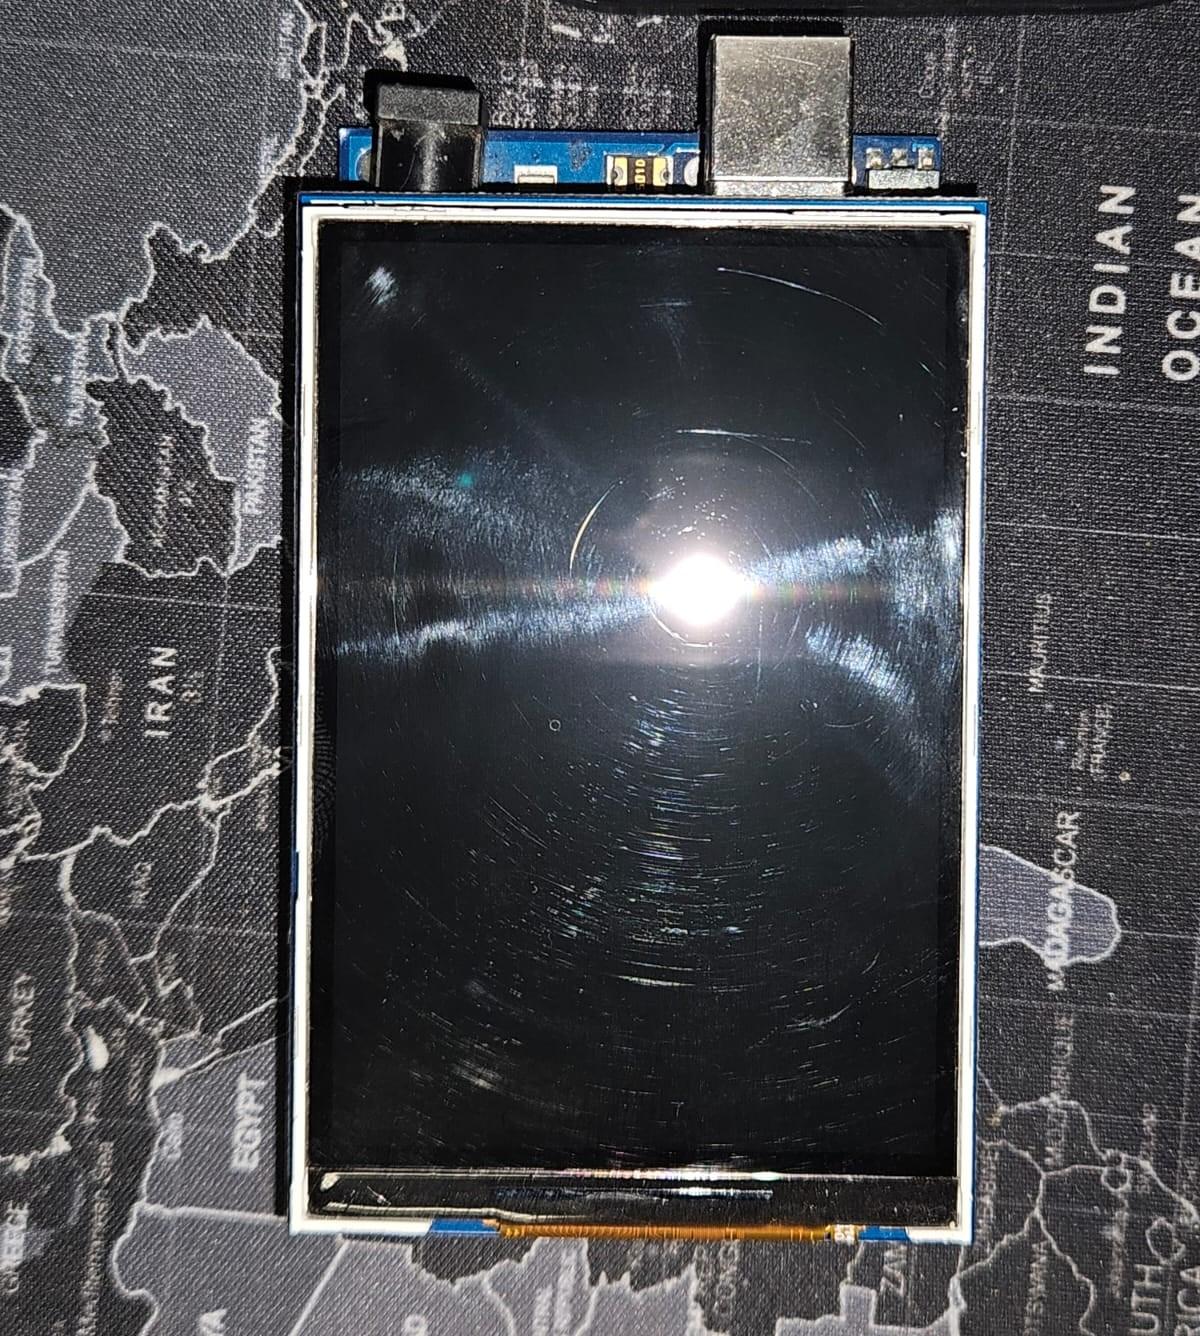
Now take the screwdriver and peel another layer from the screen. This is the polarizer. Now, you have to be very careful to not tear the layers below it. This layer is much harder to remove than the anti-glare layer. To make the process easier, you can place the screen under a wet towel for 2 hours before removing it.
After removing this layer, you can fix the screen back into its casing.
Do not throw the polarizer.
Making the Glasses
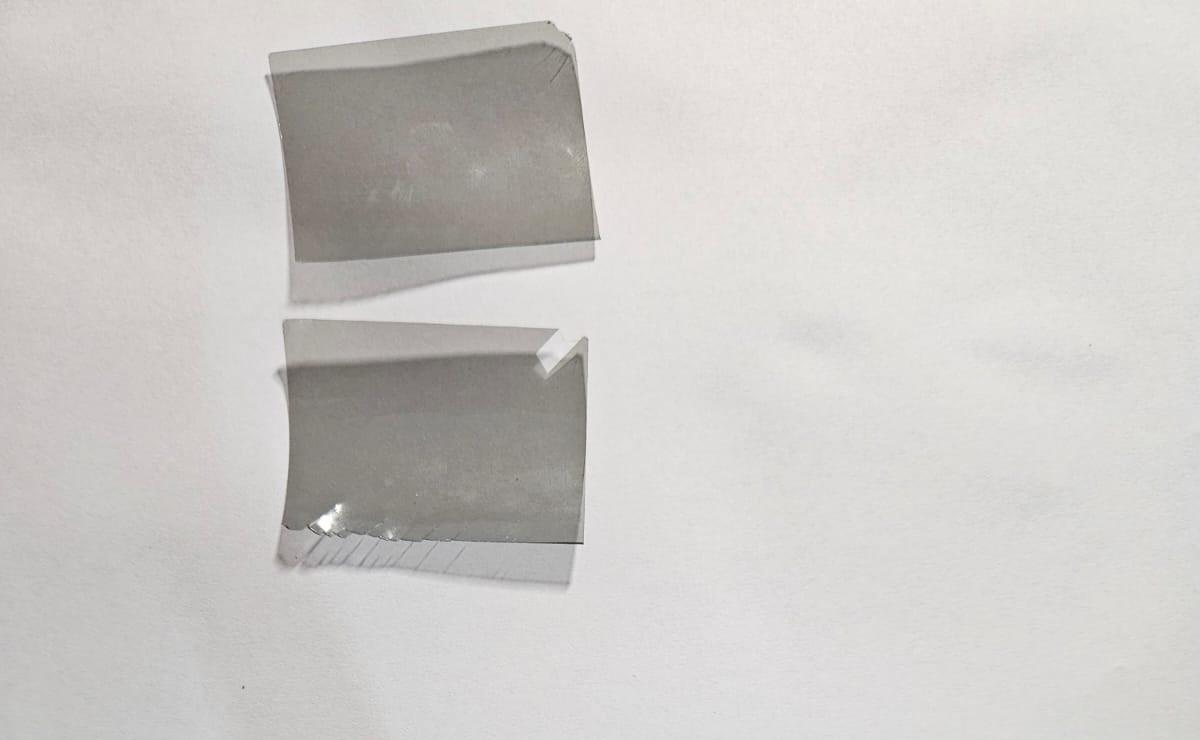
Take the polarizer we removed from the screen and cut it into two halves.
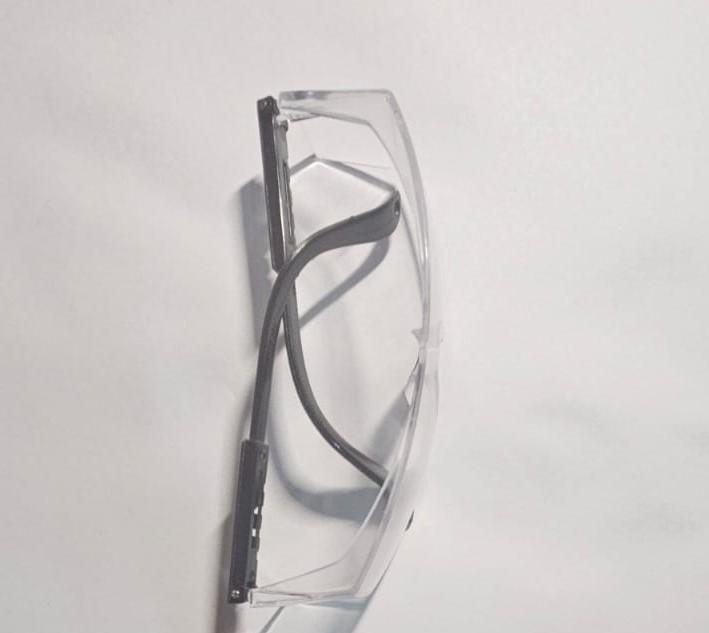
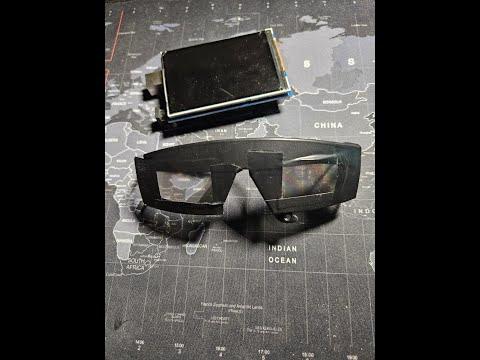
Now, take the glasses (it can be the one used for safety) and stick the polarizers to it with a drop of adhesive on its corners. Do not use transparent tape as it will change the color you see through the polarizer. To secure the polarizers, you can use insulation tape. I used it to cover the remaining area of the glass to make the field of vision only through the polarizer.
Demo
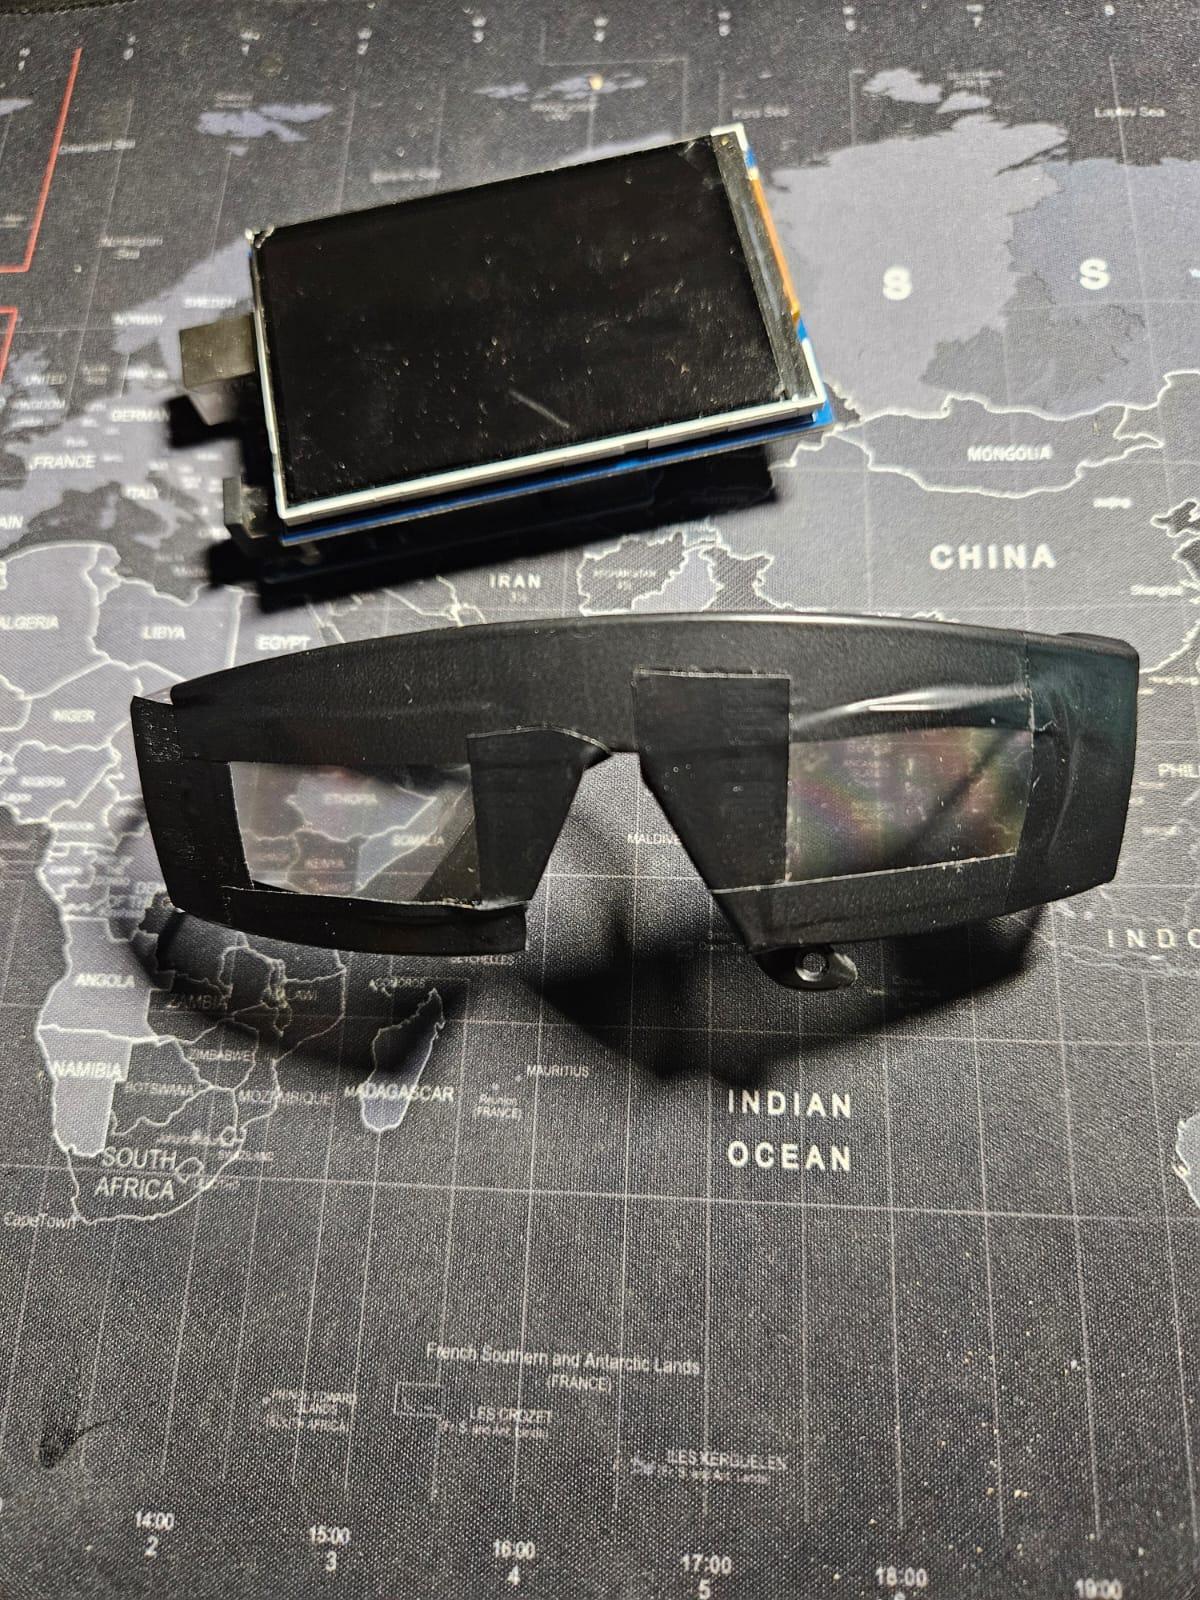
Conclusion
This is just a demo with Arduino, there are so many possibilities with this. You could also do this on phone, tablet etc. Anything with an LCD screen.
Happy Building!
:)