Arduino I2C LCD Volume Display
by TheNewYoriker in Circuits > Arduino
1230 Views, 2 Favorites, 0 Comments
Arduino I2C LCD Volume Display
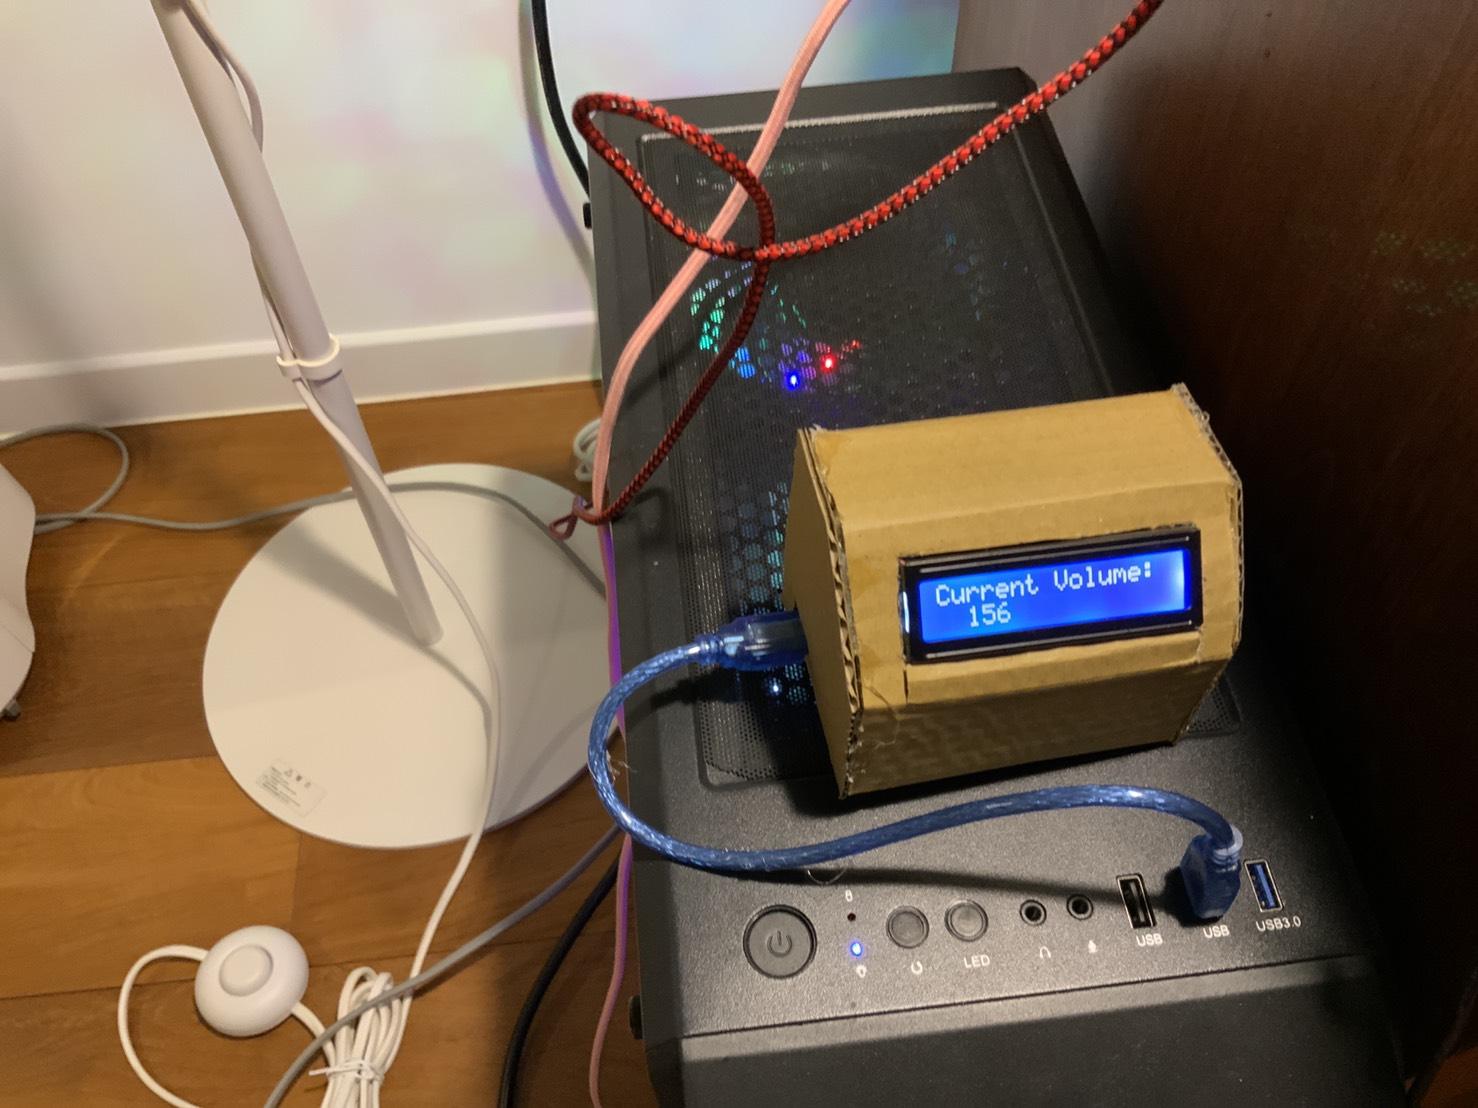
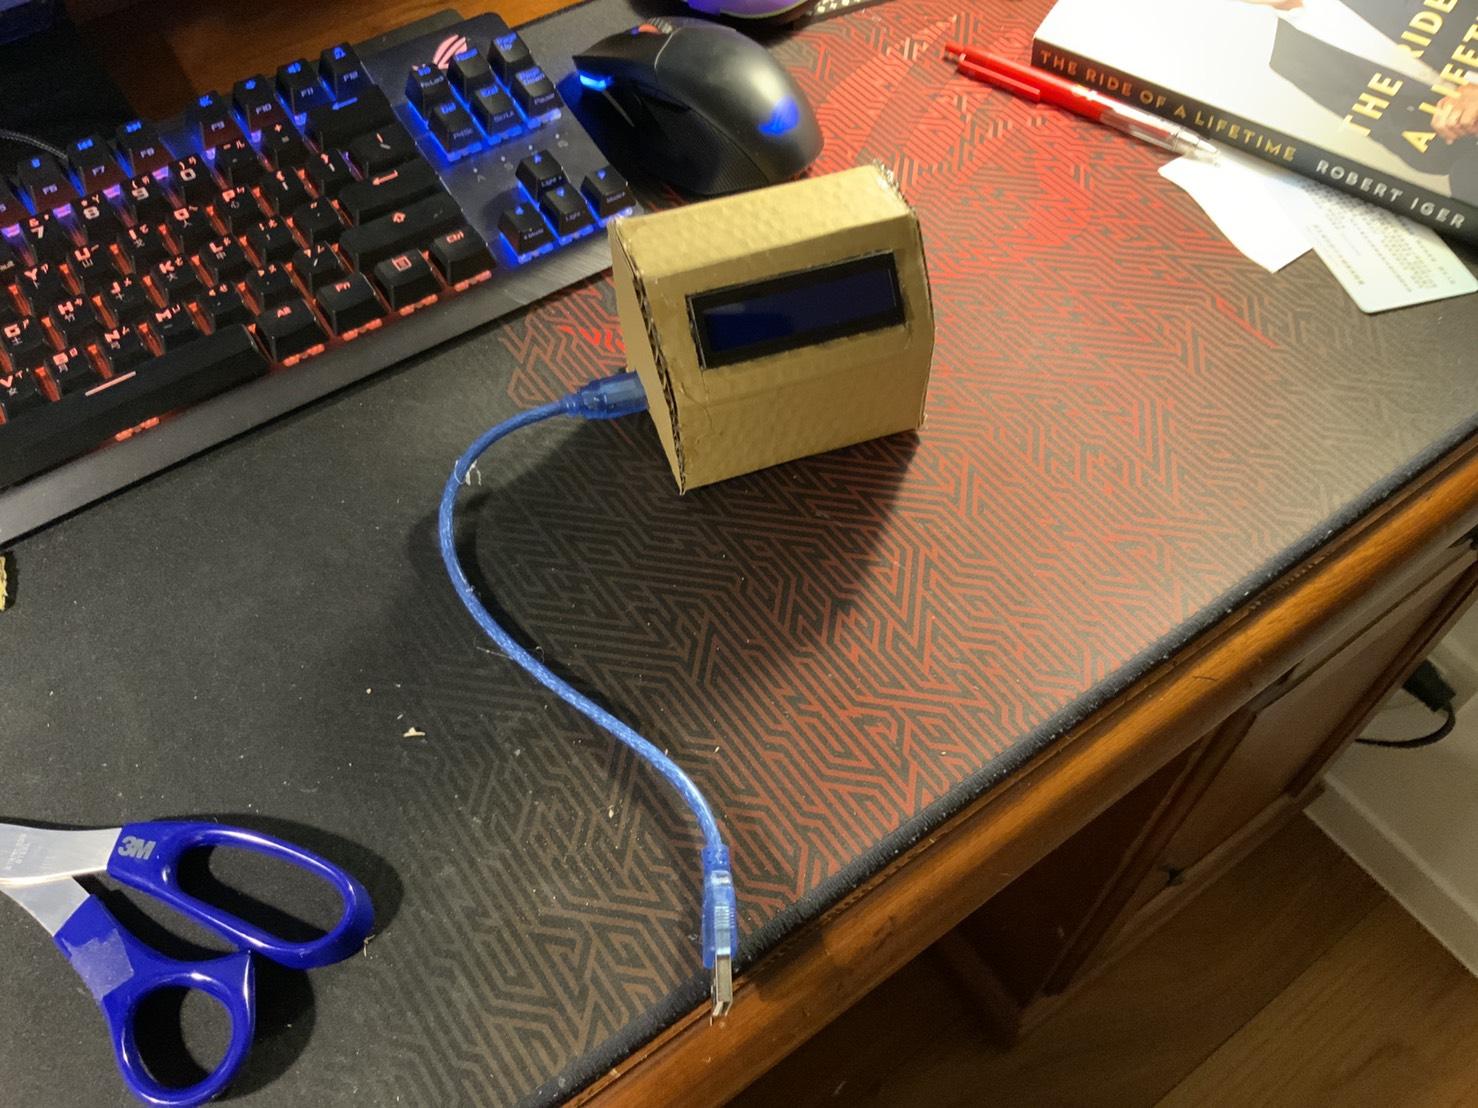
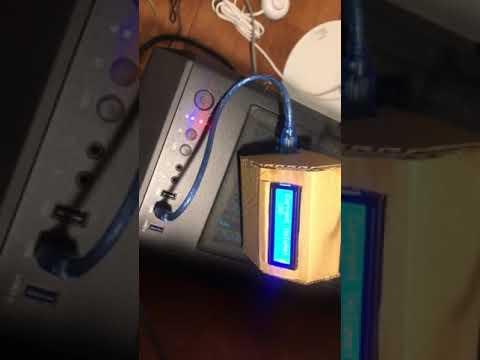
This is a project using a I2C LCD screen to display the current volume of a Windows computer. It works by using the PyCAW library by Andre Miras to get the current volume of the PC, then transmitting the data to the Arduino via Serial and displaying it. At present time, the PyCAW library, and therefore this project, only works for Windows.
For this project, I'm using an Arduino UNO, but any Arduino board that works with an I2C screen would work.
CODE FOR THE PROJECT:
https://create.arduino.cc/editor/thenewyoriker/b8a...
MODIFIED PROJECT: https://www.instructables.com/How-to-Use-I2c-With-...
Downloads
Supplies
- I2C LCD screen
- Arduino UNO
- USB-B to USB-A cable
- wires
- PYTHON CODE:
Wiring the Arduino
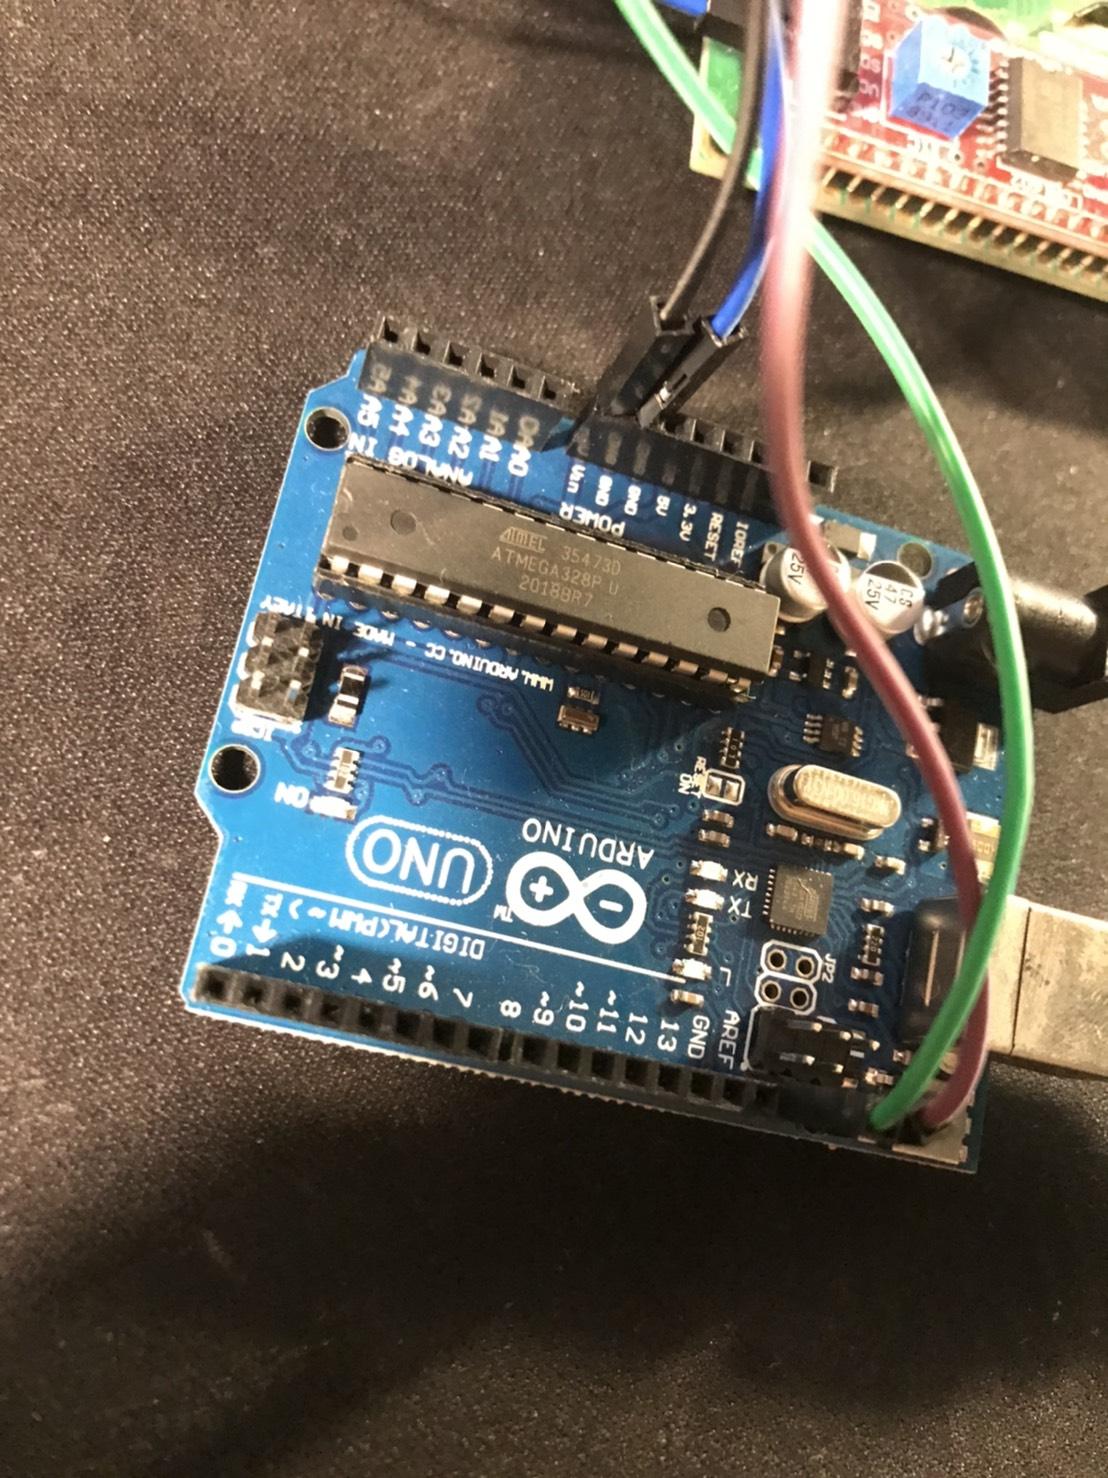
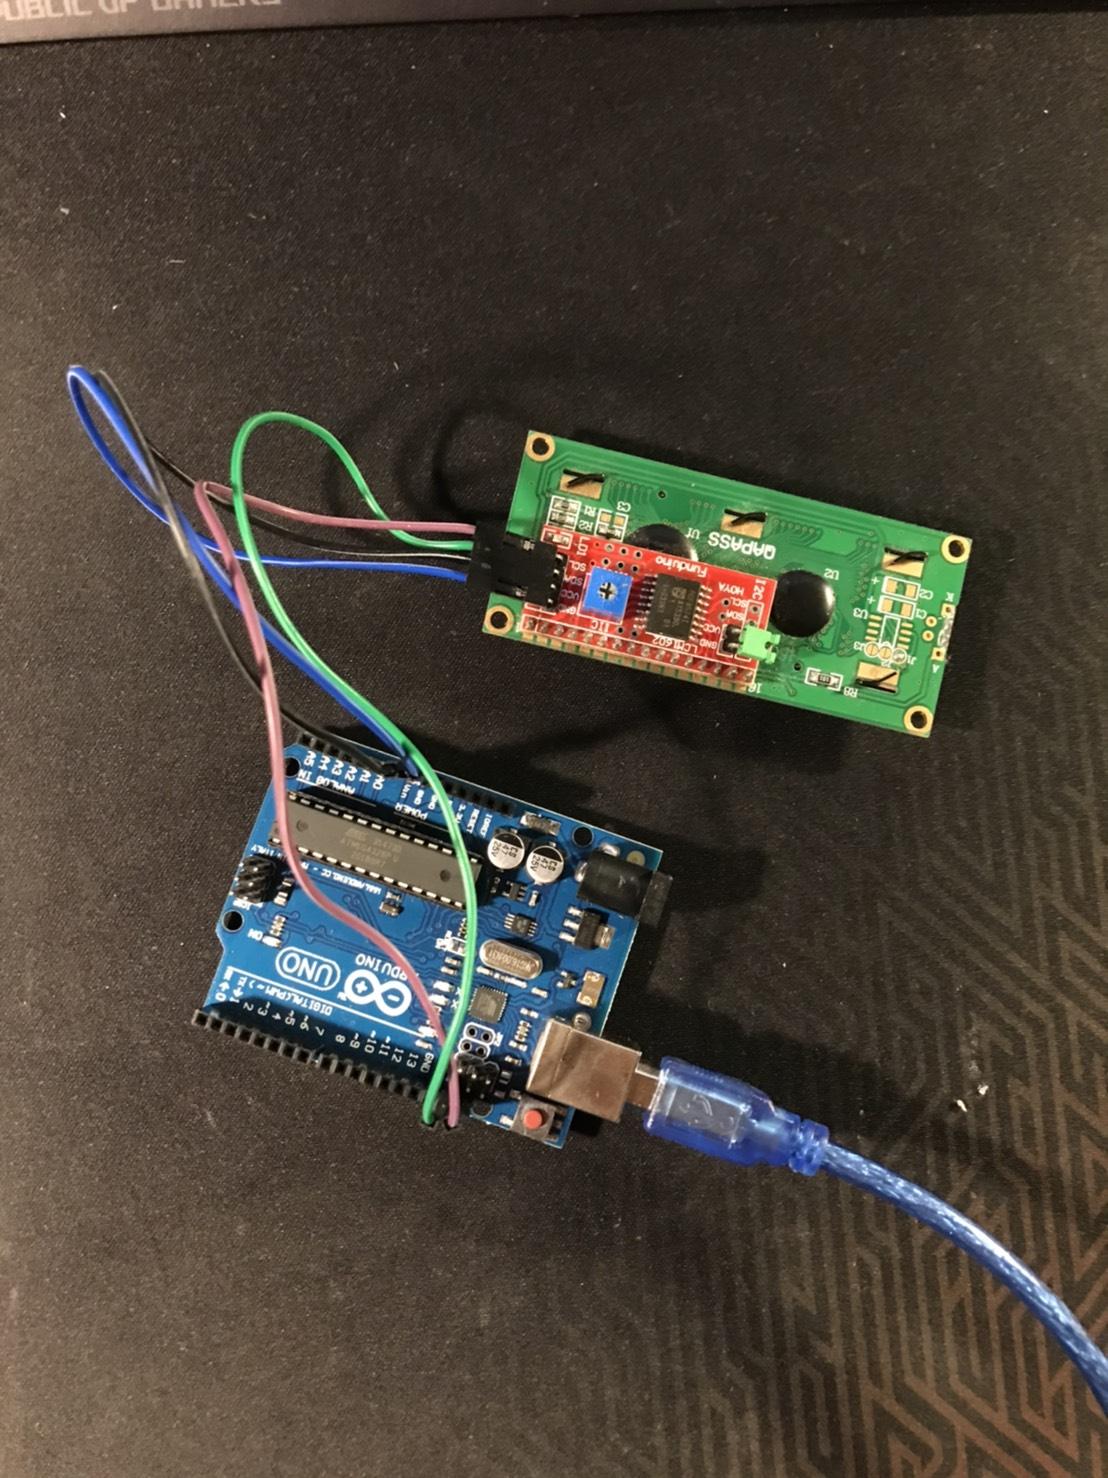
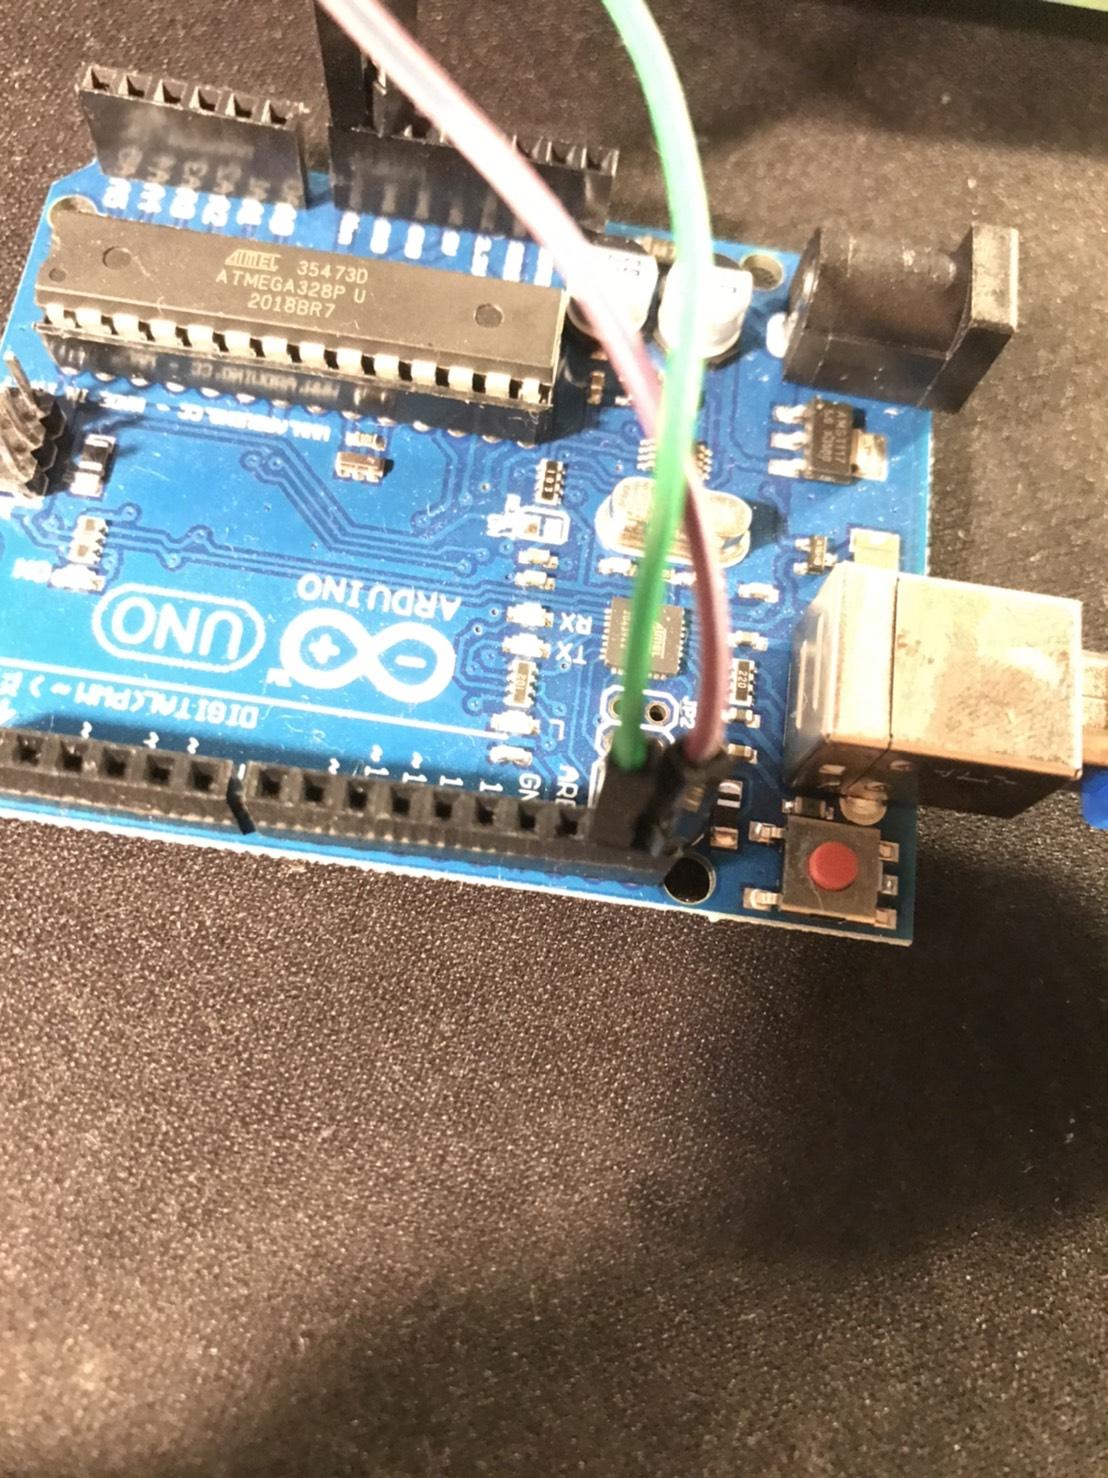
This is just the basic wiring for a LCD screen with an I2C module.
NOTE: For the instructions below, the first port is the I2C, and the second one the Arduino.
Connect GND to GND, VCC to Vin, SDA to pin 27, and SCL to pin 28. Done.
Writing the Volume Code
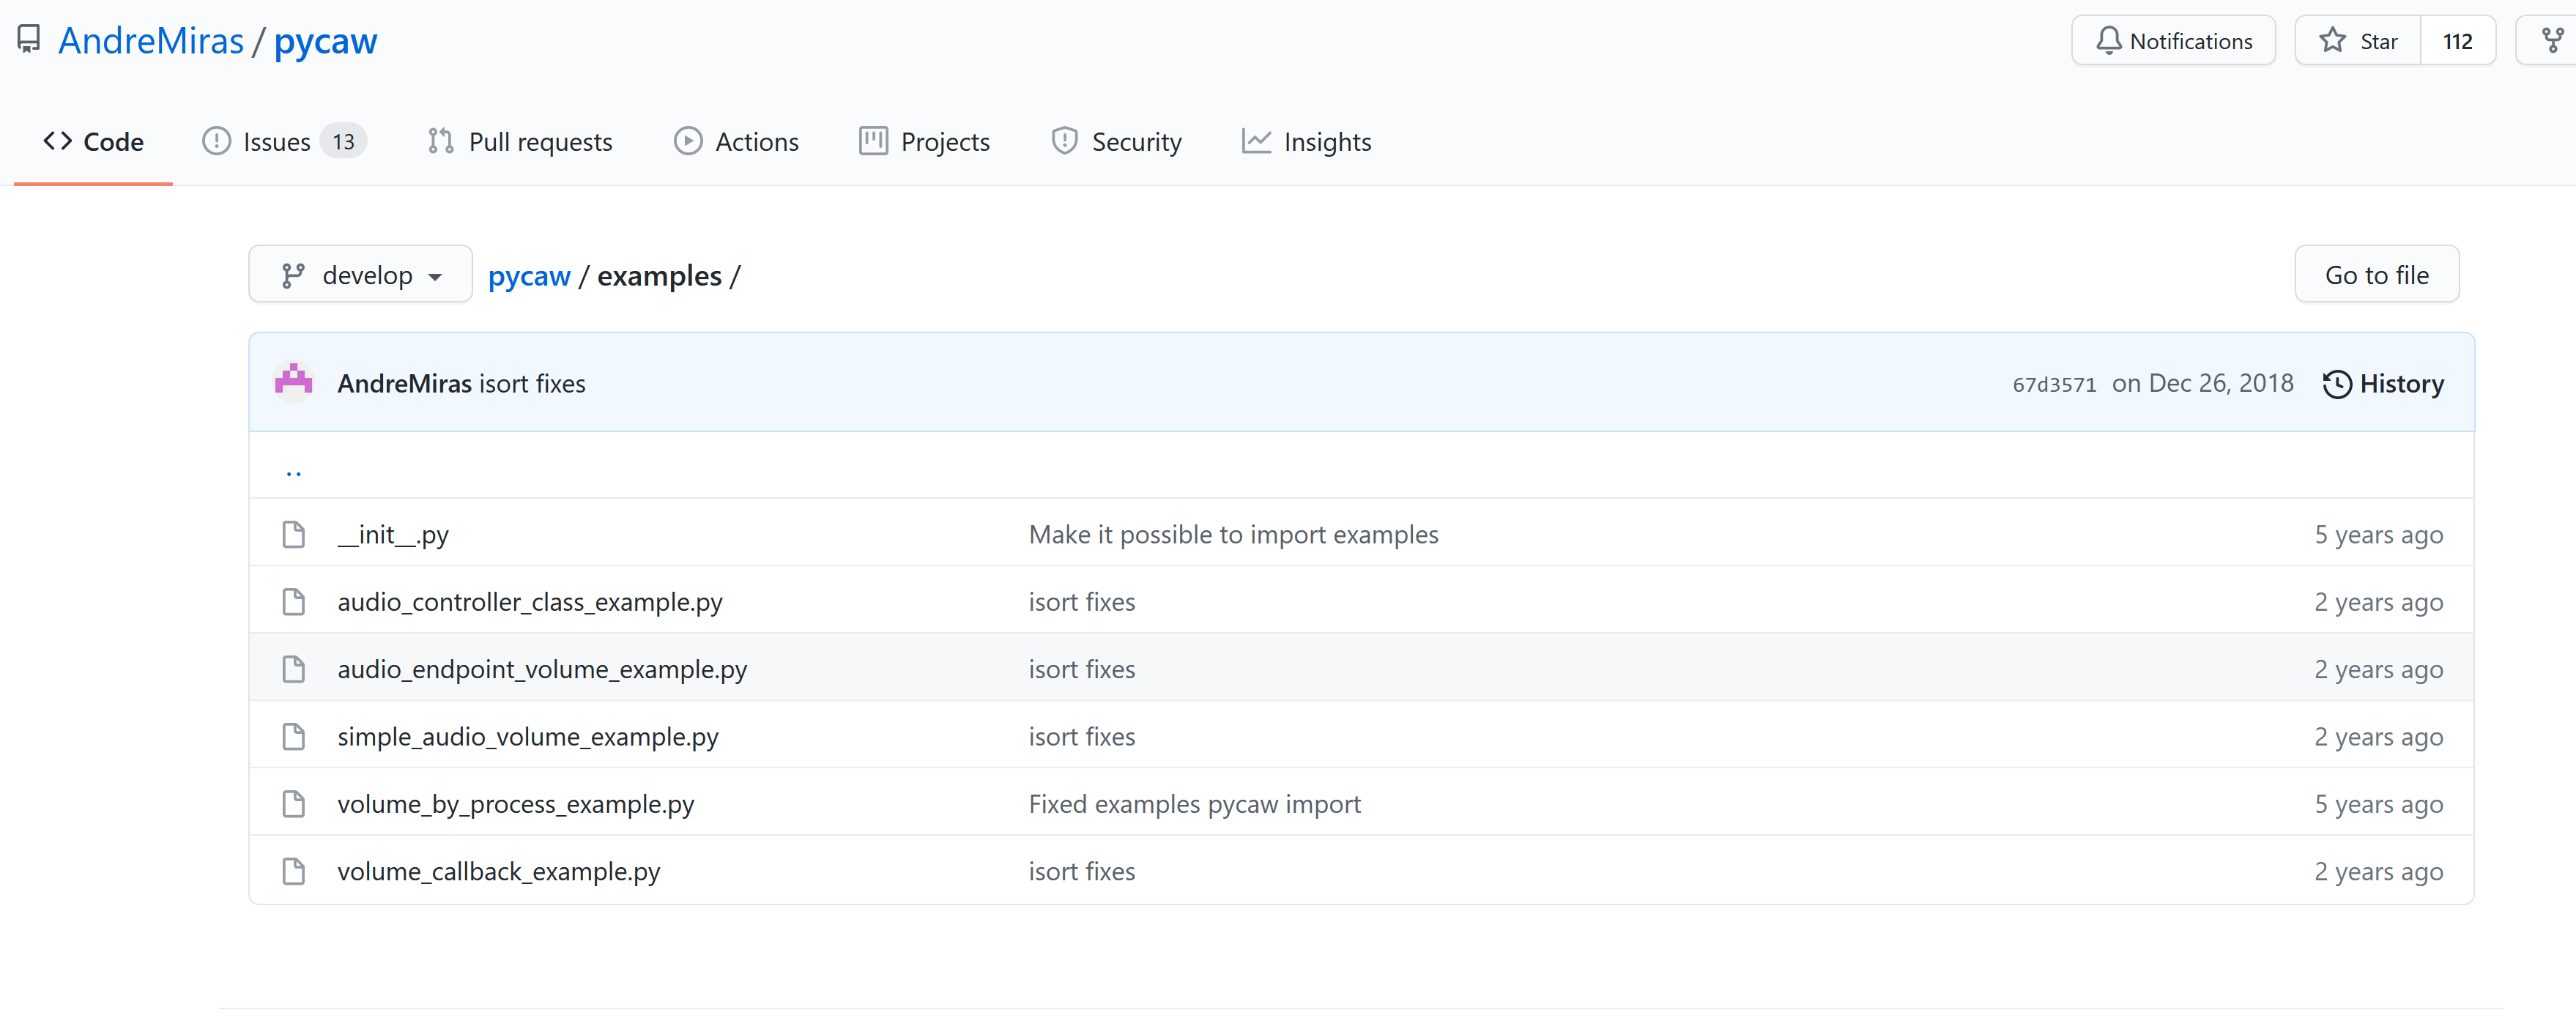
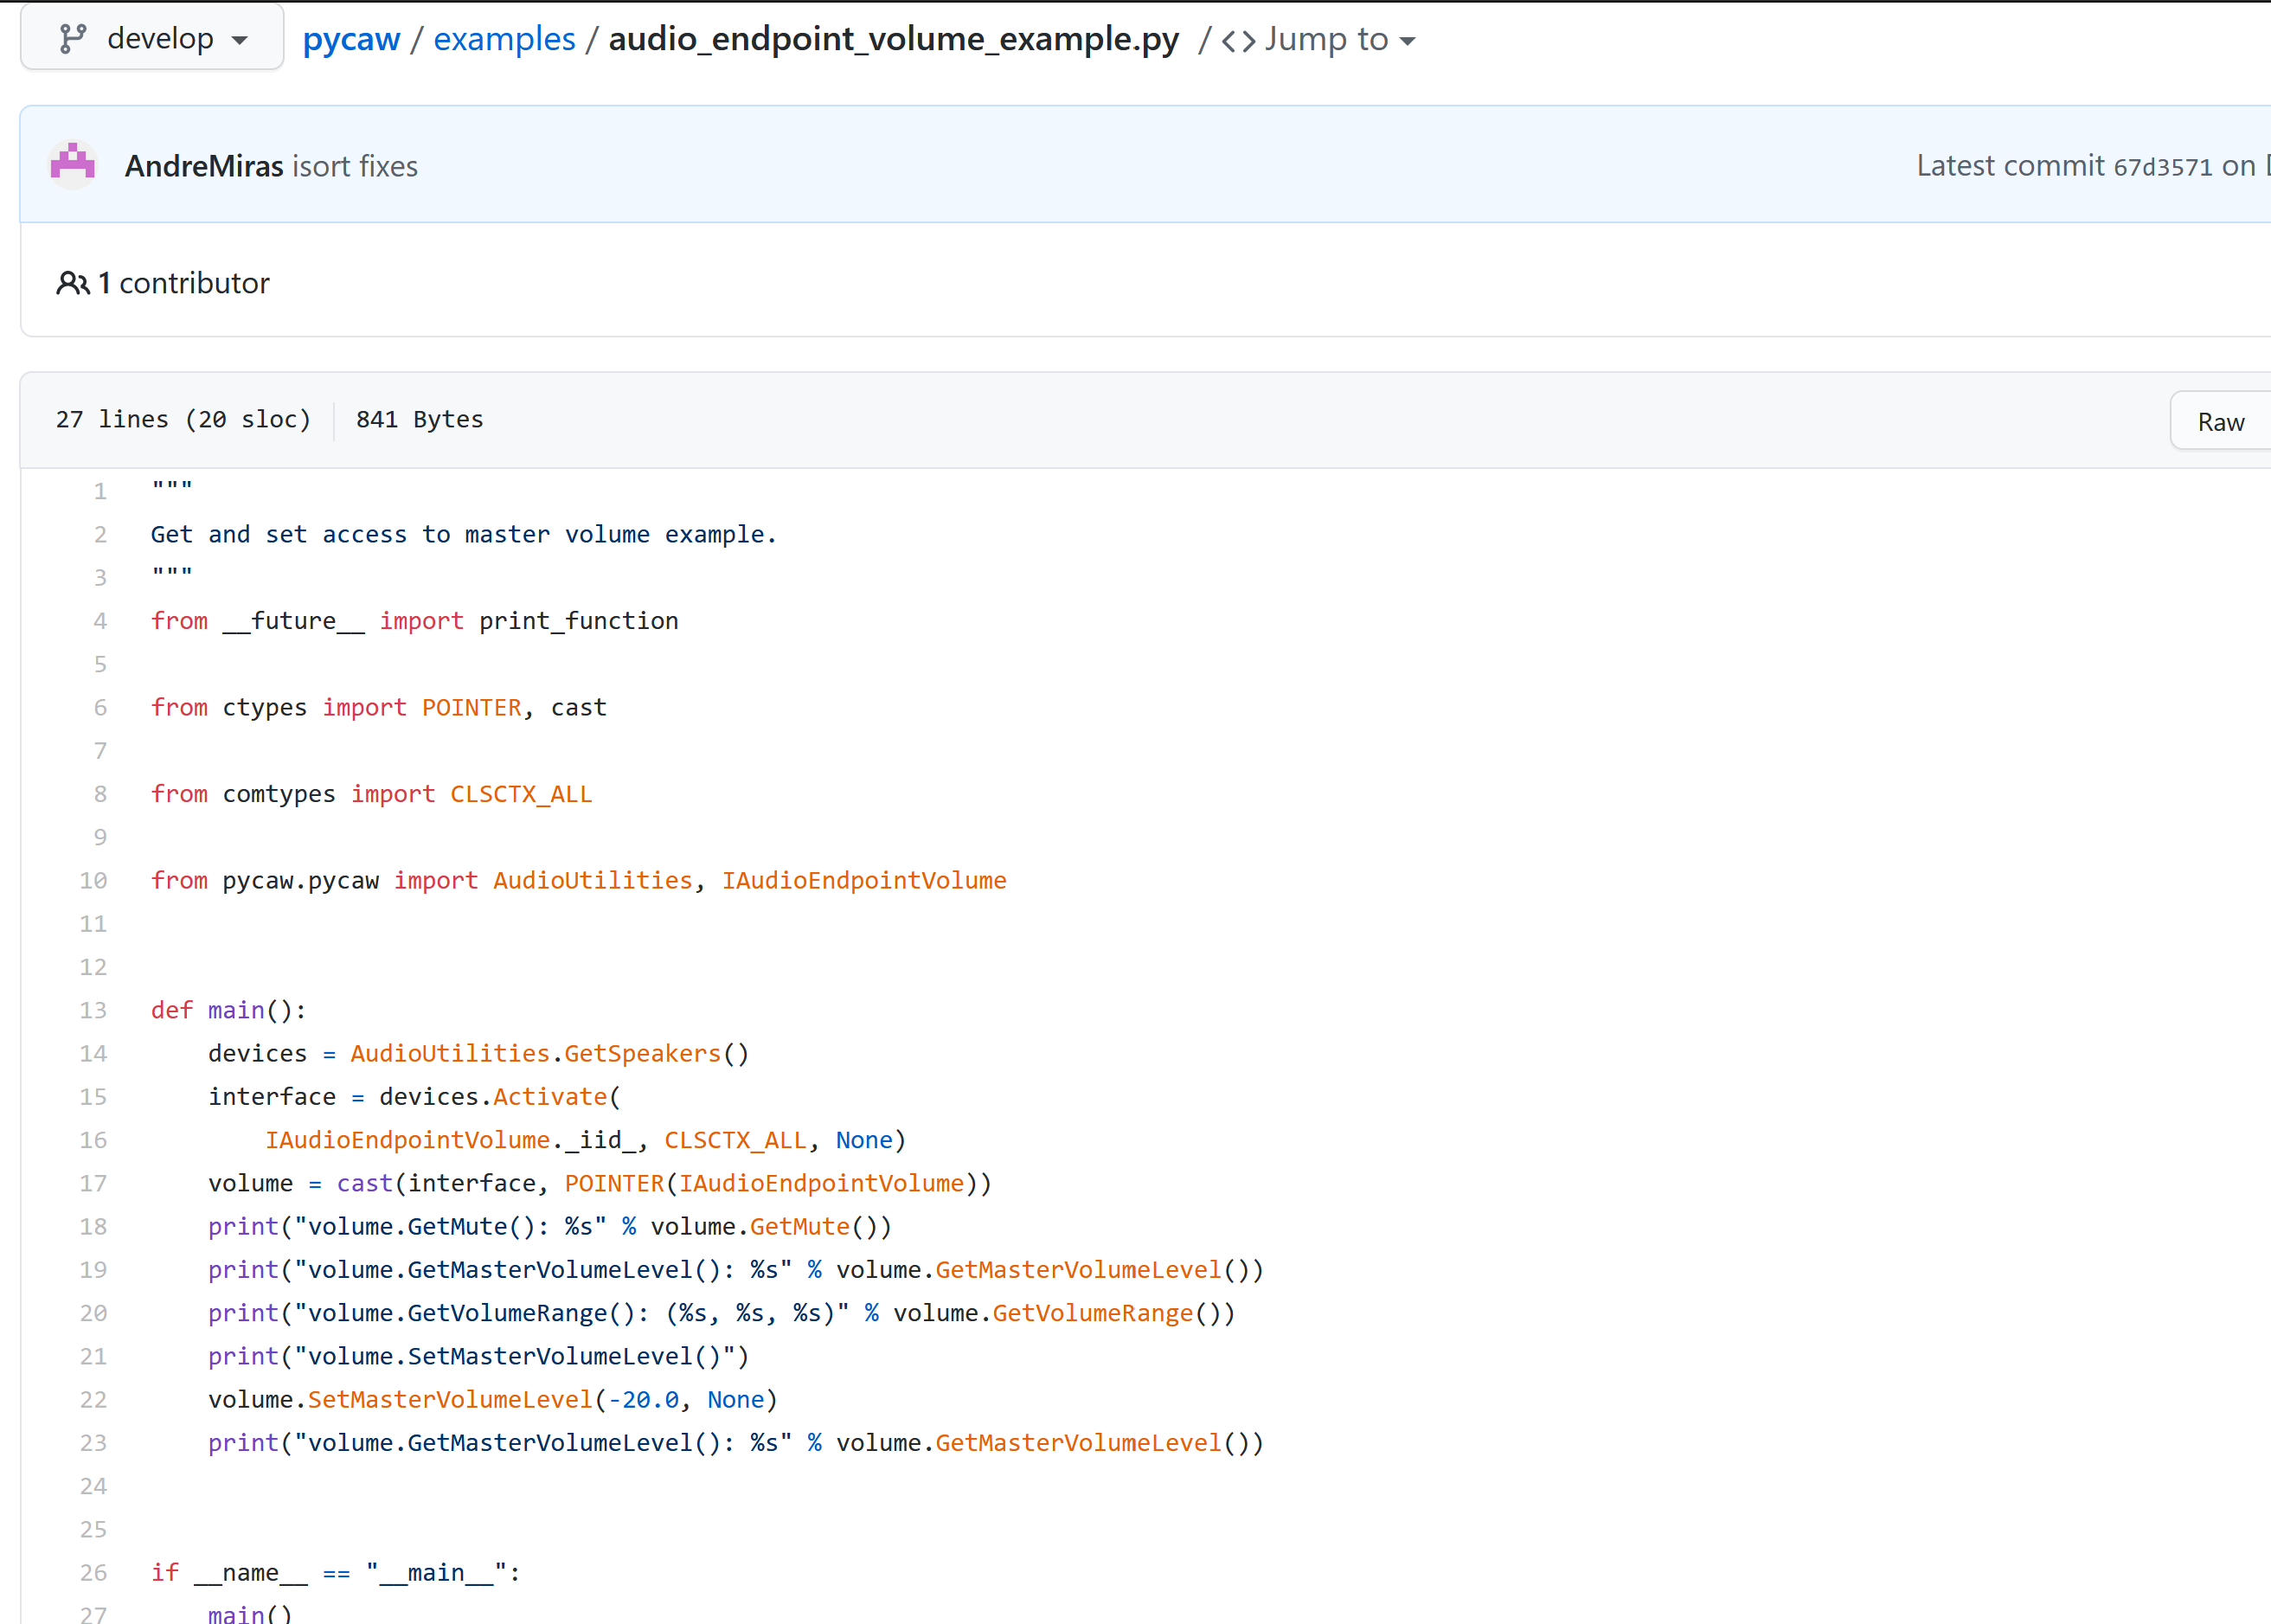

First things first: download the pycaw library by Andre Miras from this link:
https://github.com/AndreMiras/pycaw
Next, open Python and install the library. Go to the Console and type "pip install pycaw".
Return to the Github page, go to pycaw/examples/audio_endpoint_volume_example.py, and download the script. This contains all the functinos you can use in pycaw.
Now, pycaw has several useful functions; for this project, we'll be using "volume.GetMasterVolumeLevel()". This will return a weird float value; divide that by -0.30284759402275085 and round it.
You can now delete all the other functions.
Writing the Display Code
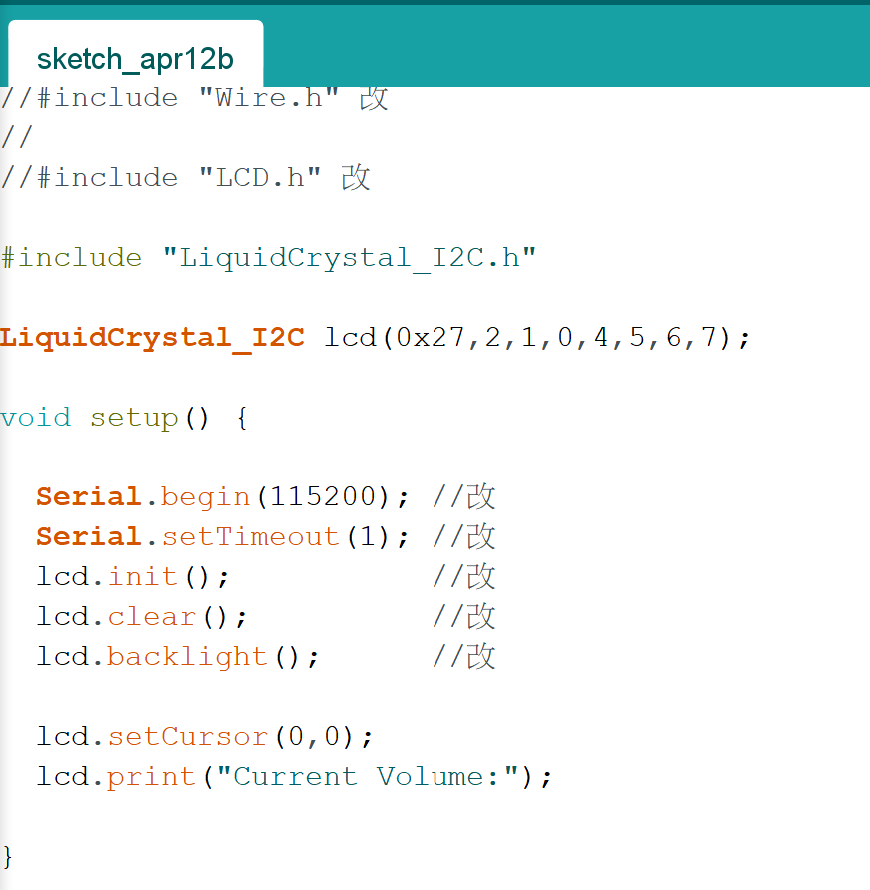

This is nothing special, just the standard syntax for using I2C screens with Arduino.
NOTE: You will have to import the Arduino library "LiquidCrystal_I2C.h". Just go to Tools -> Manage Libraries and search up and install the library.
lcd.setCursor() sets the cursor to where you want the text to begin;
lcd.clear() clears the screen;
lcd.print() prints text on the screen;
etc.
Writing the Serial Code for Python


Now it's time to write the Serial code. This is the code that will transmit the volume data from the PC to the Arduino.
First, import serial.
then, type this block of code:
arduino = serial.Serial(port='COM3', baudrate=115200, timeout=.1)
def write_read(x):
arduino.write(bytes(x, 'utf-8'))
time.sleep(0.05)
data = arduino.readline()
return data
This is used to define the Arduino to the computer and send data to the Arduino. The function write_read(x) sends data to the Arduino and receives what the Arduino sends back.
Next, declare a While True loop with the volume code from earlier. Convert the volume value (number) to a string and send it to the Arduino via write_read(x).
while True:
number = round(volume.GetMasterVolumeLevel()/-0.30284759402275085)
output = str(number)
print(output)
write_read(output)
Writing the Serial Code for Arduino

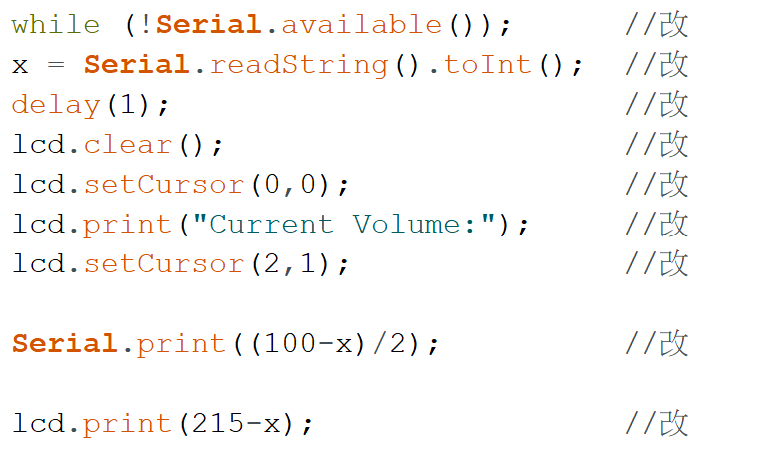
Now back to Arduino.This code is needed to get the Arduino to receive the volume value from the PC.
First, make sure the baud rate of the Arduino matches that of the PC/
Serial.begin(115200);
Serial.setTimeout(1);
Then, receive the volume value and turn it back into an integer.
while (!Serial.available());
x = Serial.readString().toInt();
Then print the value.
lcd.print(215-x);
Making the Case
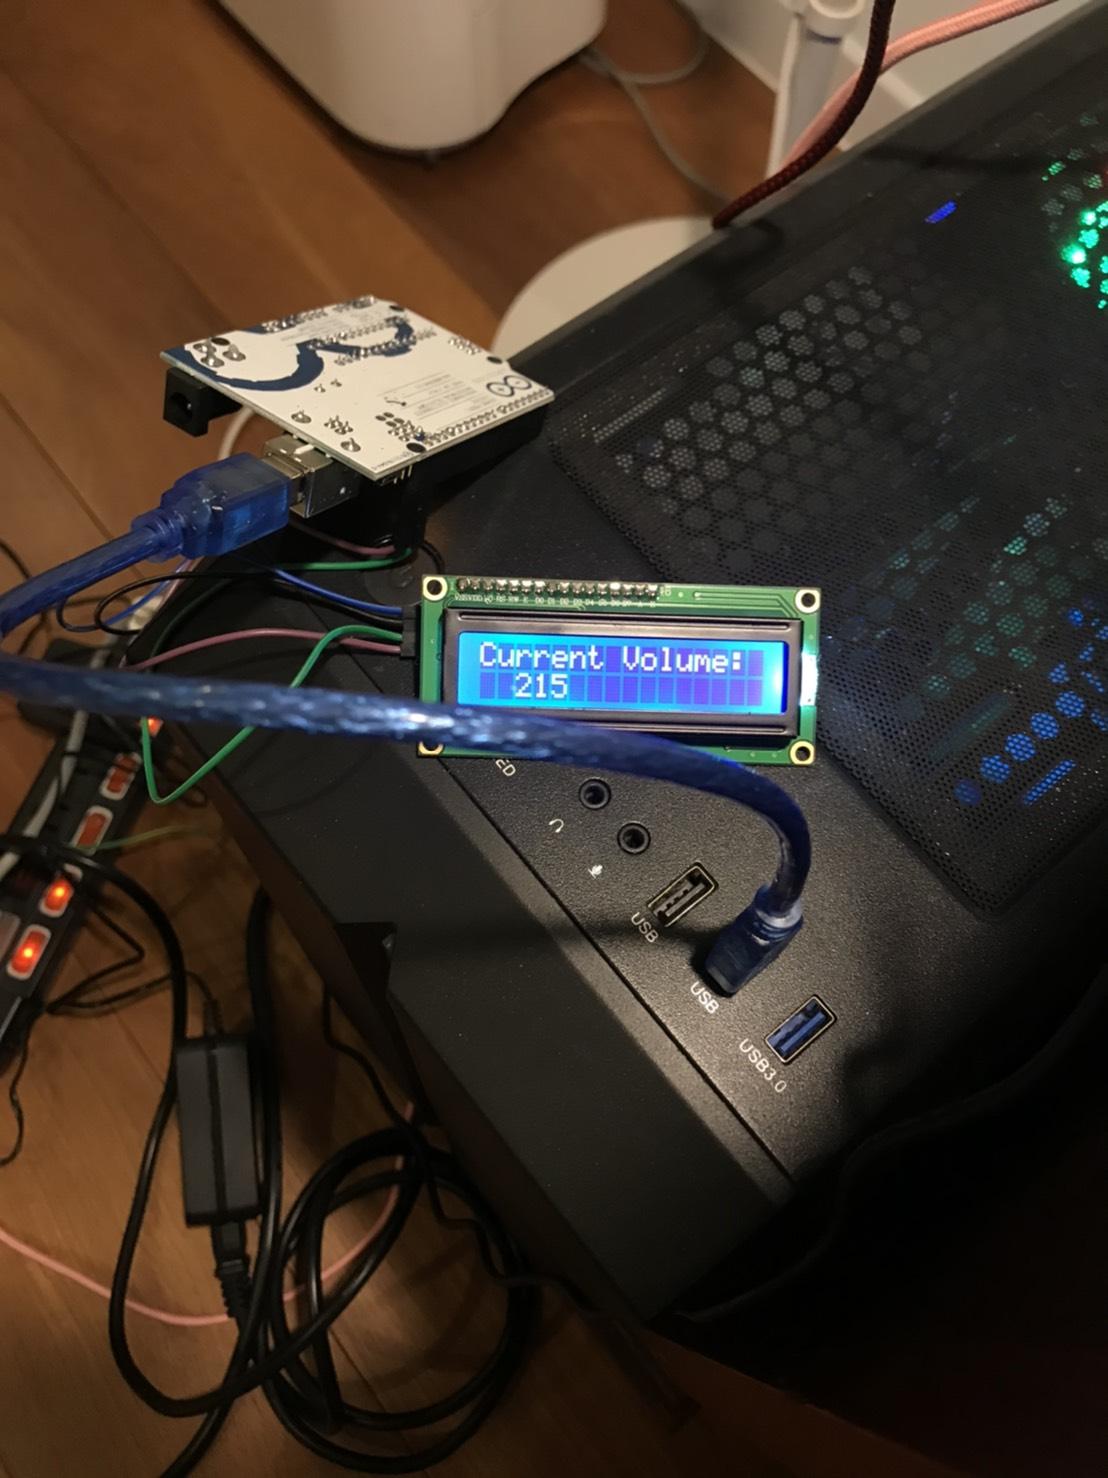
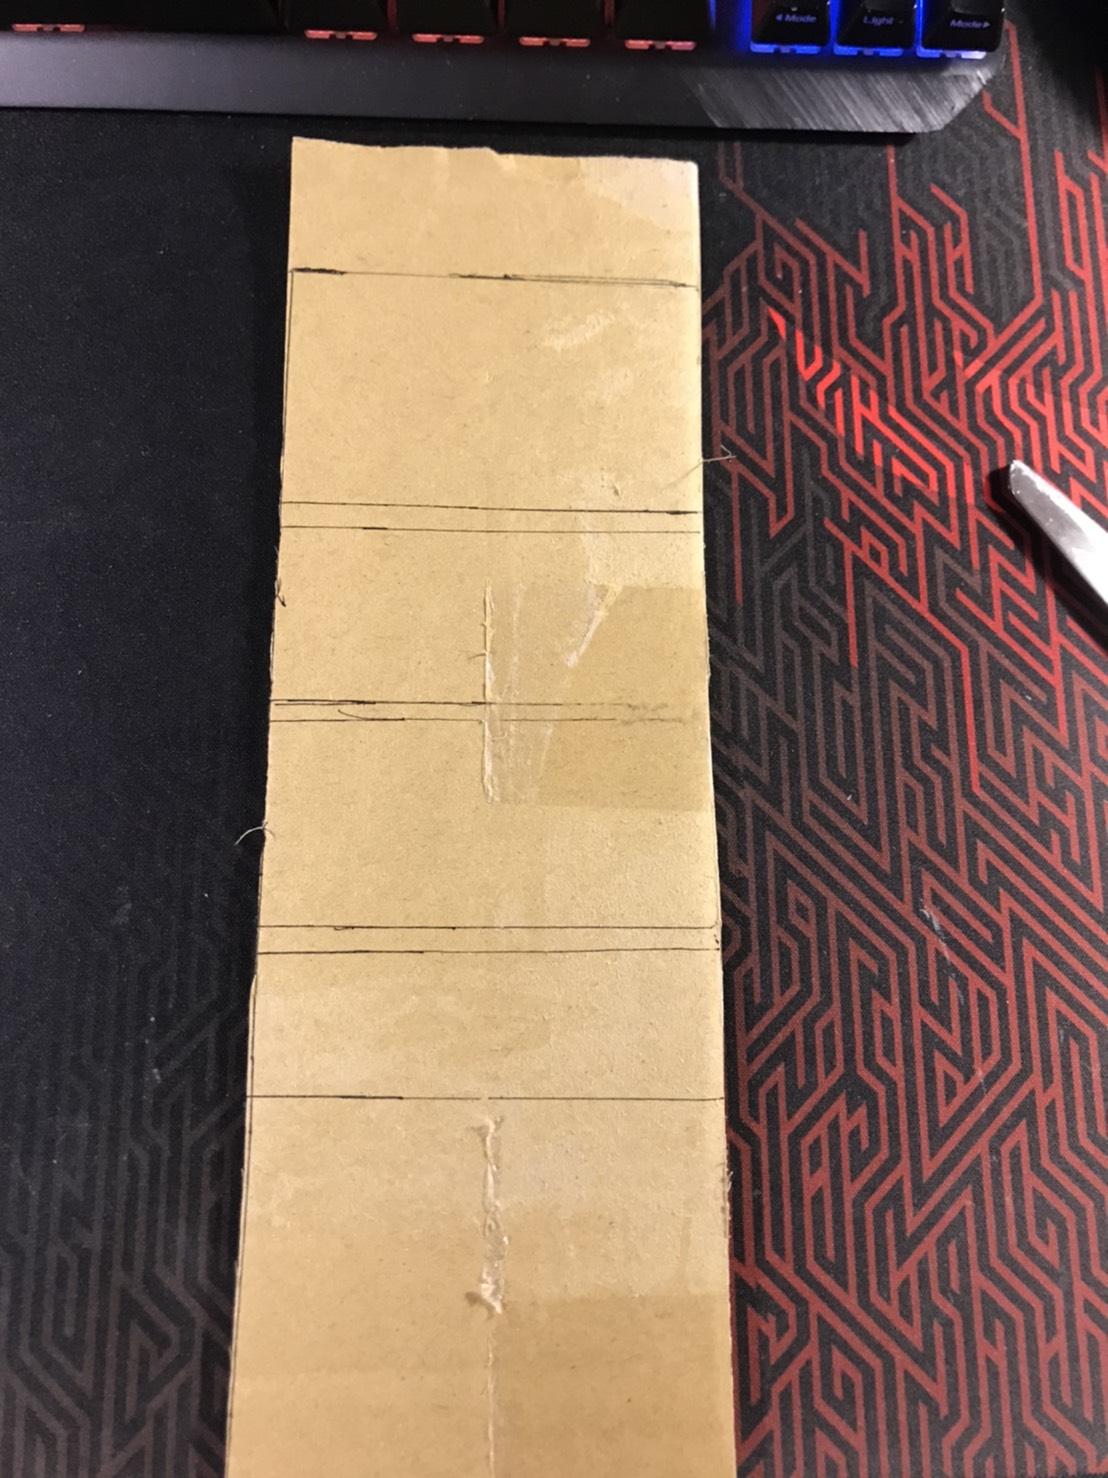
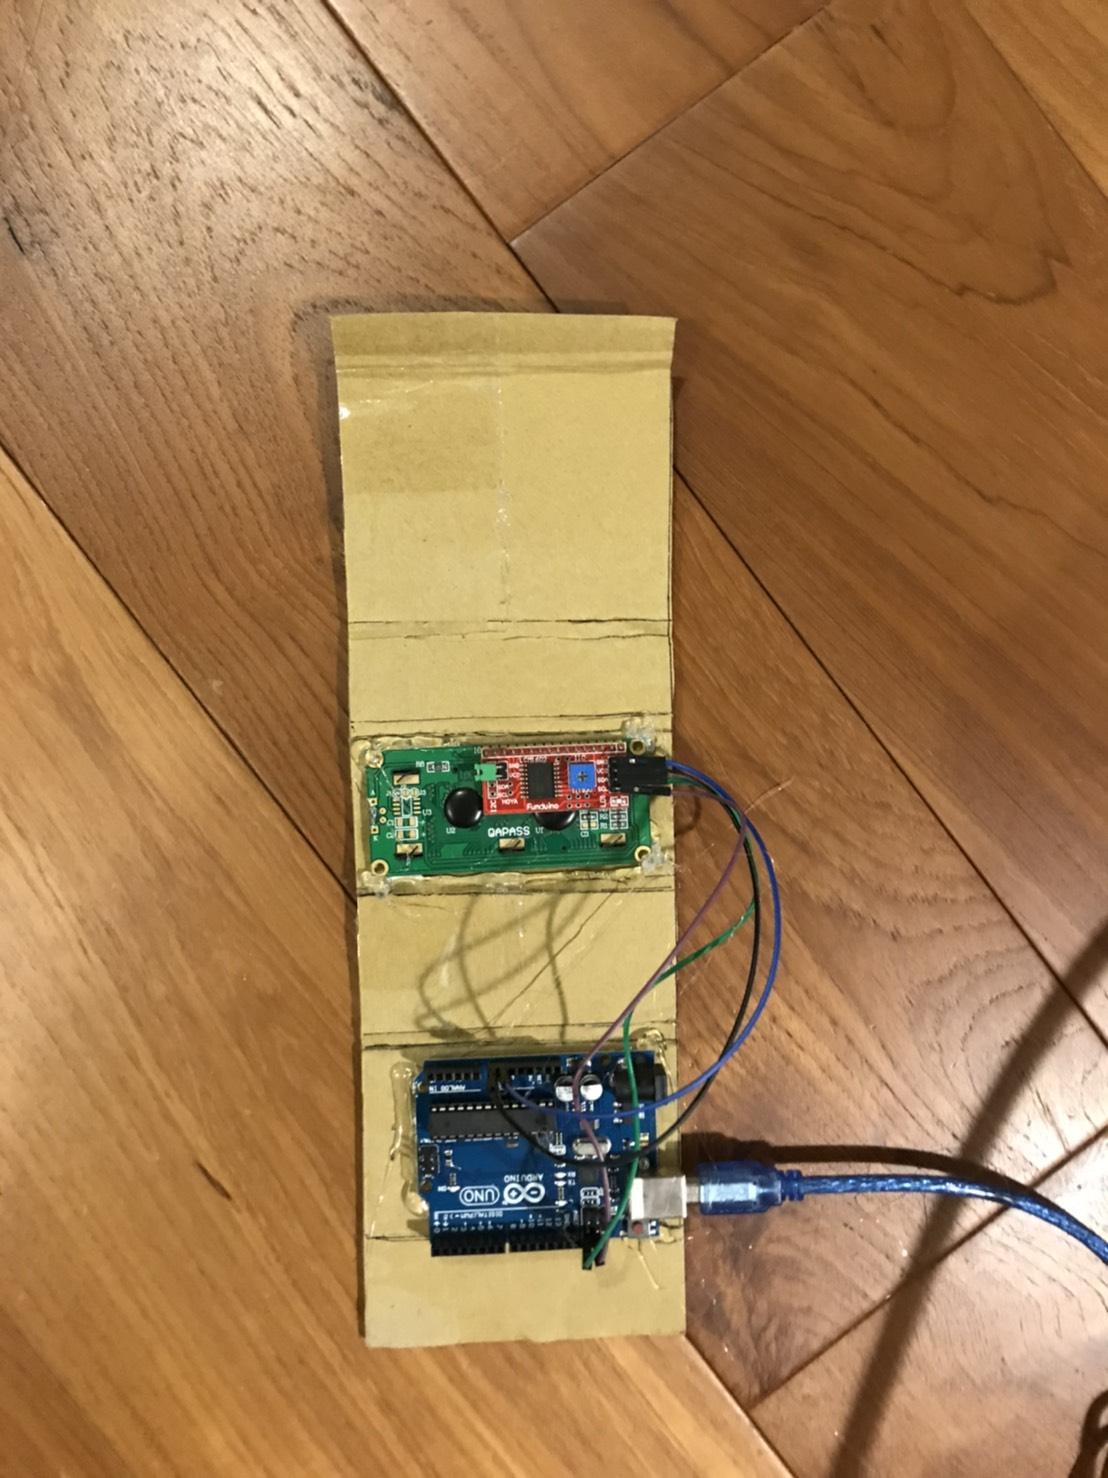
This is really just up to you. What I did was use cardboard and hot glue to build a really basic case for myself.
Finished Product
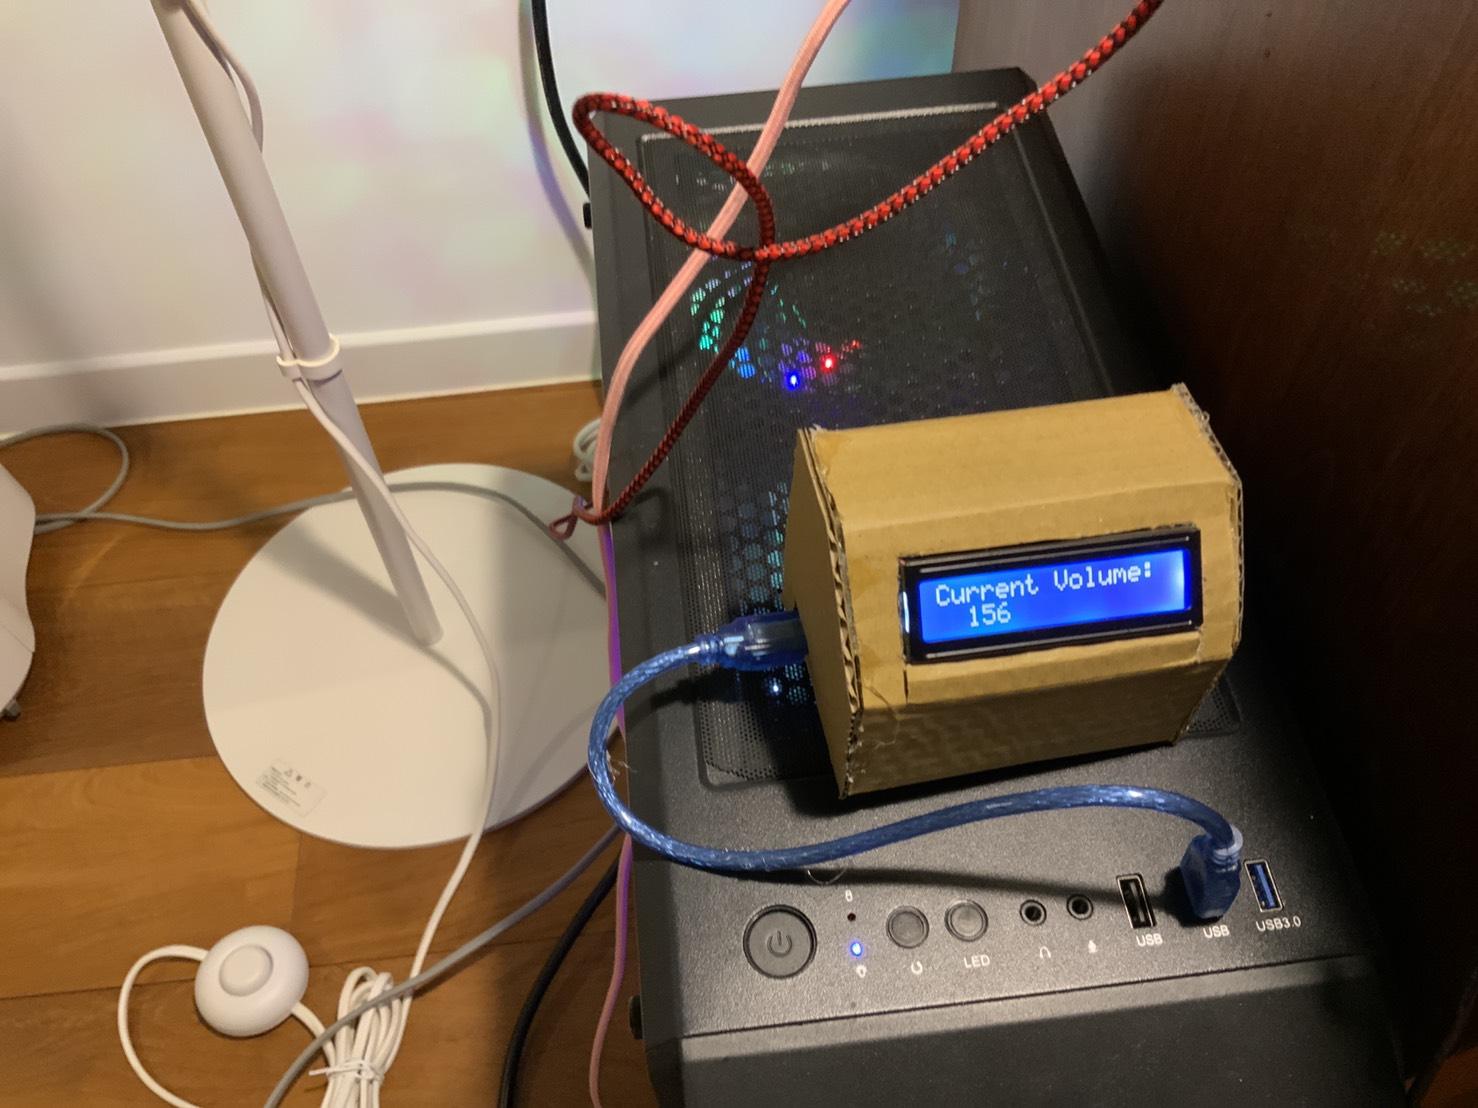
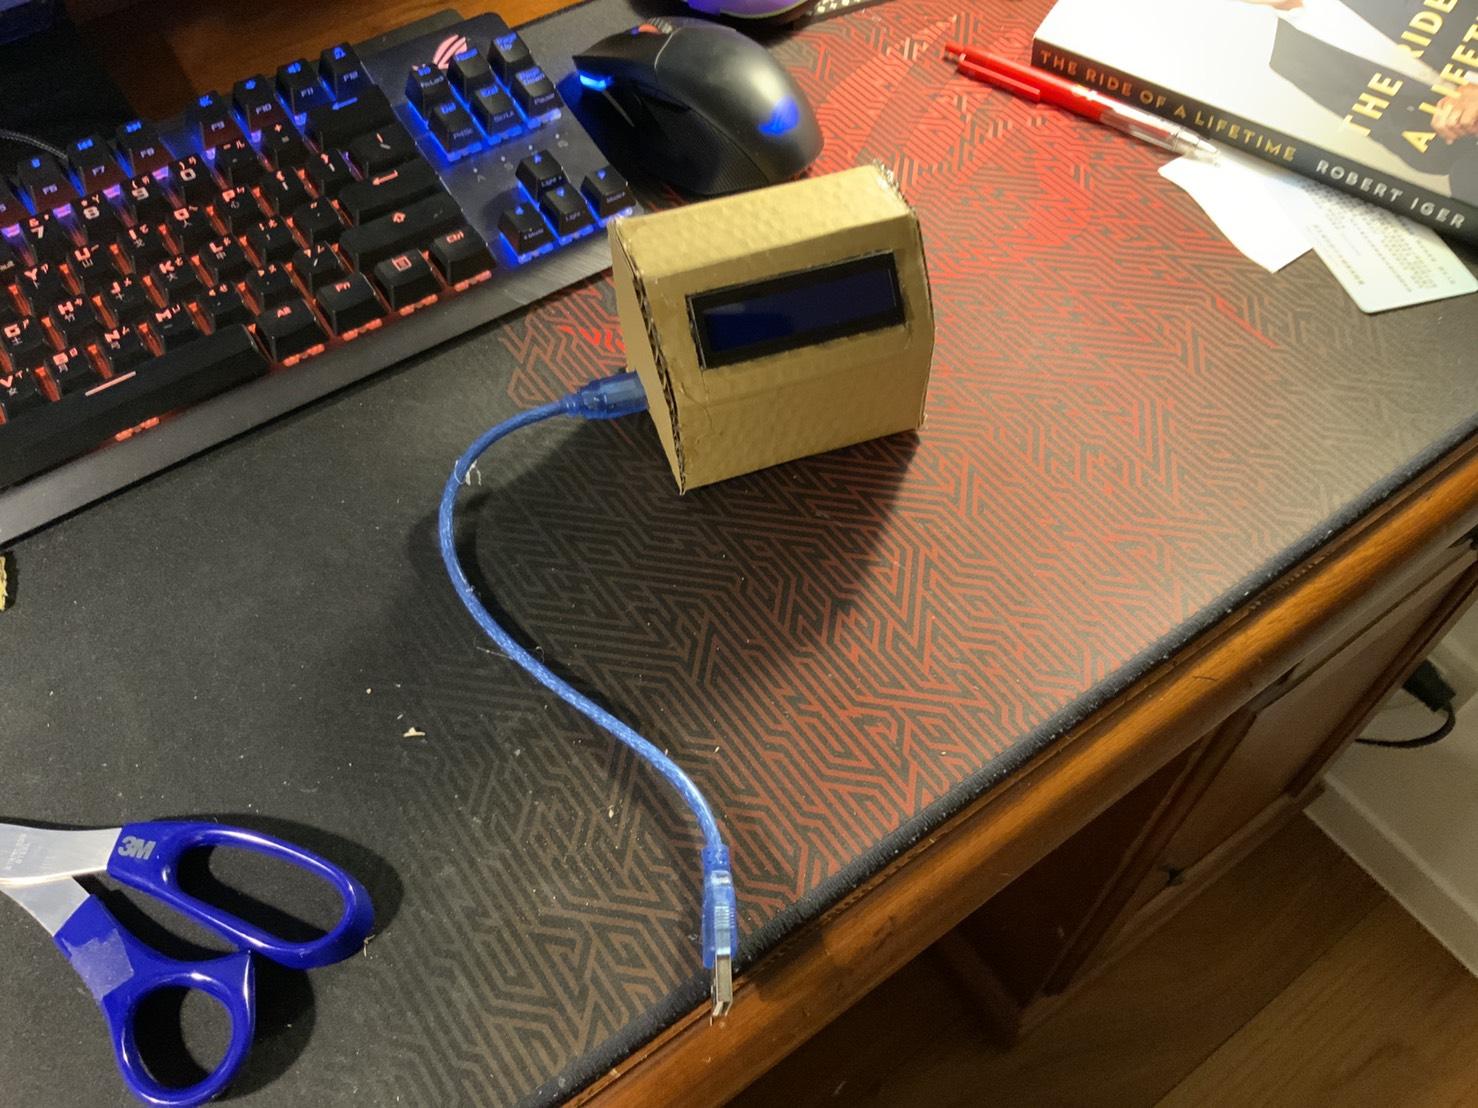
At this point you should have an I2C display hooked up to your computer that can display the current volume of your computer as an integer between 215 and 0. The python code has to be running for the display to work, though you could turn it into an application and set it to run when booted up. There are still a lot of problems, such as fixing the weird scaling, but that could be easily achieved by matching the numbers with corresponding ones on an array. There are also other possibilities, such as displaying the volume as a bar. Enjoy!