Arduino Home Automation (Bluetooth)
by Doug Brion in Circuits > Arduino
140234 Views, 321 Favorites, 0 Comments
Arduino Home Automation (Bluetooth)

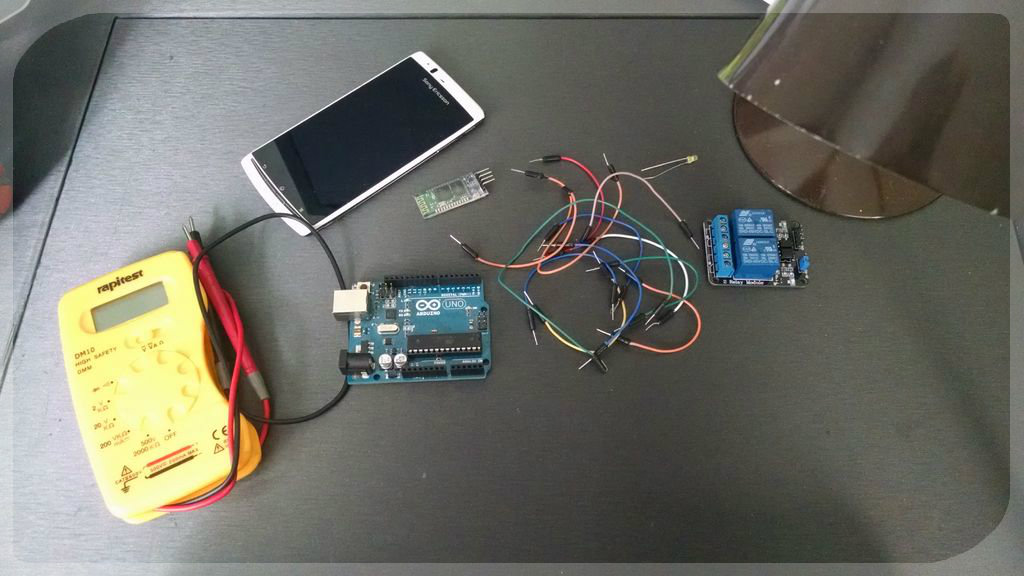
Hello All!
Now I don't know about you, but to me it seems an awful lot of effort to get up and flick a switch on an appliance. Let's say a lamp. Wouldn't it be marvellous, I ask myself, if I could just speak to my phone......YES IT WOULD.
So in this 'Instructable' I will attempt to show how to connect an Arduino to your android phone via Bluetooth and then use voice commands to control high voltage devices using relays.
Source code is available at:
https://github.com/dougbrion/instructables-home-automation
Electricity is dangerous so please be careful!!!!
So without further ado let's charge in!
Things You Will Need!
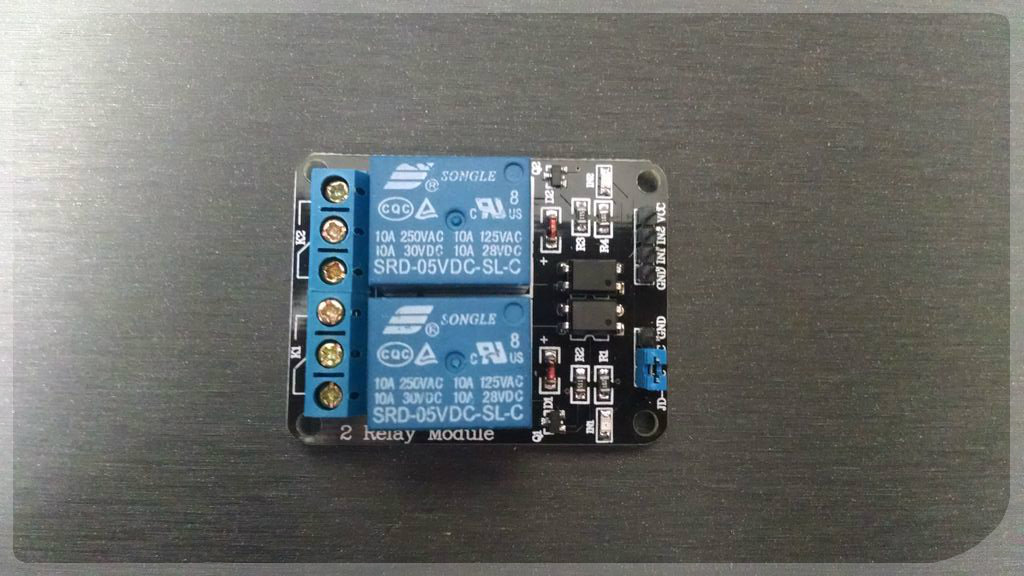
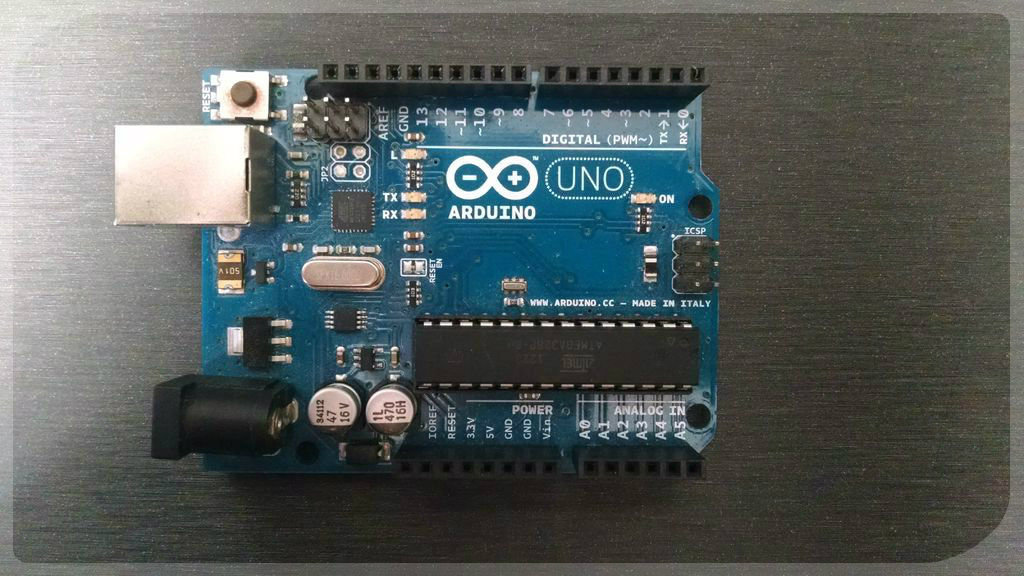
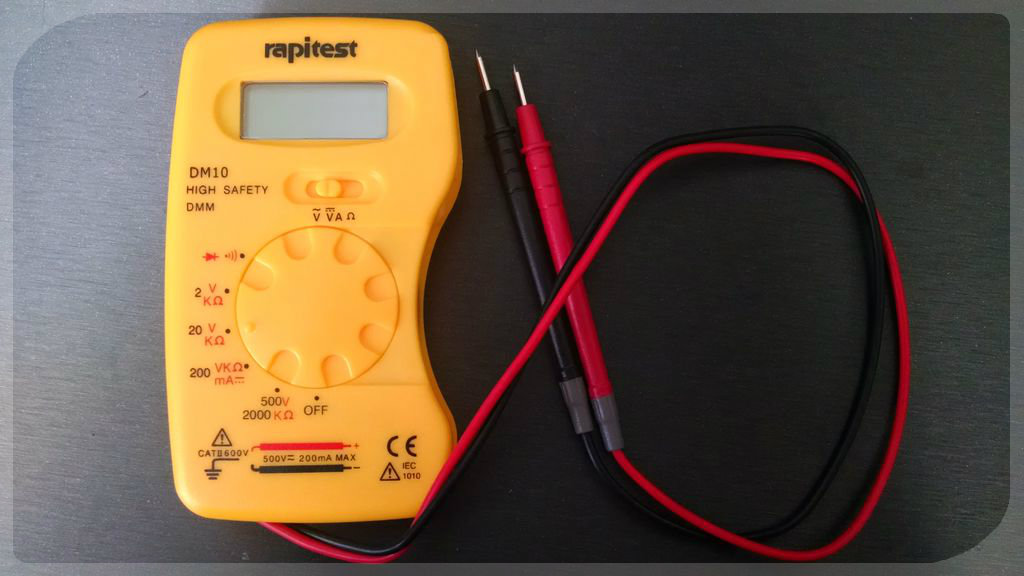
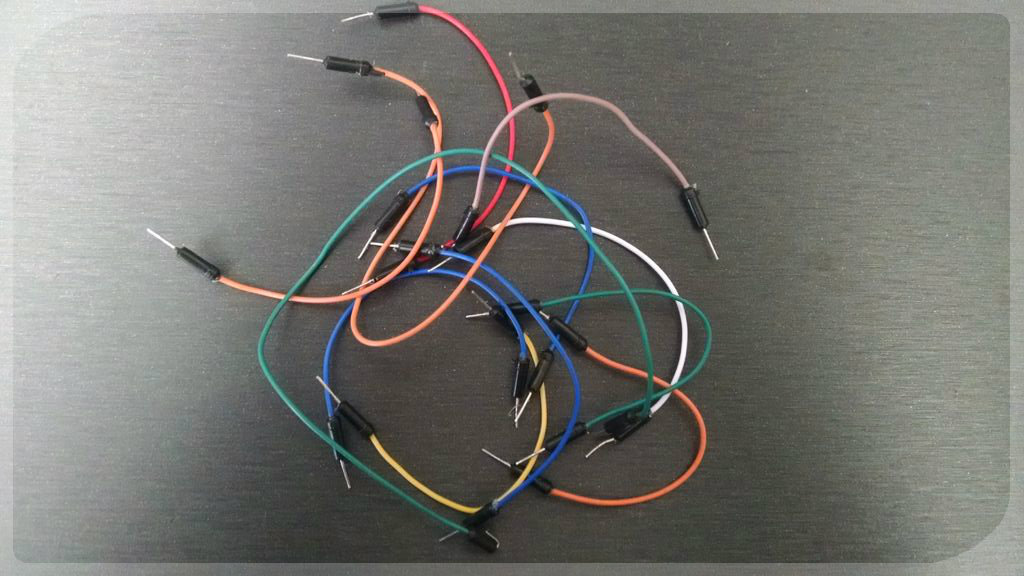
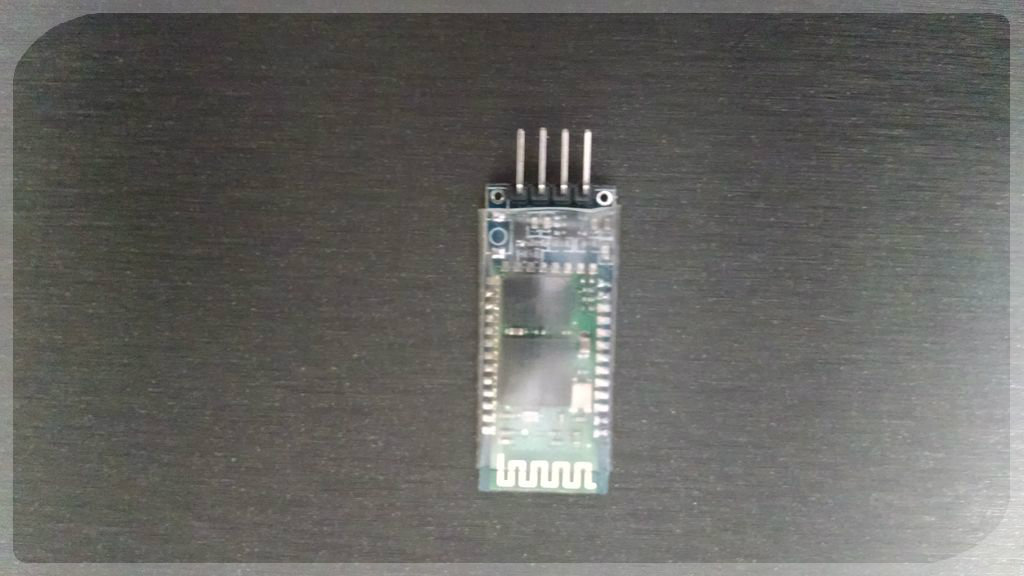
Ok, the things you will need:
- Arduino Uno (doesn't have to be the Uno)
http://www.amazon.co.uk/Arduino-A000066-Uno-R3-Mic...
http://www.amazon.co.uk/Arduino-Compatible-Revision-free-cable/dp/B00CG6KQO6/ref=sr_1_4?ie=UTF8&qid=1404906704&sr=8-4&keywords=arduino -
Wires
-
LED's
-
A Lamp
-
Android Phone with Bluetooth
-
Electrical Tape
-
Wire Strippers (or knife...)
You will also need your wits about you, especially when we wire up the lamp as 240v is pretty dangerous!
Relay Test
.jpg)
So first of all we want to check if the relay is switching.
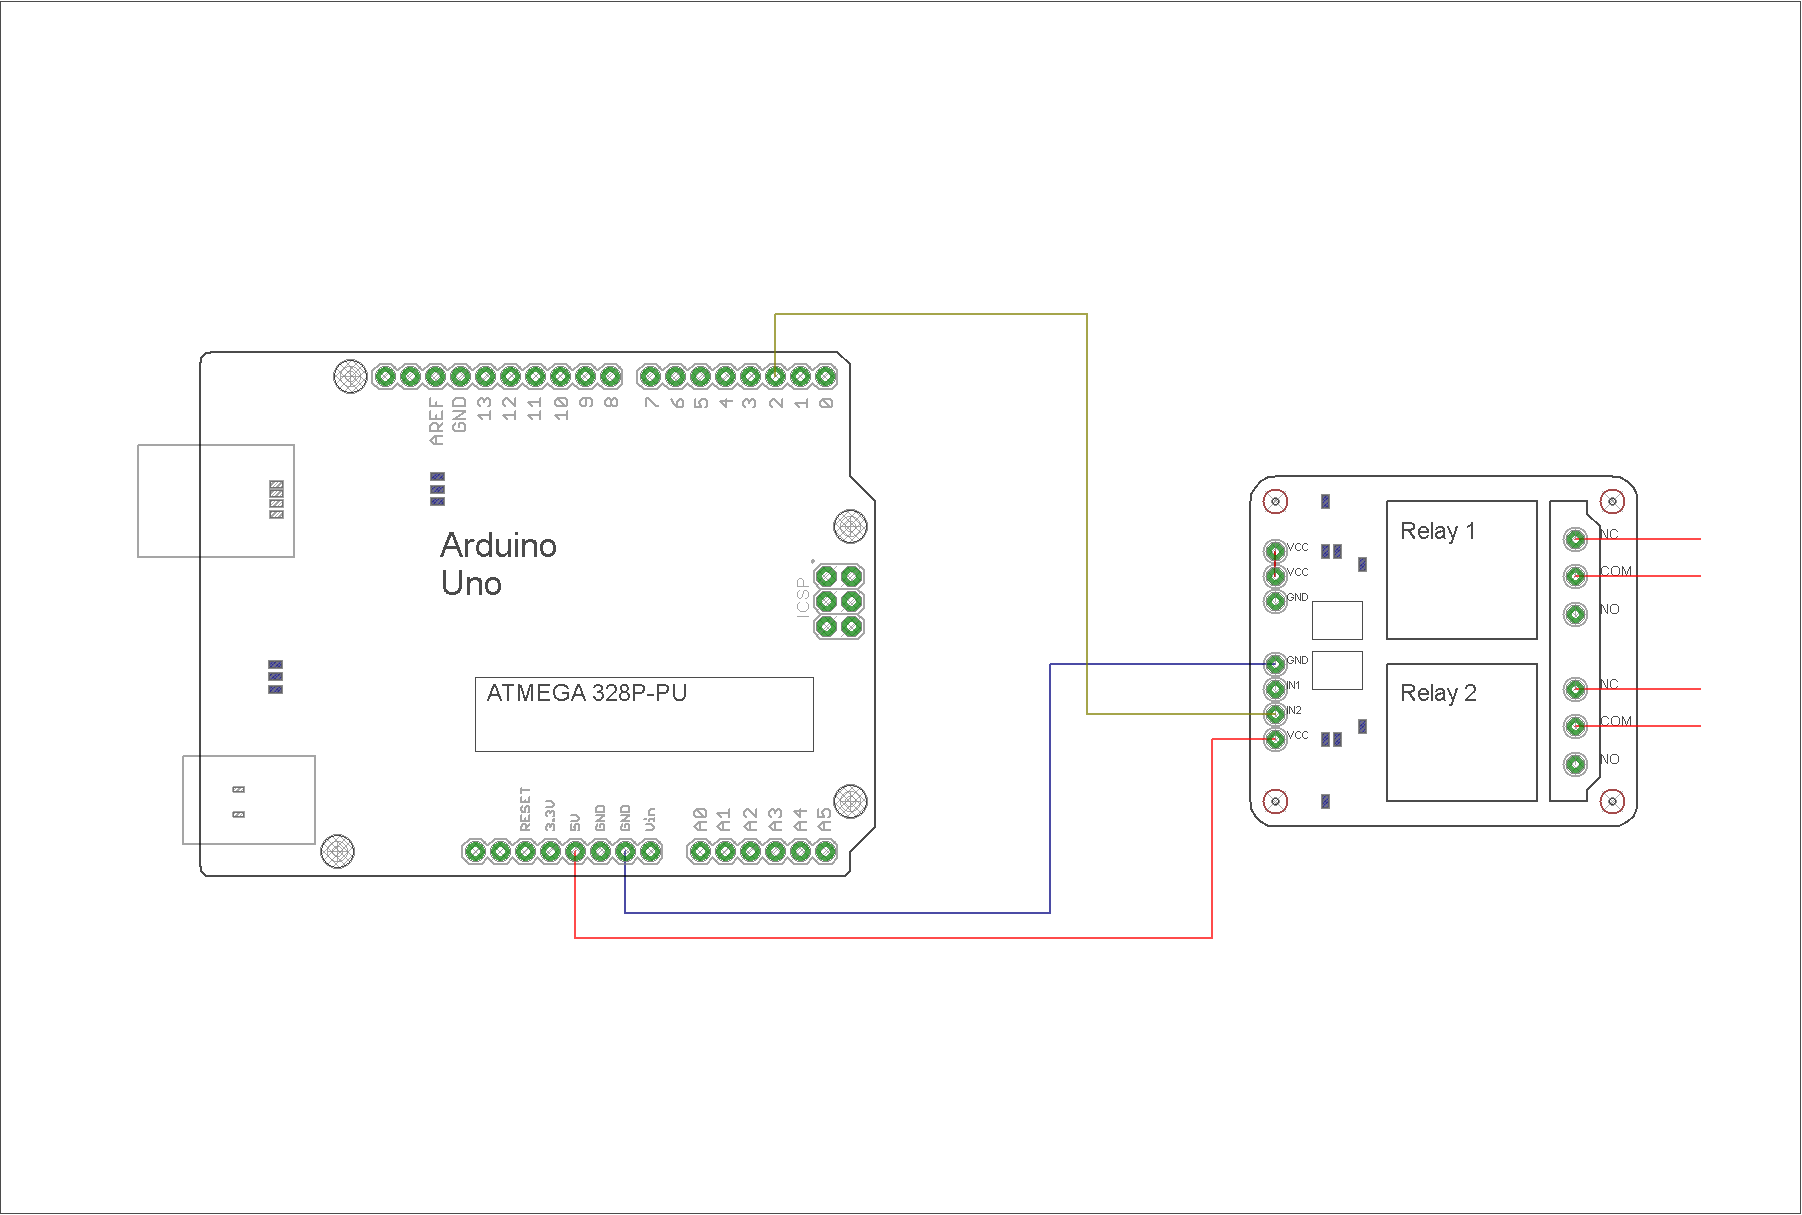
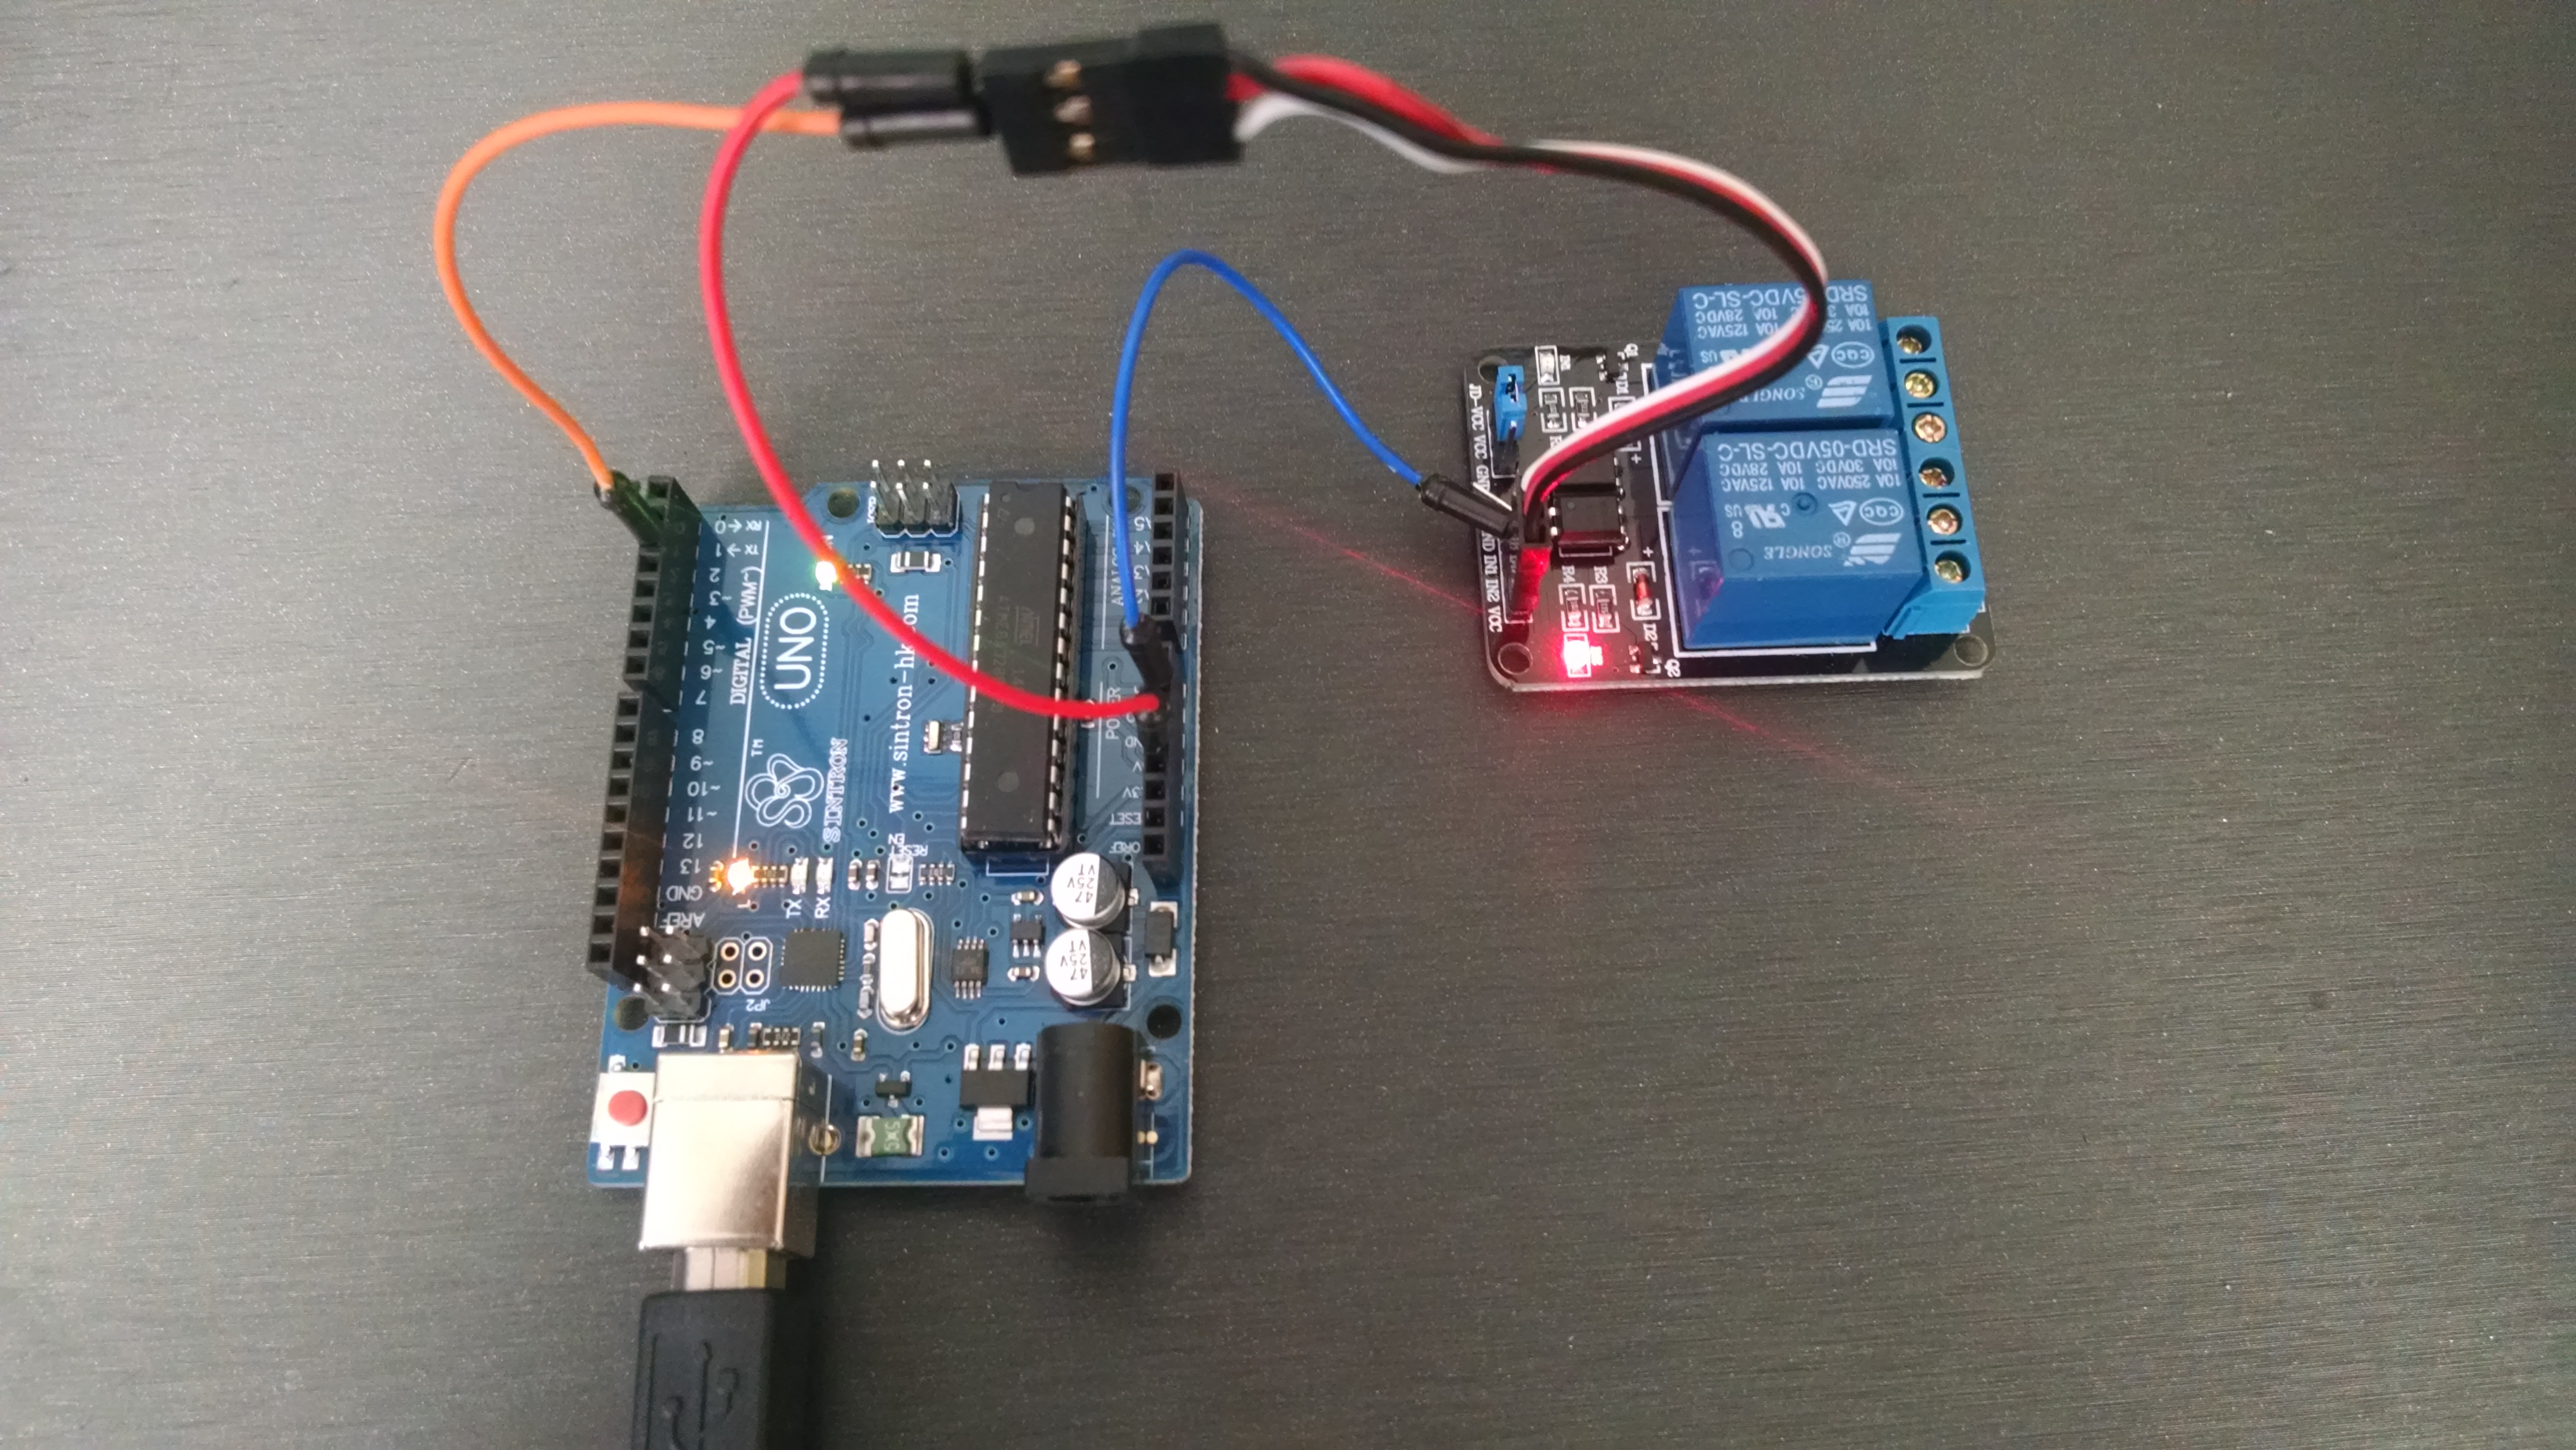
Wire up the relay as shown in the diagram, make sure that the JD-VCC and VCC pins are bridged if you are powering the relay from your arduino. If they are not bridged you will see the LED turning on and off every 2 seconds but there will not be the clicking sound of the relay switching.
Code:

#define relay 2    //attaches the relay to pin 2

void setup()
{
  pinMode(relay, OUTPUT);    //sets the relay as an output
}
void loop()
{
  digitalWrite(relay, HIGH);    //relay open
  delay(2000);                  //wait 2 seconds
  digitalWrite(relay, LOW);     //relay closed
  delay(2000);                  //wait 2 seconds
}
Downloads
Bluetooth Test
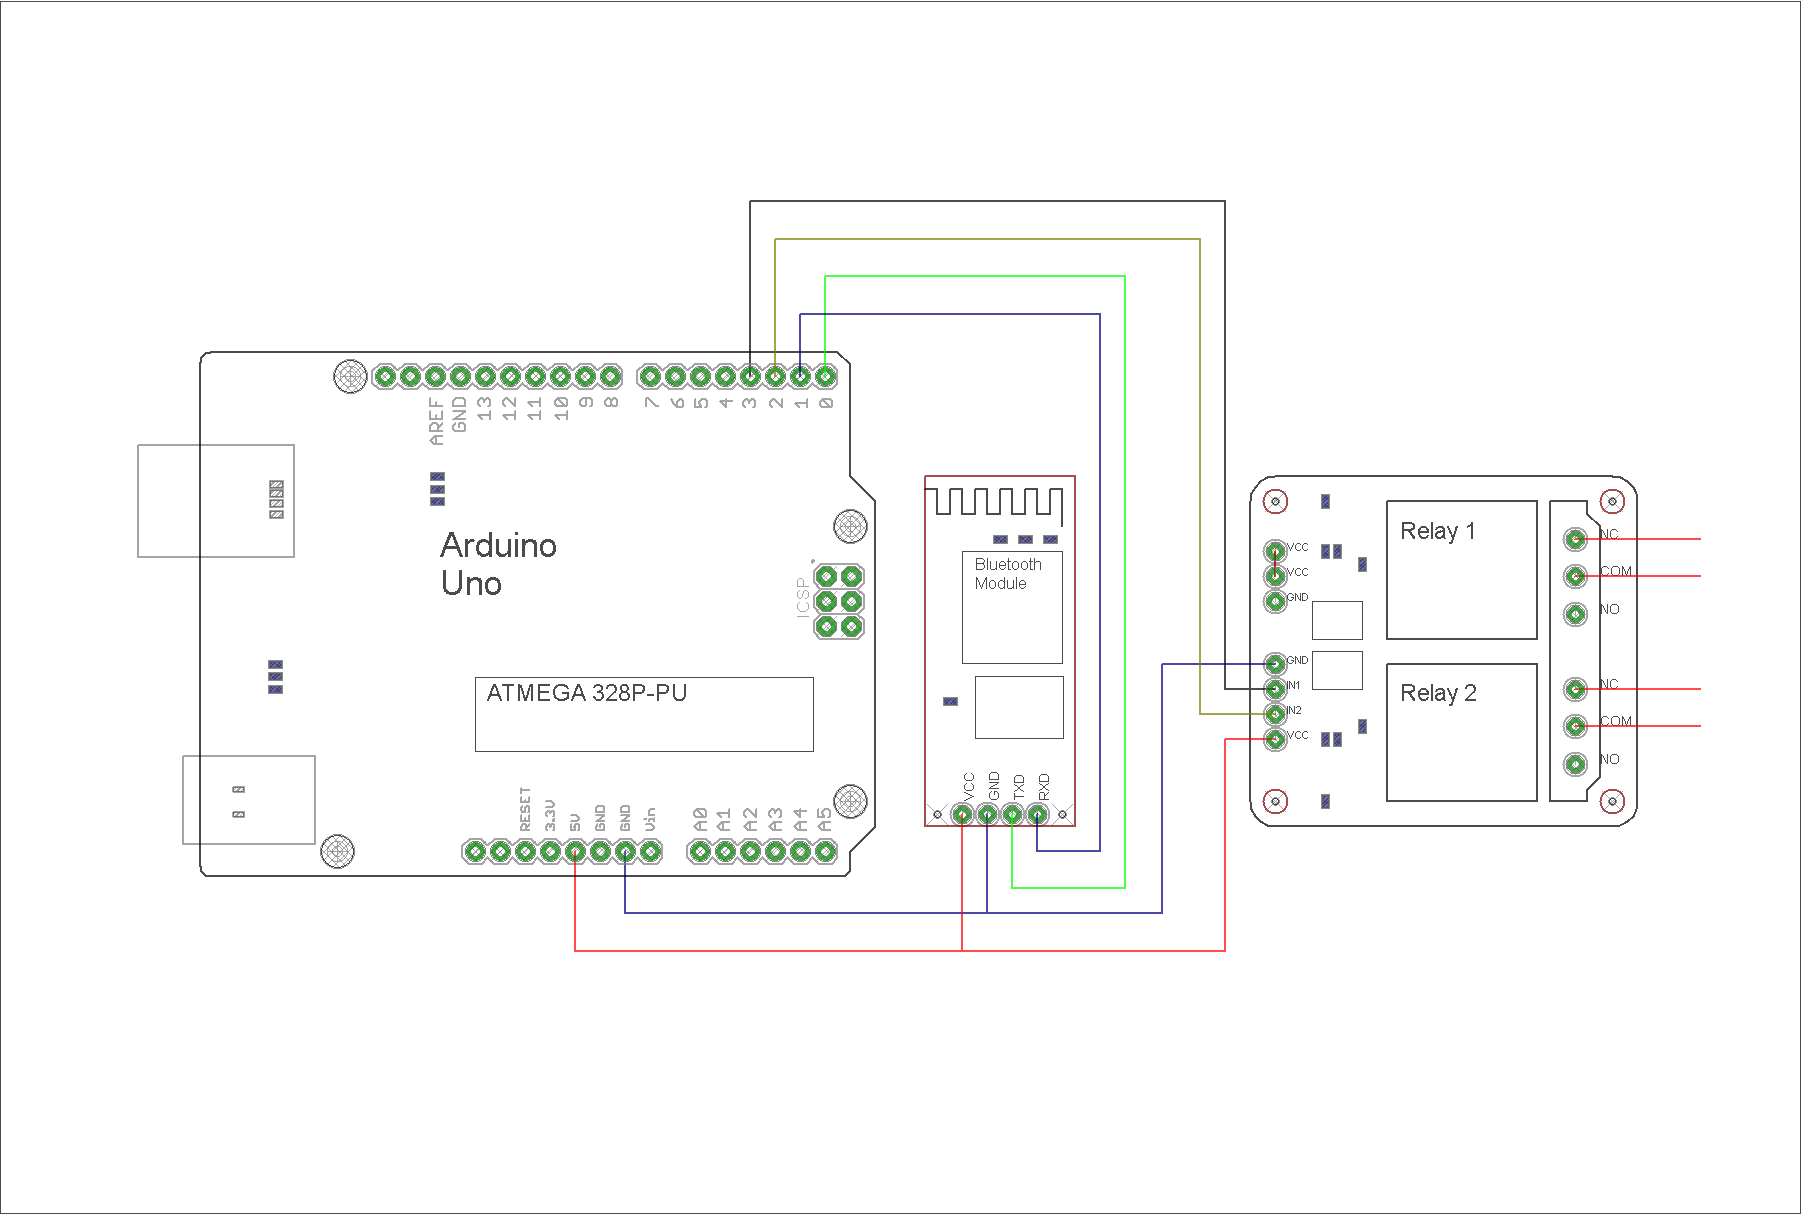
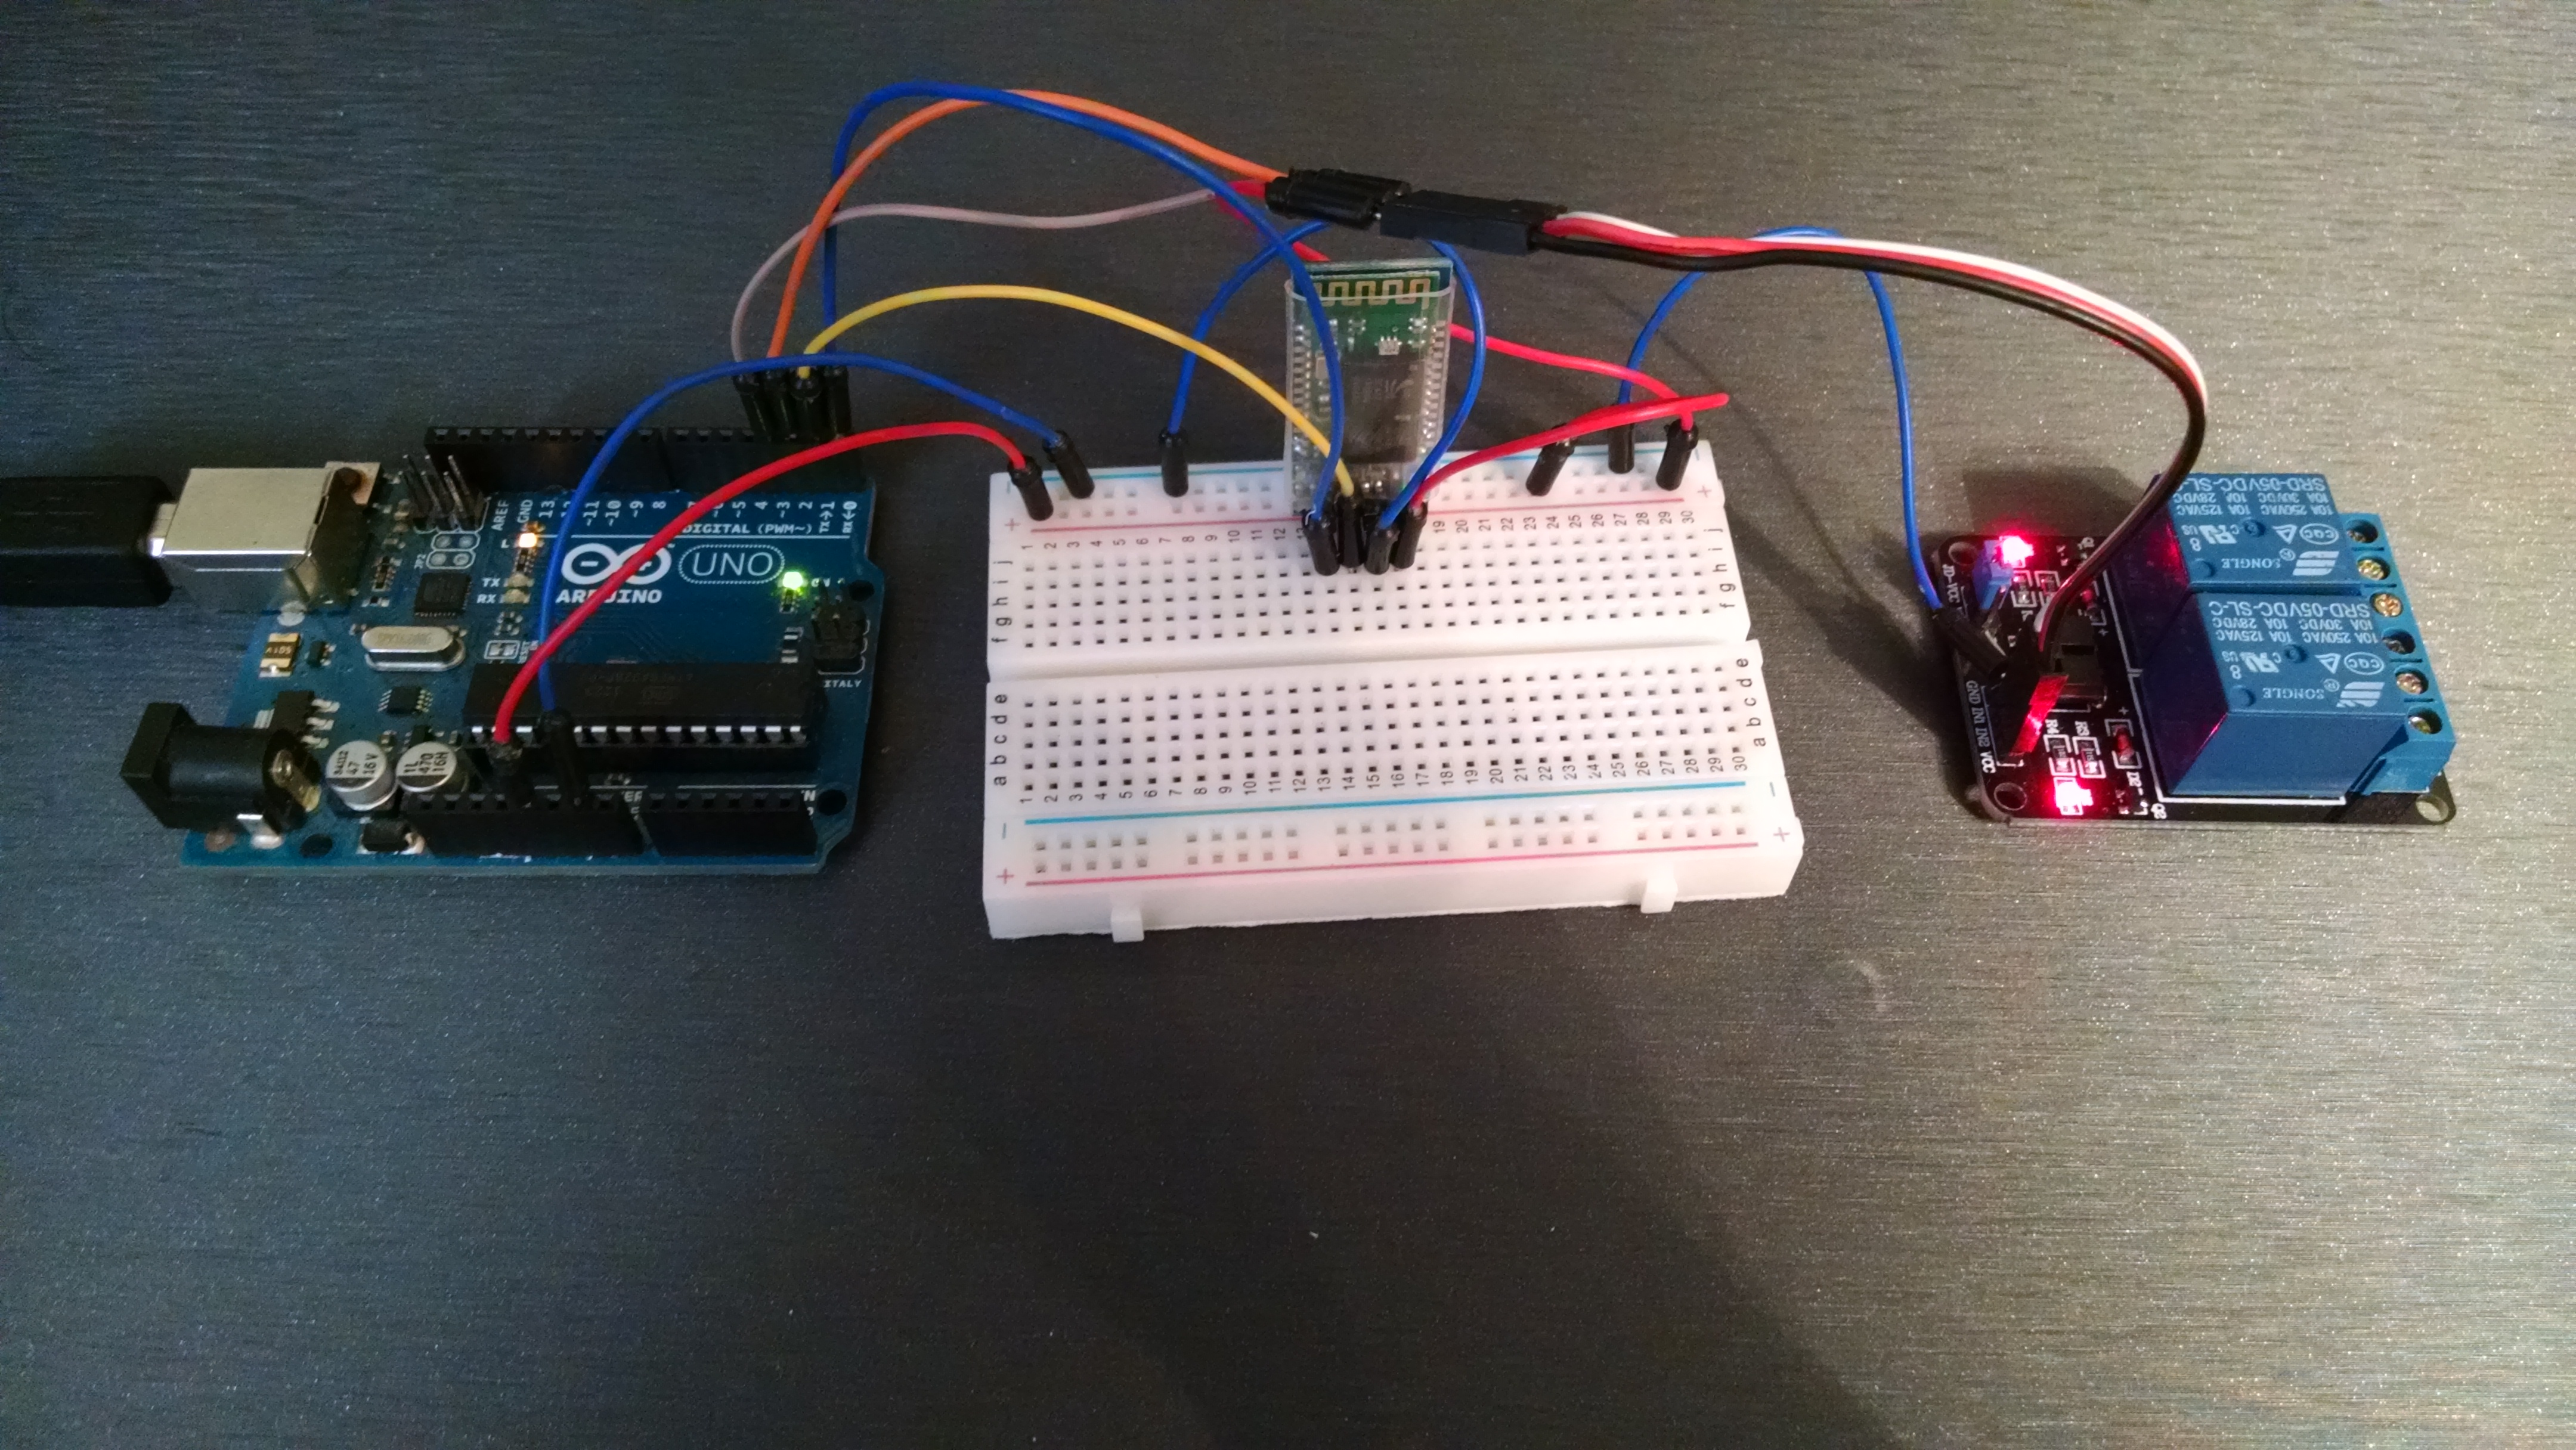
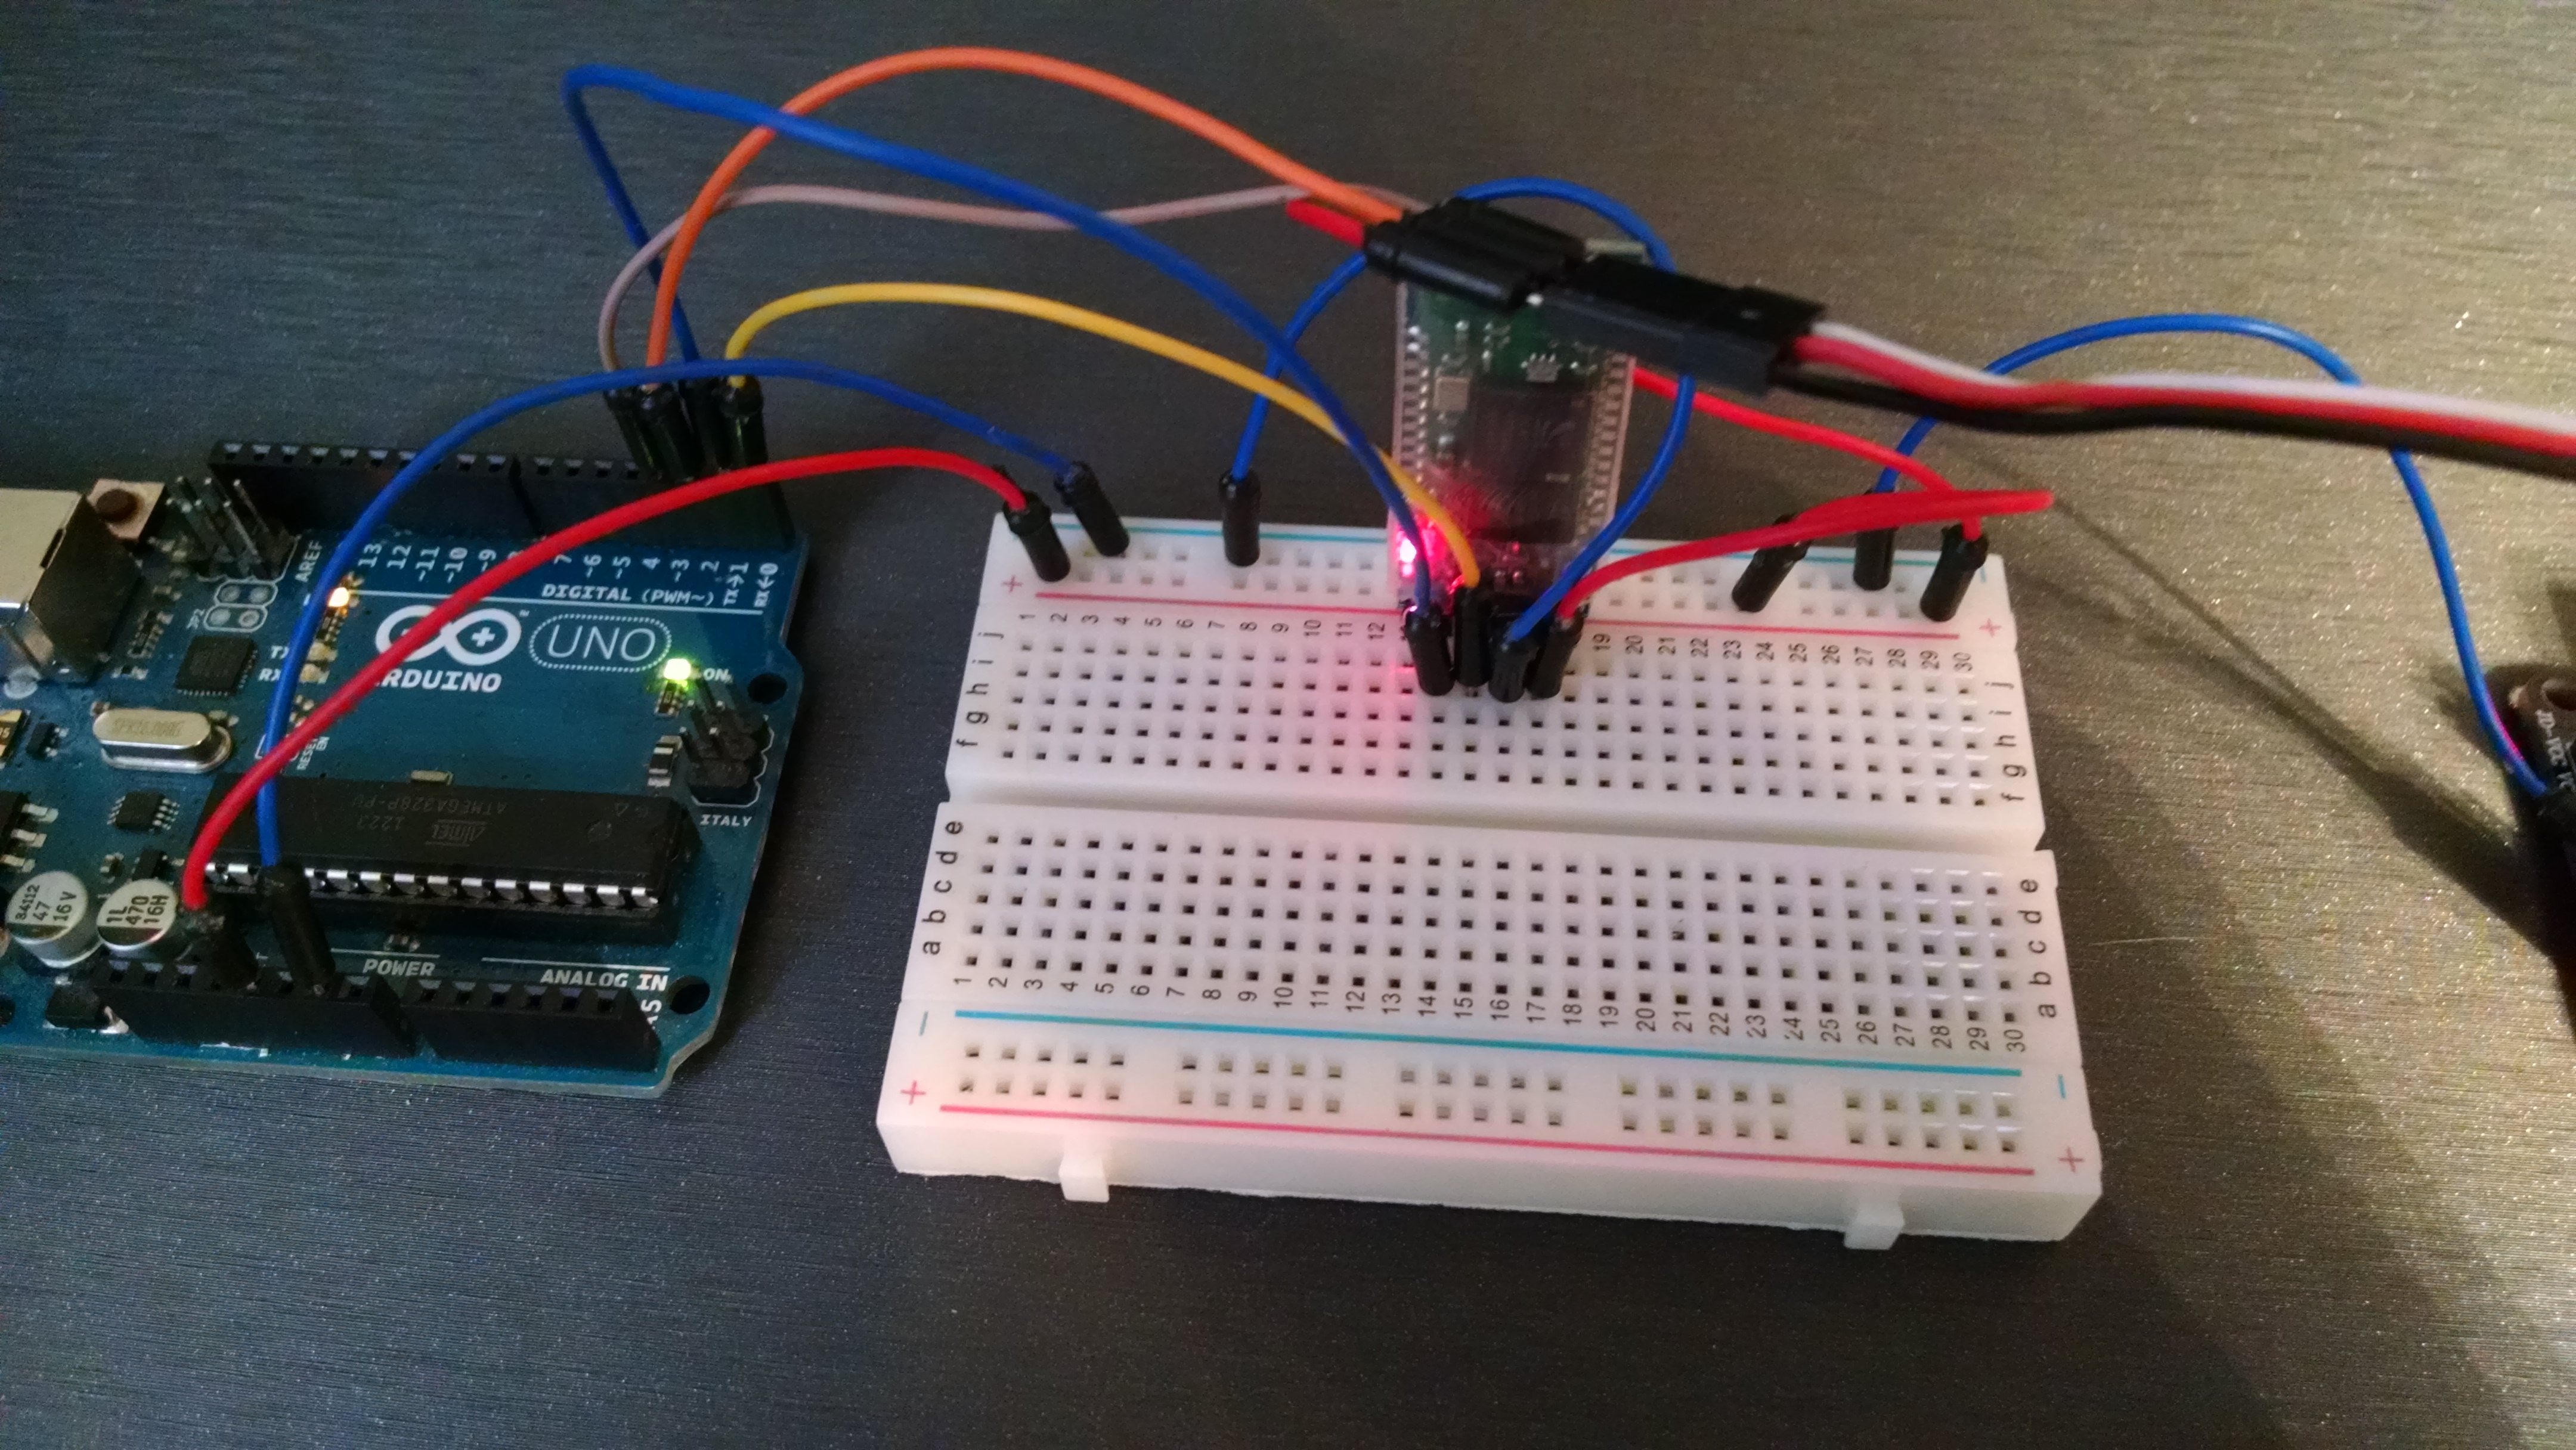
First off wire up the circuit as shown above. I have used a breadboard and made one rail positive and one negative. Annoyingly I found that the TXD and RXD pins on the Bluetooth module don't work when connected to the same pins on the arduino itself. The TXD pin on the Bluetooth module I have connected to the RXD pin on the arduino (pin 0), and the RXD pin on the Bluetooth module is connected to the TXD pin on the arduino (pin 1). The Bluetooth Module will run off 3.3v but the relay needs 5v to work, hence I have used 5 volts on the arduino.
Here is the code I have written for this 2 switch relay. As an example I have it controlling a kettle and lamp.
/*
------------------------------------------------------------------------
                            InfidelFish
------------------------------------------------------------------------
*/
String voice;
#define relay1 2    //Connect relay1 to pin 2
#define relay2 3    //Connect relay2 to pin 3
void setup()
{
  Serial.begin(9600);            //Set rate for communicating with phone
  pinMode(relay1, OUTPUT);       //Set relay1 as an output
  pinMode(relay2, OUTPUT);       //Set relay2 as an output
  digitalWrite(relay1, LOW);     //Switch relay1 off
  digitalWrite(relay2, LOW);     //Swtich relay2 off
}
void loop()
{
  while(Serial.available())    //Check if there are available bytes to read
  {
    delay(10);                 //Delay to make it stable
    char c = Serial.read();    //Conduct a serial read
    if (c == '#'){
      break;                   //Stop the loop once # is detected after a word
    }
    voice += c;                //Means voice = voice + c
  }
    if (voice.length() >0)
    {
      Serial.println(voice);
      if(voice == "*switch on"){
        switchon();
      }               //Initiate function switchon if voice is switch on
      else if(voice == "*switch off"){
        switchoff();
      }               //Initiate function switchoff if voice is switch off
      else if(voice == "*lamp on"){
//You can replace 'lamp on' with anything you want...same applies to others
        digitalWrite(relay1, HIGH);
      }
      else if(voice == "*lamp off"){
        digitalWrite(relay1, LOW);
      }
      else if(voice == "*kettle on"){
        digitalWrite(relay2, HIGH);
      }
      else if(voice == "*kettle off"){
        digitalWrite(relay2, LOW);
      }
      voice="";
    }
}
void switchon()               //Function for turning on relays
{
  digitalWrite(relay1, HIGH);
  digitalWrite(relay2, HIGH);
}
void switchoff()              //Function for turning on relays
{
  digitalWrite(relay1, LOW);
  digitalWrite(relay2, LOW);
}

/*

You can add any function you want depending on how many devices you have hooked up.
For example you could have a function called 'cinema' which would dim the lights and
turn the TV on. You can have as many as you have pins on your arduino.
For my relay 'LOW' turns off and 'HIGH' turns on
The outline to follow is this:

   void ......()
   {
     digitalWrite(...., LOW/HIGH);
     digitalWrite(...., LOW/HIGH);
   }

*/
When you upload the code to your Arduino, make sure you unplug pins 0 and 1 otherwise you will probably get this error:
avrdude: stk500_getsync(): not in sync: resp=0x00
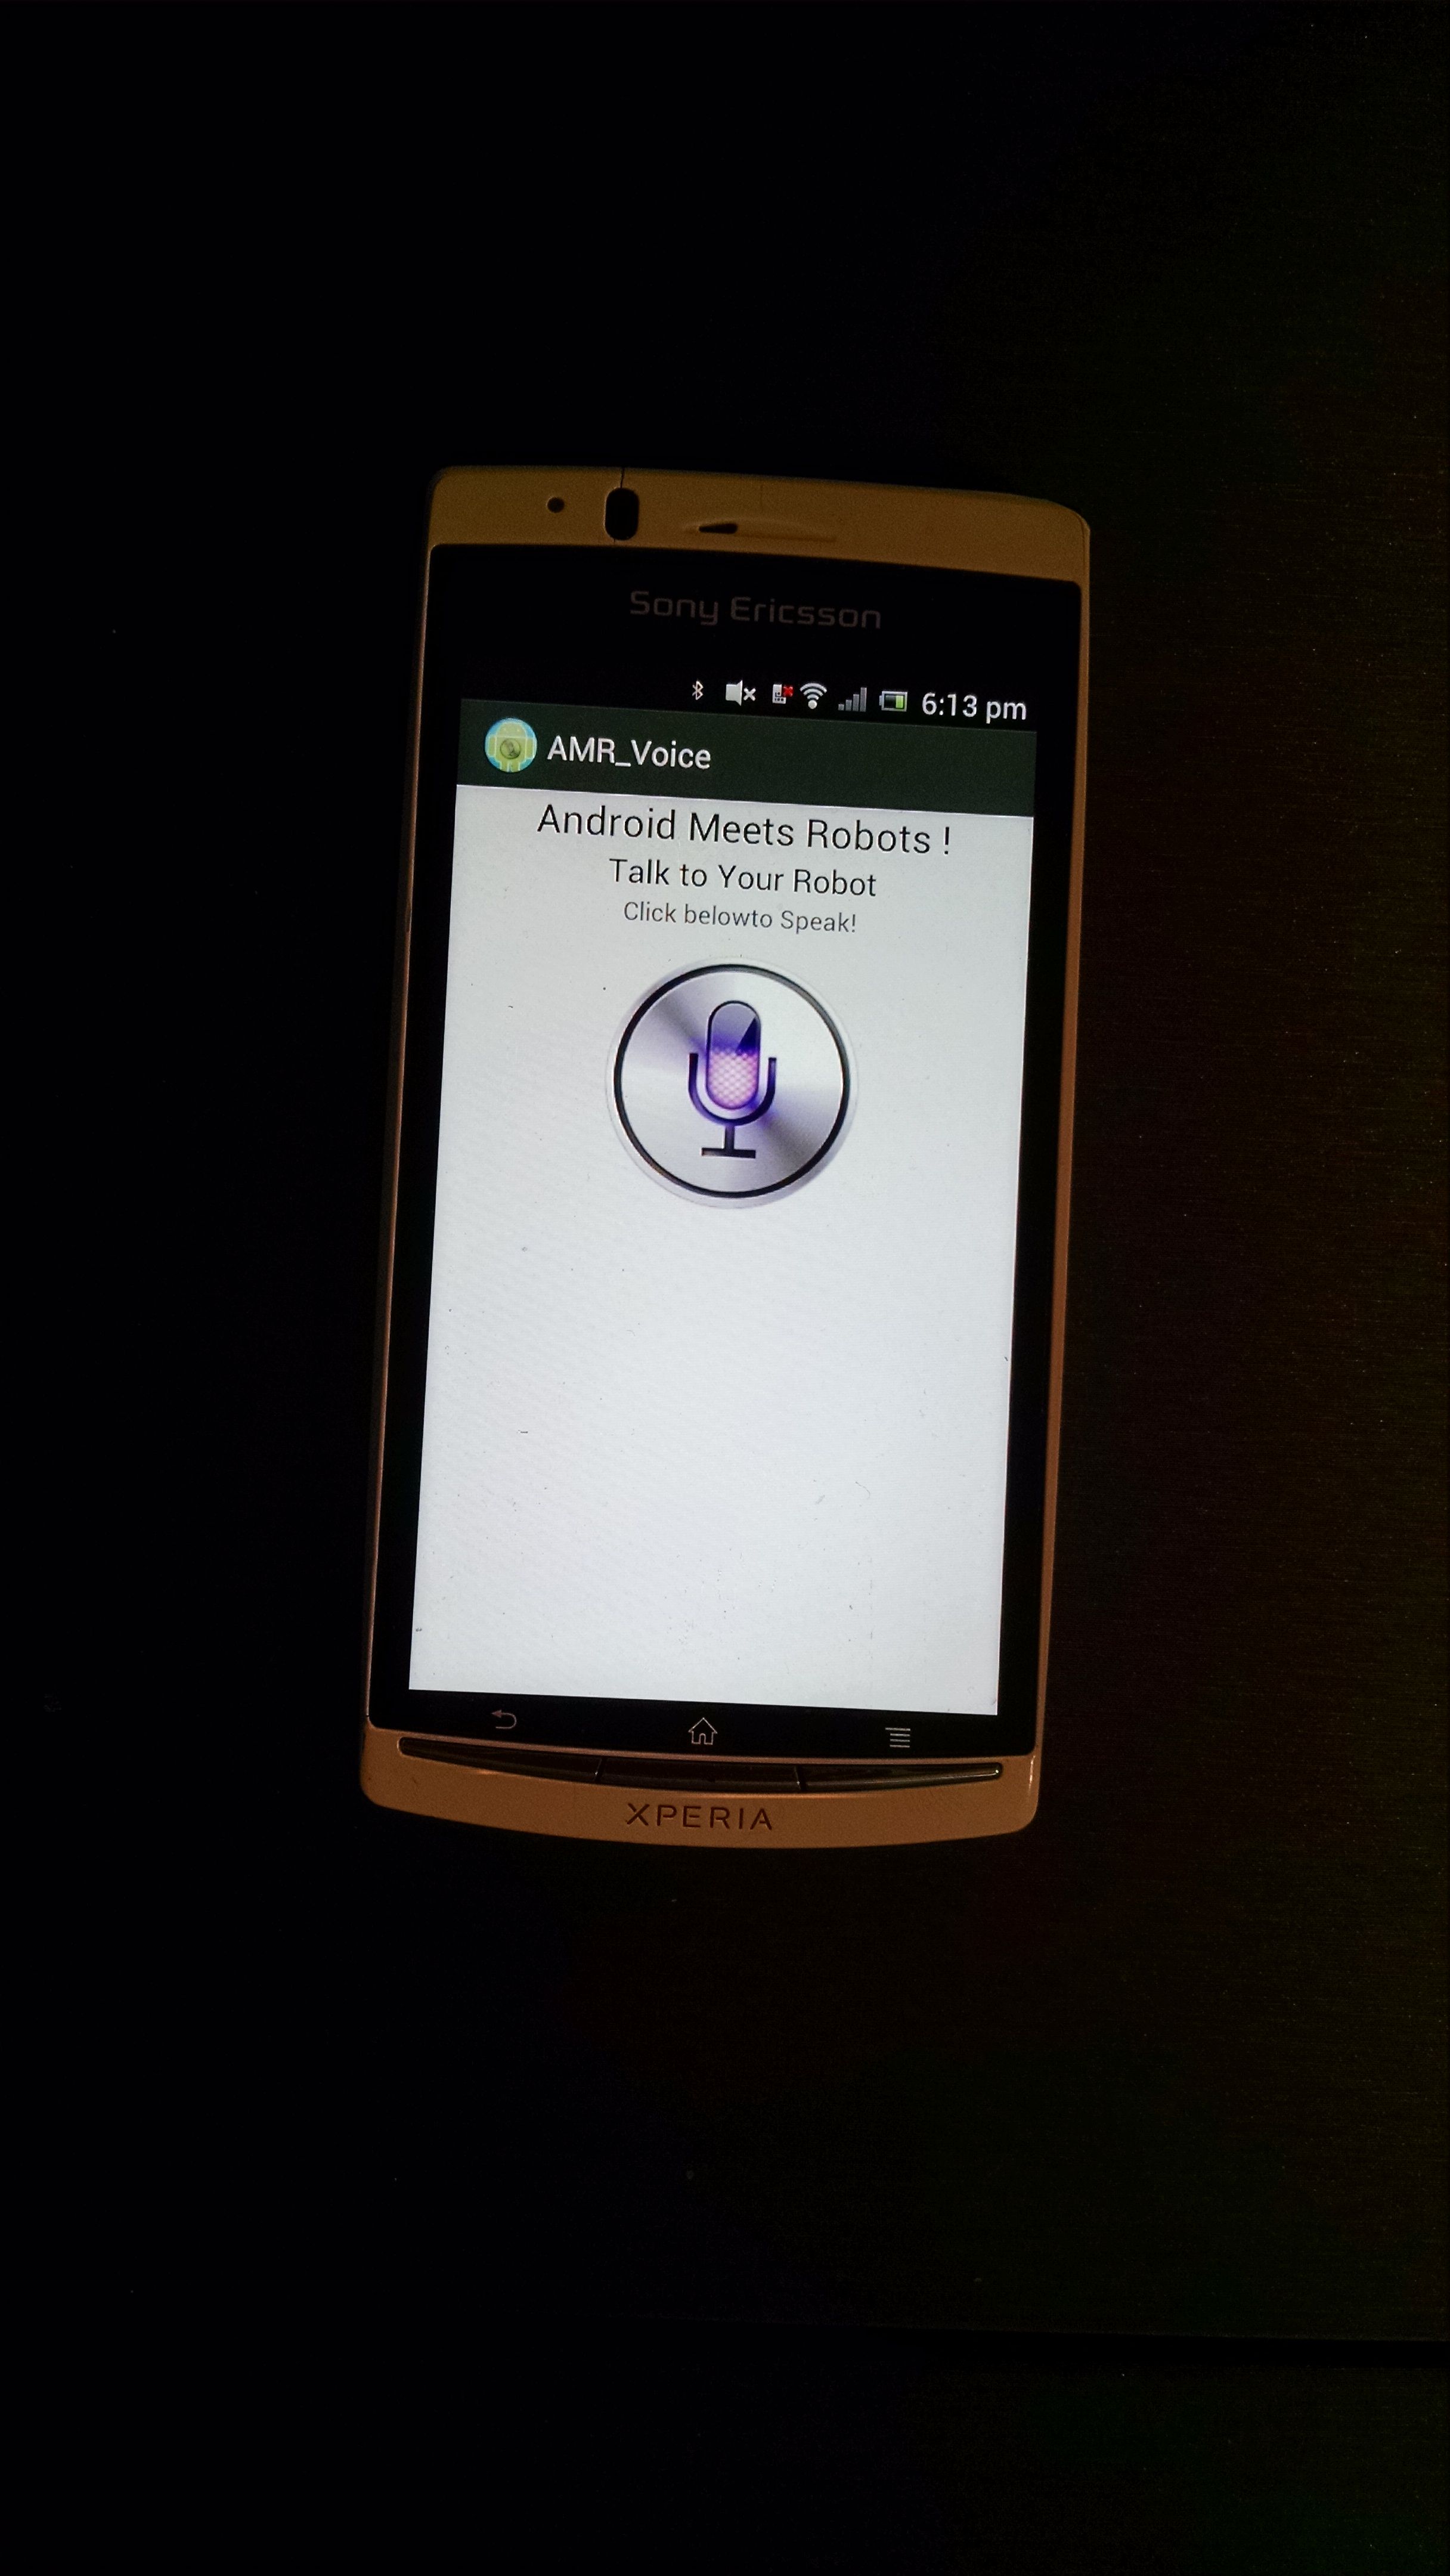
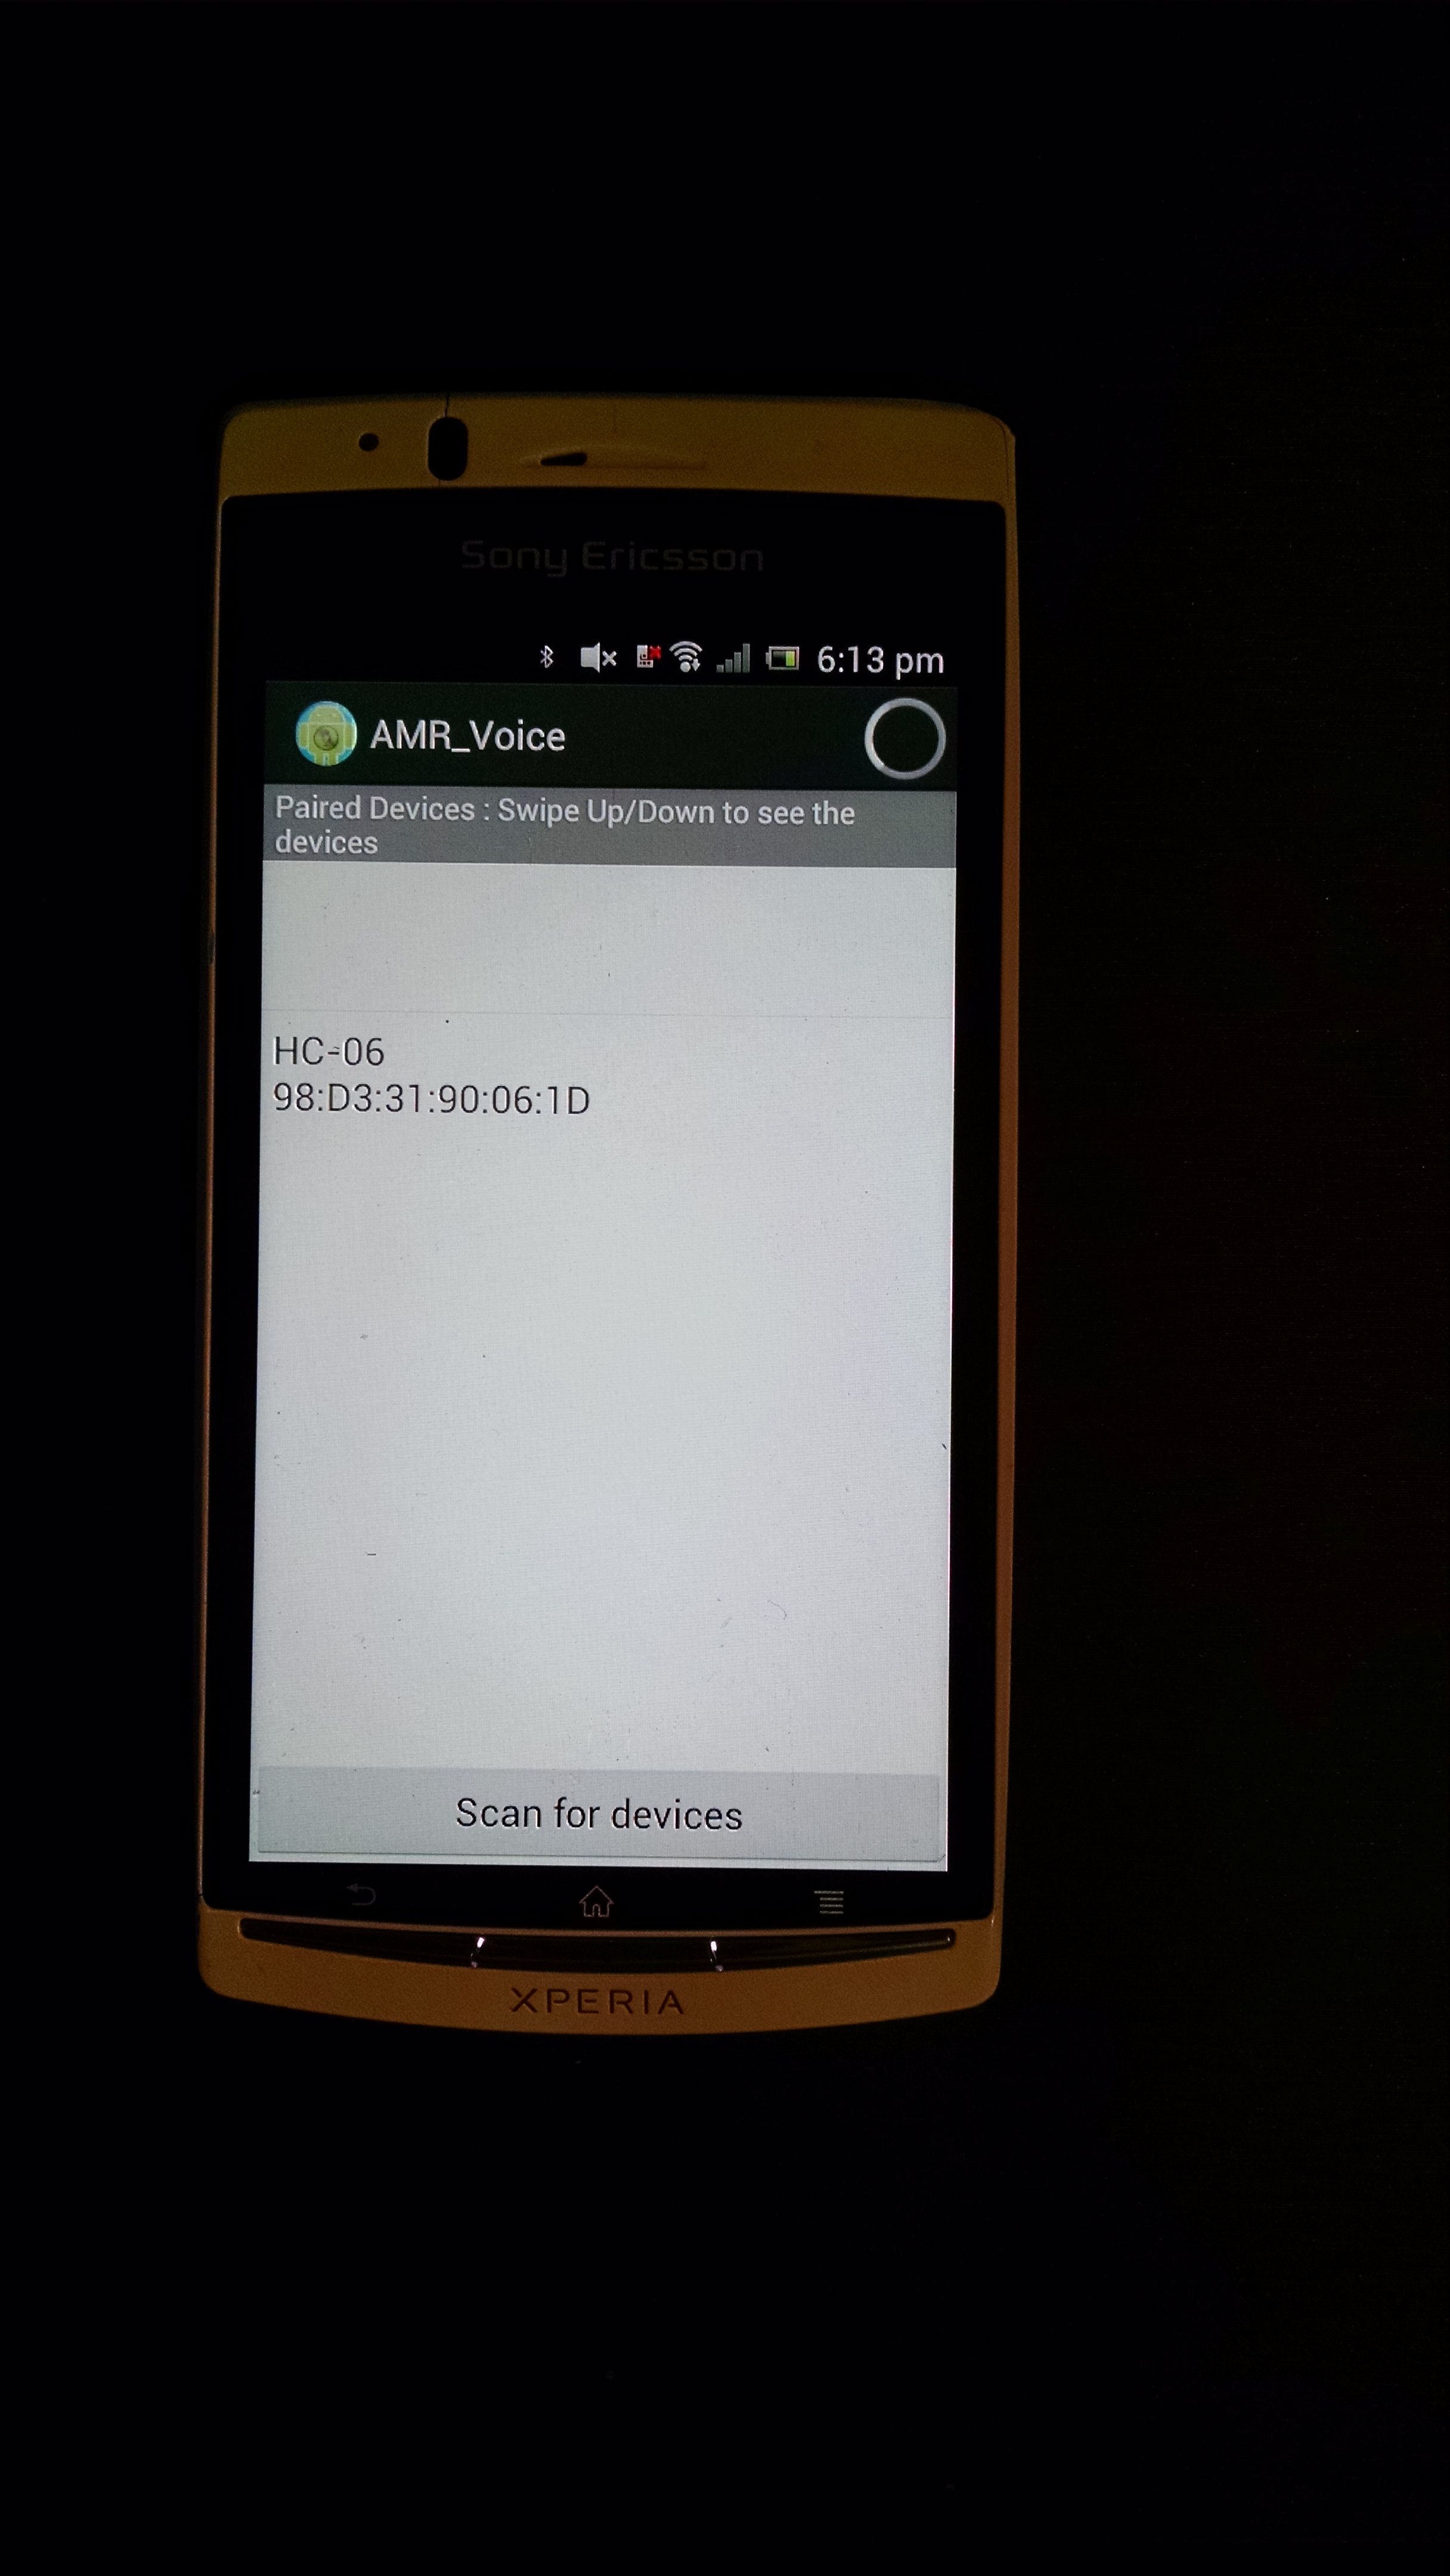
Now on your android phone download this brilliant app by SimpleLabs!
https://play.google.com/store/apps/details?id=robotspace.simplelabs.amr_voice&hl=en
Connect to the Bluetooth module it will probably be called something like 'HC-06'
The first time it will ask you for a password which is usually 1234.
Once you have connected say the commands you have chosen in the code and hopefully the relay will switch on and off!
Downloads
Adding the Appliances
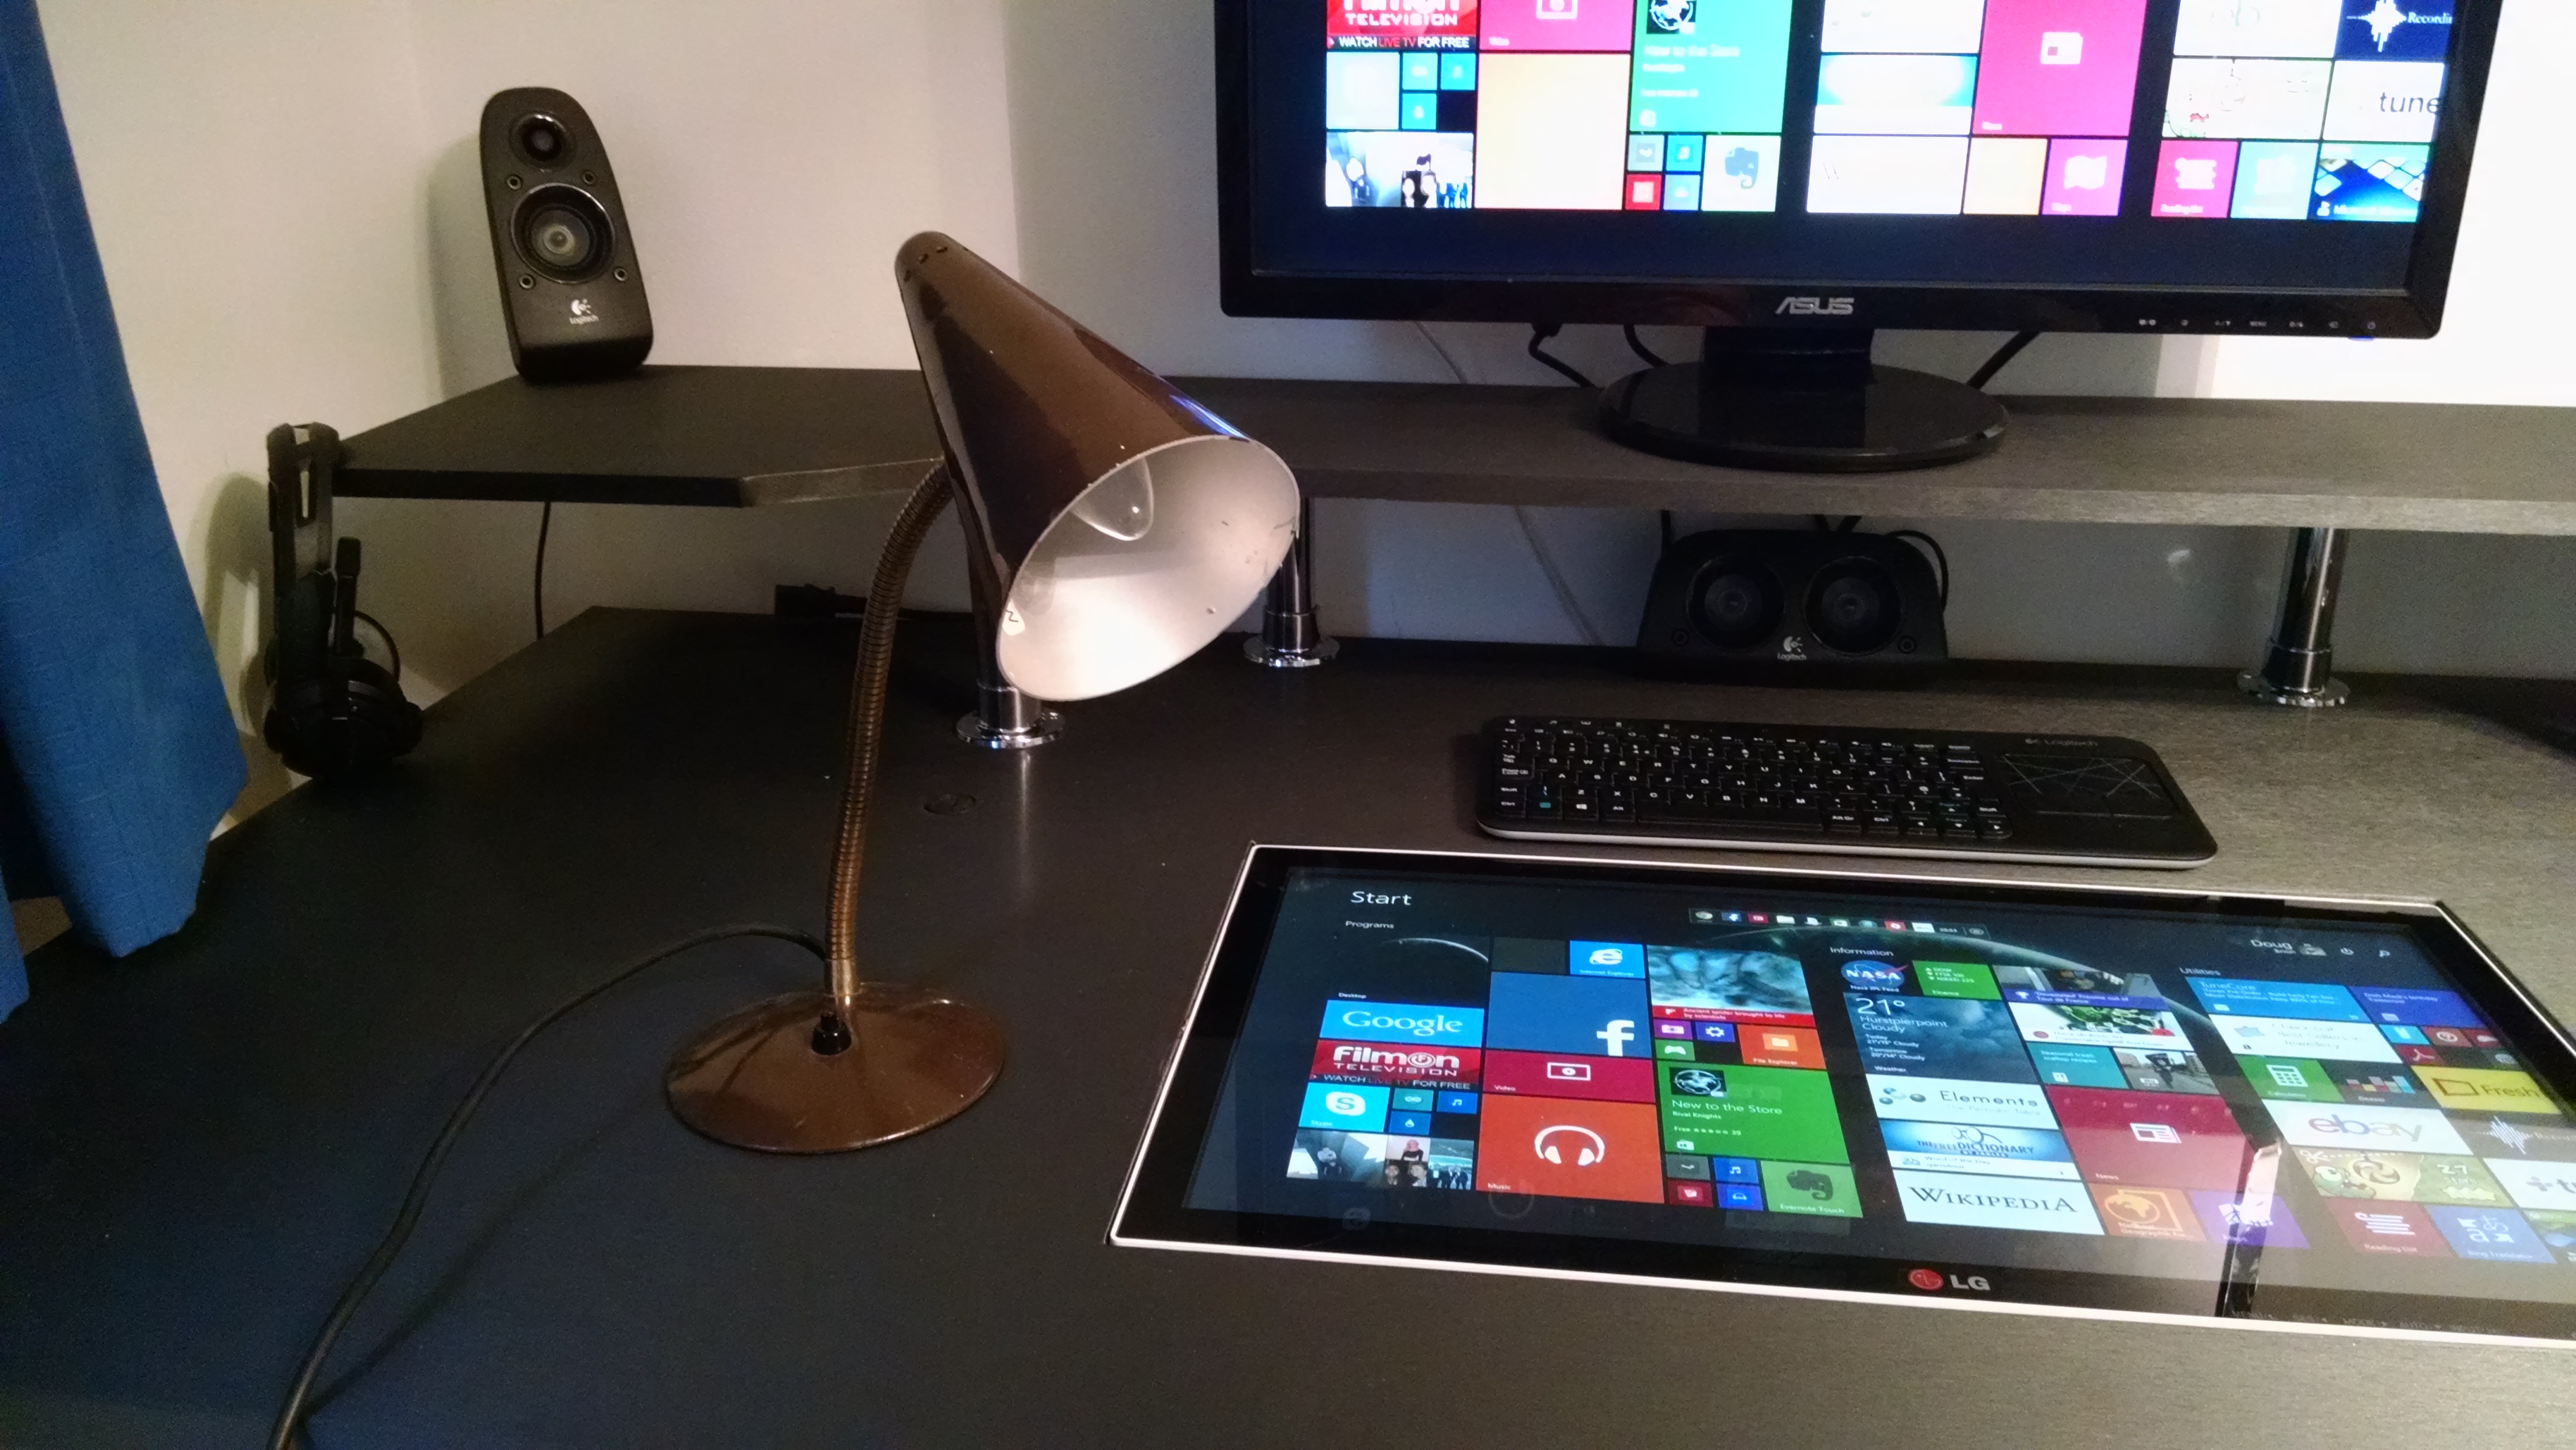
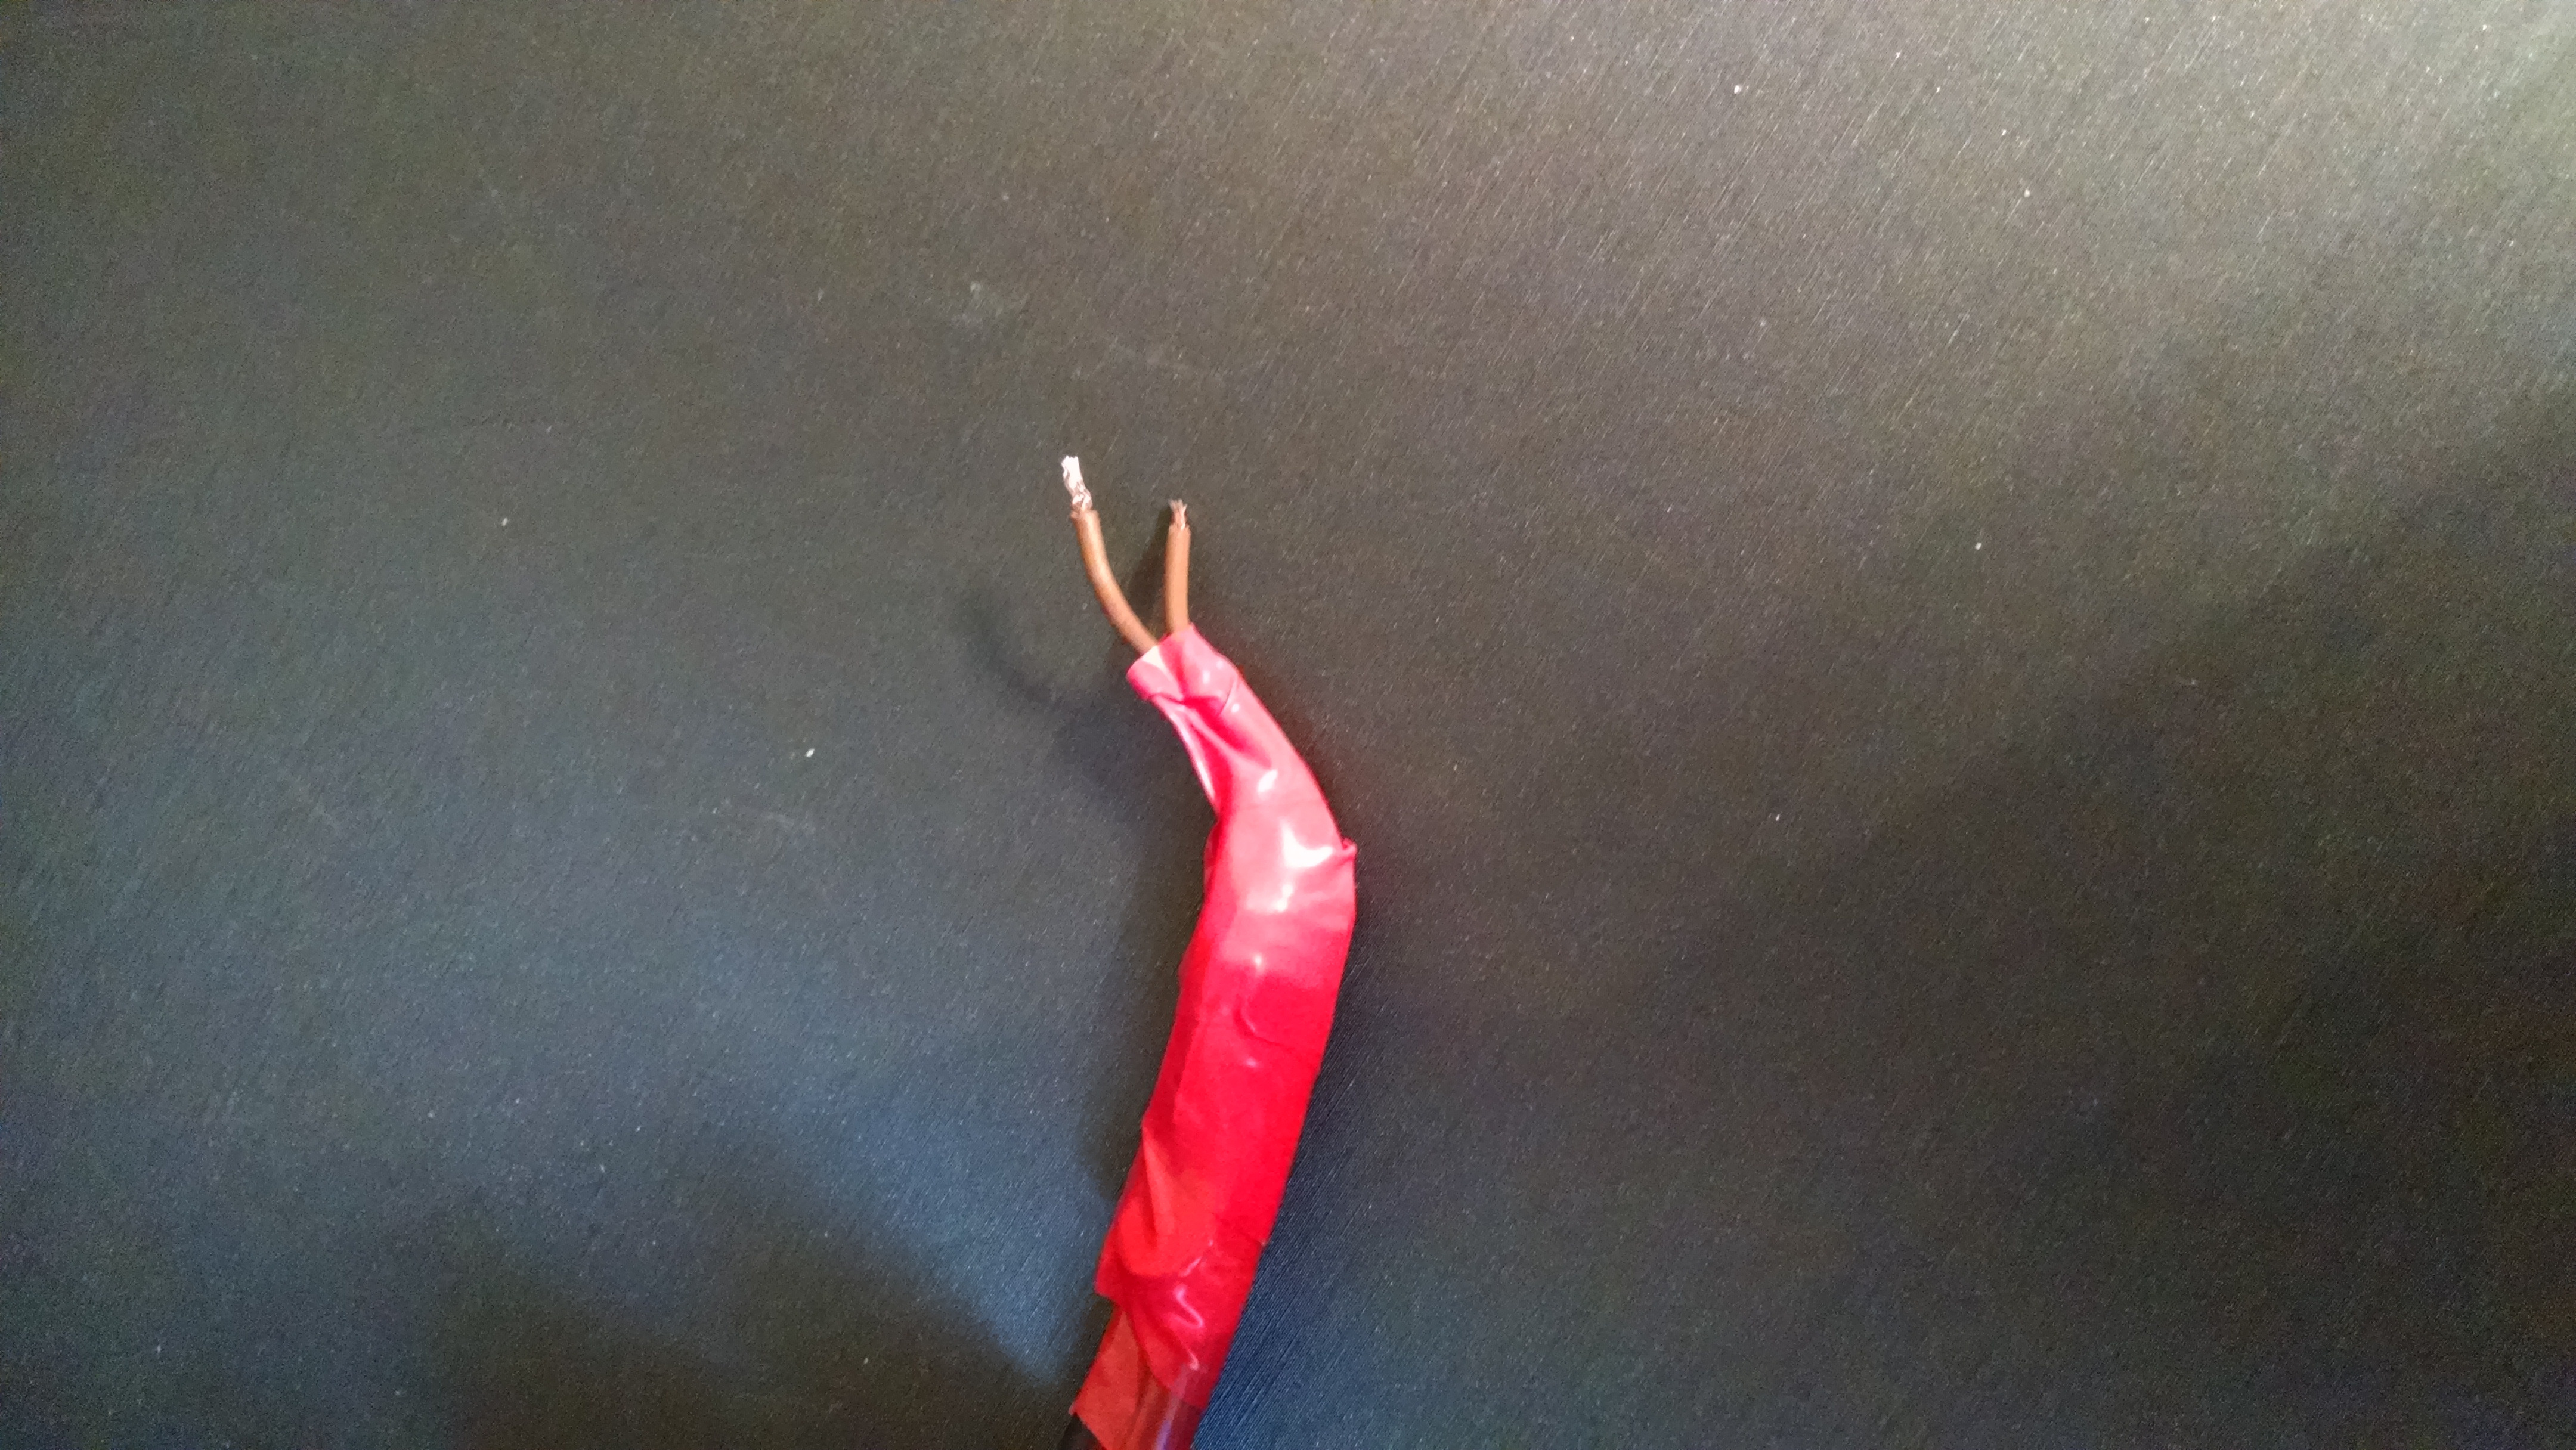
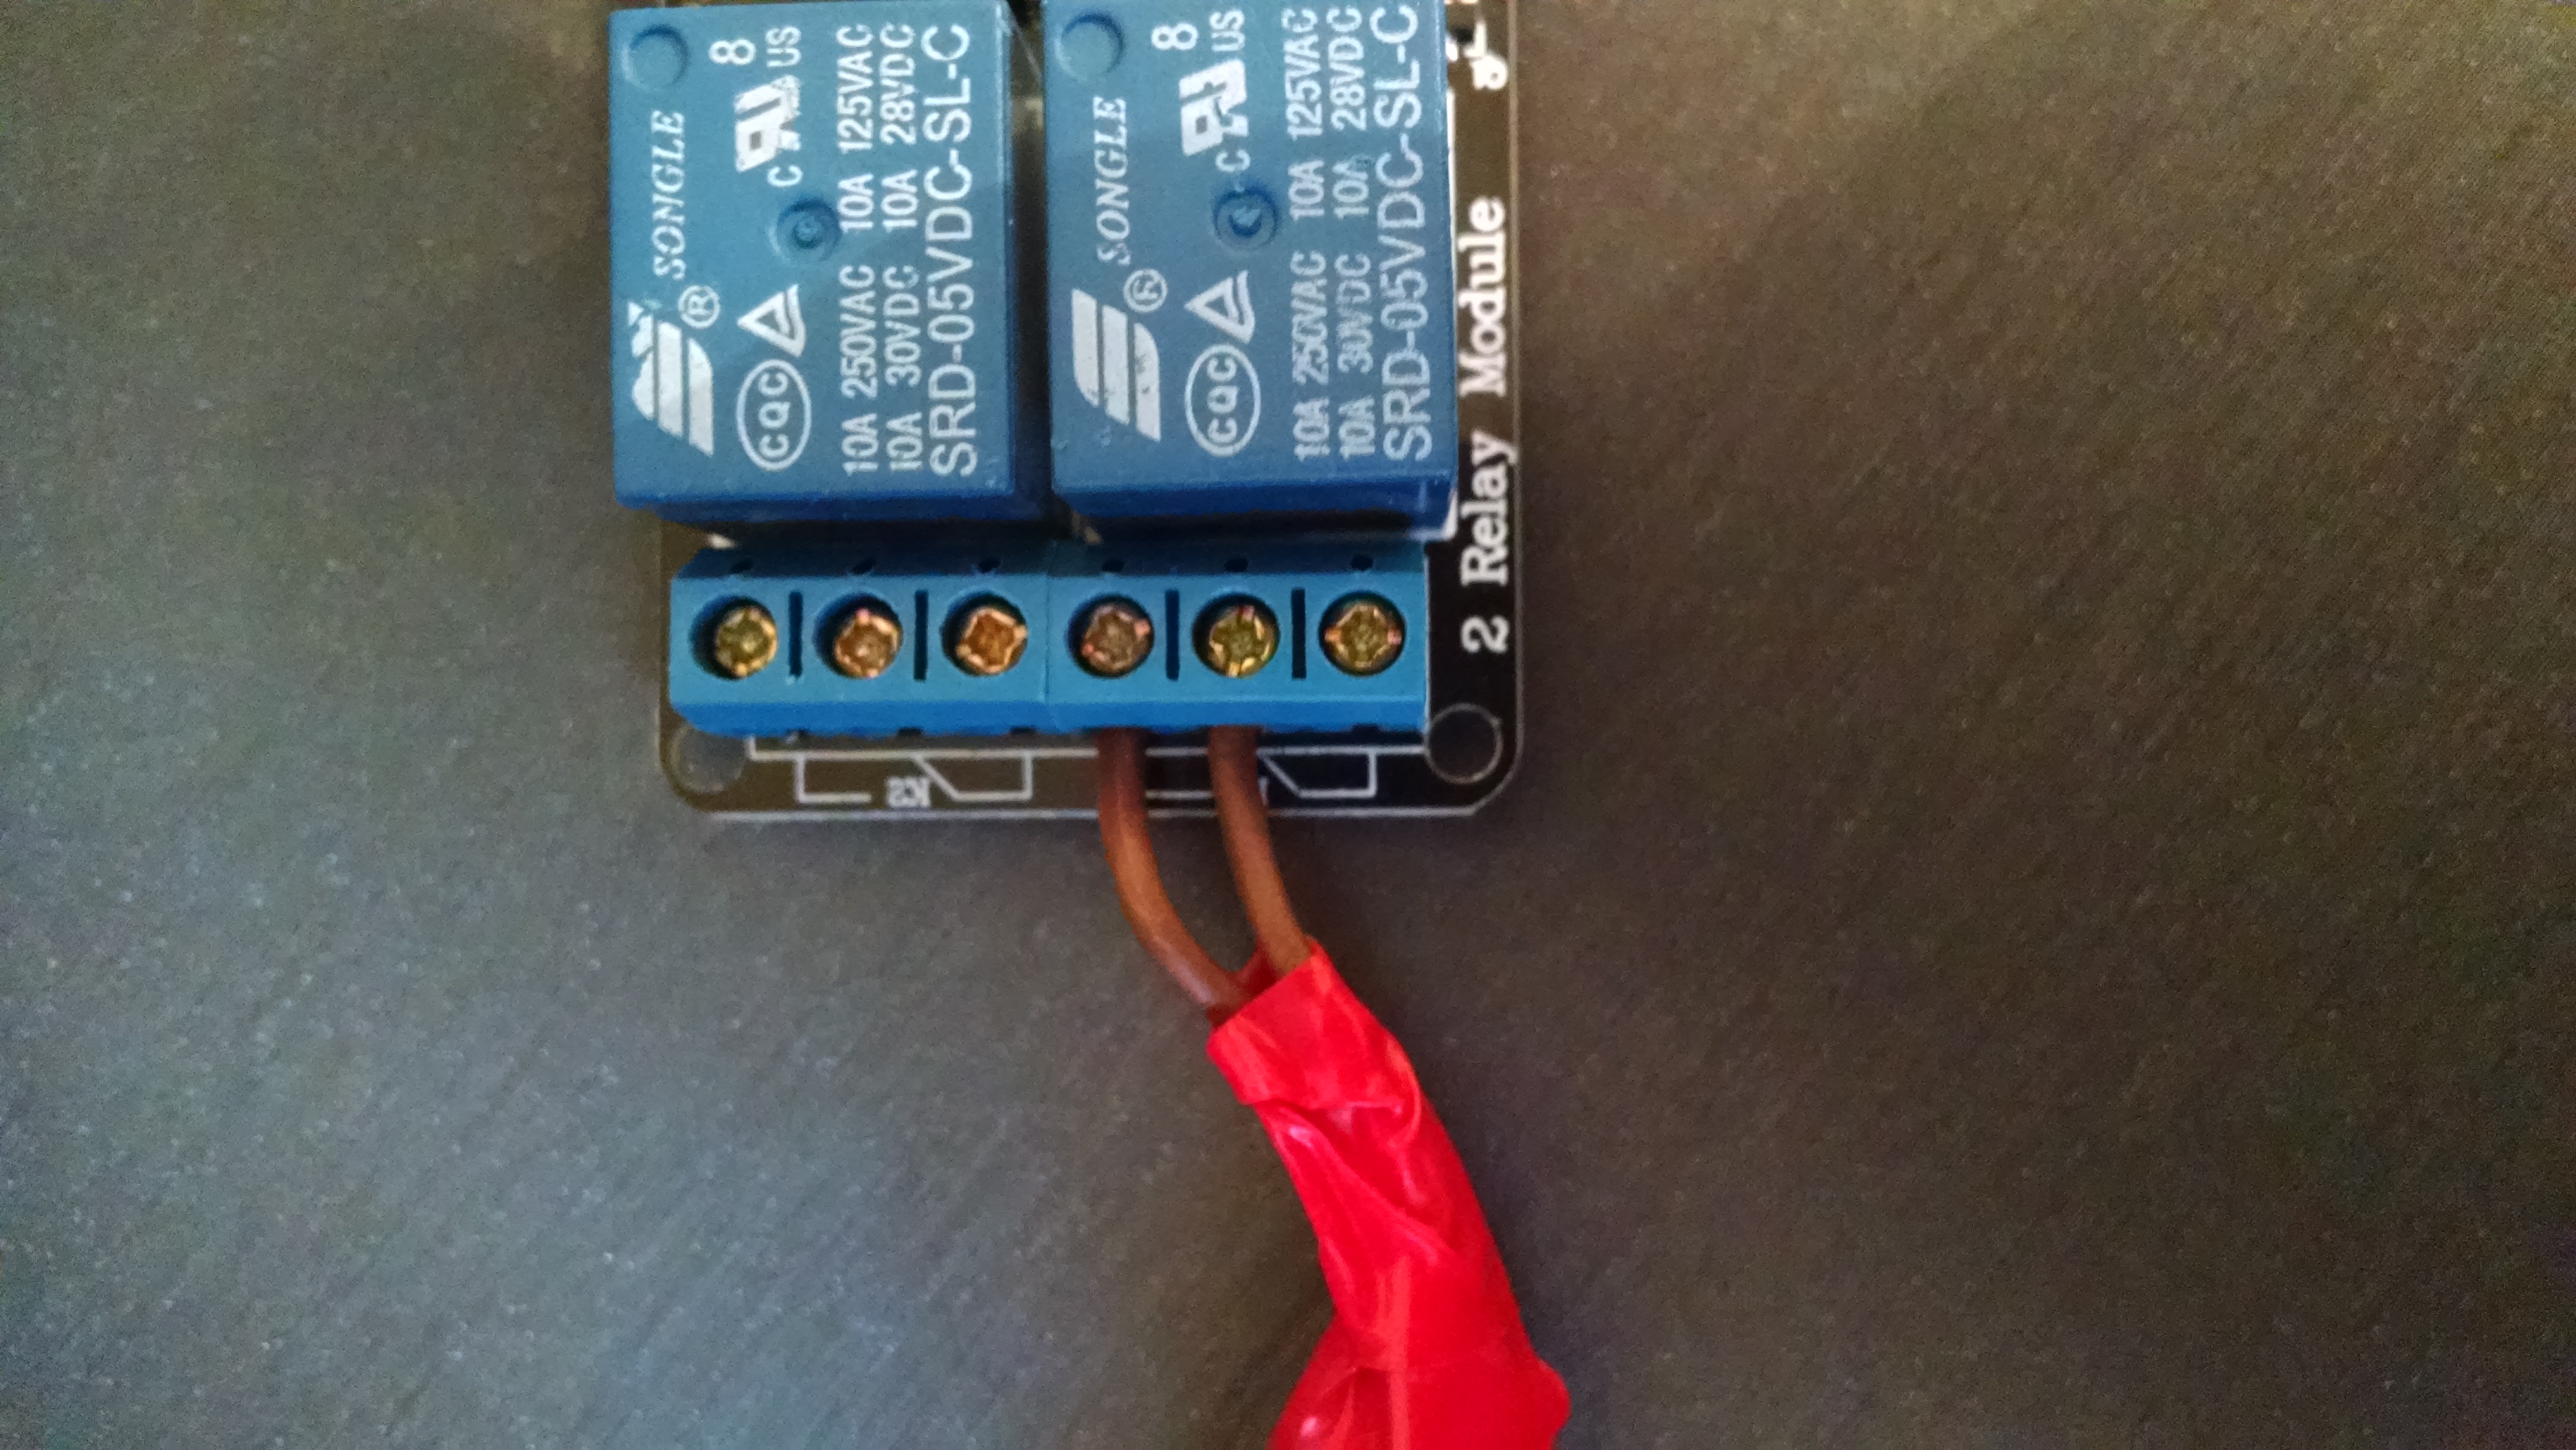
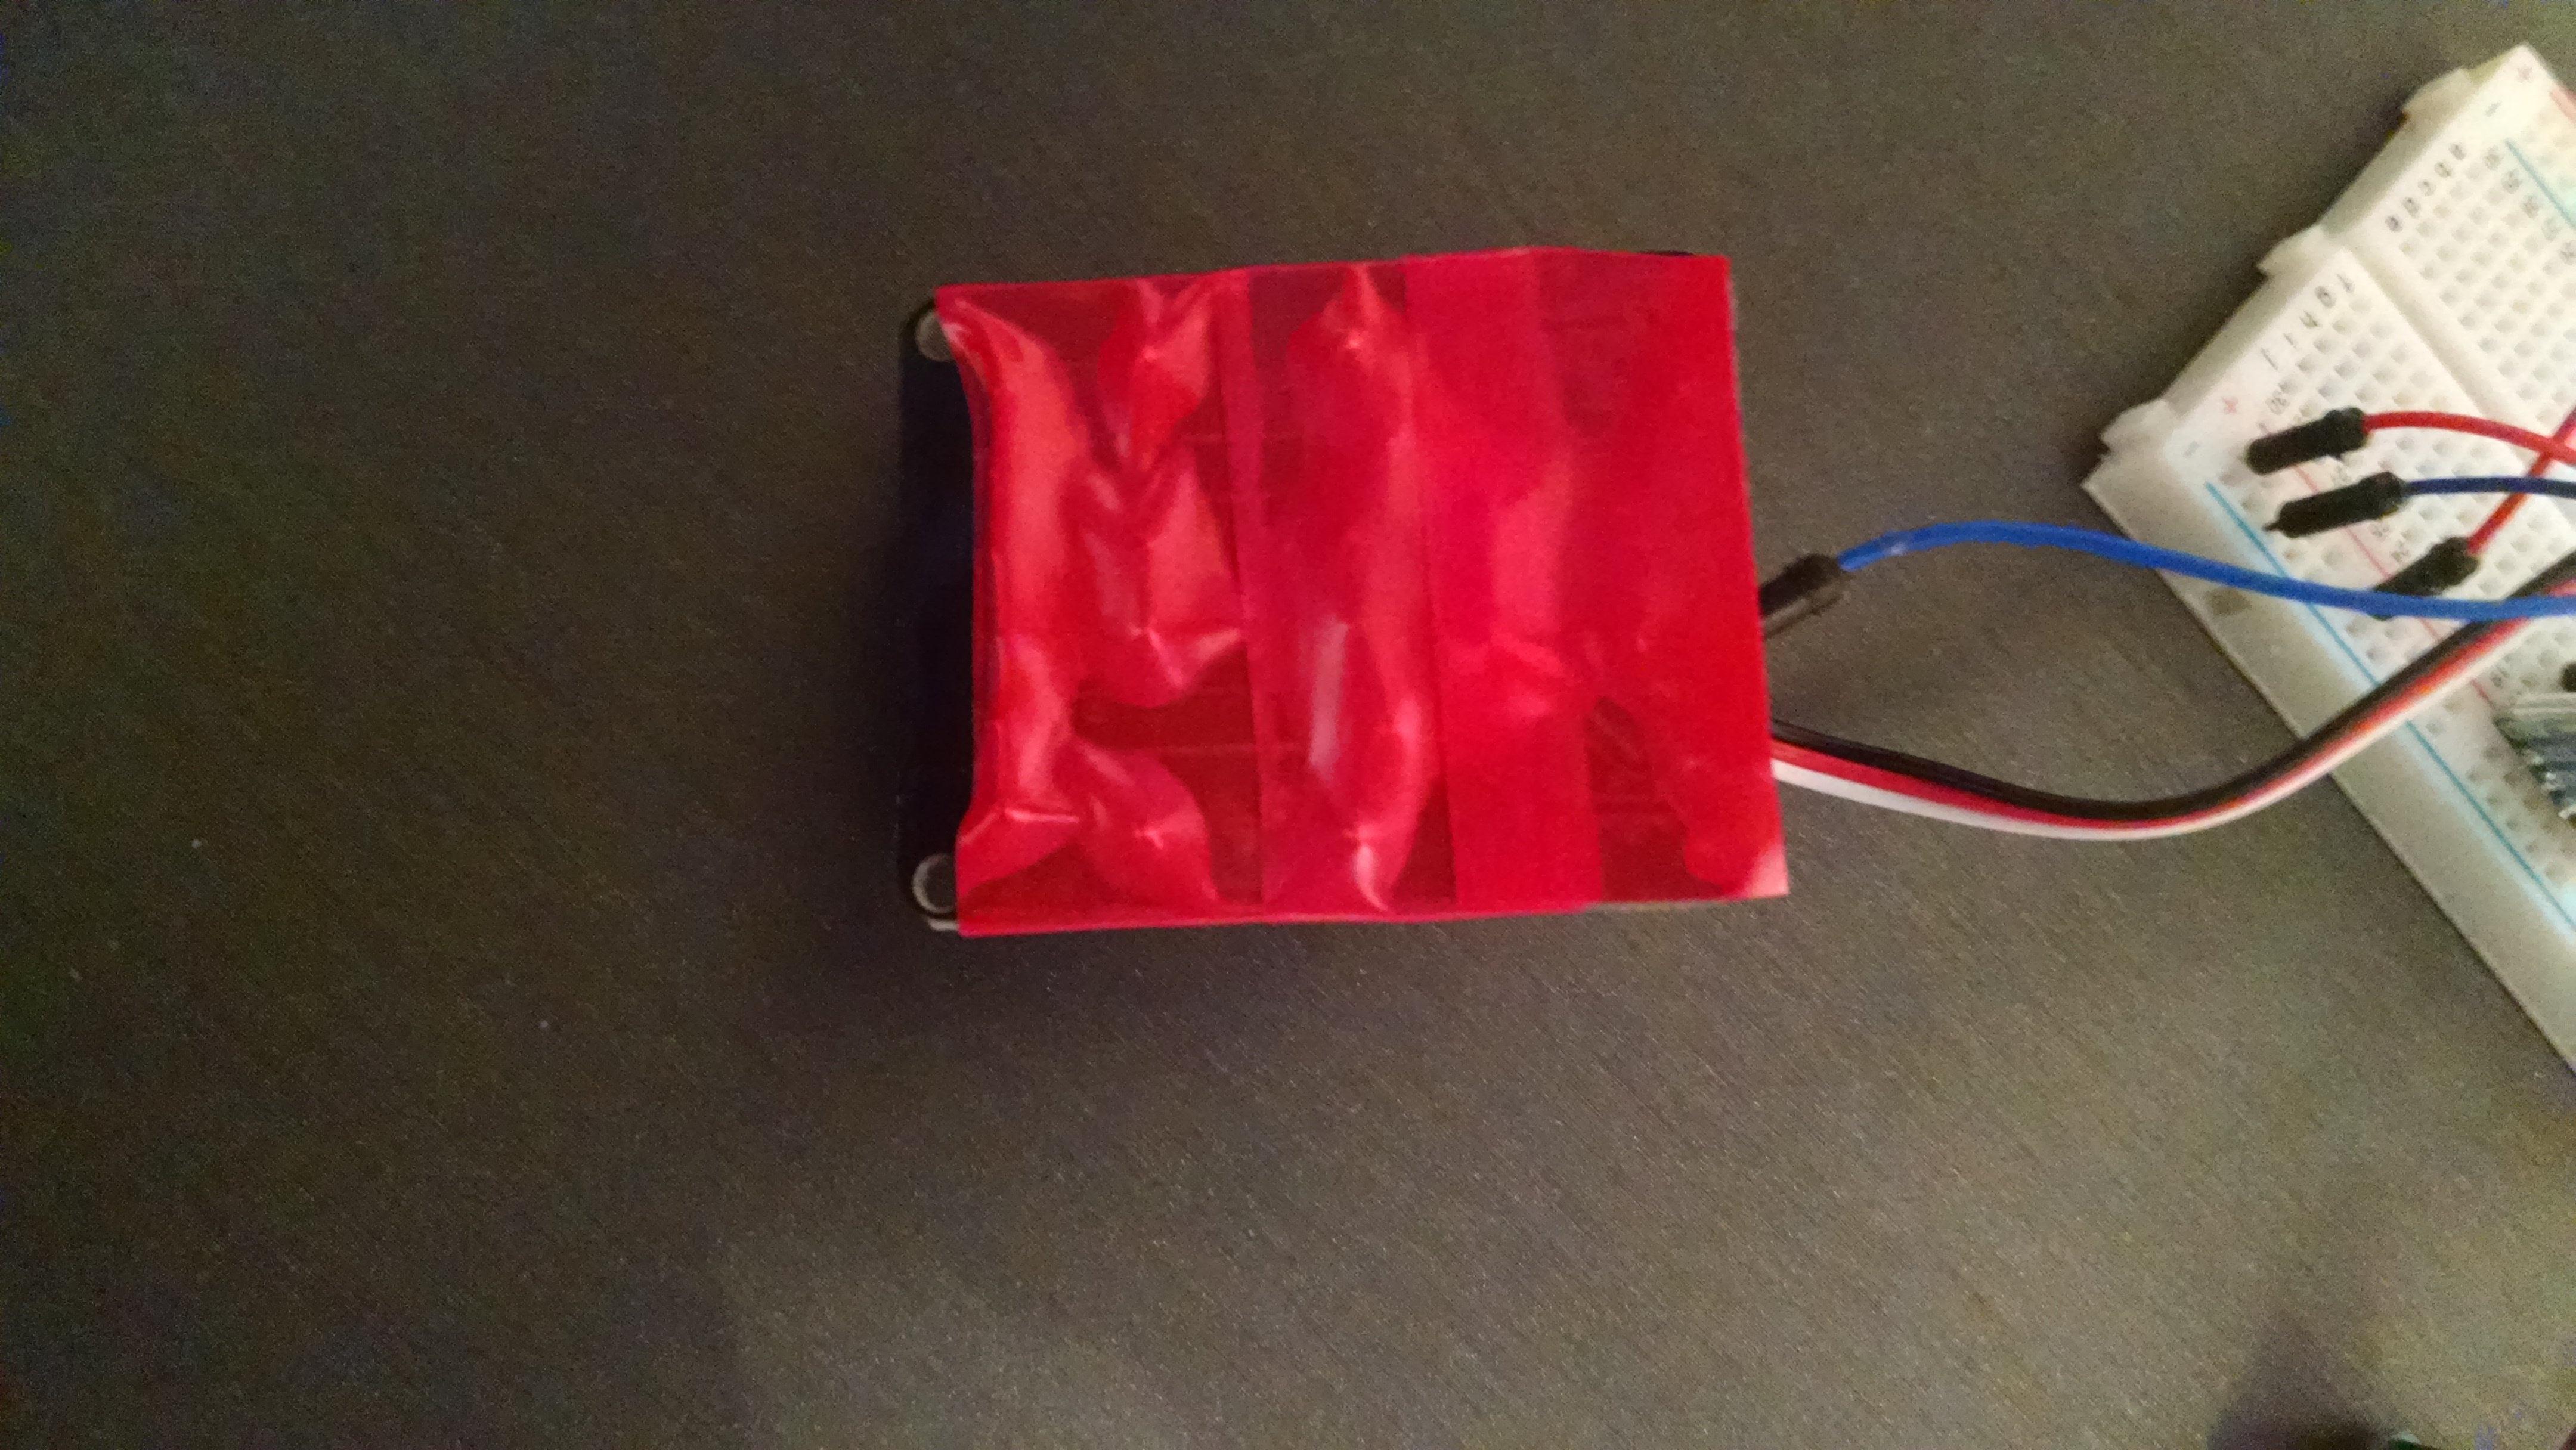
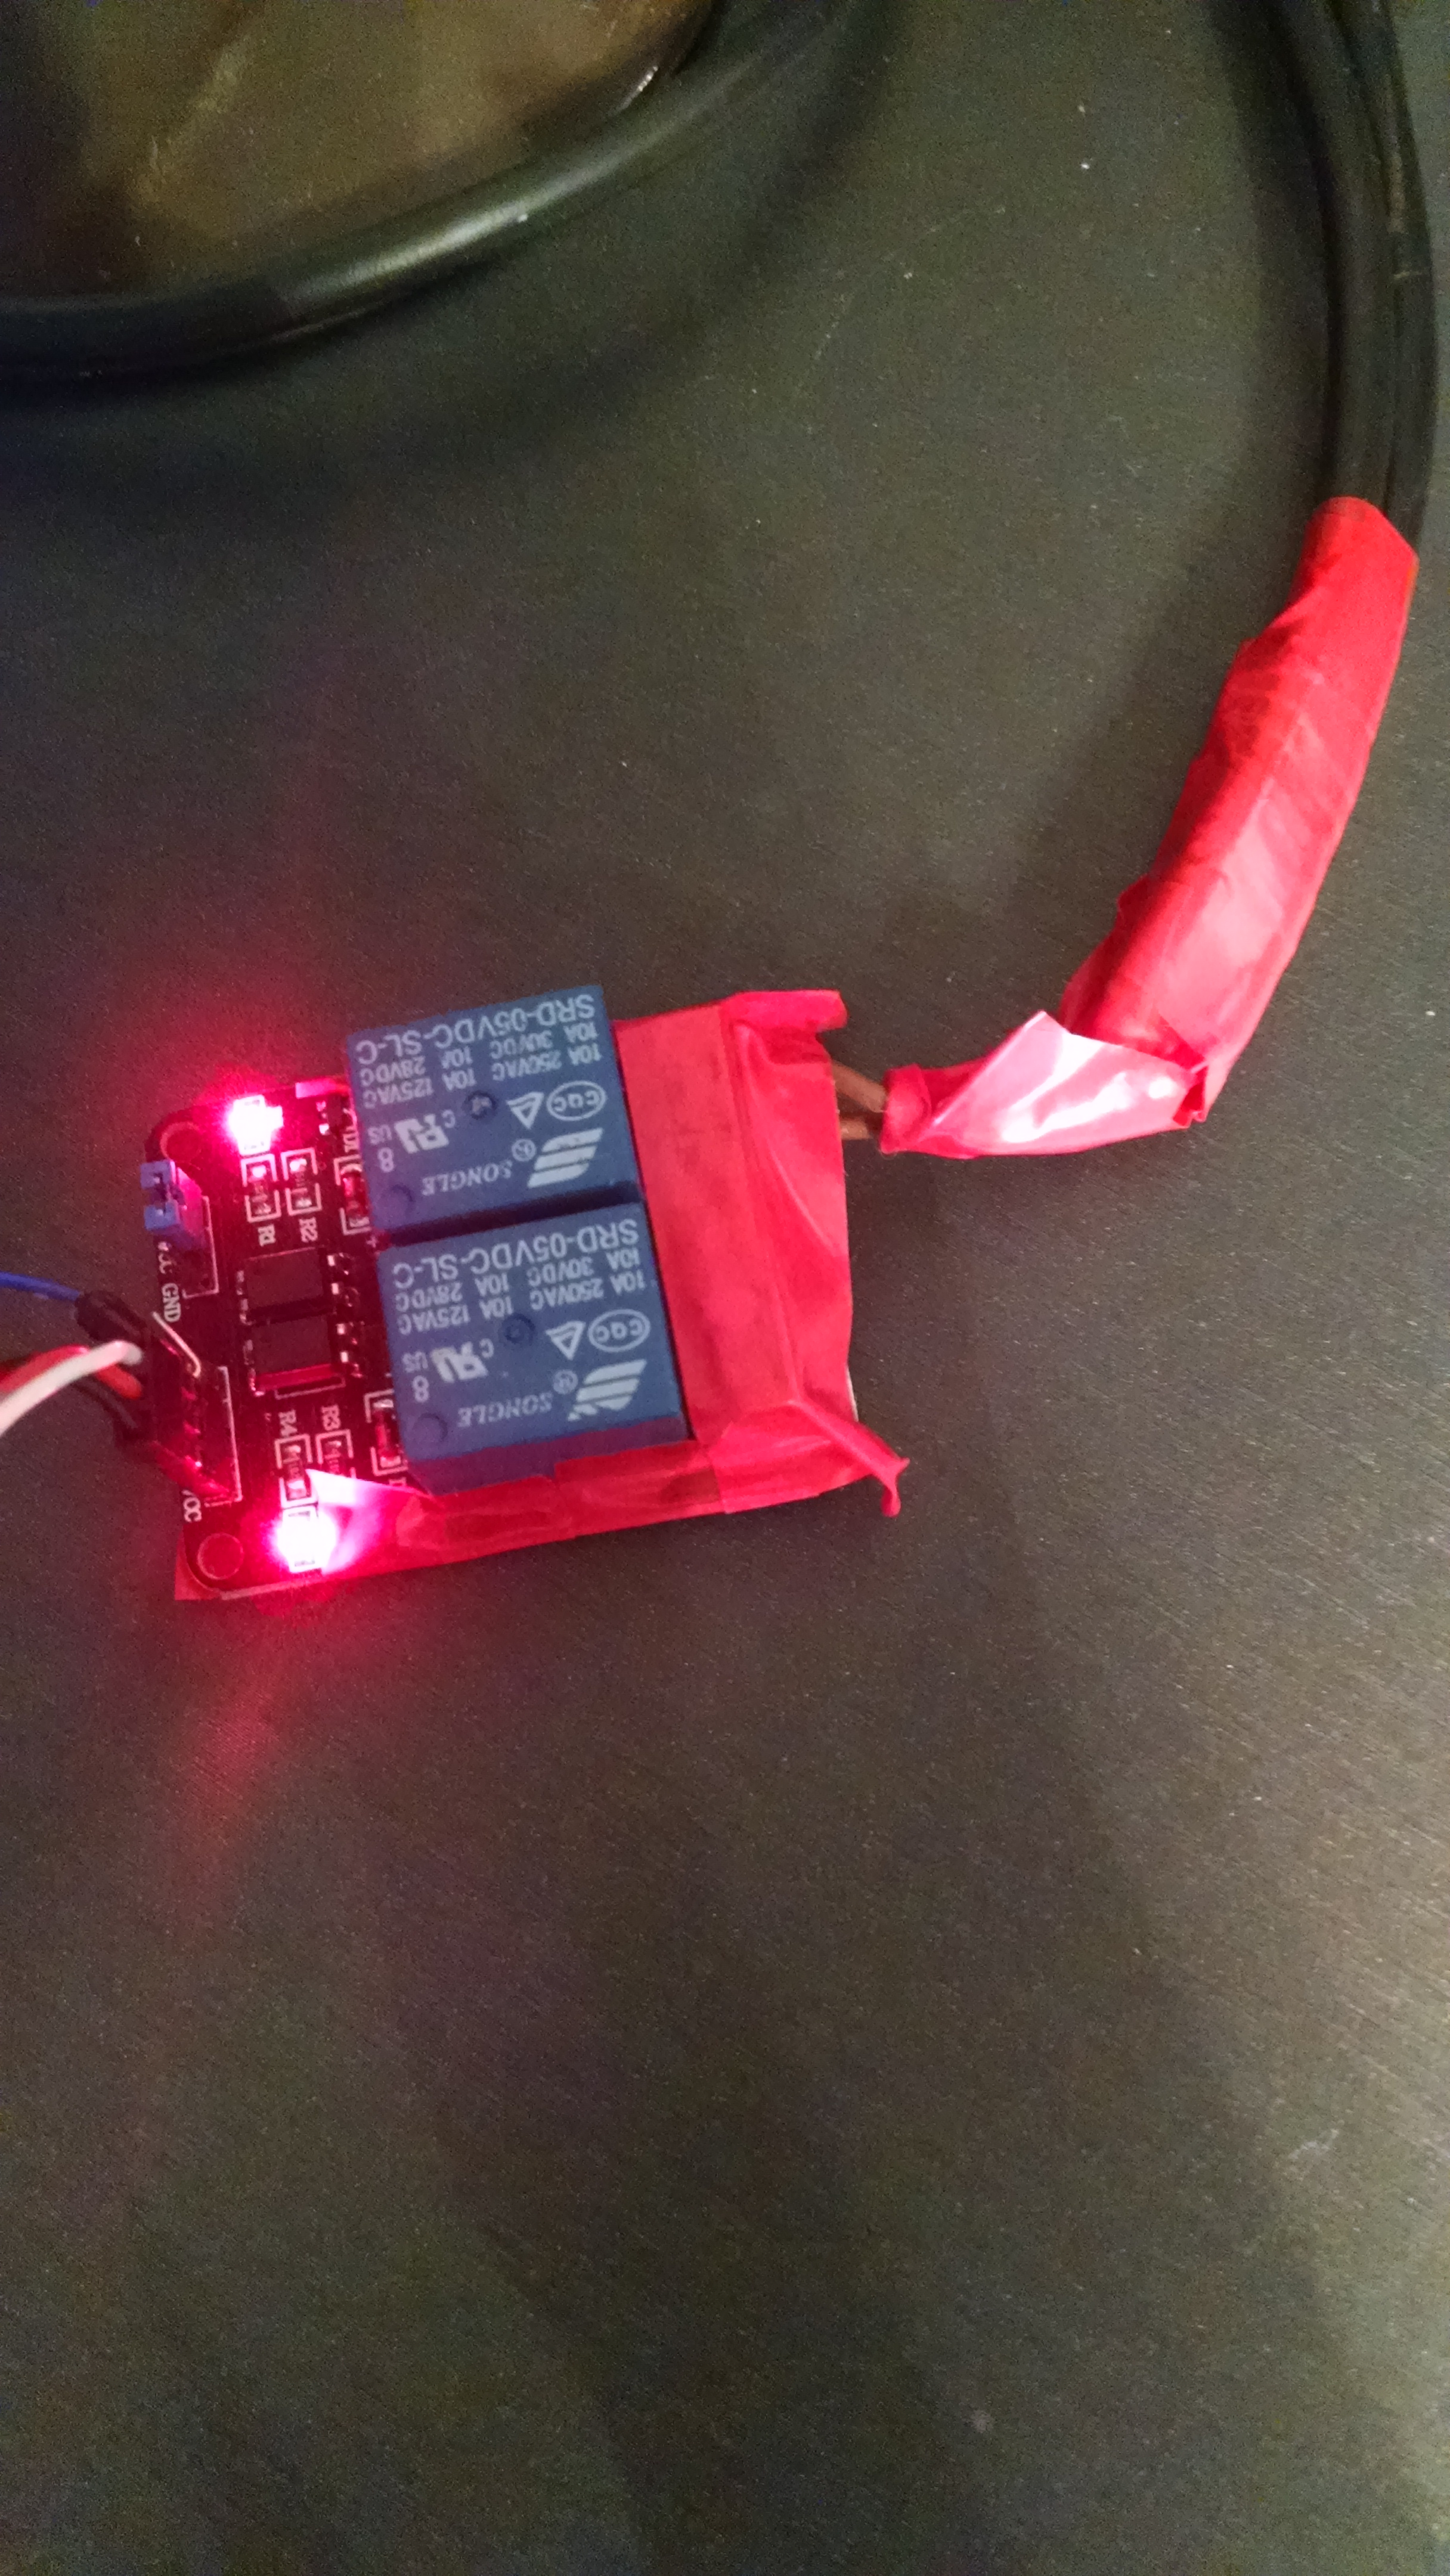
To quote Brick from Anchorman 'I love Lamp!'
So the first thing to do is find and old lamp or other appliance as we are going to be cutting the lead.
Now remove the outer rubber sleeving making sure not to cut the sleeving of the wires inside, we don't want any live wire showing! Next cut the positive wire (the red one) and remove a few millimetres of sleeving on each end. Insert the exposed wire in the correct ports of the relay as shown in the diagram and pictures above. MAKE SURE THERE IS NO WIRE VISIBLE! For safety wrap the wires in electrical tape, and cover any of the places that could be live on the relay, such as the screws.
I am not responsible for your safety, do this at your own risk!
Once this is done we are ready to power on the lamp and test the system. XD
Conclusion
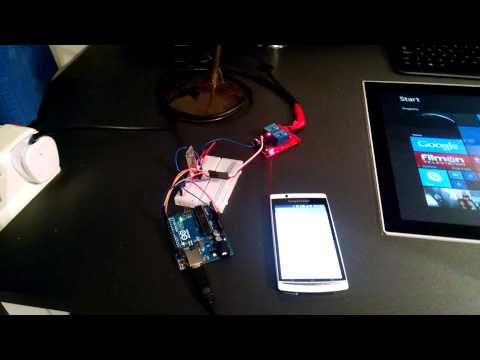
Hope that was informative and you were successful.
Electricity is dangerous so please be careful!!!!
The possibilities for this I feel are endless you can add loads of devices and then create functions in order to control several at once.
Here is a video of the lamp working:
Thank You :)