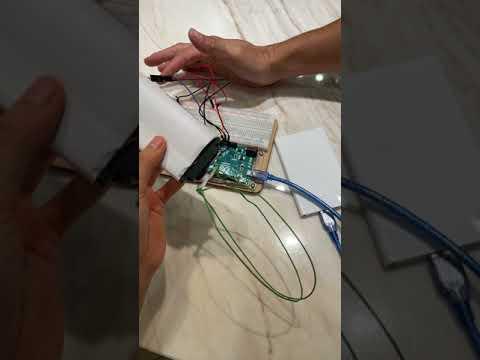
Arduino Hand Mixer
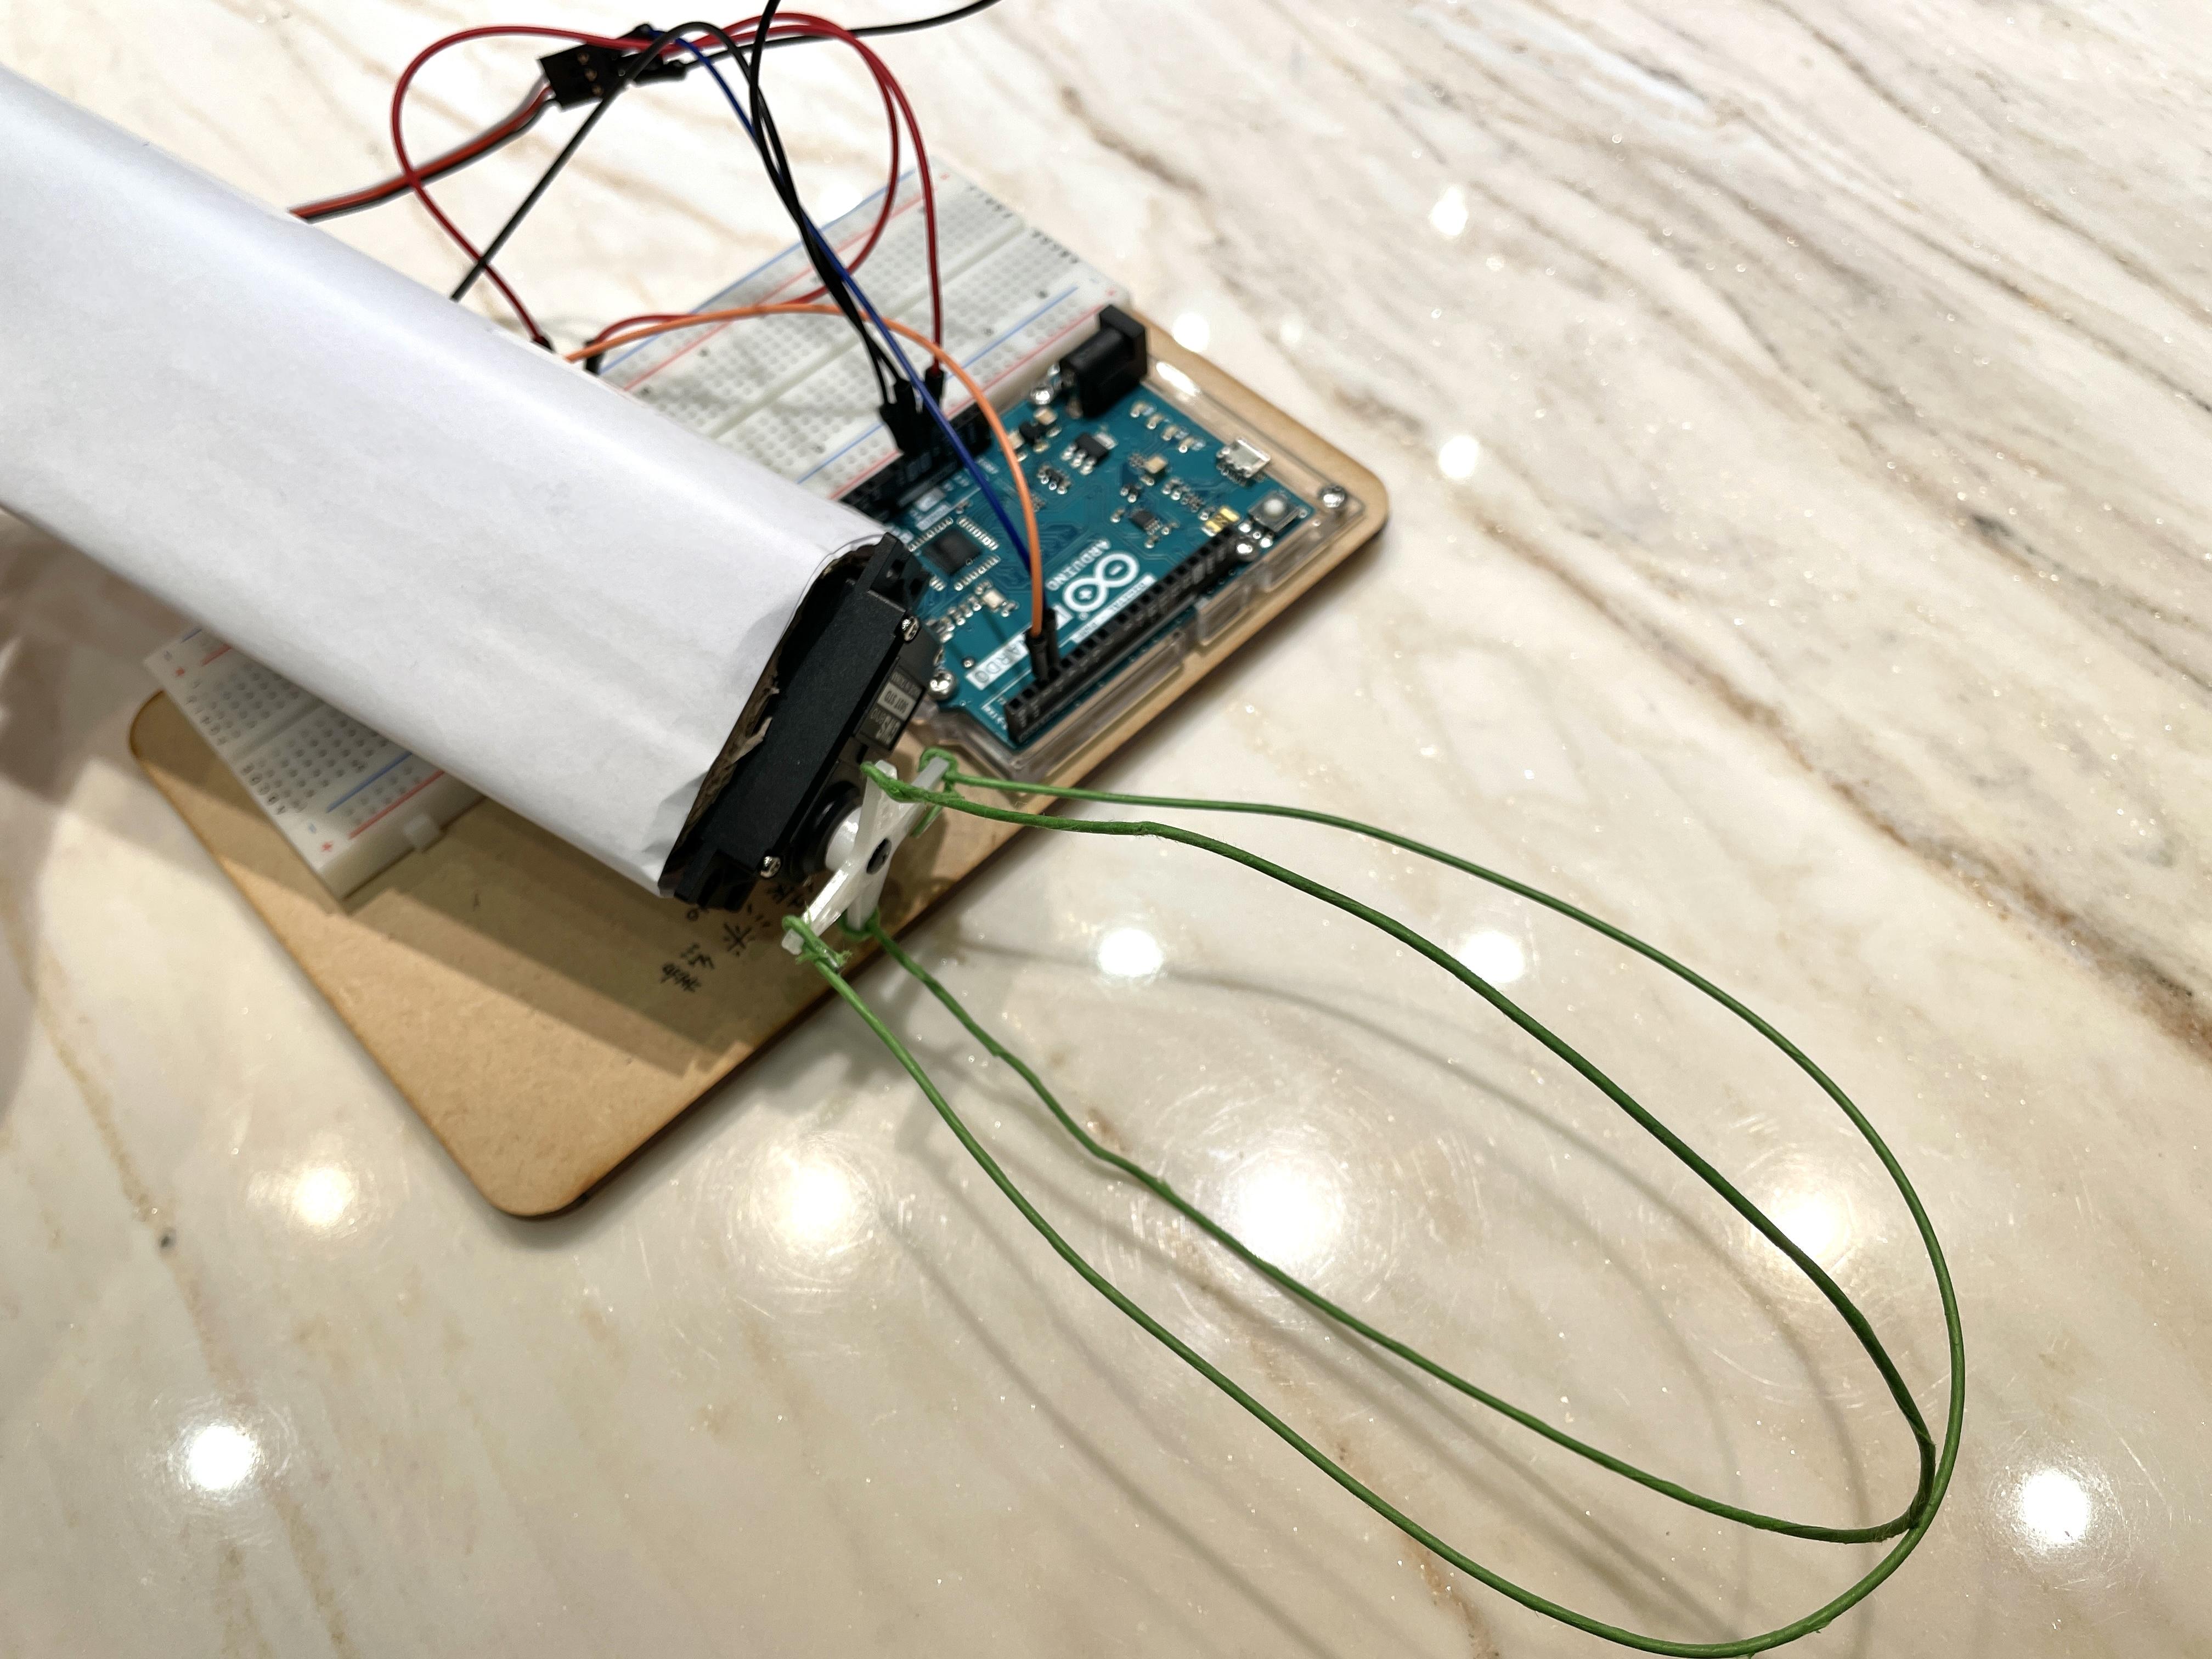
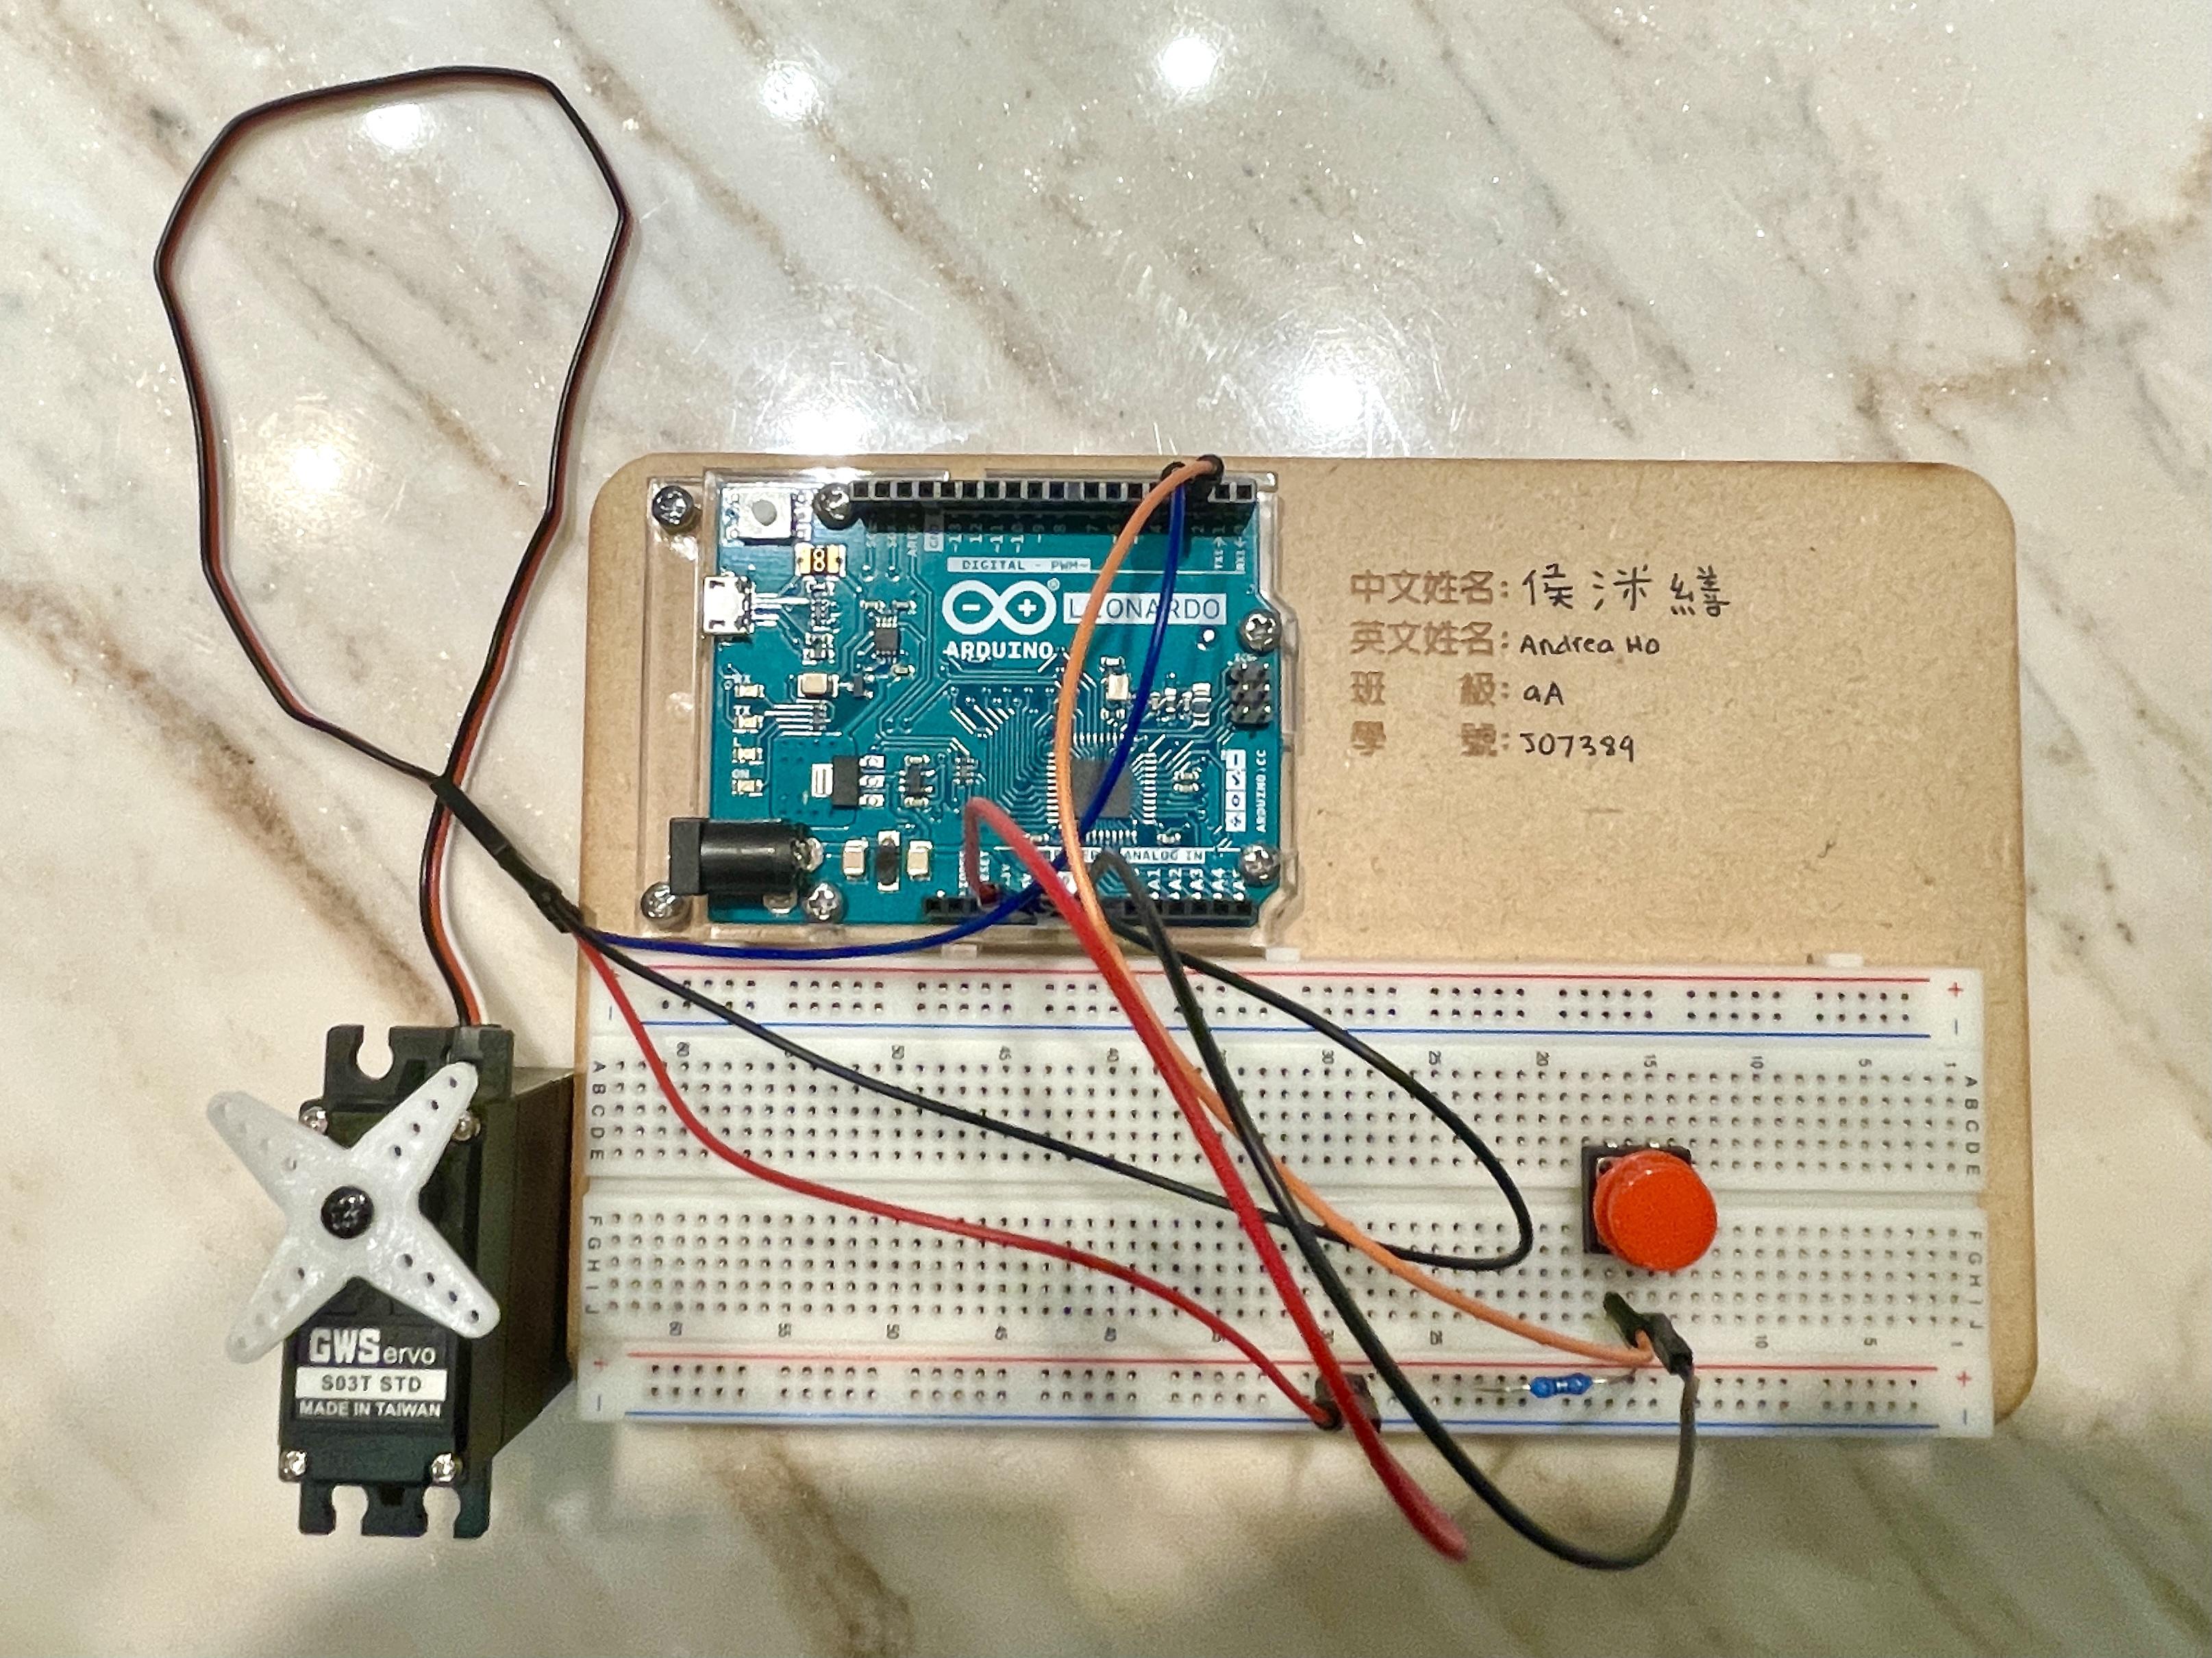
This simple guide teaches how to make a hand mixer using an Arduino, button, servo, breadboard, and a lot of wires! The ultimate goal of this tutorial is to use the make the servo spin by pressing the button. Then, using attachments, the Arduino project will become a hand mixer.
Supplies
Circuiting:
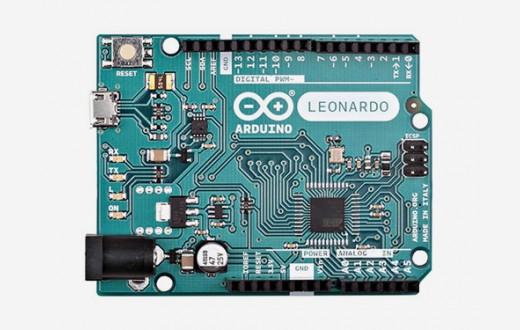
- Arduino Leonardo
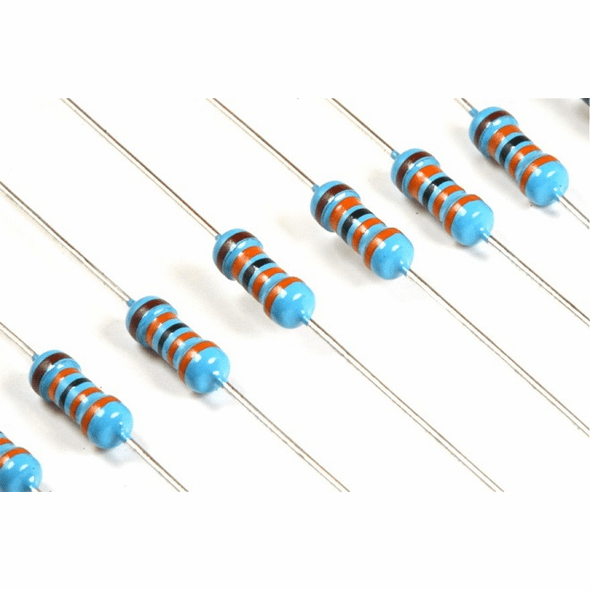
- Resistors (10 Kilo Ohm)
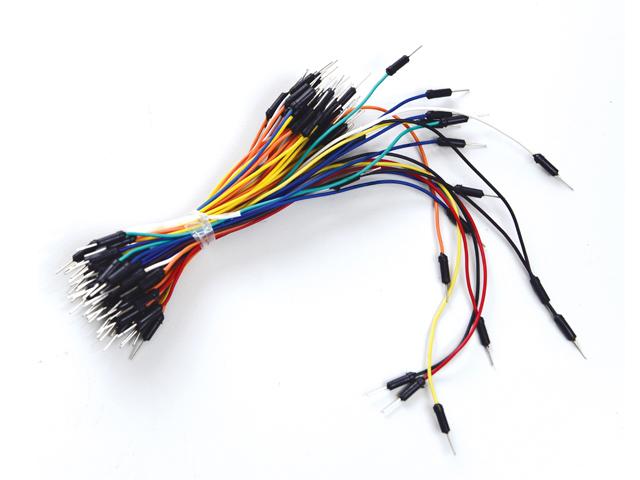
- Jumper Wires
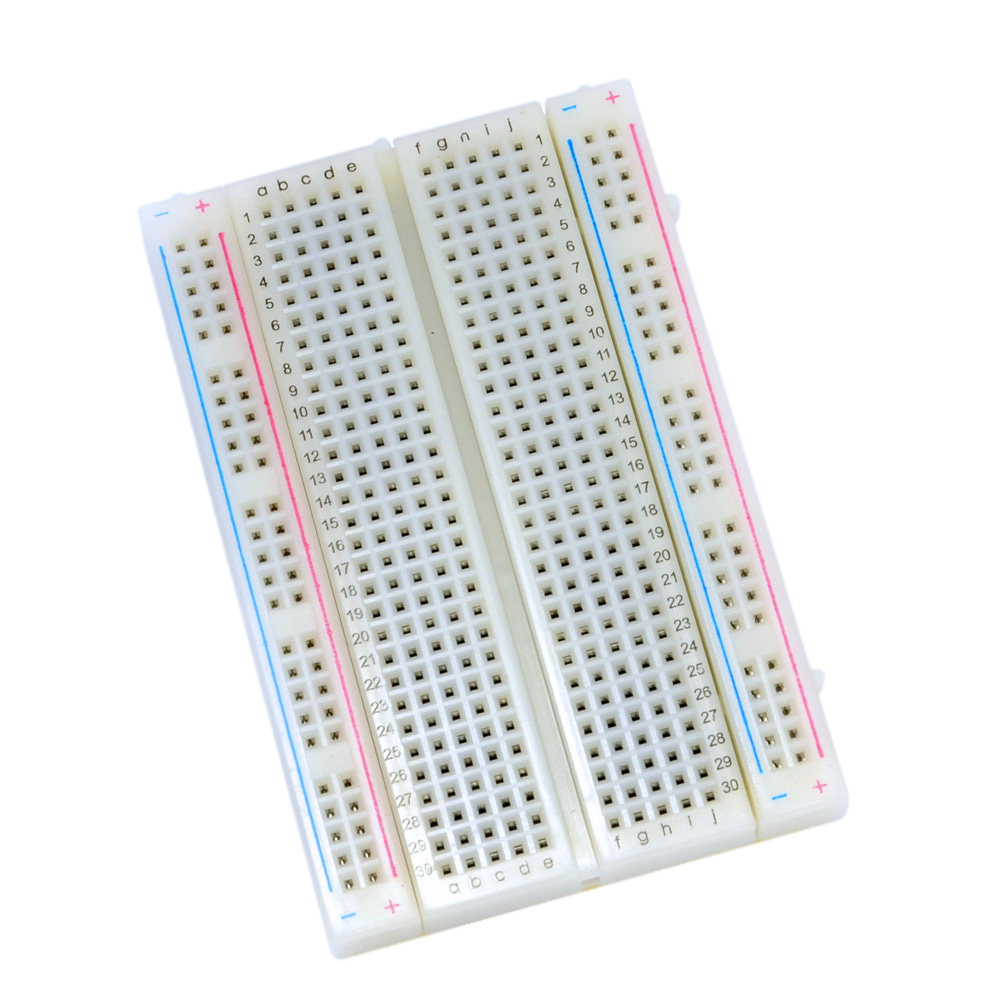
- Breadboard
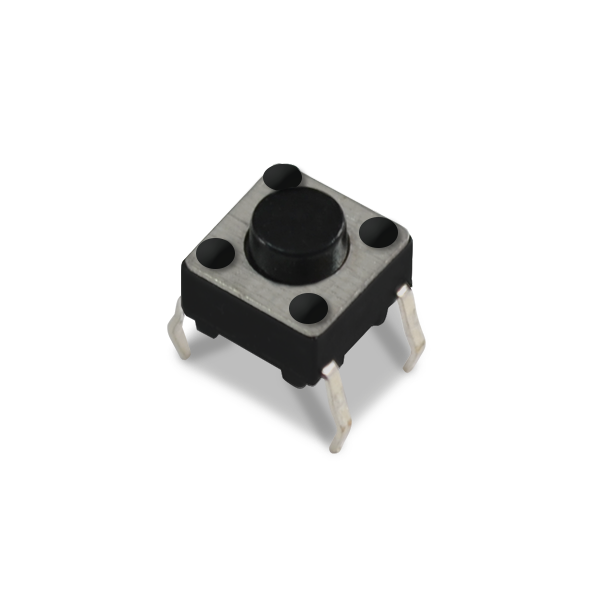
- Button
Outside:
- Cardboard
- Paper (Optional)
- Tape
- 2 Metal Wires
- Scissors
- Pliers
Setup
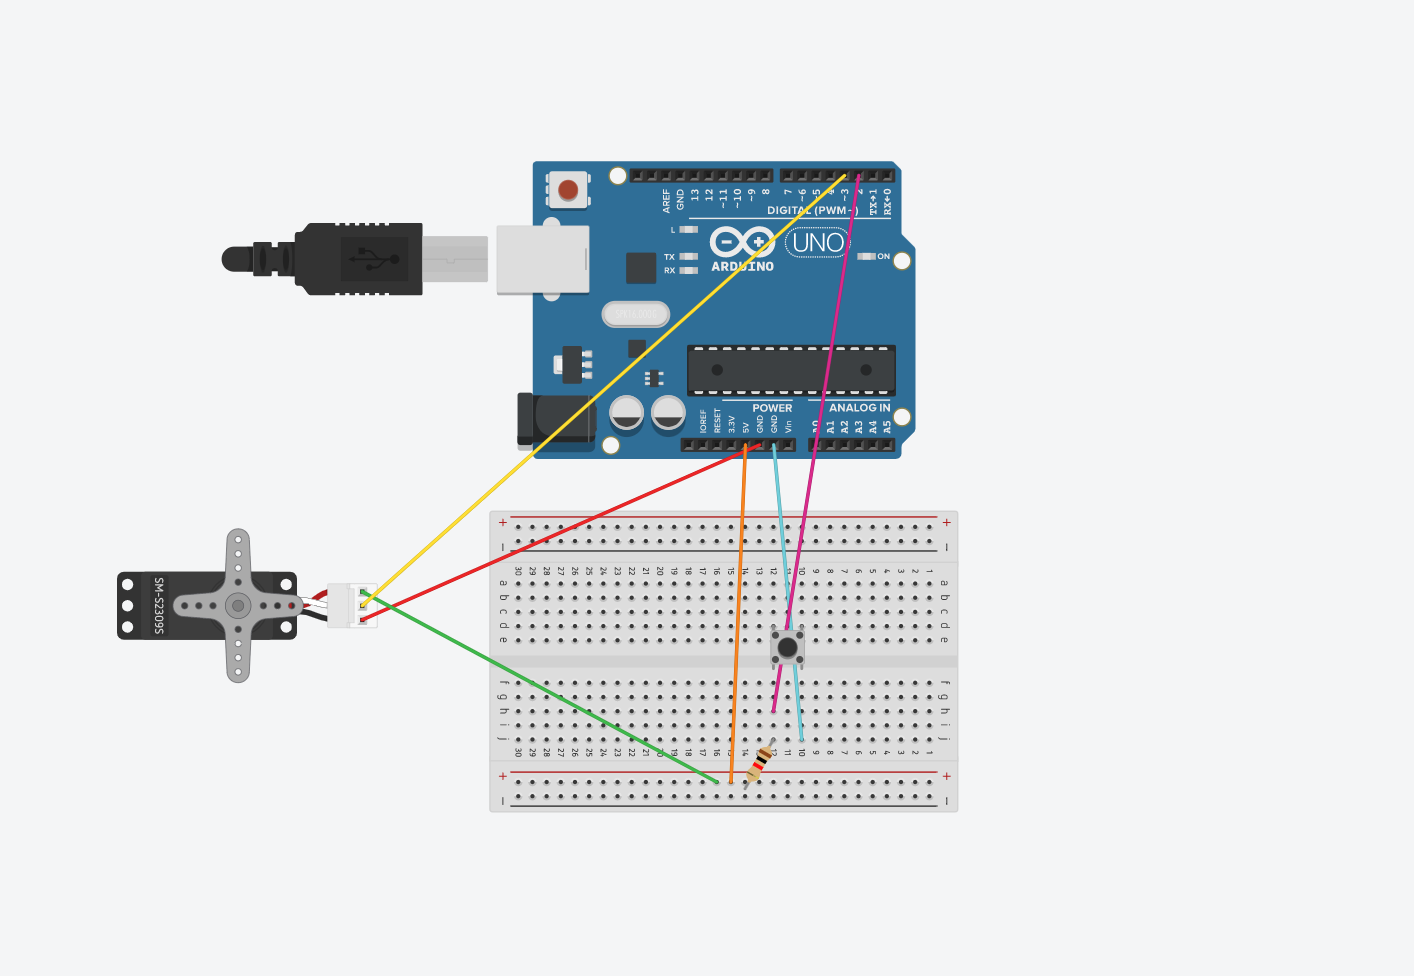
Button:
- place top left leg at D10
10 Kilo Ohm Resistor:
- J12 -> positive
Servo:
- servo black wire -> GND
-servo red wire -> positive (right hand side)
-servo white wire -> 3~
Breadboard and Arduino:
- J10 -> GND
- 2 -> H12 (lines up horizontally with resistor)
- 5V -> positive (right hand side)
Code
Copy and paste, and then upload this code into the Arduino APP. Then connect it to your Arduino board. The servo should start to spin when you press the button.
Outside
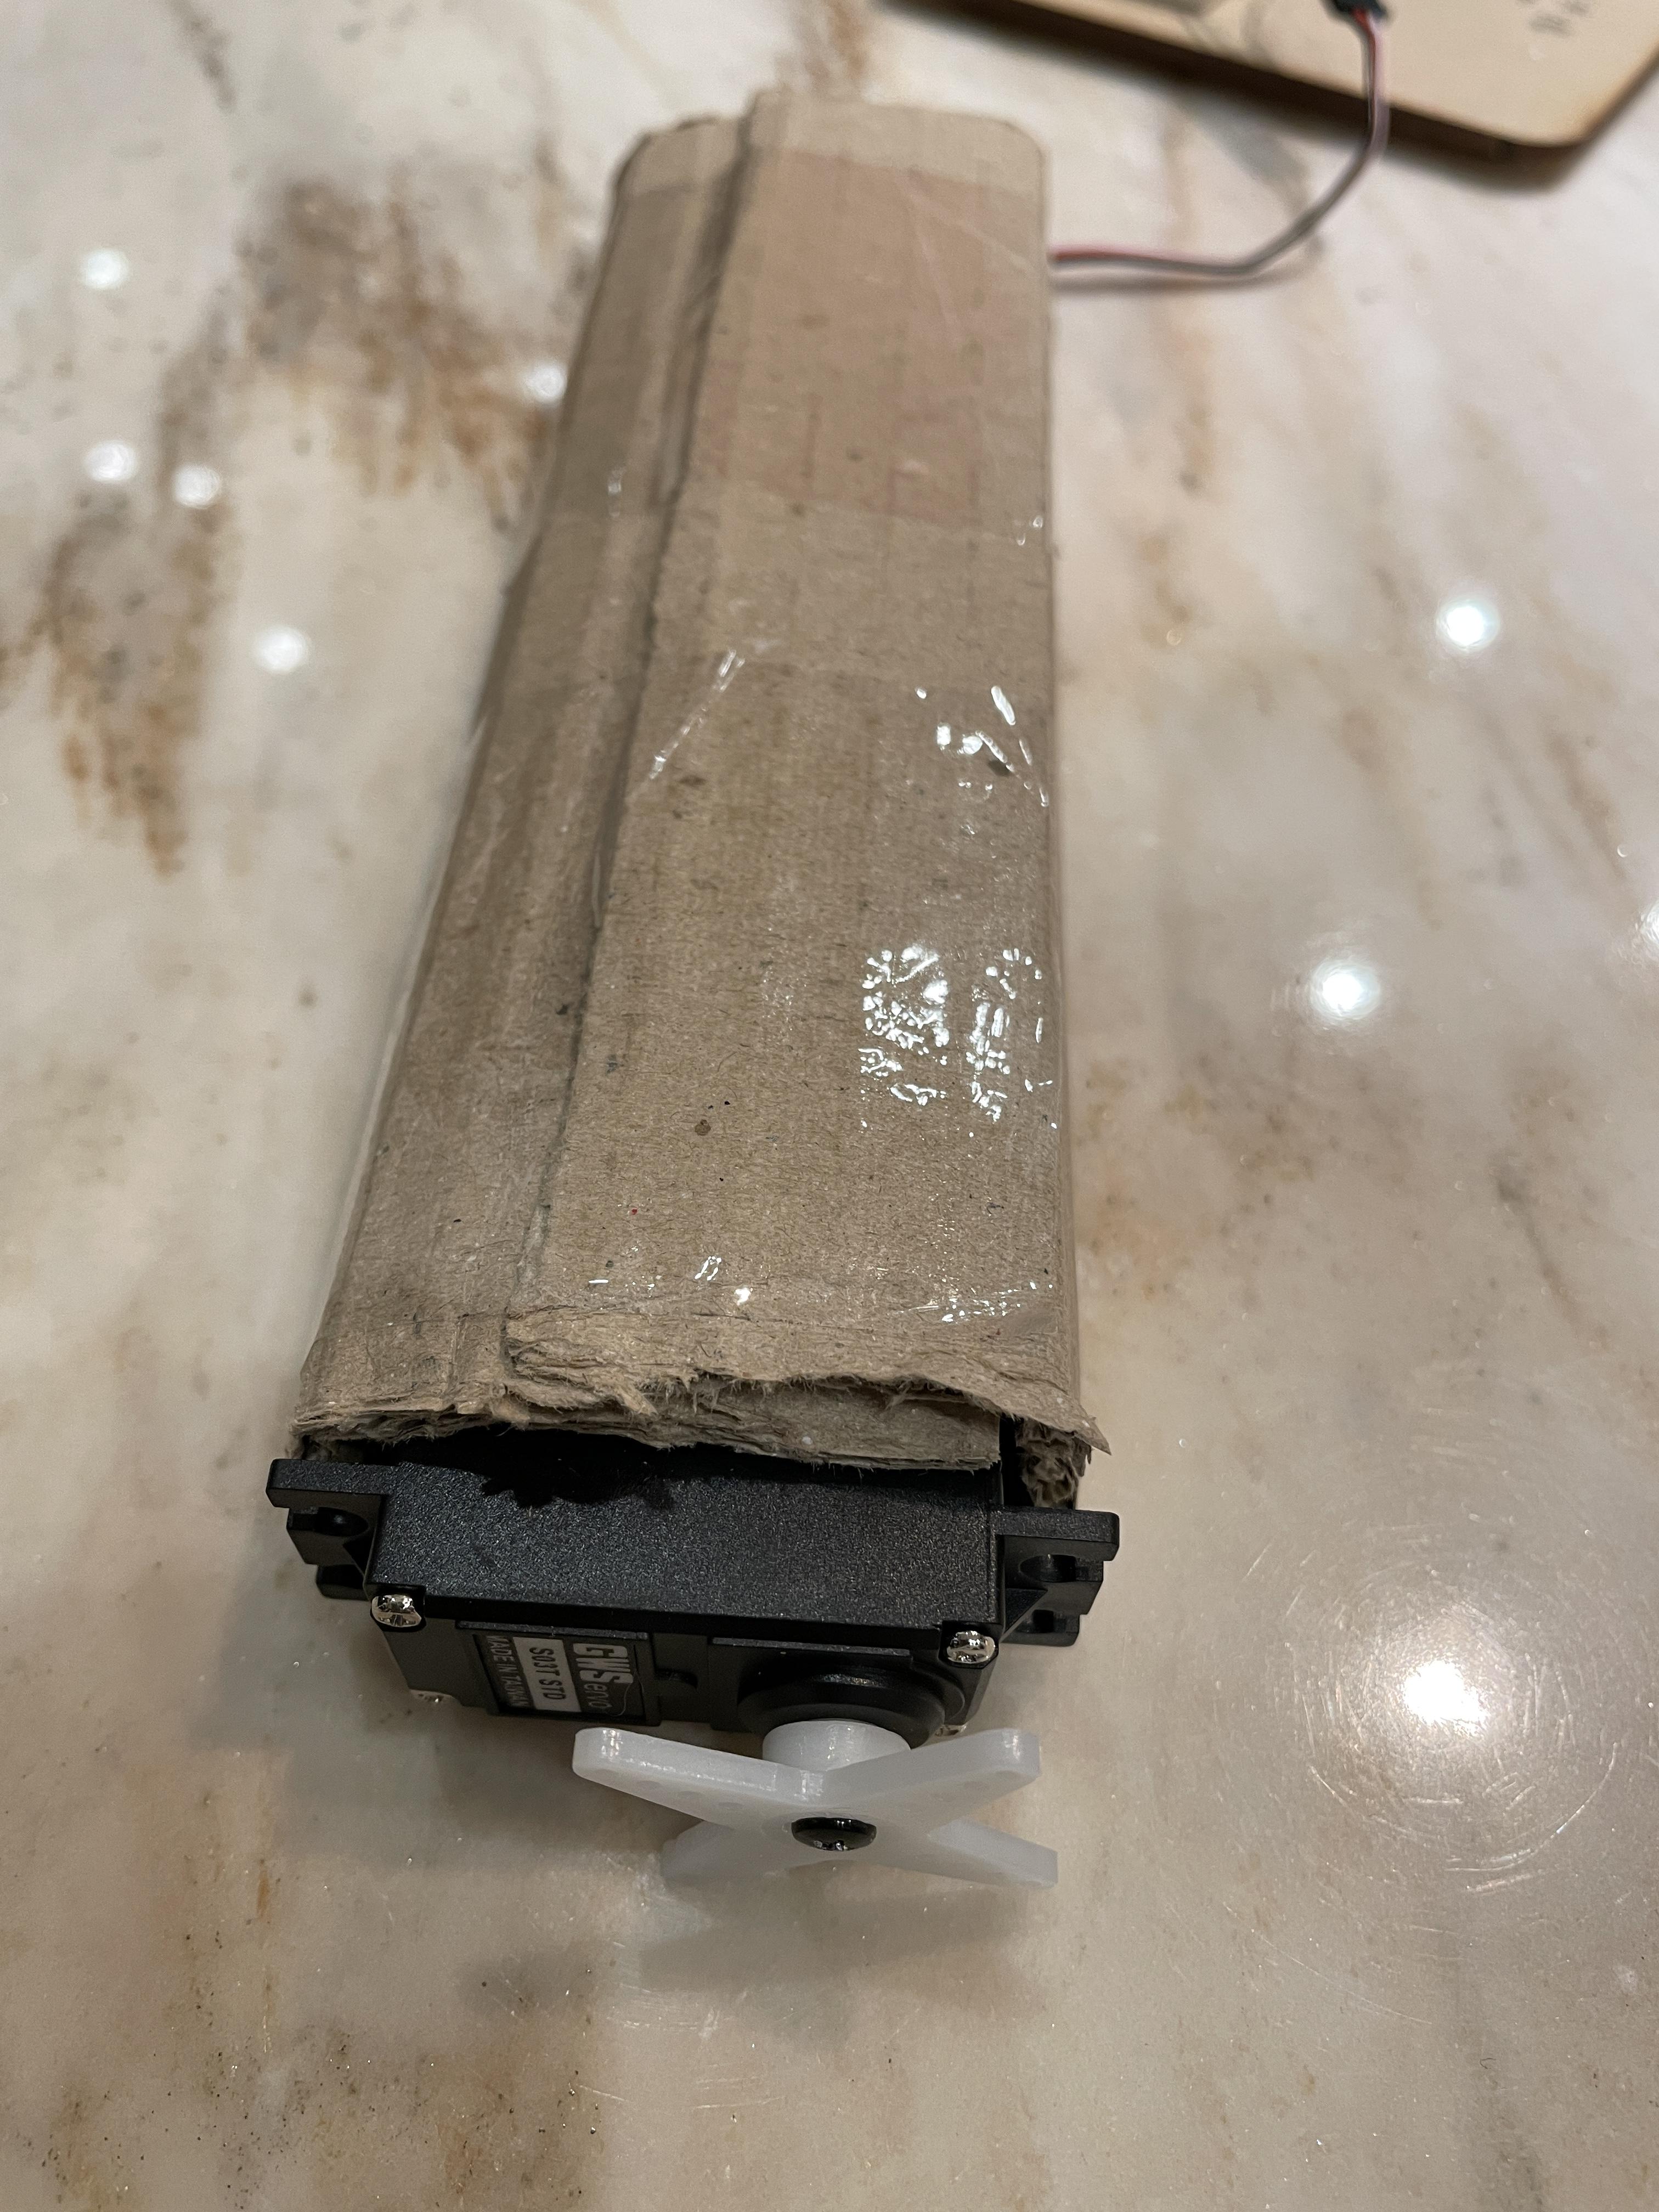
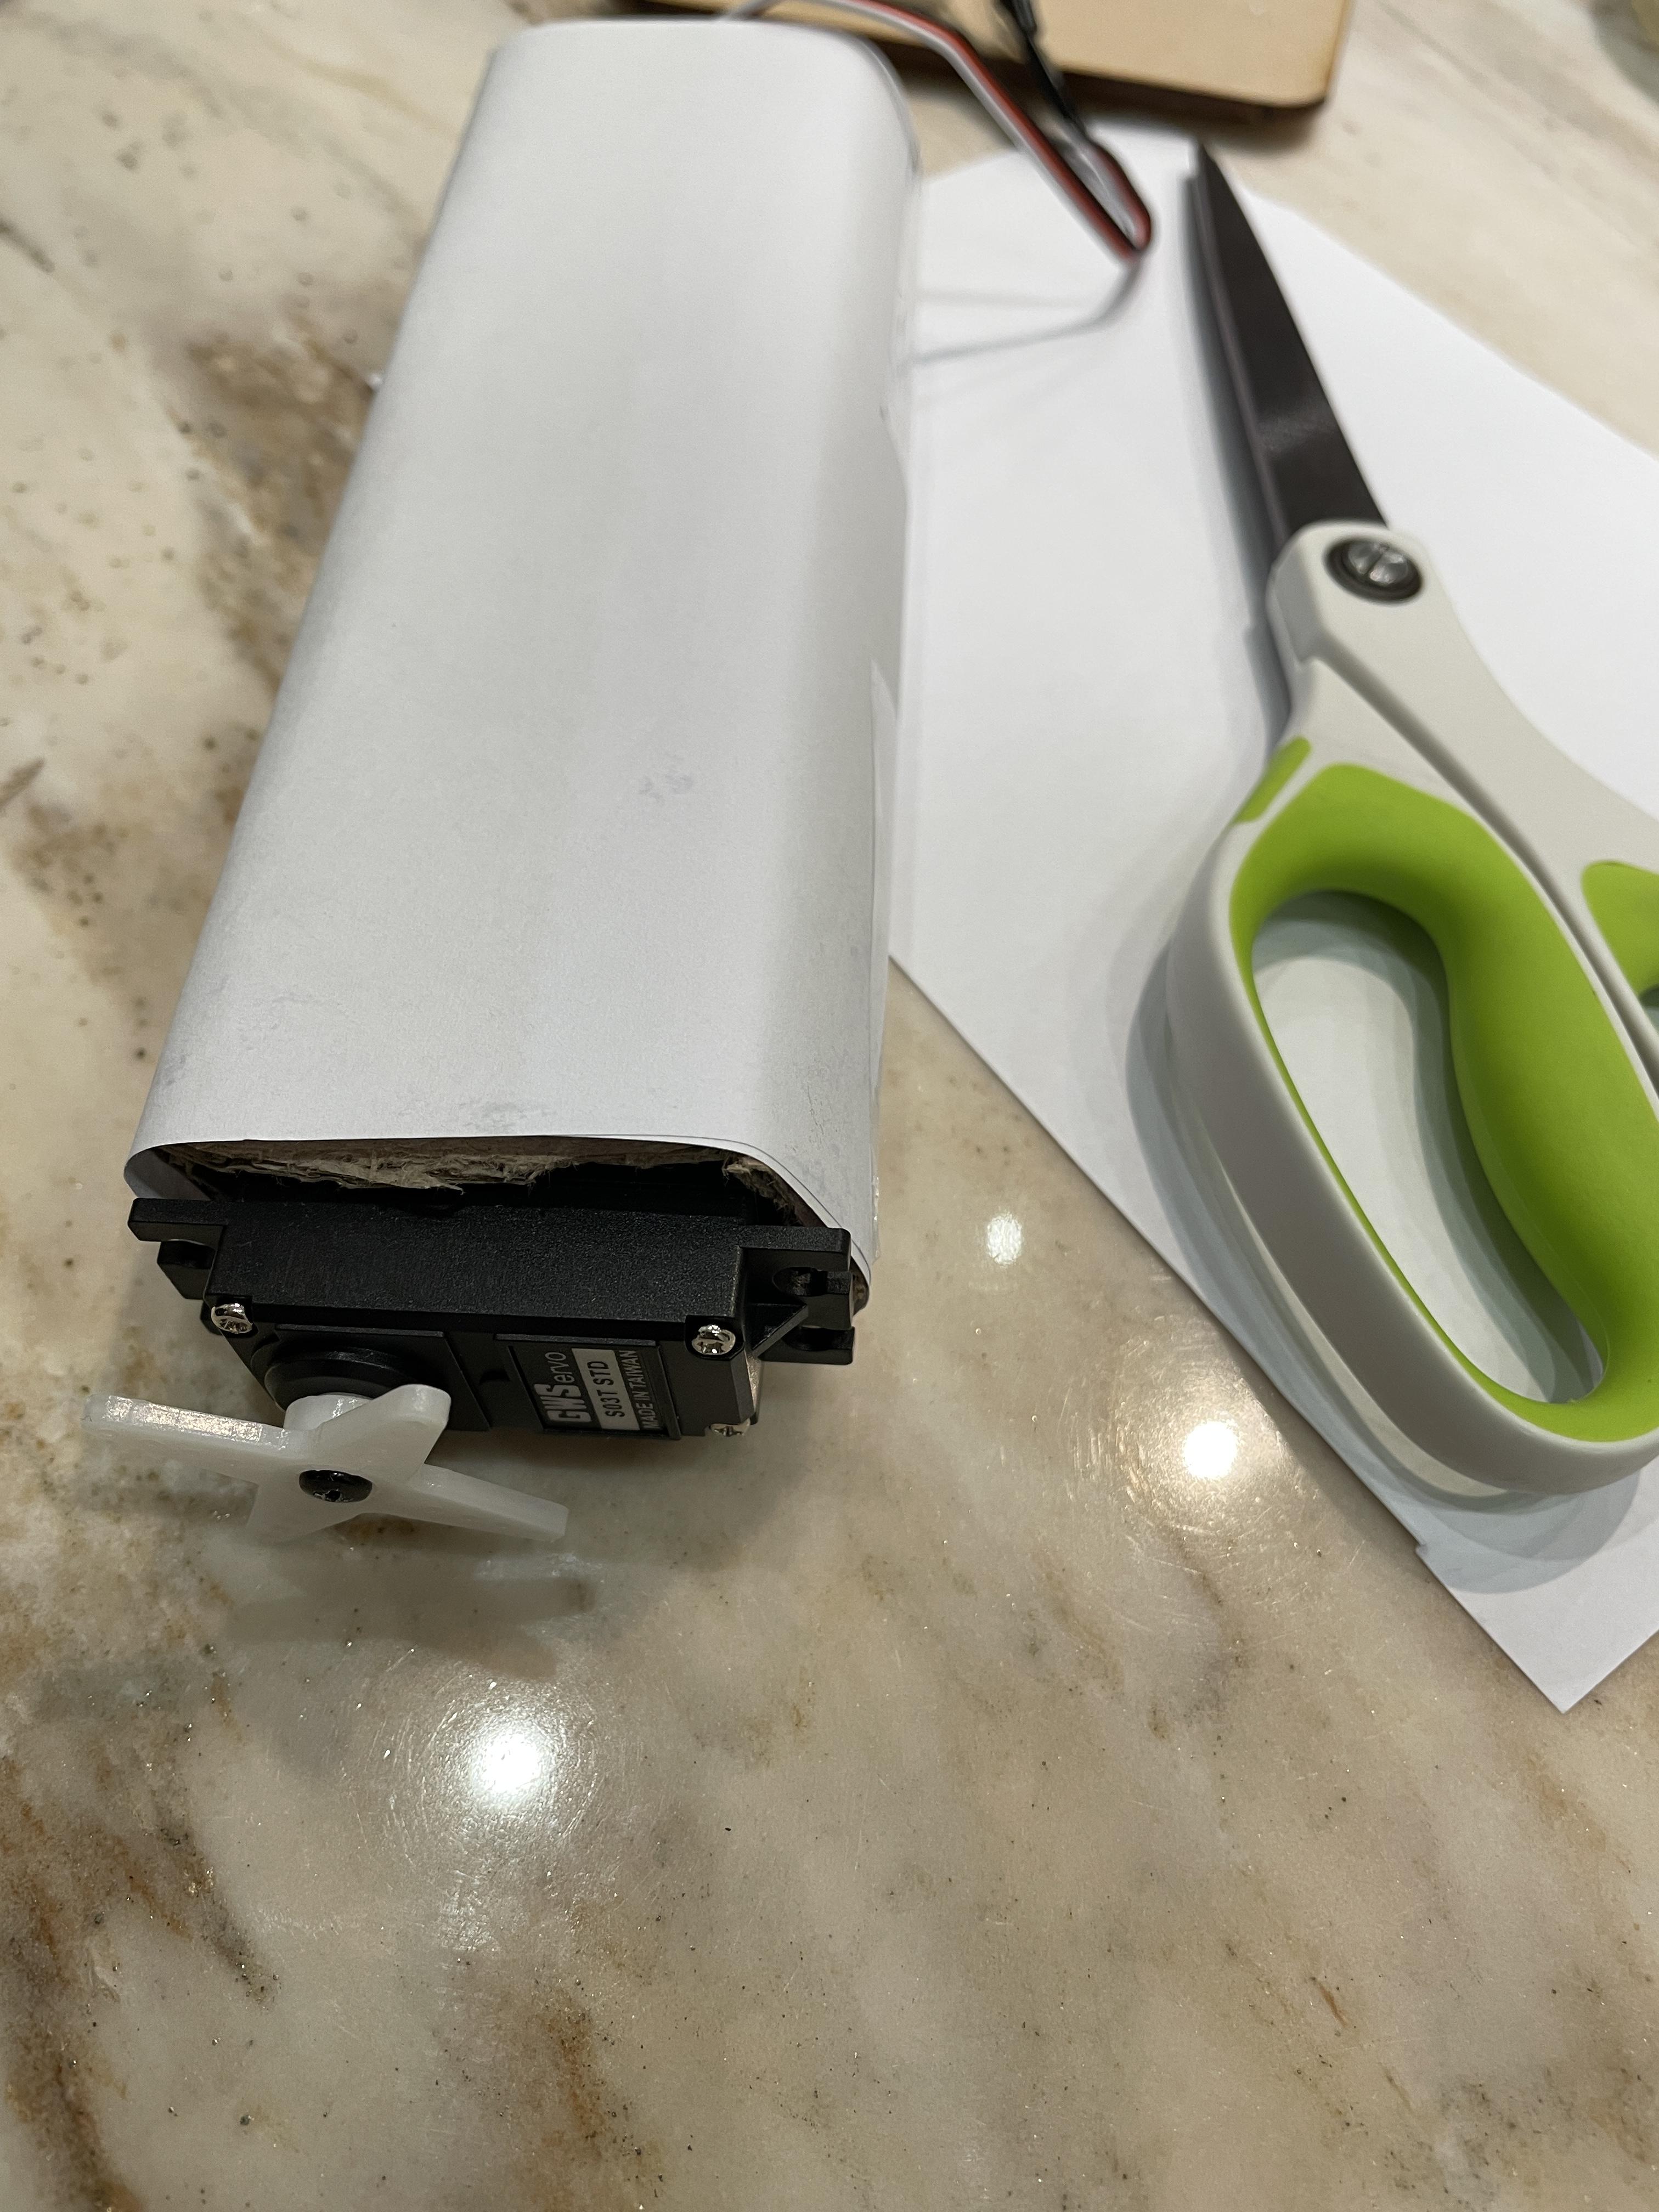
- cut the cardboard to fit the servo
- wrap the servo with cardboard
- tape the cardboard
- tape paper around the cardboard (optional)
Mixing Attachment
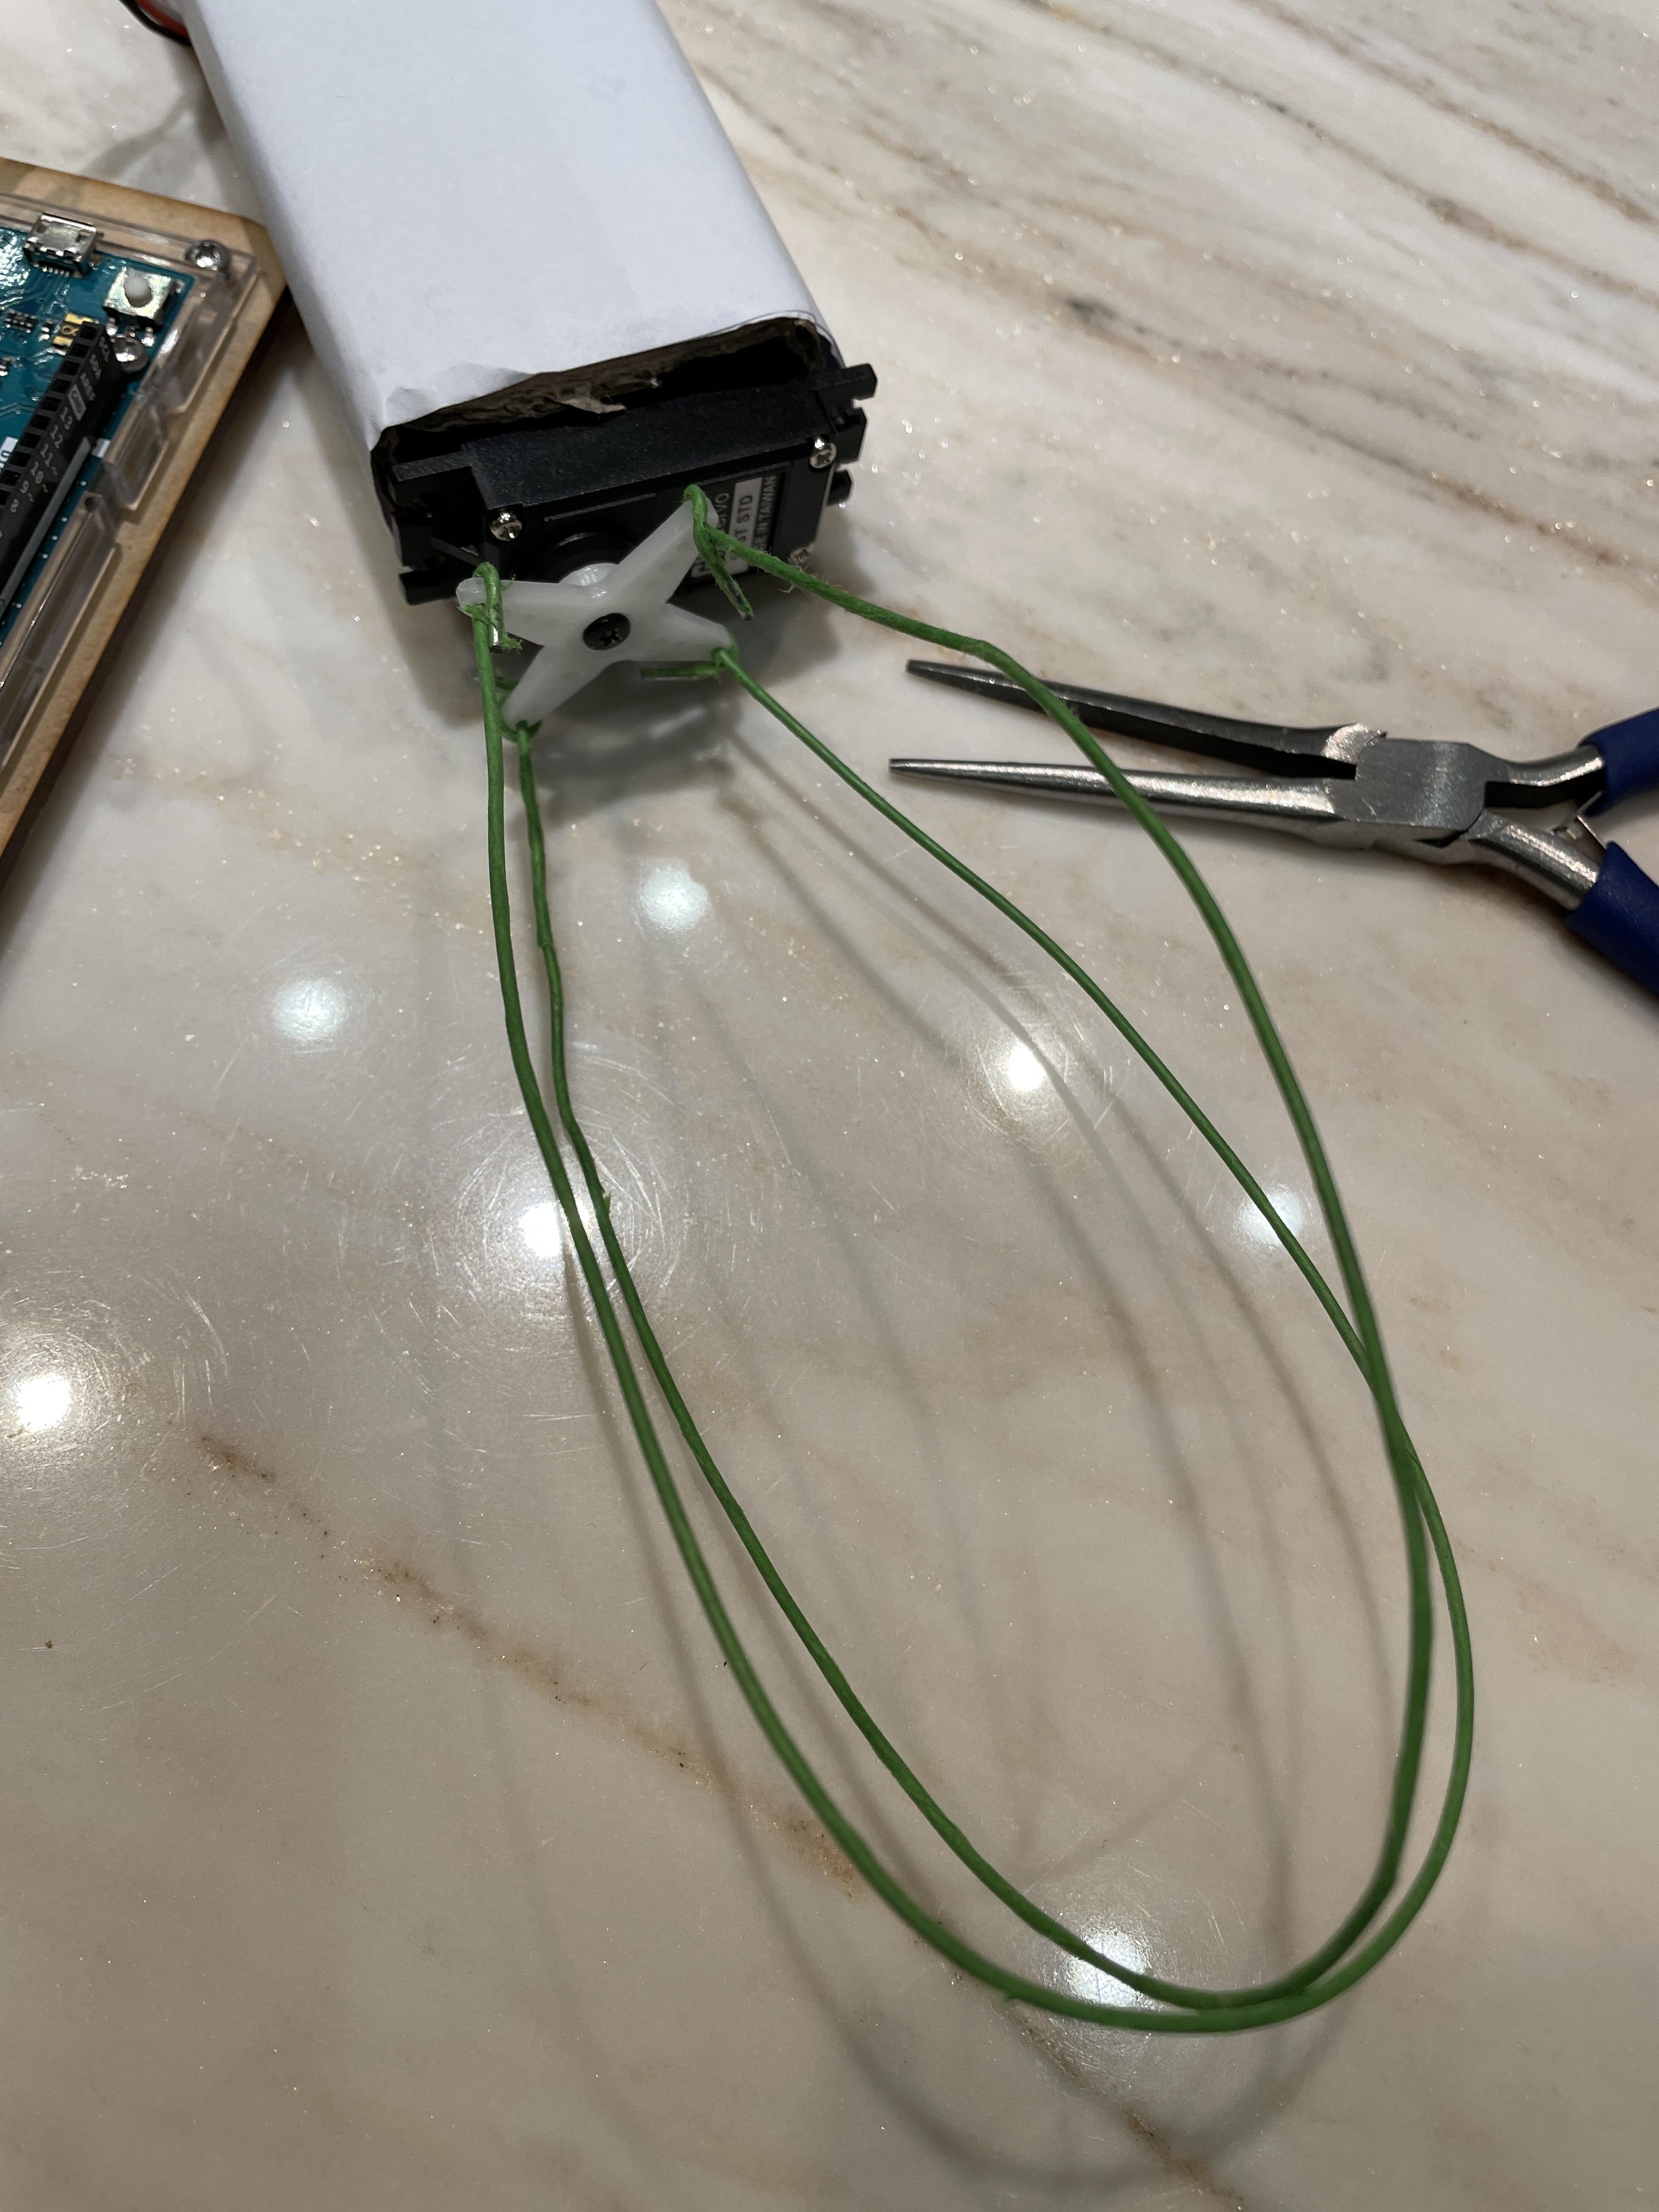
- bend wires
- use pliers to attach to both ends of servo
- repeat for other wire
Well Done!
