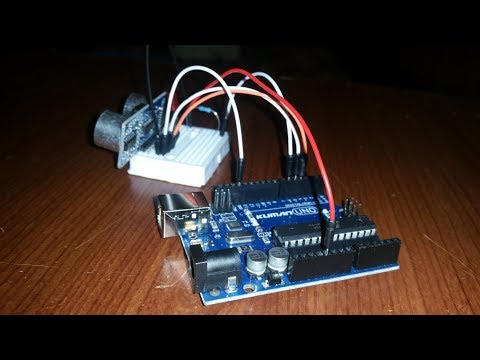
Arduino HC-SR04 + LED
by Aleksandar Tsvetkov in Circuits > Arduino
10709 Views, 11 Favorites, 0 Comments
Arduino HC-SR04 + LED
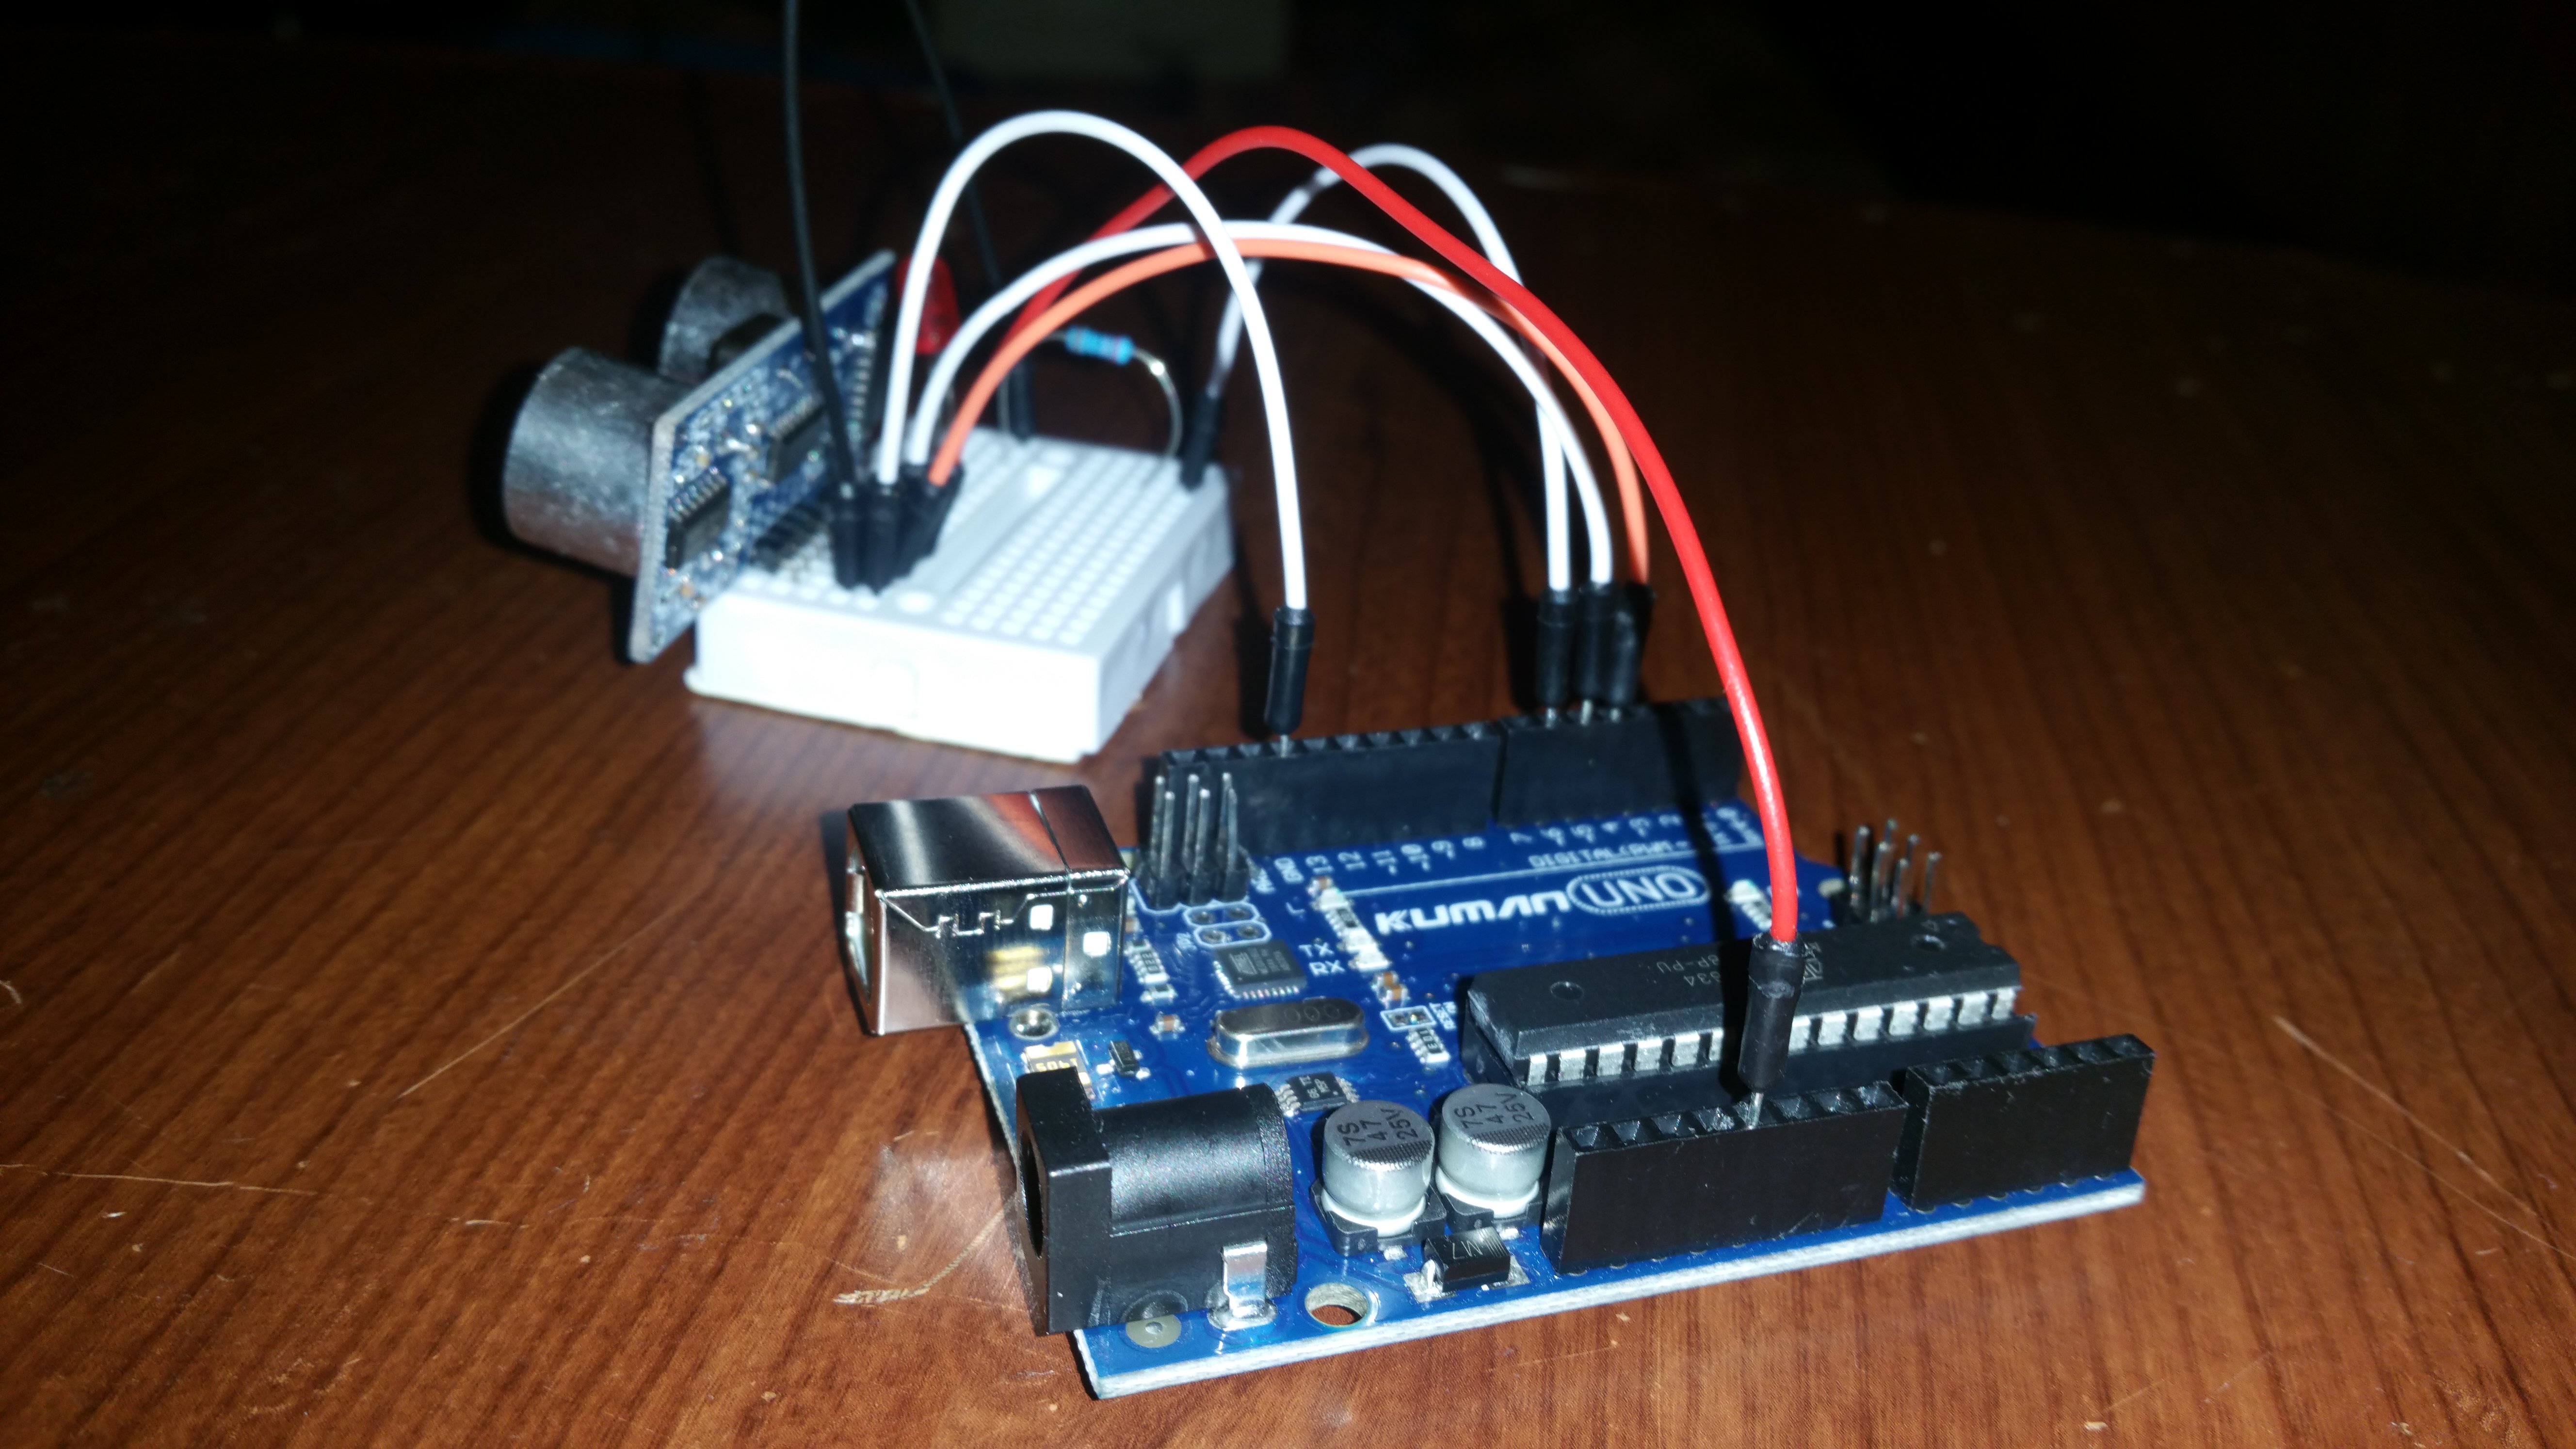
In this tutorial, I will show you how you can build a motion-detecting LED using an ultrasonic sensor (HC-SR04). The parts for this build are provided by KumanTech, you can find them in their Arduino UNO Kit.
Parts Needed
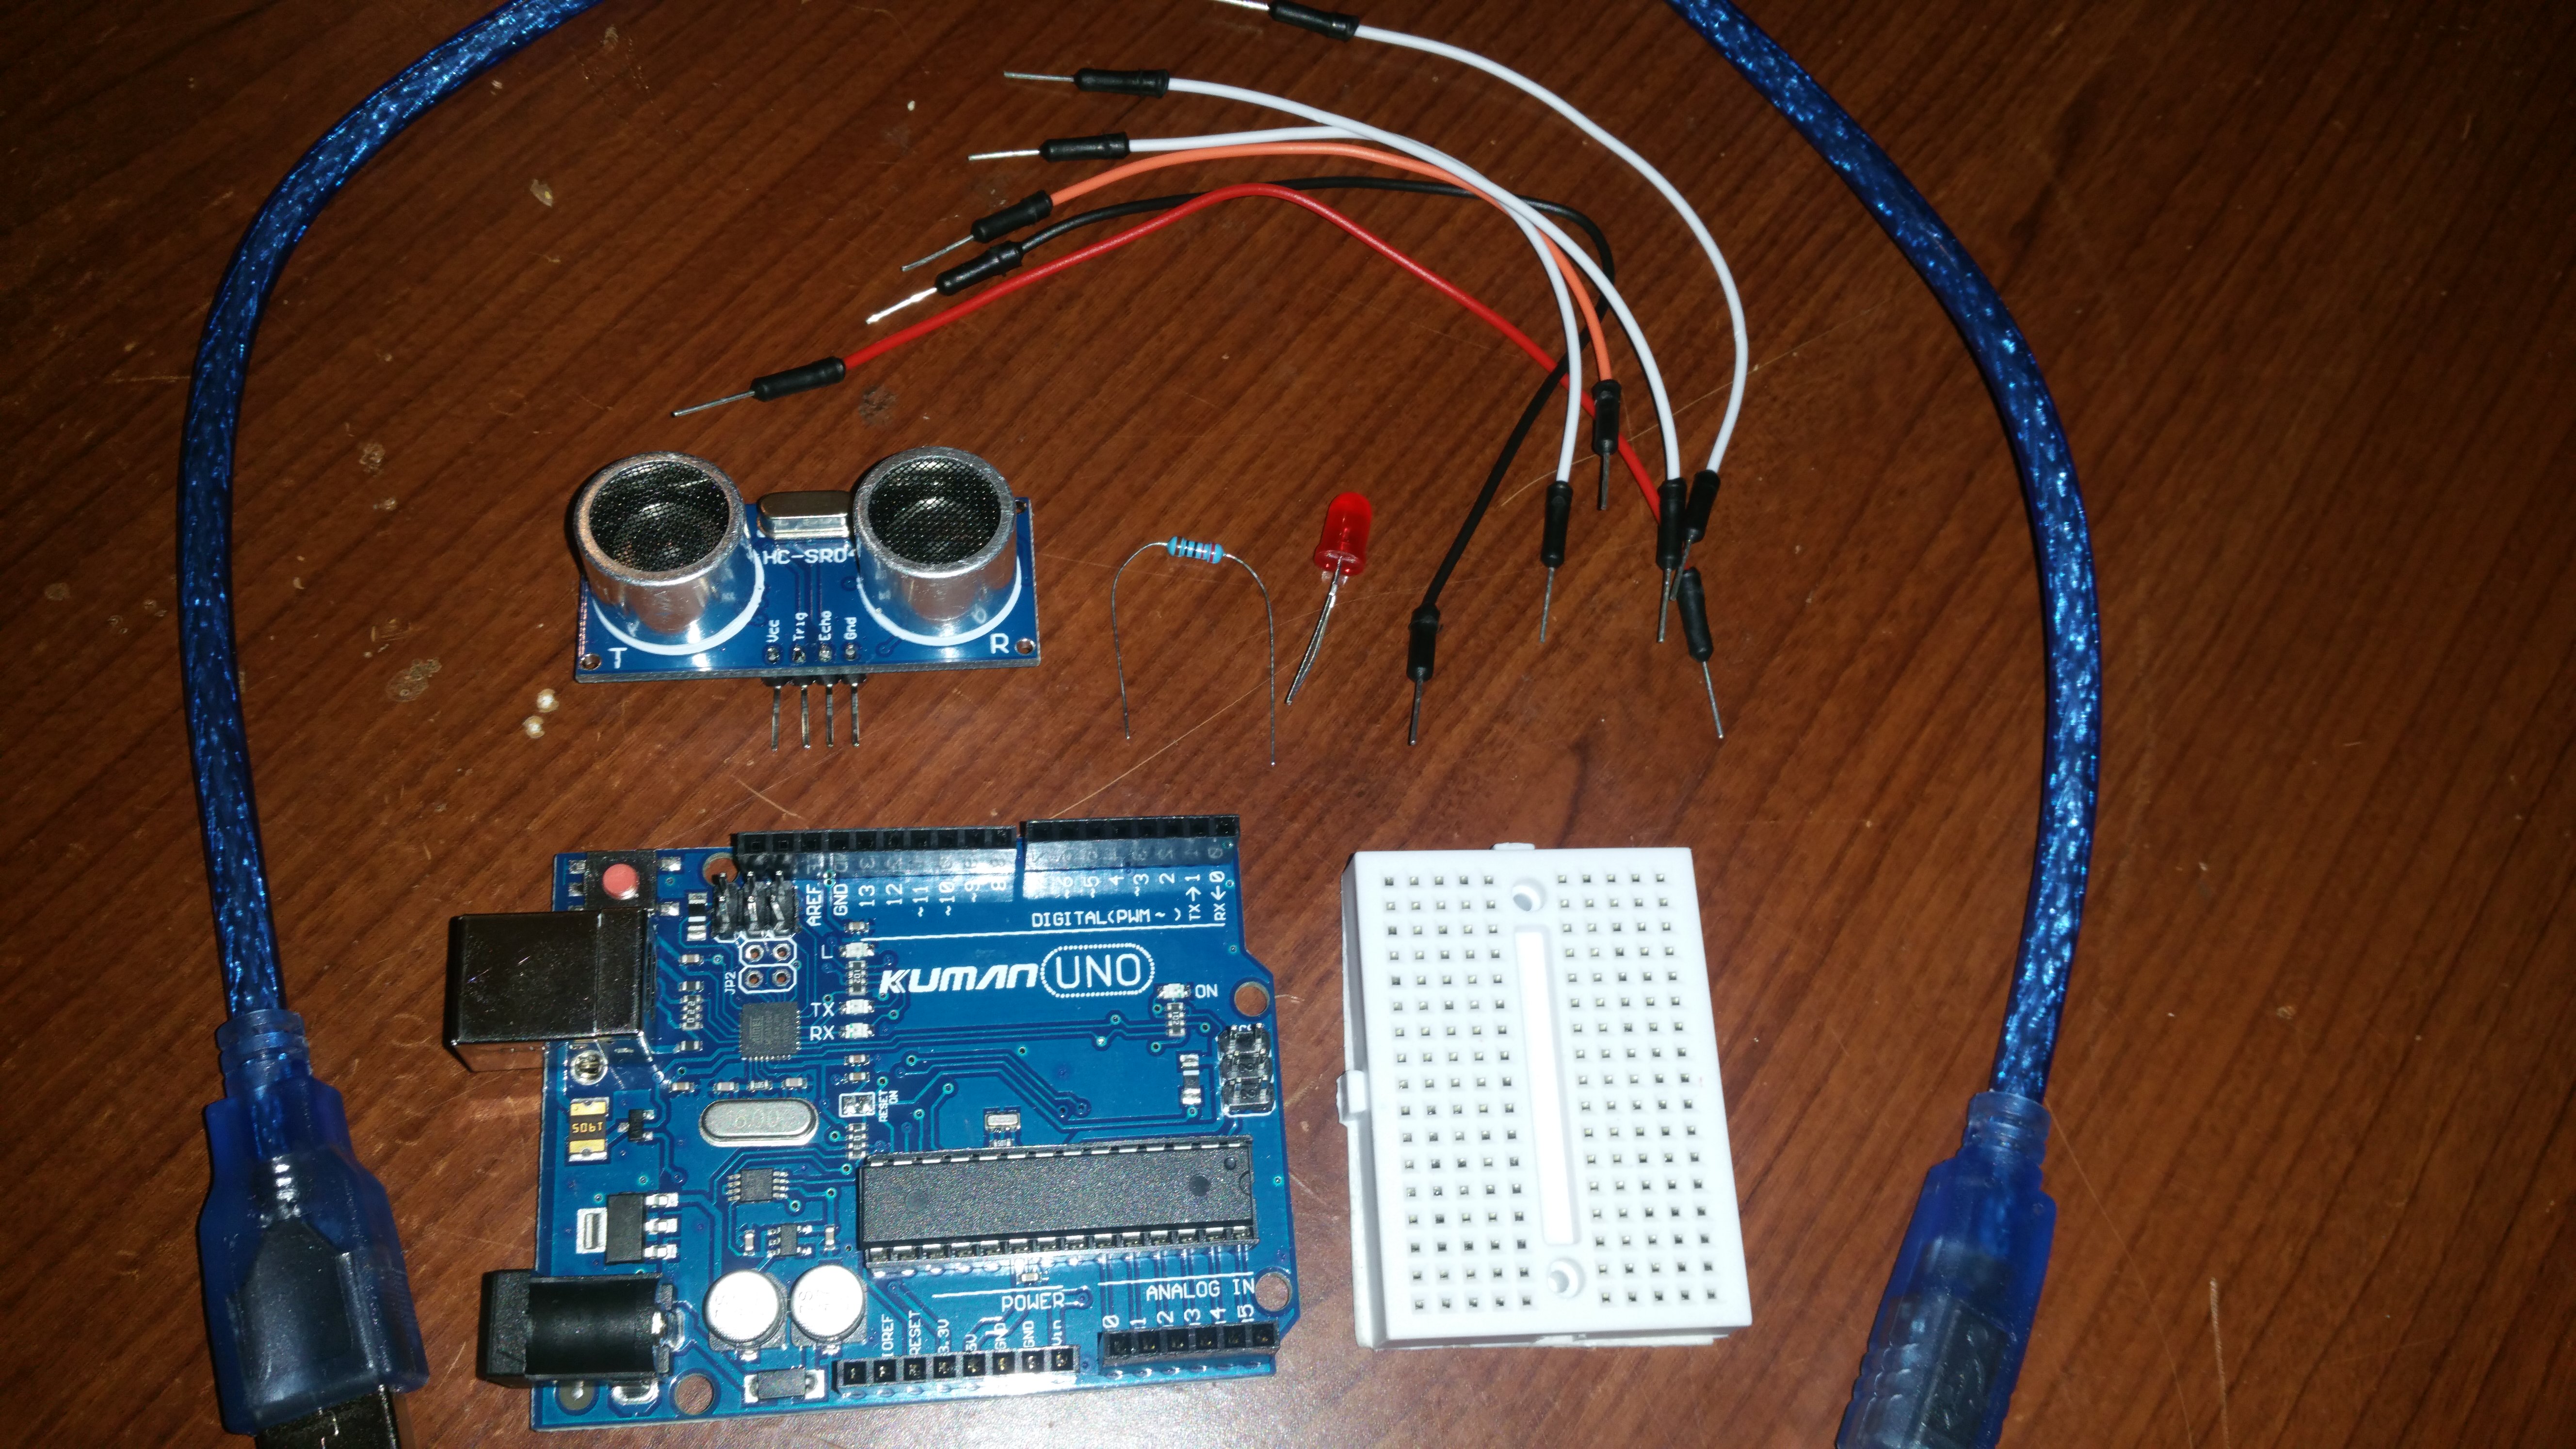
1 x Arduino board (I'm using an Arduino Uno)
1 x LED (The color doesn't matter)
1 x 220 ohm resistor
1 x Breadboard
1 x Arduino USB Cable
1 x 9V battery with a clip (optional)
6 x Jumper wires
Allchips is an electronics components online service platform, you can buy all the components from them.
Positioning the Parts
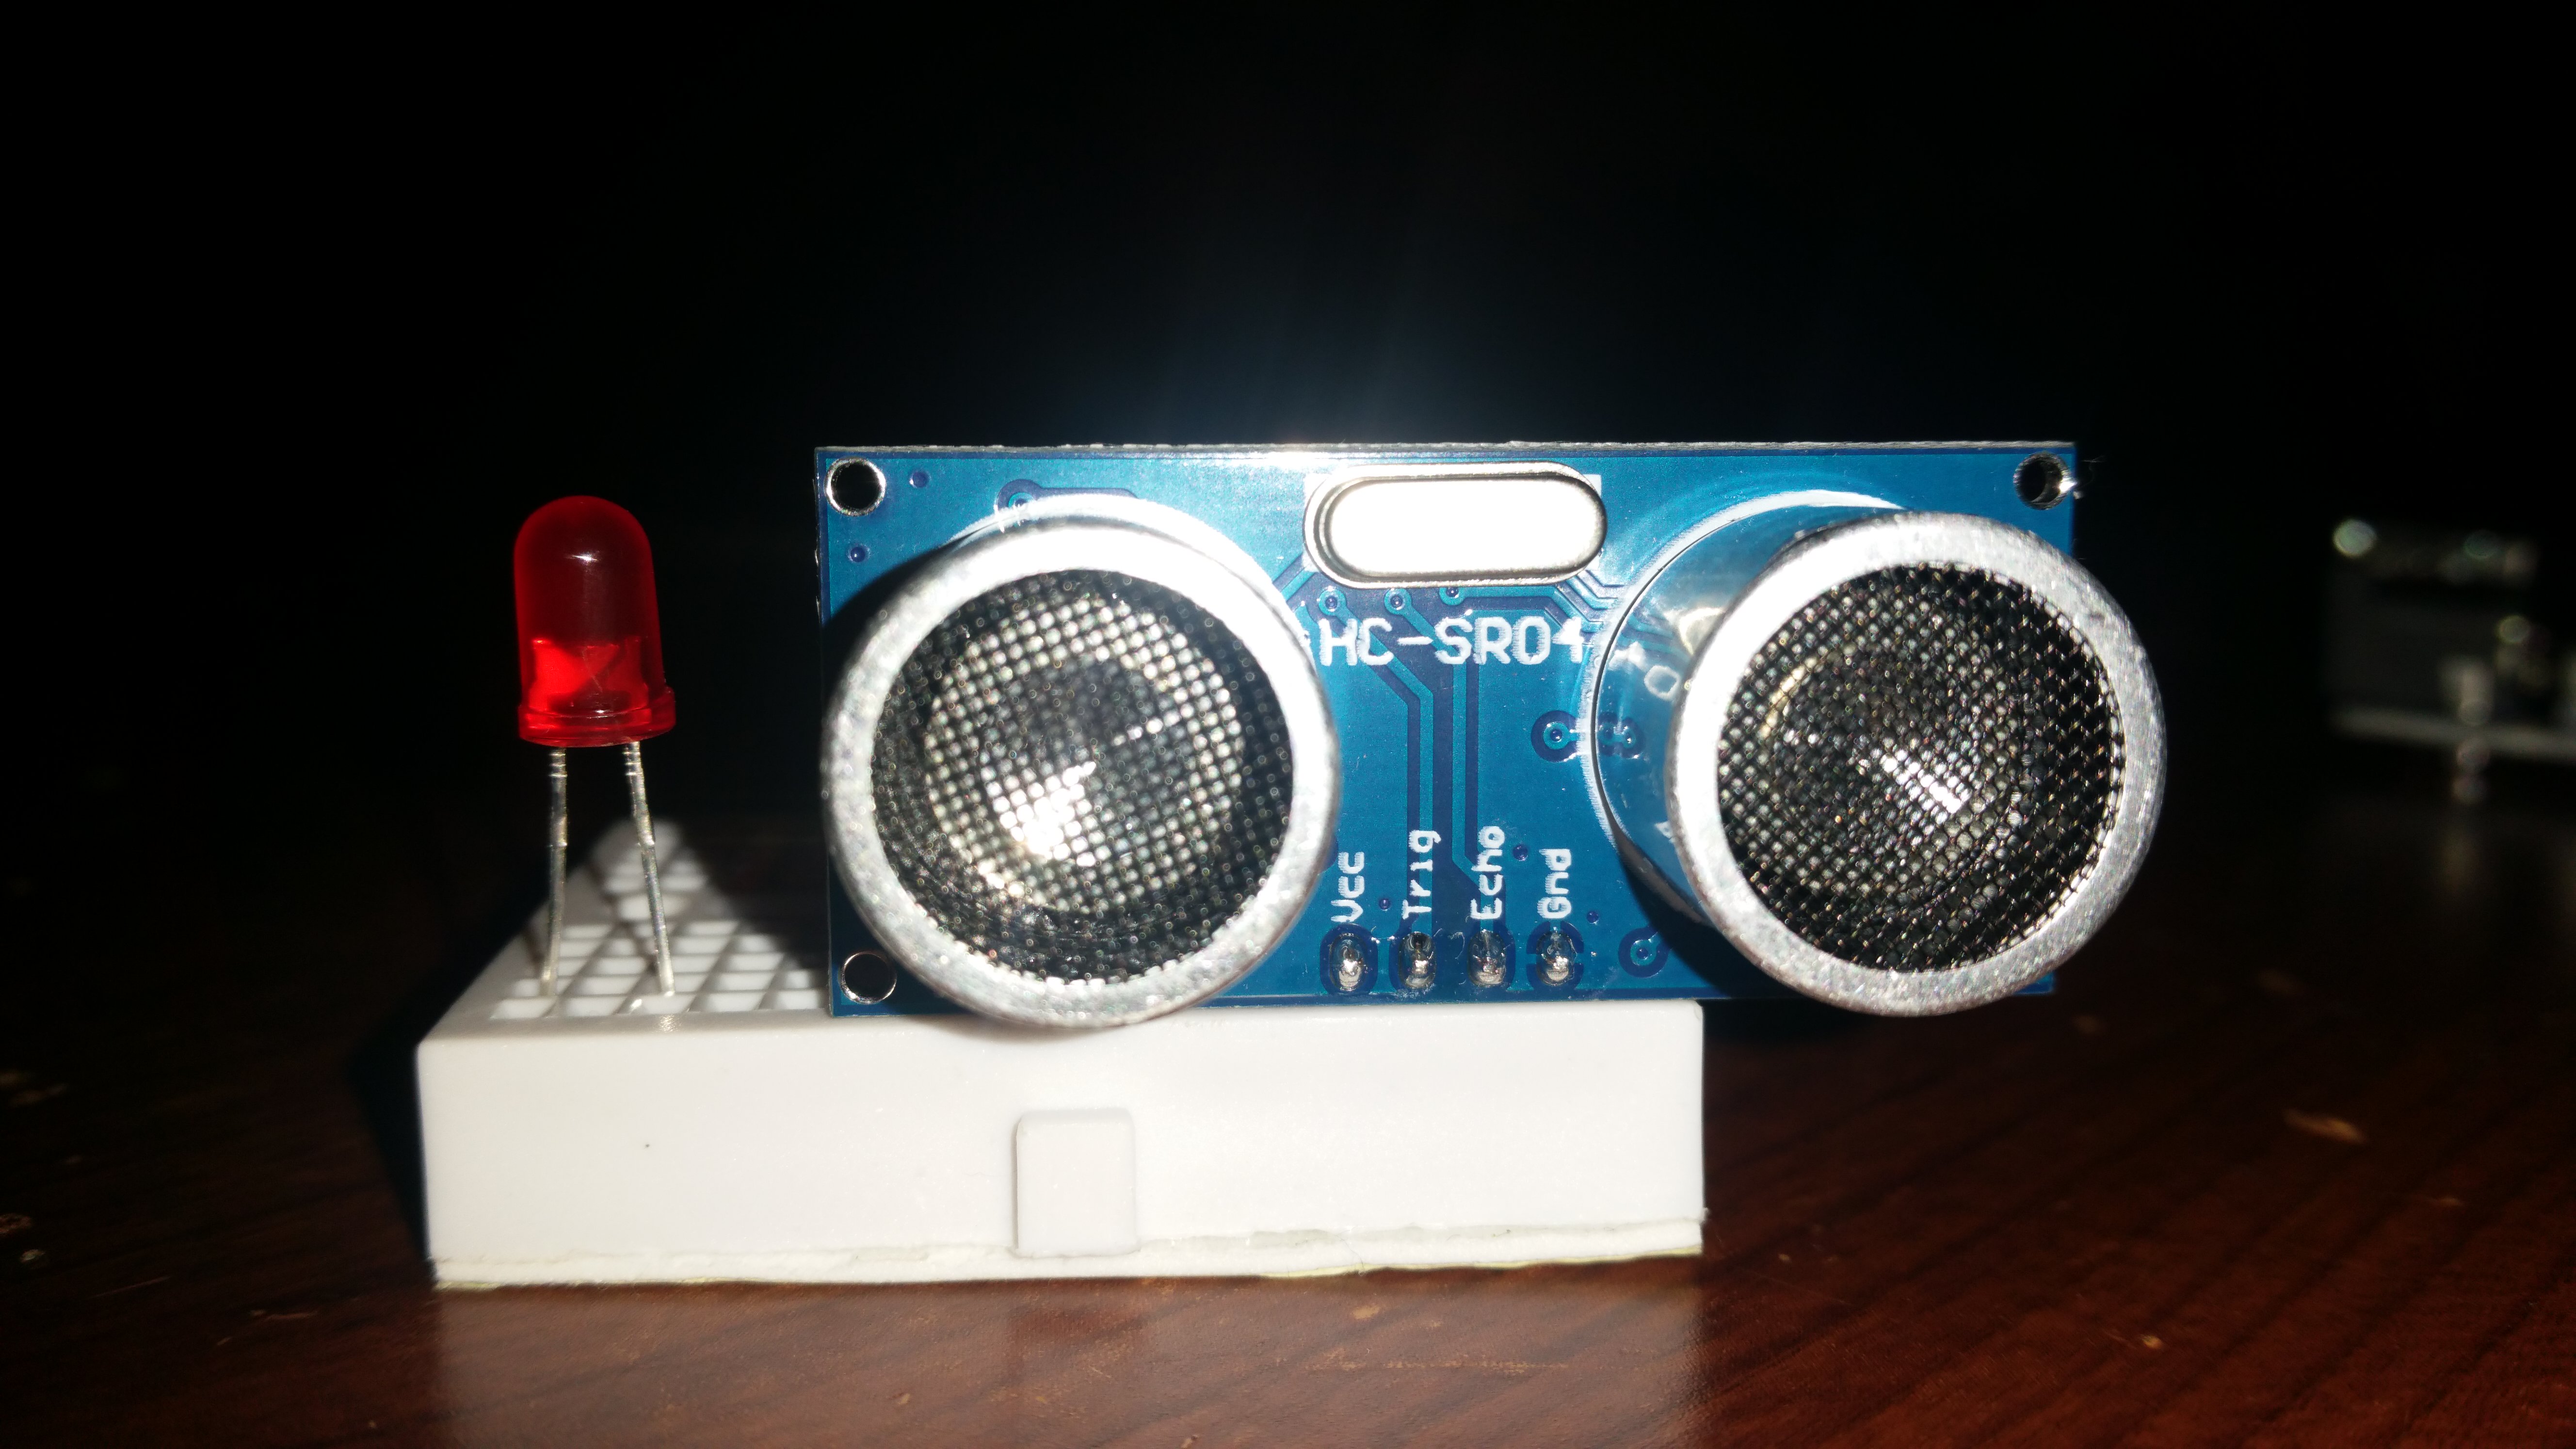
First, plug in the ultrasonic sensor and the LED on the breadboard. Connect the LED's shorter lead (the cathode) to the GND pin of the sensor. Then, place the resistor in the same row as the LED's longer lead (the anode) so they are connected.
Connecting the Parts

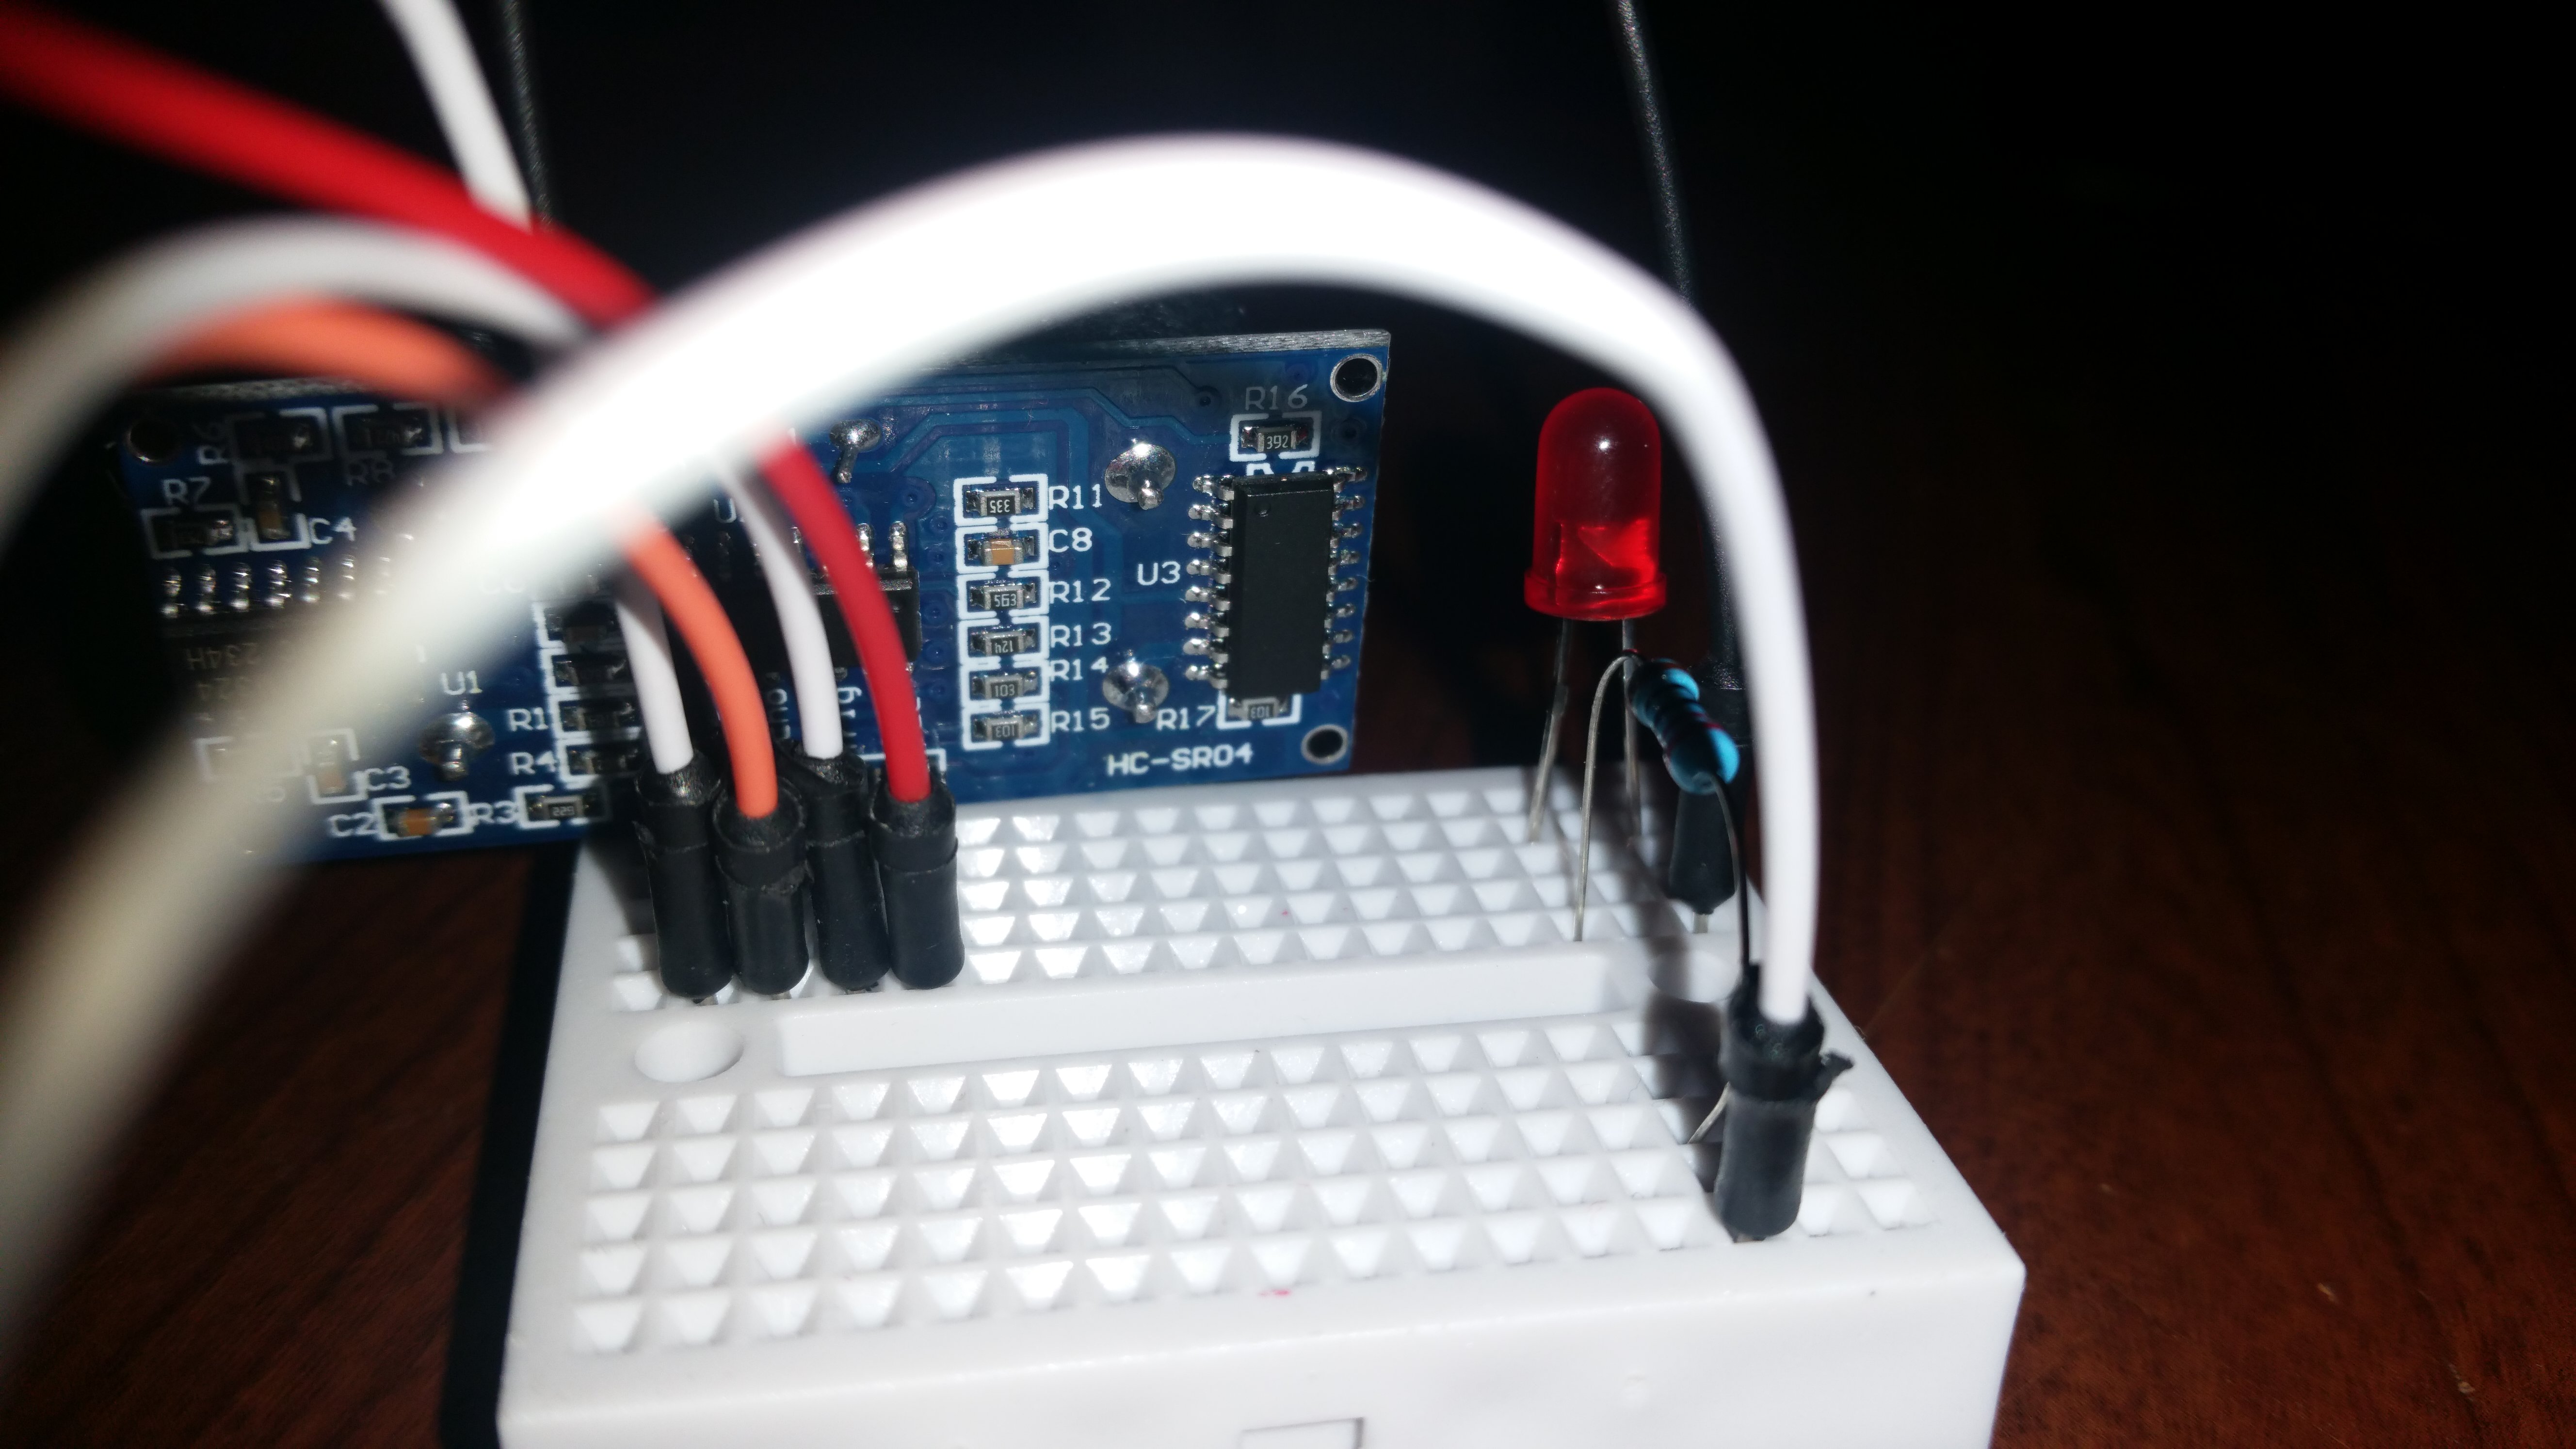
Now, you need to plug some wires on the back of the sensor. There are four pins - VCC, TRIG, ECHO and GND. After inserting the wires, you need to make the following connections:
The resistor's end to a digital pin of your choice, just make sure to change it later in the code!
Sensor | Arduino
VCC -> 5V
TRIG -> 5*
ECHO -> 4*
GND -> GND
* - Can be connected to any two digital pins of the Arduino, just make sure you change them in the code later!
Uploading the Code
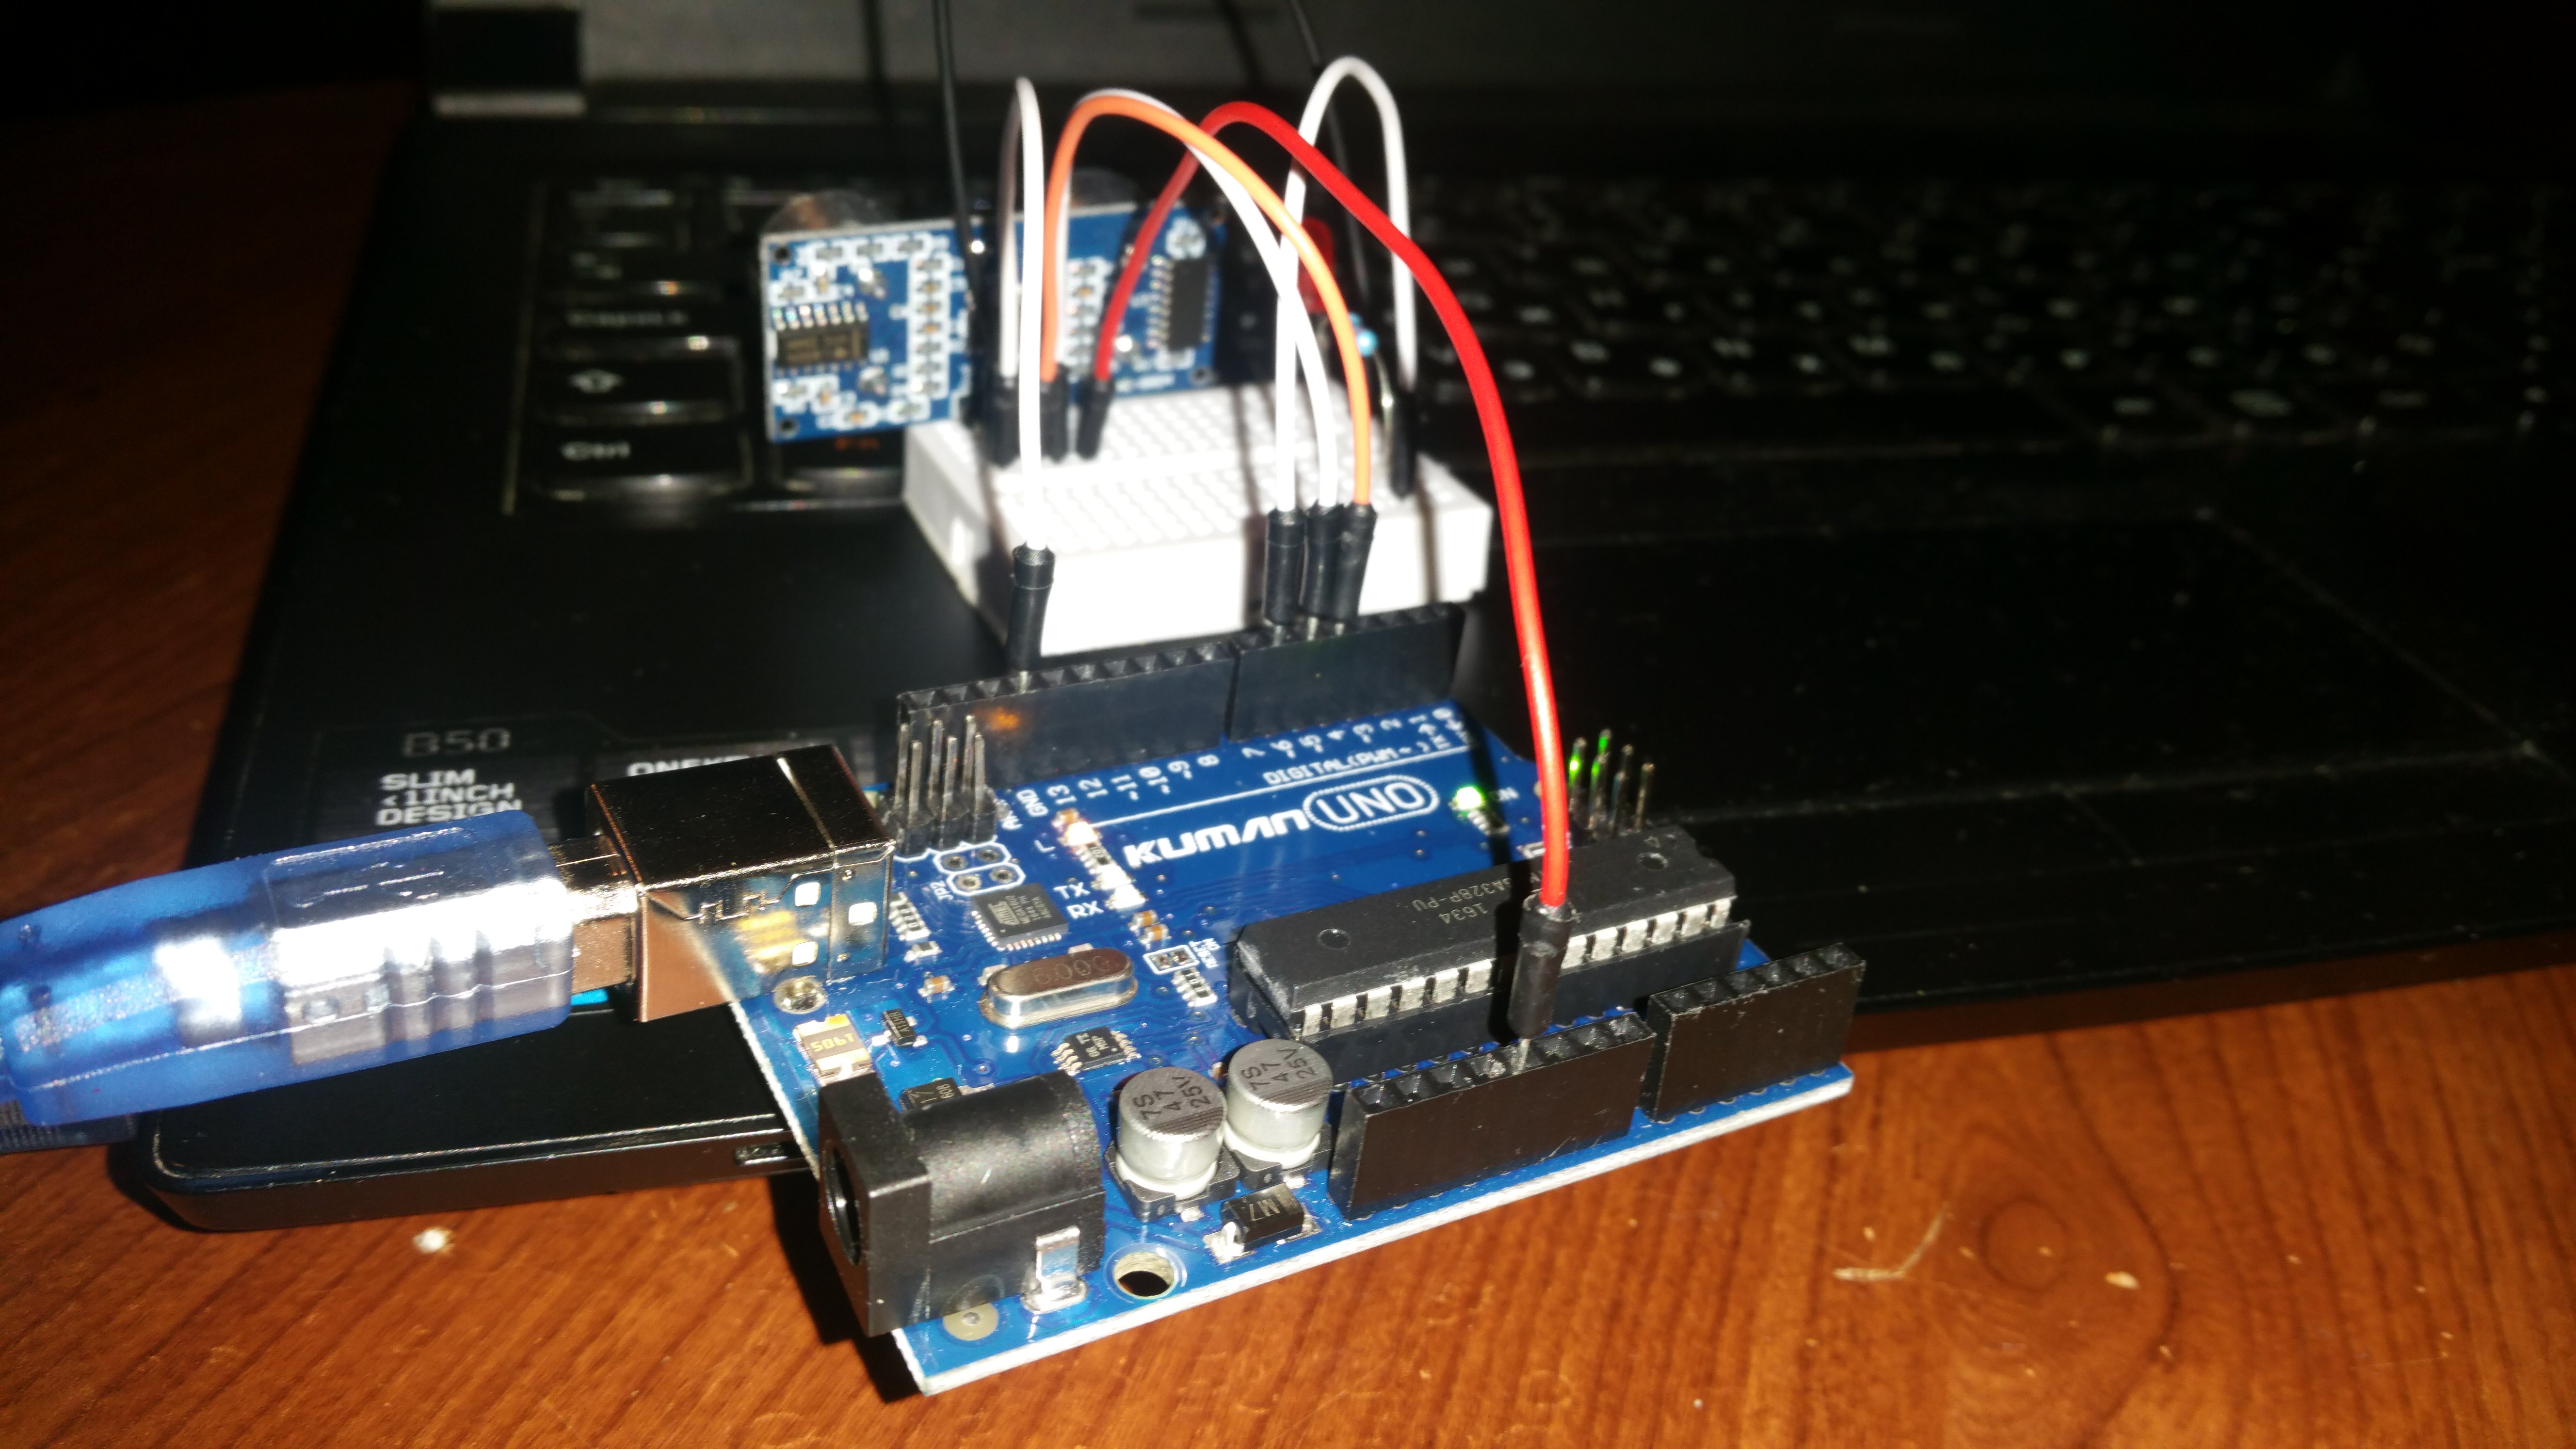
Now, you can plug your Arduino to your computer using an USB cable. Open up the Arduino software and upload the code that you can find here. The constants are commented, so you know exactly what they are doing and possibly change them.
The Final Result
