Arduino Dice for Board Games
by llolliipppoppp in Circuits > Arduino
233 Views, 0 Favorites, 0 Comments
Arduino Dice for Board Games
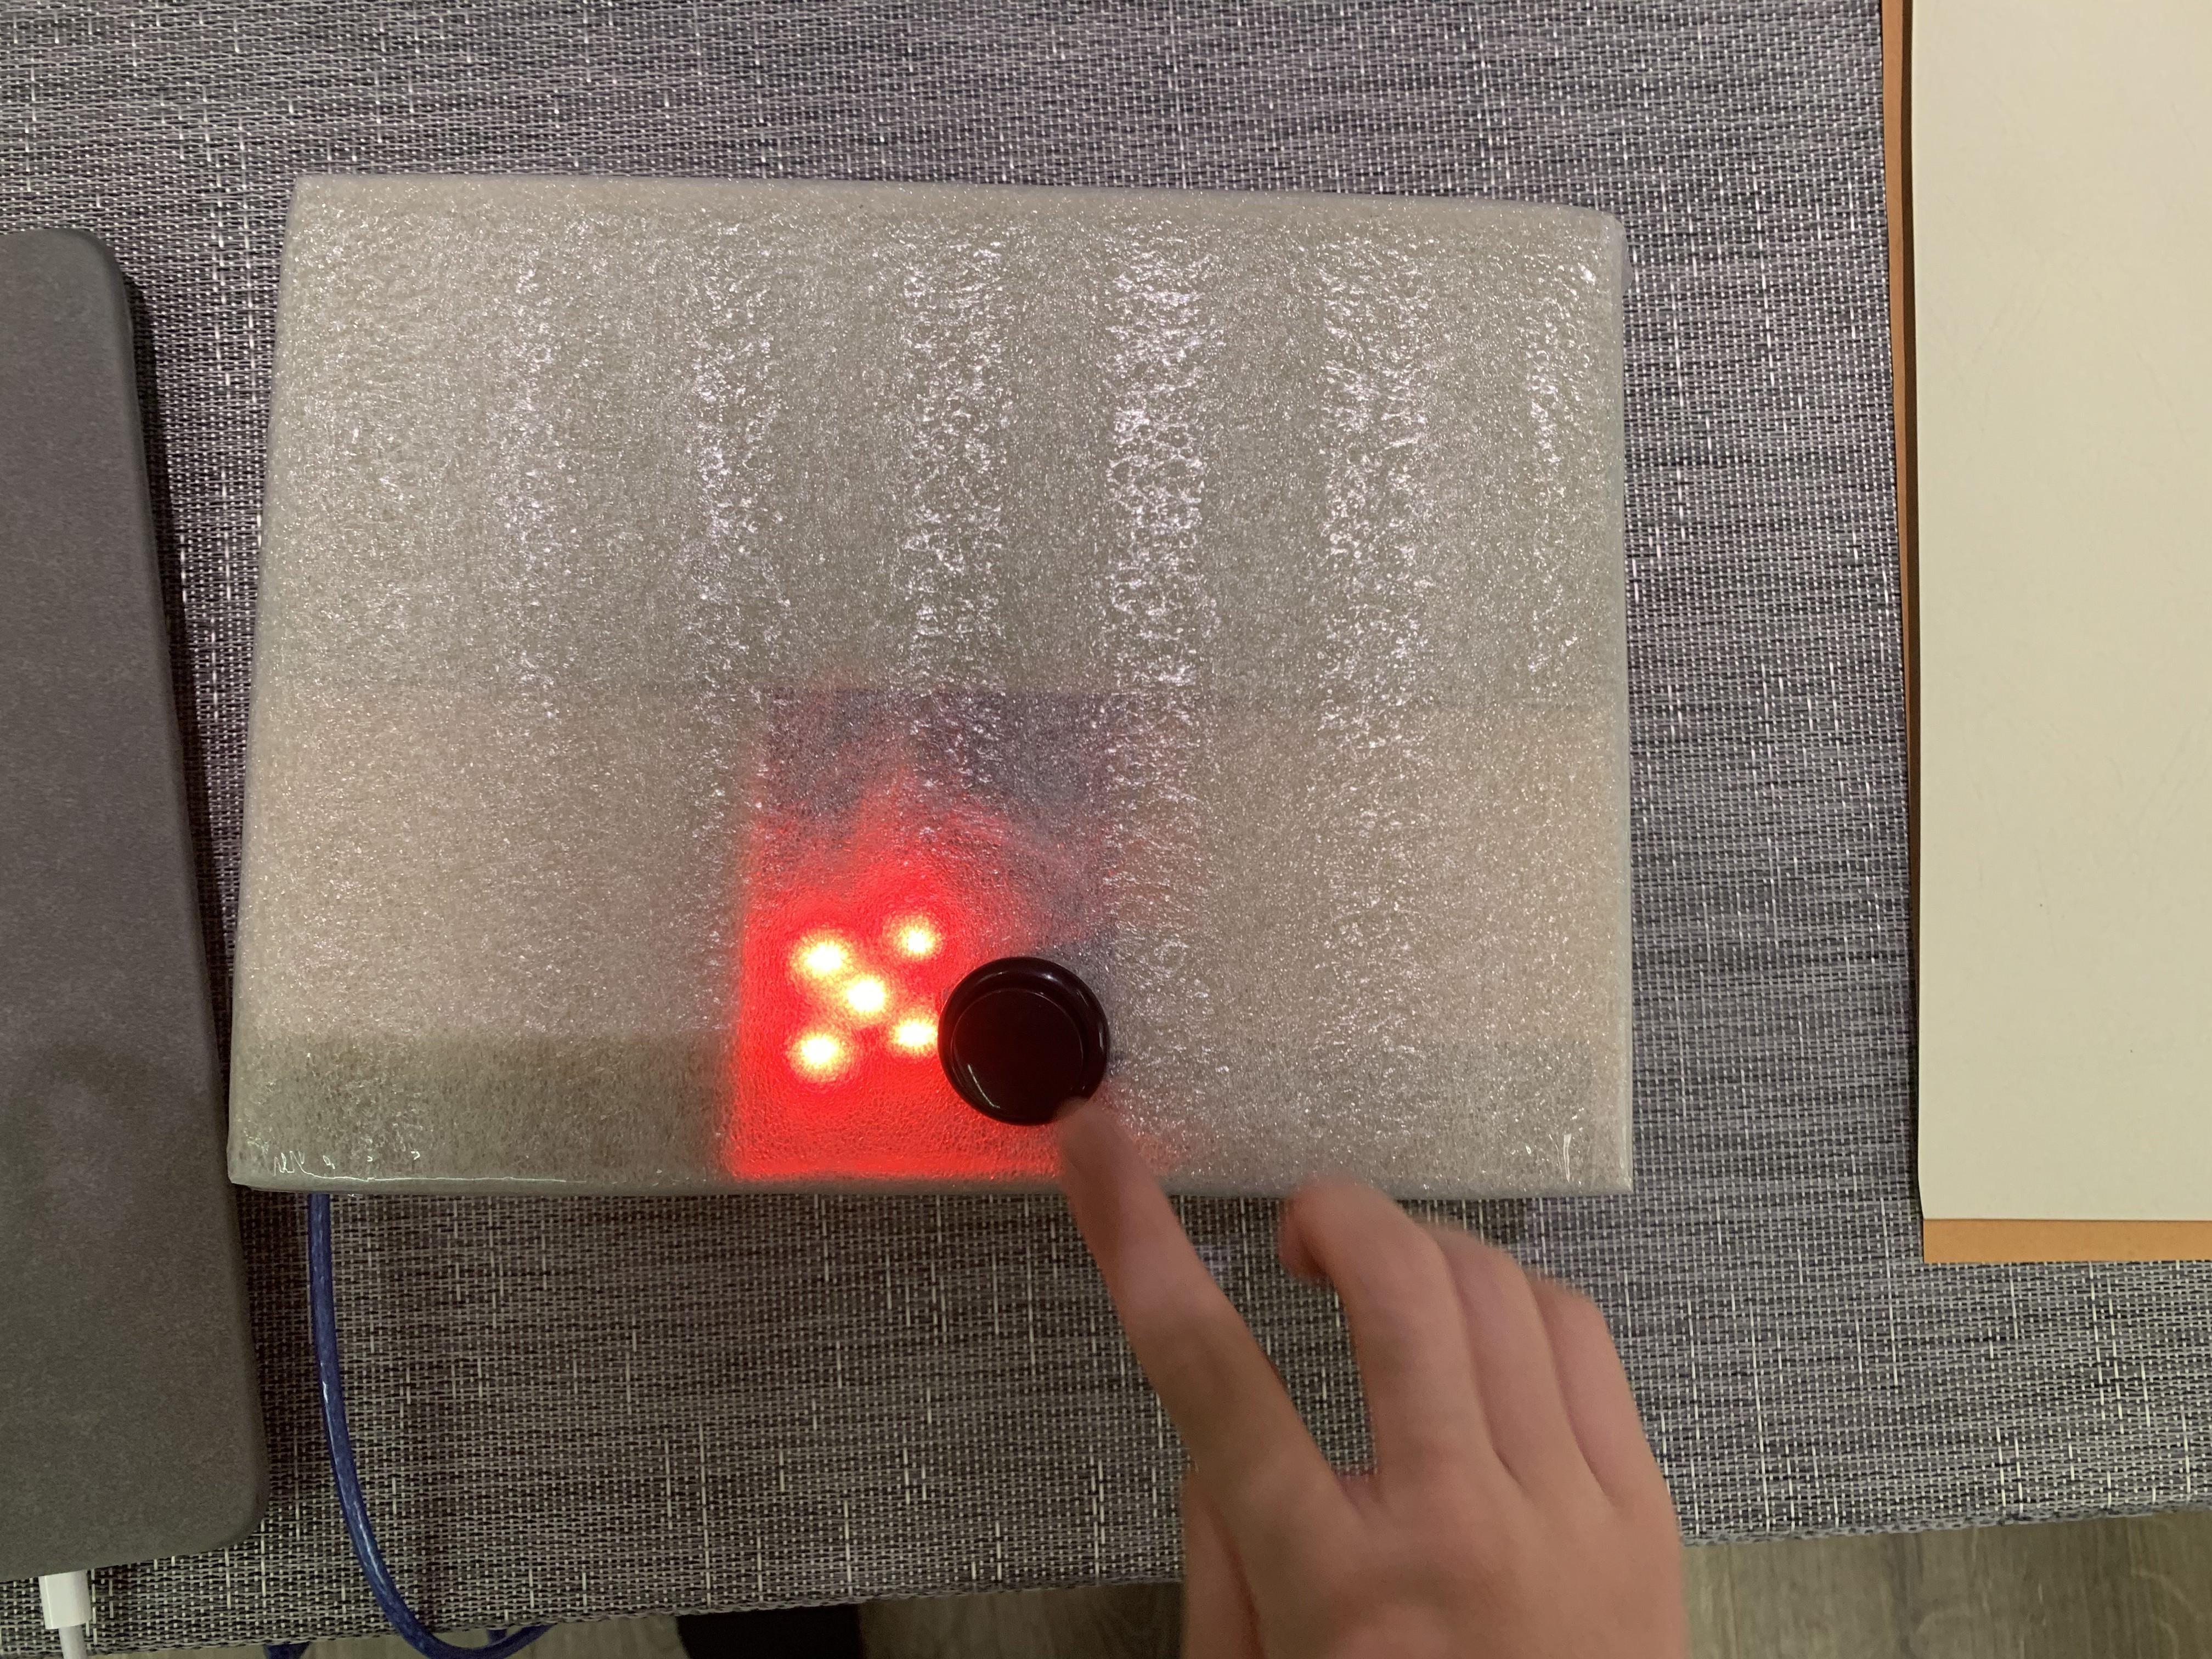

In recent days, board games have become popular among young teenagers, therefore, the Arduino dice supplies any kind of board games that require dices. In this Instructable, the steps given will show the method to build an electronic dice that prevents problems of dice falling to the floor or cheats when rolling the dice.
Project inspired by: https://www.instructables.com/Arduino-Dice/
I improved the product by adding a package for the dice and fasten the delay from 5 seconds to 1 second in which board games are usually played at a relatively fast pace.
Materials
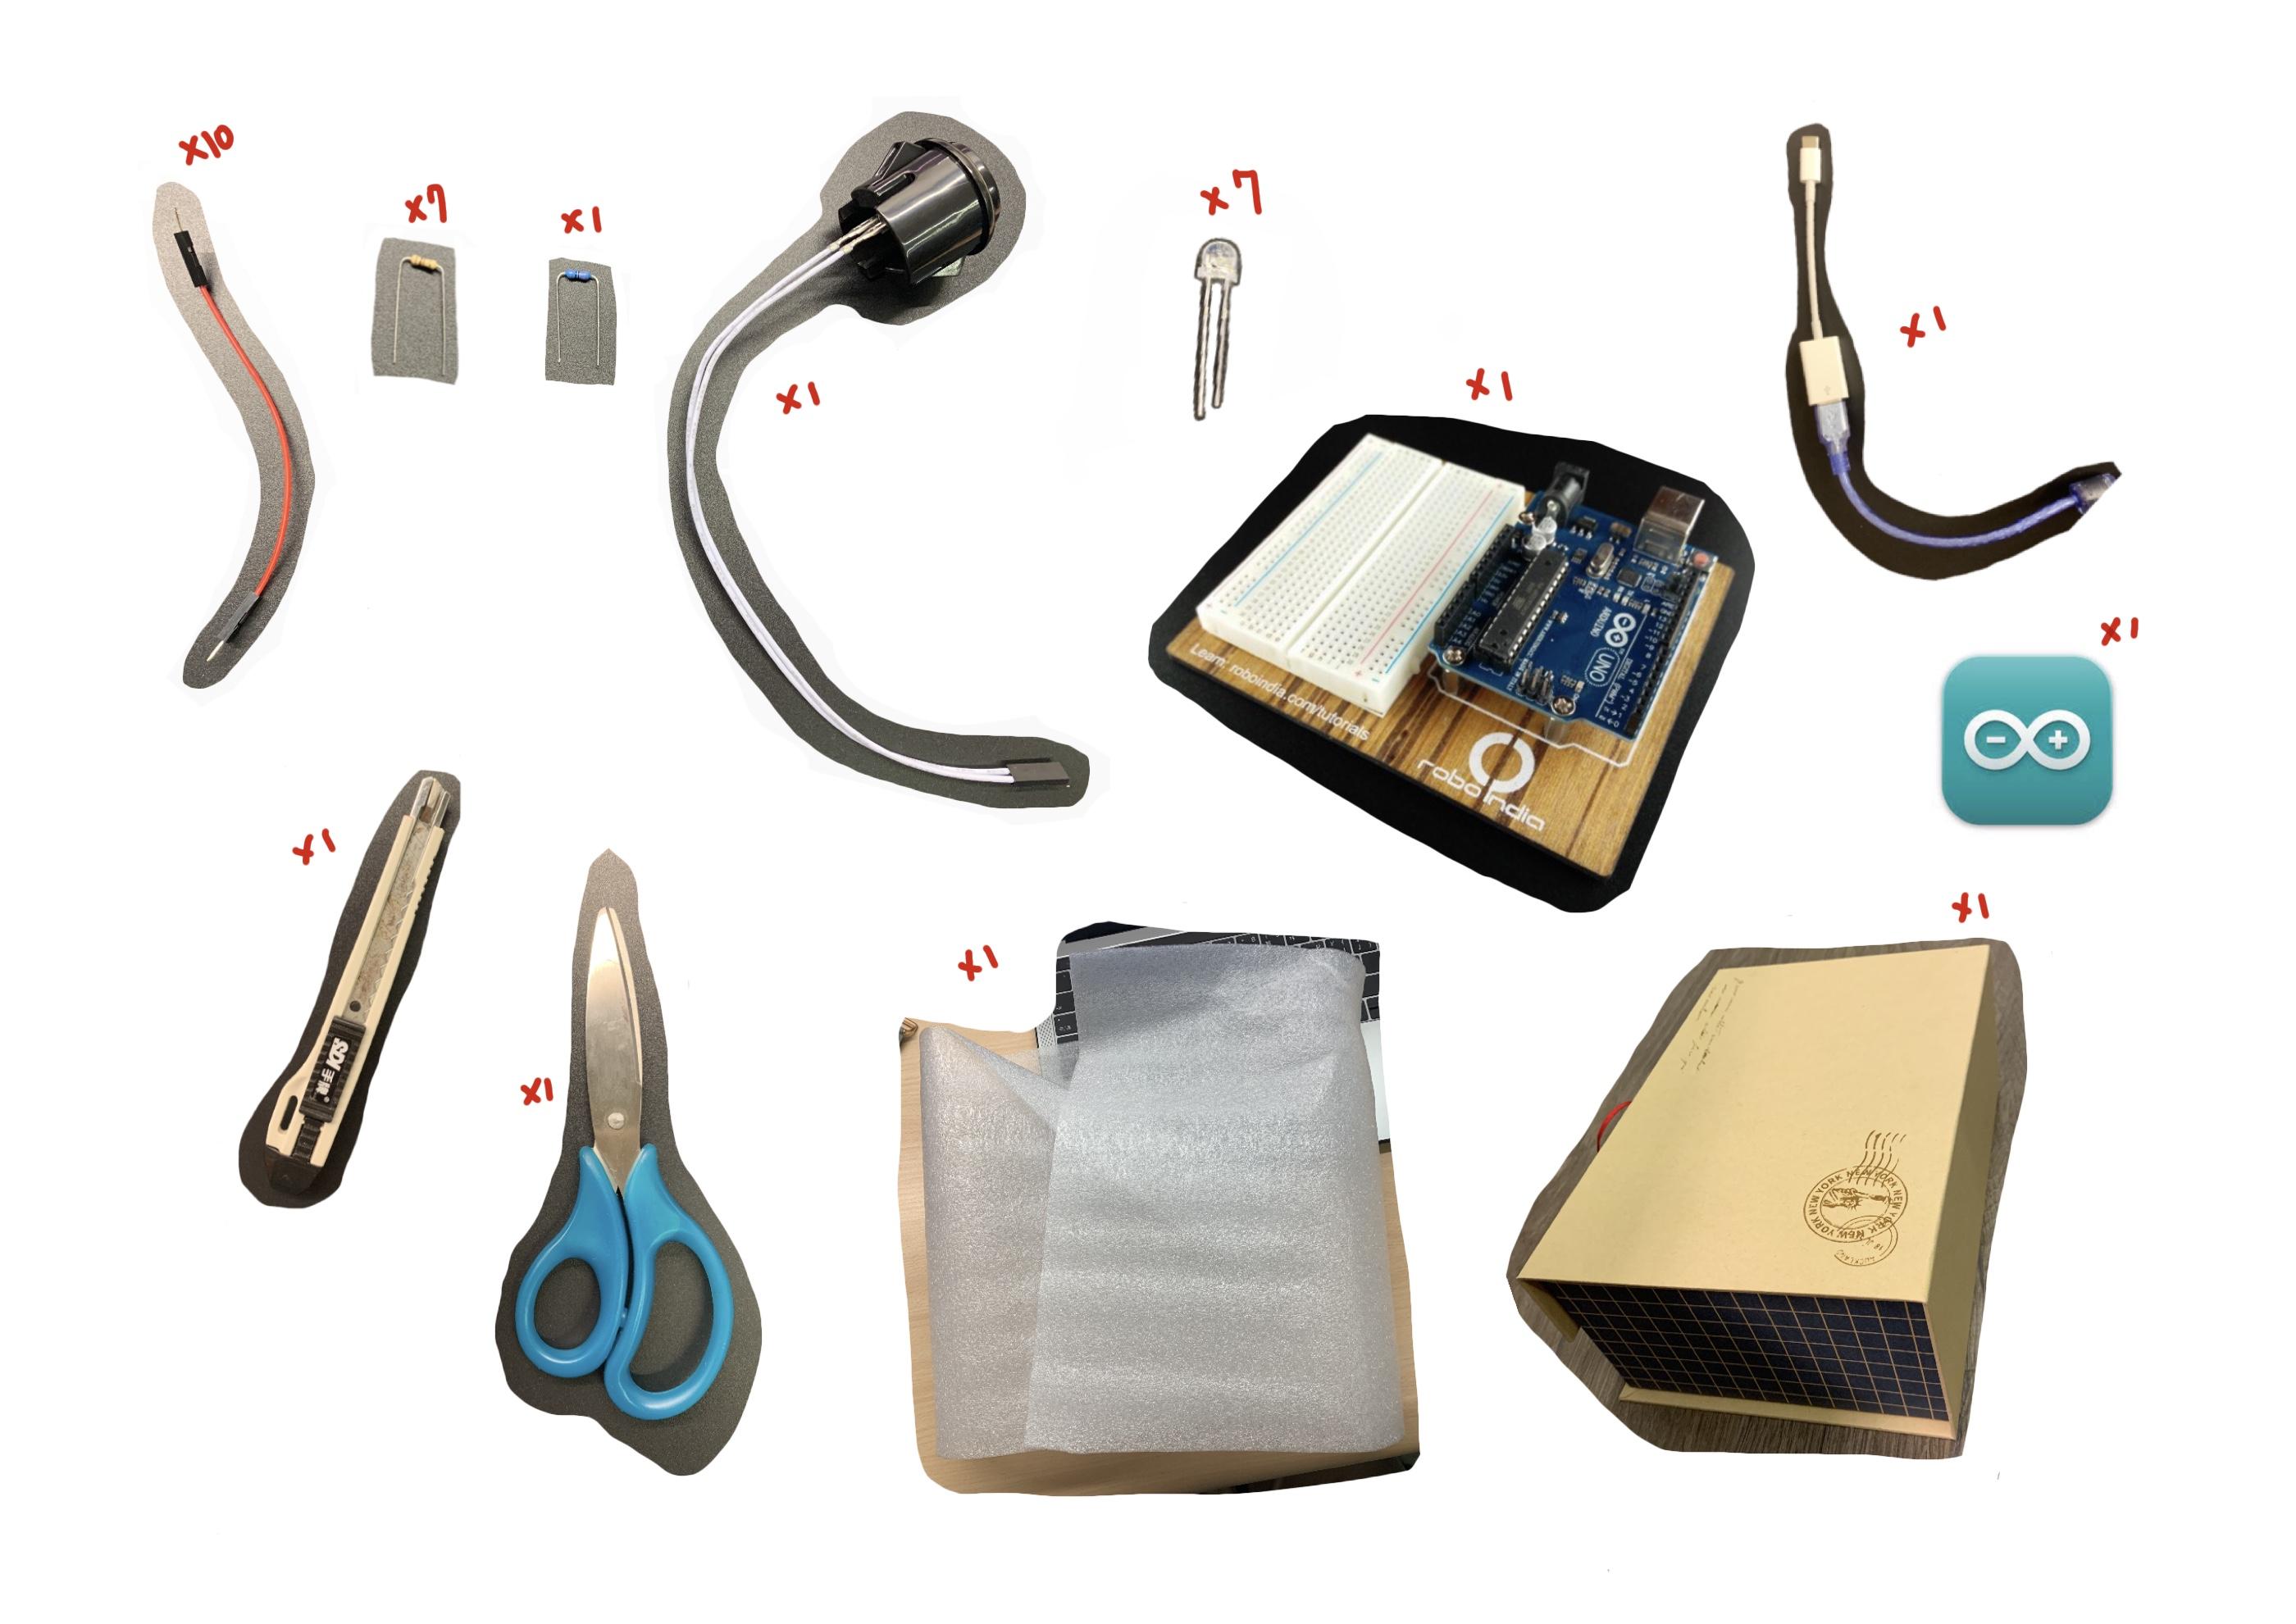
- Arduino *1
- Breadboard *1
- USB cable *1(to connect to the computer and code)
- Computer with Arduino APP *1
- Push-button *1
- Yellow Resistor *7
- Blue Resistor *1
- Jumpers *10
- LED *7
- Box*1
- Tape *1
- Foam Paper *1
- Scissor *1
- Cutter *1
Set LED
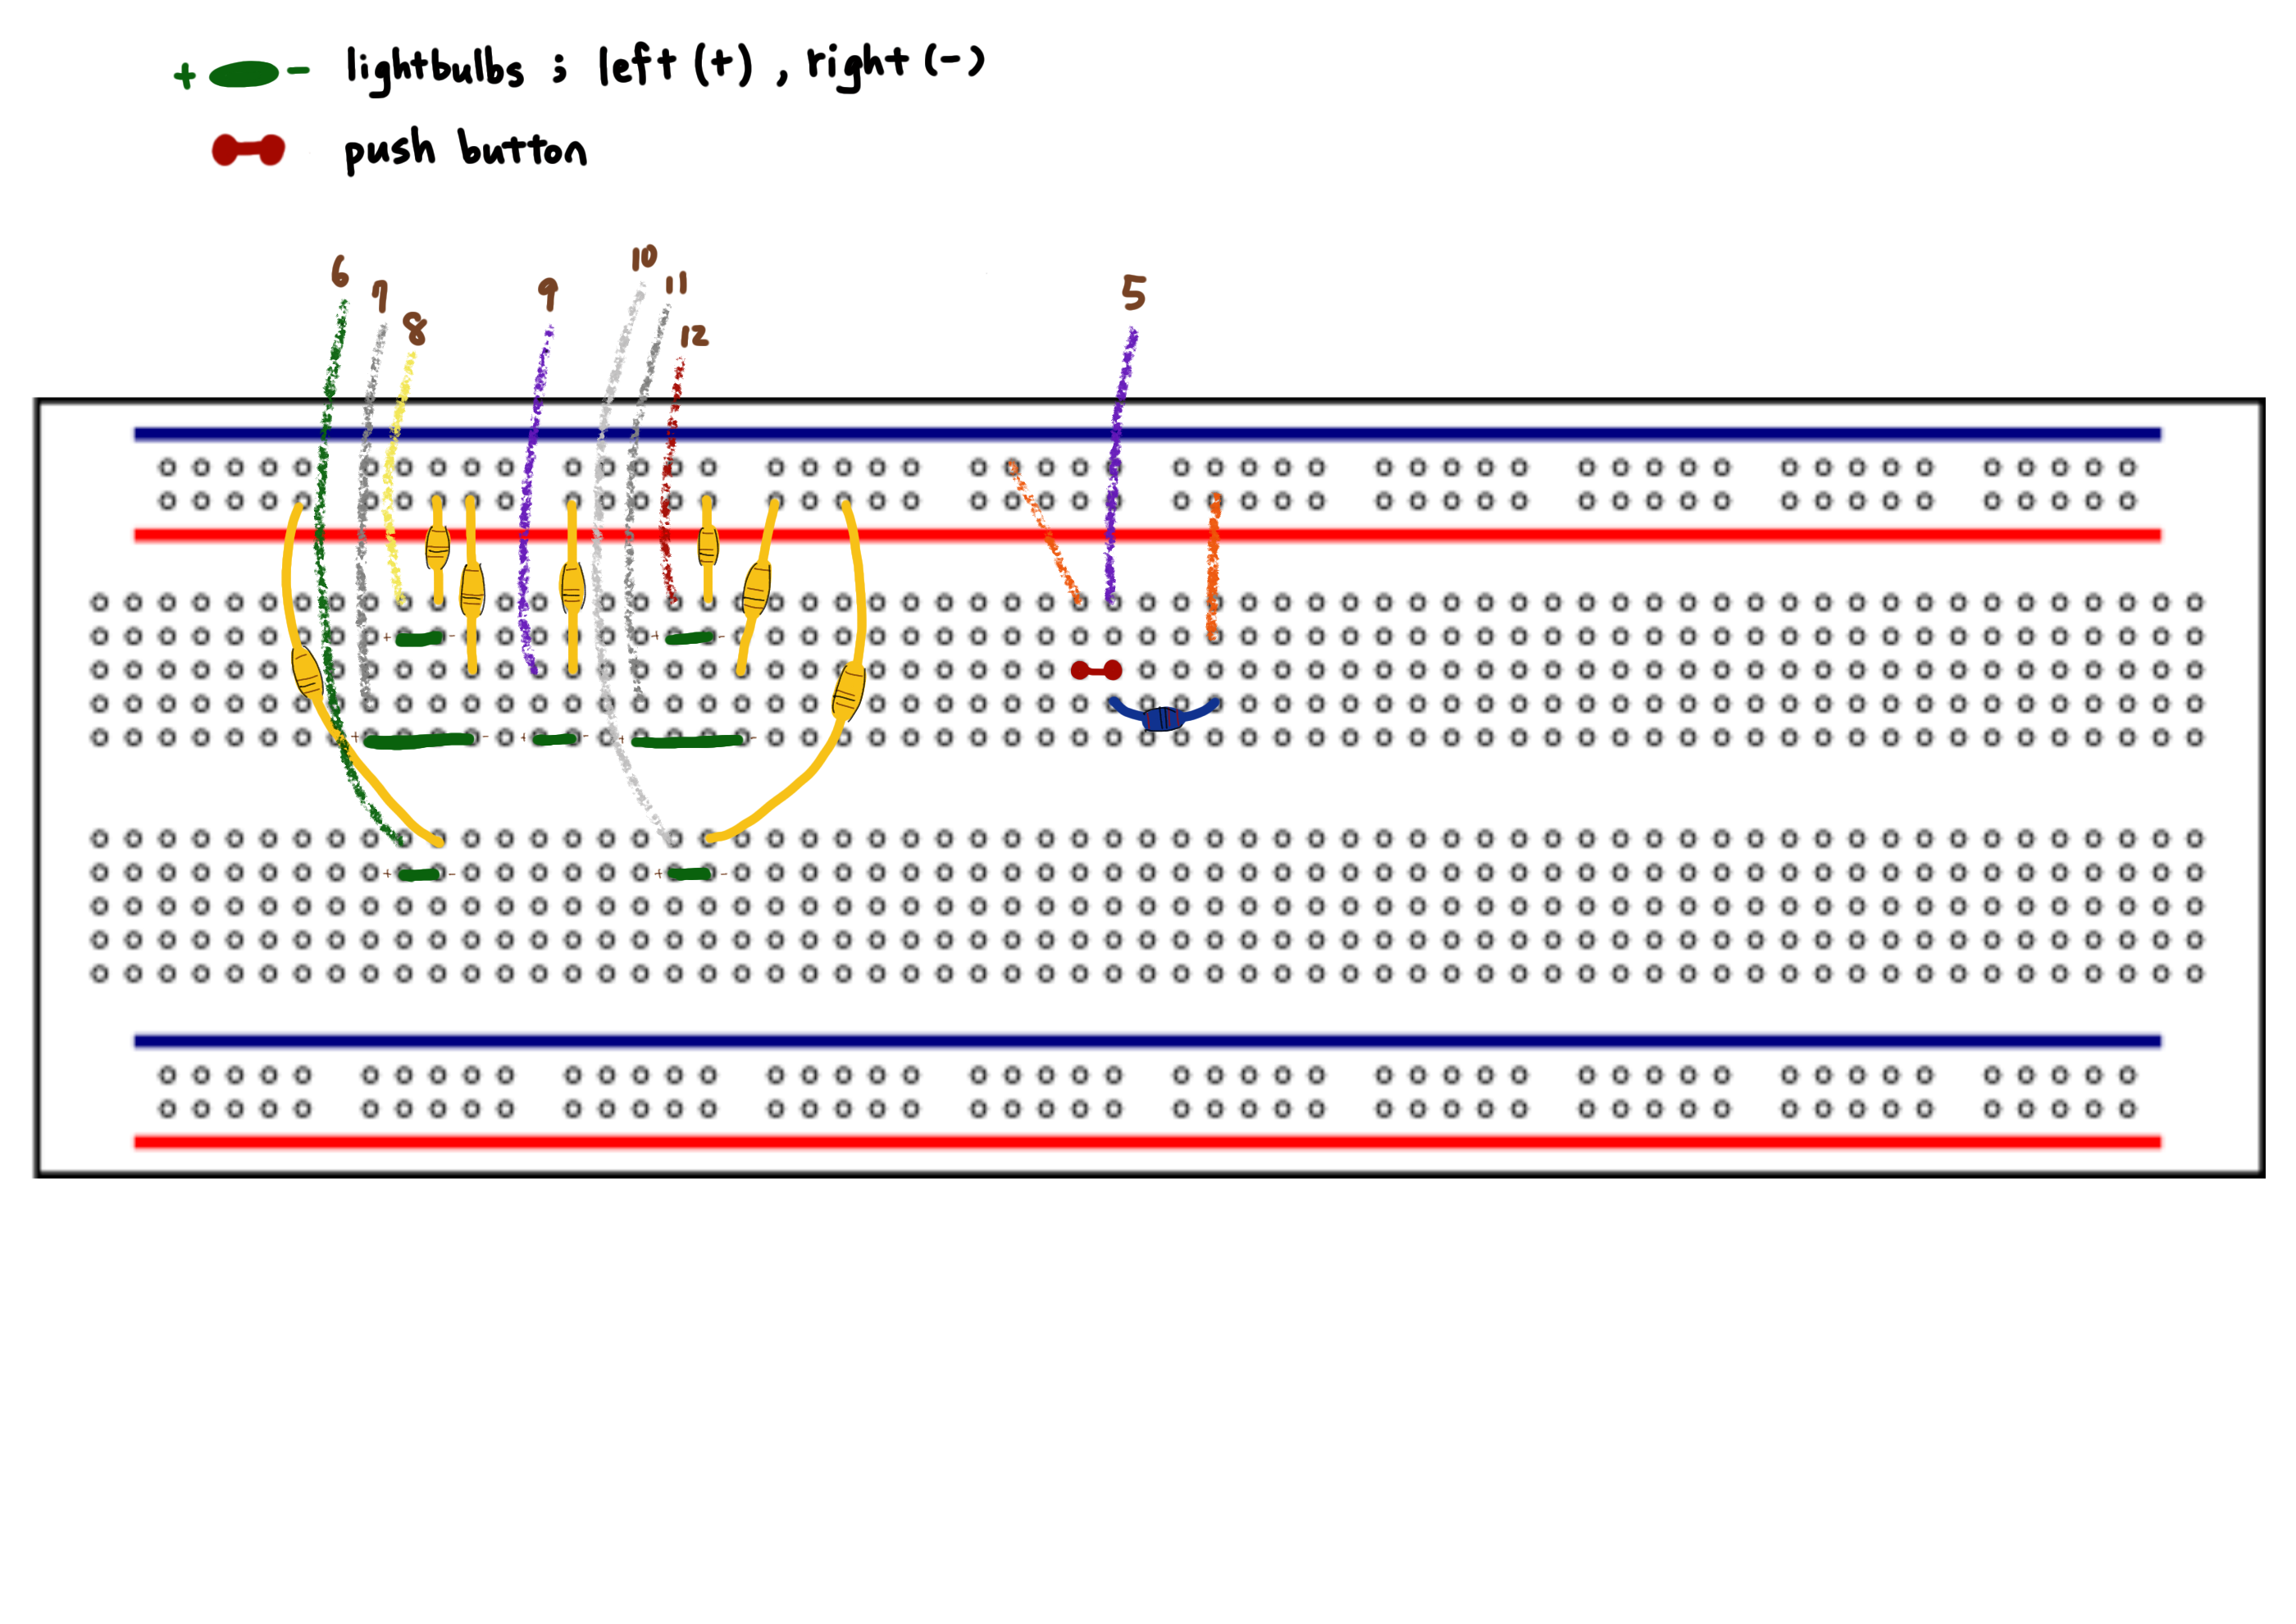
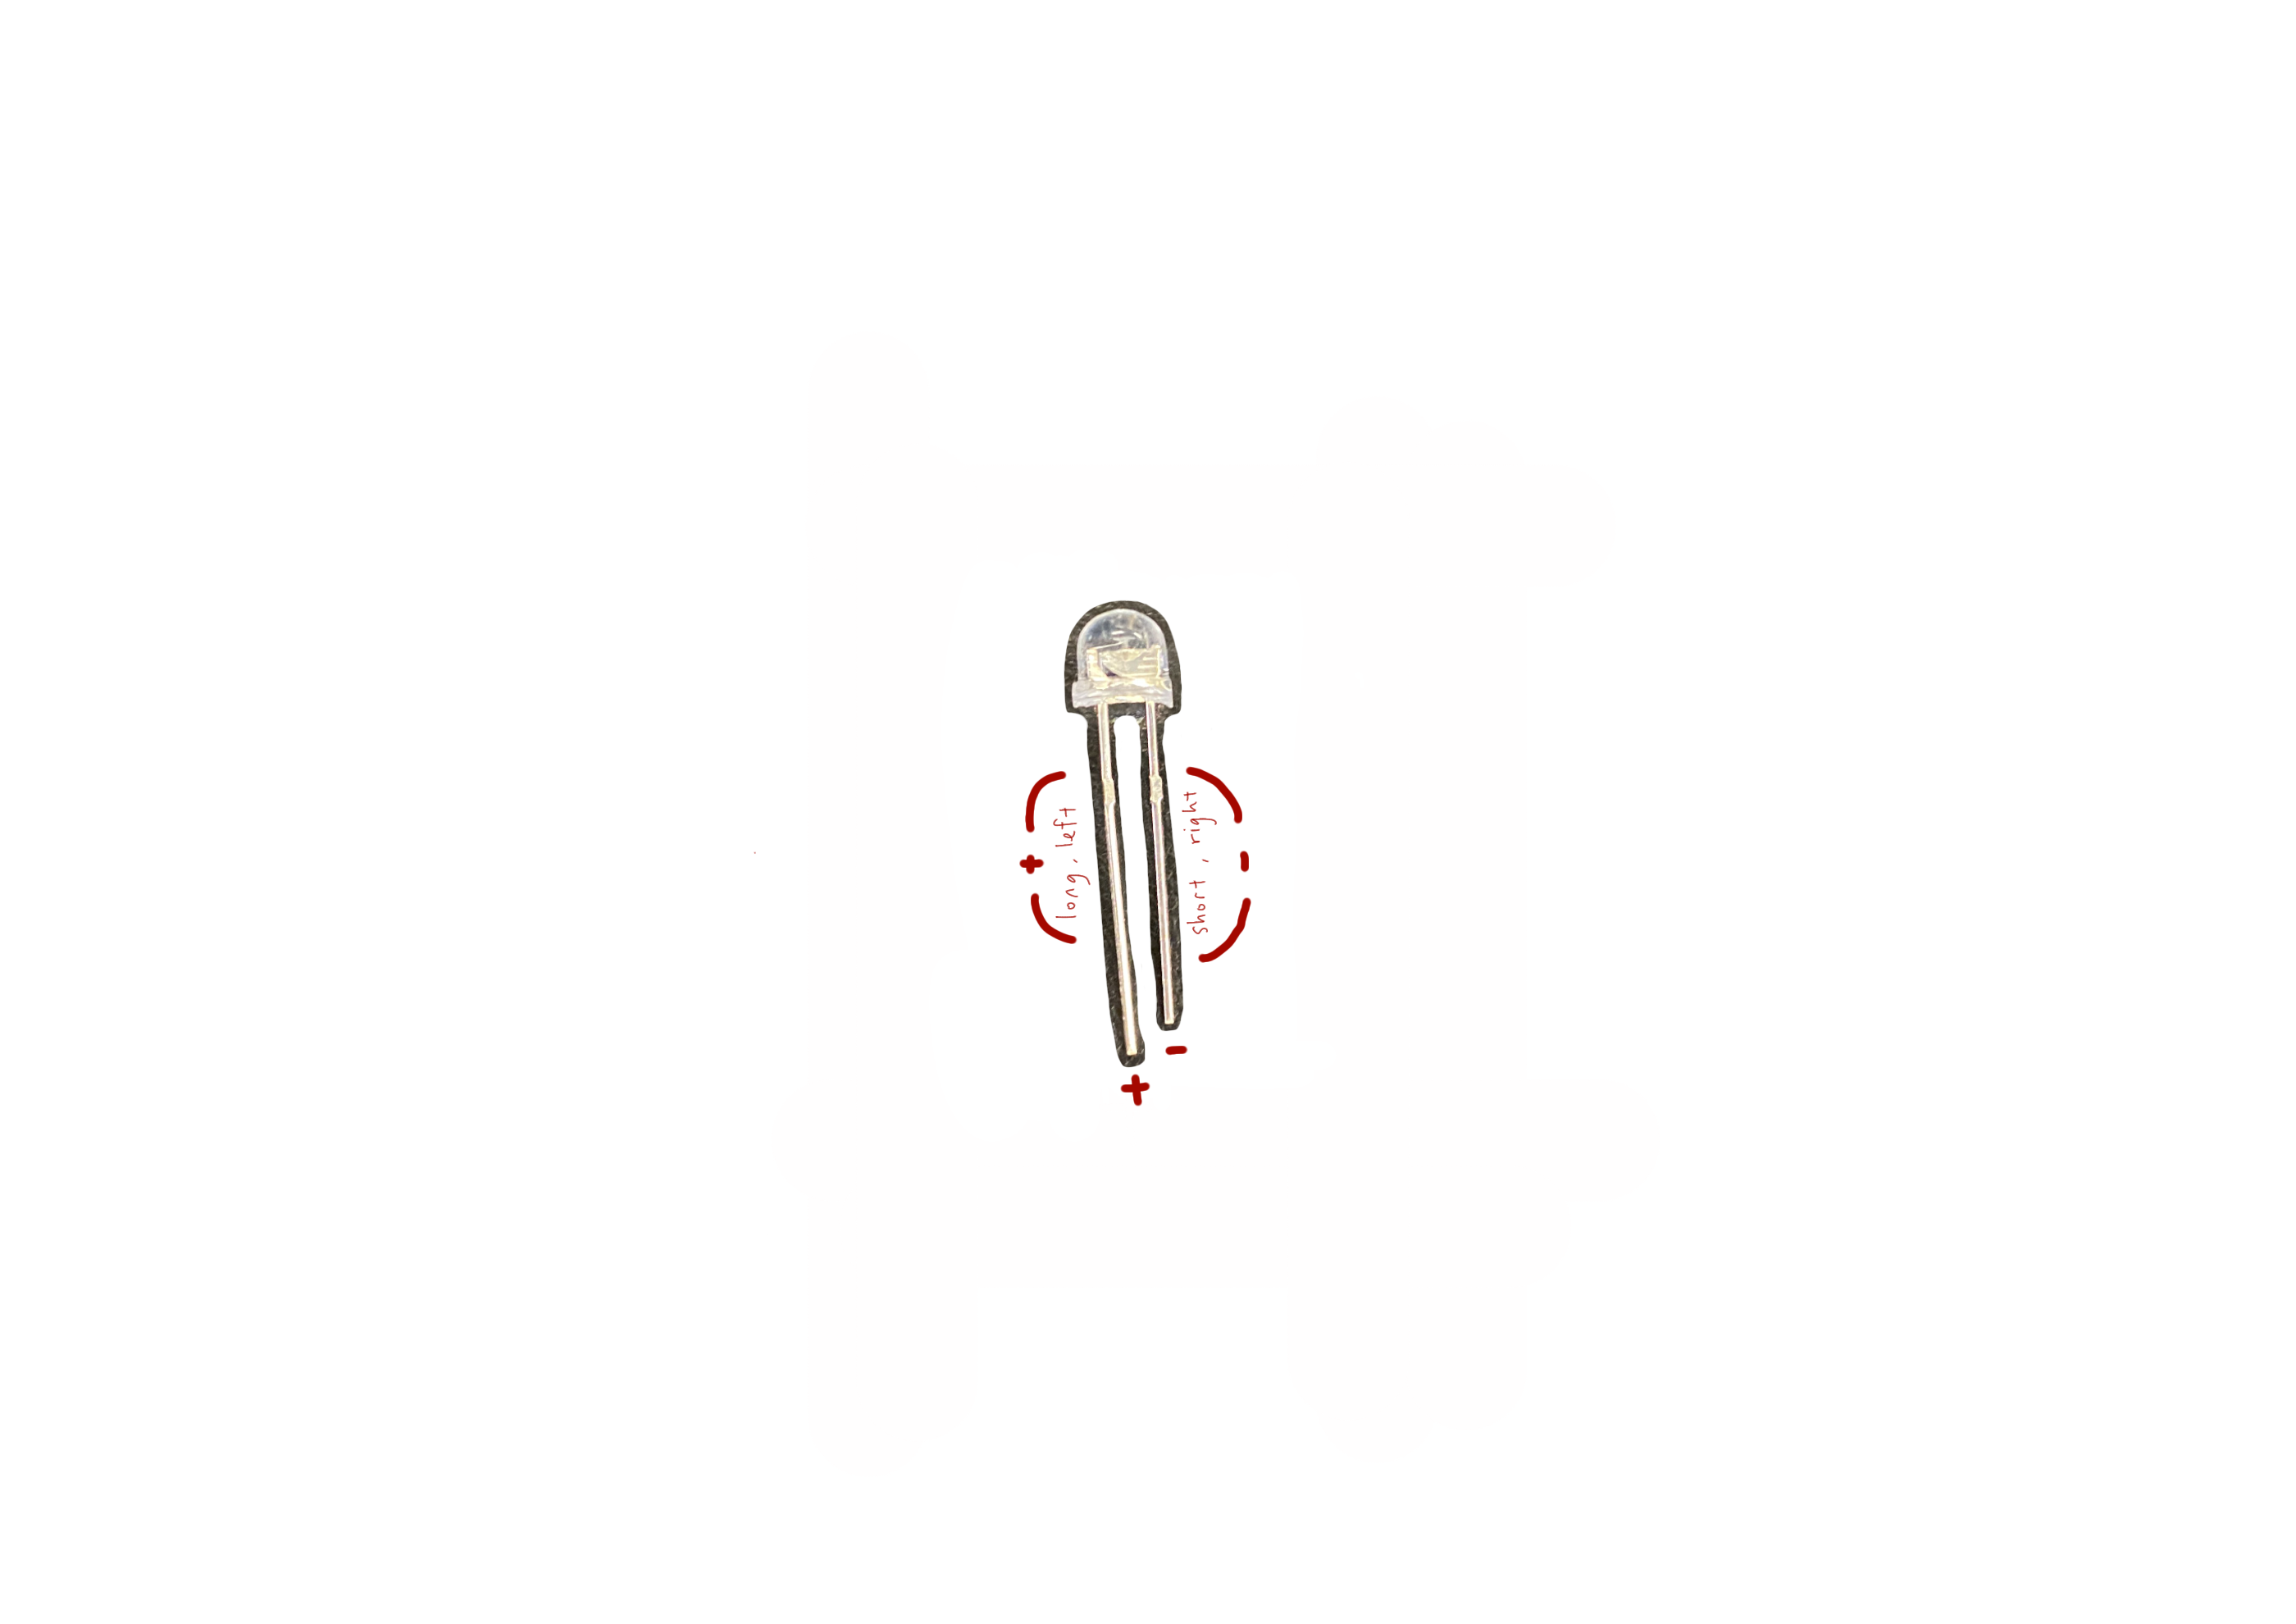
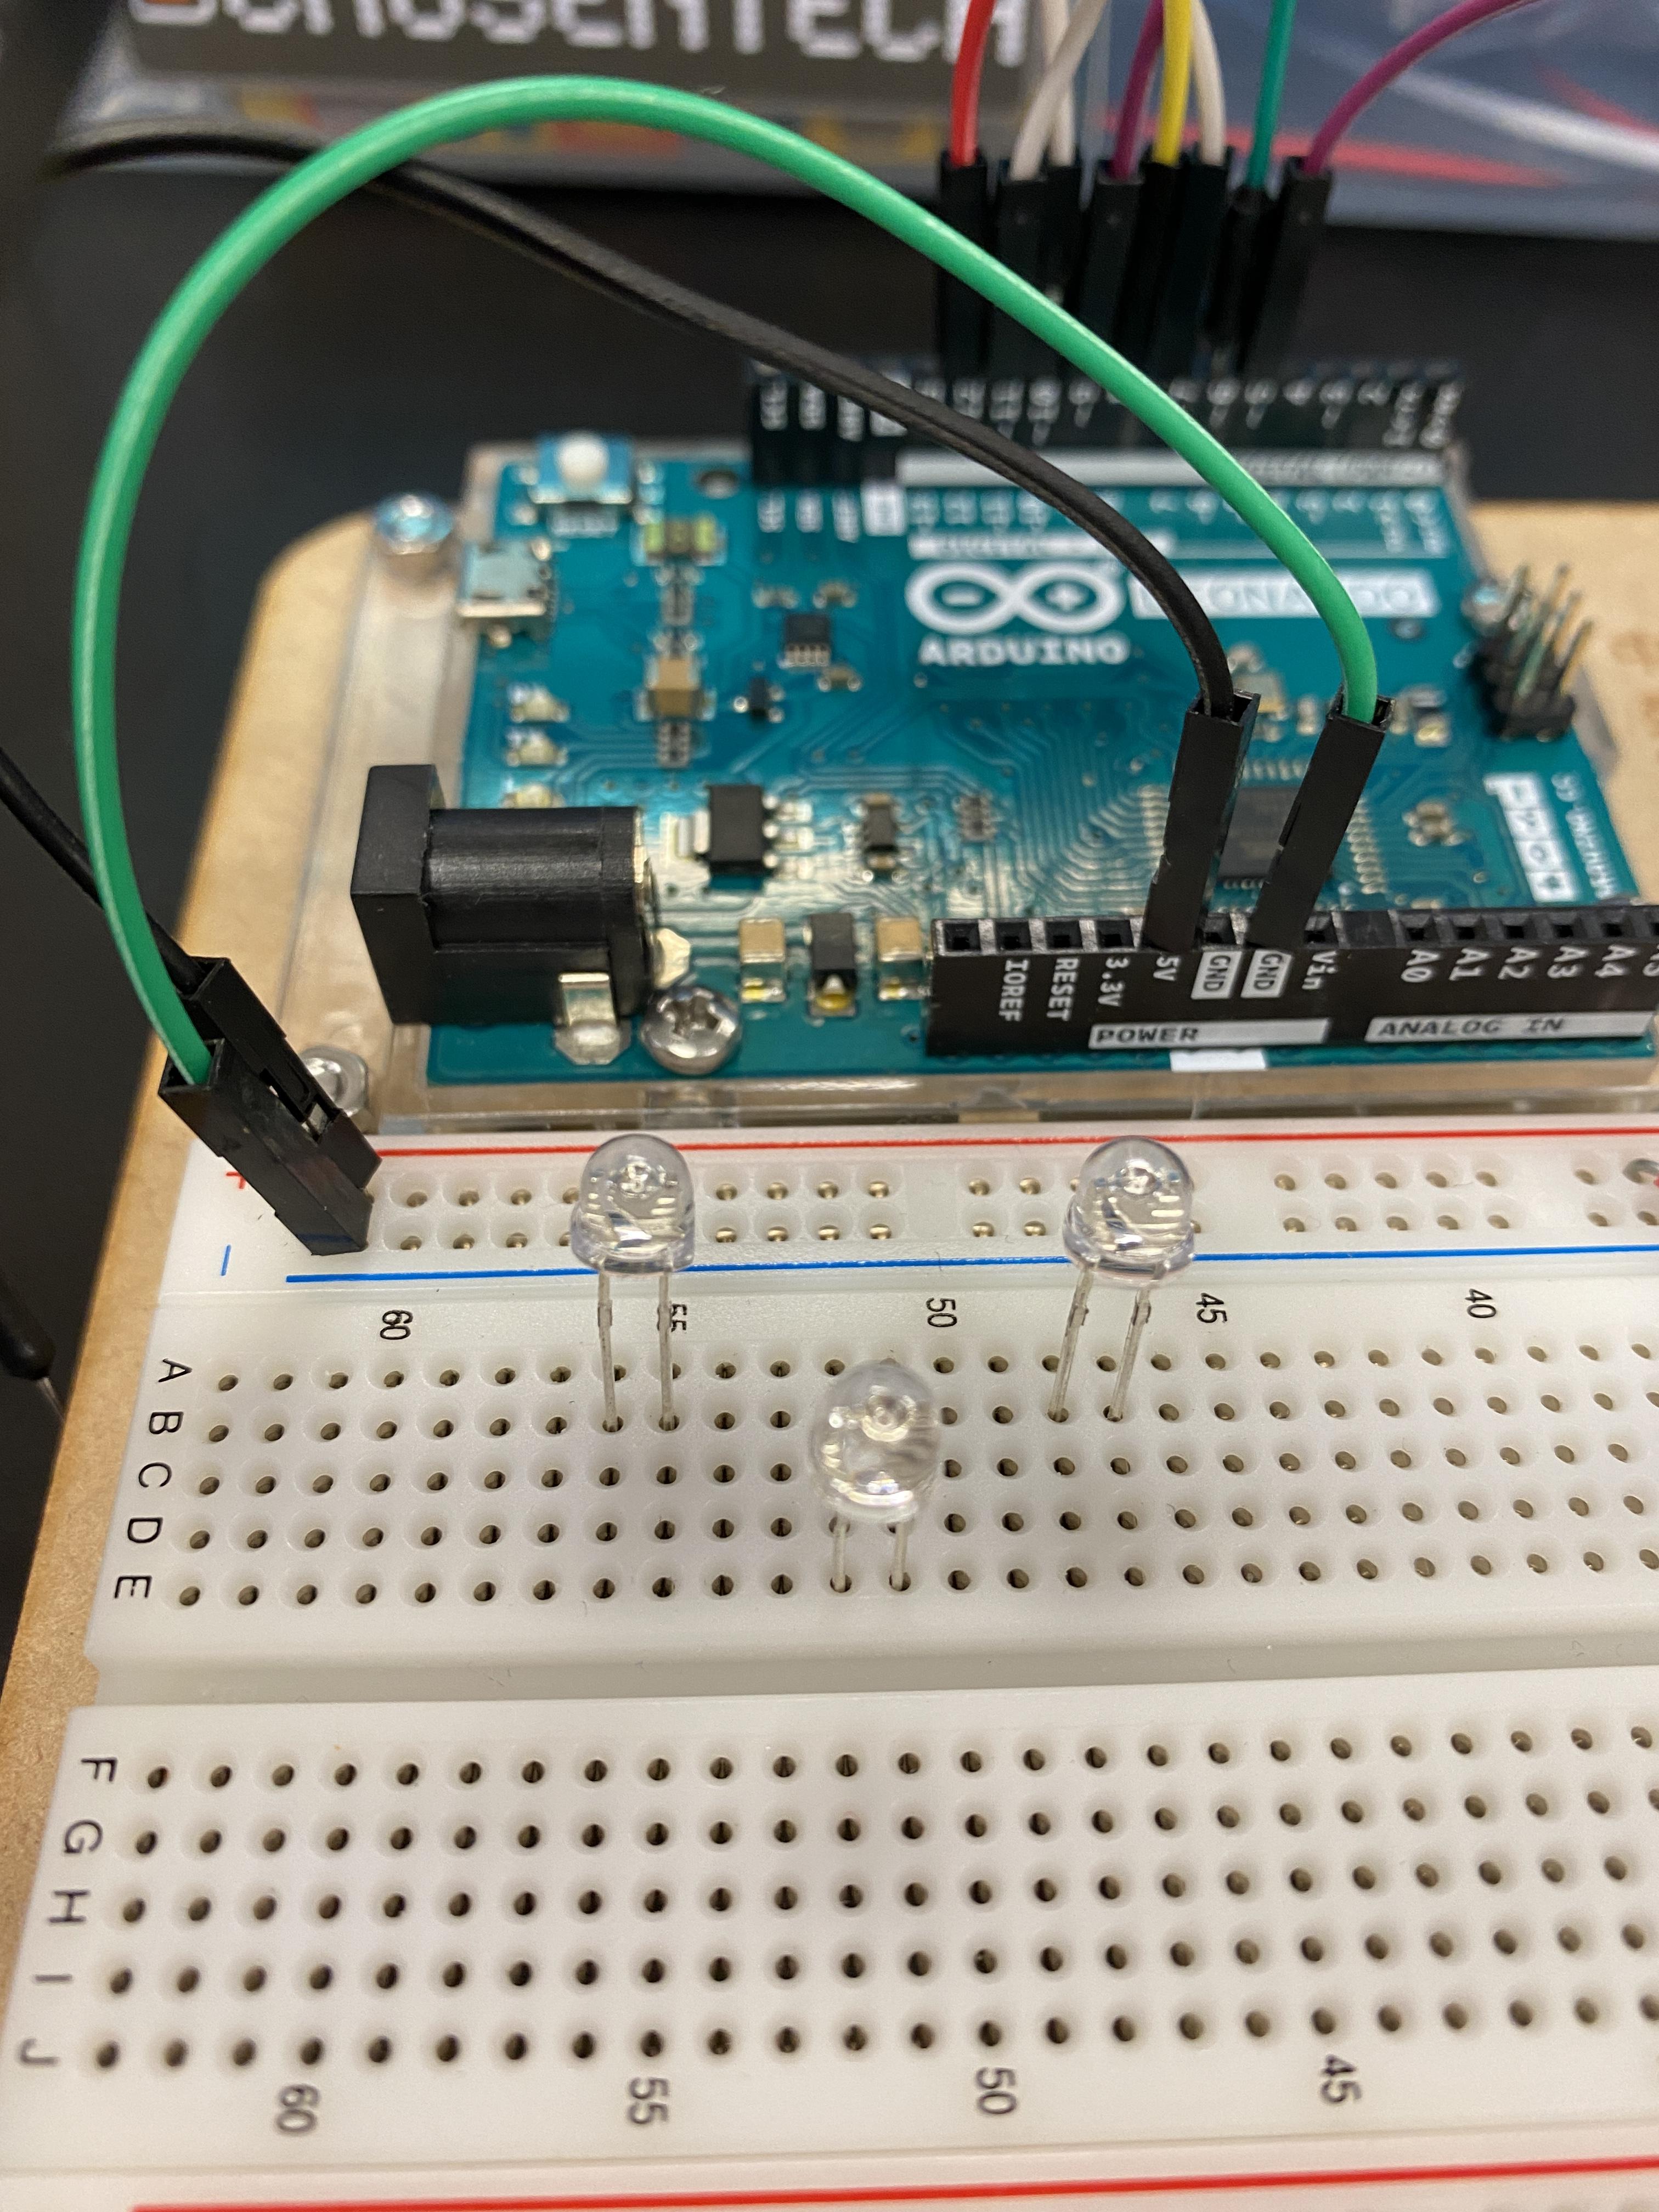
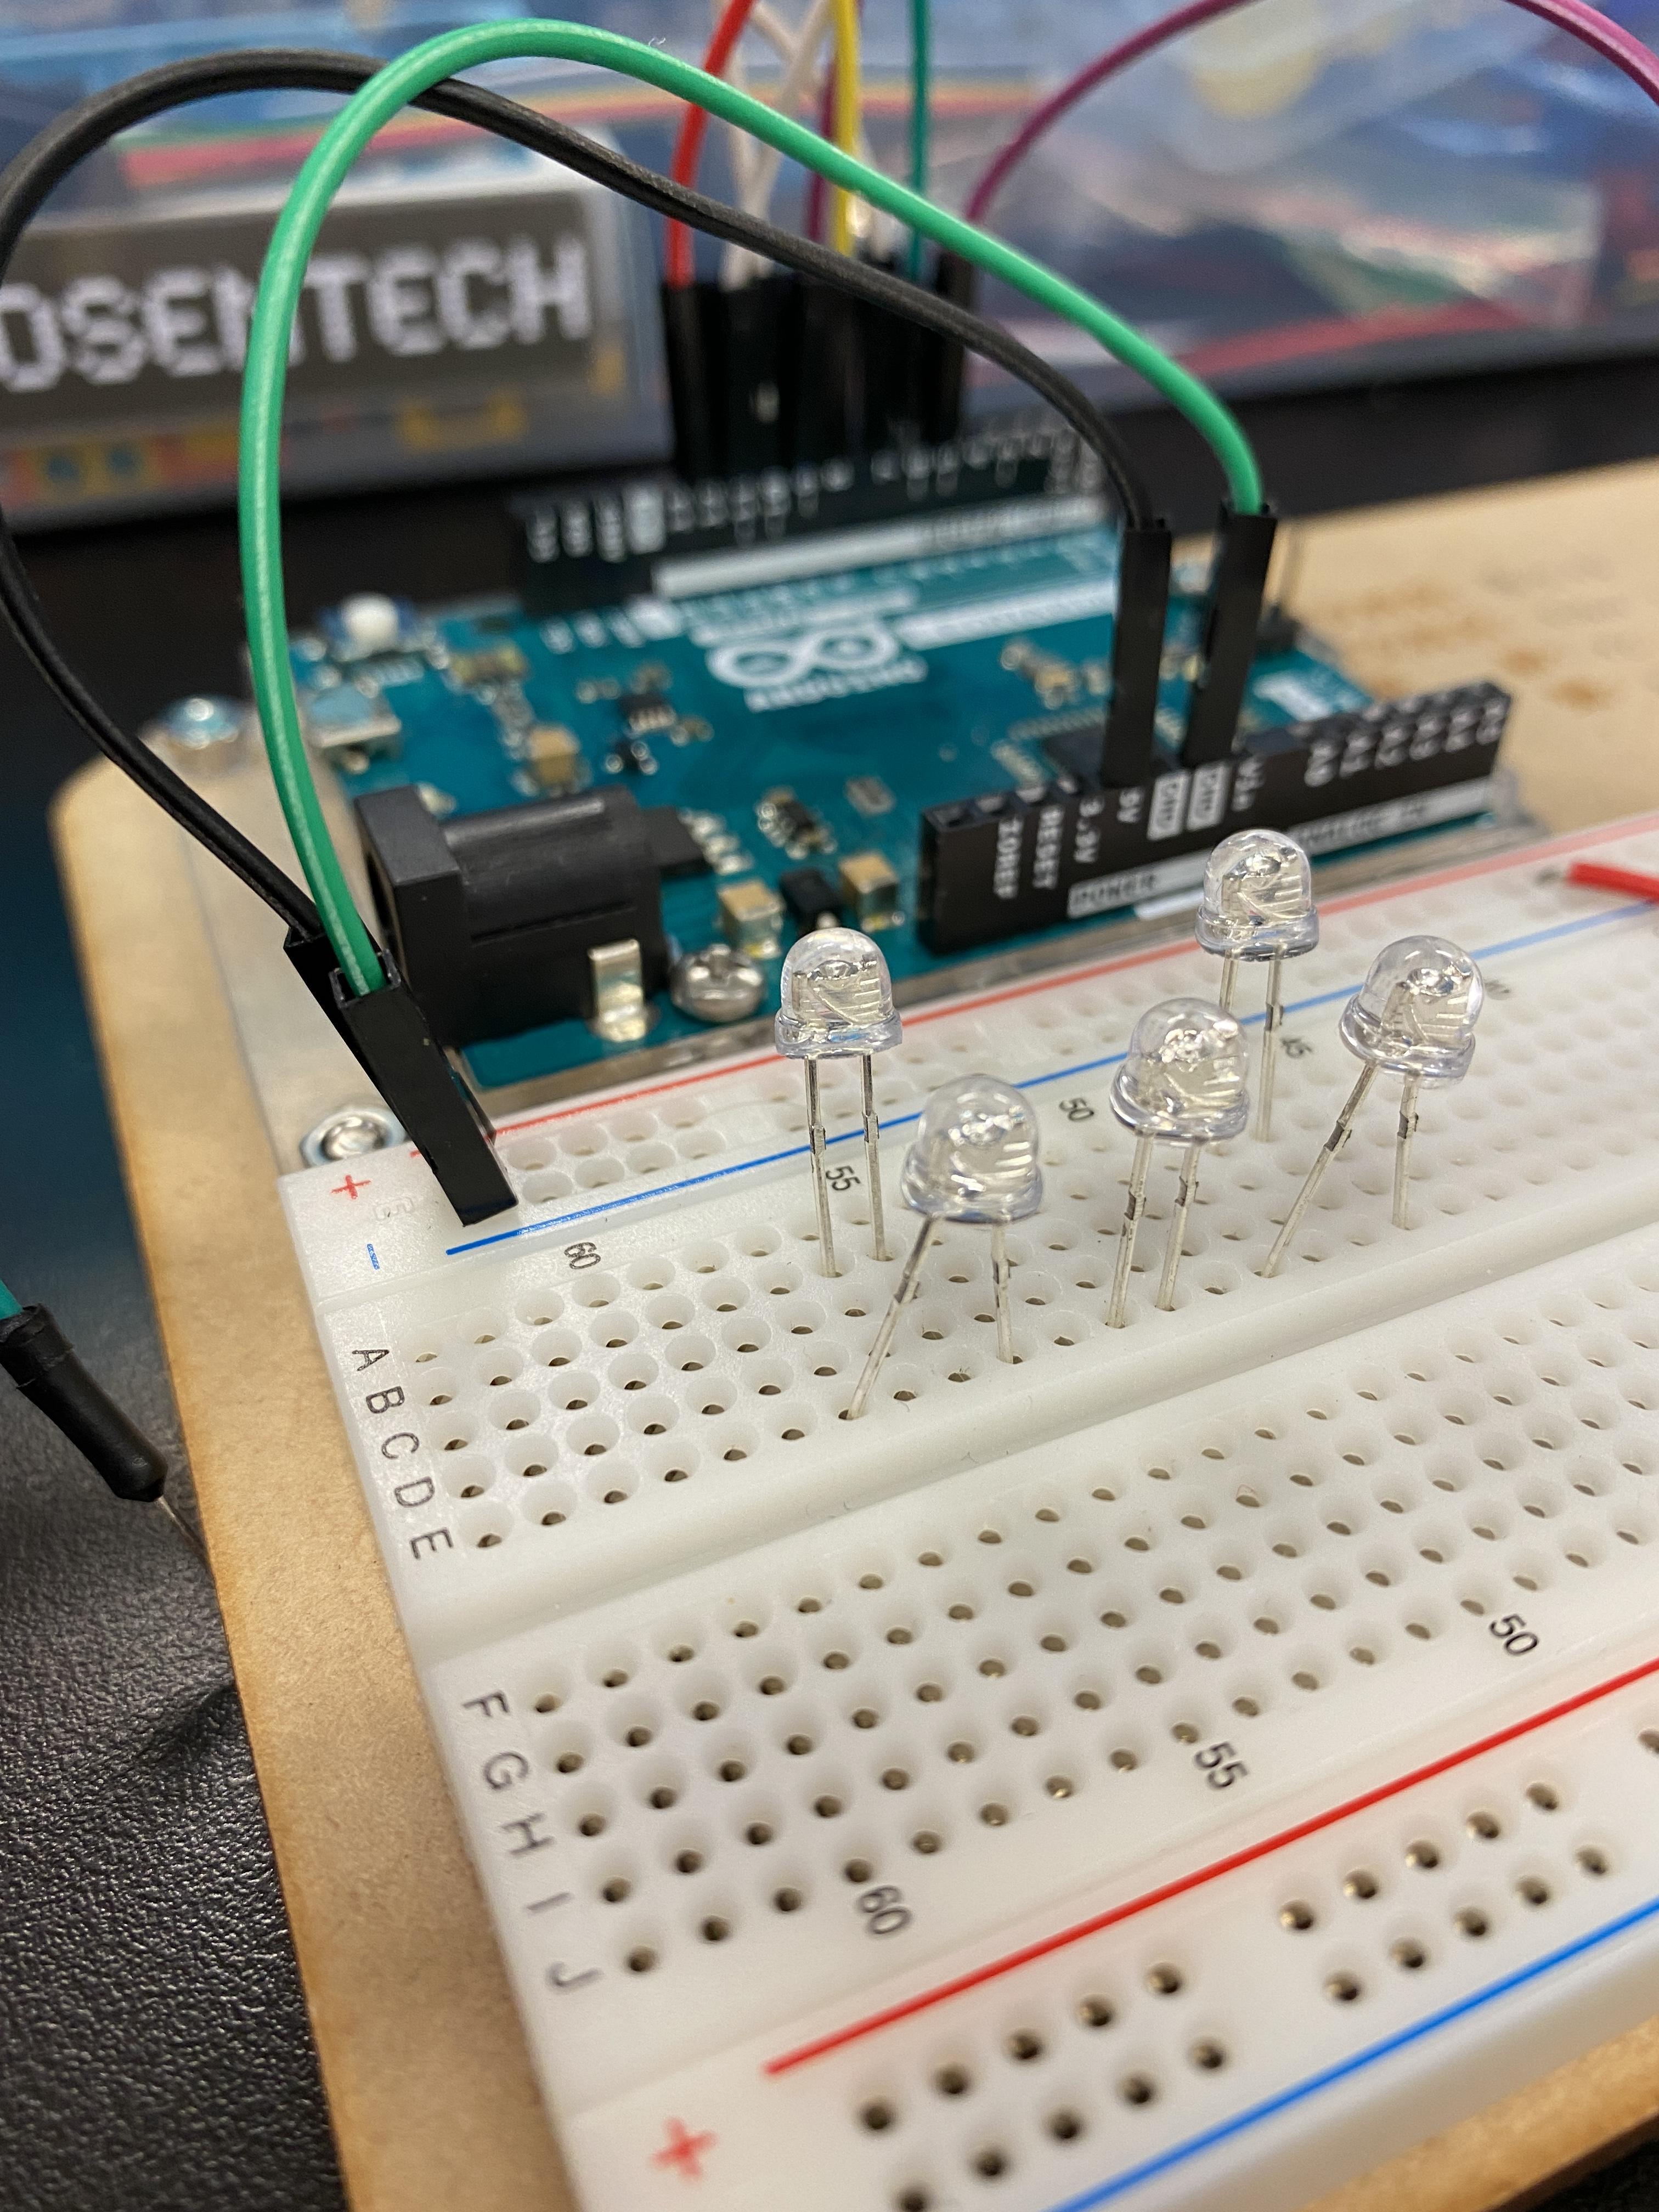
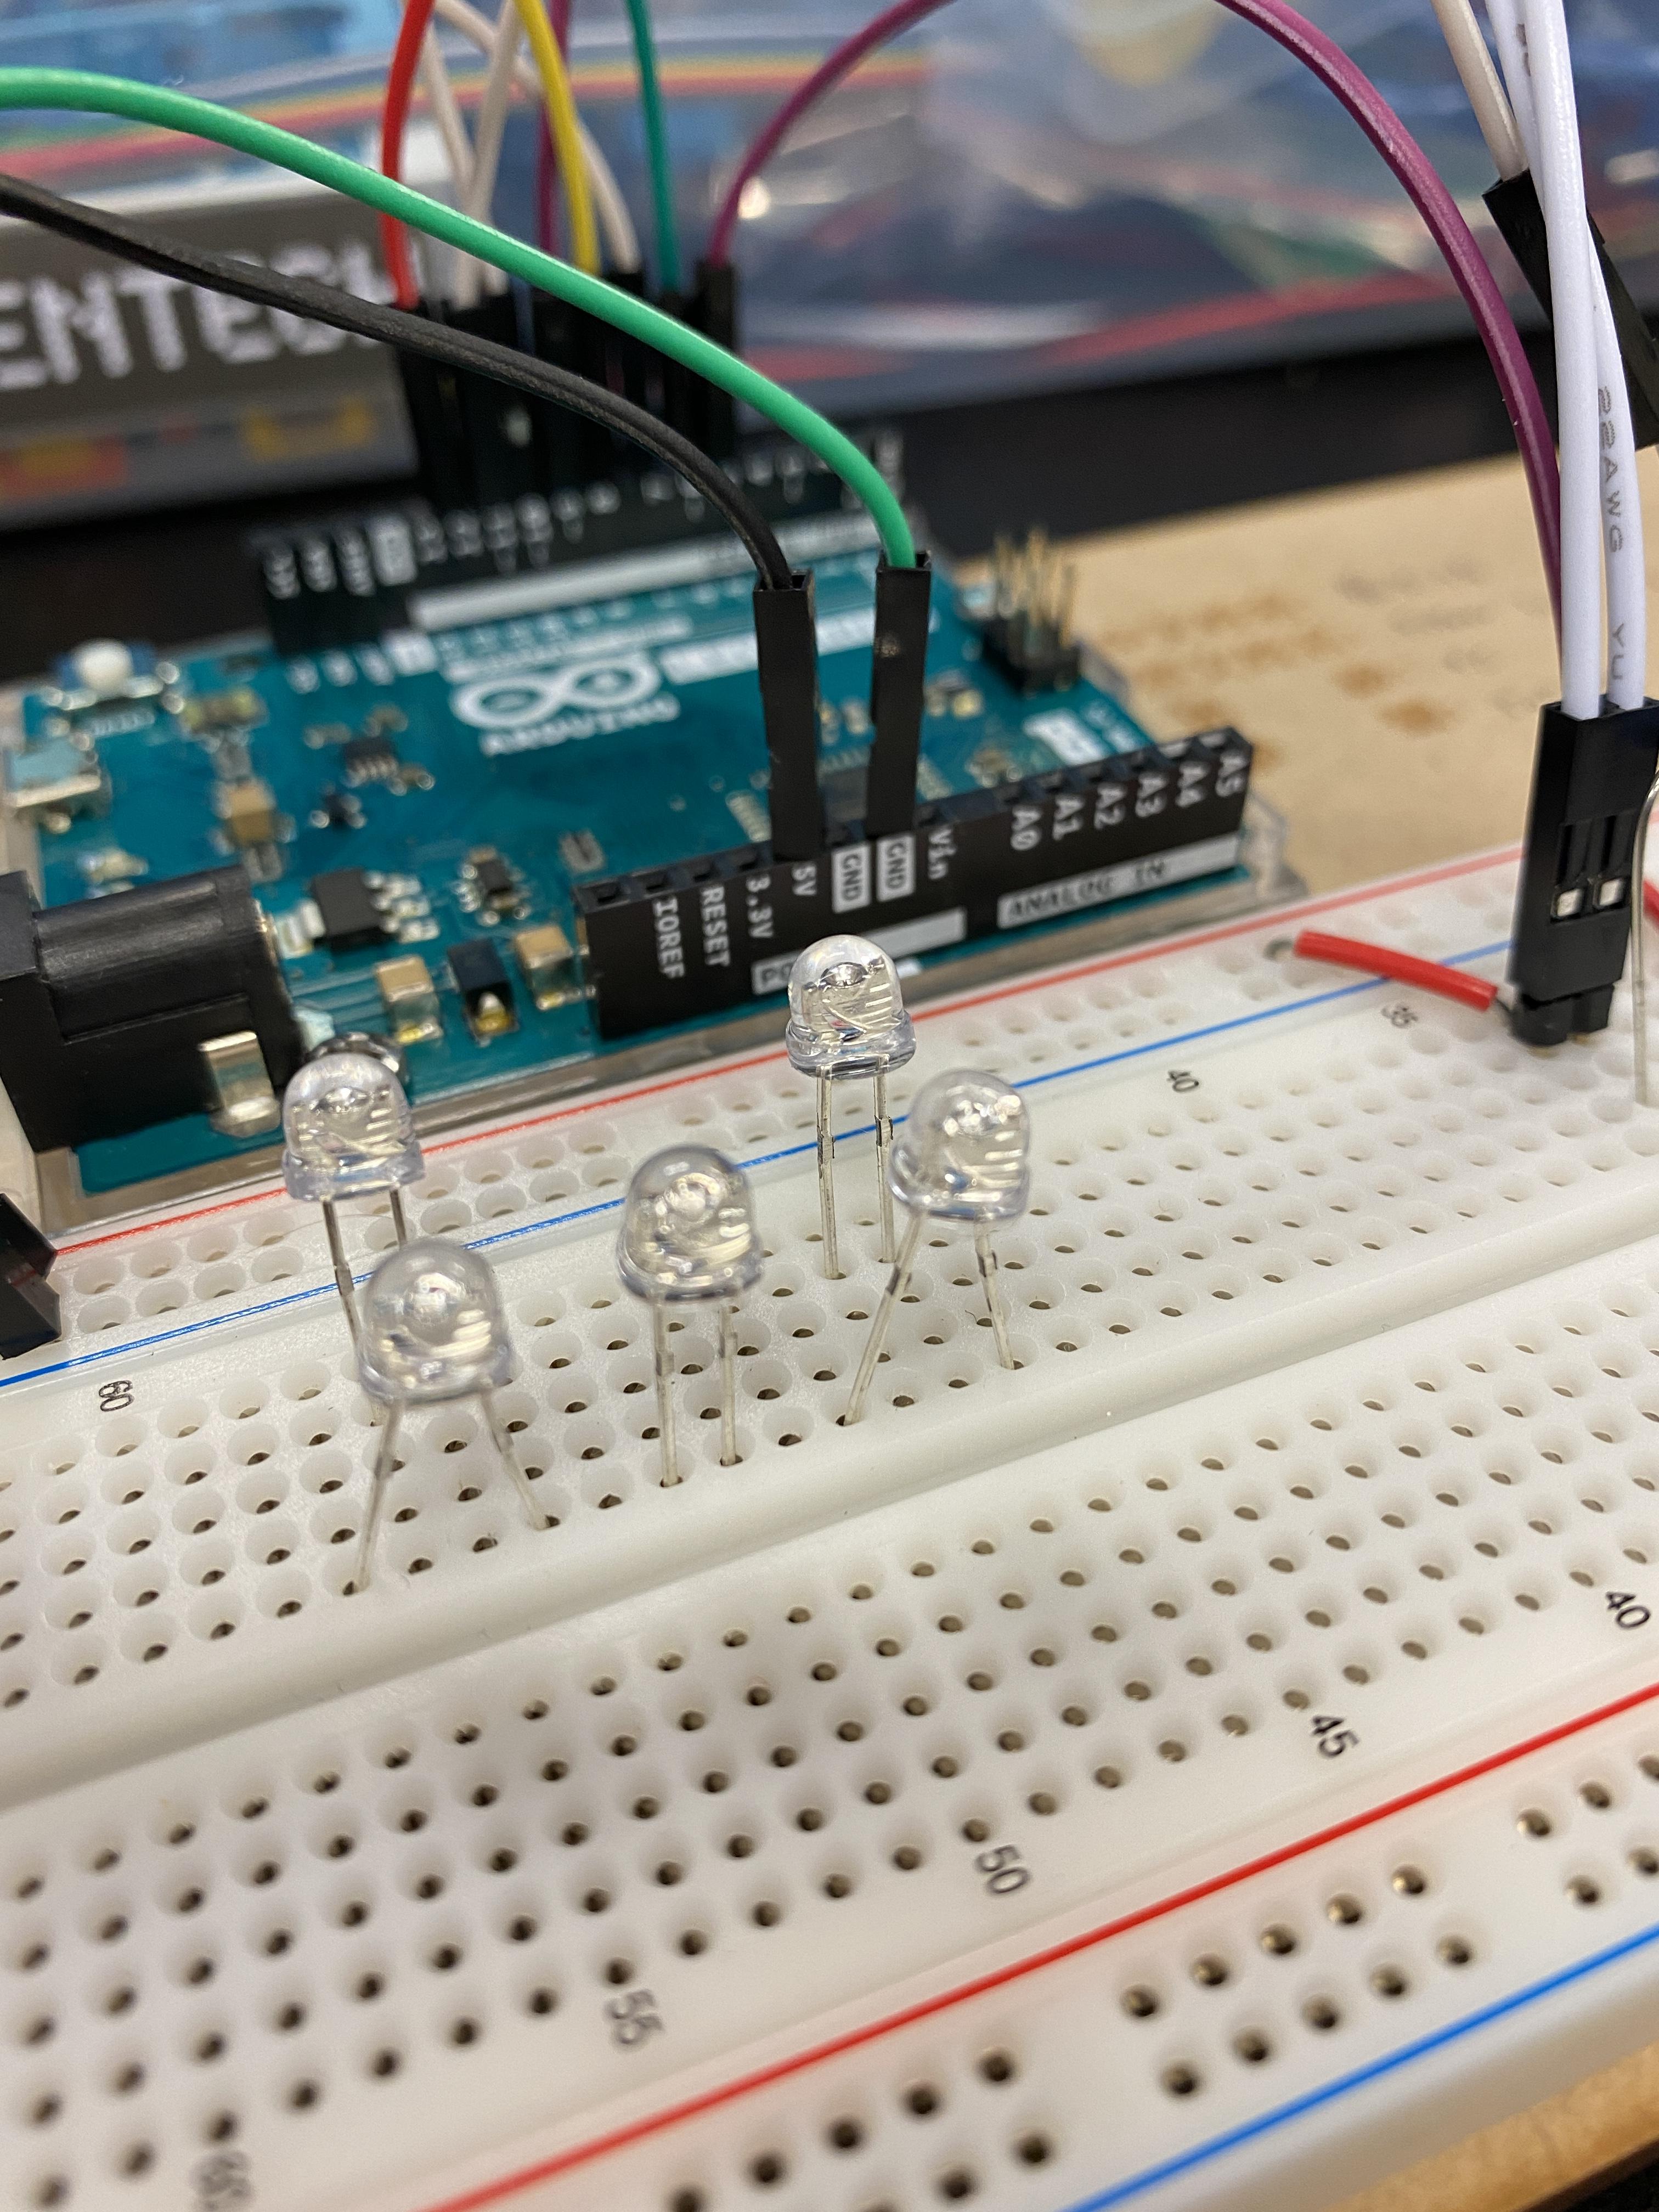
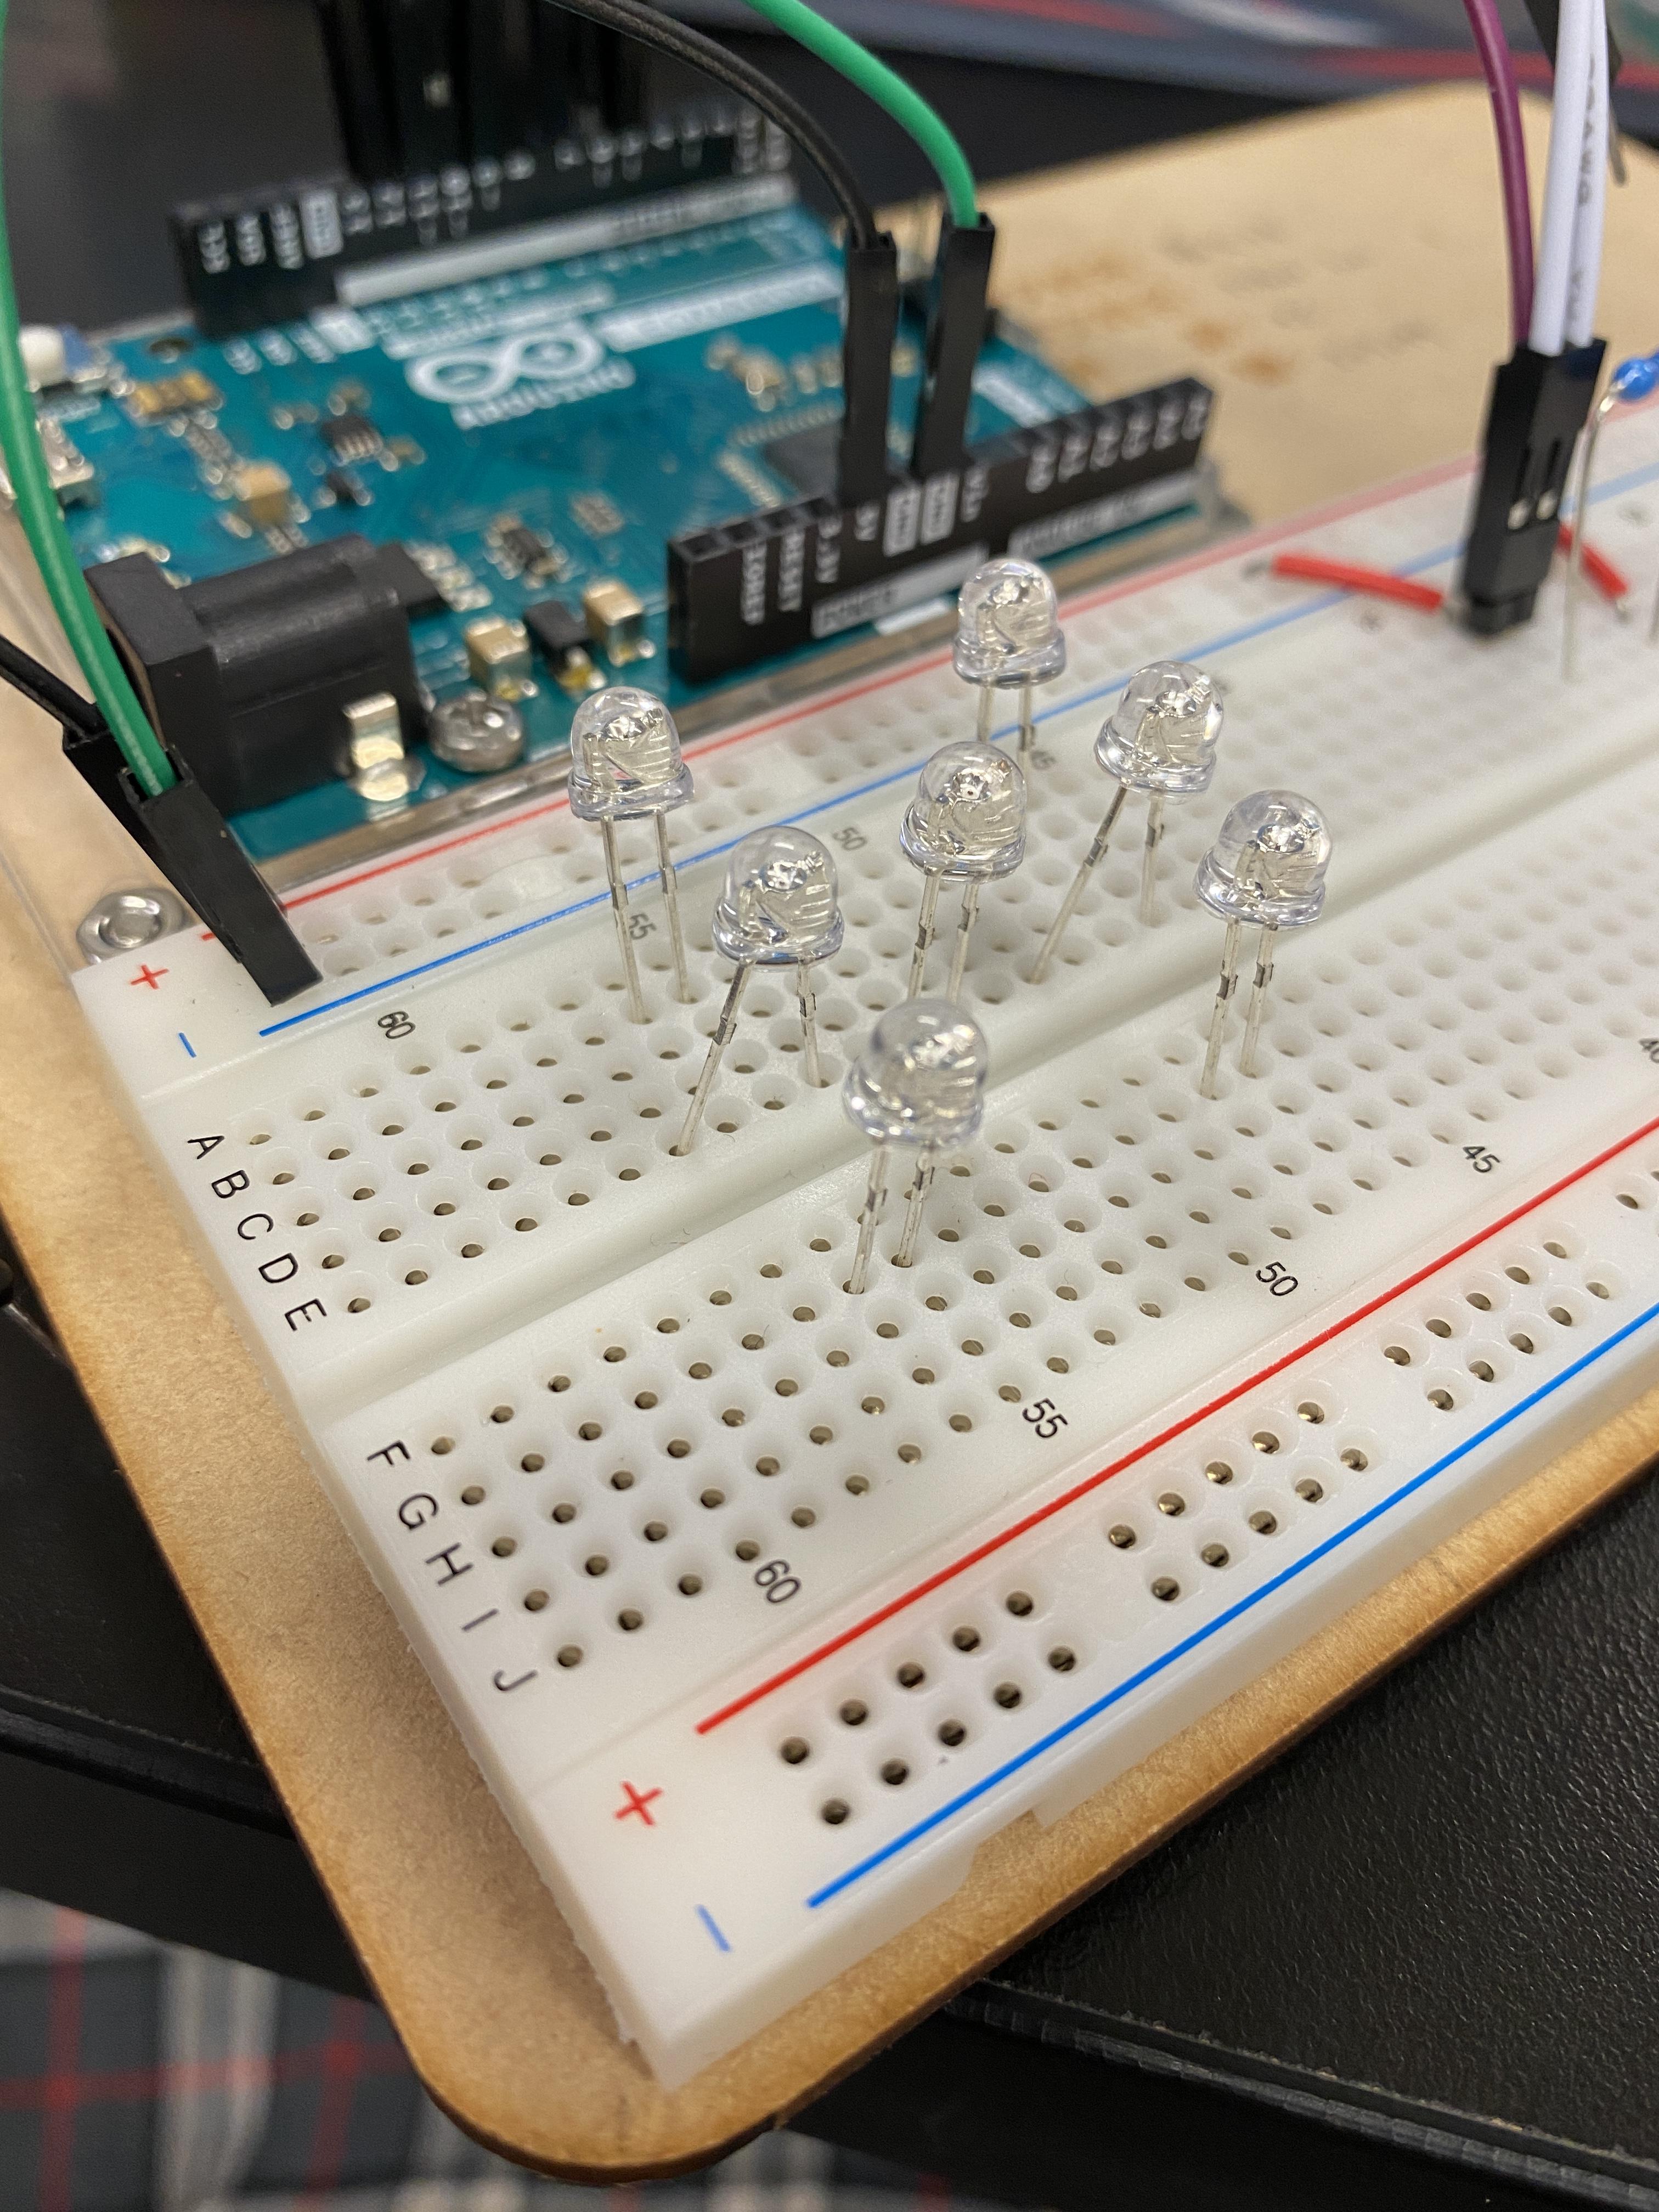
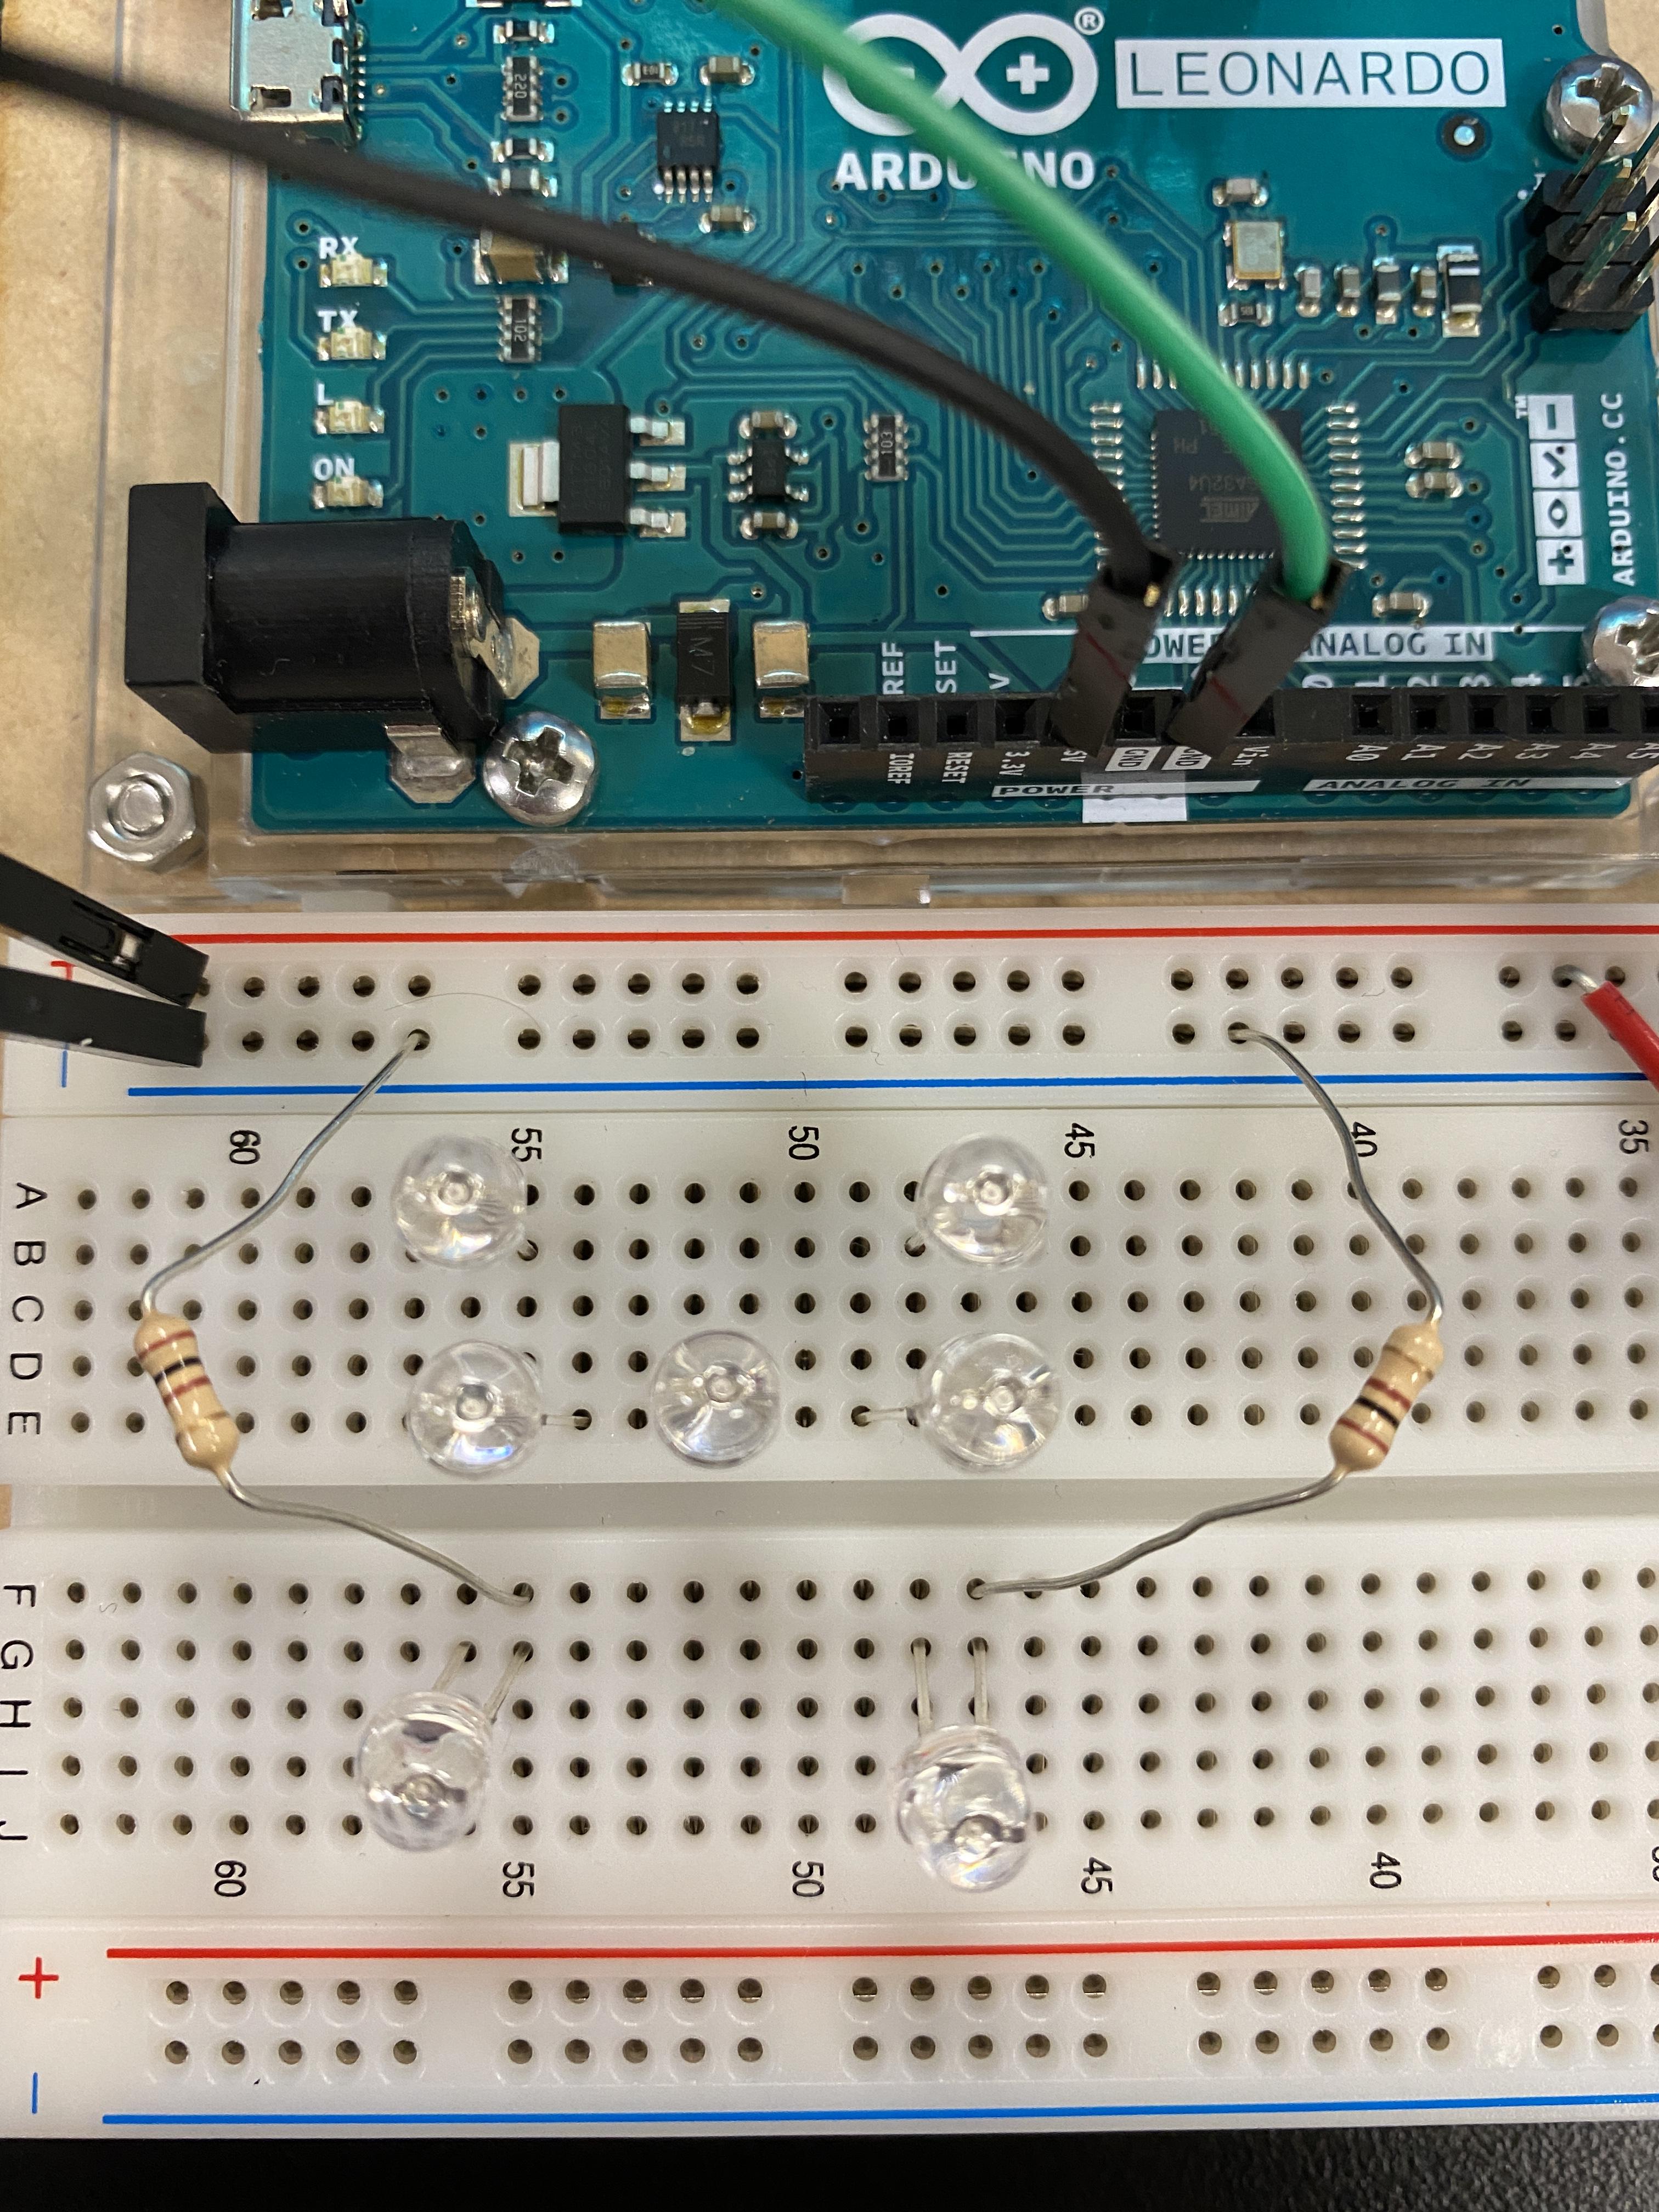
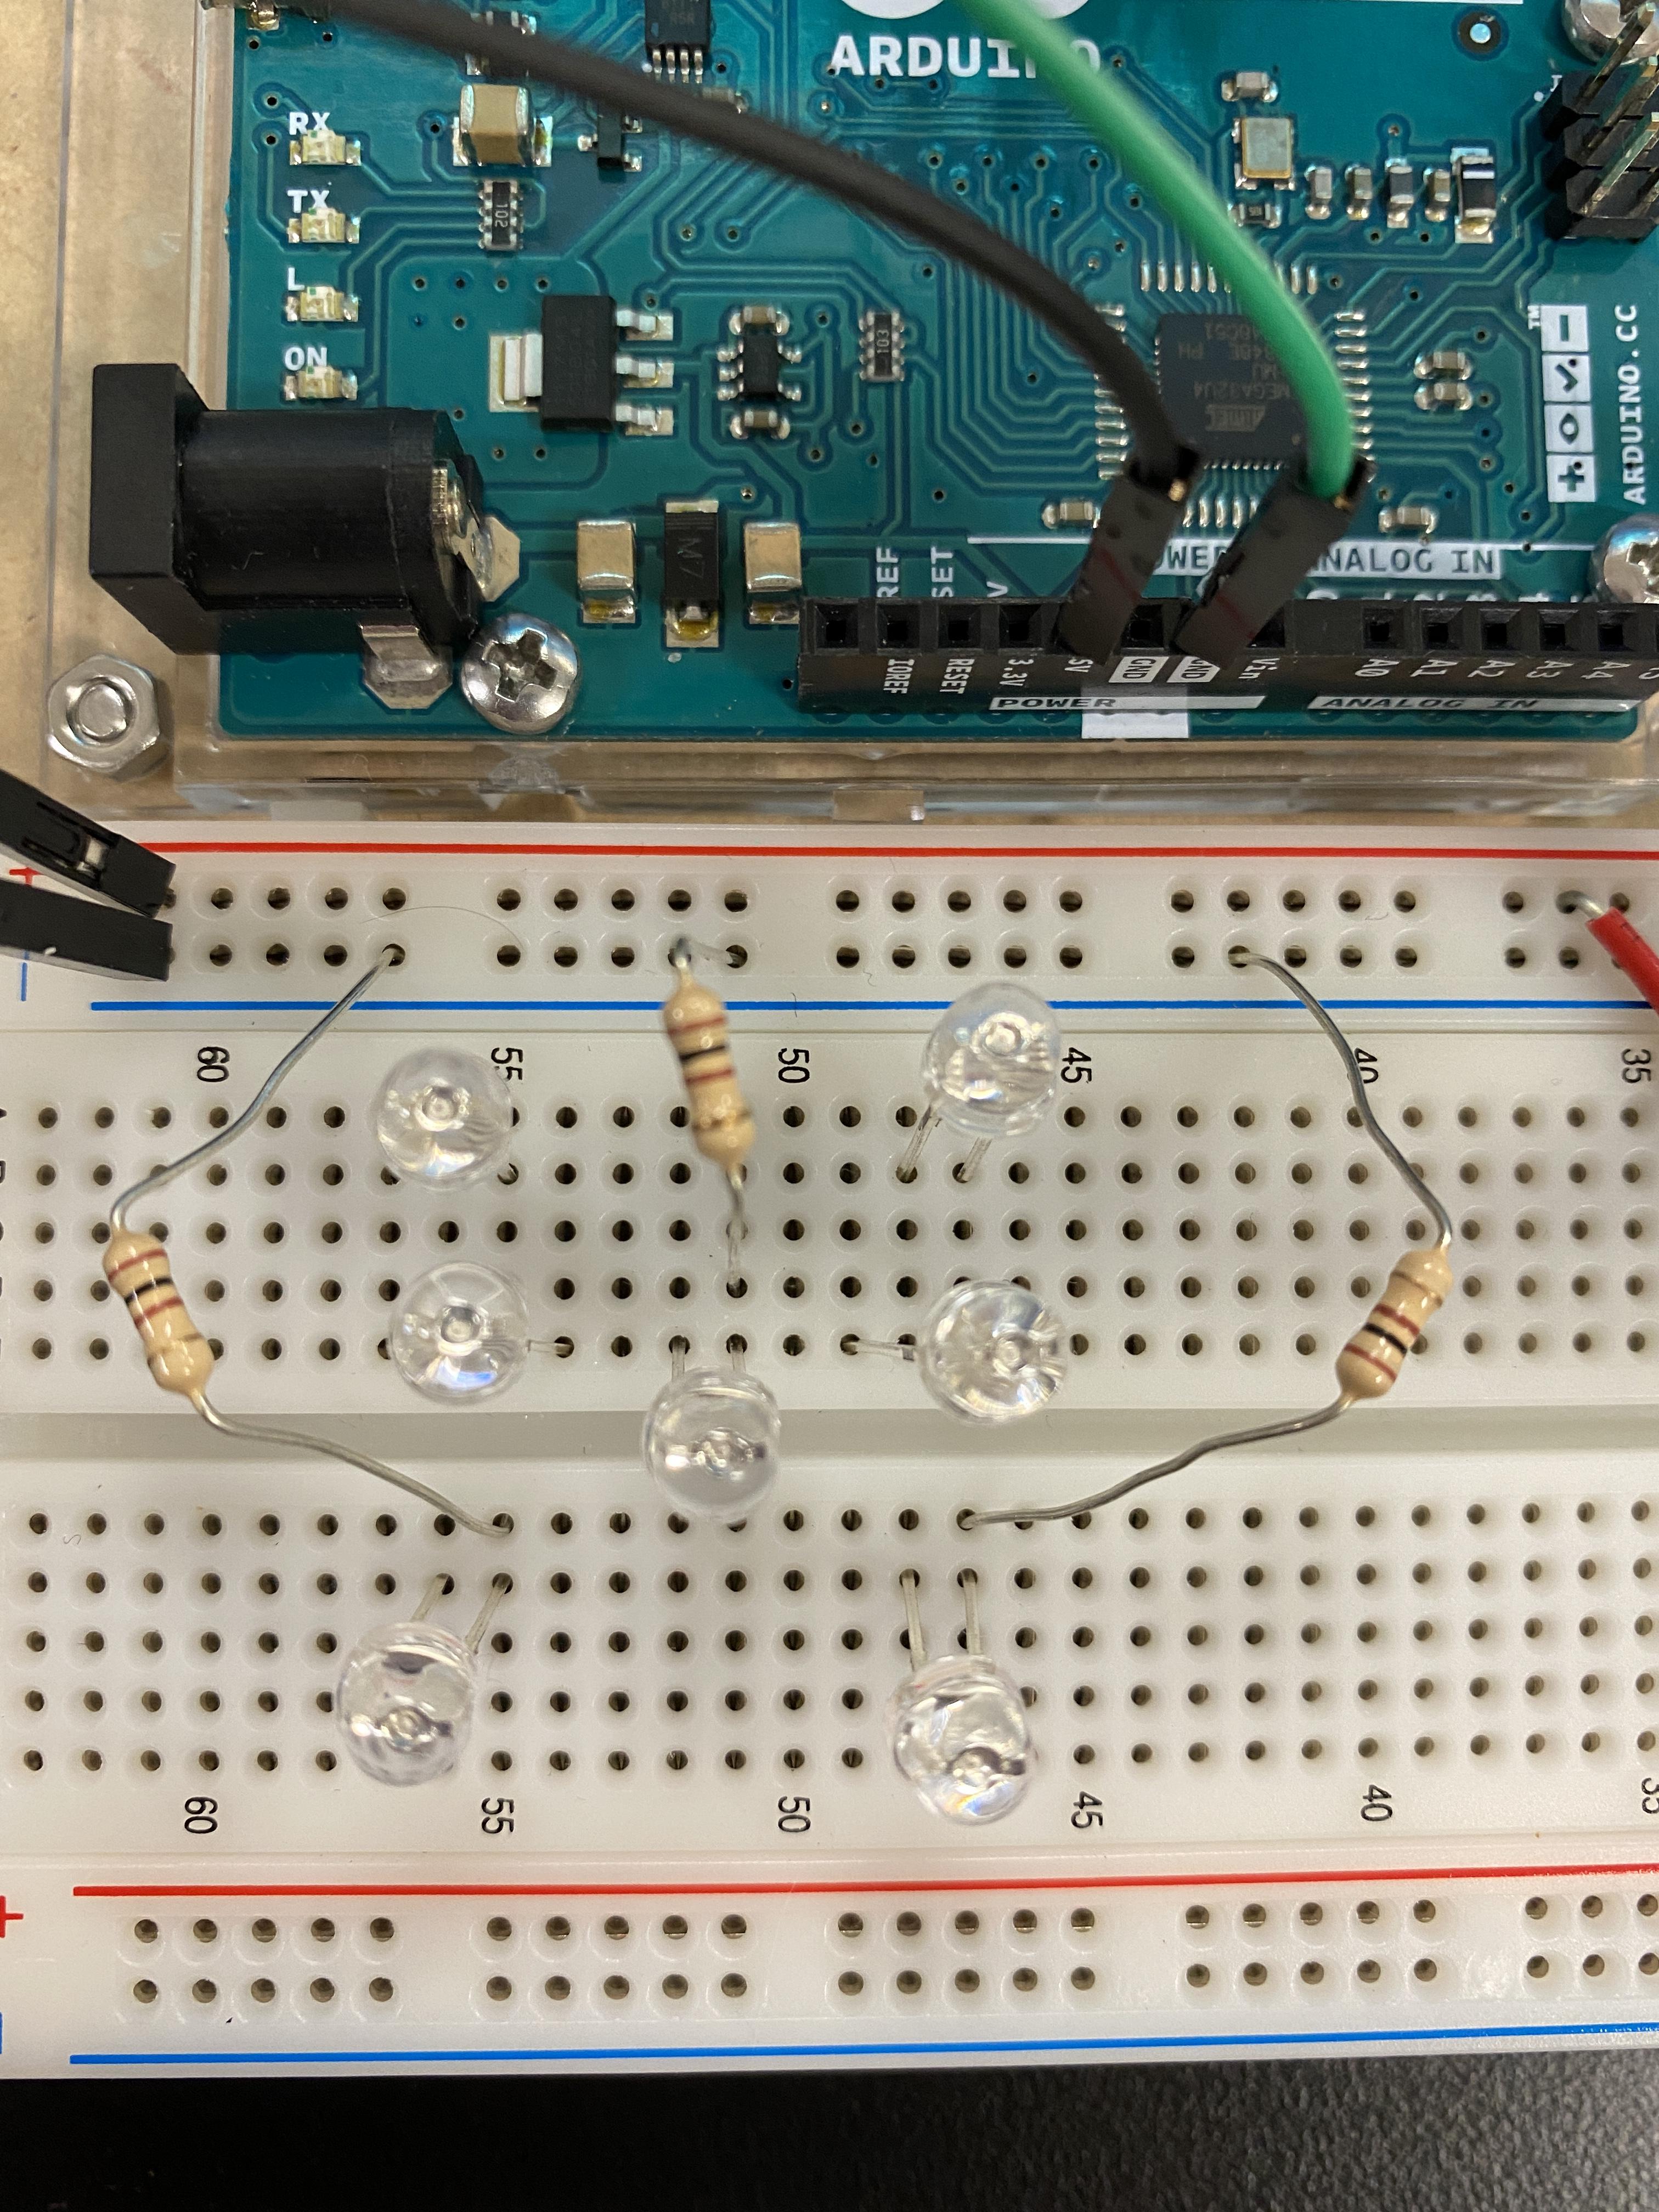
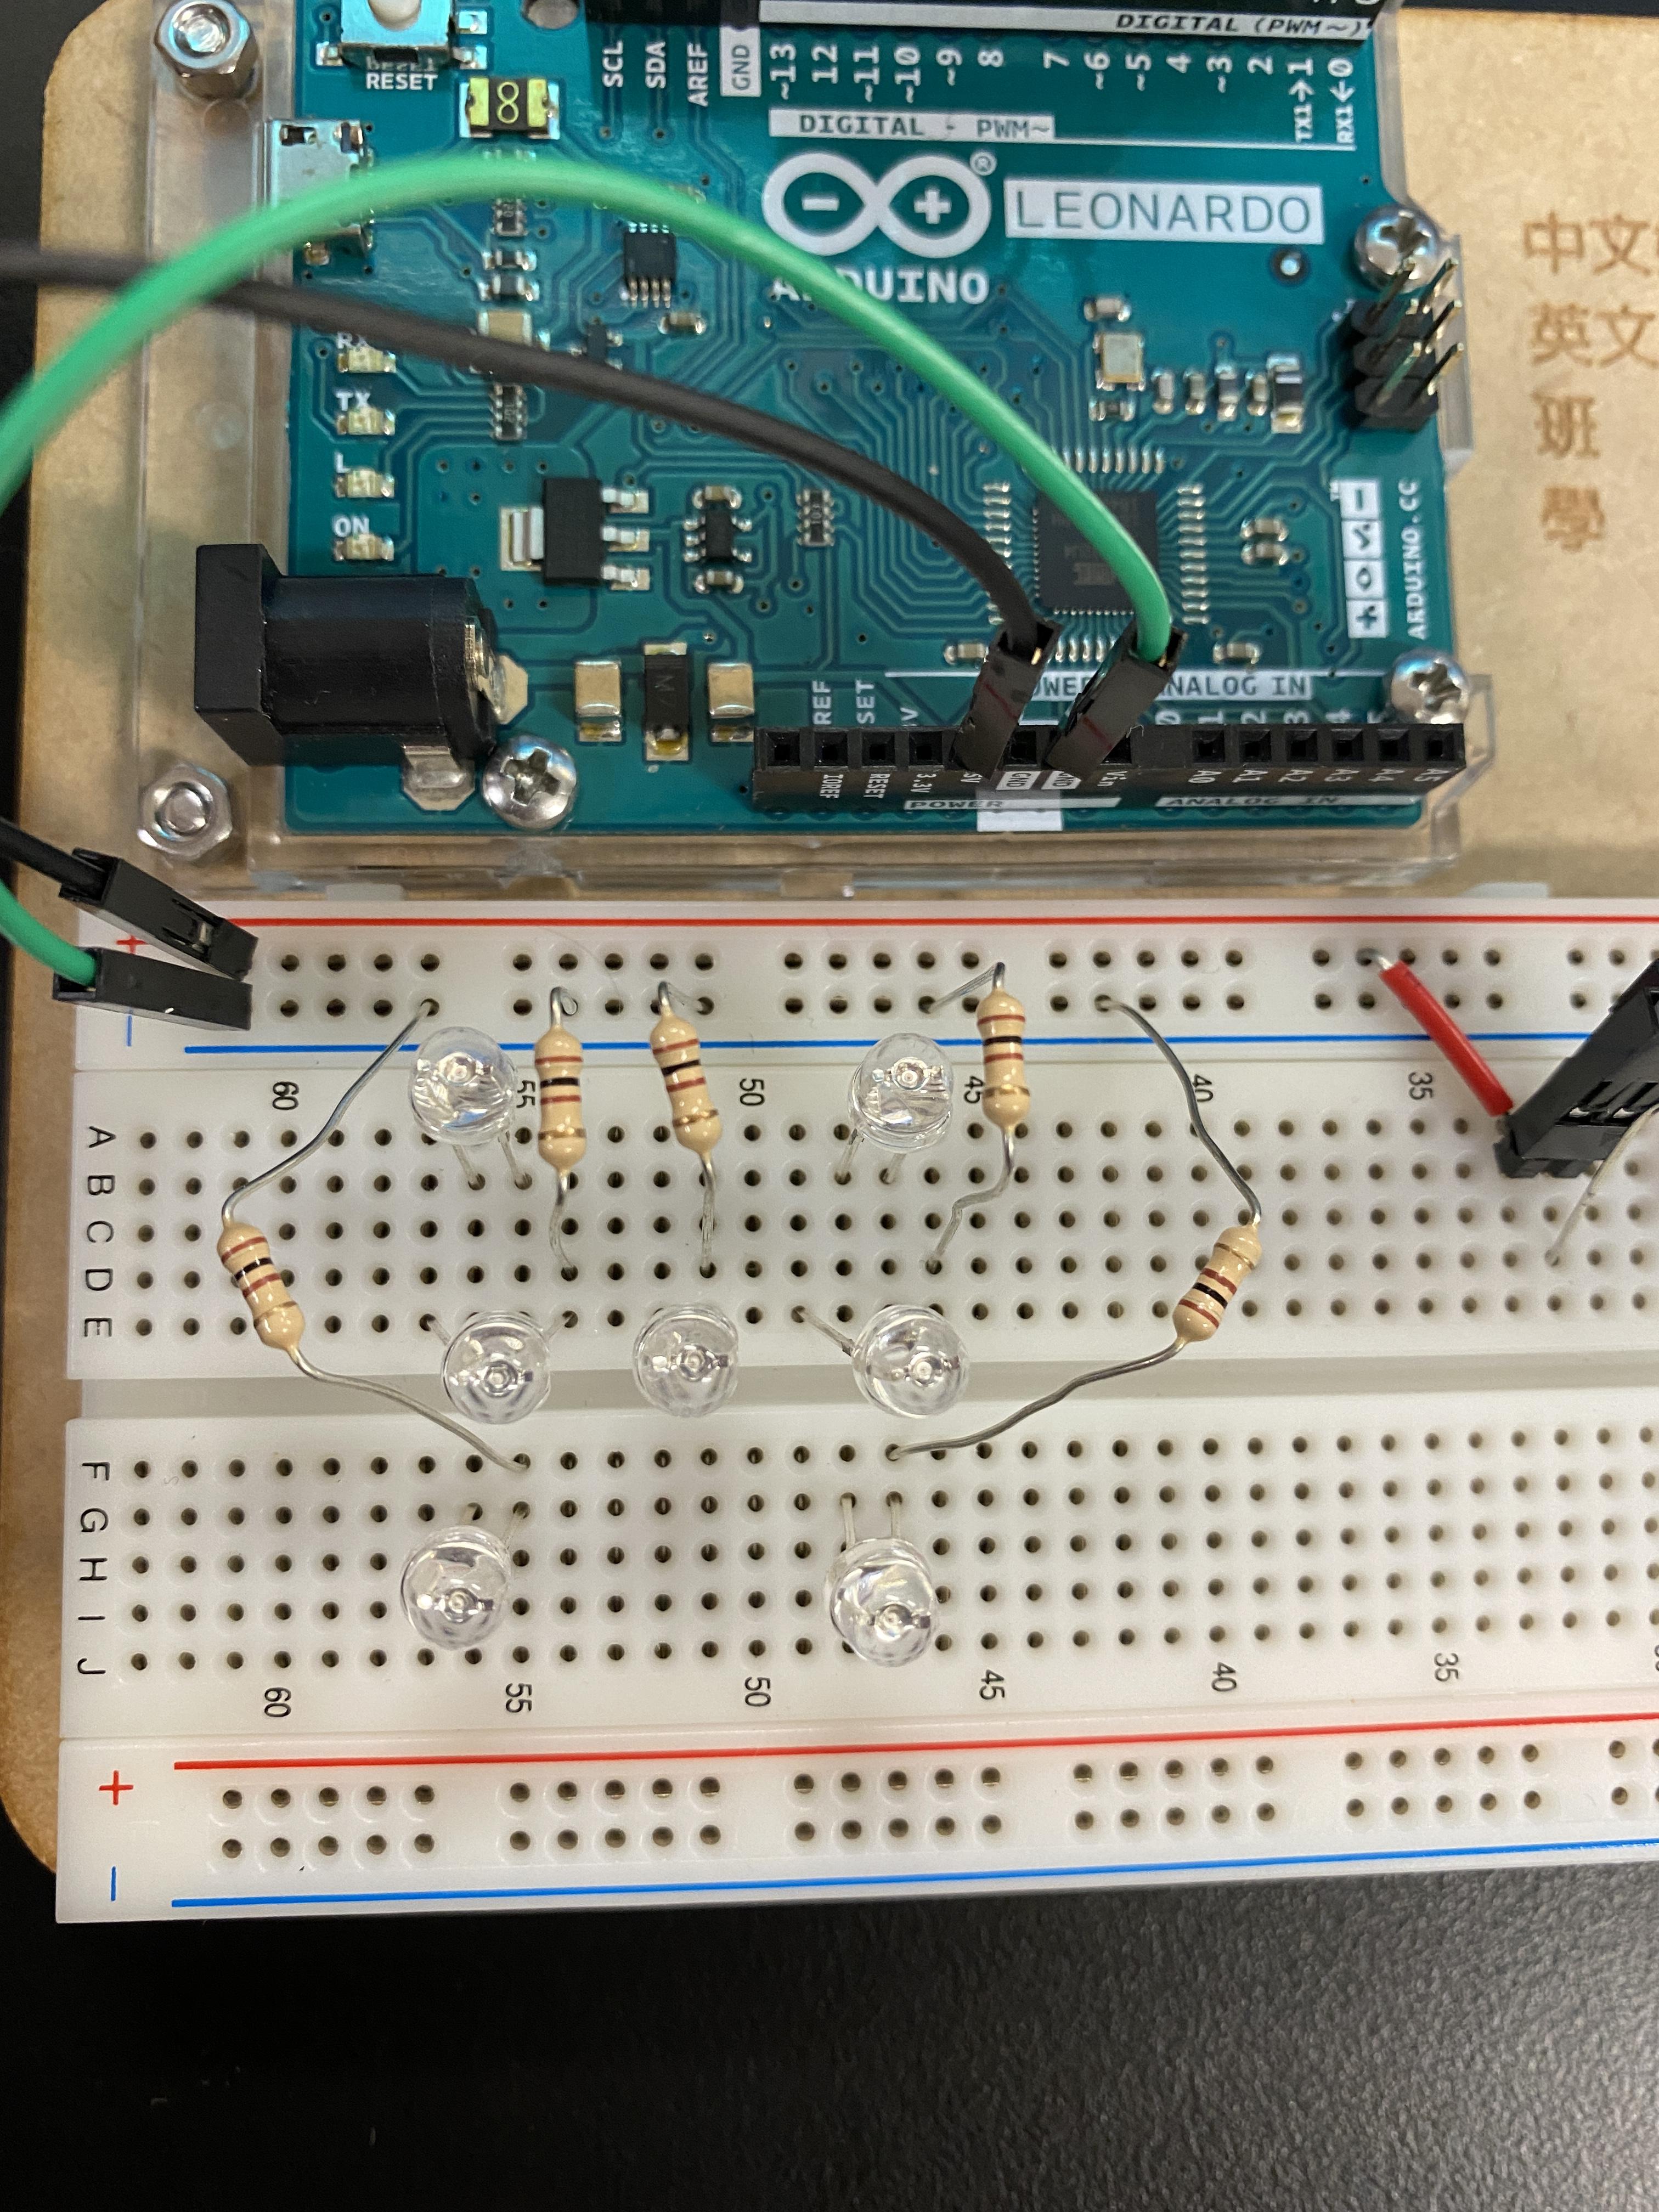
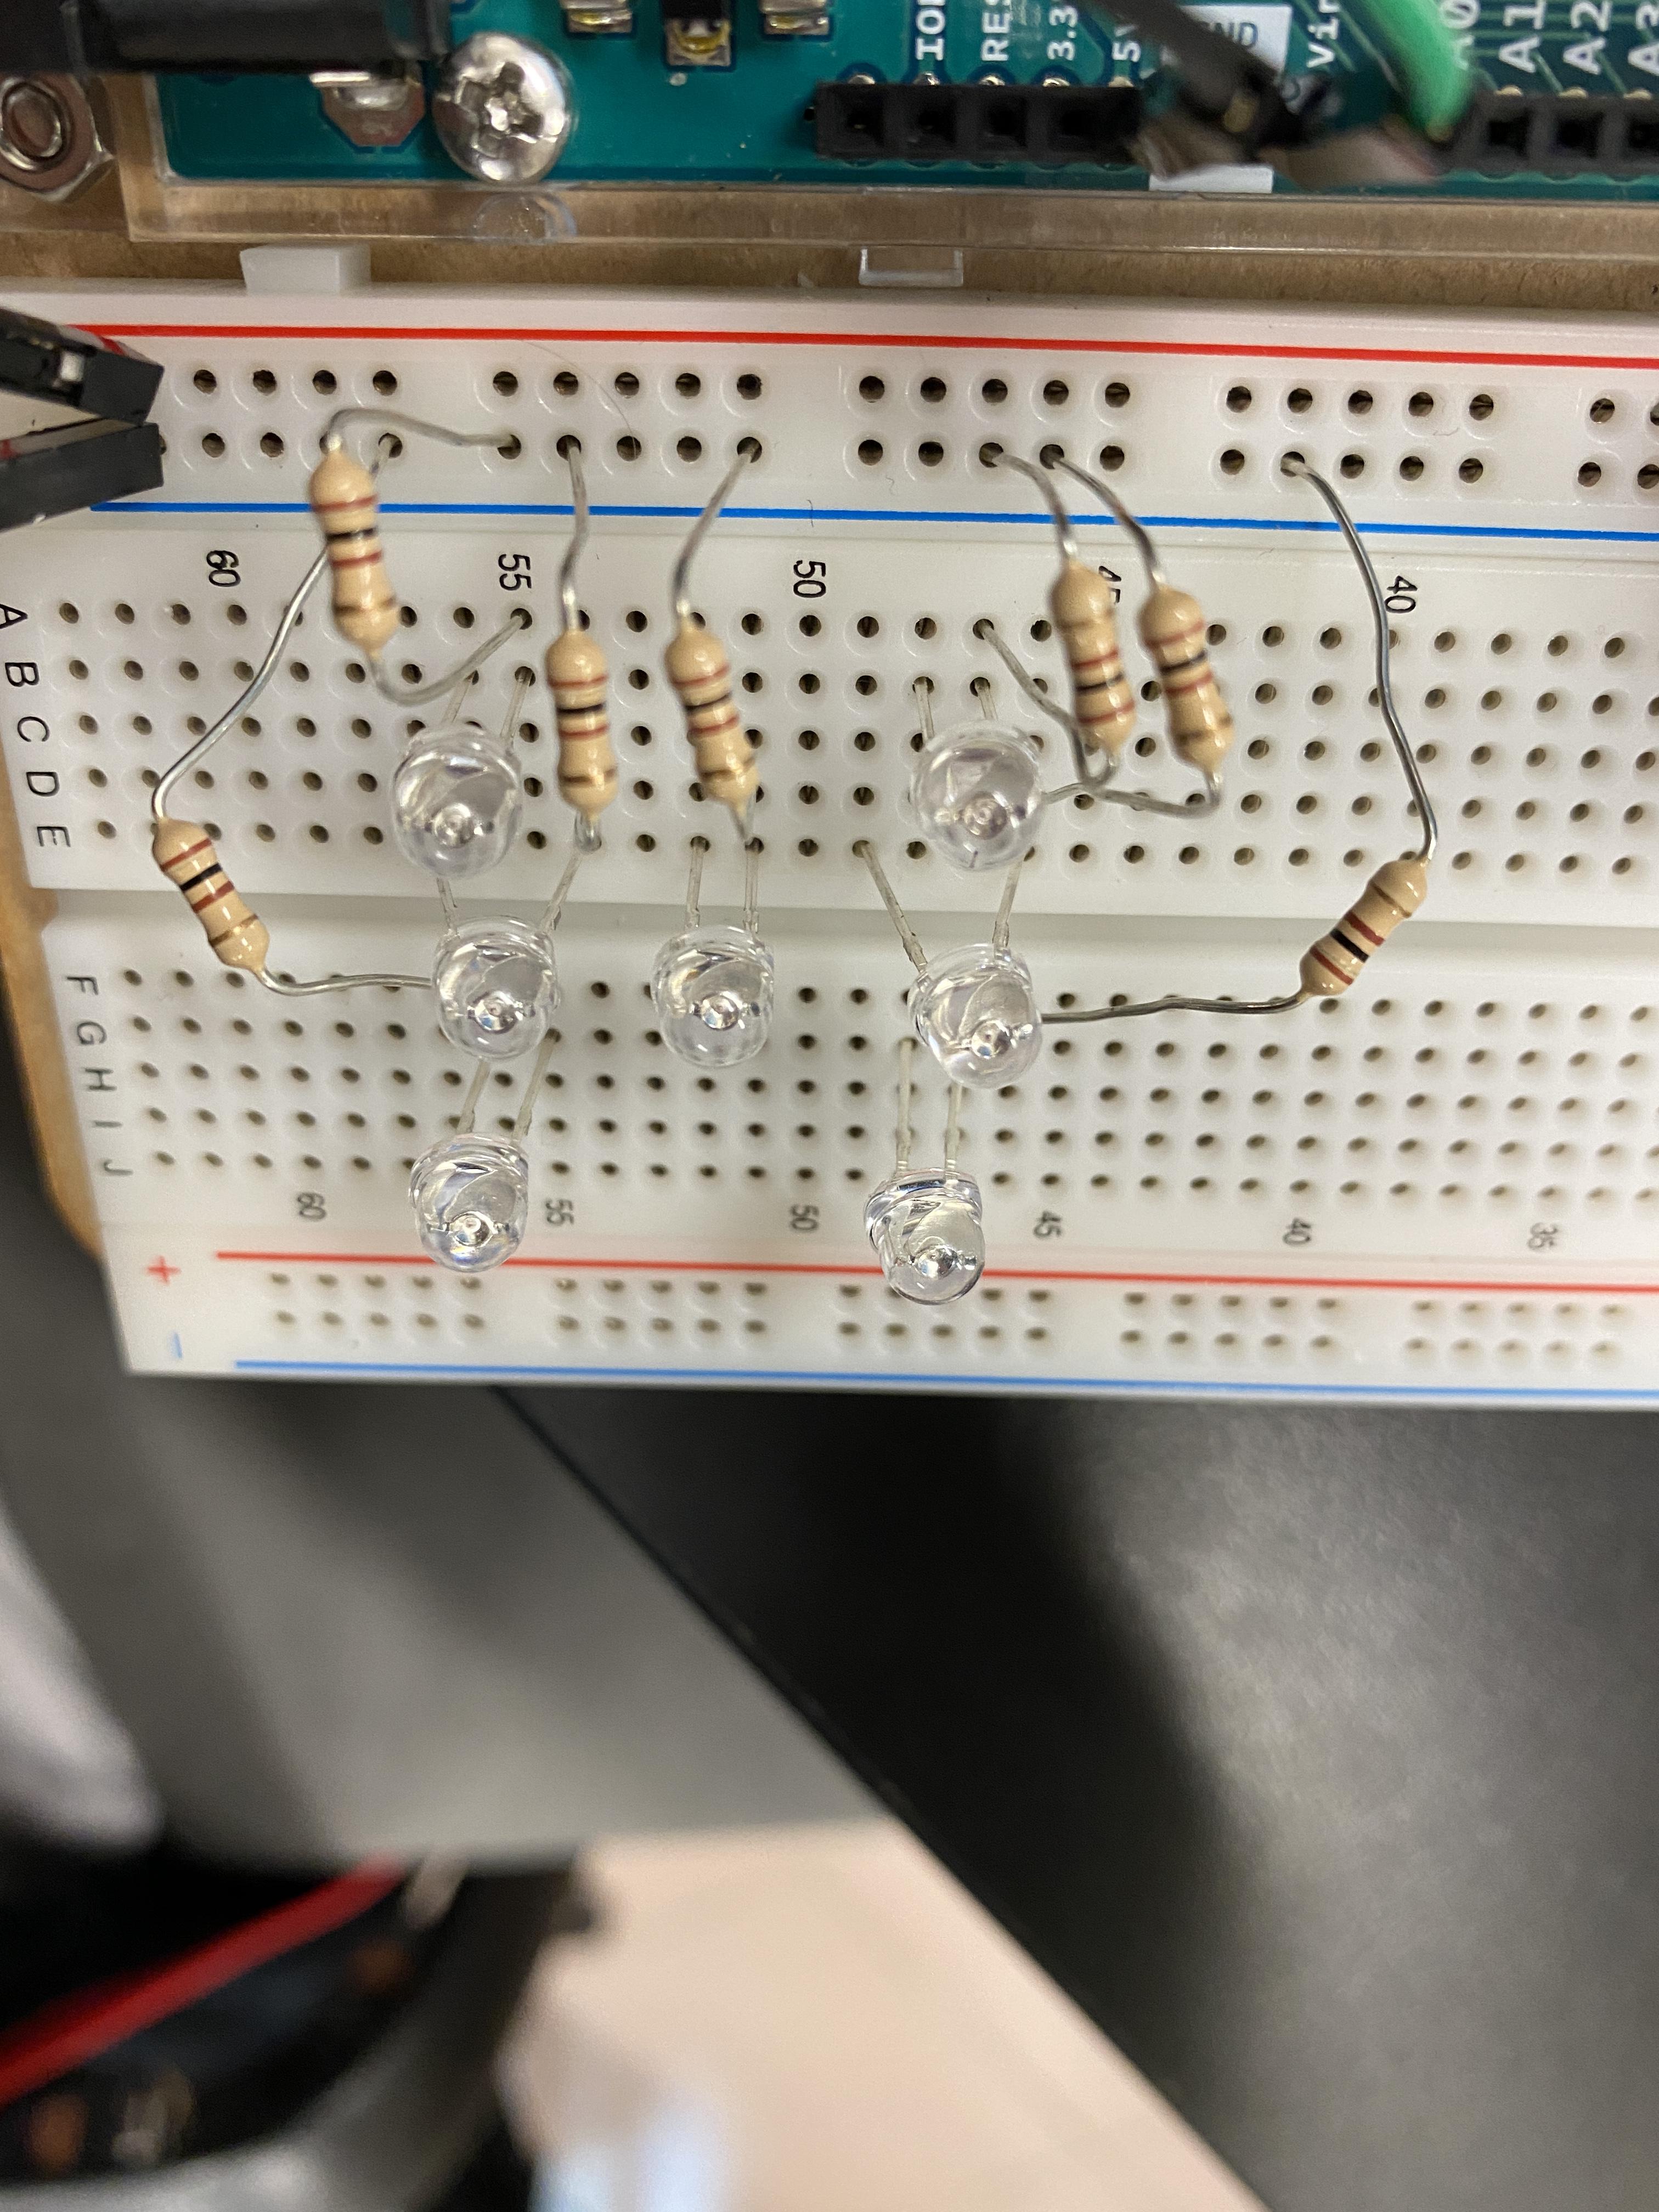
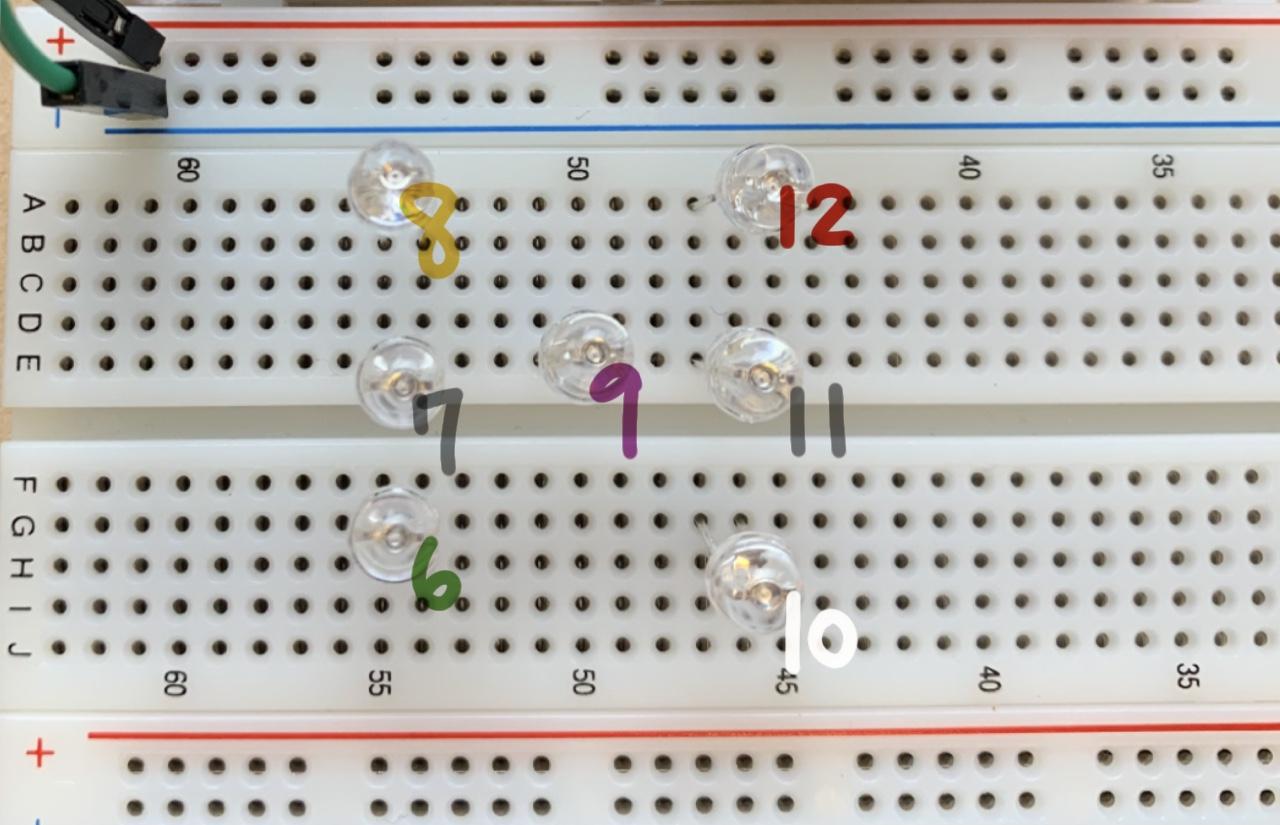
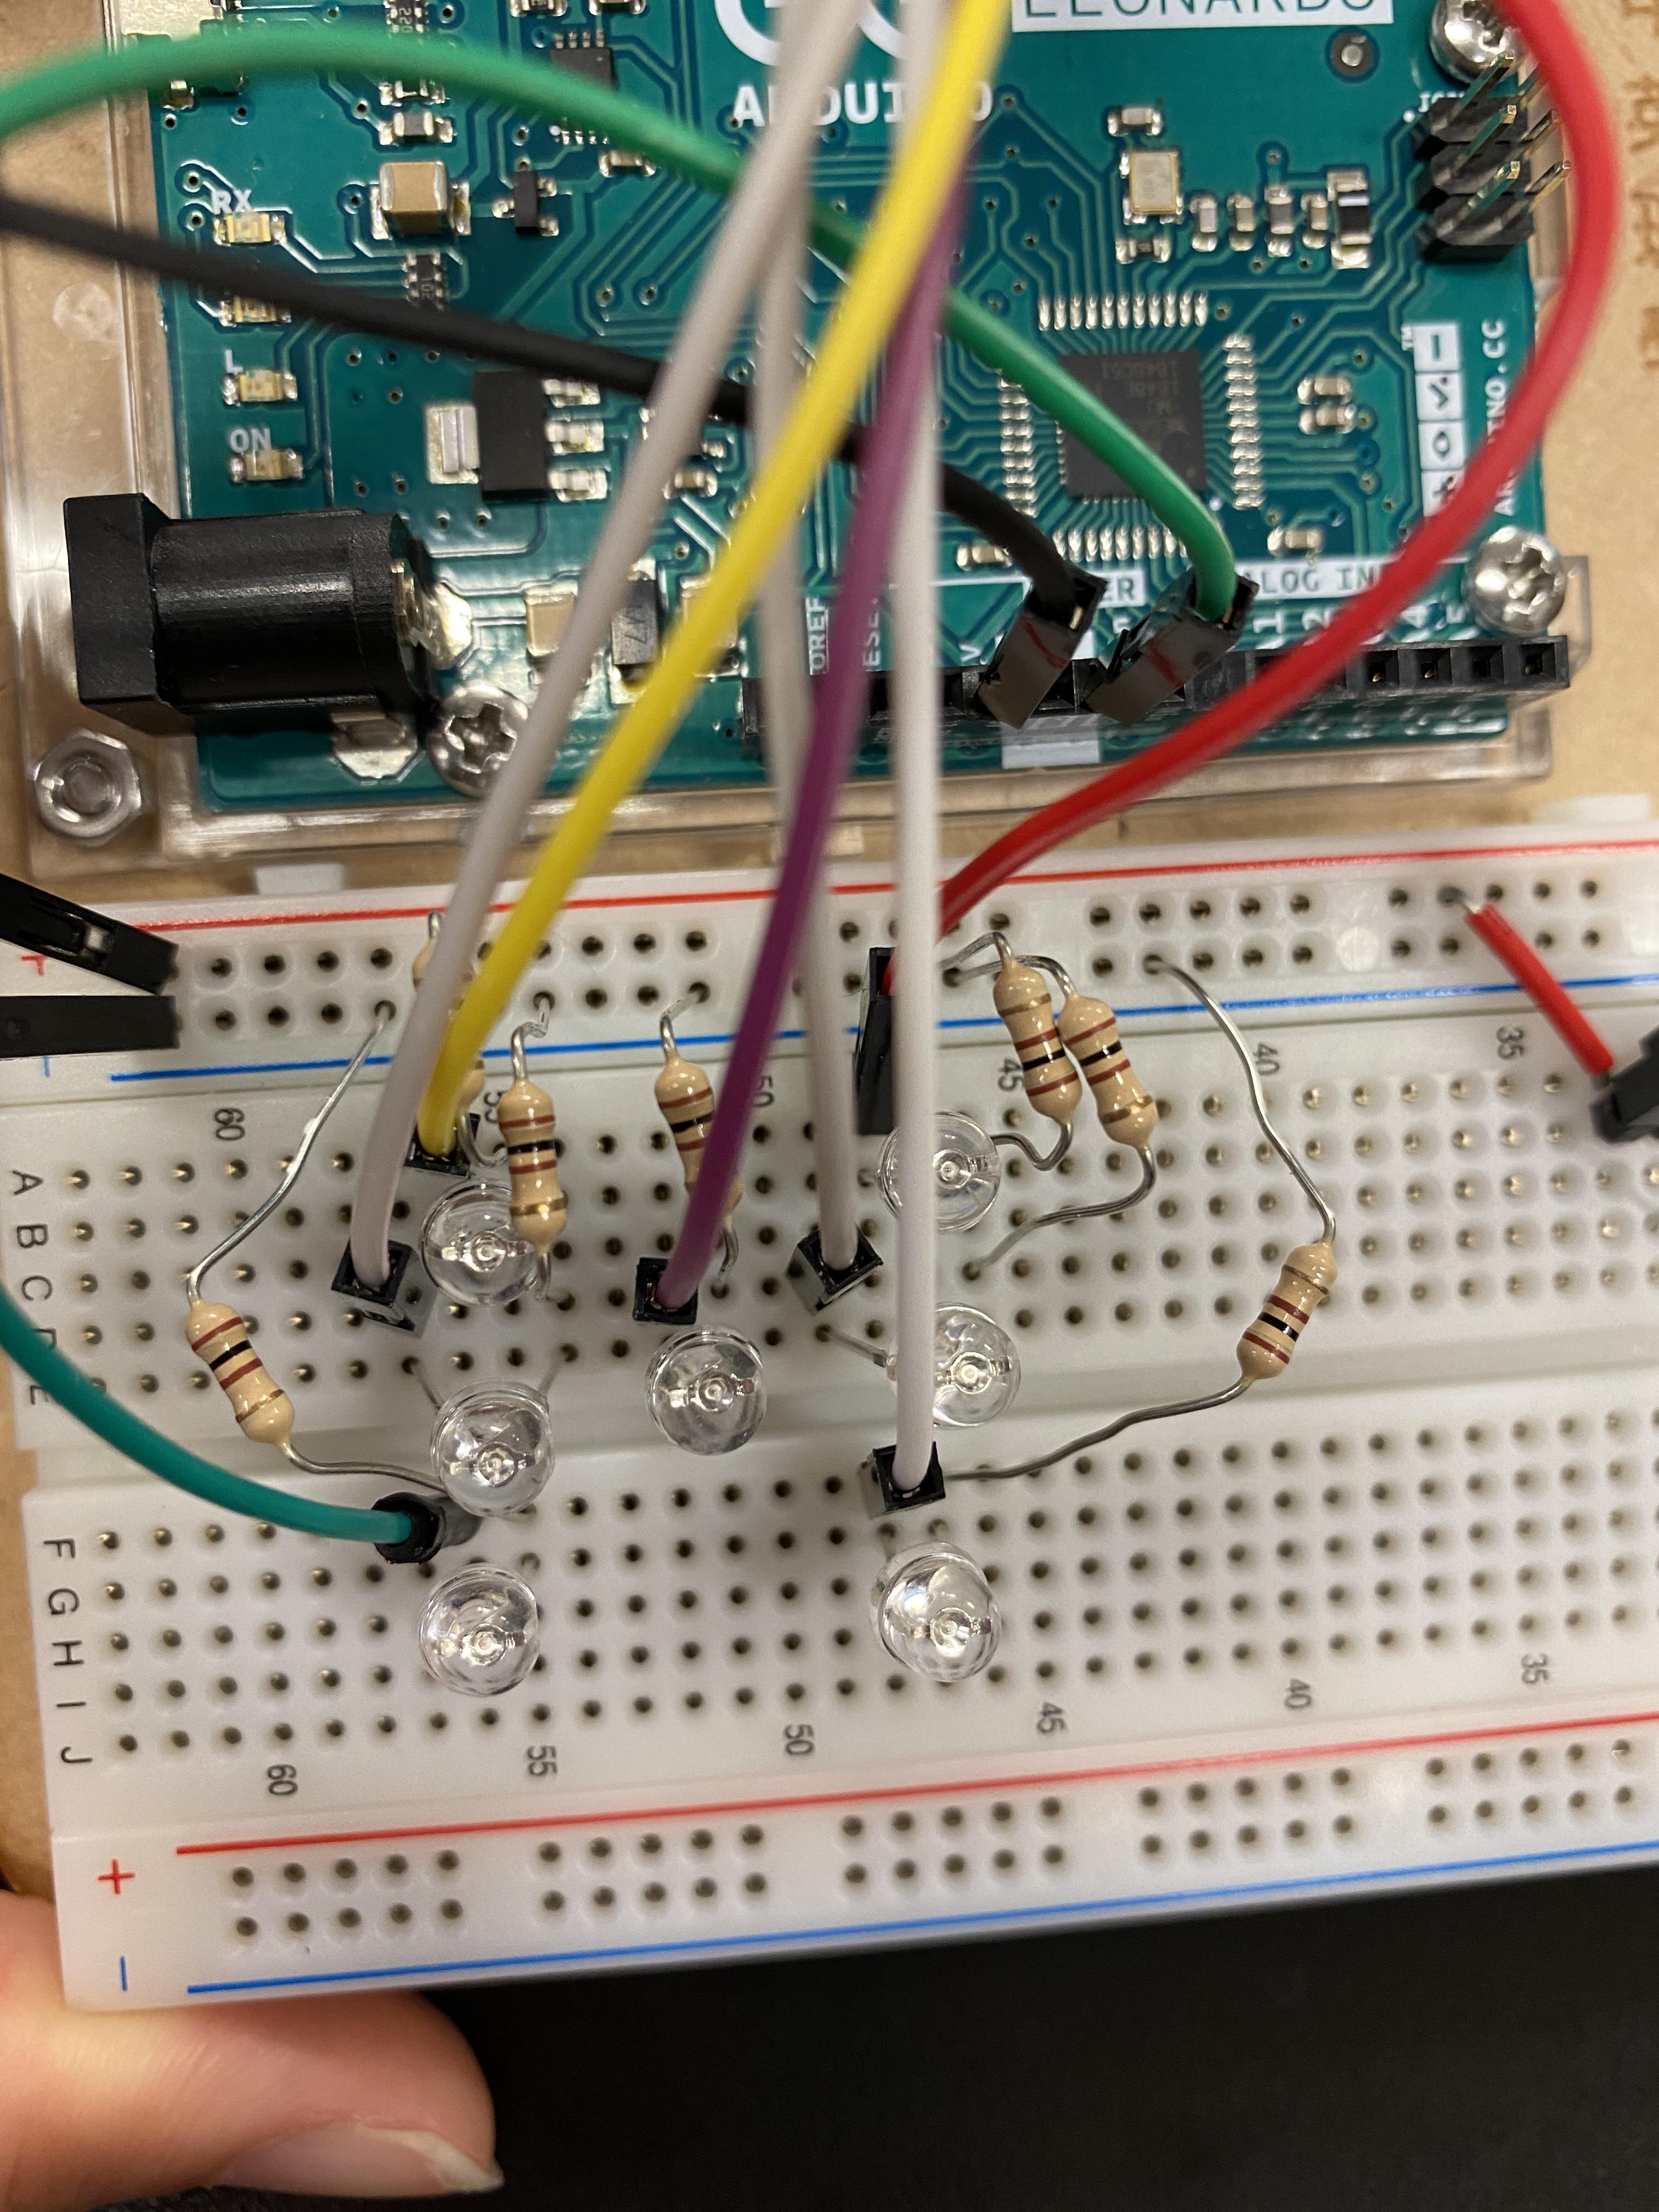
1. Plug the LED onto the breadboard according to the pictures. Be sure to plug the positive(long) side to the left.
2. Place one end of the resistor to the negative and one end to the negative end of the LED.
3. Place the corresponding ground rails shown on the eleventh picture with jumpers (connect to the positive end of the LED).
Set the Push Button
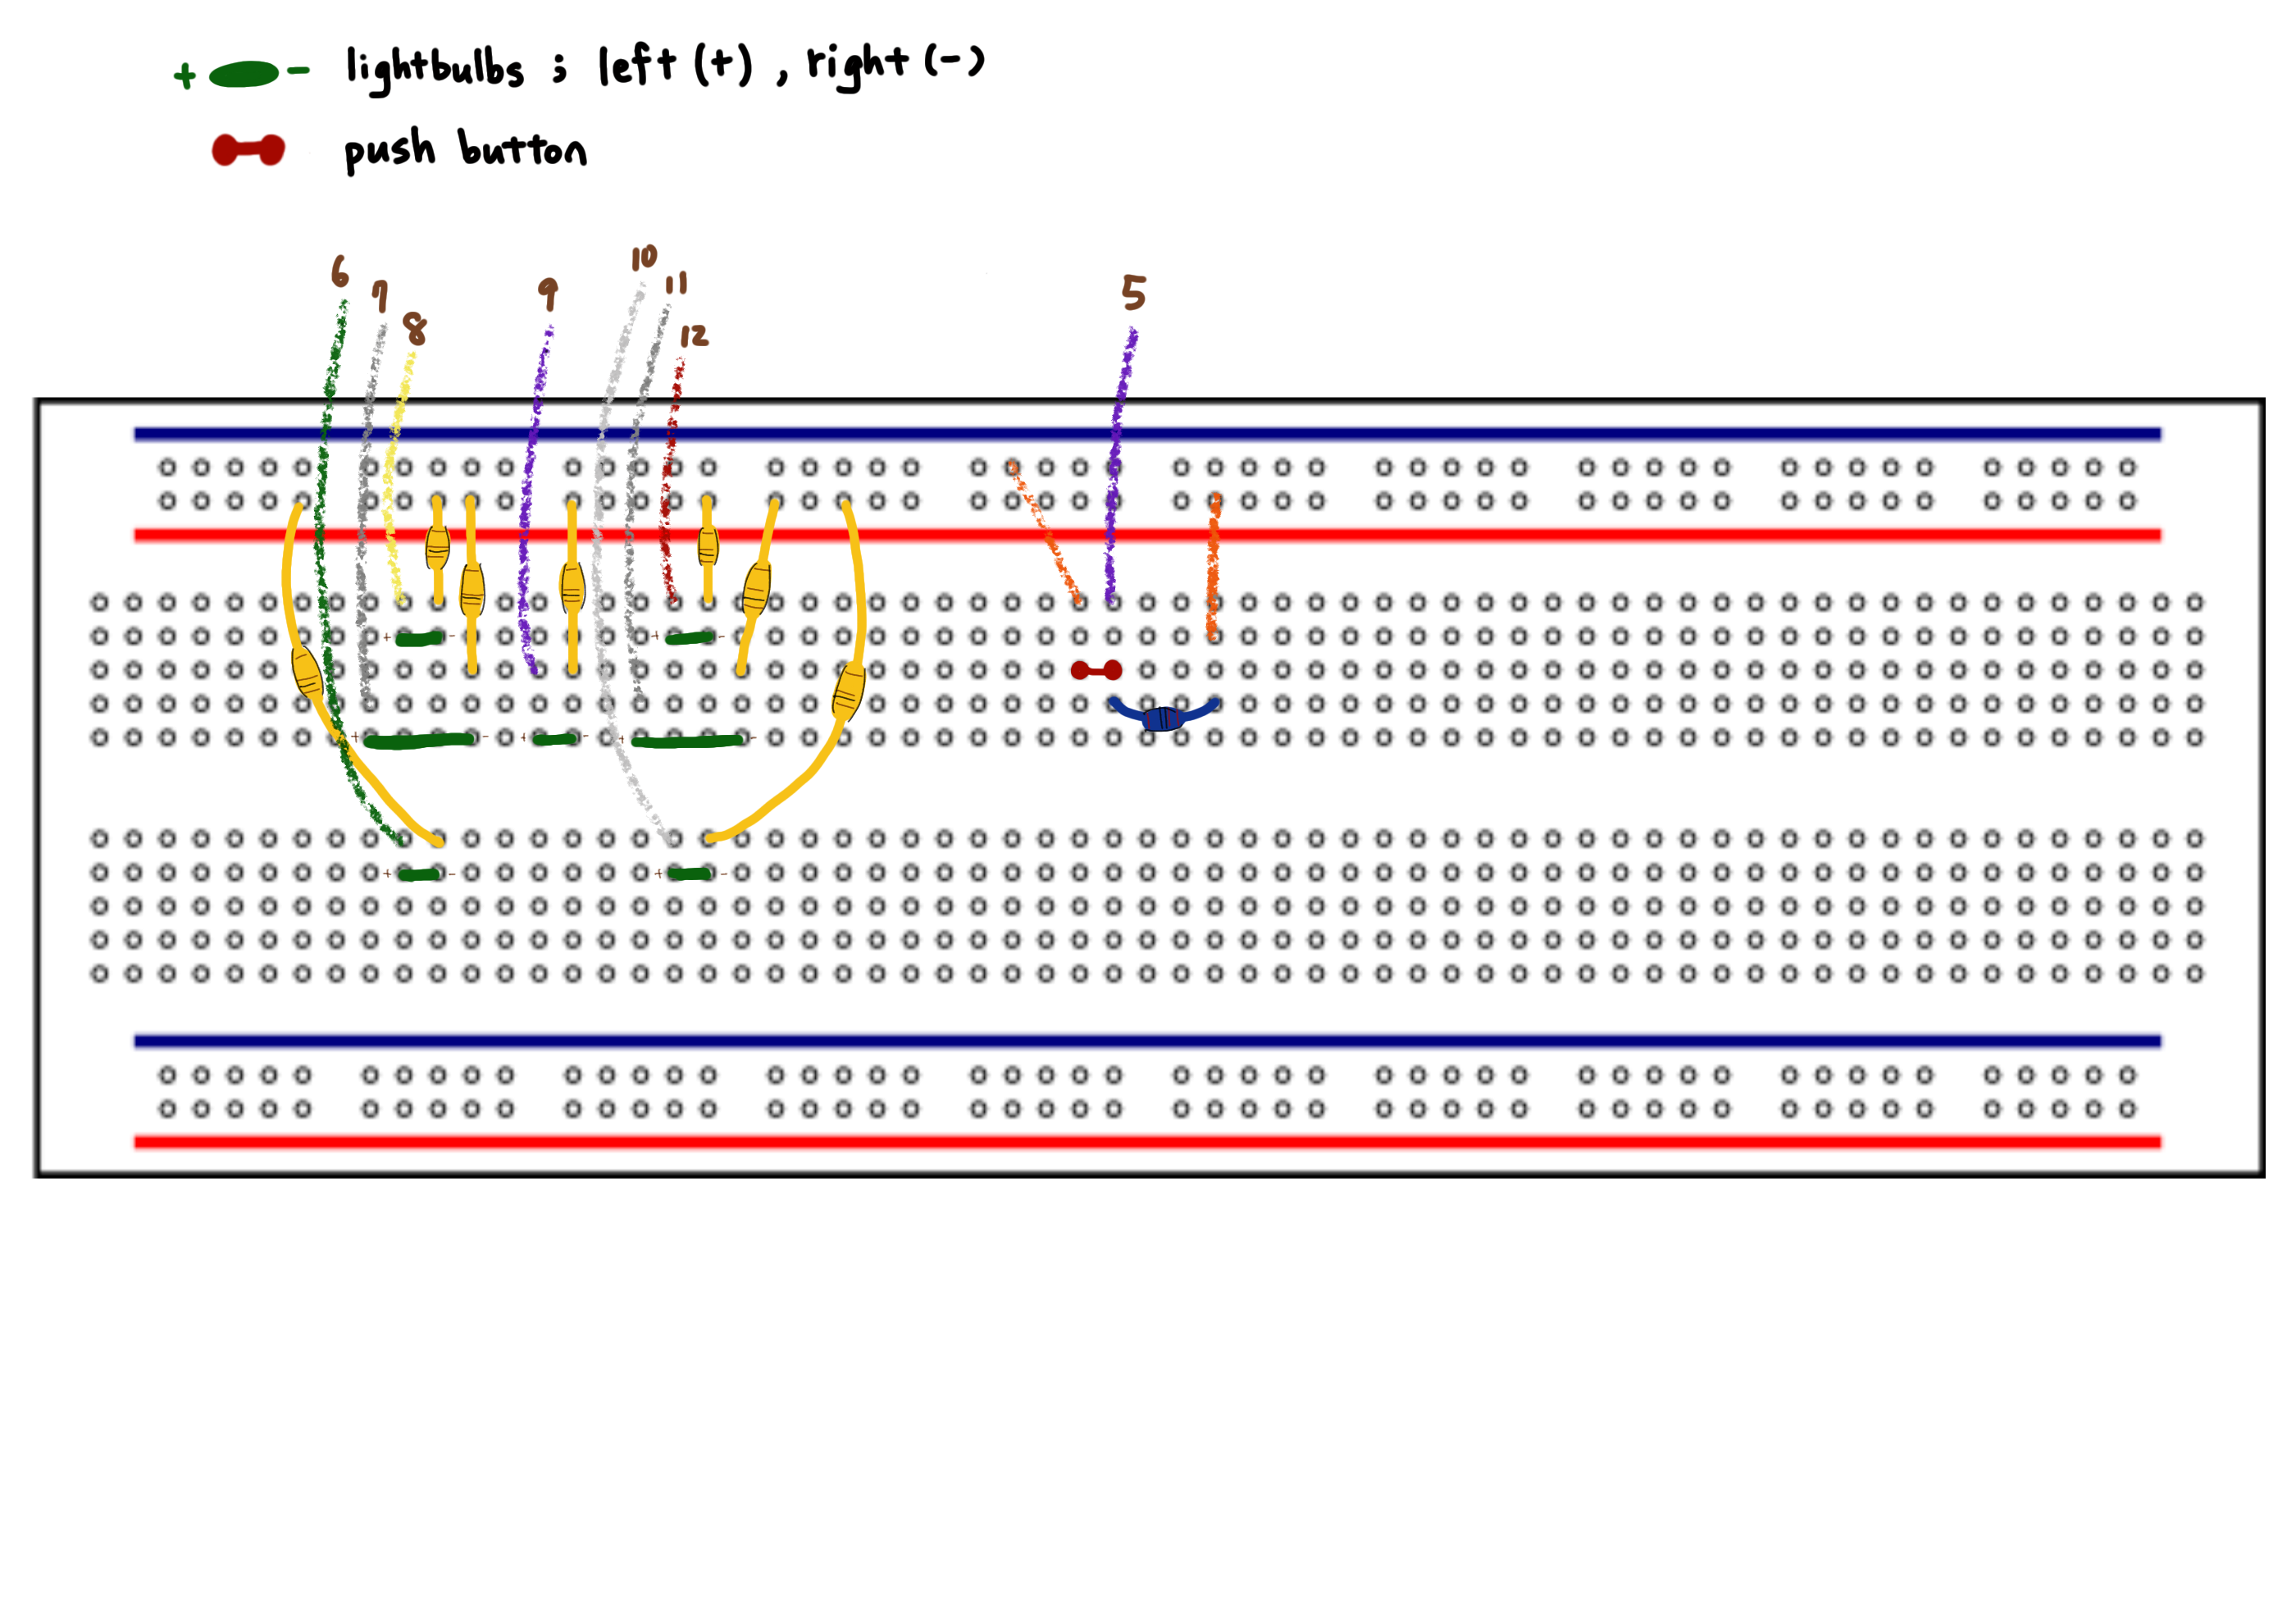
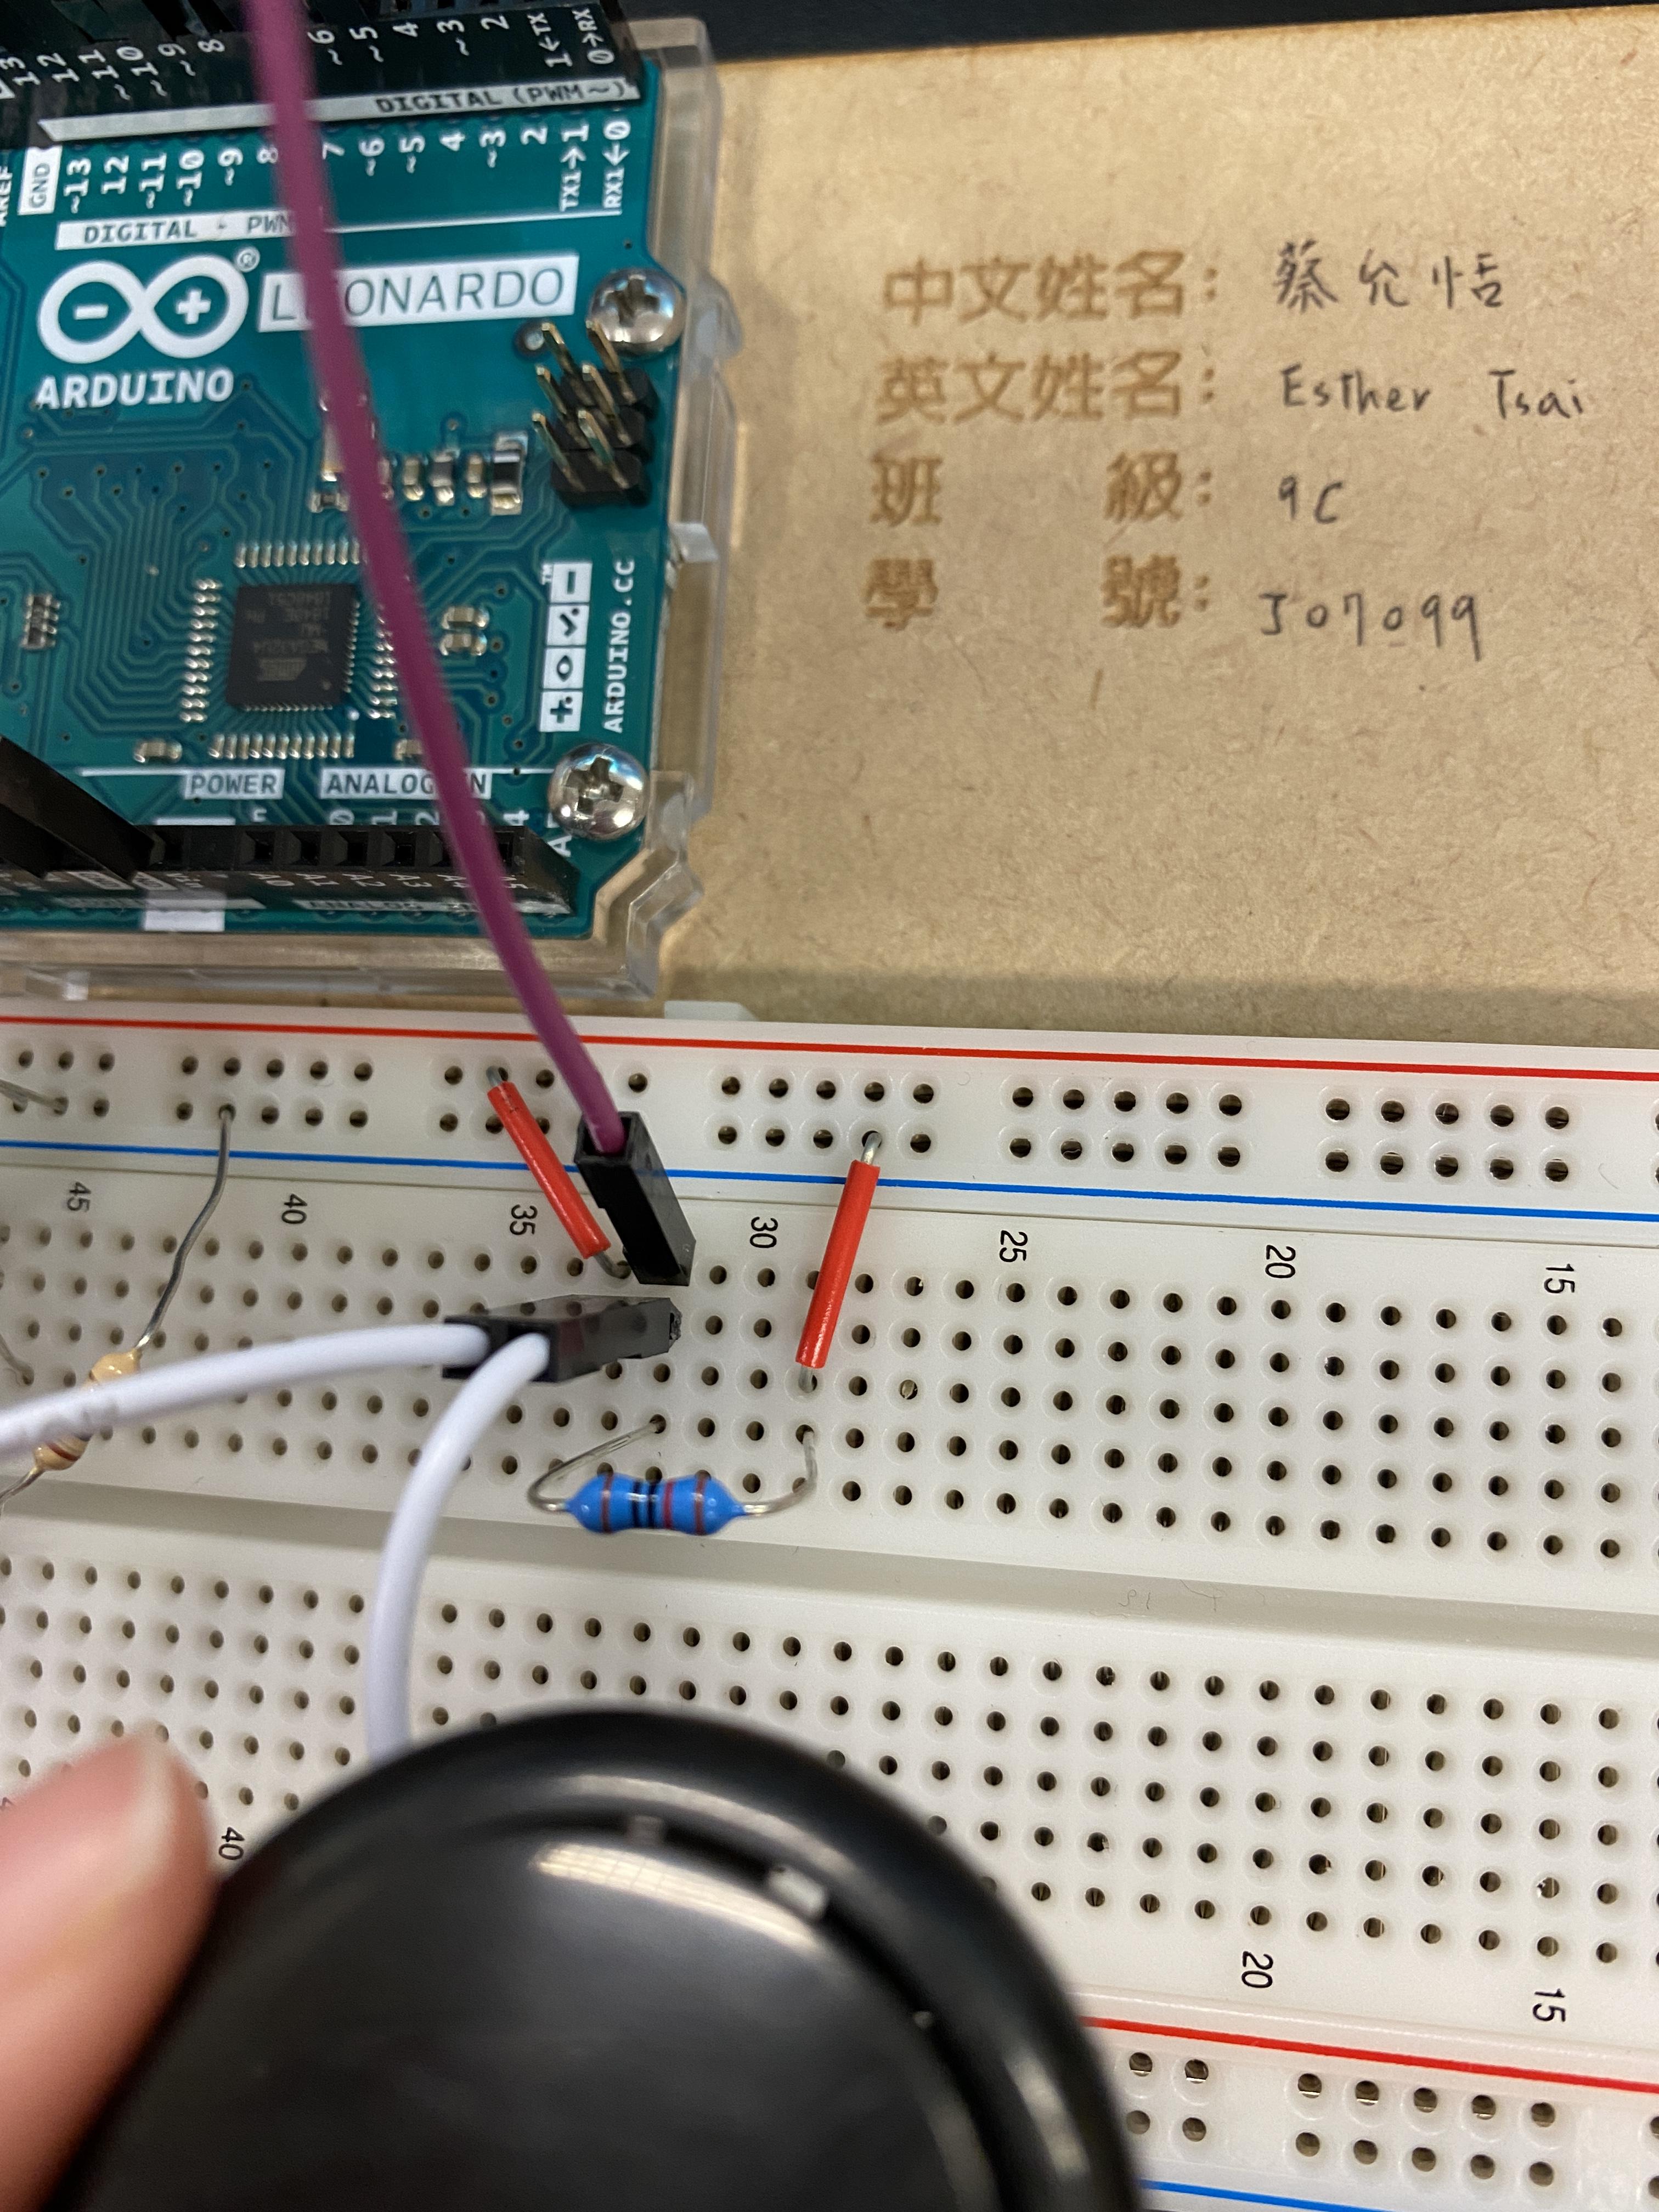
Set the pushbutton according to the pictures.
Code
Apply and upload this code to the Arduino APP and connect it to your Arduino board.
*try this link if the code does not appear: https://create.arduino.cc/editor/esther_t/60dabe44...
Package the Arduino Dice for Your Board Game
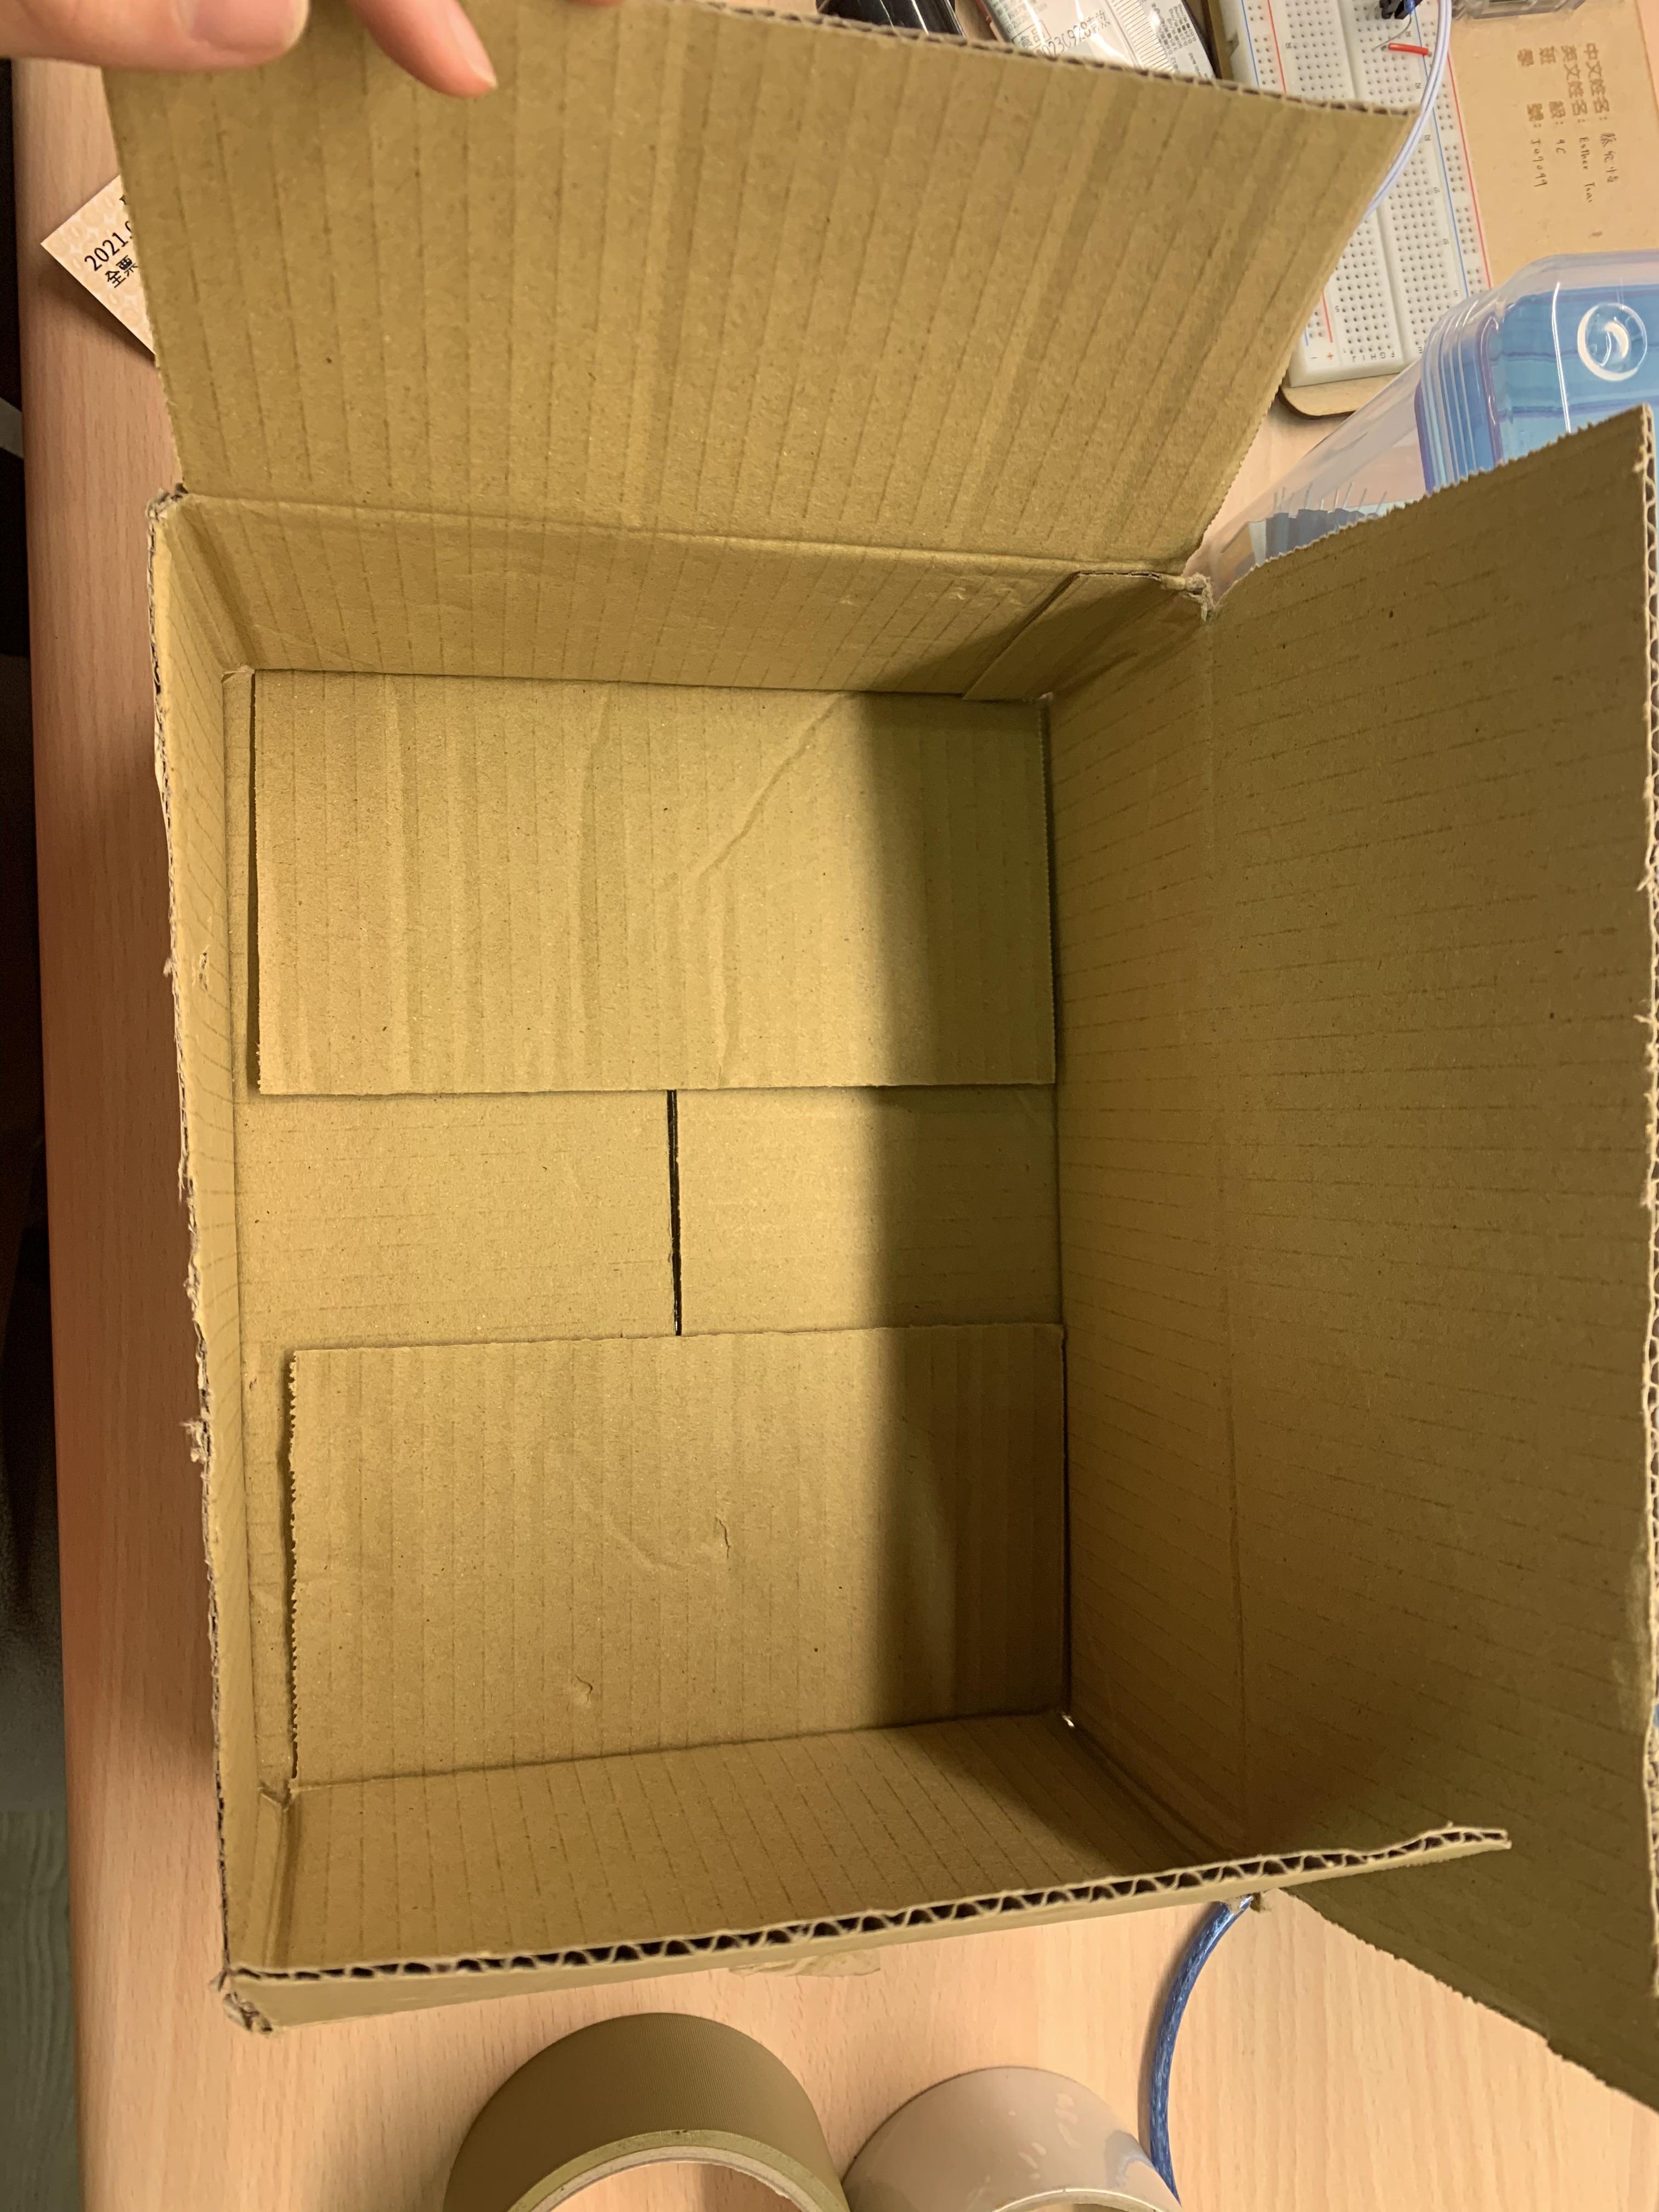
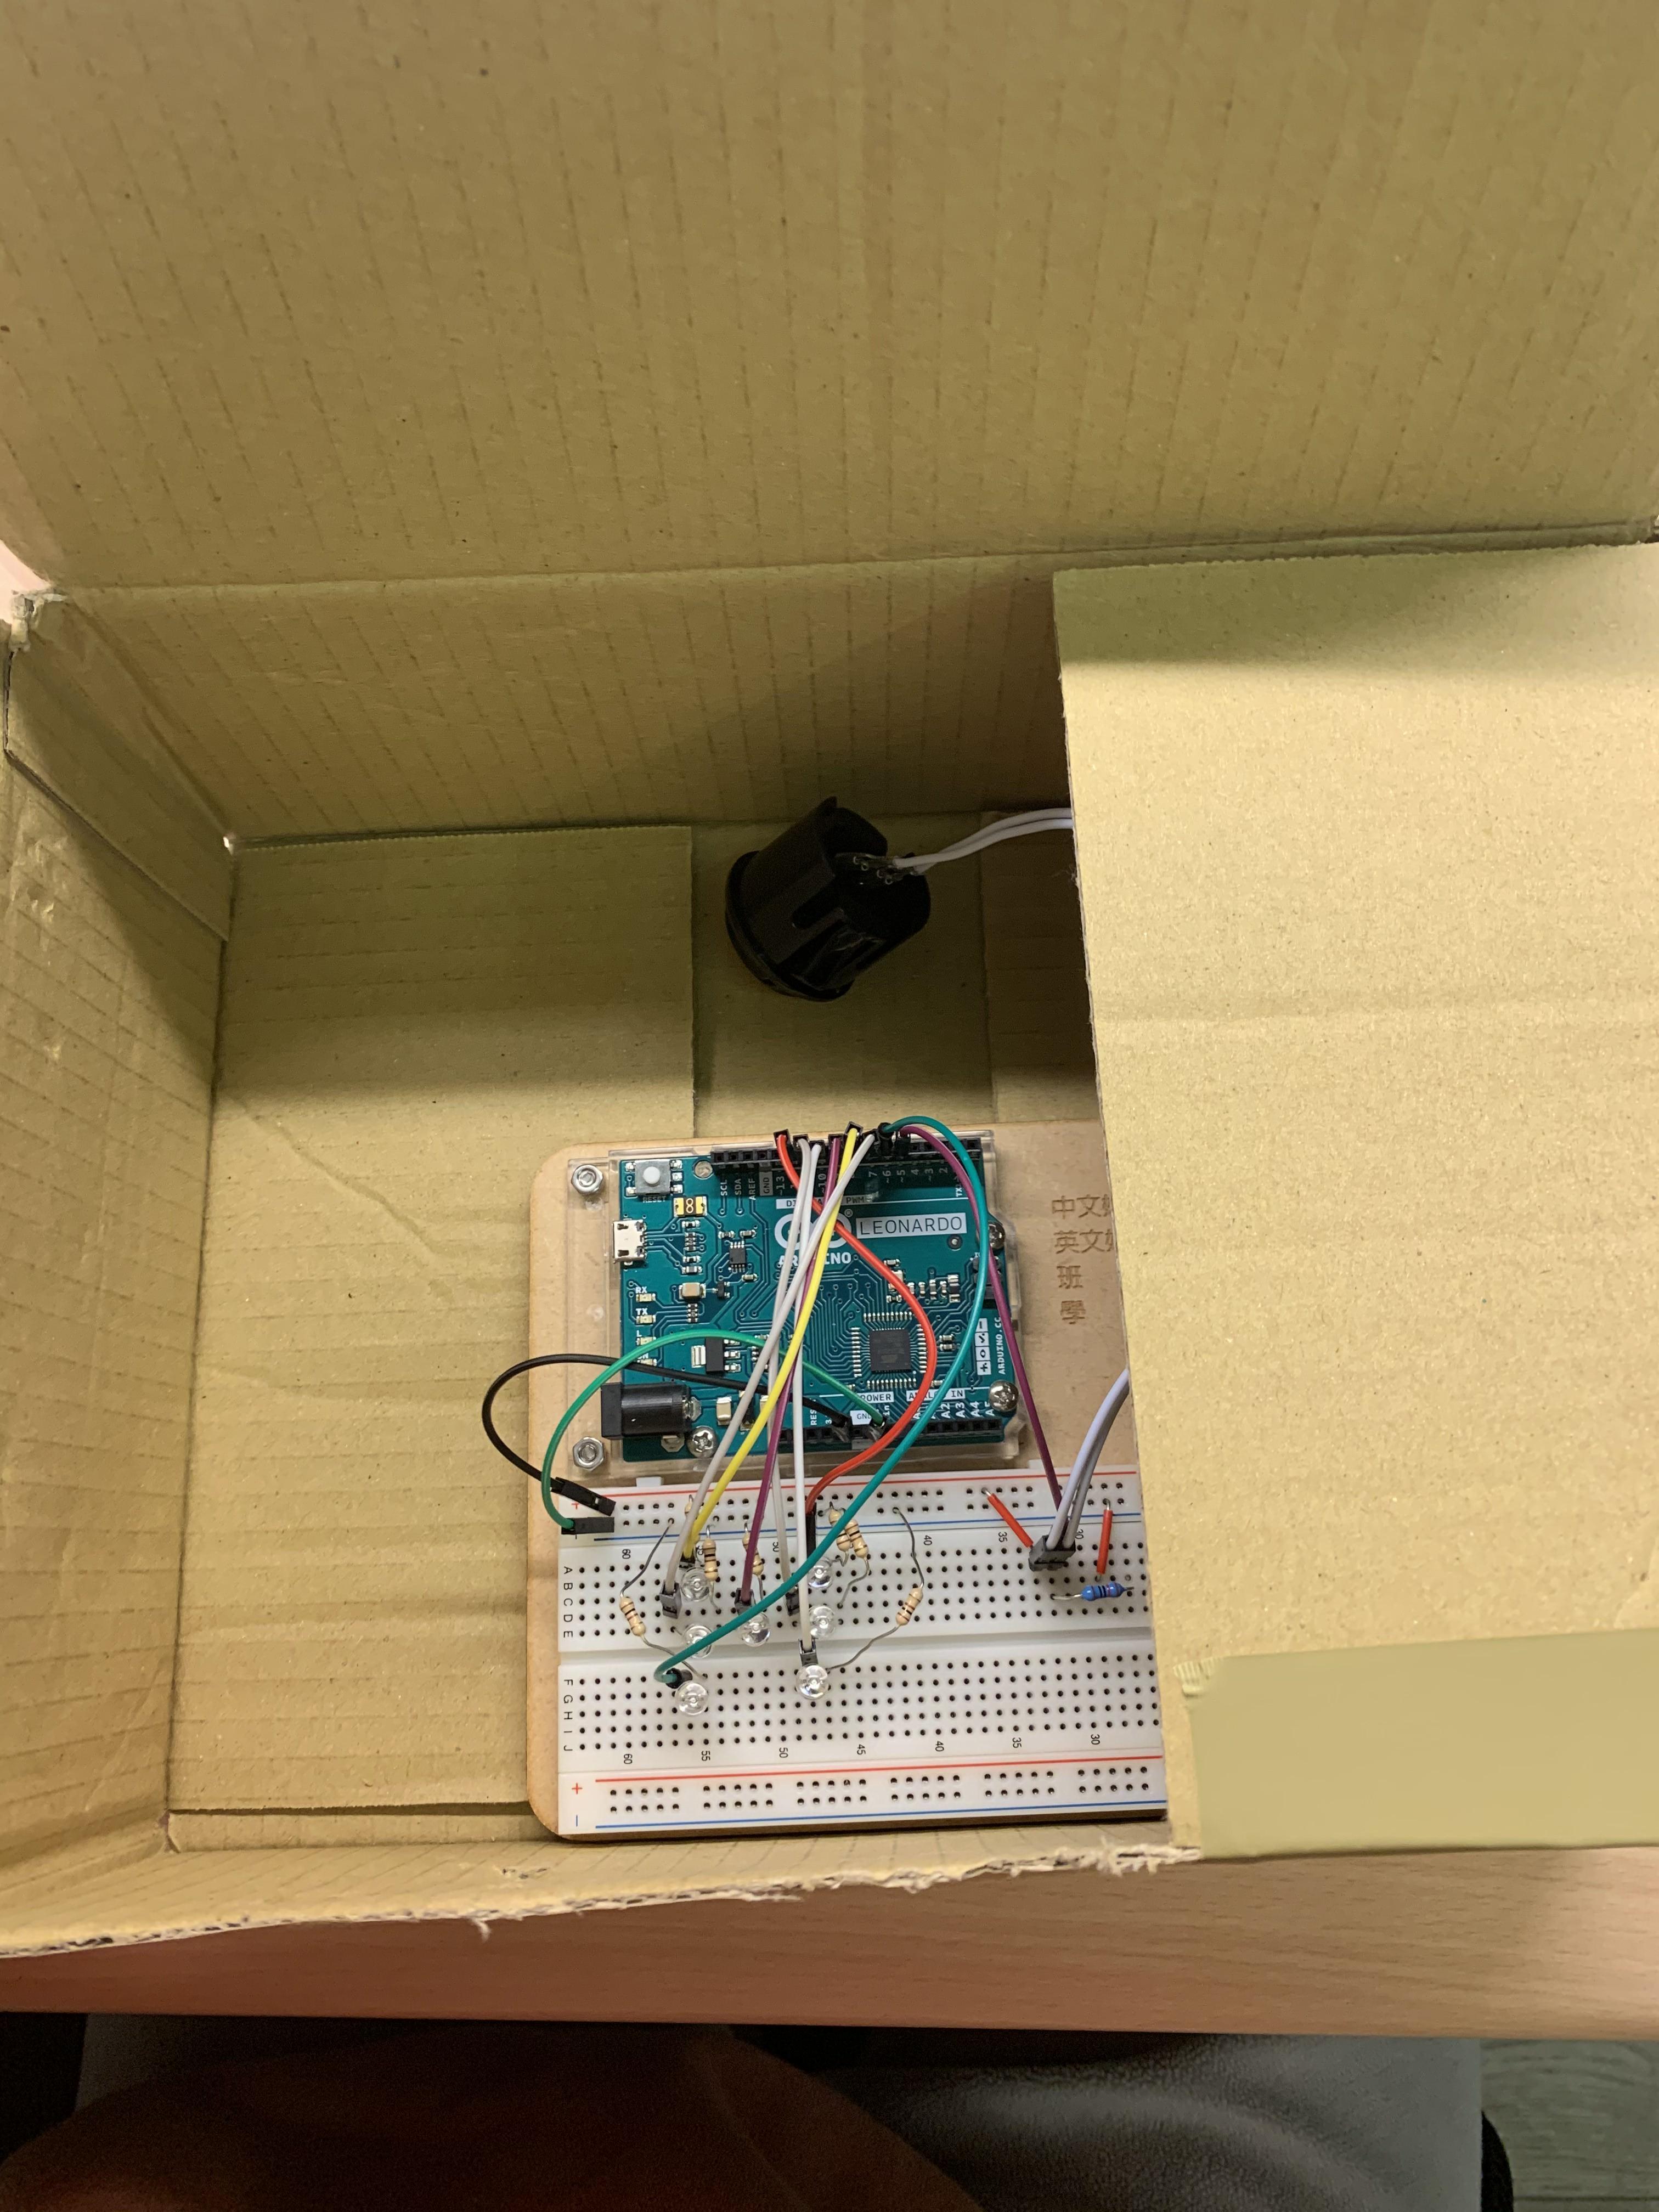
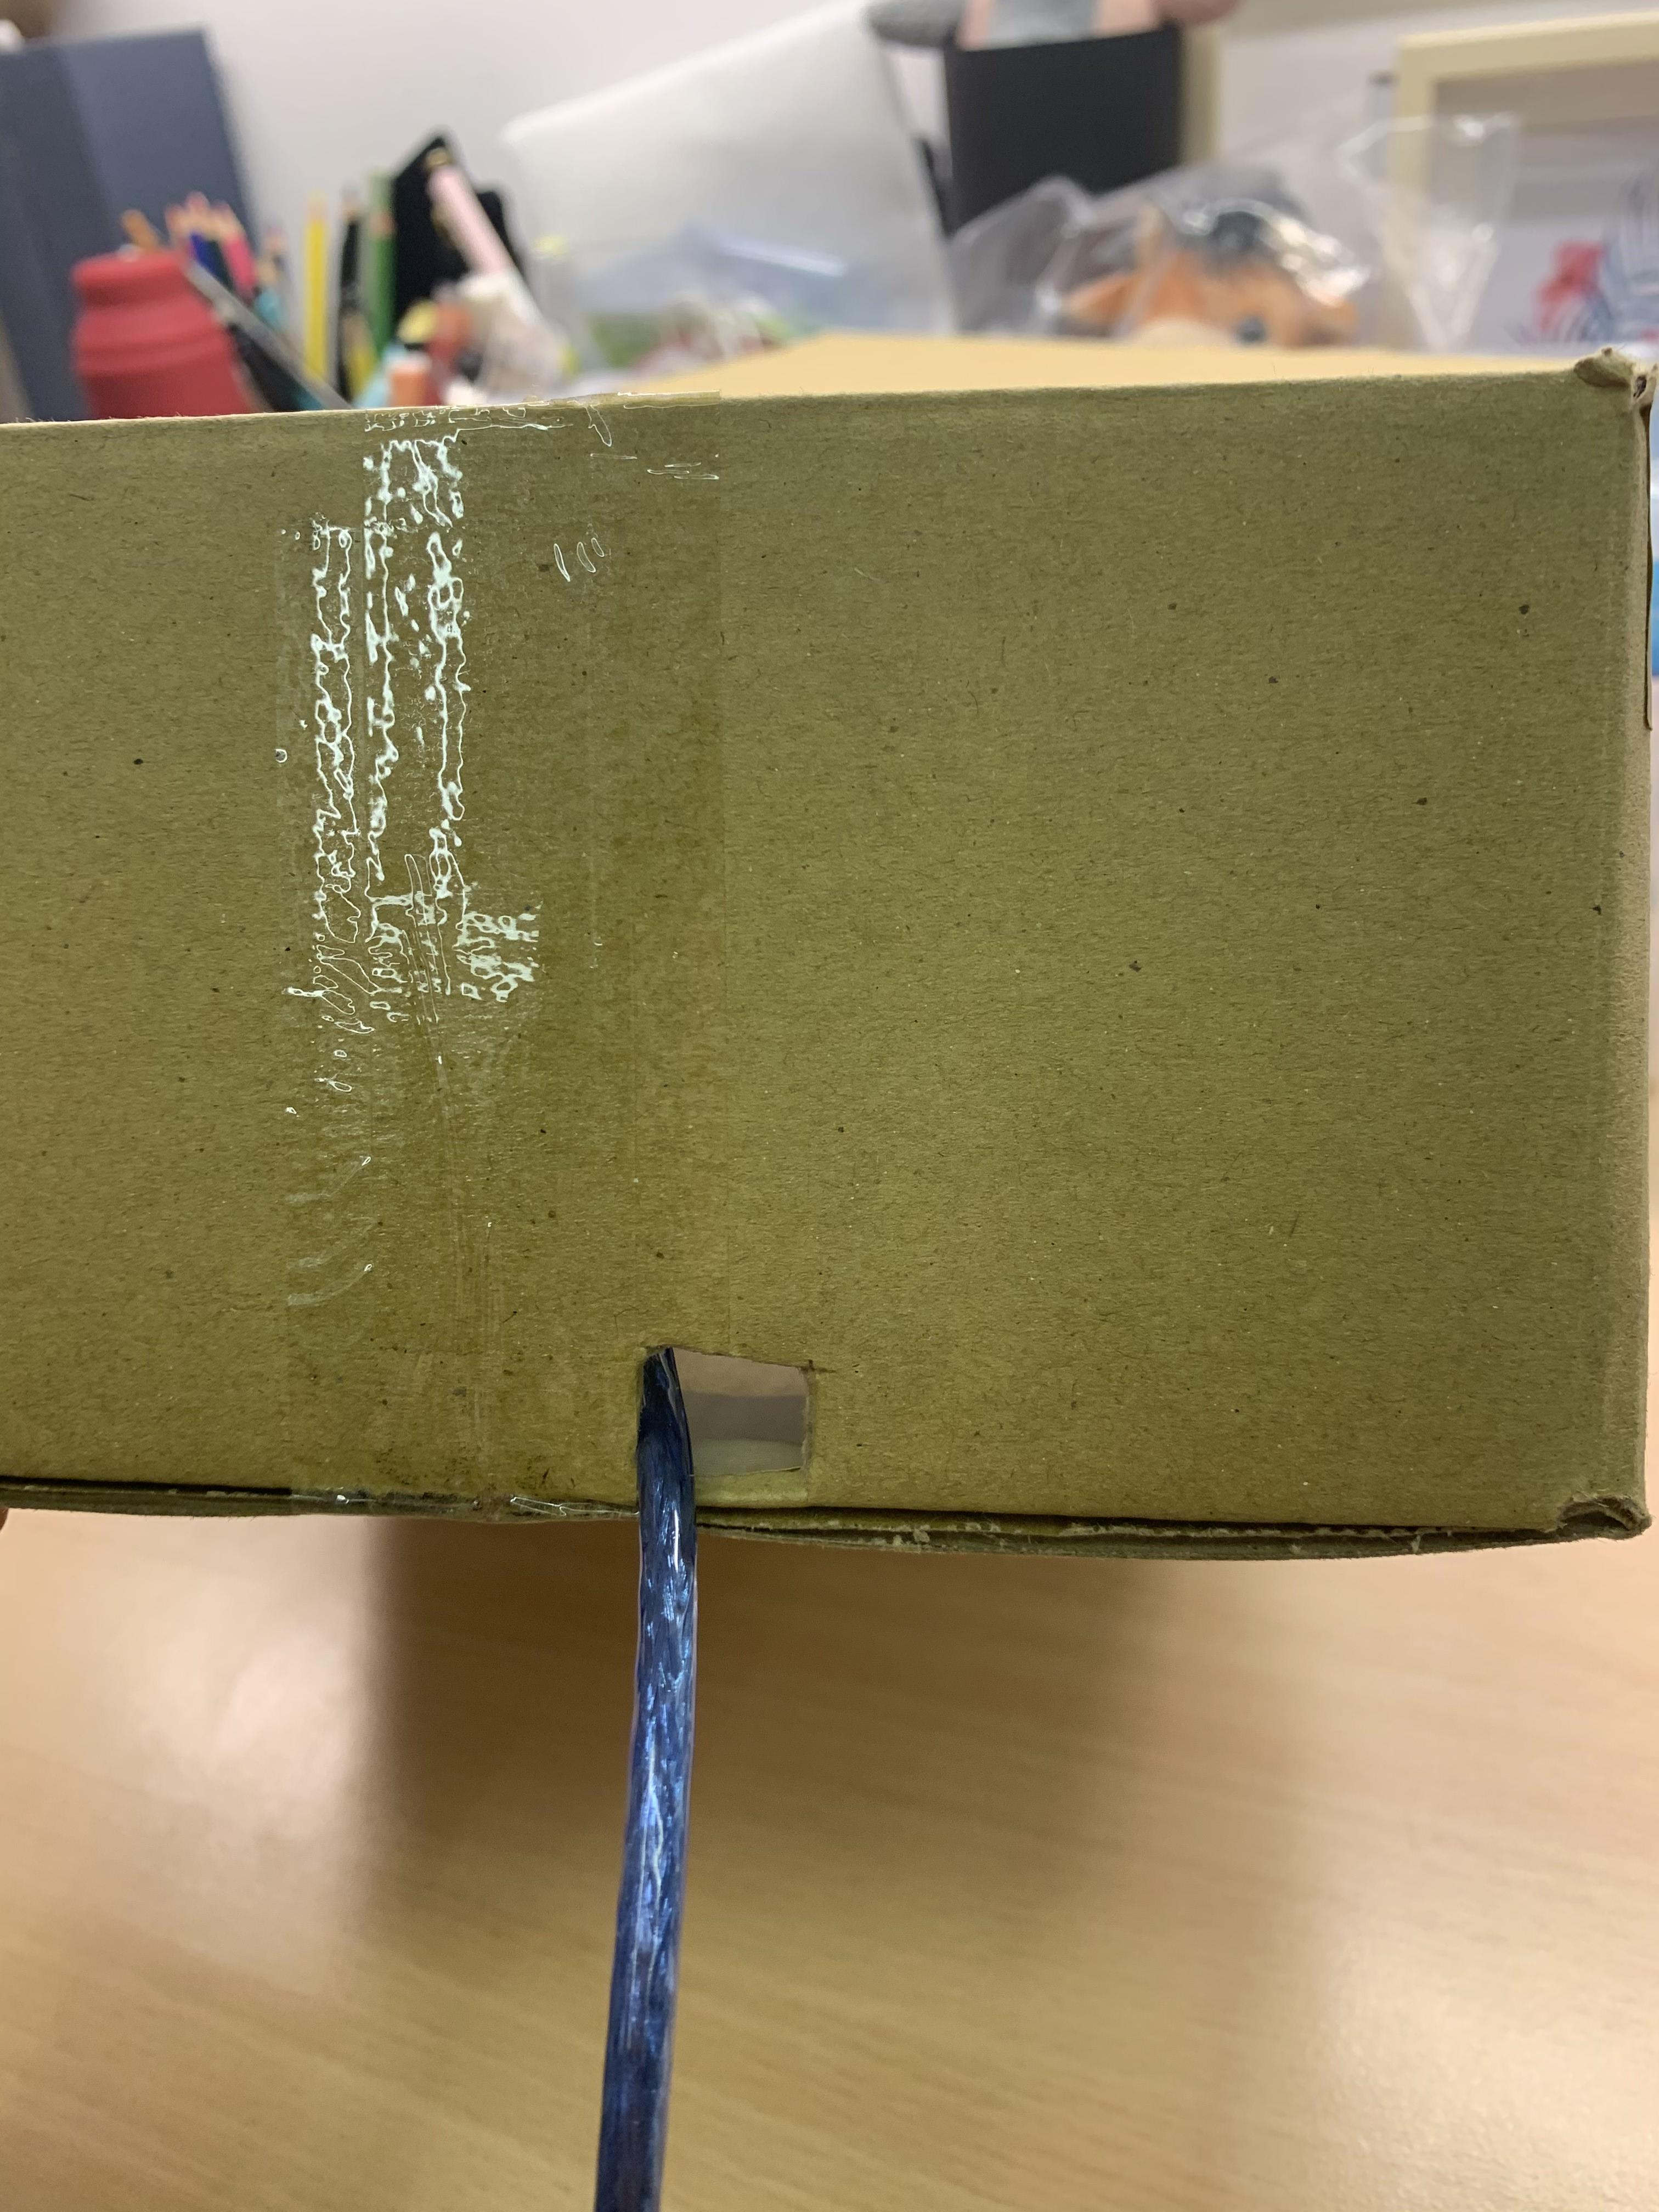
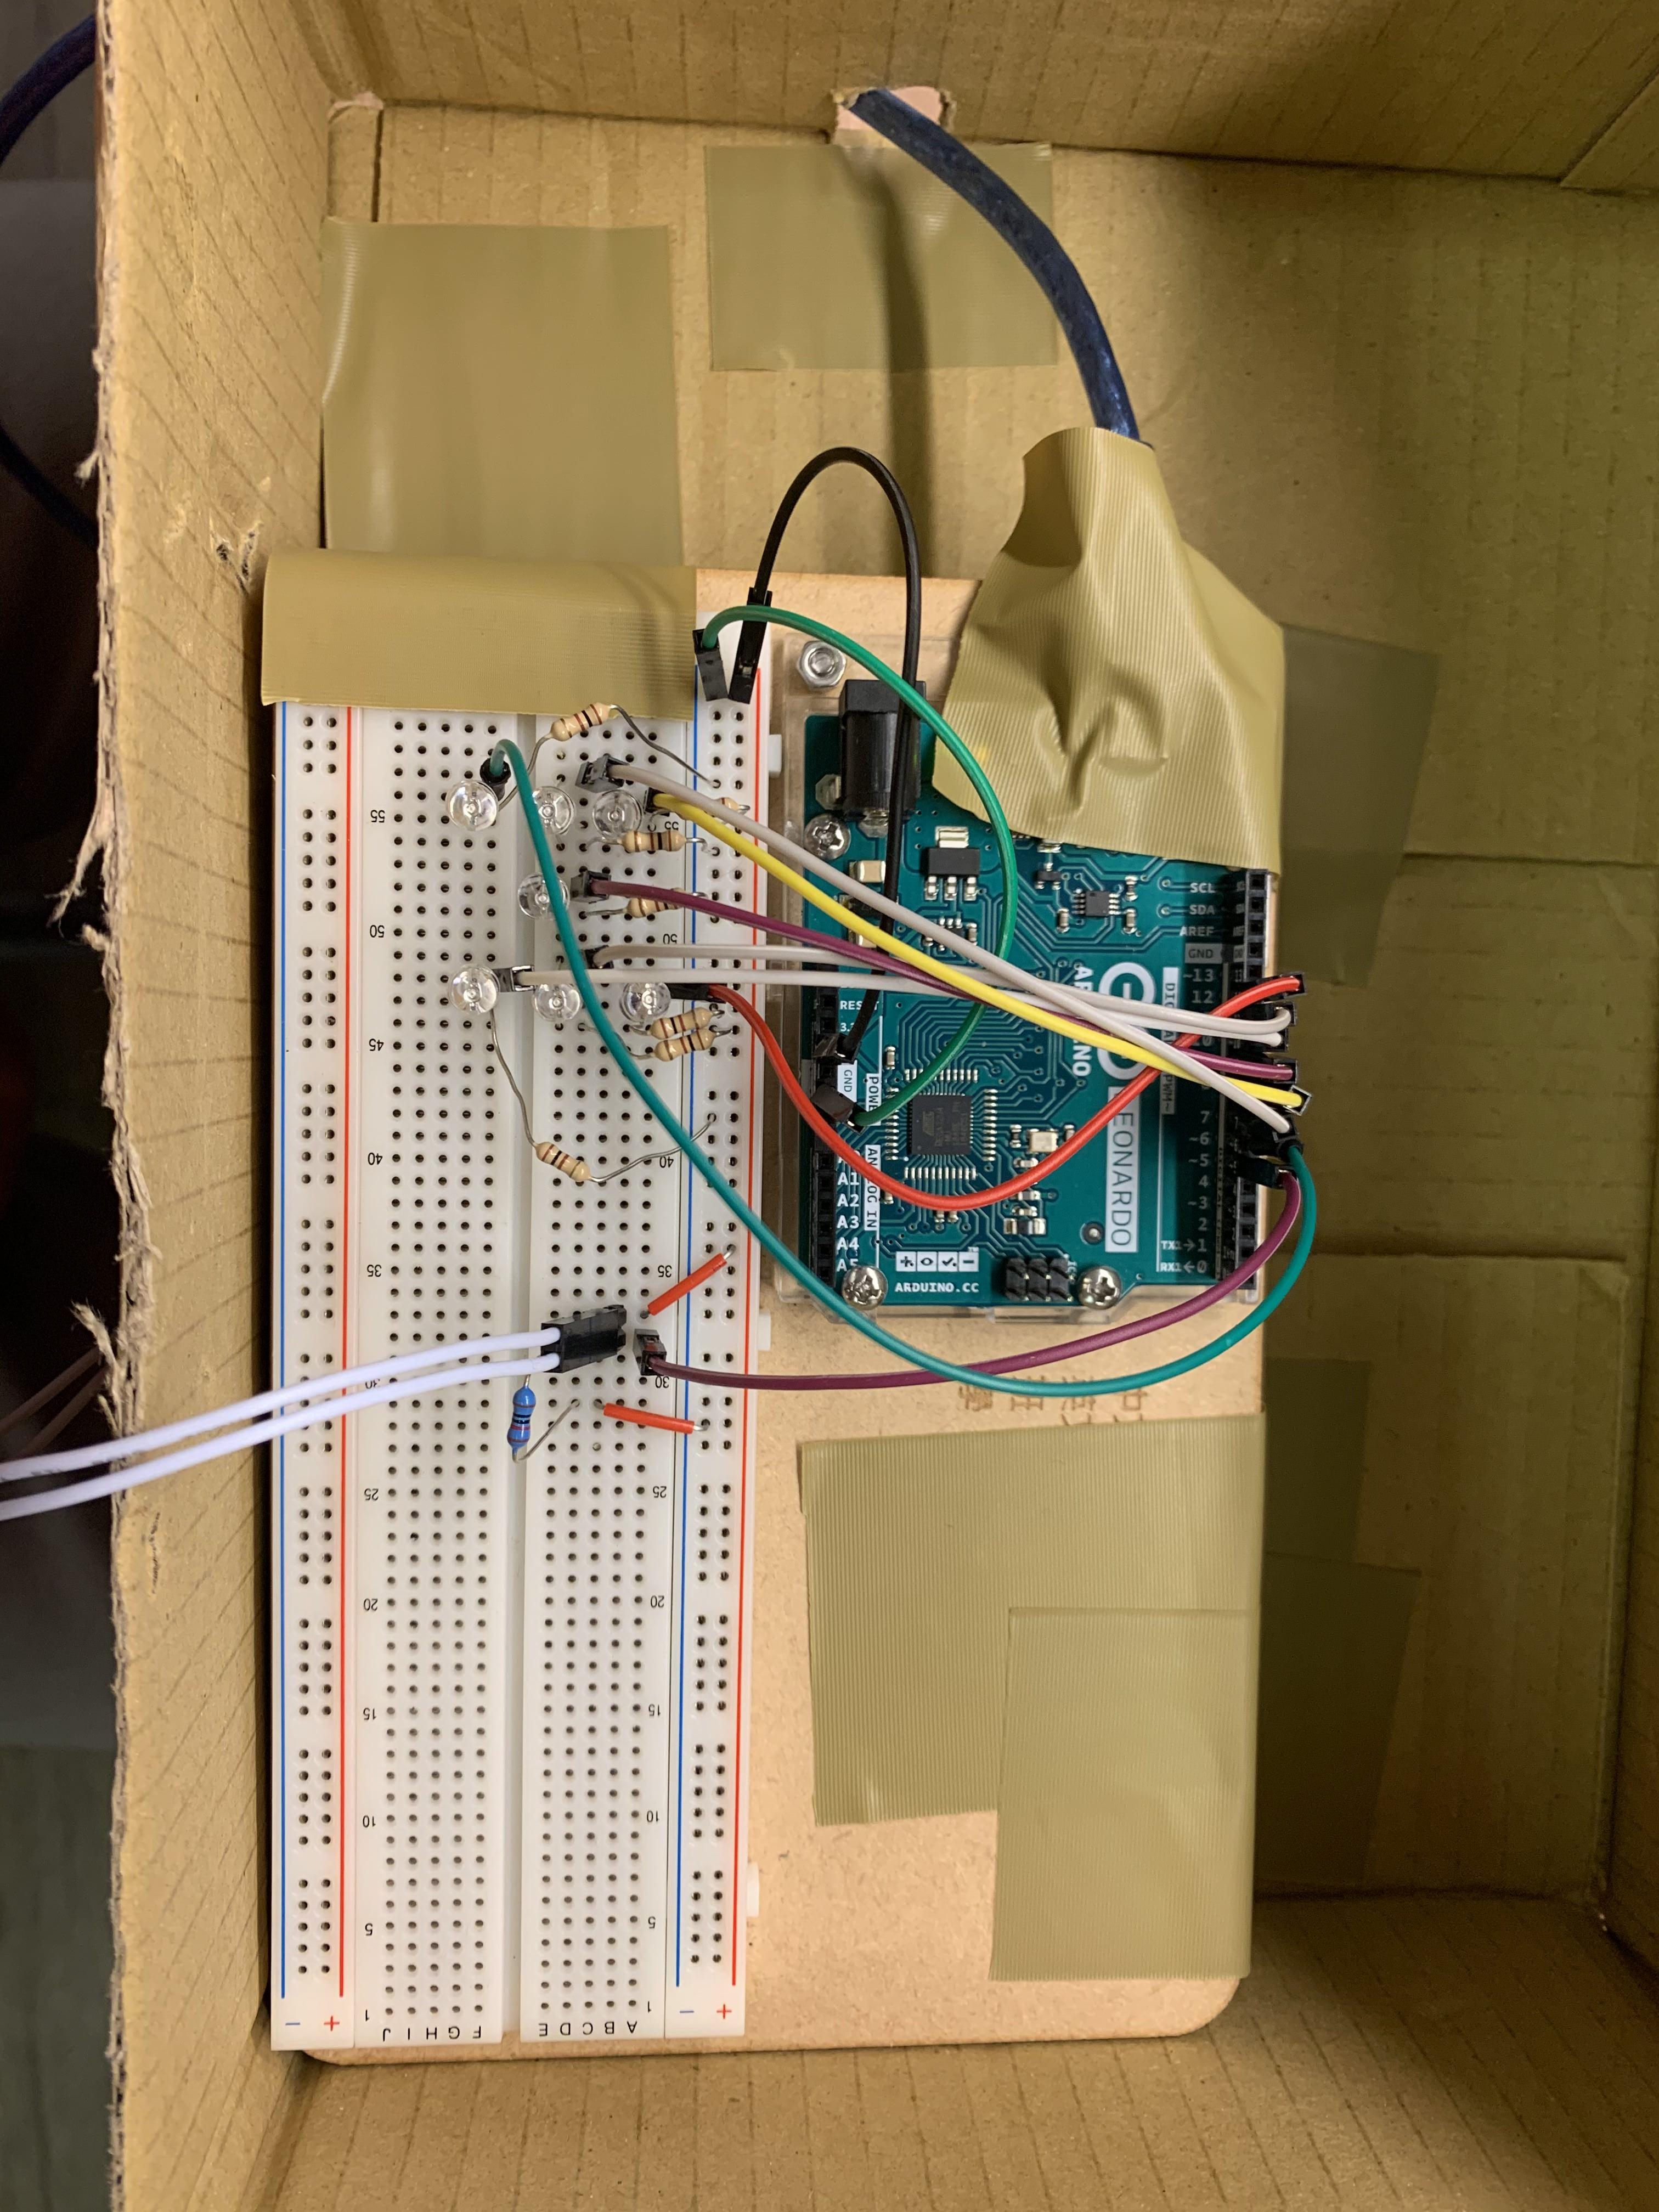
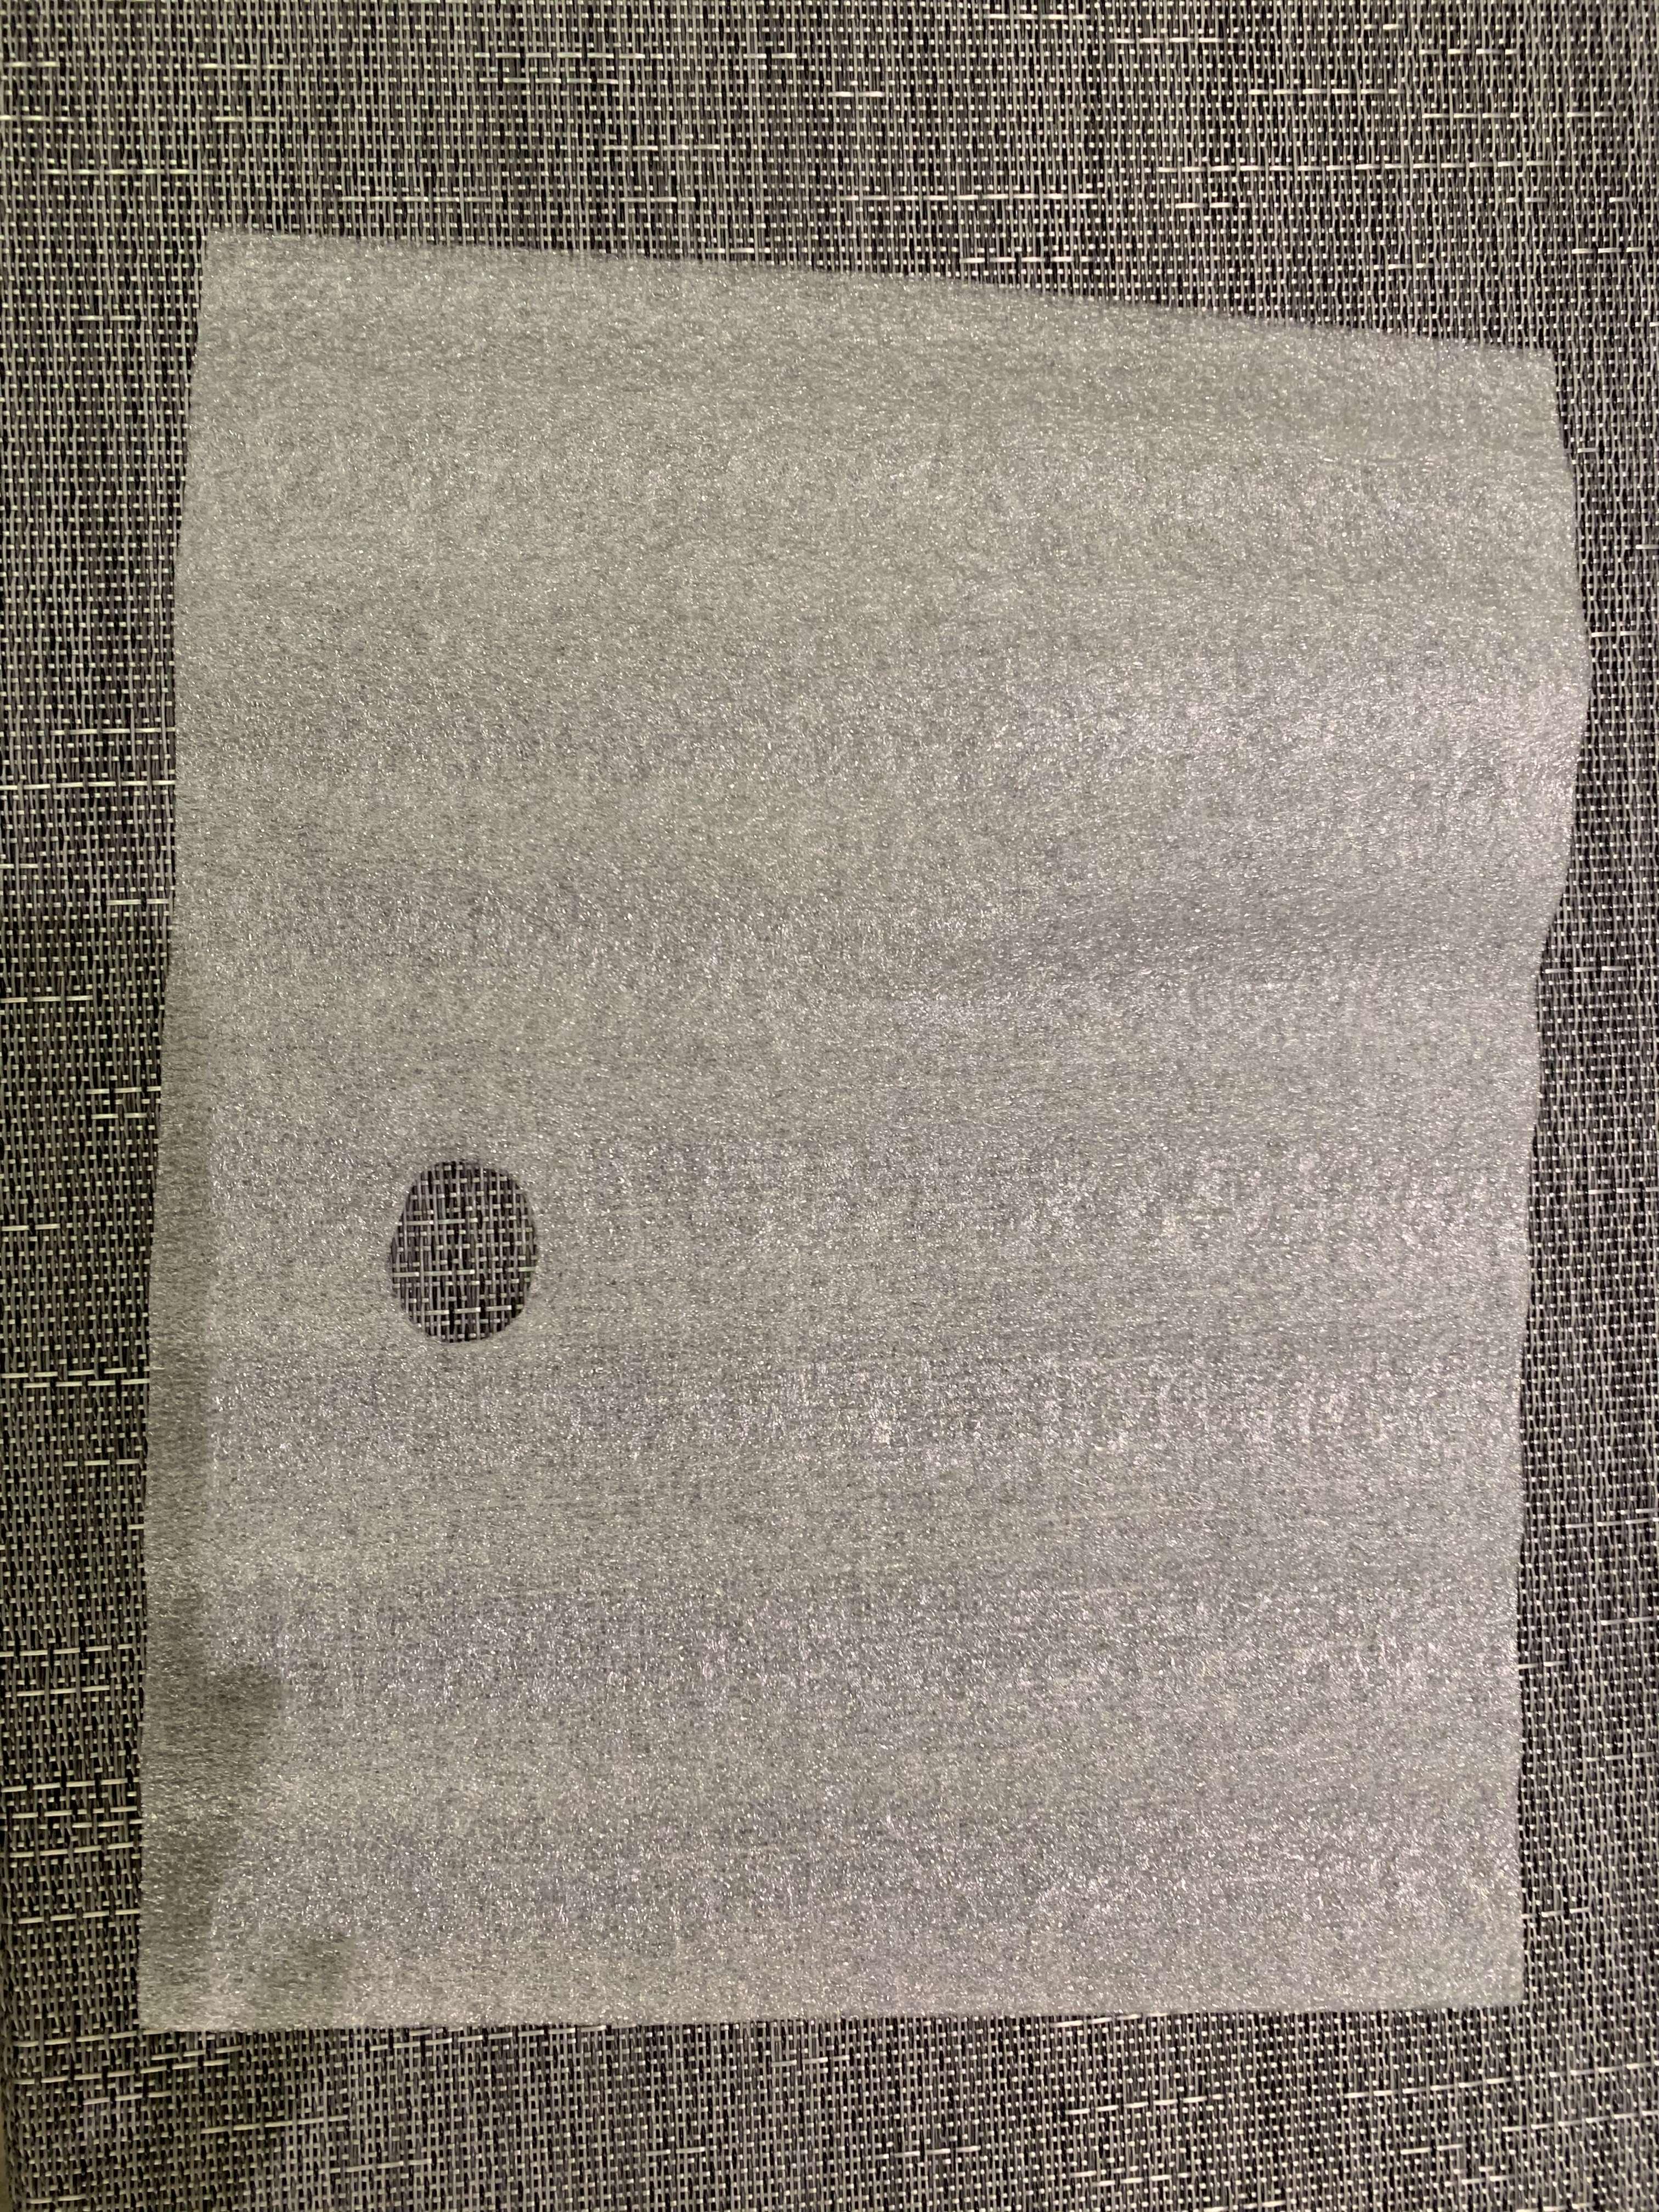
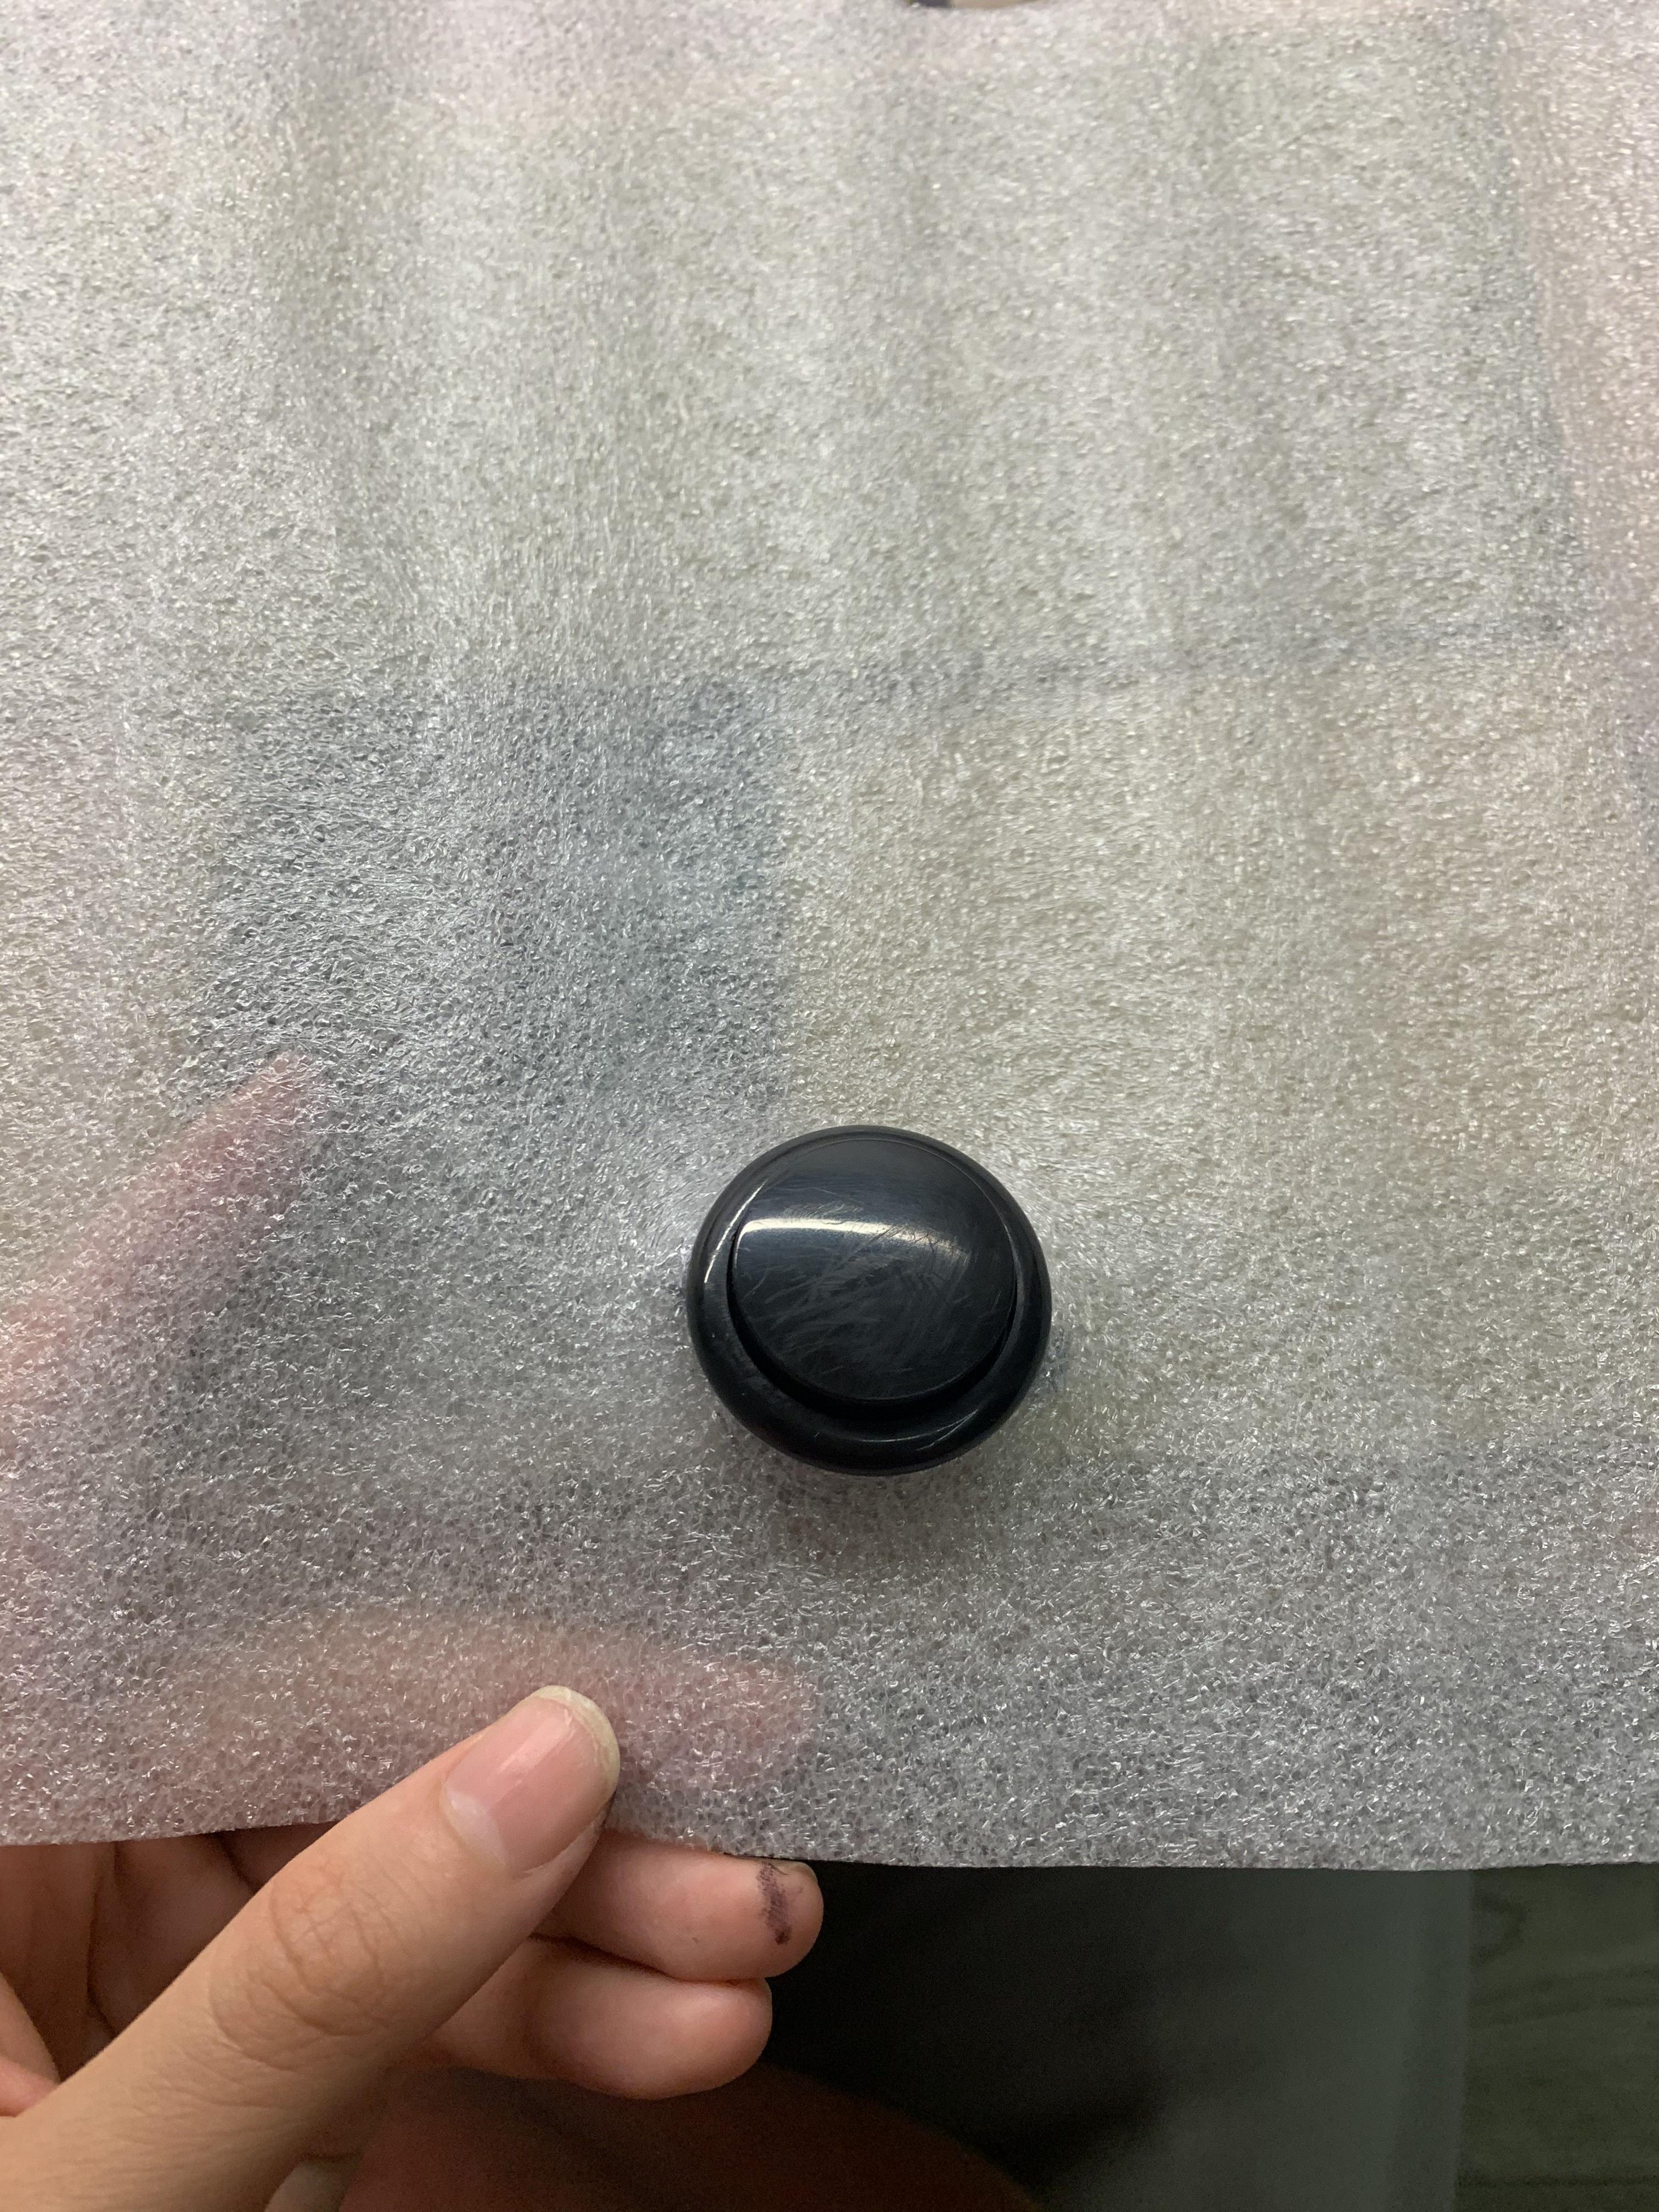
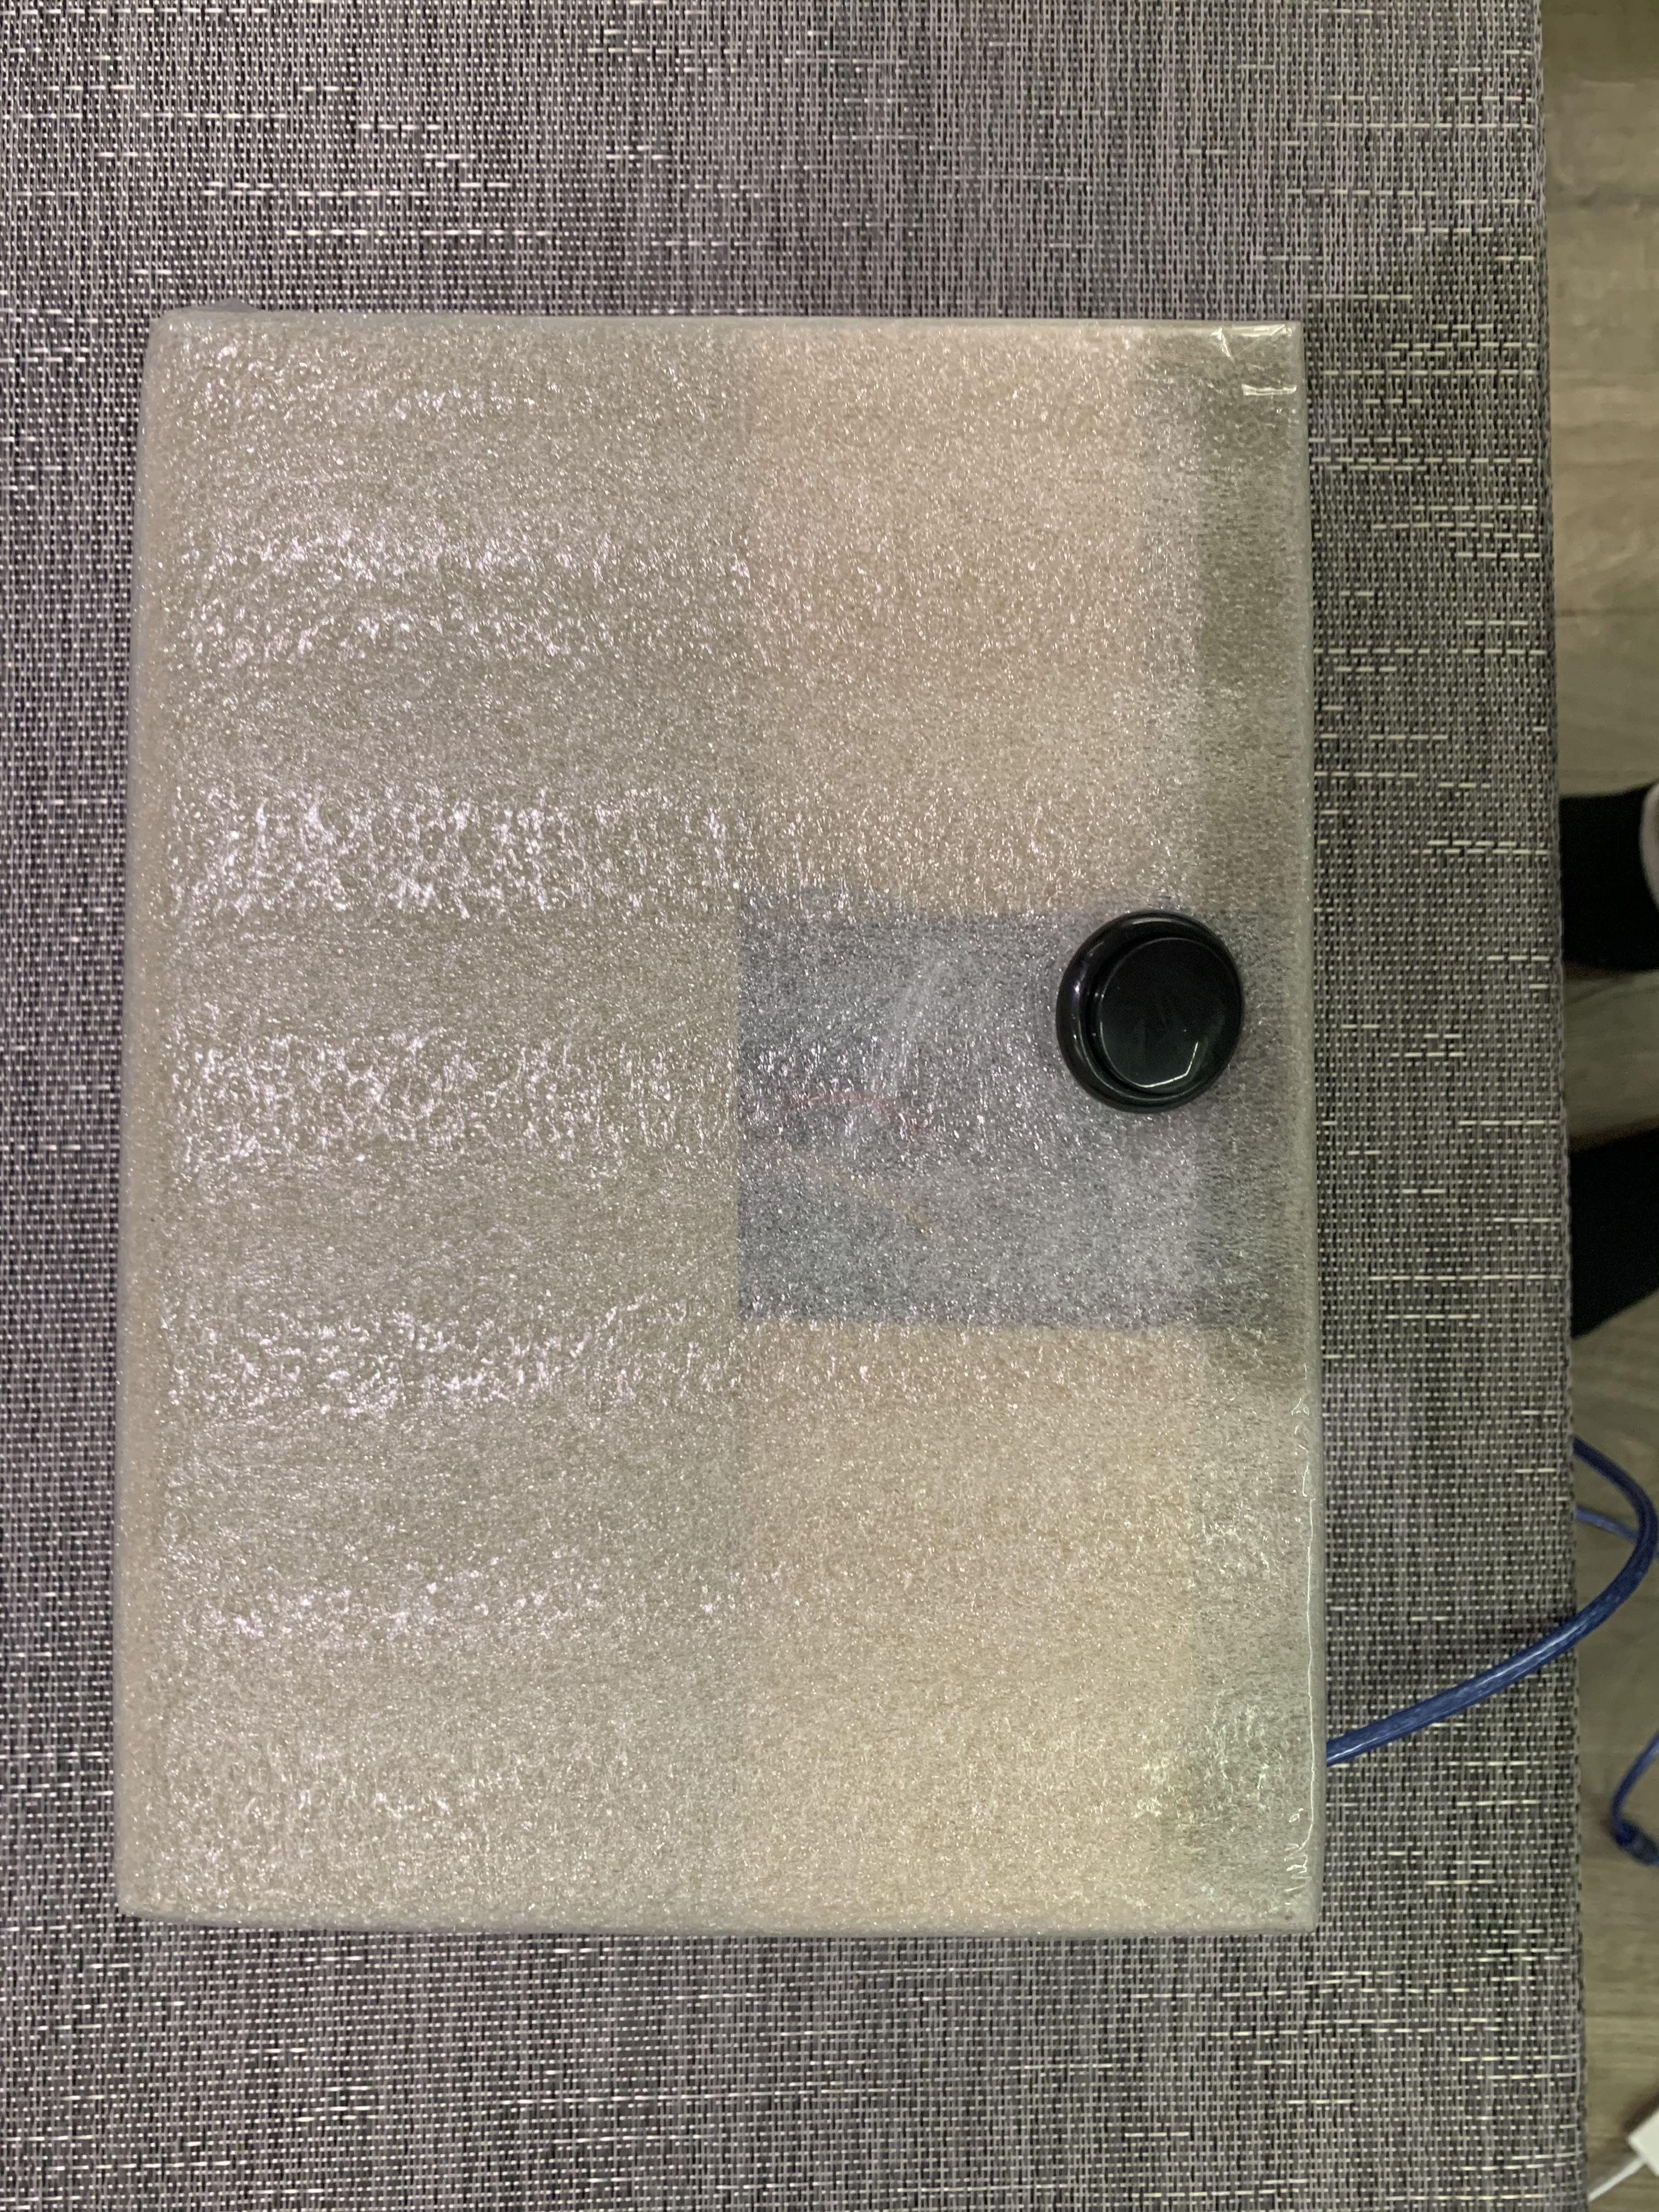
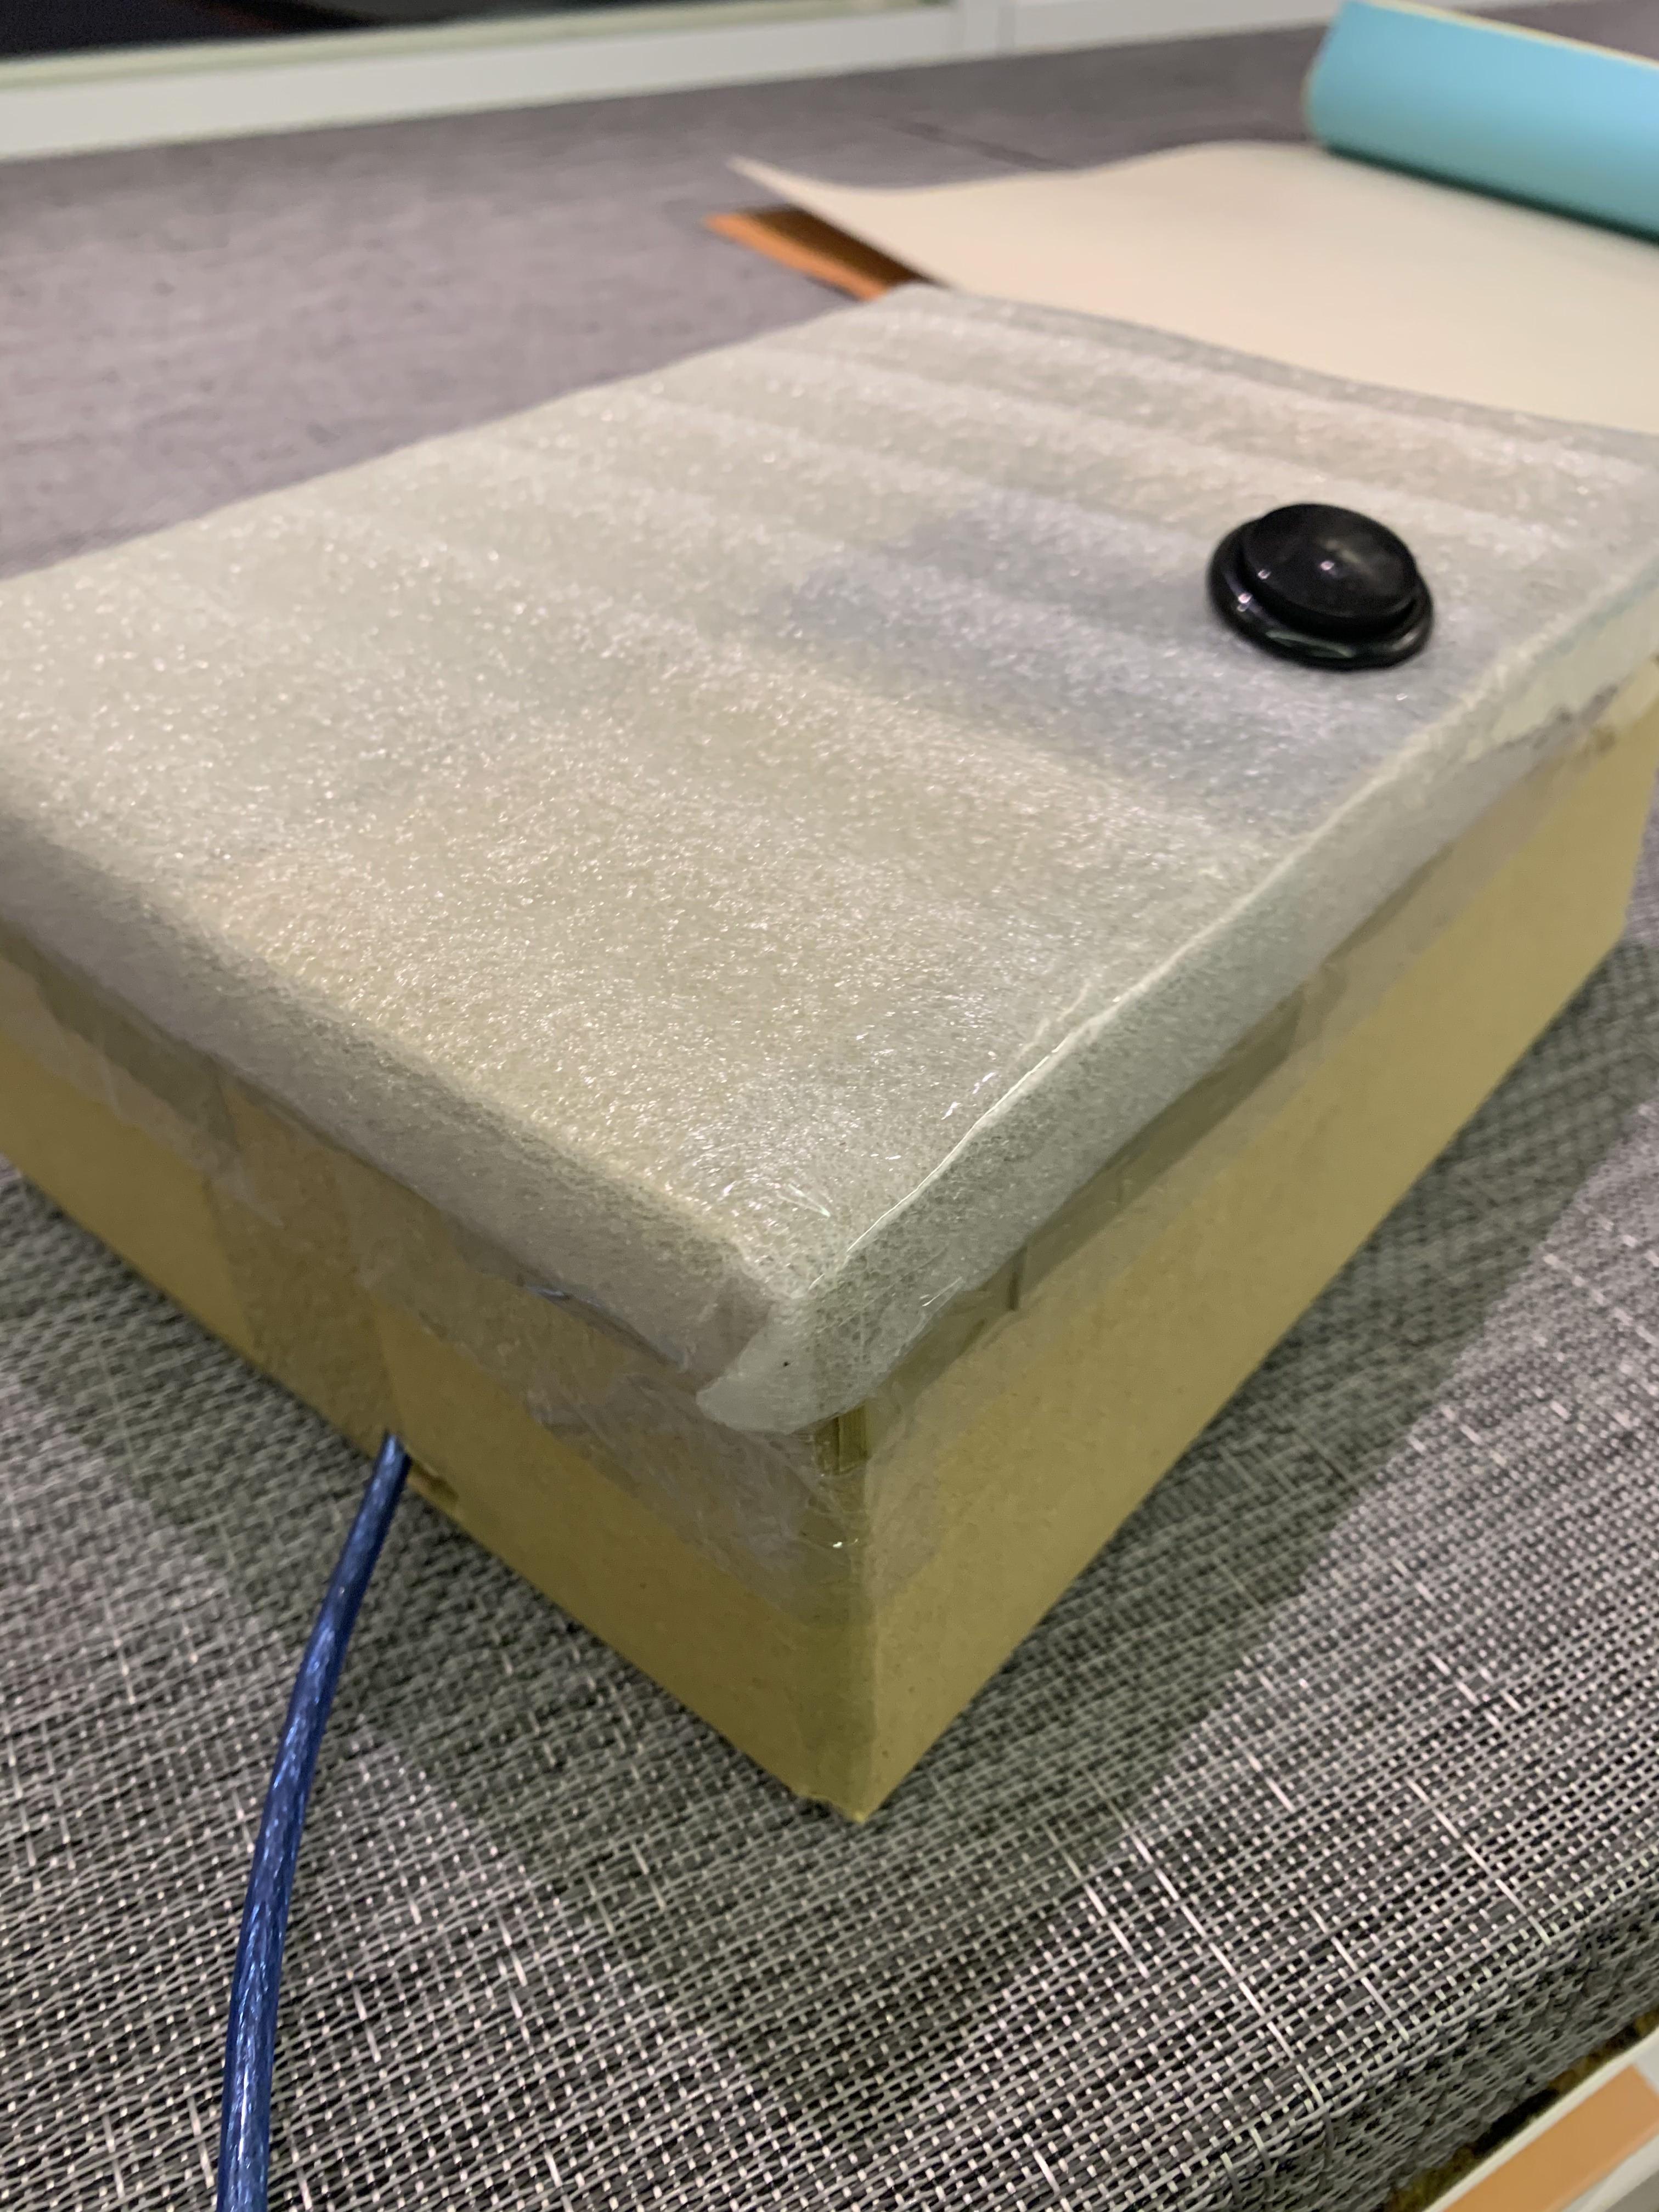
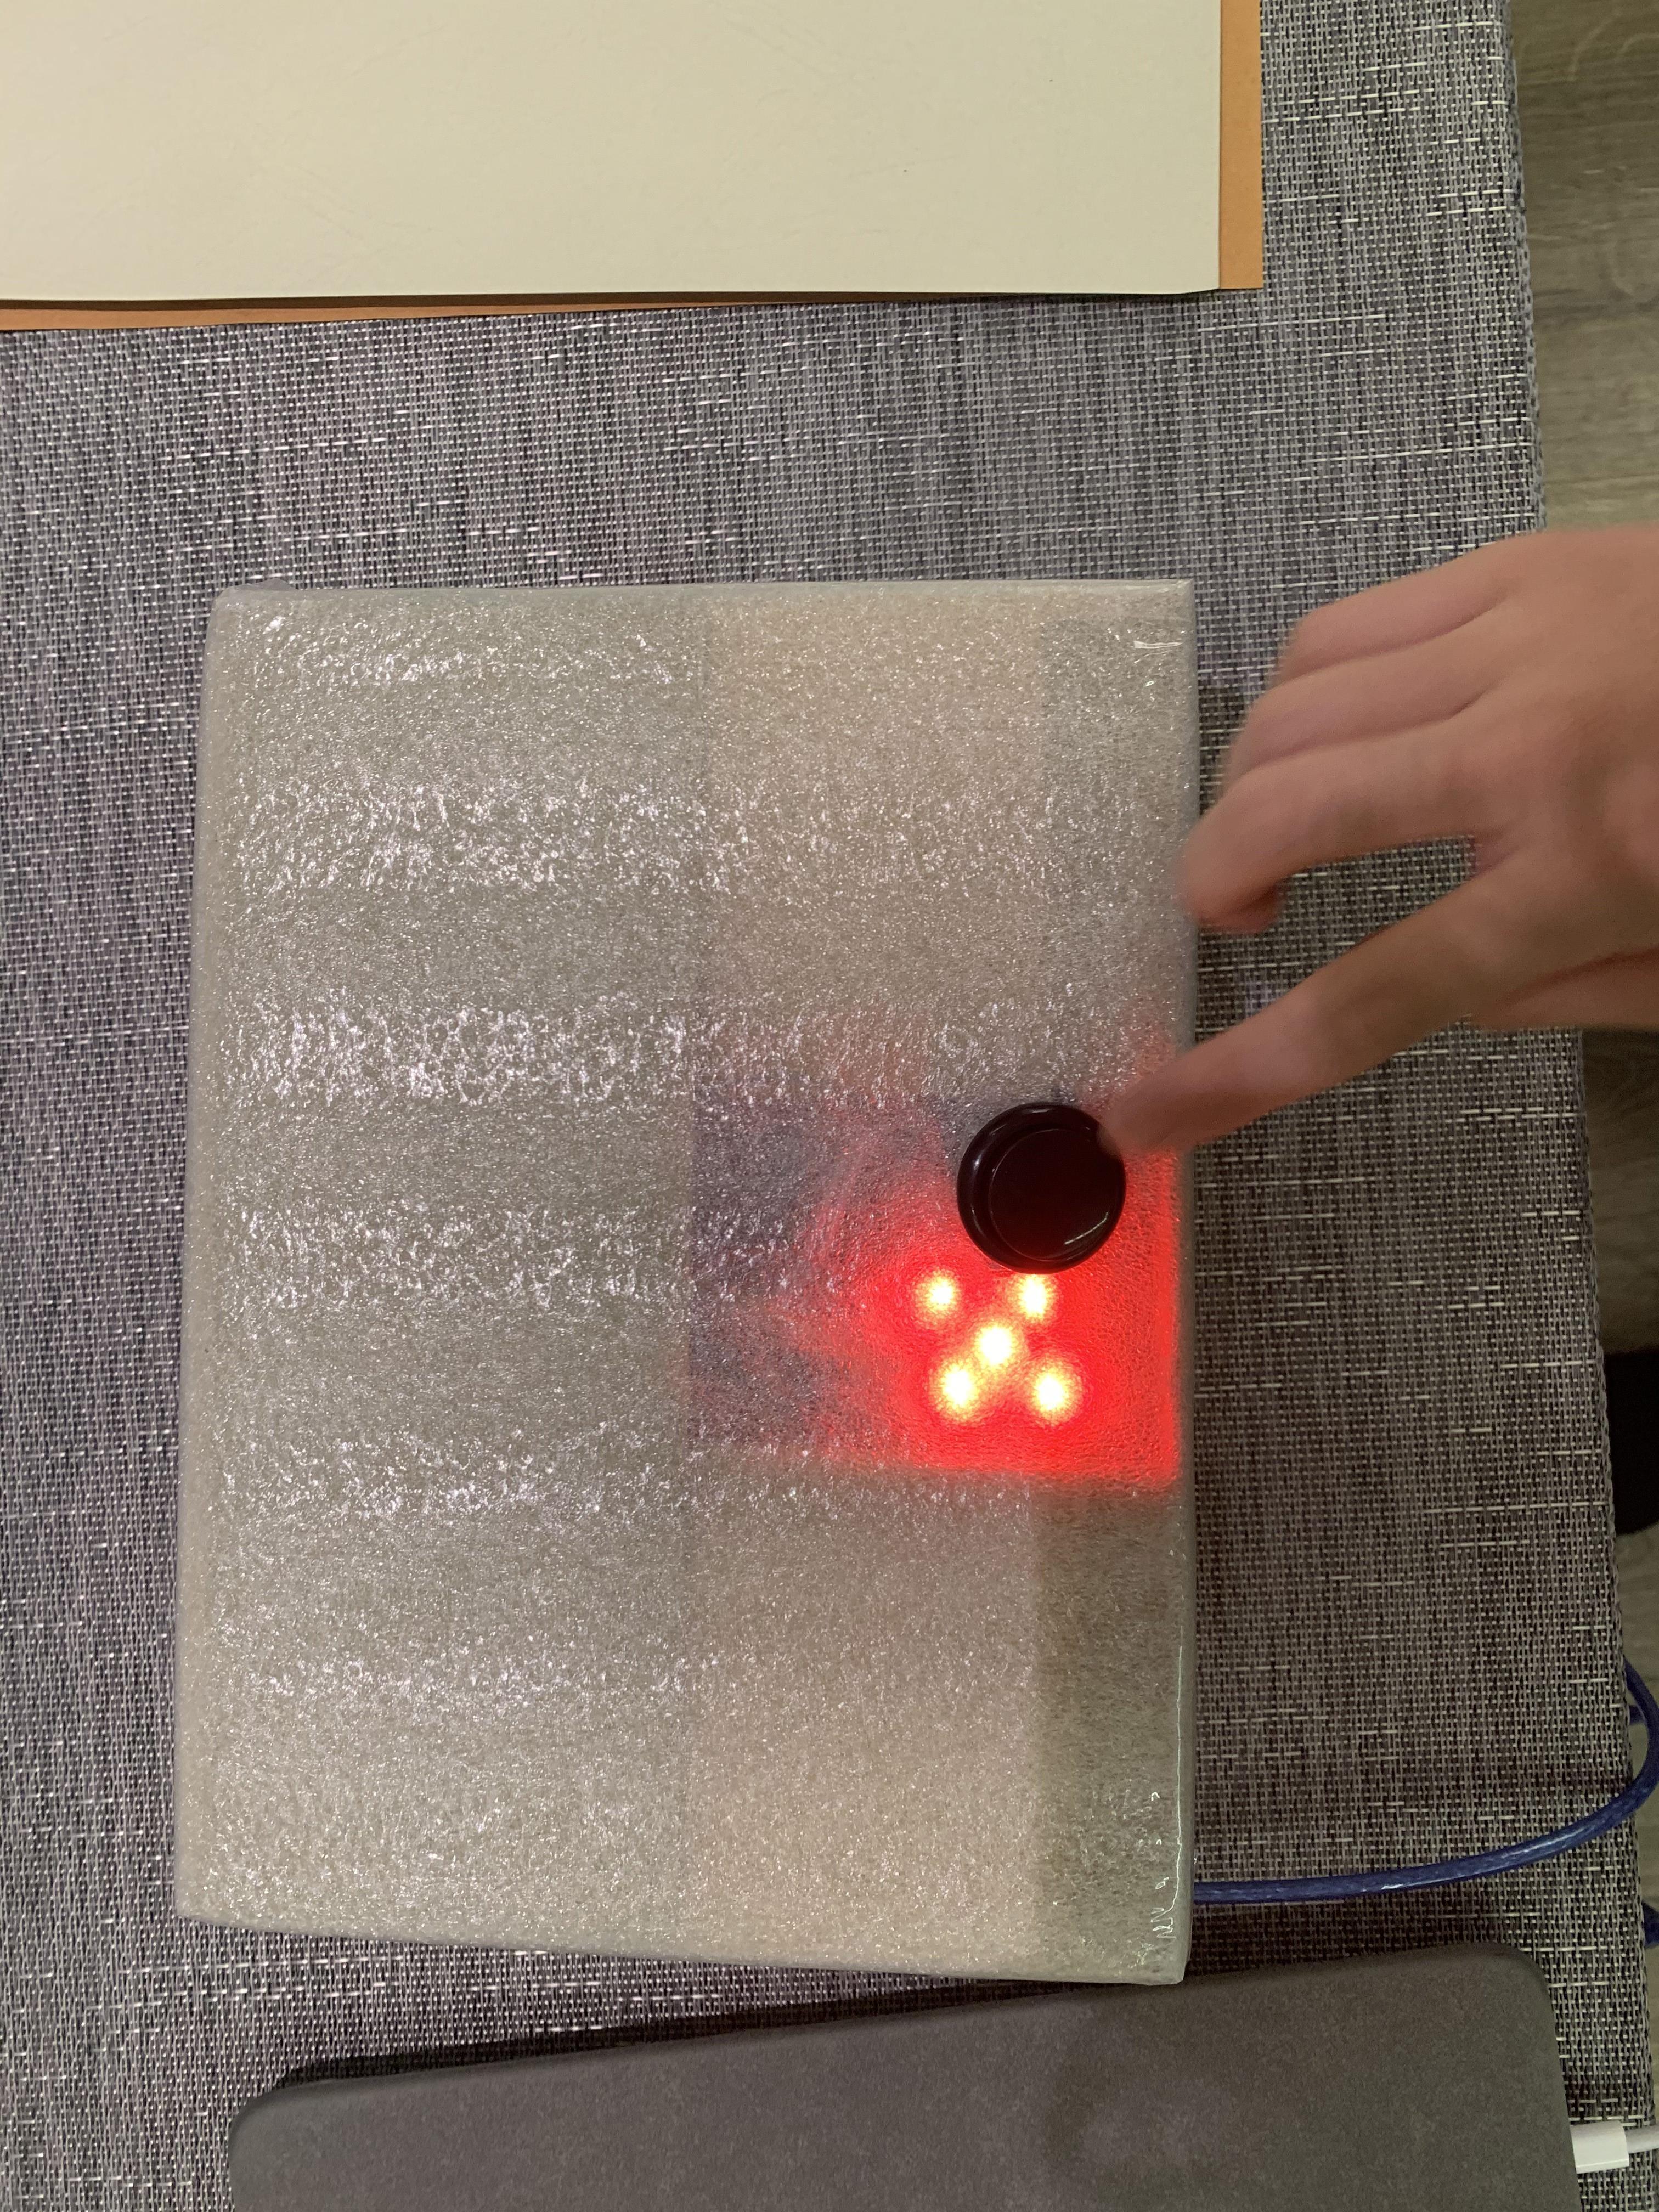
1. Find an unwanted box and cut one of the long sides off.
2. Cut a small hole at the side to enable the USB cable to go through.
3. Aim the LED light and the push button on top of the hole that is not covered by the top of the box.
4. Use tapes to set the Arduino in the box without moving.
5. Seal the top of the box with the remaining three sides.
6.Place the foam on top of the box and draw a circle where the push button is.
7. Cut the hole
8. Stuck the push button out onto the hole.
9. Use the tape to seal the foam.