Arduino Dice With Sound Effect
by YuTingHsu0225 in Circuits > Arduino
541 Views, 2 Favorites, 0 Comments
Arduino Dice With Sound Effect
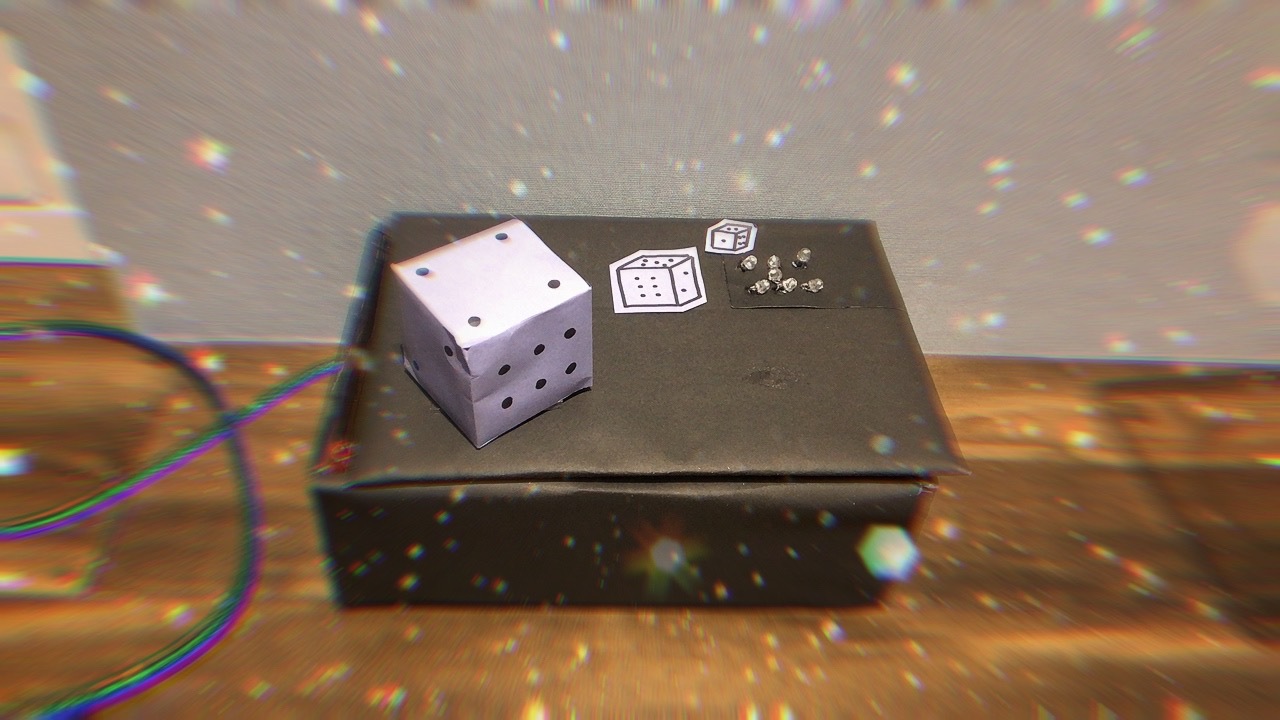
In this tutorial, you will learn how to build an Arduino dice with sound effects using LED and speaker. The only action to start the whole machine is one single and simple touch. This tutorial includes the materials, steps and the code needed to built this machine. This machine is really simple and easy but a lot of fun even for Arduino beginners. So...... Let's start!
Source: https://www.instructables.com/id/How-to-Build-a-C...
Materials
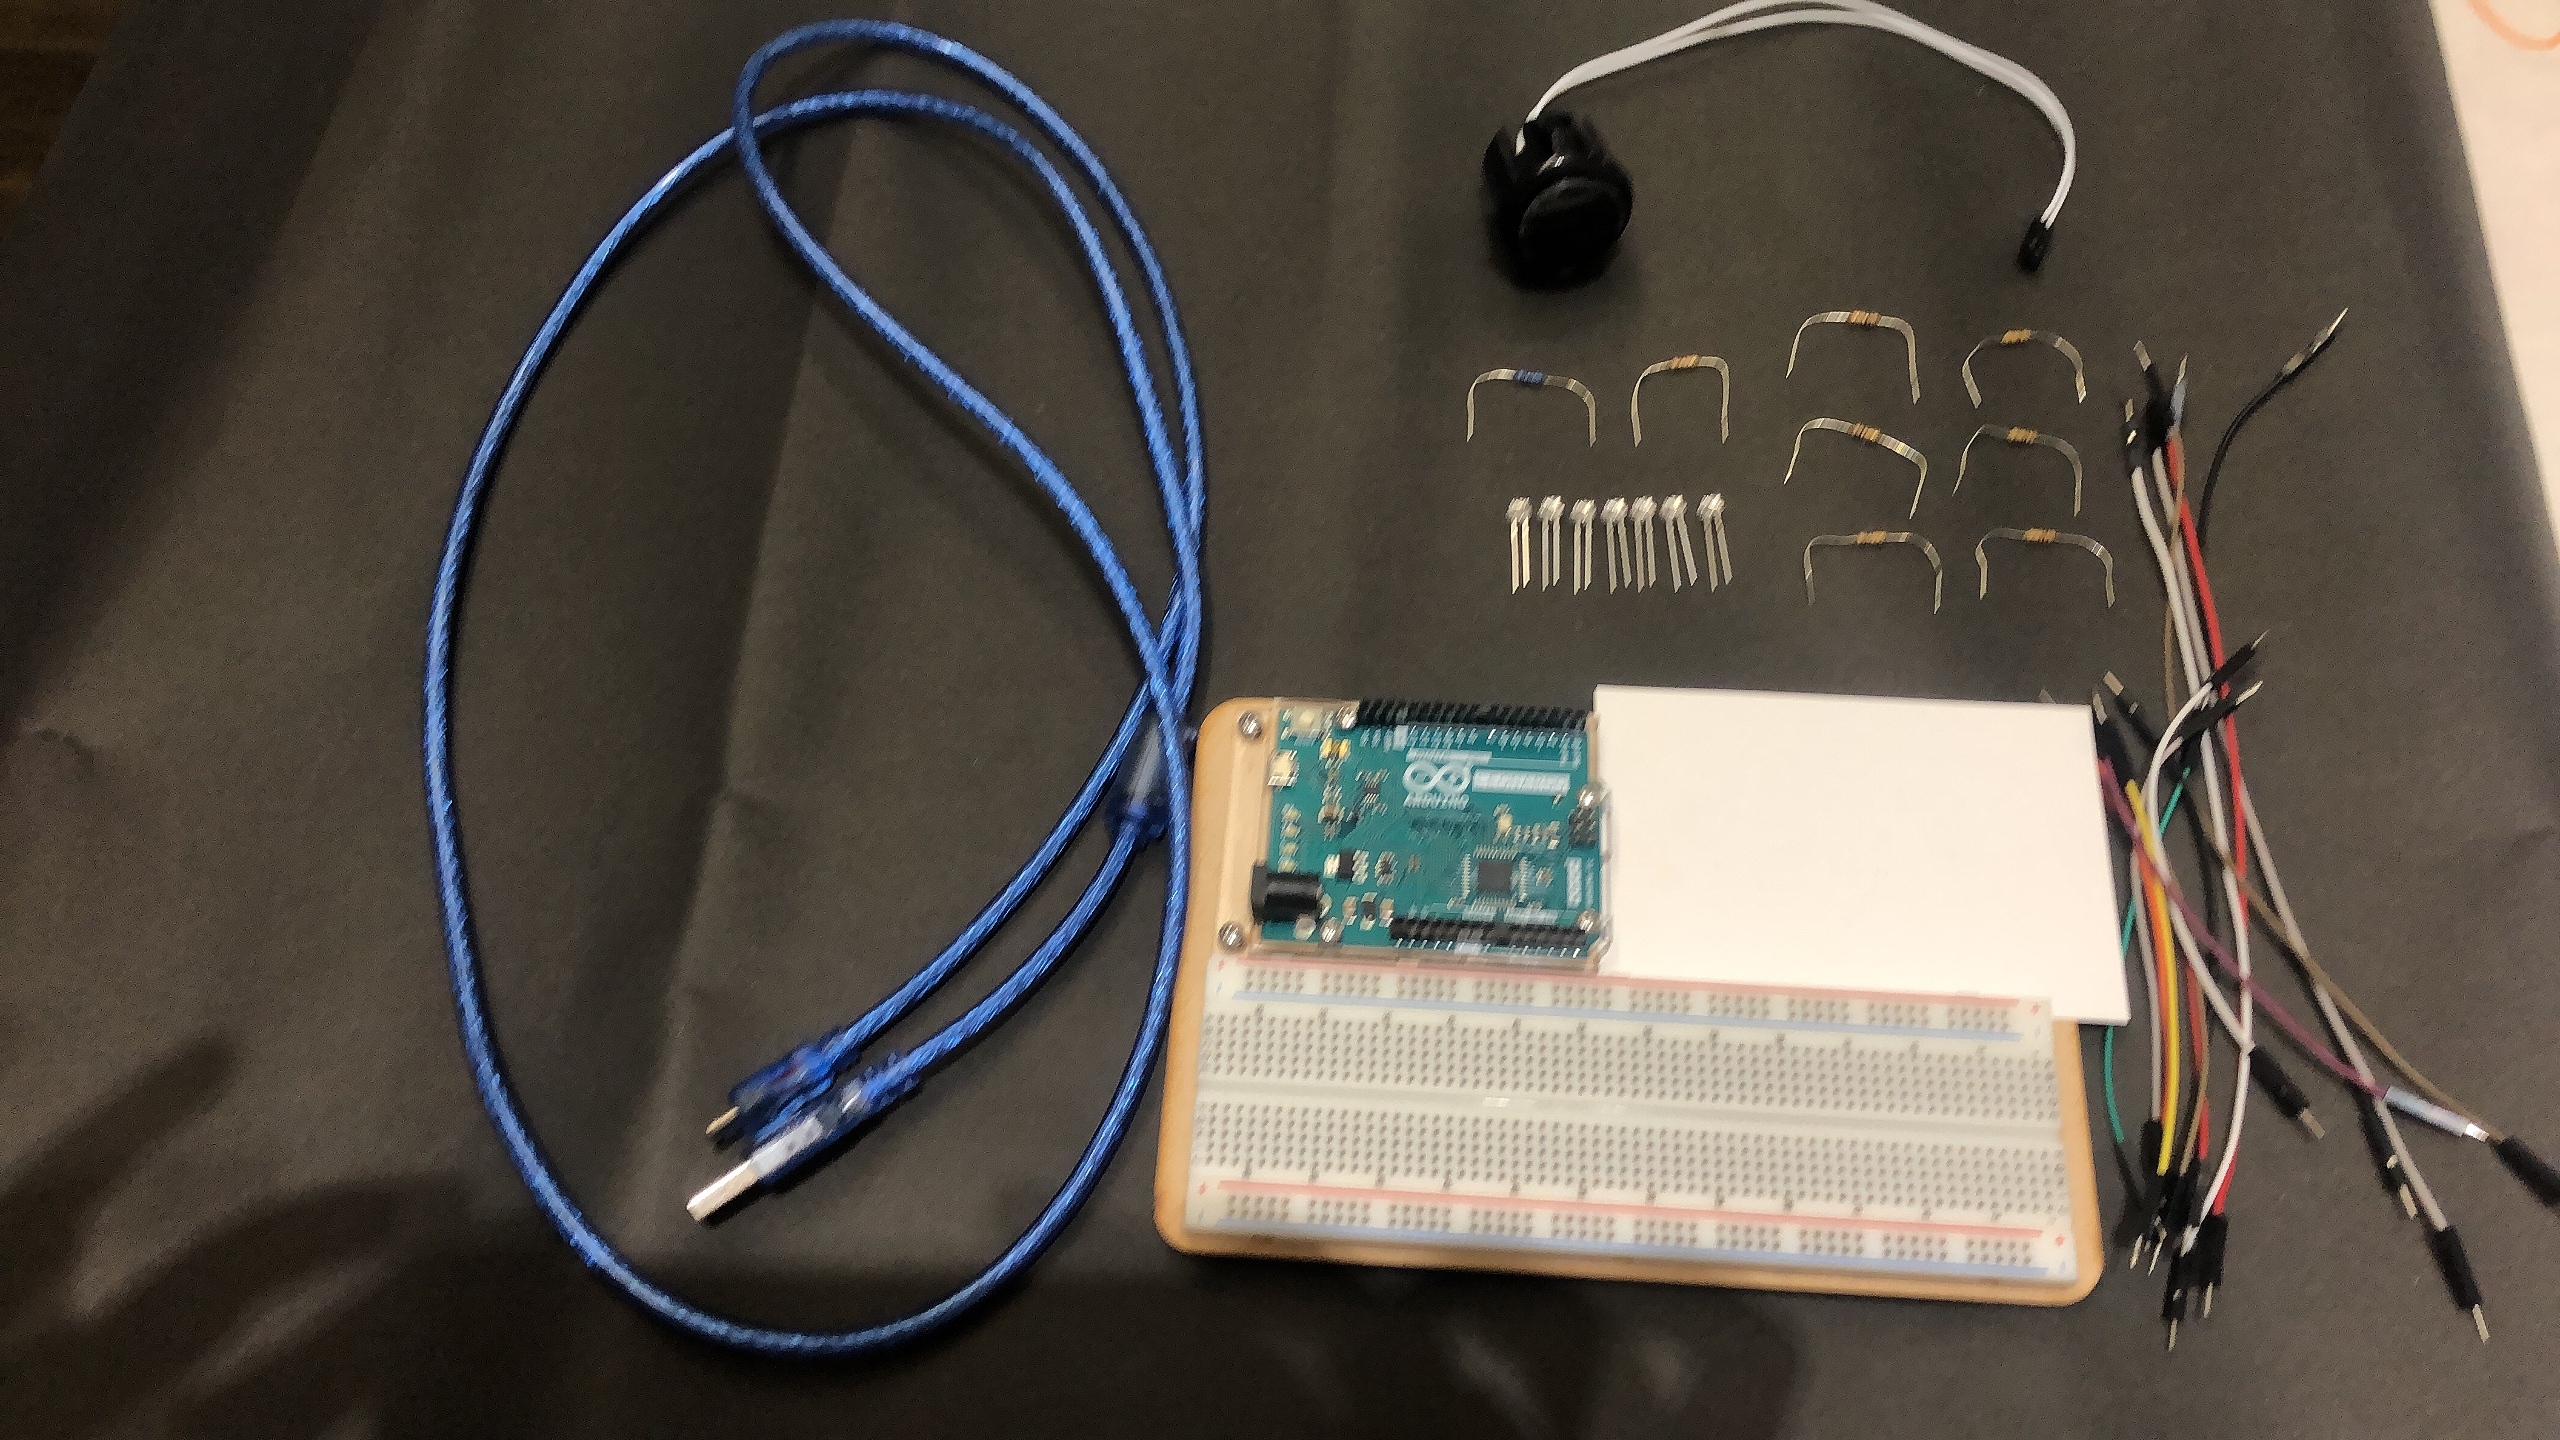
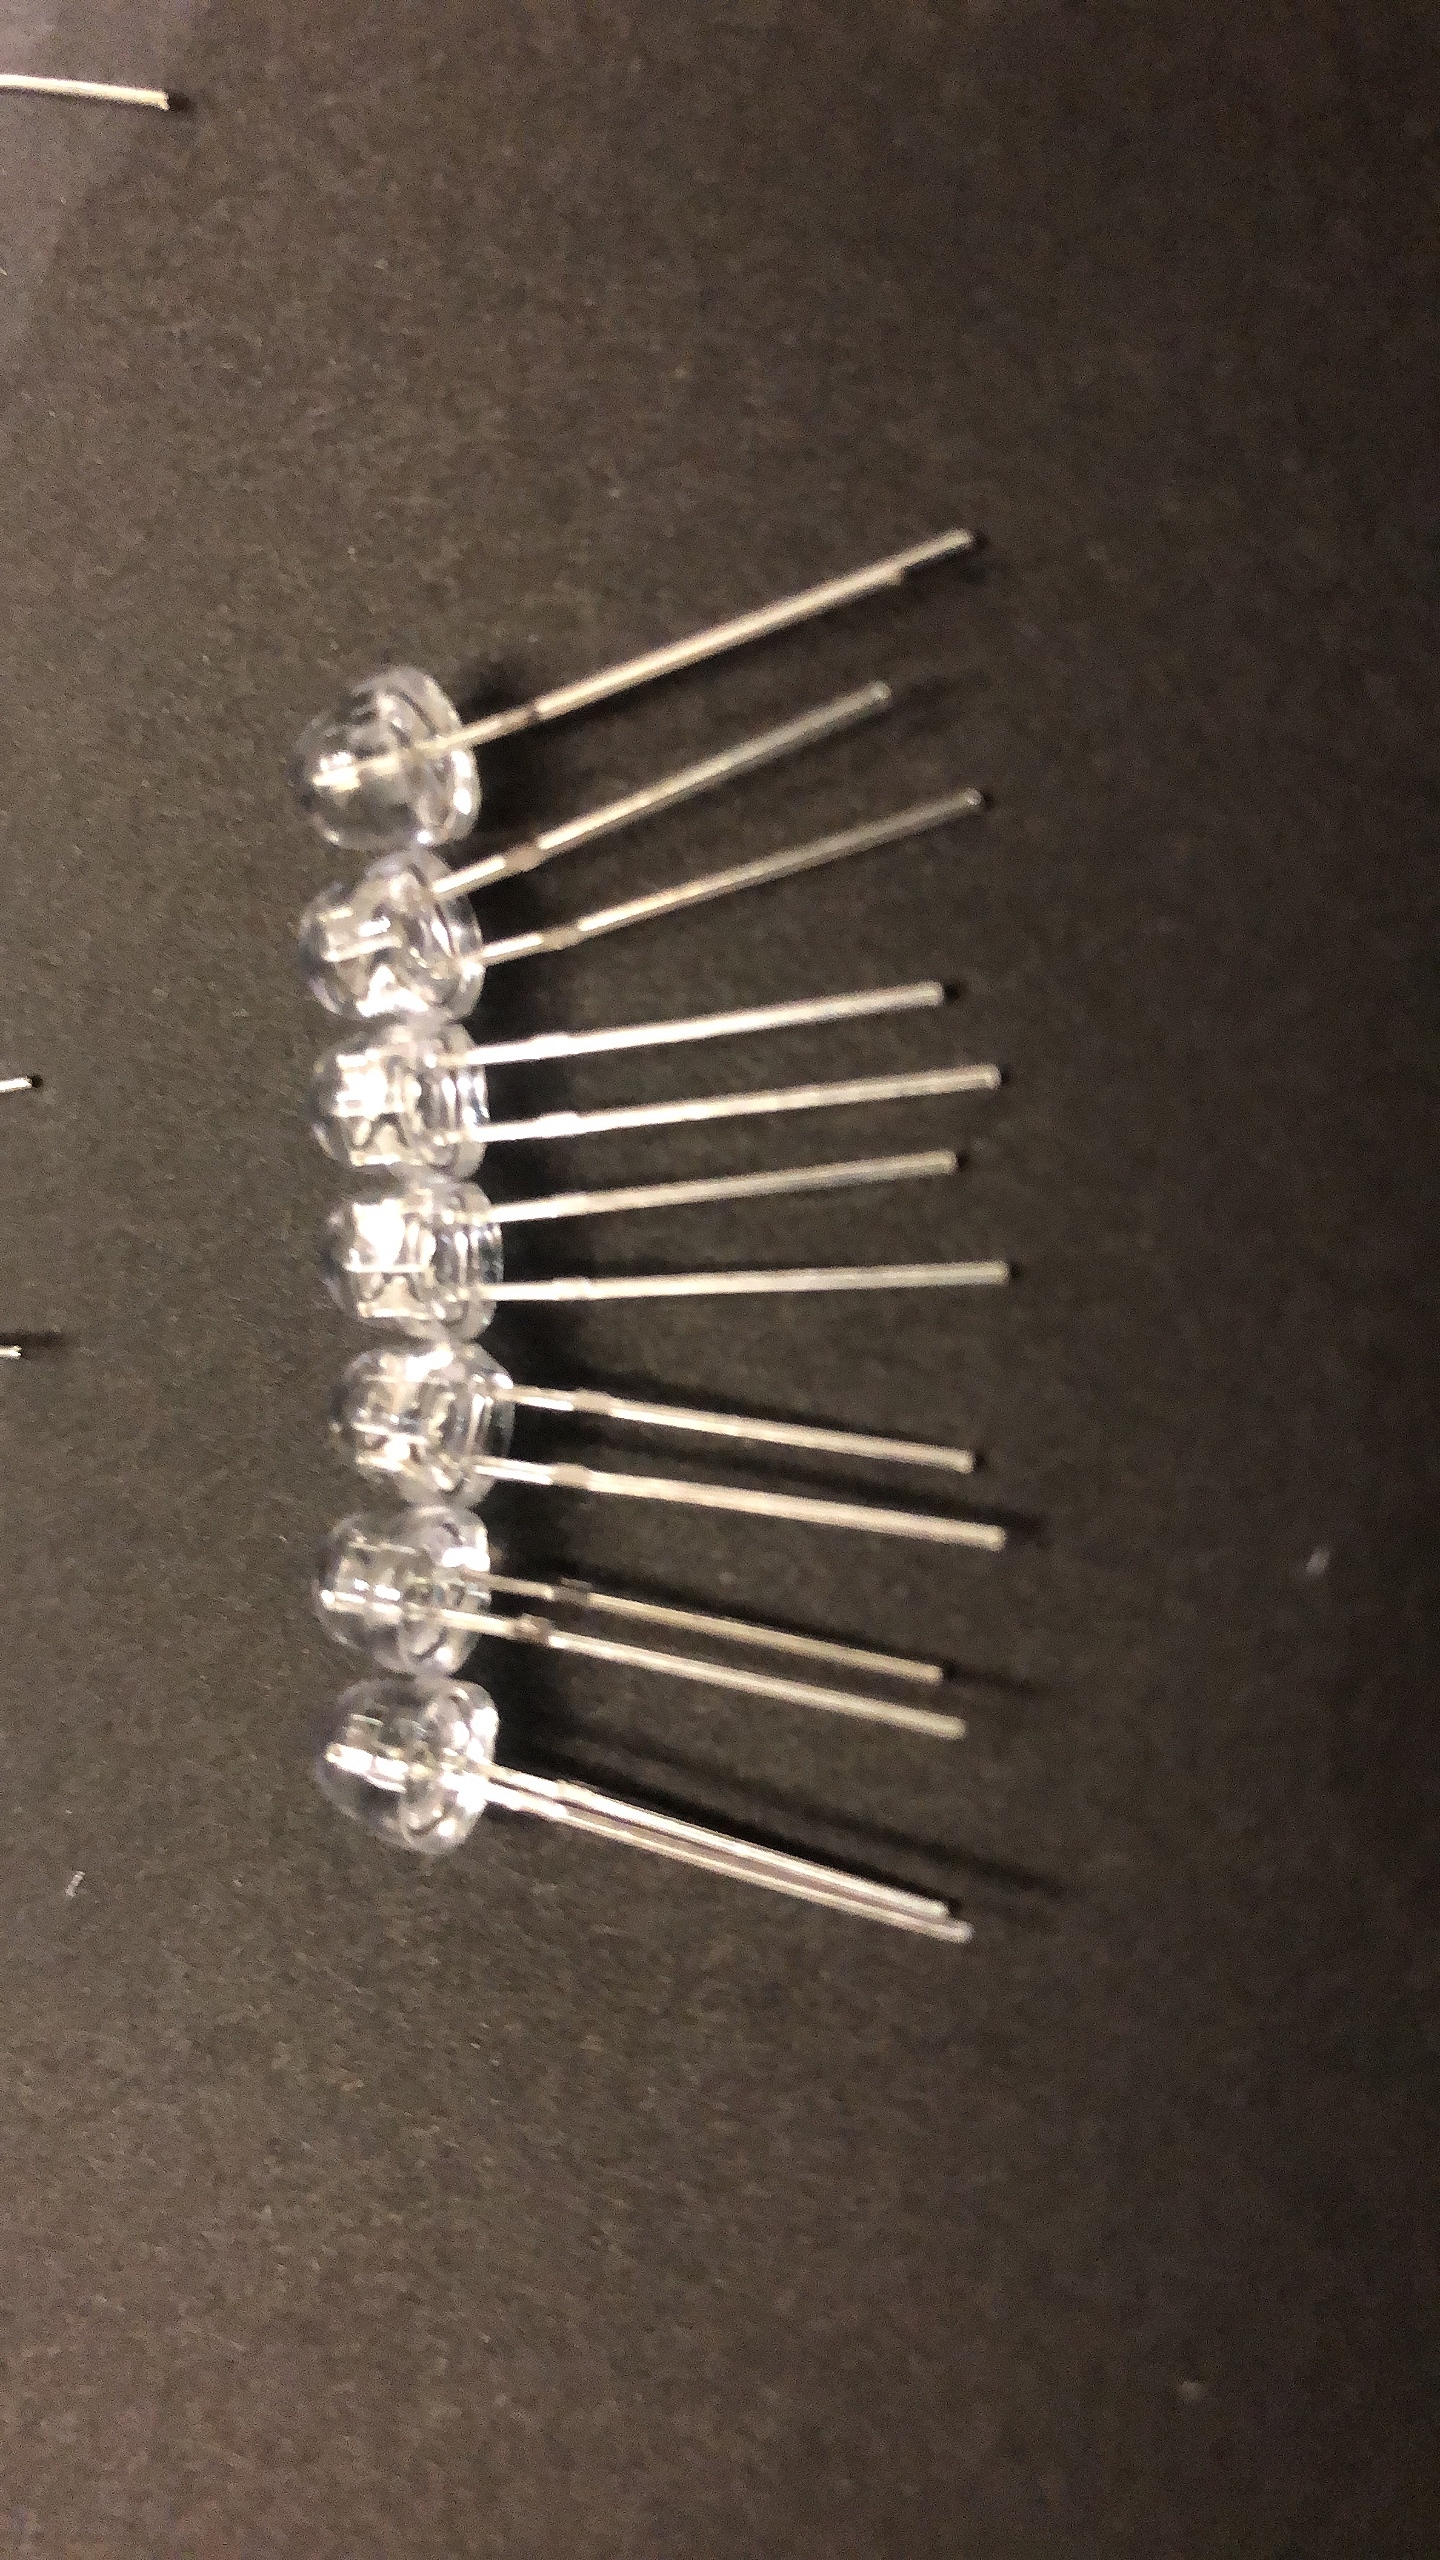
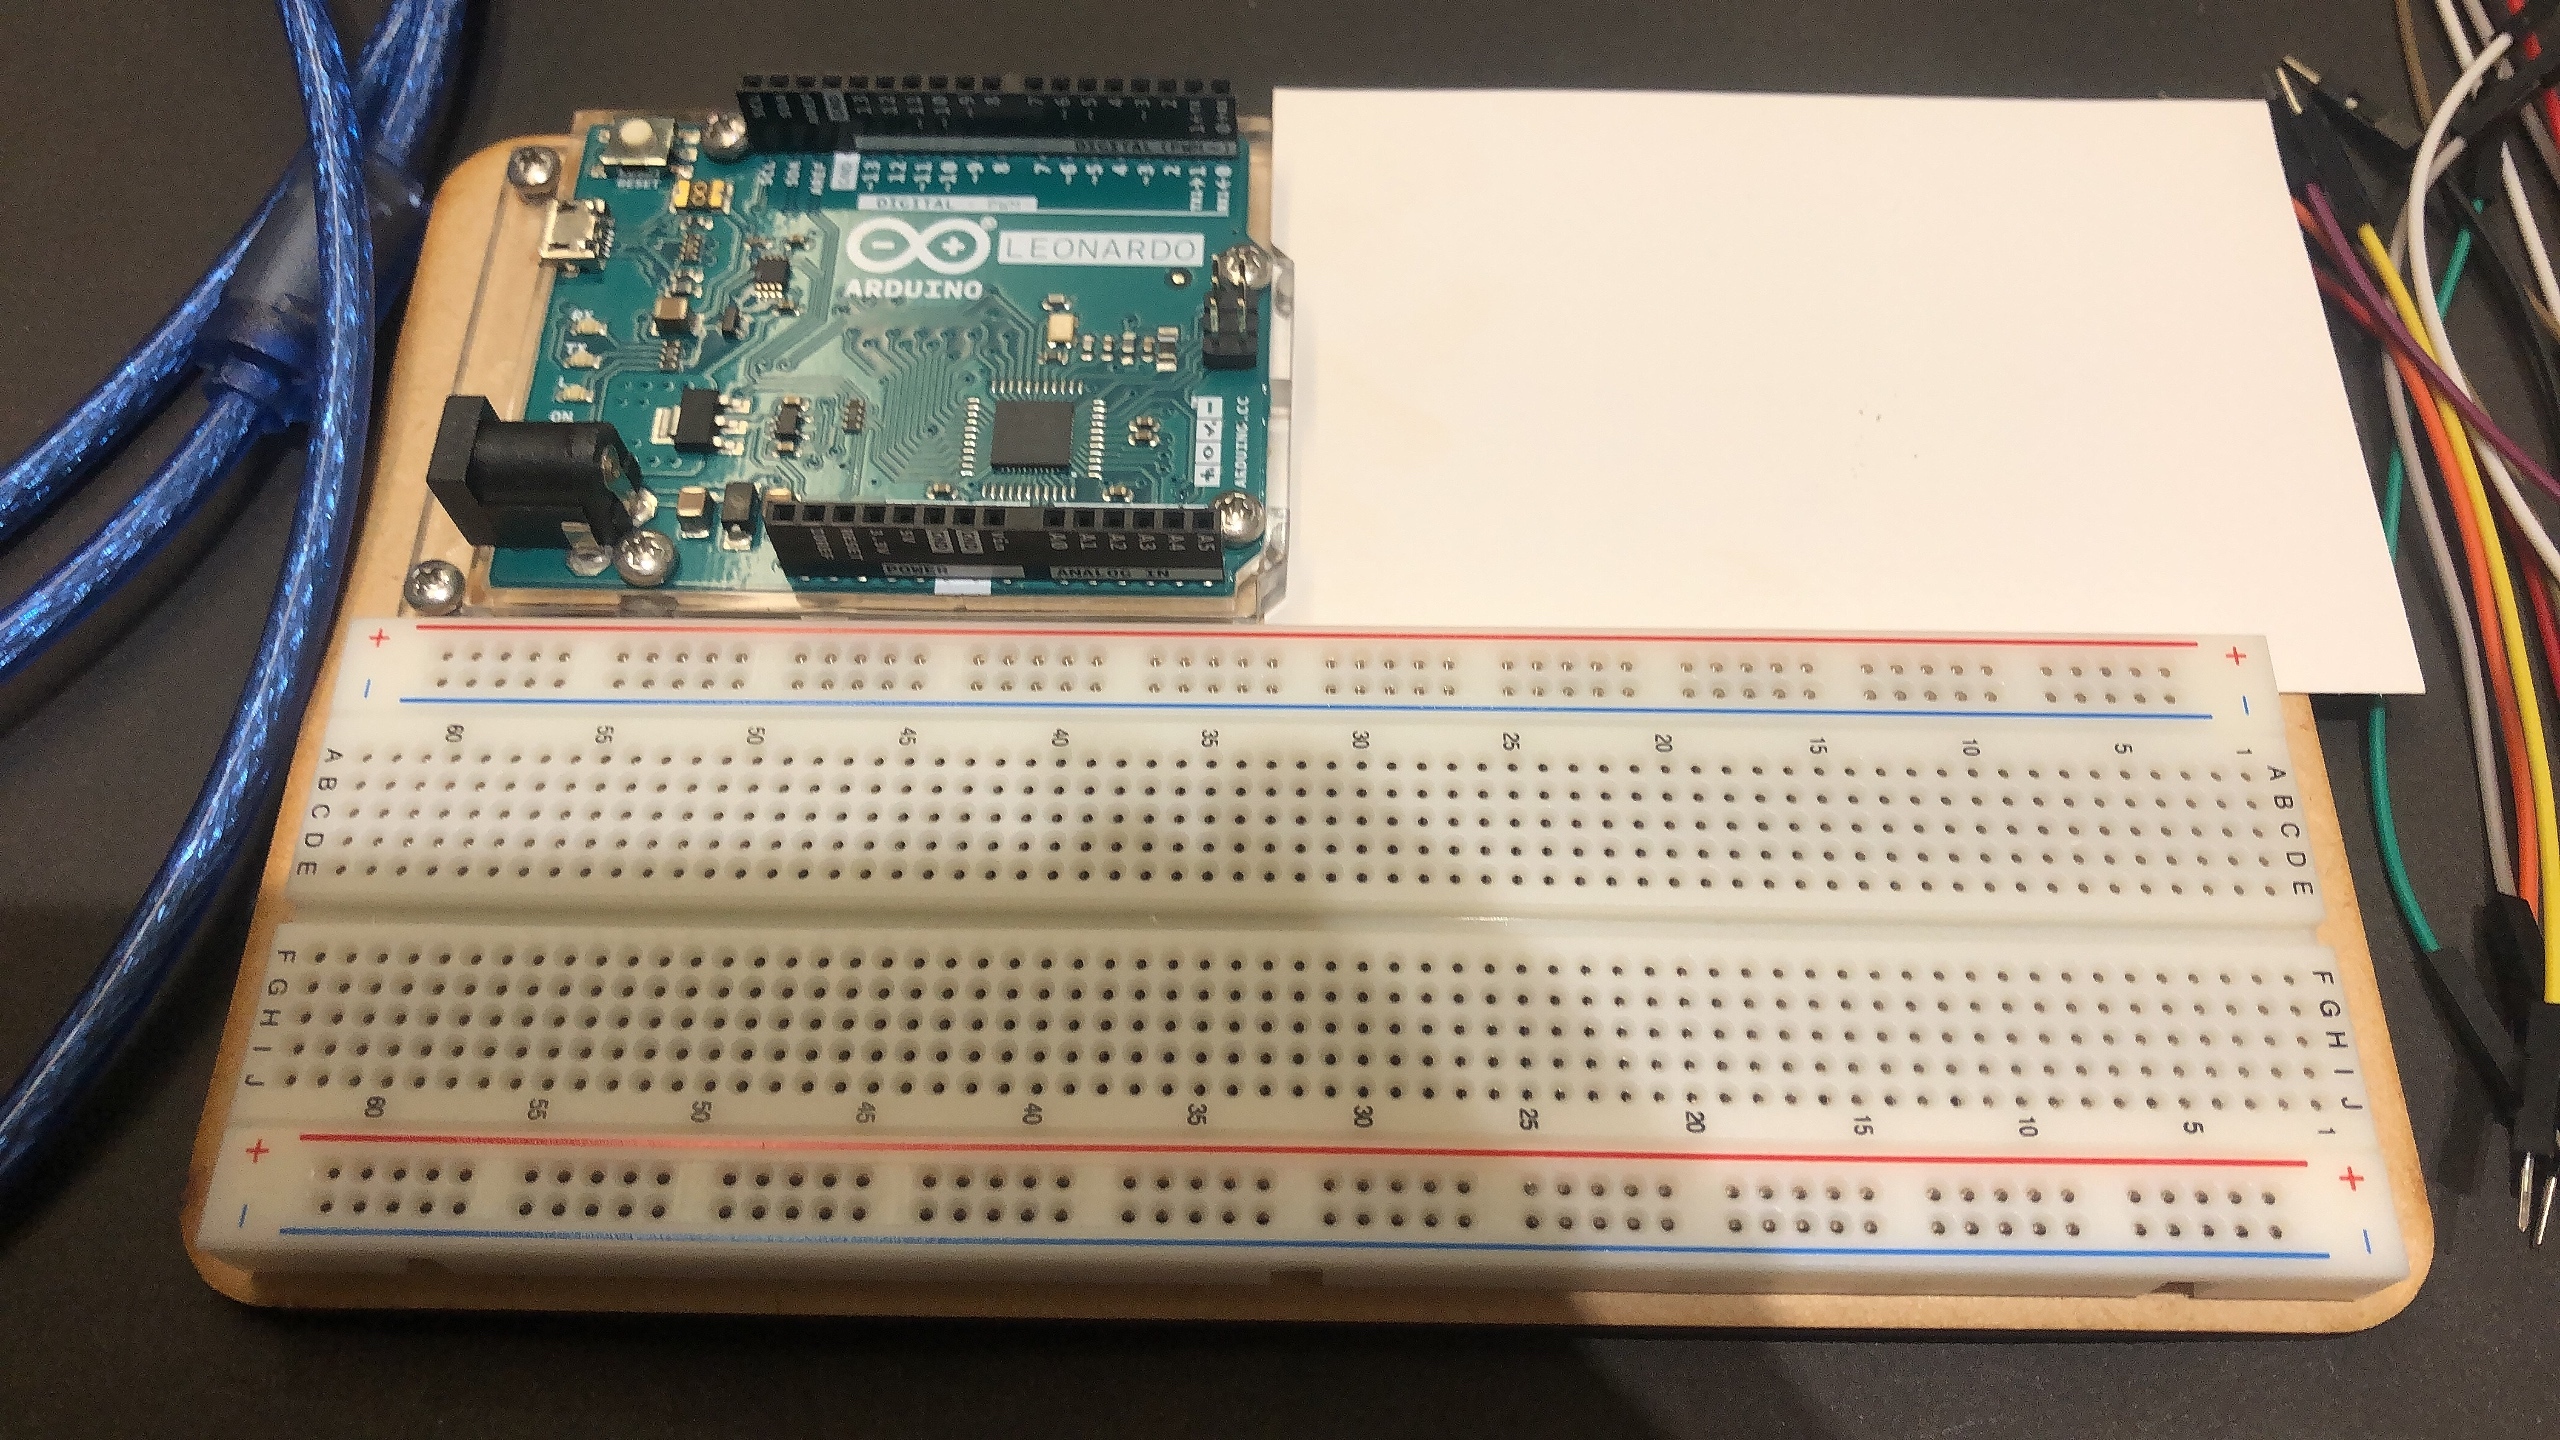
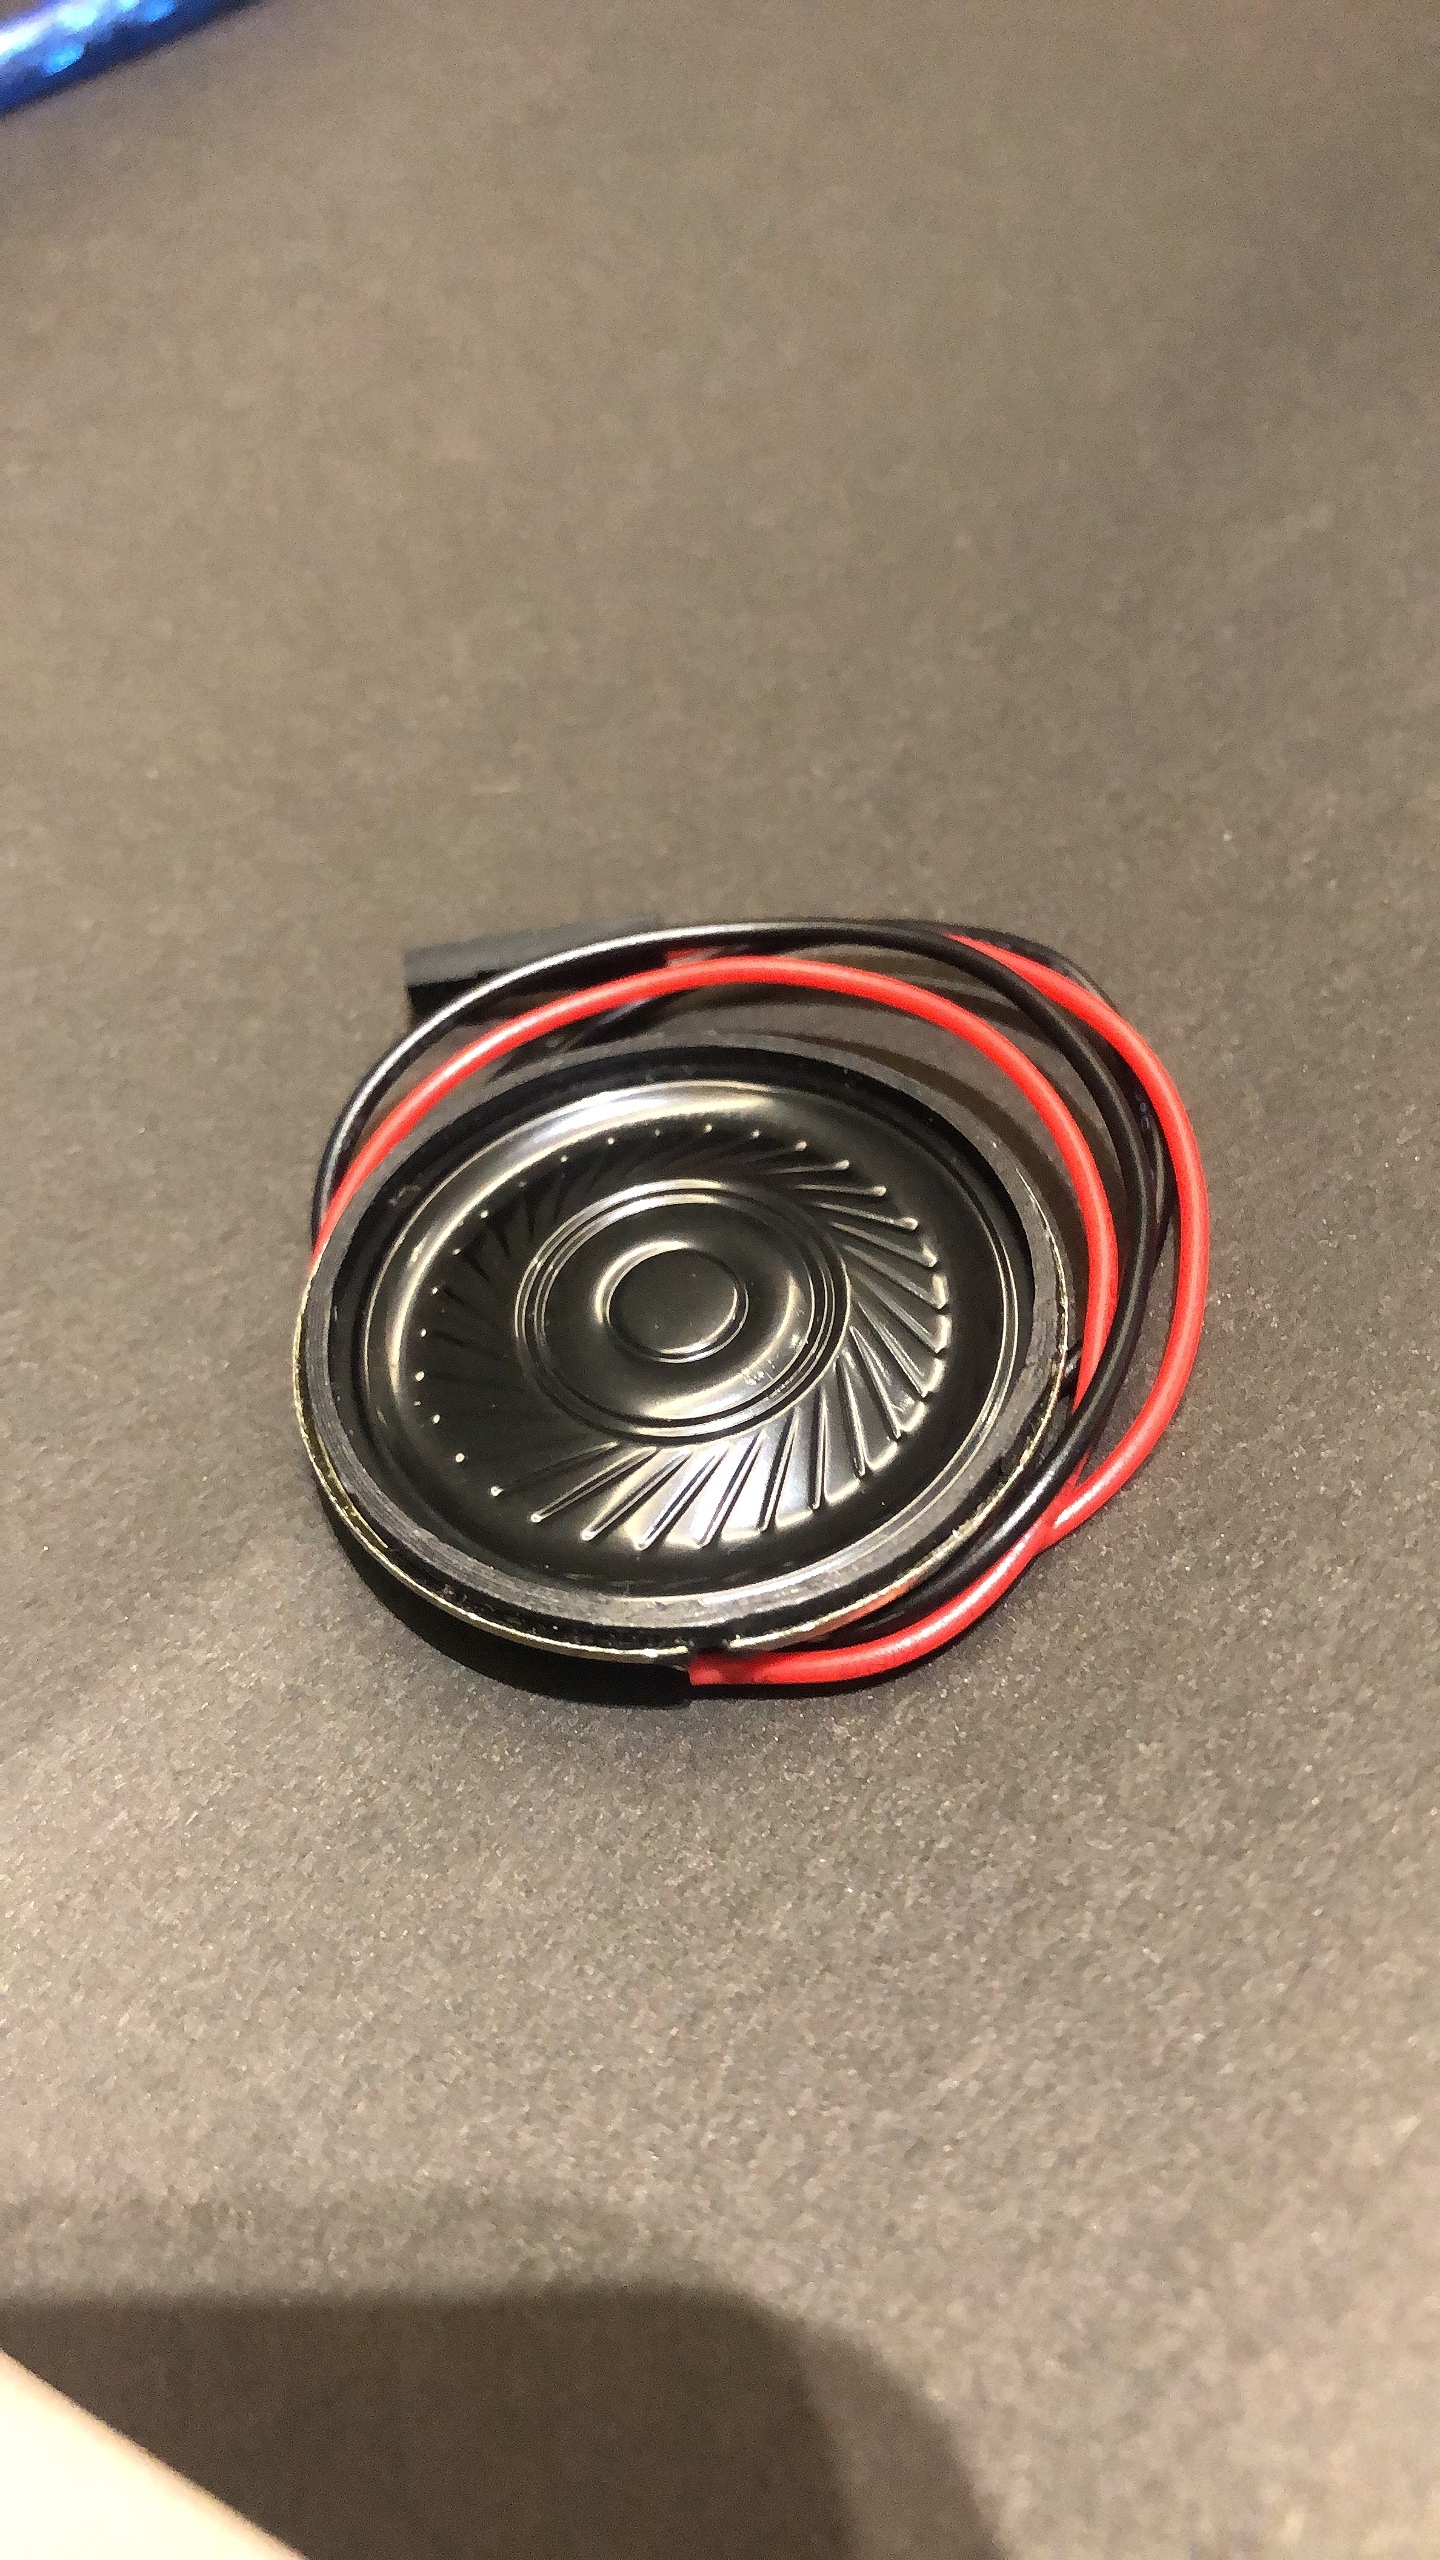
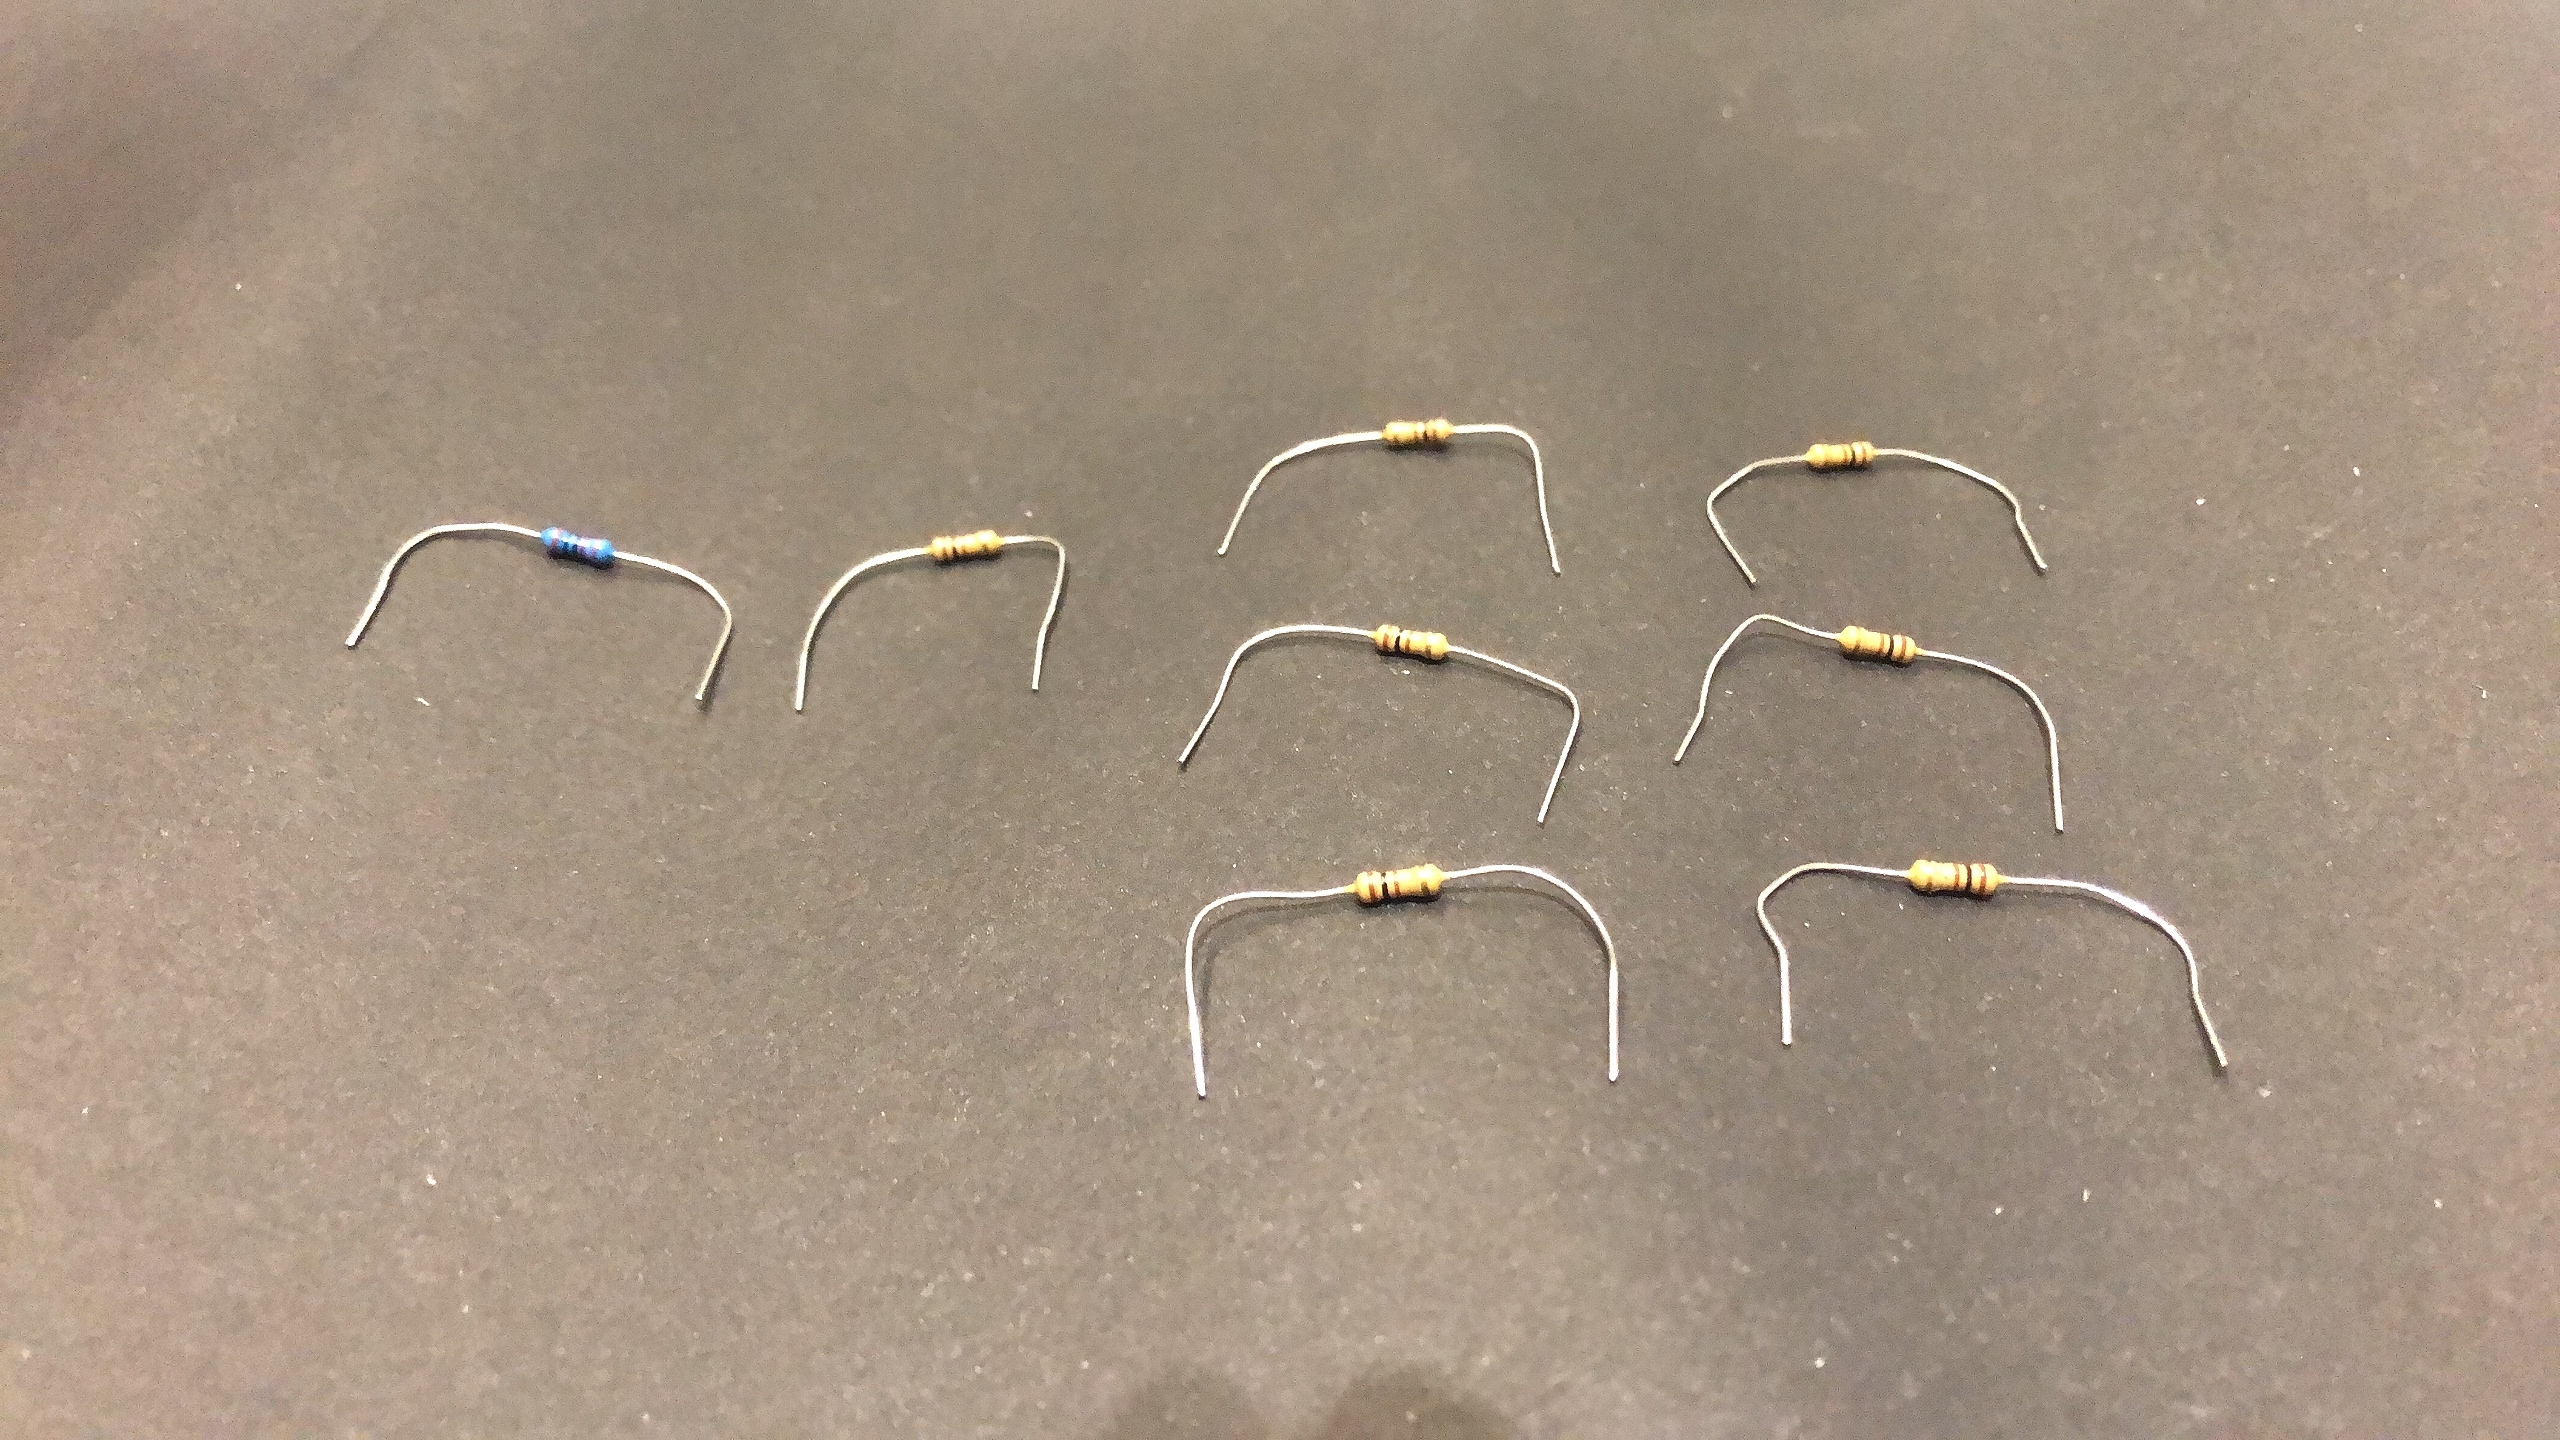
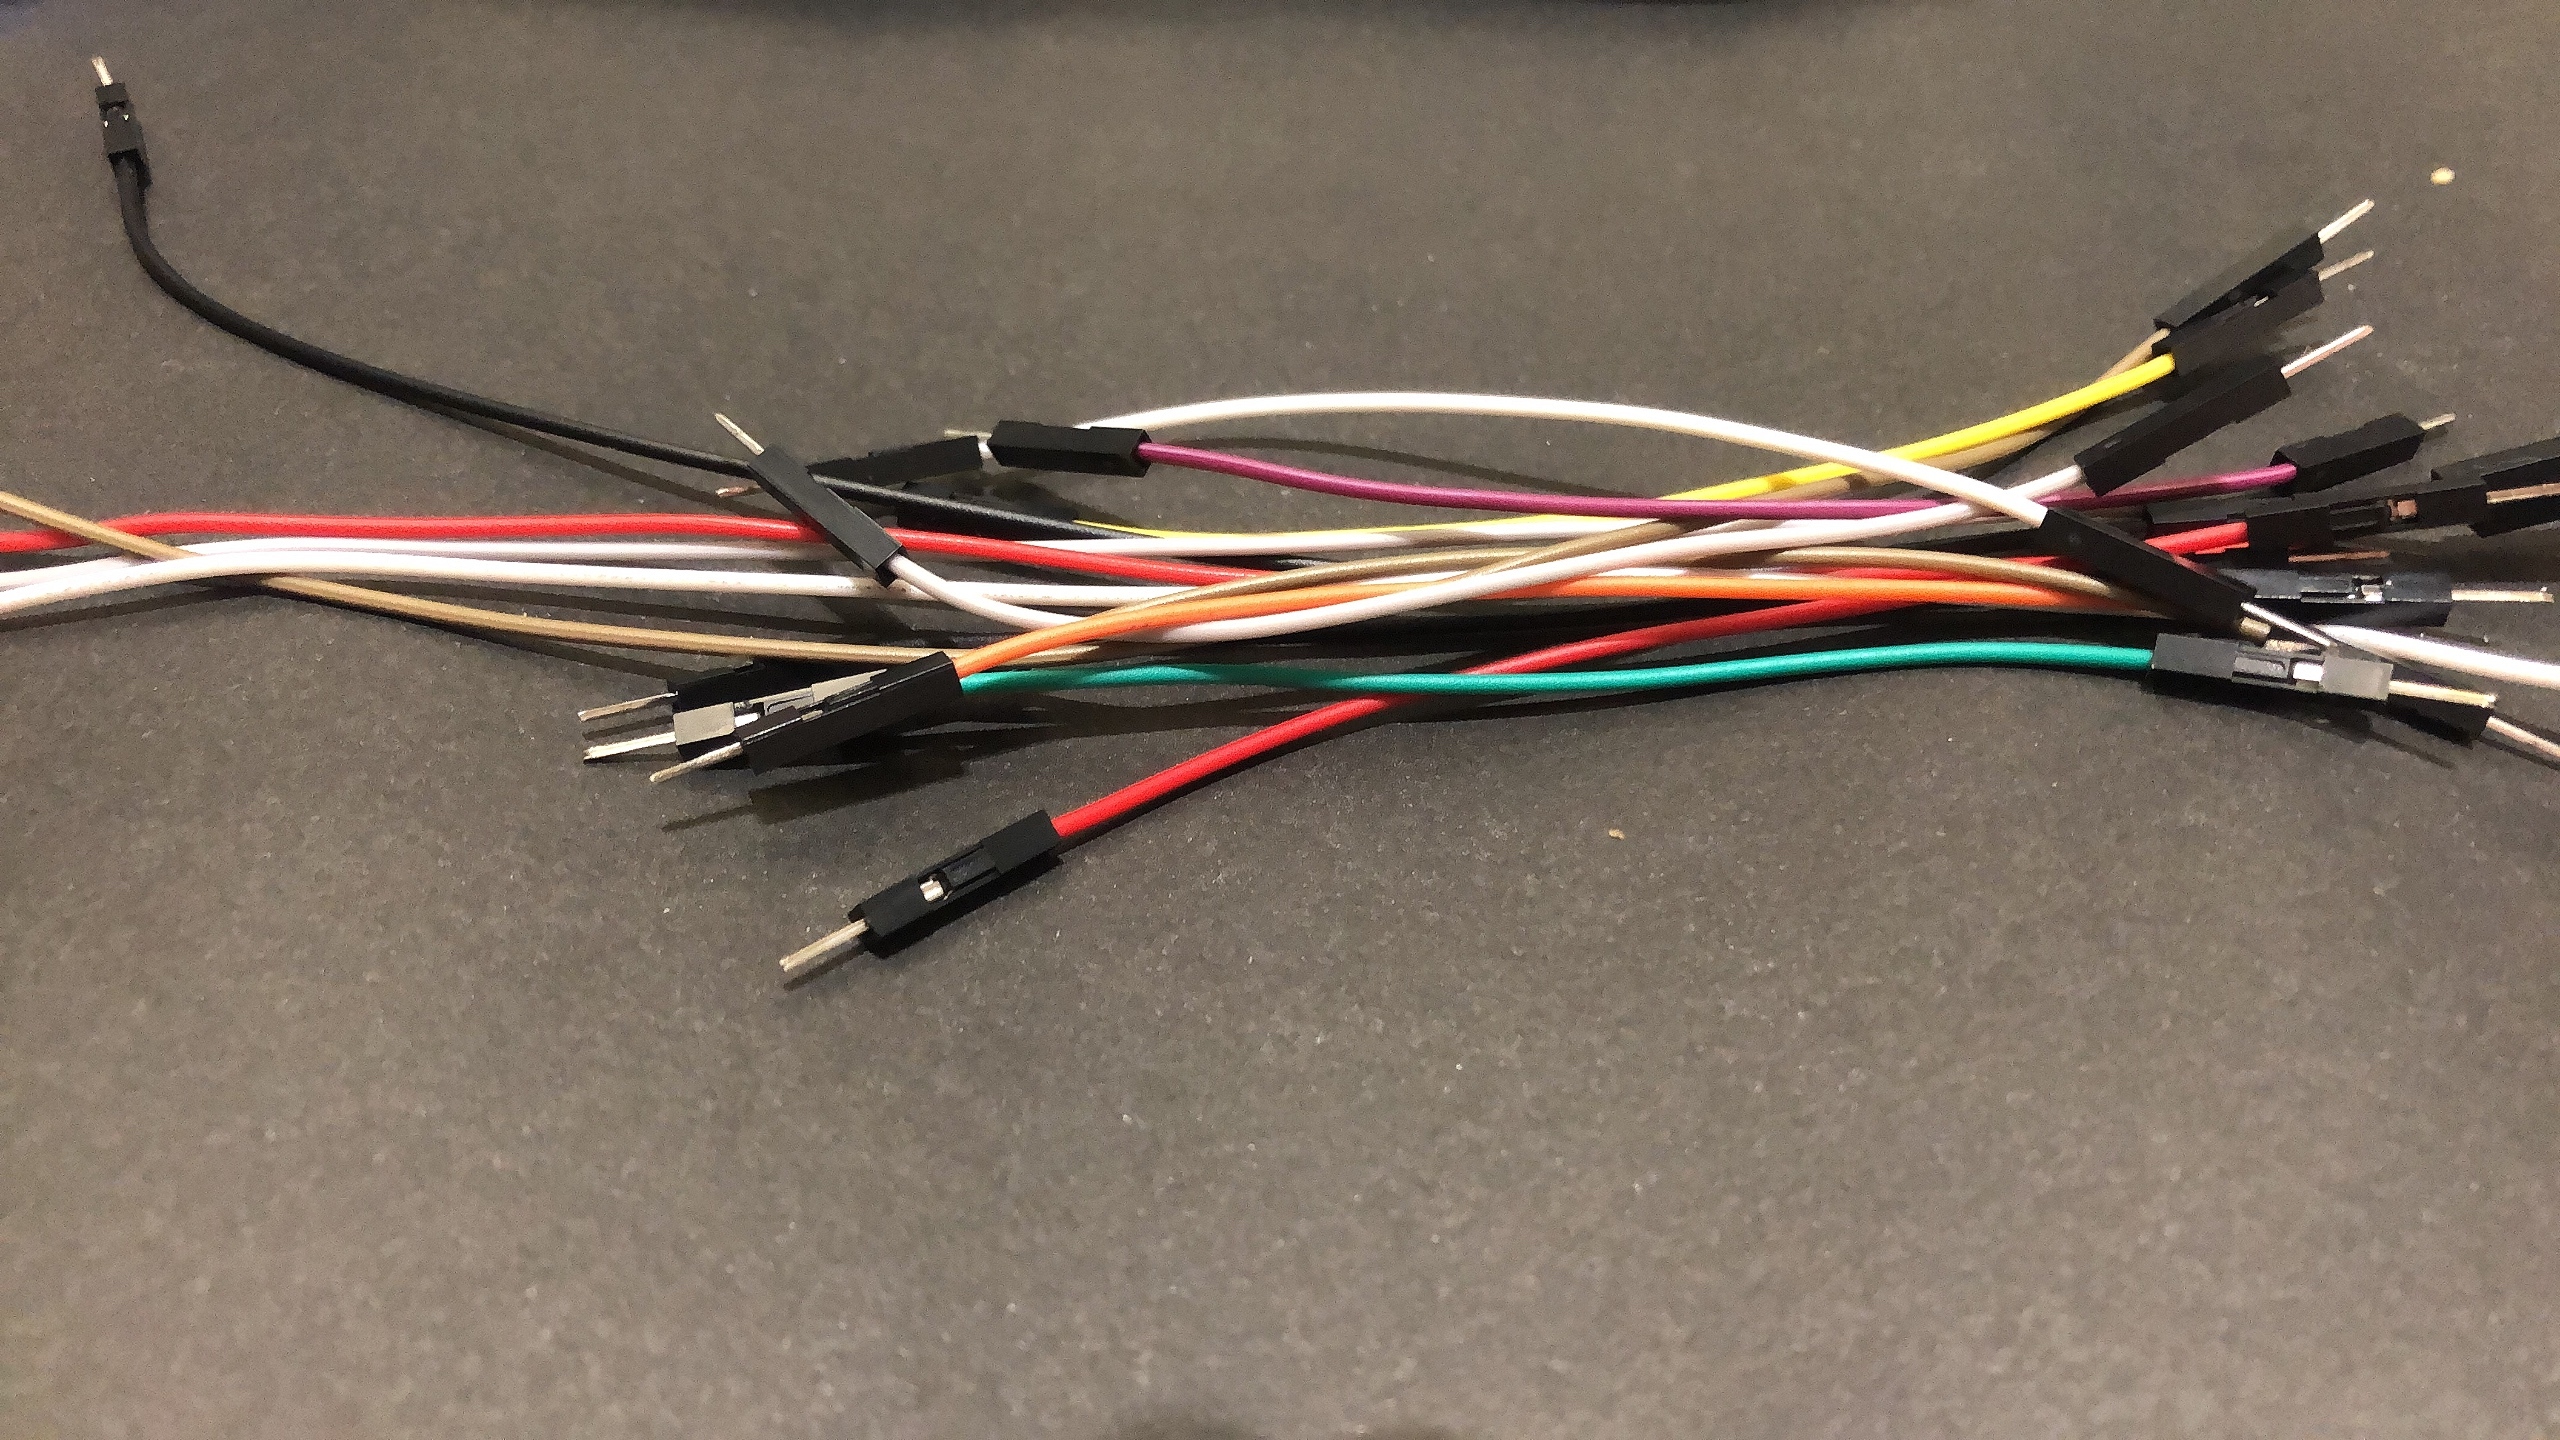
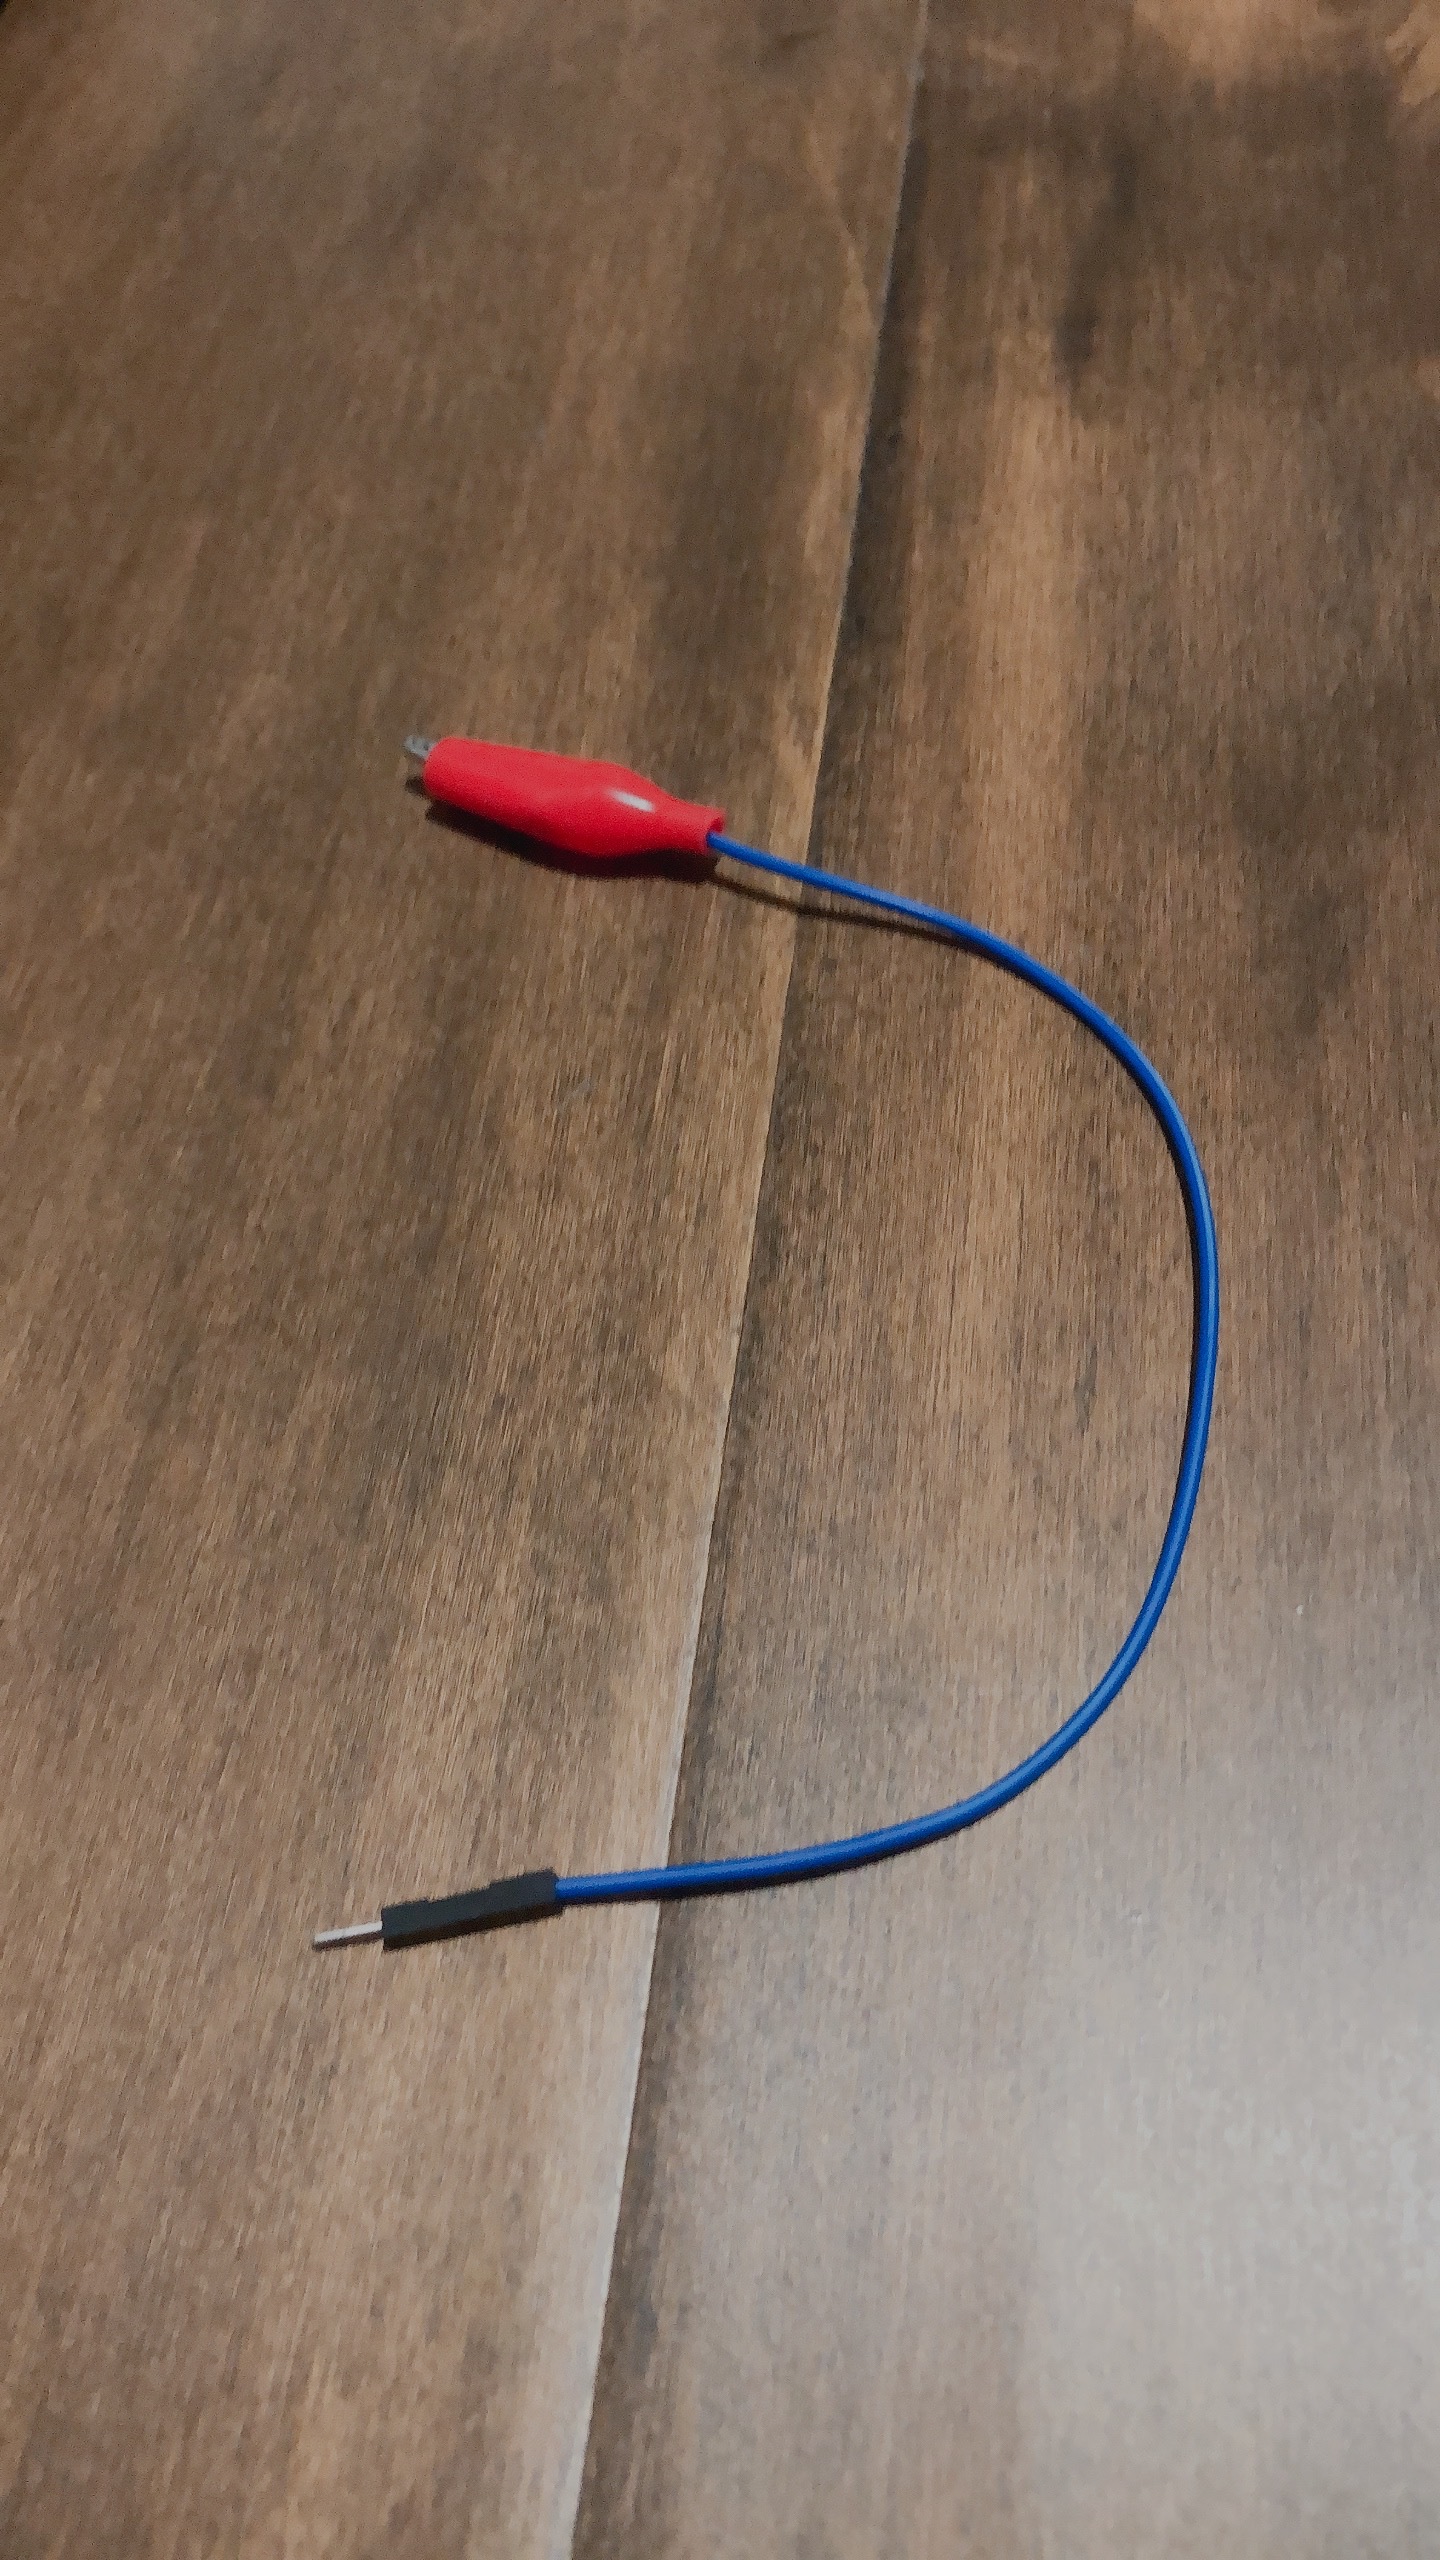
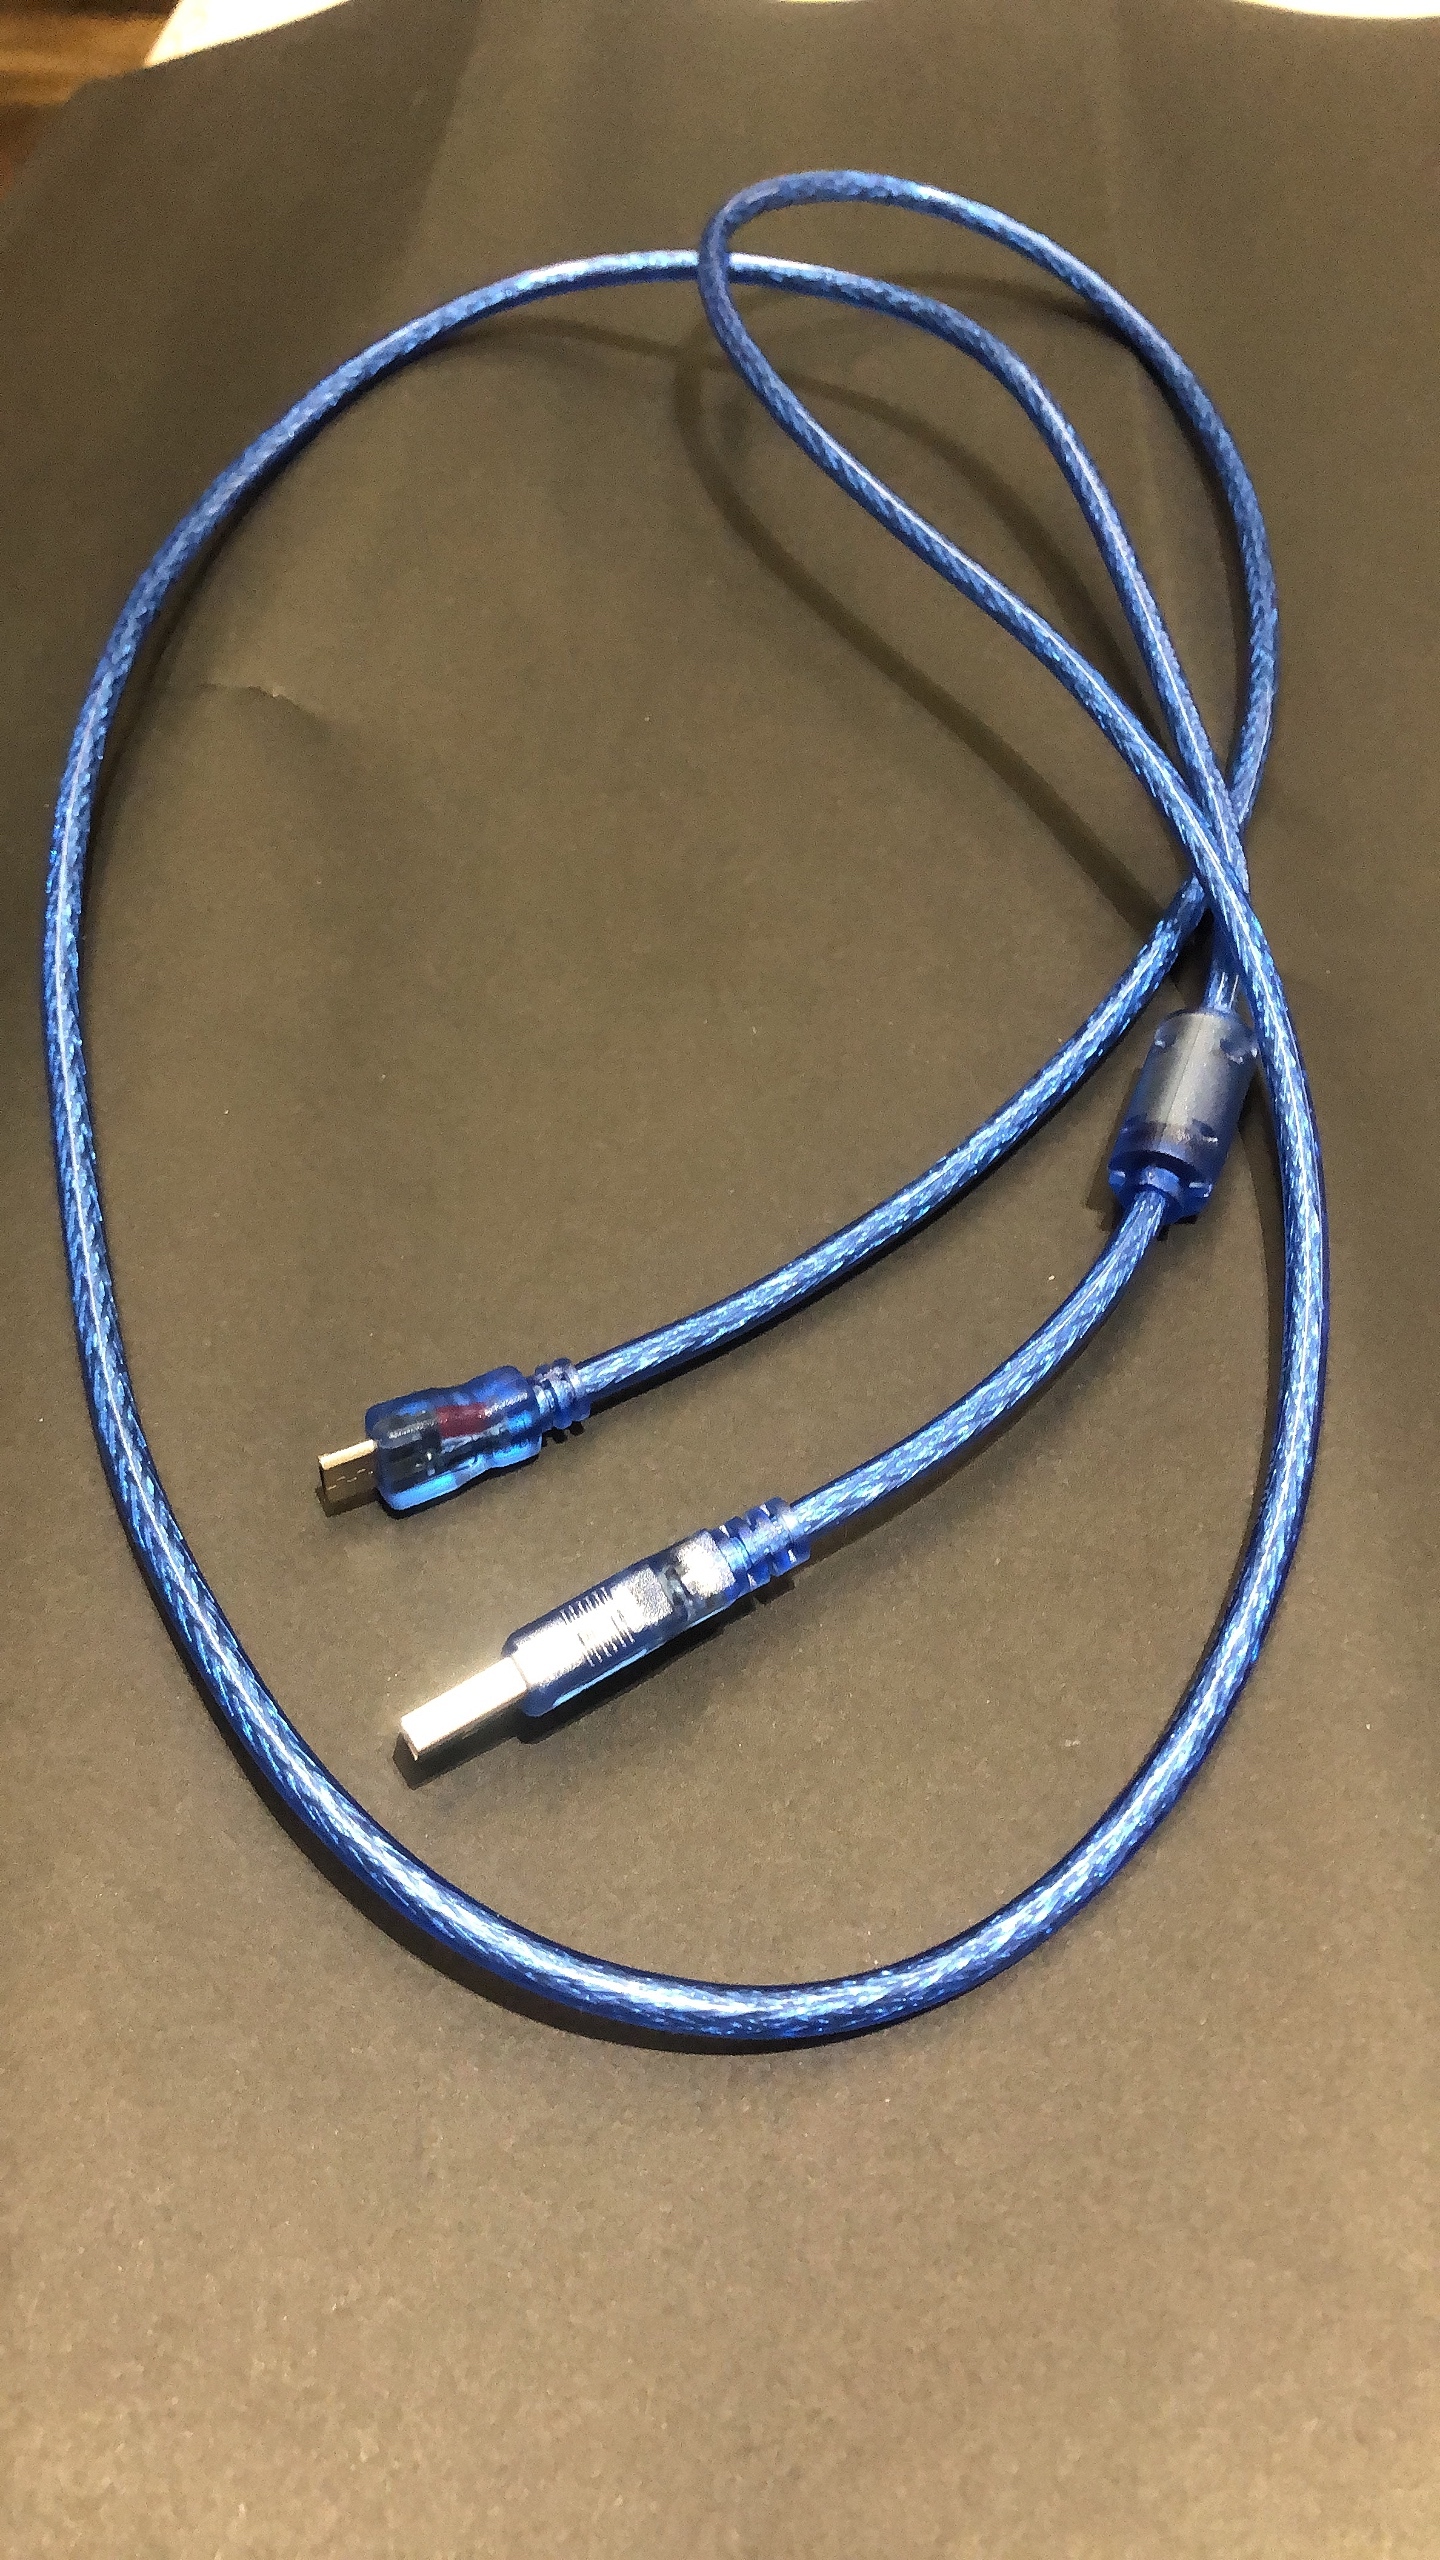
Before building the machine, you will need to prepare all the materials needed so your machine can work well since you didn't miss any steps or lost any components and parts while building.
Here is the list of materials needed:
- Seven LEDs
- Breadboard
- Arduino Leonardo
- Speaker
- Eight resistors
- Wires
- Crocodile clip
- Arduino Software
- USB cord
- Laptop
- Cardboard
Attach LEDs

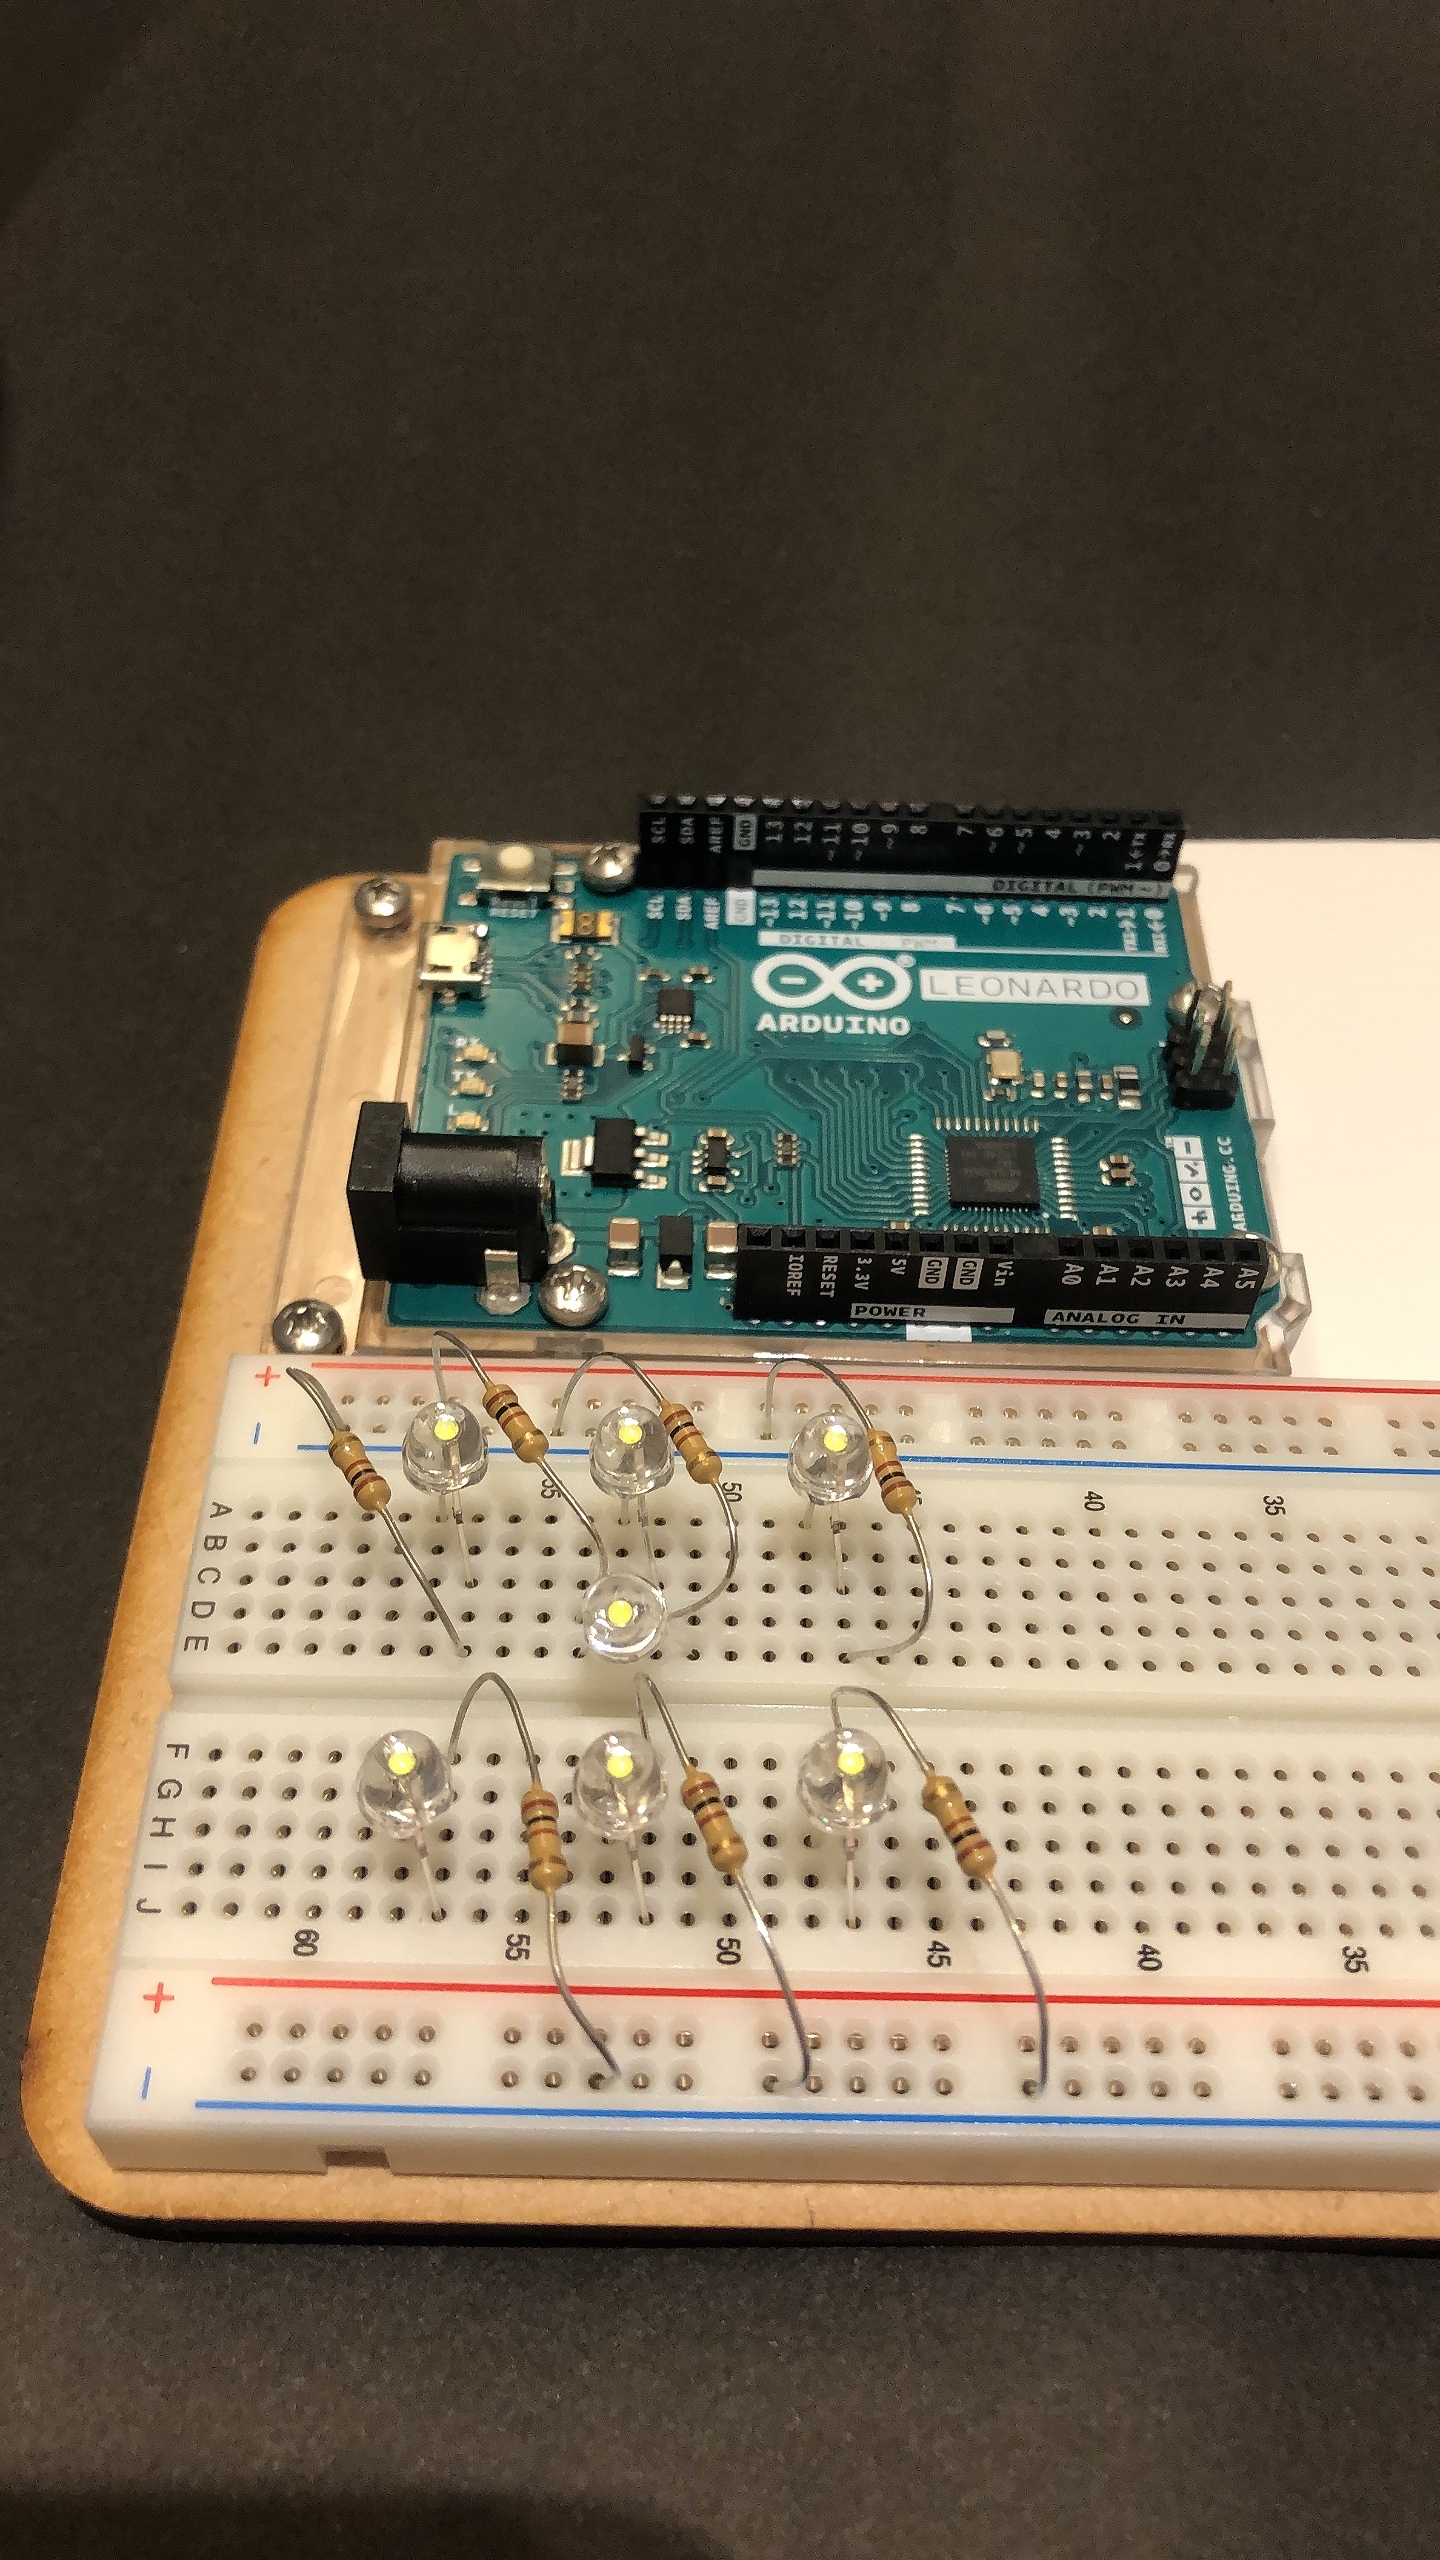
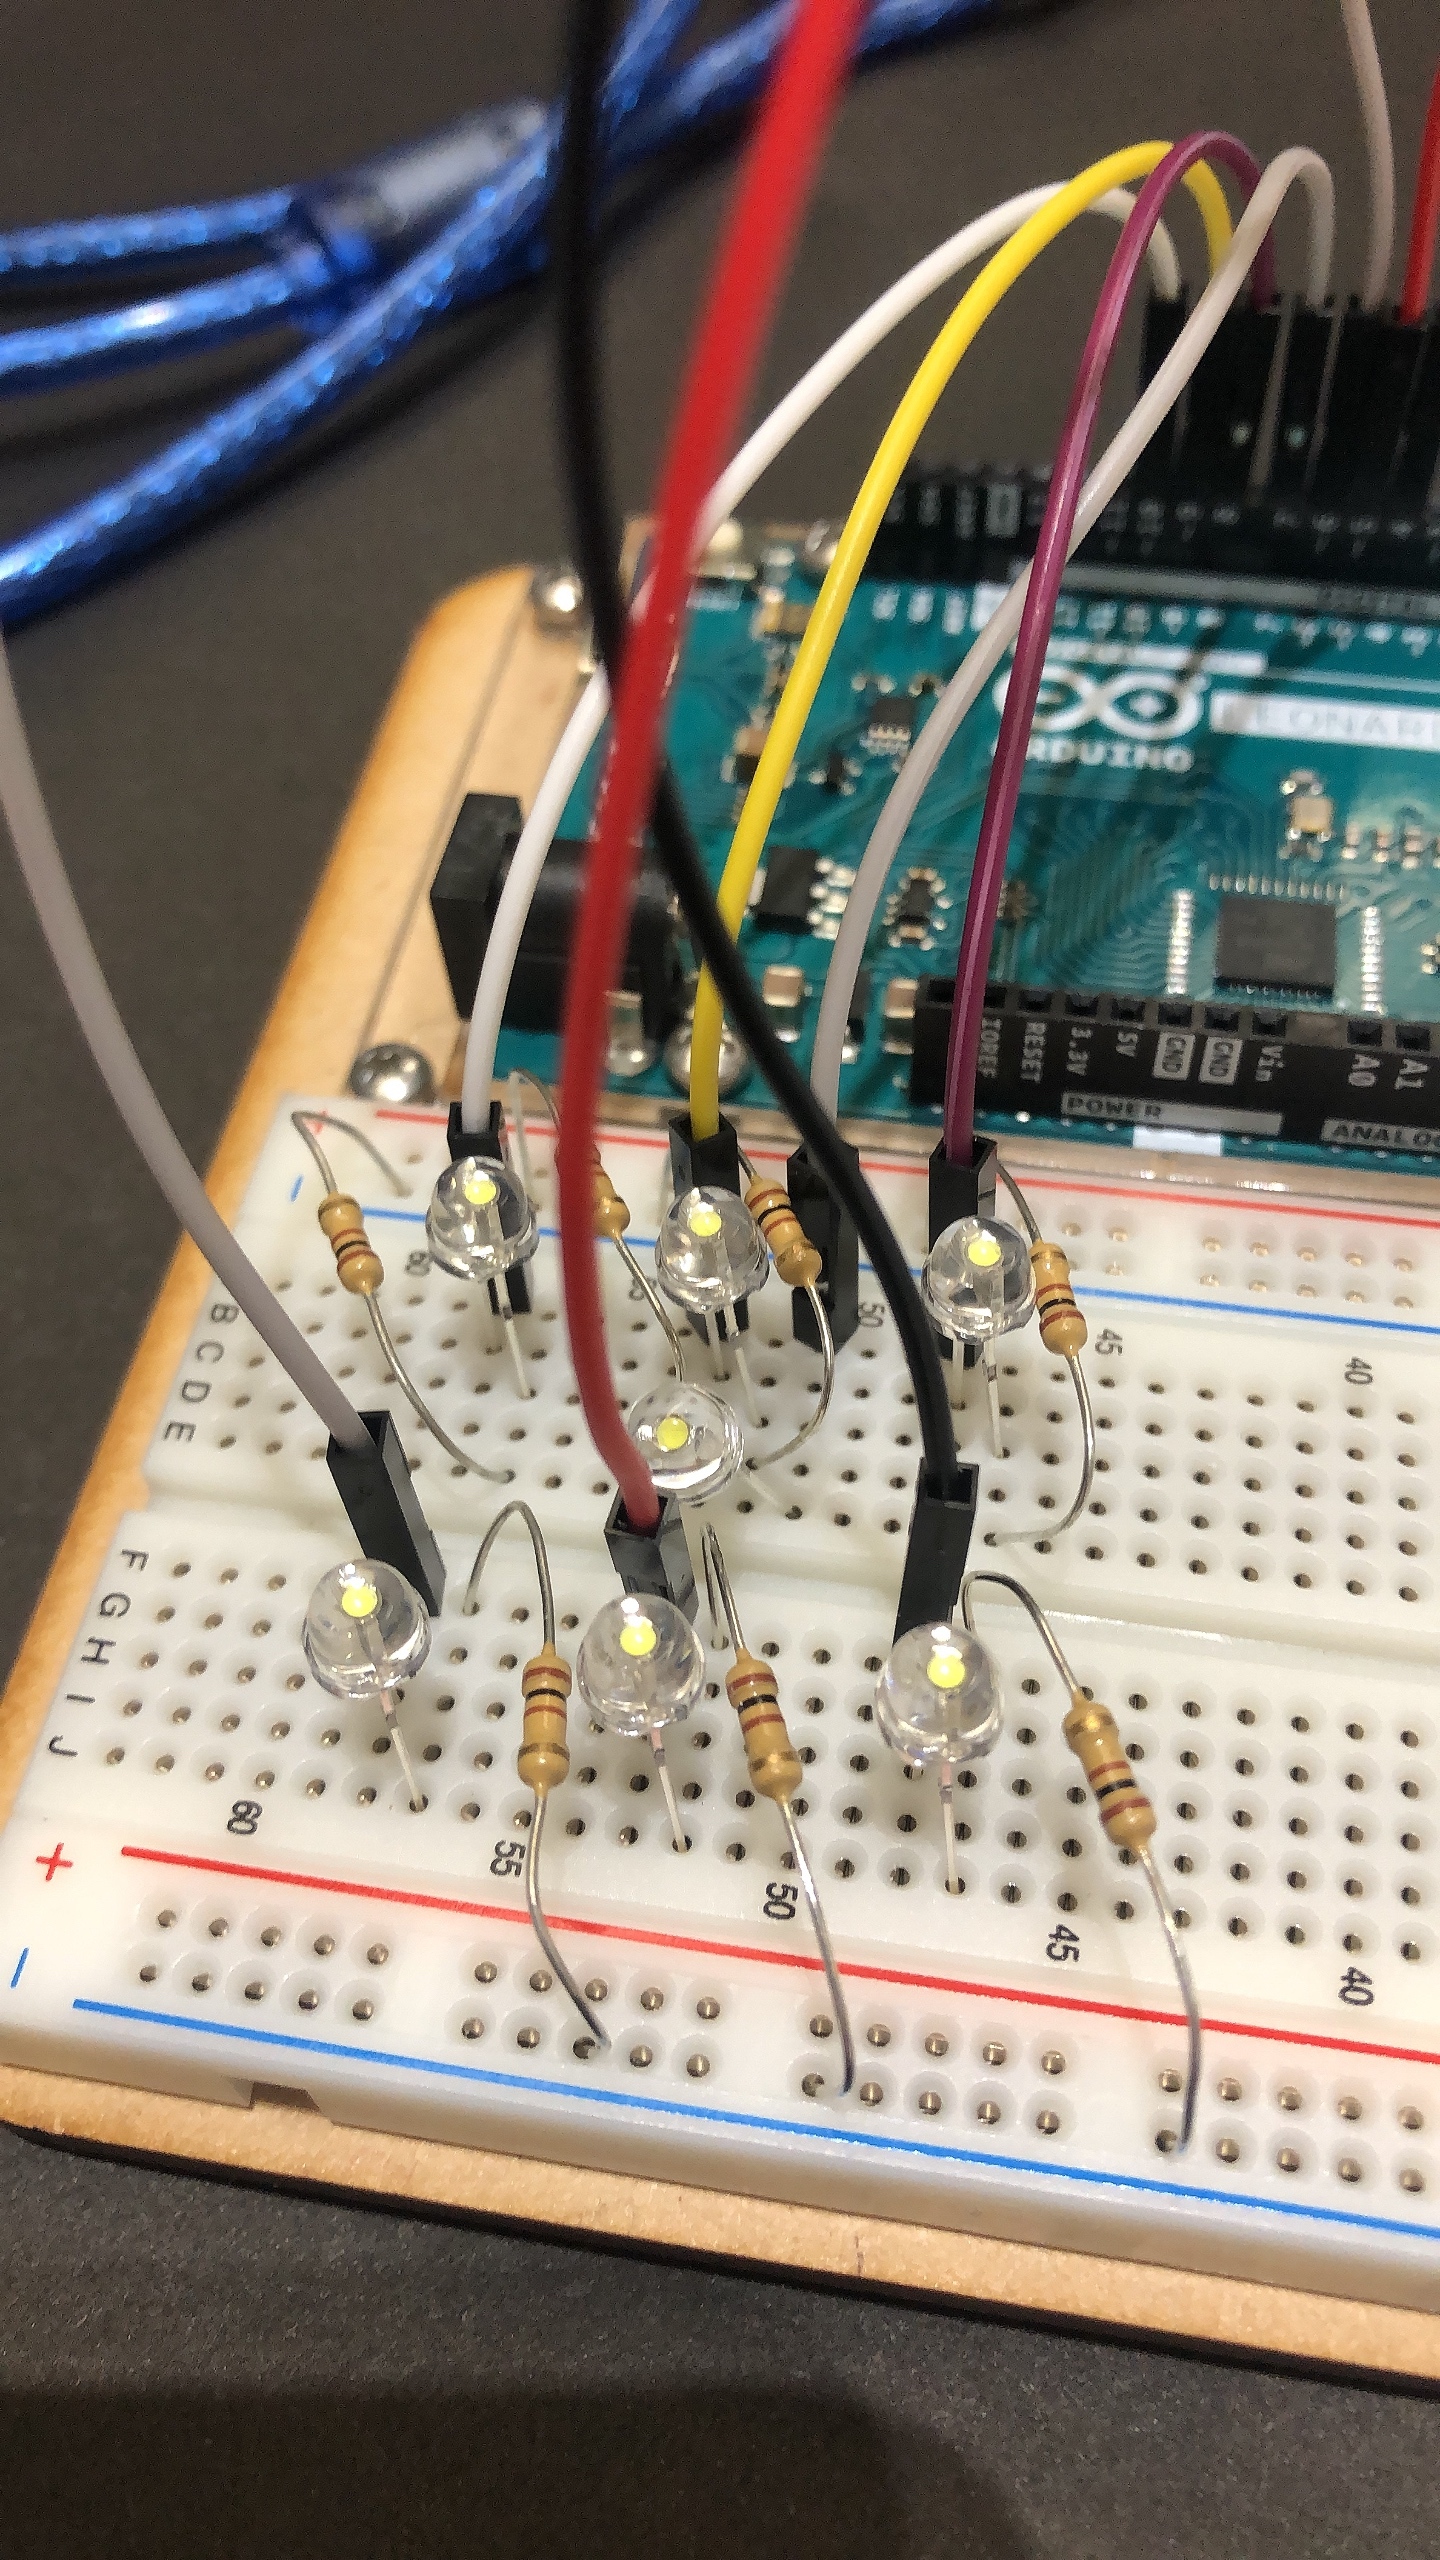
Second, attach all LEDs to your breadboard. The picture here is a sample of how you can connect your LEDs to your breadboard. Remember to attach the LEDs in the correct order otherwise, the final product will not work.
Attach Button and Speaker


Third, connect your button and speaker to your Arduino. You can attach the button and speaker anywhere you want on the breadboard. However, connect them to the D-pin where your code set to make sure it can work well. The image above gives you a sample of how I plug them onto my breadboard.
Make Your Cover
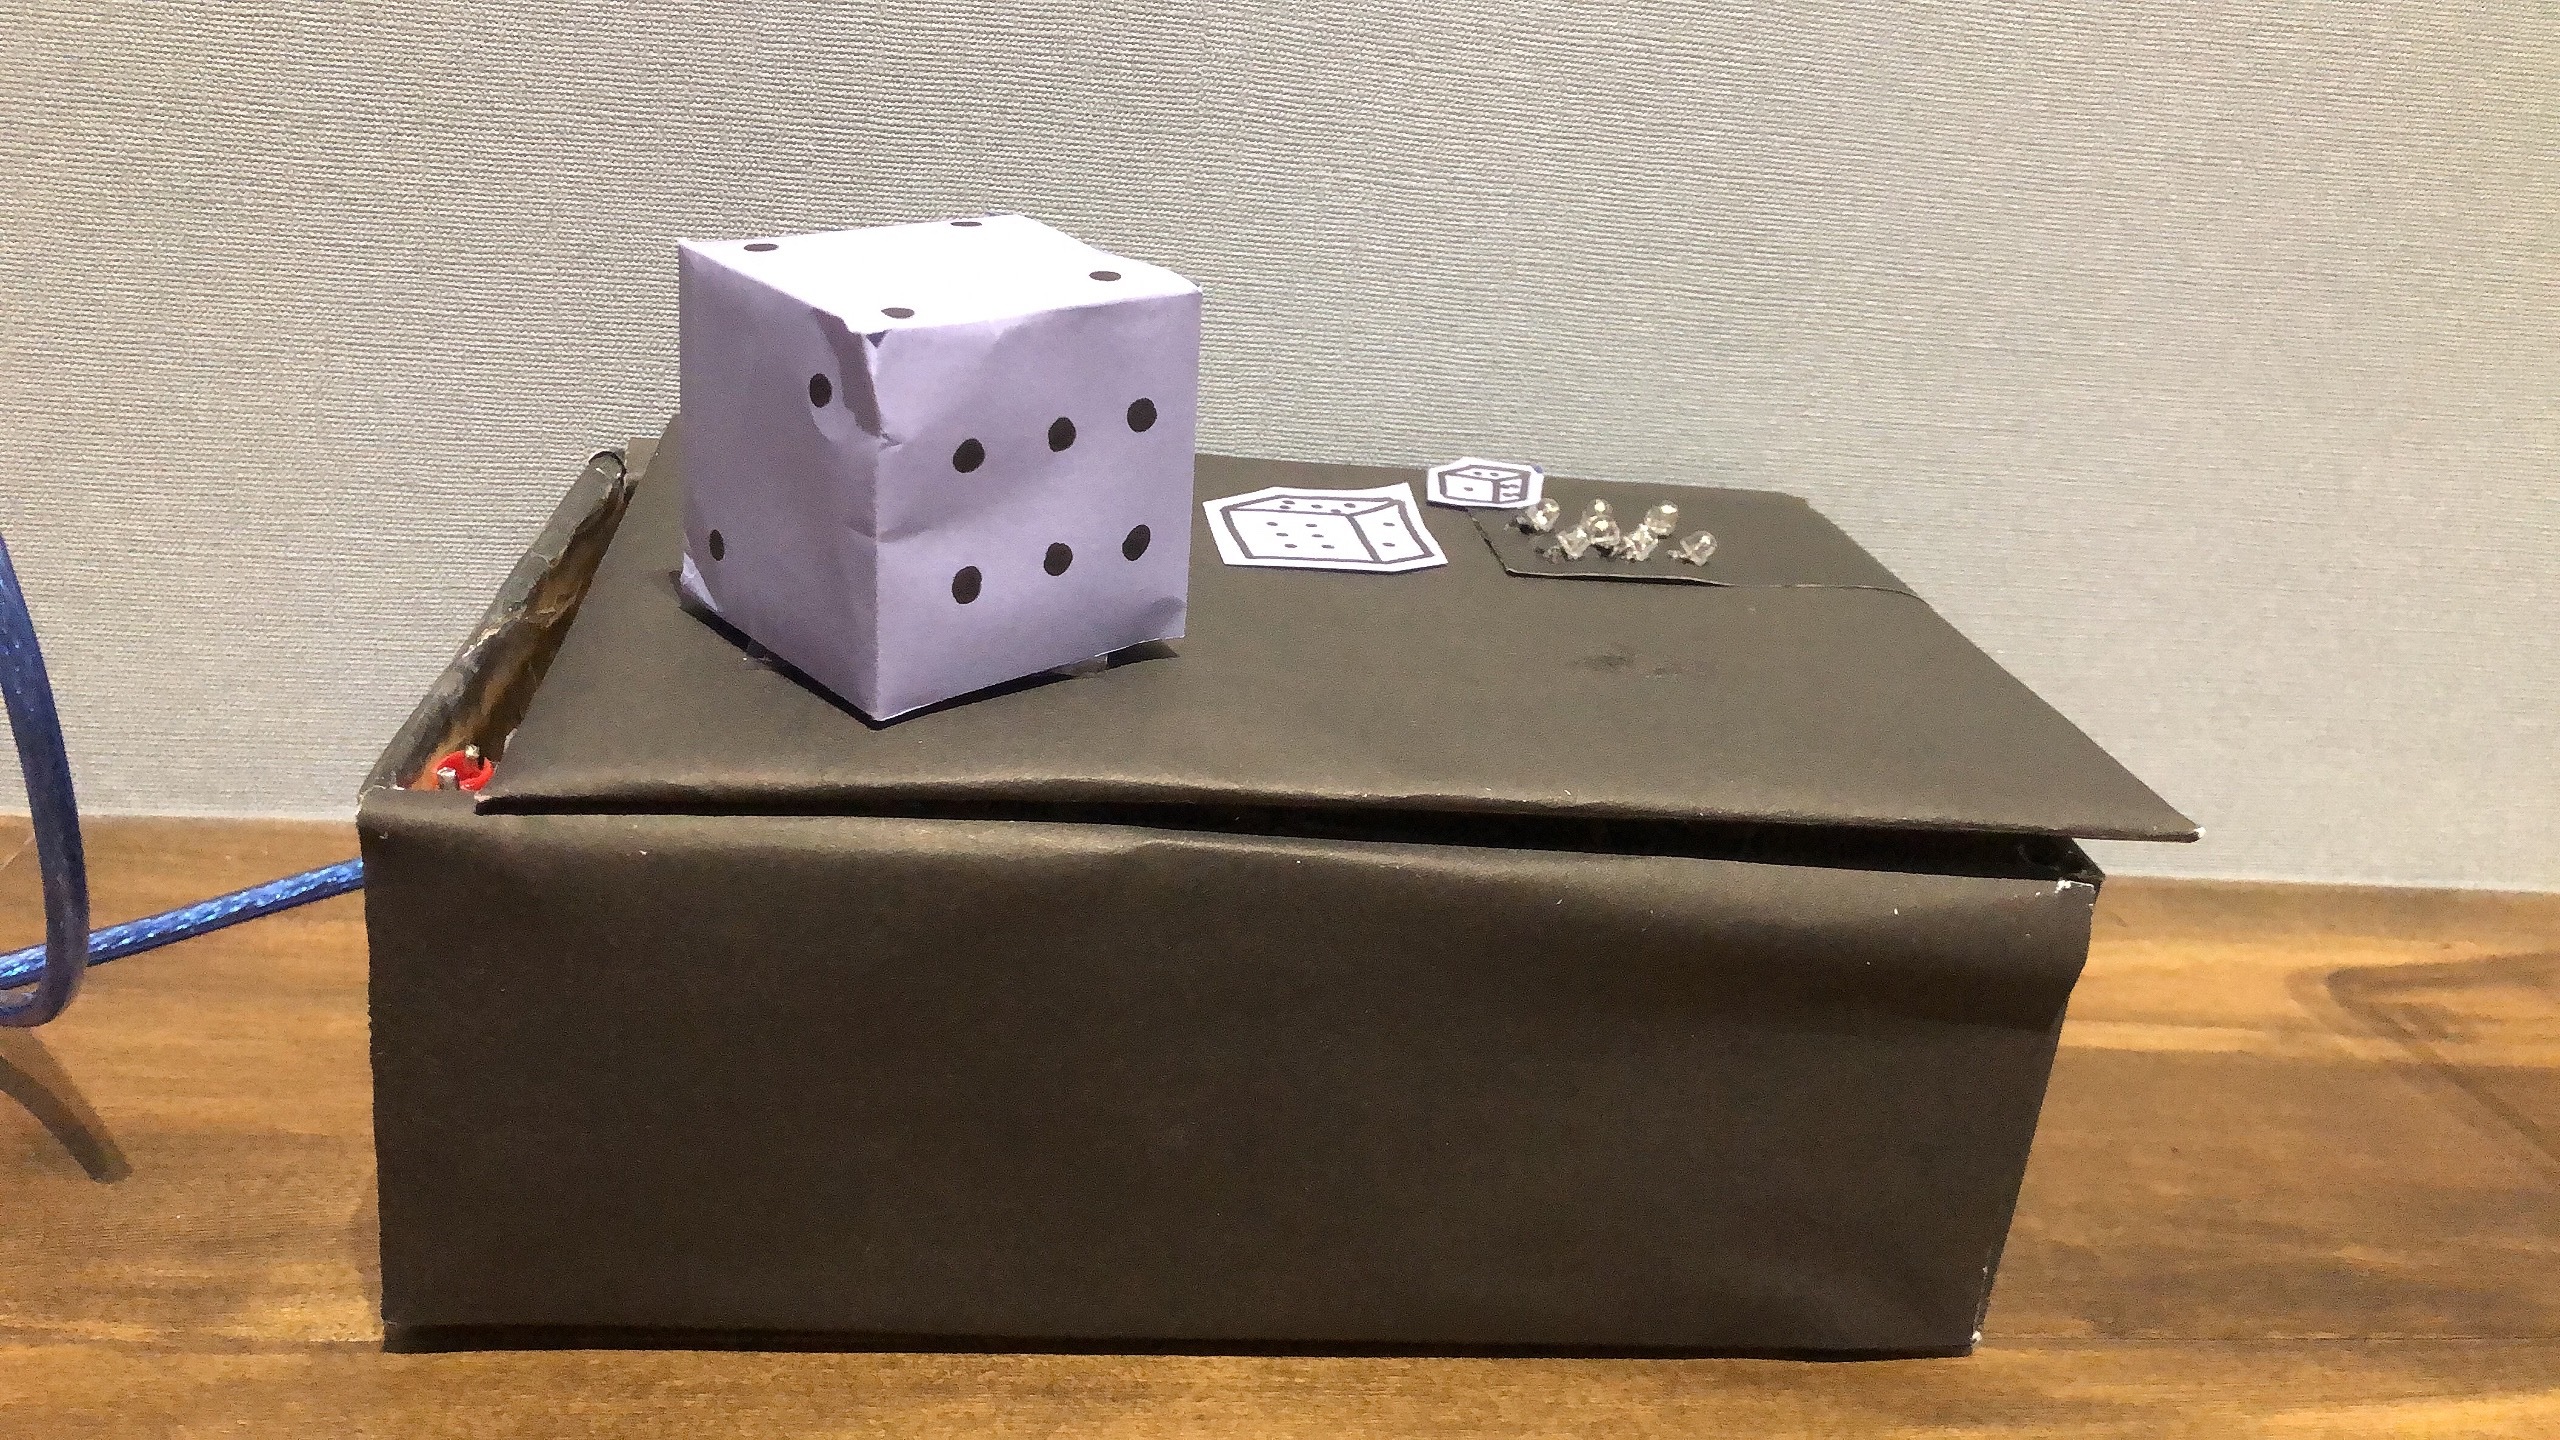
Forth, use your imagination and creativity to create a cover of your machine. You can use any material you want if you want to make a special and creative one. If not, here is a sample of how I cover my machine. I use cardboard and paper to wrap up my machine. And then I make a paper dice and attach it to my machine for decoration.
Pull Your LEDs Out
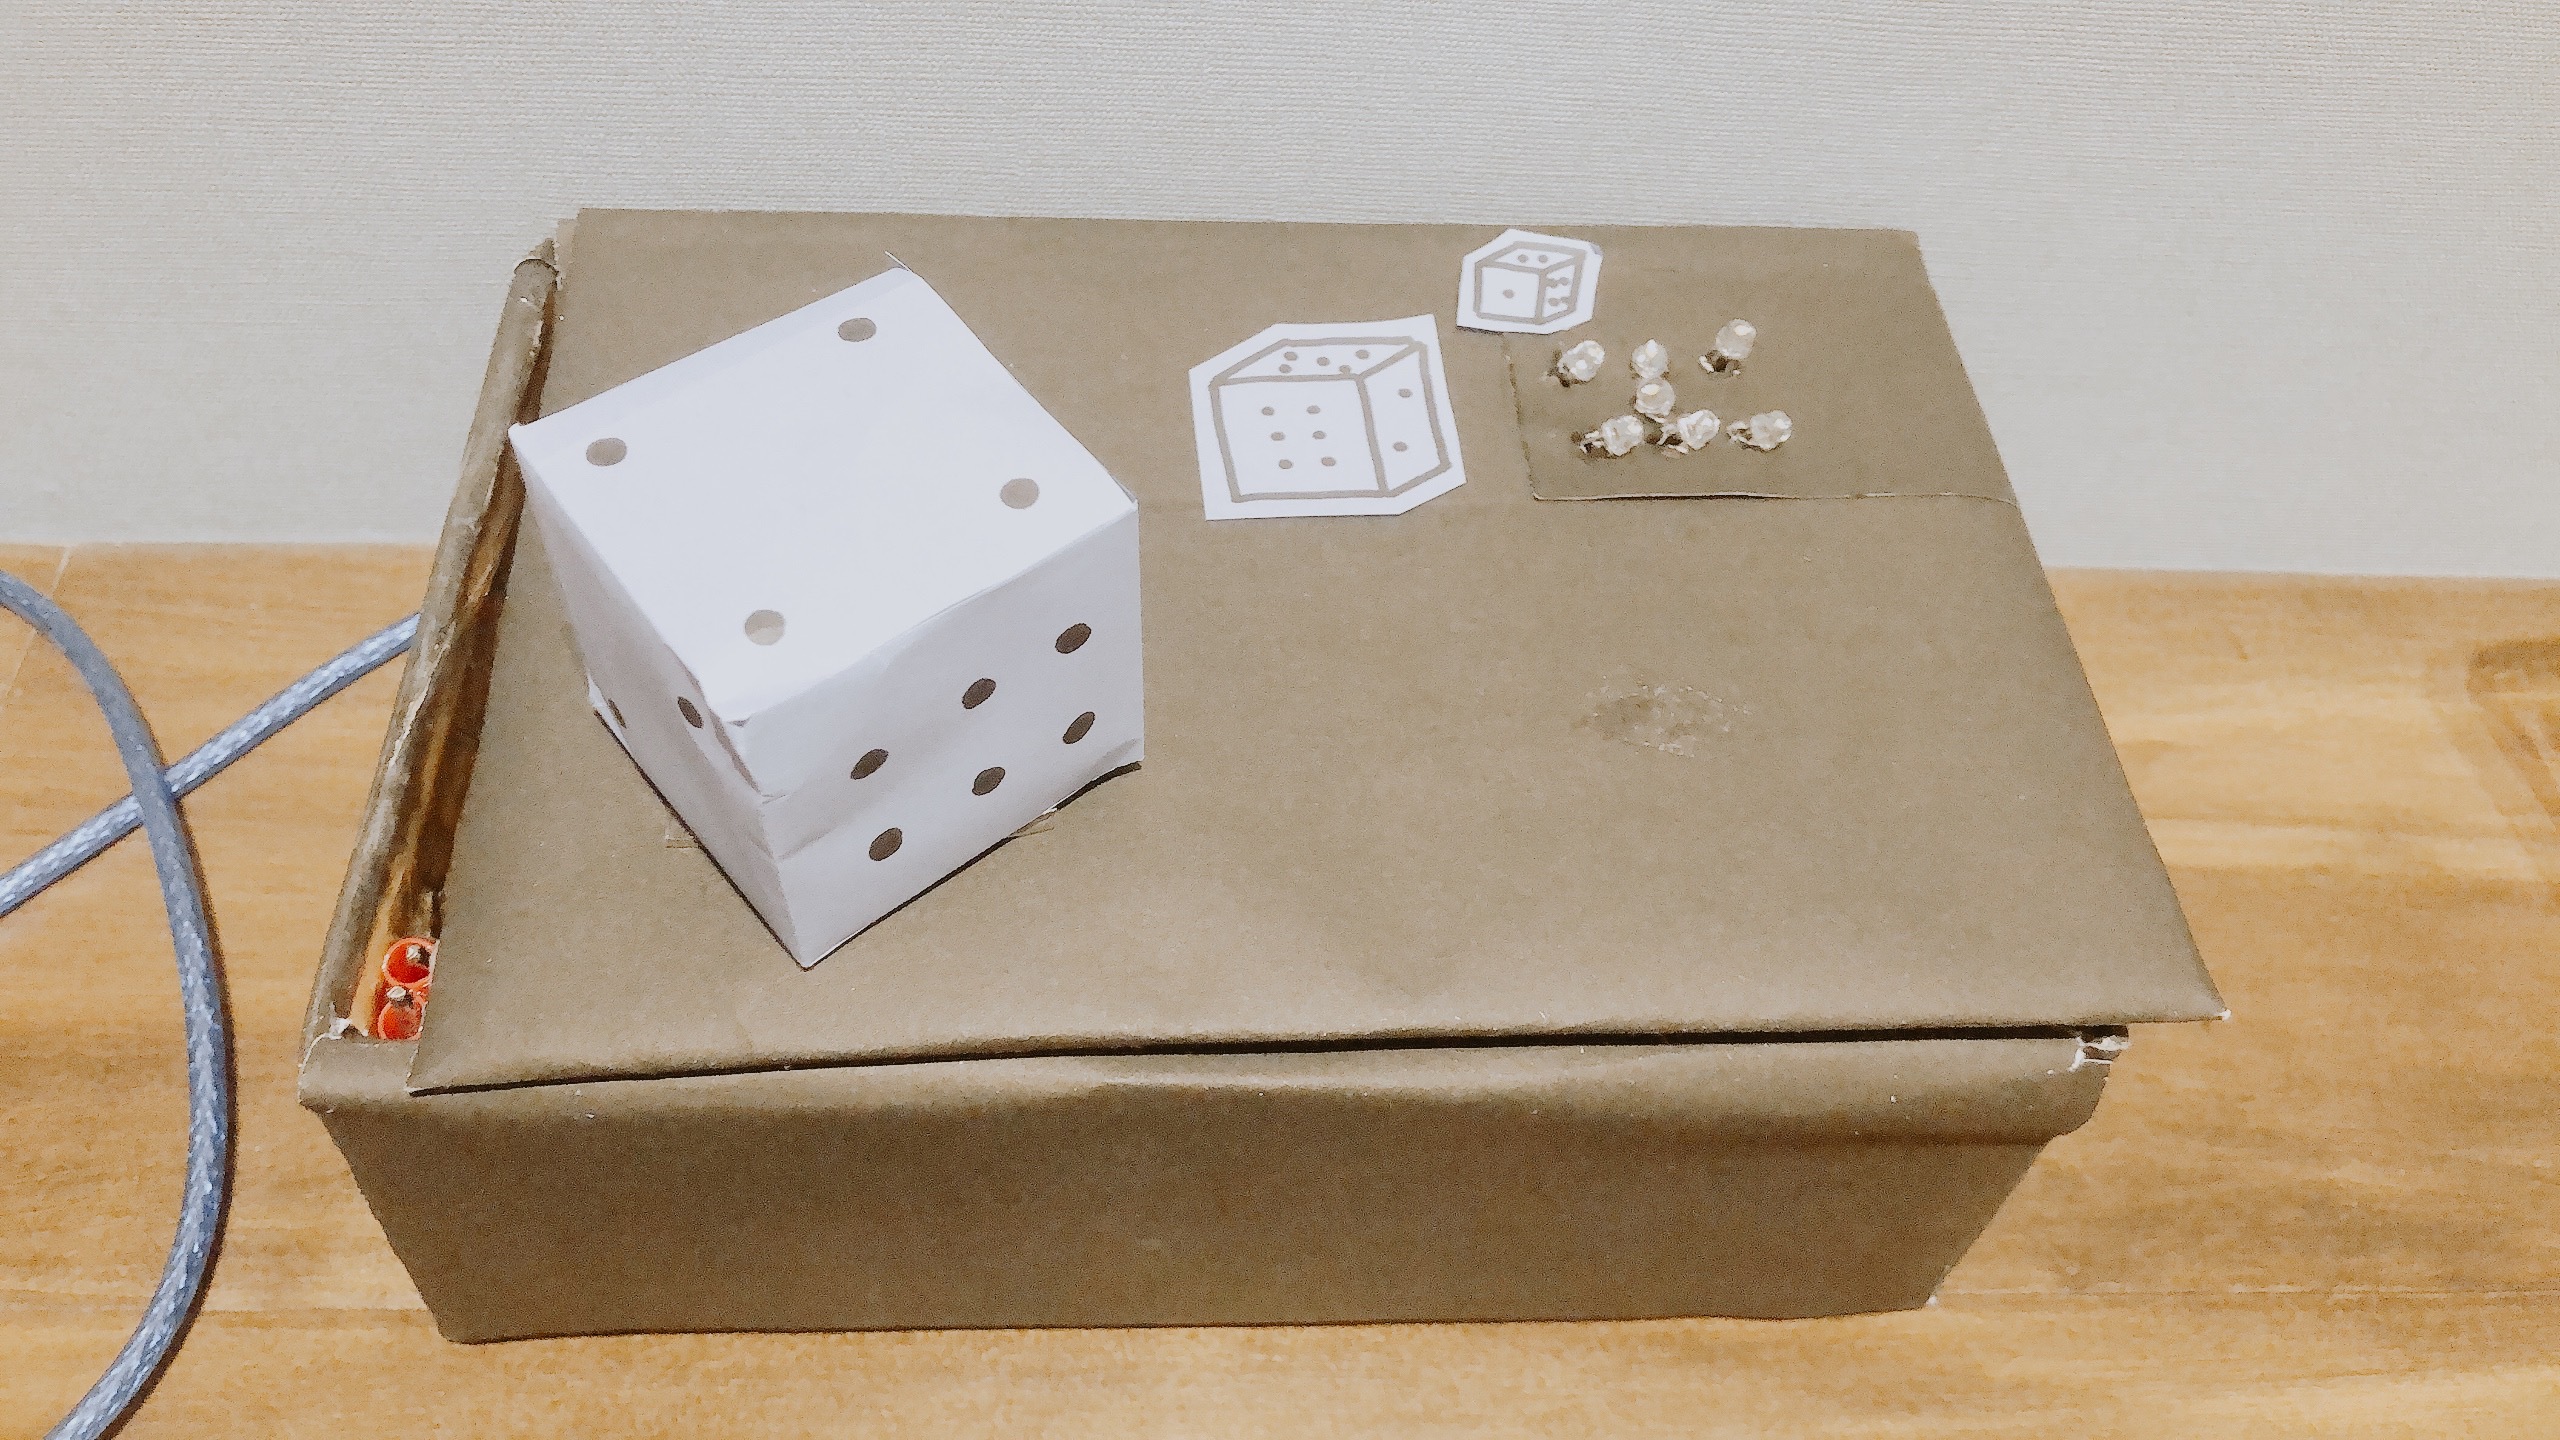
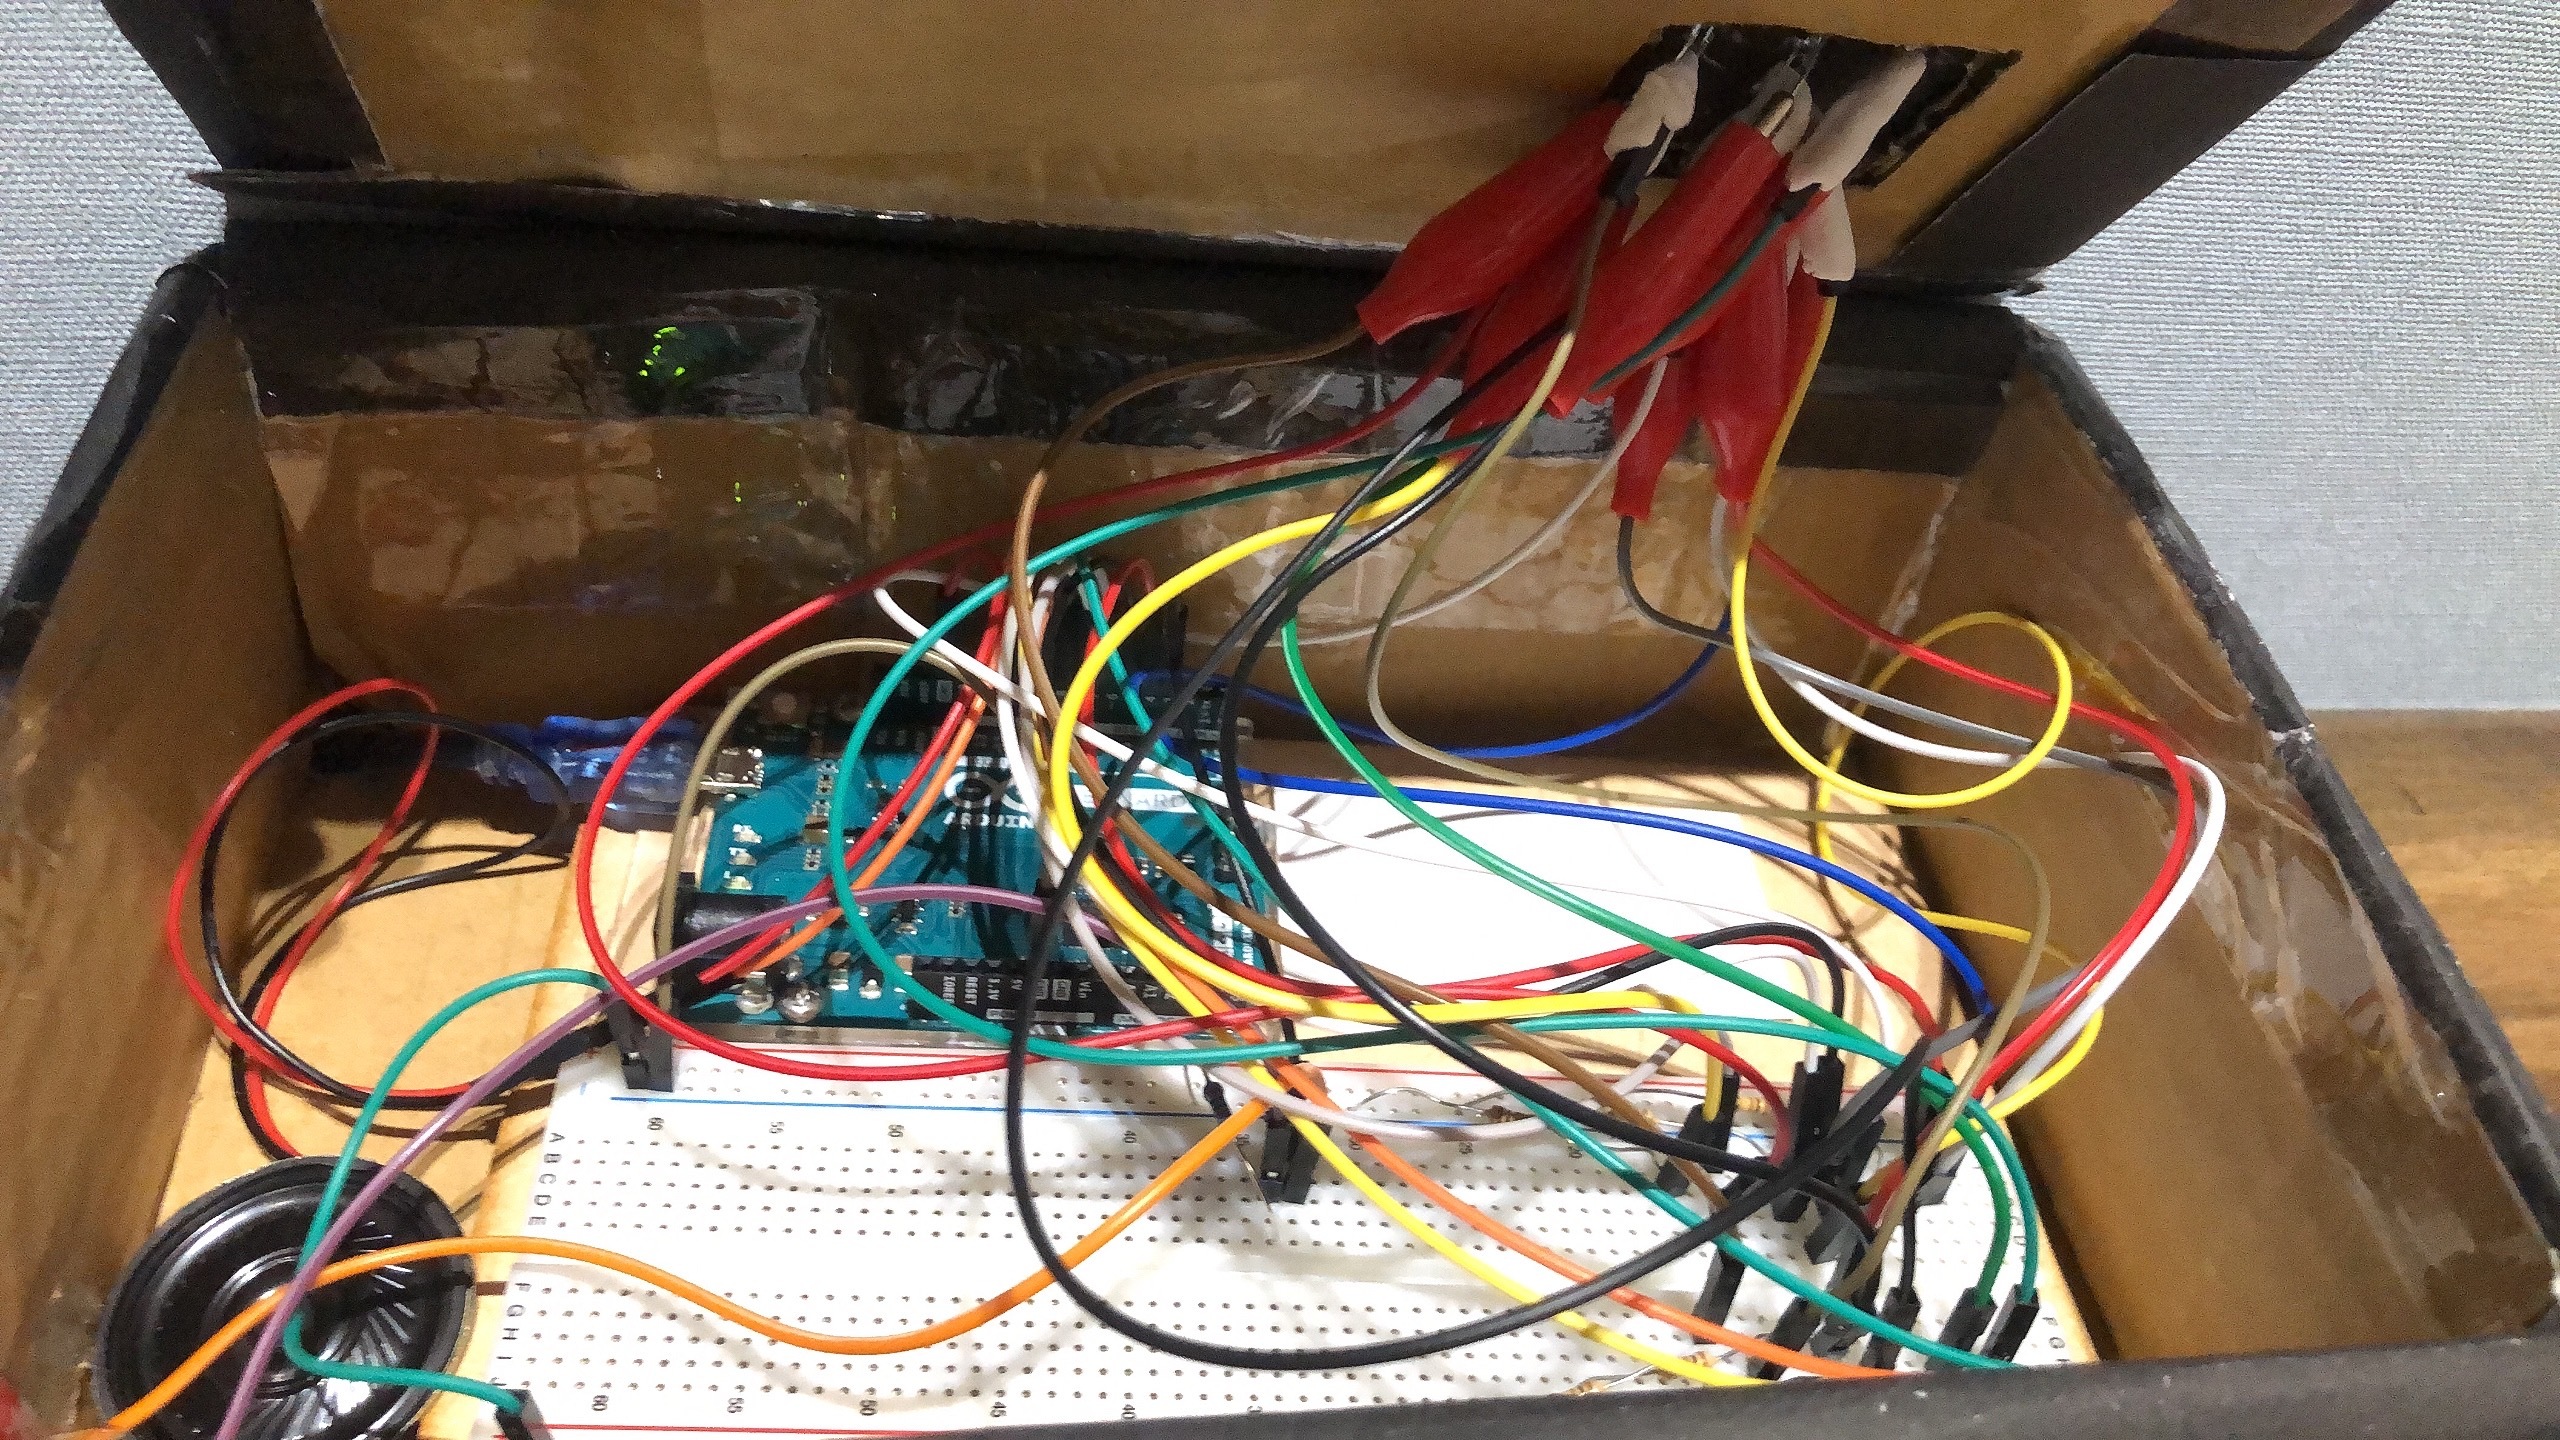
Next, after you finish making your cover, remember to pull out your LEDs, so your Arduino machine can still work even if you need the breadboard and most of the wires under the cover. You may need some extra wires or crocodile clips to keep the LEDs connected to the breadboard. Only stick the seven LEDs out the cover to make the machine looks better.
Arduino Code
Finally, after finishing all the attaching, input the Arduino code for this dice machine.
Here is the code of this dice machine, you can copy and past it to your Arduino software. (This code includes the section I change from the source.)
Finish!!!
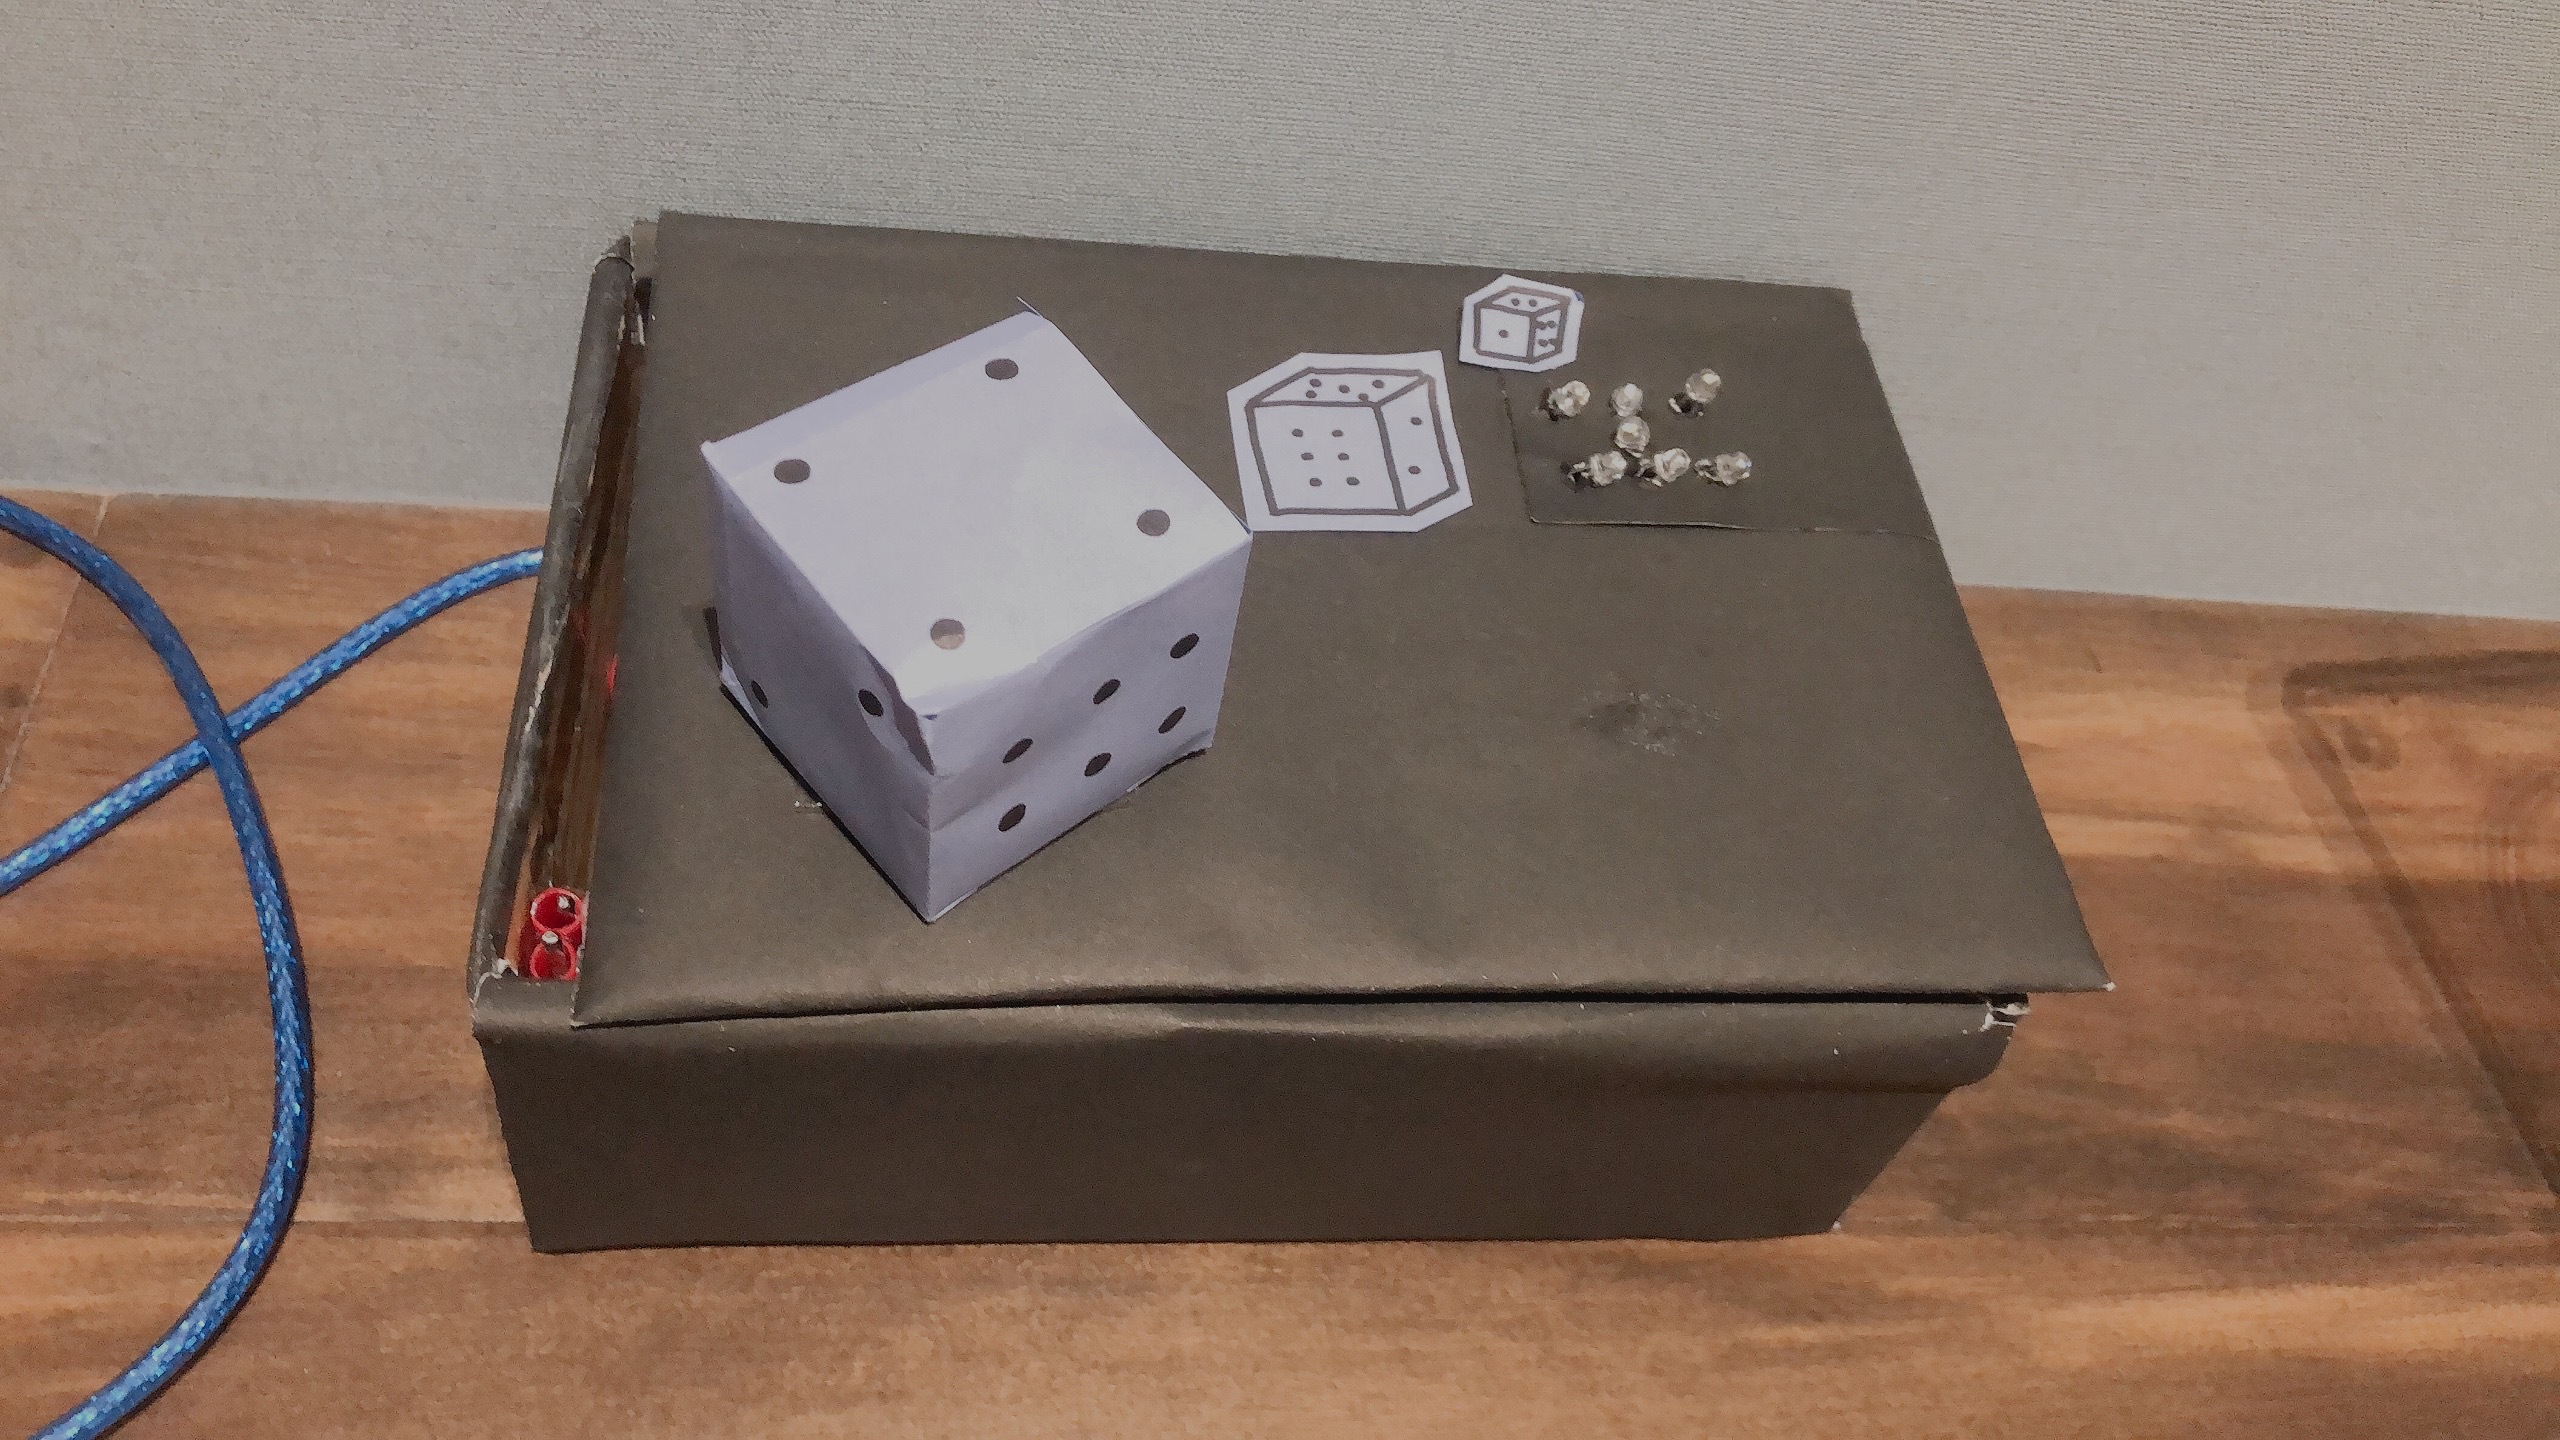
Finally, your Arduino dice machine should be done now. If you feel this project has any section or part that should be changed or can improve, welcome to improve it to make it even better.