Arduino Data Logger Shield. How to Control Sample Rate With Rtc
by NicolasJ7 in Circuits > Arduino
14574 Views, 27 Favorites, 0 Comments
Arduino Data Logger Shield. How to Control Sample Rate With Rtc
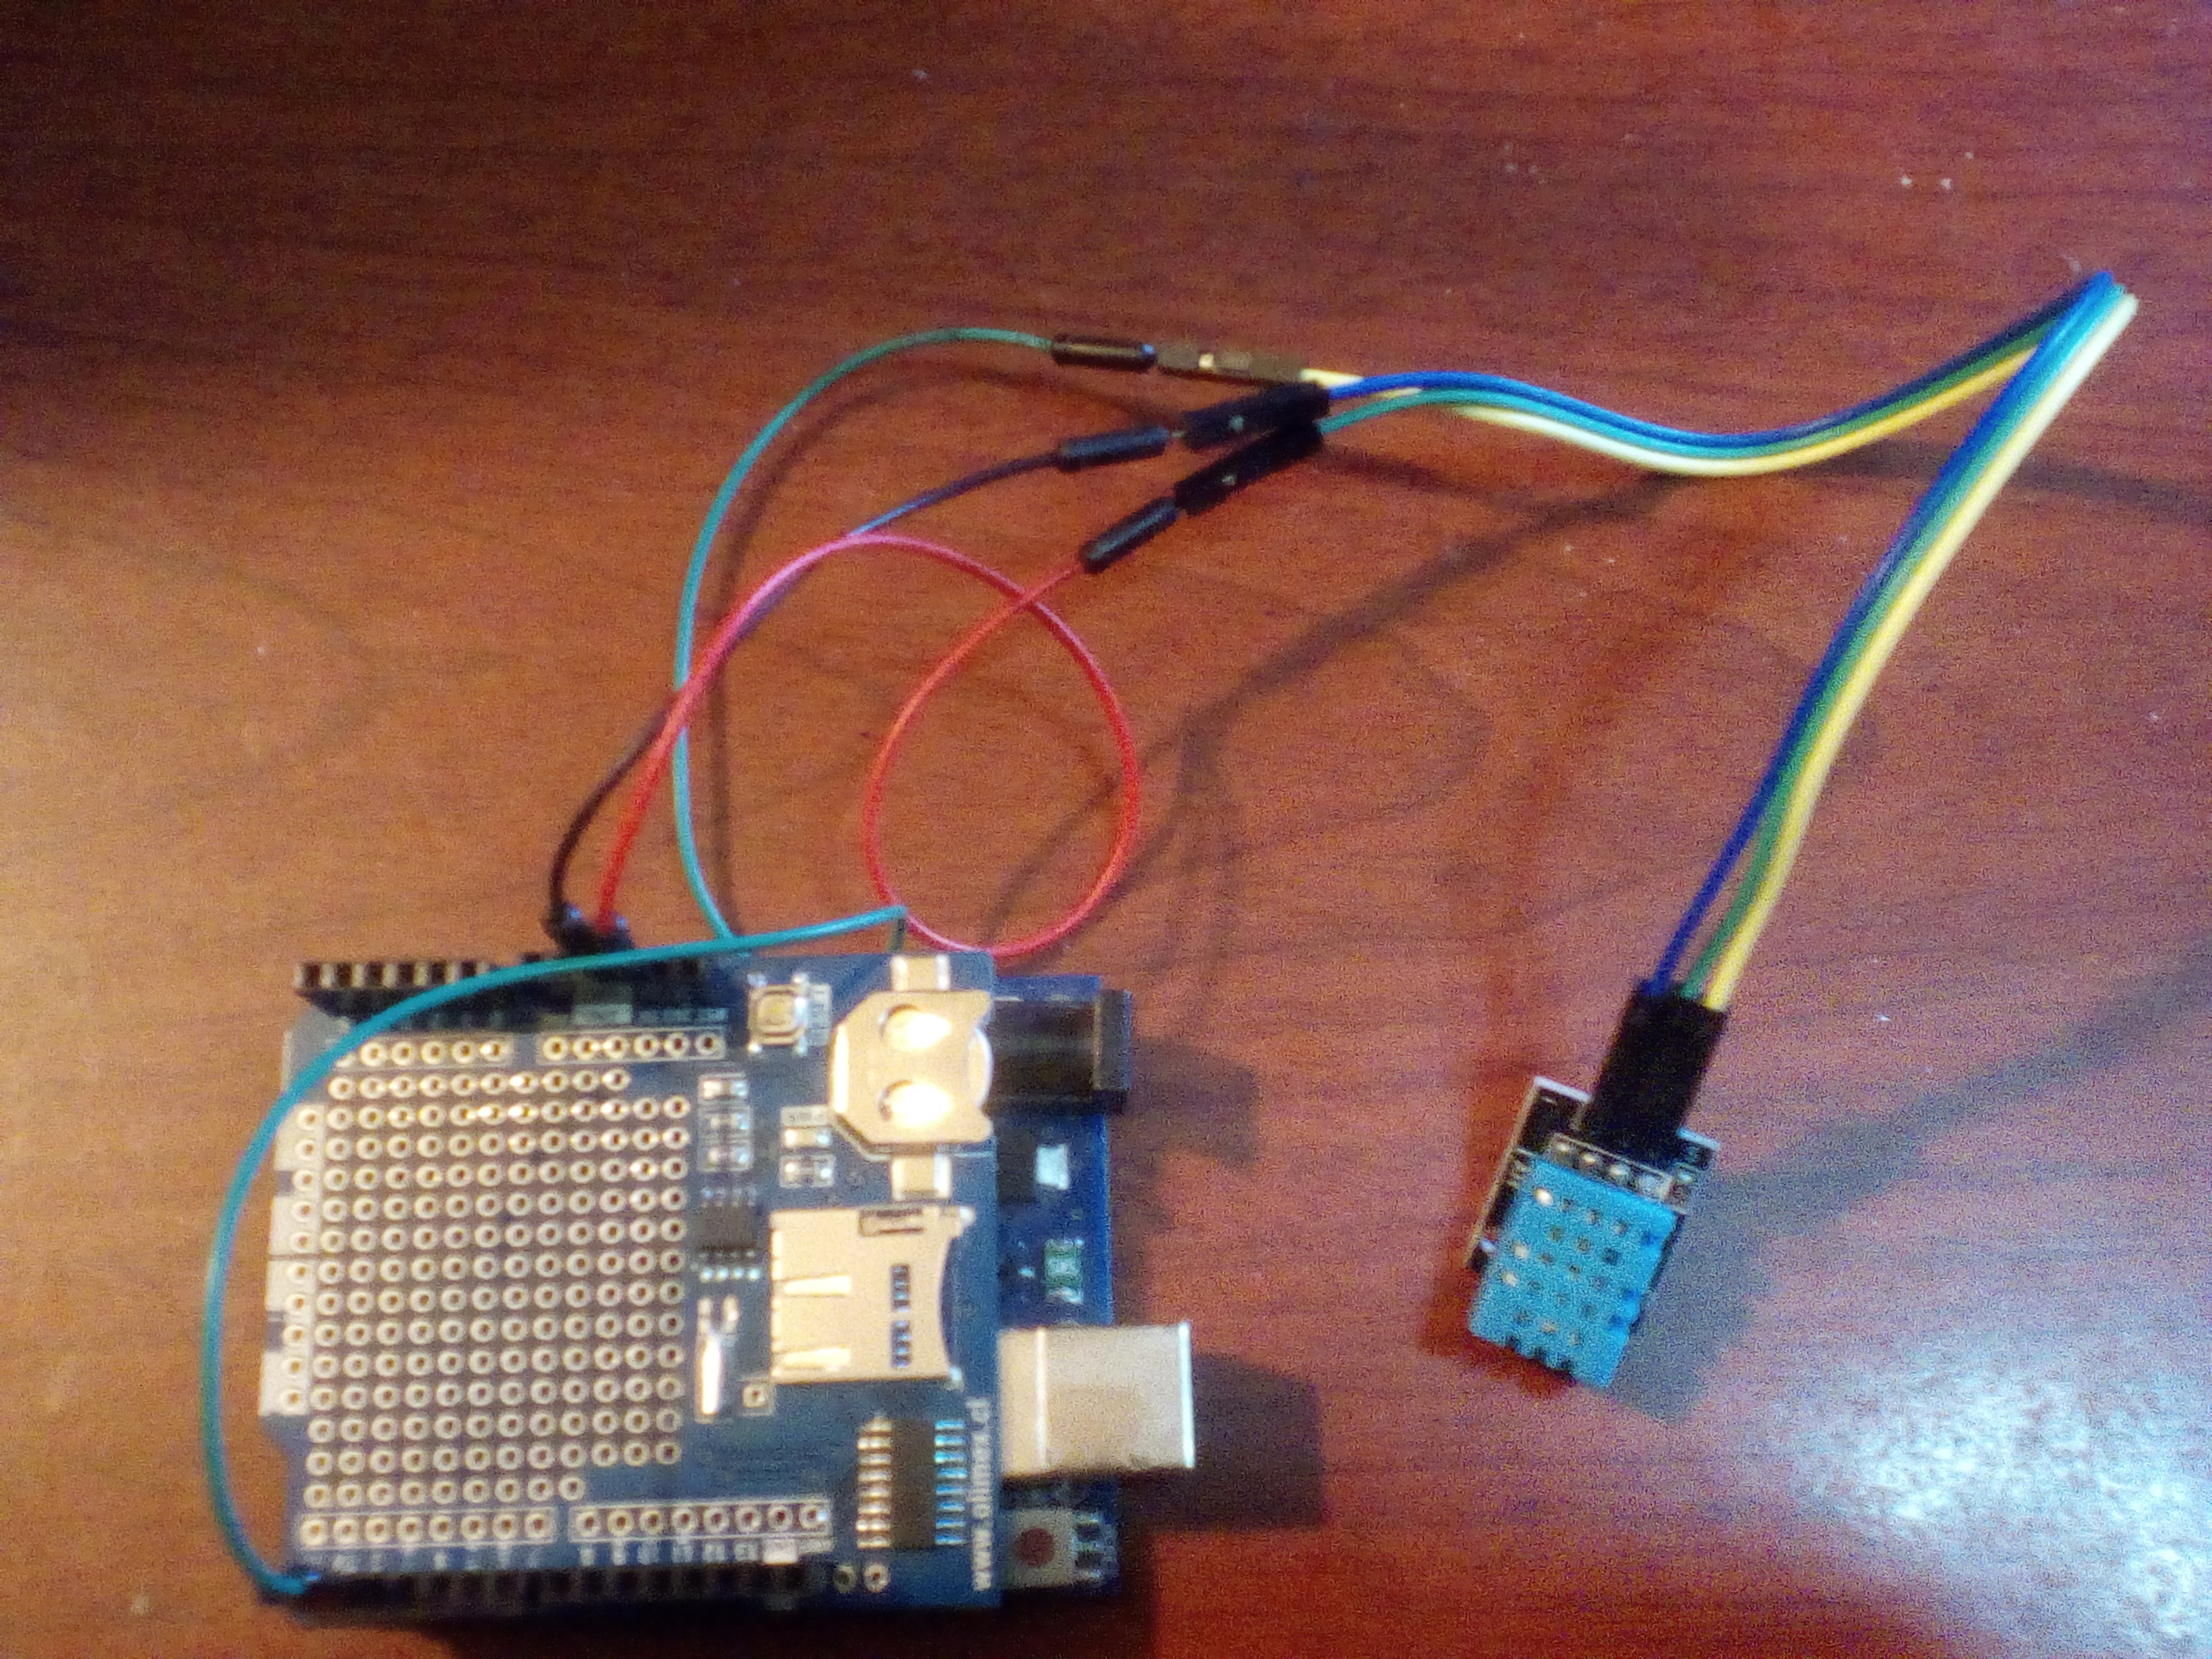
Edited 21/07/2016. I have another tutorial with 2 DS18B20 (datalogger).It follows the same concepts of this. Link on the step 6.See you there!
Hi, this instructable is for those who want to log data from their sensors but don´t need a bunch of data. I want to explain how we can control the sampling rate with the RTC and then show/save the data. We are going to test, step by step, the two parts of this shield. I will assume that you are familiar with the Arduino environment at a basic level.I have translated this tutorial to share it with you, so excuse my english.Feel free to correct me in the comments because this is a fun way to learn.
Summary of the steps:
I recommend to go step by step, because is easier to find errors than in a large/complex code . If you already have knowledge, you can skip steps.
1.-Materials. All you need for this tutorial
2.- Adafruit guide (It does not take long). I don´t want to rewrite the guide because if you are using arduino, you have read a lot of guides, books and tutorials like me. This guide will give you all that you need to know: how to set and test your shield, even if it´s not your particular shield, as in my case.
3.- Testing SD card. We will write data on the sd card with a simple sketch to ensure that it works.
4.- Testing the RTC. We will begin to use the RTC to control the sample rate and show data by serial monitor.
5.- SD and RTC together. The same excercise using the entire shield.
6.- Sensor data logger. Now we conect a sensor and log data to sd card.
Materials
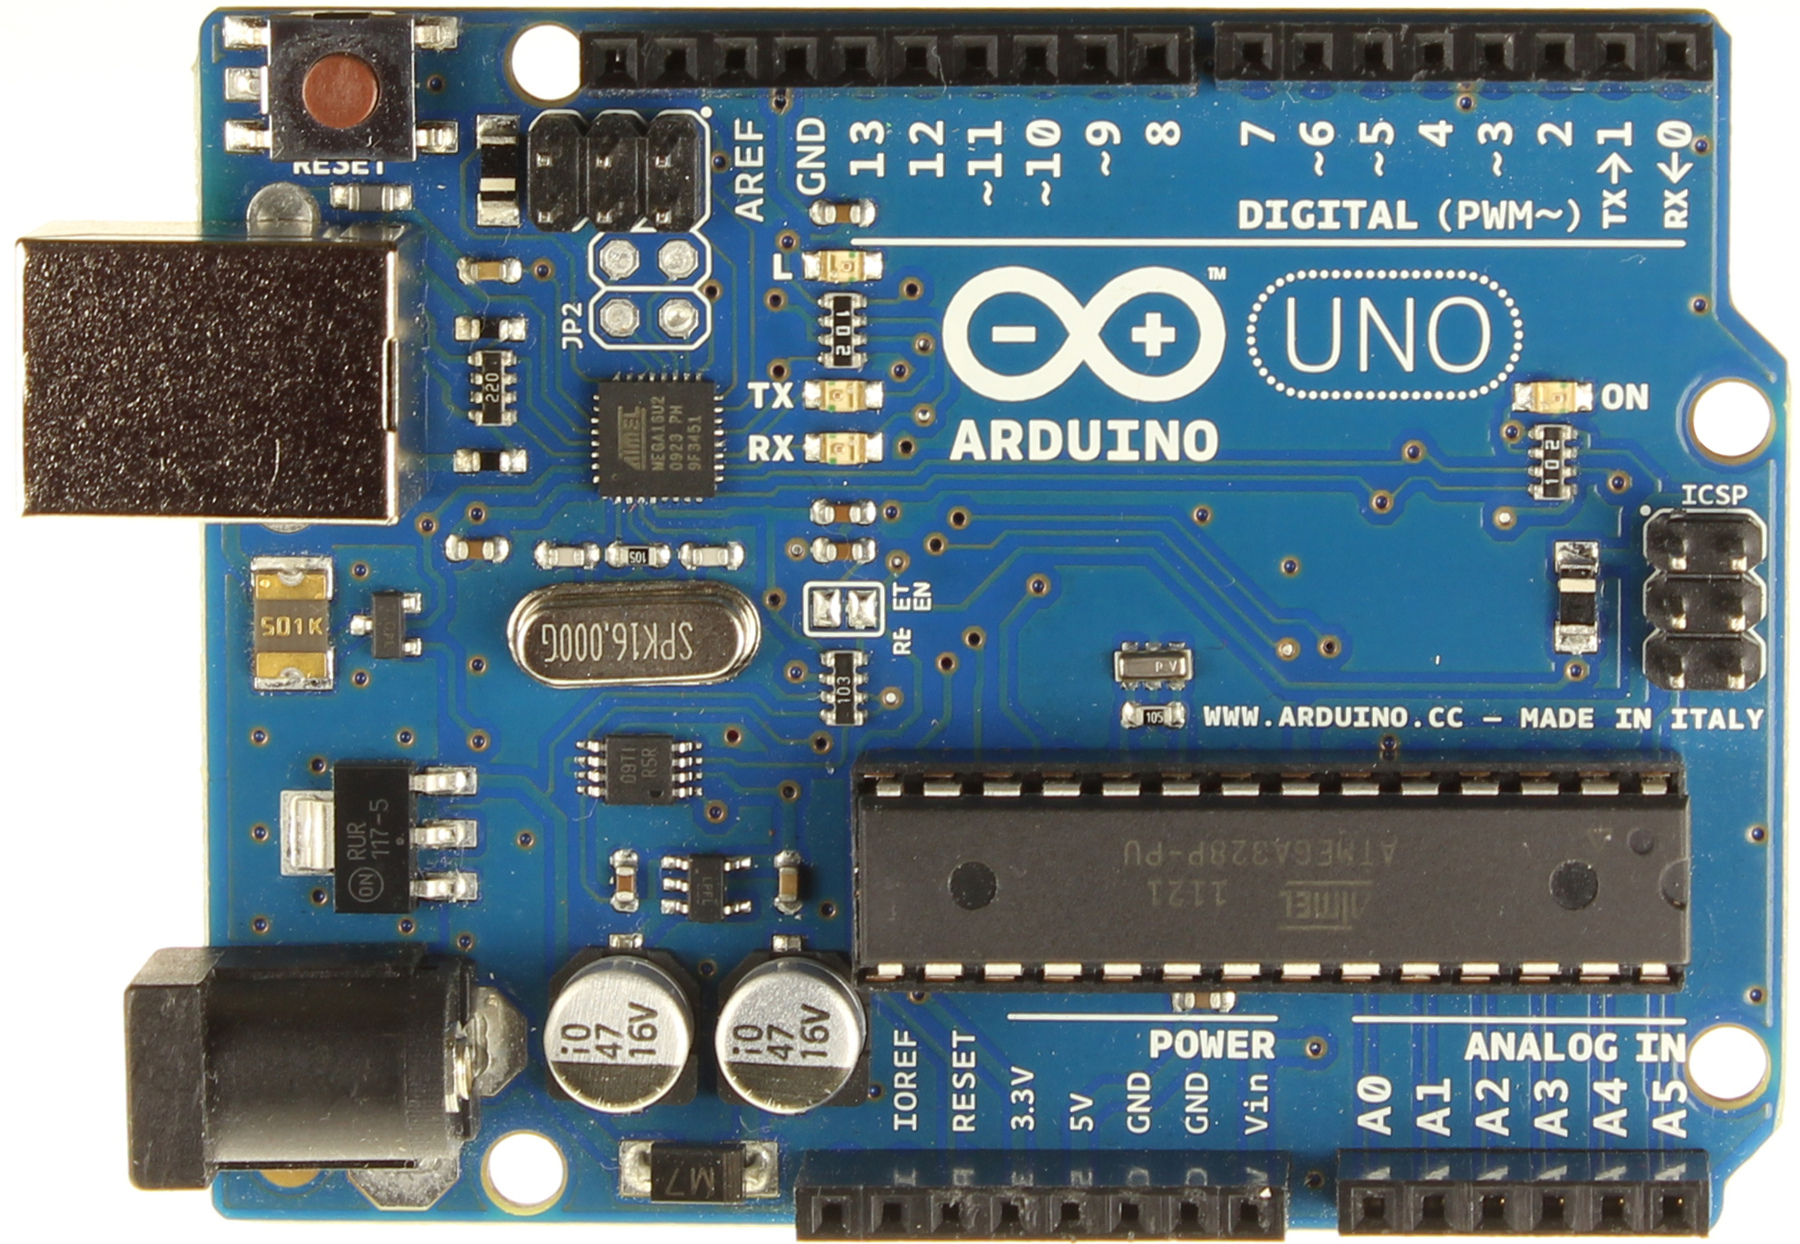
1.- Arduino UNO (tested on arduino uno and Funduino)
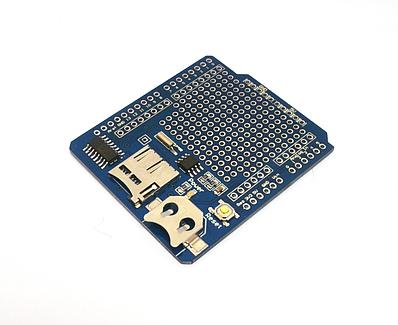
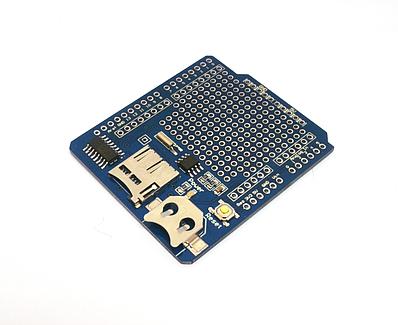
2.- Logger shield (mine is from a local vendor not adafruit shield)
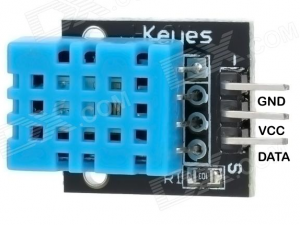
3.-DTH 11 module
4.-Connectors
5.- Adafruit logger shield guide (PDF below)
6.- SD card or micro SD card
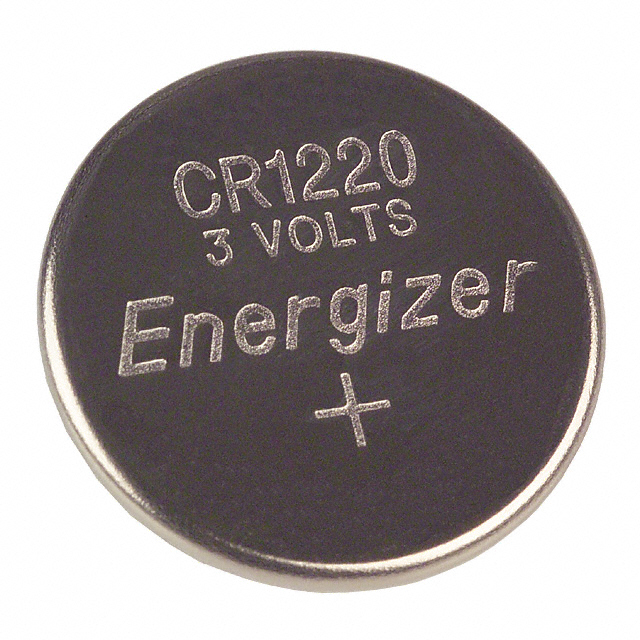
7.- CR1220 battery (if not included)
Downloads
Adafruit Guide
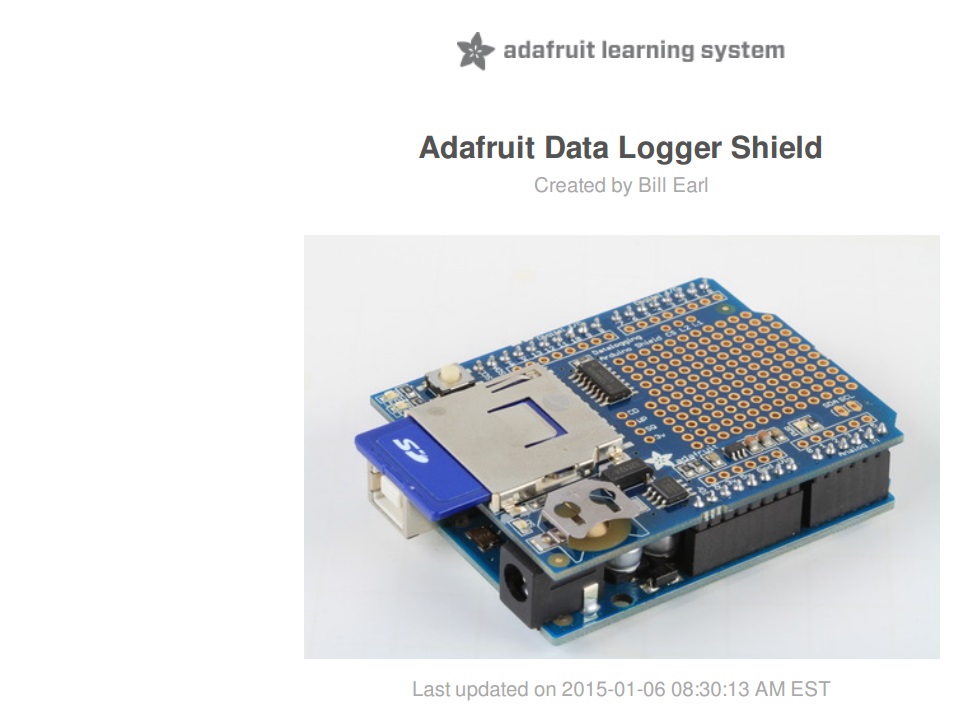
Like i´ve said this guide is for the adafruit logger shield but it worked fine for me. You have to read and test the codes(you don´t need to make the light and temperature logger ). It does not take long. At this point you have the actual time and date and a formated/ tested sd card. Also how to solder pins if you have a new shield.
Considerations
-You will add the libraries needed like RTClib.
-You must know the pins of your shied. Read the datasheet of your shield.The CS (chipSelect) pin is the most important. In my case is the 8 and maybe not yours.Common pins are 4, 8, 10. You must change the chipSelect to your pin.
-In my case, i did not need to put the pin 10 of the arduino as an output --> pinMode(10 , OUTPUT);
-I had problems with the "CardInfo" using IDE 1.6.5. No problems with IDE 1.6.9
-I am using an ultra cheap 2GB sd card , and works fine.
Testing SD Card
Now we are ready to write a simple "Hello World" on the sd card.This sketch is very simple (no serial monitor).
1.-Make sure that you have the libraries needed :SD, SPI, WIRE
2.-Remember to change your chipSelect
const int chipSelect = 8; //Maybe not yours!!.You have to put your cs pin here
3.-Uncomment this line if you need.
//pinMode(10 , OUTPUT); // Uncomment if necesary.I did not need
4.- You can change "Datos" but you will have to change the lines that content this word.
Example:
File myData;
myData=SD.open...........
myData.println...............
myData.close.........
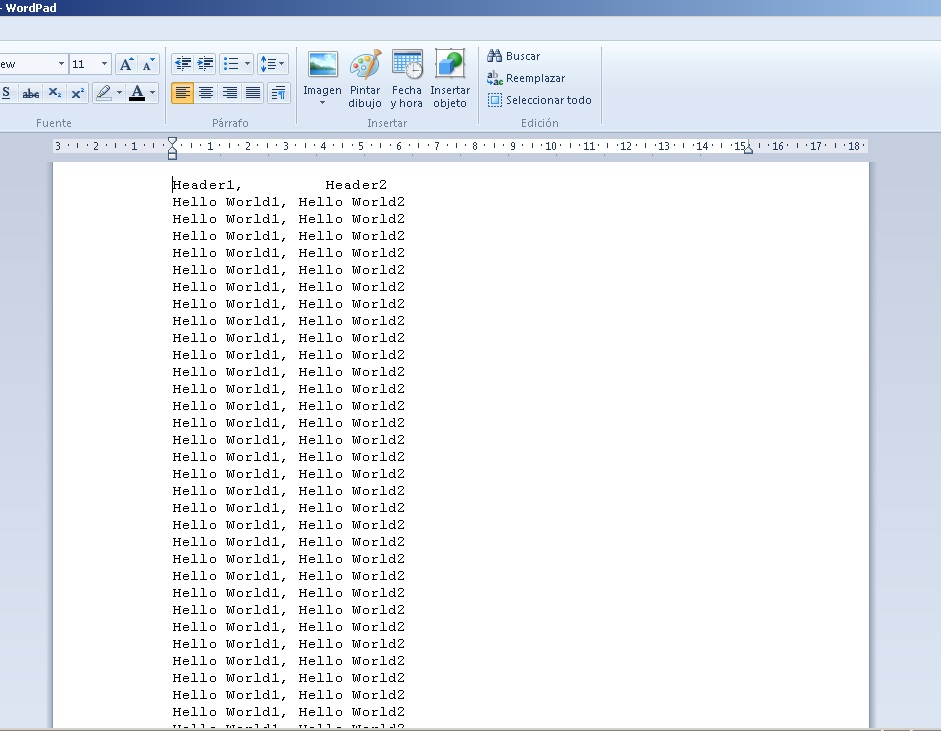
This sketch writes 2 headers in the void setup just once . Then hello world1 and hello world2 every second (void loop) on your sd card. Give it a minute and then check your sd card. Now check the file in your computer and you will have something like in the picture.
The most common problems are: the pin 10 of the arduino as output or not , wrong chipSelect or bad sd card.
Downloads
Testing the RTC
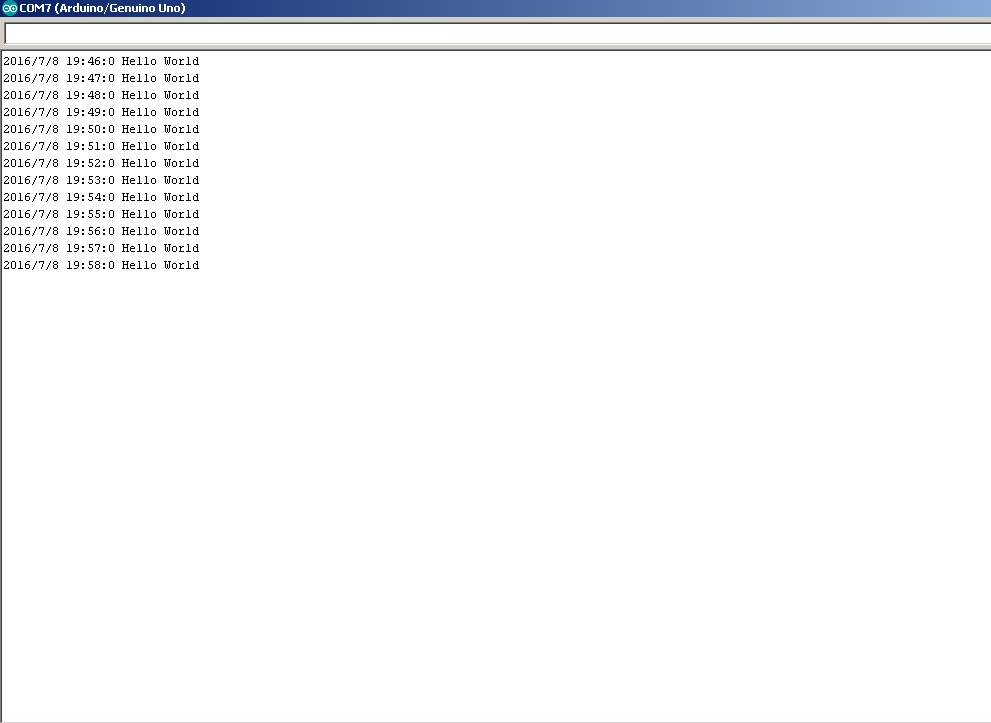
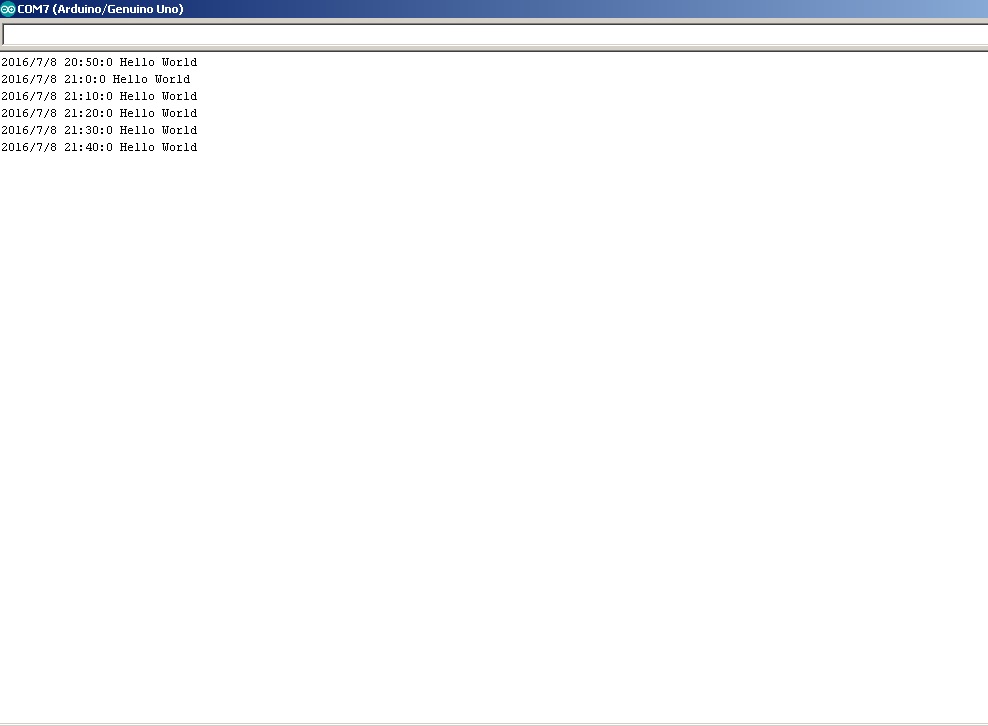
This is the reason for this tutorial. We´ll learn how to control the sample rate with a simple "if" comparation. You can "do" something with this instruction too, not just print.
-First the libraries
#include //Libraries we need
#include "RTClib.h"
-The clock
RTC_DS1307 RTC ; // define the Real Time Clock object
-The void setup
Serial.begin(9600); //Must match with the serial monitor
Wire.begin();
RTC.begin();
-In the void loop we call the clock to "know" the date and time and then compare it with the "if" function.
DateTime now = RTC.now(); // Clock call
if(now.second()==00){ //Sample every minute
So if the second is 0 we have a "new" minute and write date , time and message to the serial monitor (see the picture)
This is the sketch that i use. When i want to work with the logger , i uncomment the line // sample every hour ,because this is the sample rate that i want. Just use one at the time
if(now.second()==00){ //Sample every minute
//if(now.minute()==00 && now.second()==00){ //Sample every hour
The delay 1000 is important because if you don´t use it , you will have more than one data in "that" second. Try it
Now you know that if you compare the now.hour() , now.minute() and now.second , etc, you can control your sample rate. Remember that your RTC has the real time so you are logging accurate information.
So we have:
-Every minute
if(now.second()==00){
Print what you want
}
-Every hour
if(now.minute()==00 && now.second()==00){
Print what you want
}
-Every 10 min
.if(now.minute()==00 && now.second()==00){
Print what you want
}
if(now.minute()==10 && now.second()==00){
Print what you want
}
if(now.minute()==20 && now.second()==00){
Print what you want
}
if(now.minute()==30 && now.second()==00){
Print what you want
}
if(now.minute()==40 && now.second()==00){
Print what you want
}
if(now.minute()==50 && now.second()==00){
Print what you want
}
-Every 30 min
if(now.minute()==00 && now.second()==00){
Print what you want
}
if(now.minute()==30 && now.second()==00){
Print what you want
}
SD and RTC Together
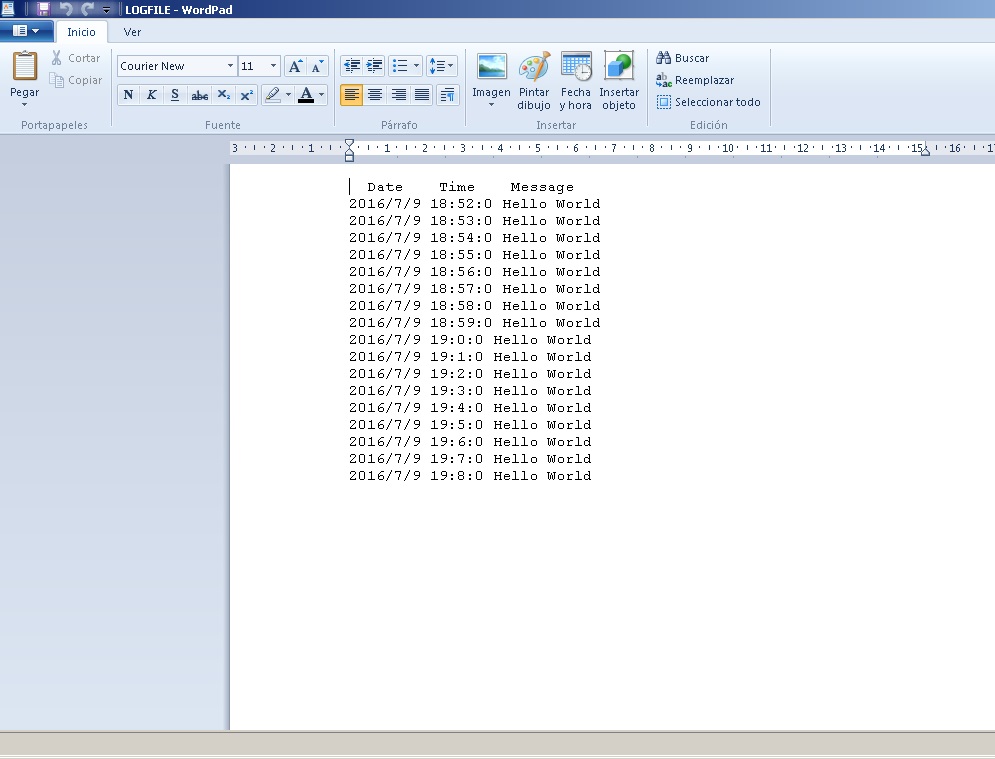
Now we´ll write "Hello World"to de sd card with time stamp.I have mixed the two sketch and changed the sd card instead the serial monitor.
Consider the same precautions of the previous steps.
If everything works fine , you will have the same information like in the picture.You can try with others sample rates
This is structure to print:
void loop(){
DateTime now = RTC.now(); //Clock call
-The sampling rate we want
if(now.second()==0){ //Sample every minute
-Reopen the file (first open was for headers )
Logfile=SD.open("Logfile.csv",FILE_WRITE); //Will open and will write date and message
-The date and time. You can change the order
now =RTC.now();
Logfile.print(now.year(), DEC); //Print date and time(not saved yet)
Logfile.print("/");
Logfile.print(now.month(), DEC);
Logfile.print("/");
Logfile.print(now.day(), DEC);
Logfile.print(" ");
Logfile.print(now.hour(), DEC);
Logfile.print(":");
Logfile.print(now.minute(), DEC);
Logfile.print(":");
Logfile.print(now.second(), DEC);
-We print the message or values
Logfile.print(" Hello World"); //Print message(not saved yet)
Logfile.println(); //Jump to the next line
Logfile.close(); //Print saved
}
delay(1000); //One data per second
}
Downloads
Working With a Sensor


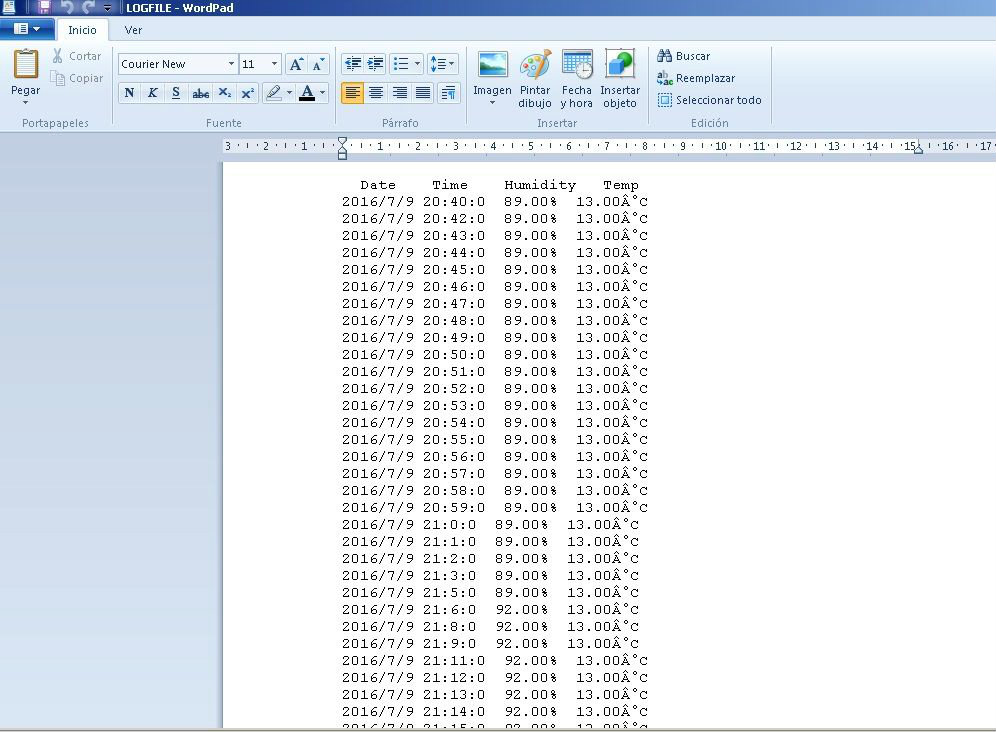
If you want, You can make this temperature datalogger:
Arduino Data Logger With 2 DS18B20 and Sample Rate Control
https://www.instructables.com/id/Arduino-Data-Logger-With-2-DS18B20-and-Sample-Rate/
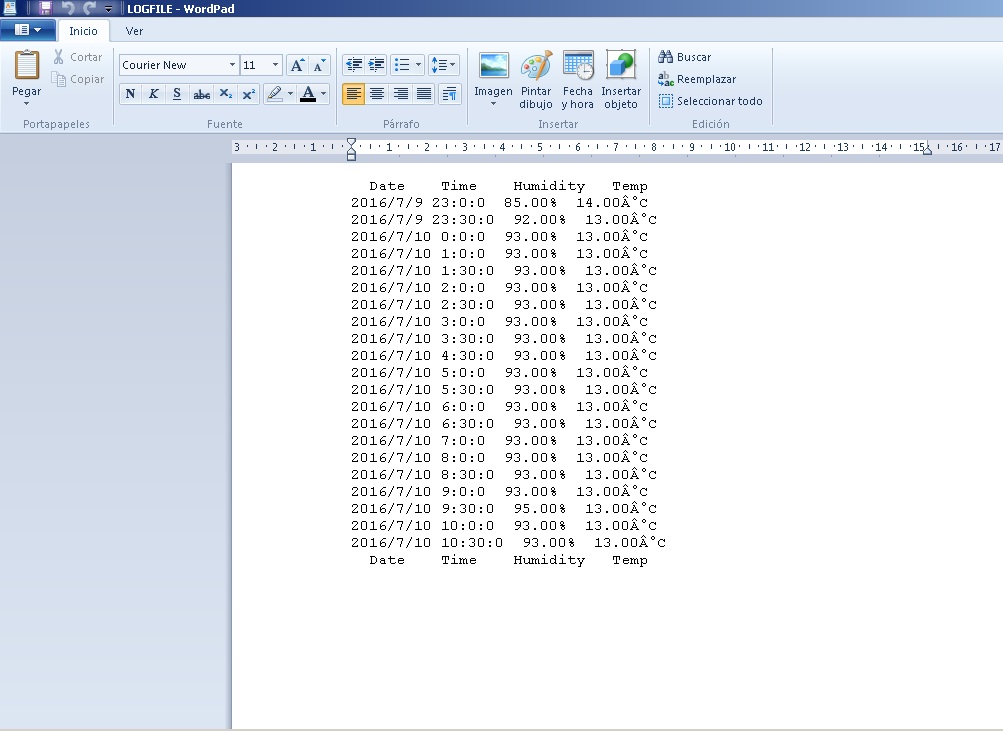
Now we add the code for the sensor. I am using the DHT 11 sensor module (with the circuit ready). If not ,follow the instructions of the DHT library. This is not a fast sensor and sometimes you don´t get data . It´s just to show you how it works.
We take the code of the last step and add the lines we need. You can take this example and add other sensor.
I´m using the pin 2 of the arduino to conect with the sensor data ,Vcc to 5V and GND to GND.
We also have to change the prints.
Logfile.println(" Date Time Humidity Temp"); //Print headers (not saved yet)
--------------------------------------------------------------------------
Logfile.print(h); //Print humidity(not saved yet)
Logfile.print("%"); //Print simbol
Logfile.print(" "); //Space between data
Logfile.print(t); //Print temperature
Logfile.print("°C"); //Print simbol
Logfile.println(); //Jump to the next line
Logfile.close(); //Print saved
You can use the sample rate of the above steps. You can polish the codes according to your needs.
I hope this tutorial is useful for you !