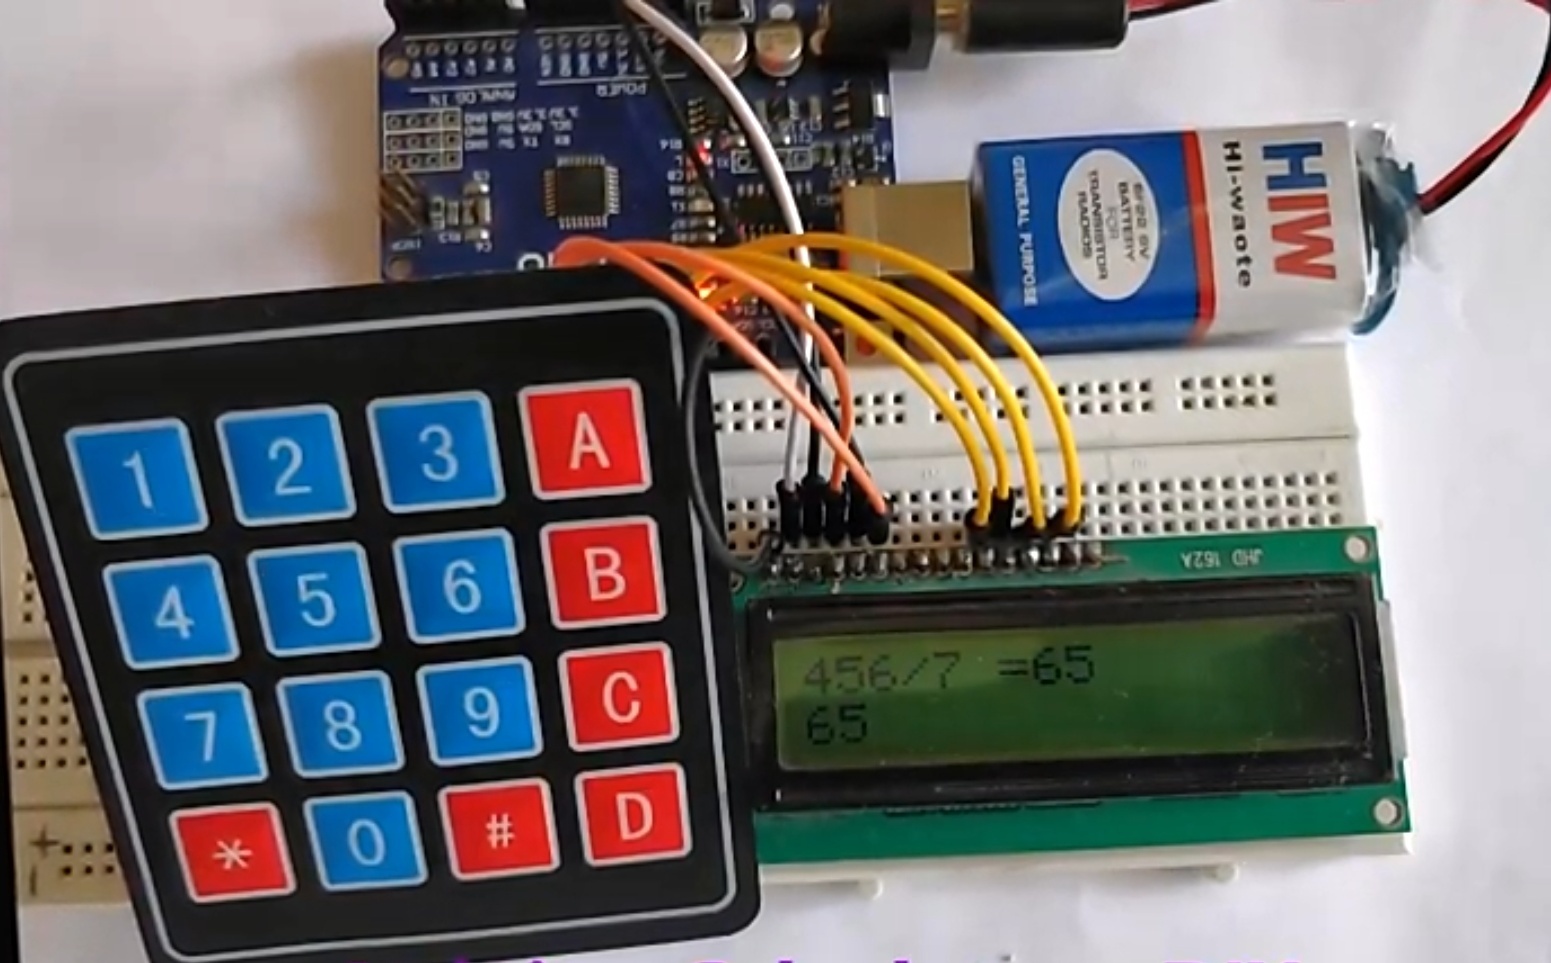
Arduino DIY Calculator Using 1602 LCD and 4x4 Keypad
by Utsource in Circuits > Arduino
2085 Views, 0 Favorites, 0 Comments
Arduino DIY Calculator Using 1602 LCD and 4x4 Keypad
Things You Need
.jpg)
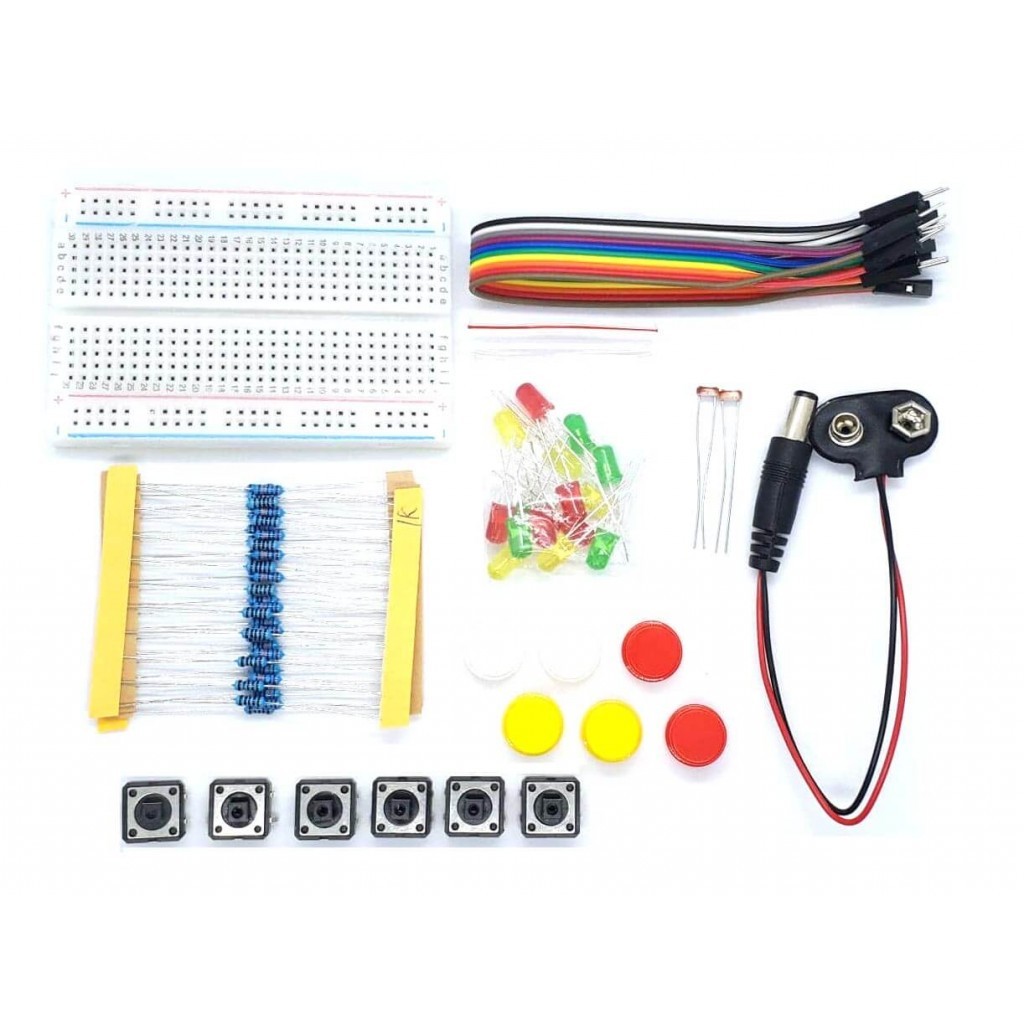
For this instructables we will need following things :
Arduino Uno (Any version will work)
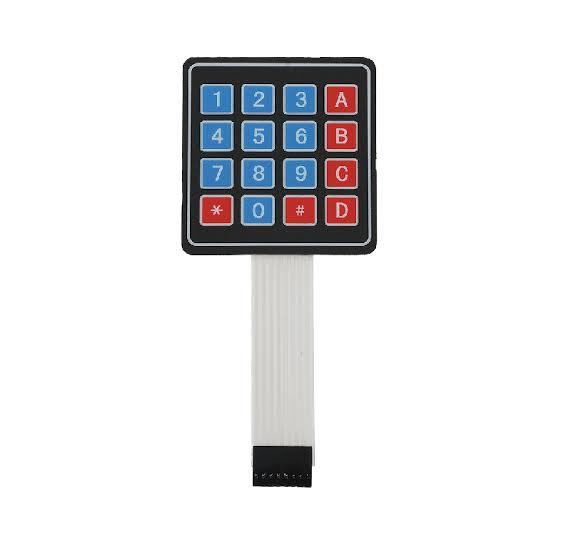
4×4 Keypad
9V Battery
Breadboard
Connecting wires
Connections
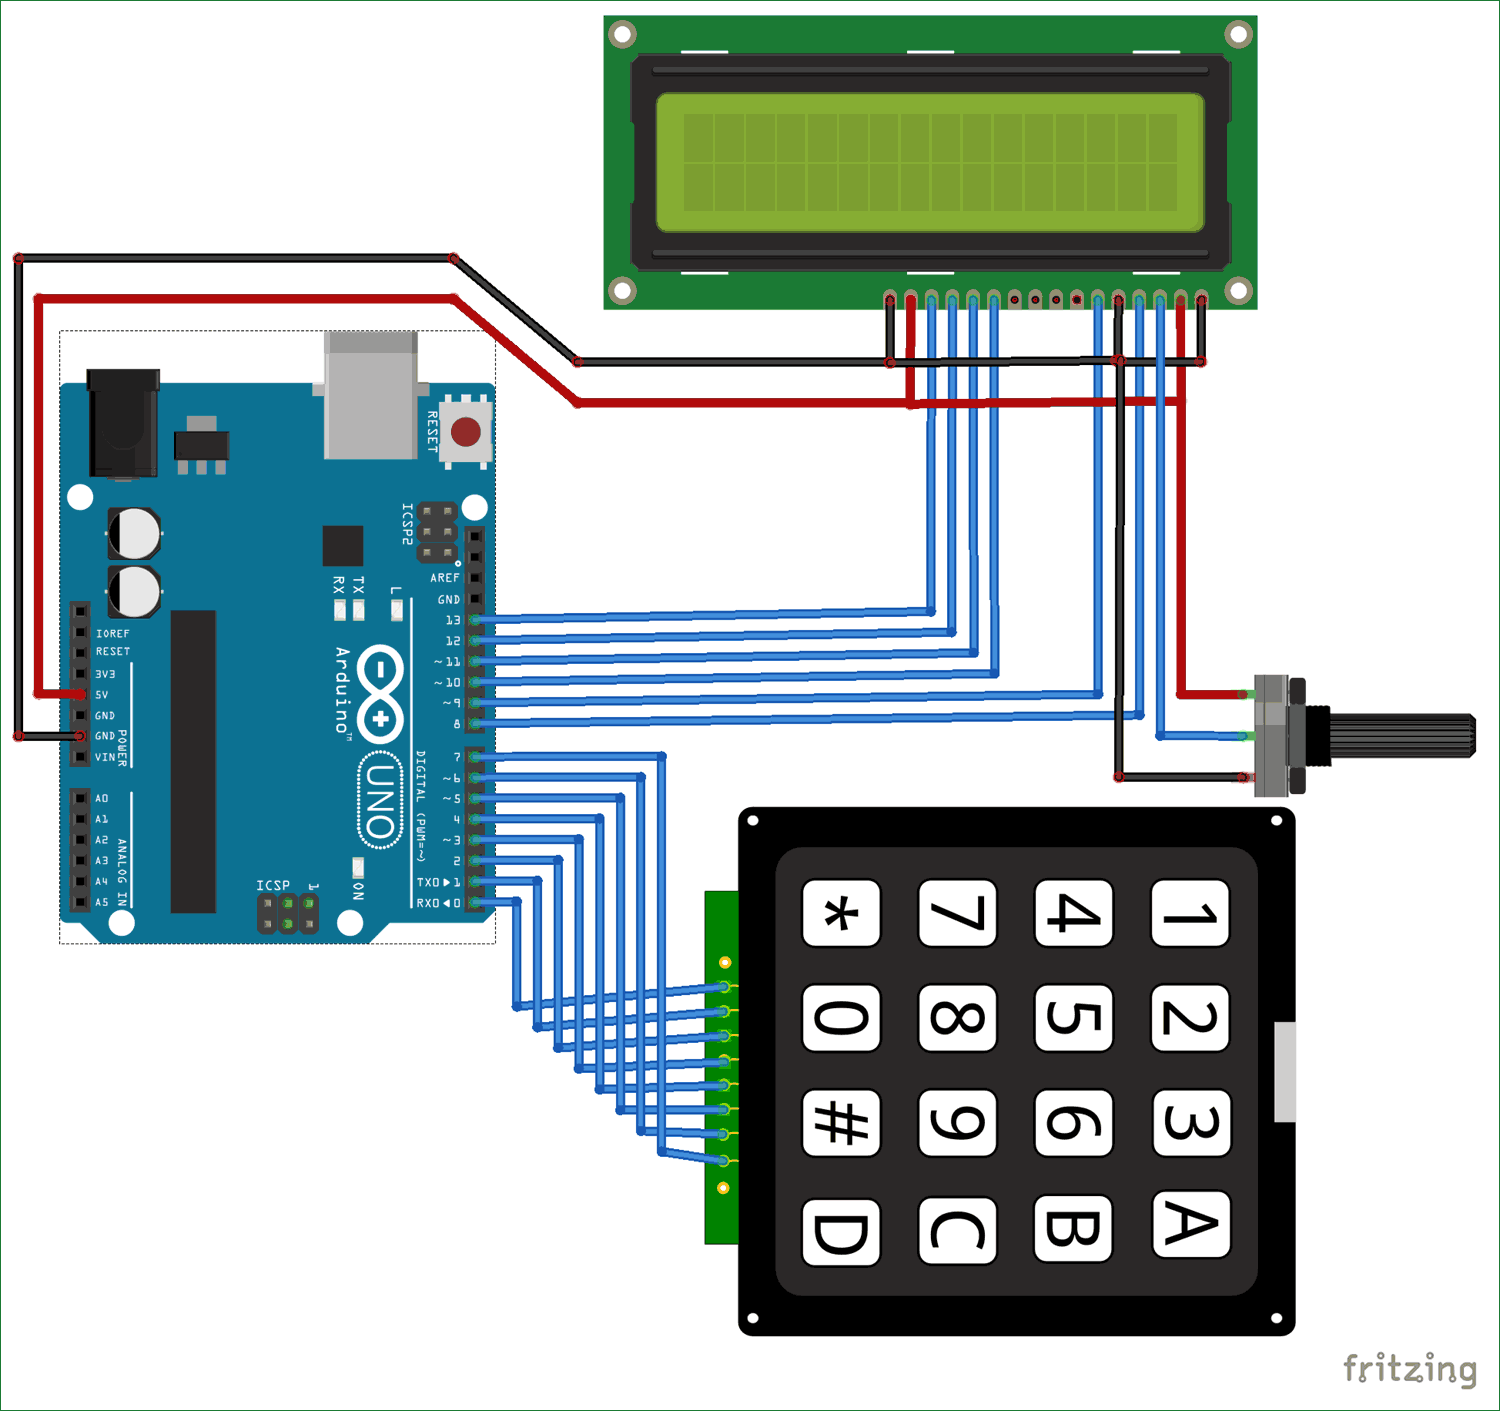
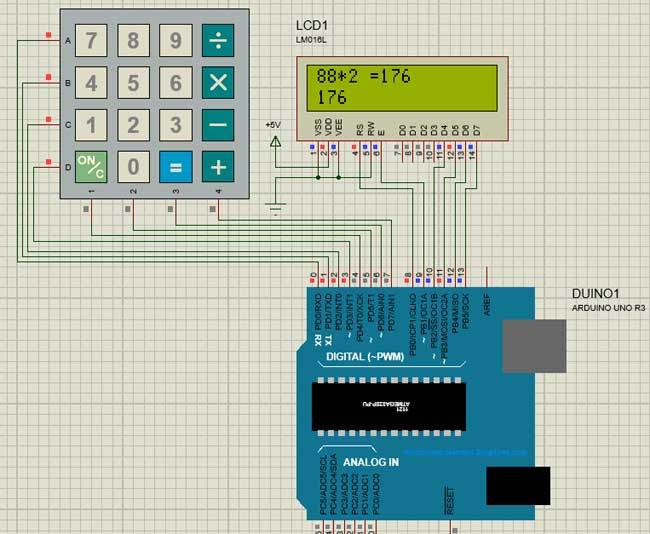
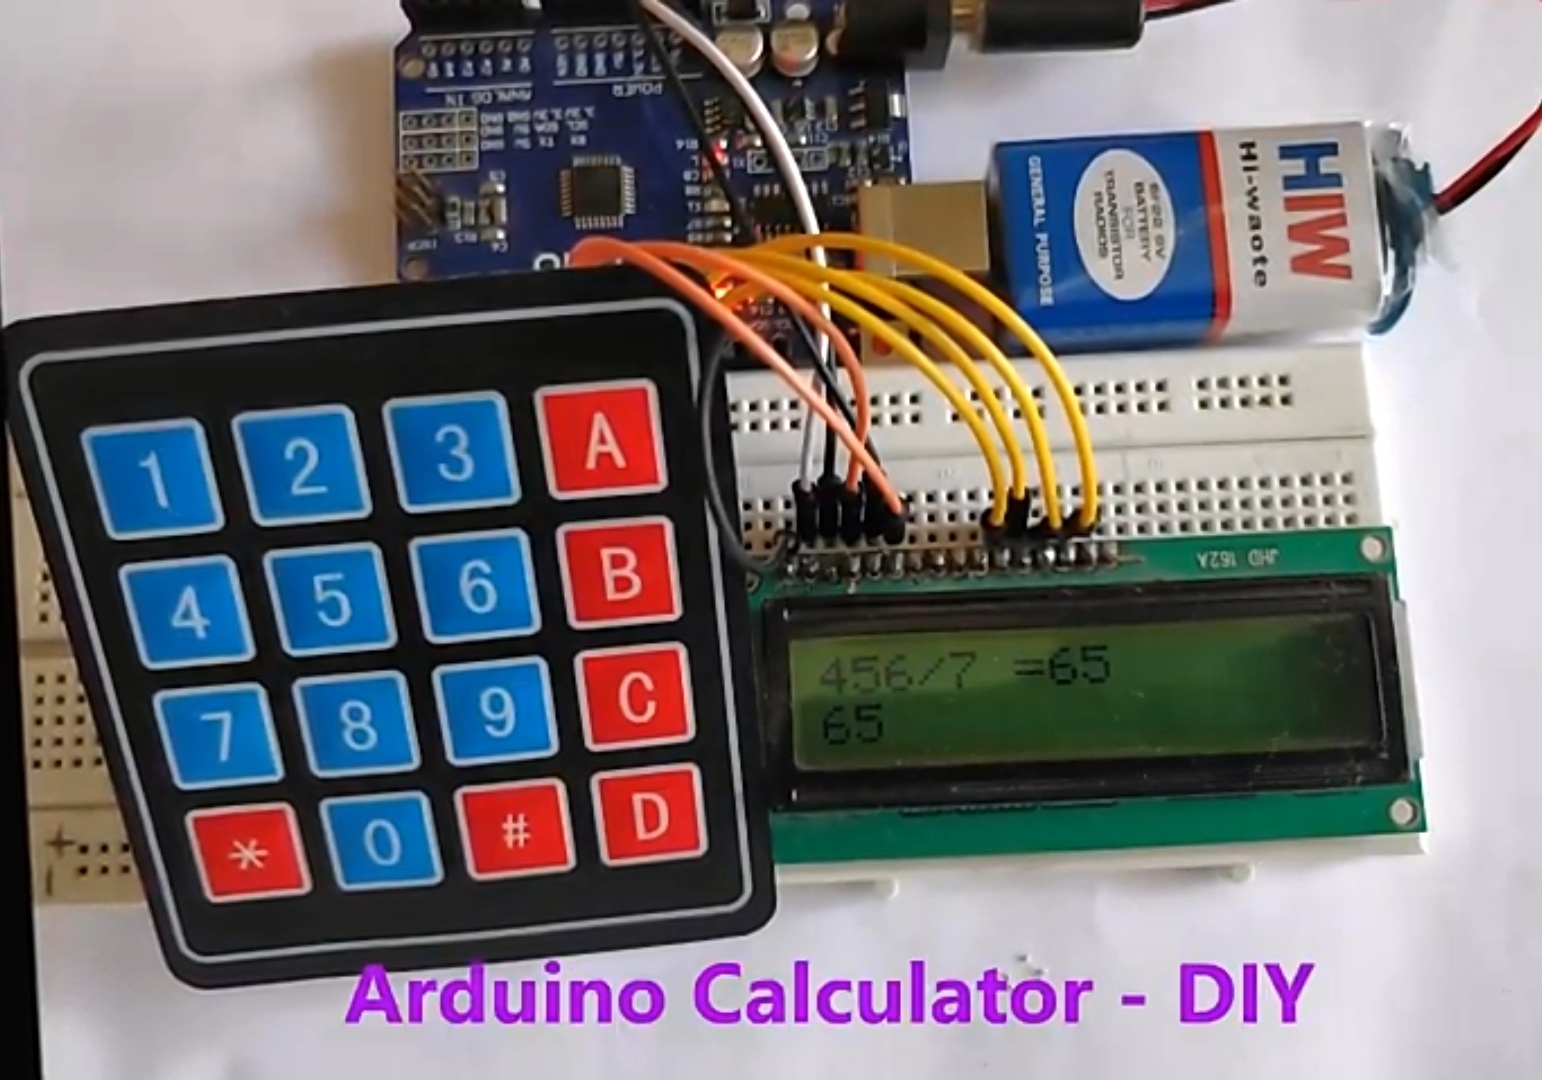
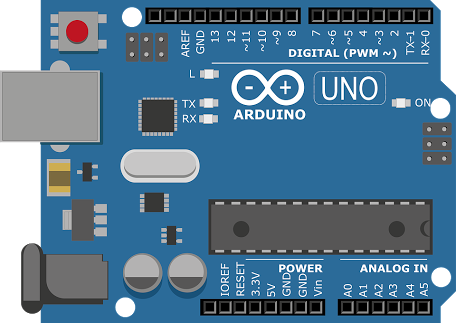
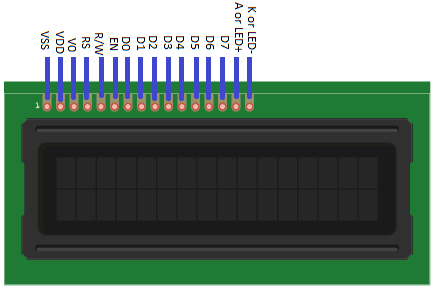
We are operating the LCD in 4-bit mode with Arduino so only the last four data bits of the LCD is connected to Arduino. The Keyboard will have 8 output pins which have to be connected from pin 0 to pin 7 as shown above.
Some Arduino boards might show an error while uploading program if there are anything connected to pin 0 and pin1, so if you experience any just remove the keypad while uploading the program.
Code
.jpg)
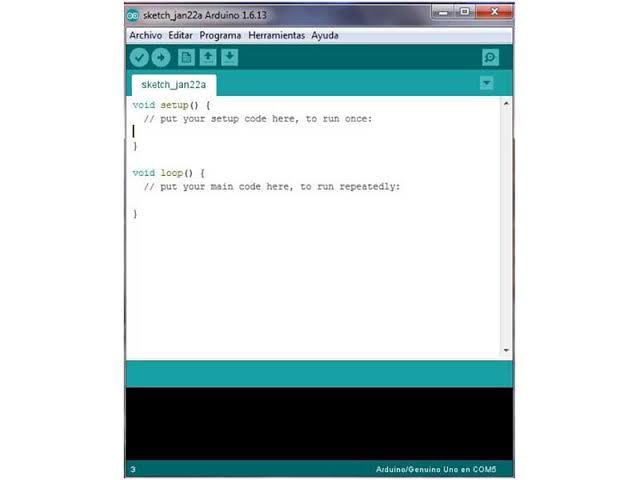
Copy the following code & upload to it your arduino :
/*
* Arduino Keypad calculator Program
*/
#include "LiquidCrystal.h" //Header file for LCD from https://www.arduino.cc/en/Reference/LiquidCrystal
#include "Keypad.h" //Header file for Keypad from https://github.com/Chris--A/Keypad
const byte ROWS = 4; // Four rows
const byte COLS = 4; // Three columns
// Define the Keymap
char keys[ROWS][COLS] = {
{'7','8','9','D'},
{'4','5','6','C'},
{'1','2','3','B'},
{'*','0','#','A'}
};
byte rowPins[ROWS] = { 0, 1, 2, 3 };// Connect keypad ROW0, ROW1, ROW2 and ROW3 to these Arduino pins.
byte colPins[COLS] = { 4, 5, 6, 7 }; // Connect keypad COL0, COL1 and COL2 to these Arduino pins.
Keypad kpd = Keypad( makeKeymap(keys), rowPins, colPins, ROWS, COLS ); // Create the Keypad
const int rs = 8, en = 9, d4 = 10, d5 = 11, d6 = 12, d7 = 13; //Pins to which LCD is connected
LiquidCrystal lcd(rs, en, d4, d5, d6, d7);
long Num1,Num2,Number;
char key,action;
boolean result = false;
void setup() {
lcd.begin(16, 2); //We are using a 16*2 LCD display
lcd.print("DIY Calculator"); //Display a intro message
lcd.setCursor(0, 1); // set the cursor to column 0, line 1
delay(2000); //Wait for display to show info
lcd.clear(); //Then clean it
}
void loop() {
key = kpd.getKey(); //storing pressed key value in a char
if (key!=NO_KEY)
DetectButtons();
if (result==true)
CalculateResult();
DisplayResult();
}
void DetectButtons()
{
lcd.clear(); //Then clean it
if (key=='*') //If cancel Button is pressed
{Serial.println ("Button Cancel"); Number=Num1=Num2=0; result=false;}
if (key == '1') //If Button 1 is pressed
{Serial.println ("Button 1");
if (Number==0)
Number=1;
else
Number = (Number*10) + 1; //Pressed twice
}
if (key == '4') //If Button 4 is pressed
{Serial.println ("Button 4");
if (Number==0)
Number=4;
else
Number = (Number*10) + 4; //Pressed twice
}
if (key == '7') //If Button 7 is pressed
{Serial.println ("Button 7");
if (Number==0)
Number=7;
else
Number = (Number*10) + 7; //Pressed twice
}
if (key == '0')
{Serial.println ("Button 0"); //Button 0 is Pressed
if (Number==0)
Number=0;
else
Number = (Number*10) + 0; //Pressed twice
}
if (key == '2') //Button 2 is Pressed
{Serial.println ("Button 2");
if (Number==0)
Number=2;
else
Number = (Number*10) + 2; //Pressed twice
}
if (key == '5')
{Serial.println ("Button 5");
if (Number==0)
Number=5;
else
Number = (Number*10) + 5; //Pressed twice
}
if (key == '8')
{Serial.println ("Button 8");
if (Number==0)
Number=8;
else
Number = (Number*10) + 8; //Pressed twice
}
if (key == '#')
{Serial.println ("Button Equal");
Num2=Number;
result = true;
}
if (key == '3')
{Serial.println ("Button 3");
if (Number==0)
Number=3;
else
Number = (Number*10) + 3; //Pressed twice
}
if (key == '6')
{Serial.println ("Button 6");
if (Number==0)
Number=6;
else
Number = (Number*10) + 6; //Pressed twice
}
if (key == '9')
{Serial.println ("Button 9");
if (Number==0)
Number=9;
else
Number = (Number*10) + 9; //Pressed twice
}
if (key == 'A' || key == 'B' || key == 'C' || key == 'D') //Detecting Buttons on Column 4
{
Num1 = Number;
Number =0;
if (key == 'A')
{Serial.println ("Addition"); action = '+';}
if (key == 'B')
{Serial.println ("Subtraction"); action = '-'; }
if (key == 'C')
{Serial.println ("Multiplication"); action = '*';}
if (key == 'D')
{Serial.println ("Devesion"); action = '/';}
delay(100);
}
}
void CalculateResult()
{ if (action=='+') Number = Num1+Num2; if (action=='-') Number = Num1-Num2; if (action=='*') Number = Num1*Num2; if (action=='/') Number = Num1/Num2; } void DisplayResult() { lcd.setCursor(0, 0); // set the cursor to column 0, line 1 lcd.print(Num1); lcd.print(action); lcd.print(Num2); if (result==true) {lcd.print(" ="); lcd.print(Number);} //Display the result lcd.setCursor(0, 1); // set the cursor to column 0, line 1 lcd.print(Number); //Display the result }
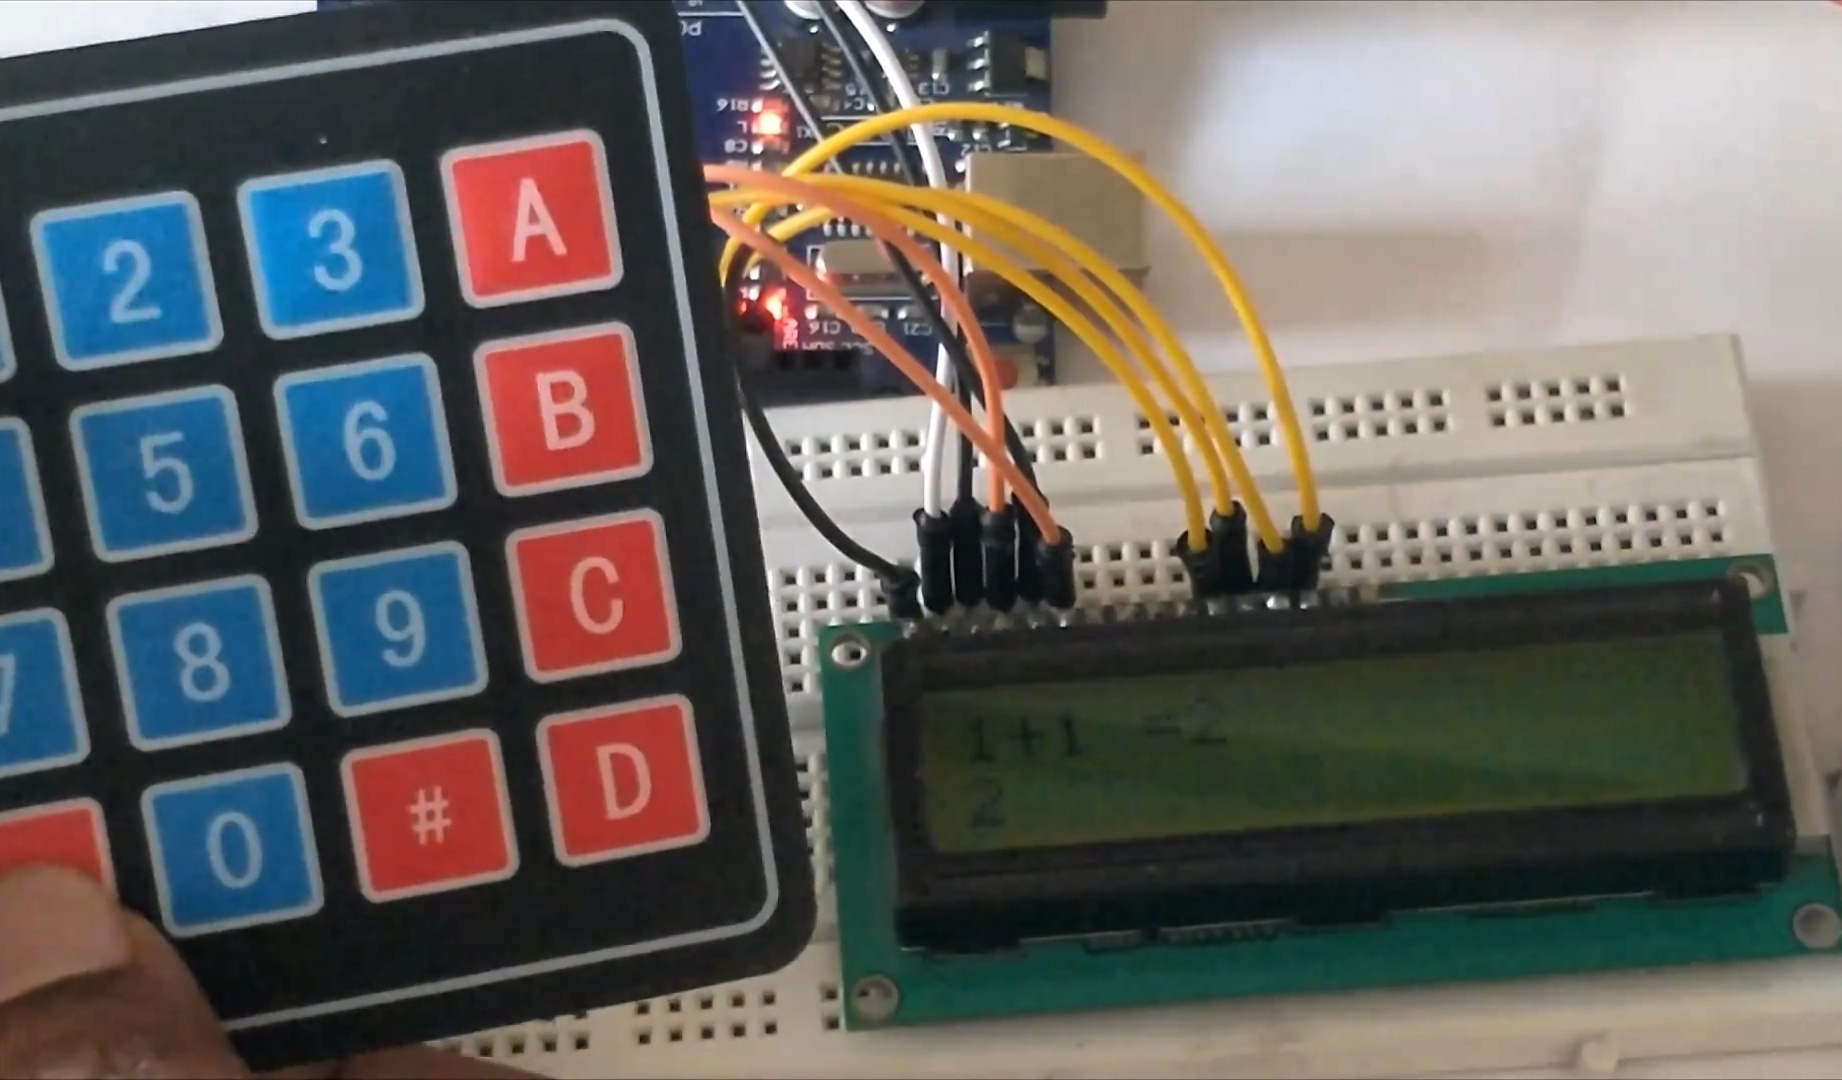
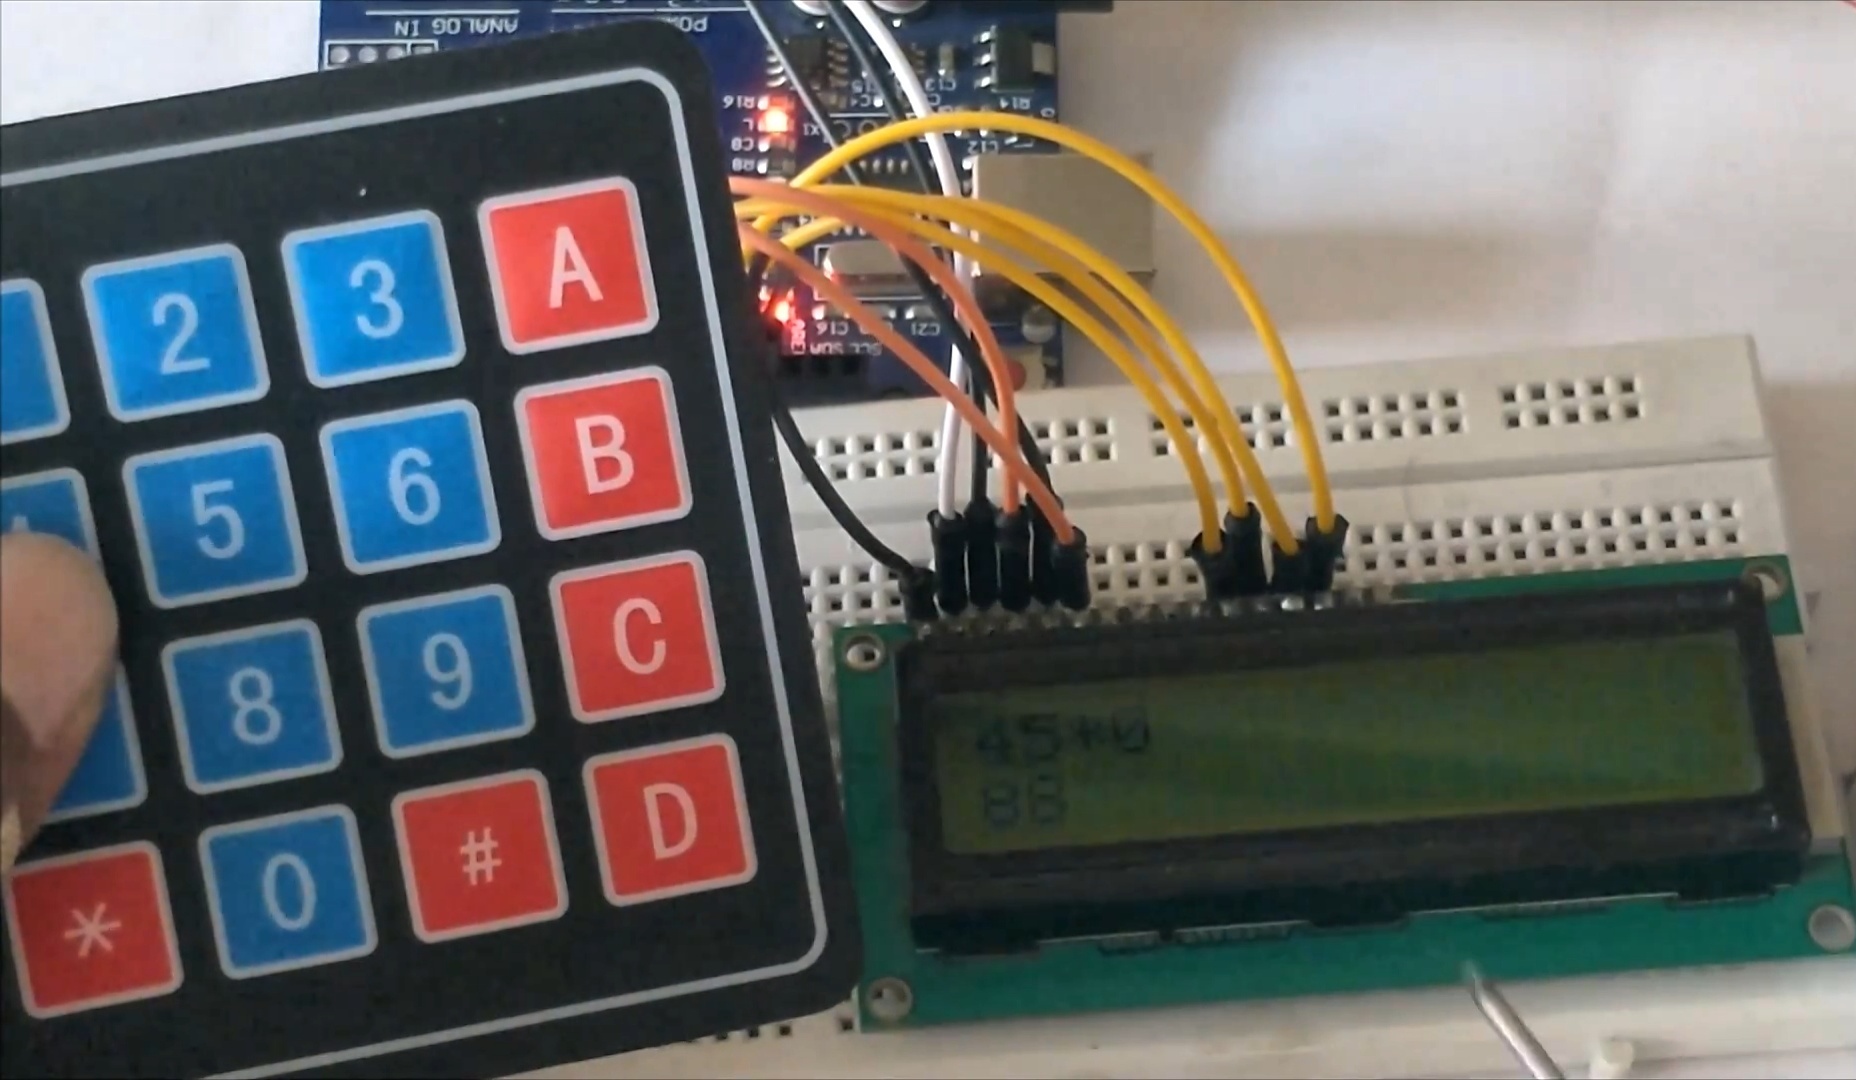
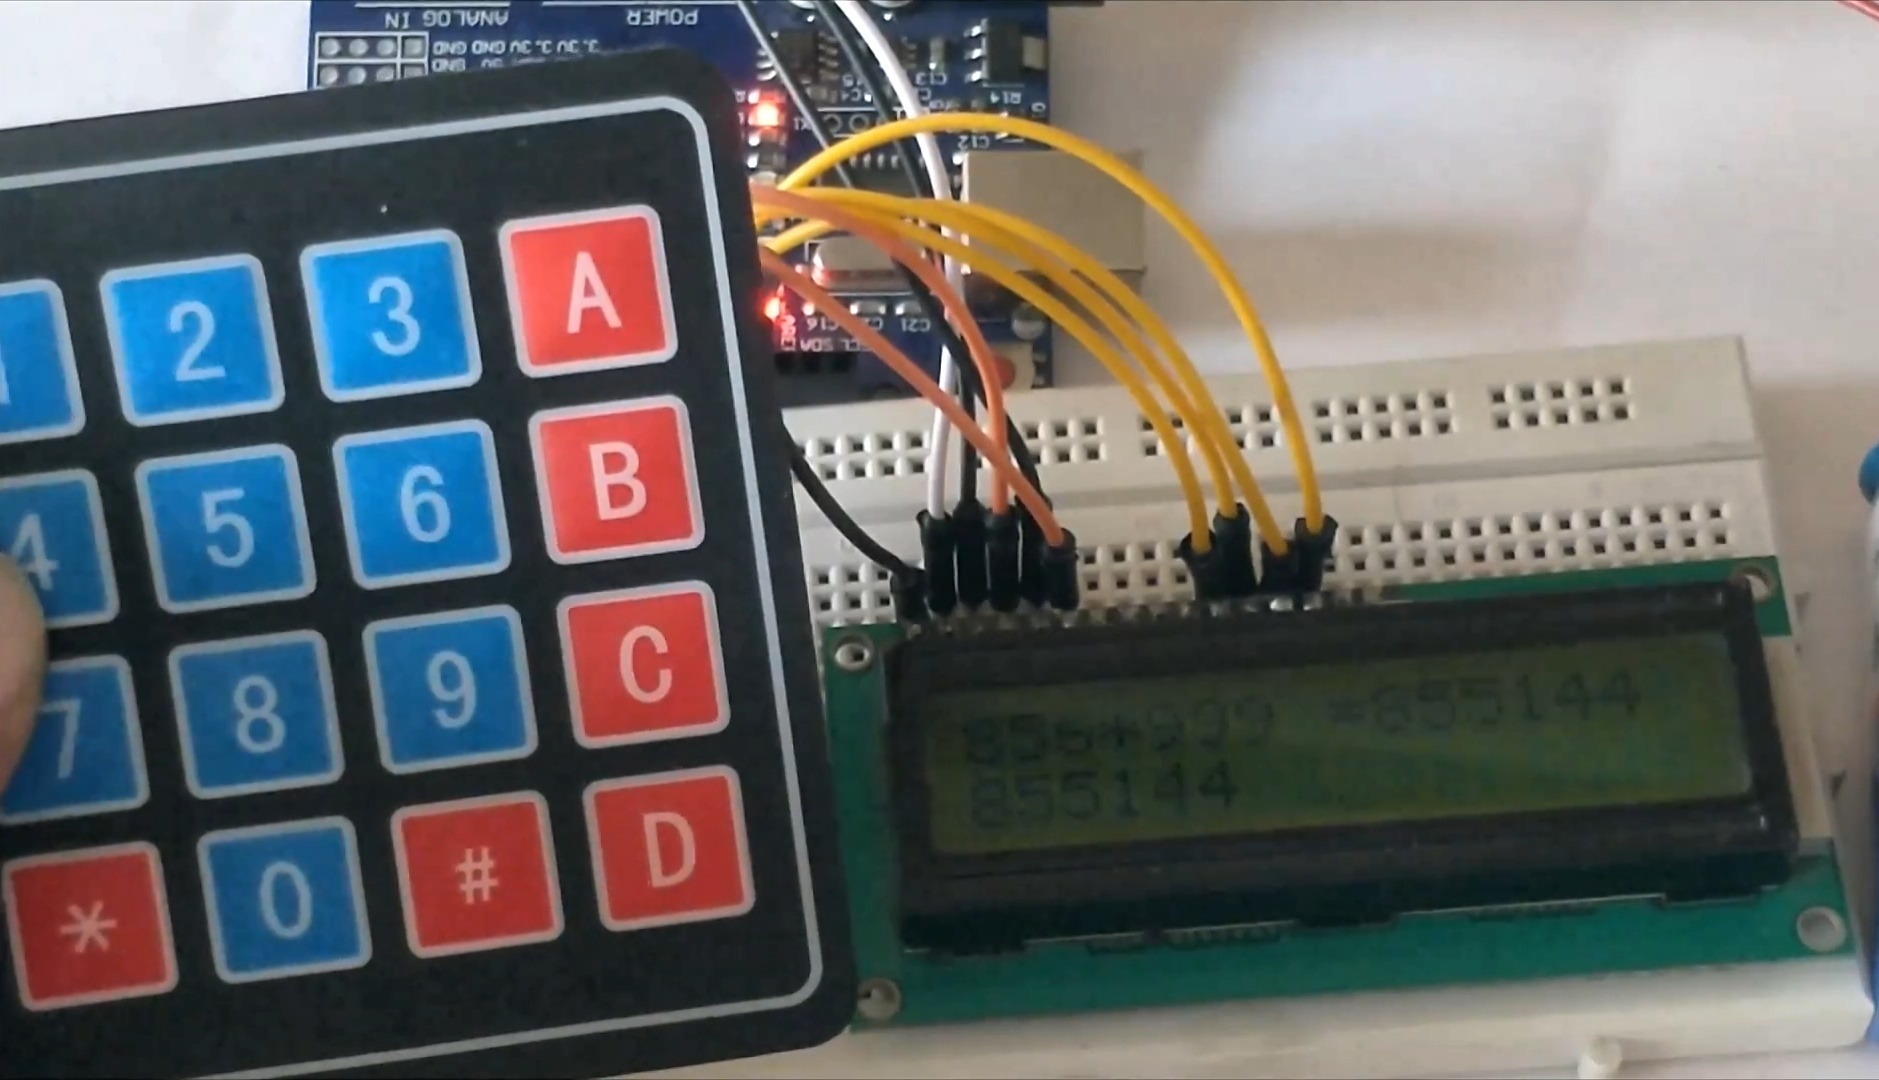
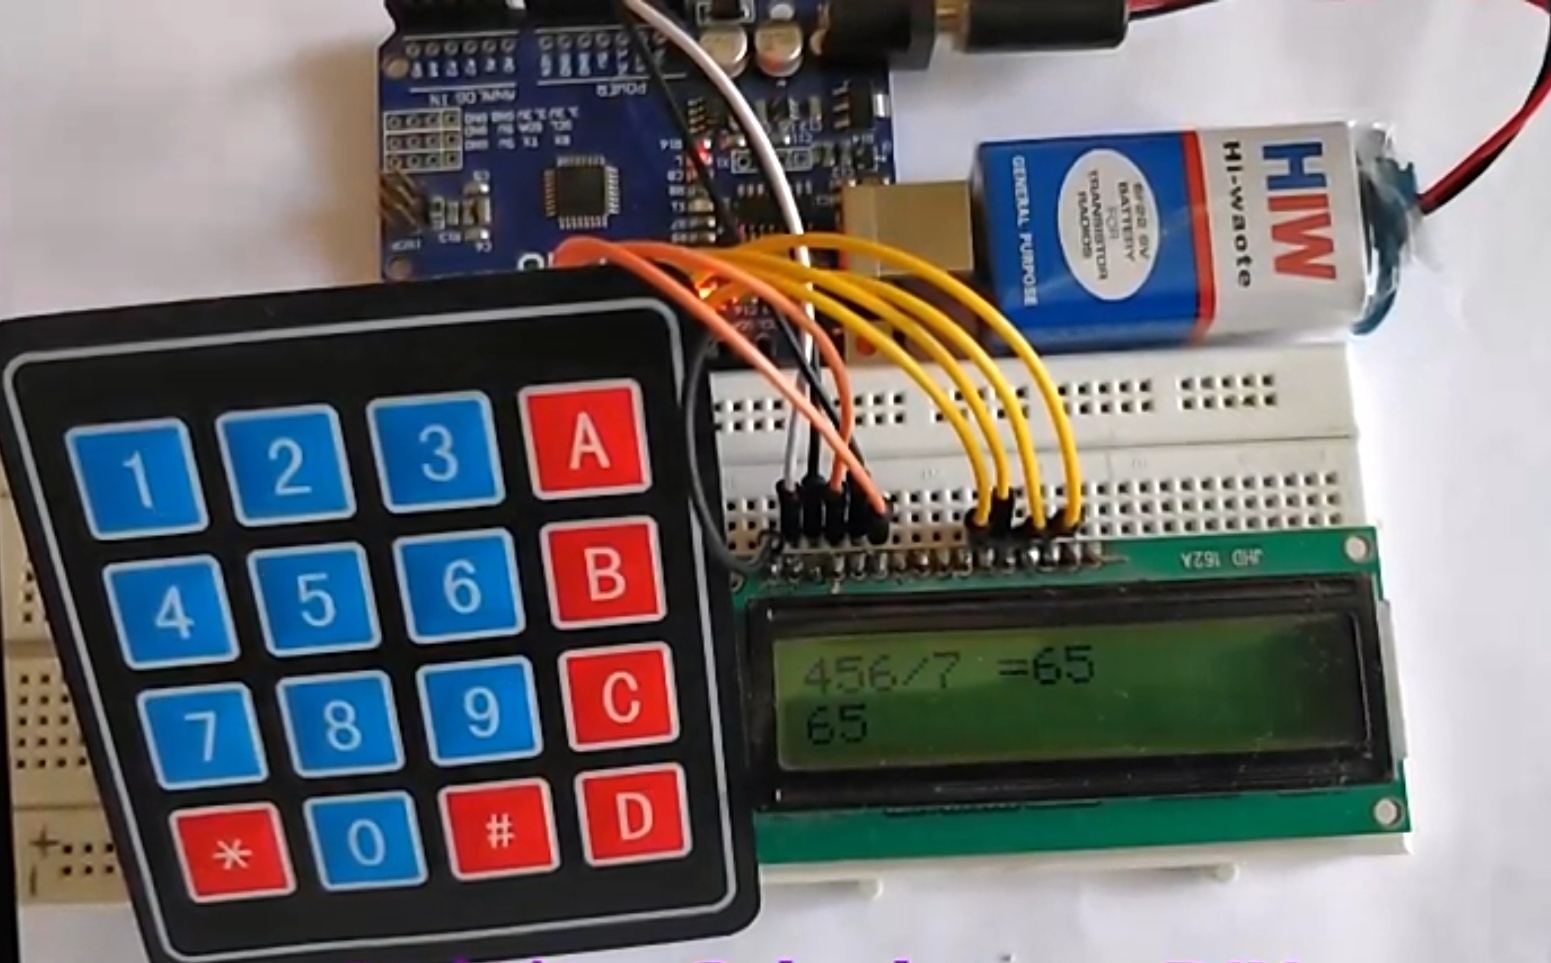
Calculator Output
