Arduino Controlled (A)RGB LED Fan
by craftinaut in Circuits > Arduino
20768 Views, 10 Favorites, 0 Comments
Arduino Controlled (A)RGB LED Fan
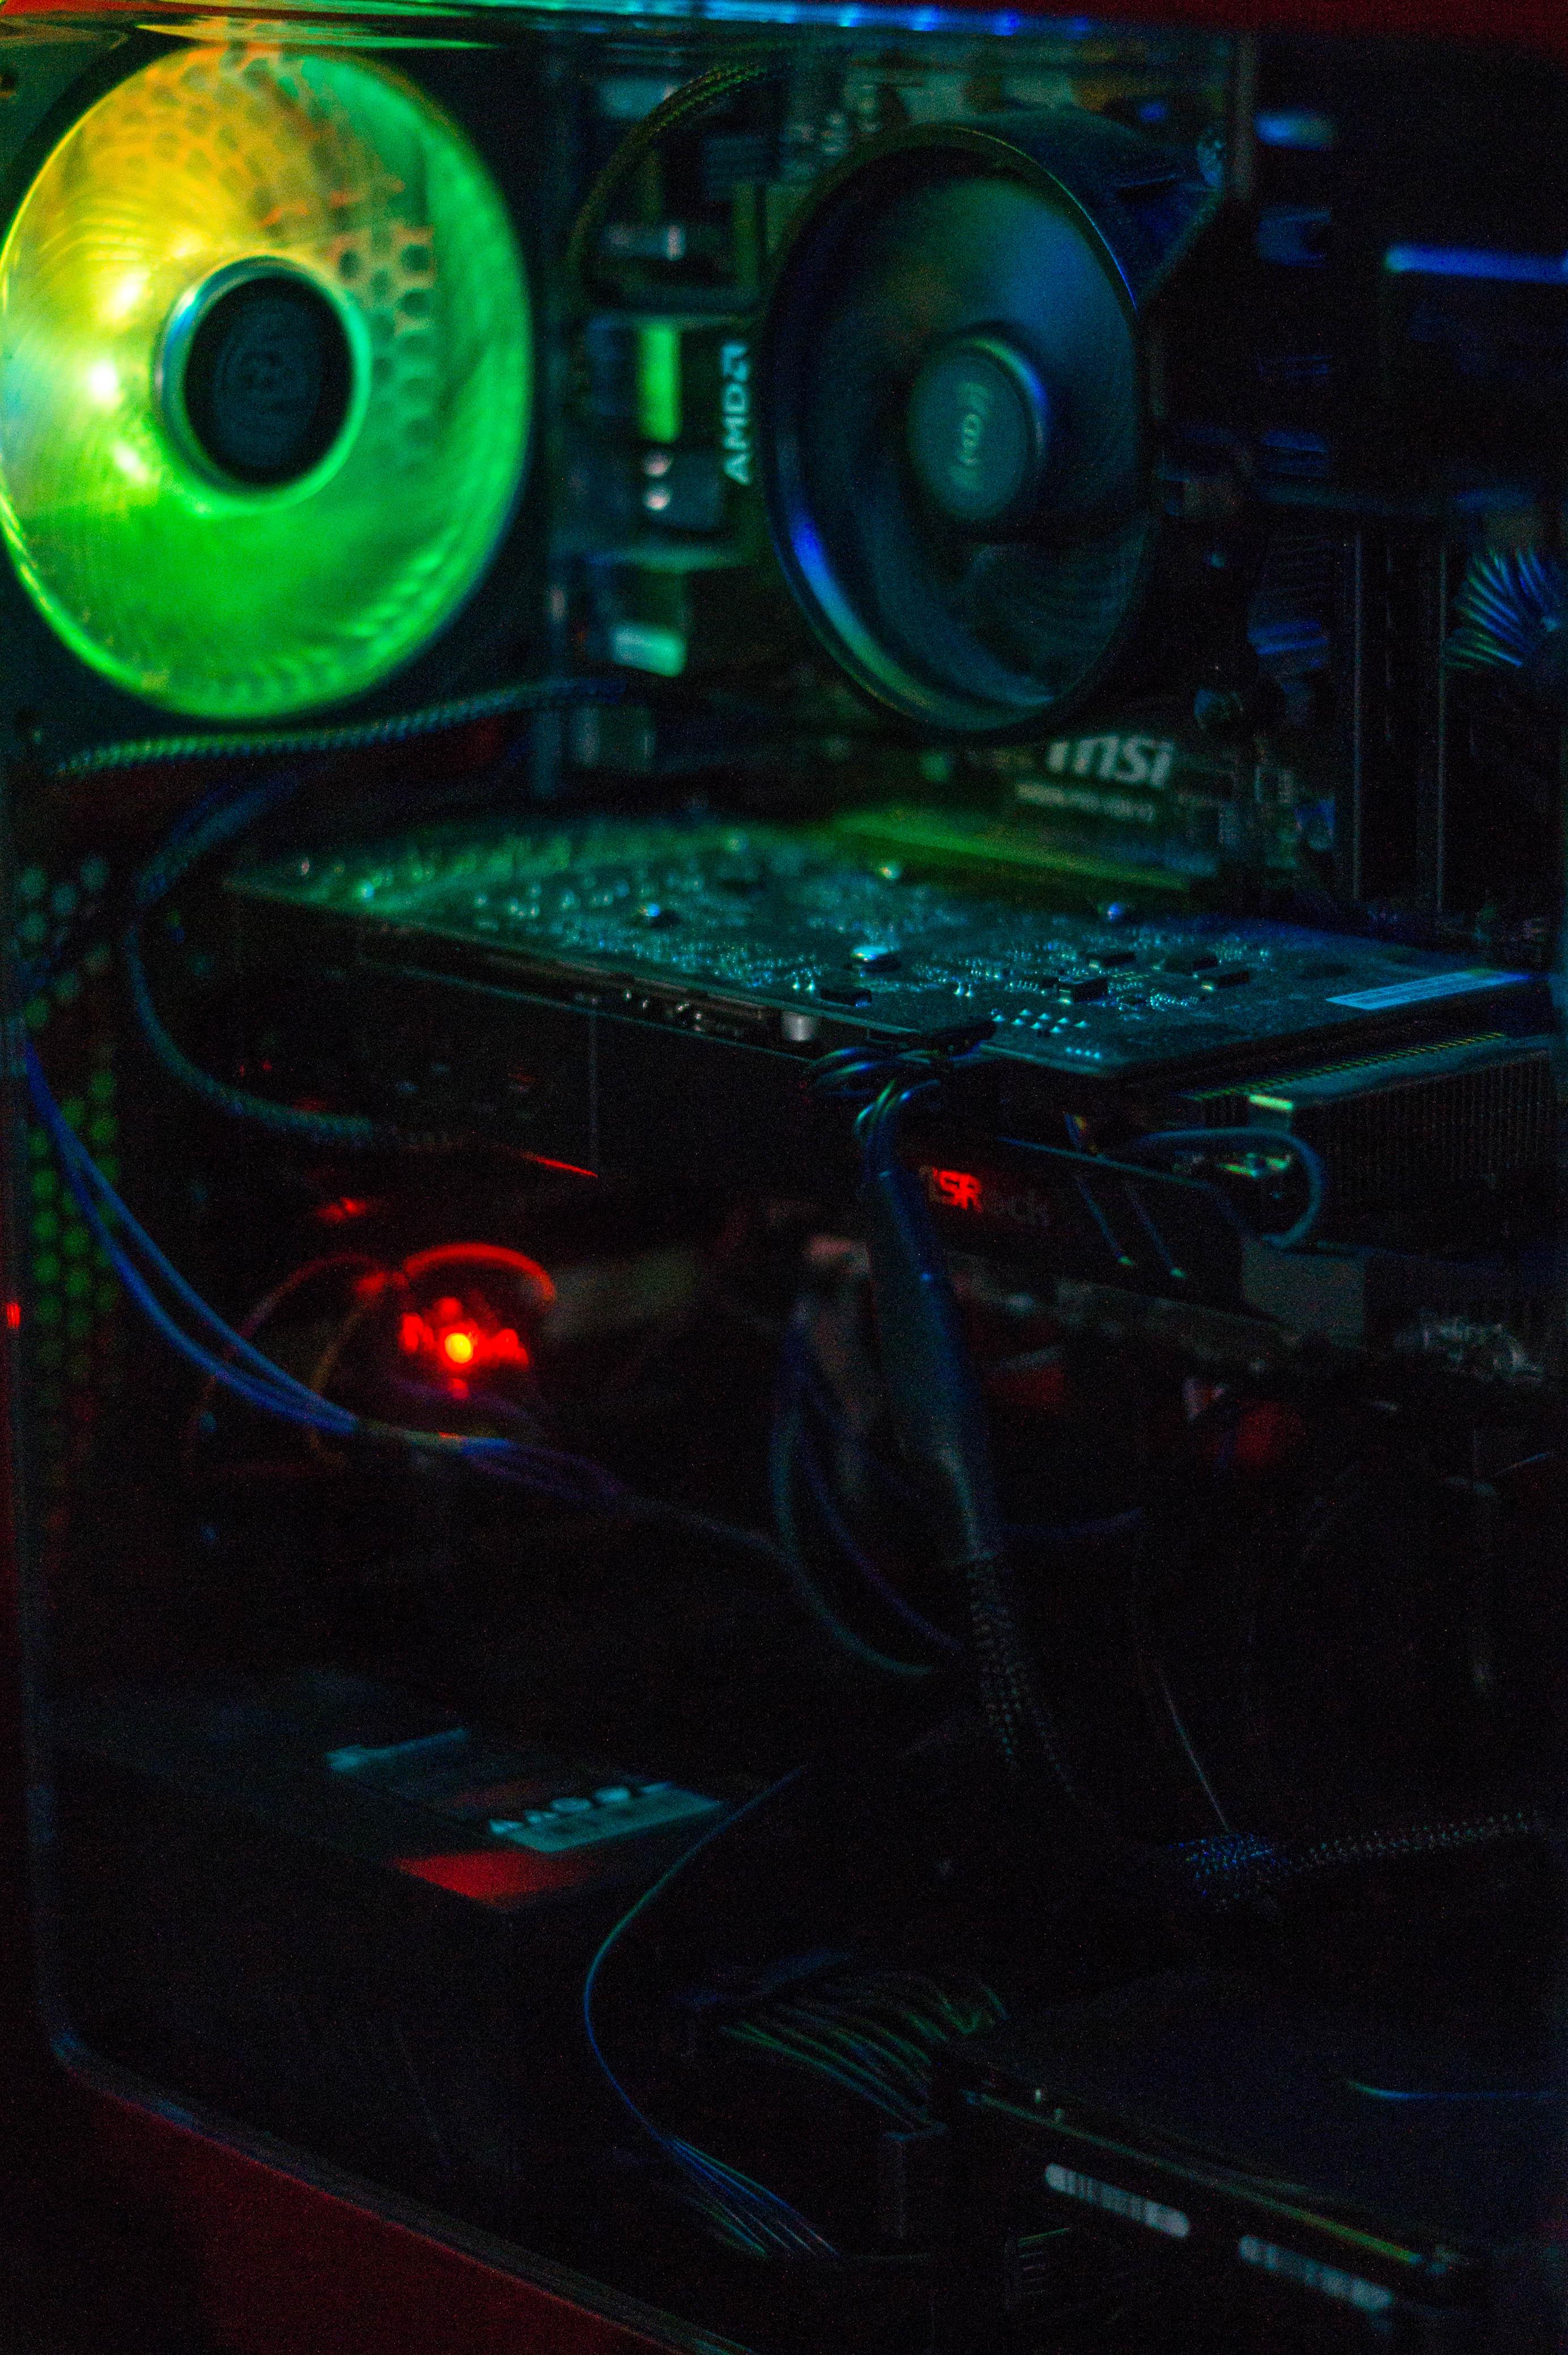
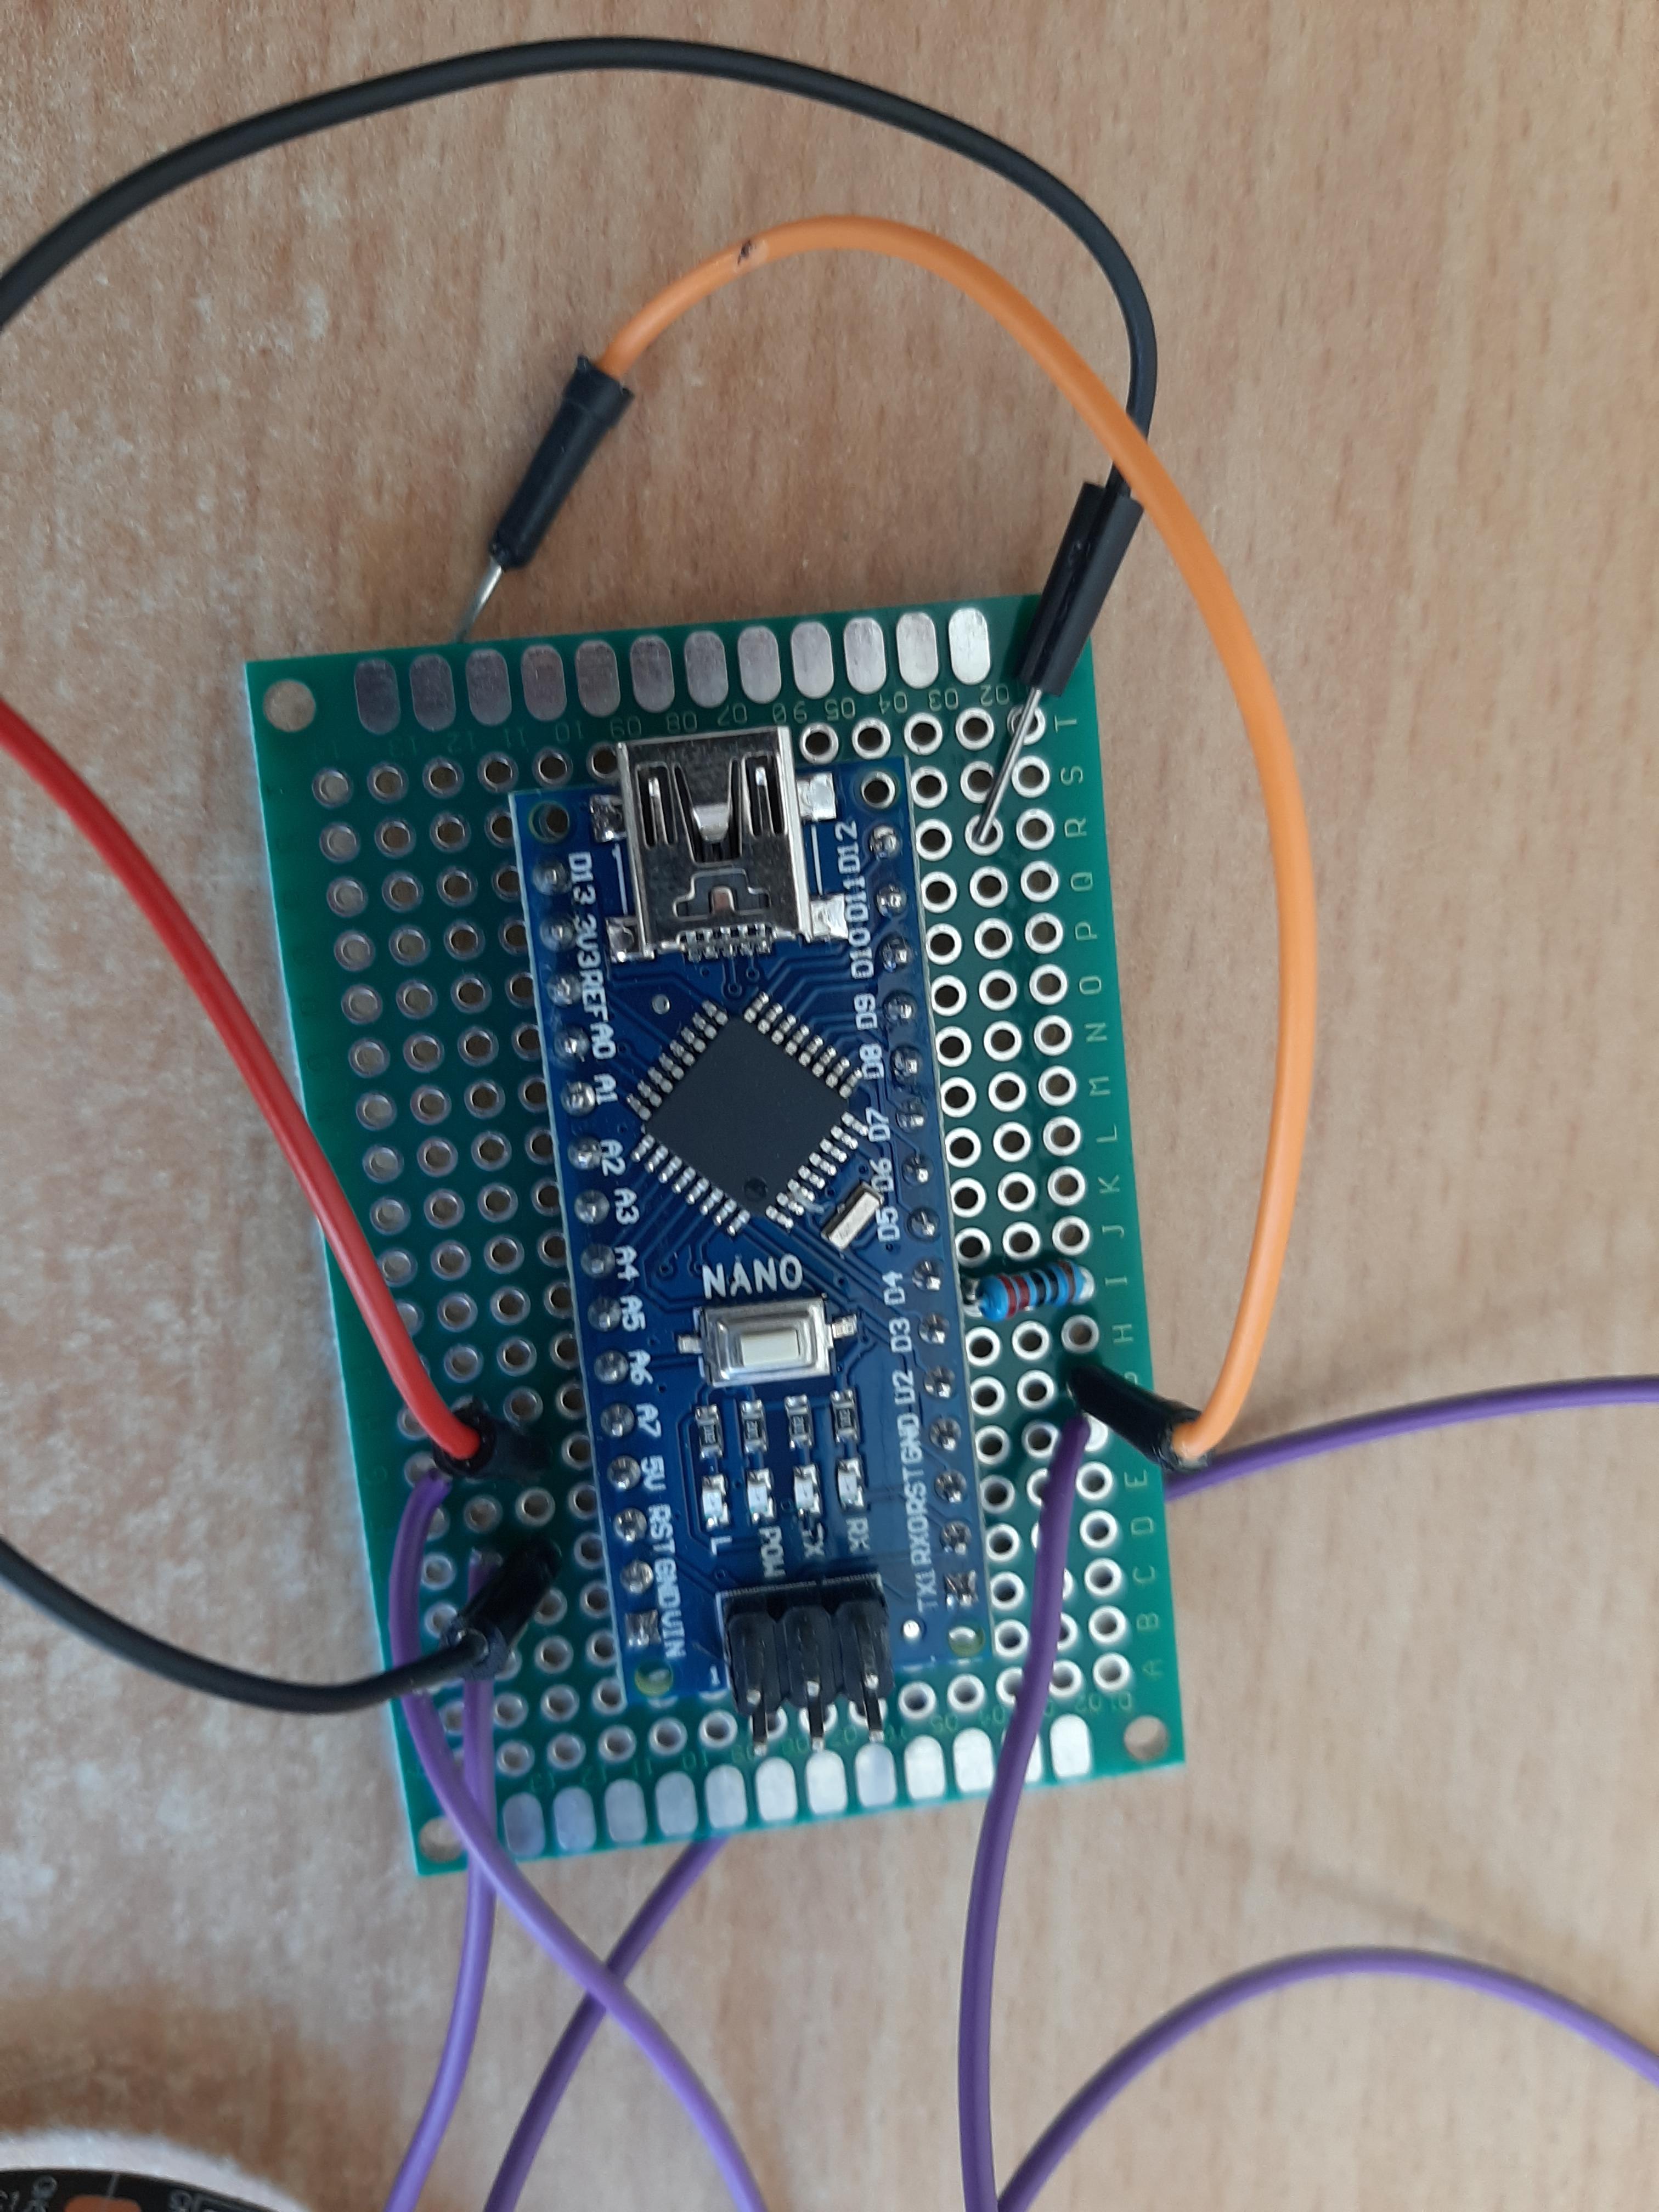
In need of a new case fan, I bought myself a Cooler Master MasterFan SF120R.
This particular fan, like many others, is an ARGB fan. However, I did not realise that my dear old motherboard allows only for regular RGB connections. Now, I refuse to buy a so-called ARGB controller. But I also will not settle for NOT HAVING RGB in my pc case.
Therefore, I turned to doing a little bit of DIY Arduino tinkering. And came up with this simple instructable on how to control your ARGB fan with an Arduino, some wires, and the Arduino FastLED library.
Supplies
What you will need:
- 1 Arduino (I used a Nano v3)
- ARGB fan
- 3 breadboard wires (with the round metal pins at the end - these)
- A resistor (470 Ohm)
- (optional) more LED strips for more RGB
- (optional) More wires
The Schematic
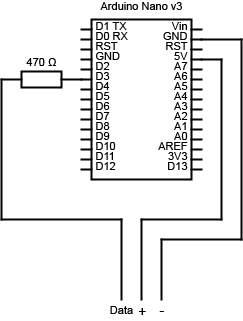
Connect a resistor to one of the digital output pins on the Arduino, then connect this to the breadboard wire which will go into the data input of the fan's ARGB connector. Connect two other breadboard wires to the 5V and GND pins of the Arduino.
I use breadboard wires in this case, since the metal pins at the end of the wire fit exactly into the ARGB header of my fan. If your fan has a different header, you might need to find another type of wire. Or you could cut off the header completely, and just solder the wires together.
Connecting to the Fan
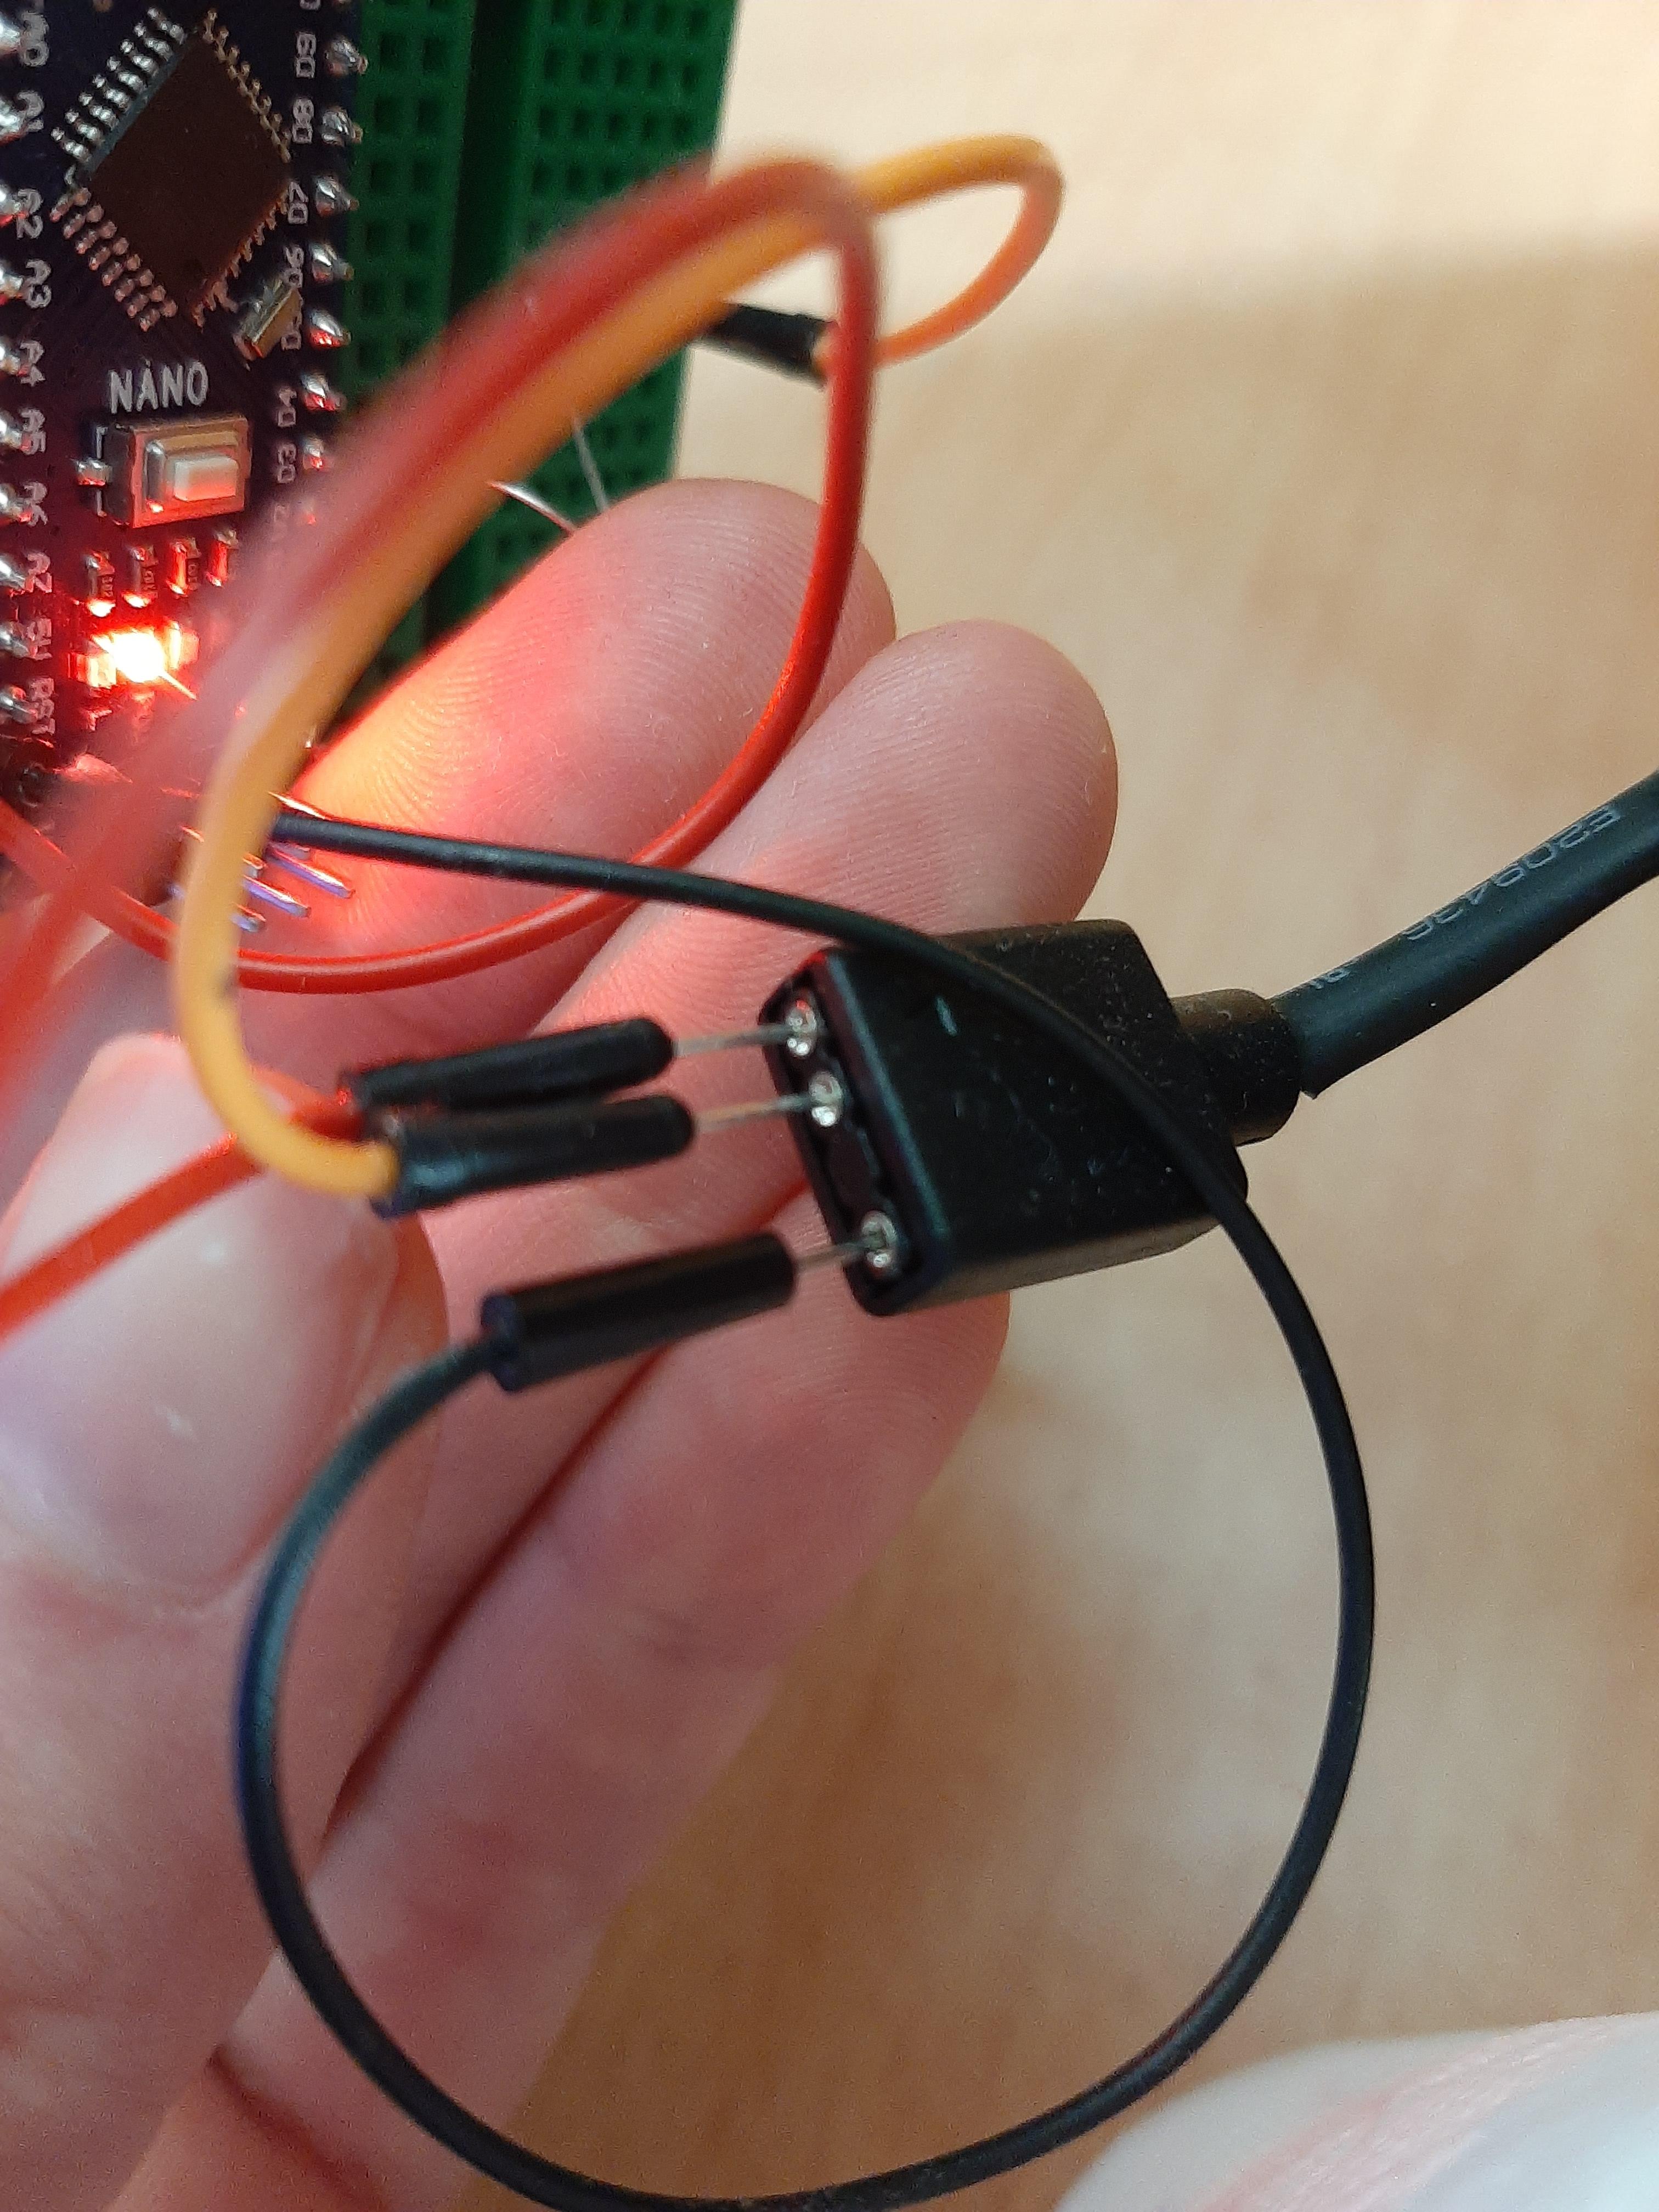
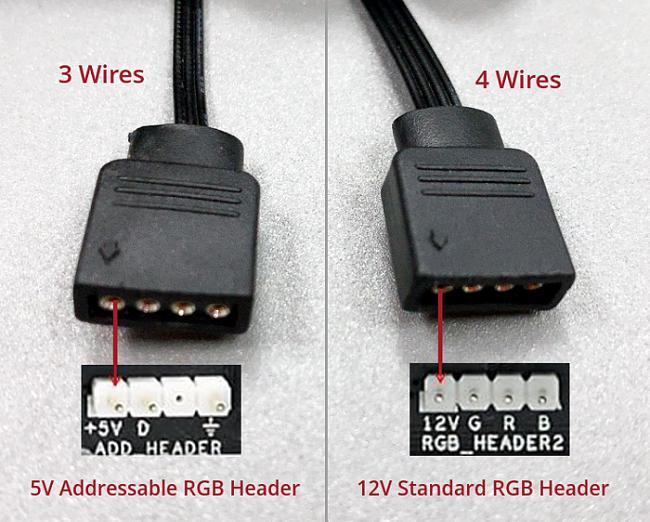
Now take your fan's ARGB connector. Position it horizontally in front of you, in such a way that a small triangle is visible on the left side, on top of the connector. You should see three connection sockets. The most left one, should be connected to the 5V input. The second one, directly next to the first, is where the Data connection goes. The Ground should be connected to the last socket, which is located on the far right.
RGB!
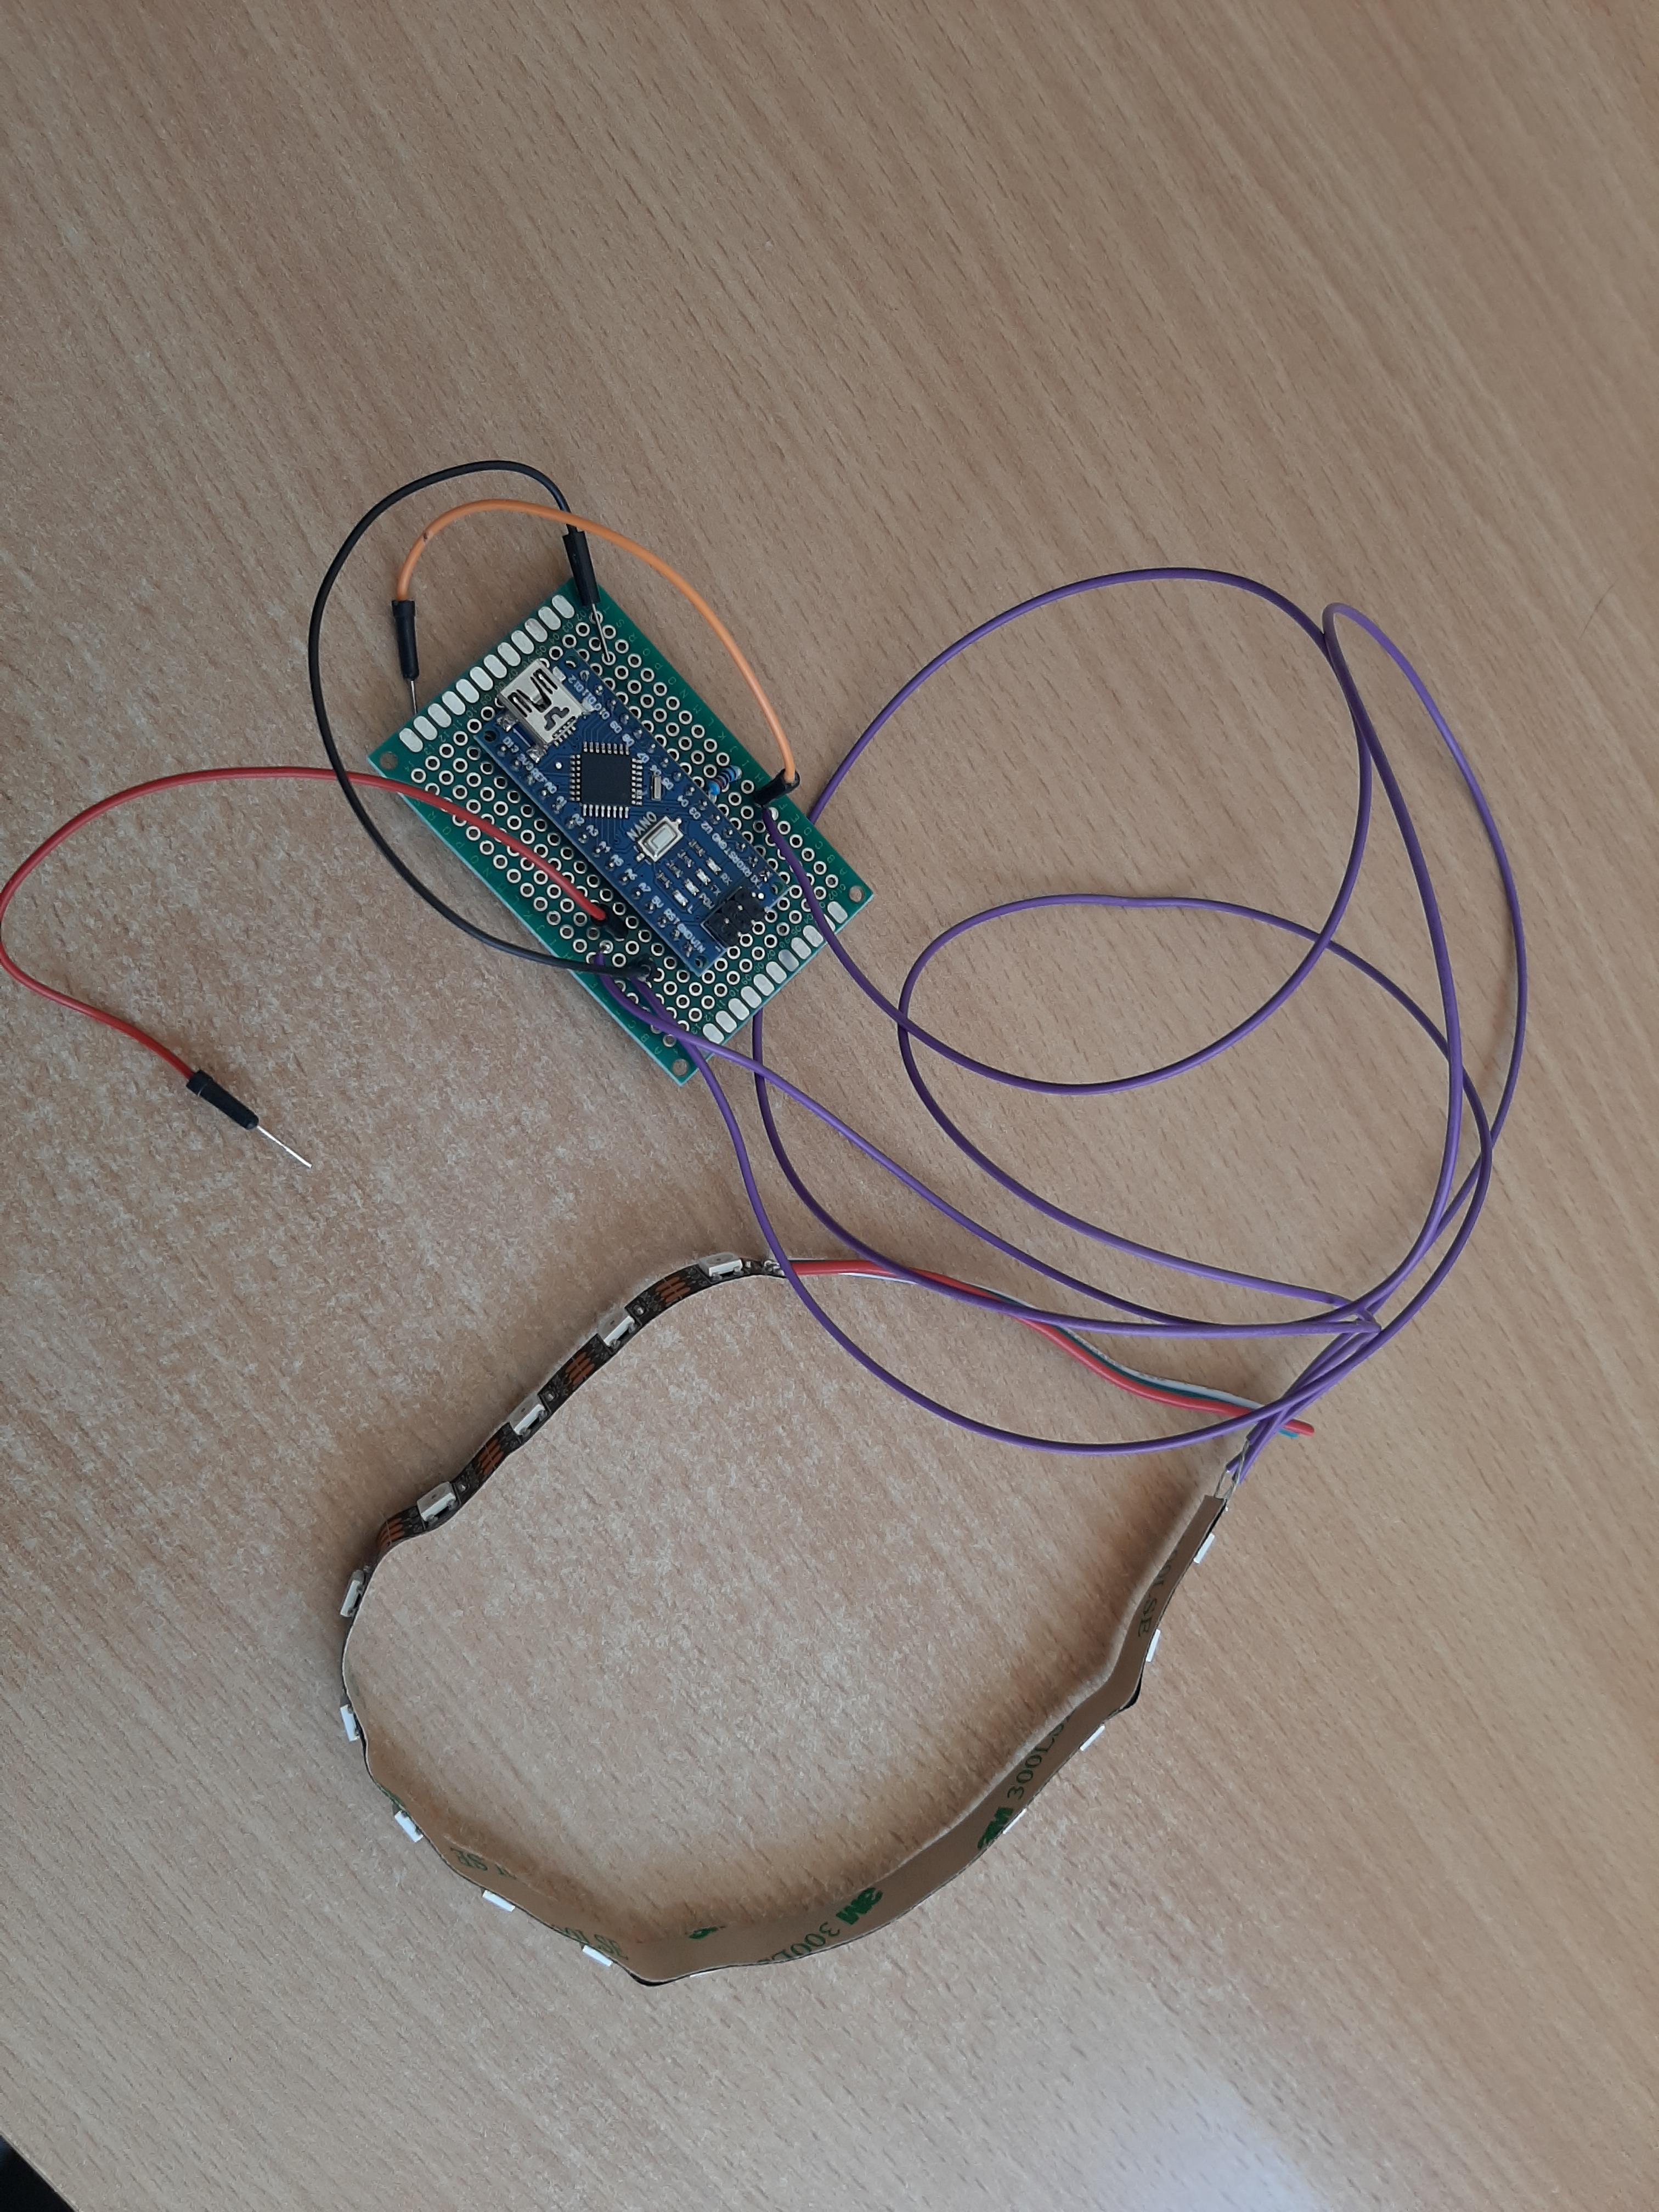

Finally, make sure all your connections are secure (add some electrical tape or heatshrinks where necessary). Connect your Arduino to one of your pc's USB ports, and upload this code:
That should do it :)