Arduino CNC Controller for ESTLCAM
by reitmayer in Workshop > CNC
10170 Views, 7 Favorites, 0 Comments
Arduino CNC Controller for ESTLCAM
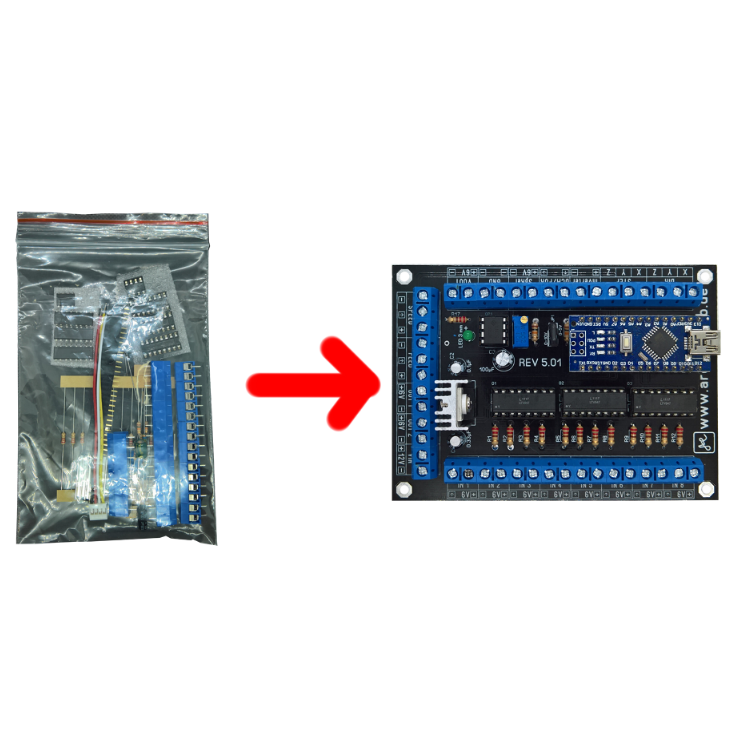
In my first tutorial we assemble an Arduino Nano CNC motion controller from the ArduinoClub.
In the second tutorial we will install this Controller into the control of a China CNC milling machine 3040, with frequency converter and high frequency spindle.
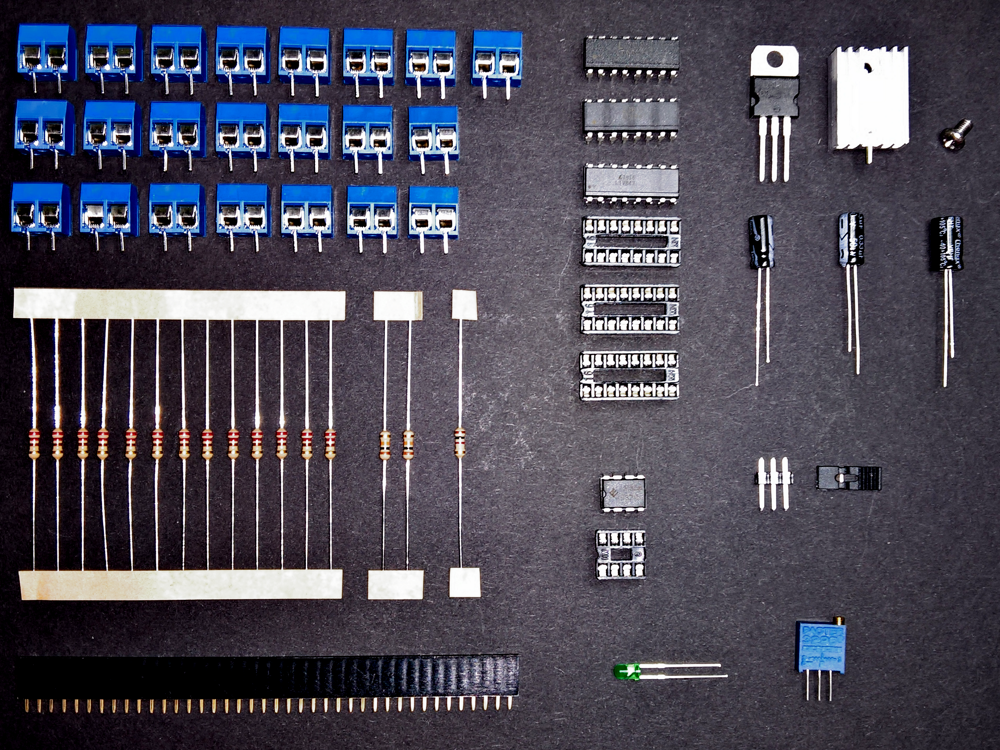
In the first step, we sort the components and see if everything is there.
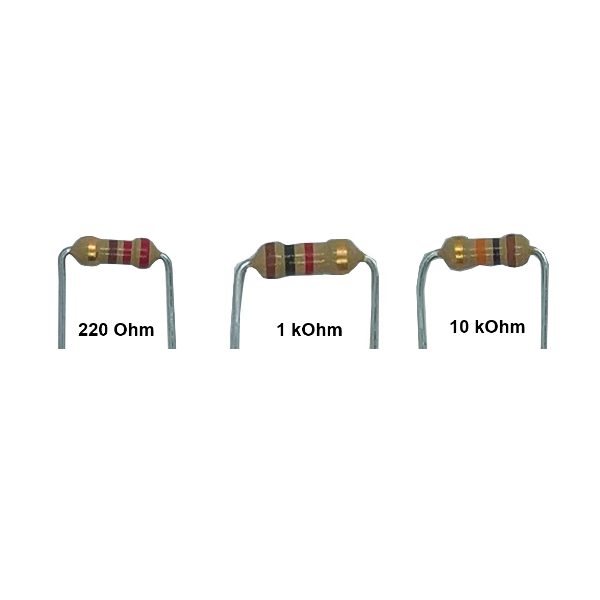
The resistors are usually delivered glued on a paper tape.
It is better if you cut through the paper so that you separate all resistors, then you can remove the paper without bending the legs crooked. Do not mix the resistors, otherwise you will have a lot of work. Bend the legs of the resistors immediately at the body, so they fit well on the board.
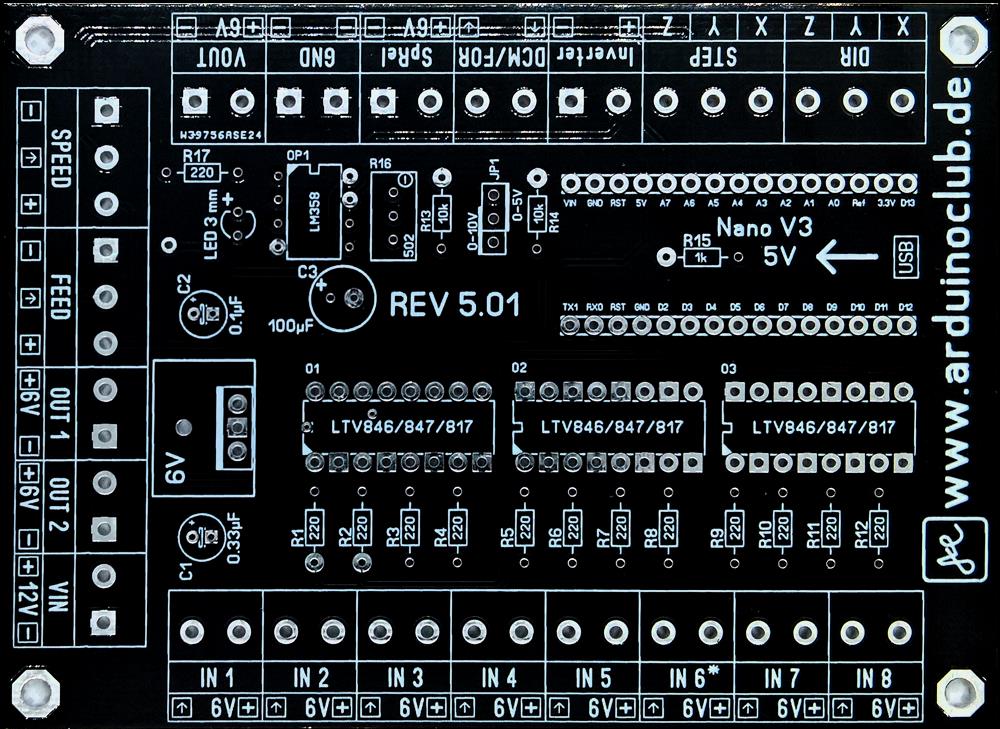
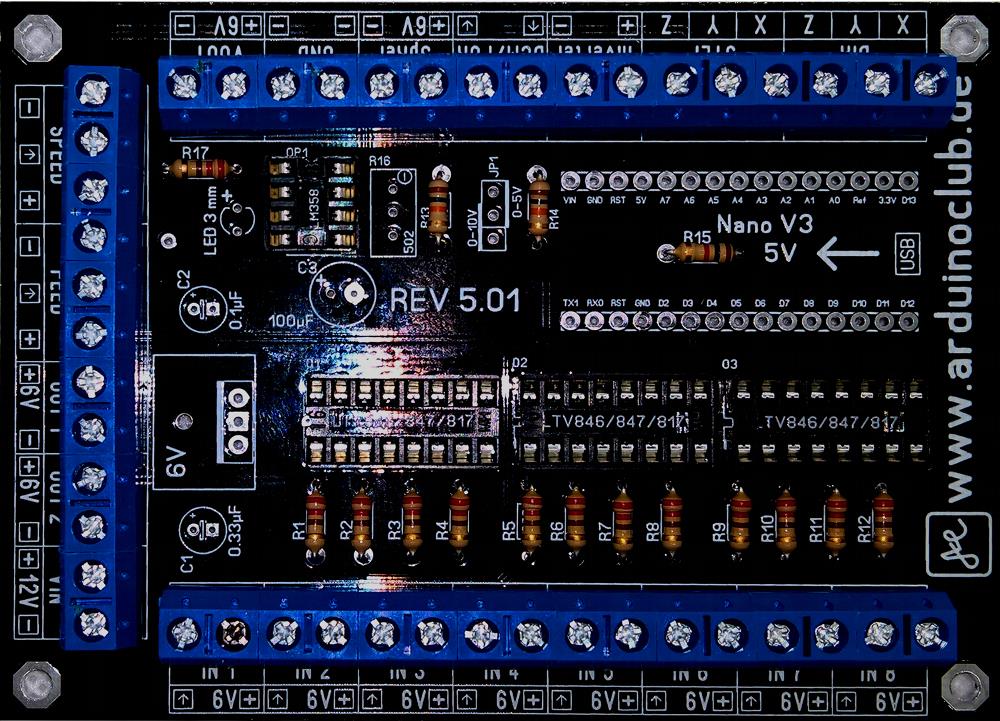
The blank circuit board is well labelled, so you always know where the components are located.
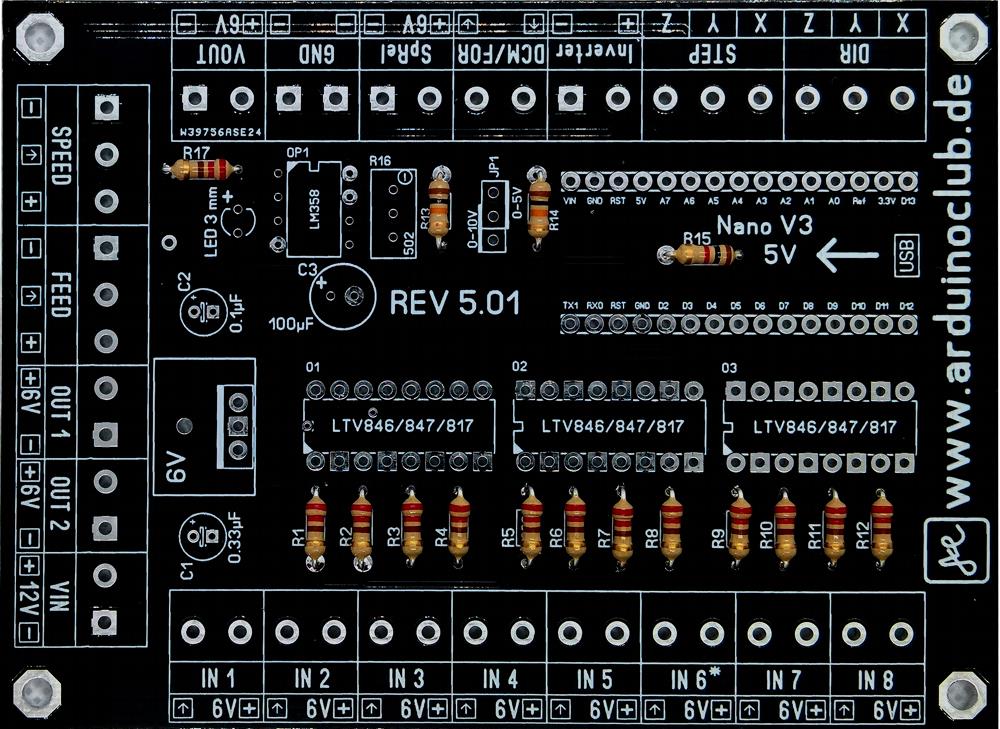
Position the resistors in the right place, you don't have to pay attention to the installation direction.
If you turn the board over to solder the resistors, you should put a piece of cardboard on top to prevent the resistors from falling out.
You should pay attention to this:
- You should use a soldering iron that doesn't have more than 40 watts.
- The solder wire should be thin, about 0.5 mm.
- Don't use Flux, it's corrosive, it destroys the tracks and your components.
- The temperature of your soldering iron should not be more than 250°C (482 F).
- Do not touch the solder points for more than 5 seconds, otherwise your components may be damaged.
- Before you start working, remove all easily inflammable materials from your workplace.
- Touch the soldering iron only by the handle provided, otherwise you will burn yourself. (But if you don't know that, let someone else do the work.)
Now solder the resistors.
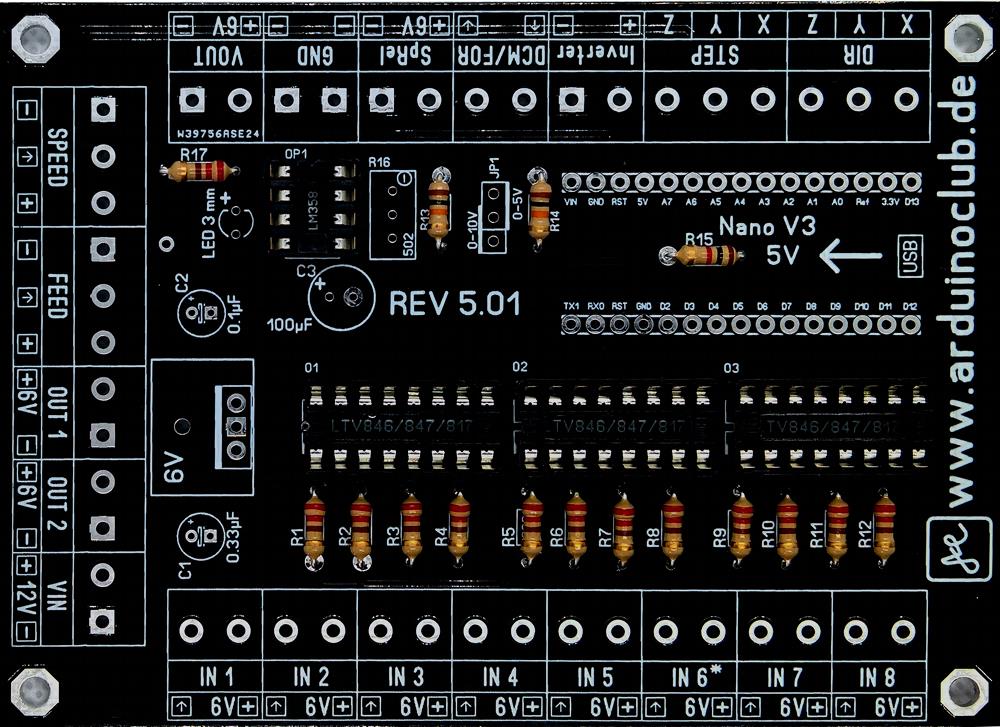
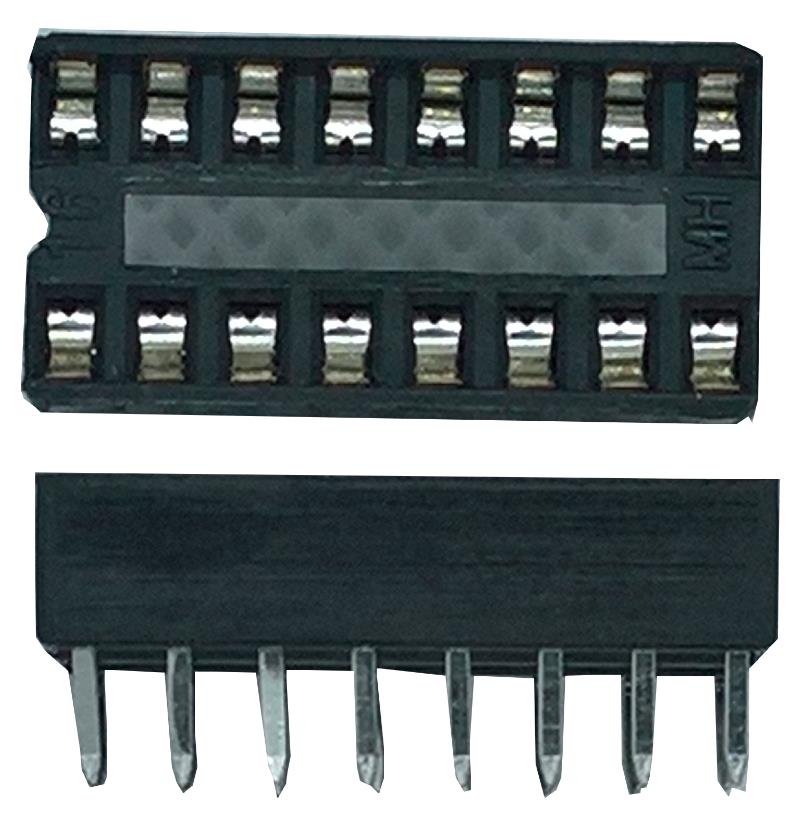
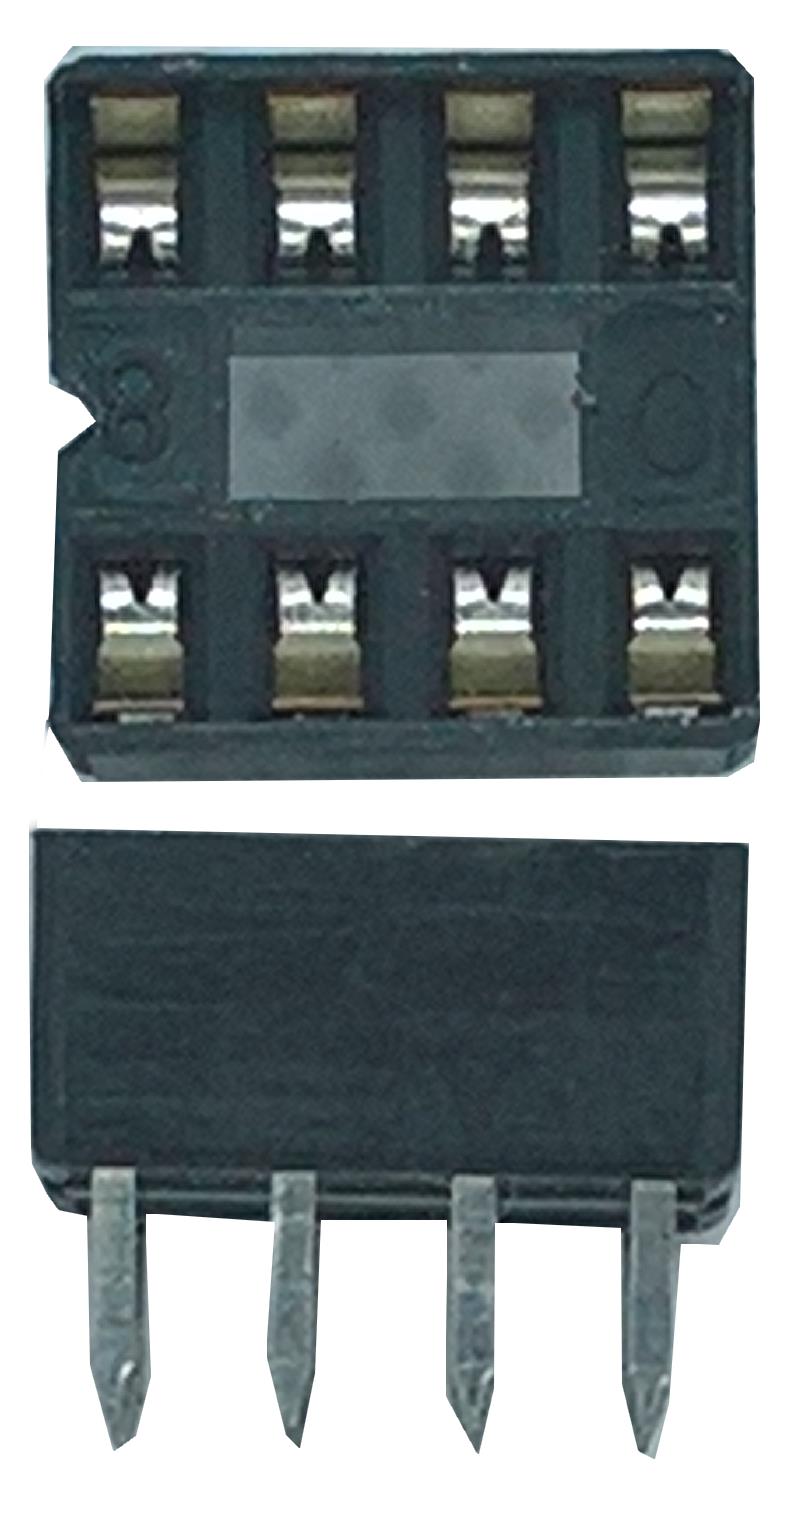
After you have soldered the resistors, you can cut the overhanging wire.
Now place the IC sockets on the PCB, the notch in the IC sockets, pointing in the direction of the white corner on the assembly print.
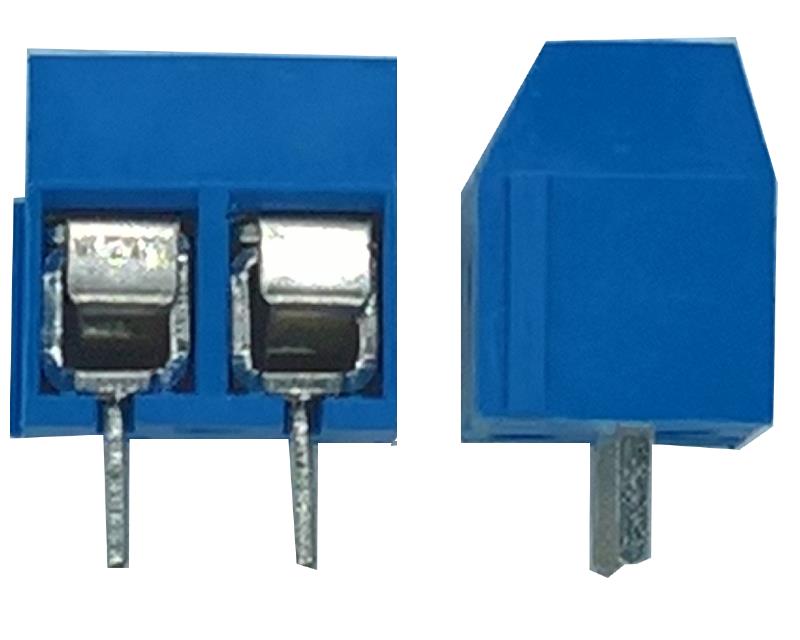
Now you have to connect the screw terminals to each other.
- Two pieces of eight
- One of six
When soldering, make sure that you press the screw terminals firmly against the circuit board so that they do not wiggle later.
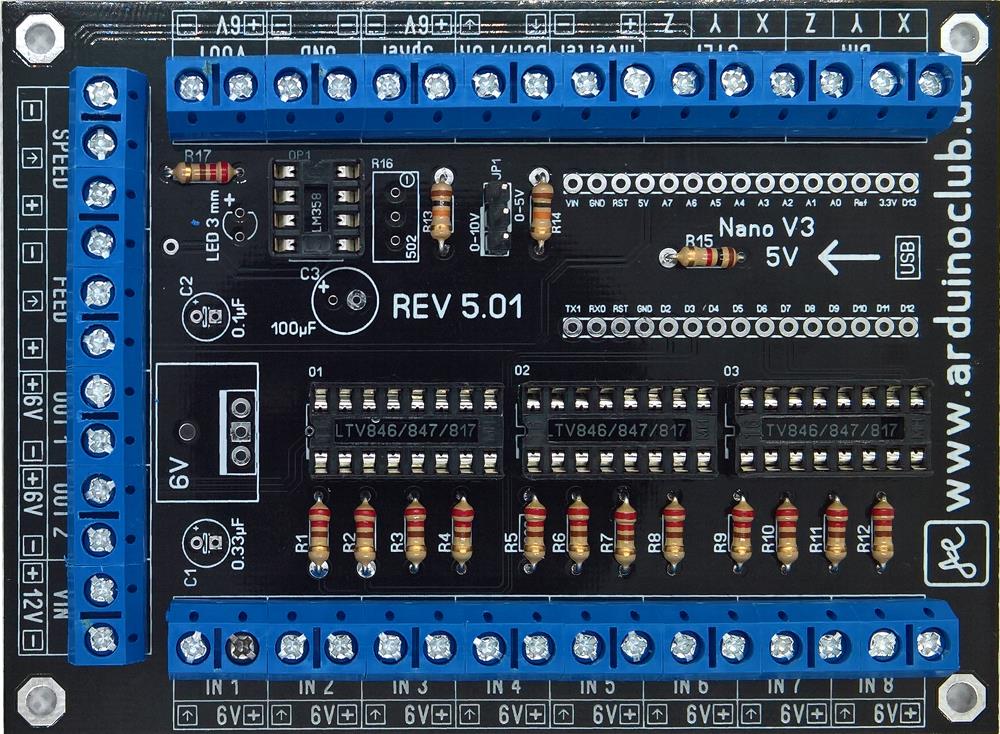
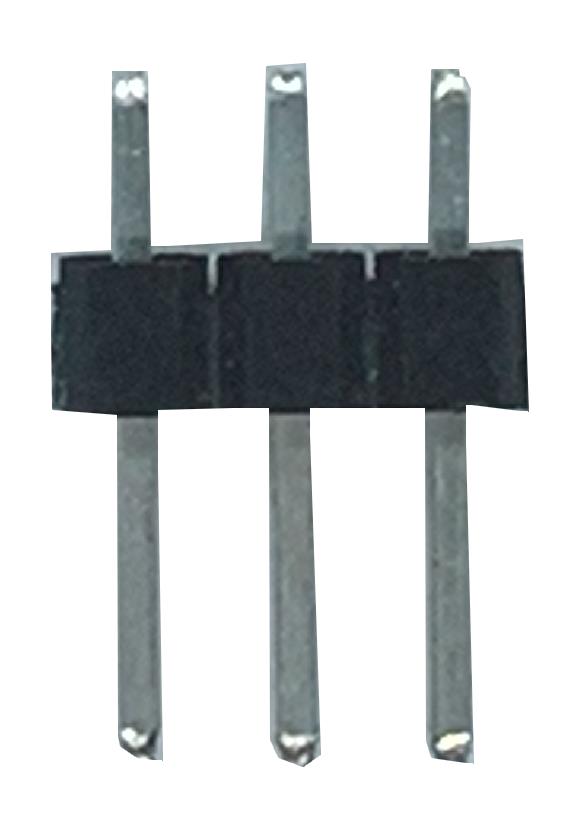
Now solder in the pin header, JP1.
The short ends point to the board. It is best to use a piece of tape to prevent the pin header from falling out when soldering.
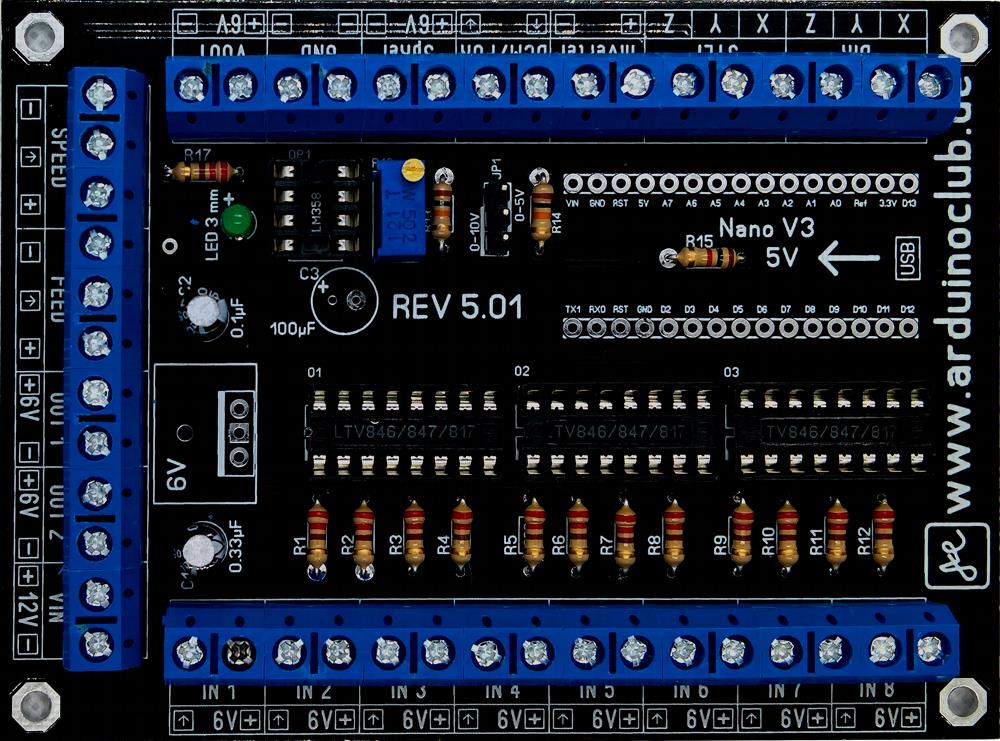
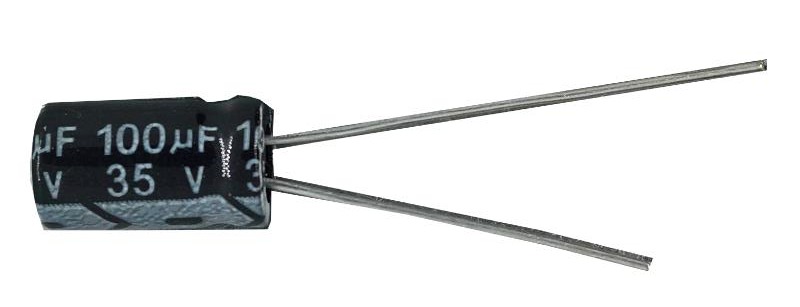
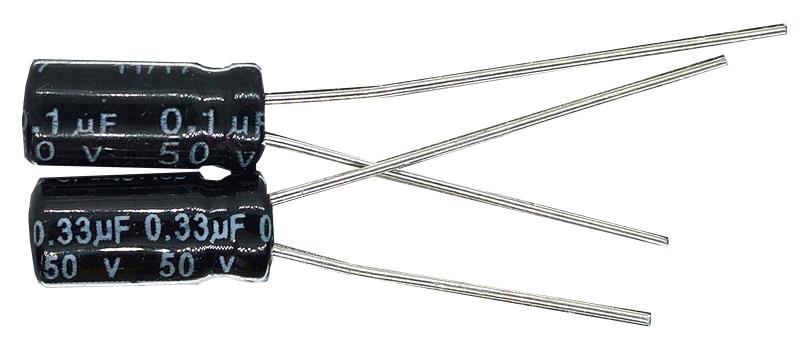
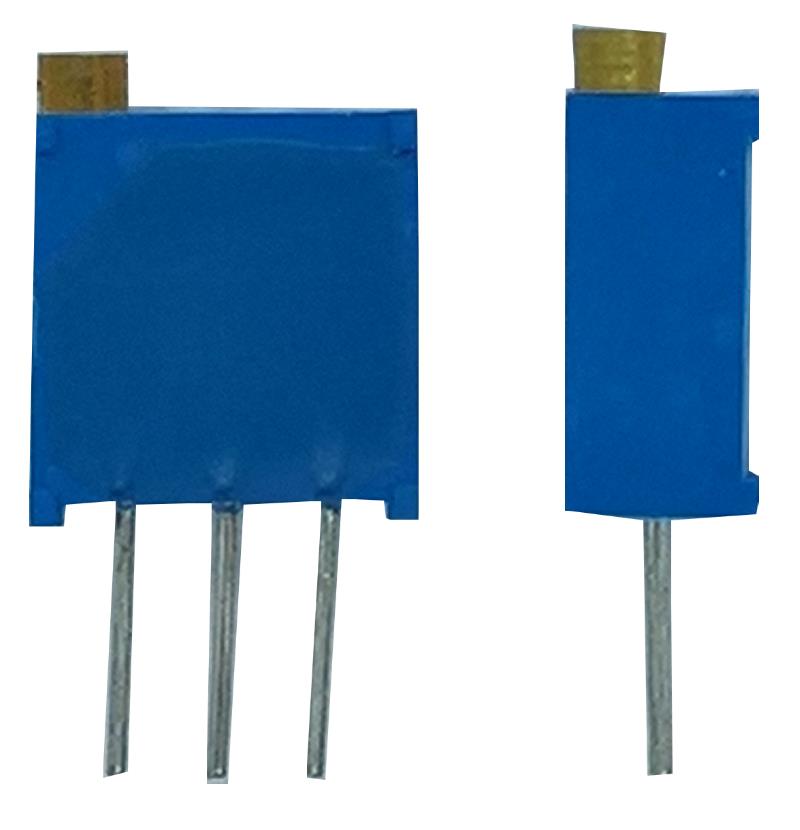

Now solder in the three capacitors and the LED. Make sure that the longer leg is the plus pole.
It's time to solder the precision potentiometer, make sure that the screw matches the print on the PCB.
If this is wrong, the direction of rotation will not be correct later.
It is better to solder only the middle leg, then press the potentiometer on the PCB and heat the solder point again. The potentiometer is now firmly seated on the PCB.
Solder the other legs.
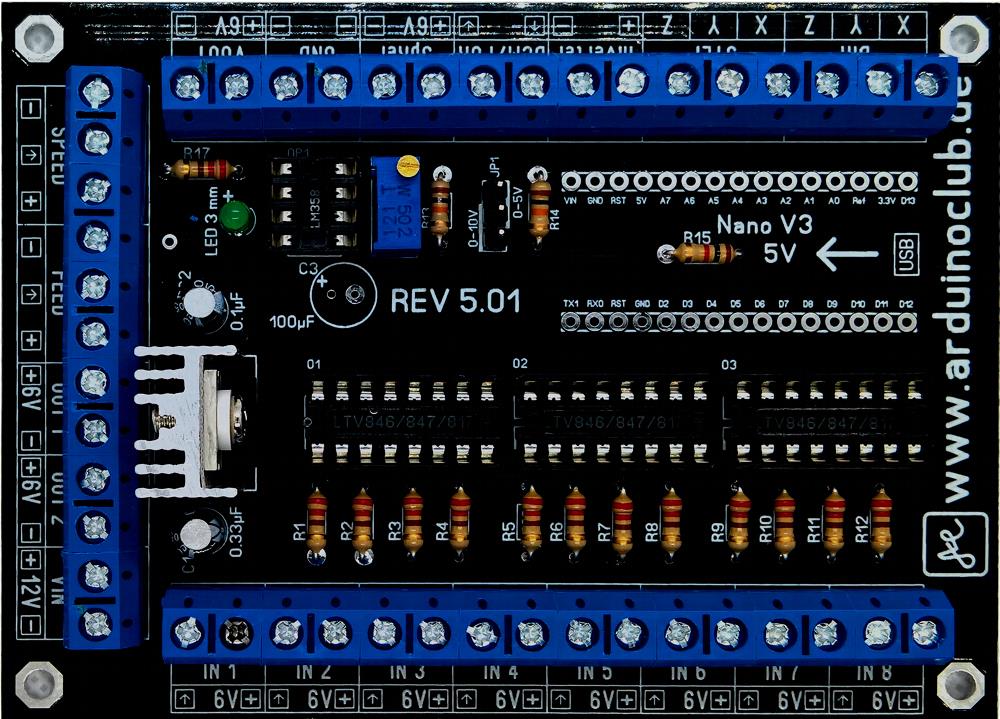
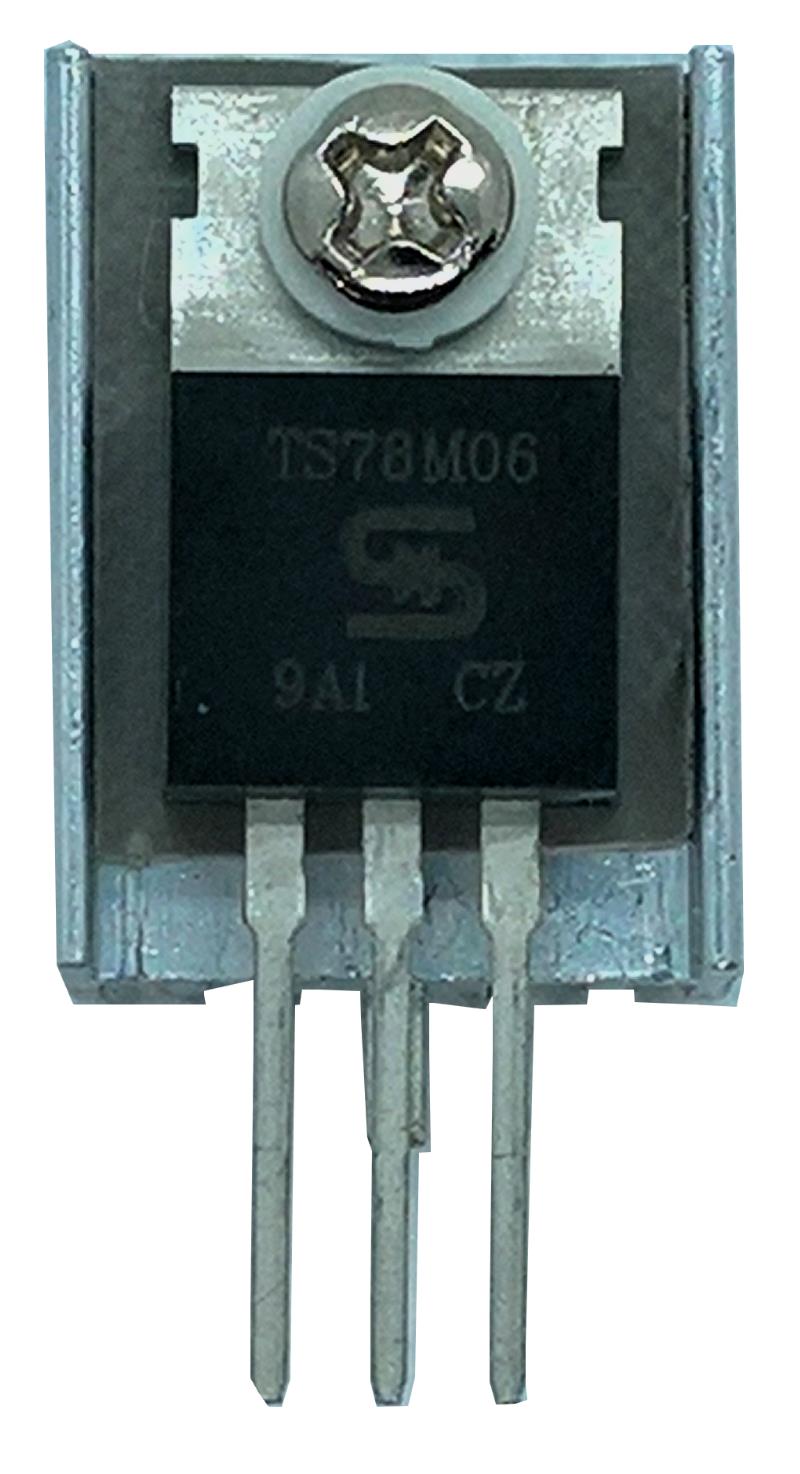
Screw the voltage transformer together with the heat sink, but don't tighten the screw yet.
Now place the cooler with the voltage converter on the circuit board and solder only the heat sink.
Turn the board a little and press the heat sink against the board with one hand.
Now heat the solder point again.
The heatsink now sits firmly on the board.
Tighten the screw and solder the voltage transformer.
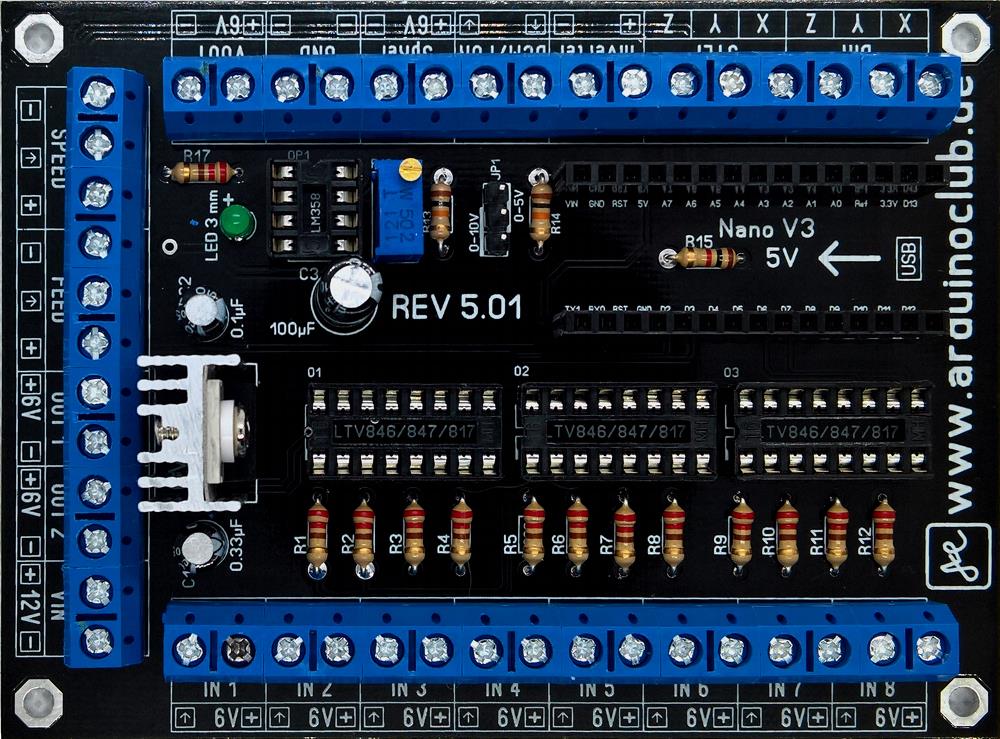
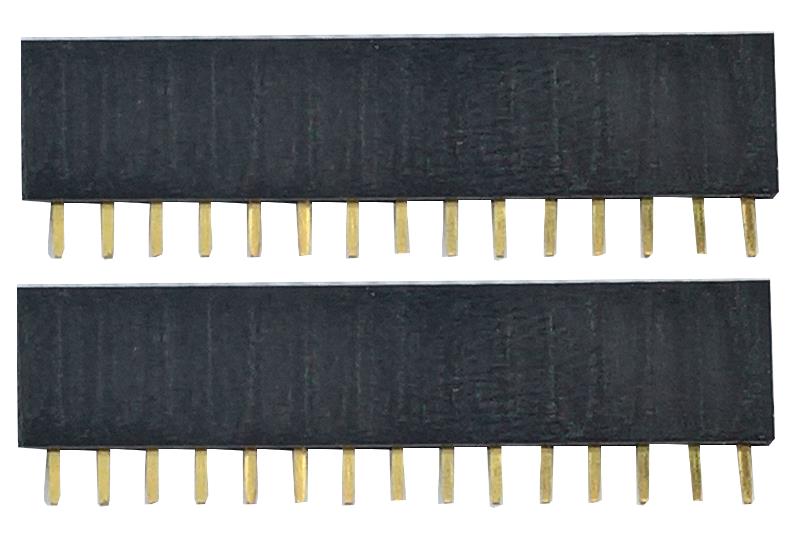
Split the female connector into two parts of 15.
If you have an Arduino Nano there, you can measure it with it. It is better to solder the socket connector together with the Nano, then everything will fit later.
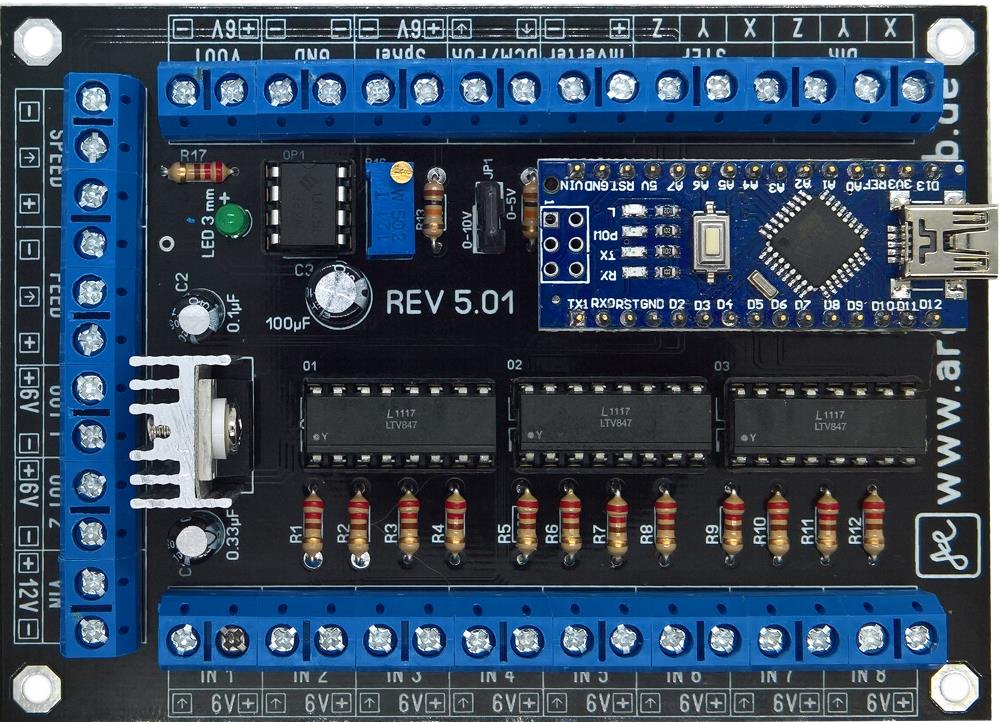
I hope I didn't forget anything.
The CNC control is now ready. In the next manual we will install it into a China CNC control.
Thank you and goodbye.