BrainGame
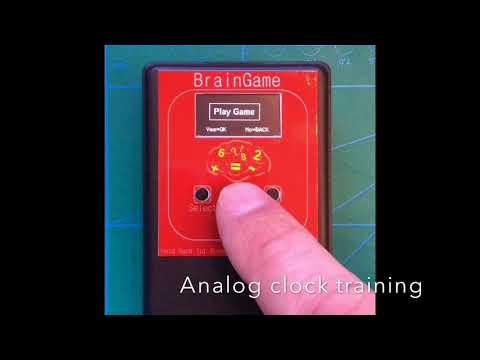
Hi in this instruct I will show how to build a small game used for practice mathematics, with an Arduino Uno and an Oled display.
It all started when I was helping my son with his schoolwork.
I came up with the Idea to make a device use to practice the analog clock and the basic arithmetic’s.
If you have read my other instruct, "OLEDDICE” you probably recognize the box and other things from that project.
When I did the design for the dice project I bought several custom-made PCB s and designed them for a specific box, therefore I will reuse it for many portable projects.
Because of the above the video showing the final custom brain-game and how to use it, but in this instruct I will describe how to build it on a breadboard.
There are two version available.
1. Standard version
2. AutoPowerOff Version
The AutoPowerOff version has a few extra components added to switch off the power automatically to save batteries.
It is the perfect choice if you, like me make one to be portable.
Functions
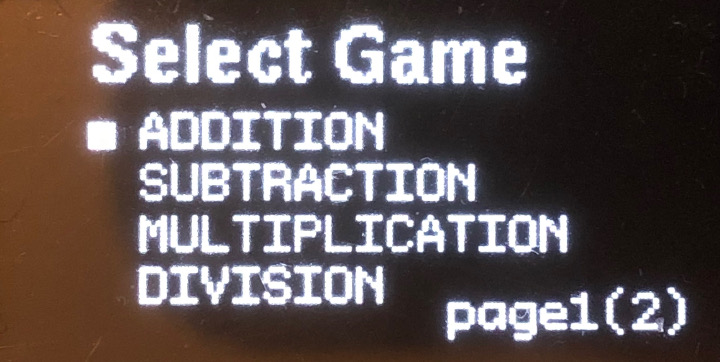
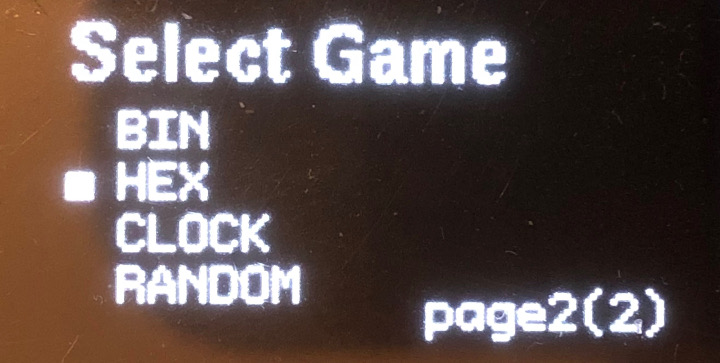
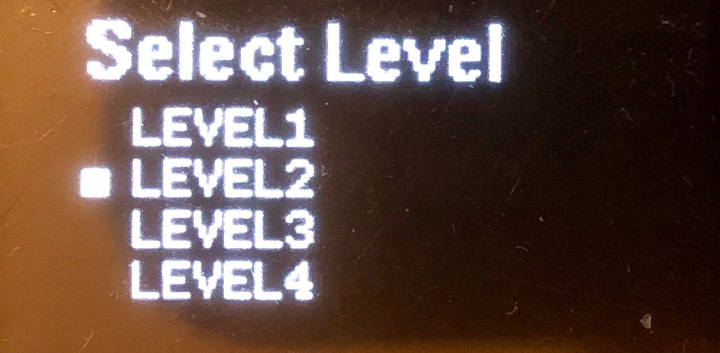
The functions described below are the same for both version except for the AutoPowerOff feature.
The game has three standard momentary PCB switches for the control.
Select ,OK, and Back
This is how to play.
When you first power up the game you will be prompt to select game from the game menu.
You can choose from, 2 pages.
First page:
- addition
- subtraction
- multiplication
- division
Second page:
- binary conversion
- hex conversion
- Analog clock readouts
- Random mode running through the basic math.
When you have decided which game you want to play, press OK and you will move to the next menu to choose
- level from 1-4.
Hitting the back button will take you back to the previous menu.
Start Play
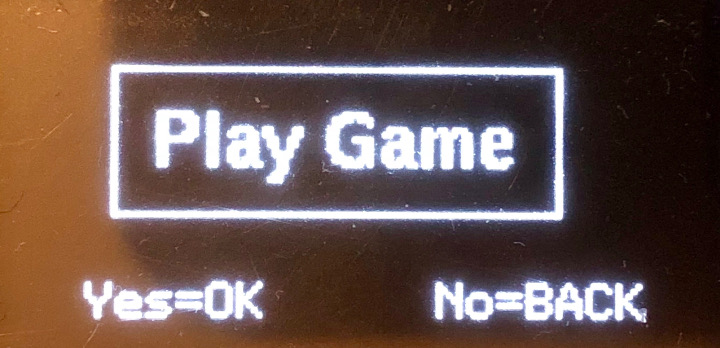
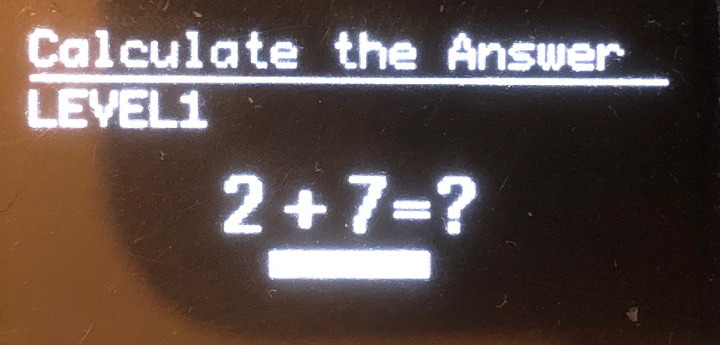
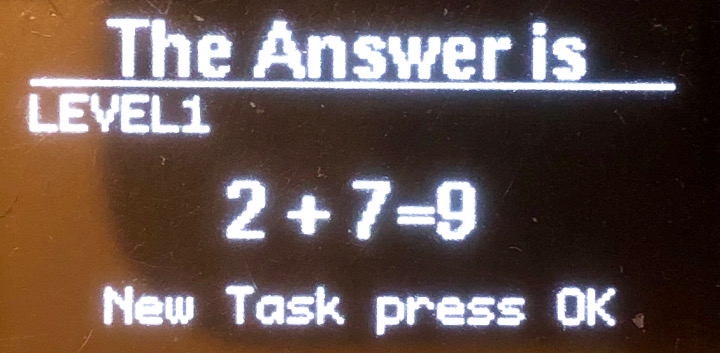
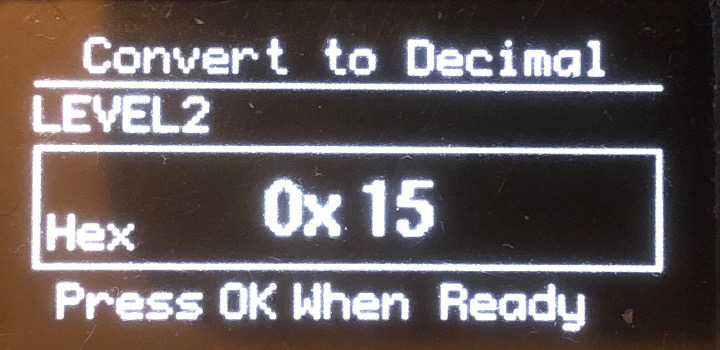
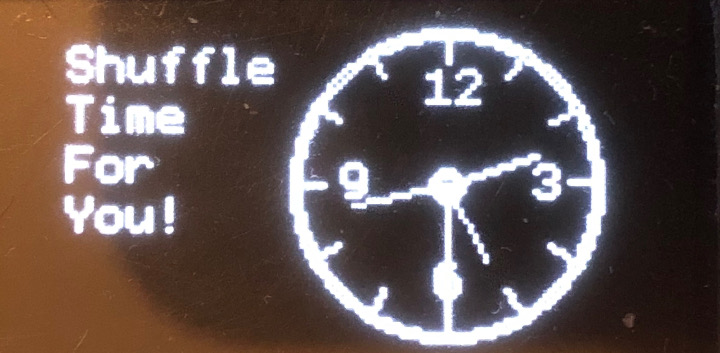
Press ok to start play.
Game 1-4
If you have chosen game from the first menu, you will have a question and a growing time bar at the bottom of the display. When the time has run out the game will display the correct answer.
Hitting the ok again will give you a new task.
Game 5-8
If choosing conversion from the second page the behavior is similar, but here you randomly have to convert, from or to, between decimal, binary or hex.
Playing this game, you will not have the time bar, just press ok when ready to display the answer.
The last game is the analog clock readouts, when hitting the ok the clock starts to spin and slow down a random number of time before it stops, and you will then be prompted to answer what time it is.
To make it easier, the clock will always stop on 5 min intervals.
For all games you will have a sound signal when playing if the sound is activated.
To activate or deactivate the sound, press and hold the back button for more than 1 sec. If the sound is deactivated there is a small mute symbol in the right upper corner.
AutoPowerOff Functions
If you build the AutoPowerOff version there is a few additional functions.
You power up the device by holding the ok button for a second. The game is running for about 60 sec before you will have an auto power off warning, if not playing any game.
If you don’t hit any button, the power goes off, this ensure you will never forgot to switch off the game.
Pressing any button will reset the timer.
Holding the Back button for more than three seconds, then release it will force the game to shut off.
The sketch uses the EEPROM library that comes with the Arduino IDE to store data.
Just before the power goes off the micro controller save the latest state and will recall those upon next restart, Game, Level and Sound state.
Lets Start Build
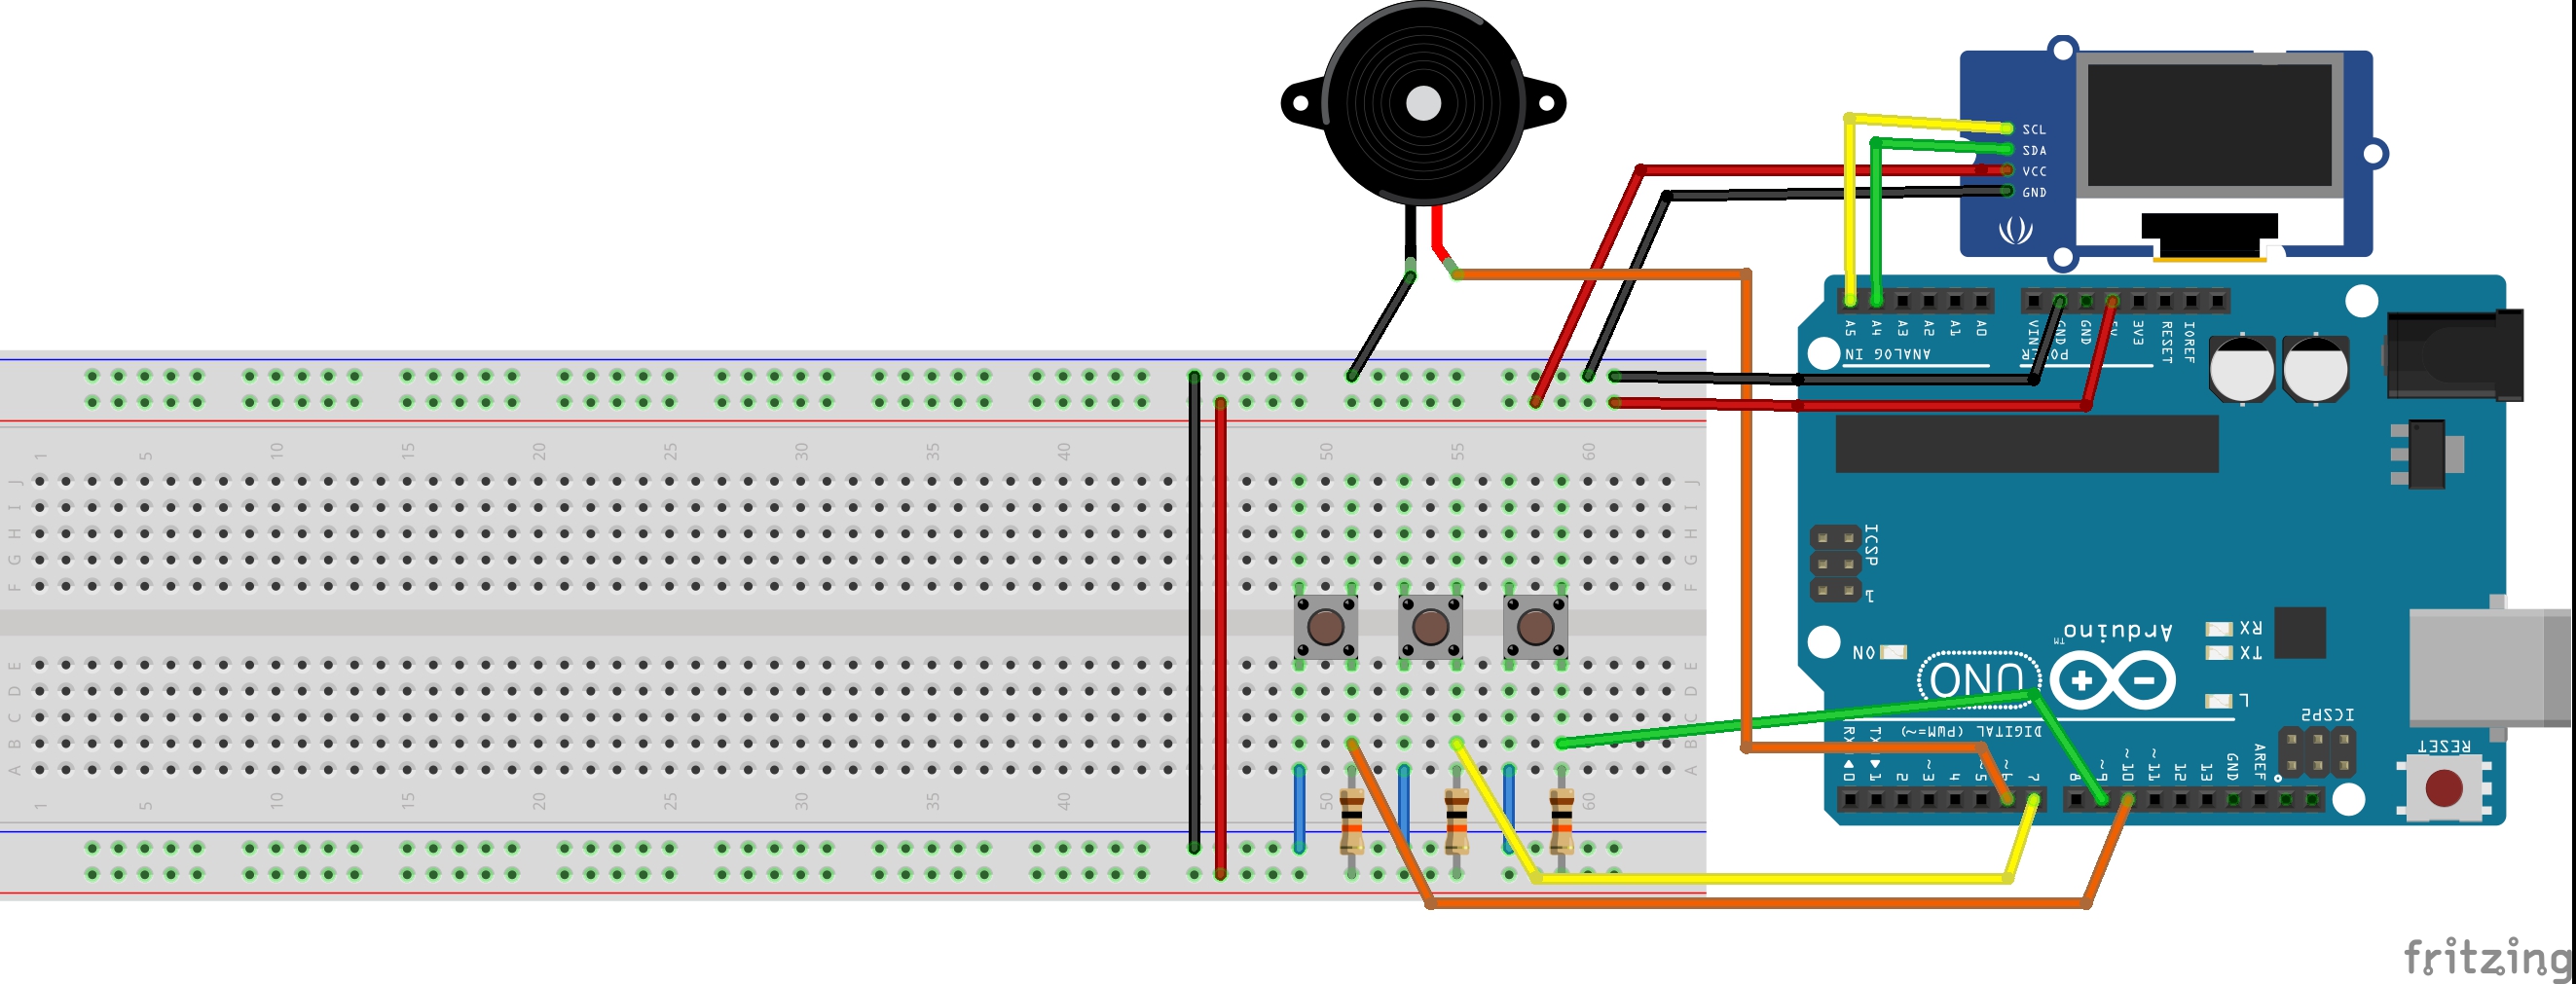
This is what you need.
Both versions:
1 Arduino Uno
1 0.96" i2c Oled display Oled display
3 momentary push buttons PCB Switch
3 Resistors 10K
1 Piezo element
1 solderless BreadBboard
some jumper wires.
AutoPowerOff Version:
For the AutoPowerOff version you also need.
1 Pfet Transistor IRF9640 or similar
1 NPN Transitor BC547 or similar
2 Diodes 1N4148
1 Voltage regulator 7805
2 Resistors 100K
2 Capacitors 10uF
1 Capacitor 0,1uF
1 9 Volt battery
Building the standard version is just about connecting the oled display, the piezo, the buttons and the pullup resistors. see the fritzing picture above.
The SCL on the display is connected to Analog5 and the SDA is connected to Analog4 on the Arduino.
AutoPowerOff Version
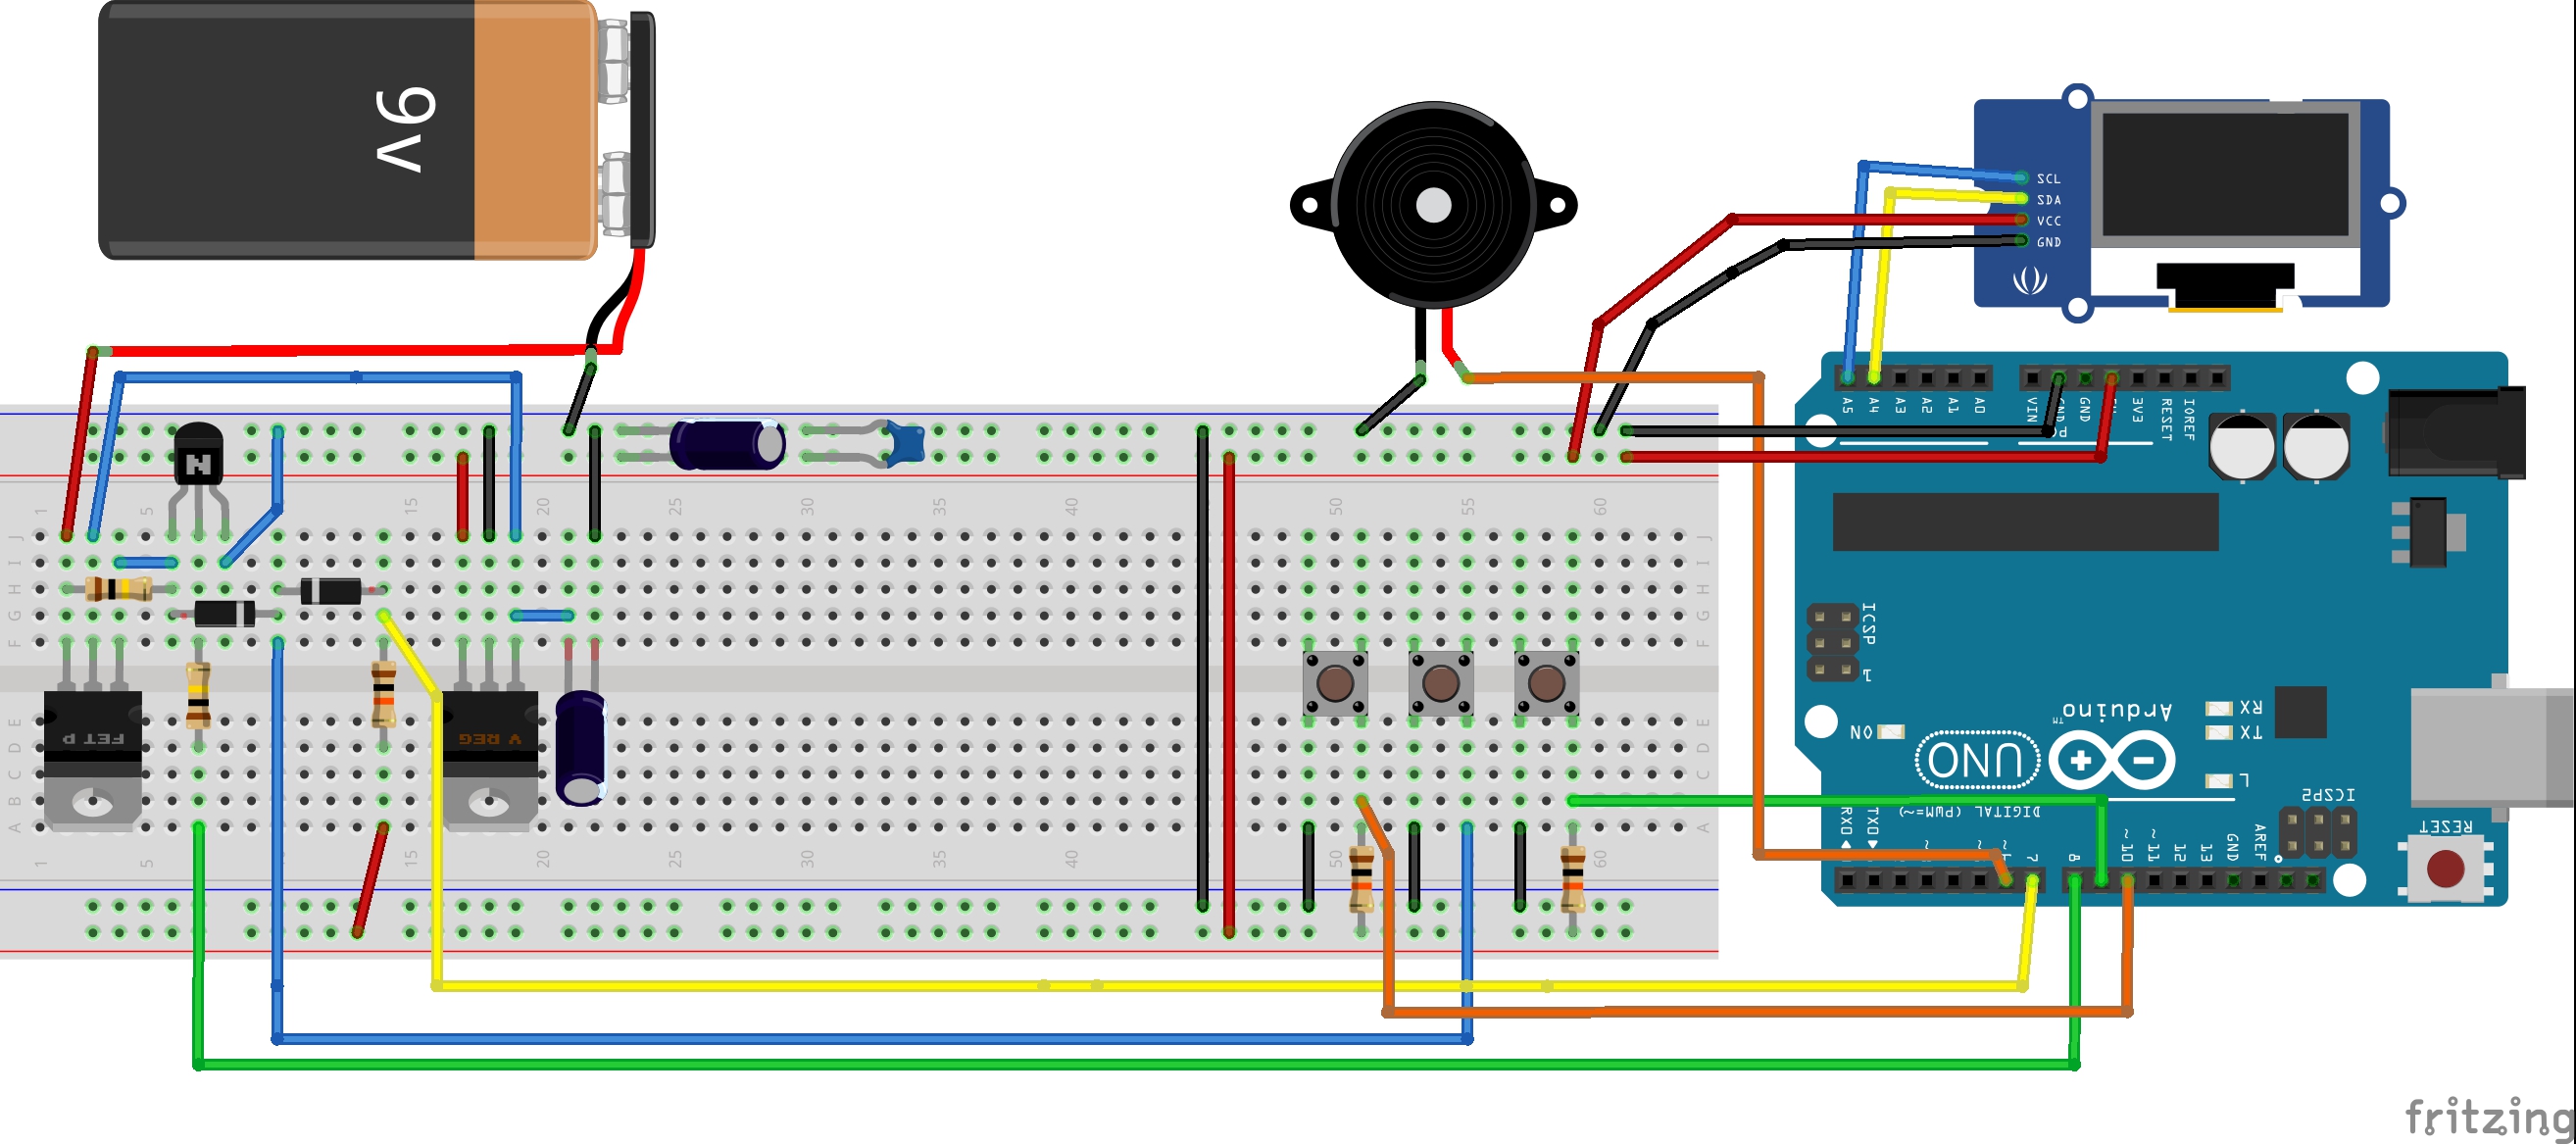
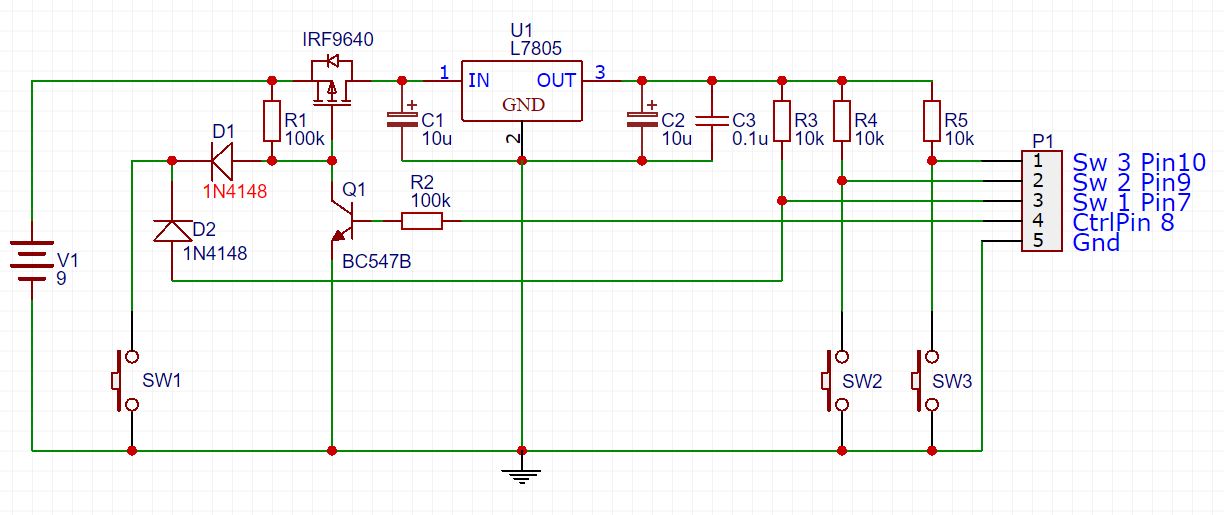
If building the Autopoweroff version, you must add the extra components from the list to your breadboard.
Note that you need to move the 10K pullup resistor for the Ok button to the power control circuit and add extra wire from Digital output 8.
Also make sure to power your Arduino through the 5 Volt pin on the top (Not through the DC jack on the side).
You also need to remove your USB cable when the sketch is loaded, otherwise the auto power off function will not work depending on that the Arduino is powered by the USB even if the circuit is off.
This is how the auto power off circuit works.
When pressing the ok button the voltage drop on the PFet:s Gate allowing the power from the battery to flow through the transistor to the voltage regulator that stabilize the voltage to 5 Volt.
When the Arduino is powered the digital pin 8 is set to logic HIGH and the Pin is connected to the base of BC547 which will lock the circuit as long as the digital pin 8 is HIGH.
The ok button is also controlling the digital input 7 on the Arduino through the diode D2.
The Sketch

The sketch uses the U8g2 library for the display, you find it here. https://github.com/olikraus/u8g2/
Download and install before compiling the code.
Need help to install library’s?https://www.arduino.cc/en/guide/Libraries
IMPORTANT:
You use the same sketch for both version, but you need to exclude the "#define AUTOPOWER" at the begining of the sketch if building the standard version.
Downloads
Modifications


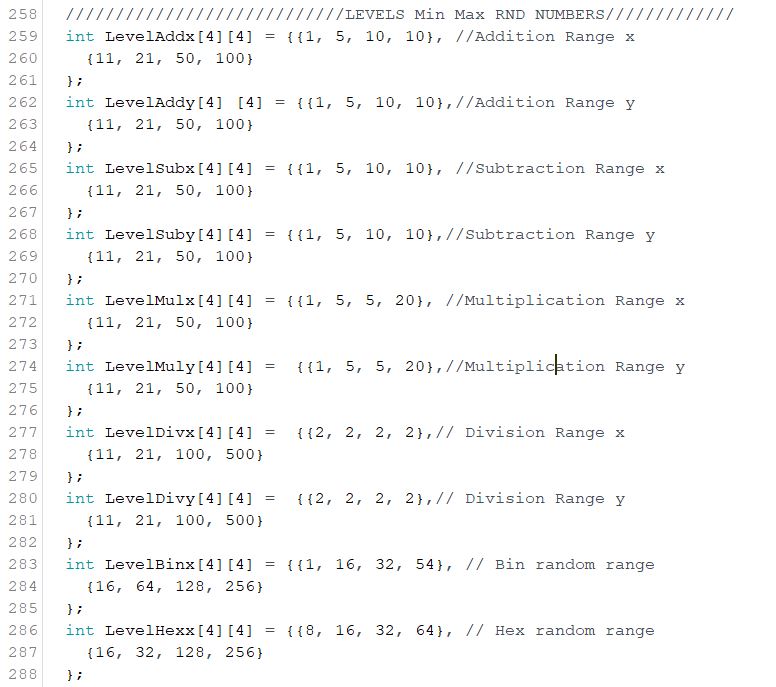
There are a few parameters in the sketch that the user maybe want to change to better suit the players references.
- The time to think for various levels.
- Random range for different game and levels.
The Random numbers range is stored in a 2dim array for each game, and each level.
If you use an oled with different I2c address than default, you can easily change that to suit your display.
Finish
You are done.
I hope you like the project and the game.
Have fun.
Tomas