Arduino Bluetooth RC Car
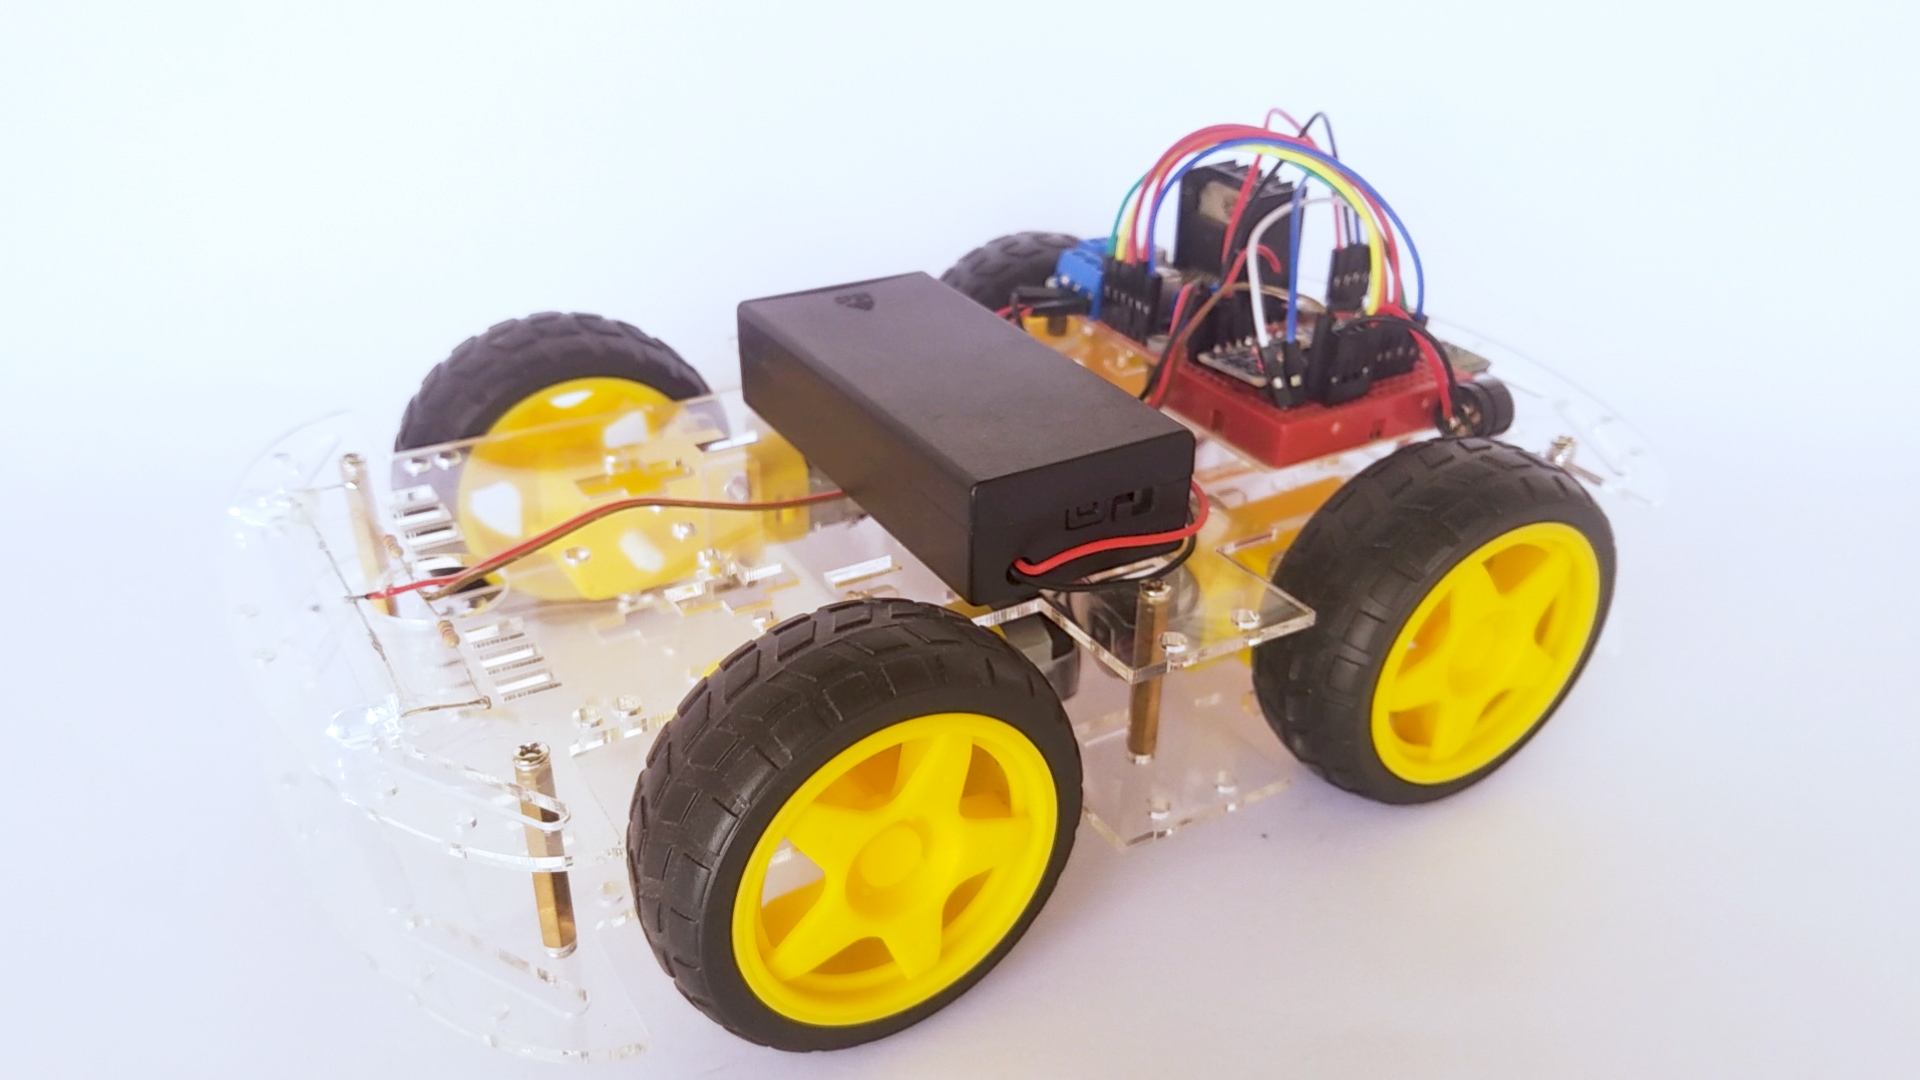
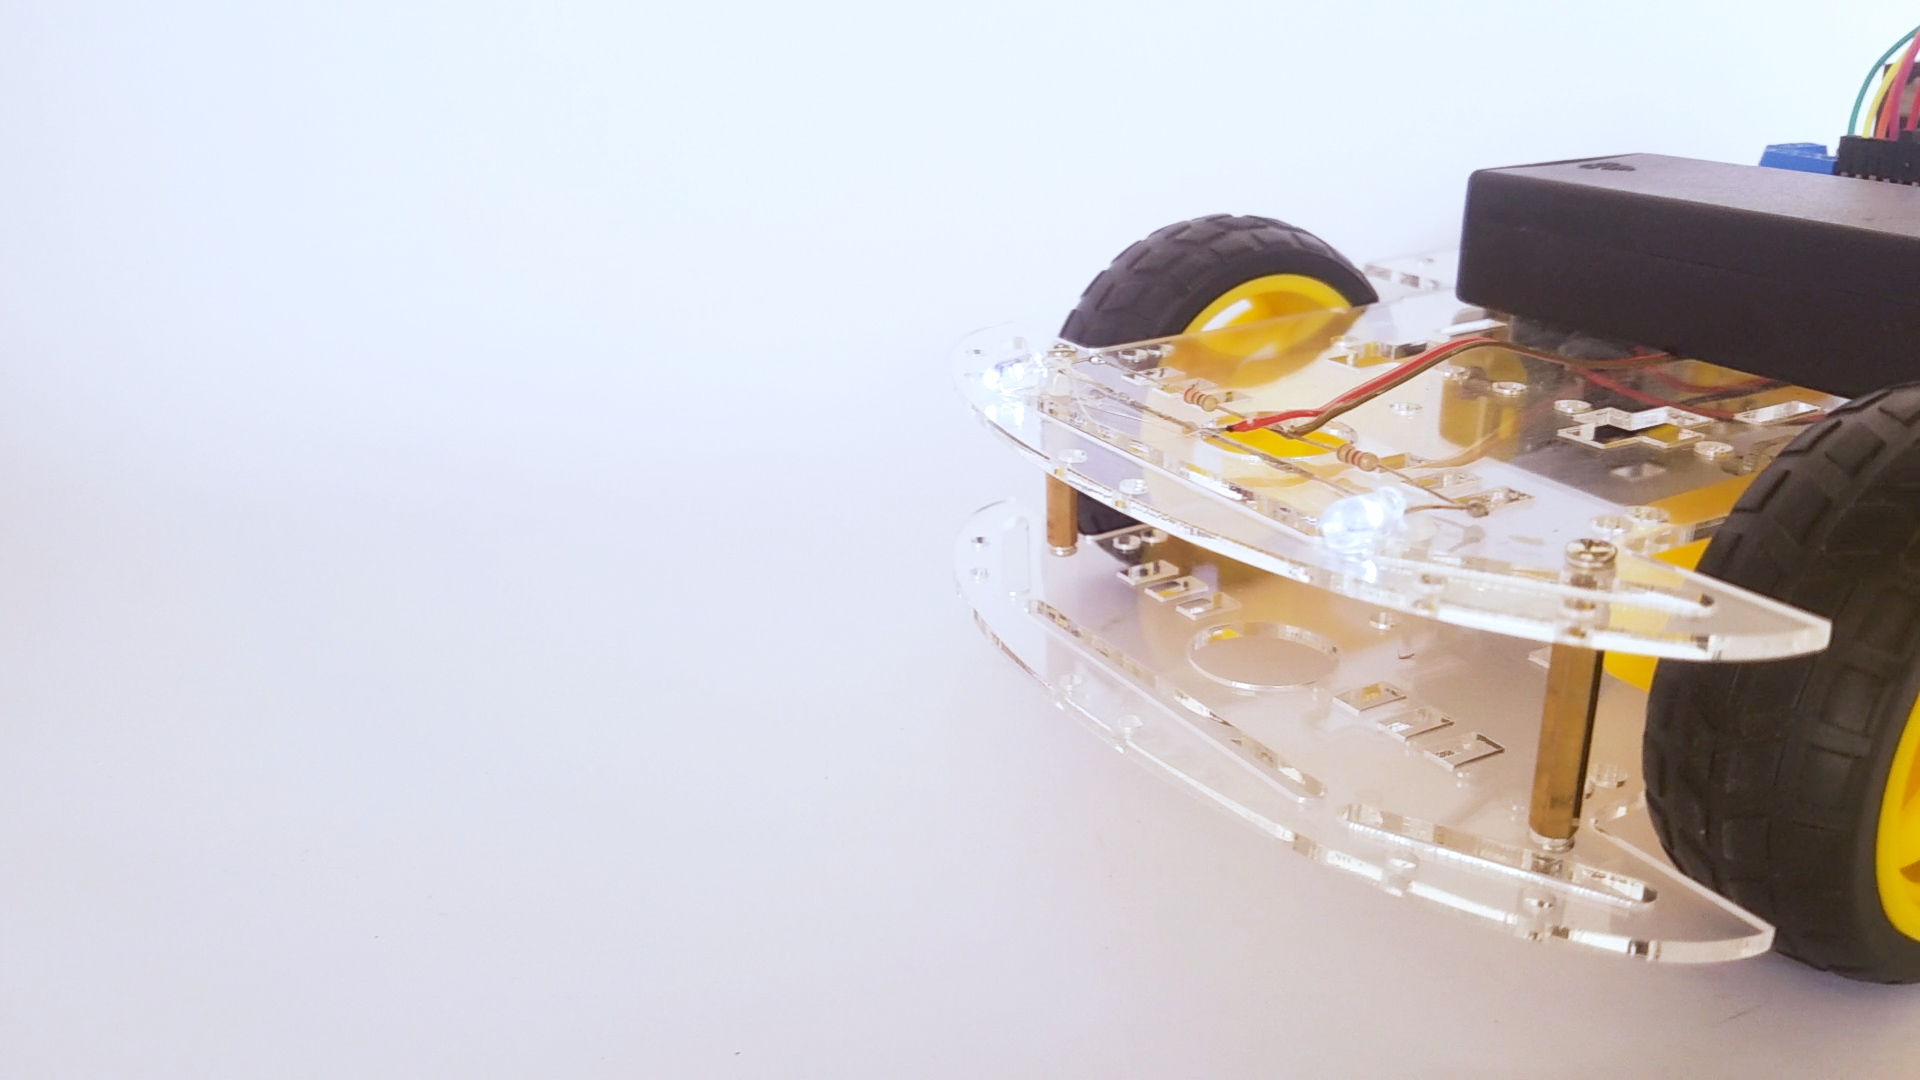
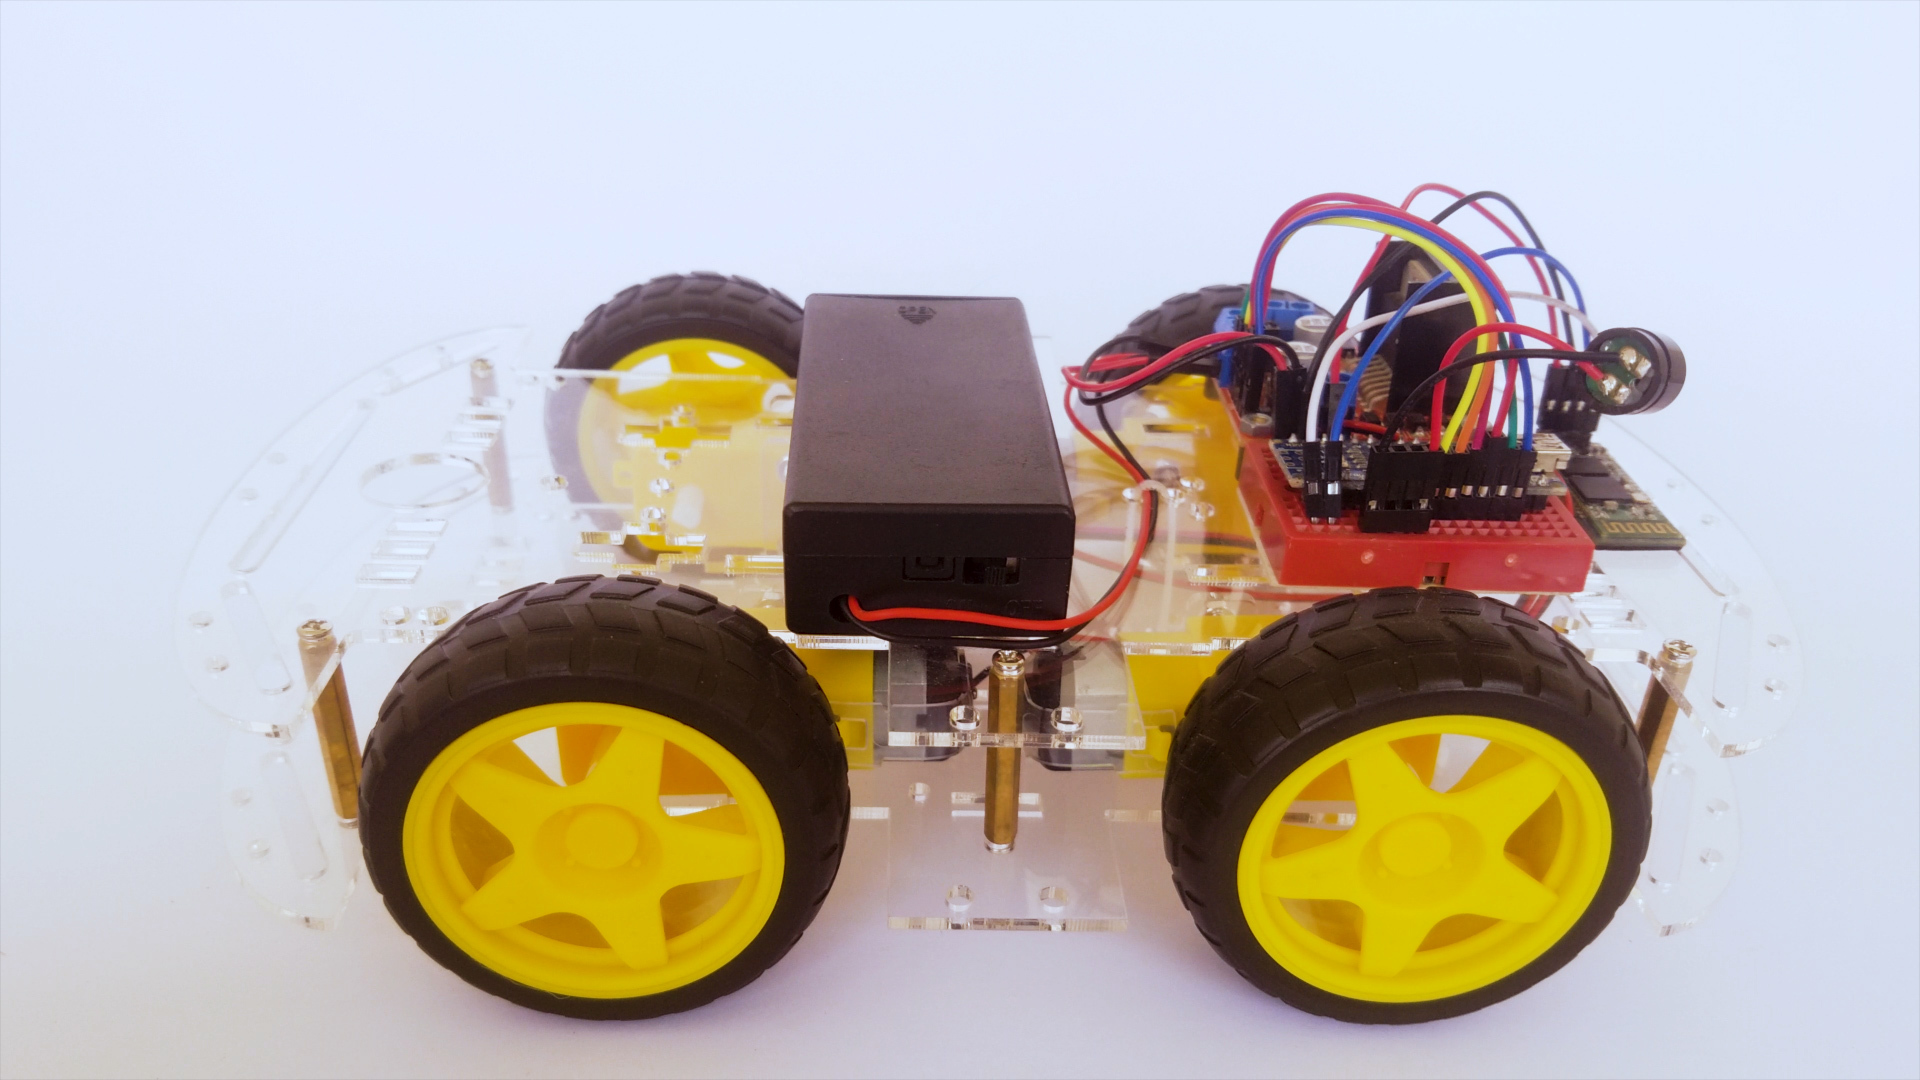
I've created this instructable to accompany my youtube video, for now I'll suggest you to watch the video as it is much more detailed but I will work on this instructable and make it better soon!
Required Tools & Parts
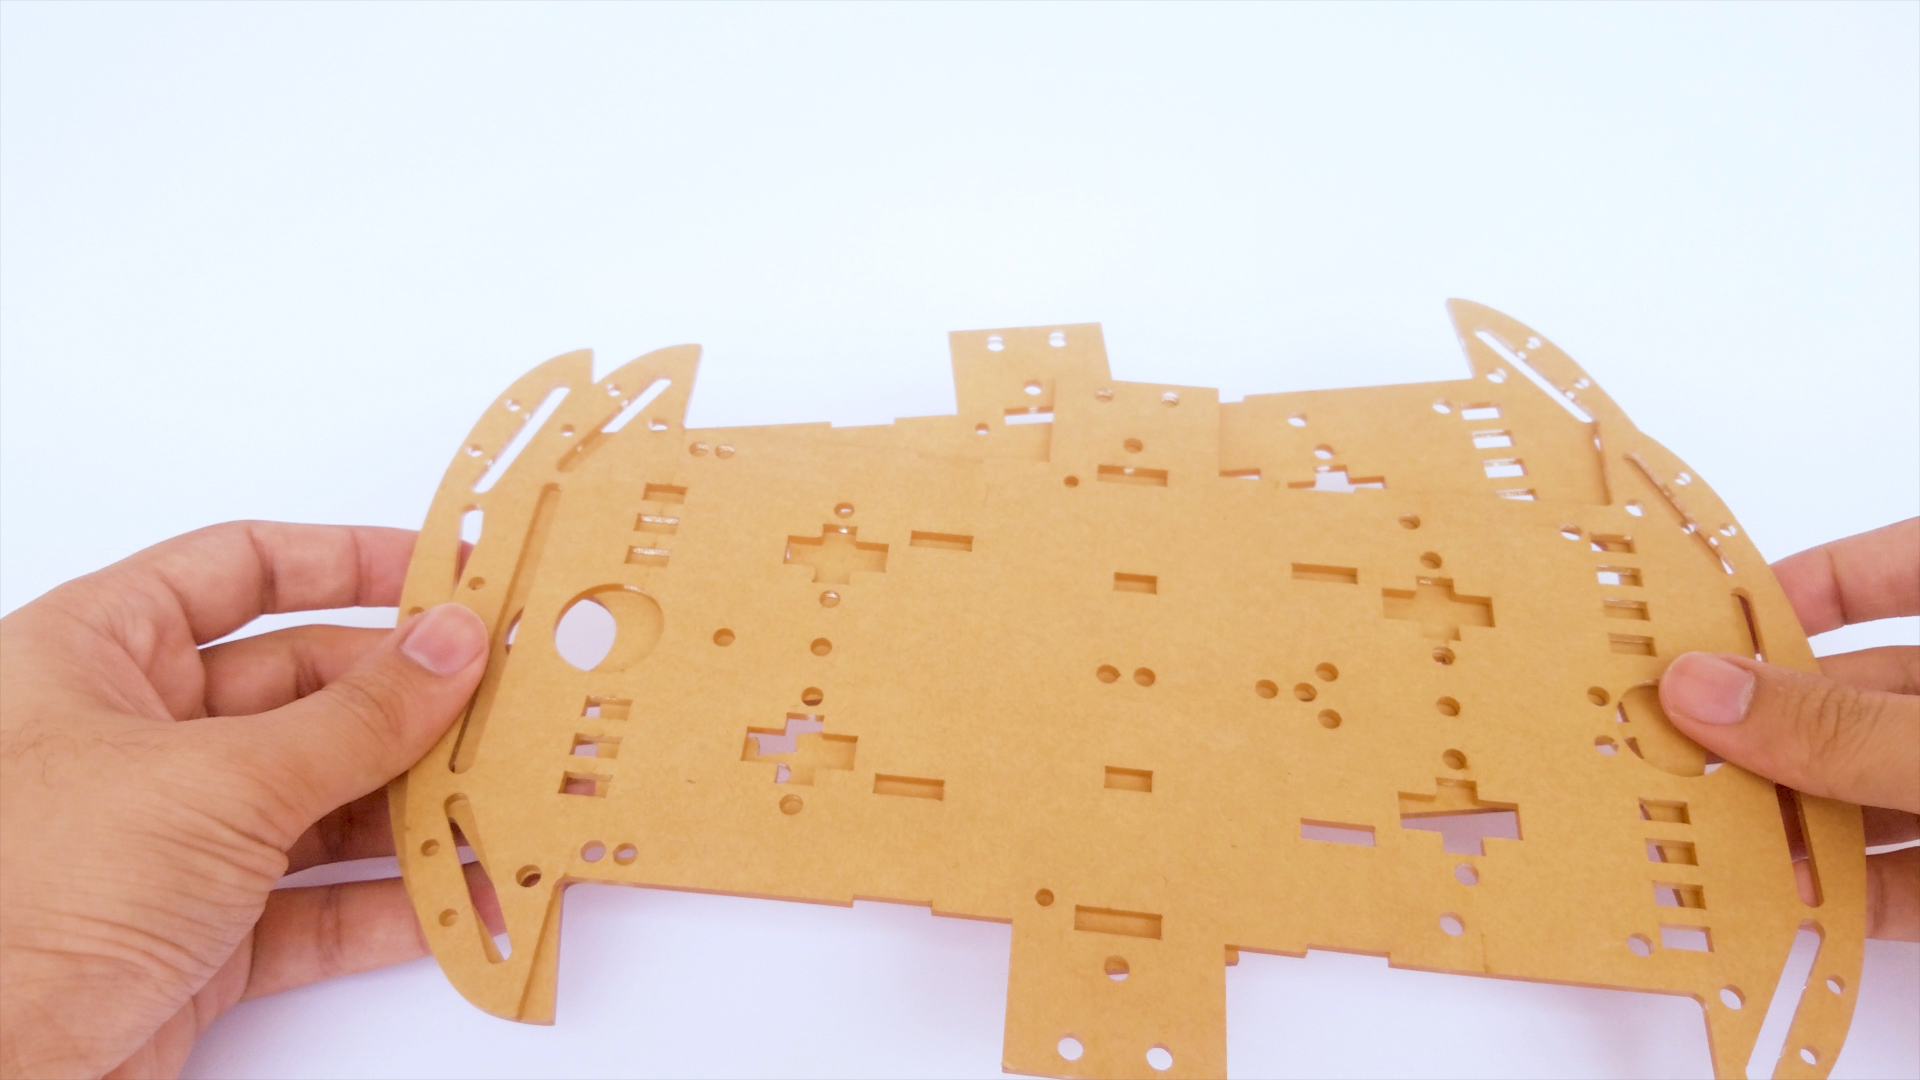
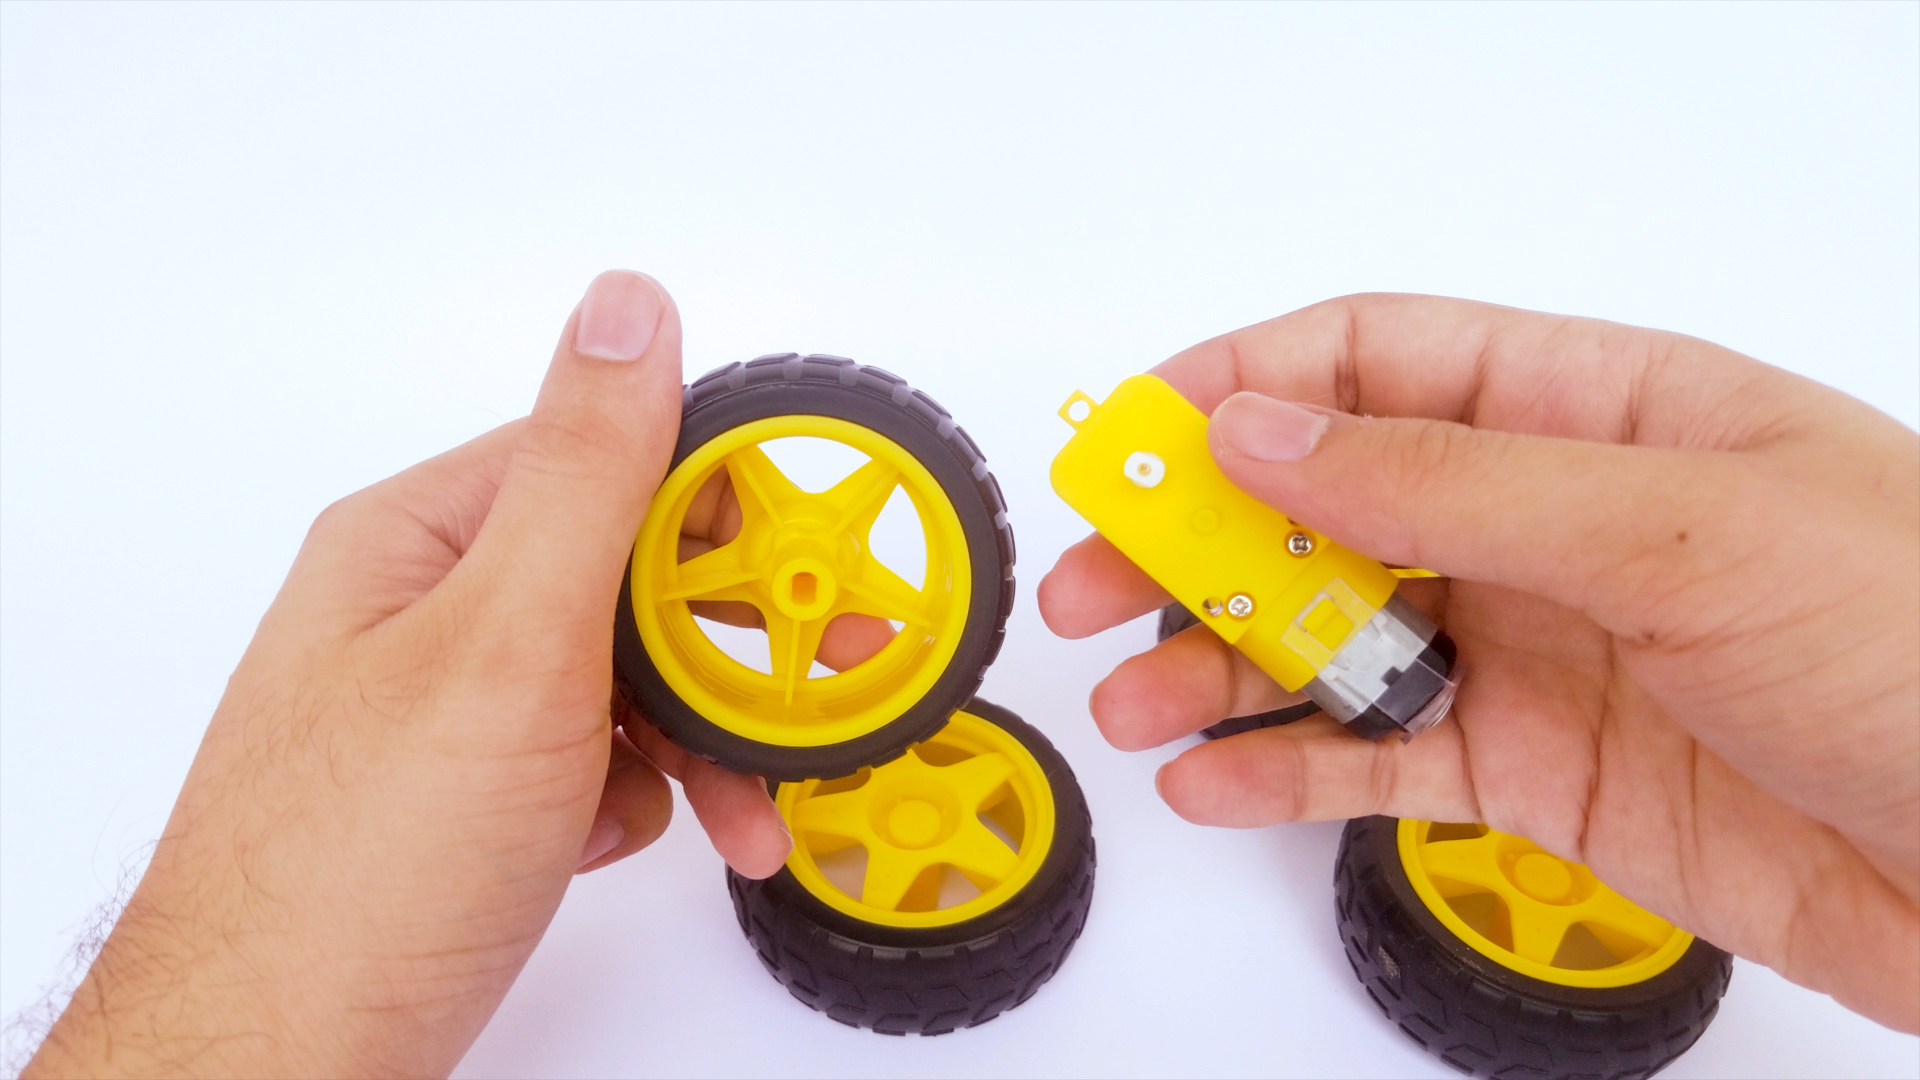
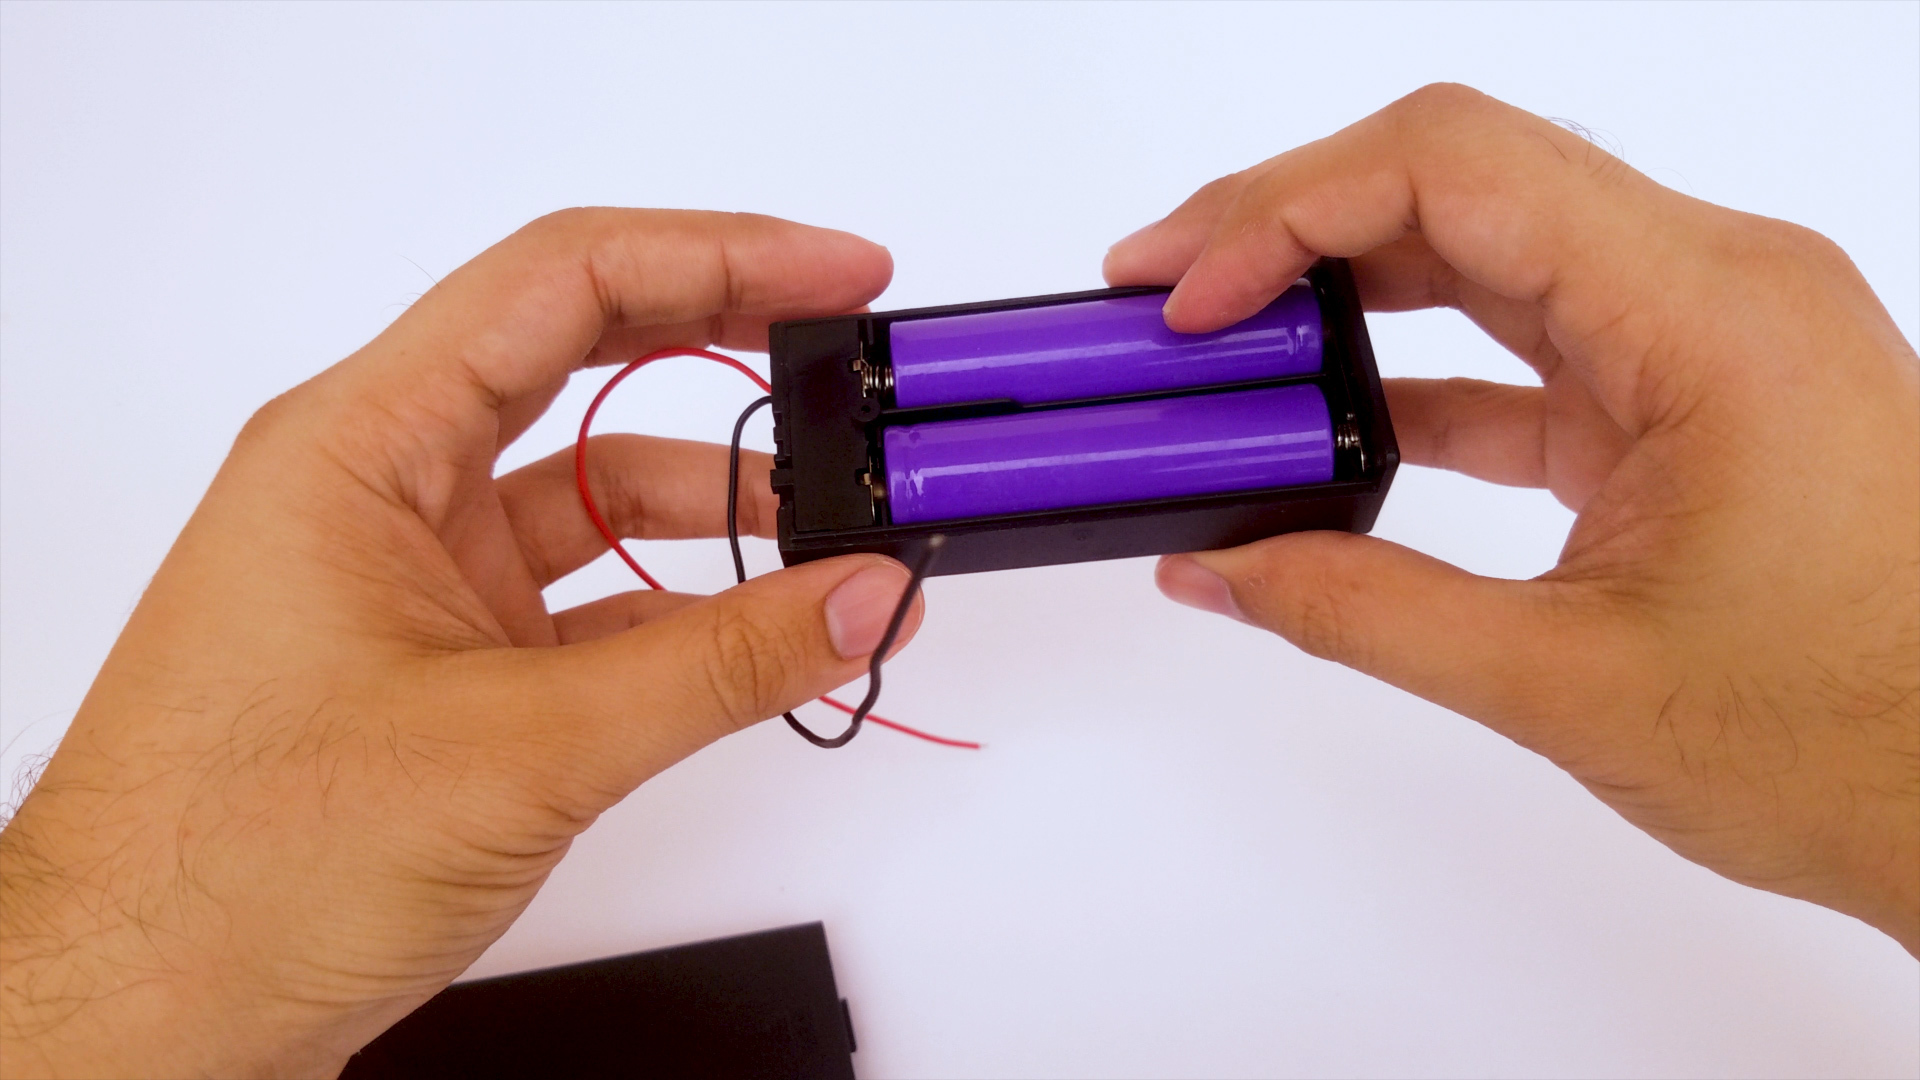
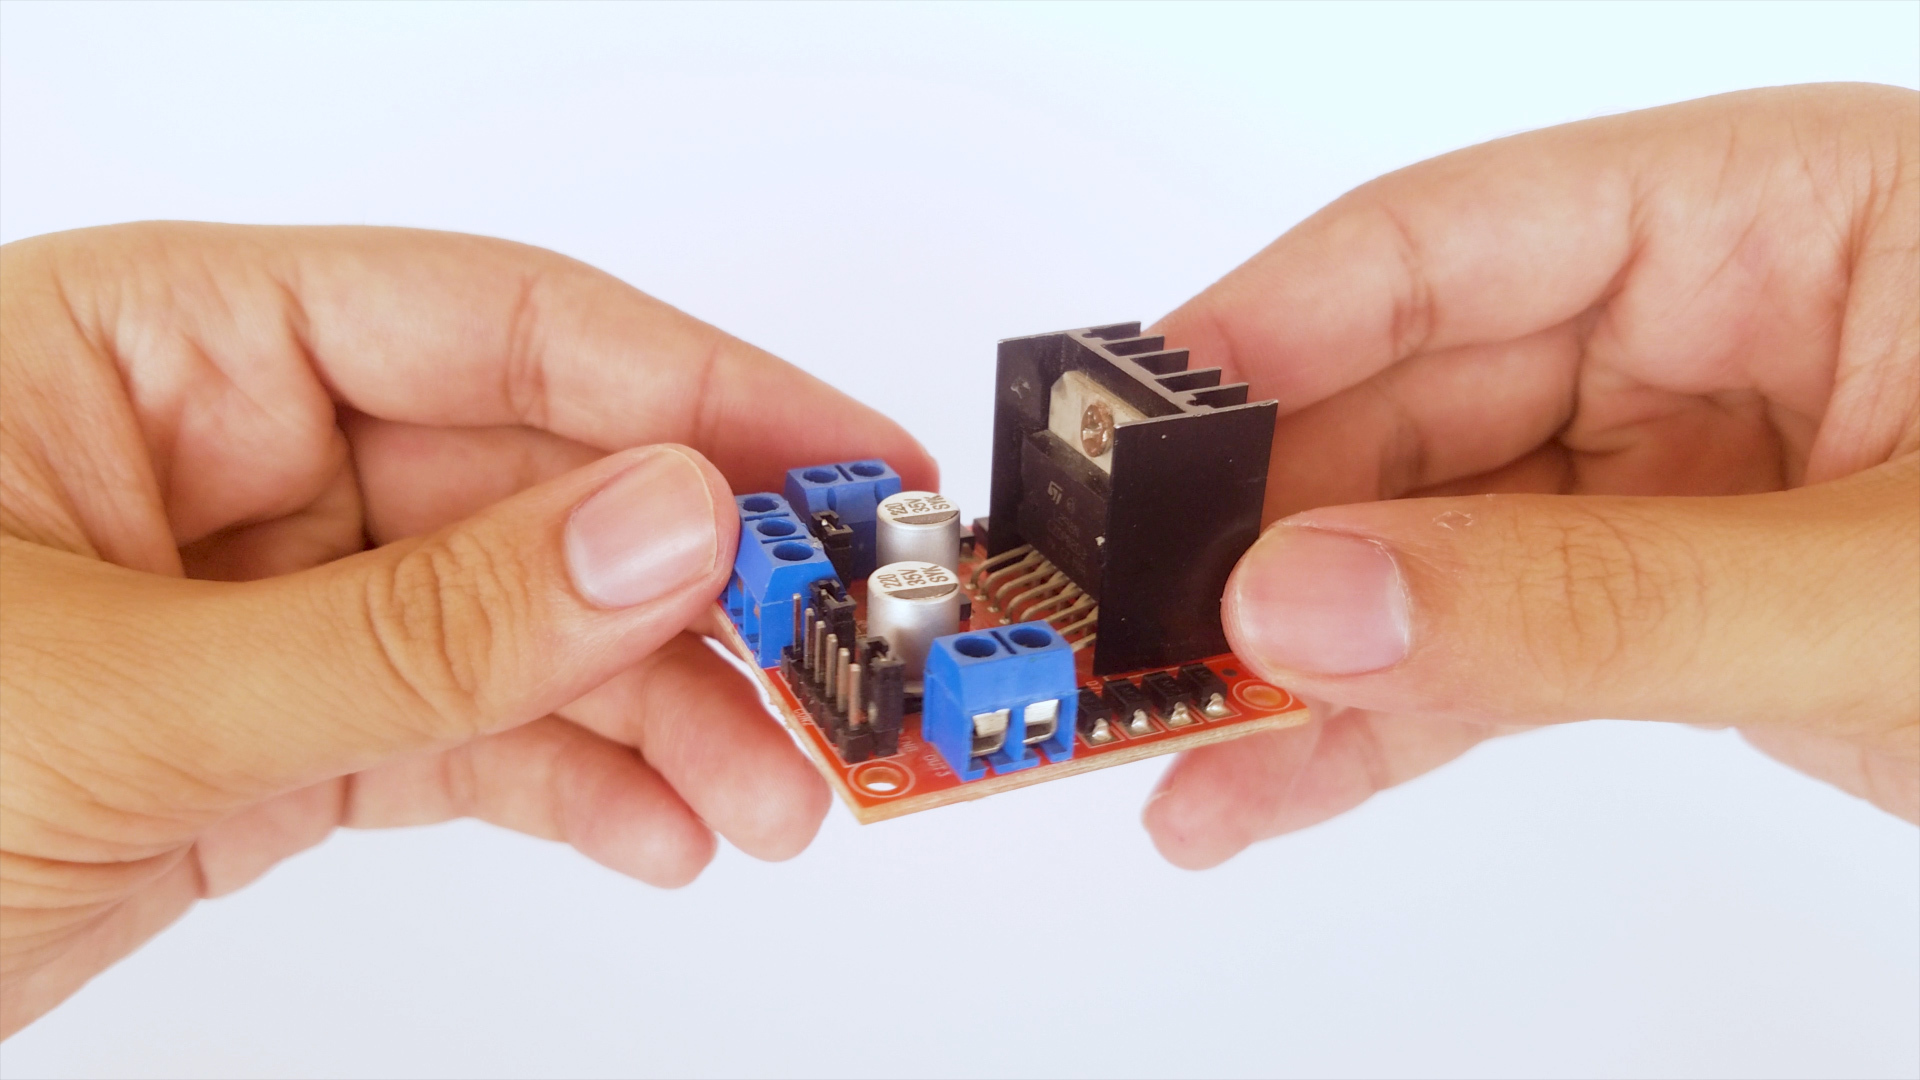
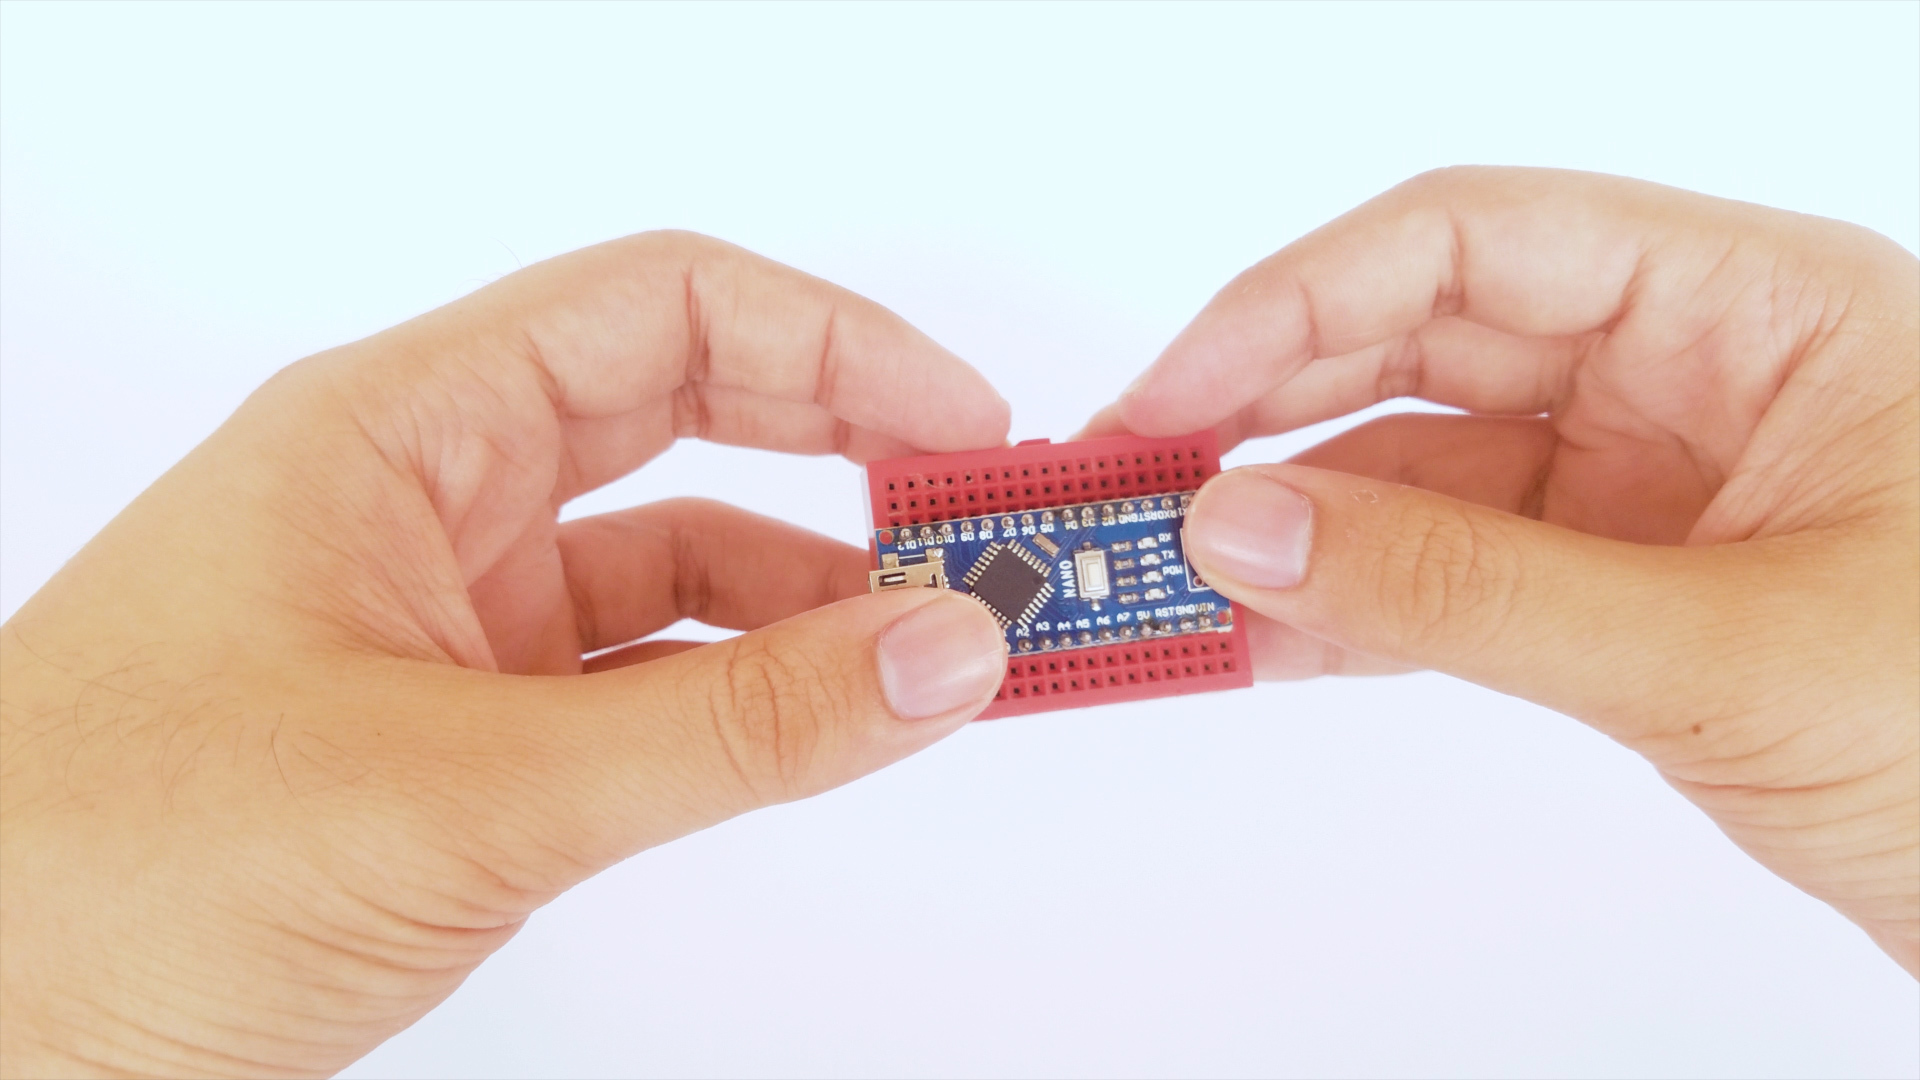
Car kit: https://www.aliexpress.com/item/4000047605978.html...
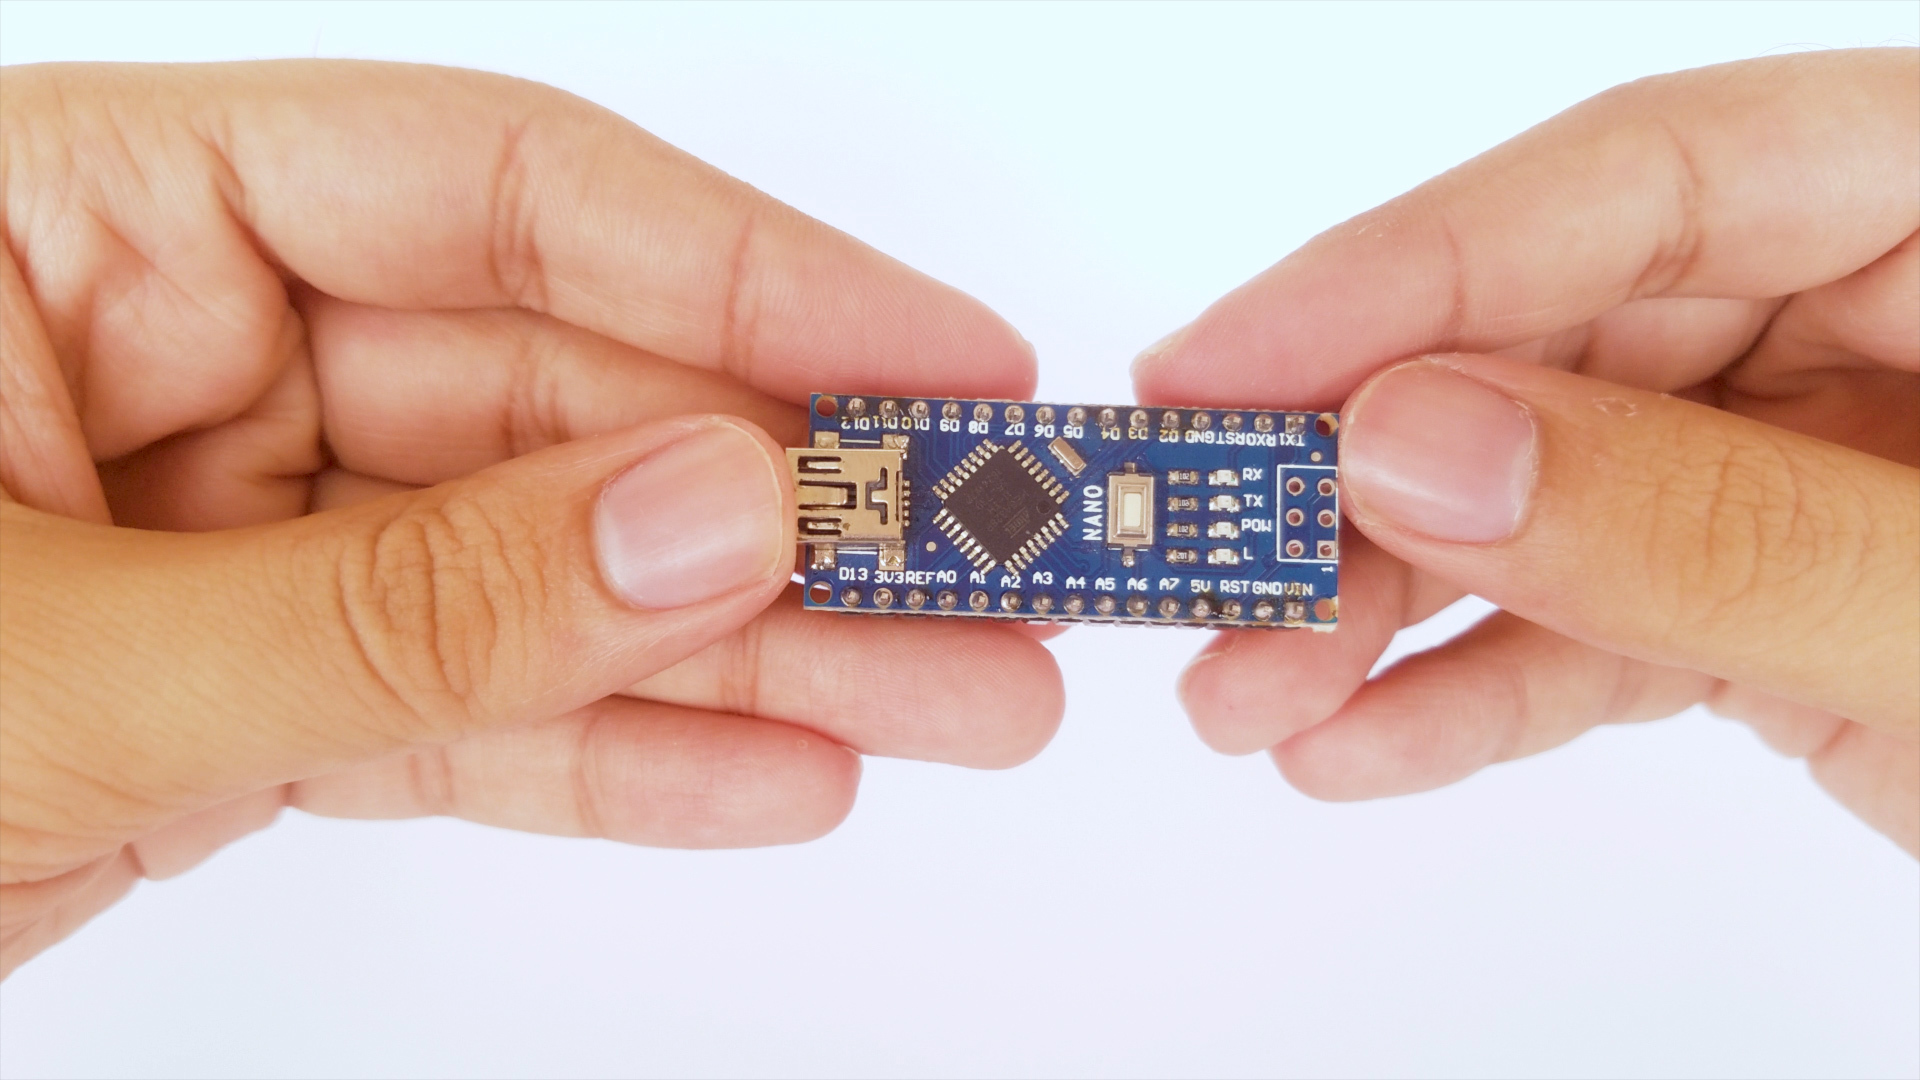
Arduino Nano: https://www.aliexpress.com/item/32341832857.html?...
Arduino Uno: https://www.aliexpress.com/item/32341832857.html?...
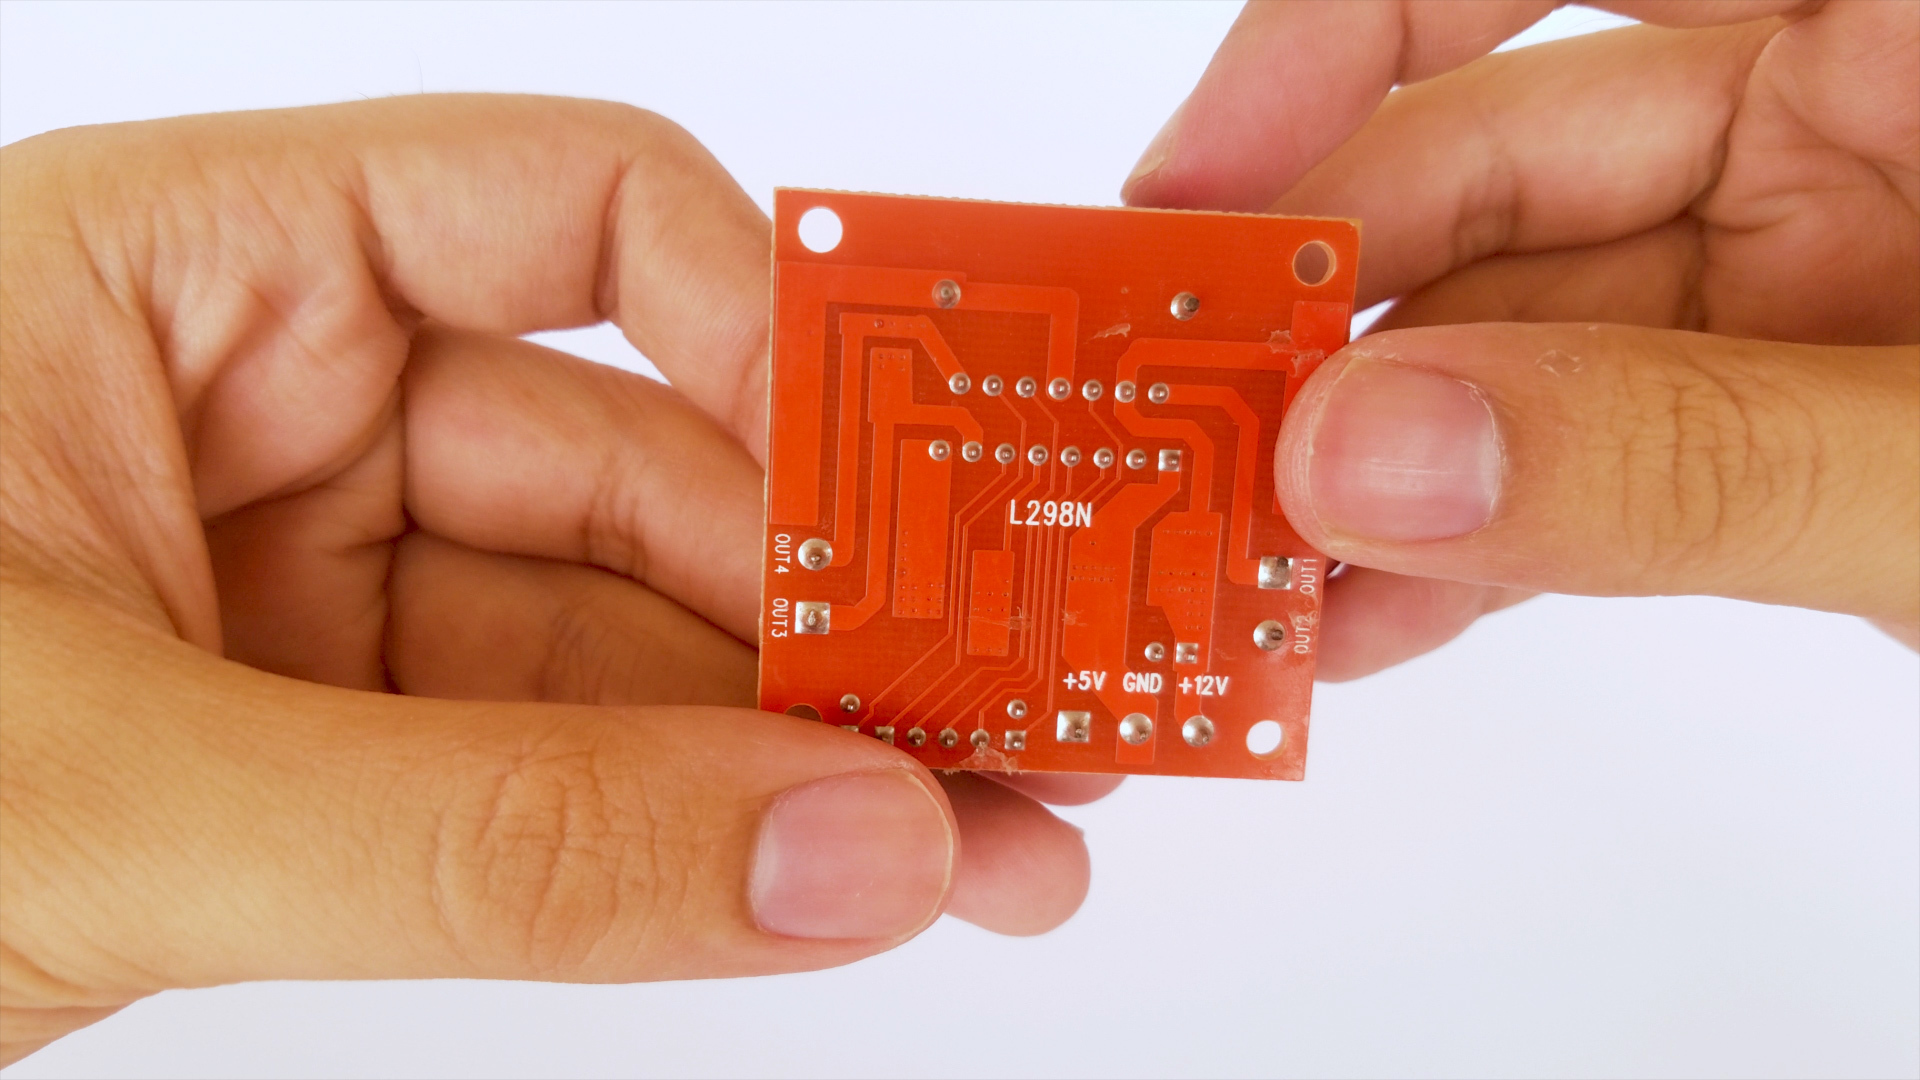
Motor Driver L298N: https://www.aliexpress.com/item/32341832857.html?...
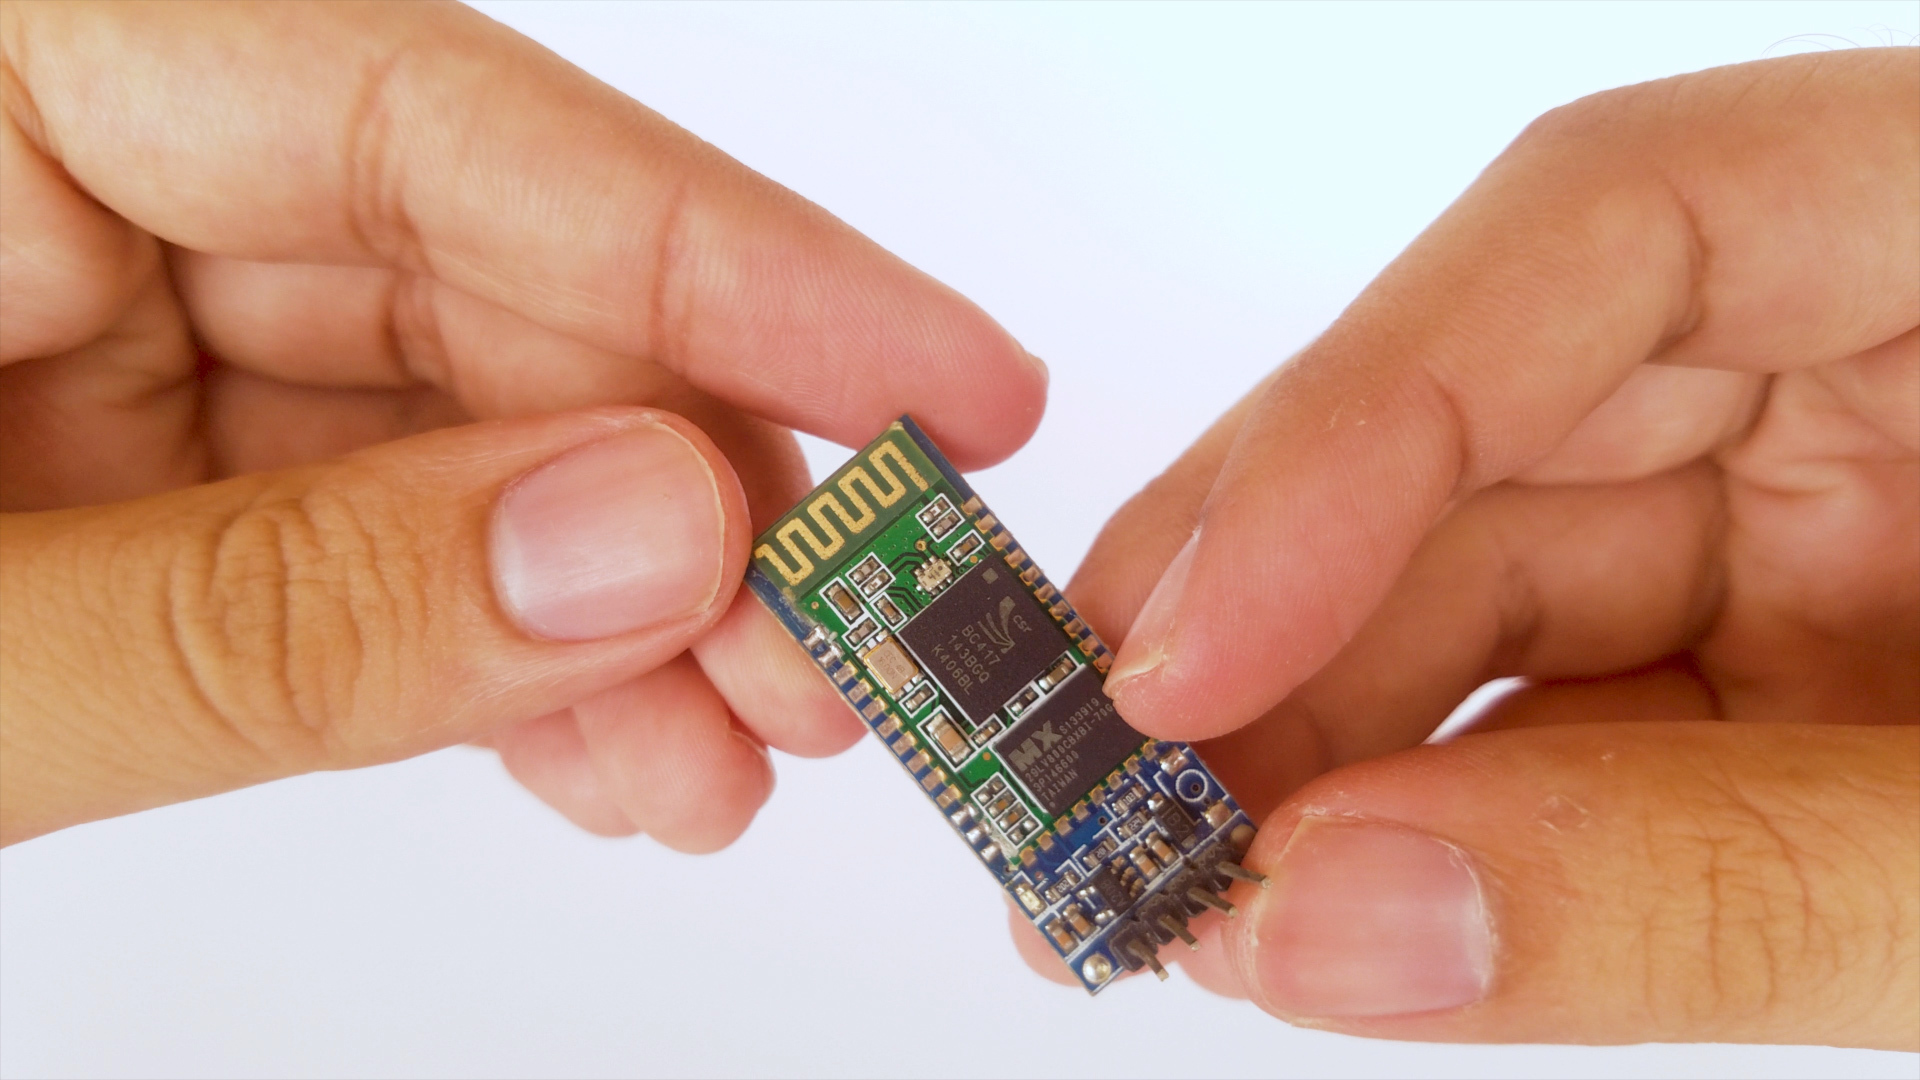
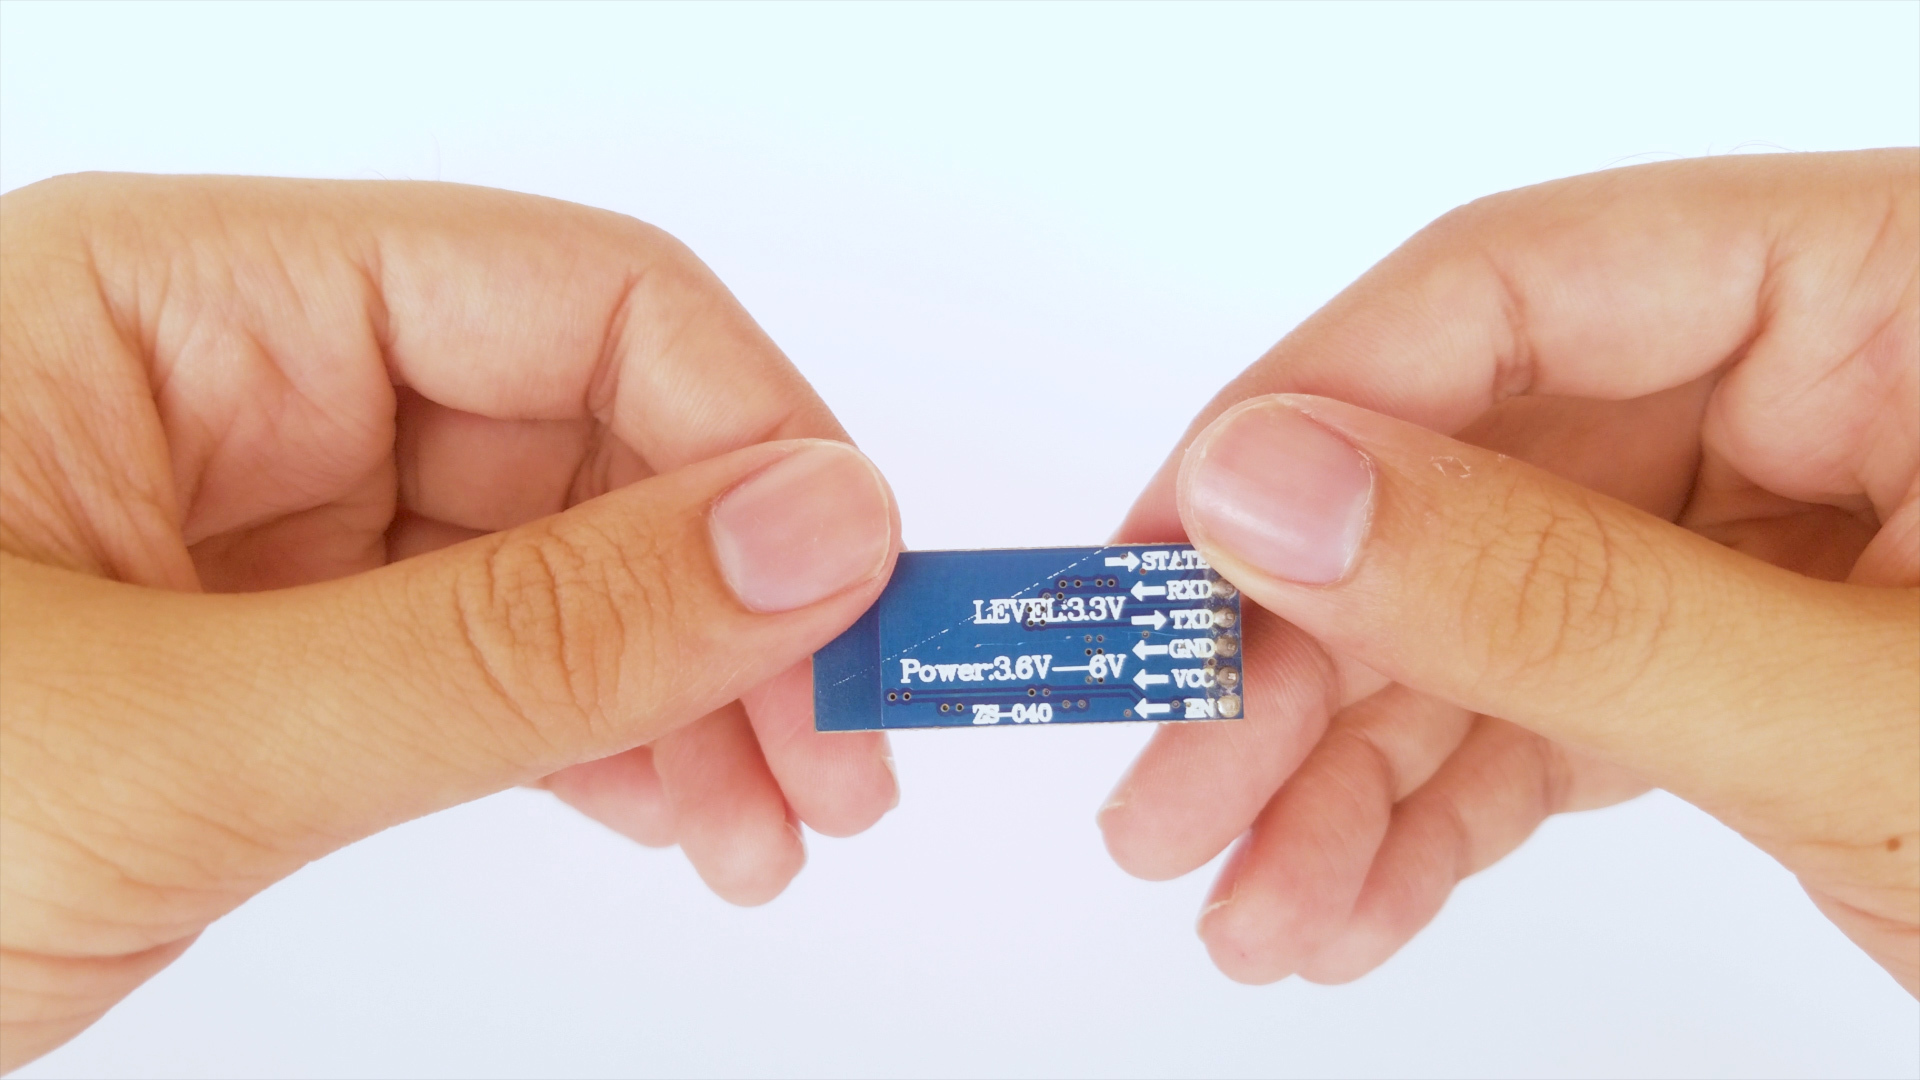
Bluetooth Module HC-05 & HC-06: https://www.aliexpress.com/item/32341832857.html?...
Bluetooth Module HM-10: https://www.aliexpress.com/item/32341832857.html?...
18650 Battery box: https://www.aliexpress.com/item/32341832857.html?...
Mini breadboard: https://www.aliexpress.com/item/32341832857.html?...
Soldering
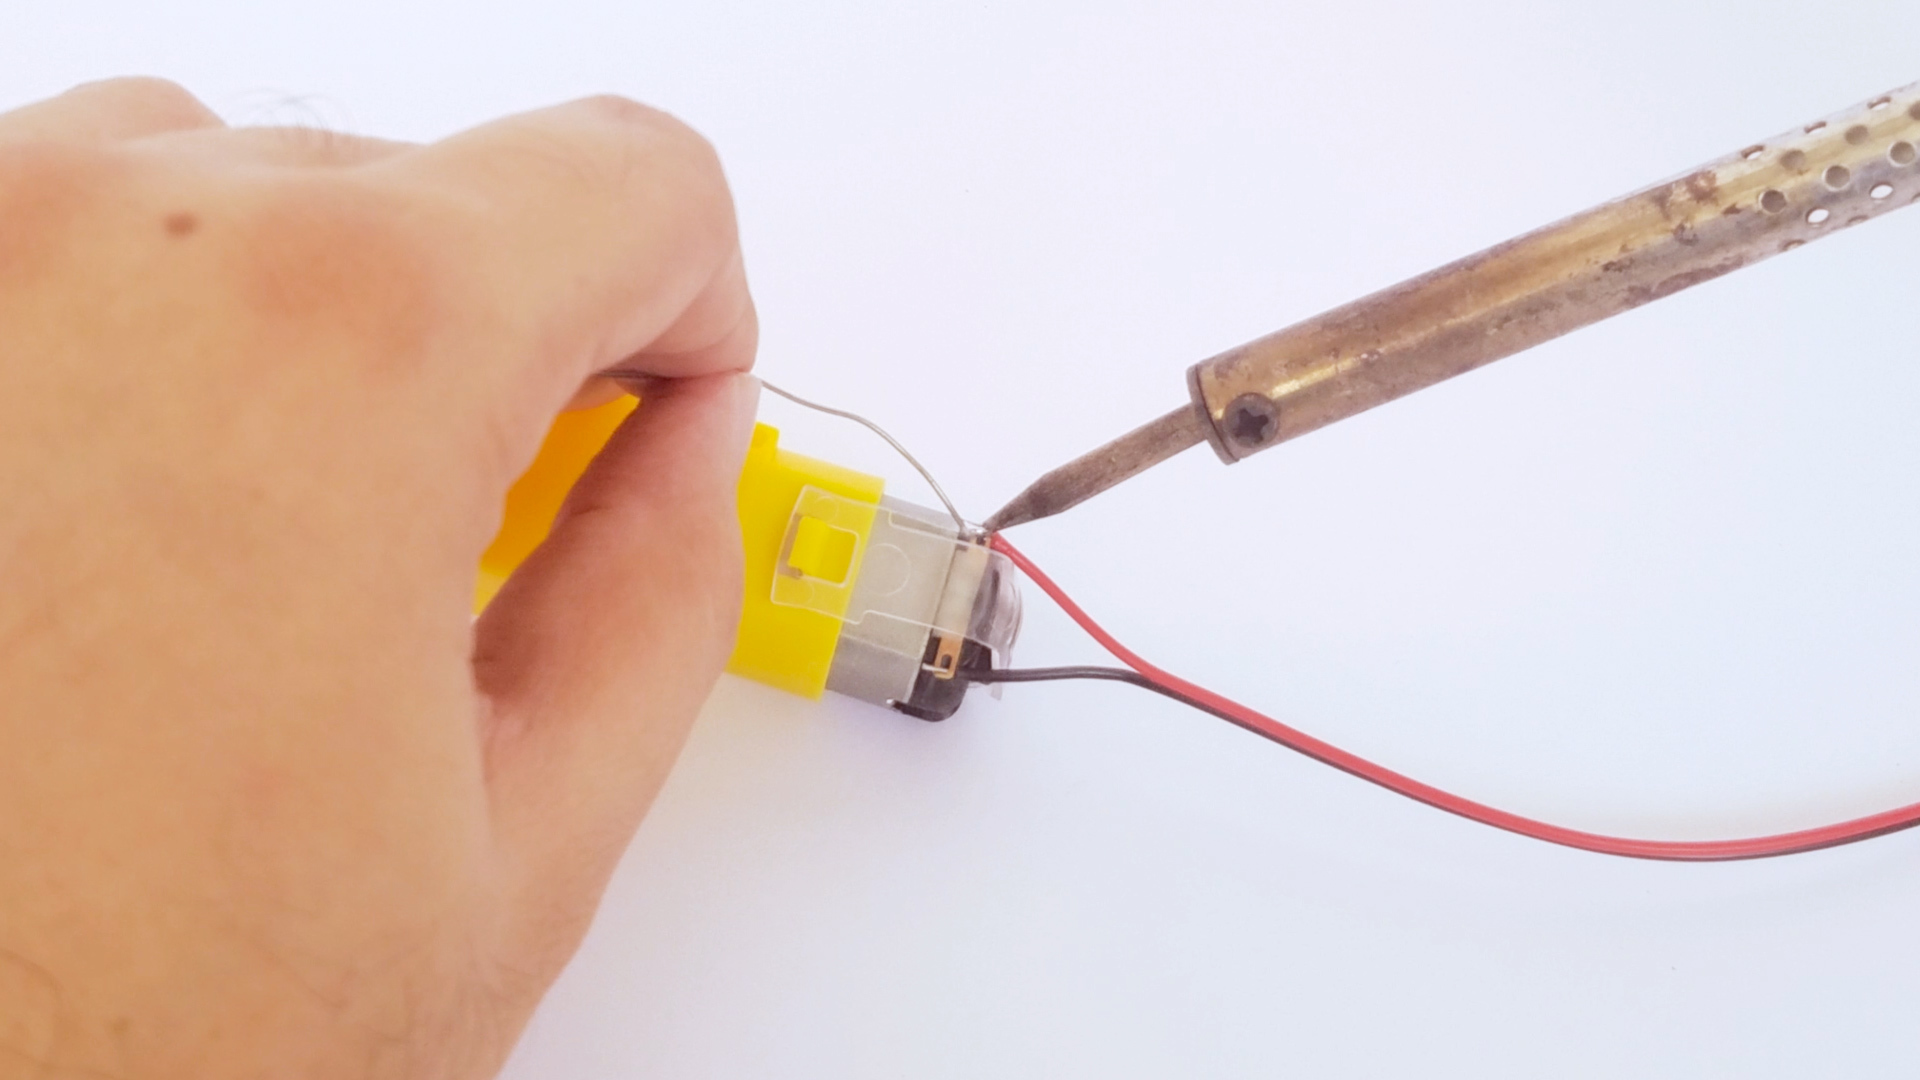
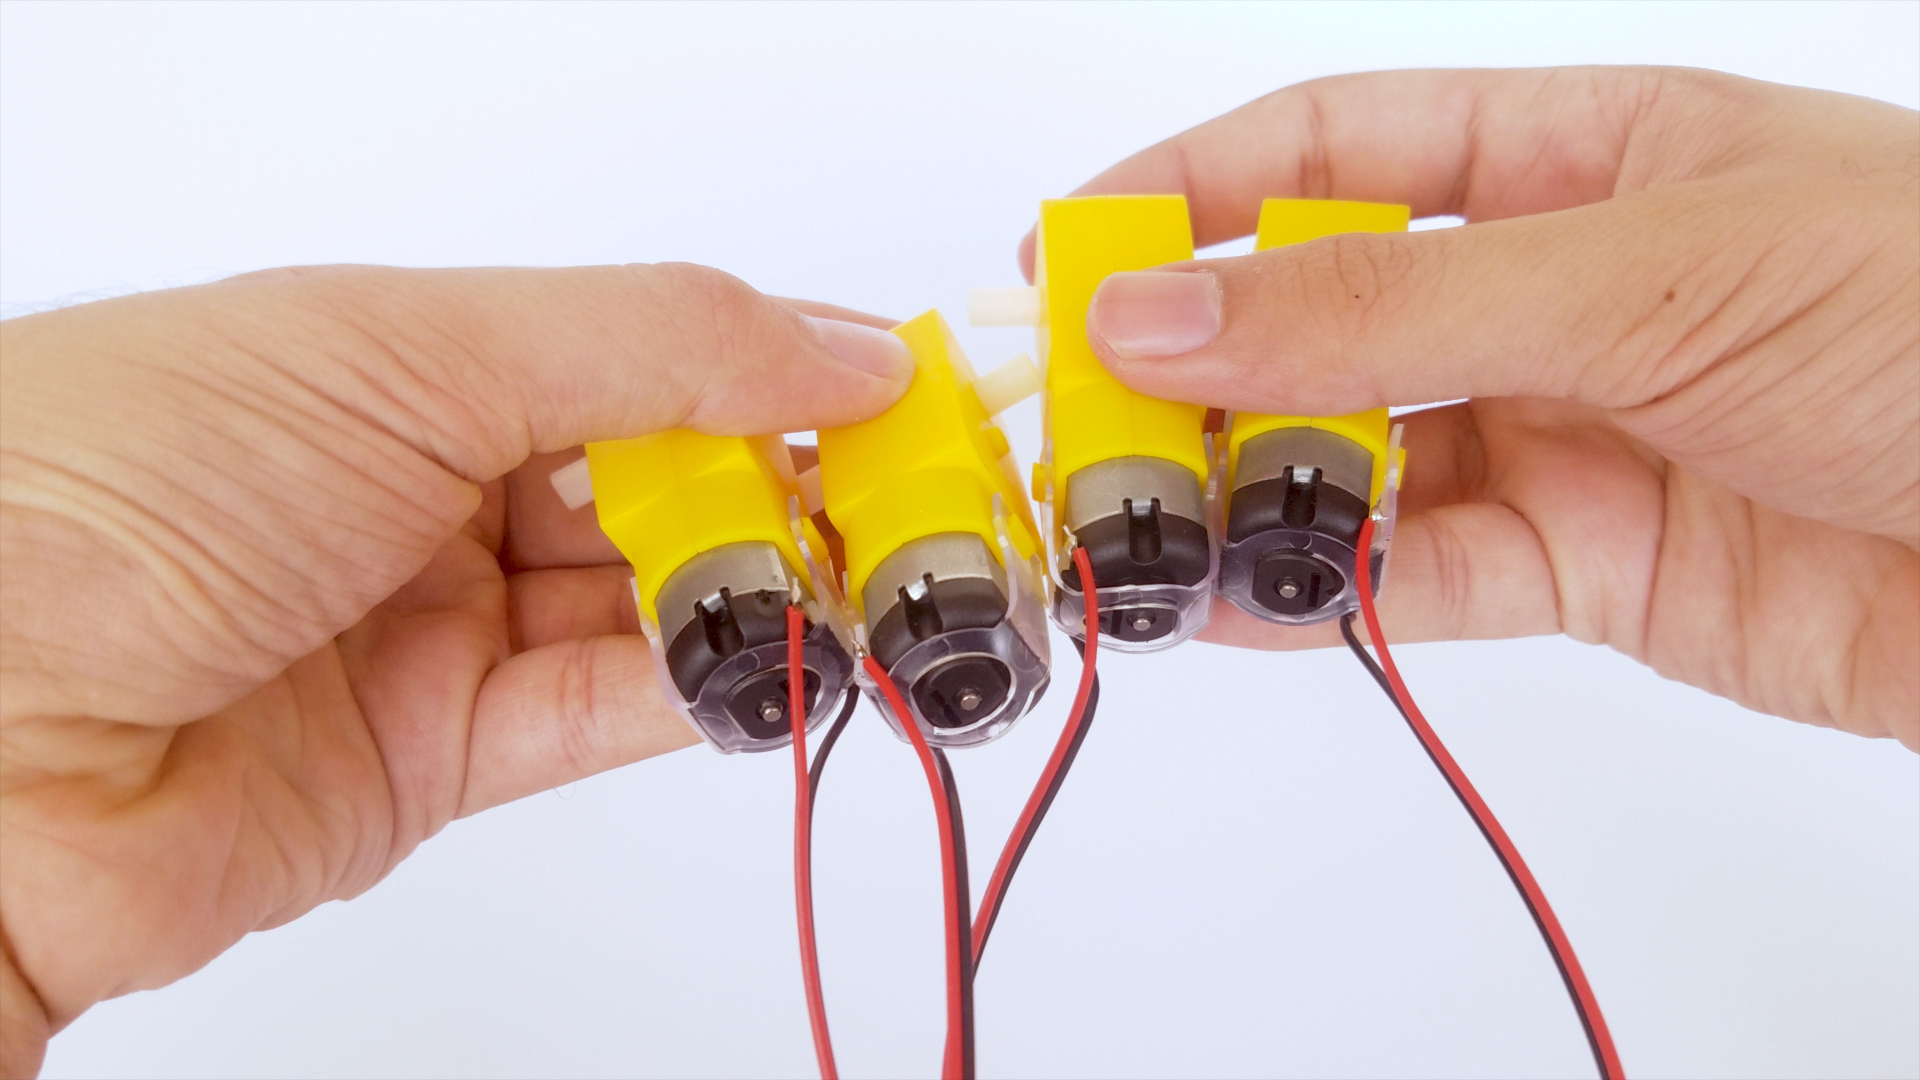
The only soldering required for this is to solder on the wires to the motors.
Building the Chassis
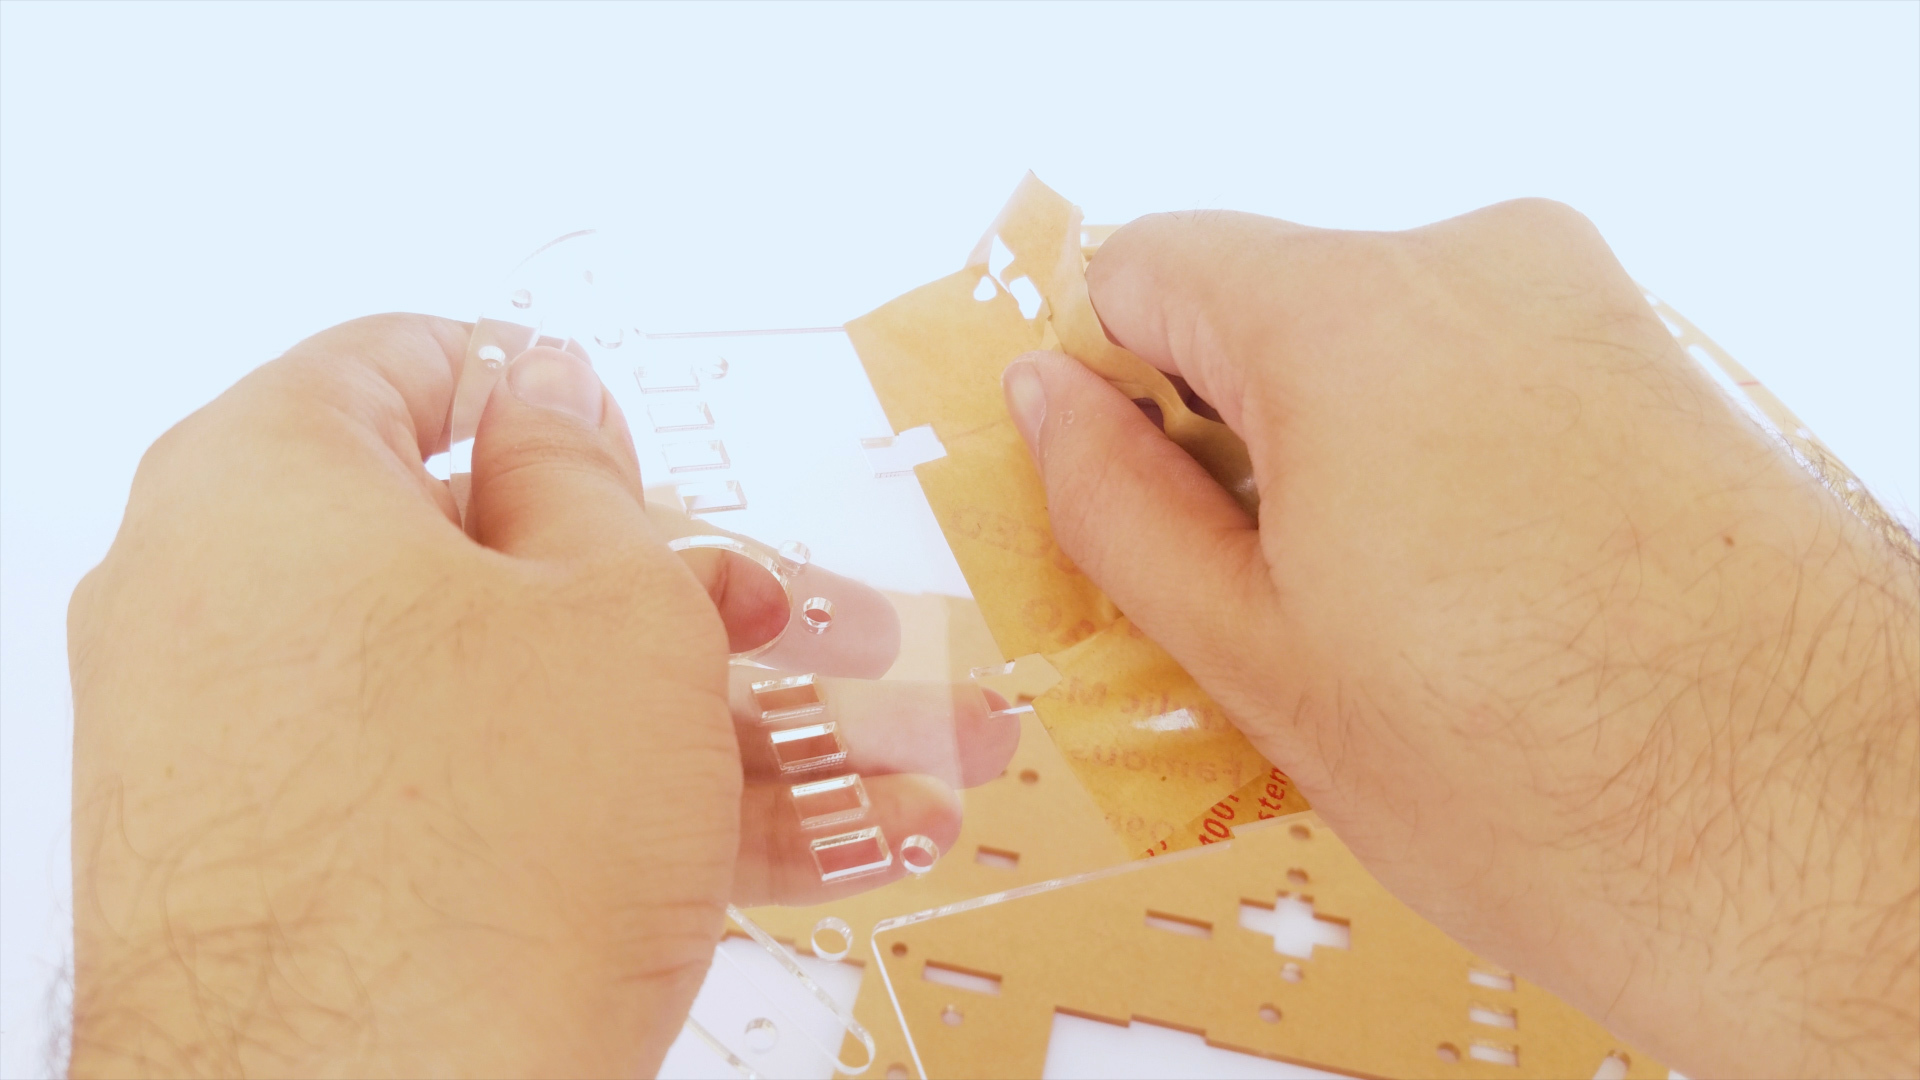
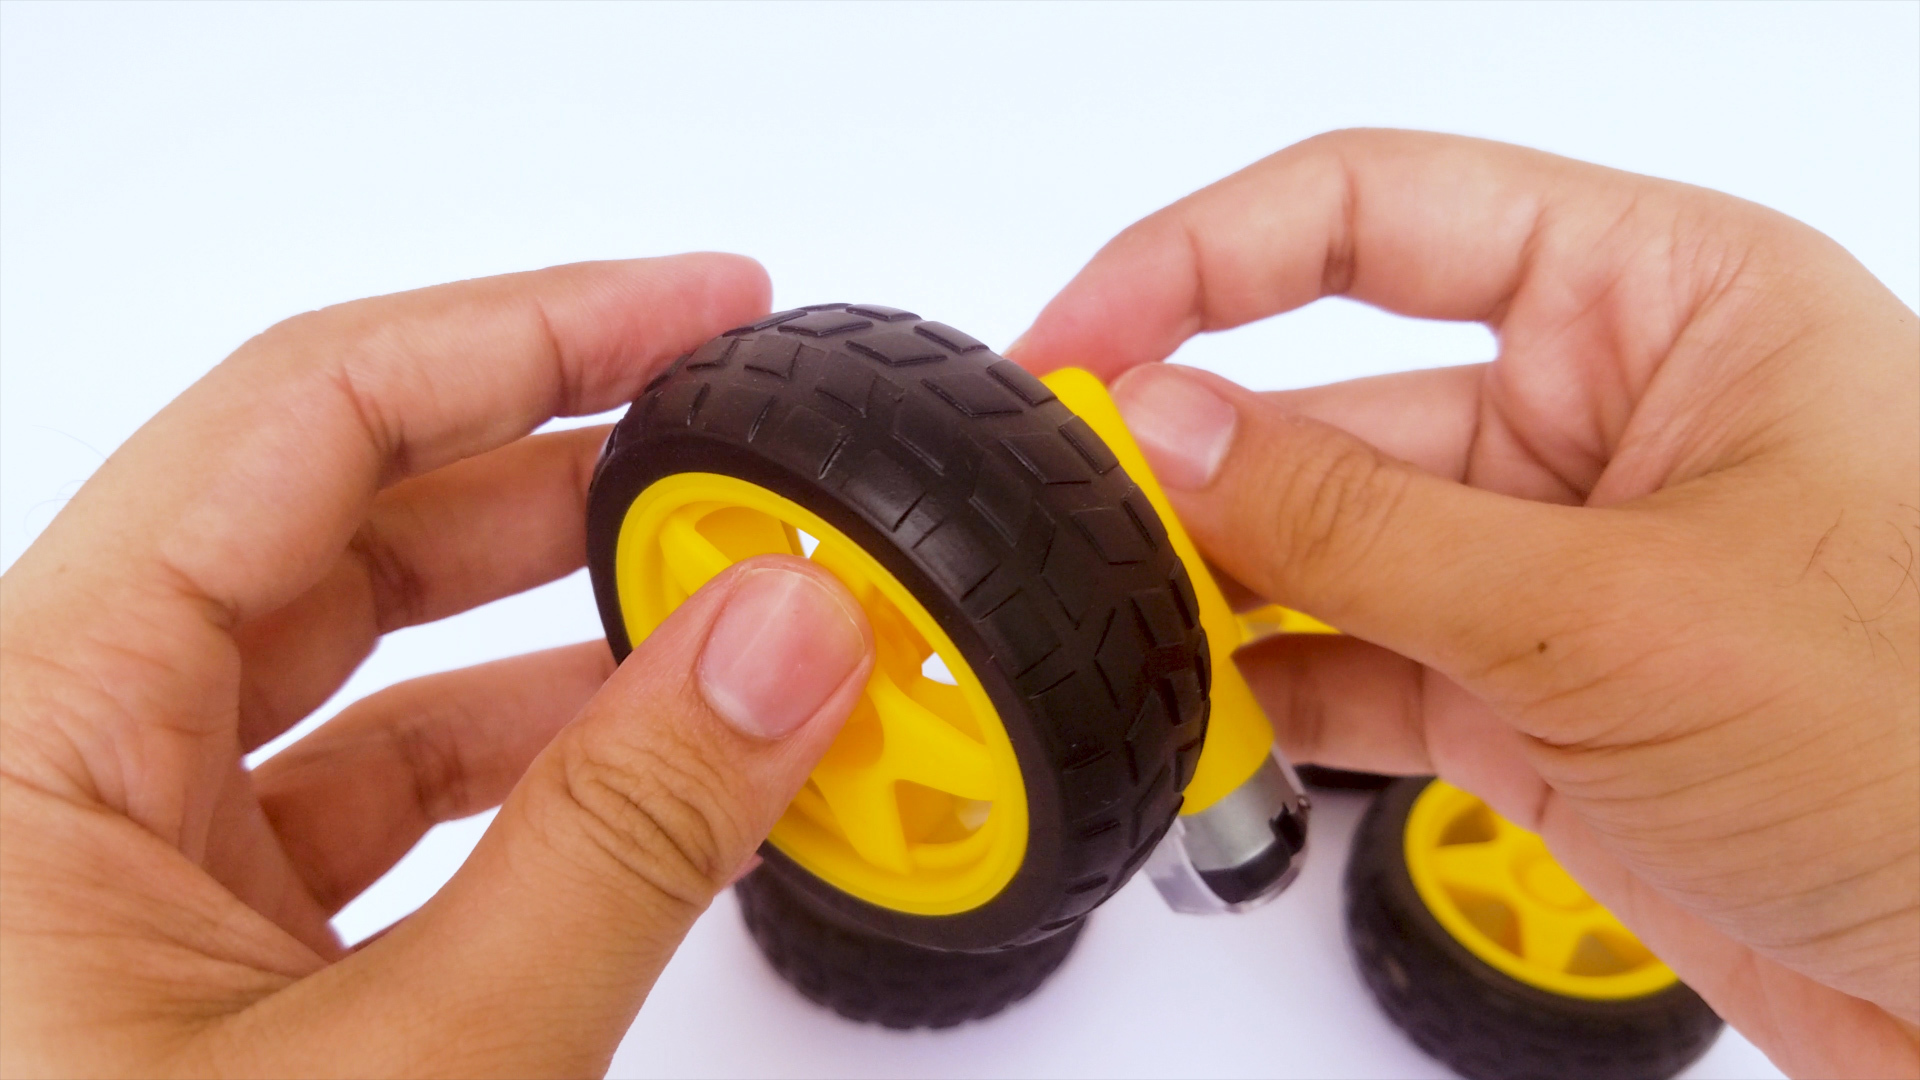
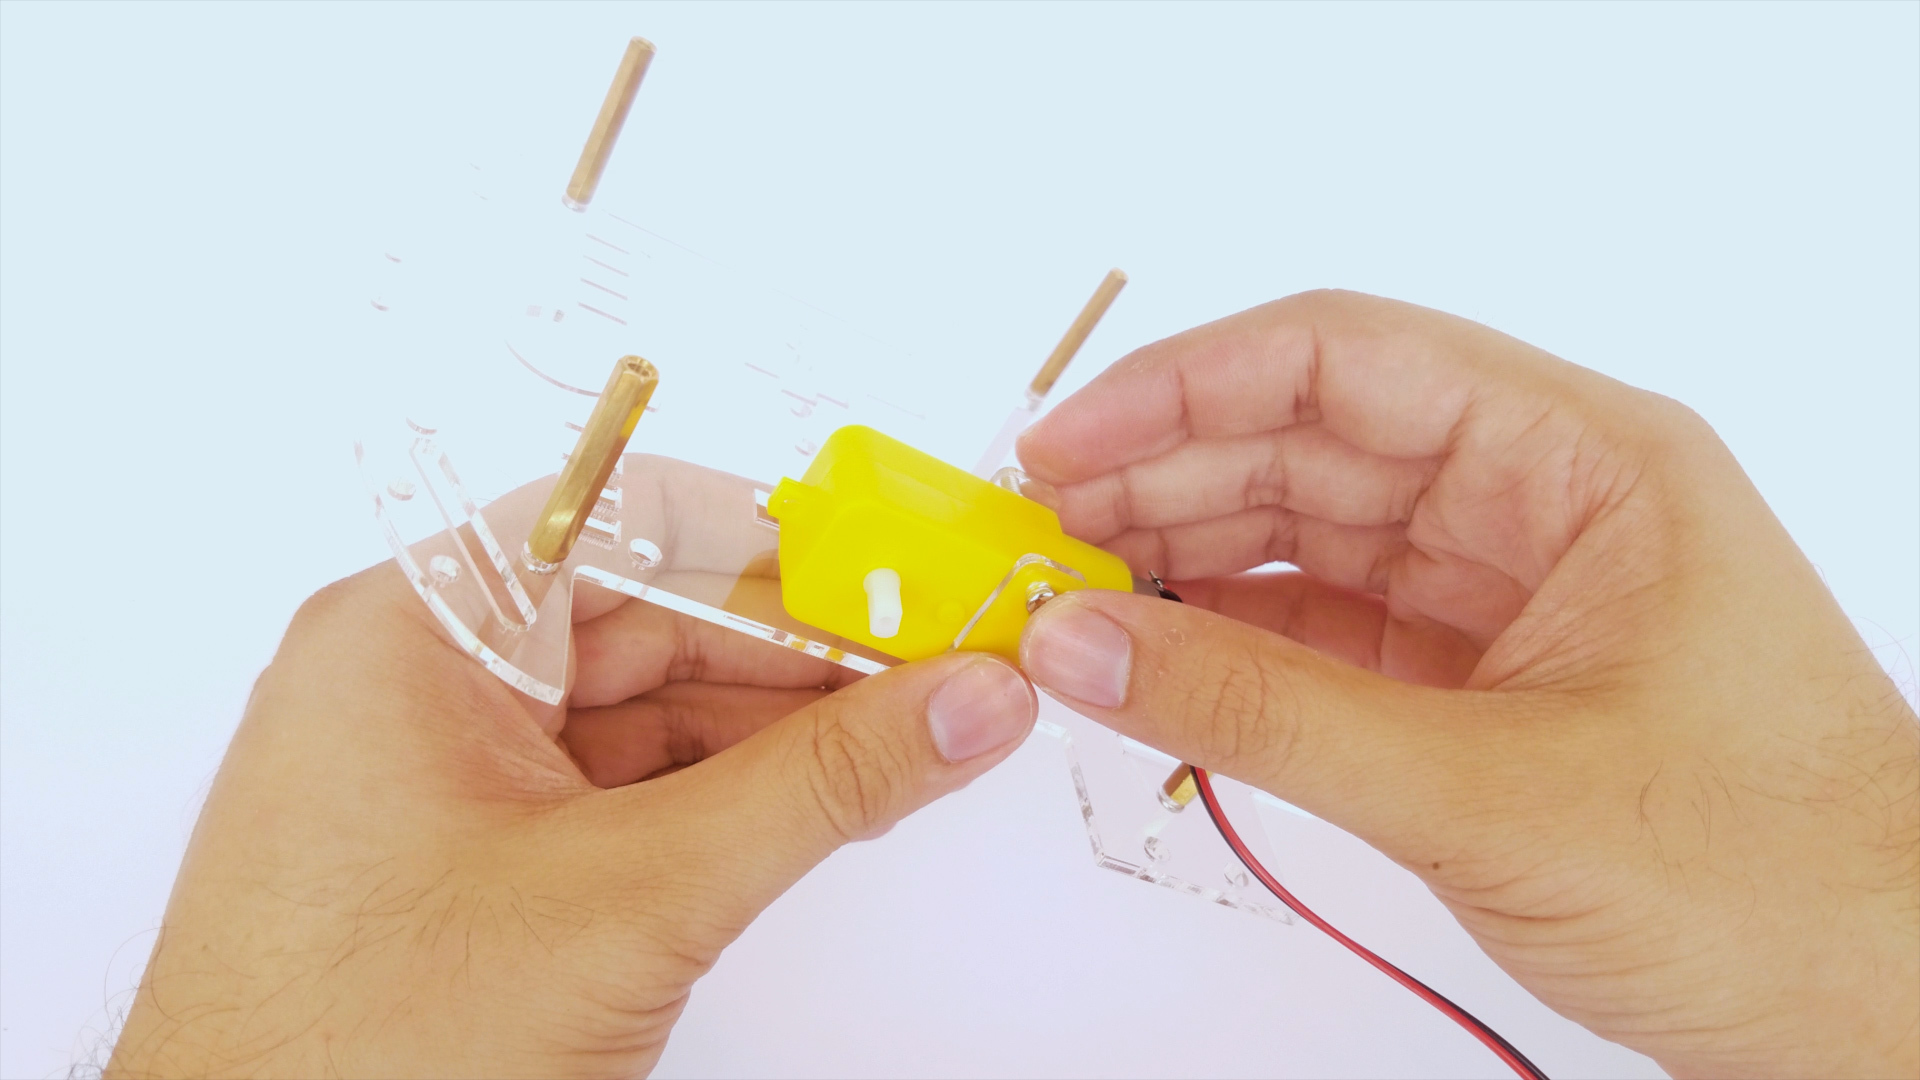
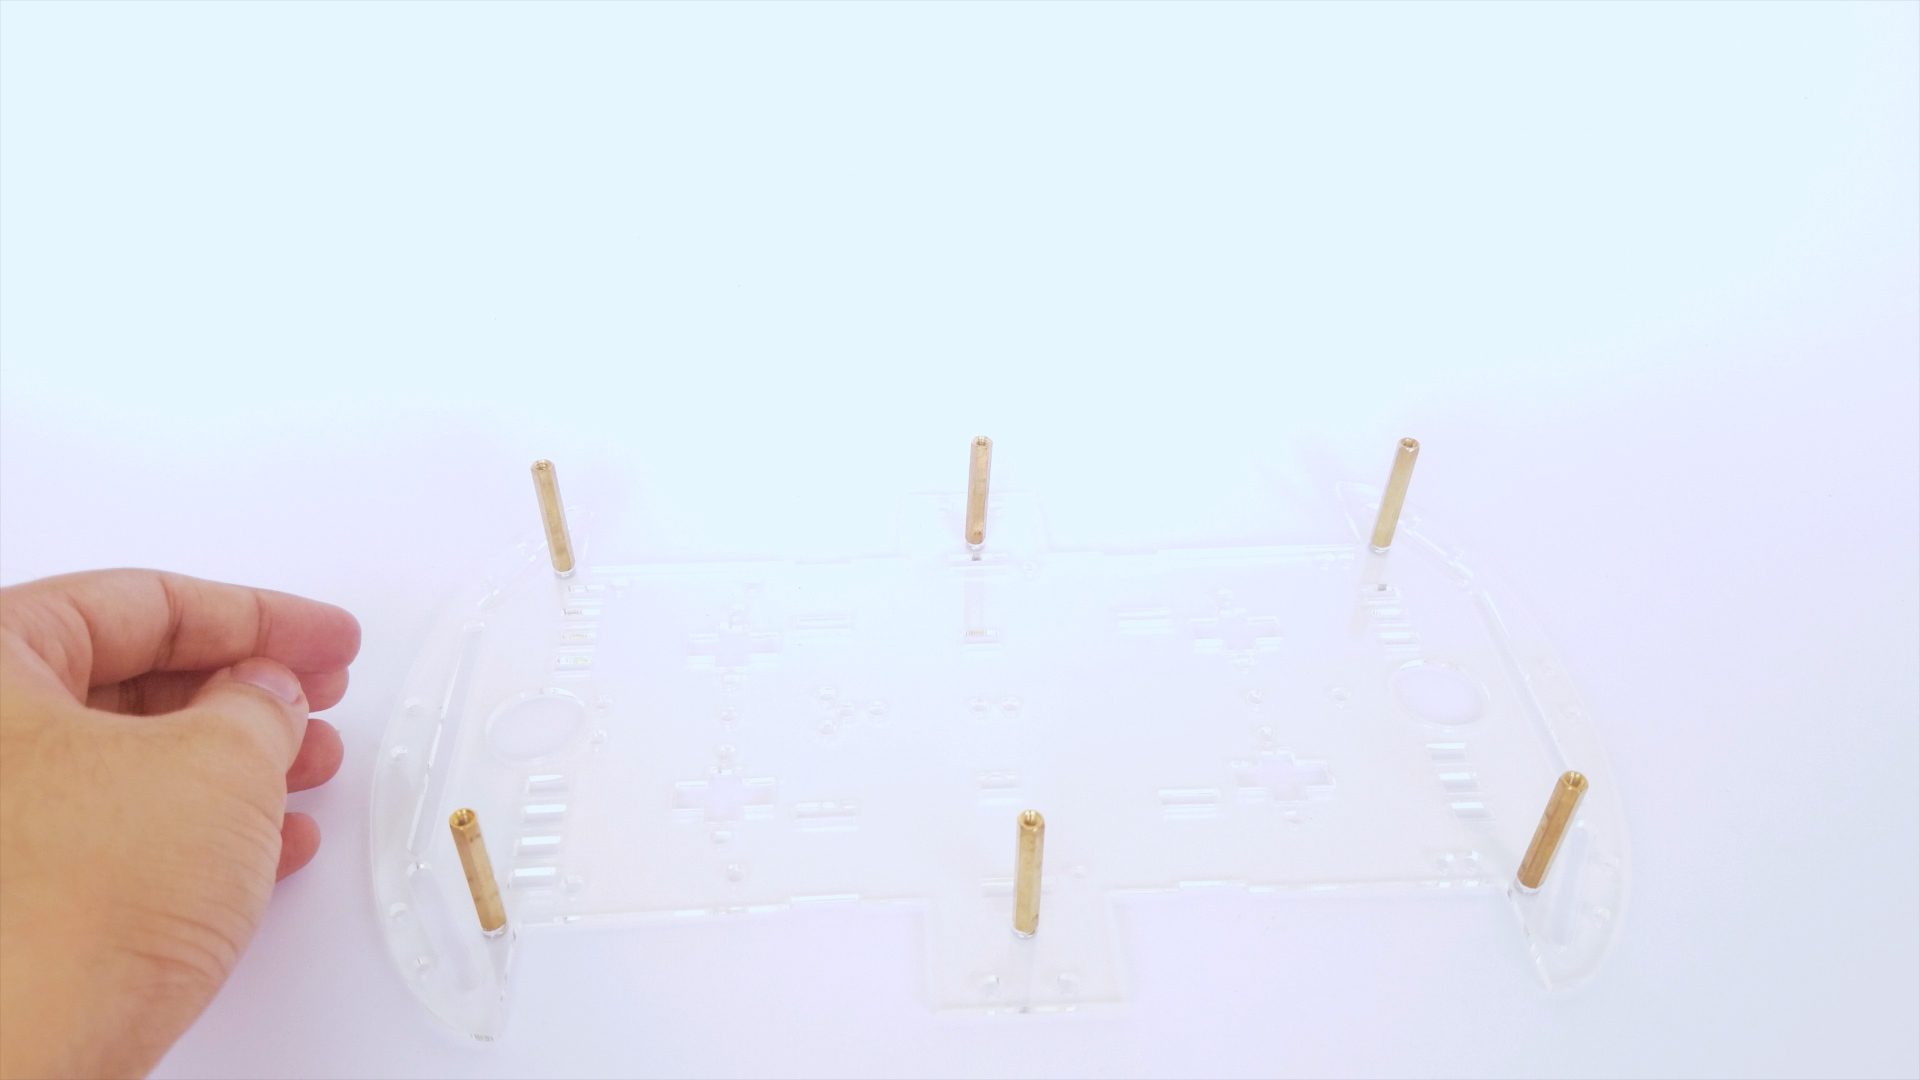
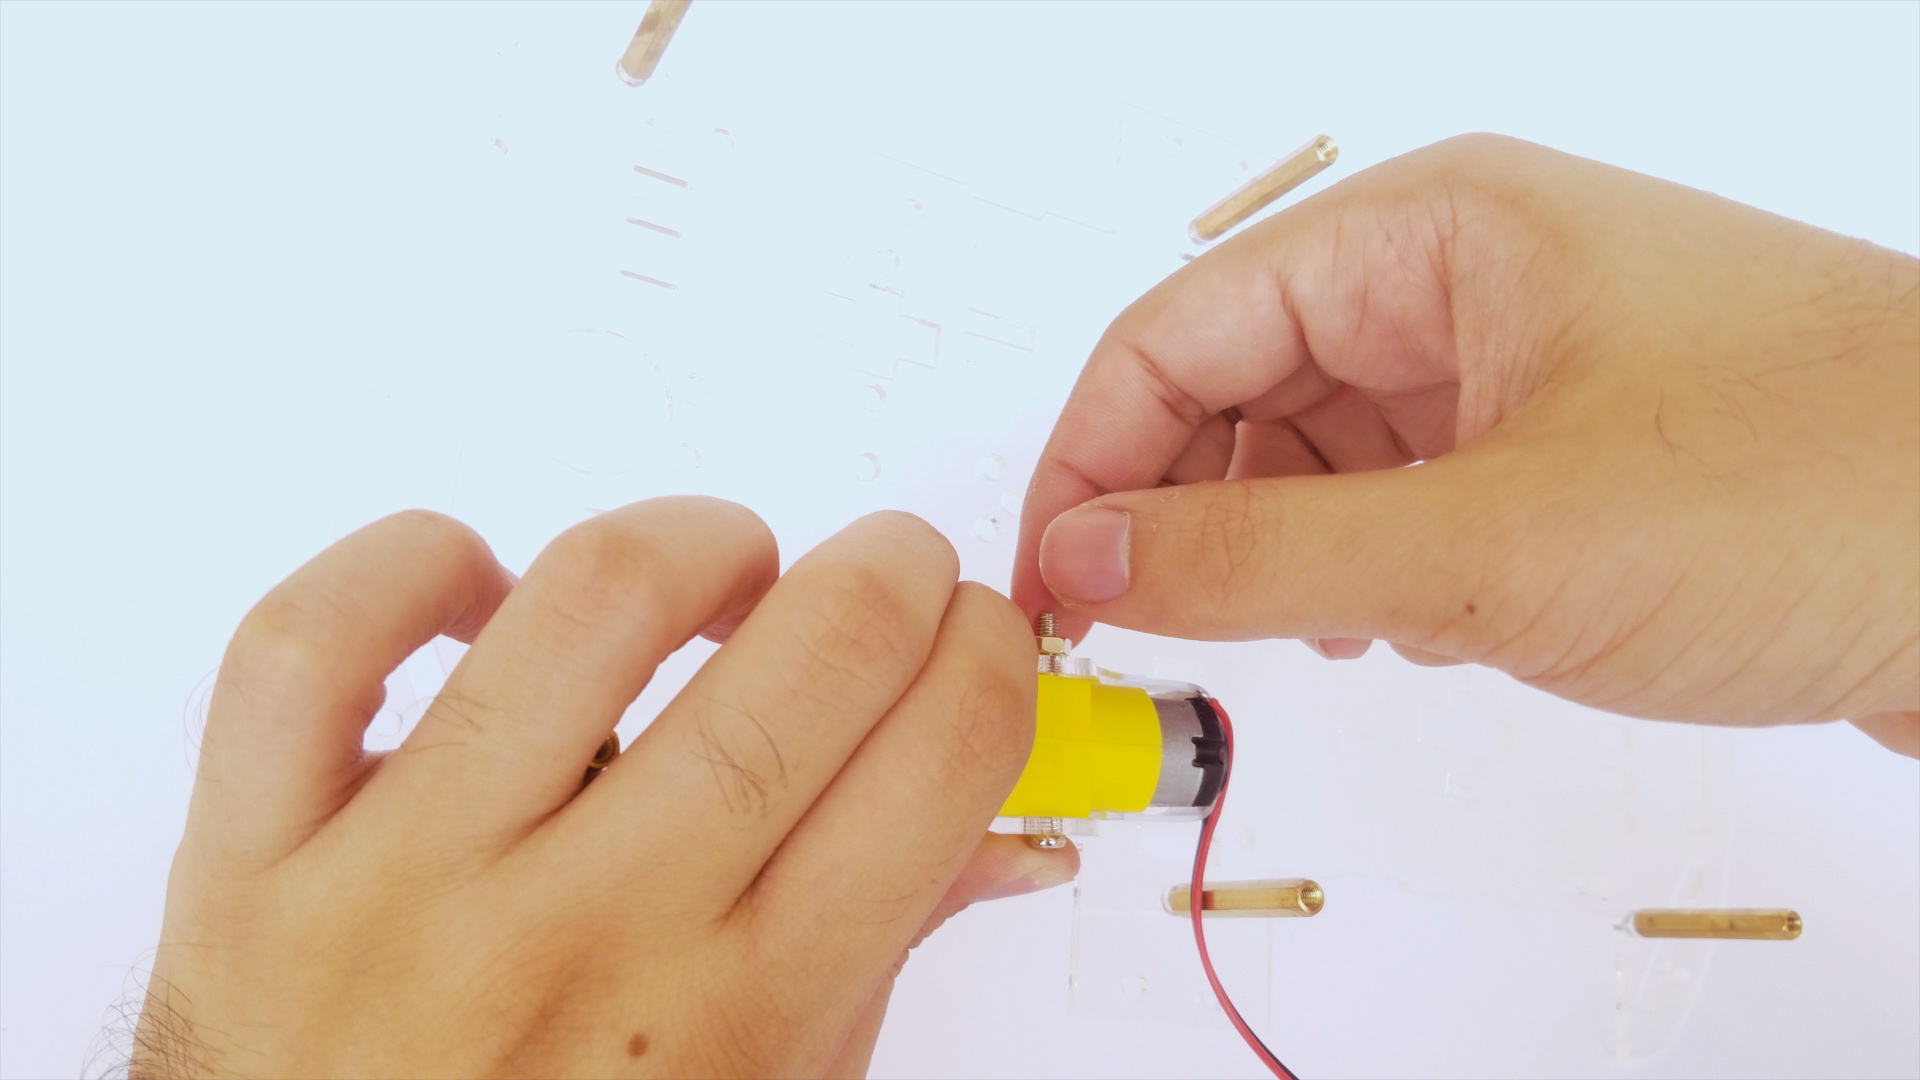
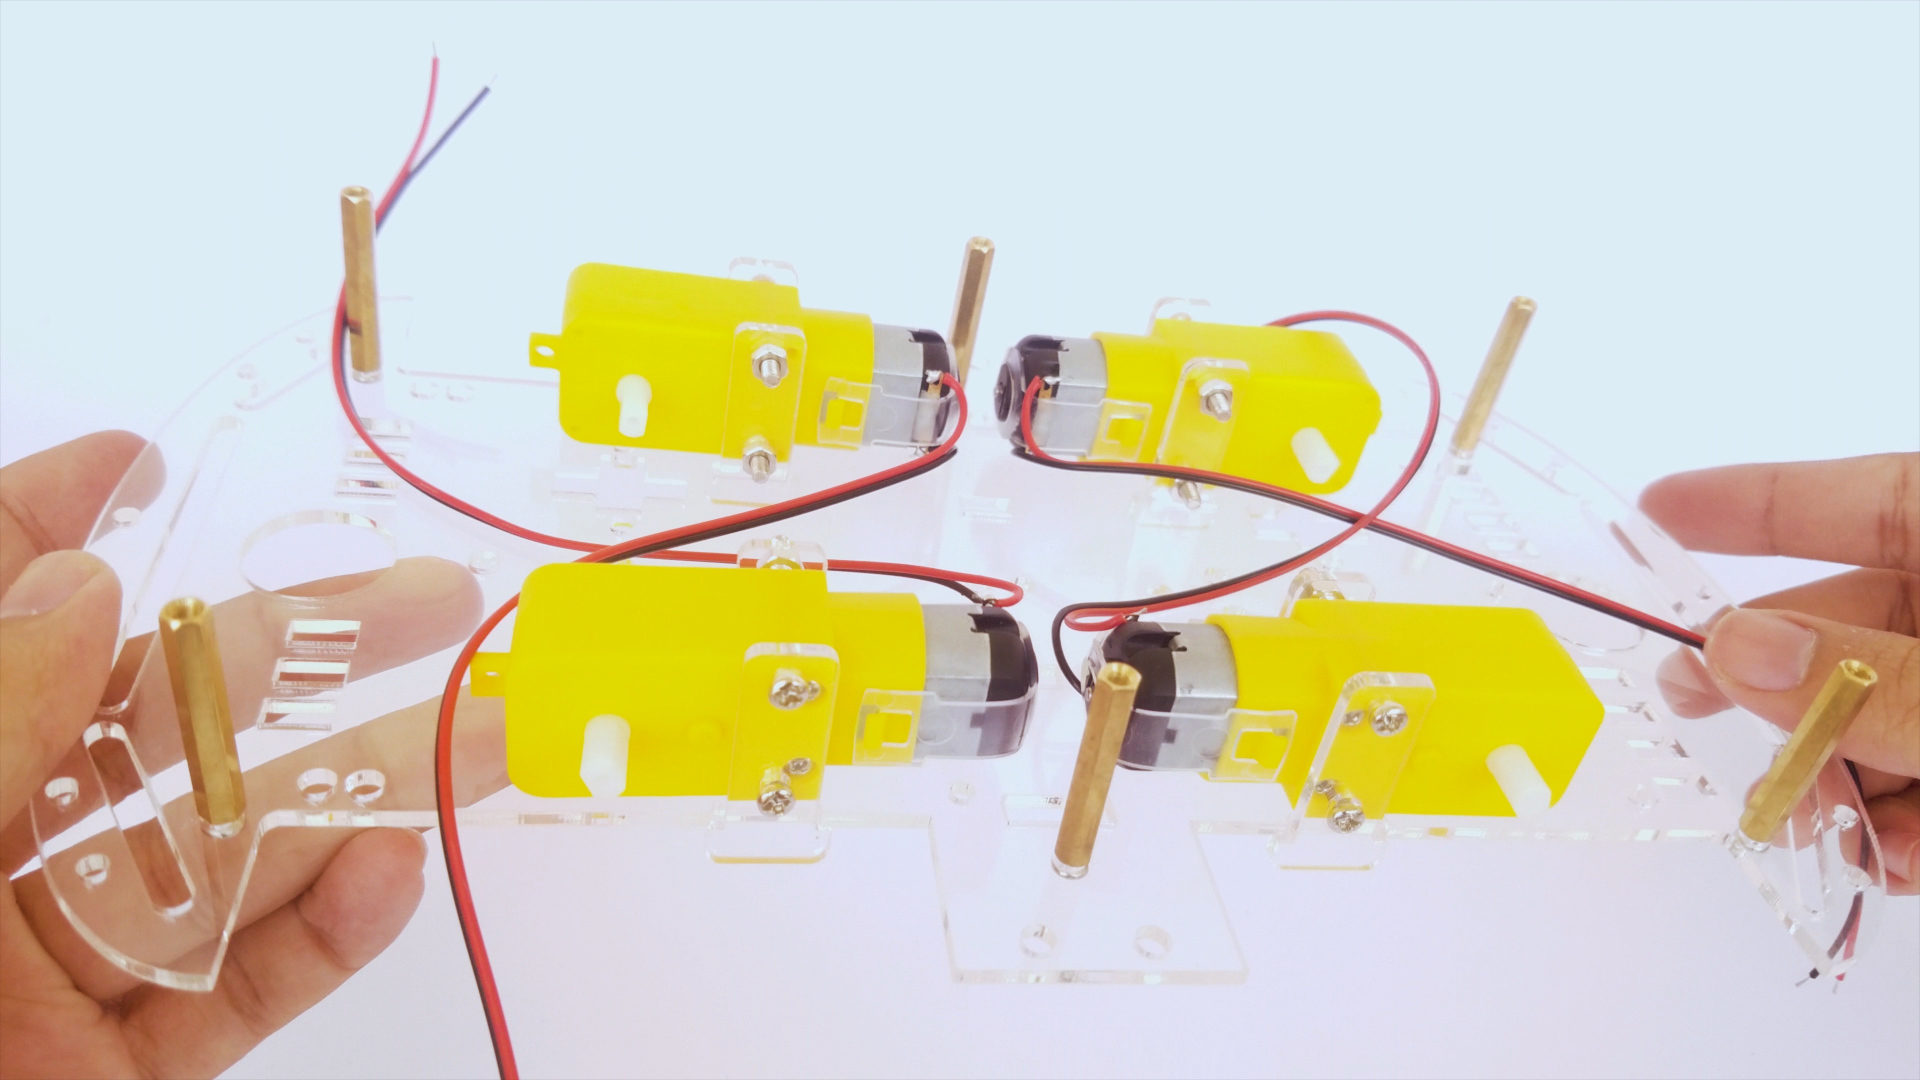
We need something to mount our motors, wheels and electronics to - we need a chassis/base for the car. For that, you can get a kit like the one I've used or simply cut out a square piece of plexiglass/acrylic or thin wood sheet for the base of your car.
Attach your motors to the base using screws or hotglue.
Mount the Electronics
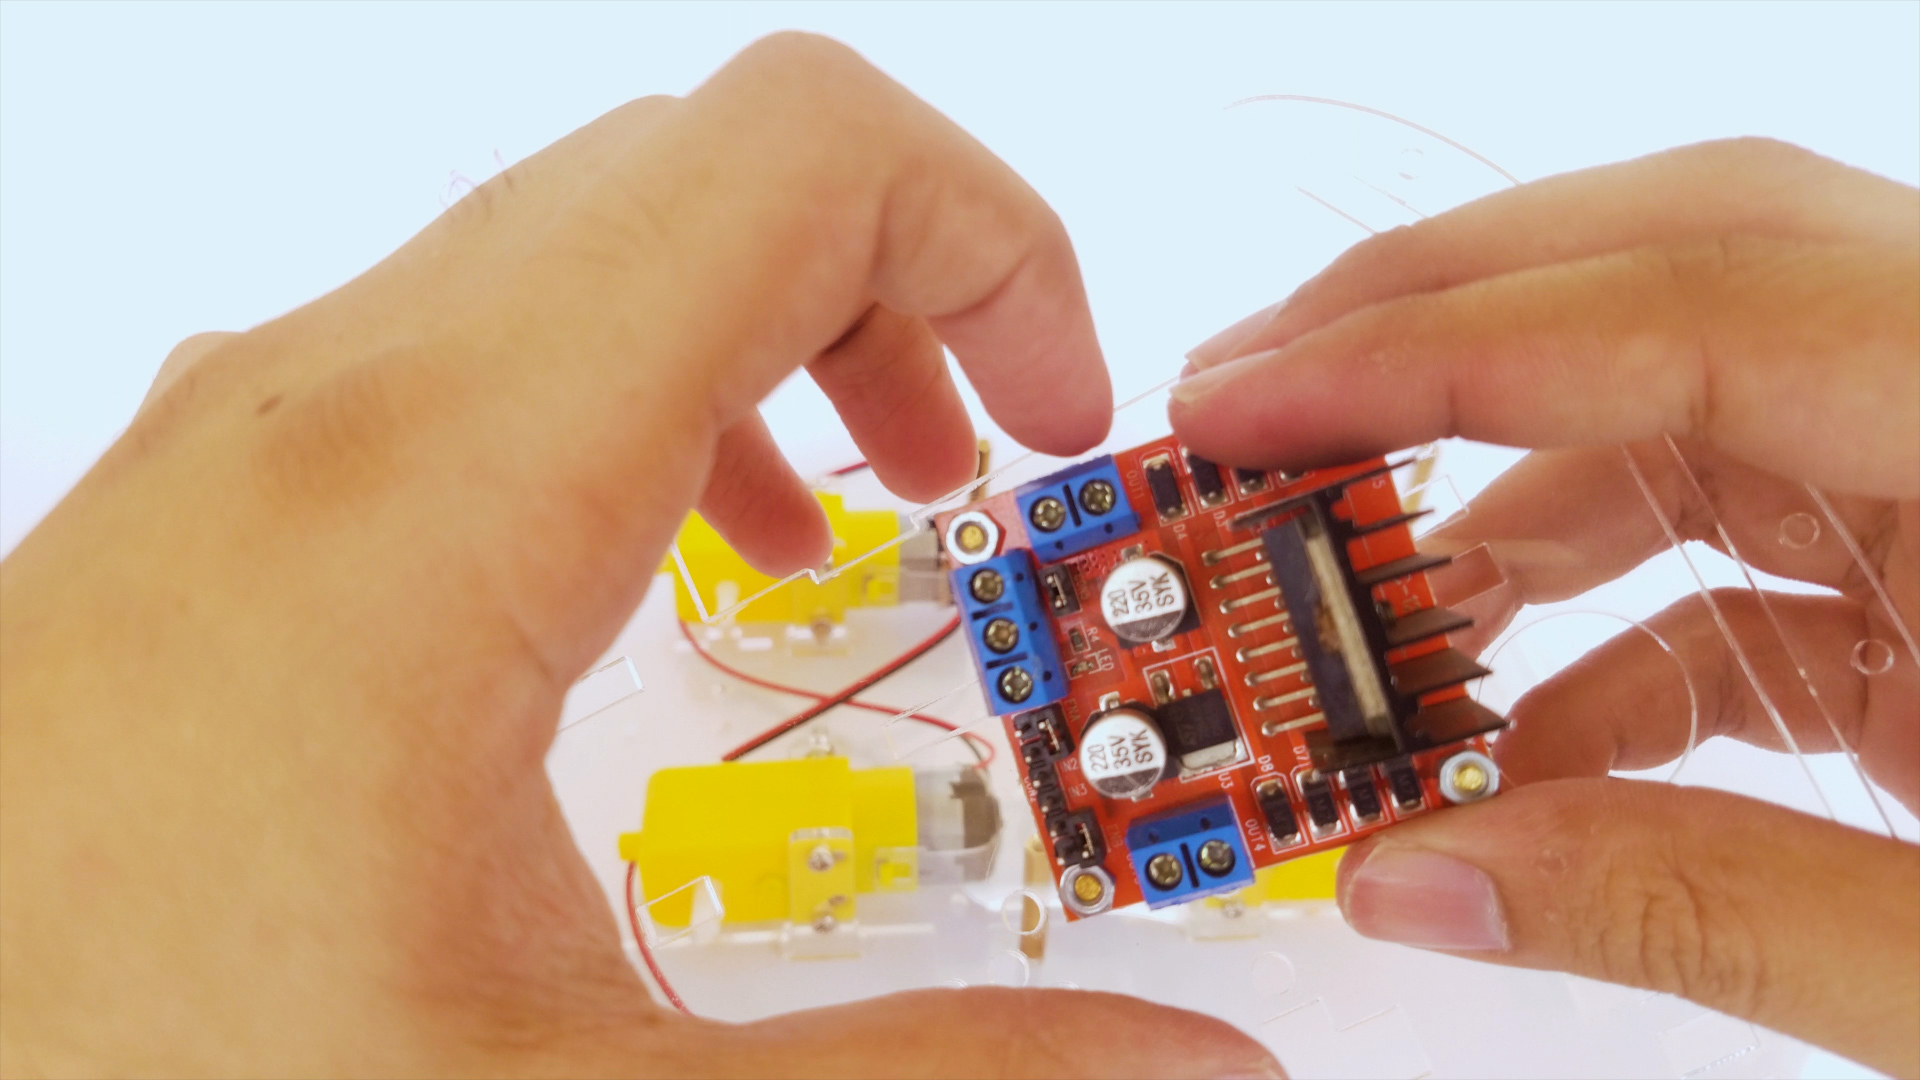
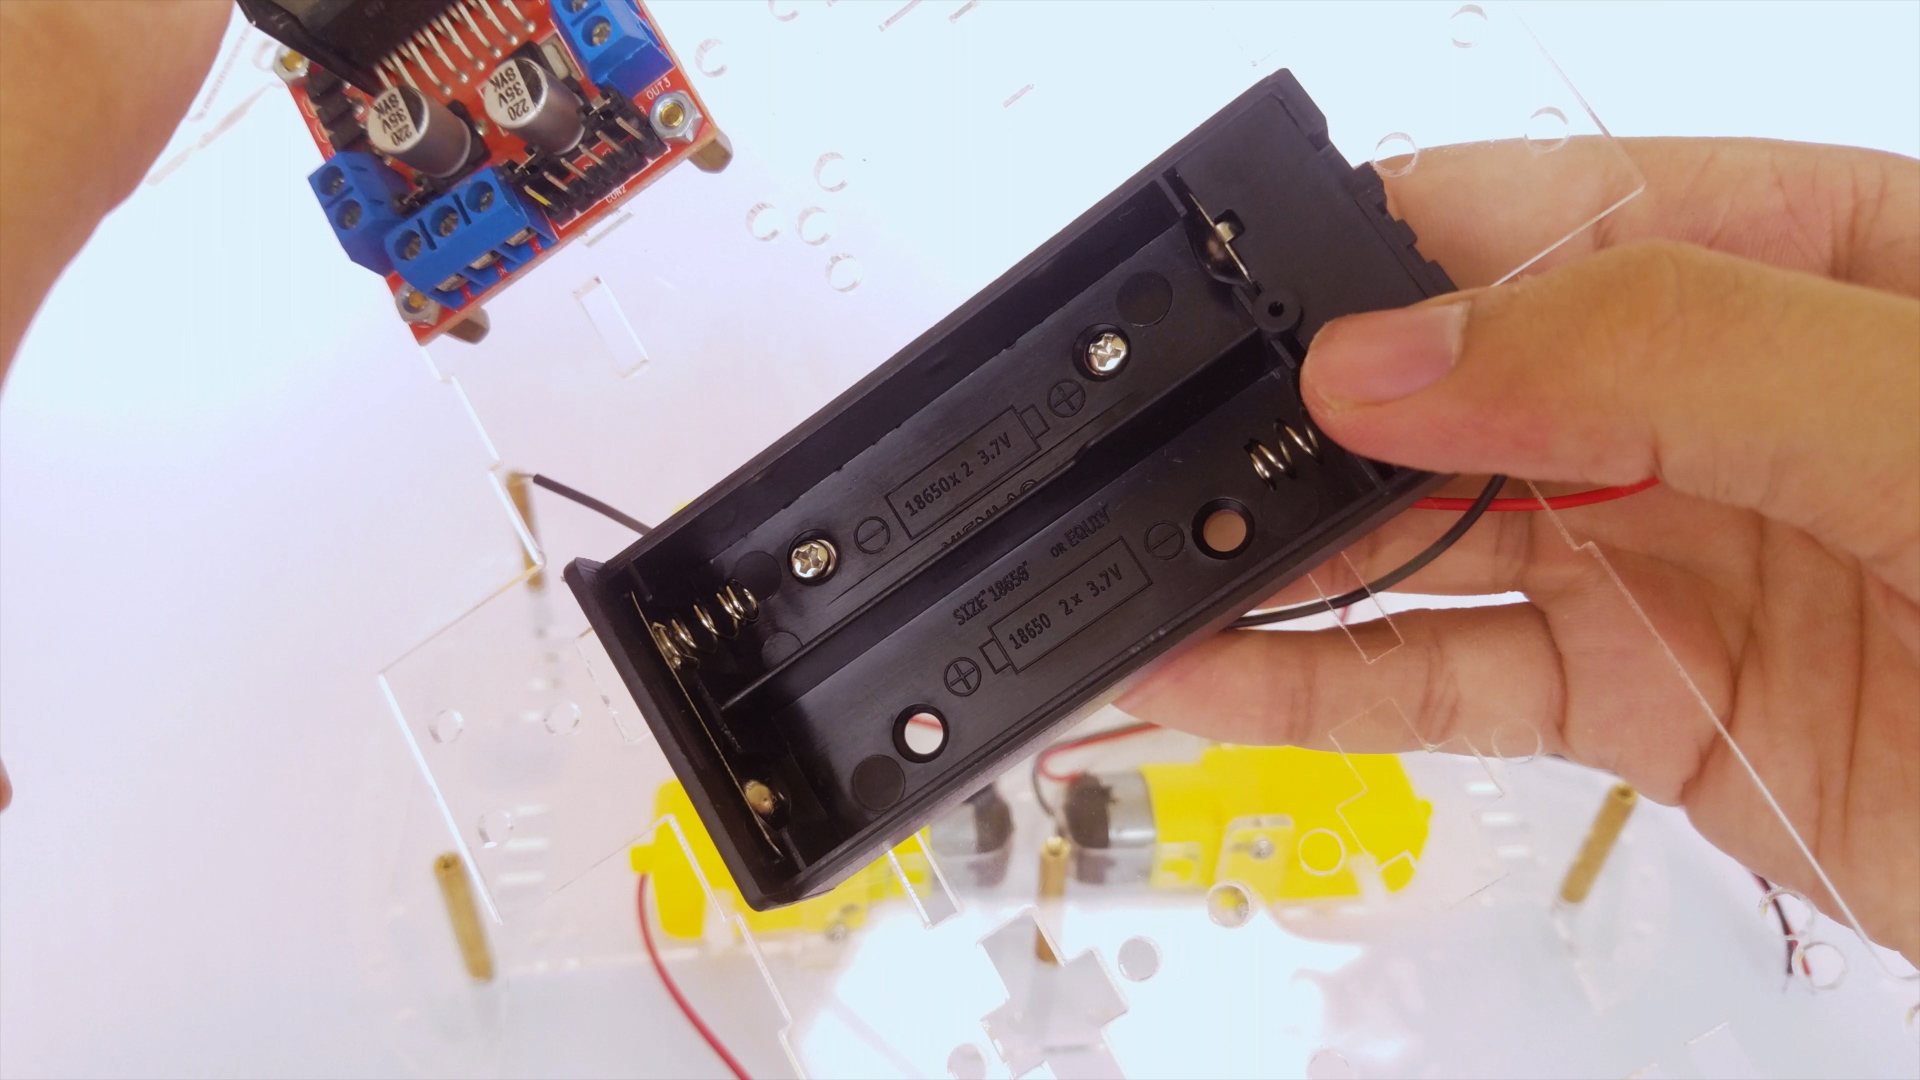
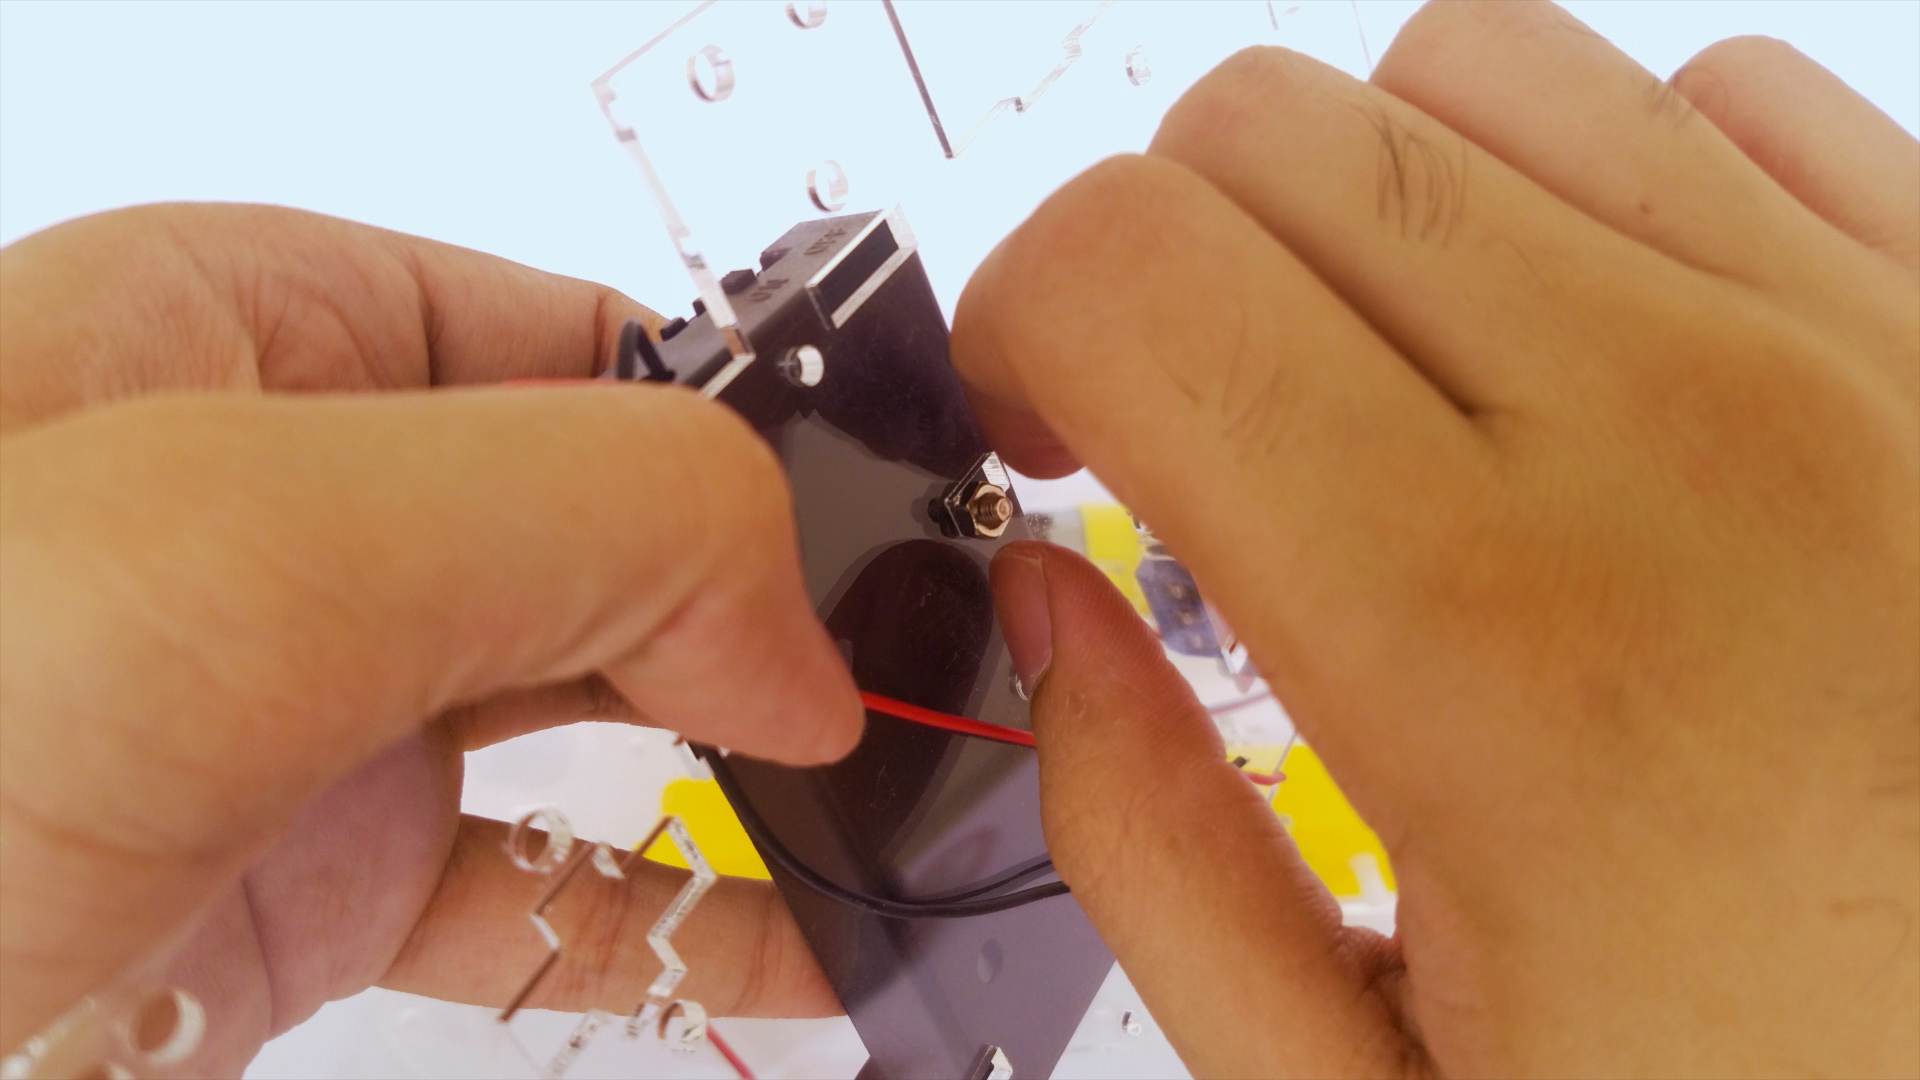
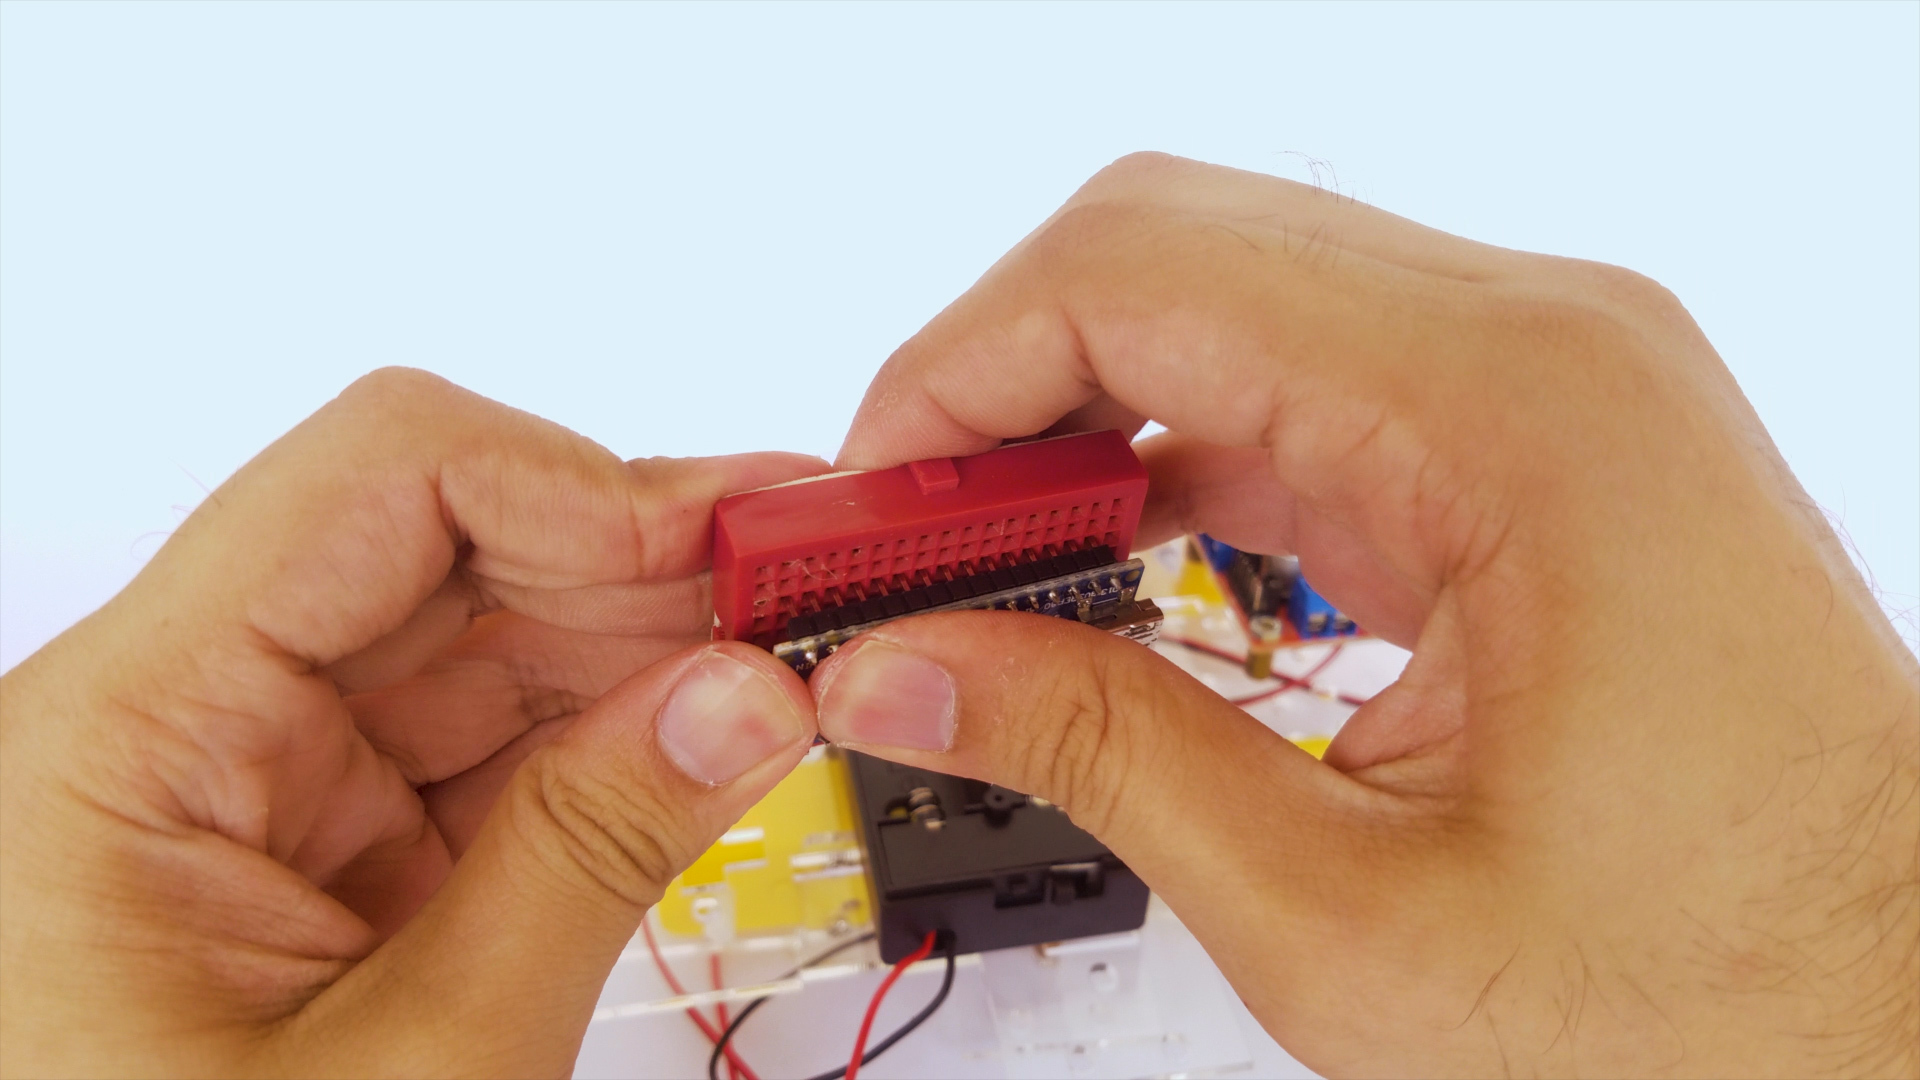
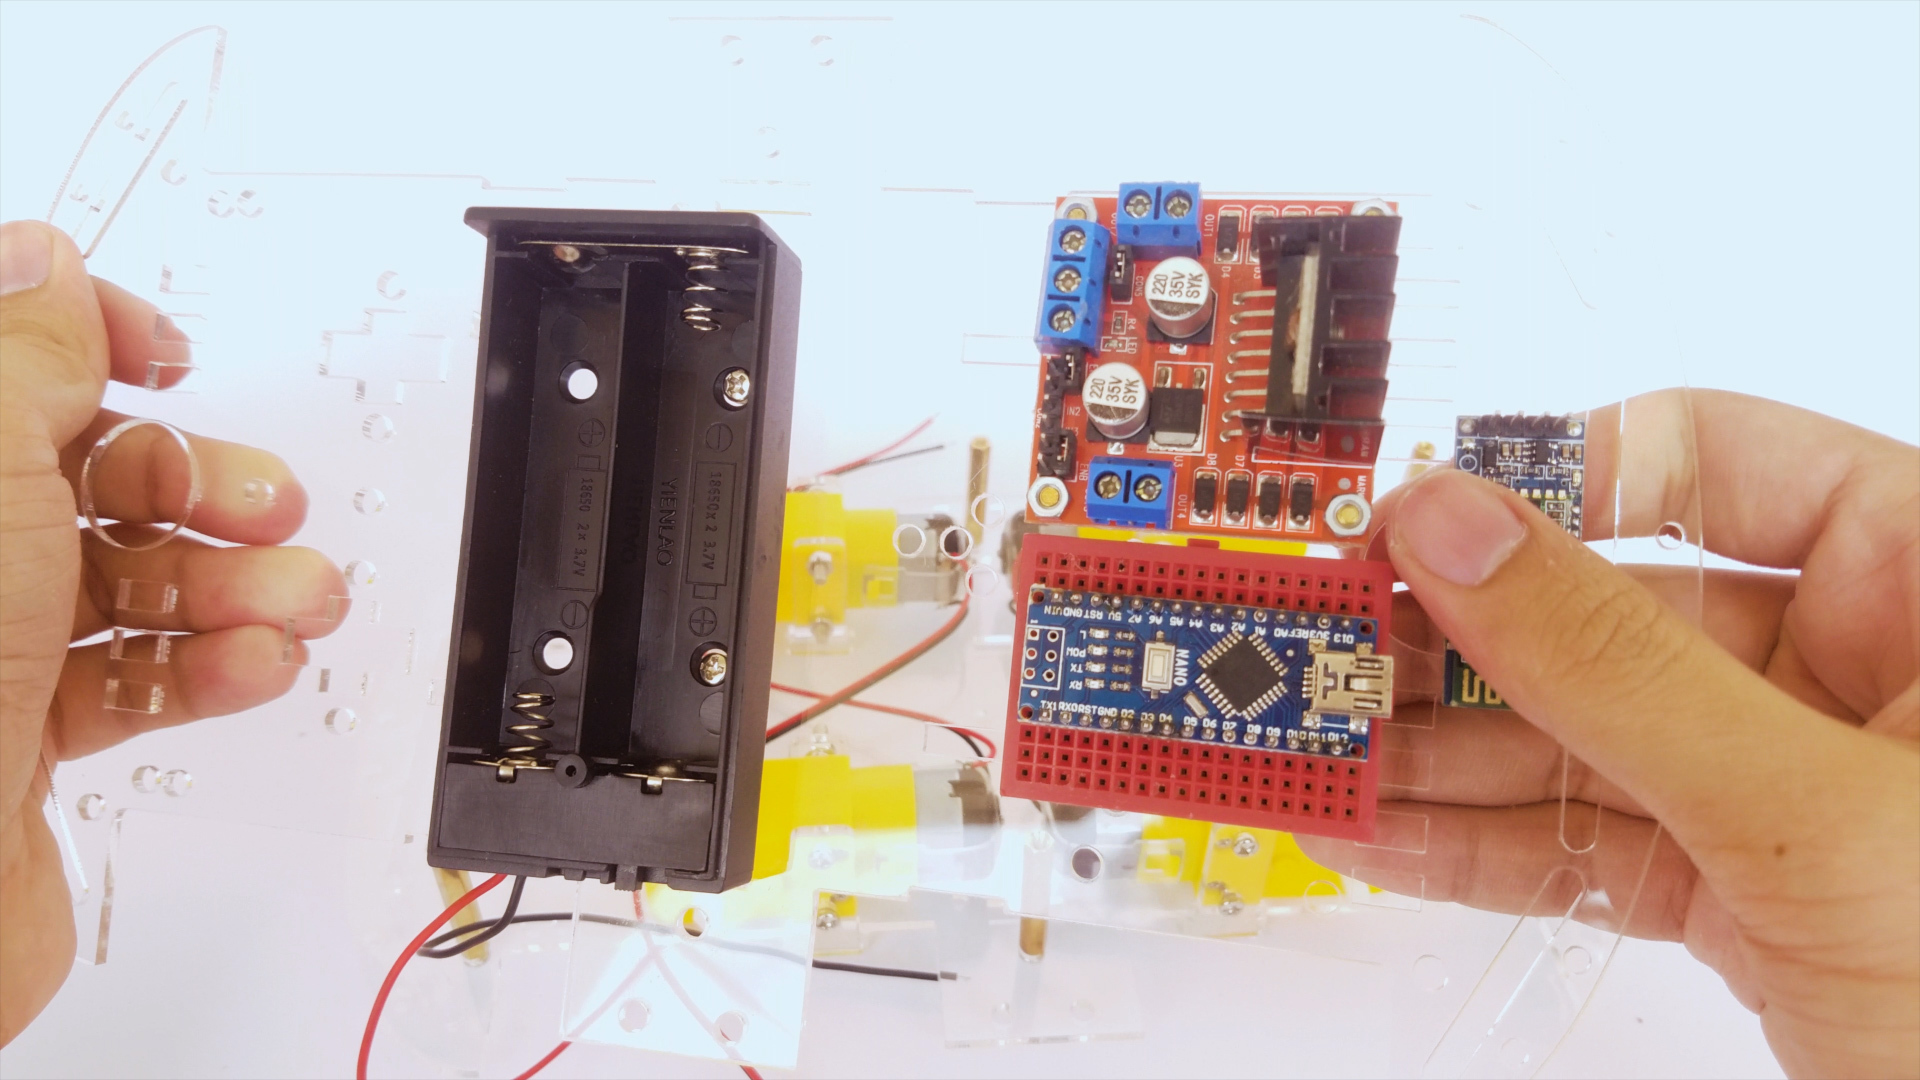
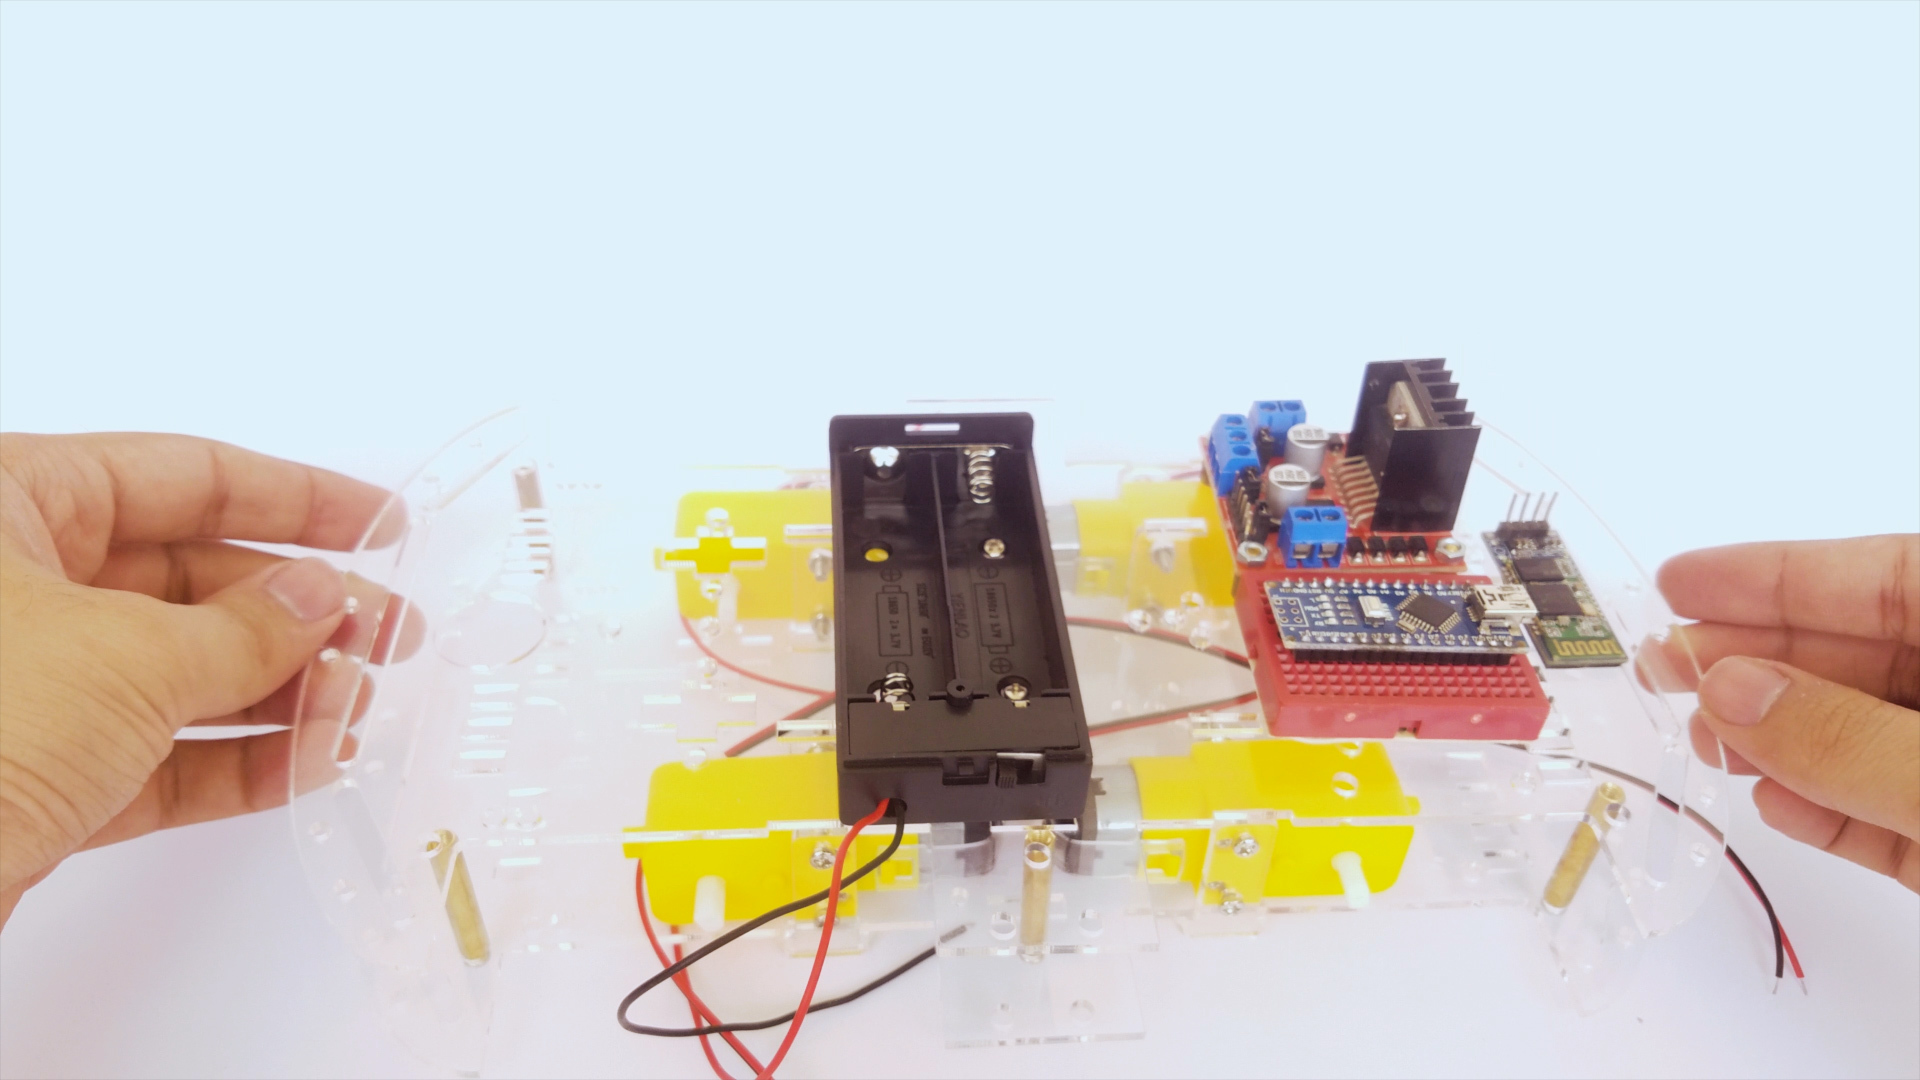
If your base consists of two layers like the one I've used, make sure you attach the electronics to the top plate first as it'll be much easier.
You might need to use double tape, standoffs and screws to attach the different electronics to the base of your car.
Finally, attach the whole upper plate to the lower one using screws.
Wiring
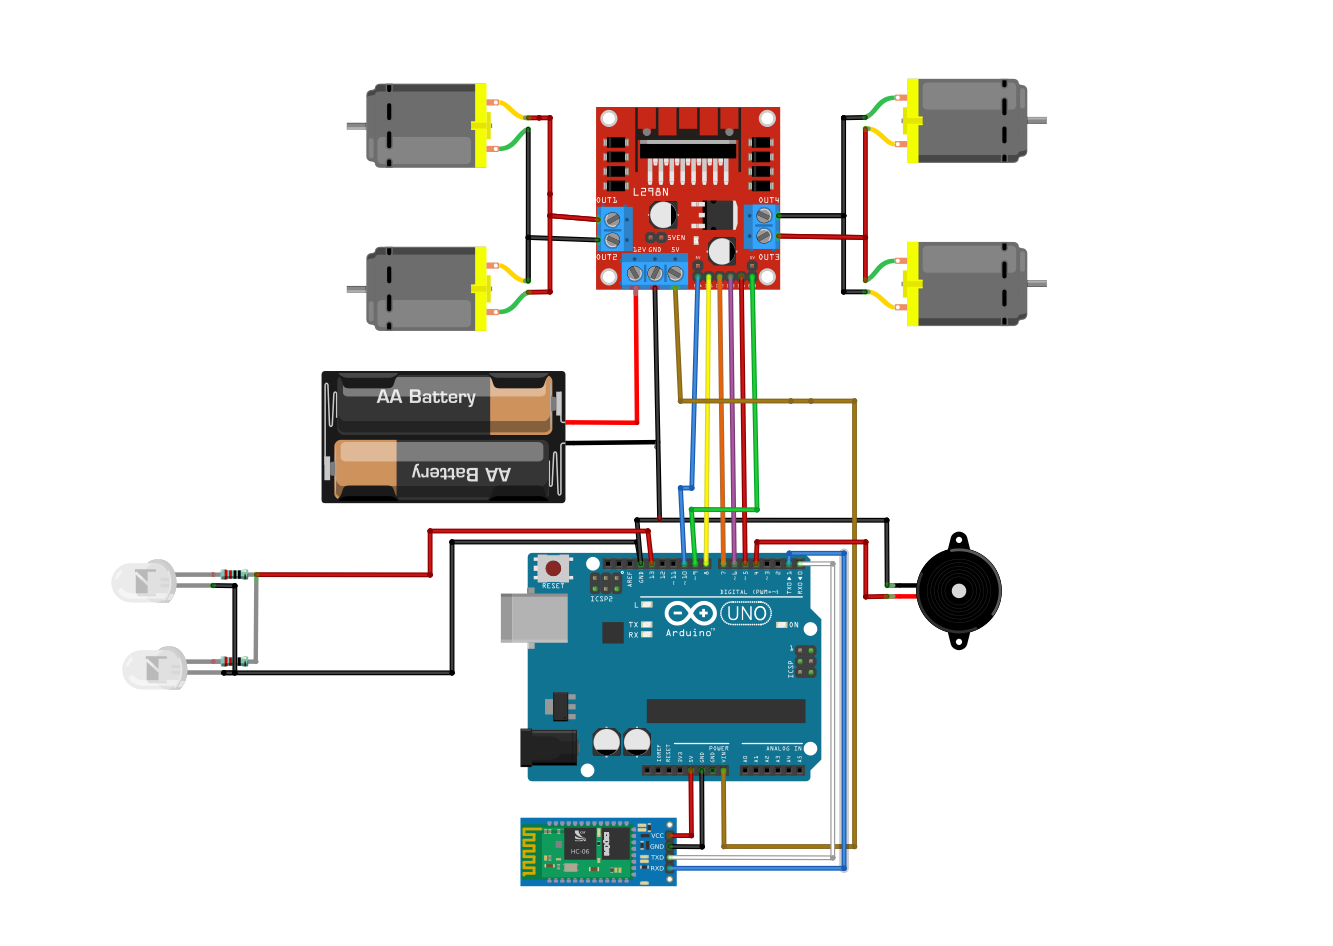
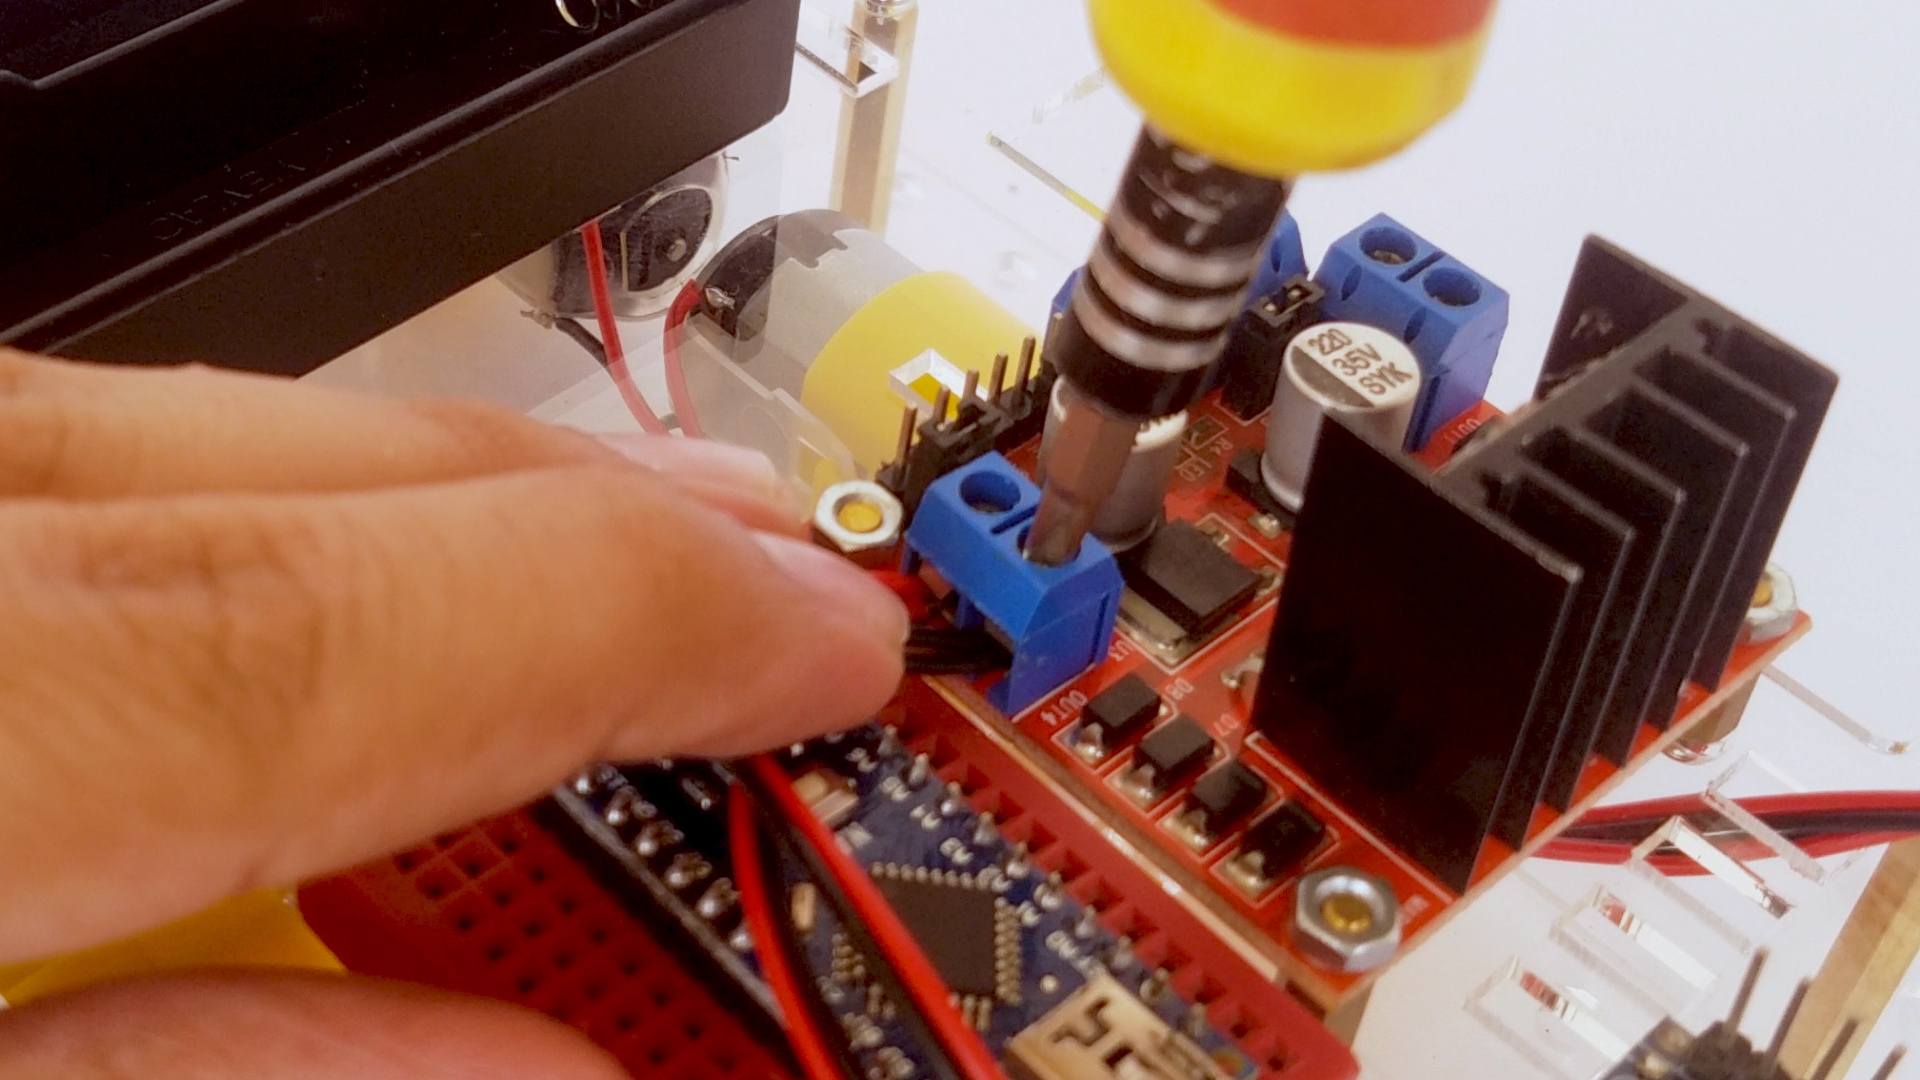
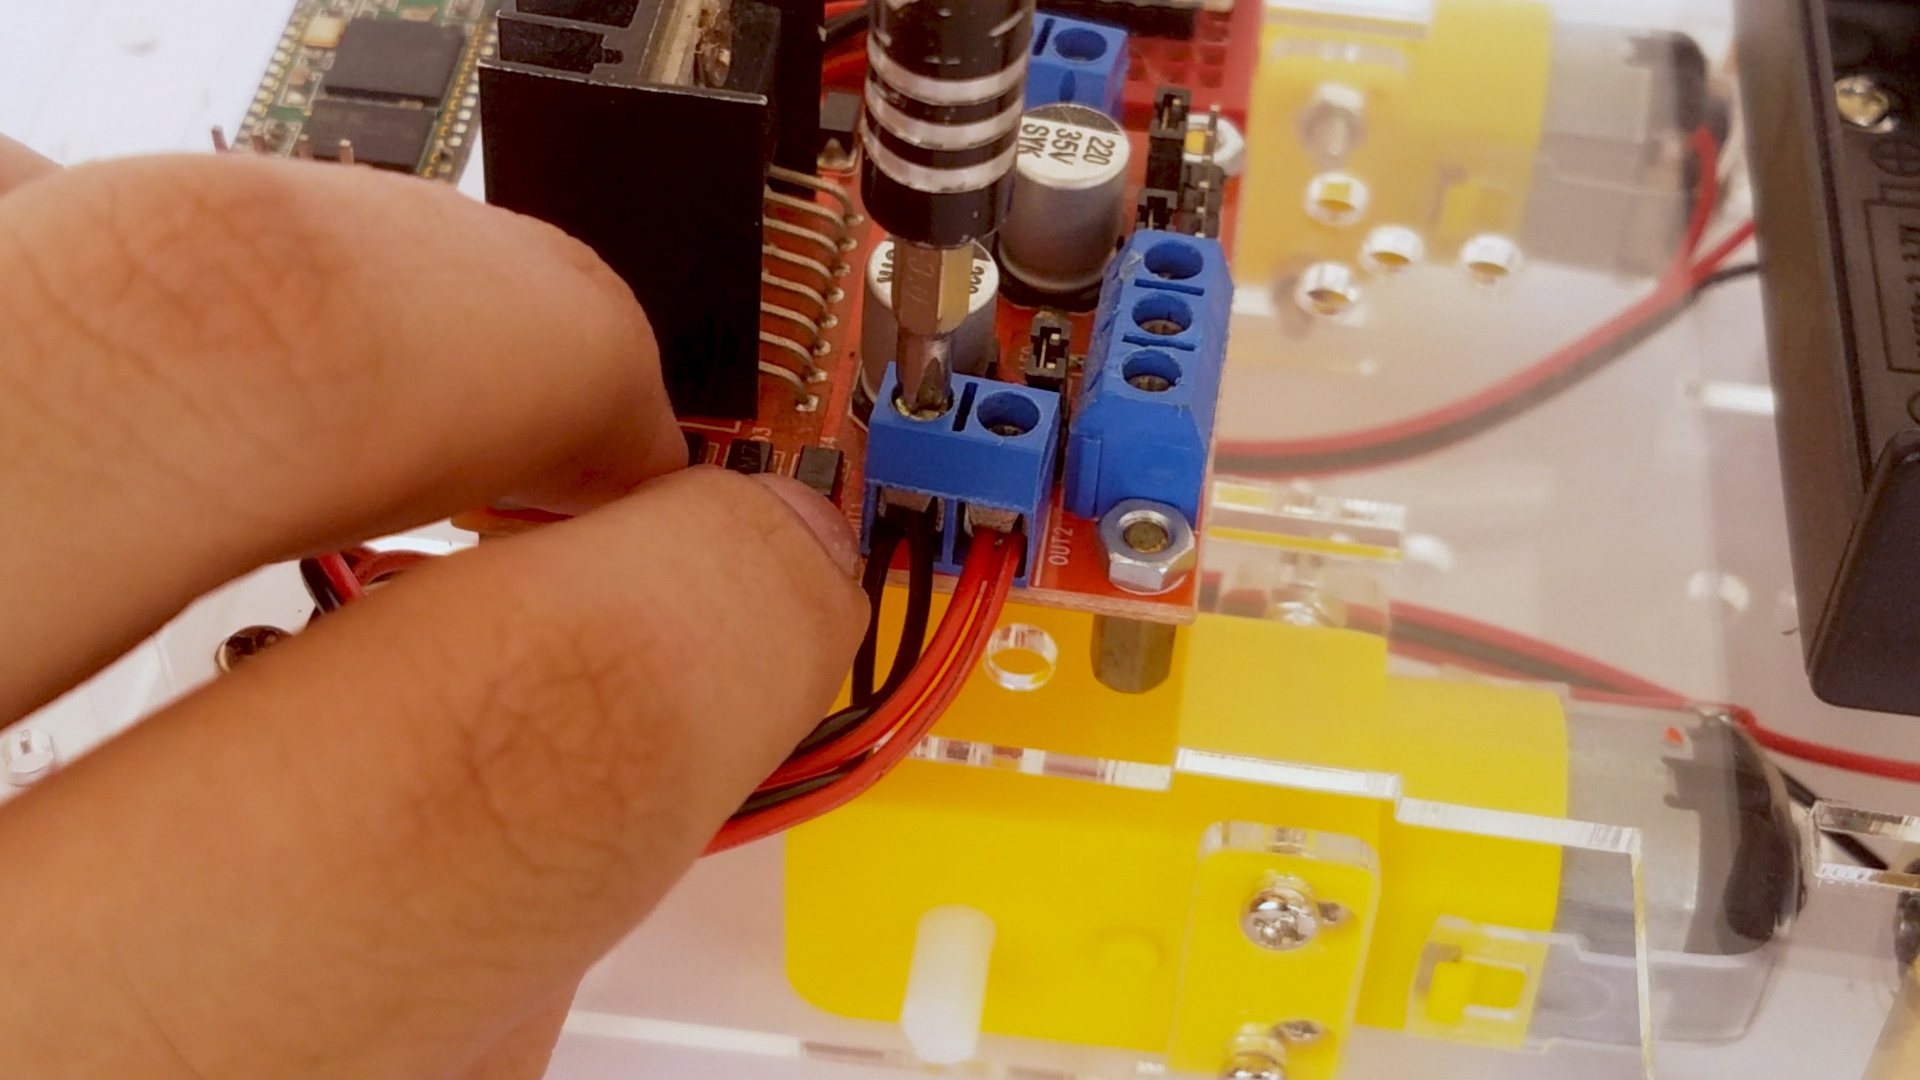
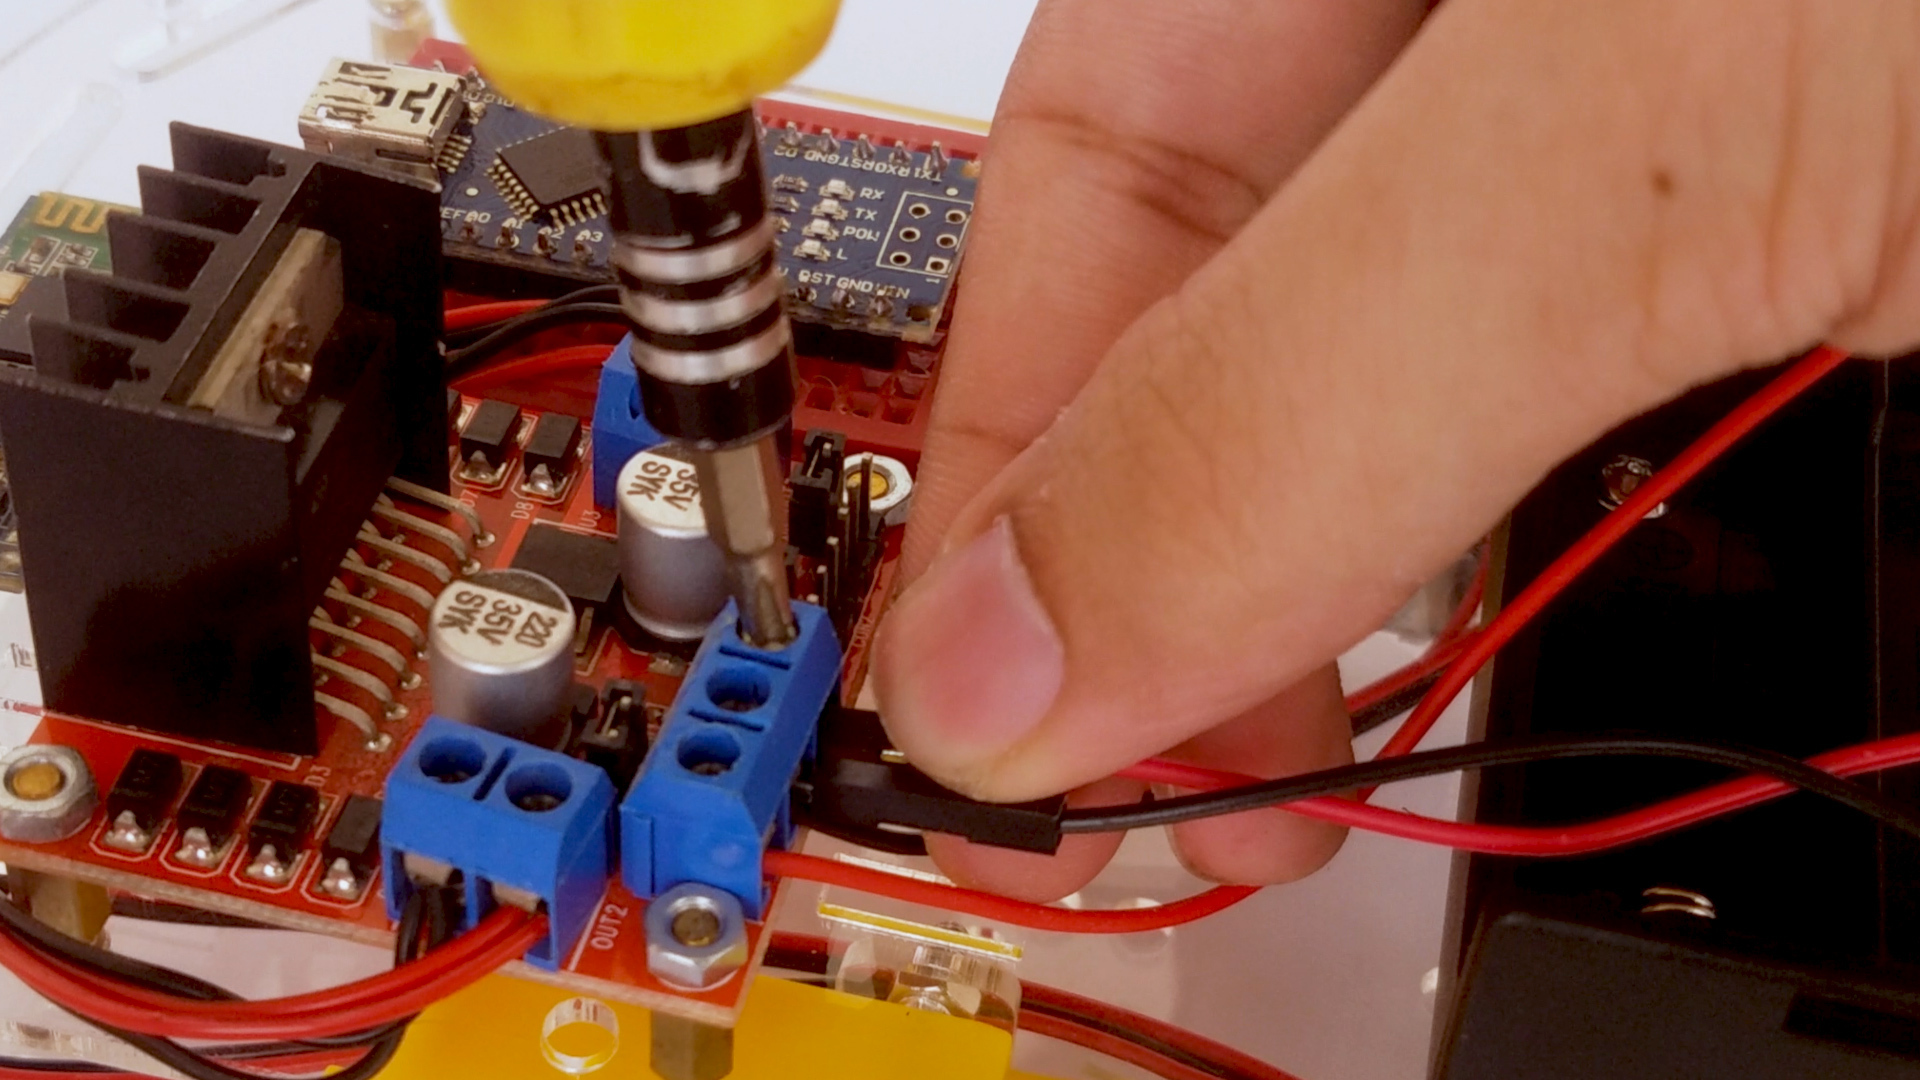
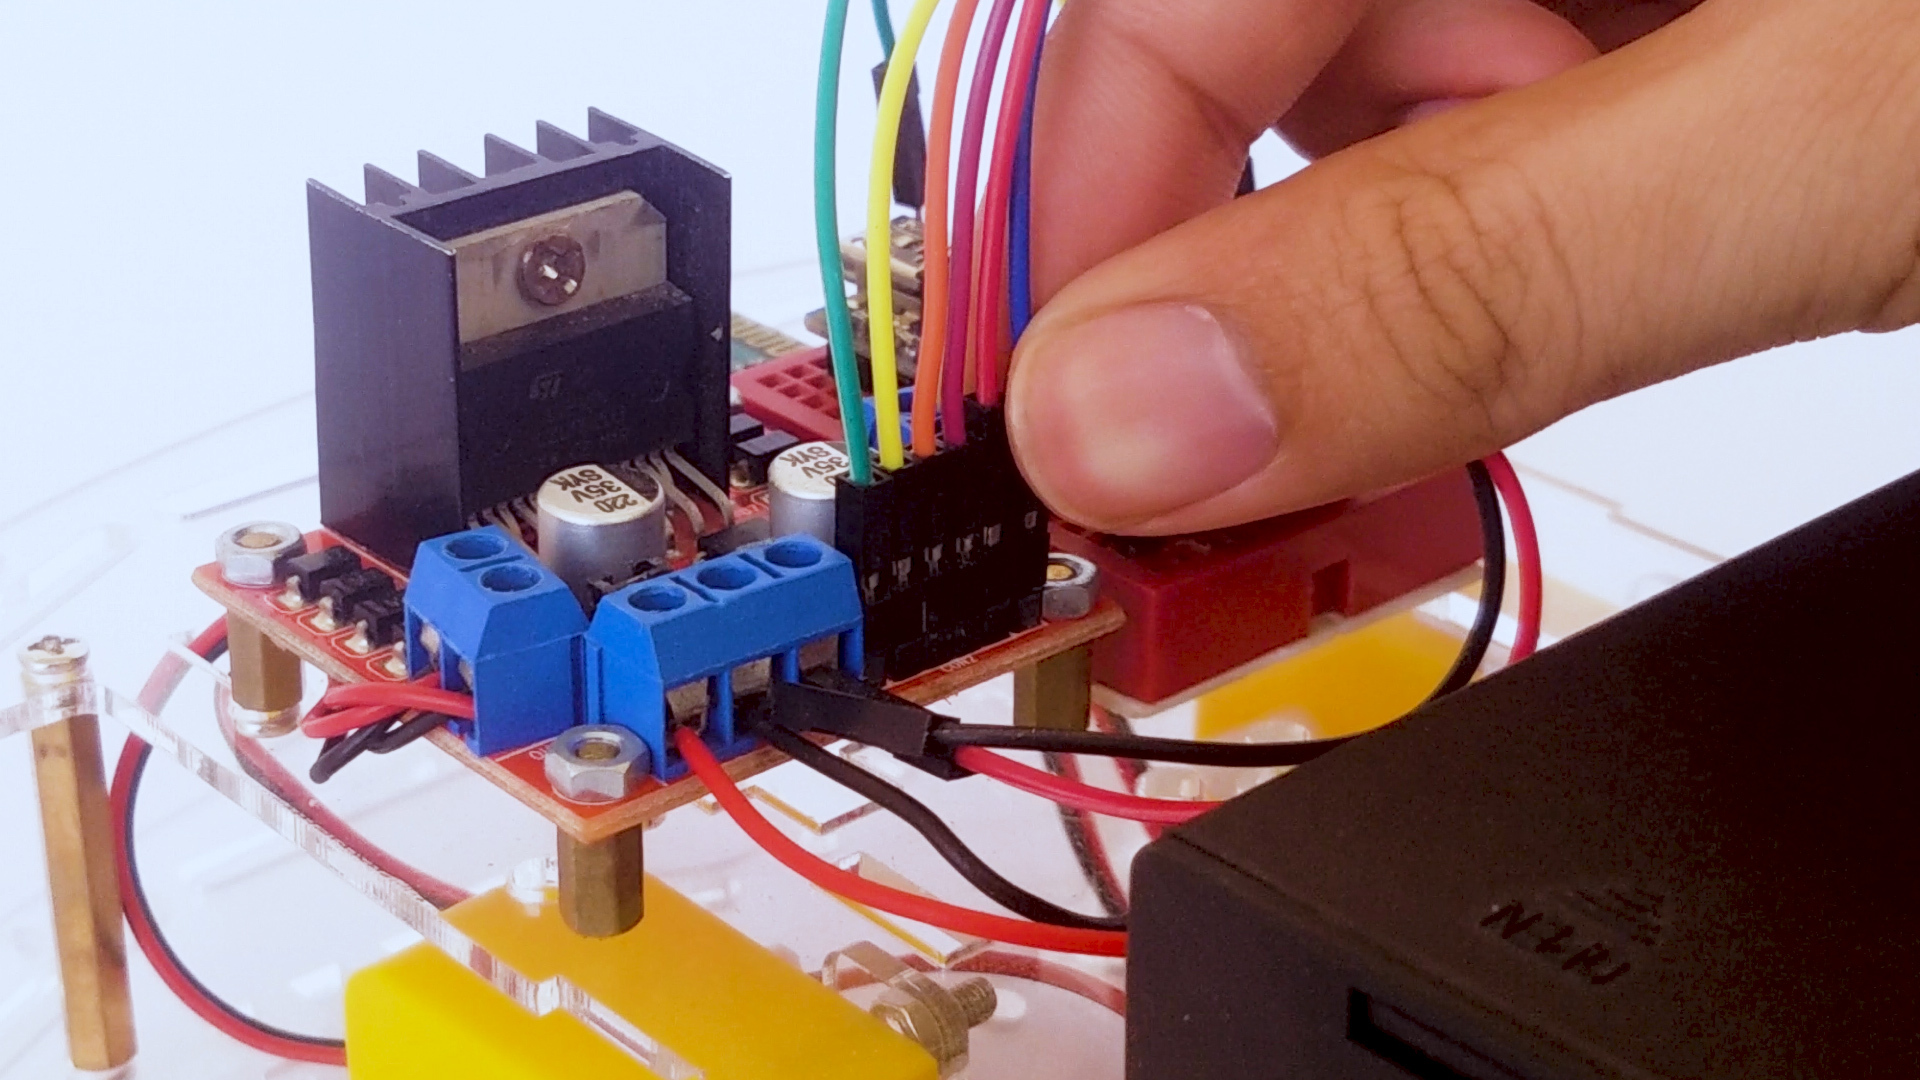
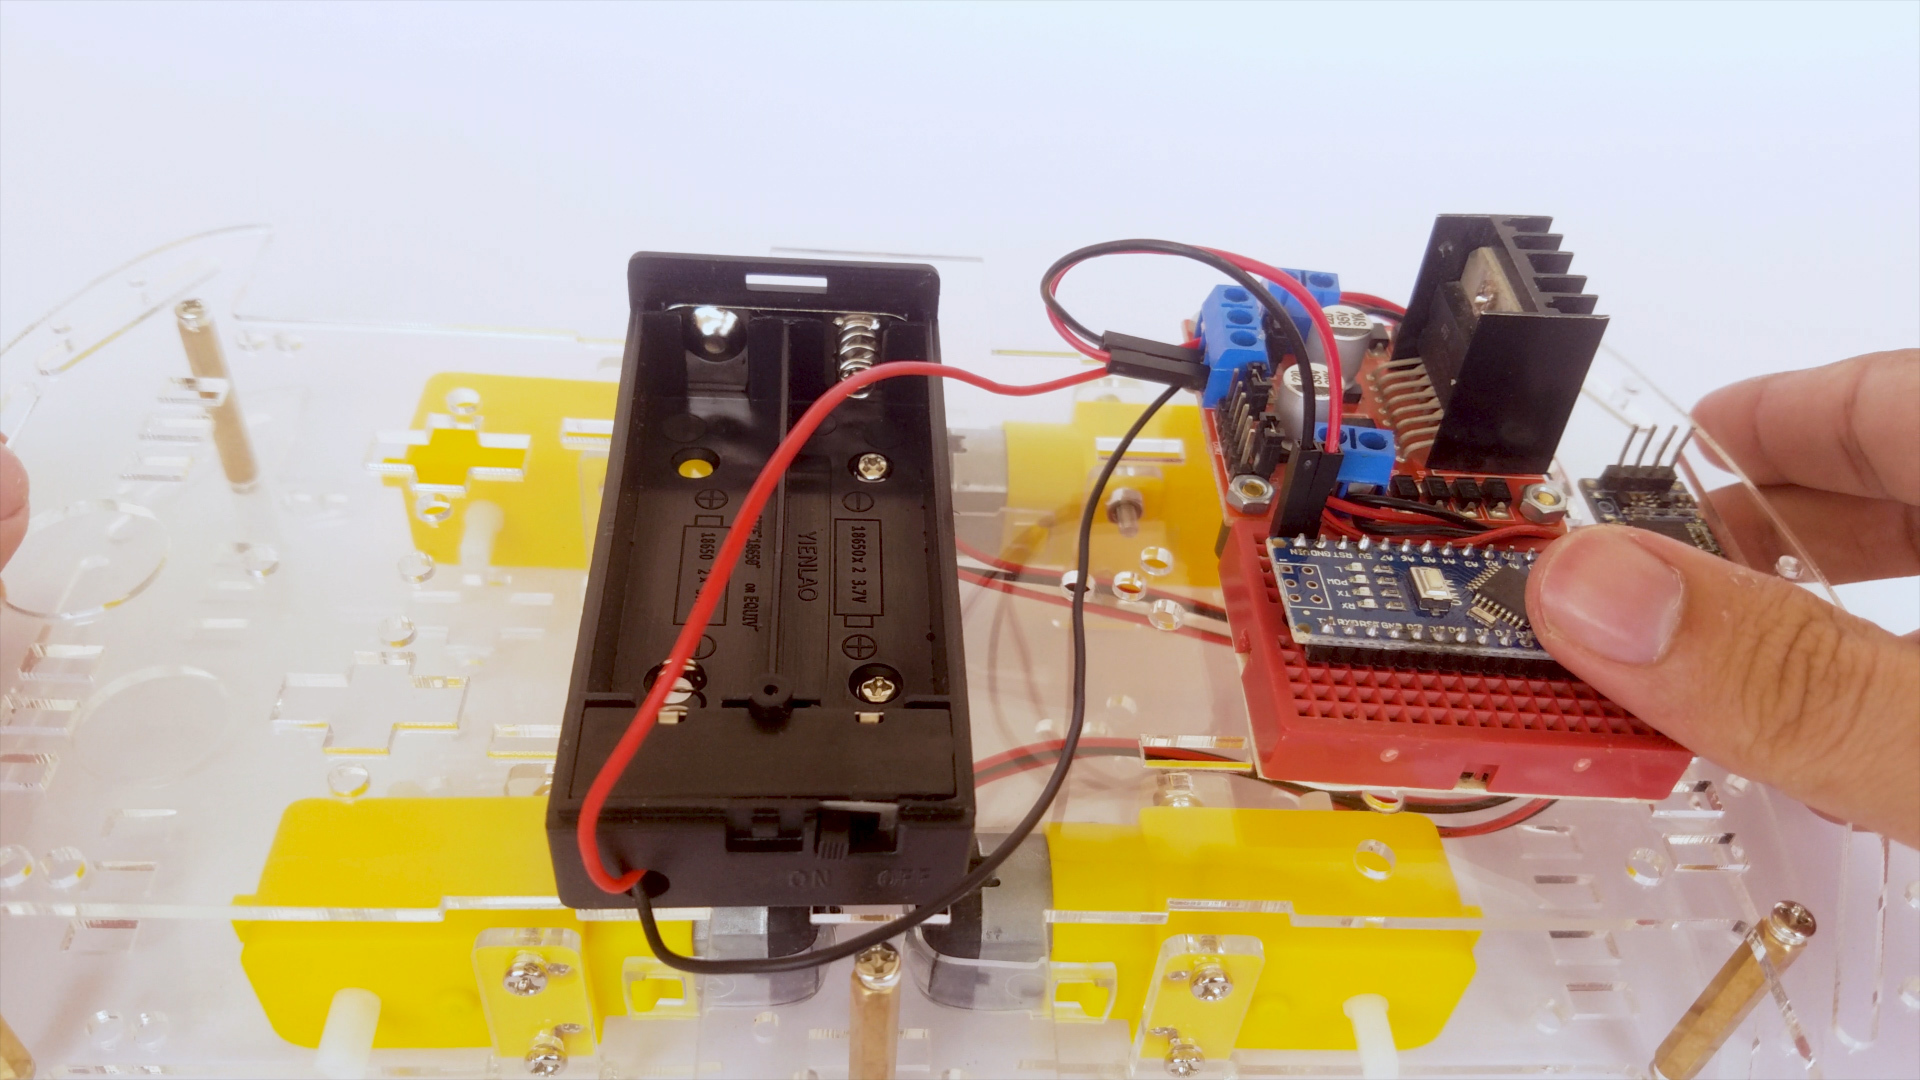
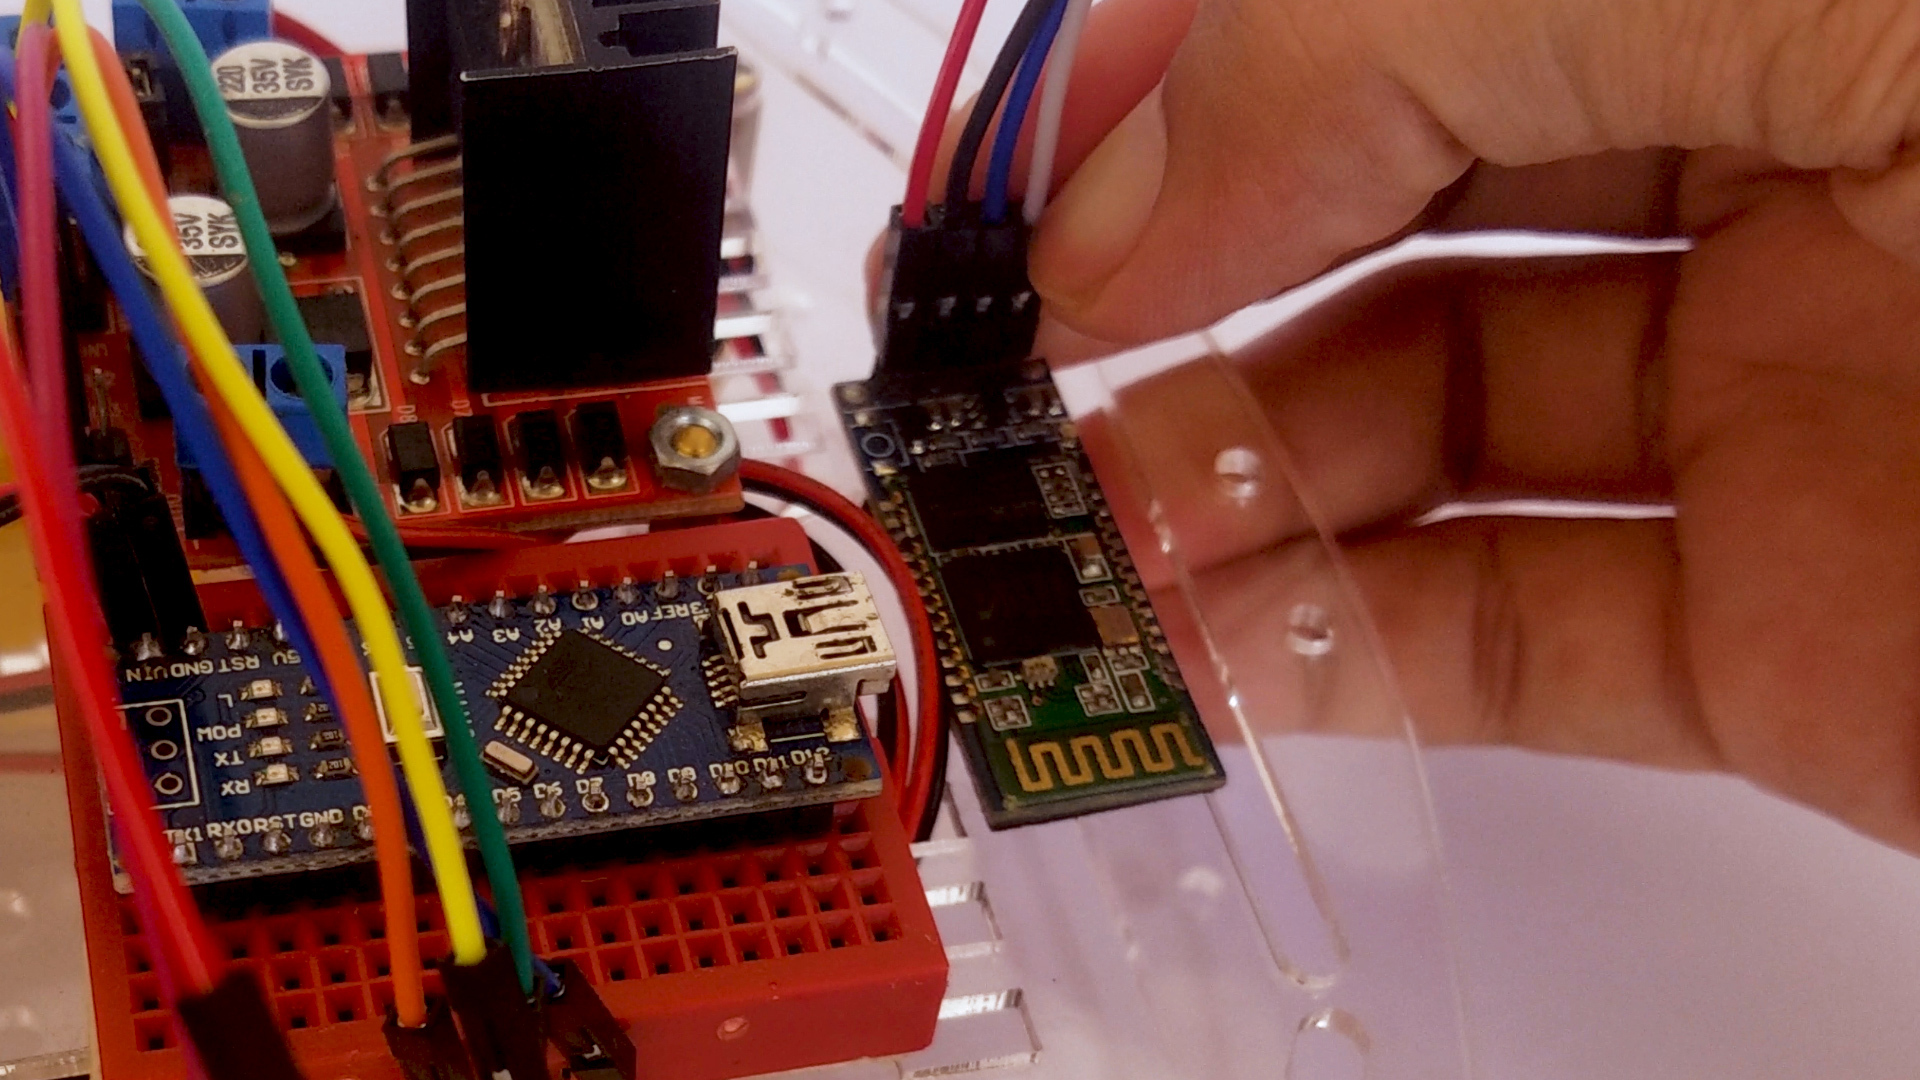
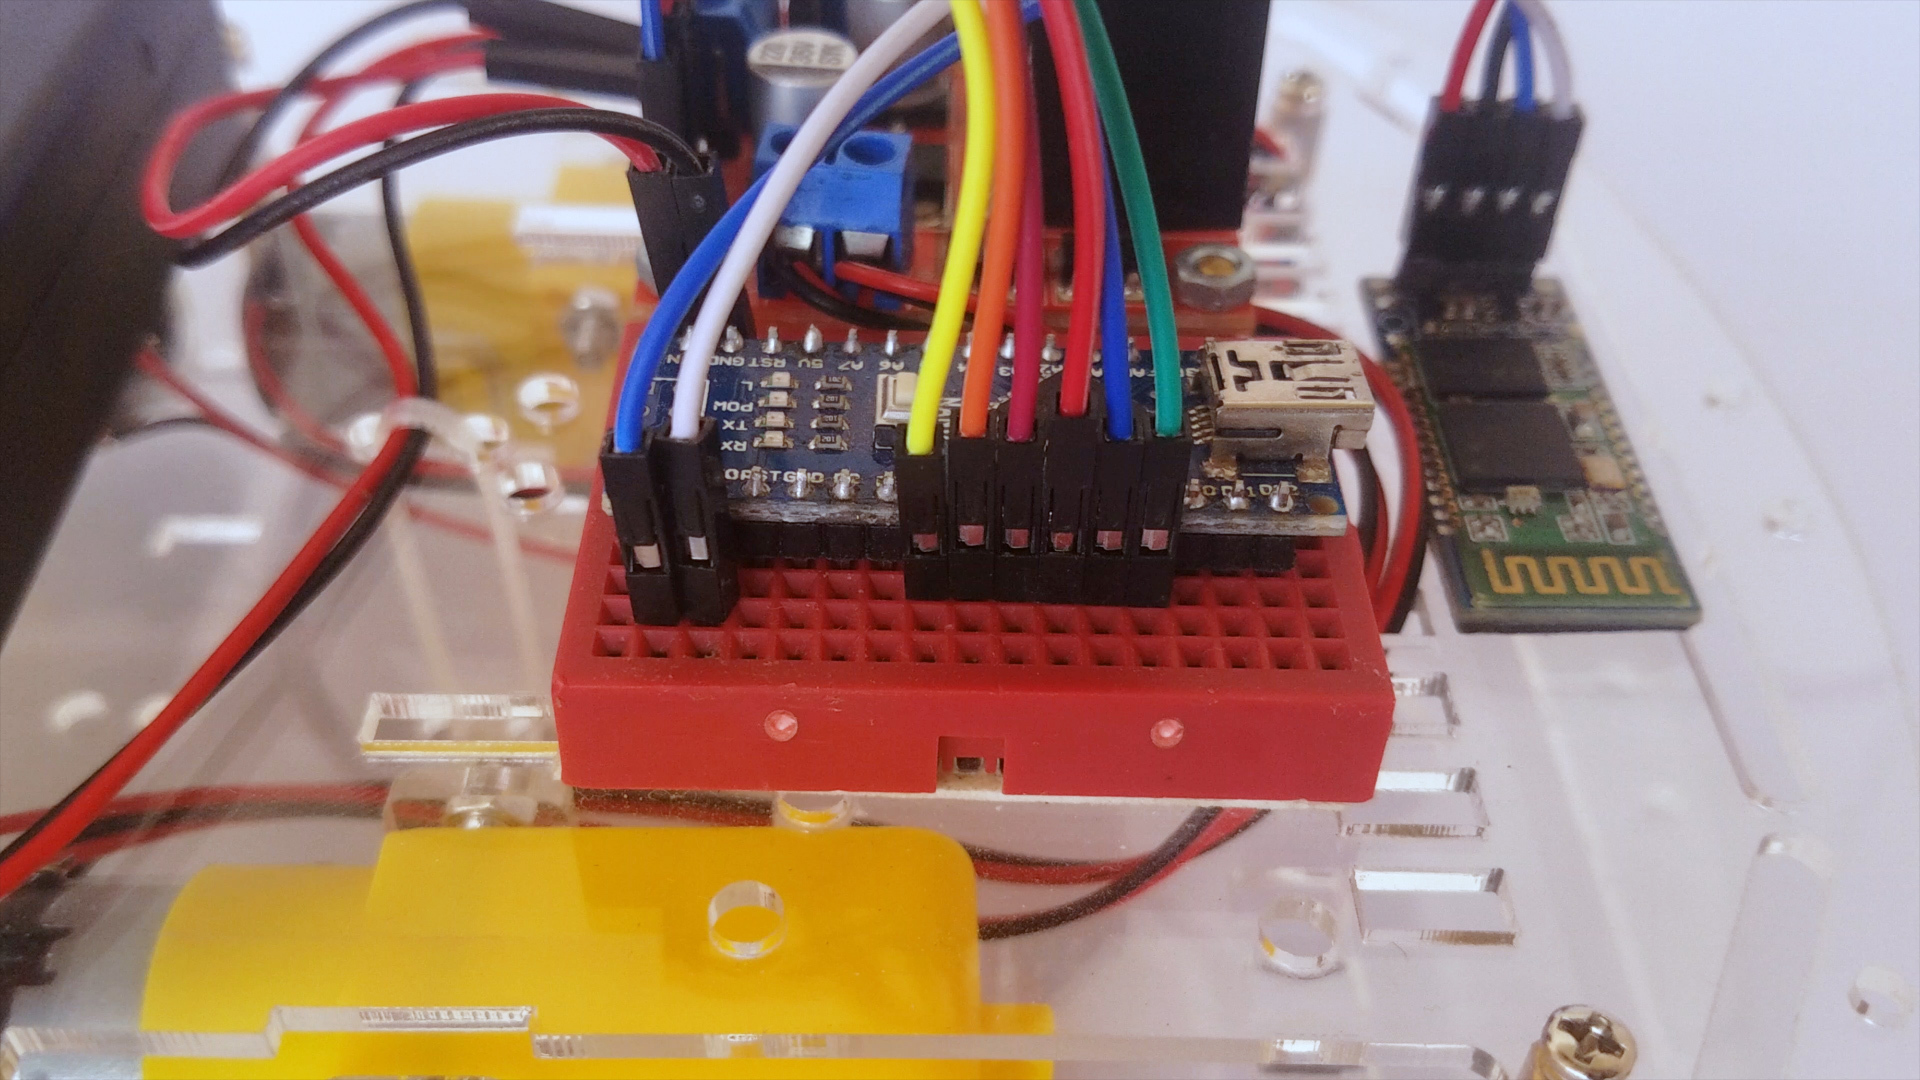
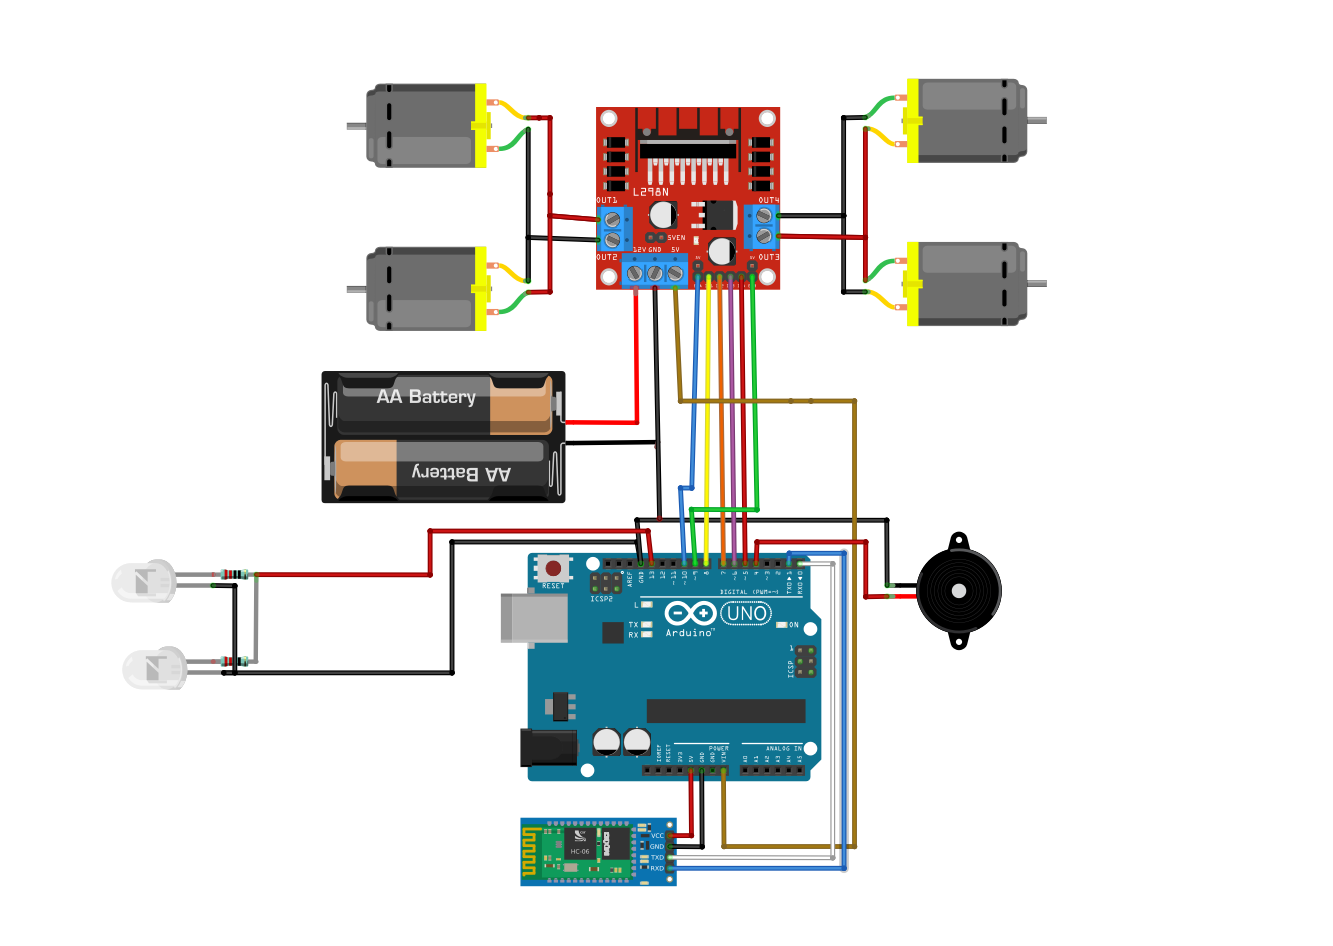
First connect the motor wires to the motor driver, the polarity does not matter but to keep everything simple use opposing polarities for the same side of motors.
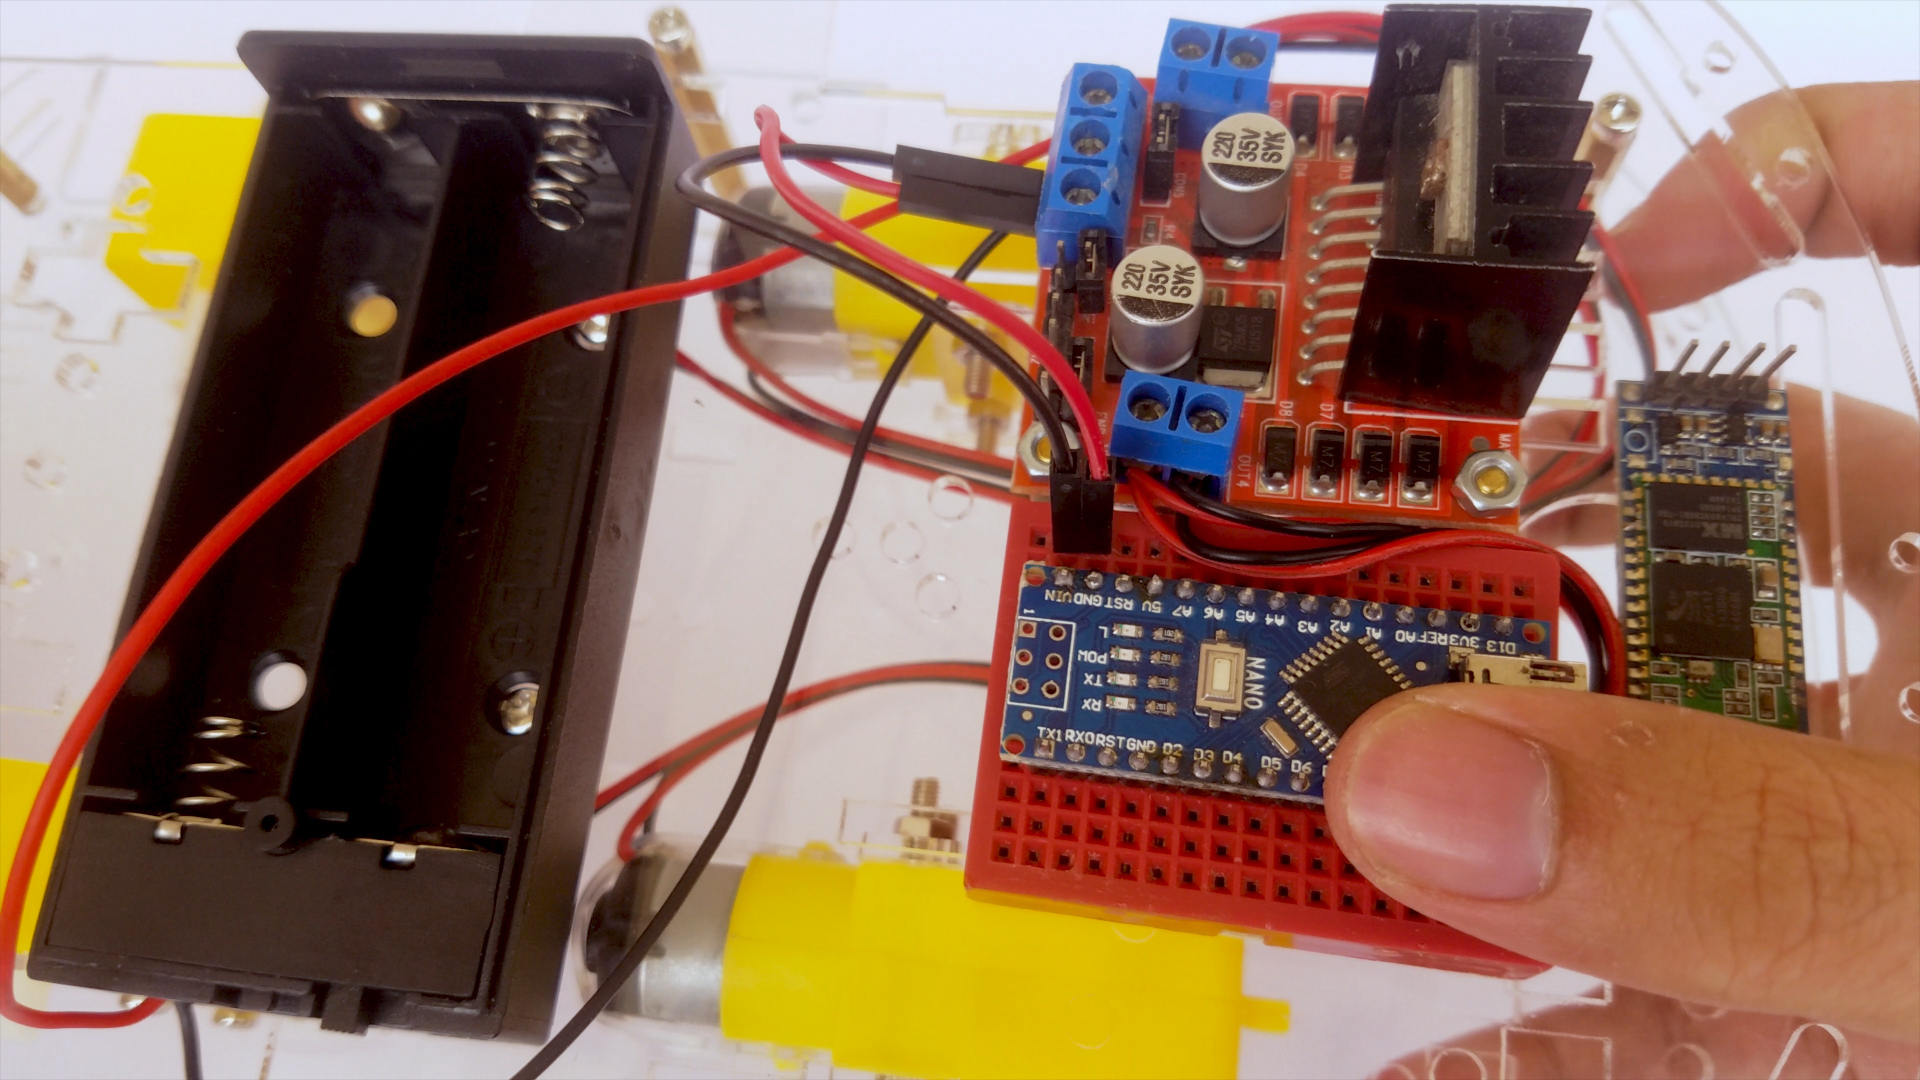
Use the jumper wires to connect the Battery box, Motor driver and the Bluetooth module to the Arduino according to the schematic.
Attach the Wheels
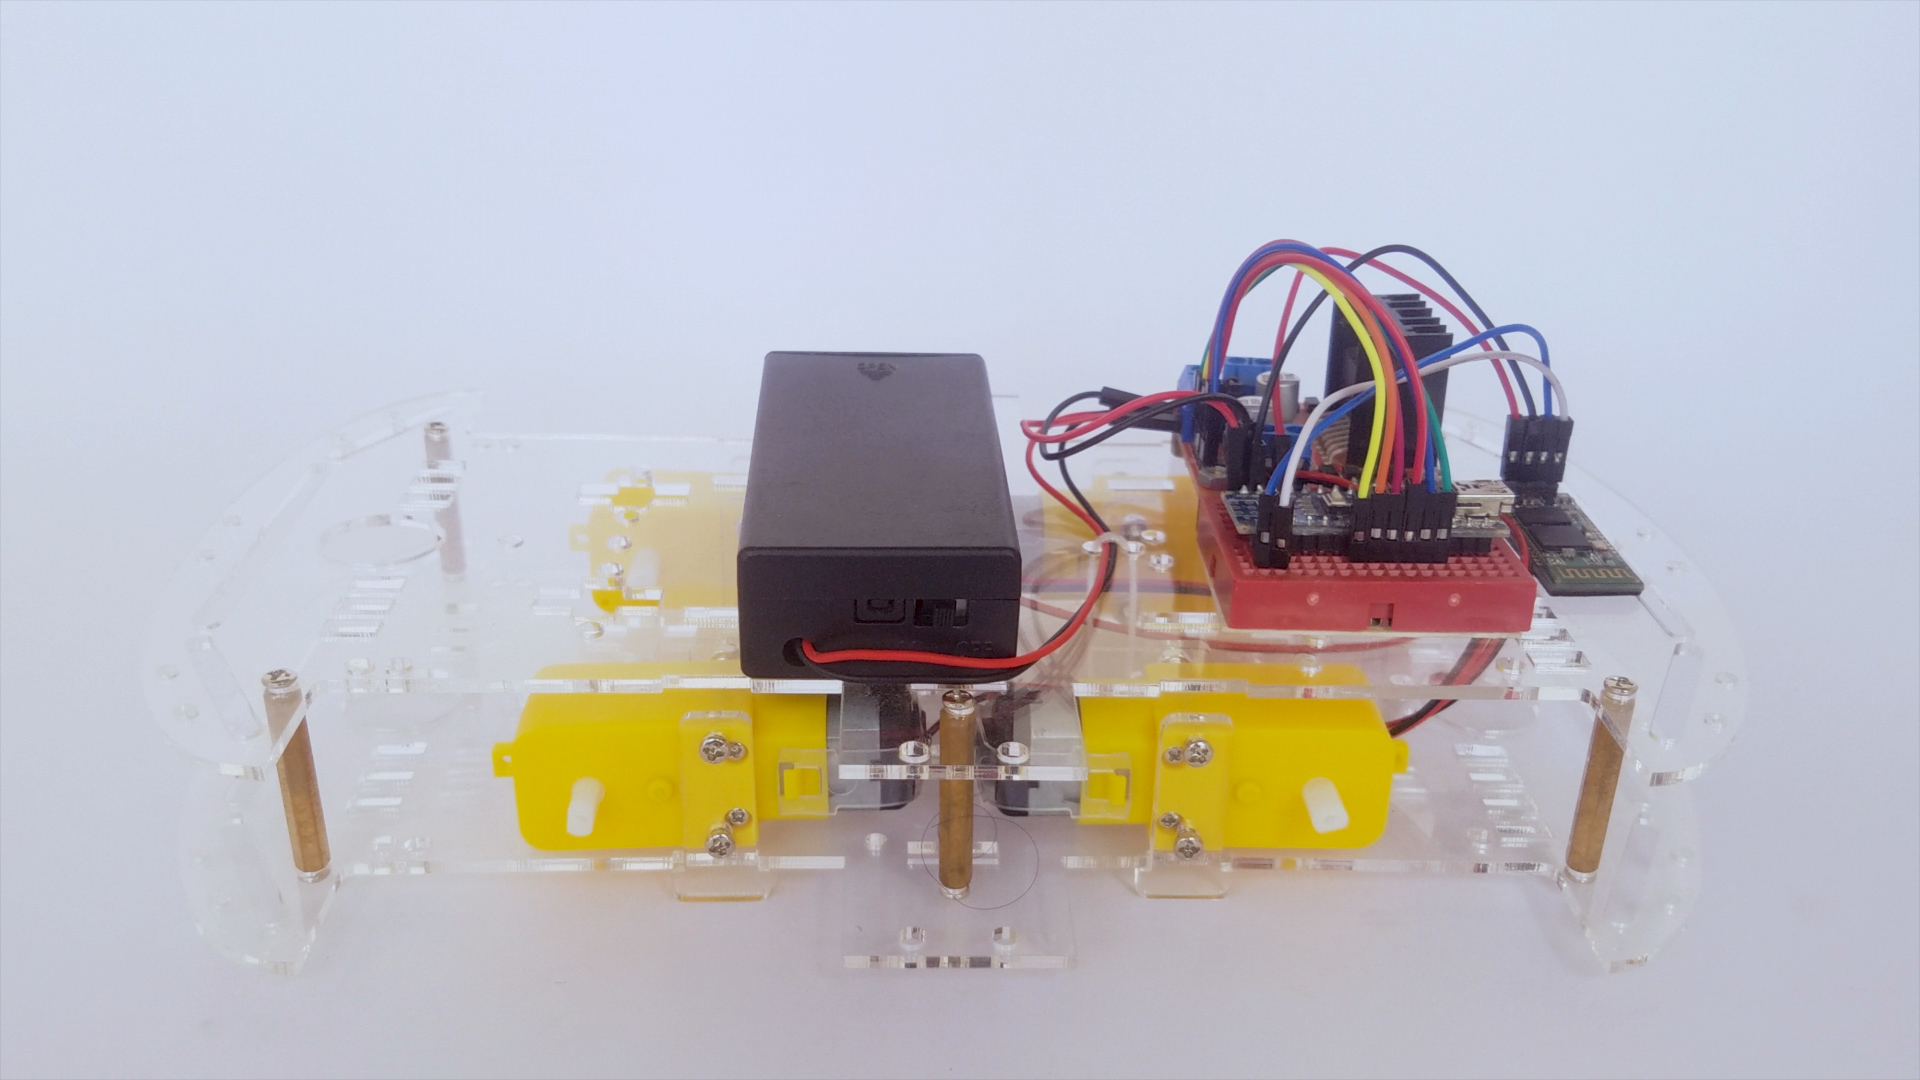
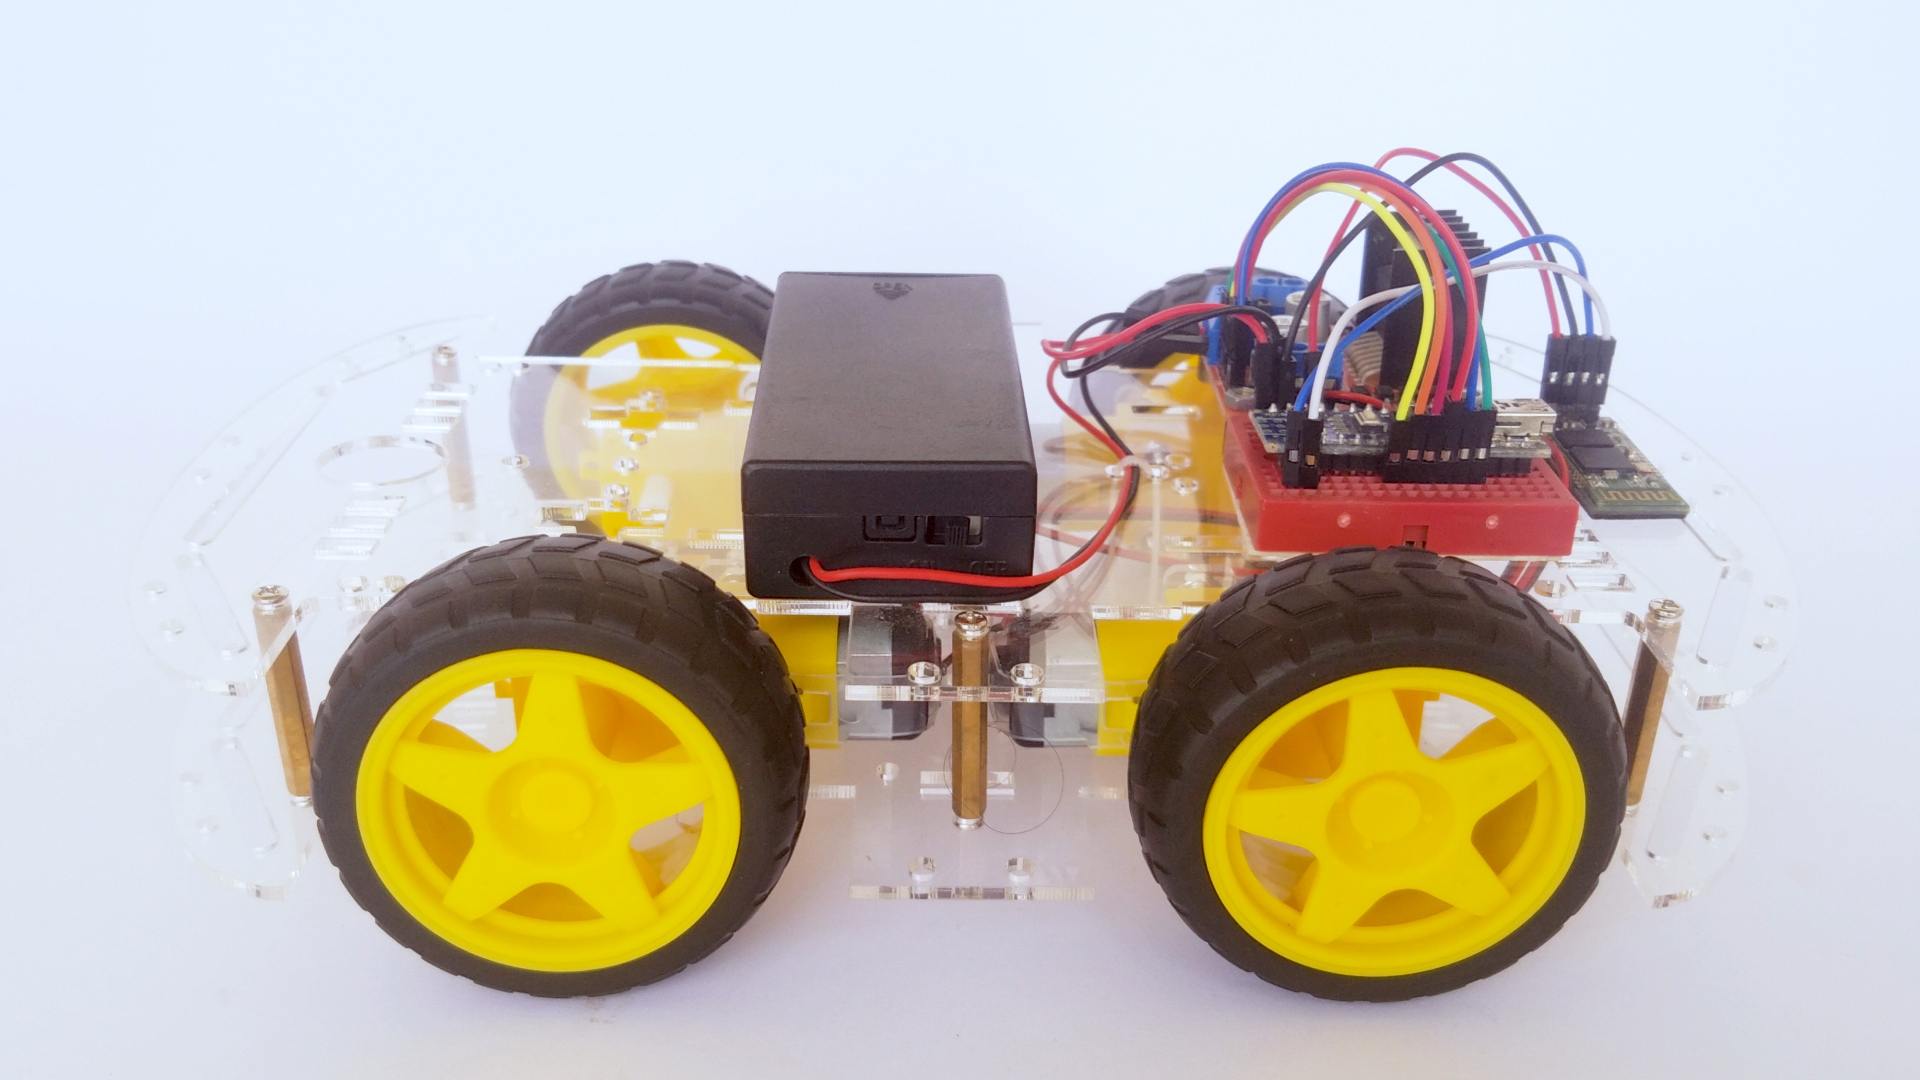
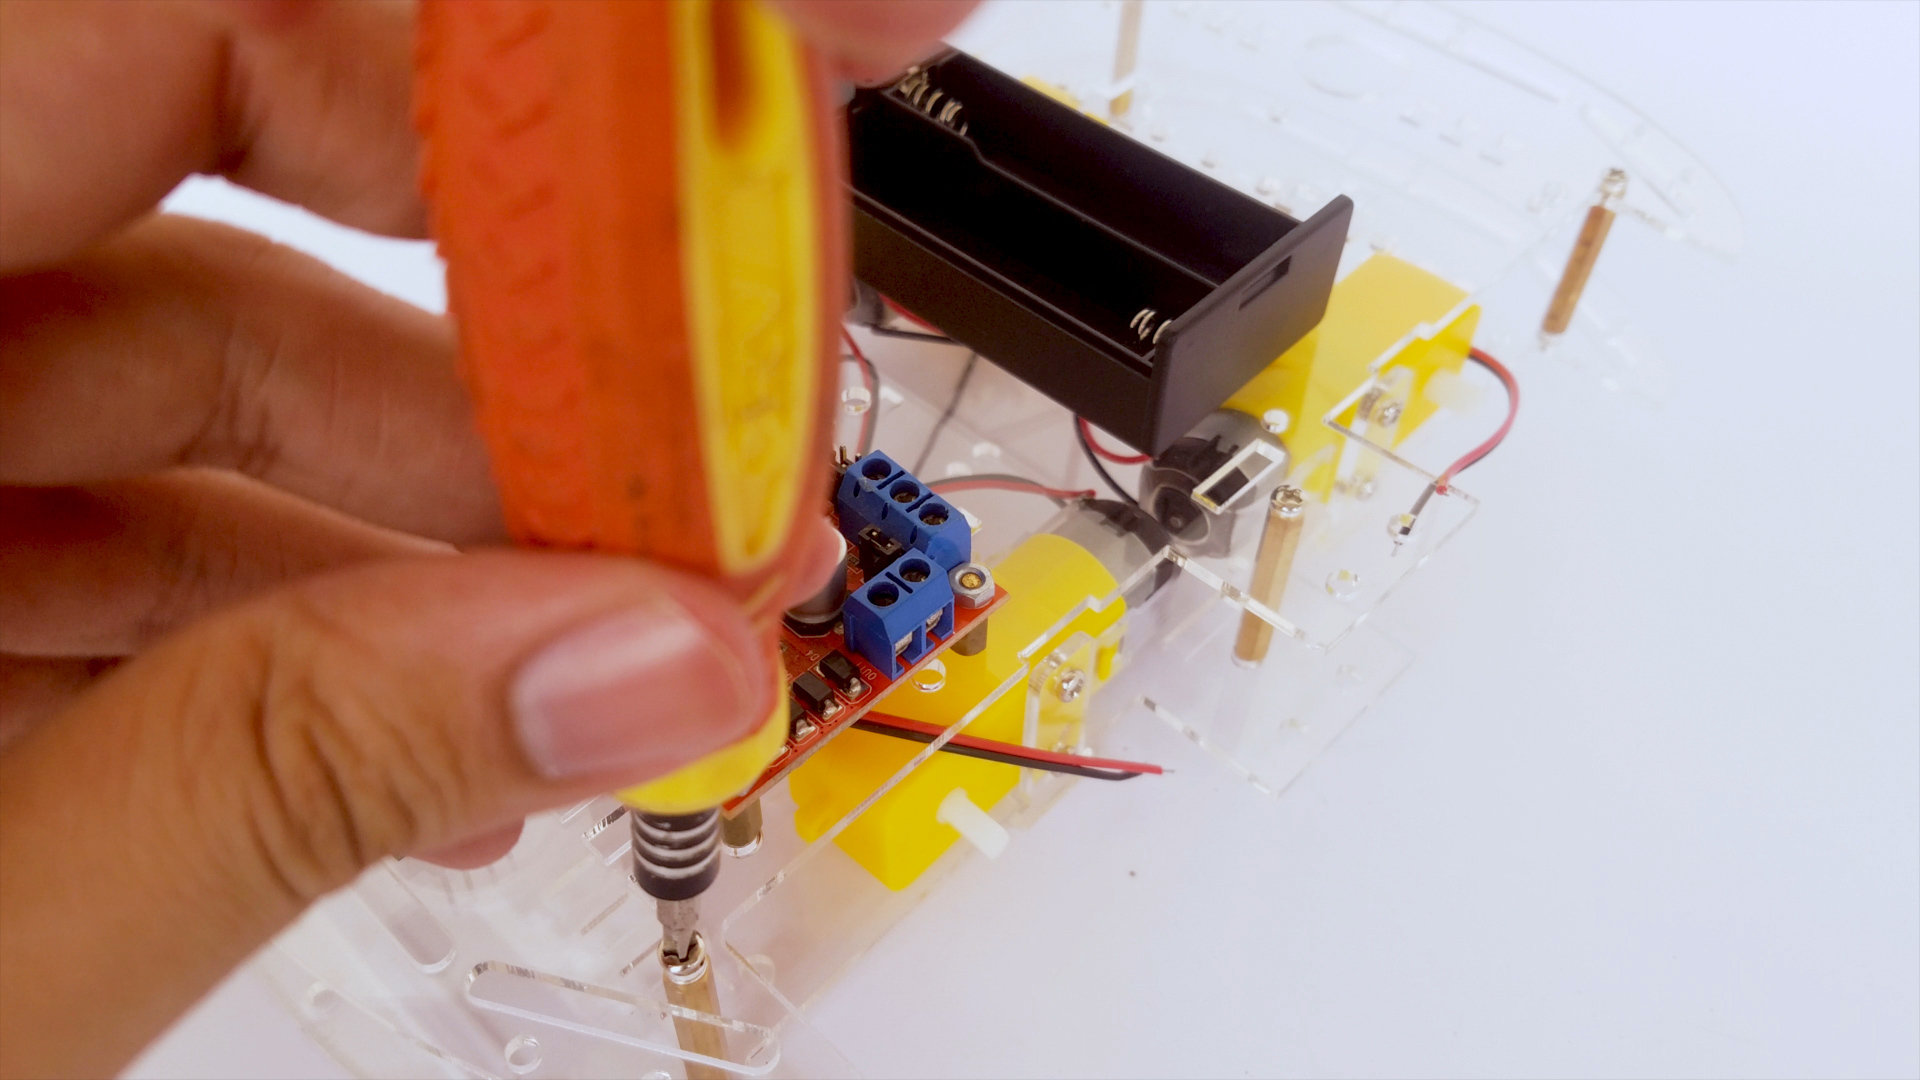
Finally, (in regards to the assembly) put on the wheels!
Uploading the Code
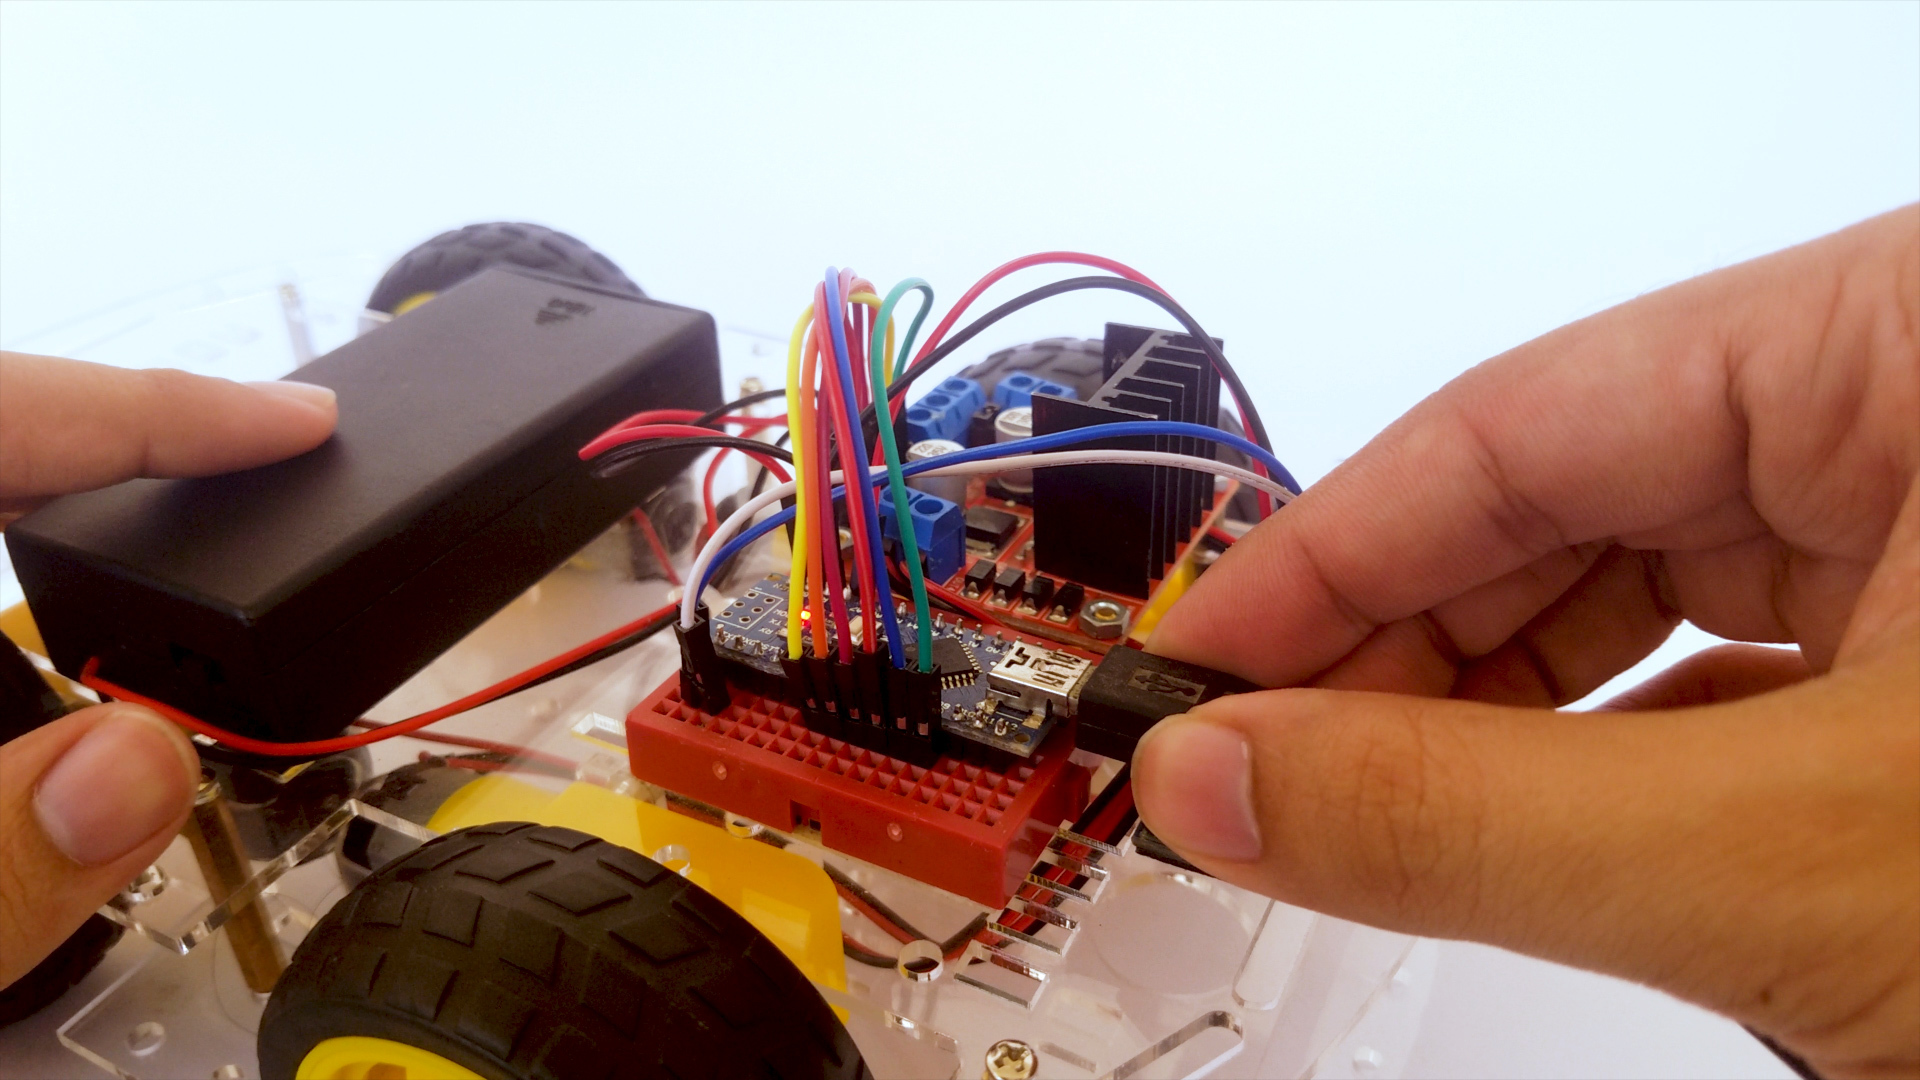
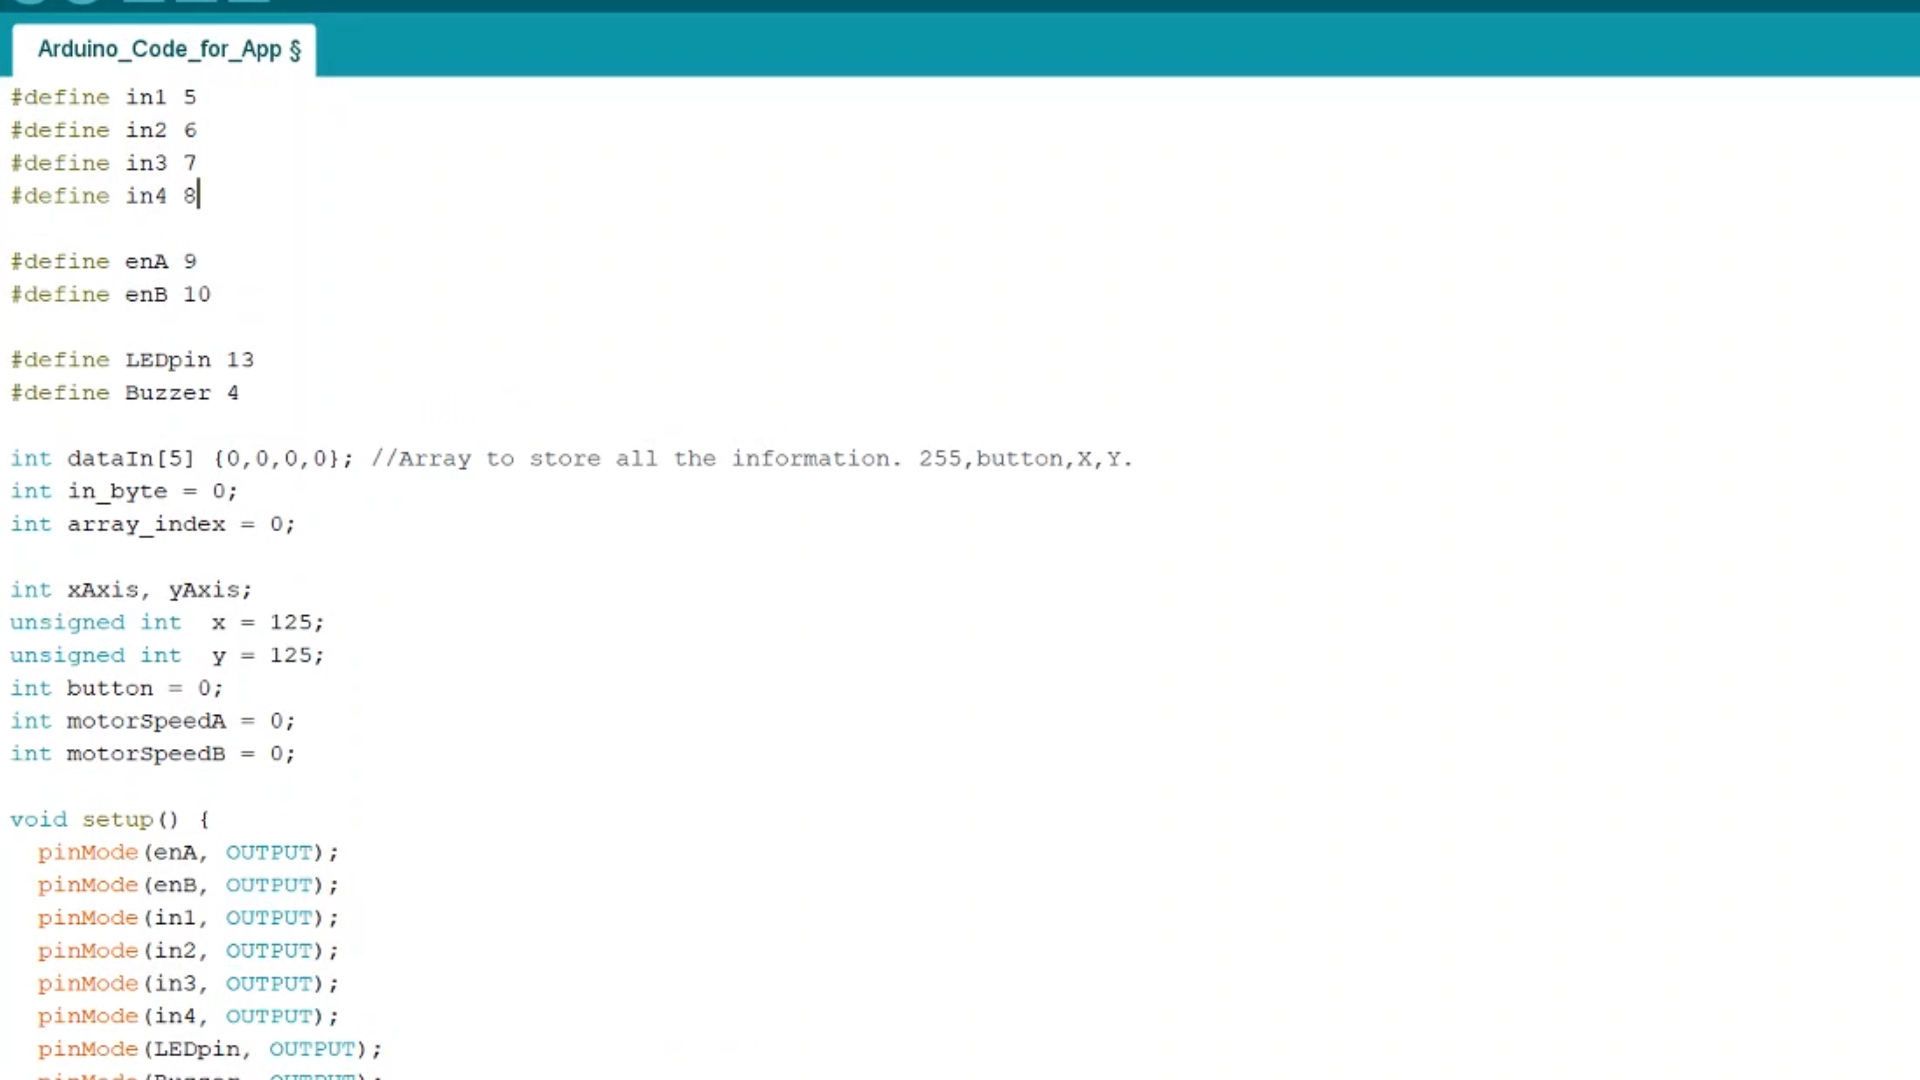
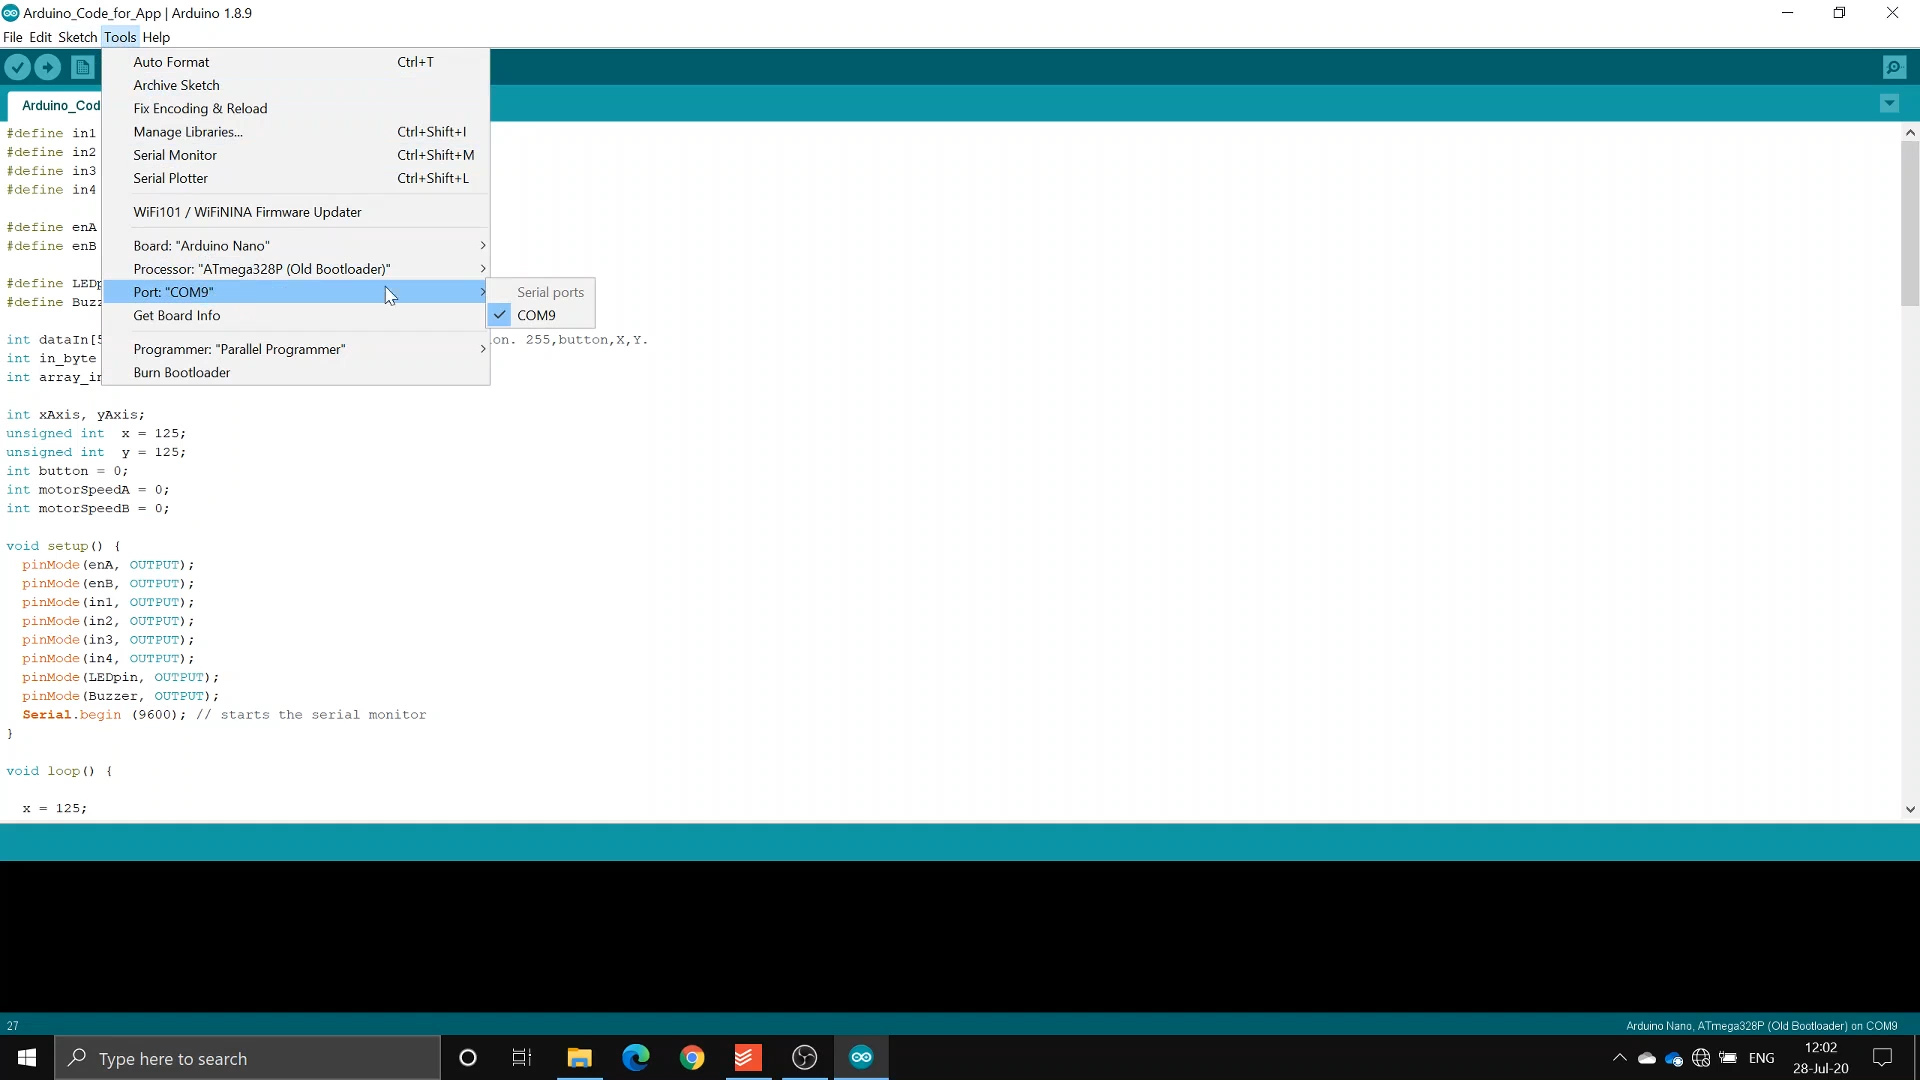
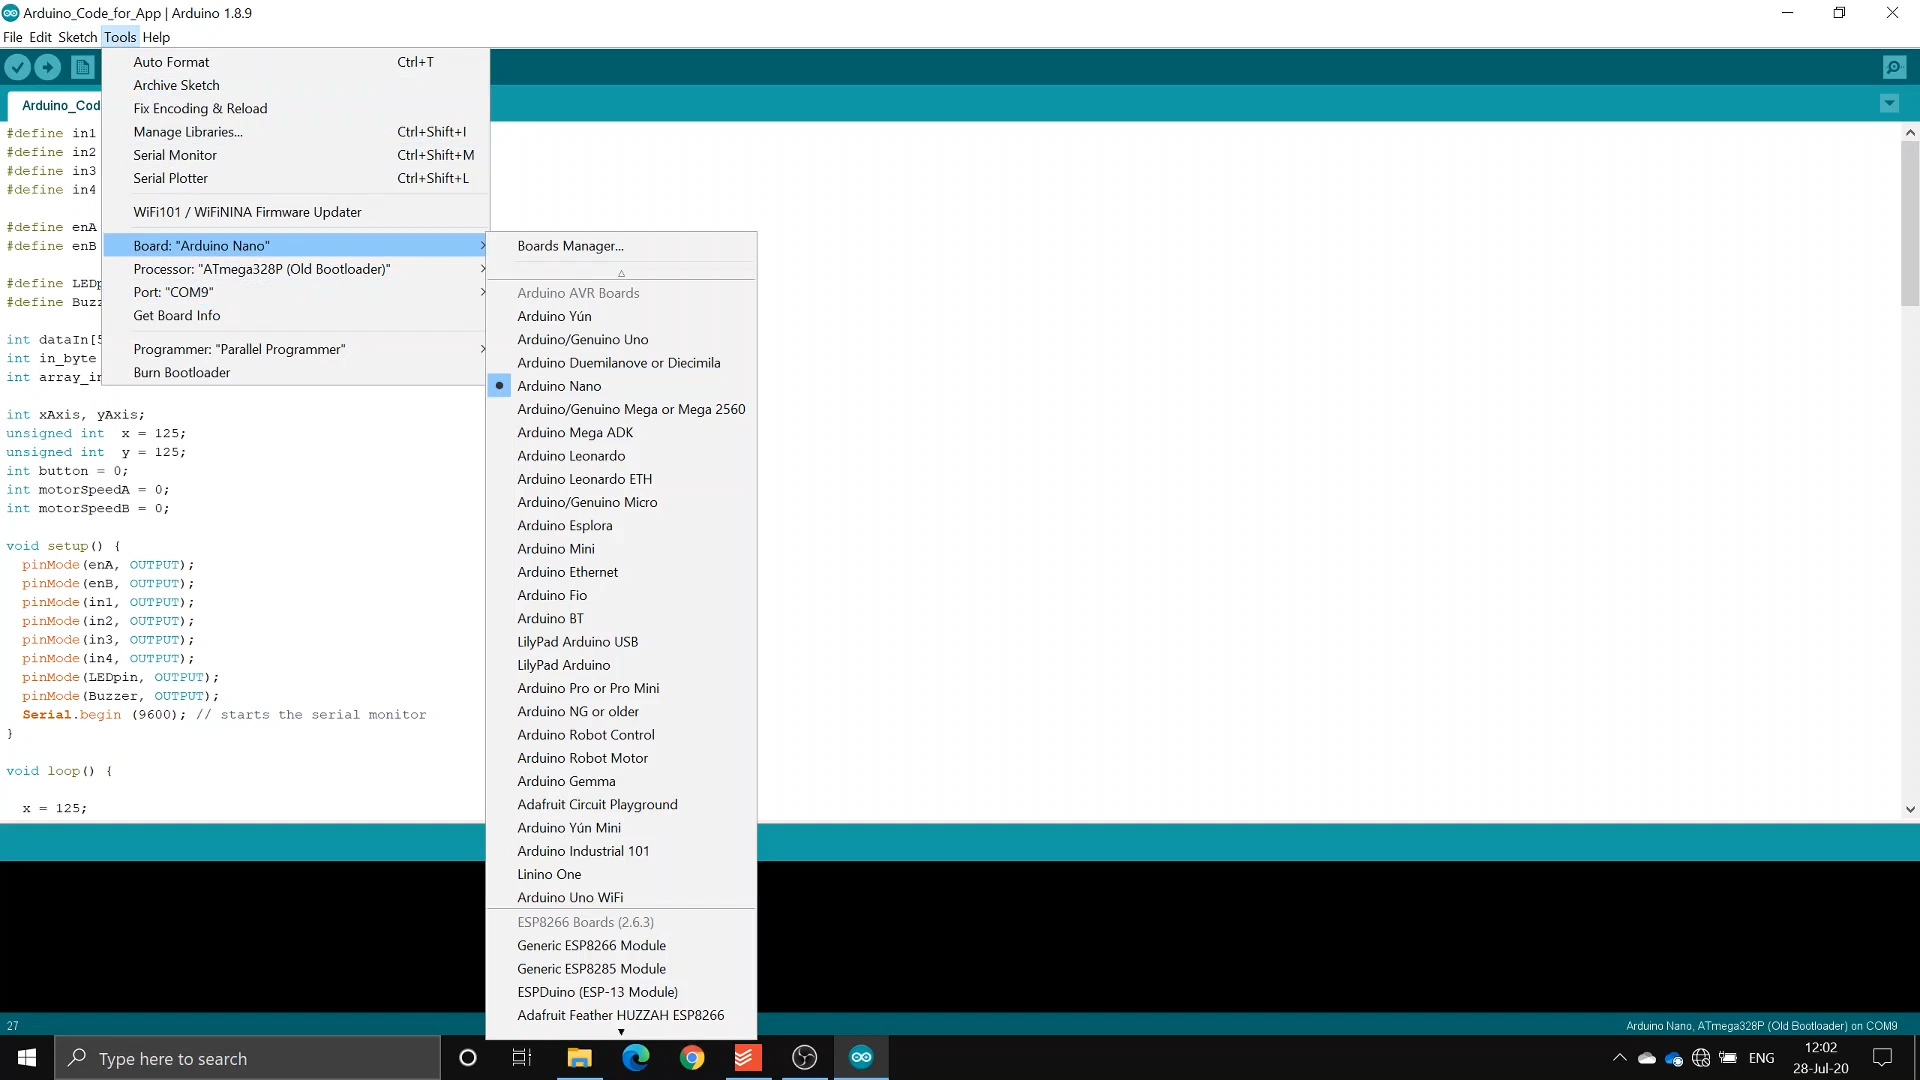
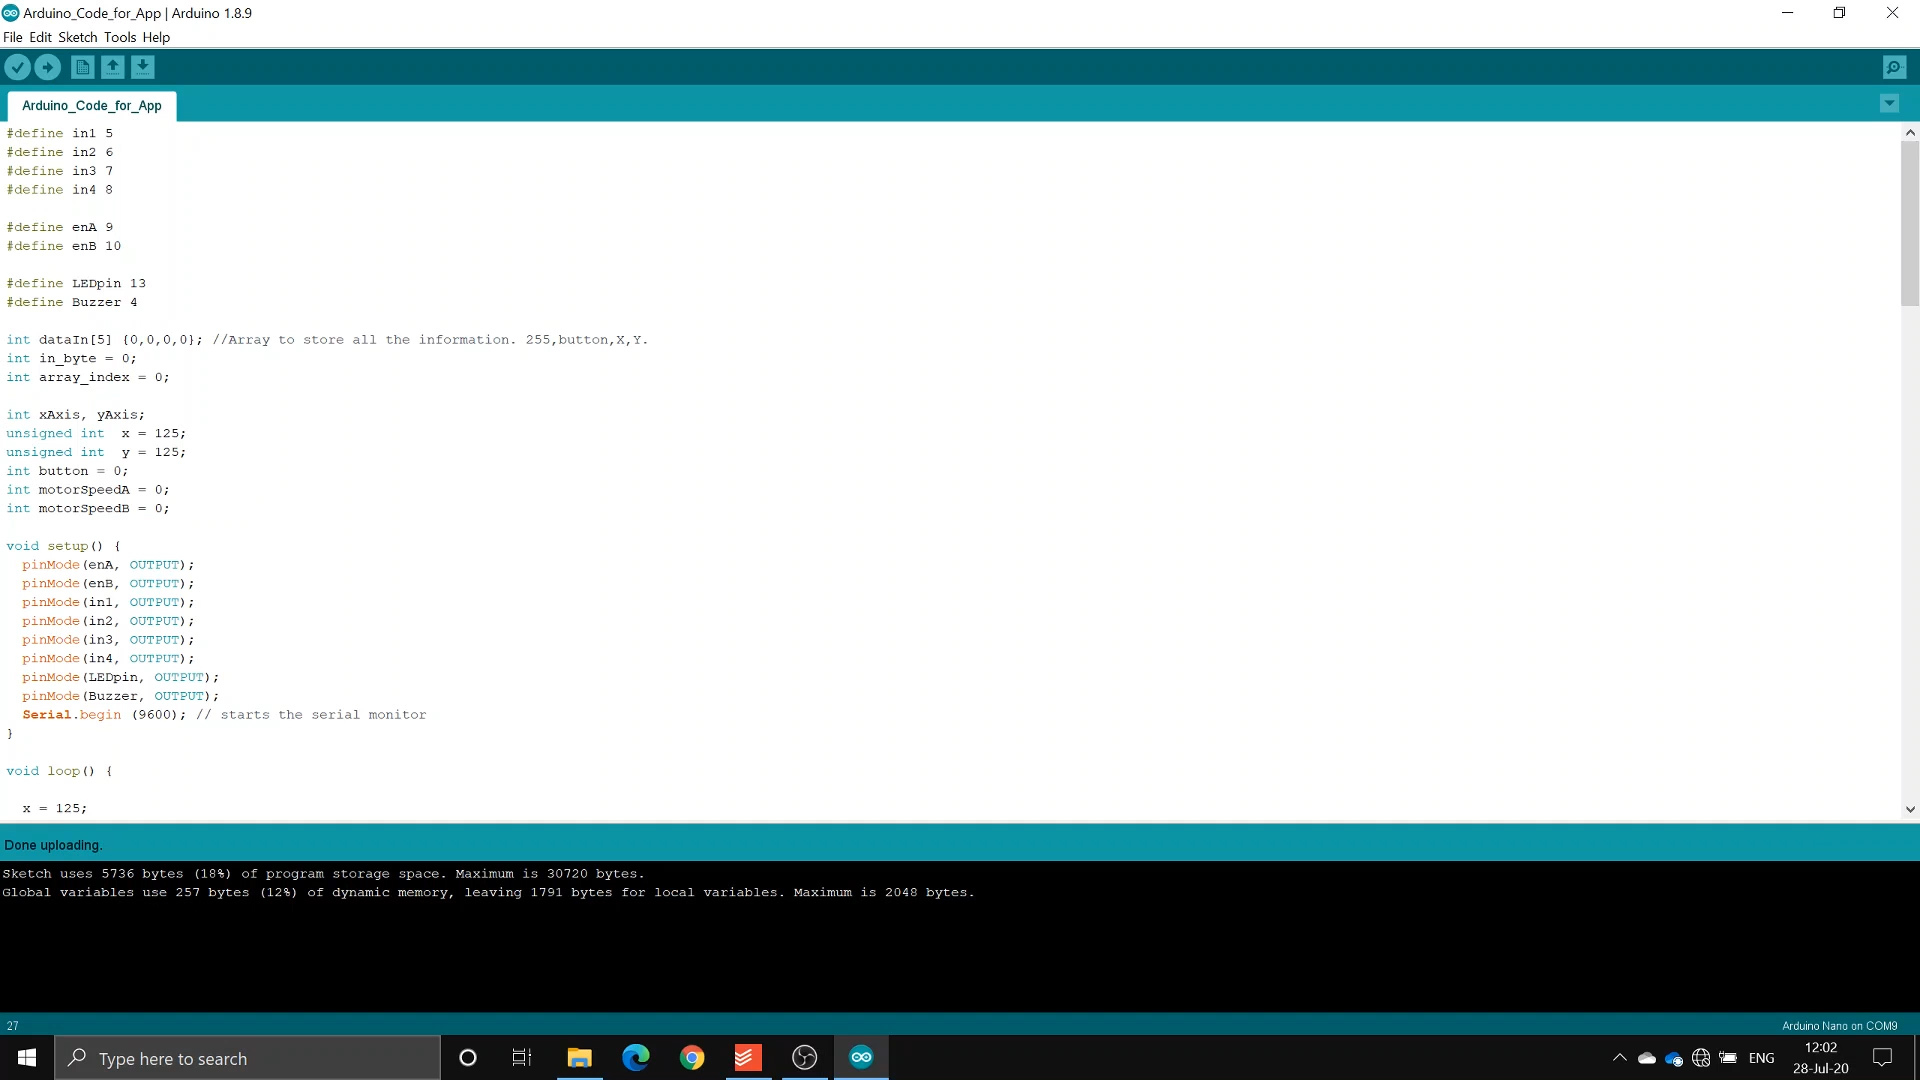
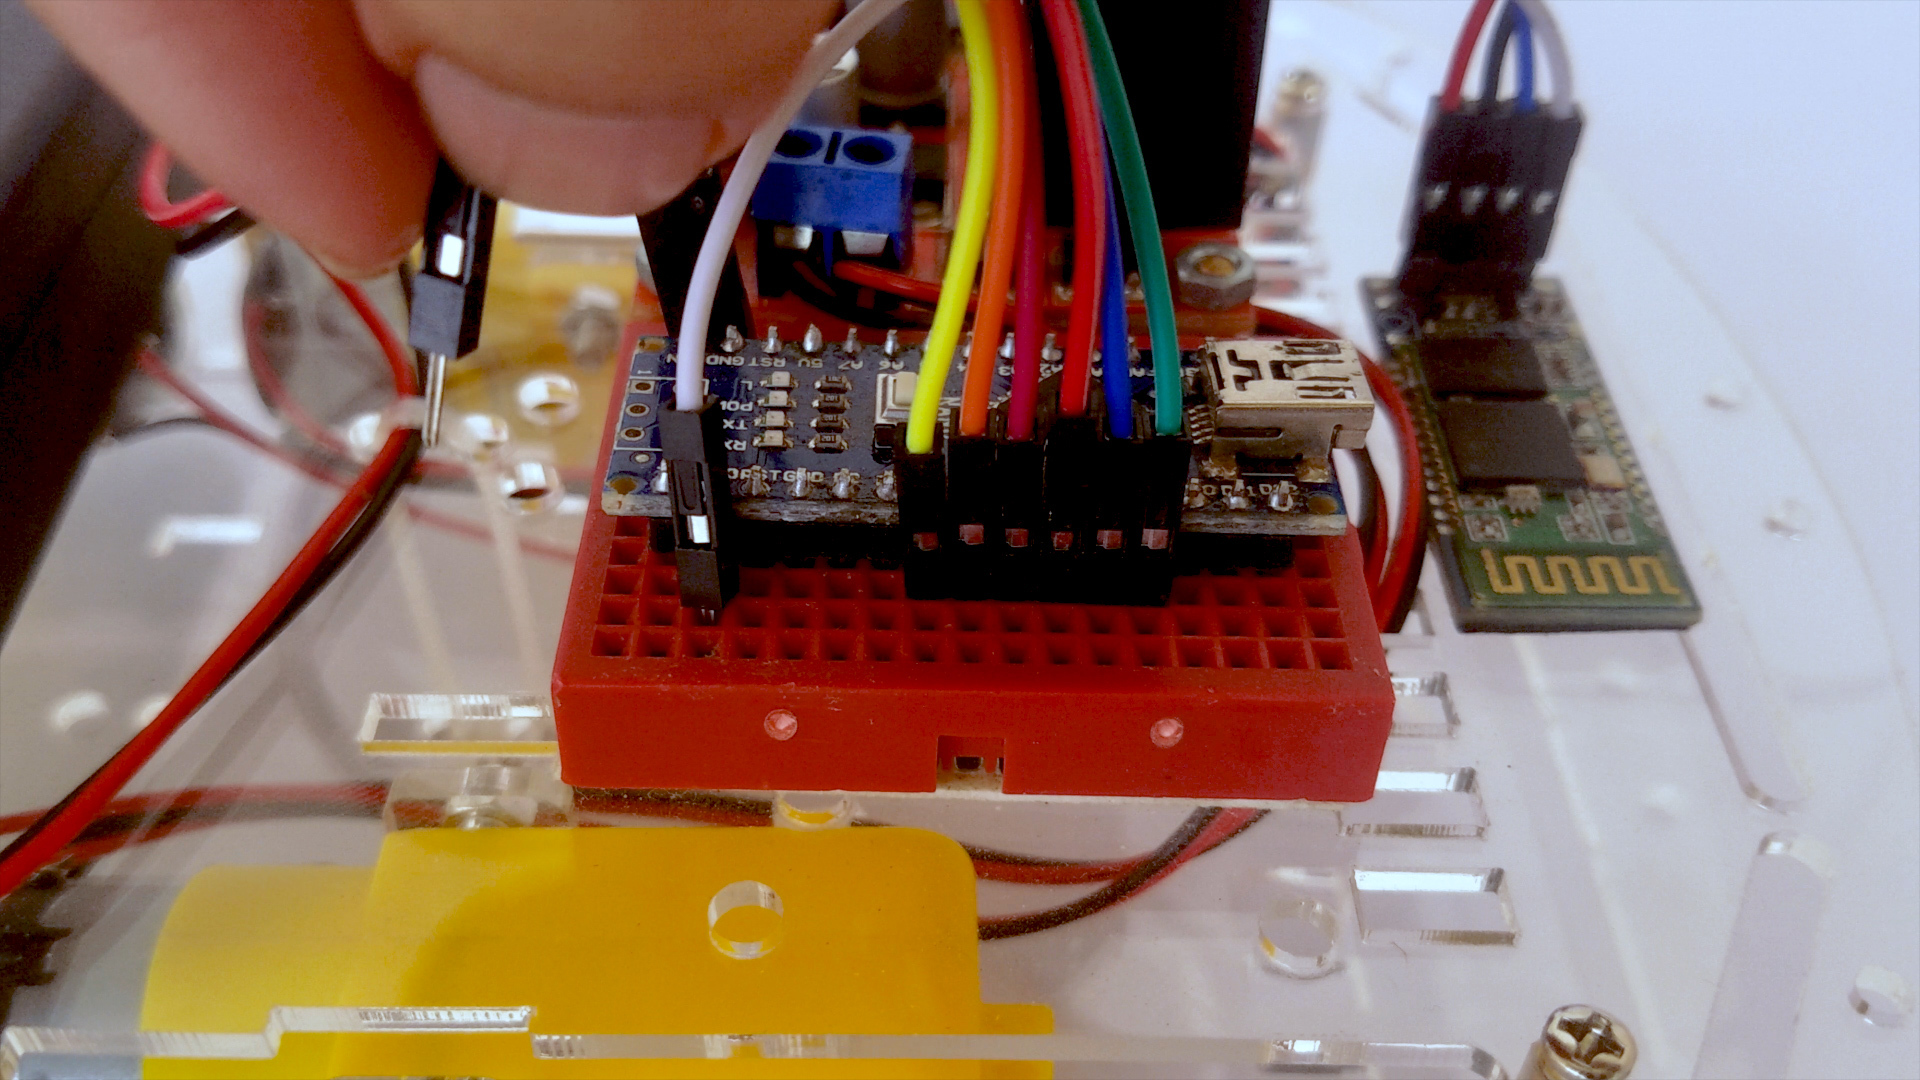
Connect the Arduino to your laptop or computer, download the code provided and then upload. If you have wired everything according to the given schematic you will not need to change anything in the code.
Do make sure your bluetooth module is configured to run at 9600Hz or edit the code to match your module's settings.
Remember to unplug the wire connected to the Rx pin of the arduino clicking upload or it'll cause an error.
Installing the Controller App
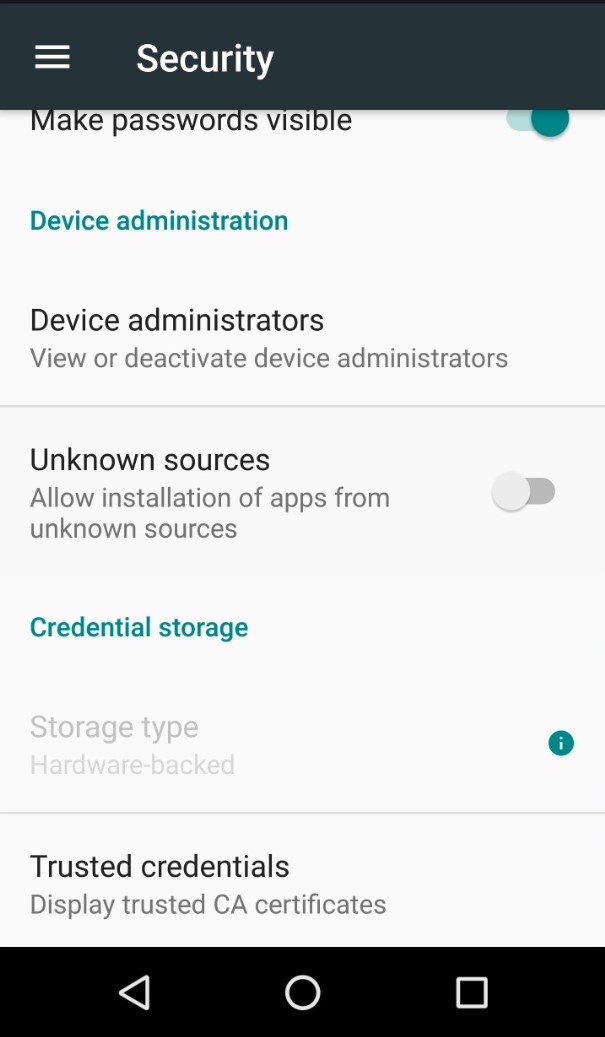
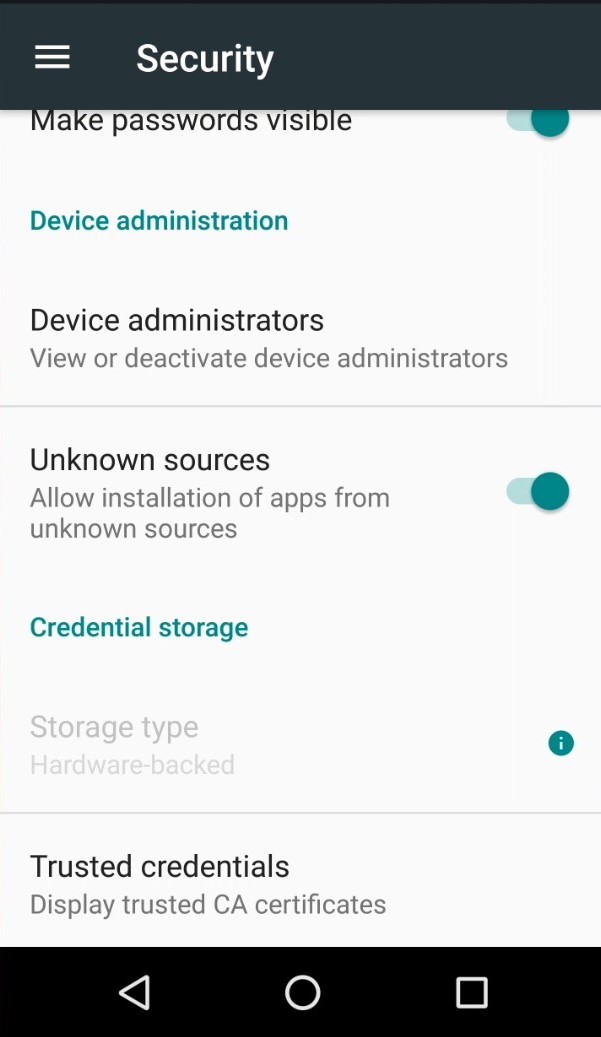
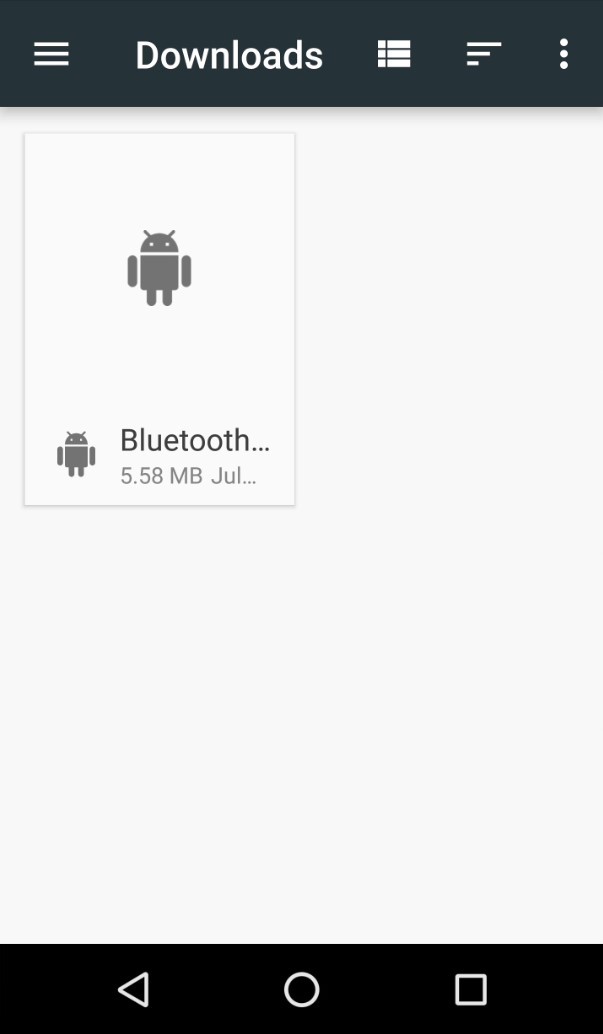
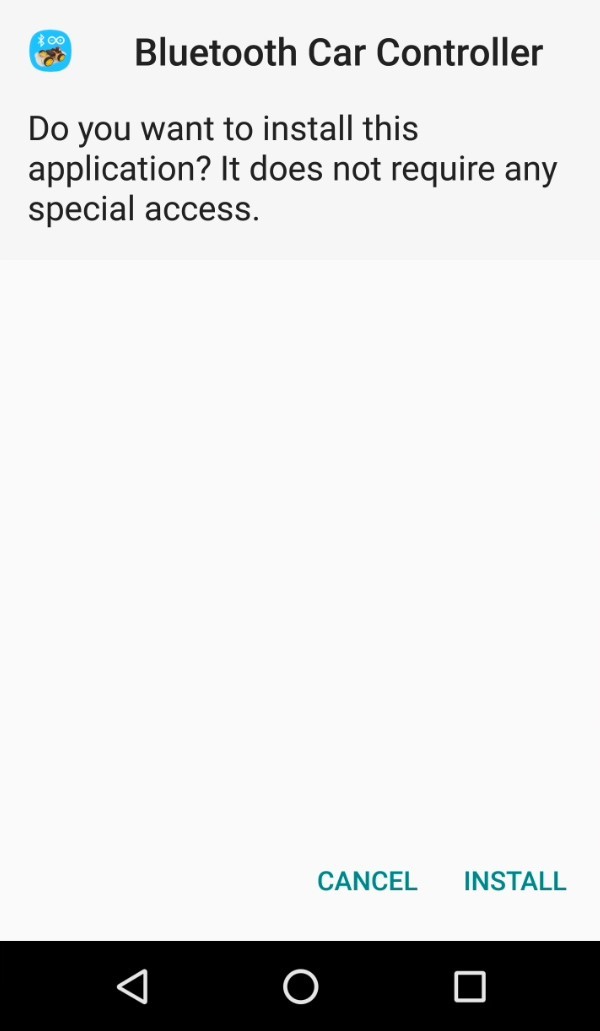
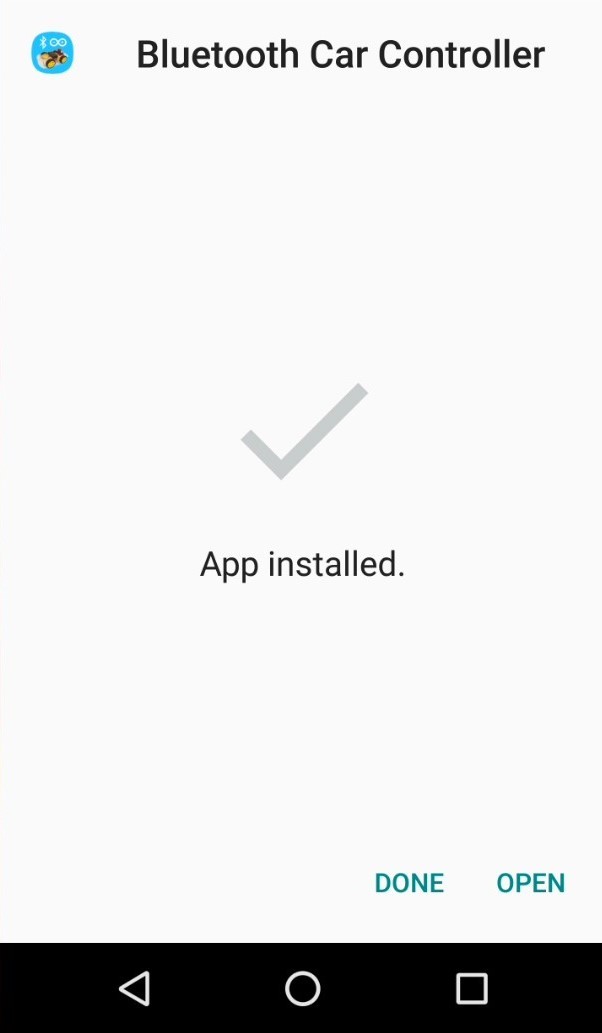
Simply download the .apk file attached, make sure the 'Allow Apps from Unknown Sources' option is enabled (You can disable it after installing) on your phone (find it under security settings) then install the app.
Downloads
Pairing Your Smartphone
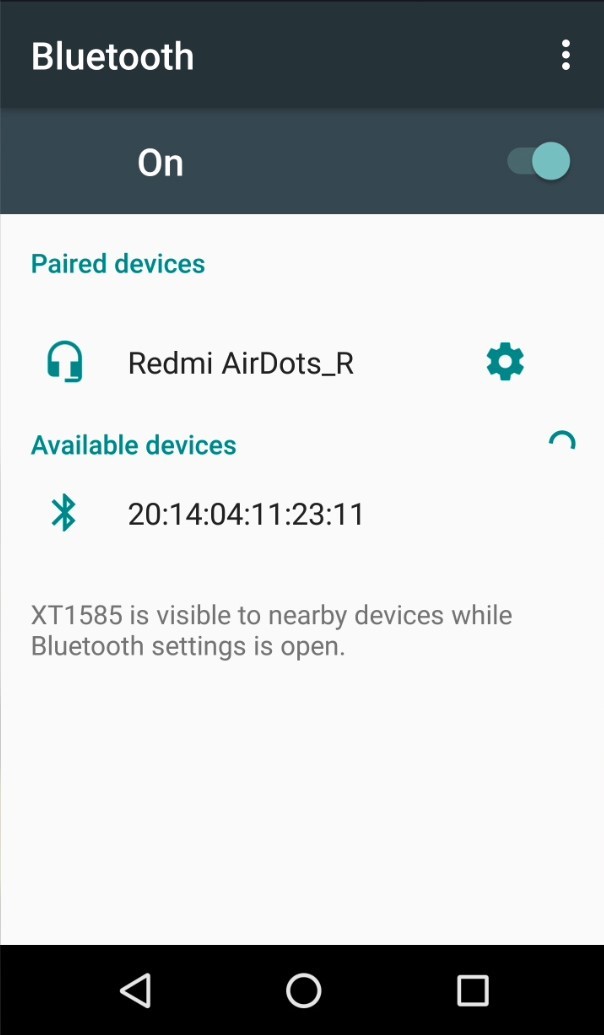
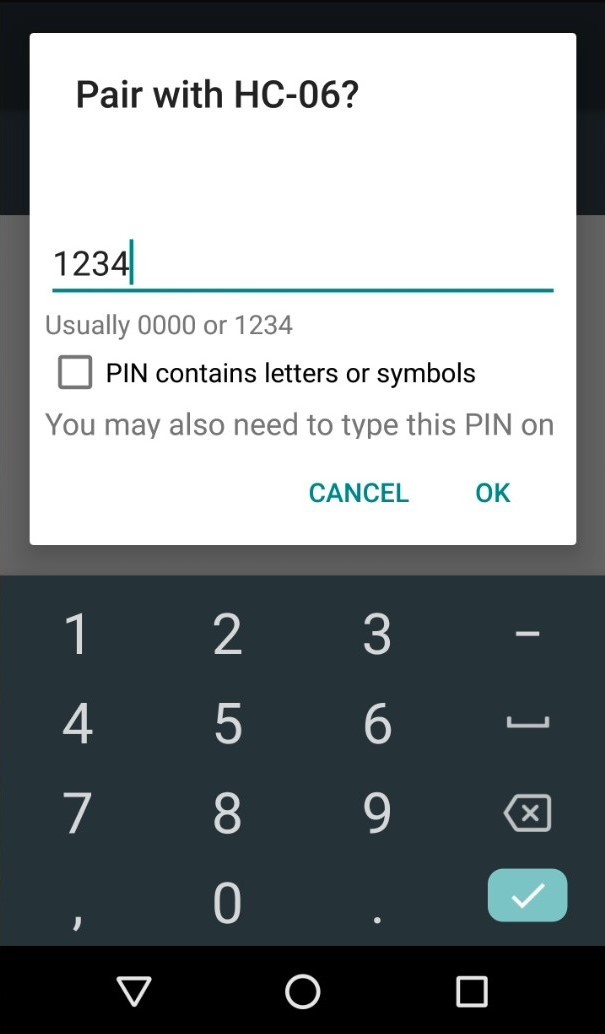
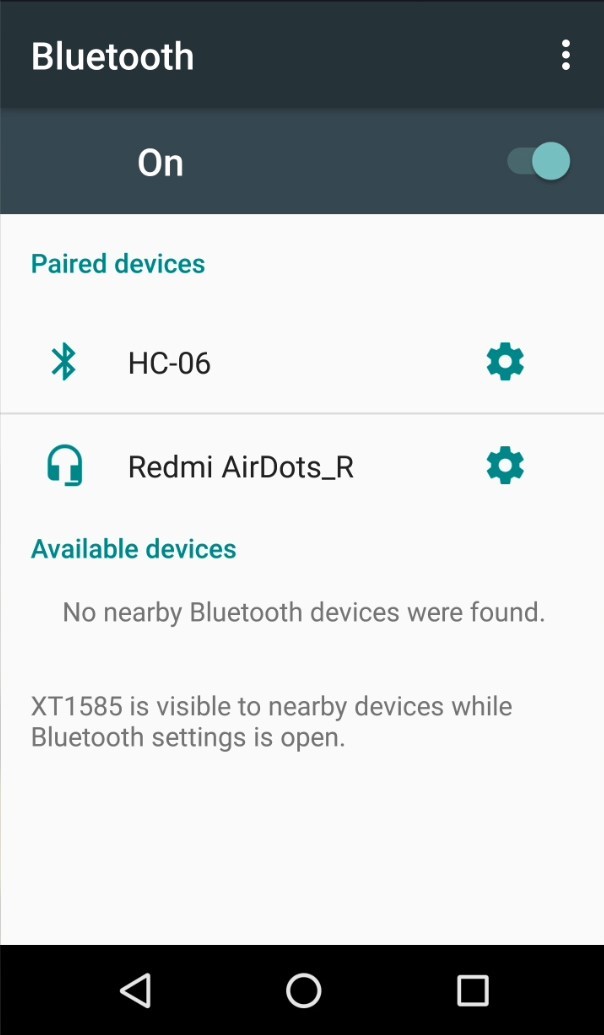
Turn on bluetooth on your smartphone, you'll see your bluetooth module on the list.
Connect to it using the default pair code, either '0000' or '1234'
Once you're paired, you'll the name of your bluetooth module in the paired devices list.
Controlling the Car
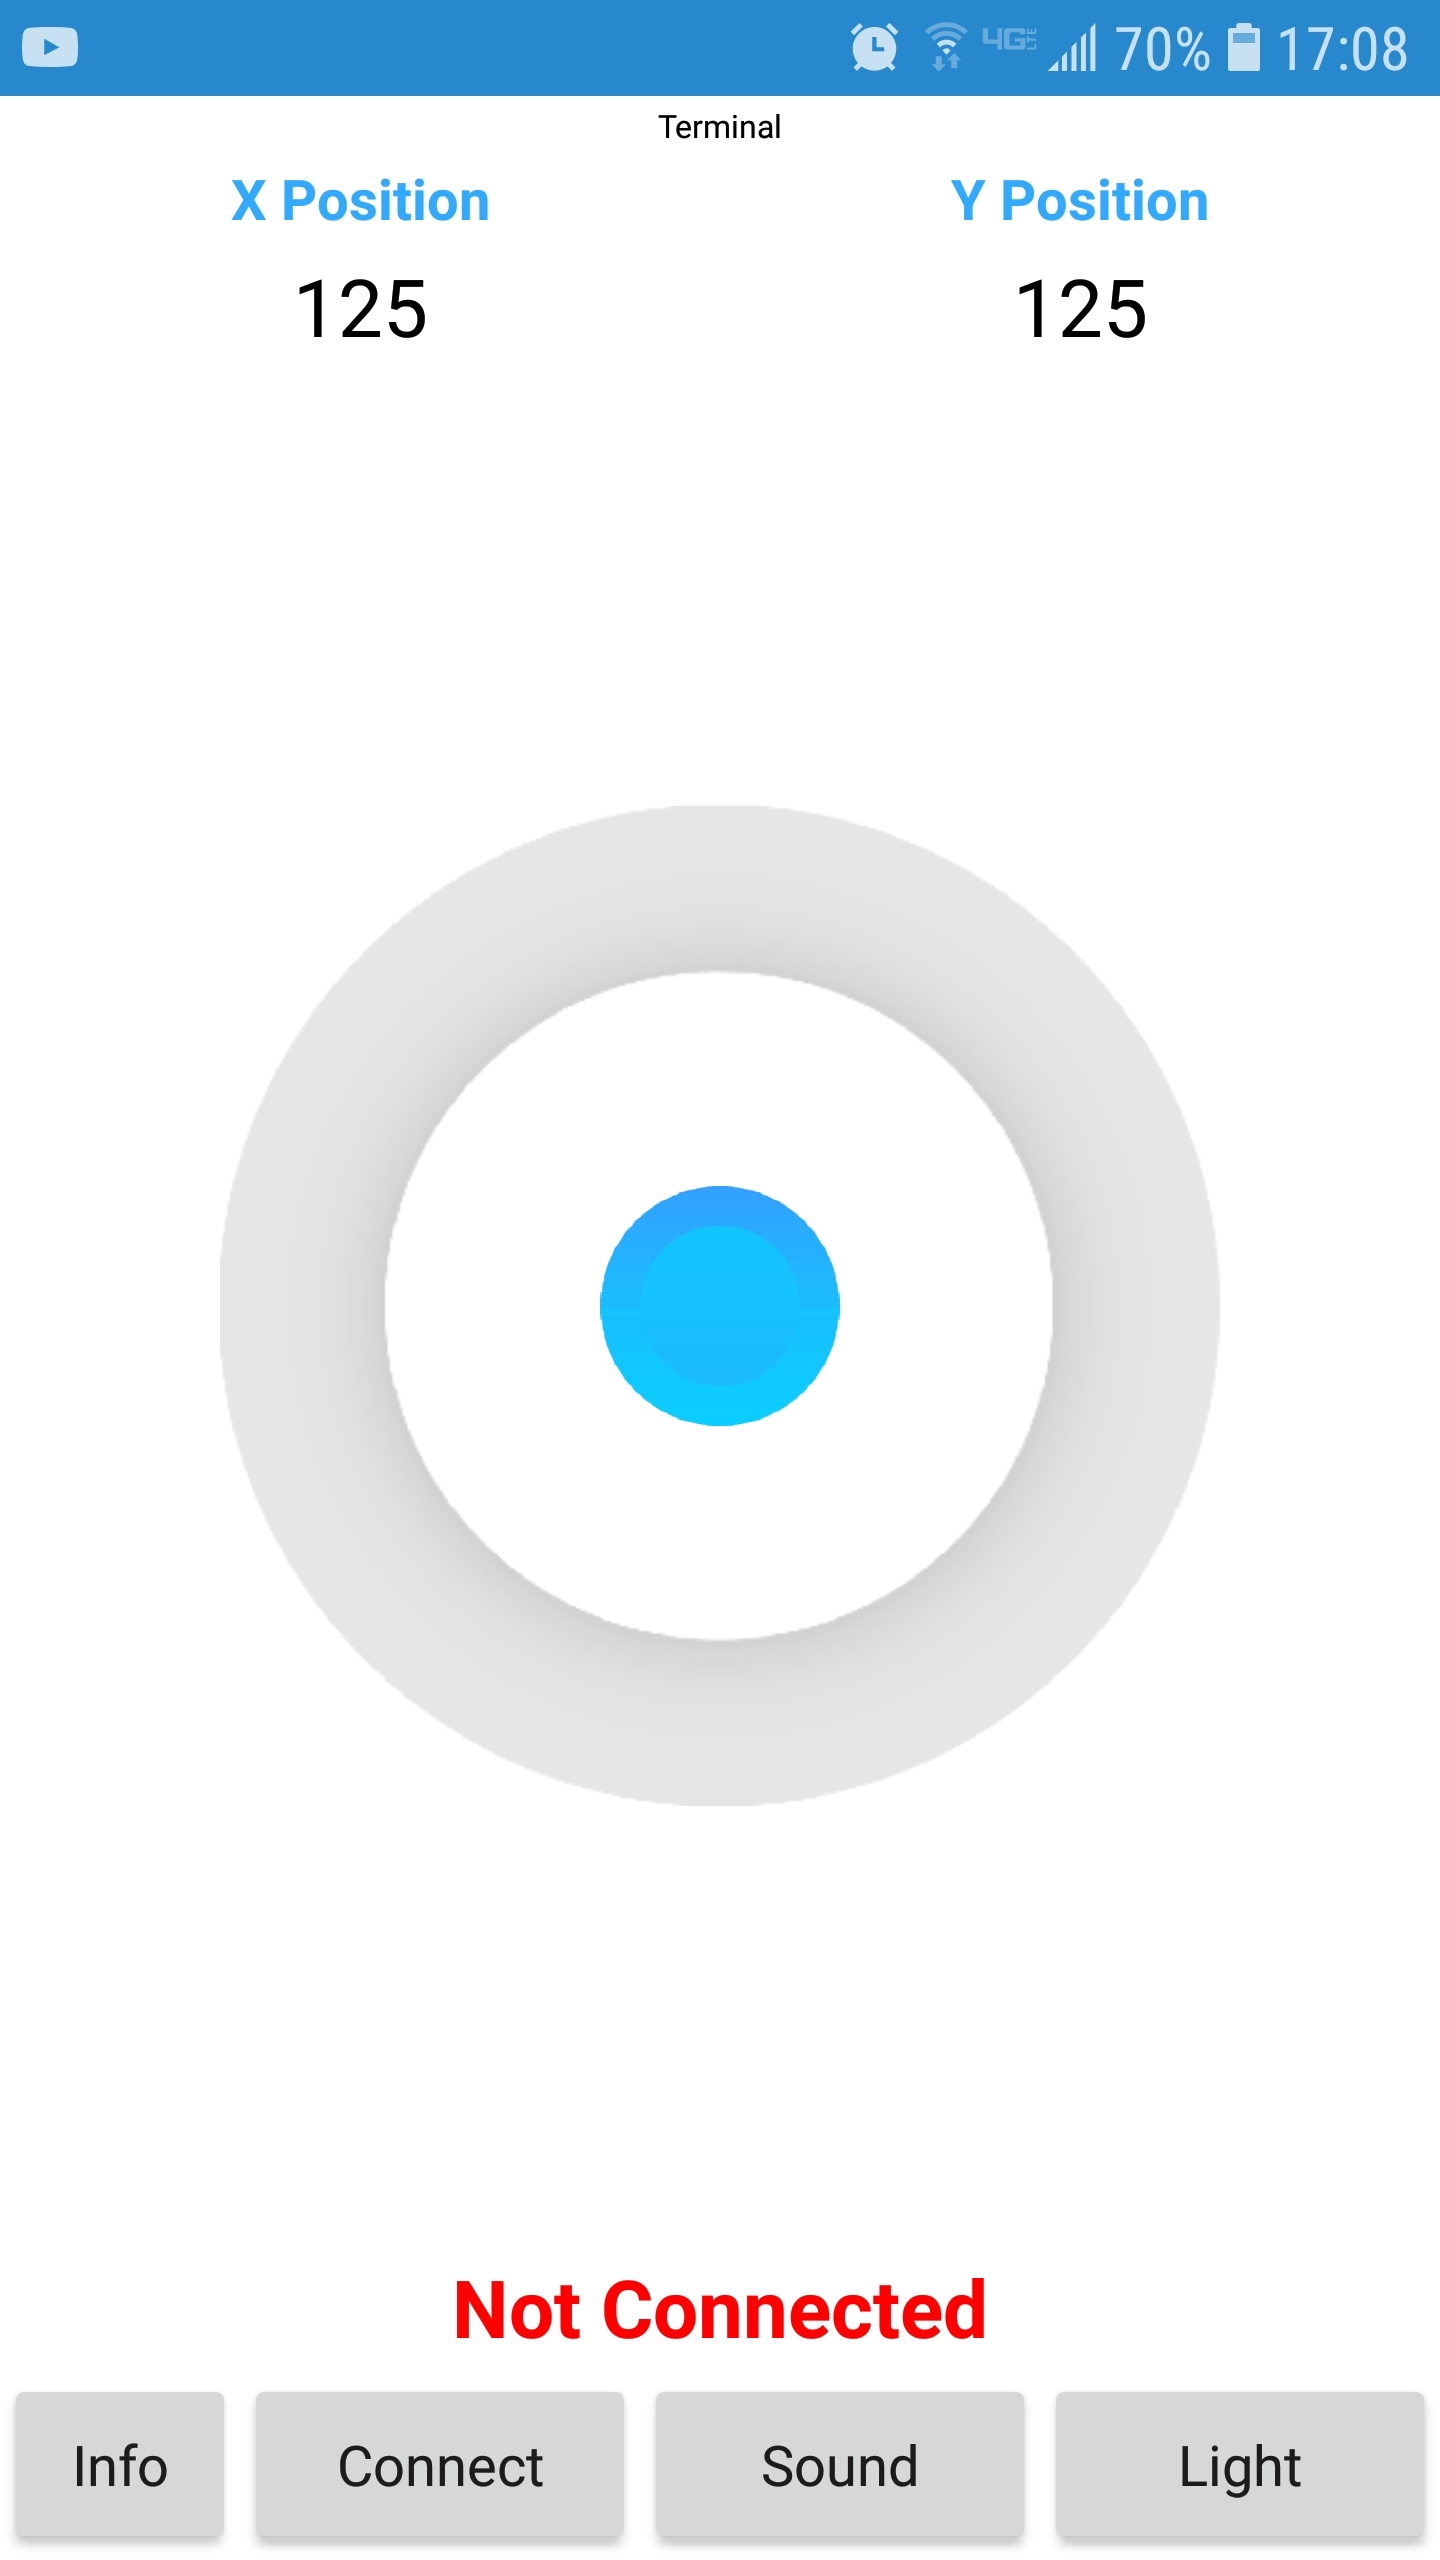
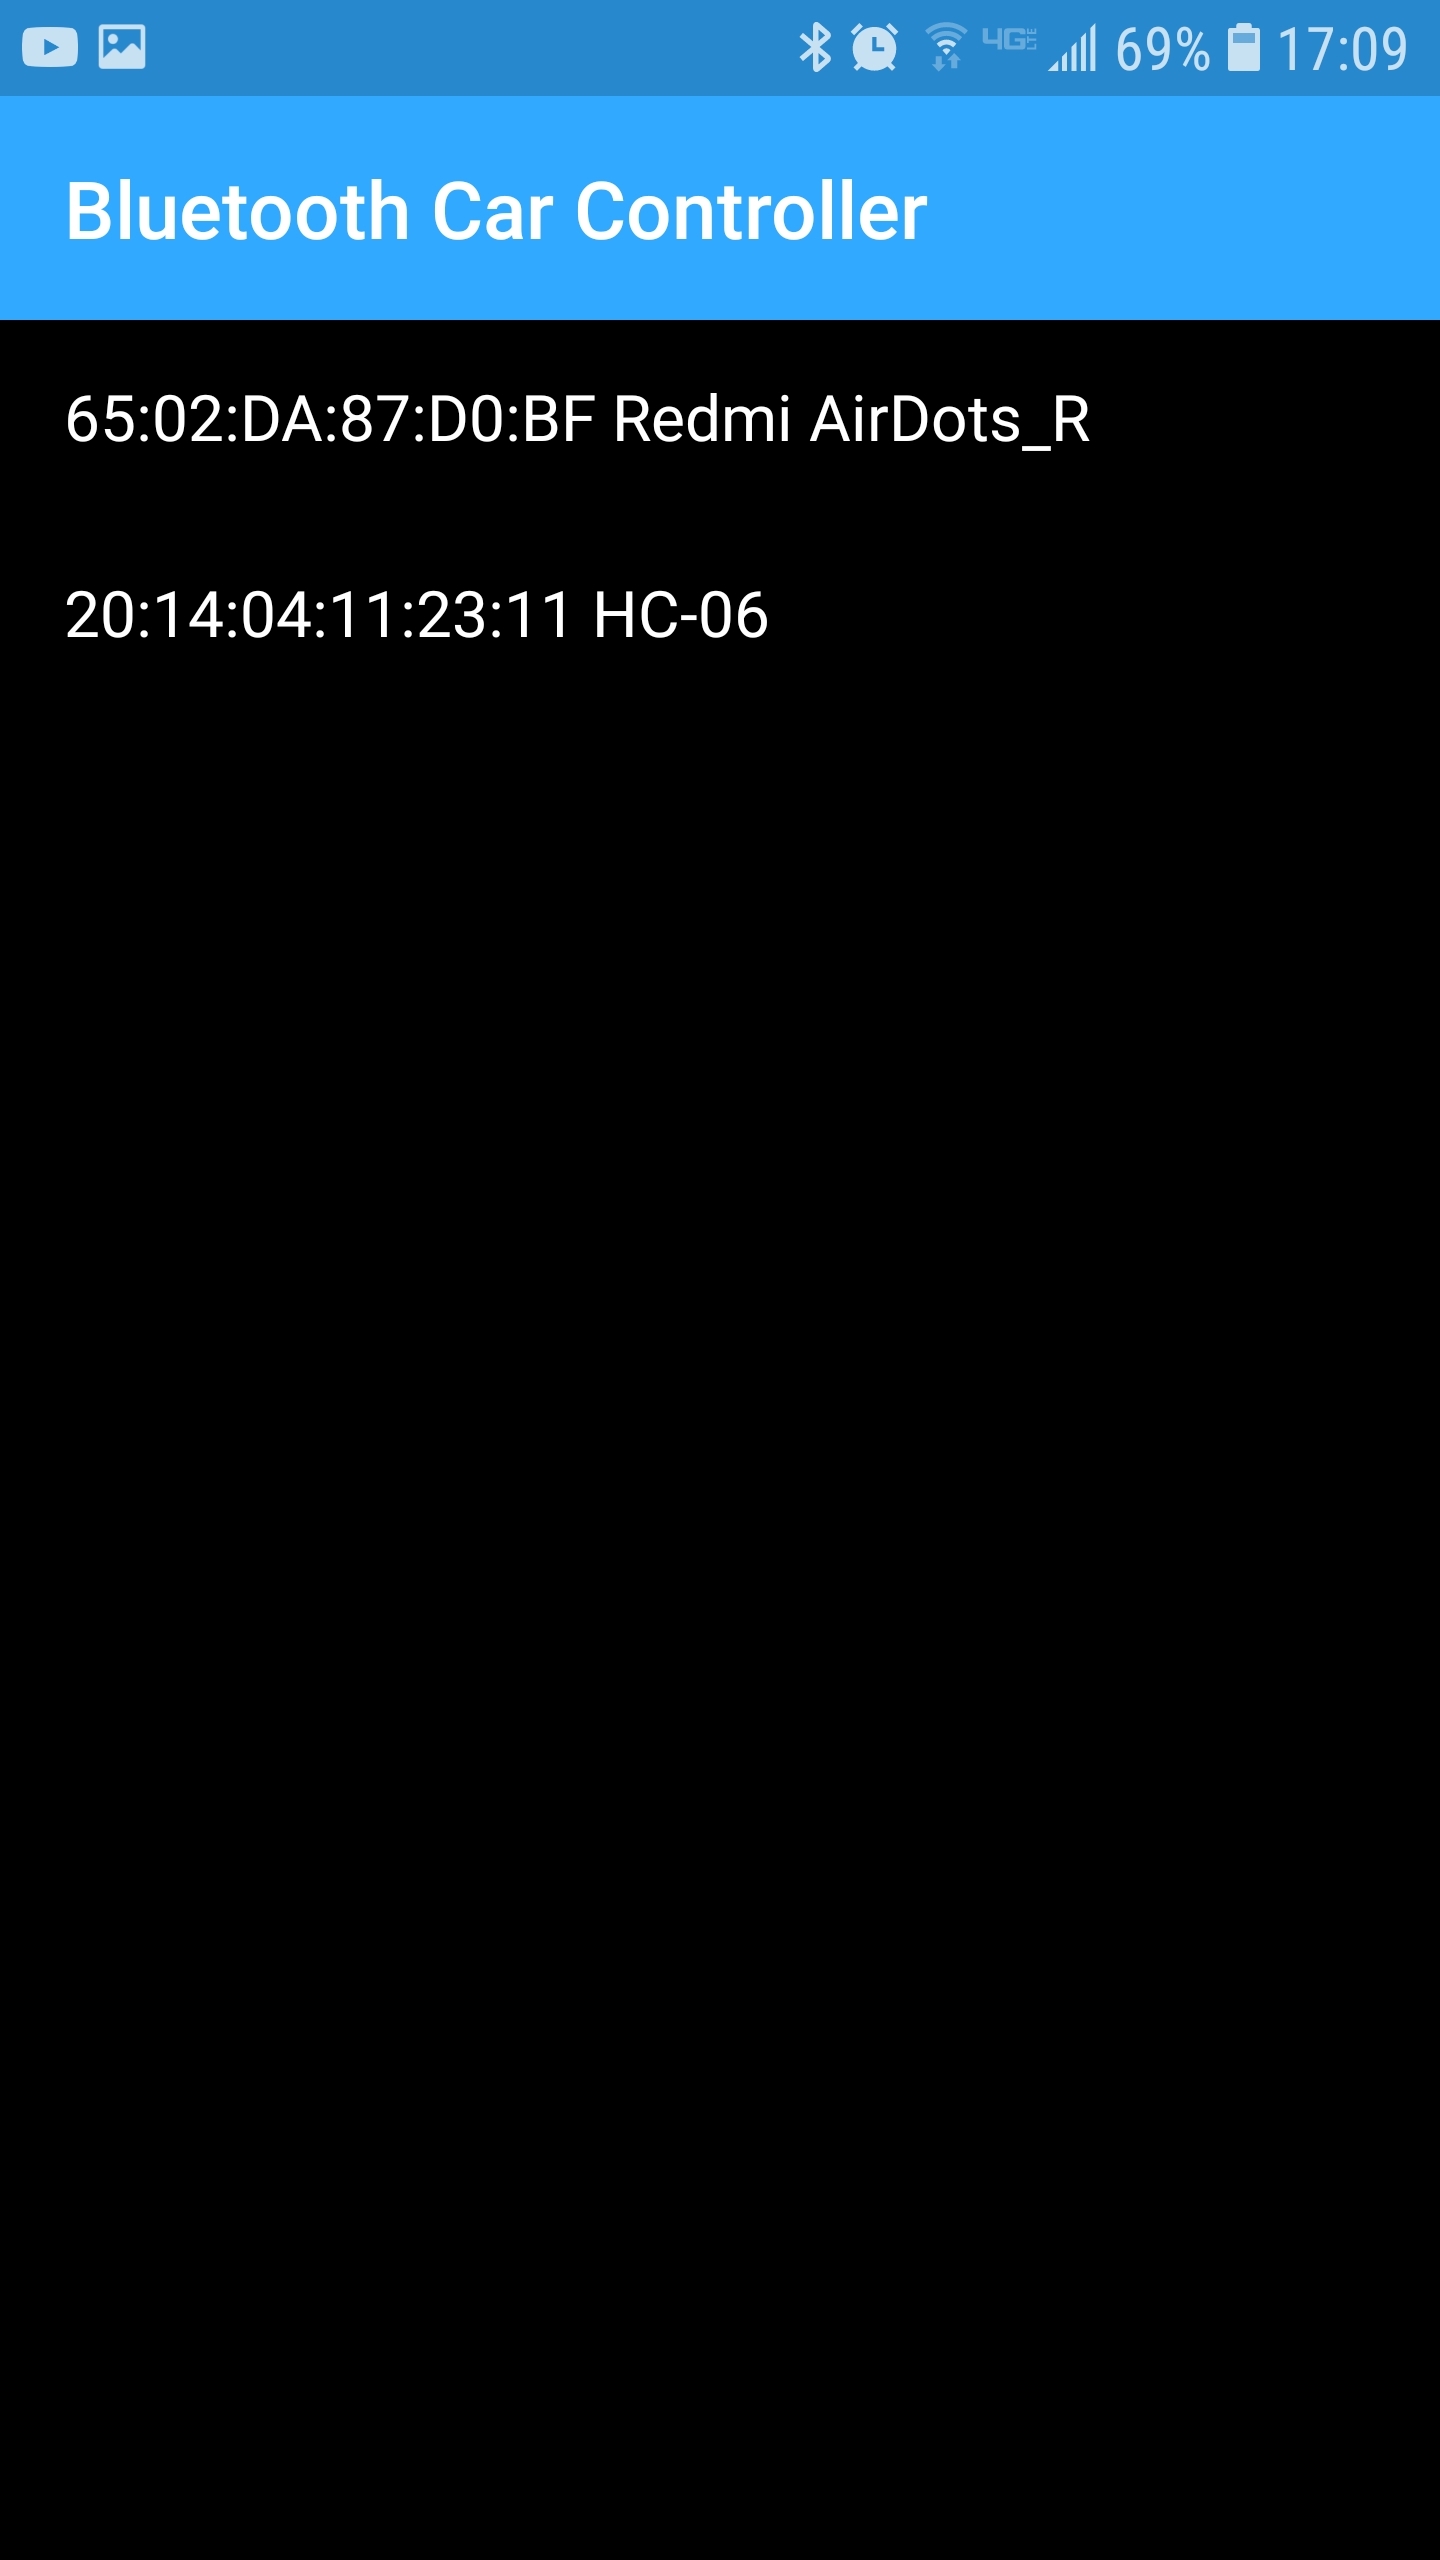
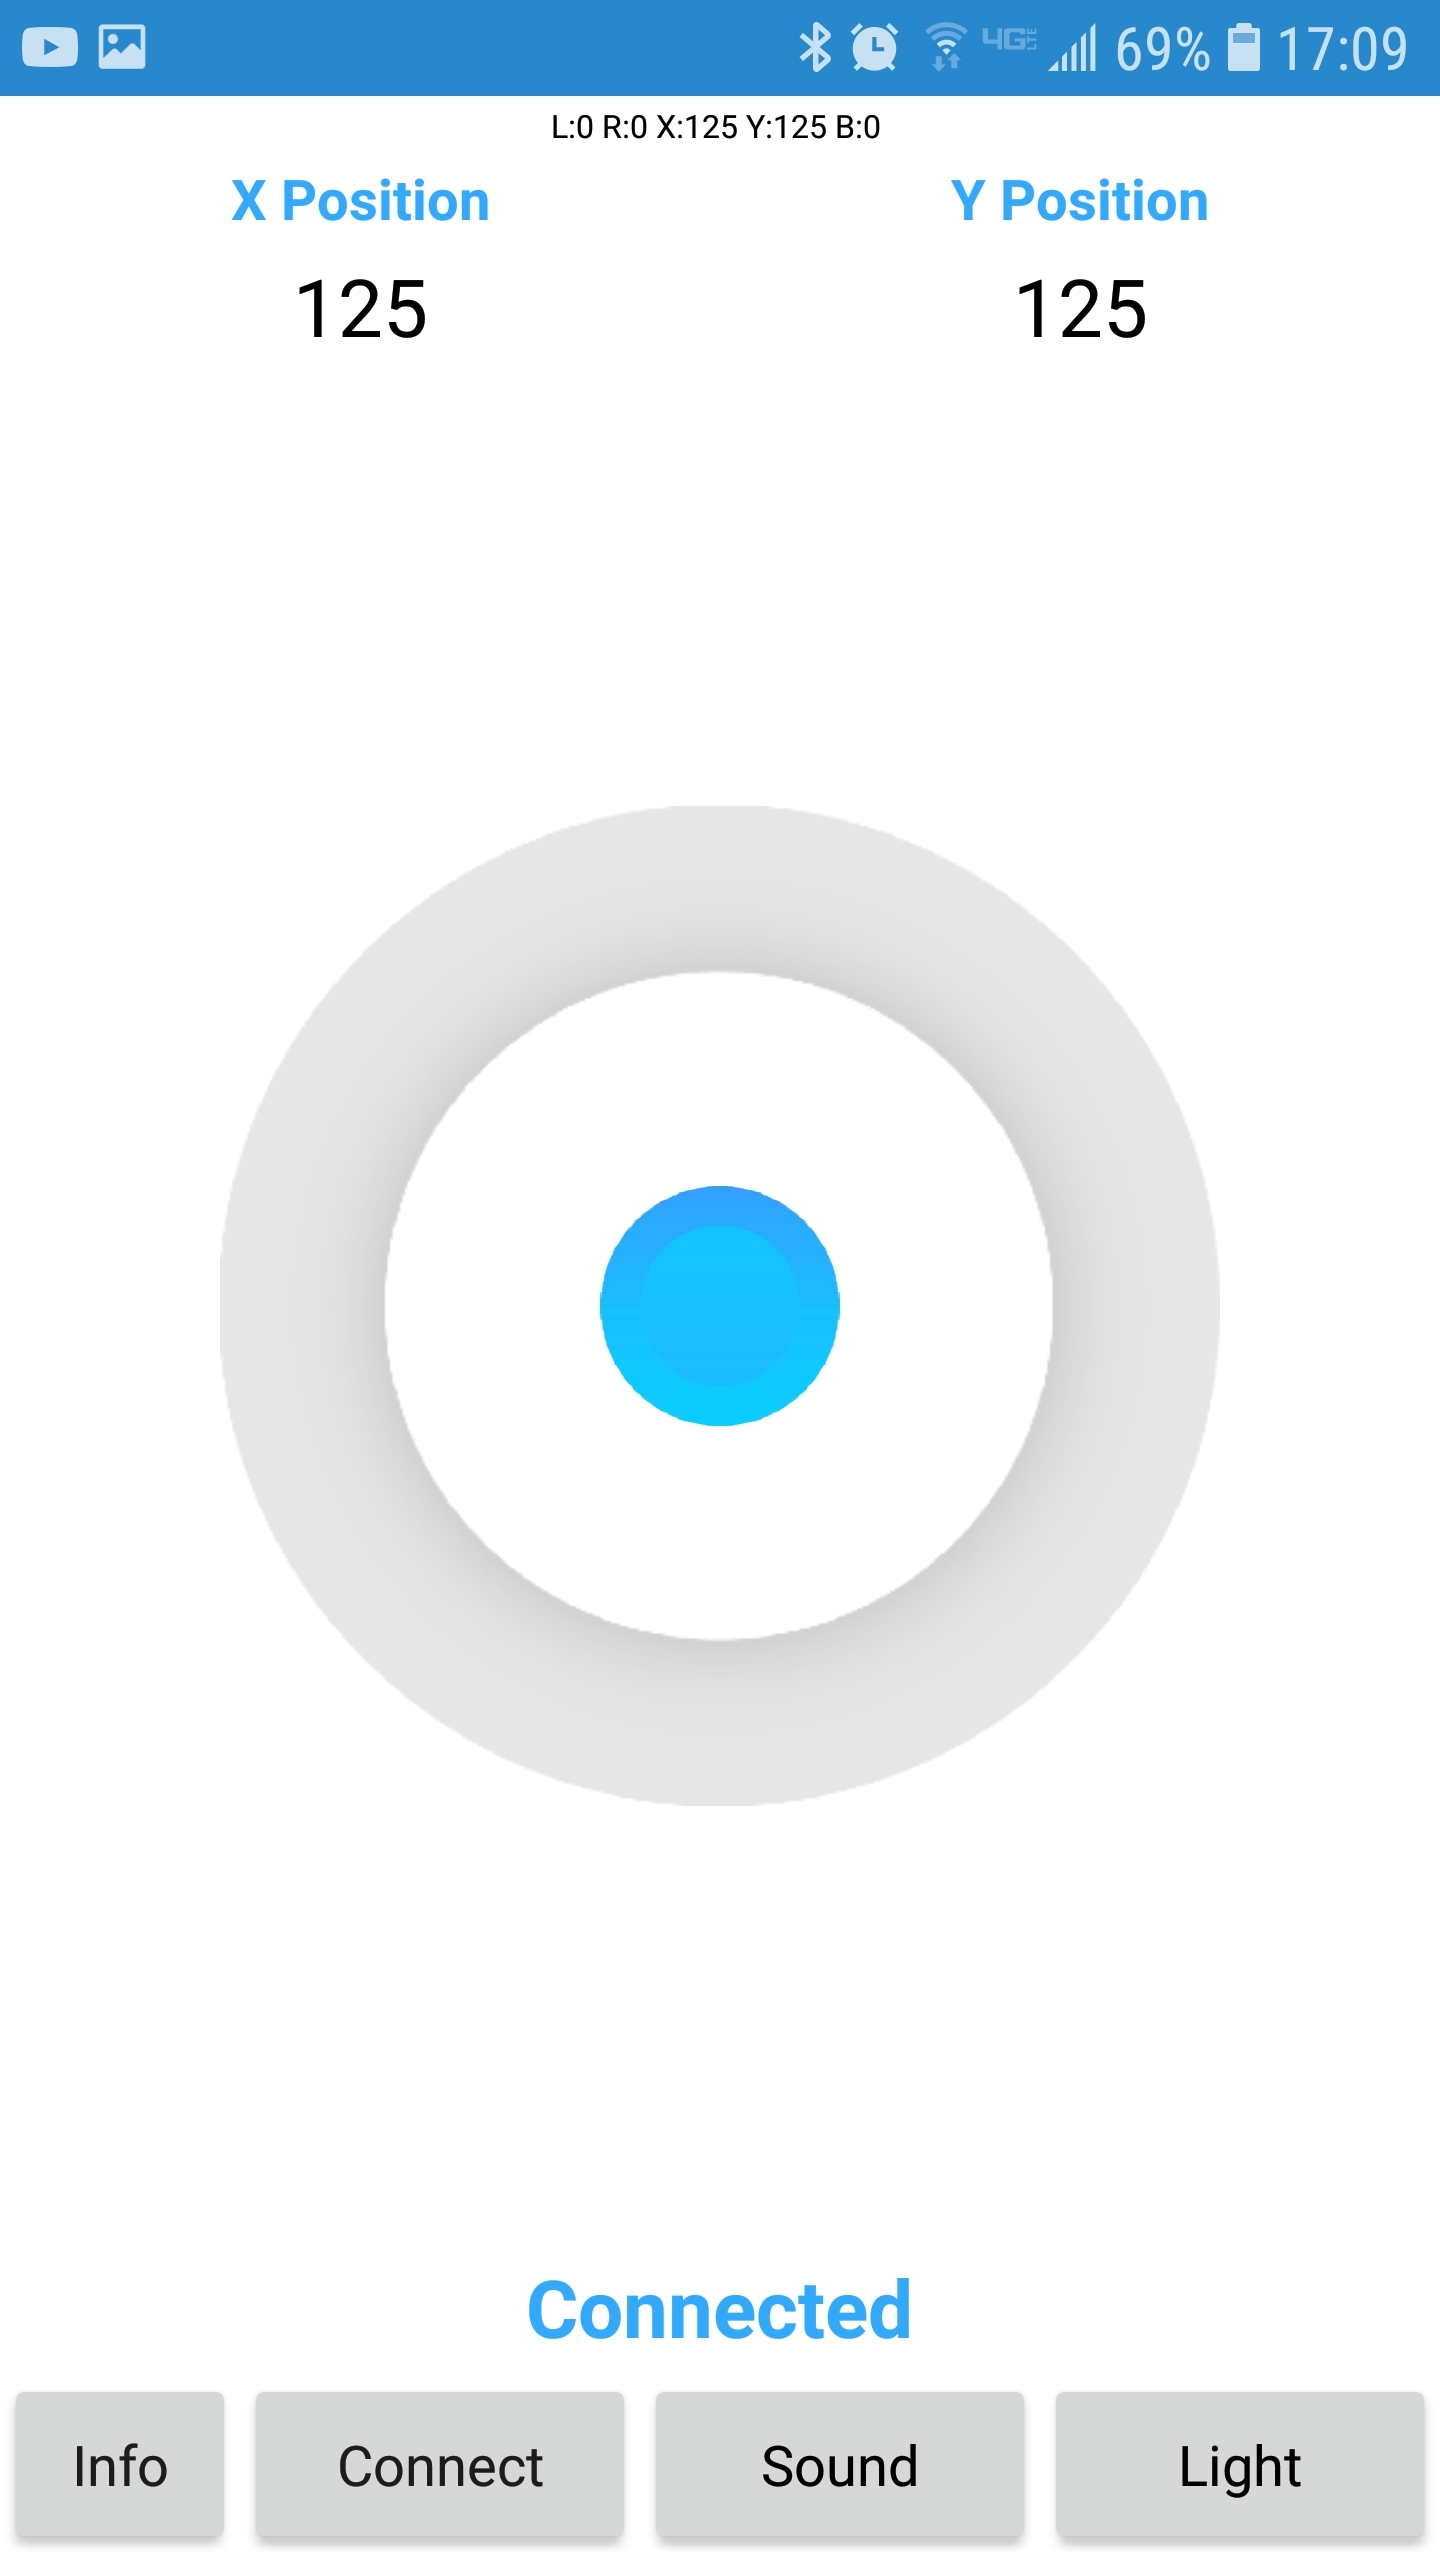
In the controller app, click the connect button, you should see the name of your bluetooth module in the list.
Tap on it to connect to your car, after it's connected, the app will show "Connected" in blue.
You can now control your car!