Arduino Bluetooth RC Car
by Kasidey Easlick in Circuits > Arduino
889 Views, 0 Favorites, 0 Comments
Arduino Bluetooth RC Car
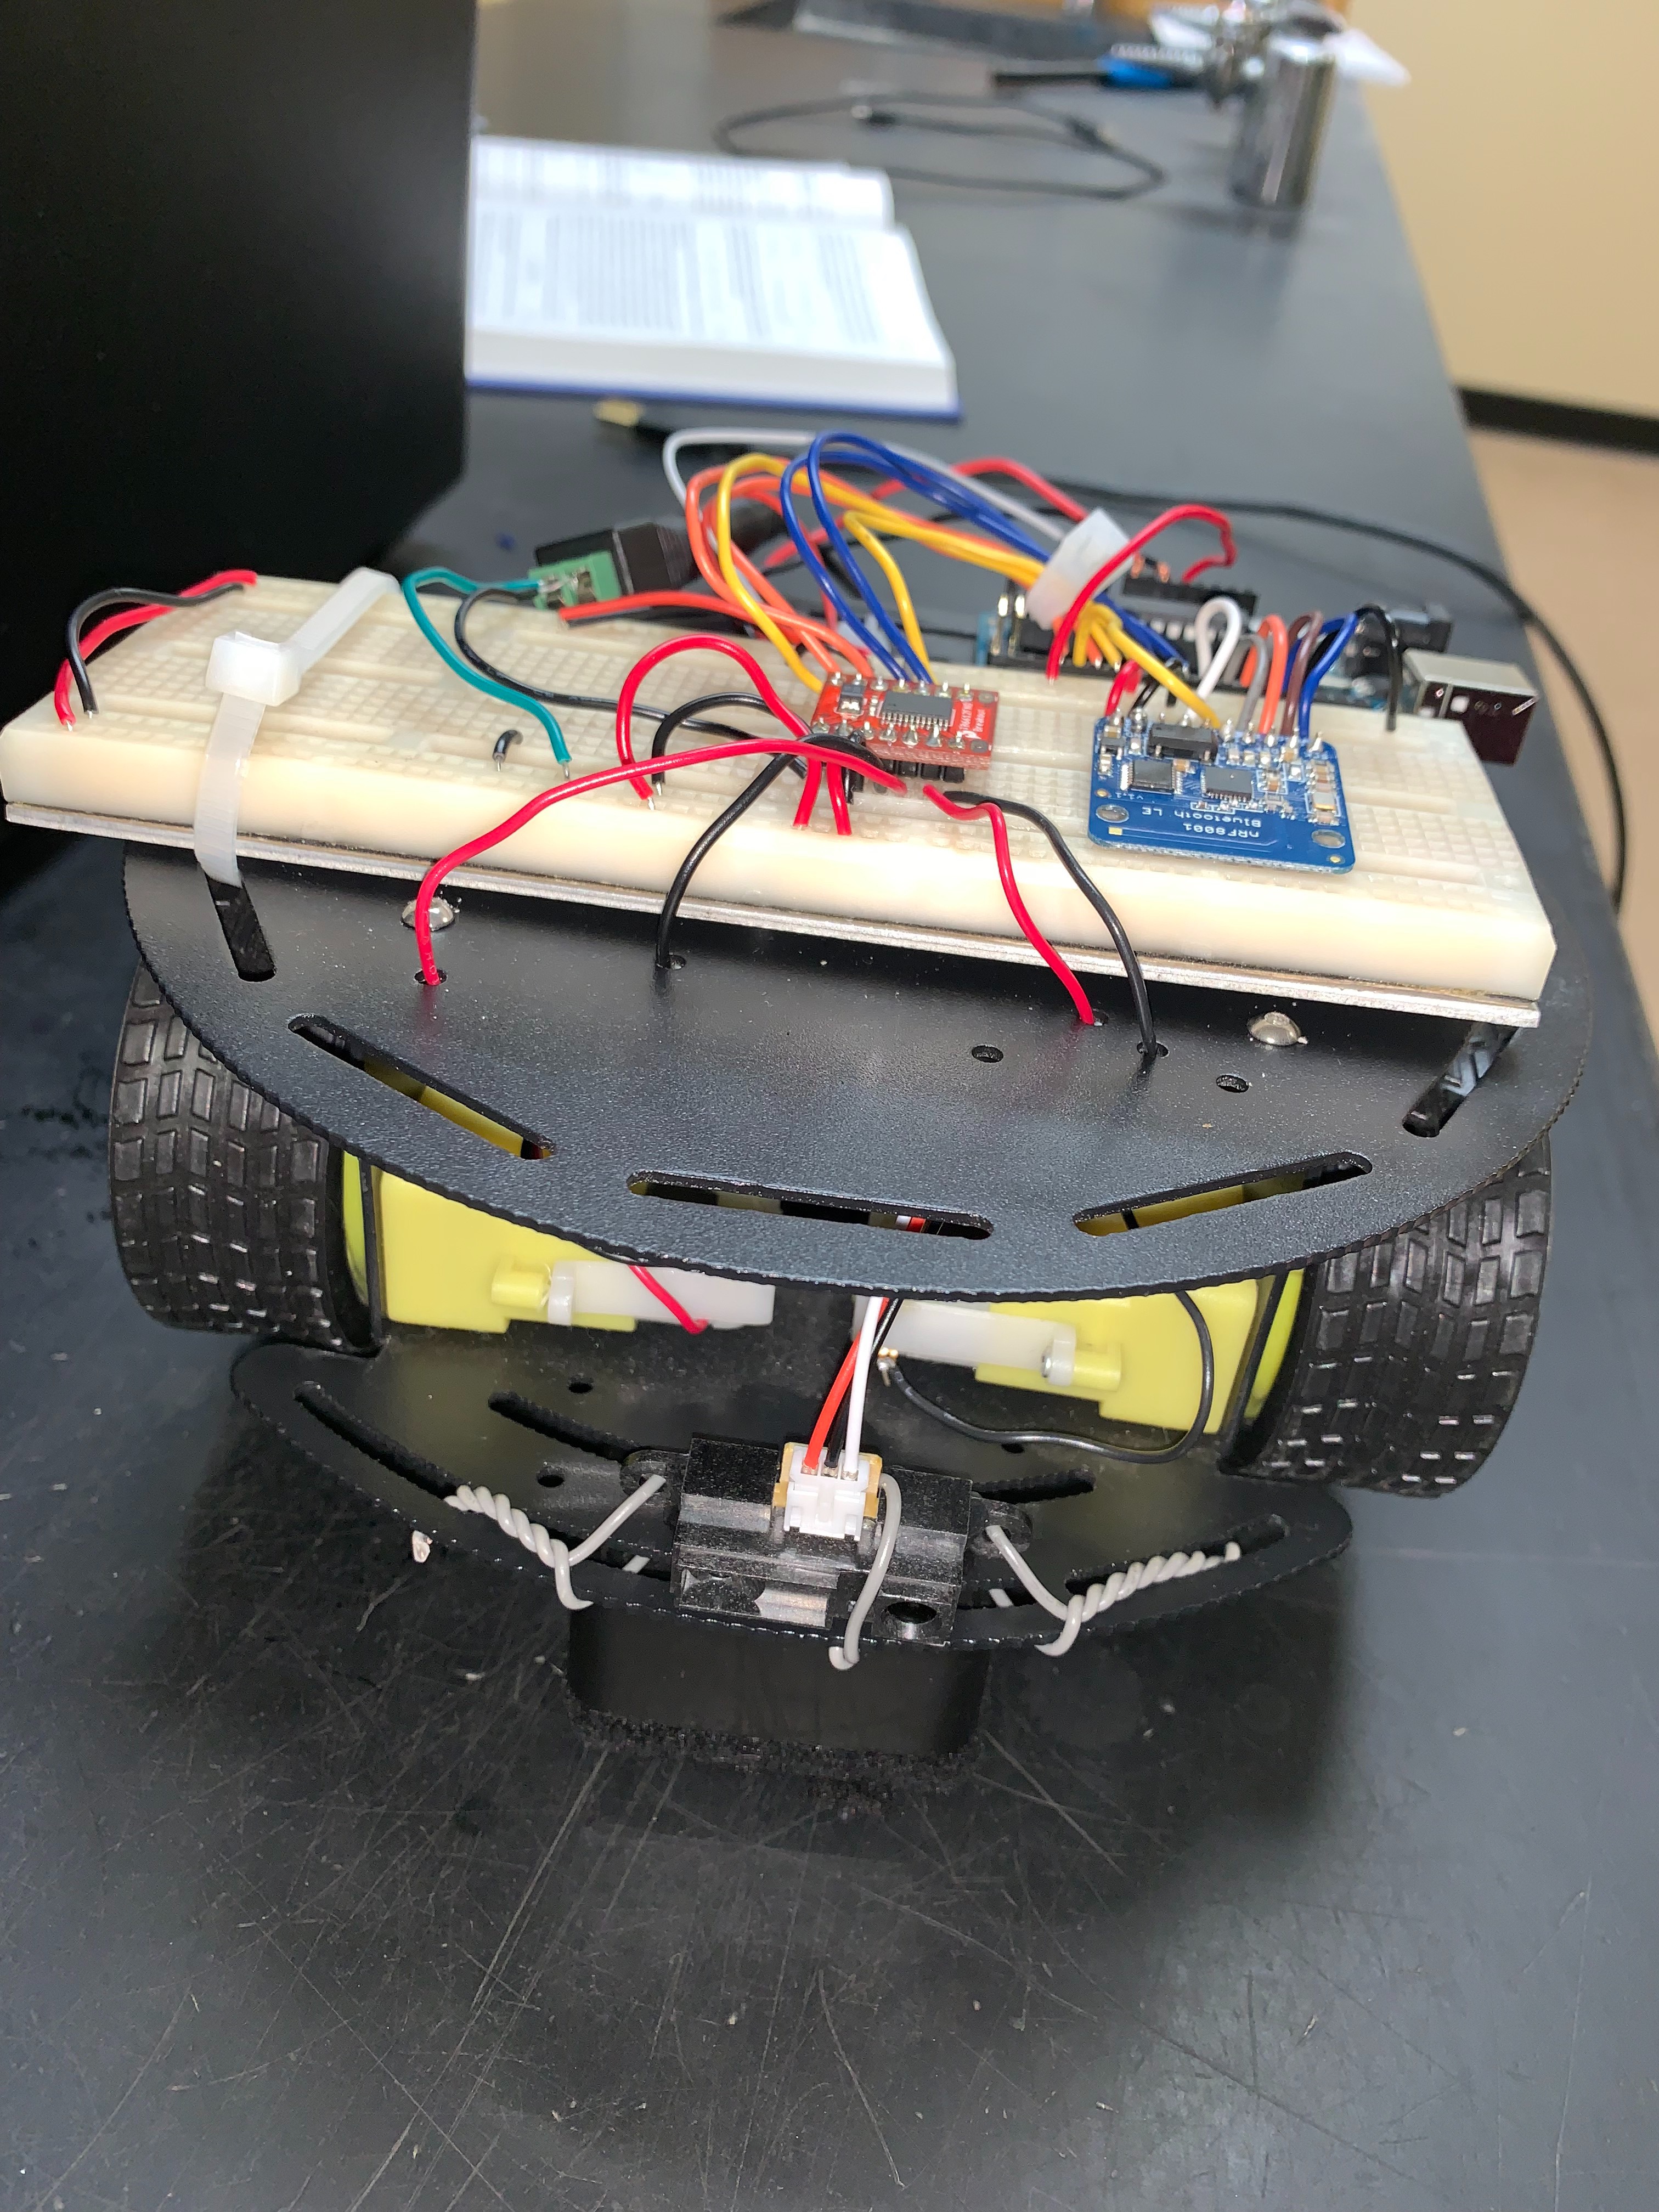
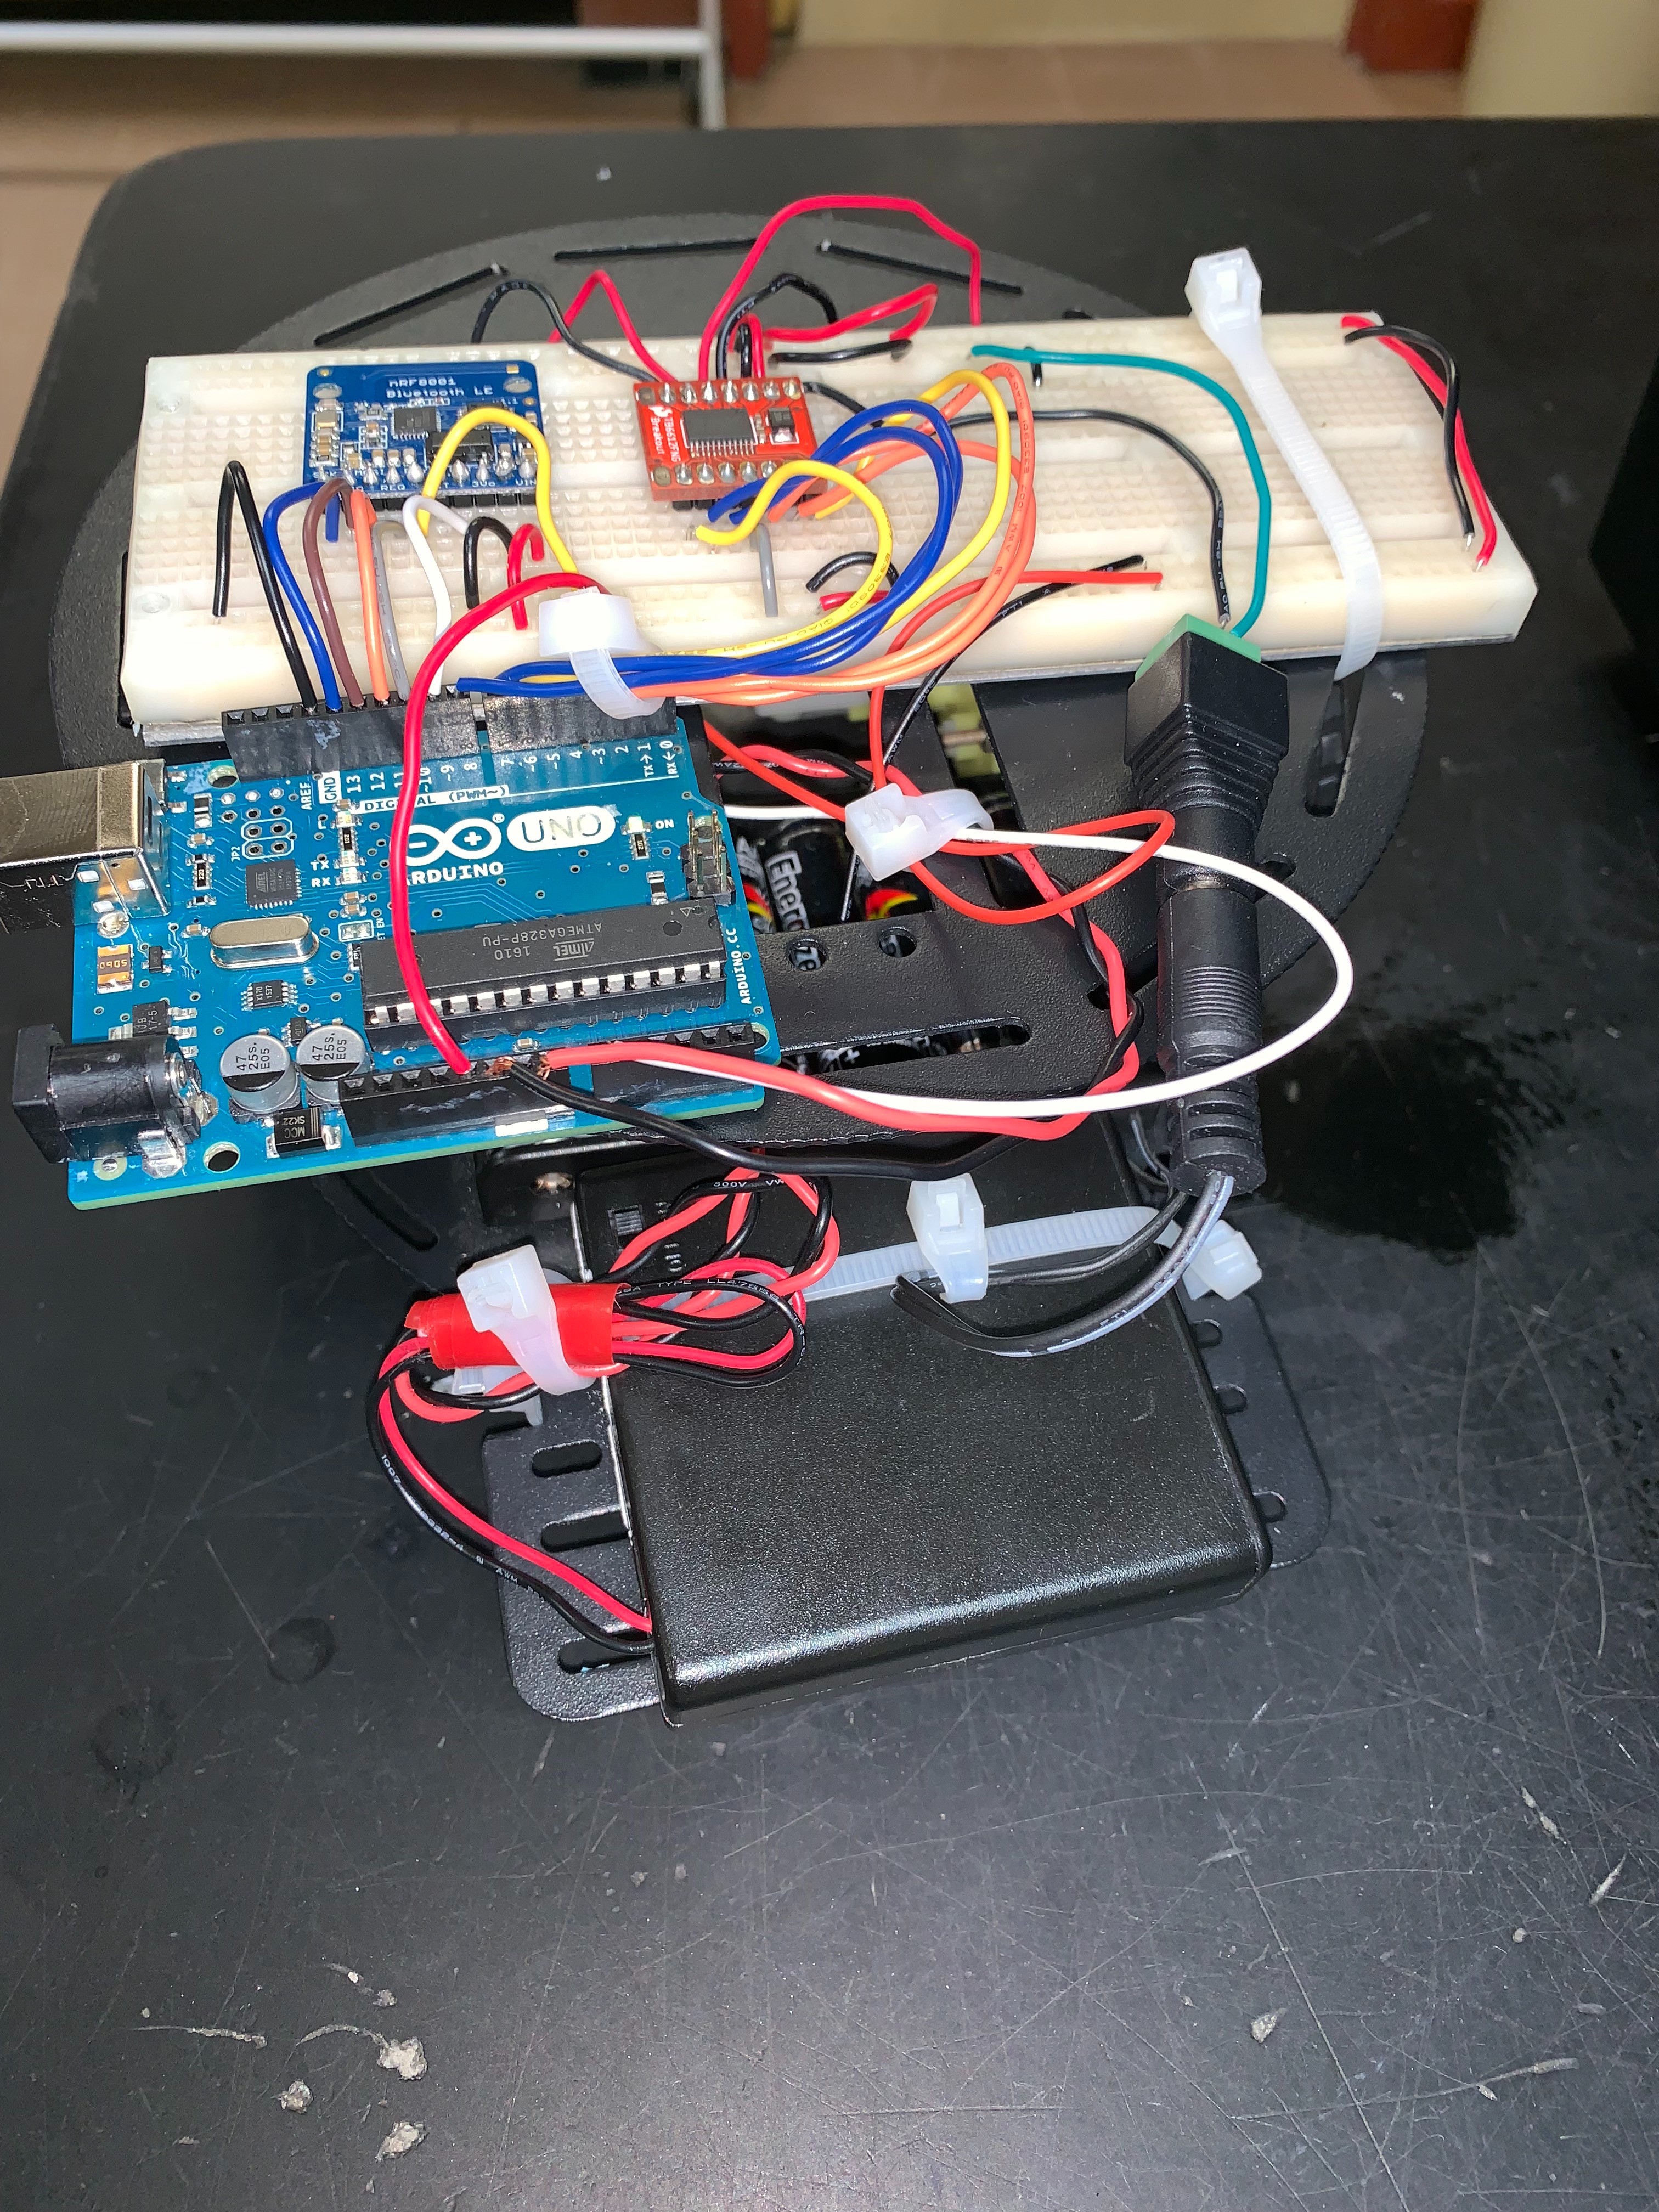
Controlling an RC car through an app on your phone? It's possible!
Using an Arduino, some Bluetooth, some wheels and a bunch of other small but essential pieces, we were able to create an RC car which connects to Bluetooth and can be controlled by an app on your phone. Seems simple enough, right? Well after about a month, we were able to polish up a working Bluetooth RC car. With our instructions you'll be able to do it way faster than we were.
Plan Your Steps on Trello

To start planning in trello, you must know what you want to do and what materials you need.
The things you want put on your trello are:
- Get/Buy your supplies
- Build car
- Control DC Motors with Arduino
- Connect to Arduino with Bluetooth
- Make RC car wireless
- Coding
- Make App
- Connect/ Code Distance Sensor (Only needed for the optional step.)
- Testing
-Exterior
- Documentation/ How to
Now, there are a lot of steps that go into each of these, but you'll be able to find more details in the next steps of our process.
Get/Purchase Your Supplies
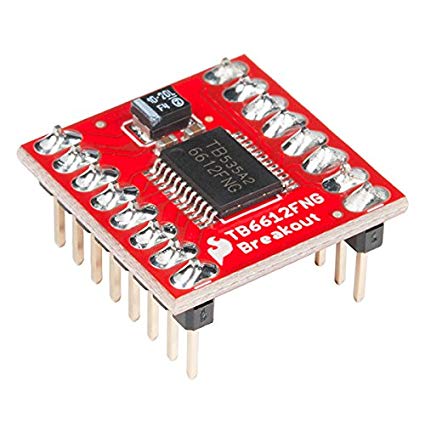
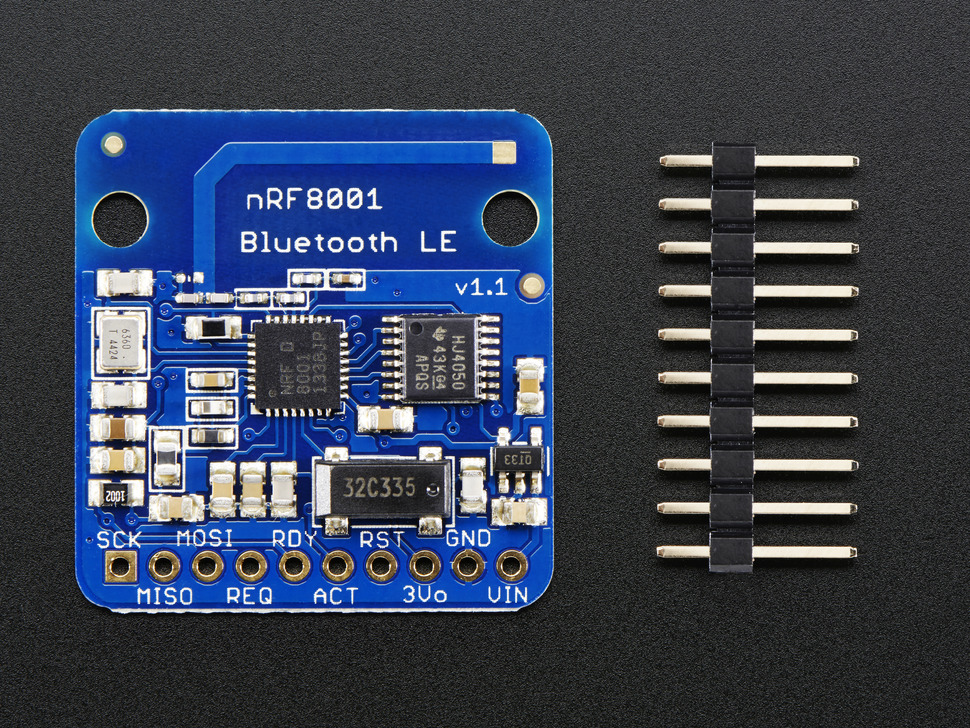
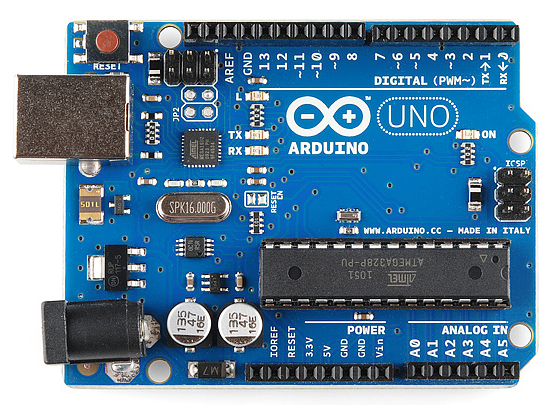
The materials you will need for this project include:
-Arduino
-Motor Driver (TB6612FNG Breakout)
-Bluetooth Low Energy Driver (nRF8001 Bluetooth LE)
-Dc Motors
-Battery pack (Batteries)
-Wires
-Circuit board
Build Car
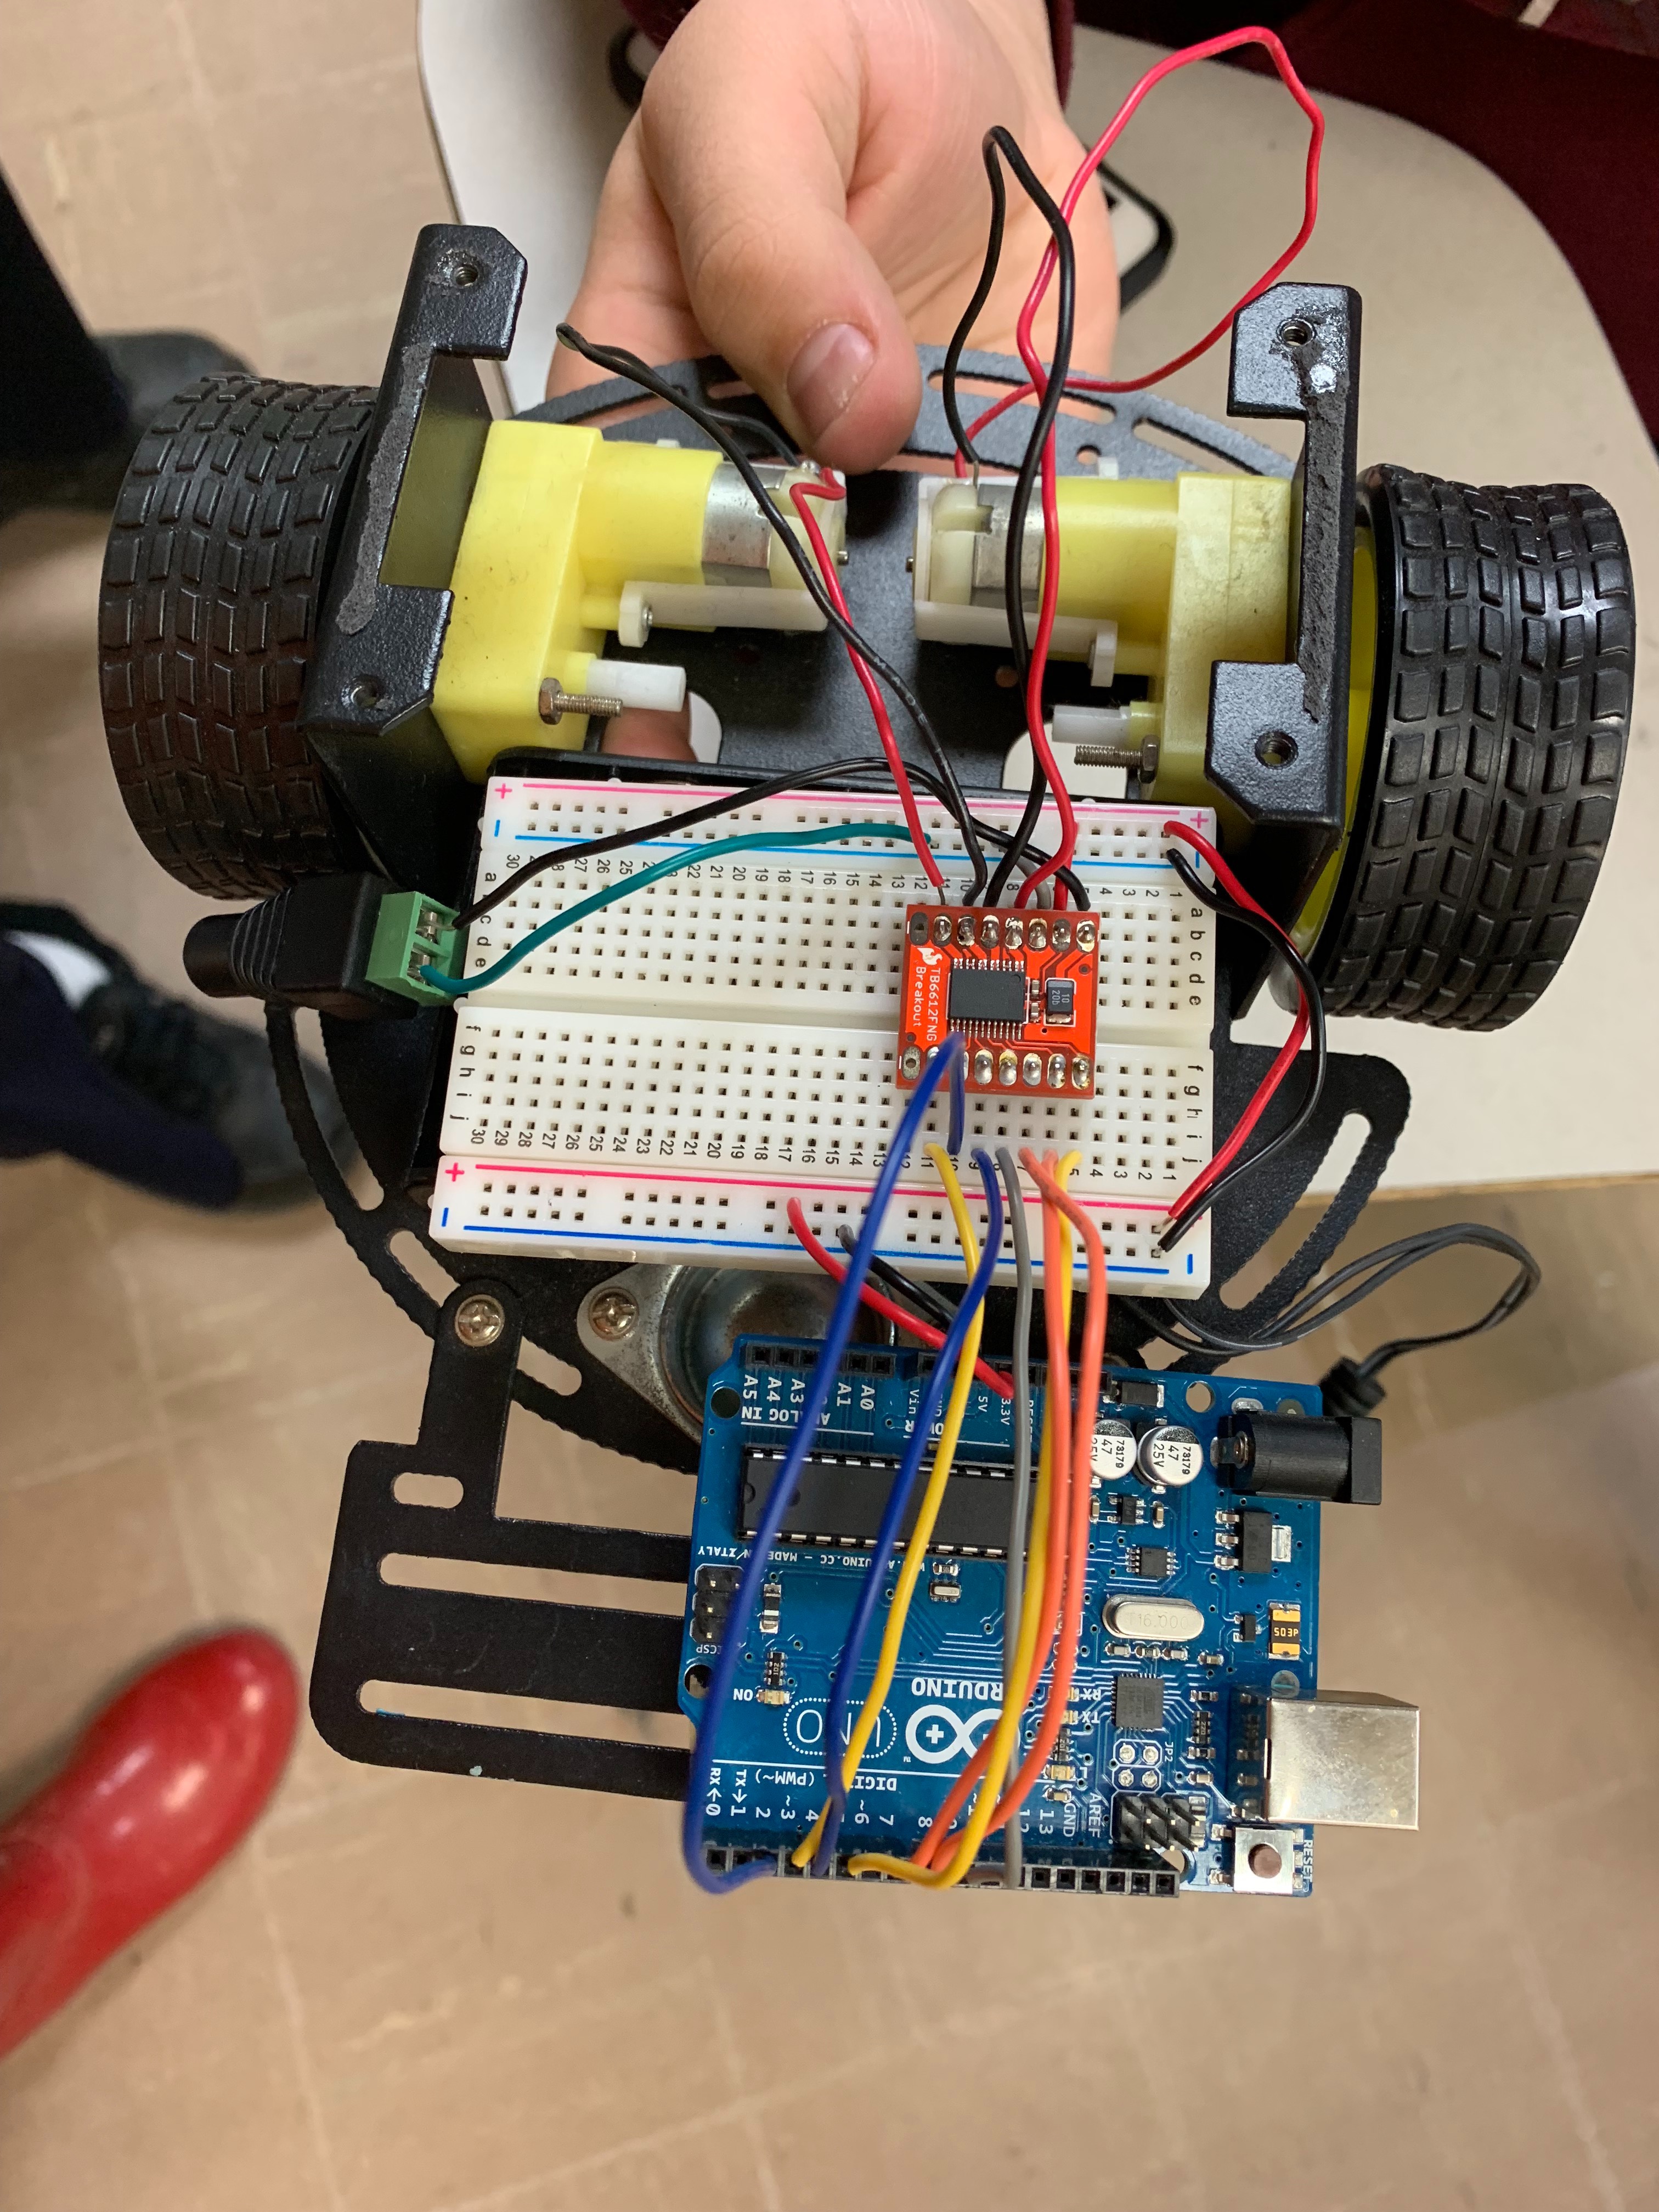
With the DC motors and circuit board
1) Connect Motor driver to Arduino
2) Connect the Arduino to the DC motors
*Refer to photo for viewing the circuit.
Control DC Motors With Arduino
With the MotorTest code from the Motor driver library, the Arduino will be able to control the DC motors.
-The motorTest code makes the Motors do a little "jig."
-Scroll down to where it says TB6612FNG Arduino Library and there it will download.
-After that you can place that library into the Arduino IDE as a zipped file.
-Go to sketch, include library, and then go to add .zip library and chose your file.
-That file will then appear under examples.
-And you will be able to test your motors.
Connect Bluetooth
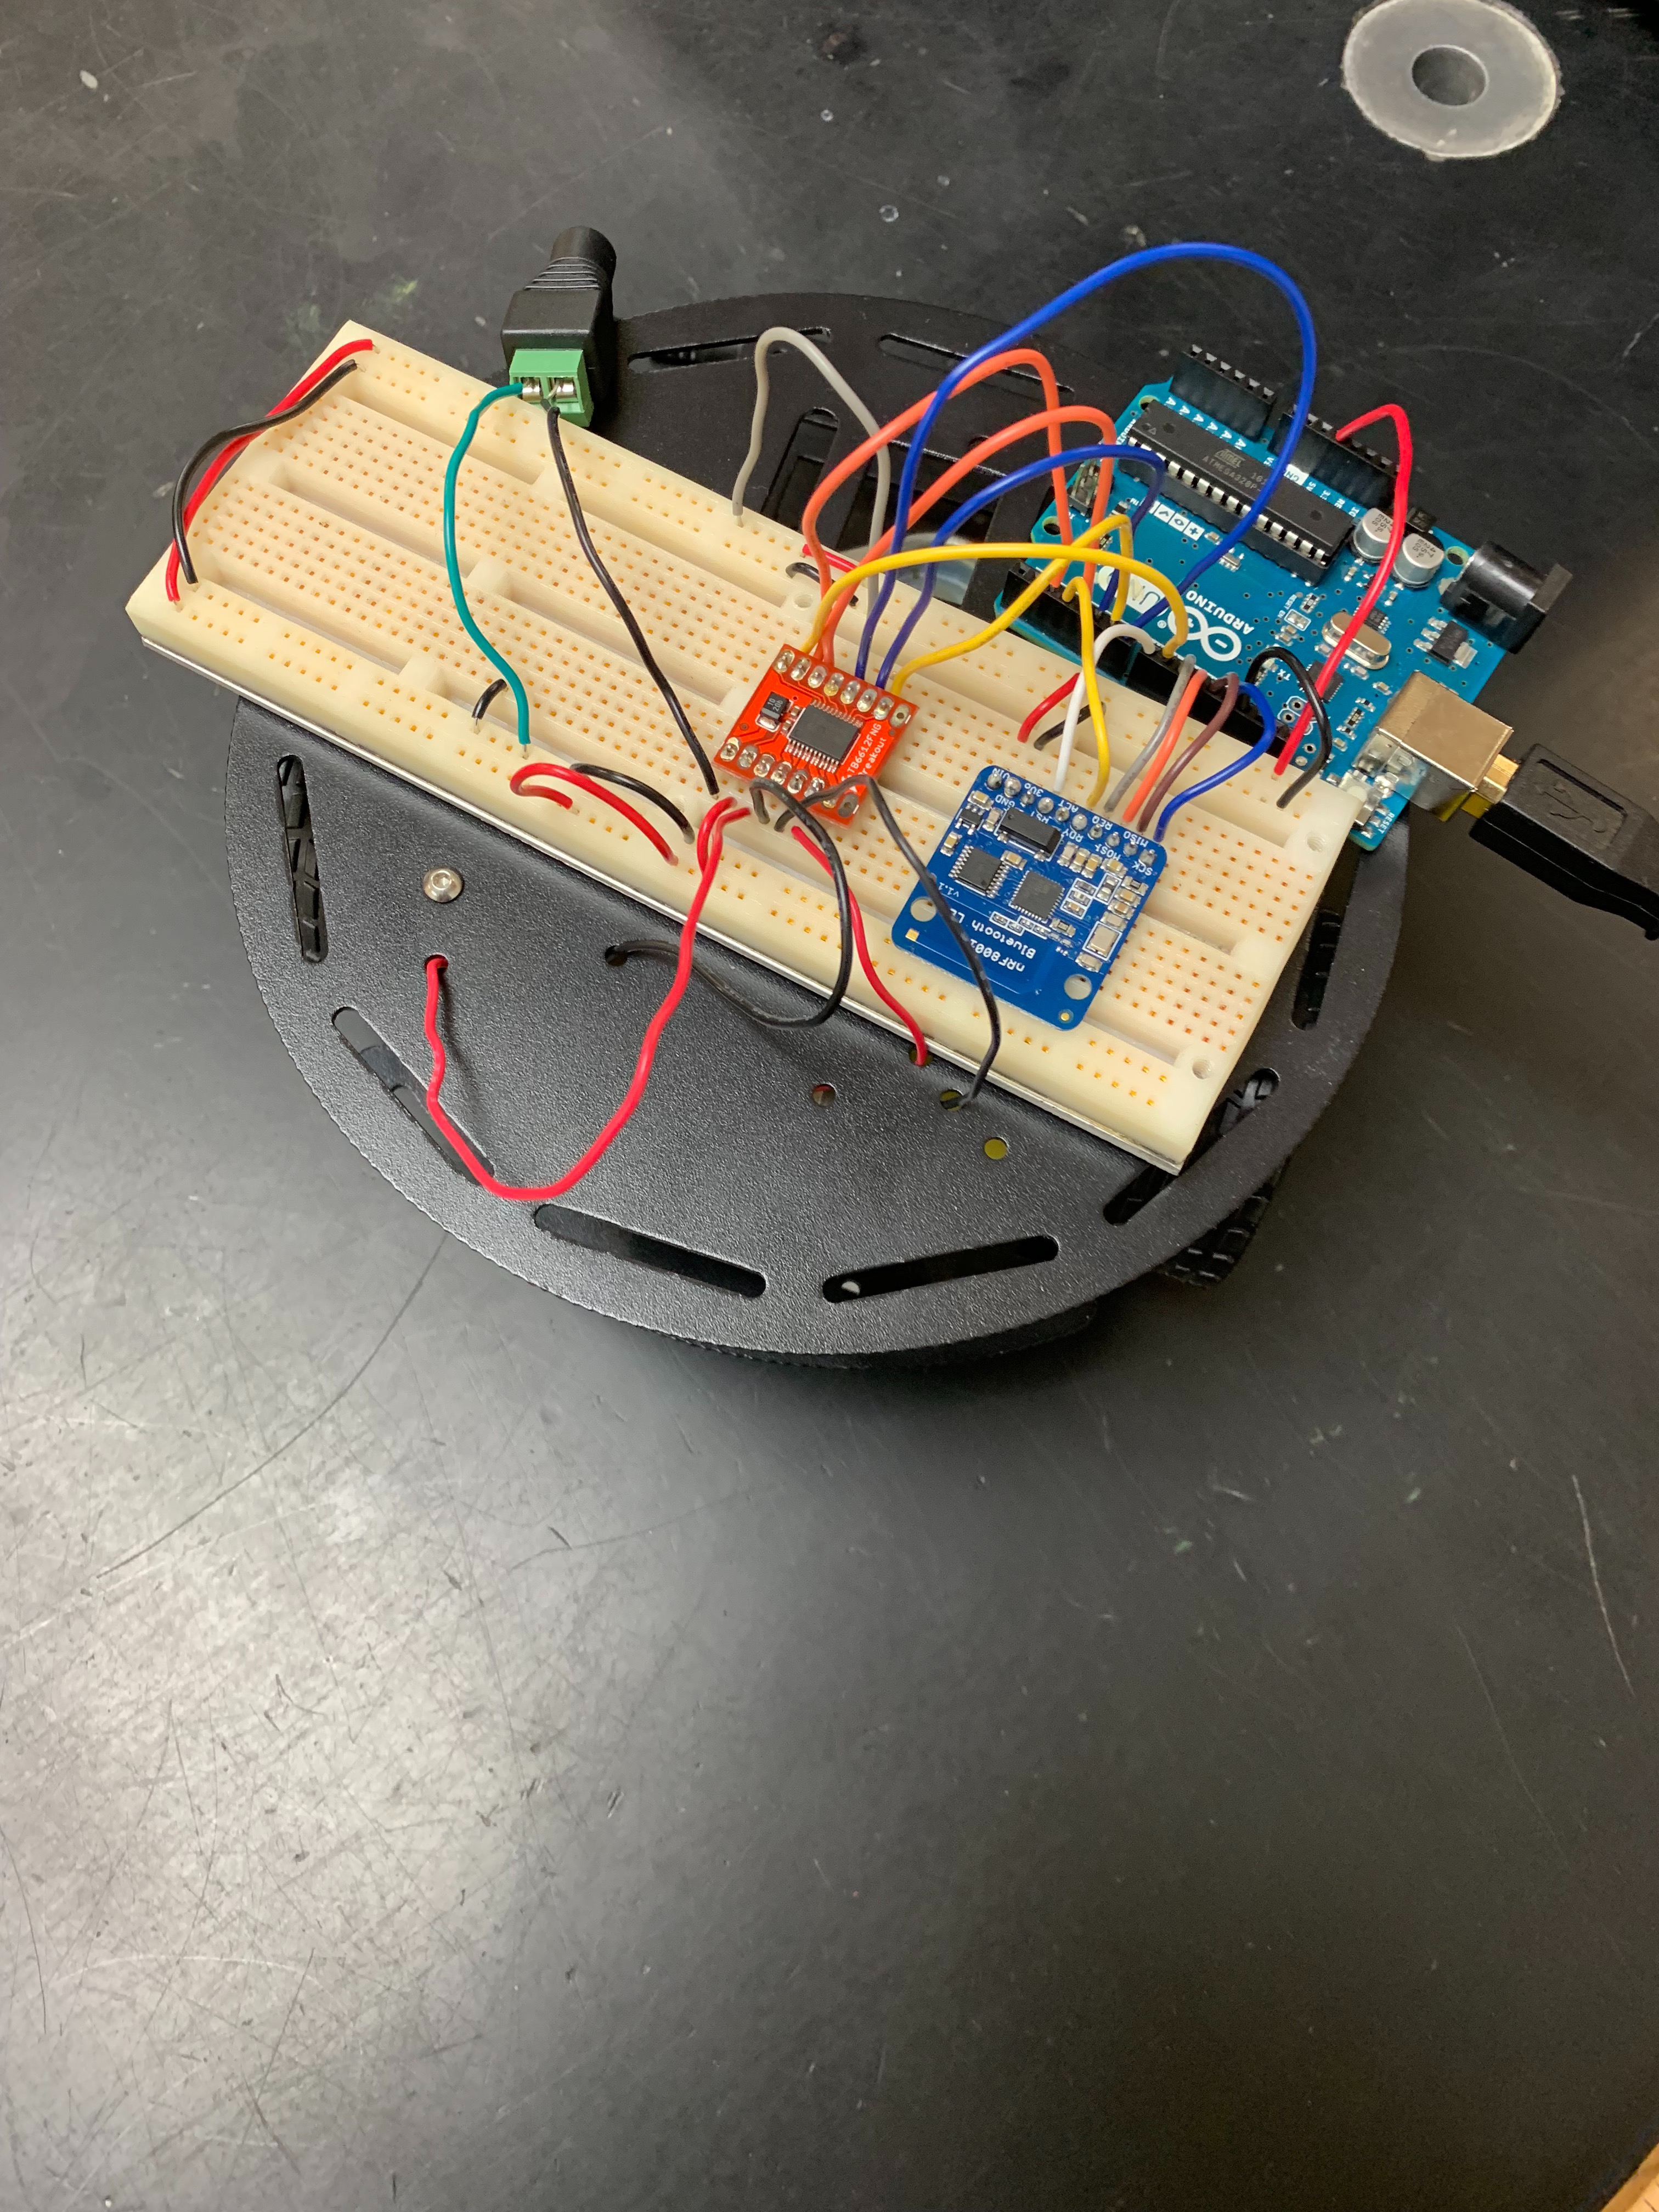
Using the Bluetooth Low Energy Driver, we can connect it to the Arduino as shown in the image.
- From connecting it to the Arduino, we are able to, with some code, move the car with the Adafruit app.
-Go to the Adafruit page with the nrf8001 driver, and the library is able for download.
-With that library, you can use the provided code (echo demo) to program the car to move when given a command.
Coding - Using Adafruit App

After downloading the app and modifying the code how you want it, in order to make things move:
1) We started by connecting to the car (which originally was called UART) and went to the UART modules.
- Here you can type a command, like f for forward, if thats what you have in your code to make the car move forward.
*You can reference our code, which will be posted in a later step.
Make RC Car Wireless
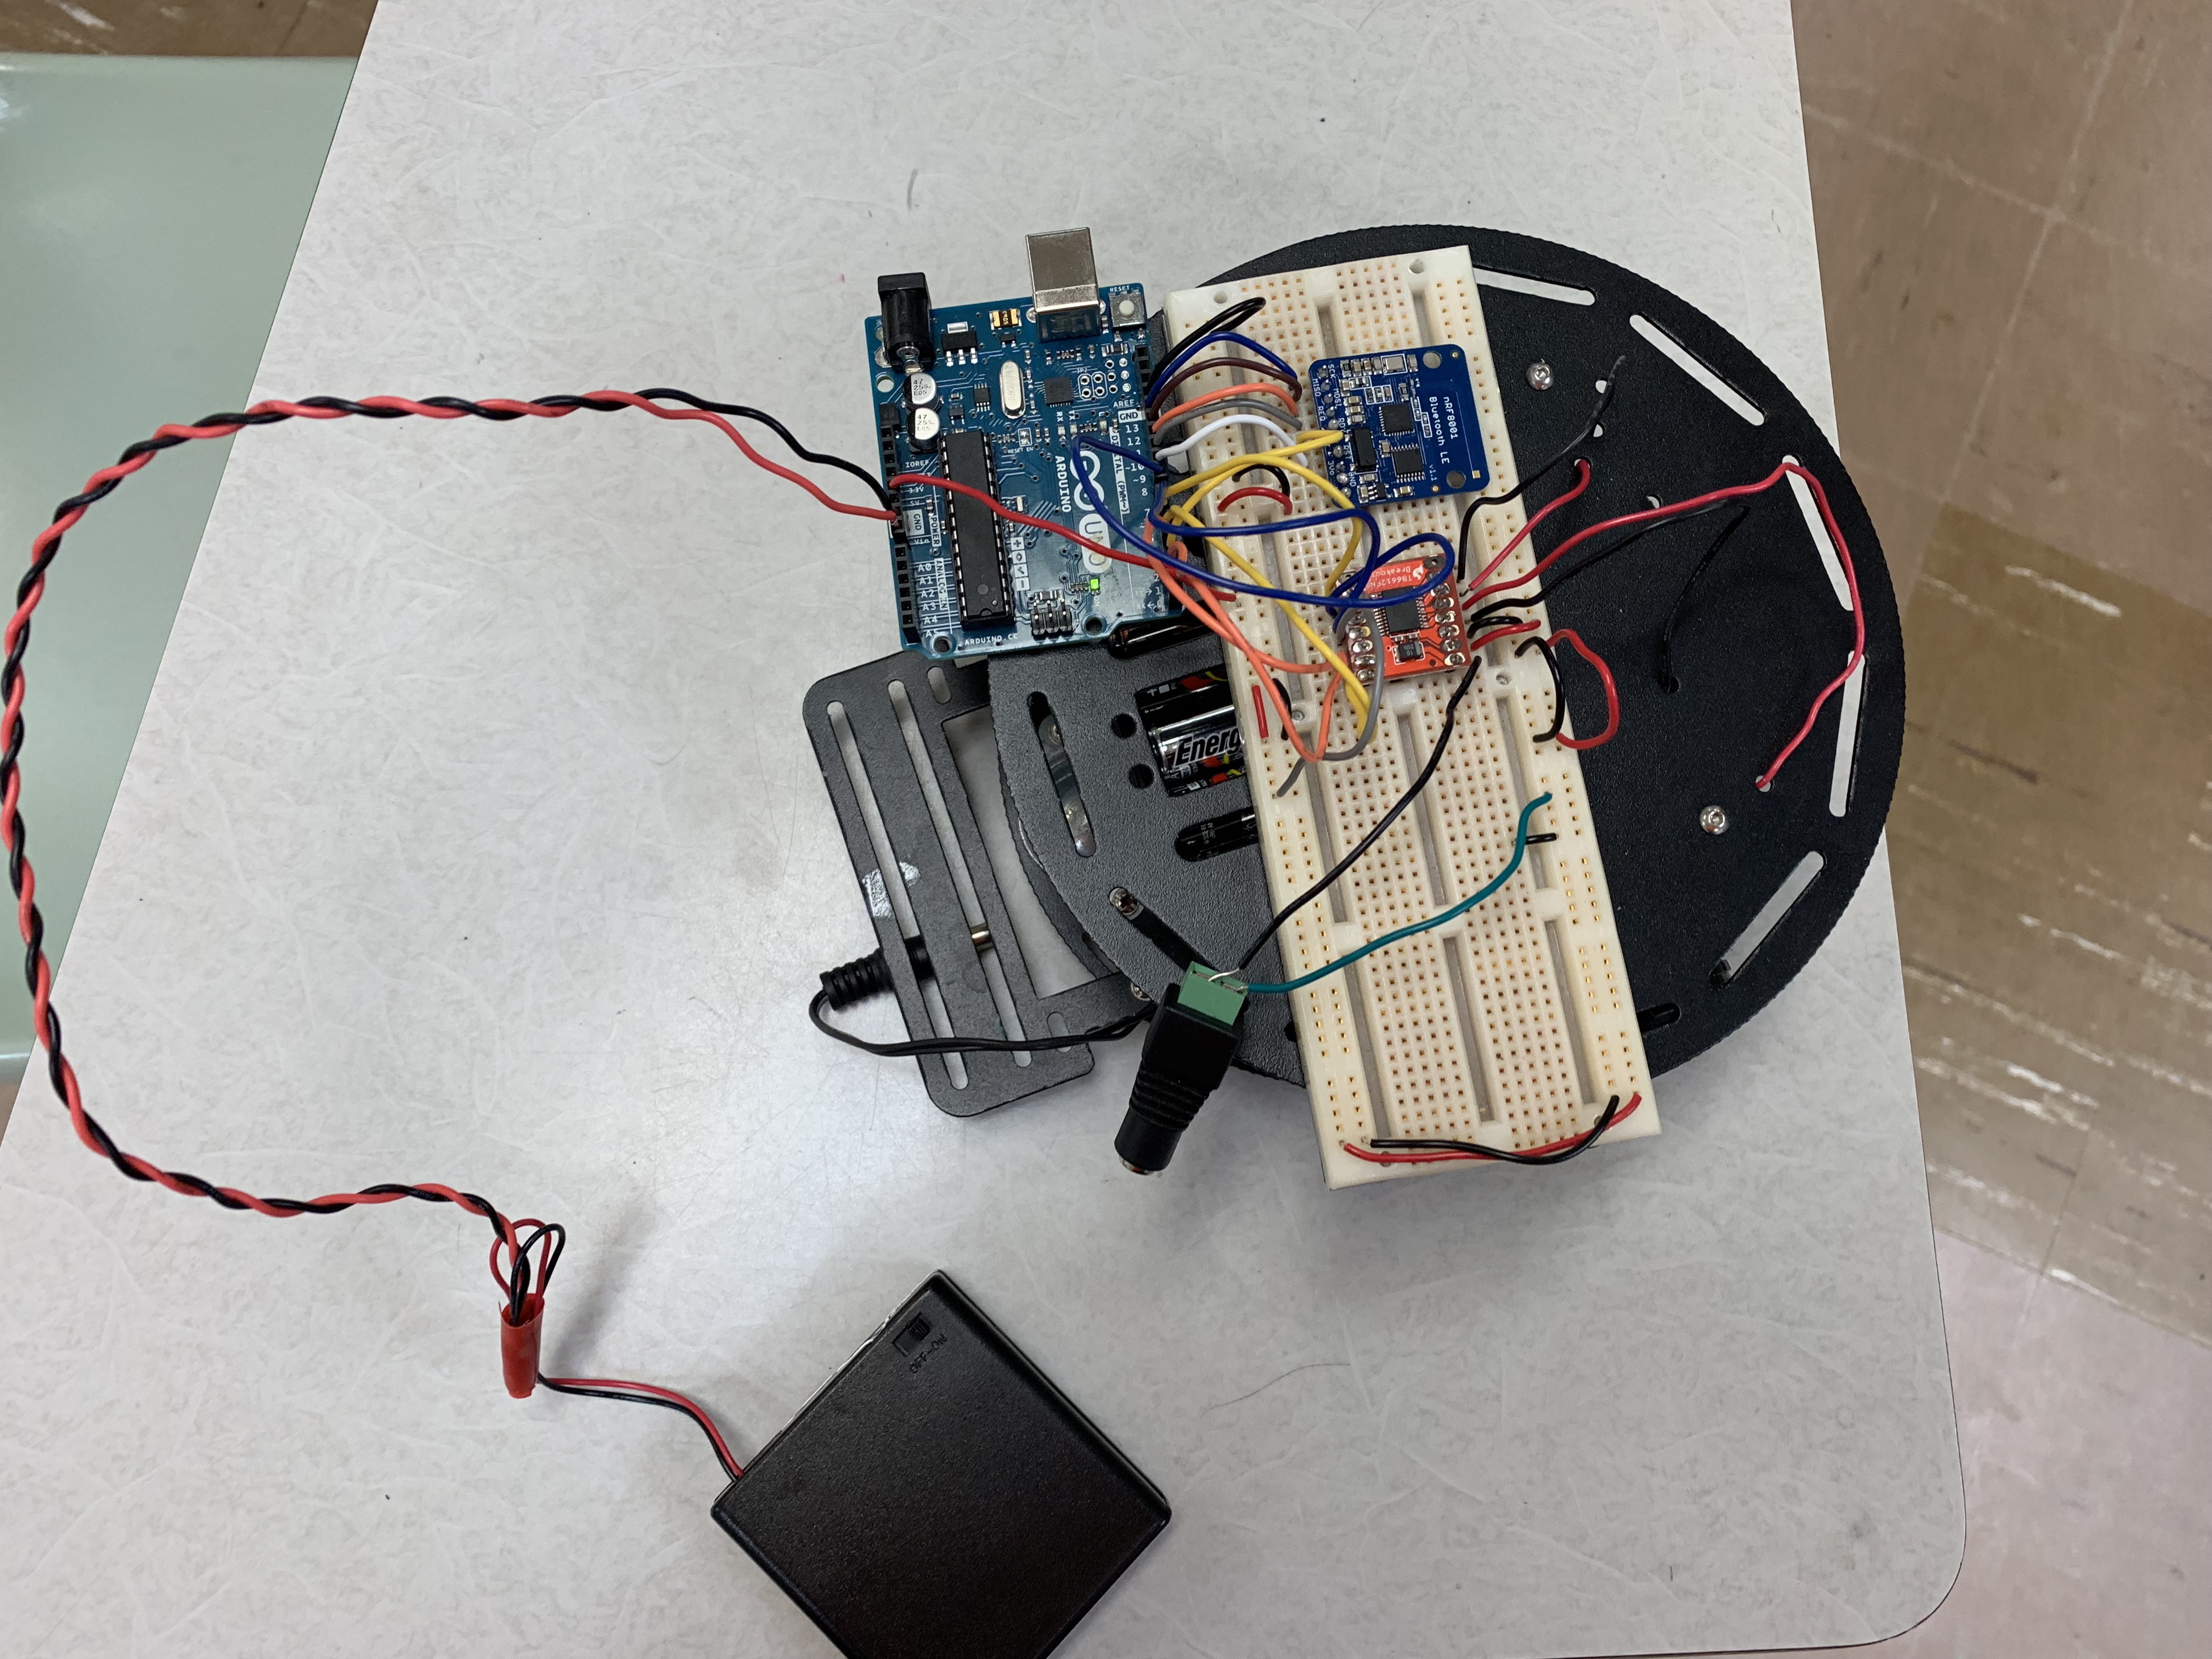
Here is where you will need your batteries.
Using a battery pack, and batteries that are connected to the DC motors, the car is able to move without being connected to anything else.
*You can see in the image above how the battery pack is connected and the battery pack that are attached to the motors.
Make a Modified App to Work With Control Pad
We decided to use the control pad to be a remote for our car. To do this we had to:
- Modify the source code of the original Adafruit app.
-Our modified code is linked here, and this modified app is ONLY for android.:
-And how to use the app, made with the modified code:
-When you open up app:
-Connect to CAR
-When you click connect, a list will pop up saying choose mode to connect to car
-Click controller
-In controller, scroll all the way down, and click control pad.
-In control pad:
-Up arrow goes forward
-Down arrow goes backwards
-Left arrow goes left
-Right arrow goes right
-Button 1 is brake
-Button 2 is donut
Downloads
(Optional): Add a Distance Sensor
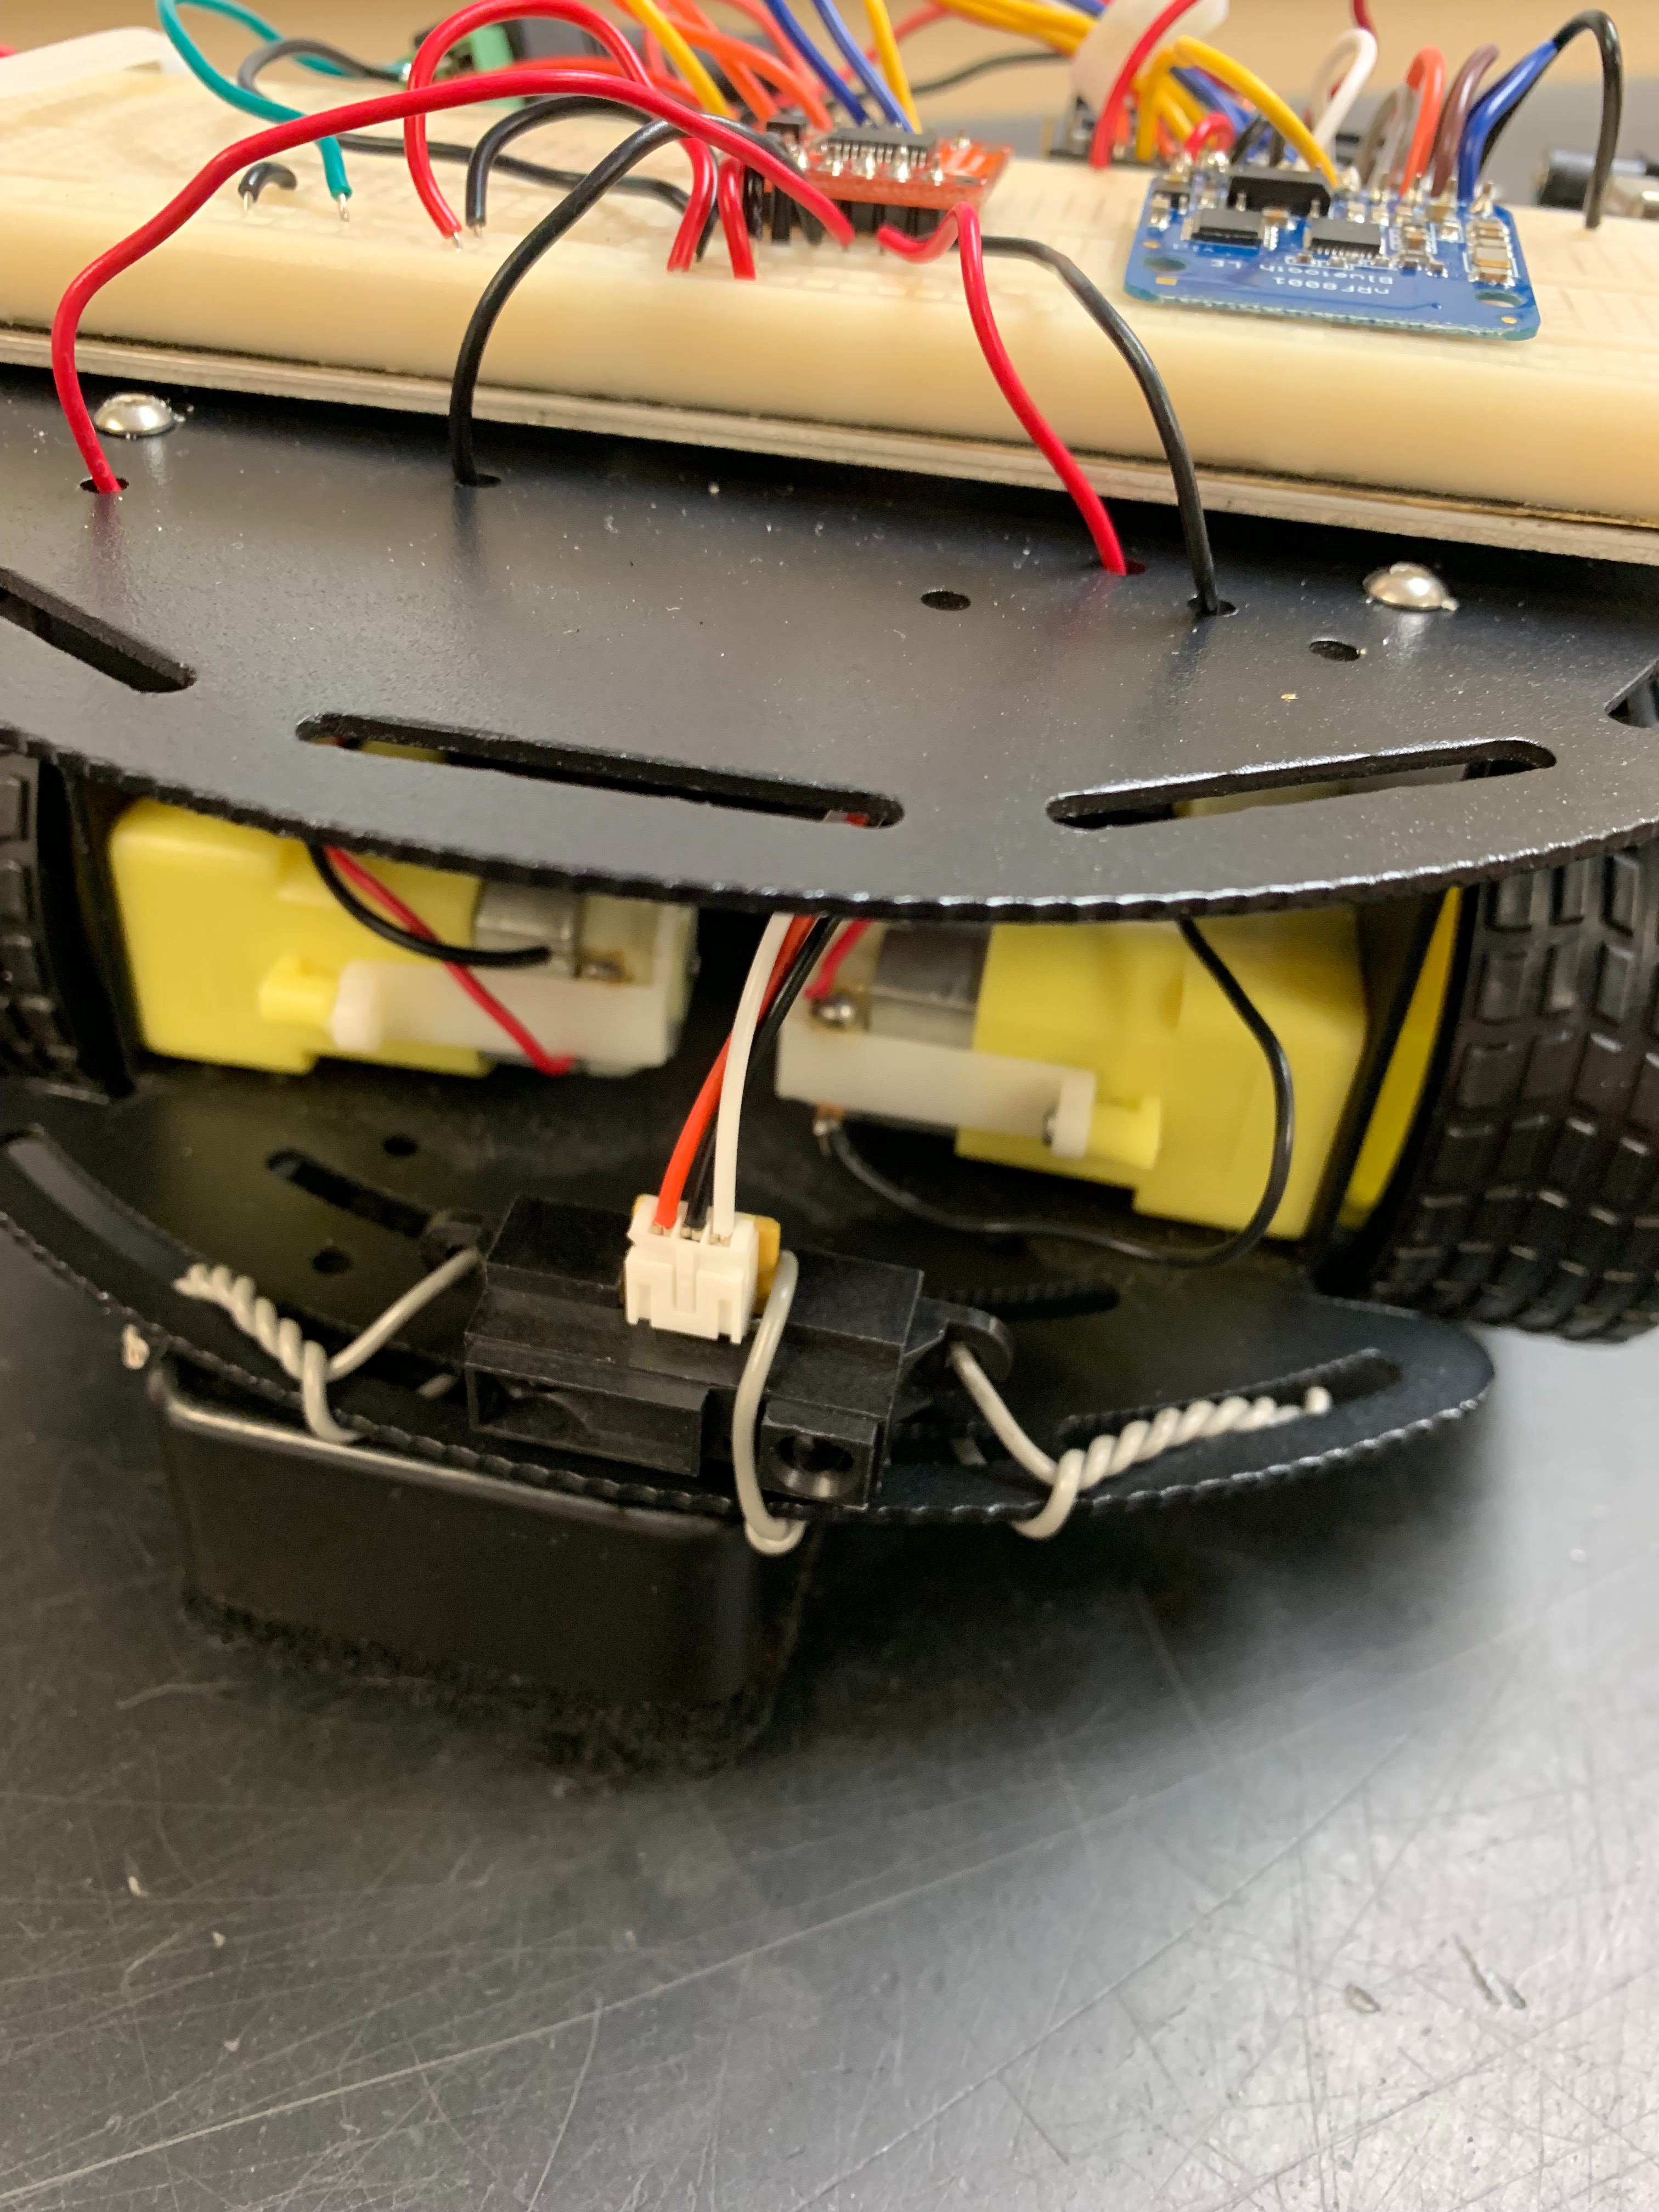
For our RC car, we added a Distance Sensor.
-The distance sensor is placed in the front of our RC Car, which we tried to make automatically move a different direction when there is something in front of it.
Test
When testing,
-Check to make sure all function work how you want them to:
-Forward
-Back
-Left
-Right
-Stop
-Donut
-Automatic
These are our specific function, you can use the same or change them to do what you would like.
Add an Exterior
When adding an exterior, this is completely up to you.
-The exterior of the car is mostly just for holding the hardware together.
-We used zipties and wires to hold everything in place.
-You can design the exterior of your car in whichever way pleases you.
** The most important part of exterior is to hold everything in place!
Document
When creating your RC car, make sure you are documenting as you go.
This can help when:
-Fixing an issue you face.
-Changing around wiring.
-Remembering what you did each day,
-Looking back on your project.