Arduino Based DIY Game Controller
by Utsource in Circuits > Arduino
395 Views, 1 Favorites, 0 Comments
Arduino Based DIY Game Controller


Hi guys in this instructables we will learn how to make a game Controller using an Arduino pro micro.
Things We Need
For this instructables we need following things :
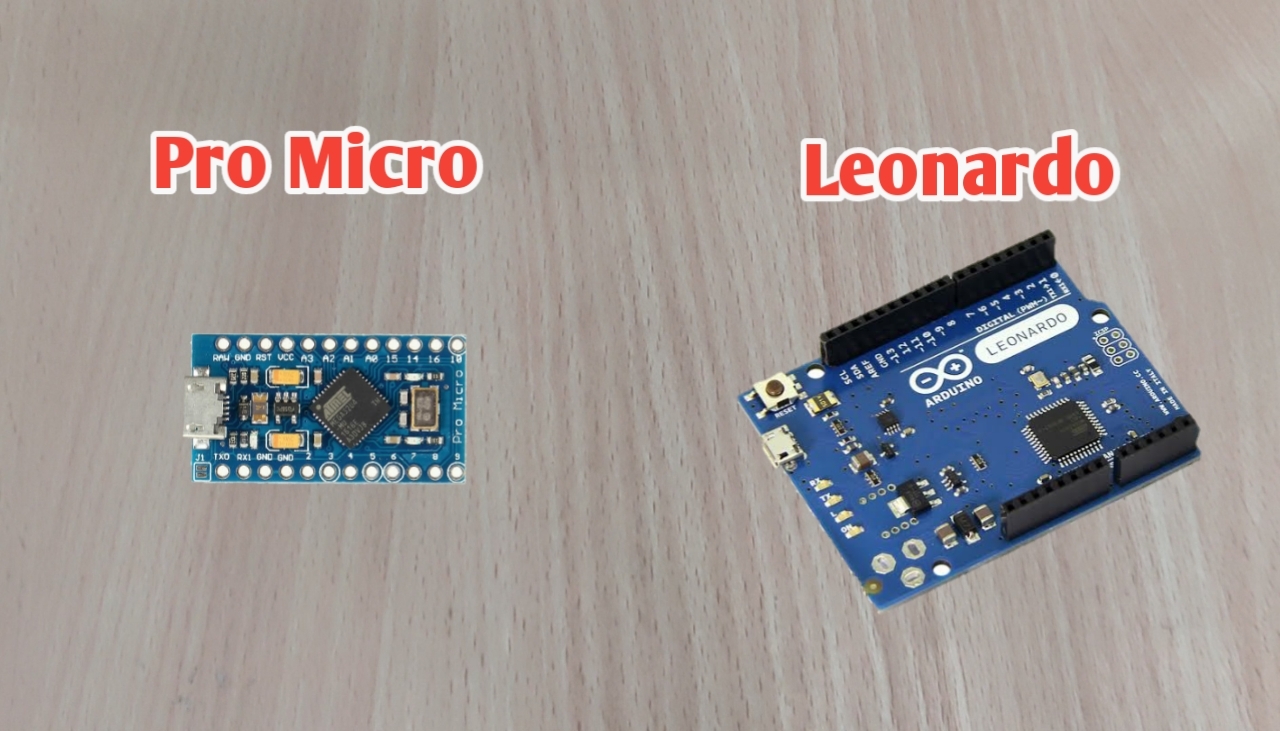
Arduino pro micro (Arduino Leonardo will also work) :
10 push buttons
Order PCBs from any manufacturer
usb Cable for Programming
Schmatics and Making PCB

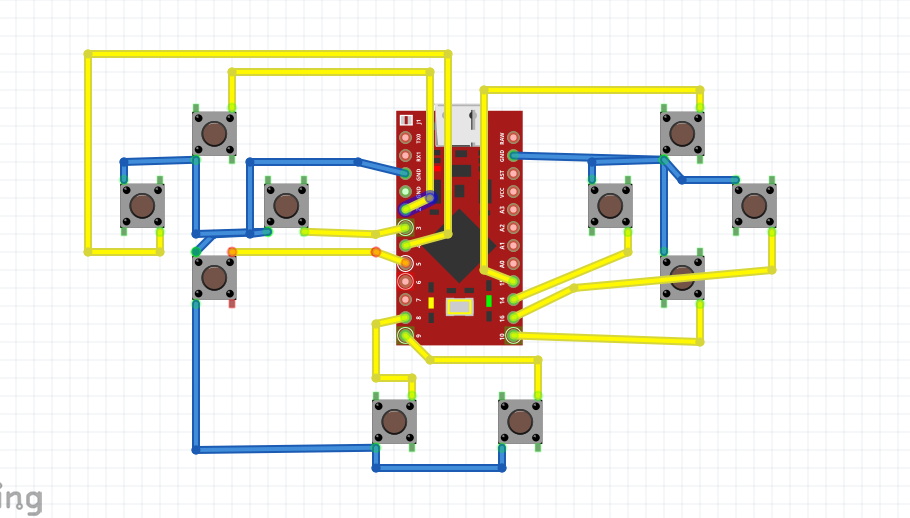
Well for contacting Everything together i will make a PCB out of it. I am using Fritzing for this.
If you want to download PCB gerber schmatics and code refer the below link. :
Download code, schmatics, gerber :
https://github.com/shveytank/Arduino-Game-Controll...
Send PCB for Production

After getting Gerber file of pcb place a order with any PCB manufacturer, i placed my order with UTSOURCE. You can go whoever you like and Upload the gerber and get your PCBs.
Ut source pcb : https://www.utsource.net/Home/PCBService
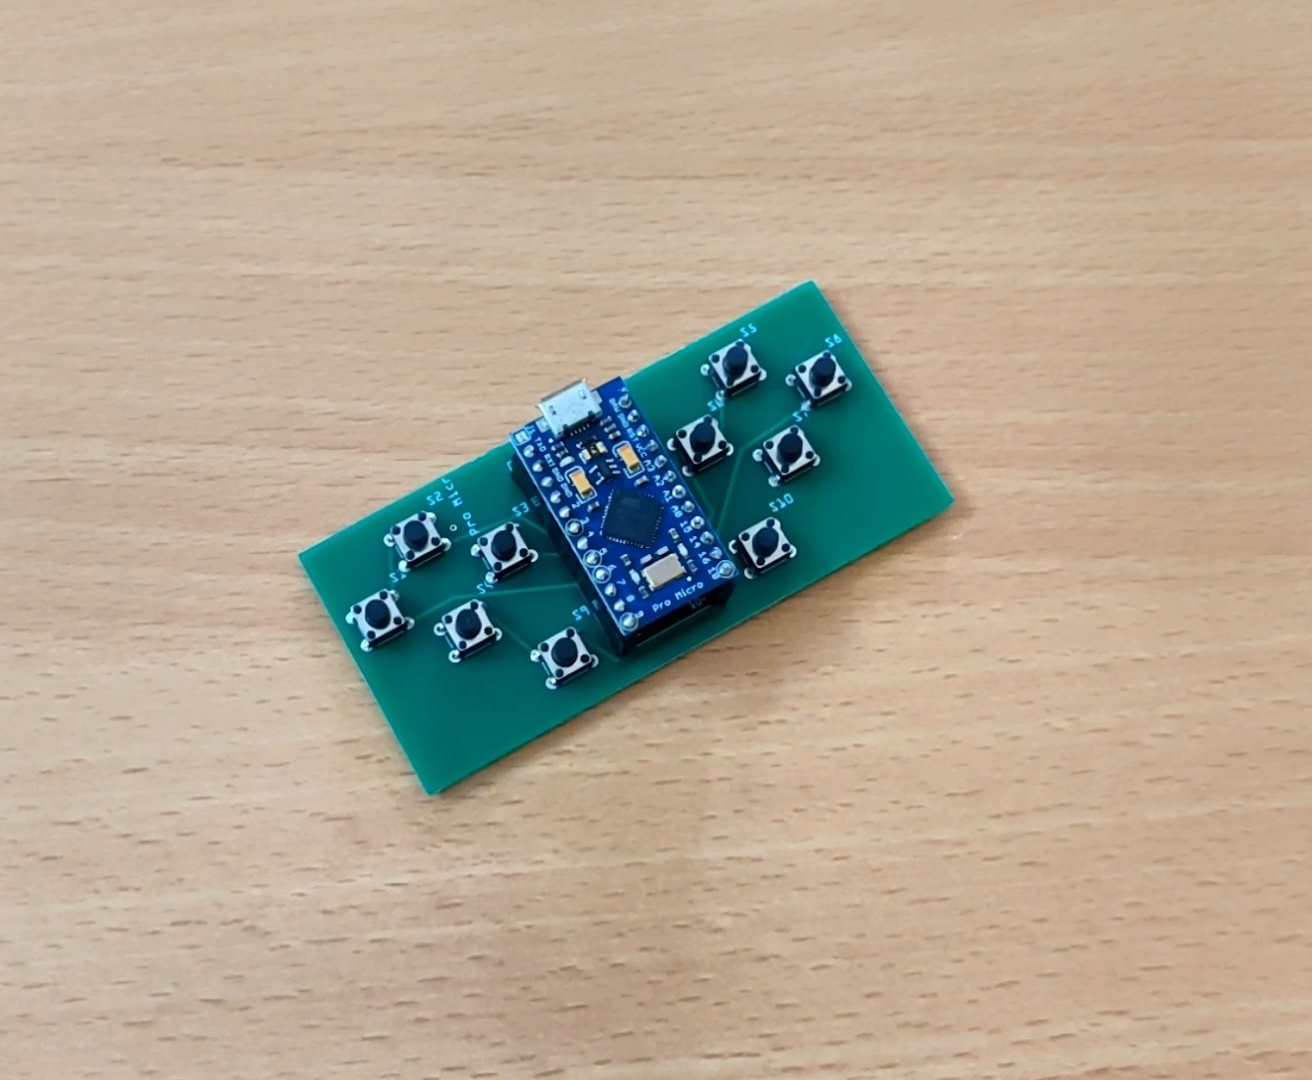
Assemble the Components
Coding
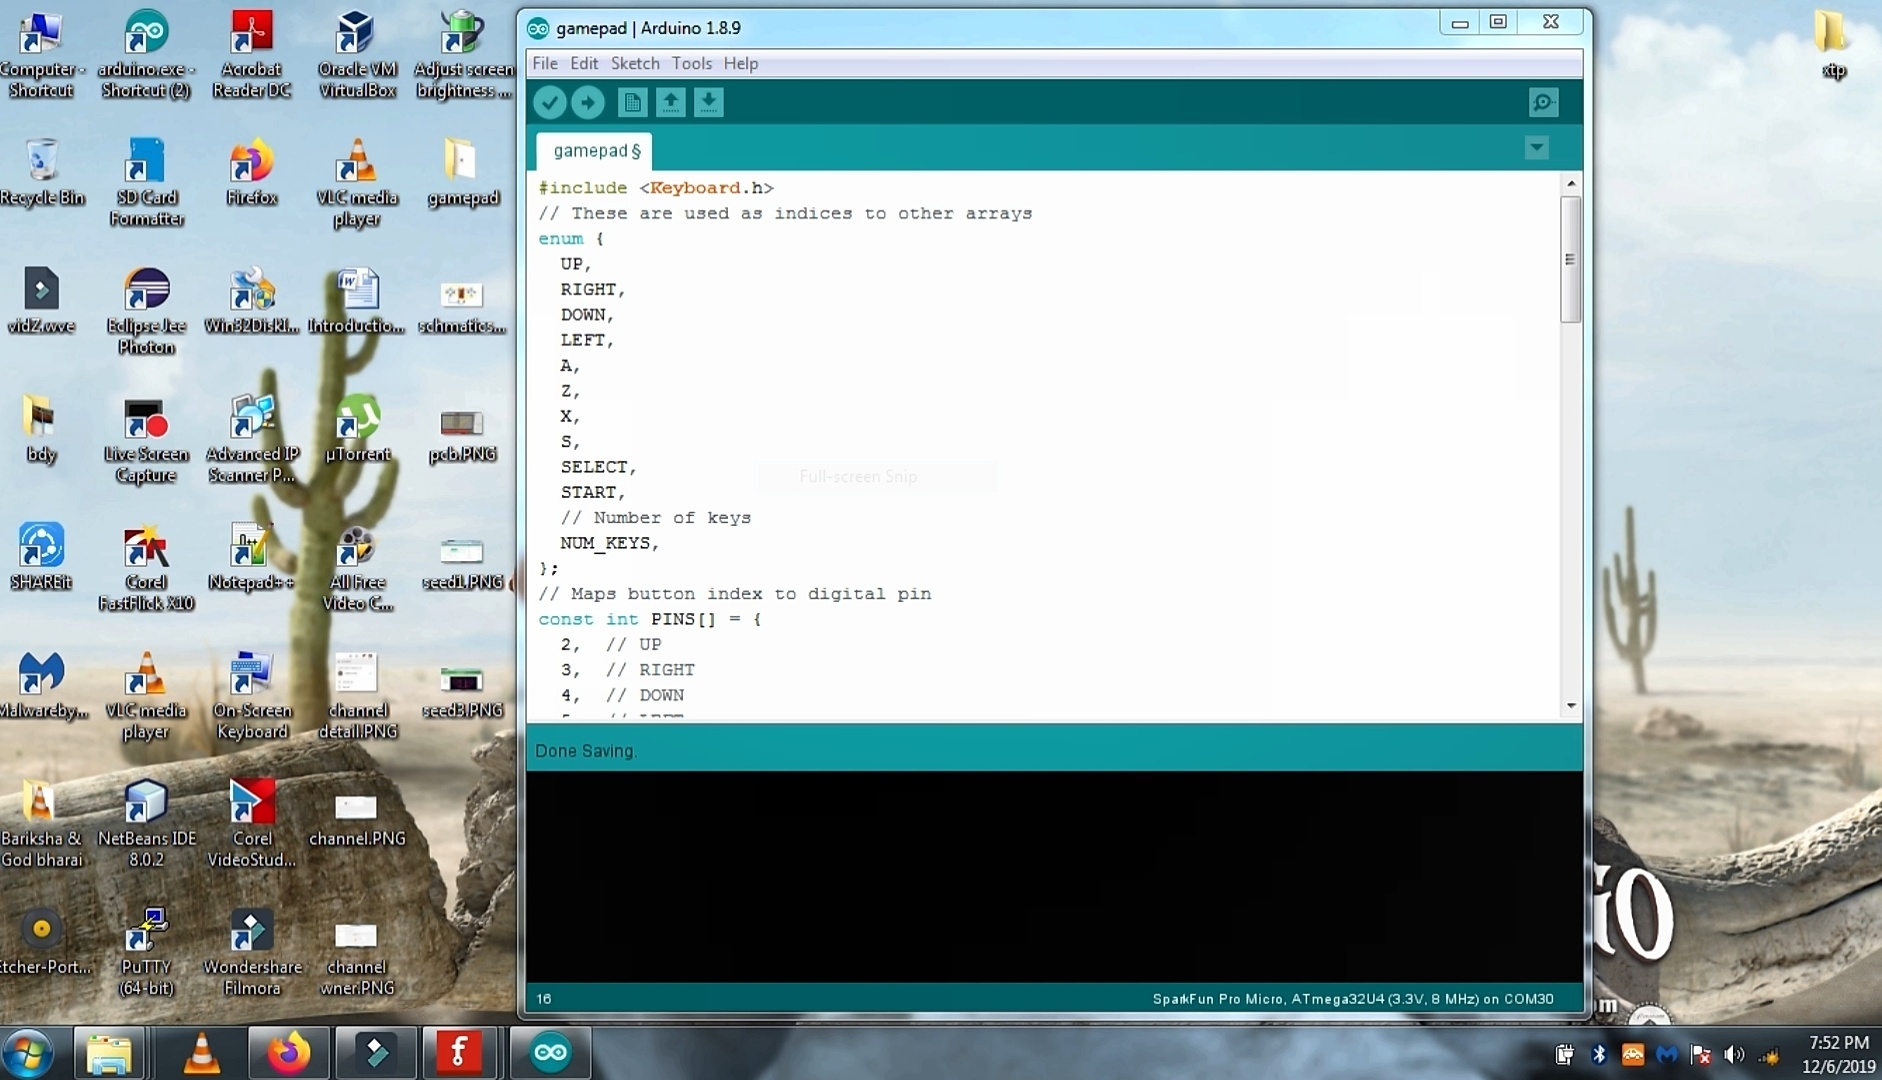
#include "Keyboard.h"
// These are used as indices to other arrays
enum {
UP,
RIGHT,
DOWN,
LEFT,
A,
Z,
X,
S,
SELECT,
START,
// Number of keys
NUM_KEYS,
};
// Maps button index to digital pin
const int PINS[] = {
2, // UP
3, // RIGHT
4, // DOWN
5, // LEFT
14, // A
10, // Z
16, // X
15, // S
9, // SELECT
8, // START
};
// Maps button to keyboard key
const char KEYS[] = {
KEY_UP_ARROW, // UP
KEY_RIGHT_ARROW, // RIGHT
KEY_DOWN_ARROW, // DOWN
KEY_LEFT_ARROW, // LEFT
'a', // A
'z', // Z
'x', // X
's', // S
KEY_RETURN, // SELECT
' ', // START
};
// Store previous state of keys
bool STATES[NUM_KEYS];
// Left and right LED pins
#define LED0 7
#define LED1 6
// Initialize
void setup() {
Keyboard.begin();
for (int i = 0; i < NUM_KEYS; i++) {
pinMode(PINS[i], INPUT_PULLUP);
STATES[i] = digitalRead(PINS[i]);
}
pinMode(LED0, OUTPUT);
pinMode(LED1, OUTPUT);
}
// Main loop
void loop() {
bool state;
// Flash LEDs
const unsigned long t = millis();
digitalWrite(LED0, (t / 1000) % 2 == 0 ? HIGH : LOW);
digitalWrite(LED1, (t / 1000) % 2 == 0 ? LOW : HIGH);
// Process each key
for (int i = 0; i < NUM_KEYS; i++) {
state = digitalRead(PINS[i]);
if (STATES[i] != state) {
if (state == LOW) {
Keyboard.press(KEYS[i]);
} else {
Keyboard.release(KEYS[i]);
}
STATES[i] = state;
}
}
}
Playing Games
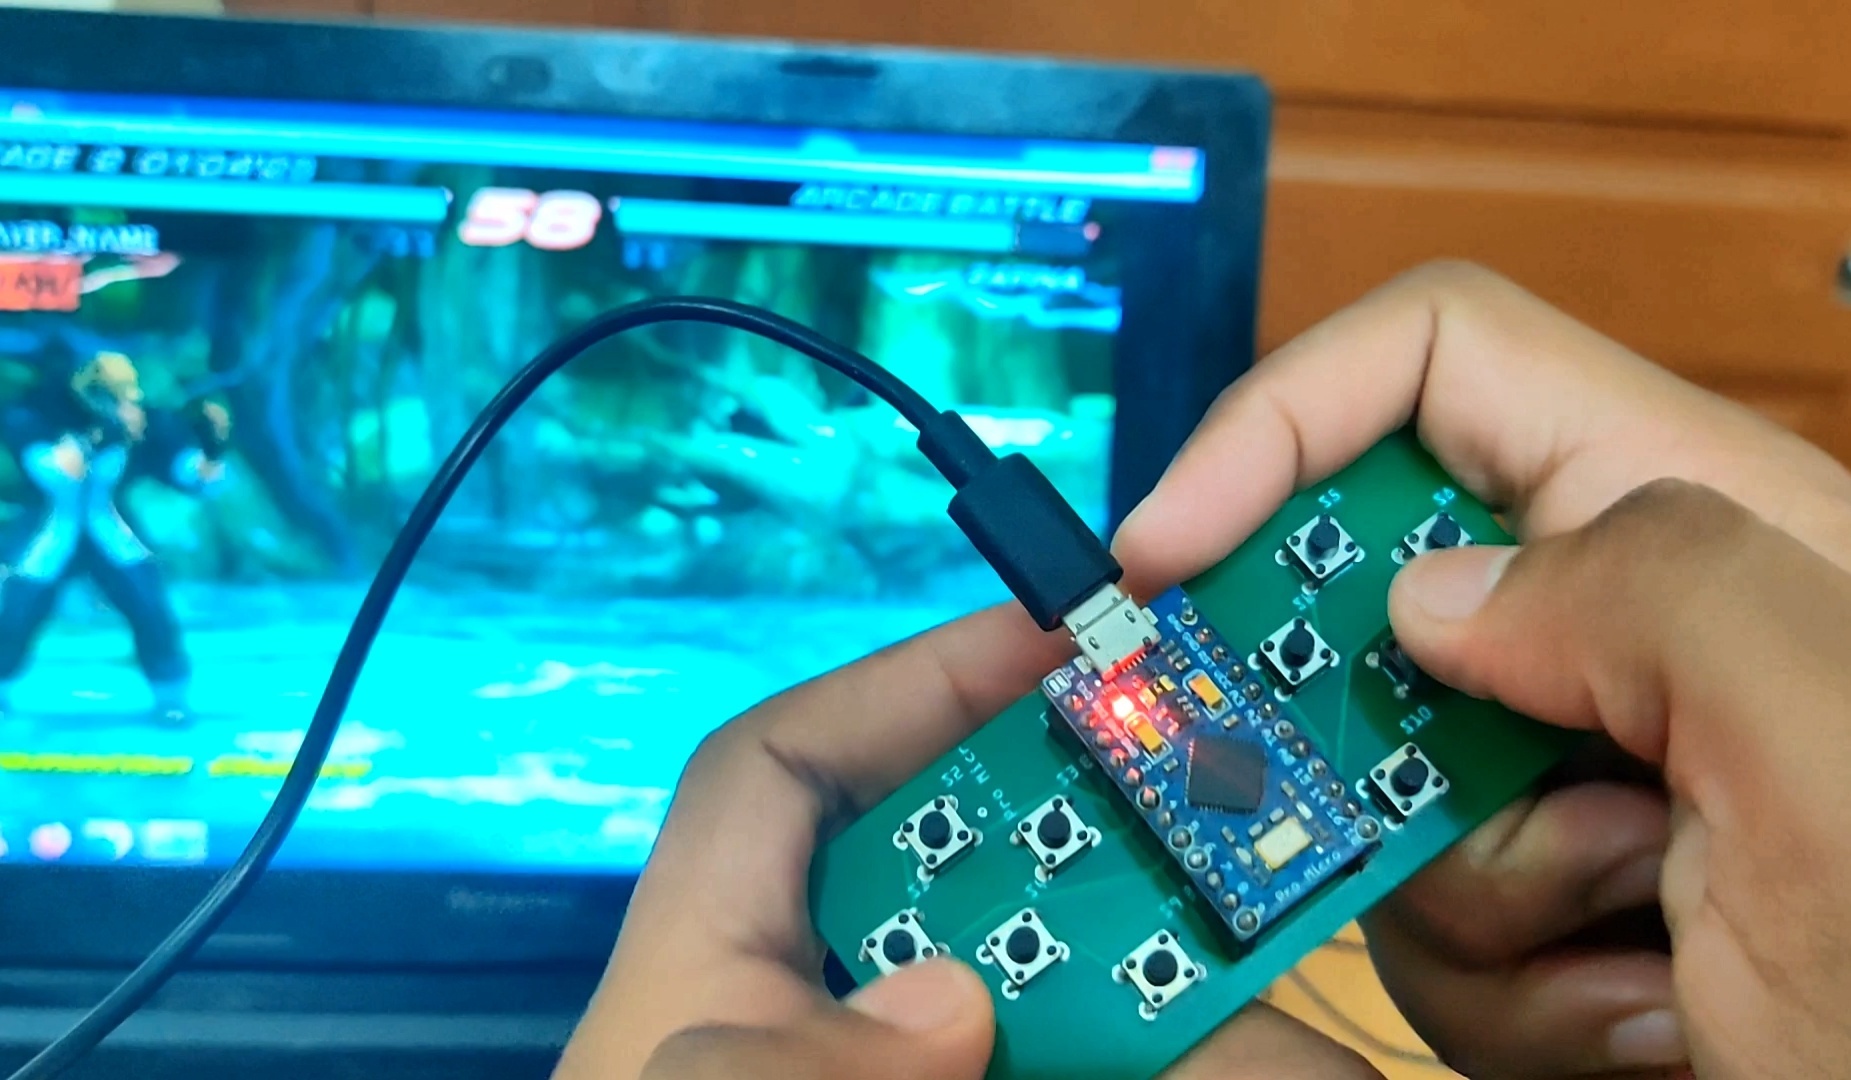
After Uploading of code connect it to PC via USB cable and open any game of your choice well i am playing tekken here for instance and it work like a charm.